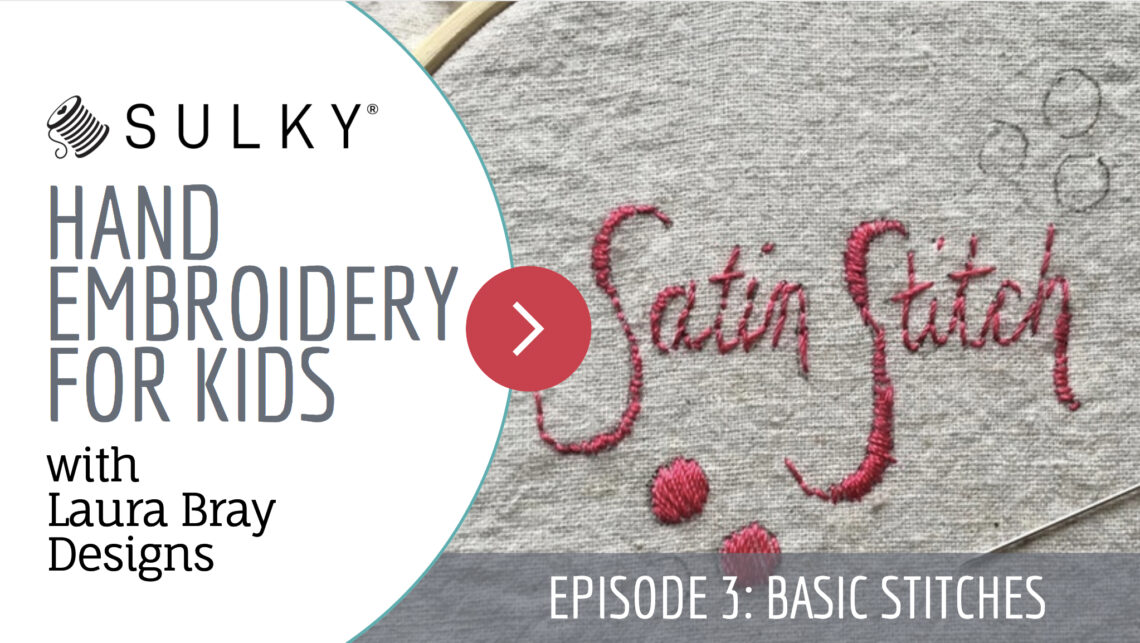
Basic Hand Embroidery Stitches: Hand Embroidery for Kids, Episode 3
Basic Hand Embroidery Stitches
Hand Embroidery for Kids, Episode 3
with Laura Bray of Laura Bray Designs
When learning hand embroidery, three basic stitches are essential for most embroidery patterns. Learn these three easy stitches to begin learning the wonderful world of hand embroidery! The below video is great for teaching kids in a safe, fun environment.
Have your child practice these stitches on a piece of scrap fabric. They won’t be as nervous about their stitches, which will help them grow their stitching confidence.
Backstitch
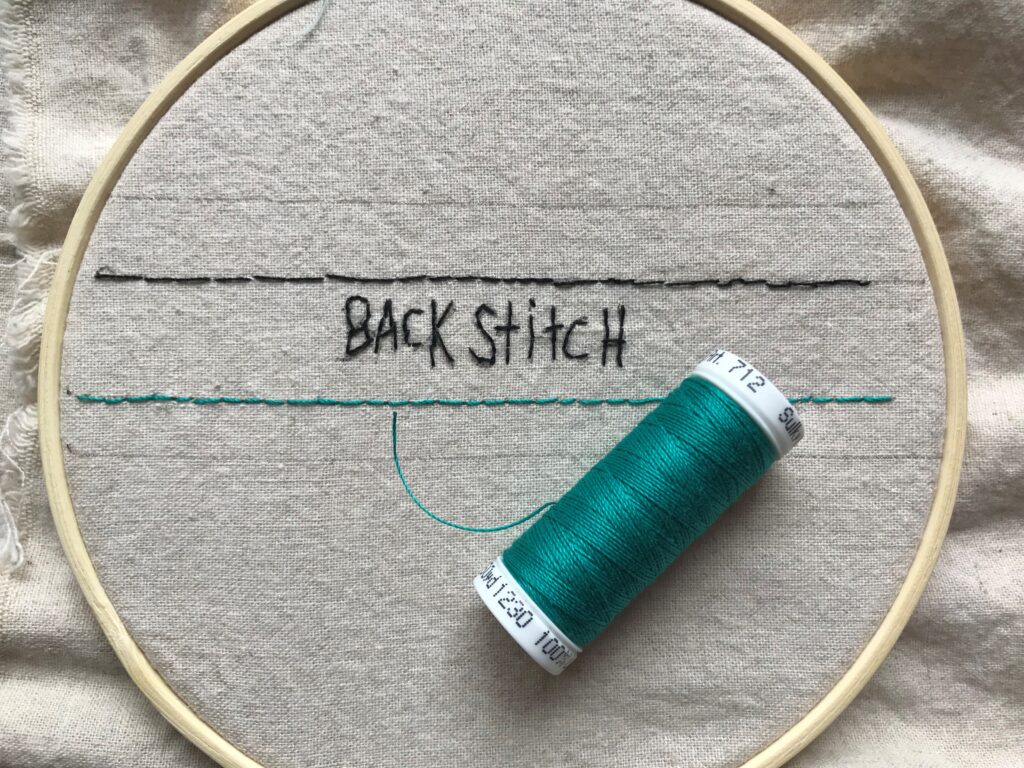
This is one of the easiest stitches. The backstitch is a great stitch to use when outlining a pattern. For beginners, outlining a pattern design in the backstitch produces a finished embroidery piece quickly and easily.
The most challenging part of mastering the backstitch is to produce the stitches an even length and keeping the stitches straight. Practice helps with both! To perfect the backstitch, keep the stitches relatively long at first. Begin with a stitch length of ¼”, or start a child off with a ½” or even 1” stitch length. As they get a feel for the stitch length and spacing, encourage them to make smaller stitches.
Some embroidery pros like to draw or paint a small marker on their fingernail (or even finger) that they can use as a guide. While I don’t recommend using markers on your child’s nails or skin, consider making a little marker with nail polish or a small, narrow piece of tape. Or give them a ruler or small piece of paper with the stitch length marked. But remember, embroidery is supposed to be fun! Uneven stitches are okay if it was FUN!
Satin Stitch
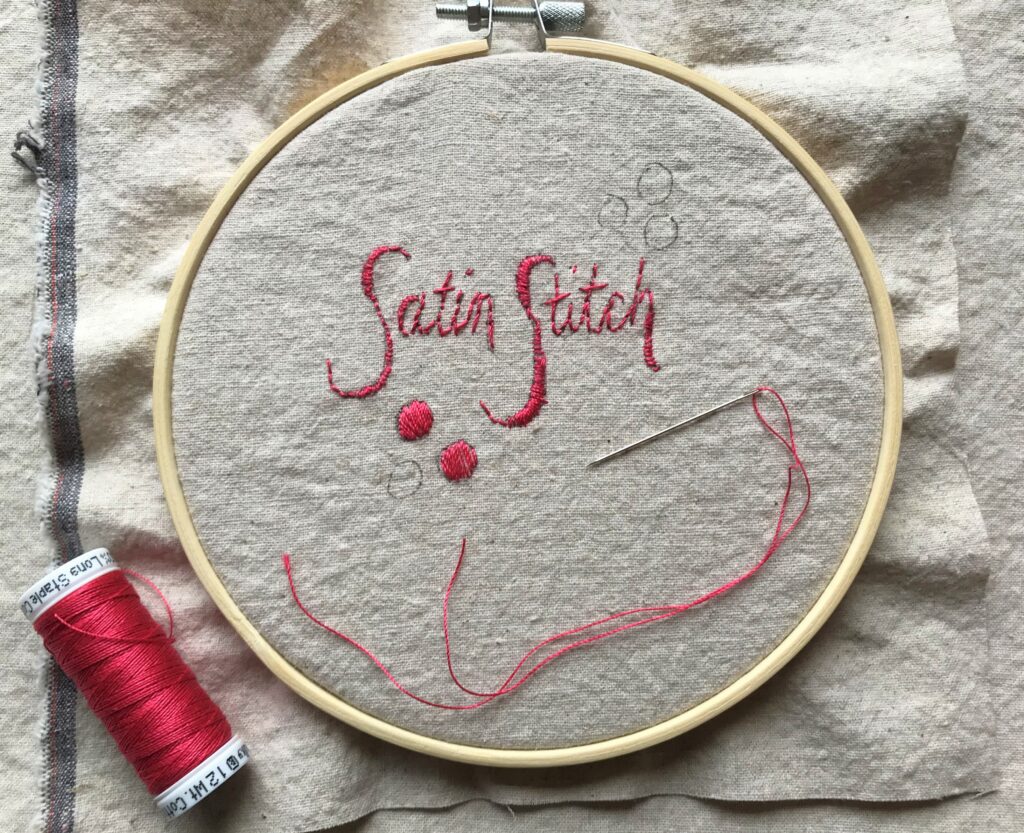
The satin stitch is used to fill in spaces. For beginners, use the satin stitch to fill in small areas on your embroidery. Larger spaces require that you master the long-short stitch (also known as “Thread Painting”), which is a bit more difficult to master.
Running Stitch
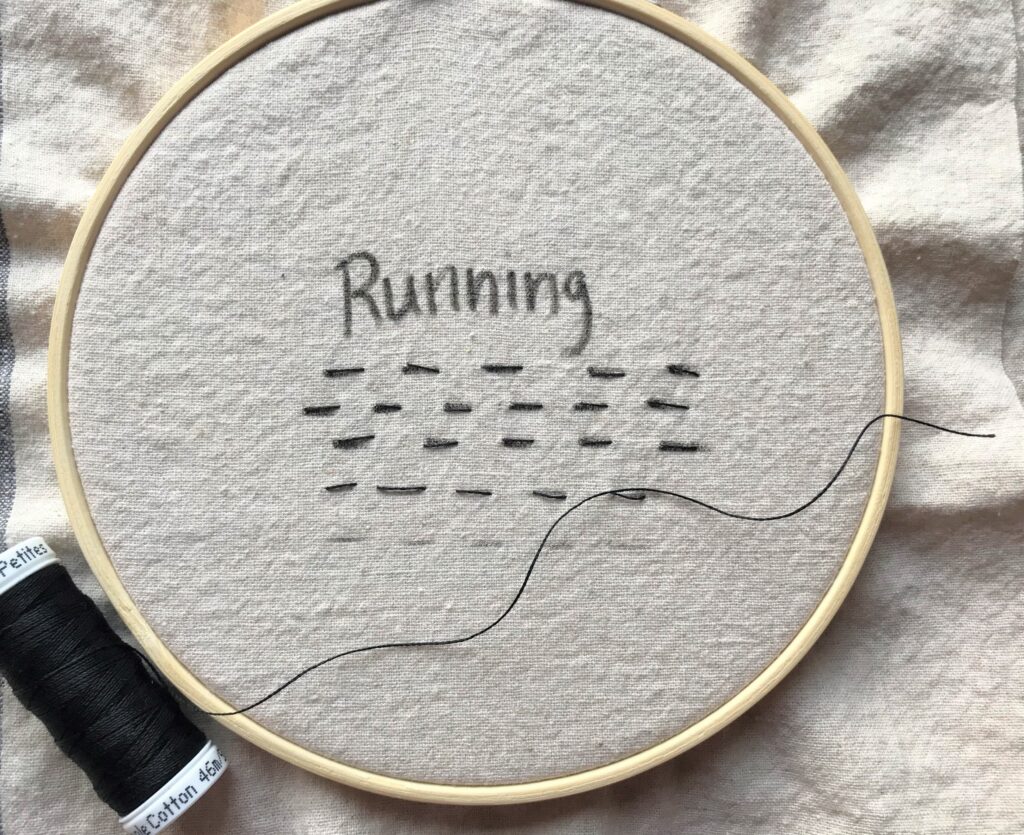
A running stitch consists of evenly spaced stitches that run in front of the other. Working left to right, place the needle up into the fabric from the wrong side, make a straight 1/4″ stitch back into the fabric, and then come up again 1/4″ from the end of the previous stitch. Continue along the line.
The running stitch will finish the Leo the Lion Hoop Art project! Download the pattern and gather your supplies for this fun and easy project.

Ellen March
I am the Director of Content for Sulky of America. The former Editor in Chief of Sew News and Creative Machine Embroidery magazines, I hosted Sew it All TV on PBS for nine seasons. I've appeared on It's Sew Easy on PBS, DIY Network's Uncommon Threads, Hallmark's Marie Osmond Show, MacPhee Workshop and more! Come sew with me!


One Comment
epicstitch
Looks like an easy to do,really appreciate your blog. I love to try it.