Hanukkah Tea Towels
with embroidery & trim
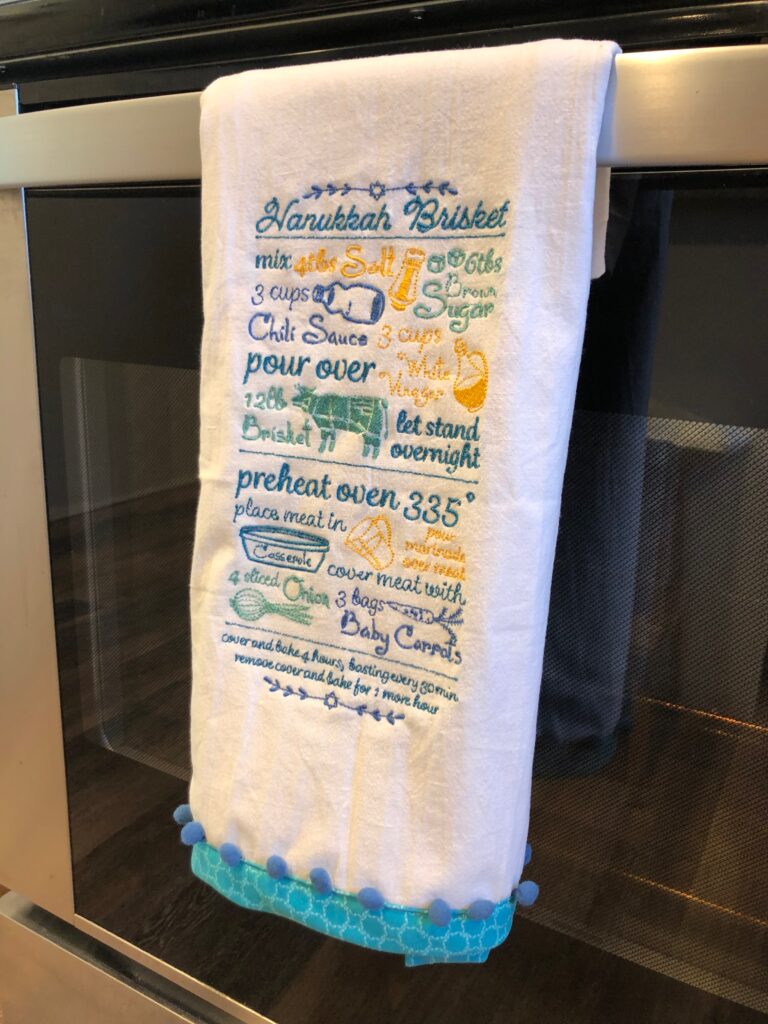
Learn how to embroider Hanukkah tea towels trimmed with fabric and fun pom-pom trim. For different holidays, simply swap the embroidery design and fabric colors to suit your kitchen décor. Tea towel blanks make quick and easy work of last-minute gifts, too!
HANUKKAH TEA TOWEL SUPPLIES
Supplies listed are enough to make 2 tea towels.
- 2 Tea Towel Embroidery Blanks (or other suitable towel, such as flour sack towels, guest towels or dish towels)
- Fabri-Solvy™ Stabilizer
- Sulky Rayon Thread (colors determined by embroidery color sequence chart(s)
- 60 wt. Bobbin Thread (to match towel)
- Organ® Needles: size 80/12 Mictotex (choose an Embroidery Needle is working with a thicker towel)
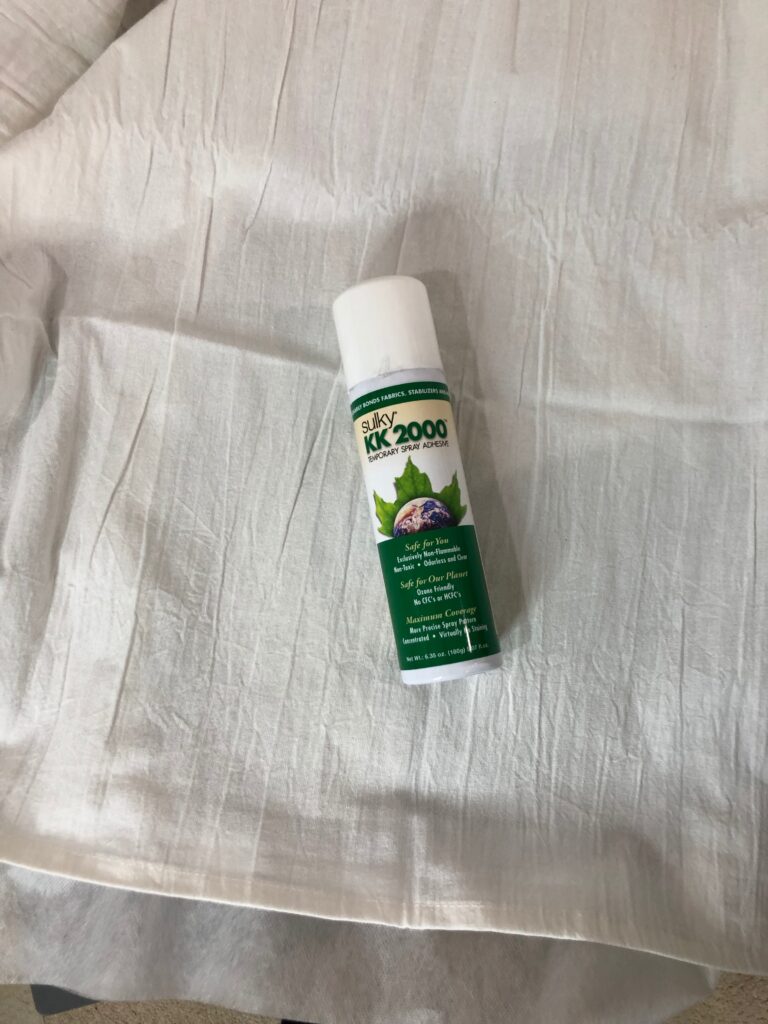
- Sulky KK 2000™ Temporary Spray Adhesive
- Matching pom-pom trim (amount determined by towel width plus 1/2″ (multiply by two to make two towels)
- 3″ strip of coordinating quilting cotton fabric (amount determined by towel width plus 1″ (multiply by two to make two towels)
- Clover Wonder Clips (optional) or pins
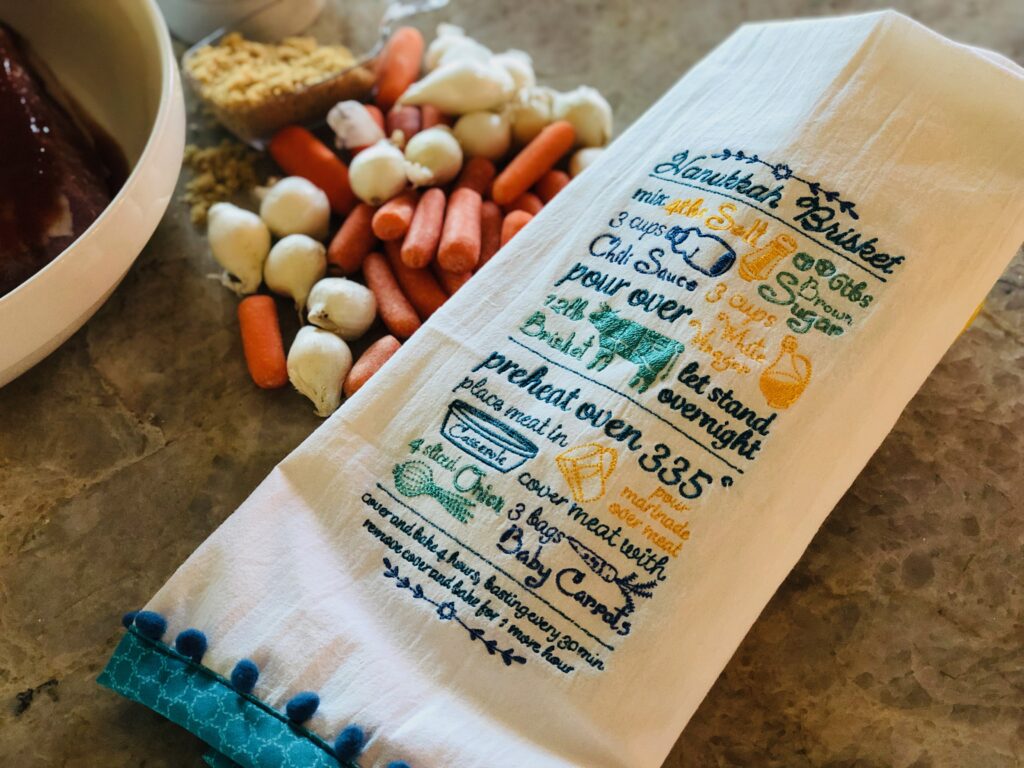
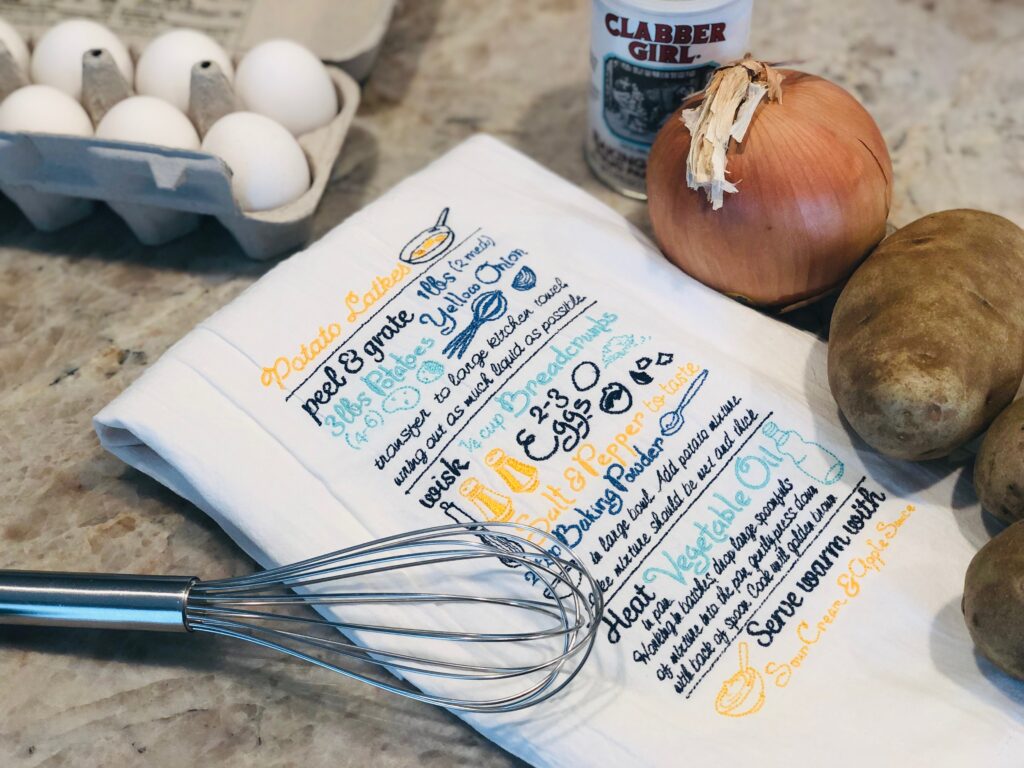
- Embroidery Designs to fit within a 260mm x 200mm hoop or smaller (Featured designs: Hanukkah Brisket & Potato Latke by Scissortail Stitches)
EMBROIDER THE TOWEL
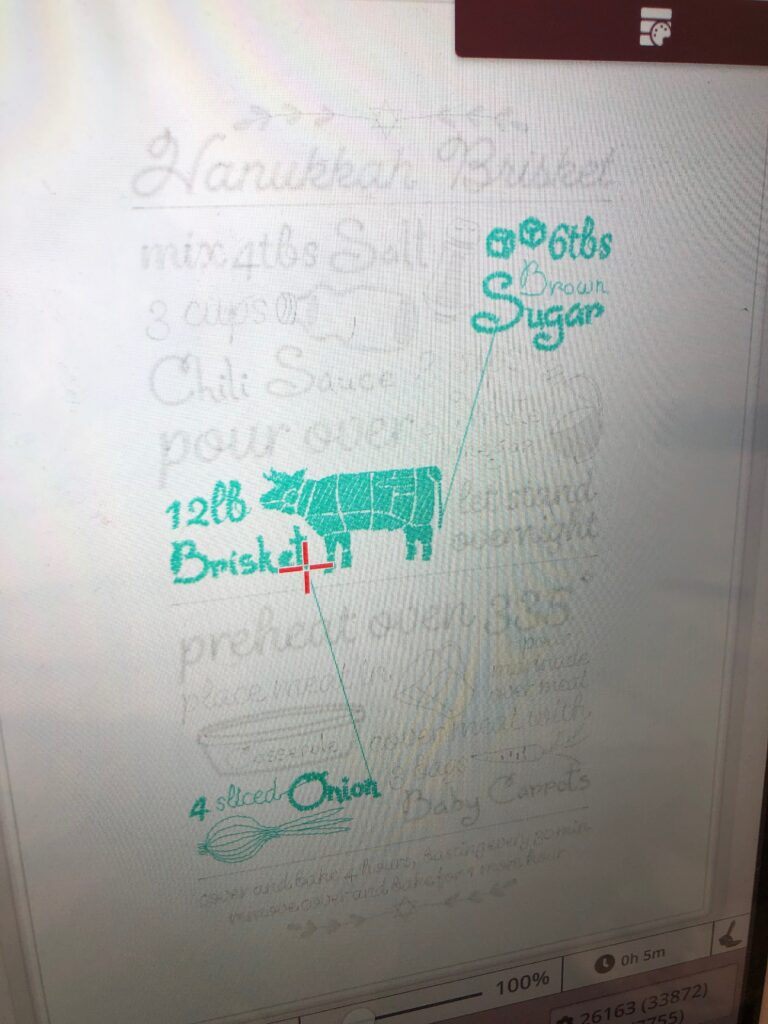
Load the chosen design onto the machine. Choose one design for both Hanukkah tea towels or choose different designs for each recipient or to display in your kitchen.
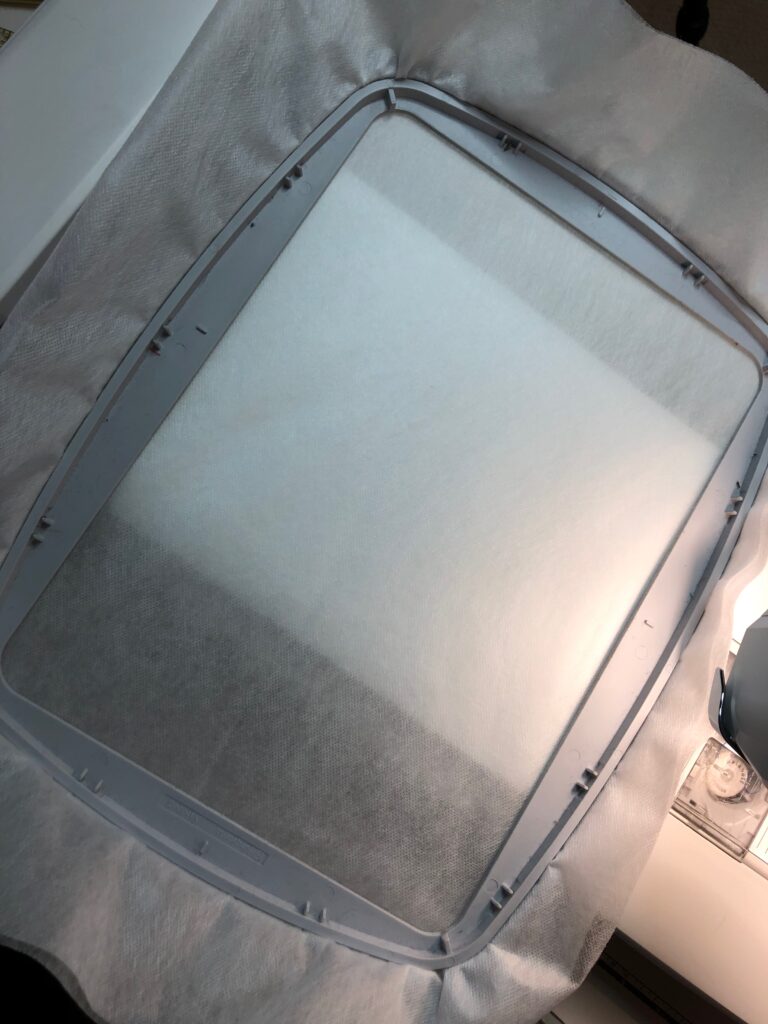
Hoop two layers of Sulky Fabri-Solvy Stabilizer.
Fold the towel in half lengthwise and finger-press to create a foldline along the towel lower-edge center.
Position the towel over the hooped stabilizer, aligning the towel foldline 1 1/2″ below the hoop lower-edge center cross mark. Use KK 2000 Temporary Spray Adhesive to secure the towel to the stabilizer.
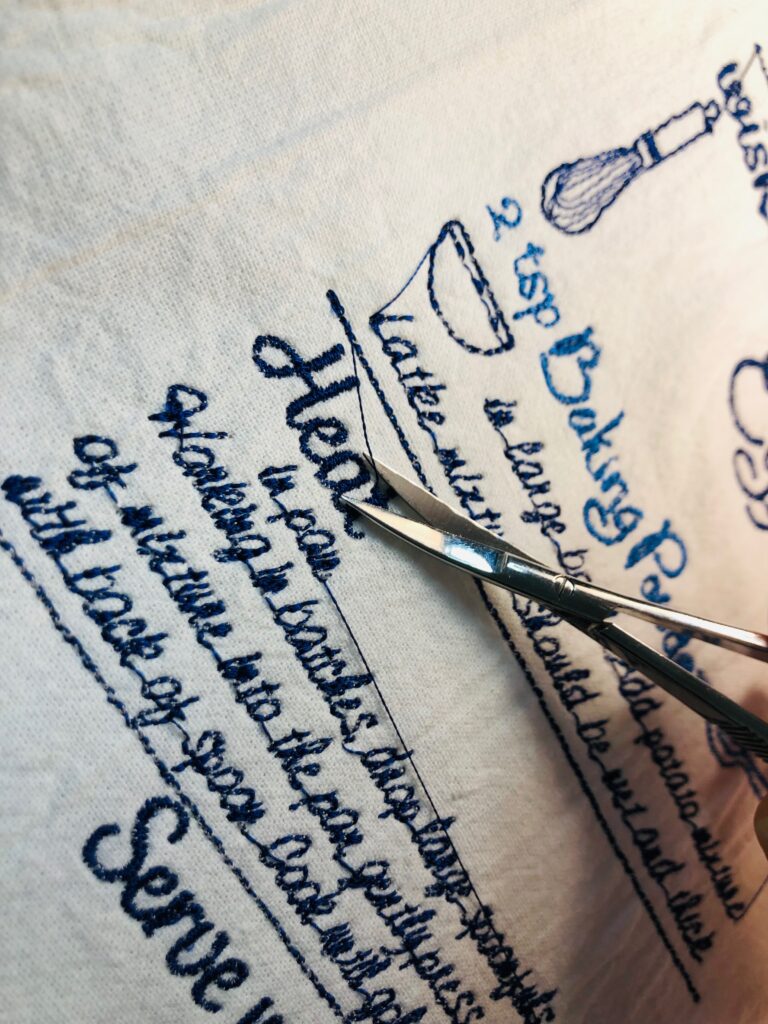
Place the hoop onto the machine. Embroider the design, clipping jump threads with each thread change.
For a towel, where the wrong side will be visible after embroidery, clip jump threads along the hoop wrong side with each thread change, too. Before or after threading the new color, remove the hoop from the machine and flip it over. Clip the jump threads, and then re-place the hoop back onto the machine. Continue with the design.
When embroidery is complete, remove the hoop from the machine and the towel from the hoop. Trim the stabilizer layers beyond the embroidery perimeter. Rinse away the remaining stabilizer under running water until completely dissolved. Depending on the design used, a wet cotton swab applied to the stitching on the towel wrong side often works to remove the stabilizer without rinsing.
Roll the towel into a larger towel to rid it of excess moisture. Let dry flat on the towel. (Alternatively, keep the stabilizer in place and it will wash away with the first washing. If giving as a gift, instruct the recipient to throw it in the wash before or after displaying.)
Repeat to embroider the second Hanukkah tea towel.
TRIM THE HANUKKAH TOWEL
Trim off the towel lower-edge hem. (Some tea towels and flour sack towels are not hemmed very straight! This is your opportunity to square things up before adding trim.)
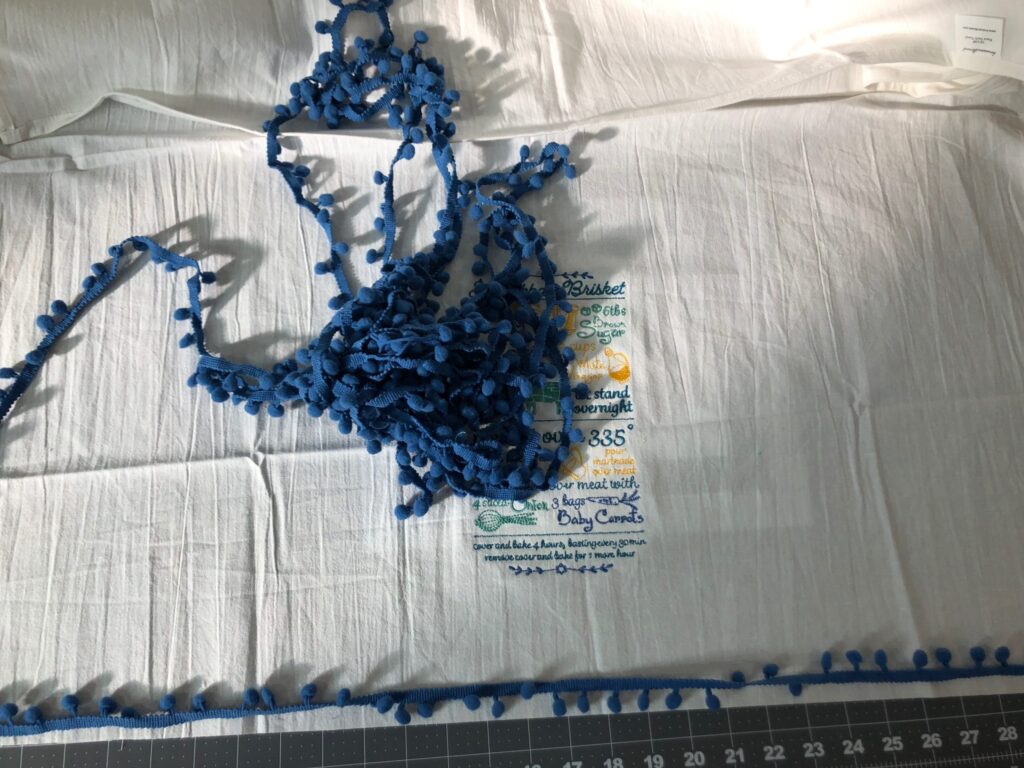
Cut a length of pom-pom trim 1/2″ longer than the towel width.
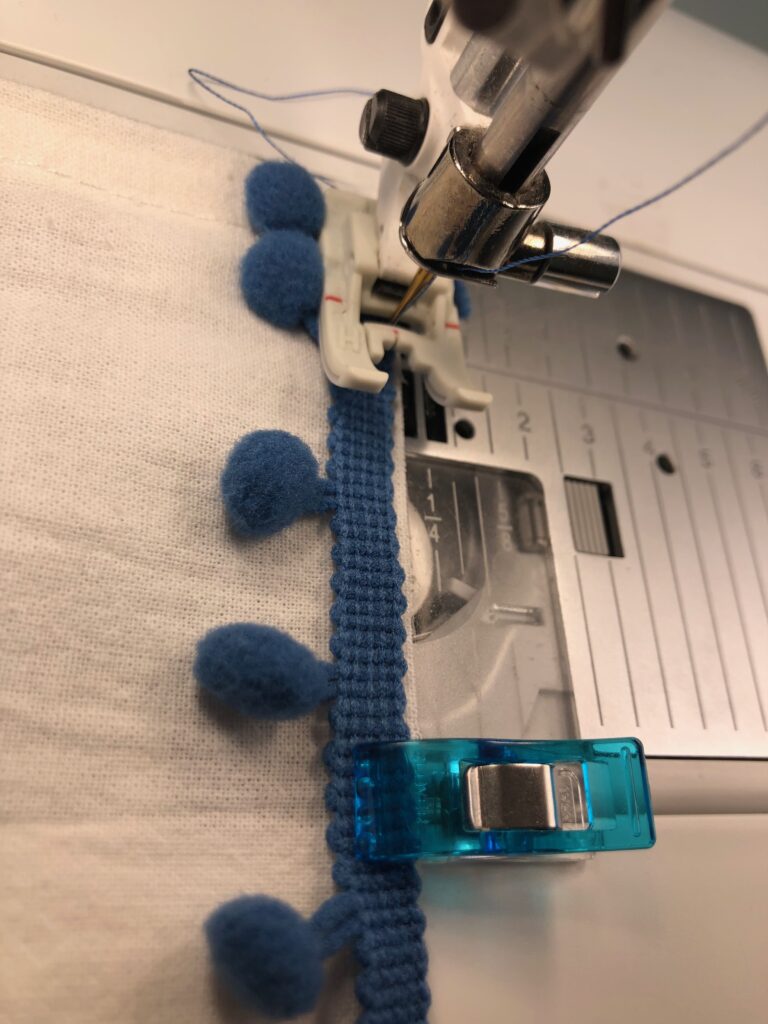
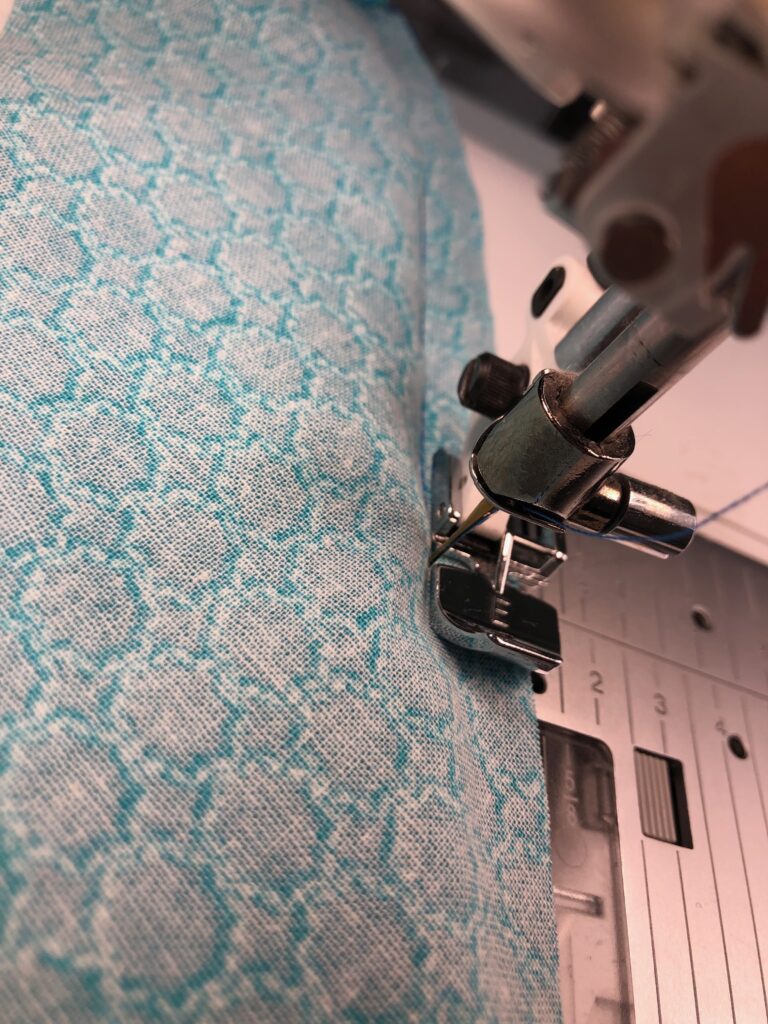
Next, clip or pin it to the lower edge of one towel, keeping the poms facing upward toward the towel design. Then, fold each trim end 1/4″ at an angle toward the raw edge. Baste the trim in place using a narrow-edge or zipper foot.
Next, cut a length of the fabric strip 1/2″ longer than the tea towel width. Then, double-fold each end 1/4″ toward the wrong side; press, and then stitch along the second fold.
Place one fabric strip long raw edge along the towel lower edge, sandwiching the trim tape. Clip or pin in place. Then, stitch the fabric trim in place using a zipper foot to get close to the pom-poms without stitching through them.
Turn the fabric trim toward the right side; press, keeping the iron away from the poms.
To finish, fold the fabric long raw edge 1/4″ toward the wrong side; press. Then, fold the folded edge up toward the previous stitching line to just cover it; clip or pin in place. Next, stitch just beneath the seamline from the right side to secure the fabric edge and conceal the raw edges.
At each fabric trim end, topstitch along the previous stitching to secure.
Repeat to trim the second Hanukkah tea towel.
HANUKKAH TEA TOWEL GIFT
Wrap the Hanukkah tea towel up with some kitchen gadgets, family recipes and colorful utensils. Or make a hot dish to share and gift the towel to the host or hostess of the dinner party.
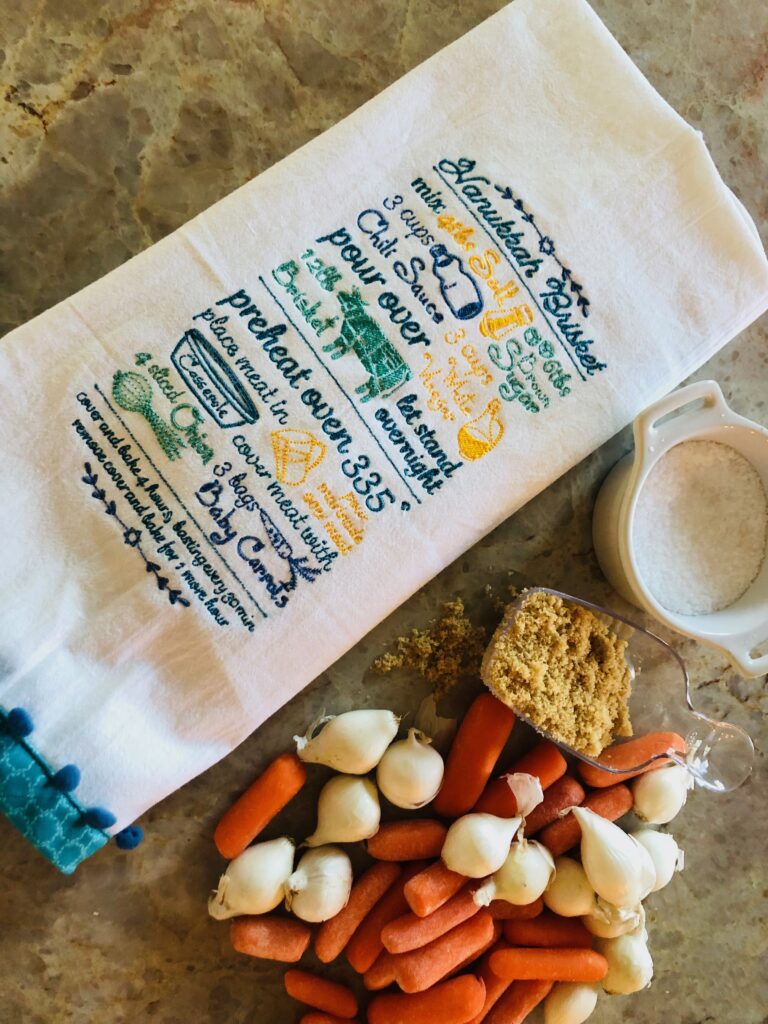
Embroidery designs that are recipes in themselves (such as the featured designs) are fun to display in your kitchen, but nice to gift along with the ingredients included in the design!
Have fun using different sizes of pom-pom trim, or insert rickrack into the seam instead. Embellished towels are great easy projects to use scrap fabrics and trims.
Happy Hanukkah to all!

