By Guest Blogger: Patti Lee, Vice President, Consumer Relations, Sulky of America
I have fallen in love with in-the-hoop projects. Yes, the first prototype of each project takes some extra time; but once you’ve done the first one, they become easier and faster. My favorite thing about in-the-hoop designs is that when you’re done, you’re done. There is usually very little finish work once it is out of the hoop.
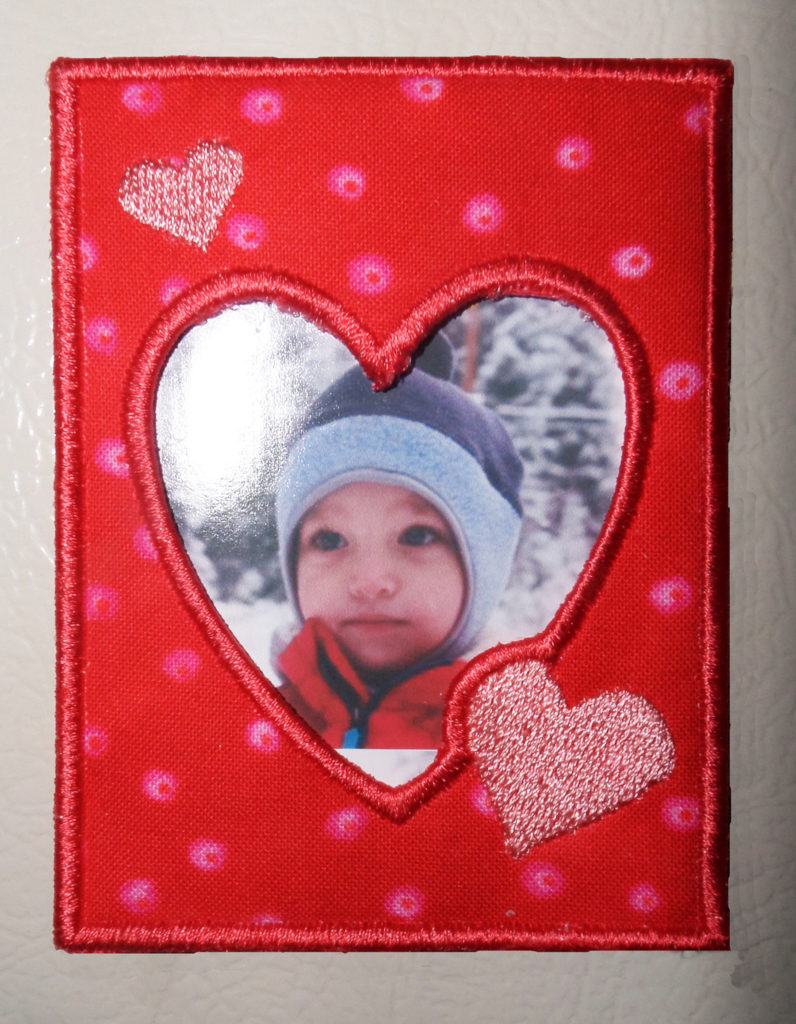
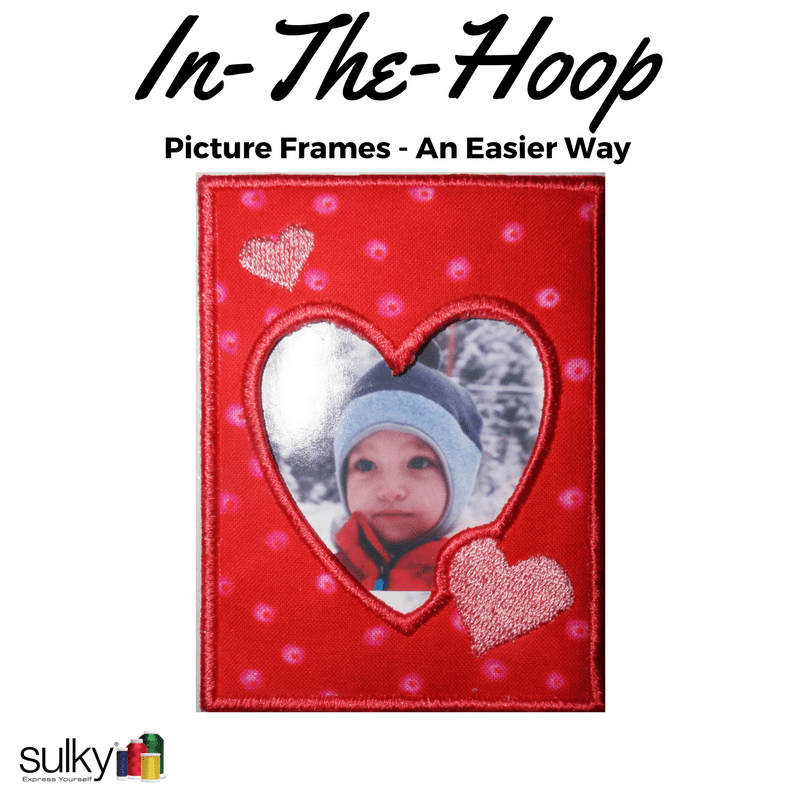
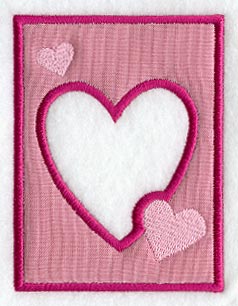
We found this frame on at the embroiderylibrary.com – here is a link to the design/project
Click here to download the “Hearts Abound” In-the-Hoop Frame Project. (Note: Fits in a 4 x 4 hoop.)
You will need to sign in or register as a new account (which is free) in order to download this great design.
Have you ever done an in-the-hoop project using a tear-away stabilizer, and the stitch density just wasn’t supported by a tear-away? Or when you tore the stabilizer away, some little fuzzies remained? Or you used a white tear-away stabilizer on a darker fabric, so it showed even more? Yes, you can get the marker pens out and do some touch-up, but sometimes the colors just don’t match well enough. After all, we have 333 solid colors to choose from here at Sulky. And then, with metallics, it’s even more challenging.
So, my personal preference is to use Sulky Fabri-Solvy for my in-the-hoop projects instead of a tear-away almost all of the time now. I love being able to give a truly personal gift. So this last Christmas, I made this In-the-Hoop Christmas Bell Ornament from Embroidery Library. In fact, I made a bunch of them. It can be an ornament for the tree (adding a ribbon), or you can place it on a small plate stand, or add a fridge magnet on the back.
Here’s how I did it using Fabri-Solvy instead of a tear-away. You can do this for any of the frames including the Valentine’s Day Frame.
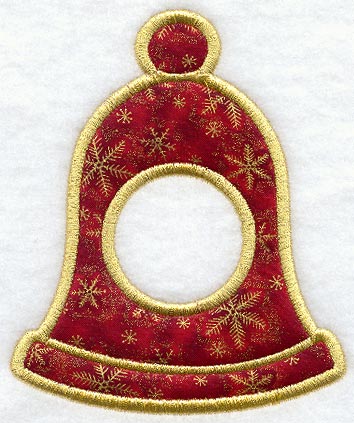
FOR EACH BELL ORNAMENT YOU WILL NEED:
- Embroidery Machine with a 5 x 7 hoop for this particular design (a larger hoop could also be used, but then I would use 2 layers of Fabri-Solvy Stabilizer)
- Schmetz® 14/90 Topstitch Needle (with metallic threads)
- 1 – 7” x 7” piece of fabric (front)
- 1 – 7” x 7” piece of fabric (back) I used the same fabric front and back.
- 2 – 7” x 7” pieces of Sulky Cut-Away Plus™ Stabilizer
- 1 – piece of Sulky Fabri-Solvy™ Stabilizer about 2” larger than your hoop
- Sulky Original Metallic Thread 142-7007 Gold (this is the small size spool)
- Sulky Prewound Bobbin – Tan
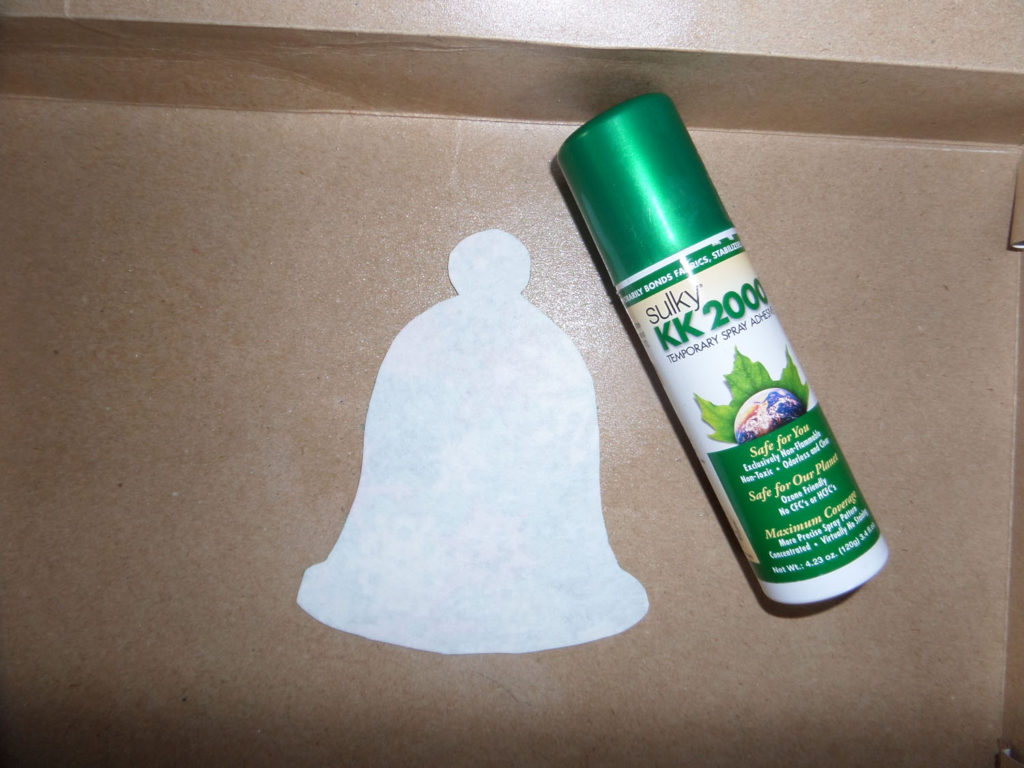
- Sulky KK 2000™ Temporary Spray Adhesive
- 8-1/2” piece of ribbon (if it will be a tree ornament)
(This was a tribute to a very dear friend, Carol Ingram, who we lost just before Christmas last year; and also a surprise to our Knit Night Group, so I didn’t want to post this before Christmas.)
I used Sulky Original Metallic 143-7007 Gold for this project. I used a king size spool because I made over 15 of them, but you could use the smaller 142-7007 spool for just a few. This project was digitized for metallic thread, so it stitched flawlessly and I never broke a thread until my needle got dull (remember, I made 15 of just this version alone). But even though it was digitized for metallic thread, I slowed my machine down some.
I used a Tan Sulky Prewound Bobbin, and it matched pretty well on the back and was not as stark as white would be. Sometimes I used the metallic in the bobbin for the final satin stitching, too.
If you look at the Color Sequence Sheet that comes with the project, it has 7 color stops, but all the same color.
Download and print the really great instructions for making the project and templates here: http://www.emblibrary.com/EL/elprojects/pdf/pr1191.pdf
(Note: You do not have to have embroidery software to do this project. Hooray!)
Follow those instructions for this project. I have added some tips and hints here, and include the specific differences using Fabri-Solvy (which are pretty minimal, really.)
I used a Christmas shirt box as my spray station for KK 2000:
Here are the changes when using a water soluble stabilizer instead of a tear-away.
- Obviously you would hoop the Fabri-Solvy (I used one layer for a 5 x 7 hoop If you use a larger hoop, I would use 2 layers).
- After color stop #4, do any additional lettering you choose on the ornament, names, dates, etc. (optional). Then remove the hoop from the machine. (DO NOT REMOVE THE DESIGN from the hoop). With a curved scissors, carefully trim the Fabri-Solvy from the center hole, leaving about 1/8” remaining.
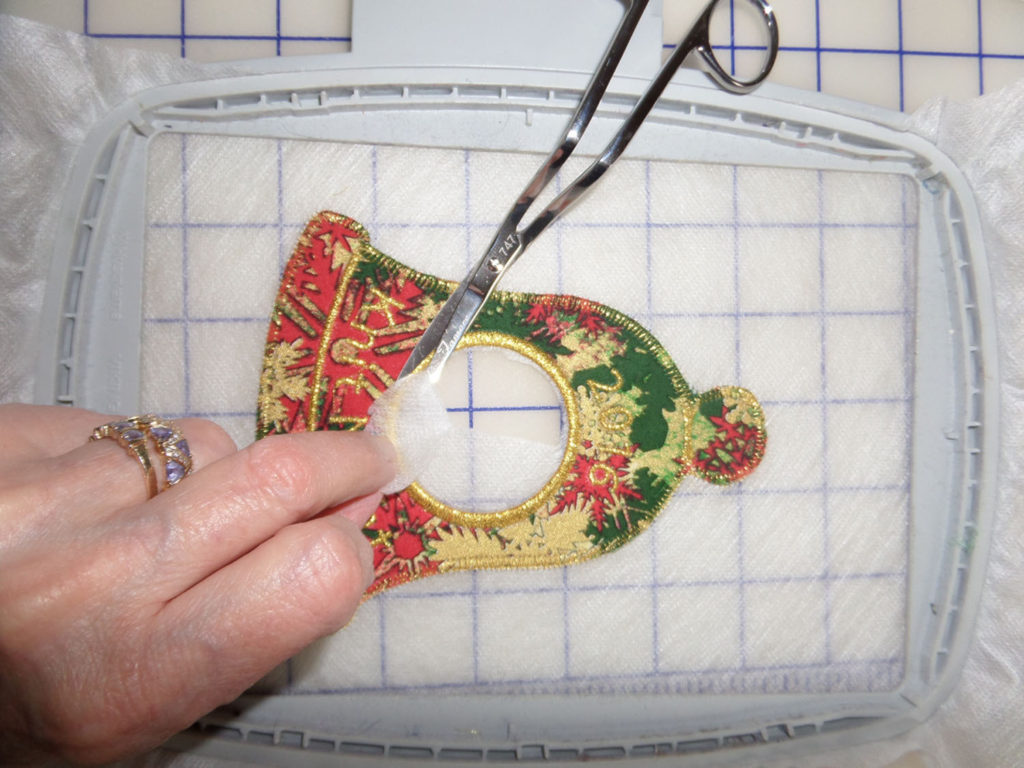
- Dampen a wash cloth with HOT water (just the area of your finger – you don’t want it dripping wet or even overly wet. You don’t want to get any wetness on the rest of the Fabri-Solvy). With your finger, gently rub around the hole and the remaining Fabri-Solvy is instantly gone. HINT: If you accidentally get some water or wetness on the remaining Fabri-Solvy, just patch it with a larger piece than the hole with Sulky KK 2000 Temporary Spray Adhesive.
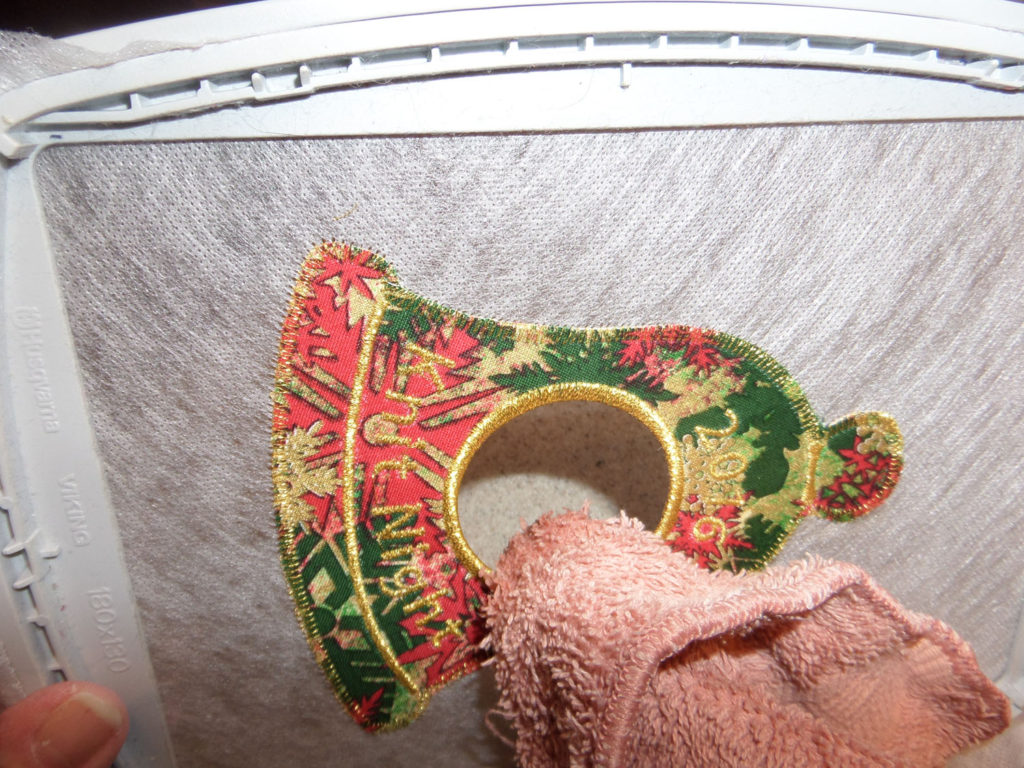
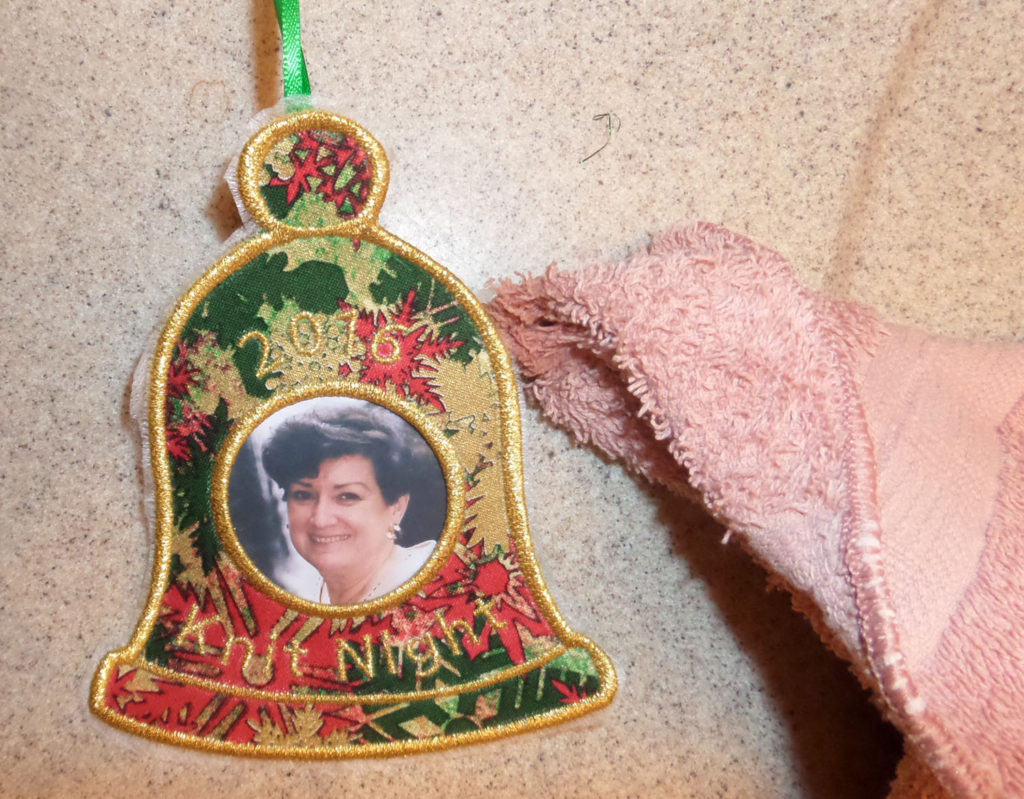
You will repeat this same removal technique when the ornament is completely stitched. (See photo later on.) That’s it. Everything else is the same as in the .pdf instructions.
OTHER HINTS AND OPTIONS:
If you want to add a ribbon for hanging, you will do so now before you stitch color stop #5, and it’s shown in the .pdf instructions that come with the project. I used a 8-1/2” long piece of ribbon. (If you changed the order of stitching because you added the lettering, be sure to go back and select color stop #5 before you start stitching again.)
Follow the .pdf instructions to add the photo. Don’t forget to insert a matching bobbin at this point. I did use a bobbin wound with metallic for some of them that I wanted to be especially pretty, but the tan on the backside wasn’t too bad with the tension on my particular machine. TIP: Be sure to wind your bobbin slowly with metallic thread.
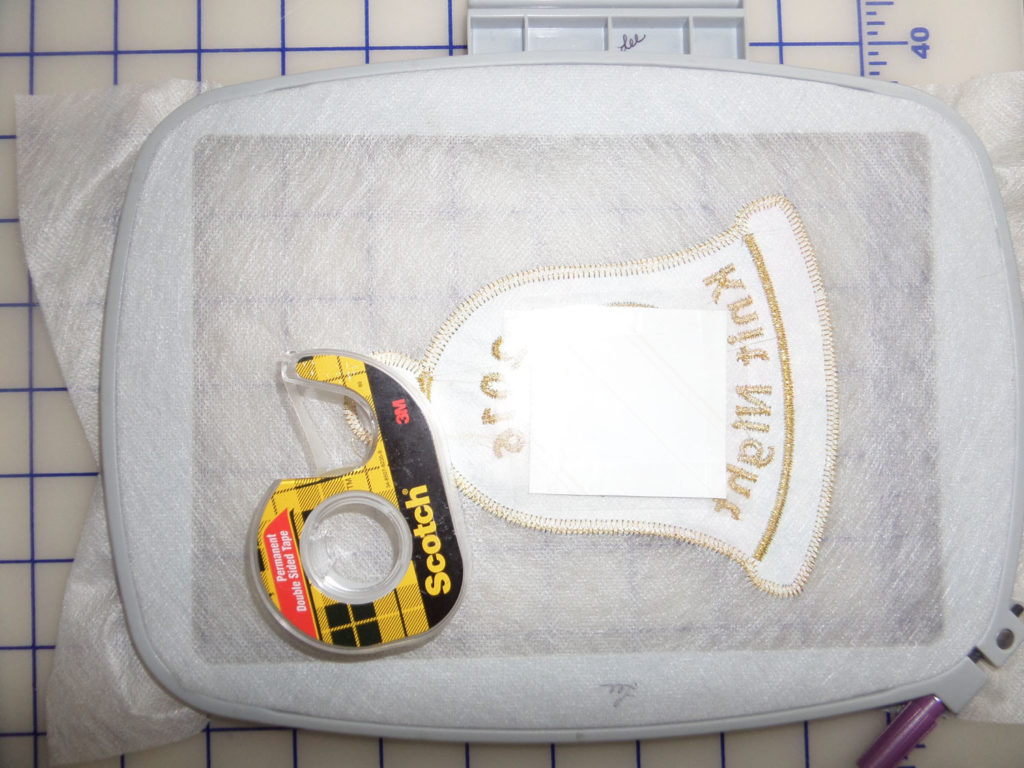
Tape the photo in place with double-sided tape. If you’ve added a ribbon, be sure to keep it out of the way when you re-attach the hoop to the machine. To ensure this, I also taped it to the top of the hoop with regular Scotch® Magic™ Tape (not double-sided), shown by the arrow in the photo below:
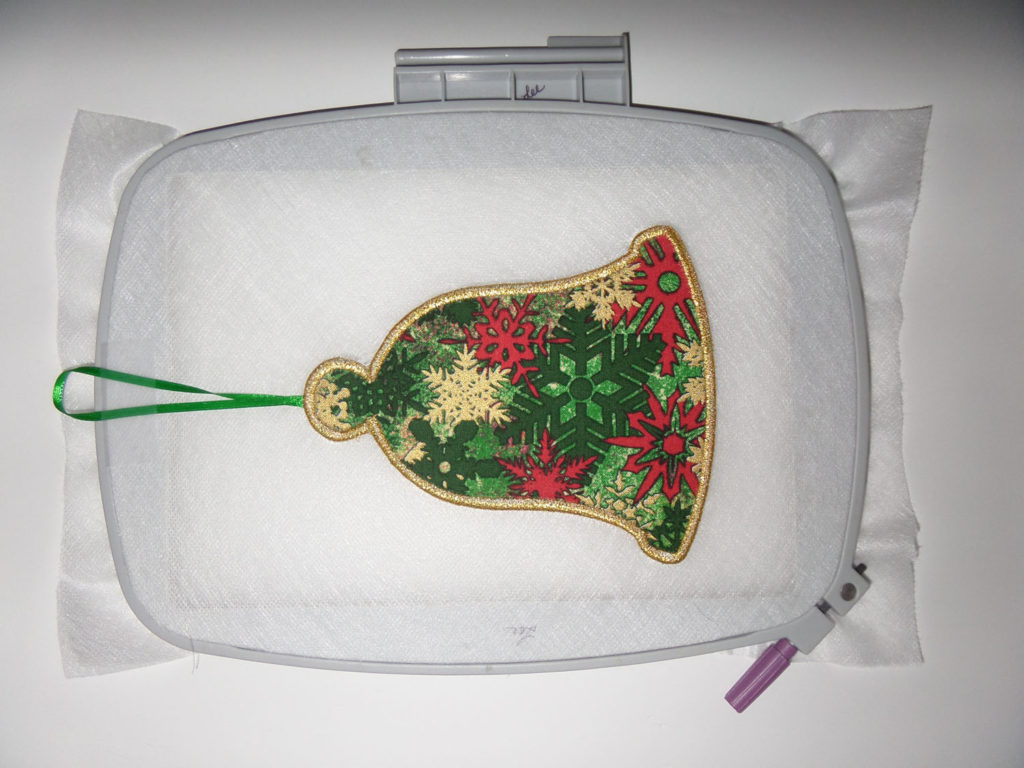
This shows the final stitching completed from the wrong side with the ribbon taped out of the way. (Notice that on this one, I did use the metallic in the bobbin, and it is really is pretty.) Final stitching in progress:
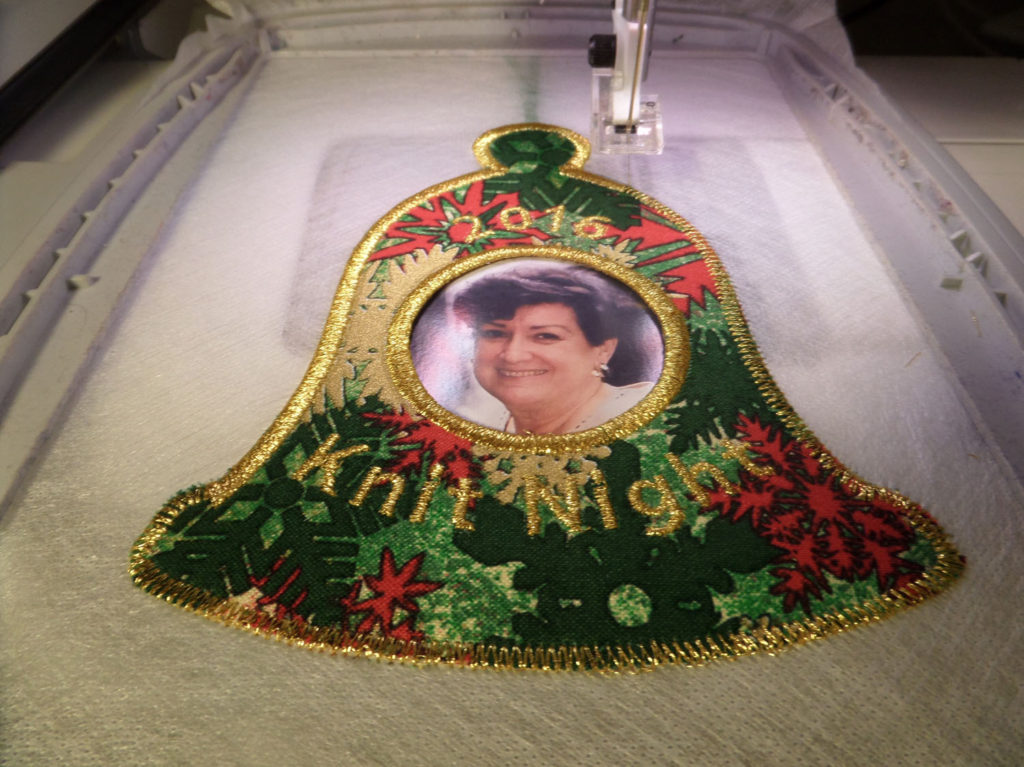
When complete, remove the project from the hoop, and trim the stabilizer away just like you did for the center hole, leaving about 1/8” remaining. Lesson learned: Before trimming…Remove the tape holding the ribbon and re-tape the ribbon tightly onto the back of the ornament. Why? Because I accidentally cut a ribbon, and that is not an easy repair. (You’re welcome!)
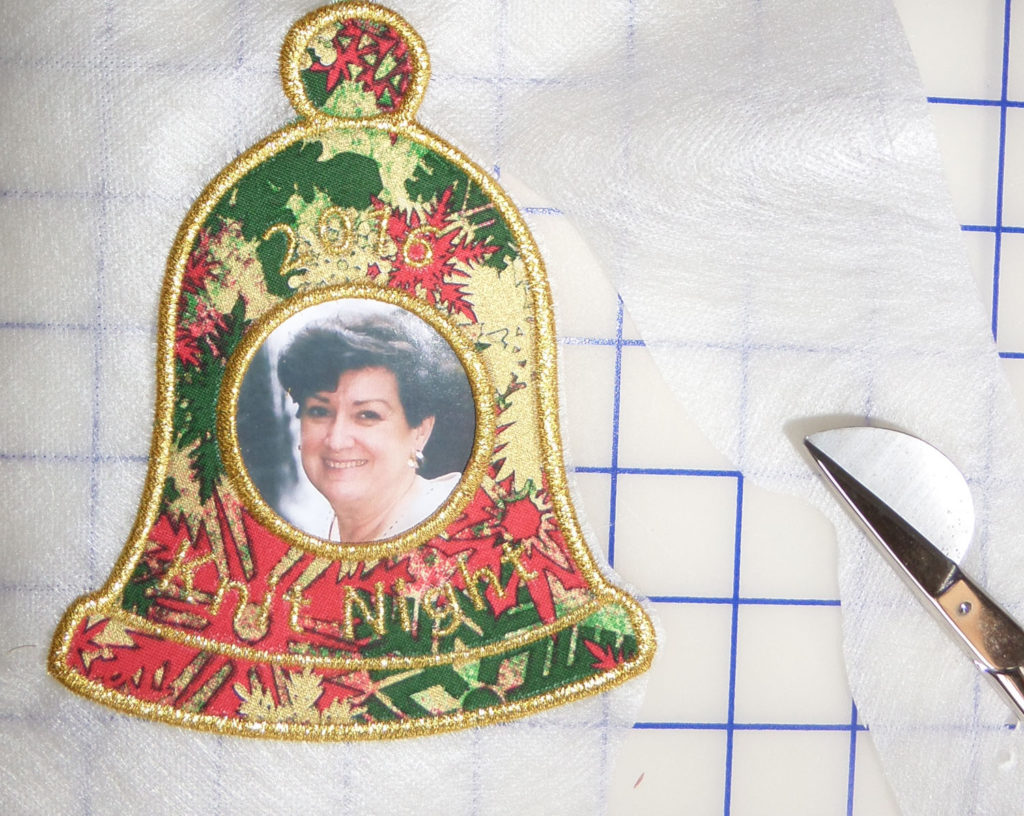
Repeat the washcloth process for removing the 1/8” or so remaining:
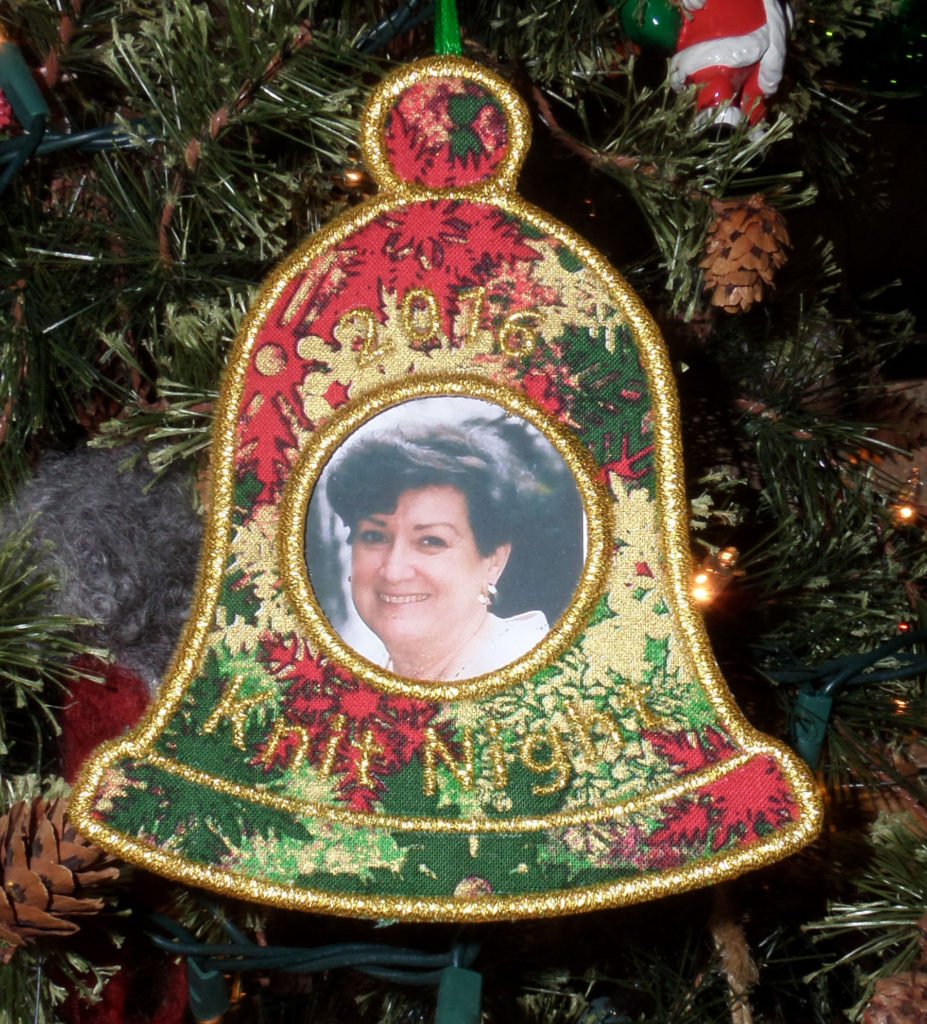
Be sure to check out all the other wonderful in-the-hoop Christmas ornaments and year-round frames too.


Thank you so much for sharing, the fabric Solvy is such a great idea. I can’t wait to try it, the ragged edge has kept me from absolutely loving ITH projects I have made.
Your directions were wonderful. I can hardly wait to make some for Christmas. I have had a bad year with
Broken vertebrae’s so this lifted my spirit. Thank you, Barbara
Can’t wait to try the Solvy. Sounds better than ragged edges. I tried to get the frame and it would not give it to me for free. I logged in. Is there a code we should use?
Unfortunately the frame was only free for a short period of time when this blog post was scheduled last year.