DIY Photo Frame Mat

It’s hard to find a Valentine’s Day gift that can be used all year long. Candy is great, but in this household it is gone almost as soon as it is opened! Love those flowers and I do wish they would last forever, but sadly they don’t. But picture this… a photo frame mat!
A framed picture of a loved one does last forever, and machine embroidery makes it easy to customize a photo mat, making it all the more special.
Instructions given are for personalizing an 8” x 10” mat displaying embroidery designs of choice, including an area for a 4″ x 6″ photo insert.
Supplies:
10” x 12” frame with a 7-3/4” x 9-3/4” opening
12” x 14” piece of tightly woven fabric such as Denim, Duck-cloth or Osnaberg
Fusible web, such as The Warm Company‘s Steam-a-Seam2®
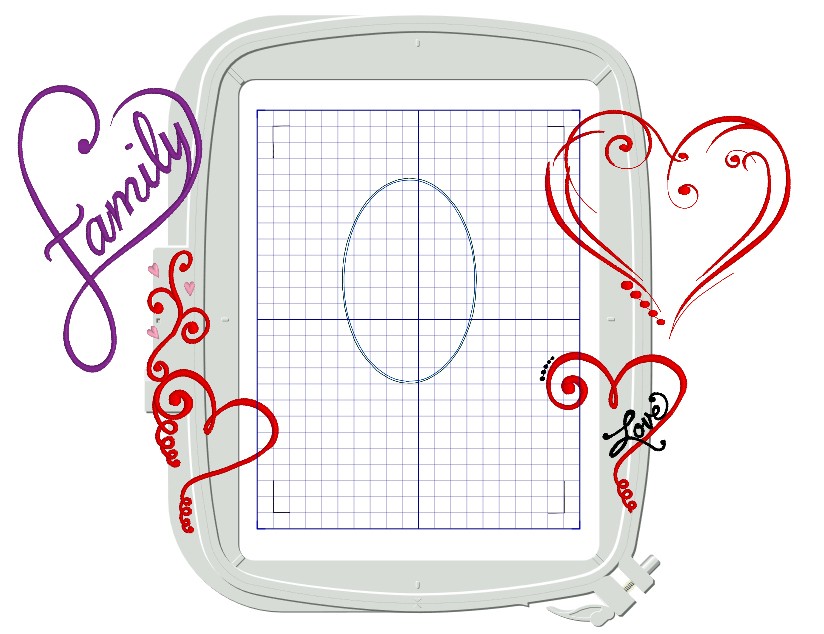
Scrolling Hearts Collection – get these designs for free when you purchase Sulky’s I Heart You Thread Palette!
Love Flourish Medium (free download)
Cardboard – from a cardboard box is fine and an optional piece of card stock
Plan a customized mat
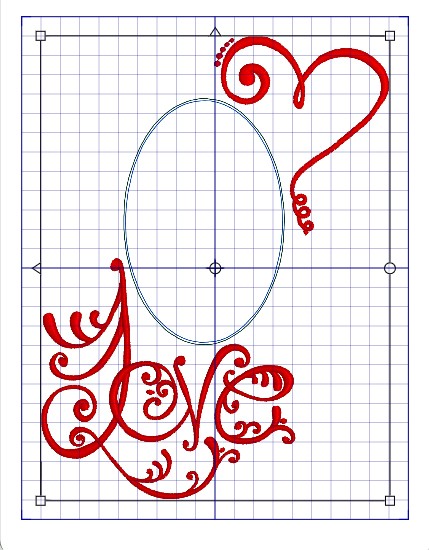
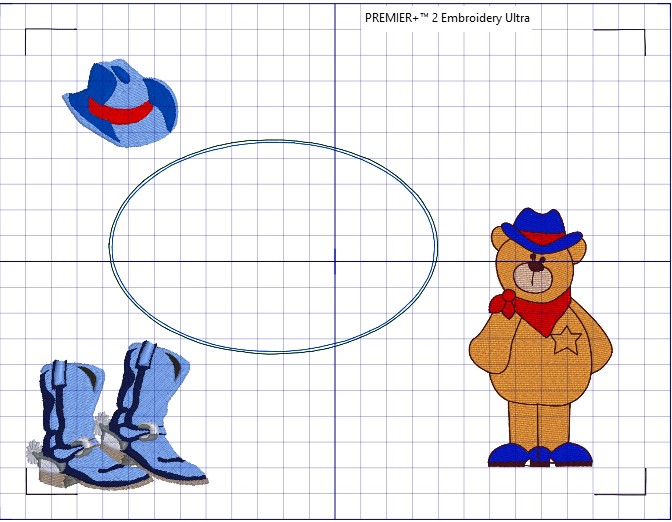
Open the photo template in a software editing program. The design shows three color stops.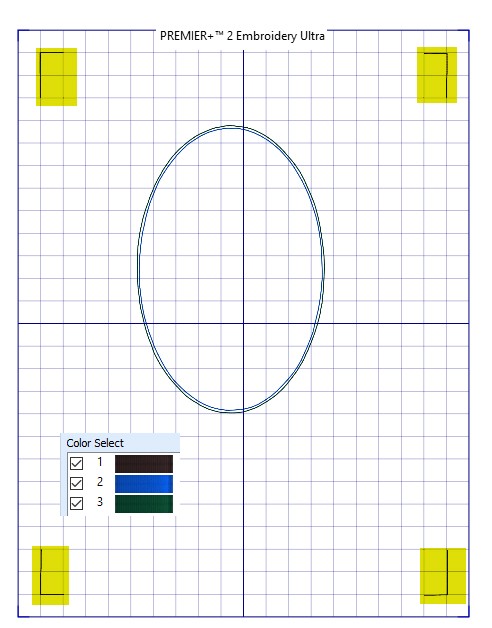
The brown, color stop #1, is not intended to be stitched out, but rather to define the available stitching area for an 8″ x 10” mat during the planning process. The opening for the photo insert has two color stops. Color #2 – blue – bastes the oval shape showing placement. It is then covered with a 5” x 7” piece of Sulky Soft ’n Sheer Extra™. Color #3 – green – stitches the stabilizer in place with secure small stitches. Both color stops should be stitched in a thread that matches the foundation fabric.
Bring several designs into the working area of an editing program and begin to create your mat.
Planning a layout is truly a “trial and error” effort. Choose designs that have potential and begin to move them around. Two choices were eliminated immediately as being too large. The two remaining were positioned around the opening.
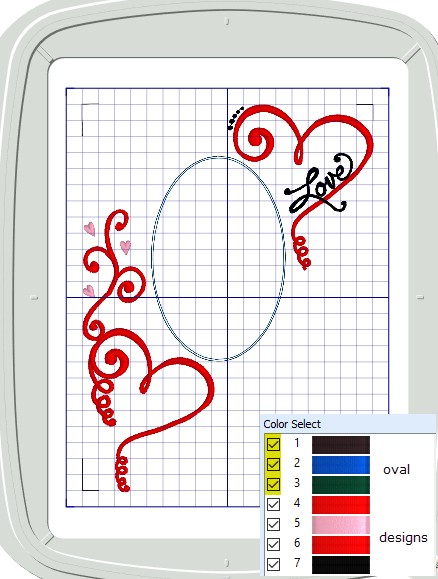
Once satisfied with the layout, combine the designs and check the stitching order. The embroidery designs must stitch out before the oval. If need be, change the stitching order in the software. If combining colors, make sure no design thread color is found in the template. If there are matching colors, change the template, allowing it to stitch out independently.
The oval can be selected and moved within the brown framework. Although design edges can touch the framework’s sides, keep the oval at least 1/2” inside the boundary.
Planning a mat can be done directly on the embroidery machine, providing the machine offers some basic “editing” features. Since there are so many embroidery machines available, it would be hard to state definitive steps.
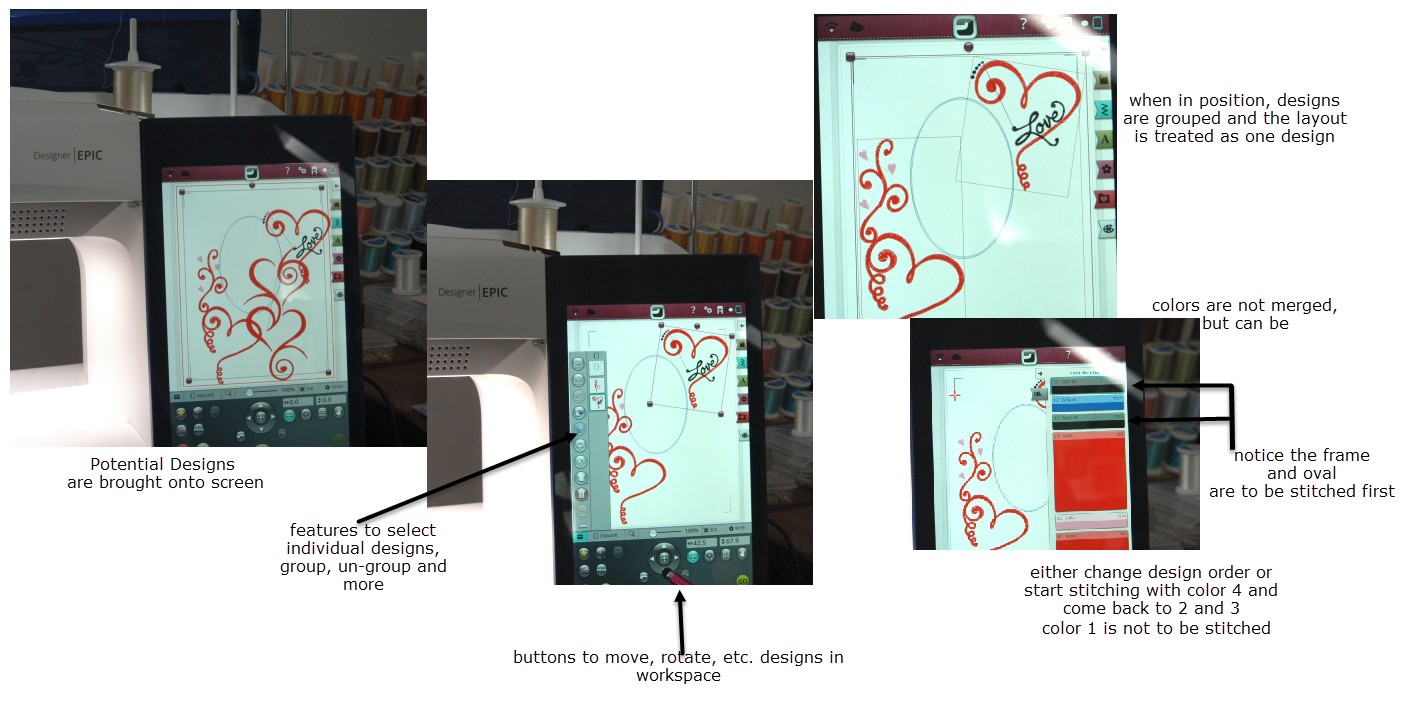
It is the same thought process of bringing in designs, experiencing the trial and error process and then combining them. If you’re unable to change the order of colors, ensuring that the oval stitches last; individually select which color stops to stitch during the embroidery process.
Embroidery
With paper still intact and facing up, Secure a piece of Sulky Sticky+ in the hoop. Lightly score the paper with a pin, and remove the paper exposing the sticky surface.
Mark the center of the fabric. I hand-baste the intersecting lines. When the hooped stabilizer is placed on a quilter’s cutting mat, the grid lines are visible underneath the stabilizer, which helps in placing fabrics straight and on grain in the hoop.
Once satisfied with fabric placement, firmly press into the sticky surface, keeping the fabric wrinkle free.
Transfer your creative combination to the embroidery machine.
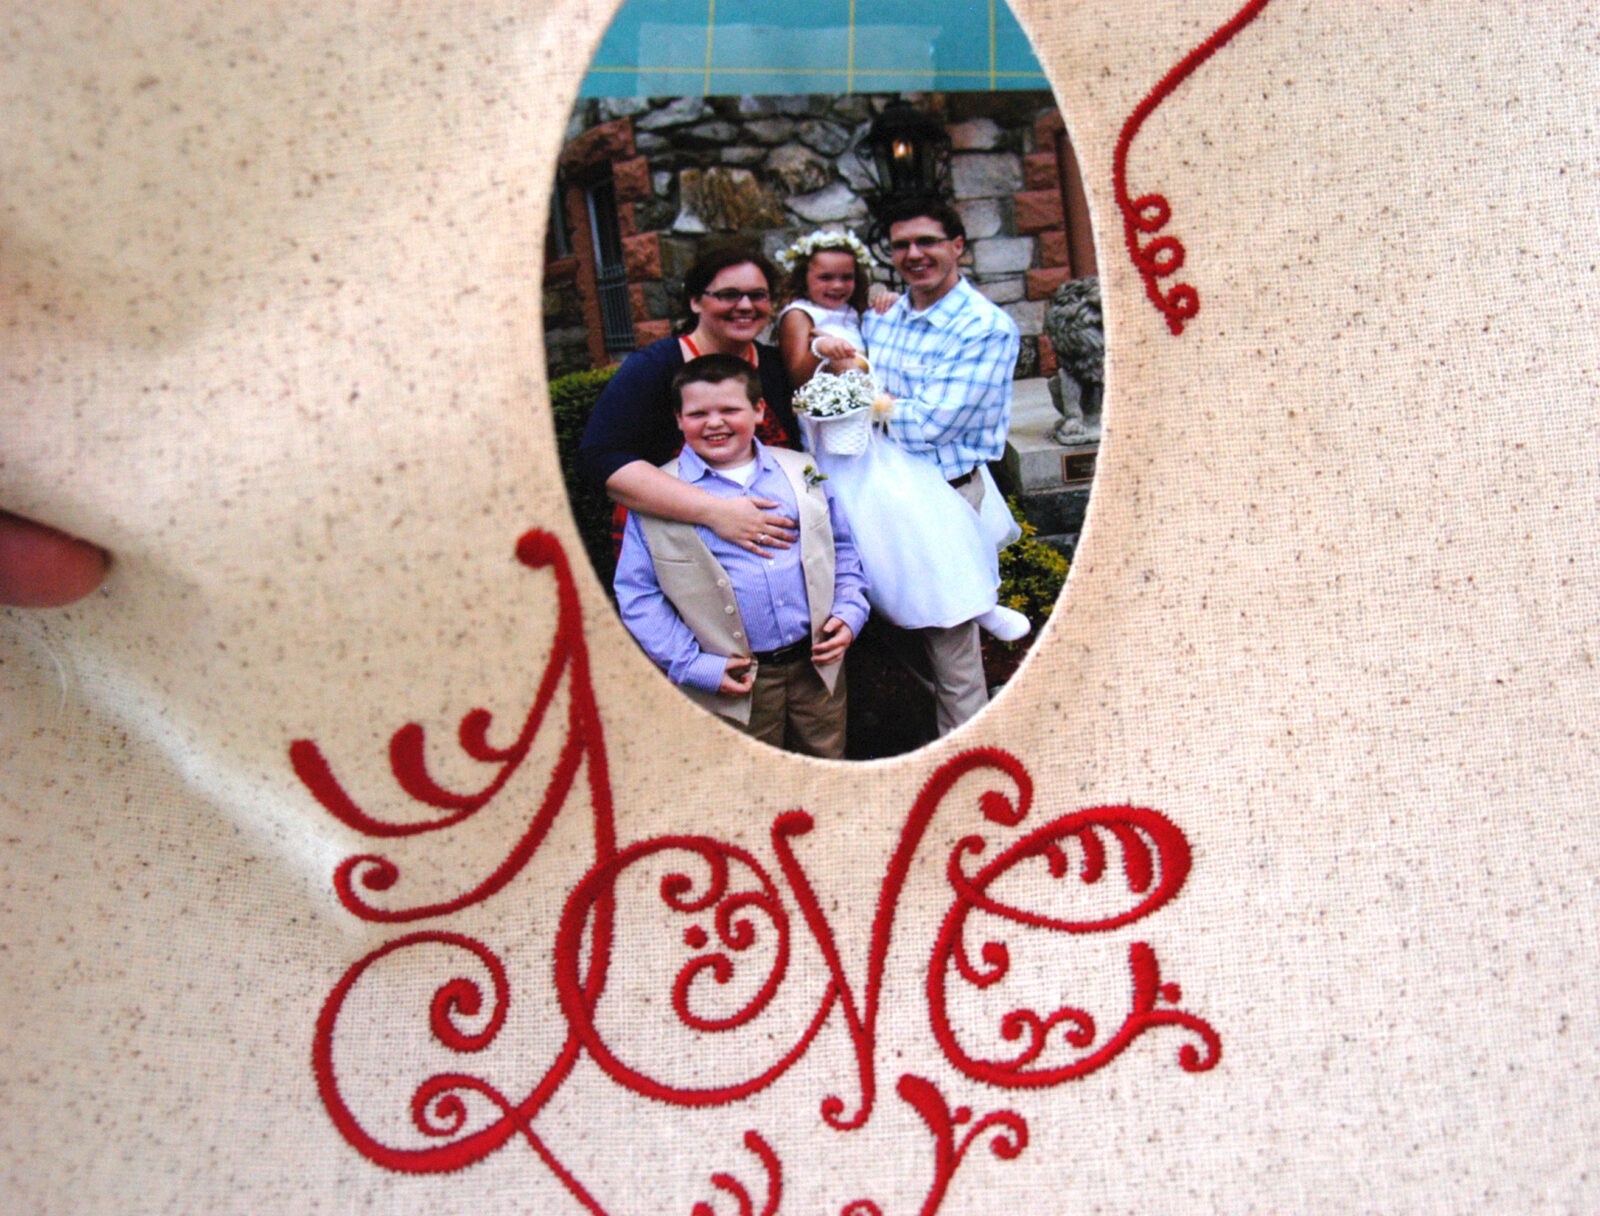
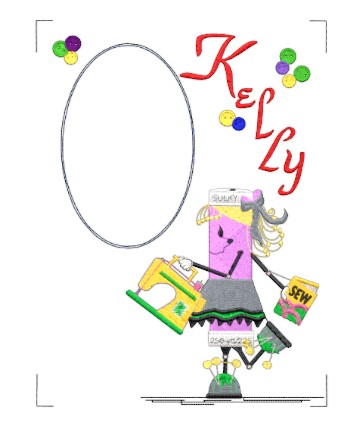
Stitched example uses the flourishing word “Love” and design #1608 from the Scrolling Hearts Collection, omitting the word “love” from its design.
Match machine needle and design centers,

remove hand-basted threads, and stitch out the accent designs before the oval.
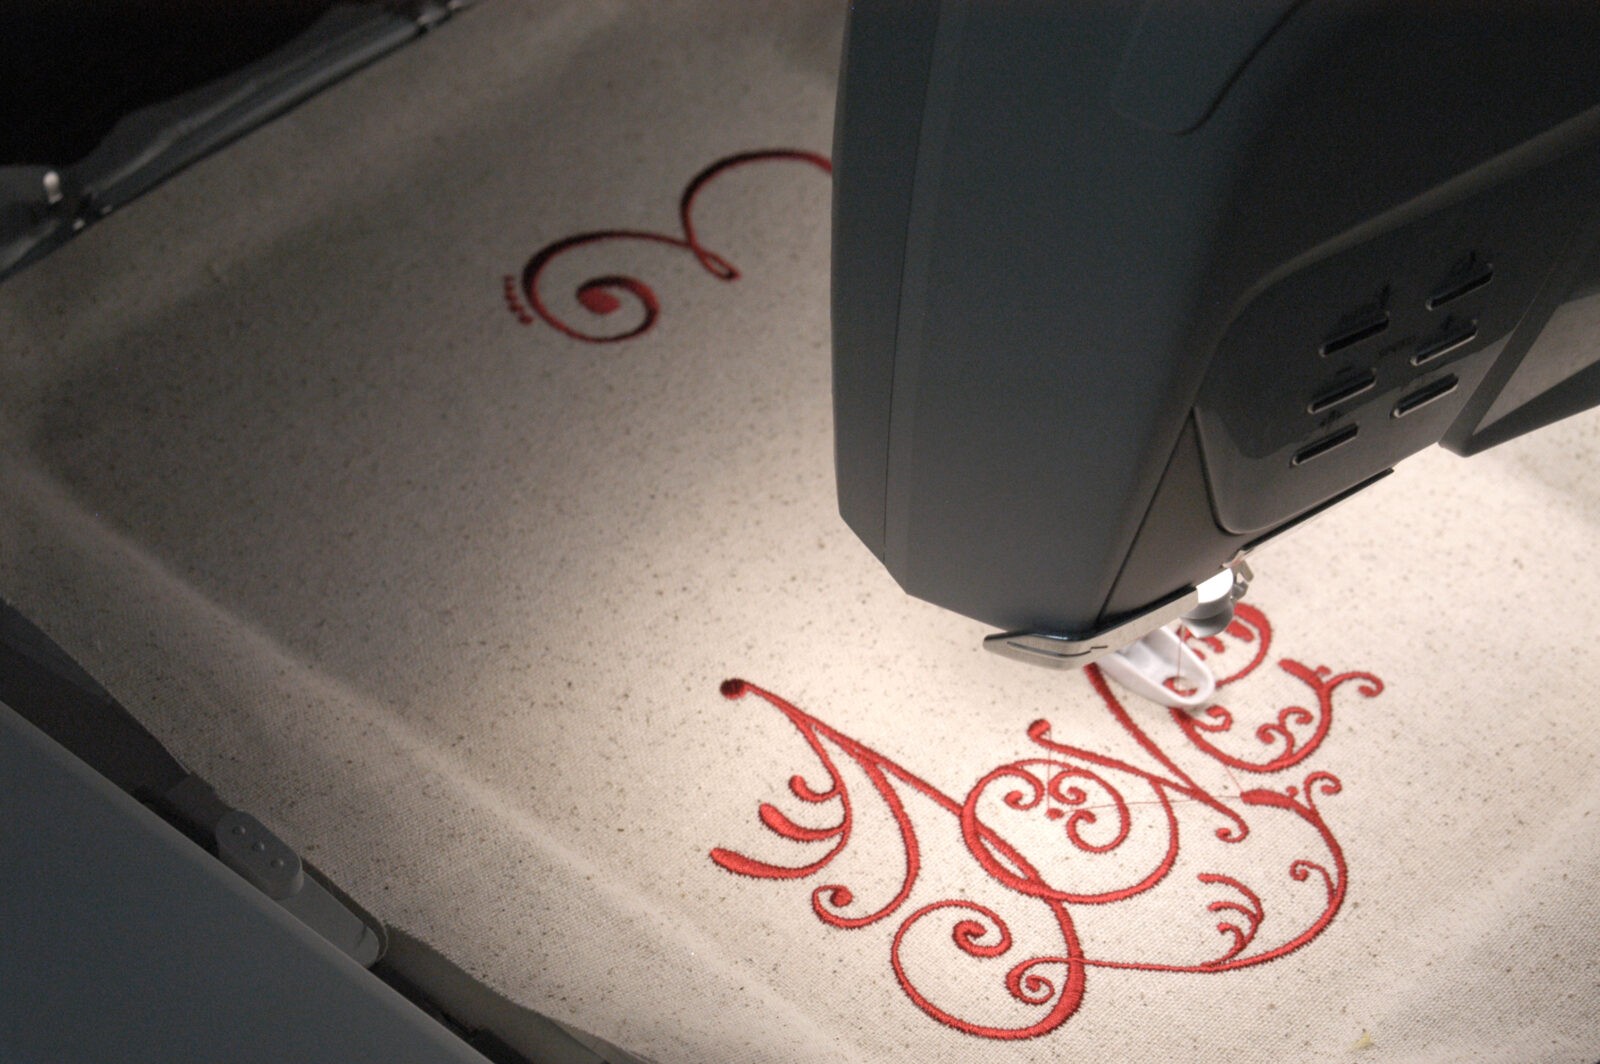
Helpful Hint: Slow the speed of the machine down by half.
After the accent designs are finished and the oval’s first color has basted in the shape of the oval, center the piece of Sulky Soft ’n Sheer Extra over the oval with the fusible side (rough-to-the-touch side) facing up. Stitch the 2nd color, keeping the top stabilizer wrinkle-free and taut.
Remove from the machine and release the hoop. Do not cut the excess Sulky Sticky+ Stabilizer from the back side. Instead, remove the remaining paper and press the full fabric piece onto its surface, keeping the fabric wrinkle-free.
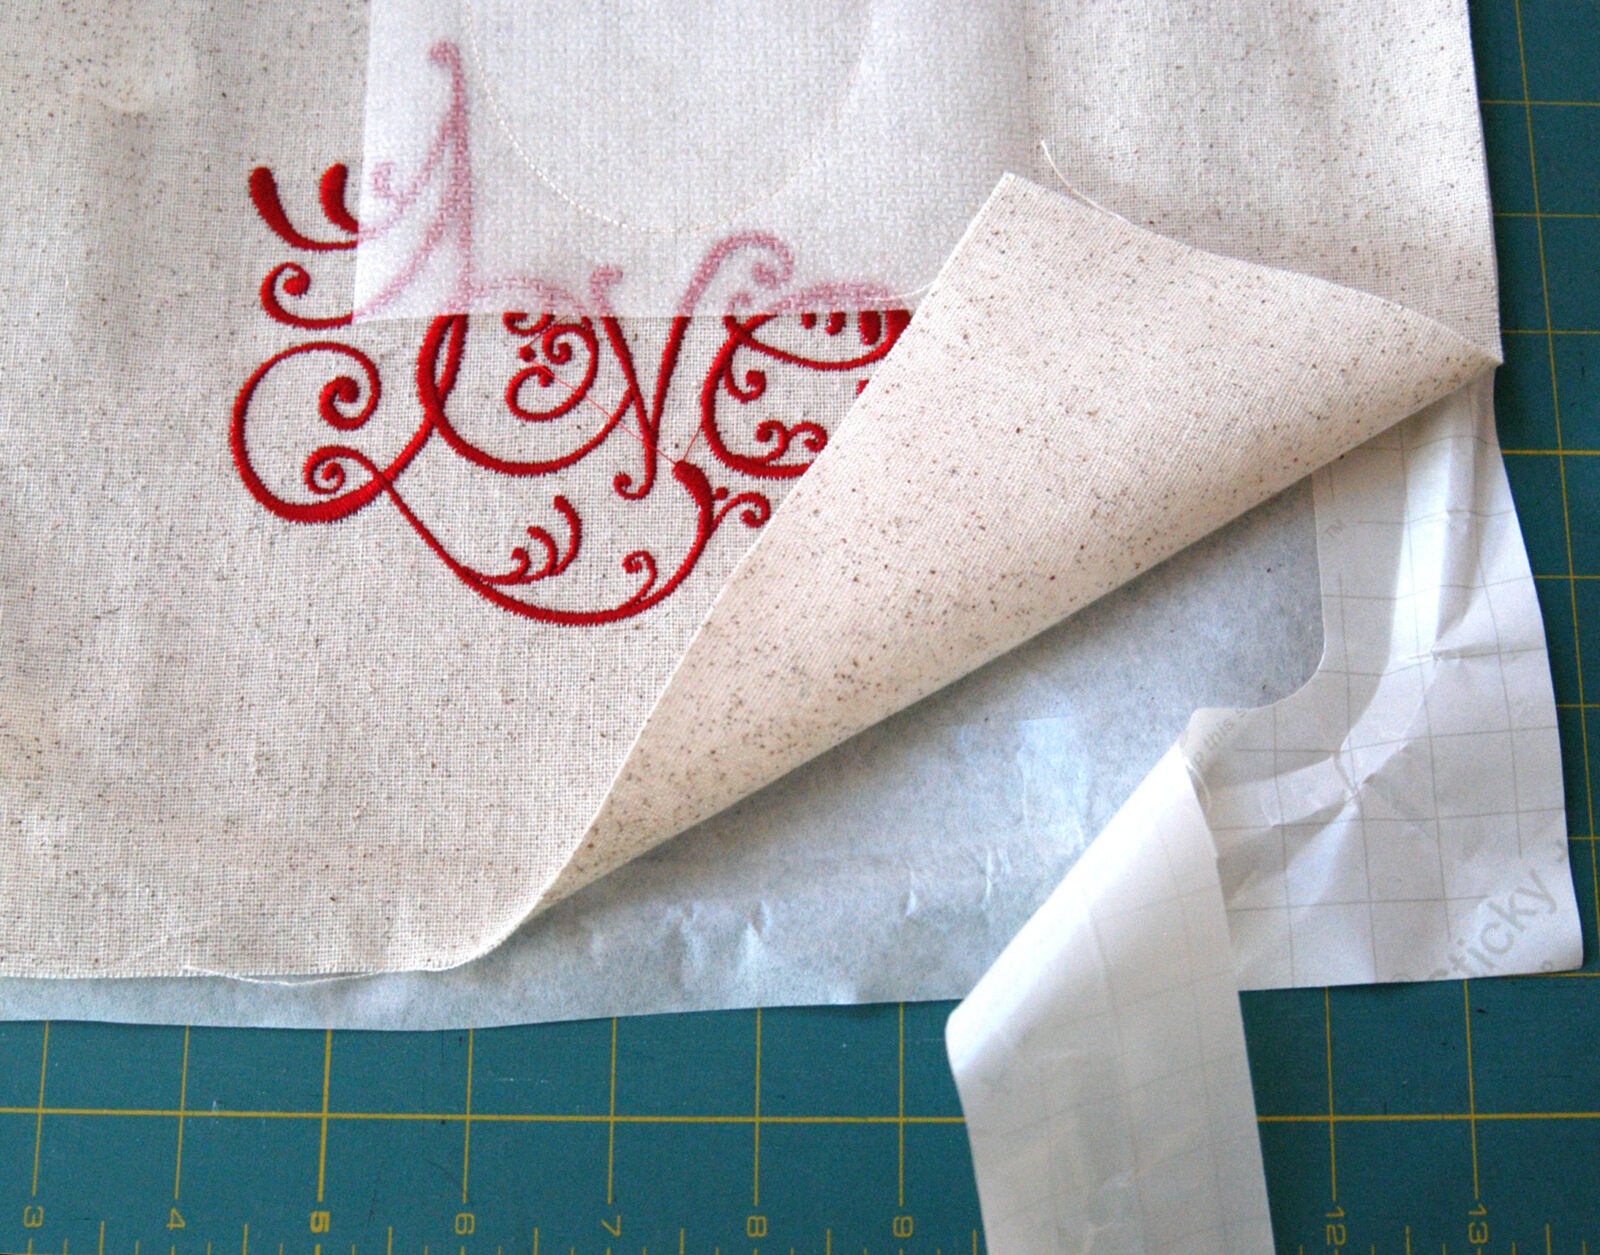
Helpful Hint: Sticky+ does allow for fabric to be gently lifted off its surface and repositioned if need be.
Trim jump threads.
Cut inside the oval 1/4” away from stitching, through all three layers; Soft ’n Sheer Extra, fabric, and Sticky+.
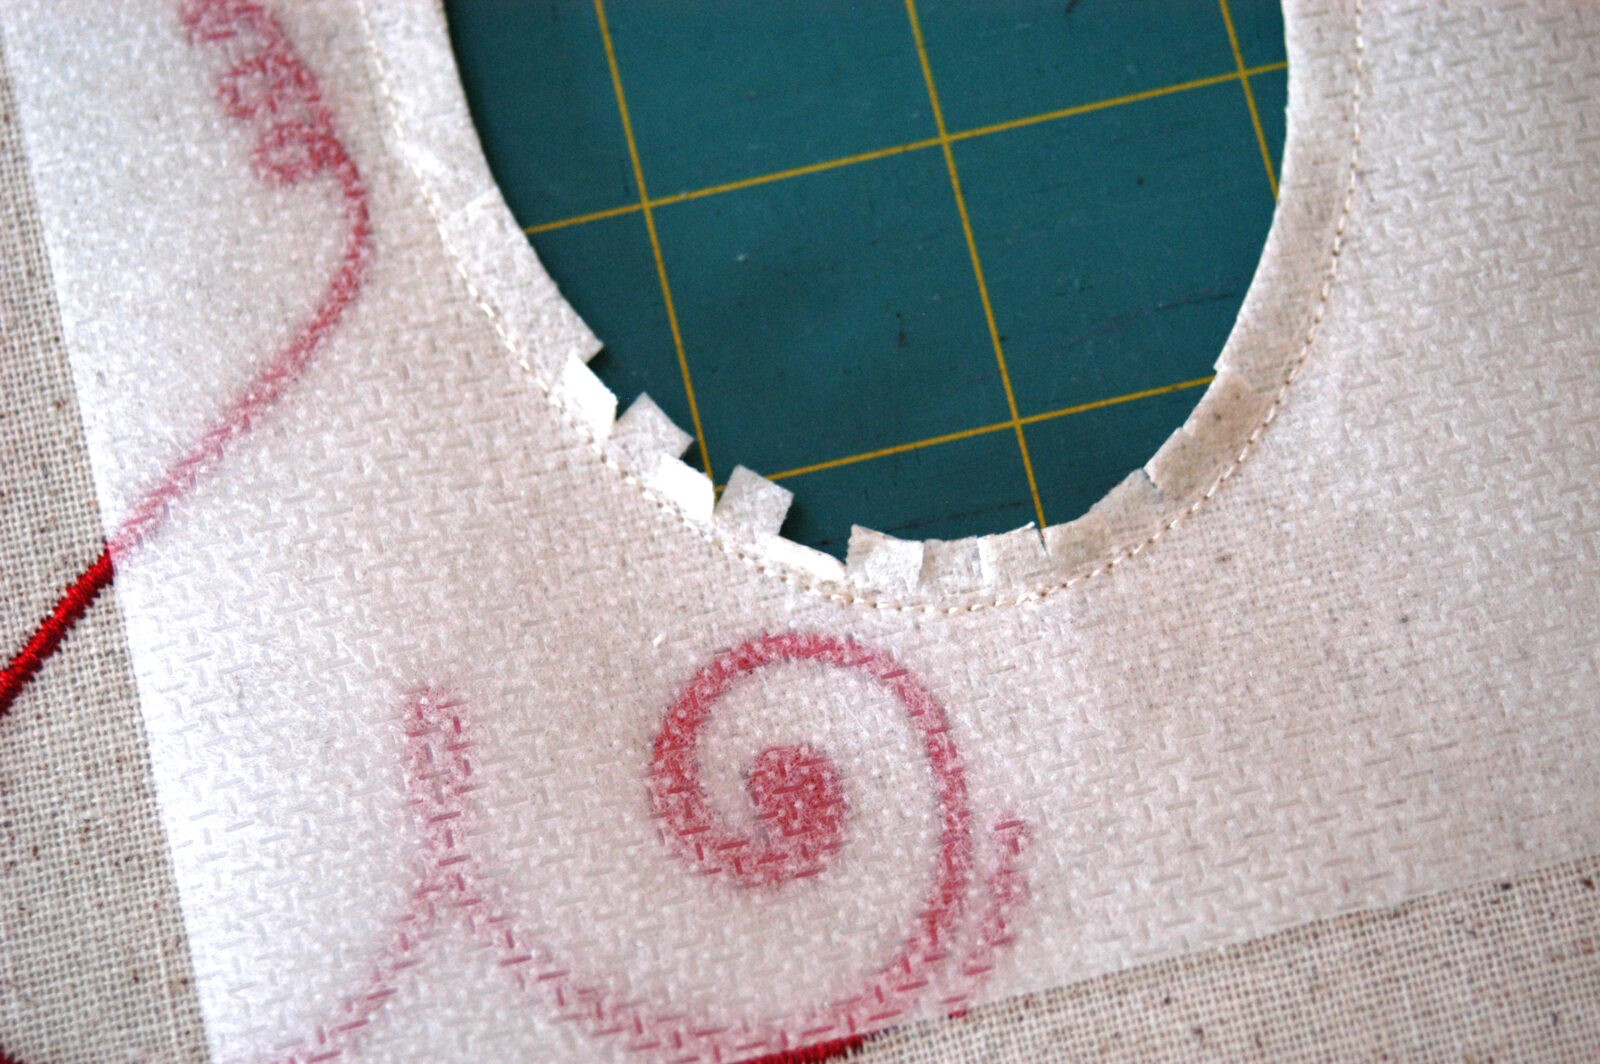
Clip into seam, up to, but not through, the small securing stitches.
Pull the top stabilizer through the opening to the wrong side. Carefully press around the oval, fusing the stabilizer in place to form a nice oval shape while keeping the fabric wrinkle-free.
Finish Framing
“Crop” the photo:
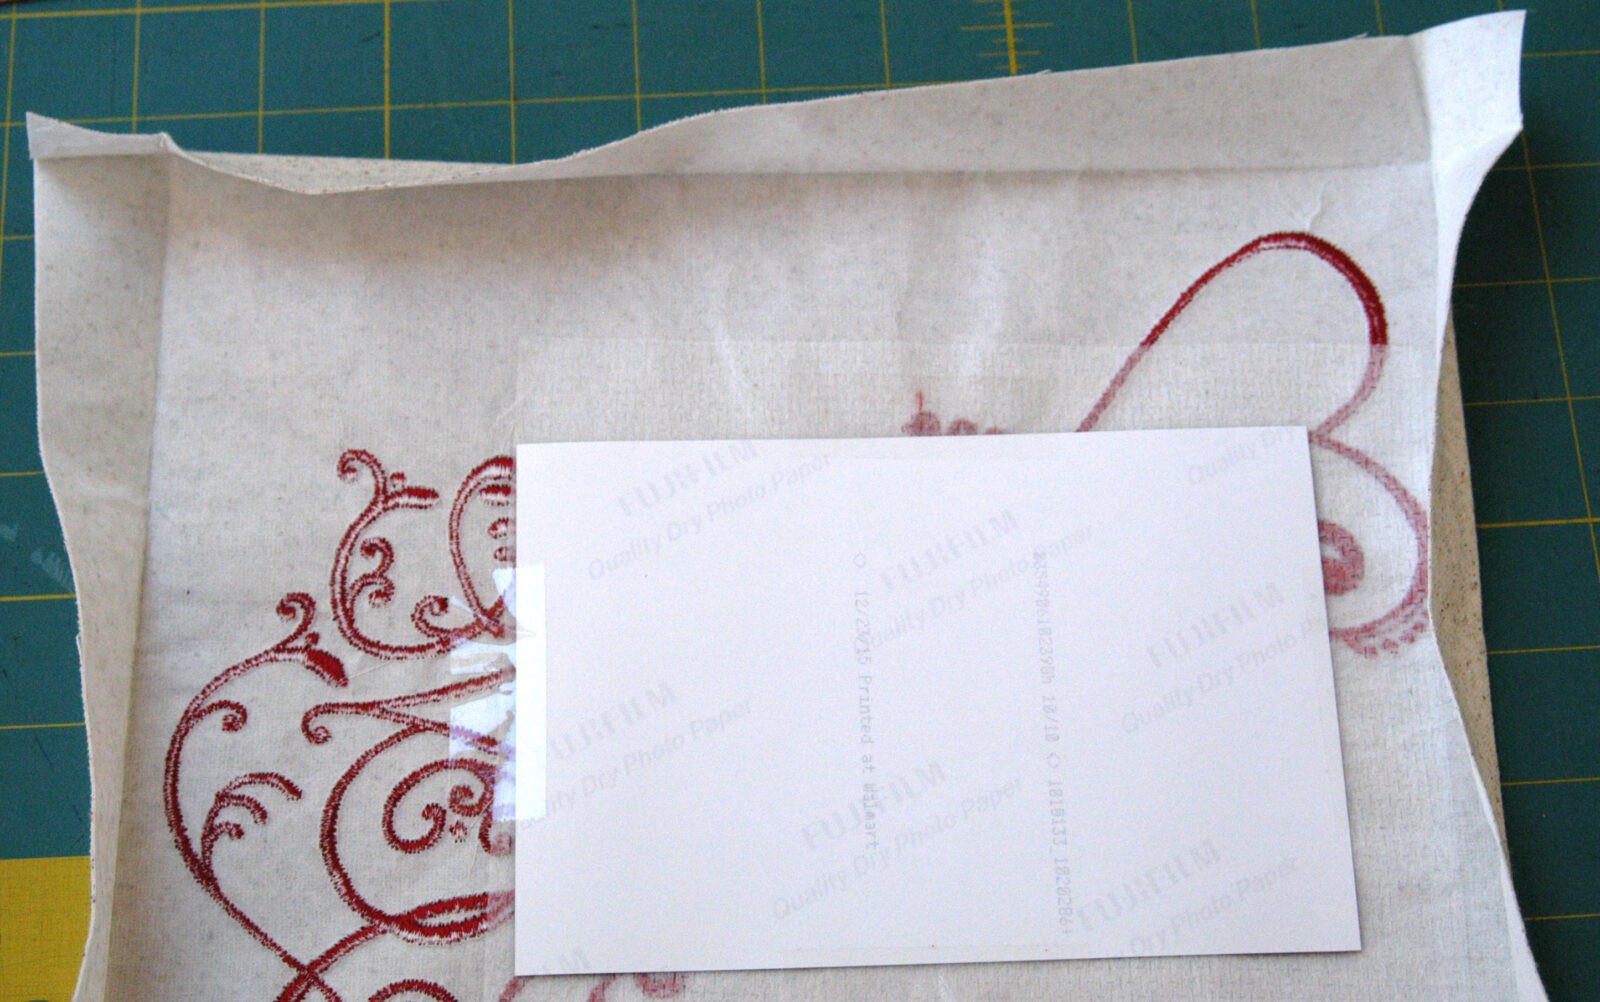
Lay the photo, facing up, on a flat surface and apply scotch tape to each side, with the sticky side of the tape facing up as well. Hover the oval opening over the photo, selecting the desired portion of the photo, and press the fabric down into the sticky scotch tape.
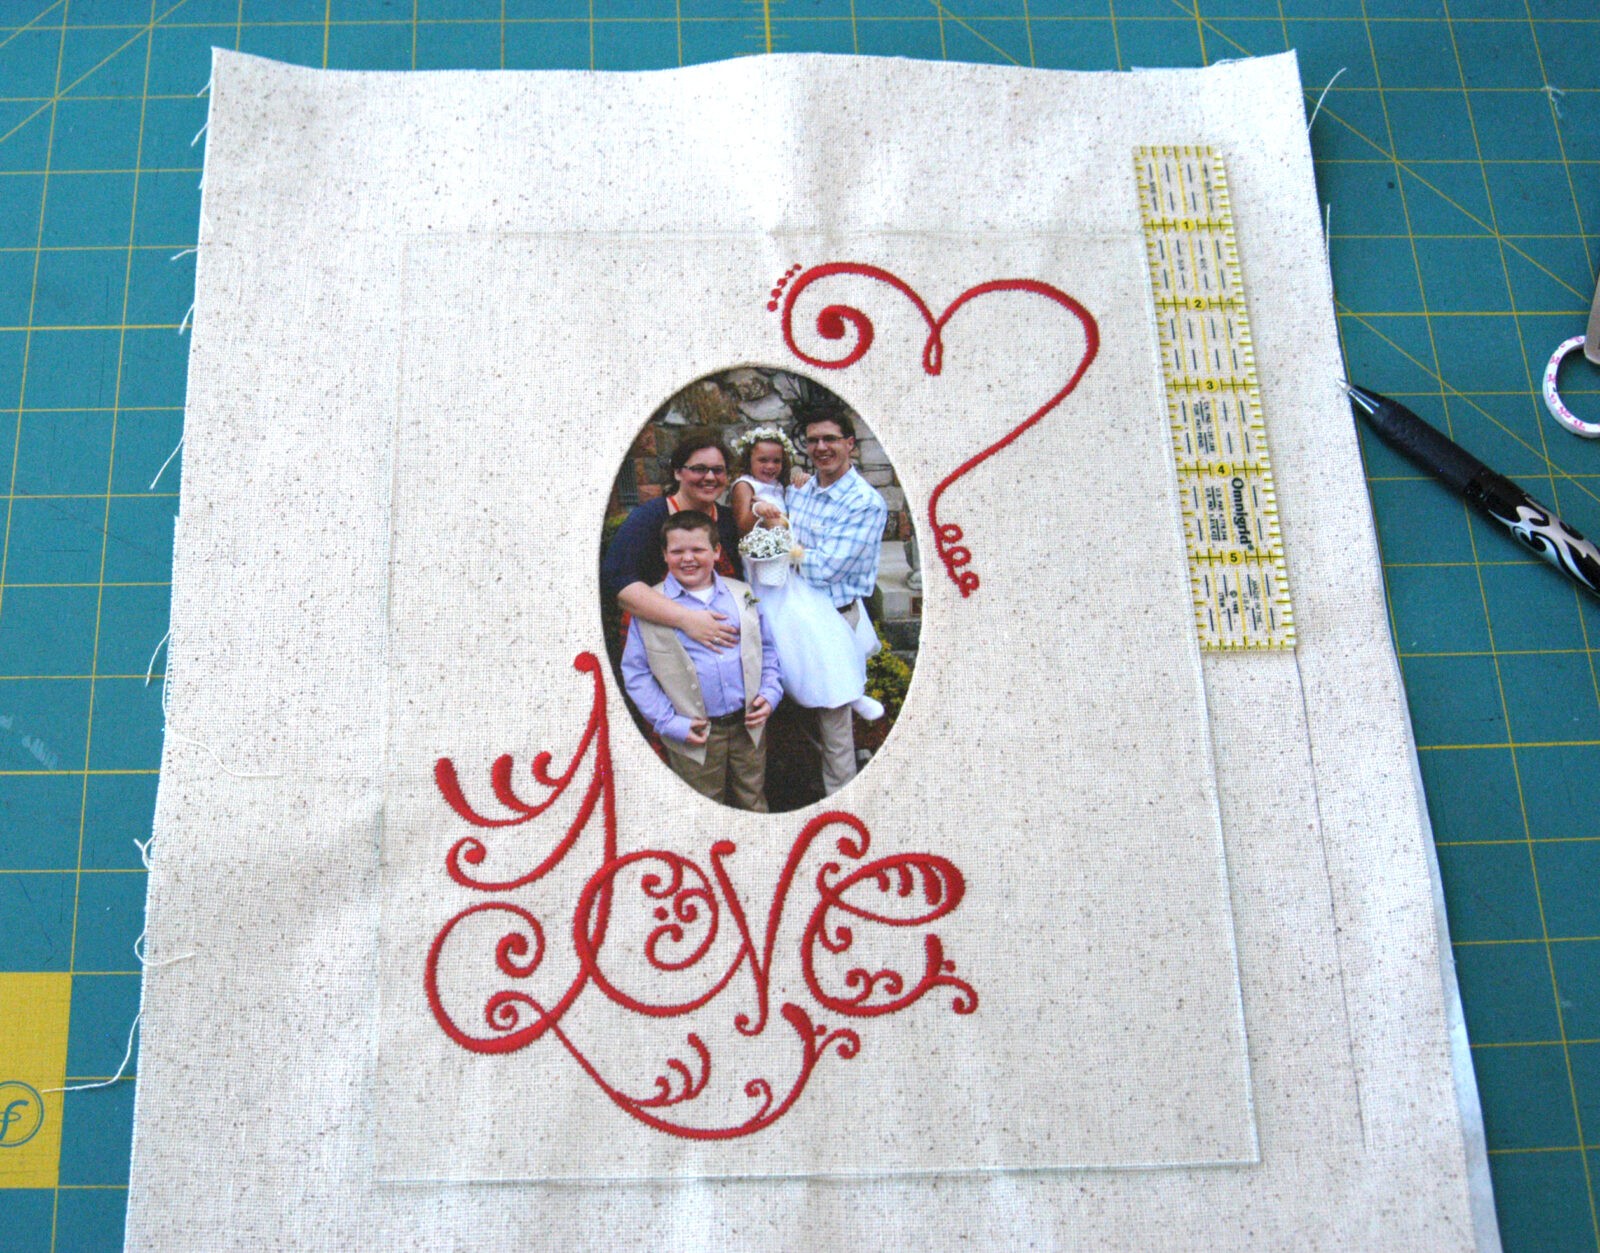
Cut the fabric piece to size:
Laying the glass insert on top moving it around until the area you wish displayed is under glass. With a fabric marking pen, mark a 1” margin around all four sides. Trim the fabric mat along these lines.
Press 1” margin hem on all four sides.
Cut a piece of cardboard to fit the frame by tracing the glass insert. Cut a piece of Steam-a-Seam2 the same size as the cardboard:
Fuse material to the cardboard keeping the paper side facing up and paper intact.
Lay the cardboard inside the fabric’s turned up edges:
With glass back in the frame, place the unfinished mat in place to check the fit of the mat; turning over to look through the glass, confirming placement of photo insert and embroidery design within viewing area.
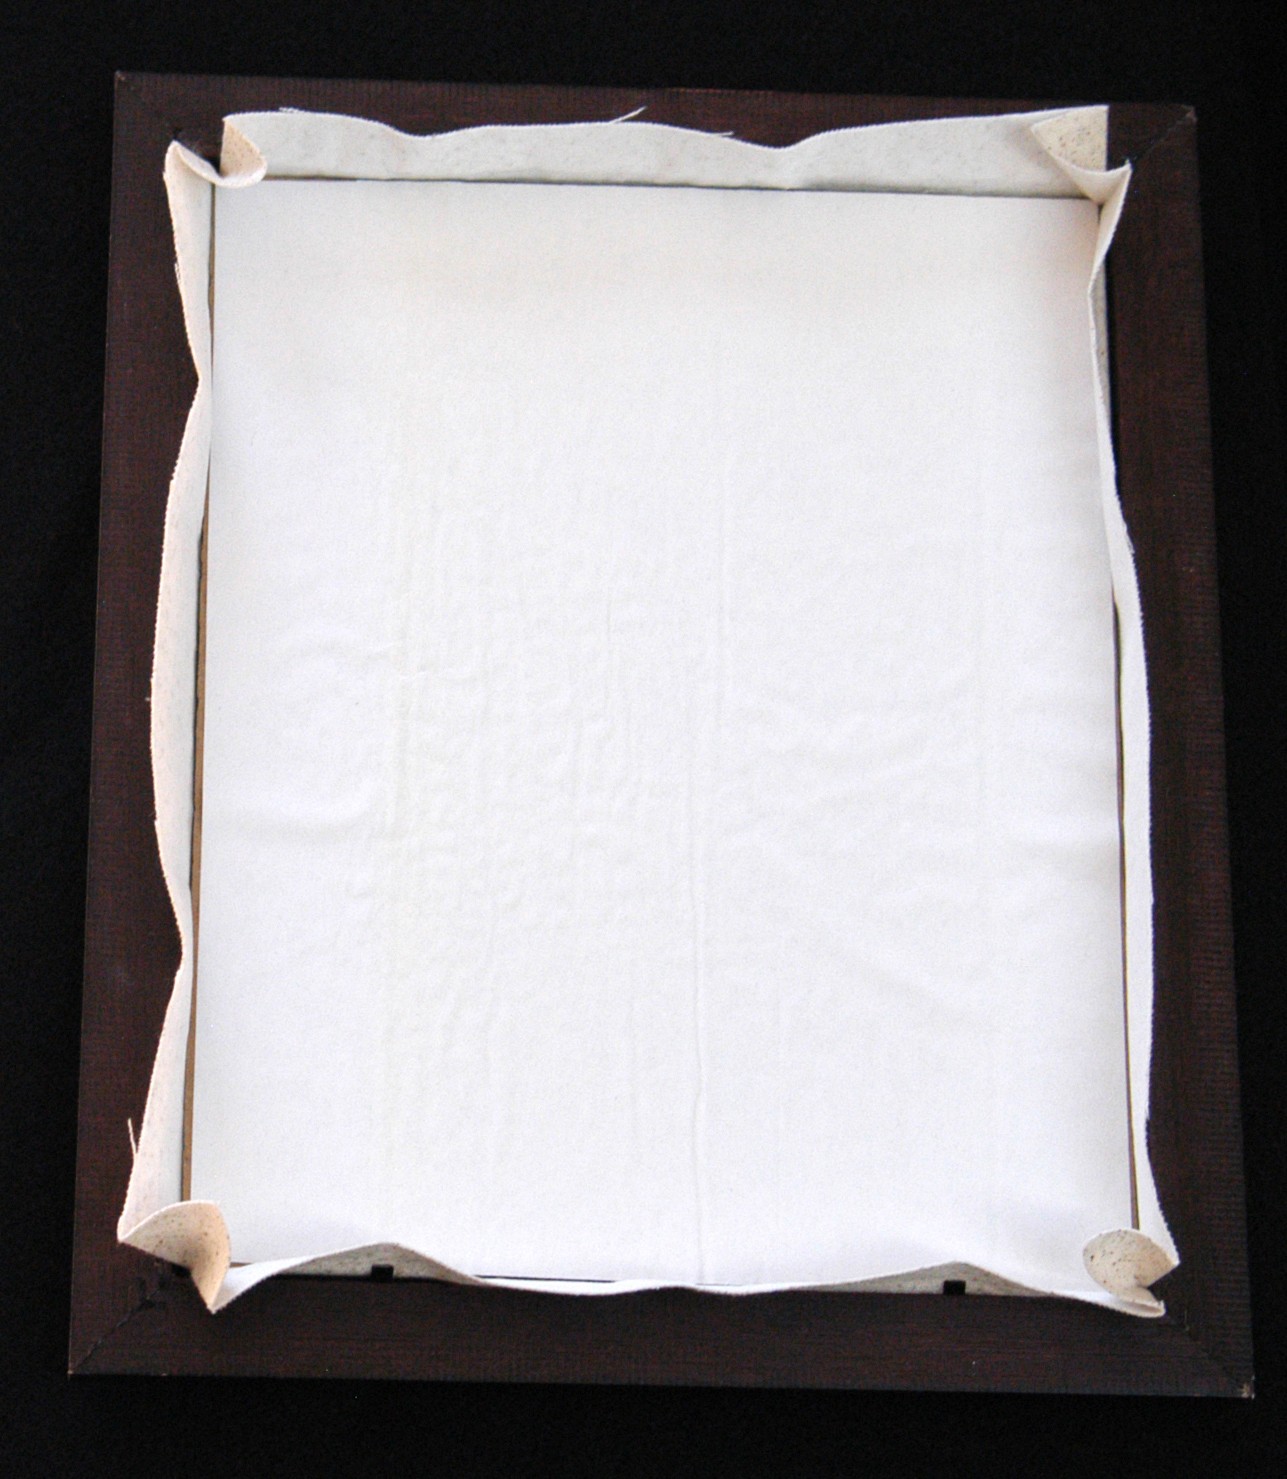
Helpful Hint: If you’re pleased with the results, continue with directions. If not, remove from frame, iron fabric to remove 1” creases and/or reposition photo.
If the corrections moved the embroidery design in a different position, the hemmed sides may not be a uniform 1” all around, but that’s okay. The margin allows room for change.
Return the mat to the frame, check once again and continue. Peel the paper backing away from the Steam-a-Seam2. Gently tug up on the fabric as it is pulled over the edge of the cardboard and pressed into the sticky surface. This will keep the fabric wrinkle-free and as taut as possible.
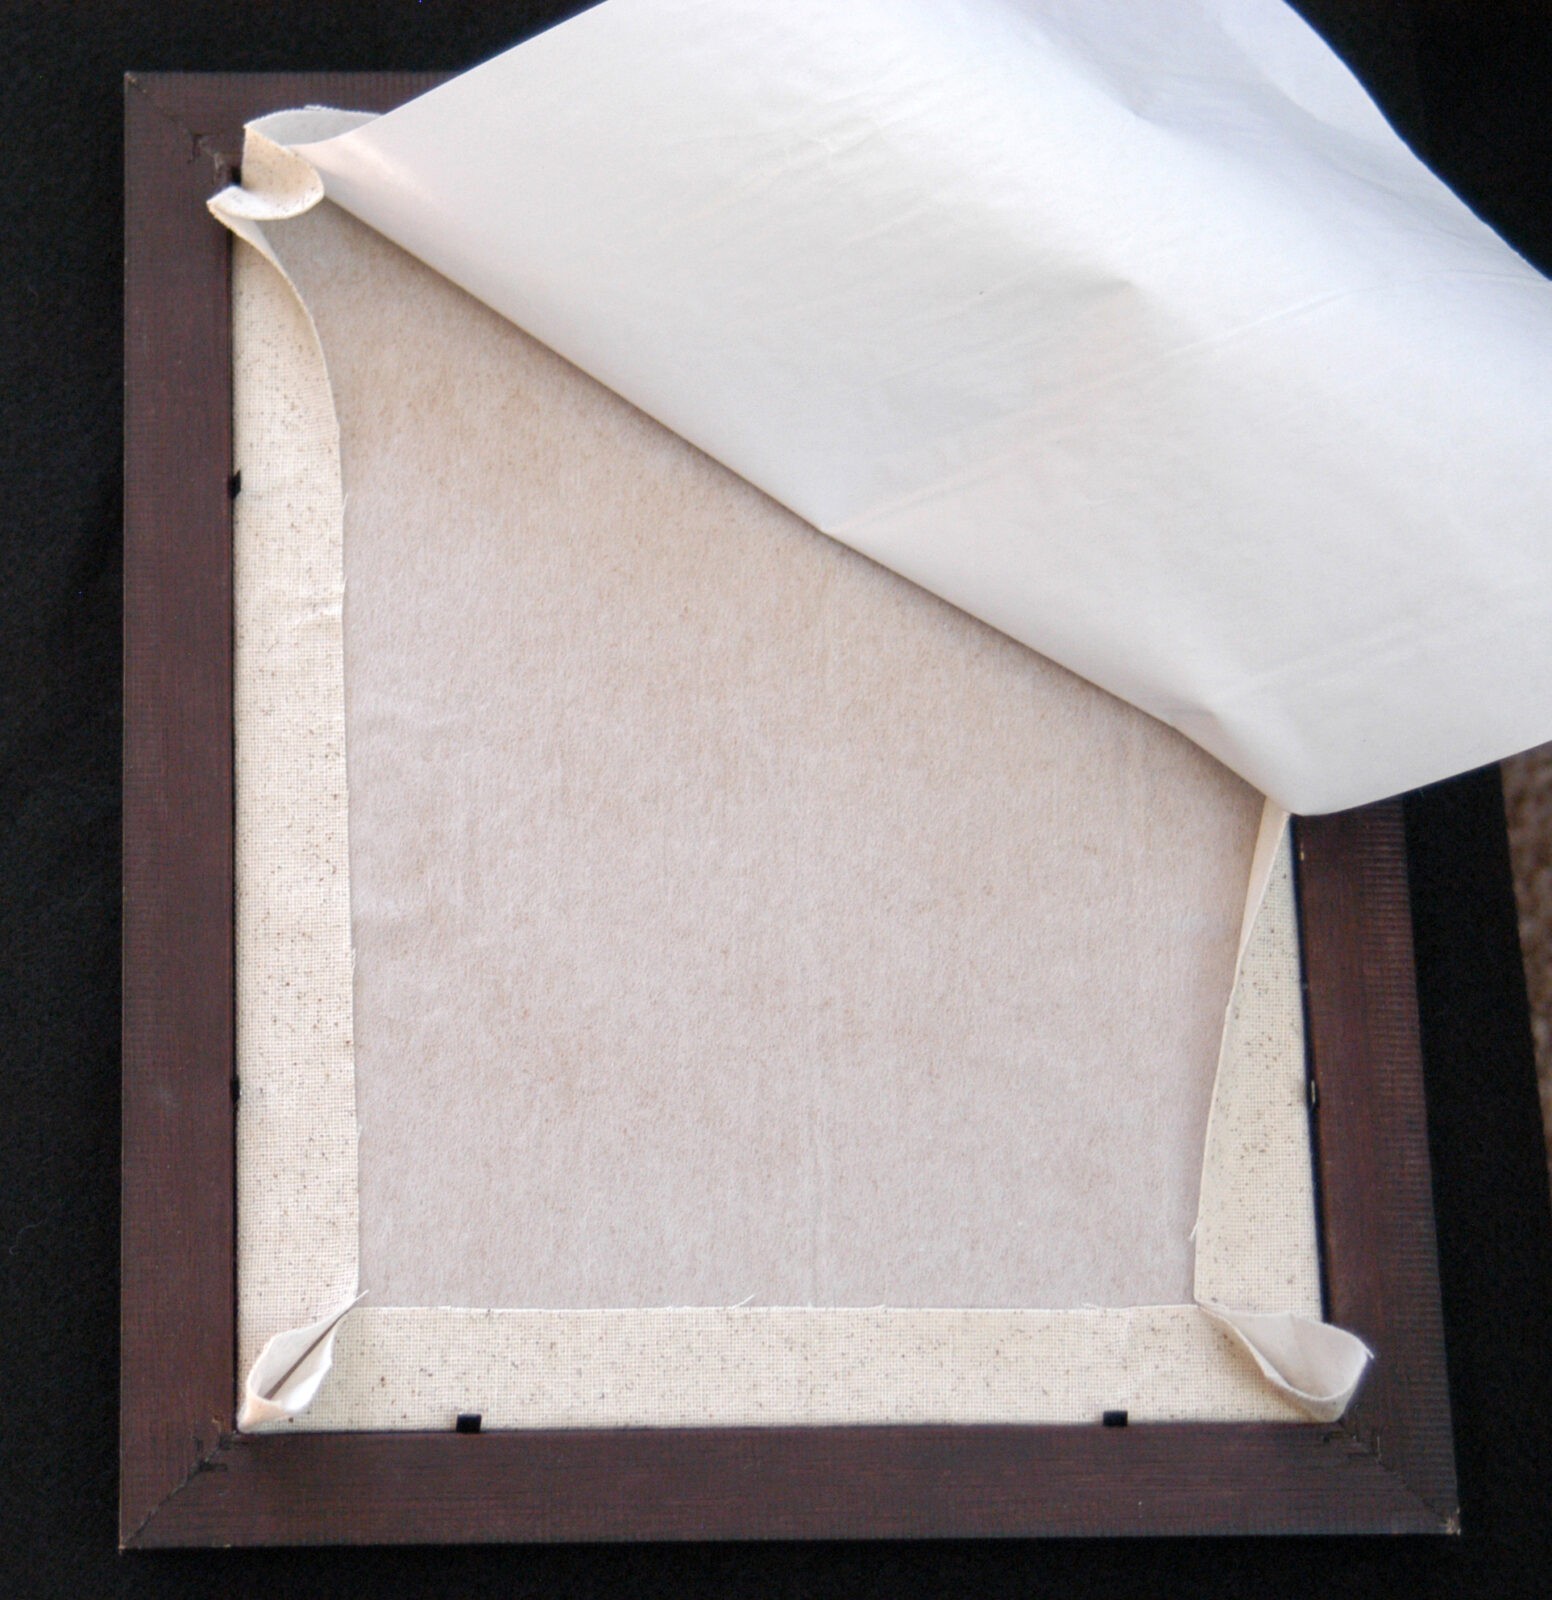
Allow the fabric in each corner to stand upright by smoothing adjacent sides together until they meet, mitering the corner.

Once all four sides are secured to the cardboard, remove the mat from the frame and press corners flat. Press each corner individually to keep the iron away from the sticky surface.
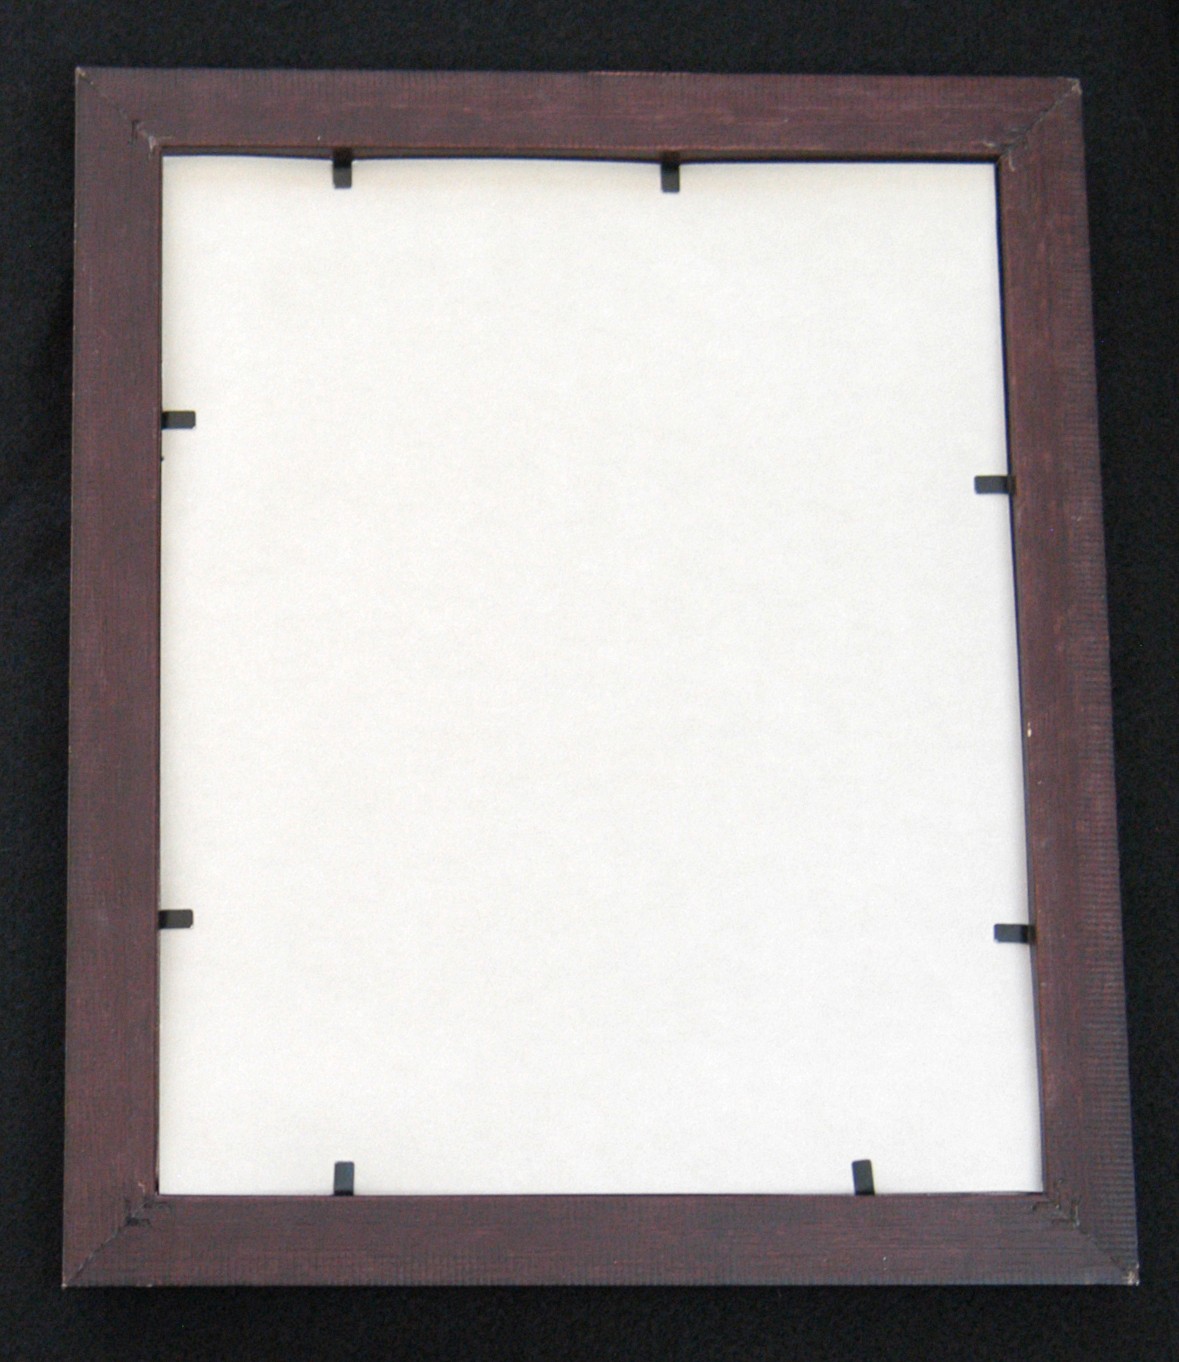
Return the finished mat to the frame. If the frame has a full backing, simply add it.
However, if the customized mat will not be covered by a pre-made one, cut a piece of card-stock, lay it in place and seal the back.
Get ready to proudly present your special Valentine a lasting gift made with love!

Use this template to celebrate other holidays, special events, friendships…
or simply a special photo.
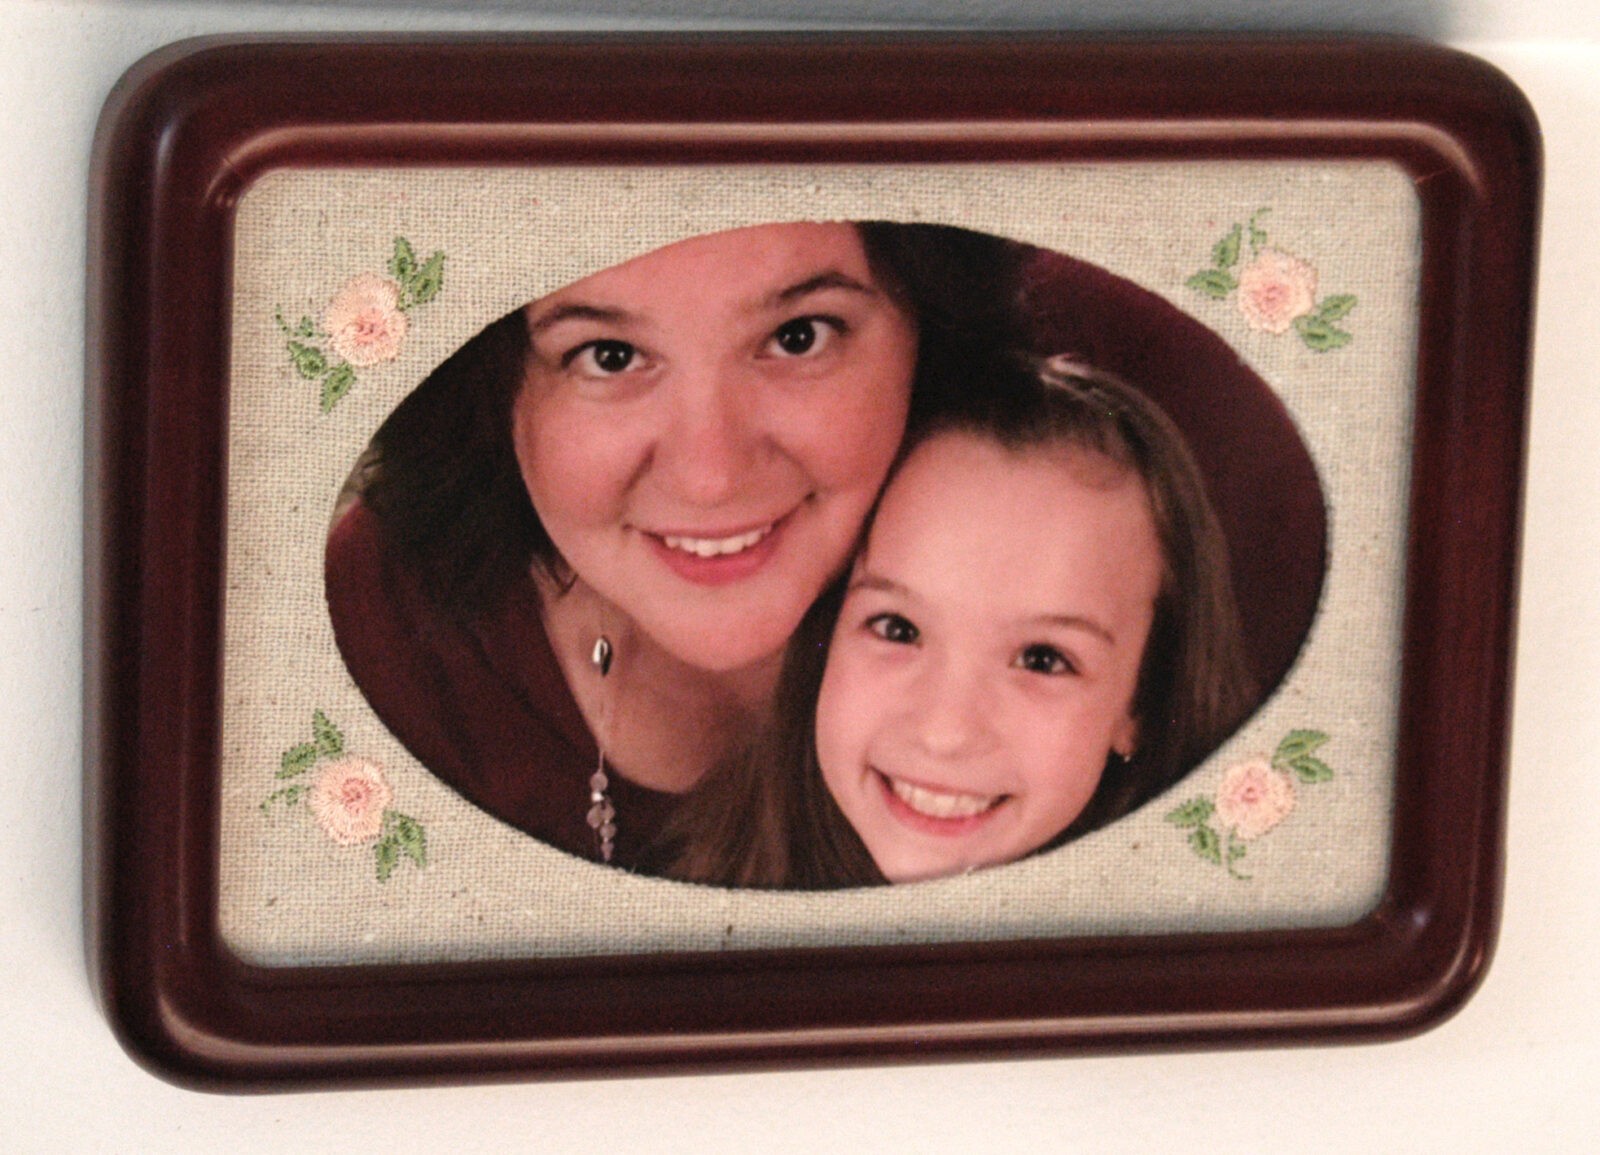
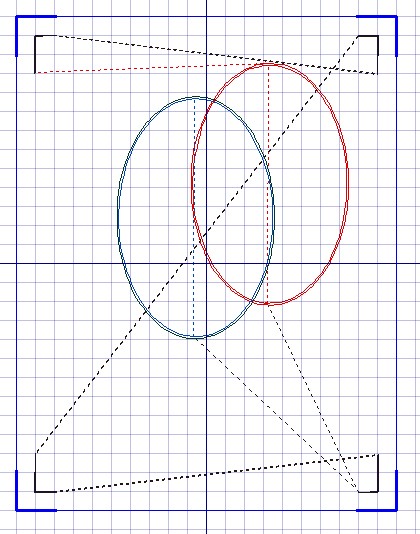
Remember, the oval can be moved within the framework’s work space to change the available space for accent designs. The oval shape also accommodates horizontal photos and layouts.

Love the project. Thank you Pam. eo