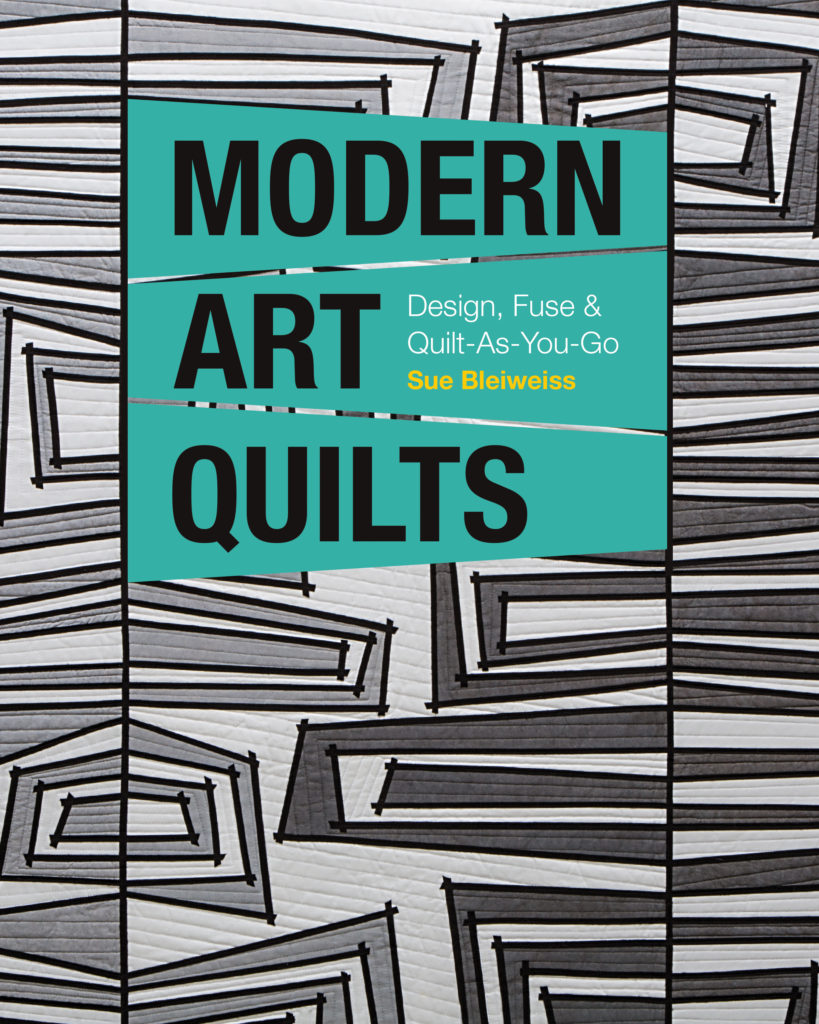
Modern Art Quilts Blog Tour – Two Color Triangles & How to Create a Modern Quilt Design
 This particular book and blog tour, Modern Art Quilts, came at the perfect time because I’ve been doing a lot more research on what truly makes a quilt “modern” and how to create an original modern quilt design.
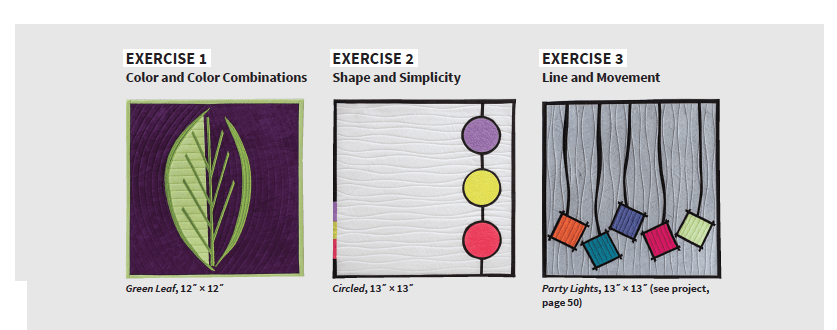
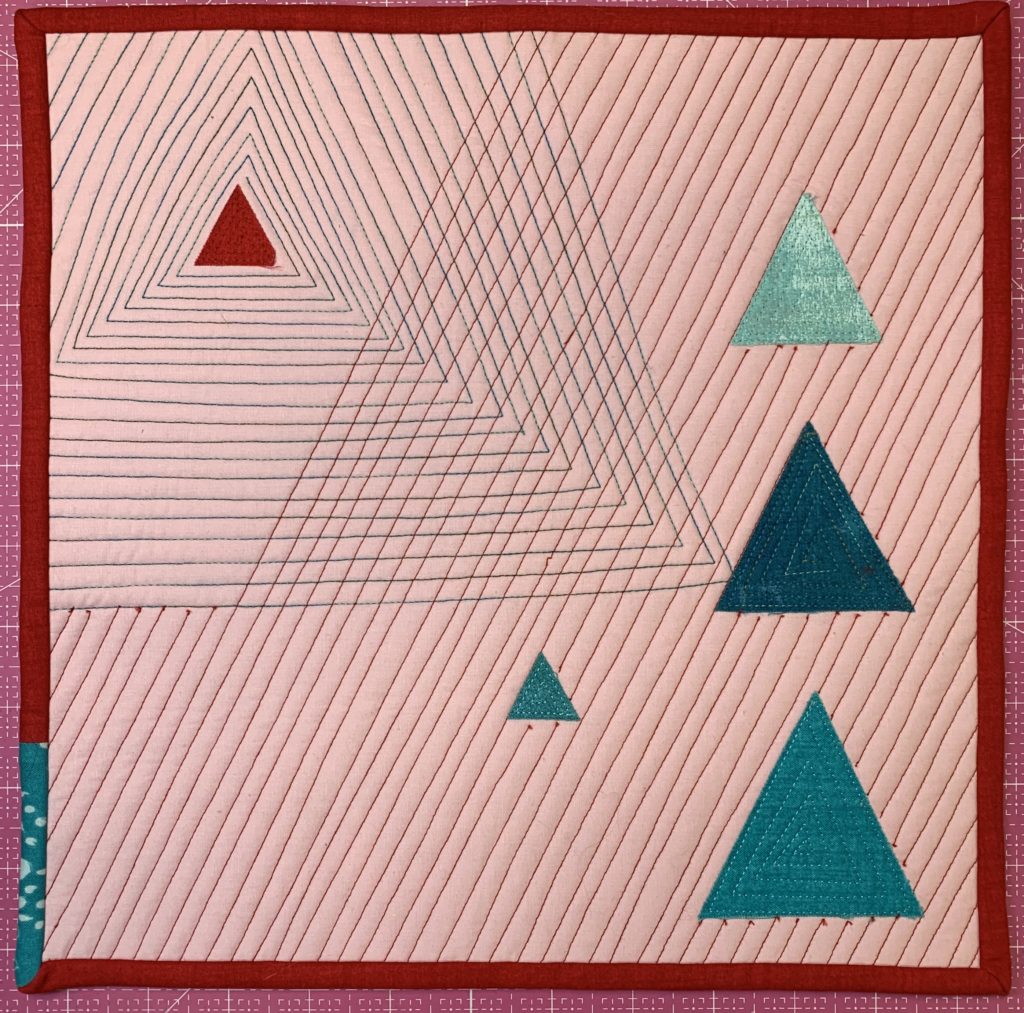
I particularly love the 3 technique exercises from the book and two of those exercises helped me create a modern quilt design, translated into a little triangle quilt.
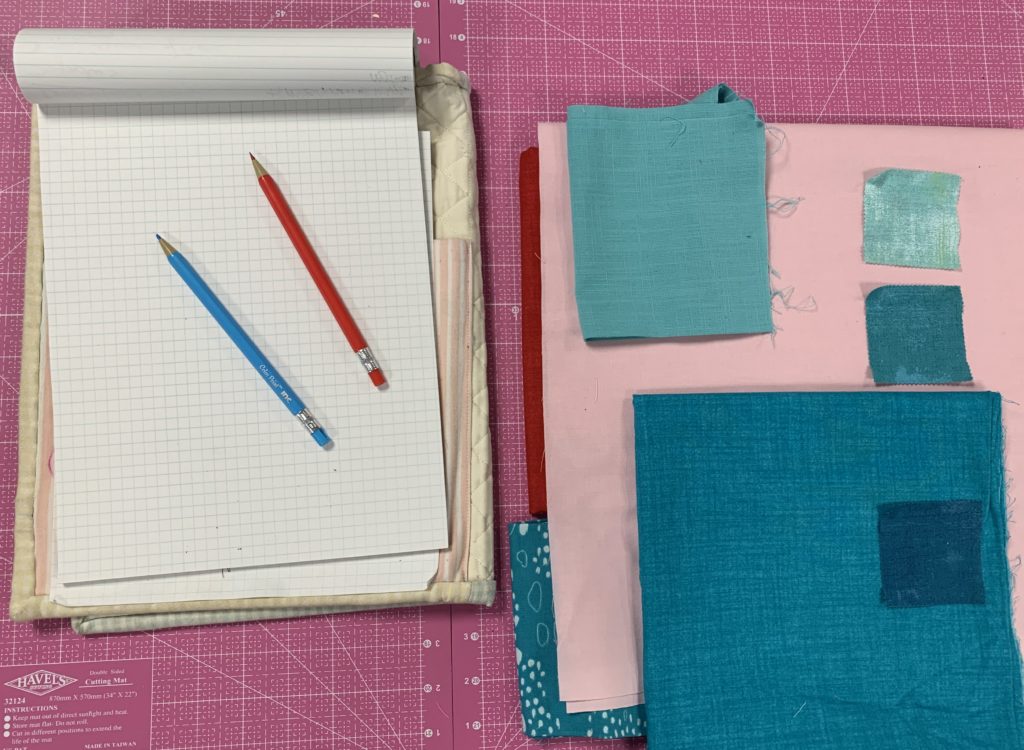
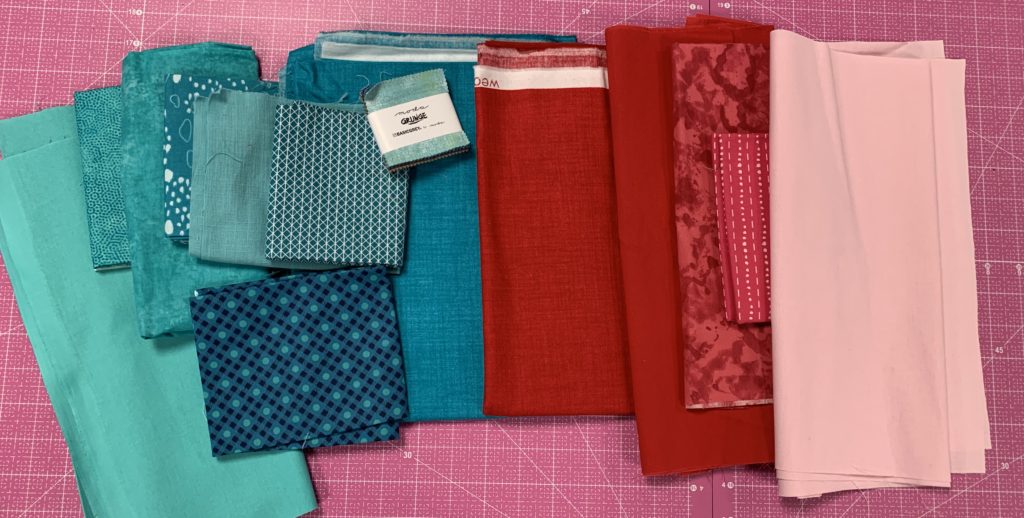 I began by pulling fabrics in my two favorite color families: red and turquoise. I adore these colors together in all their shades and values.
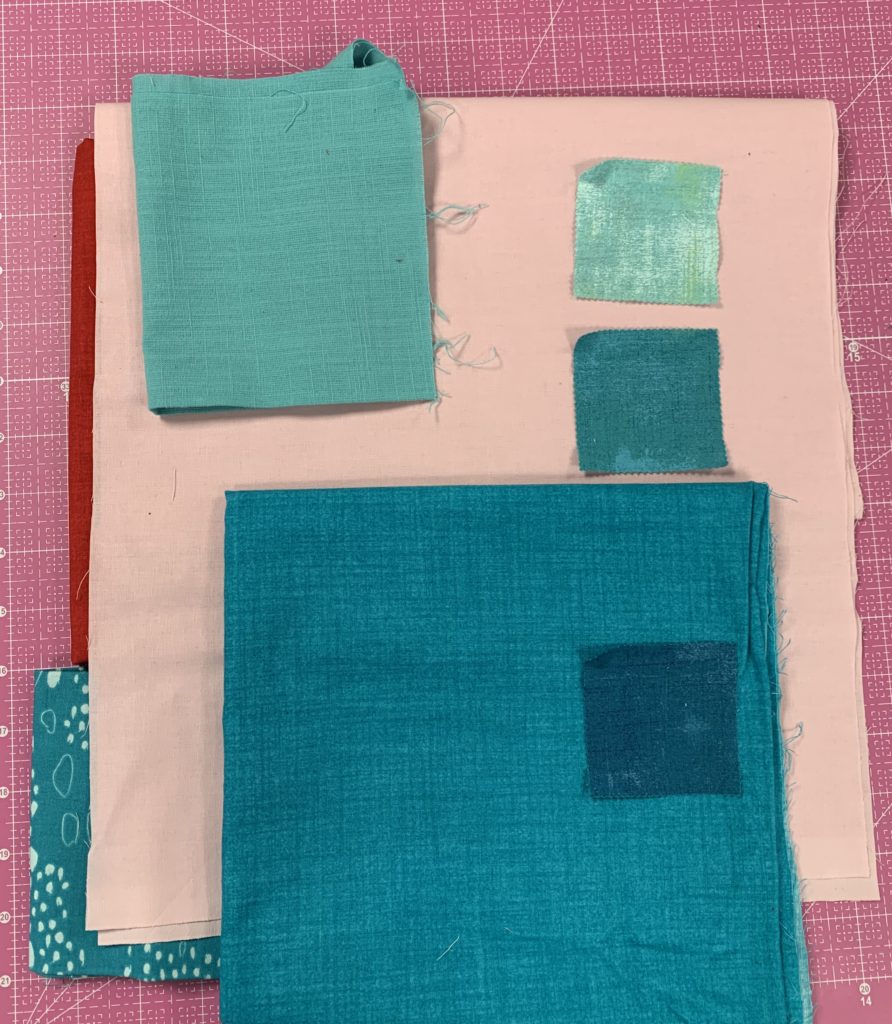 Then I narrowed down the fabrics to the ones I really wanted to use.
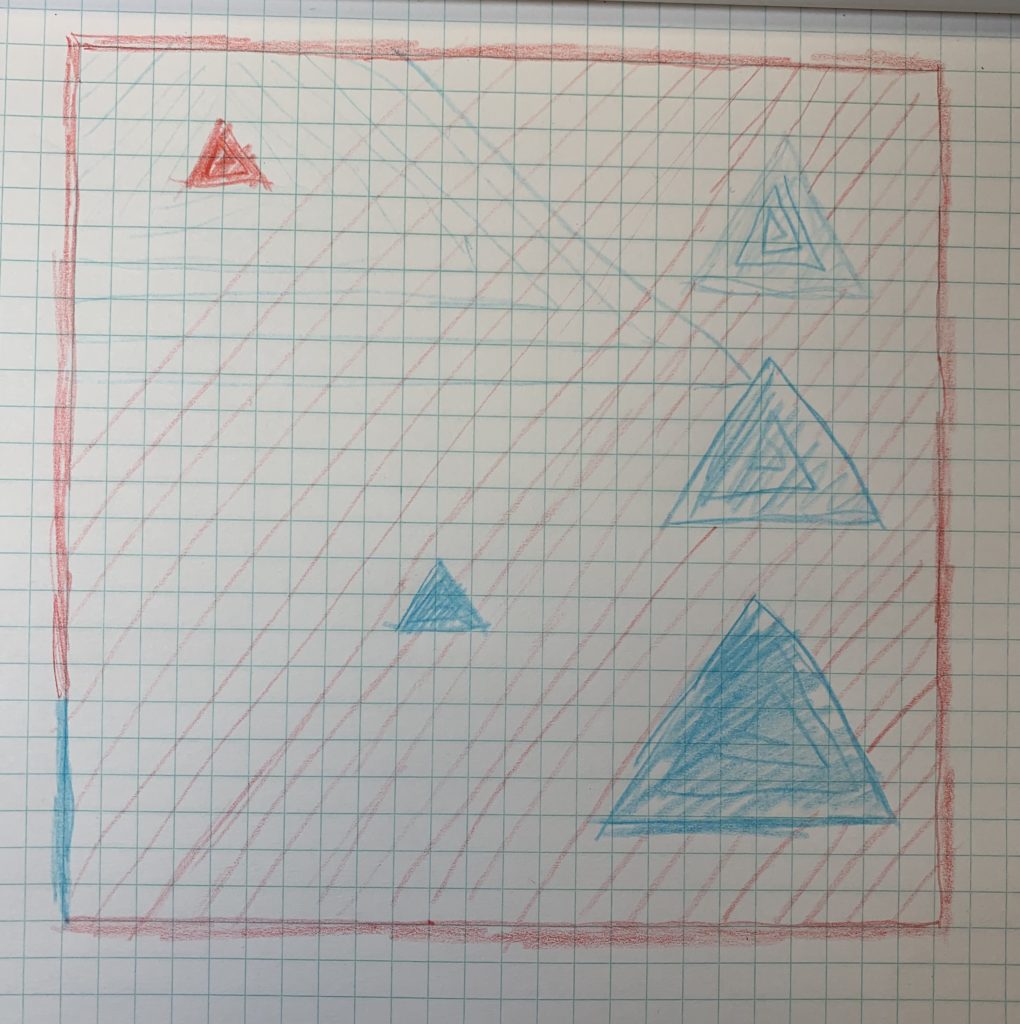
Applying concepts from the second exercise, I chose only one shape for the modern quilt design: the triangle.
 Using only a red and turquoise colored pencil, I drew the design to scale on graph paper.
Now it’s time to assemble!
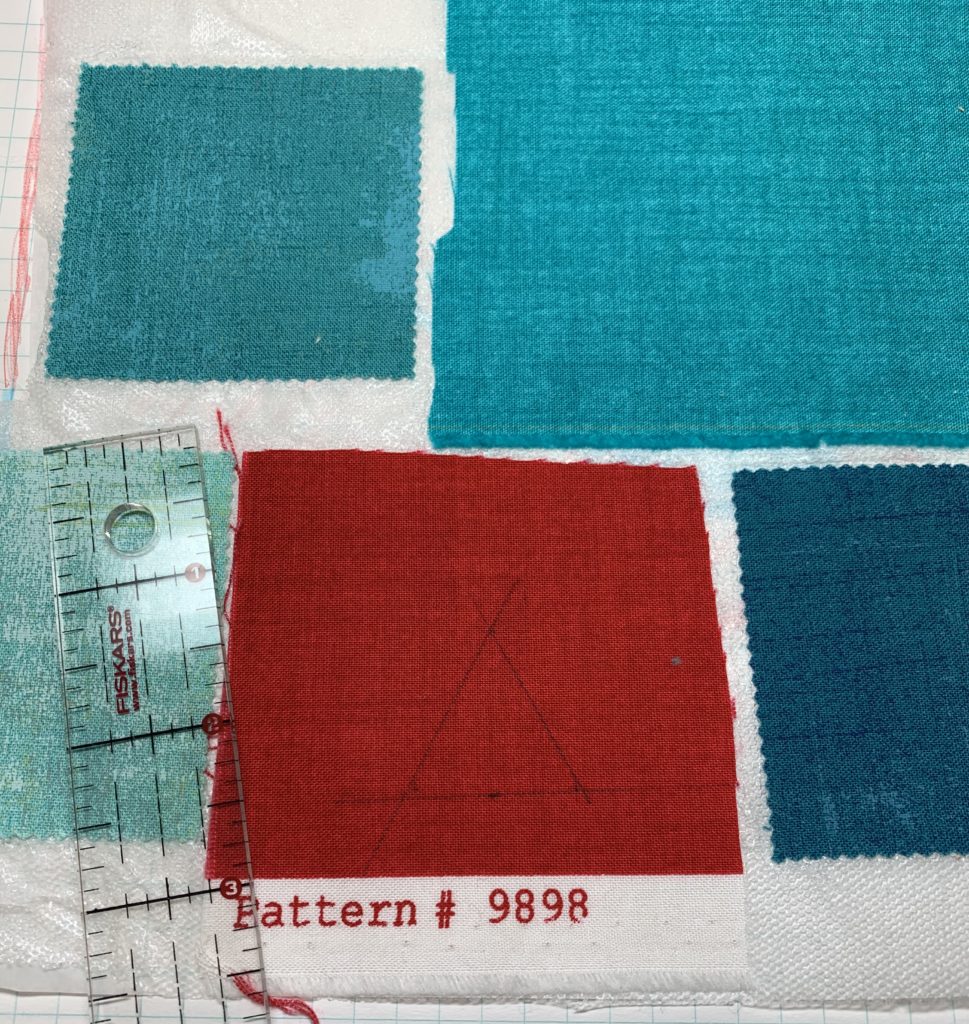
Prepare the fabrics by applying fusible on the wrong side. Then draw triangles in different sizes on the fabric right side using a pencil.
 I created each triangle by measuring the height down the center and marking a dot at the upper and lower triangle edge.
 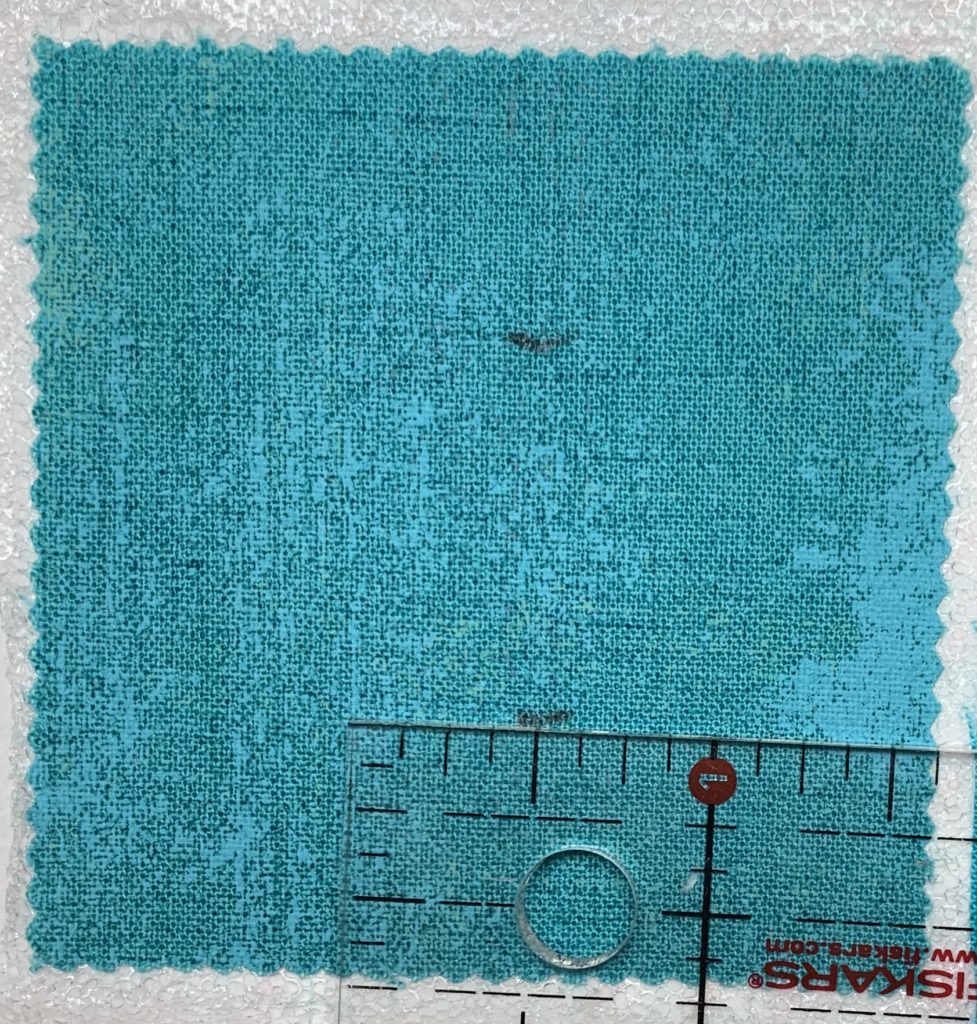 Then I measure the triangle base and mark a dot at each end.
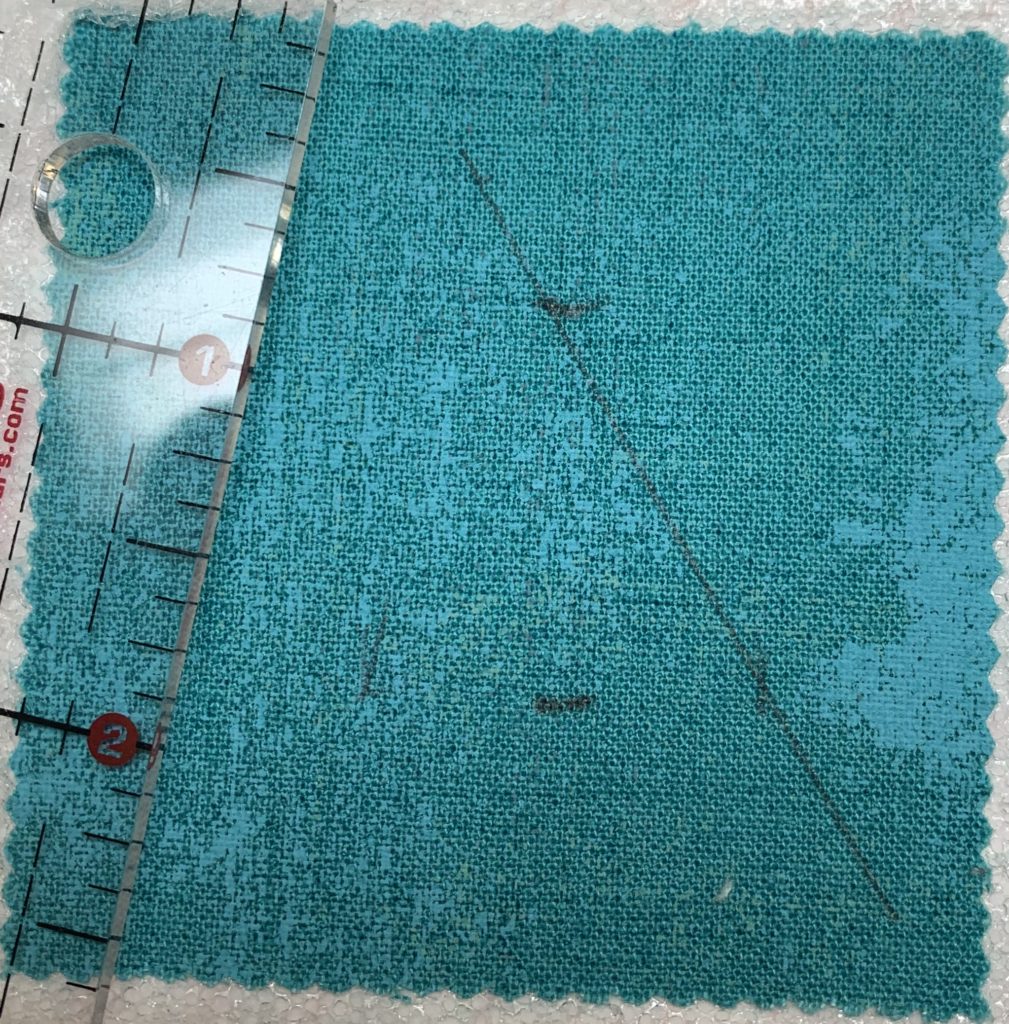
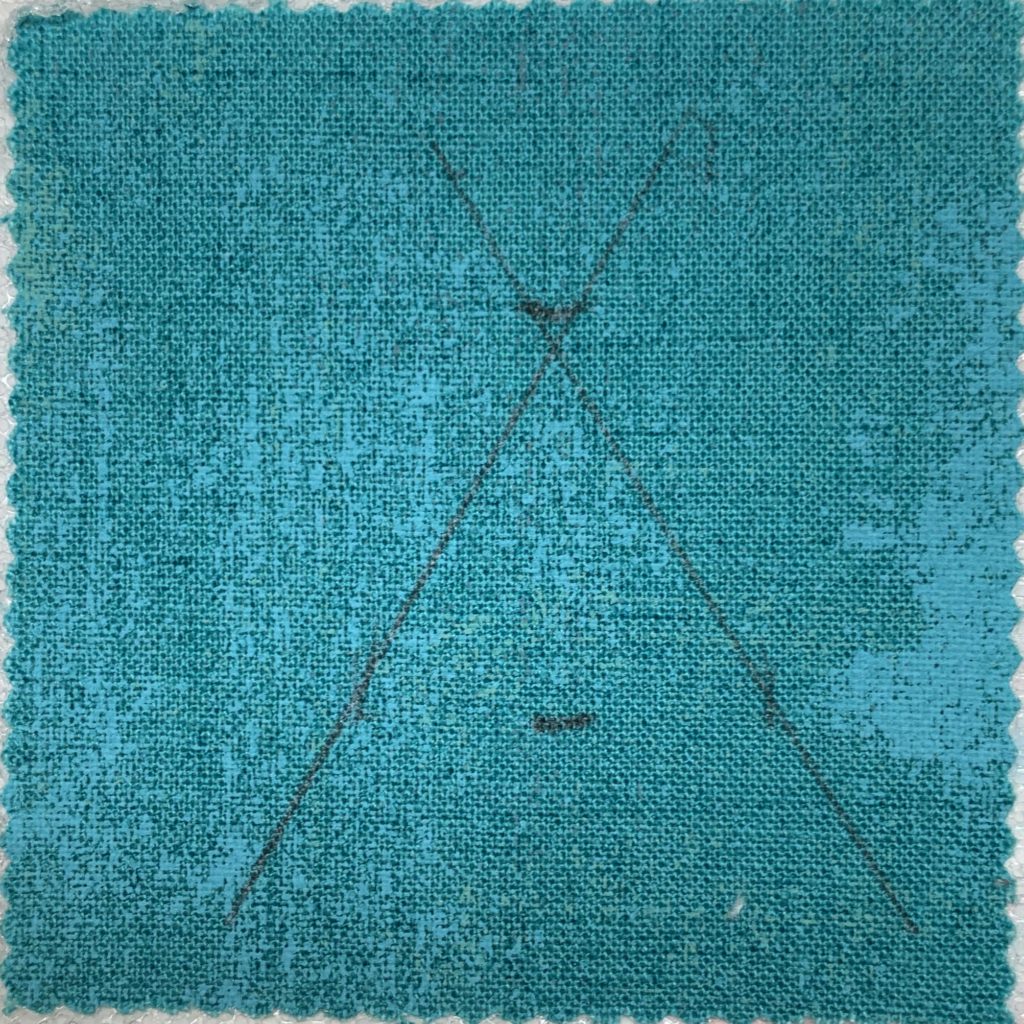 From there, I connect the dots to make the shape.
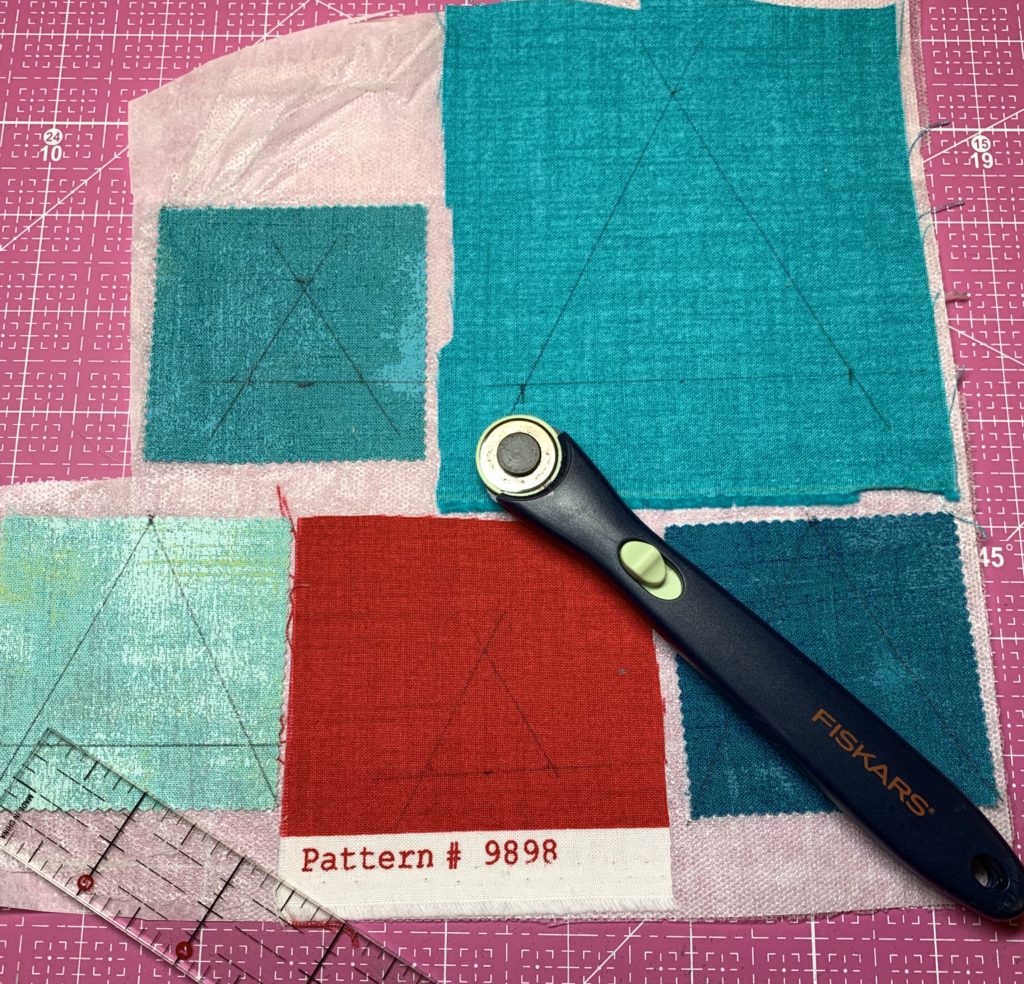 Cut on the inside of the pencil line. After all the shapes are cut, I place them on the fabric and fuse, following the manufacturer’s instructions.
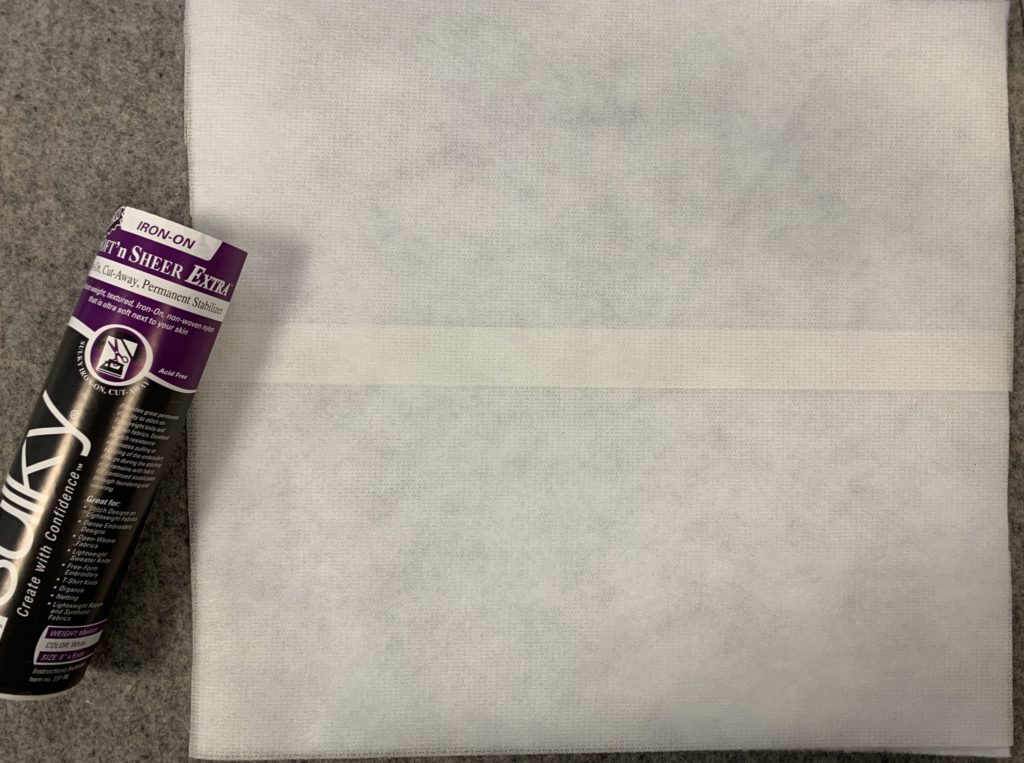 Because this will be a wall hanging, I fused Sulky® Soft ‘n Sheer Extra™ to the batting wrong side to provide extra stability.
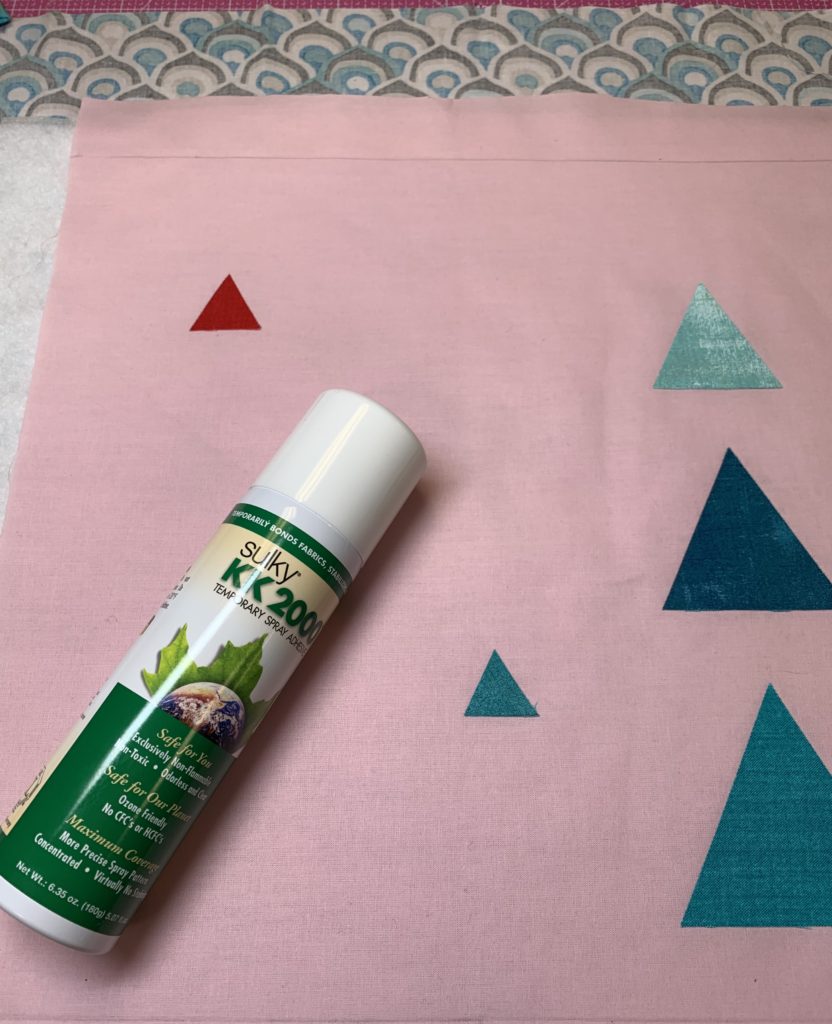 Baste the quilt sandwich together using Sulky KK 2000™ Temporary Spray Adhesive.
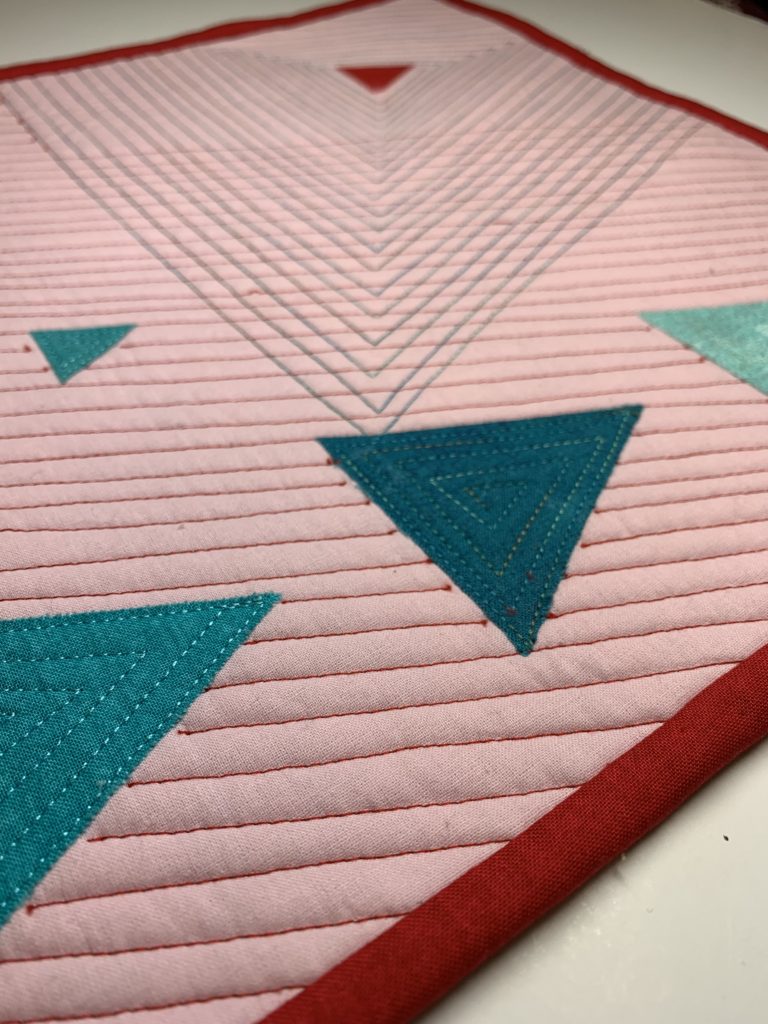
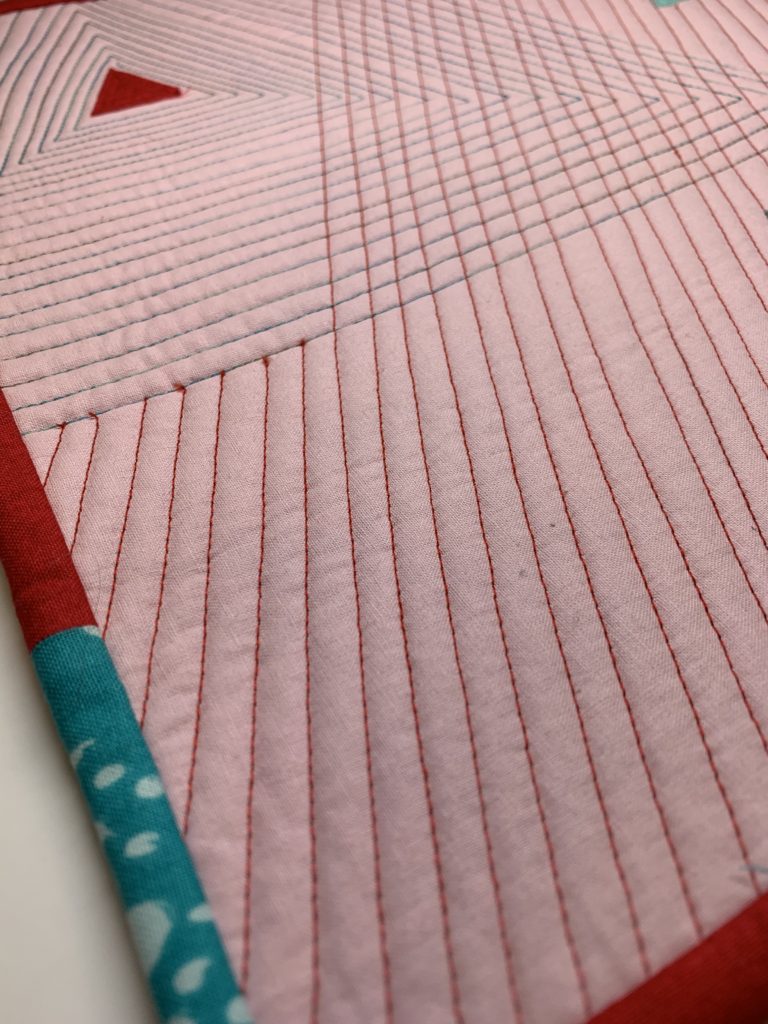
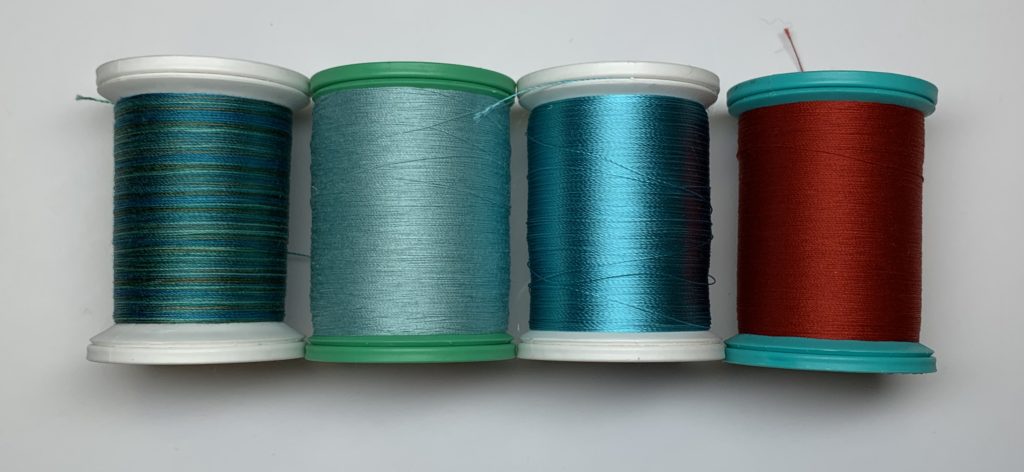 For quilting I used a variety of threads all within the red and turquoise family: Sulky 30 wt. Cotton Blendables™ in Blue Heaven (4087), Cotton + Steel 50 wt. Thread by Sulky in Pastel Jade (1204), Sulky 40 wt. Rayon in Marine Aqua (1560) and Cotton + Steel 50 wt. Cotton in True Red (1039). The variety of thread types and weights give the quilt added depth and texture.
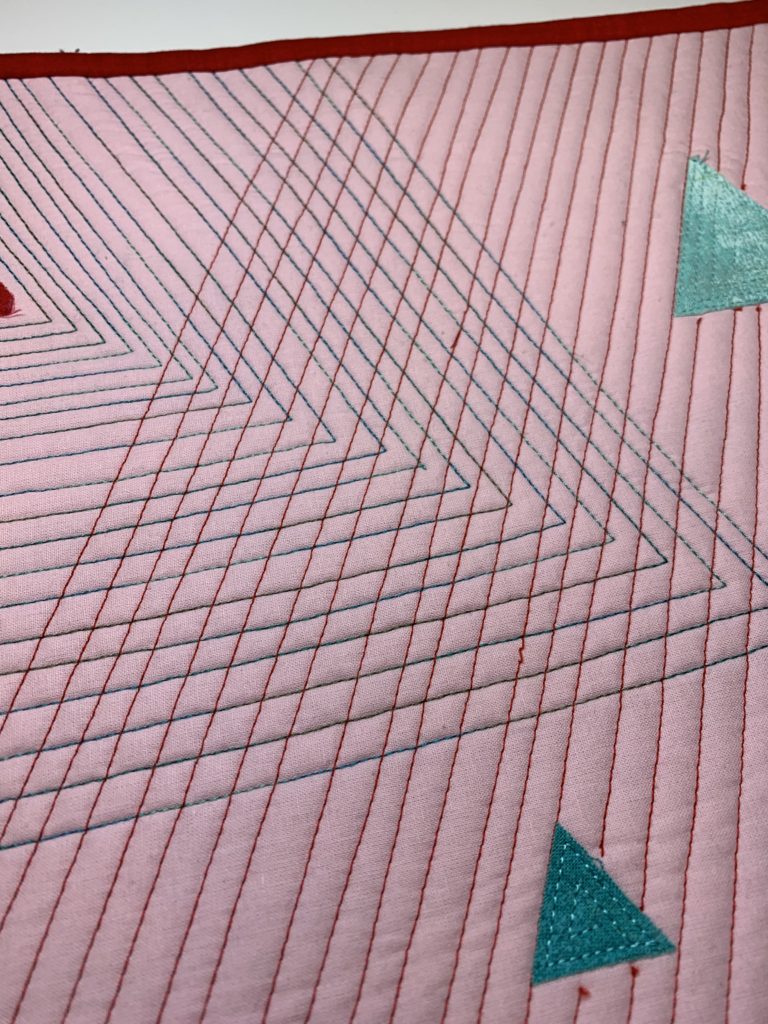 The quilting mimics the triangle shape right in the center.
 Overall, I loved doing these exercises! They really stretched me to go places I wouldn’t normally and I ended up with a quilt I really love. Try the techniques from Modern Art Quilts yourself to see just how easy it is to create your own modern quilt design.

Nice overview of your process!
I have three questions. What is the distance between your stitching lines? Did you draw these lines on the fabric before stitching? What needle size do you use with the heavier threads?
LaVerne, The distance between the stitching lines is 1/4″. To do this, I cut 1/4″ strips of Sulky Sticky Fabri-Solvy and stuck them to the quilt top every 1/2″. I then stitched on either side. This ensured straight stitching. After it was finished, I just washed them away in the sink and irone the quilt dry. I prefer to use a 90 topstitch needle when using heavier threads. Thanks for reading the blog and for the great questions!
Nice review. This is a process my local modern quilt guild is presently explaining to our members. We are trying to break into a bit more design and so explaining the elements of design and putting some things into practice are a good way to get them thinking. Thanks for sharing this book. I am going to be on the lookout for it.
Nice work on this original project – you were inspired!
Very neat, makes me want to give it a try!