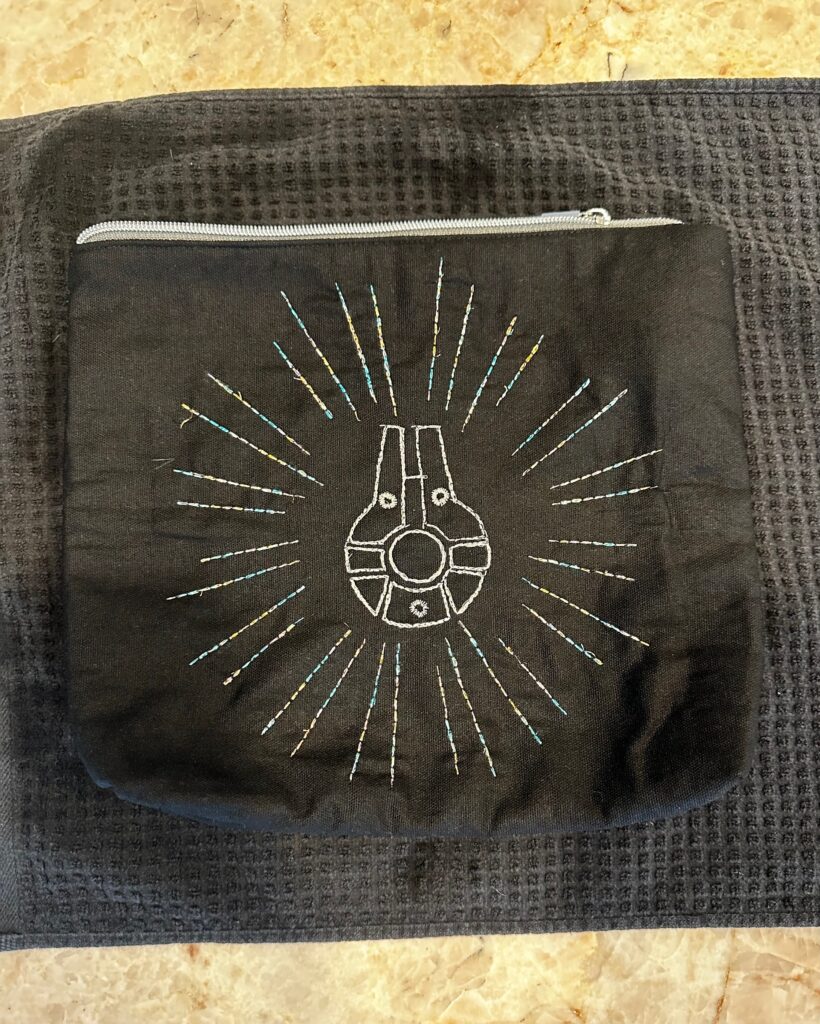
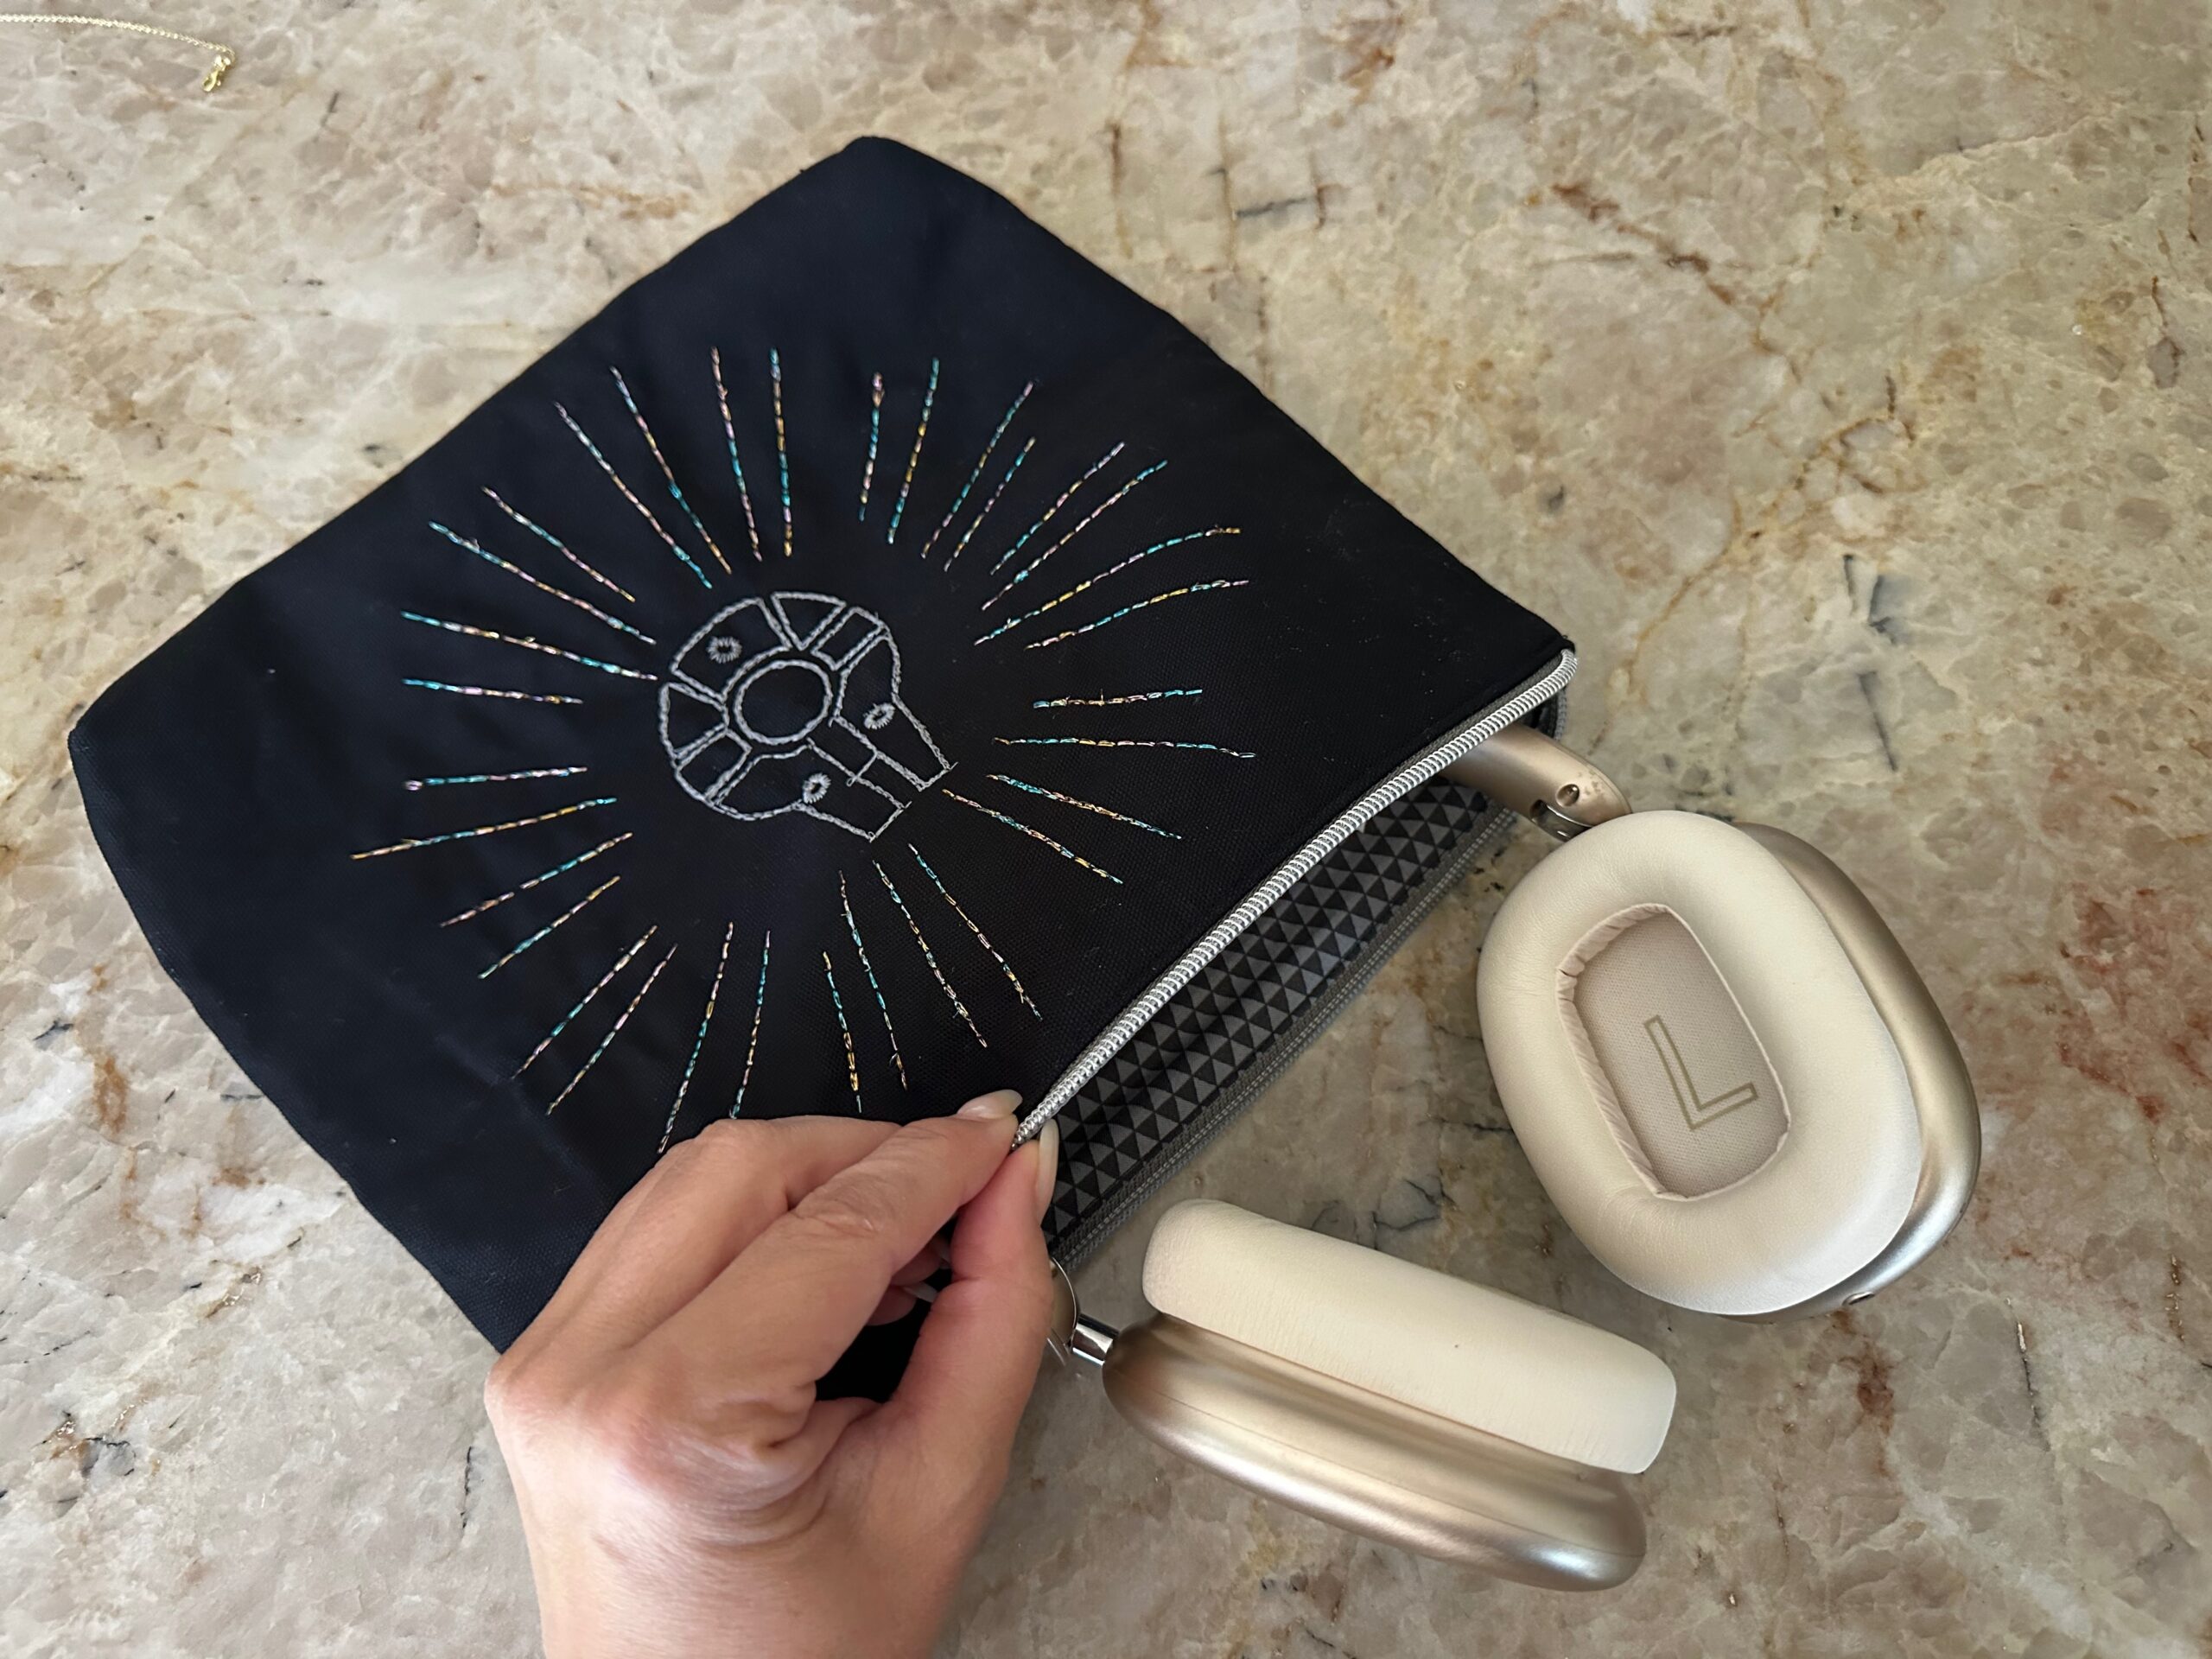
Hyperdrive Zip Pouch
A long time ago in a sewing room not so far away…
If you’re ready to stitch at hyperdrive, this fun and functional zip pouch project is perfect. Debuting in celebration of Star Wars® Day, the Hyperdrive Zip Pouch combines clever construction with eye-catching design. It’s the perfect project for fans of Star Wars® and creative makers alike.
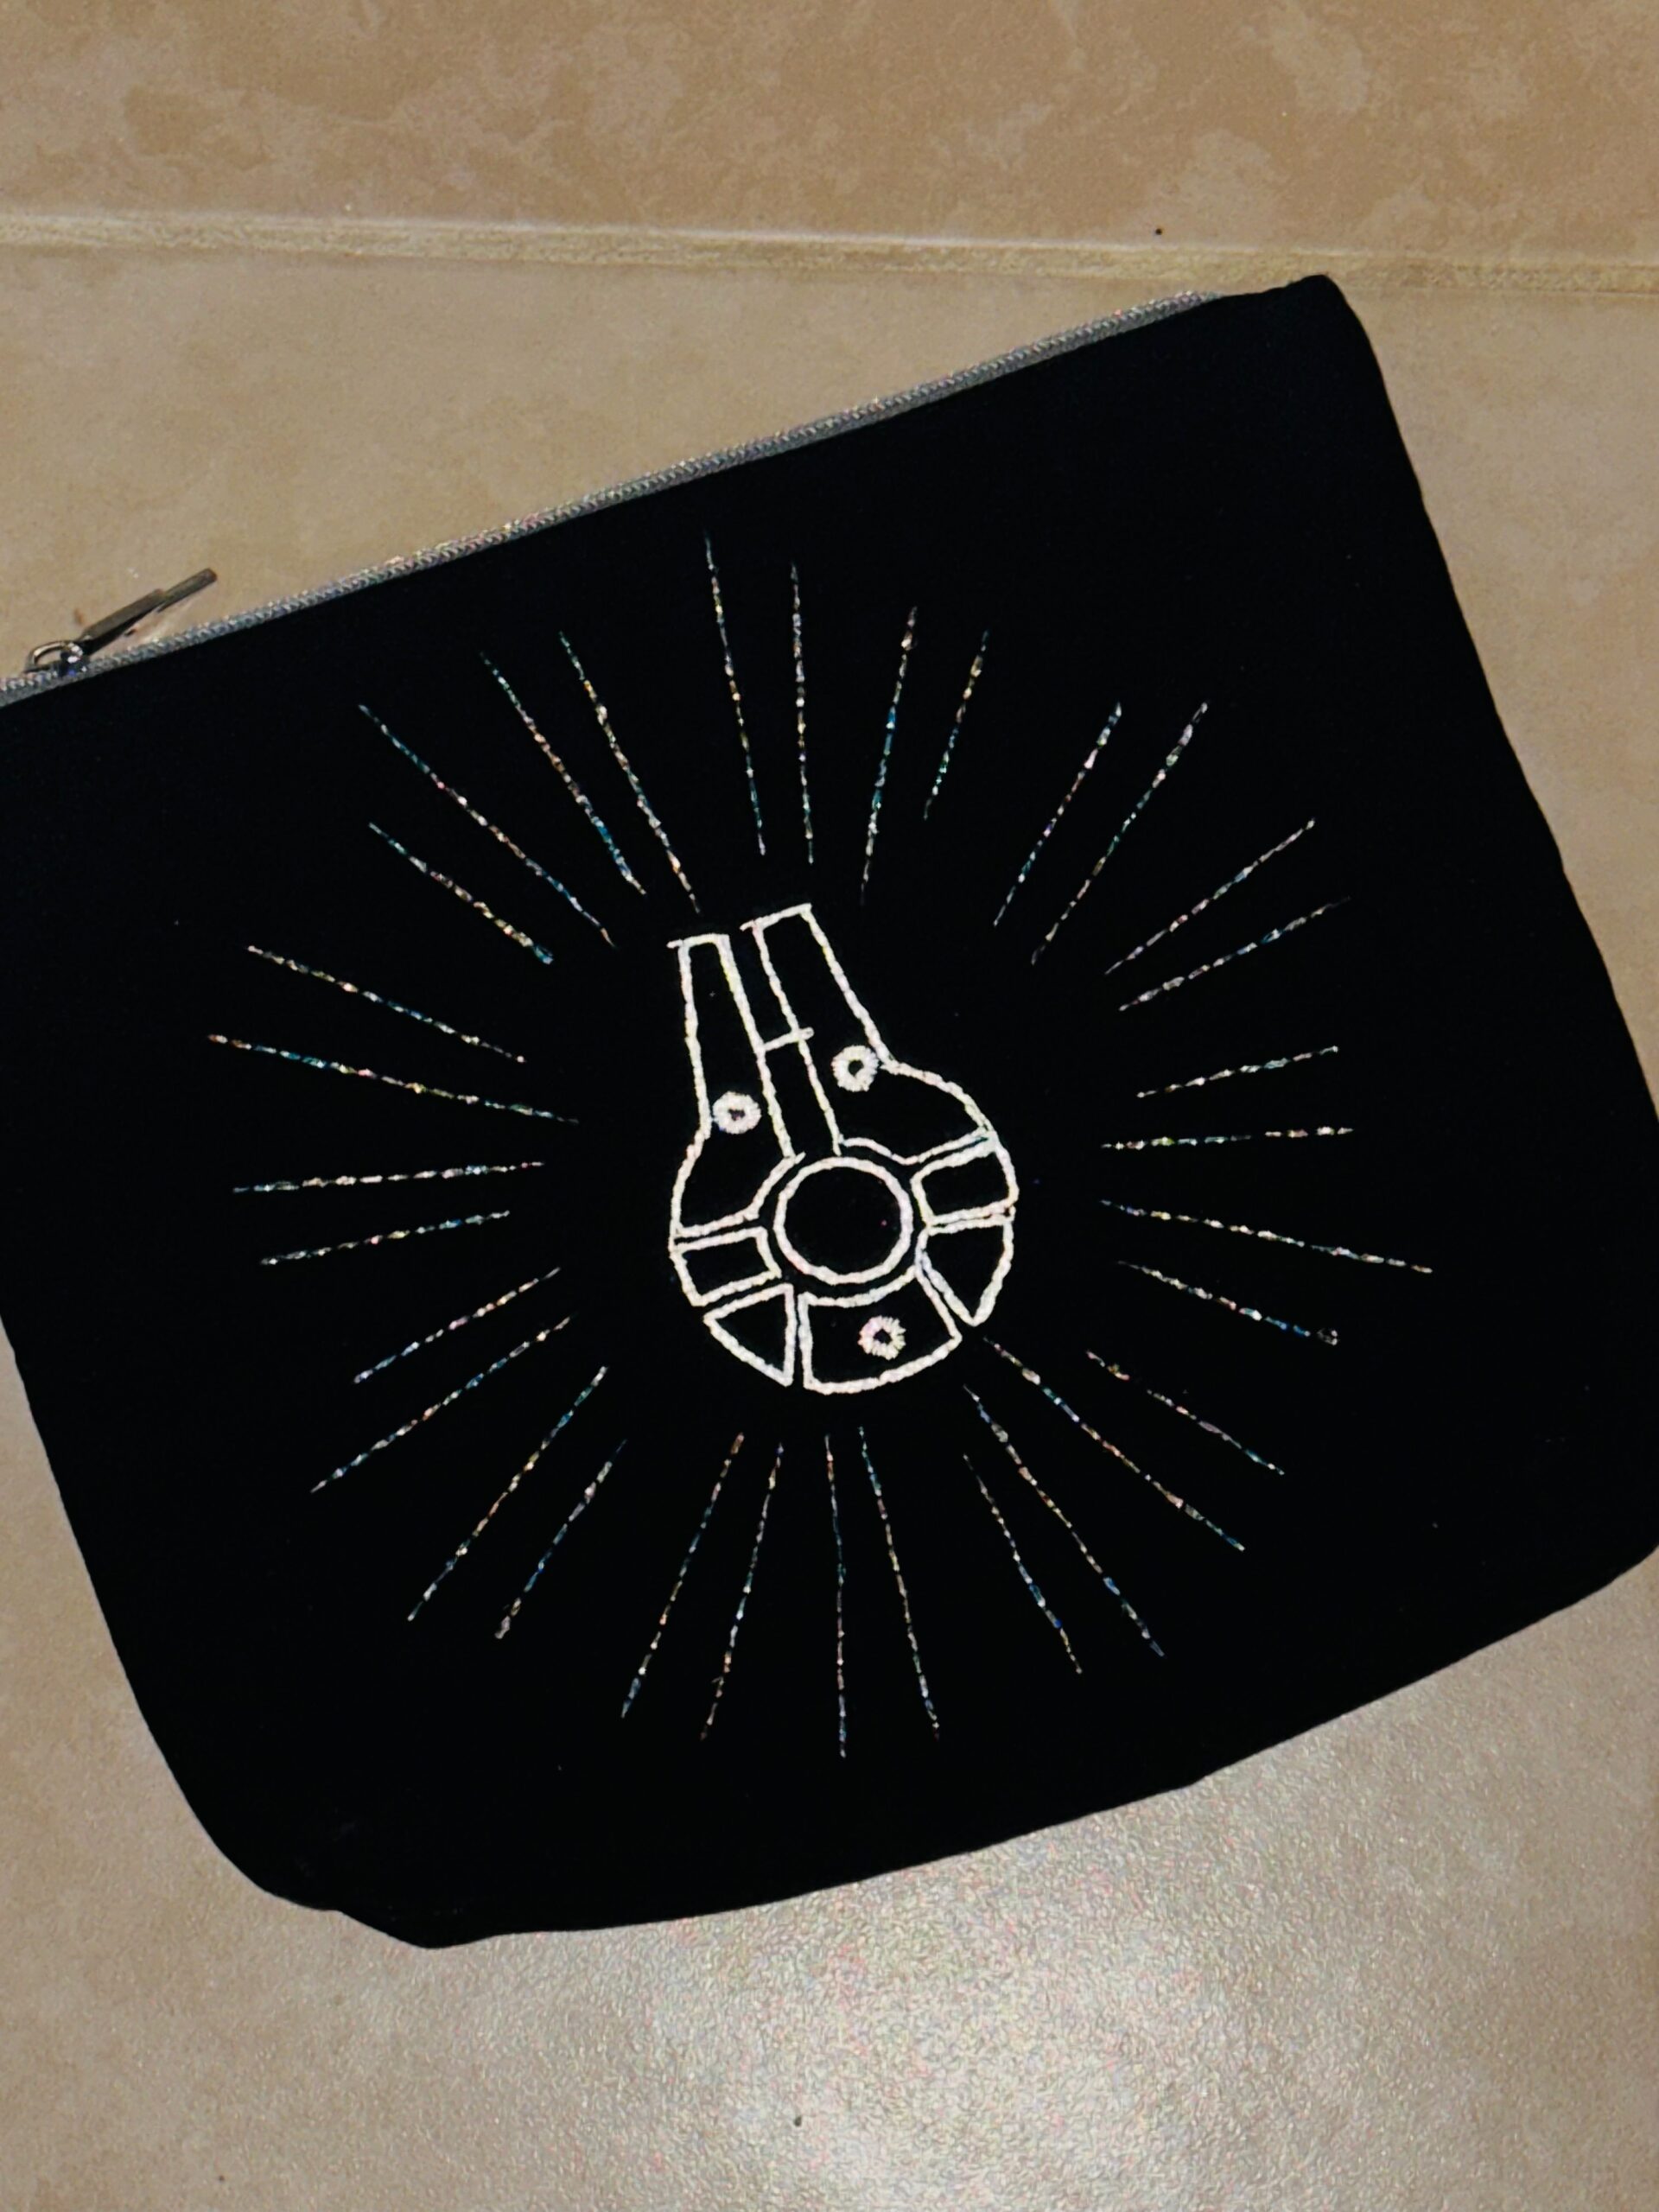
At the heart of the project is a bold “hyperdrive” design template that you can stitch by hand or machine. Add dimension and shine with Sulky CRY™ Thread and Sulky Holoshimmer™ Metallic Thread accents for a sparkly, reflective finish. The design is stitched onto a sturdy canvas exterior, giving the pouch structure and durability for everyday use.
You’ll also learn a professional zipper installation method that keeps the zipper out of the side seams, resulting in a cleaner look and smoother finish. The pouch is fully lined, features boxed corners for extra capacity, and includes fusible fleece for loft and stability.
Best of all? The hyperdrive embroidery template is completely free and downloadable right here in the post. So you can jump straight into stitching your own out-of-this-world accessory.
ZIP POUCH FINISHED SIZE: 11 1/2″ W x 10 1/2″ H x 2″ D
EMBROIDERY SUPPLIES
- Sulky Stick ‘n Stitch™ Stabilizer
- Warp Speed Hand Embroidery Template
- Sulky Thread
- CRY™
- Holoshimmer™ Metallic (Multi-Light)
- 12 wt. Cotton Petites® (optional)
- Fabric of choice (featured: canvas)
- Wooden Embroidery Hoop
- Sulky Soft ‘n Sheer™ Extra Stabilizer
- Hand Embroidery Needle or size 90/14 Top Stitch Needle
- Press cloth
ZIP POUCH EMBELLISHMENT
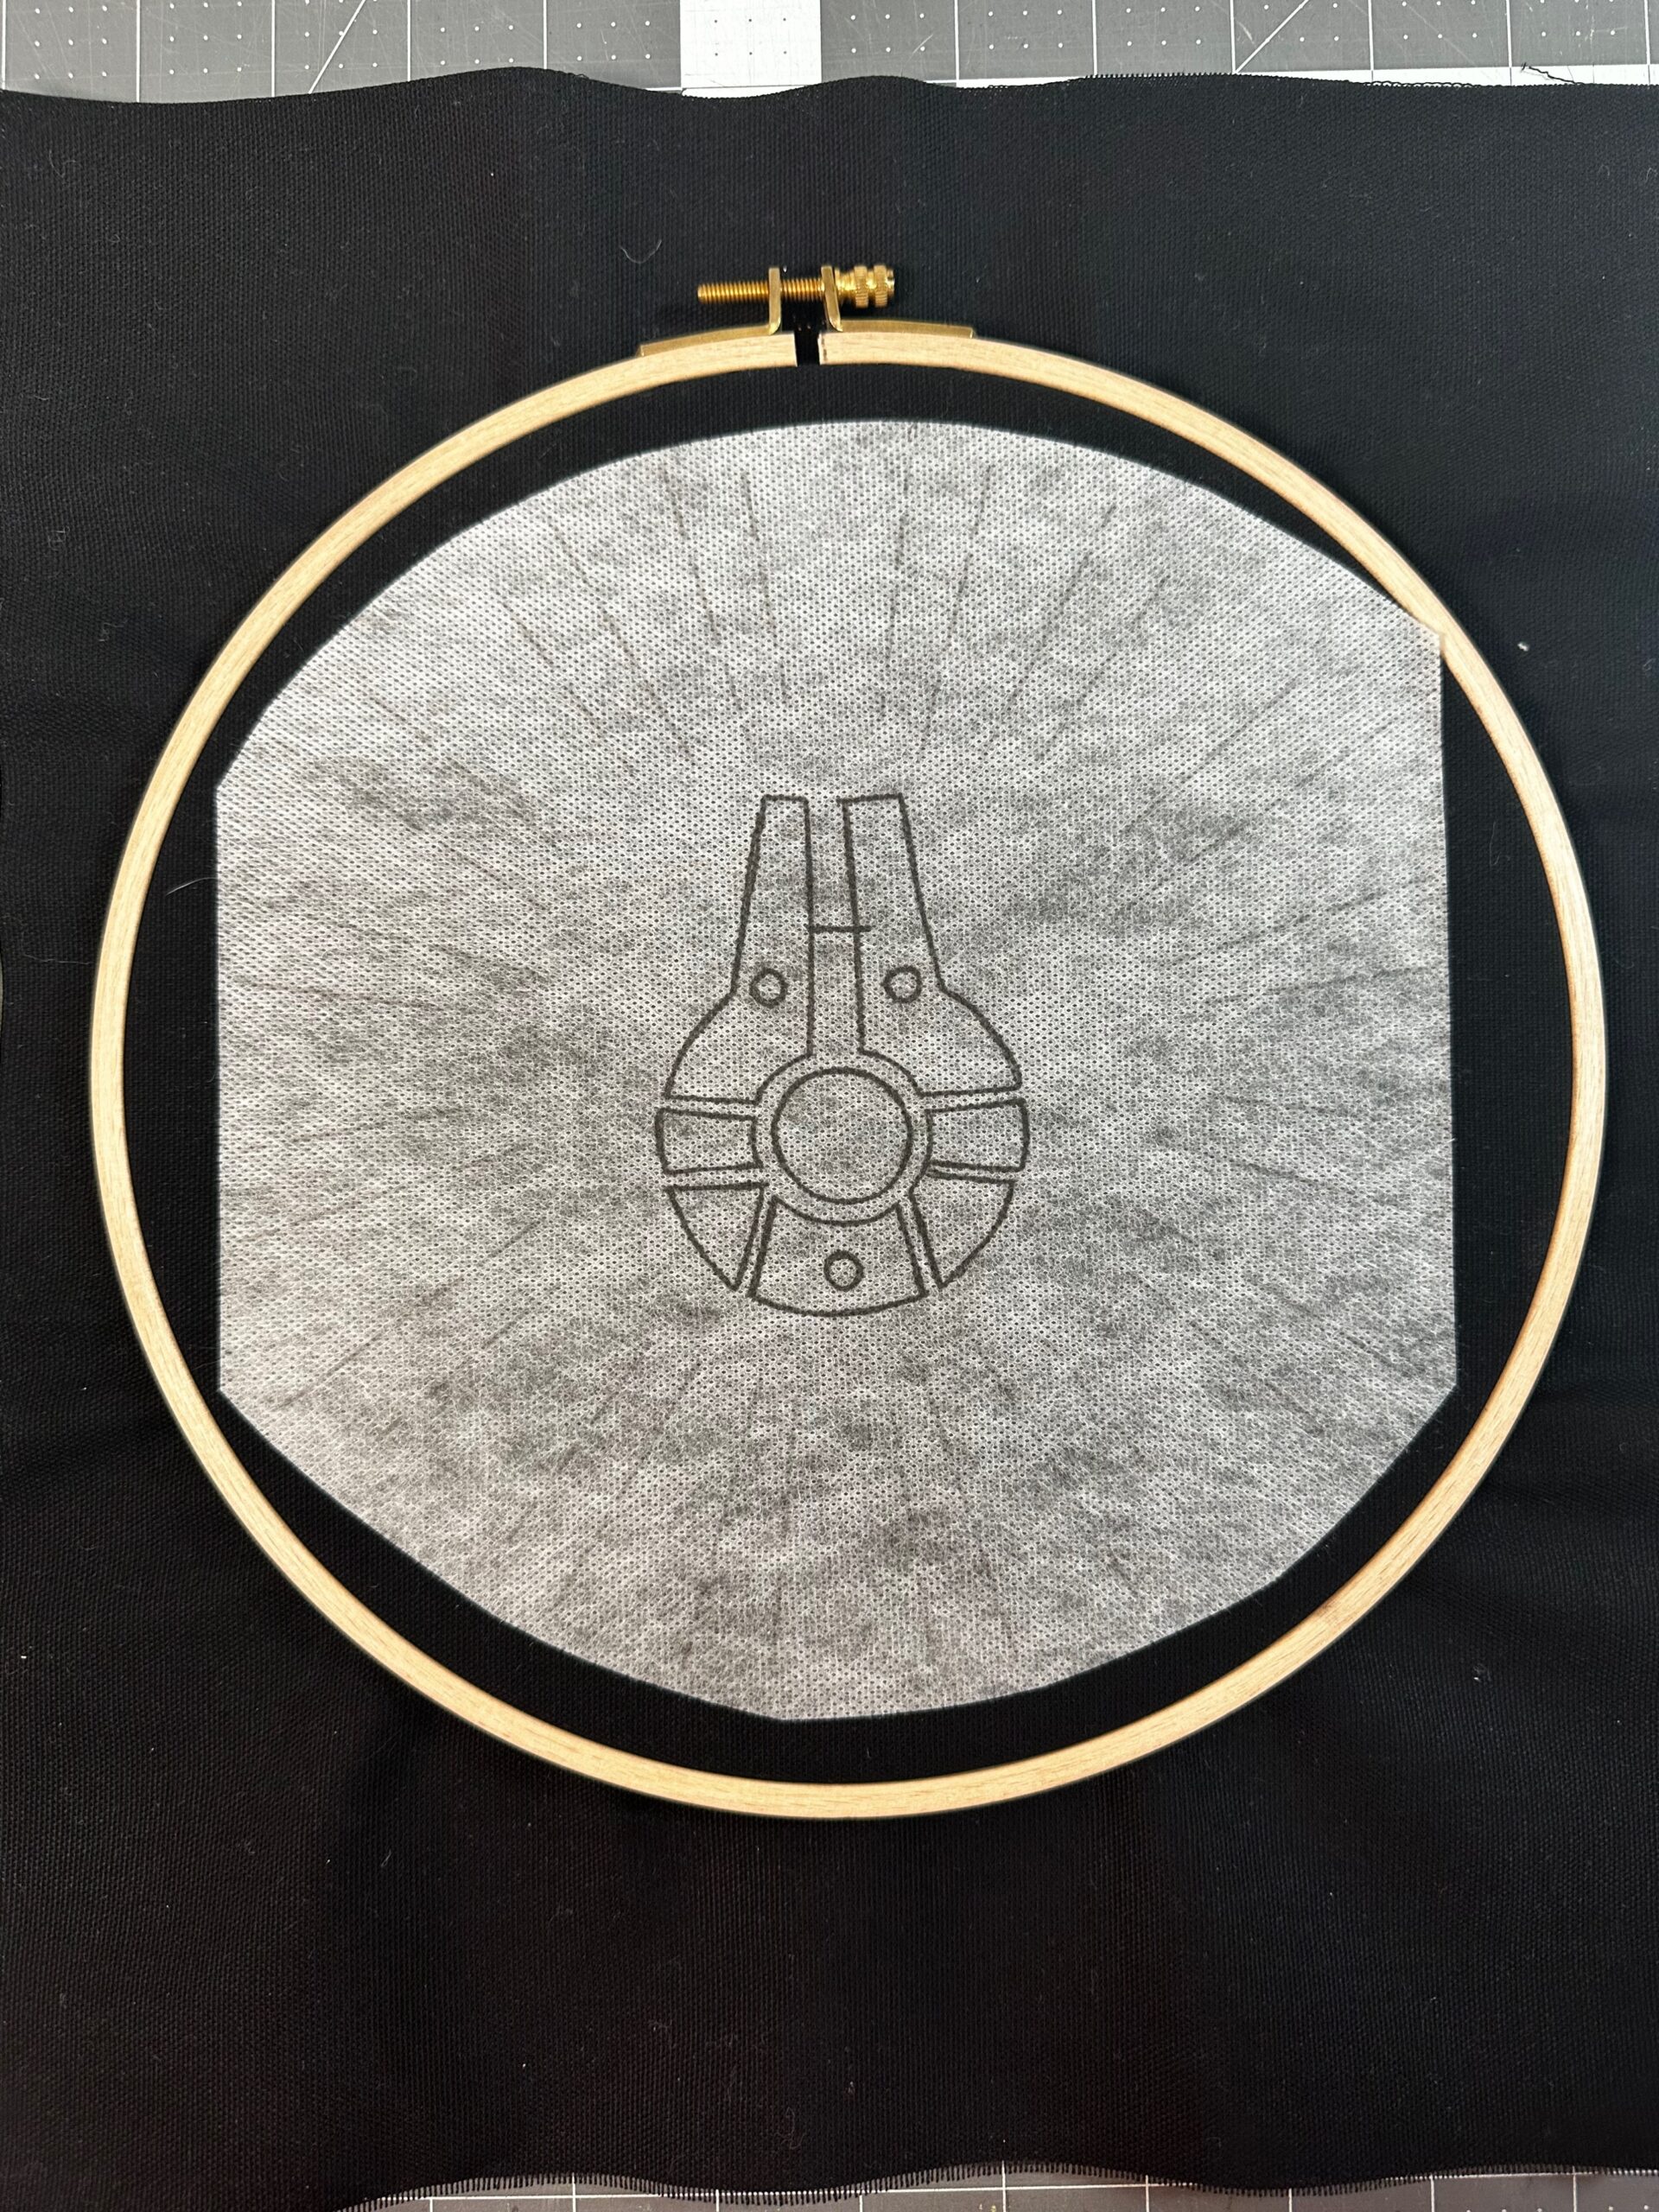
Print the Hyperdrive Hand Embroidery Template onto a sheet of Sulky Stick ‘n Stitch Stabilizer. Be sure to print on the fabric-like side and set the printer to “draft” setting or the lowest ink setting.
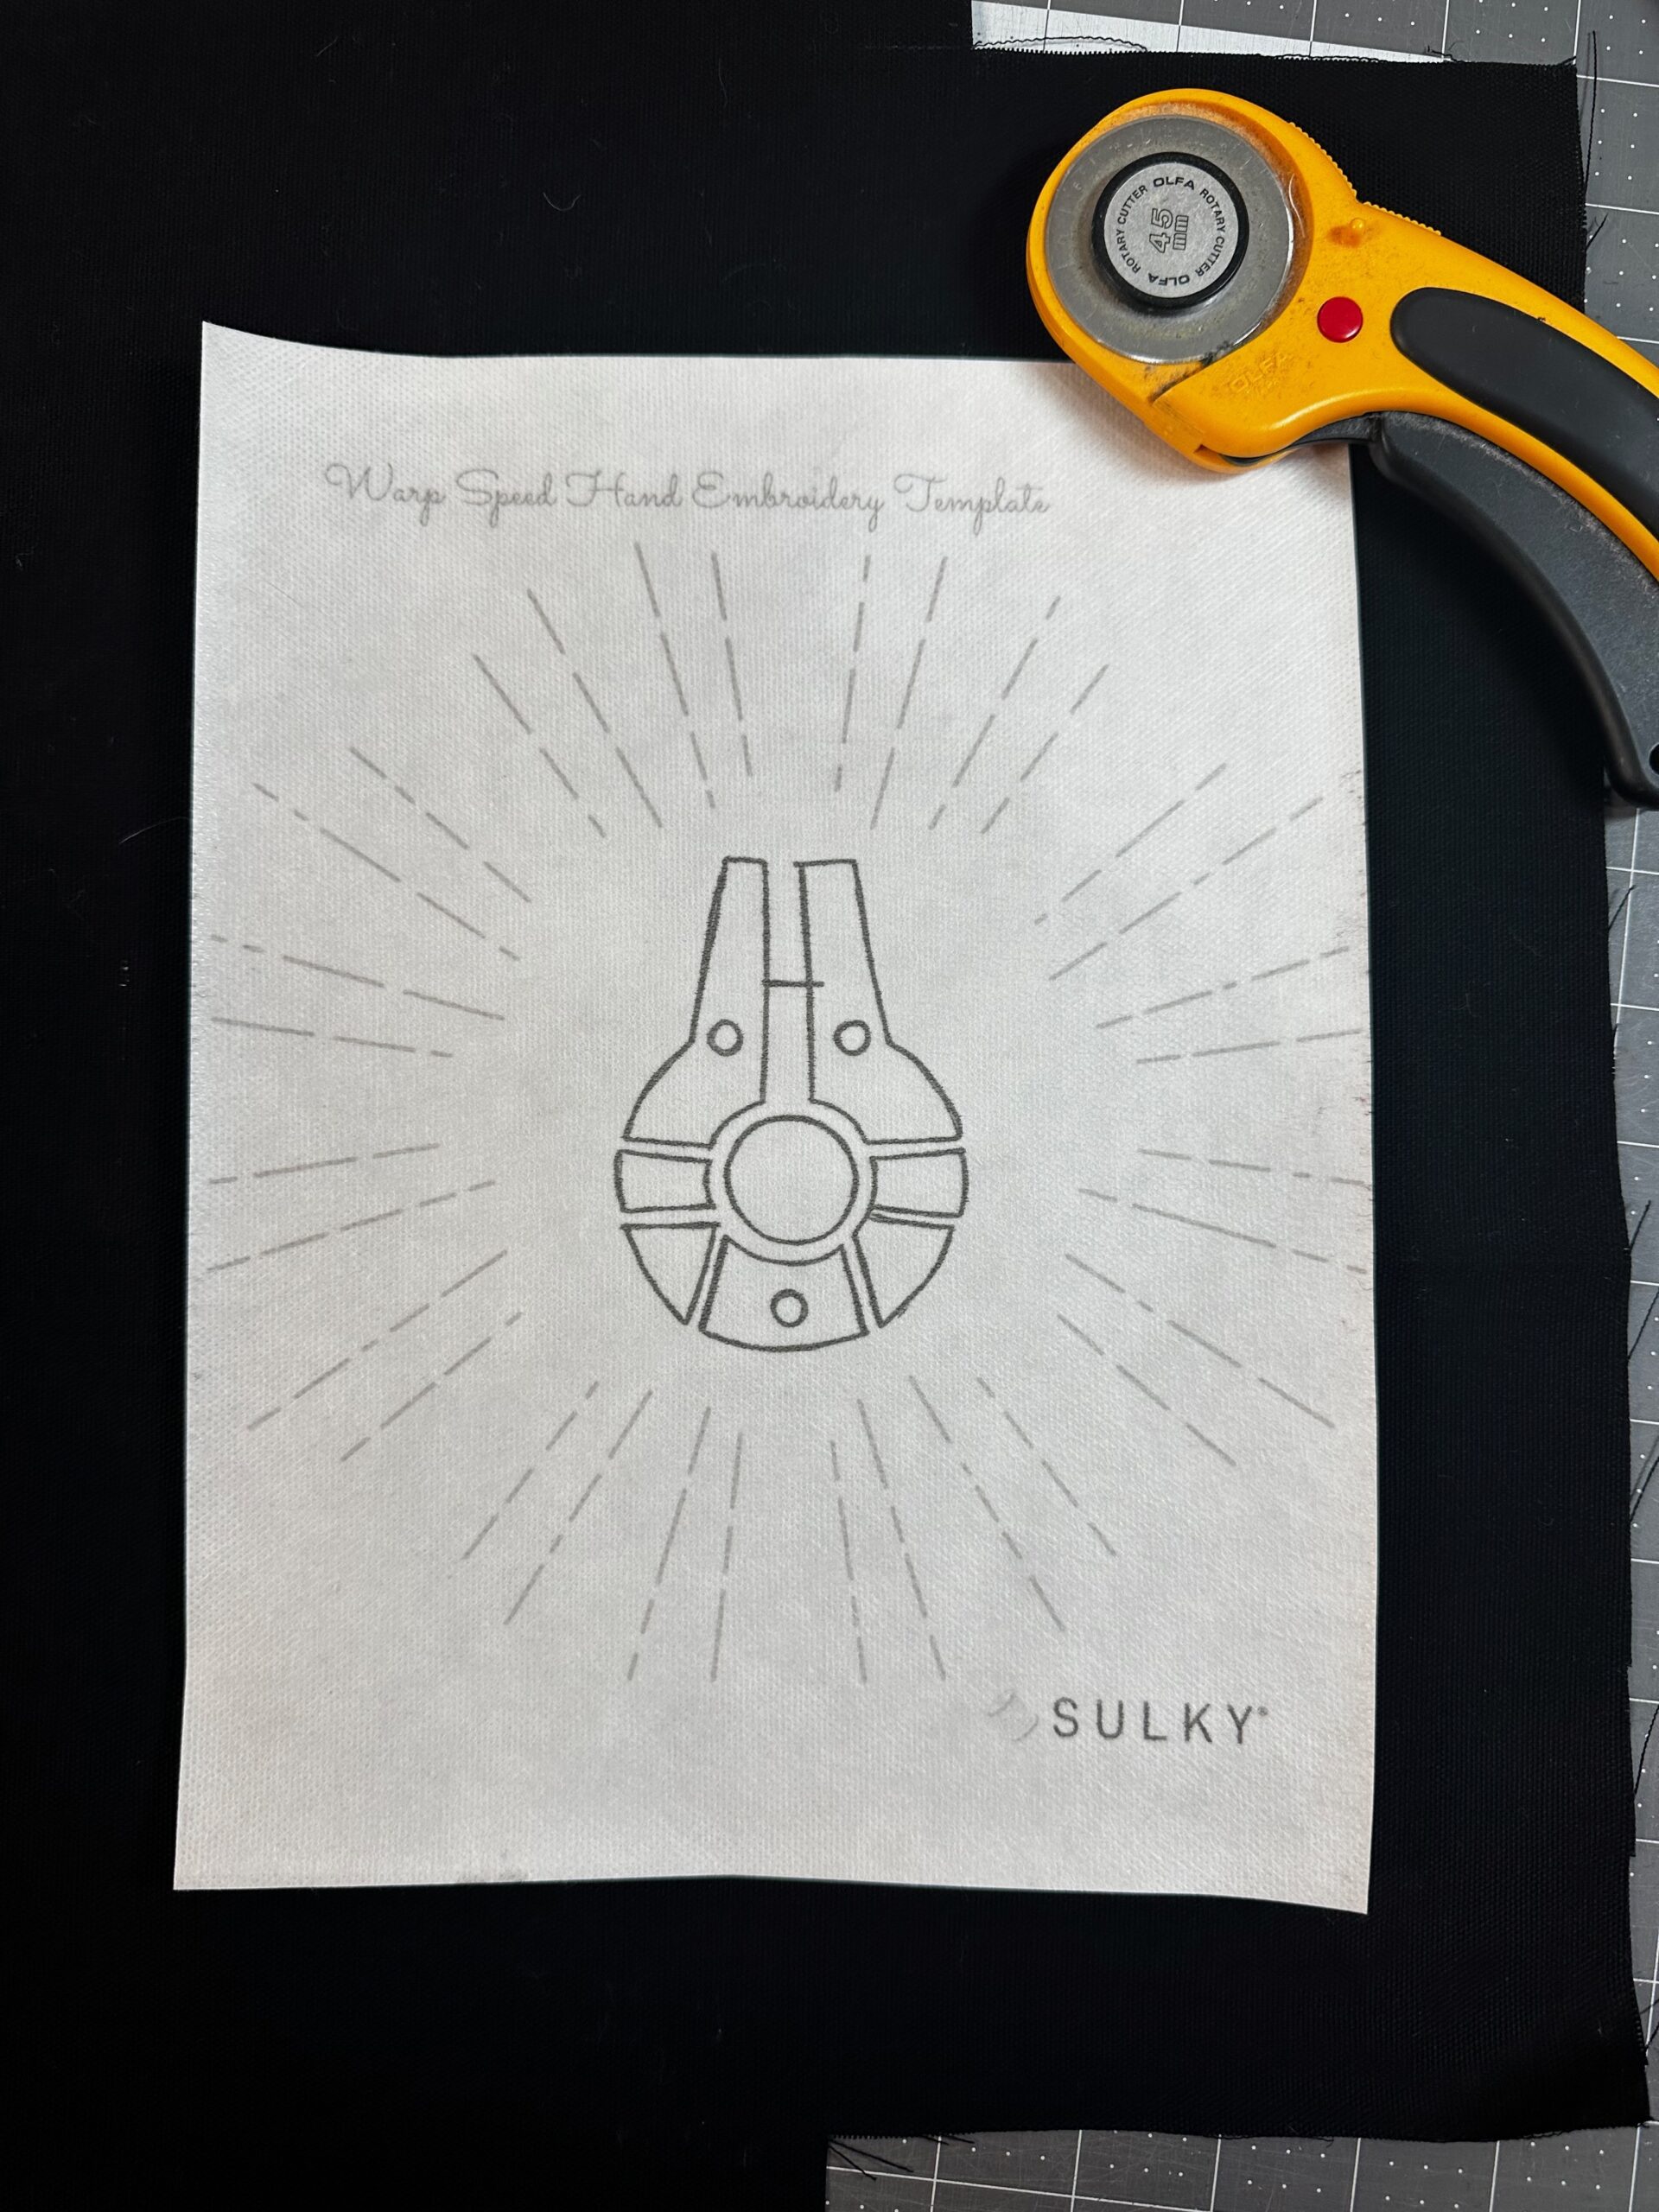
After printing, cut out the template, leaving a bit of a border. Then, remove the paper backing.
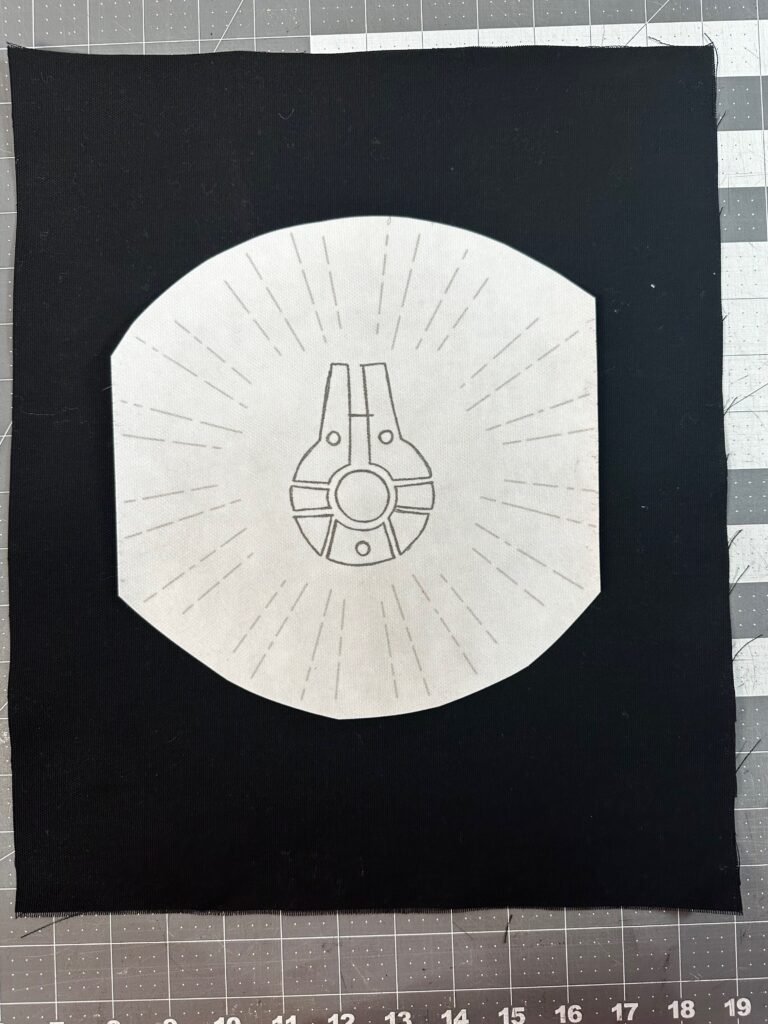
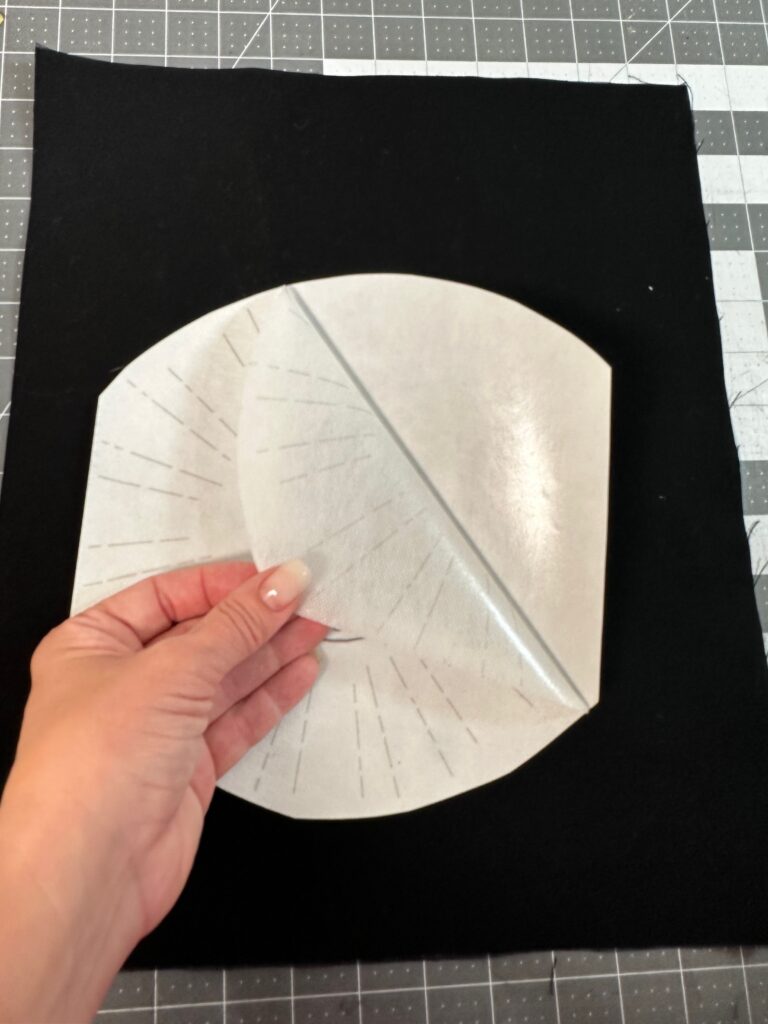
Center the transfer sticker right side up on the fabric right side. If desired for hand embroidery, hoop the fabric in a wooden embroidery hoop.
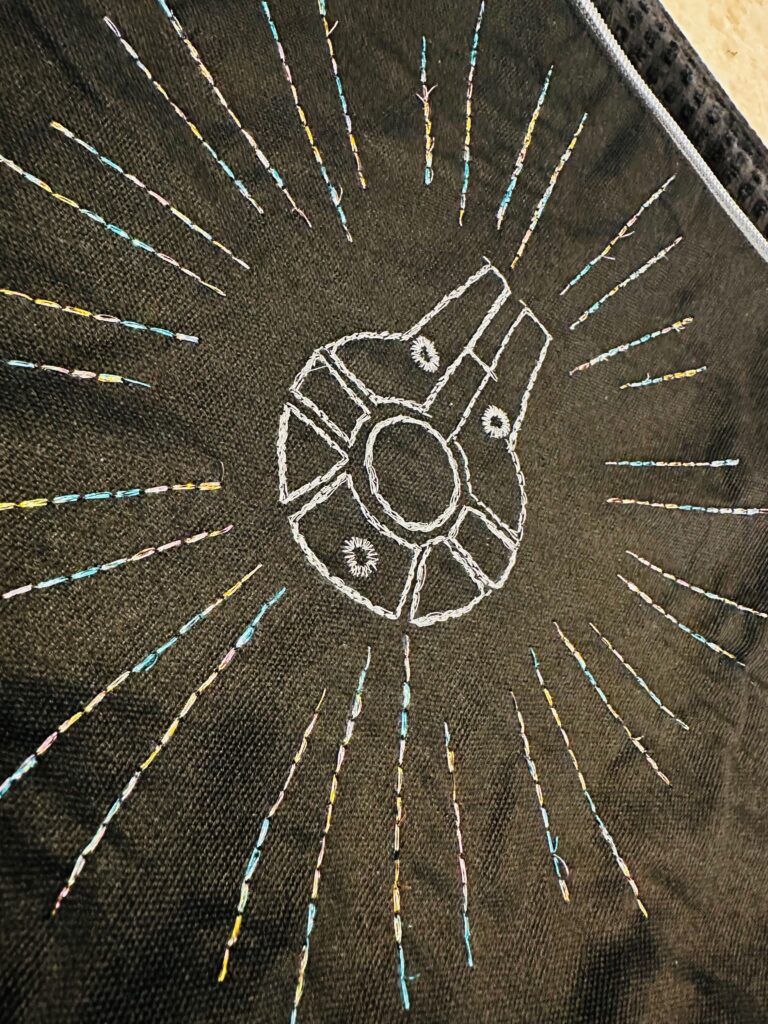
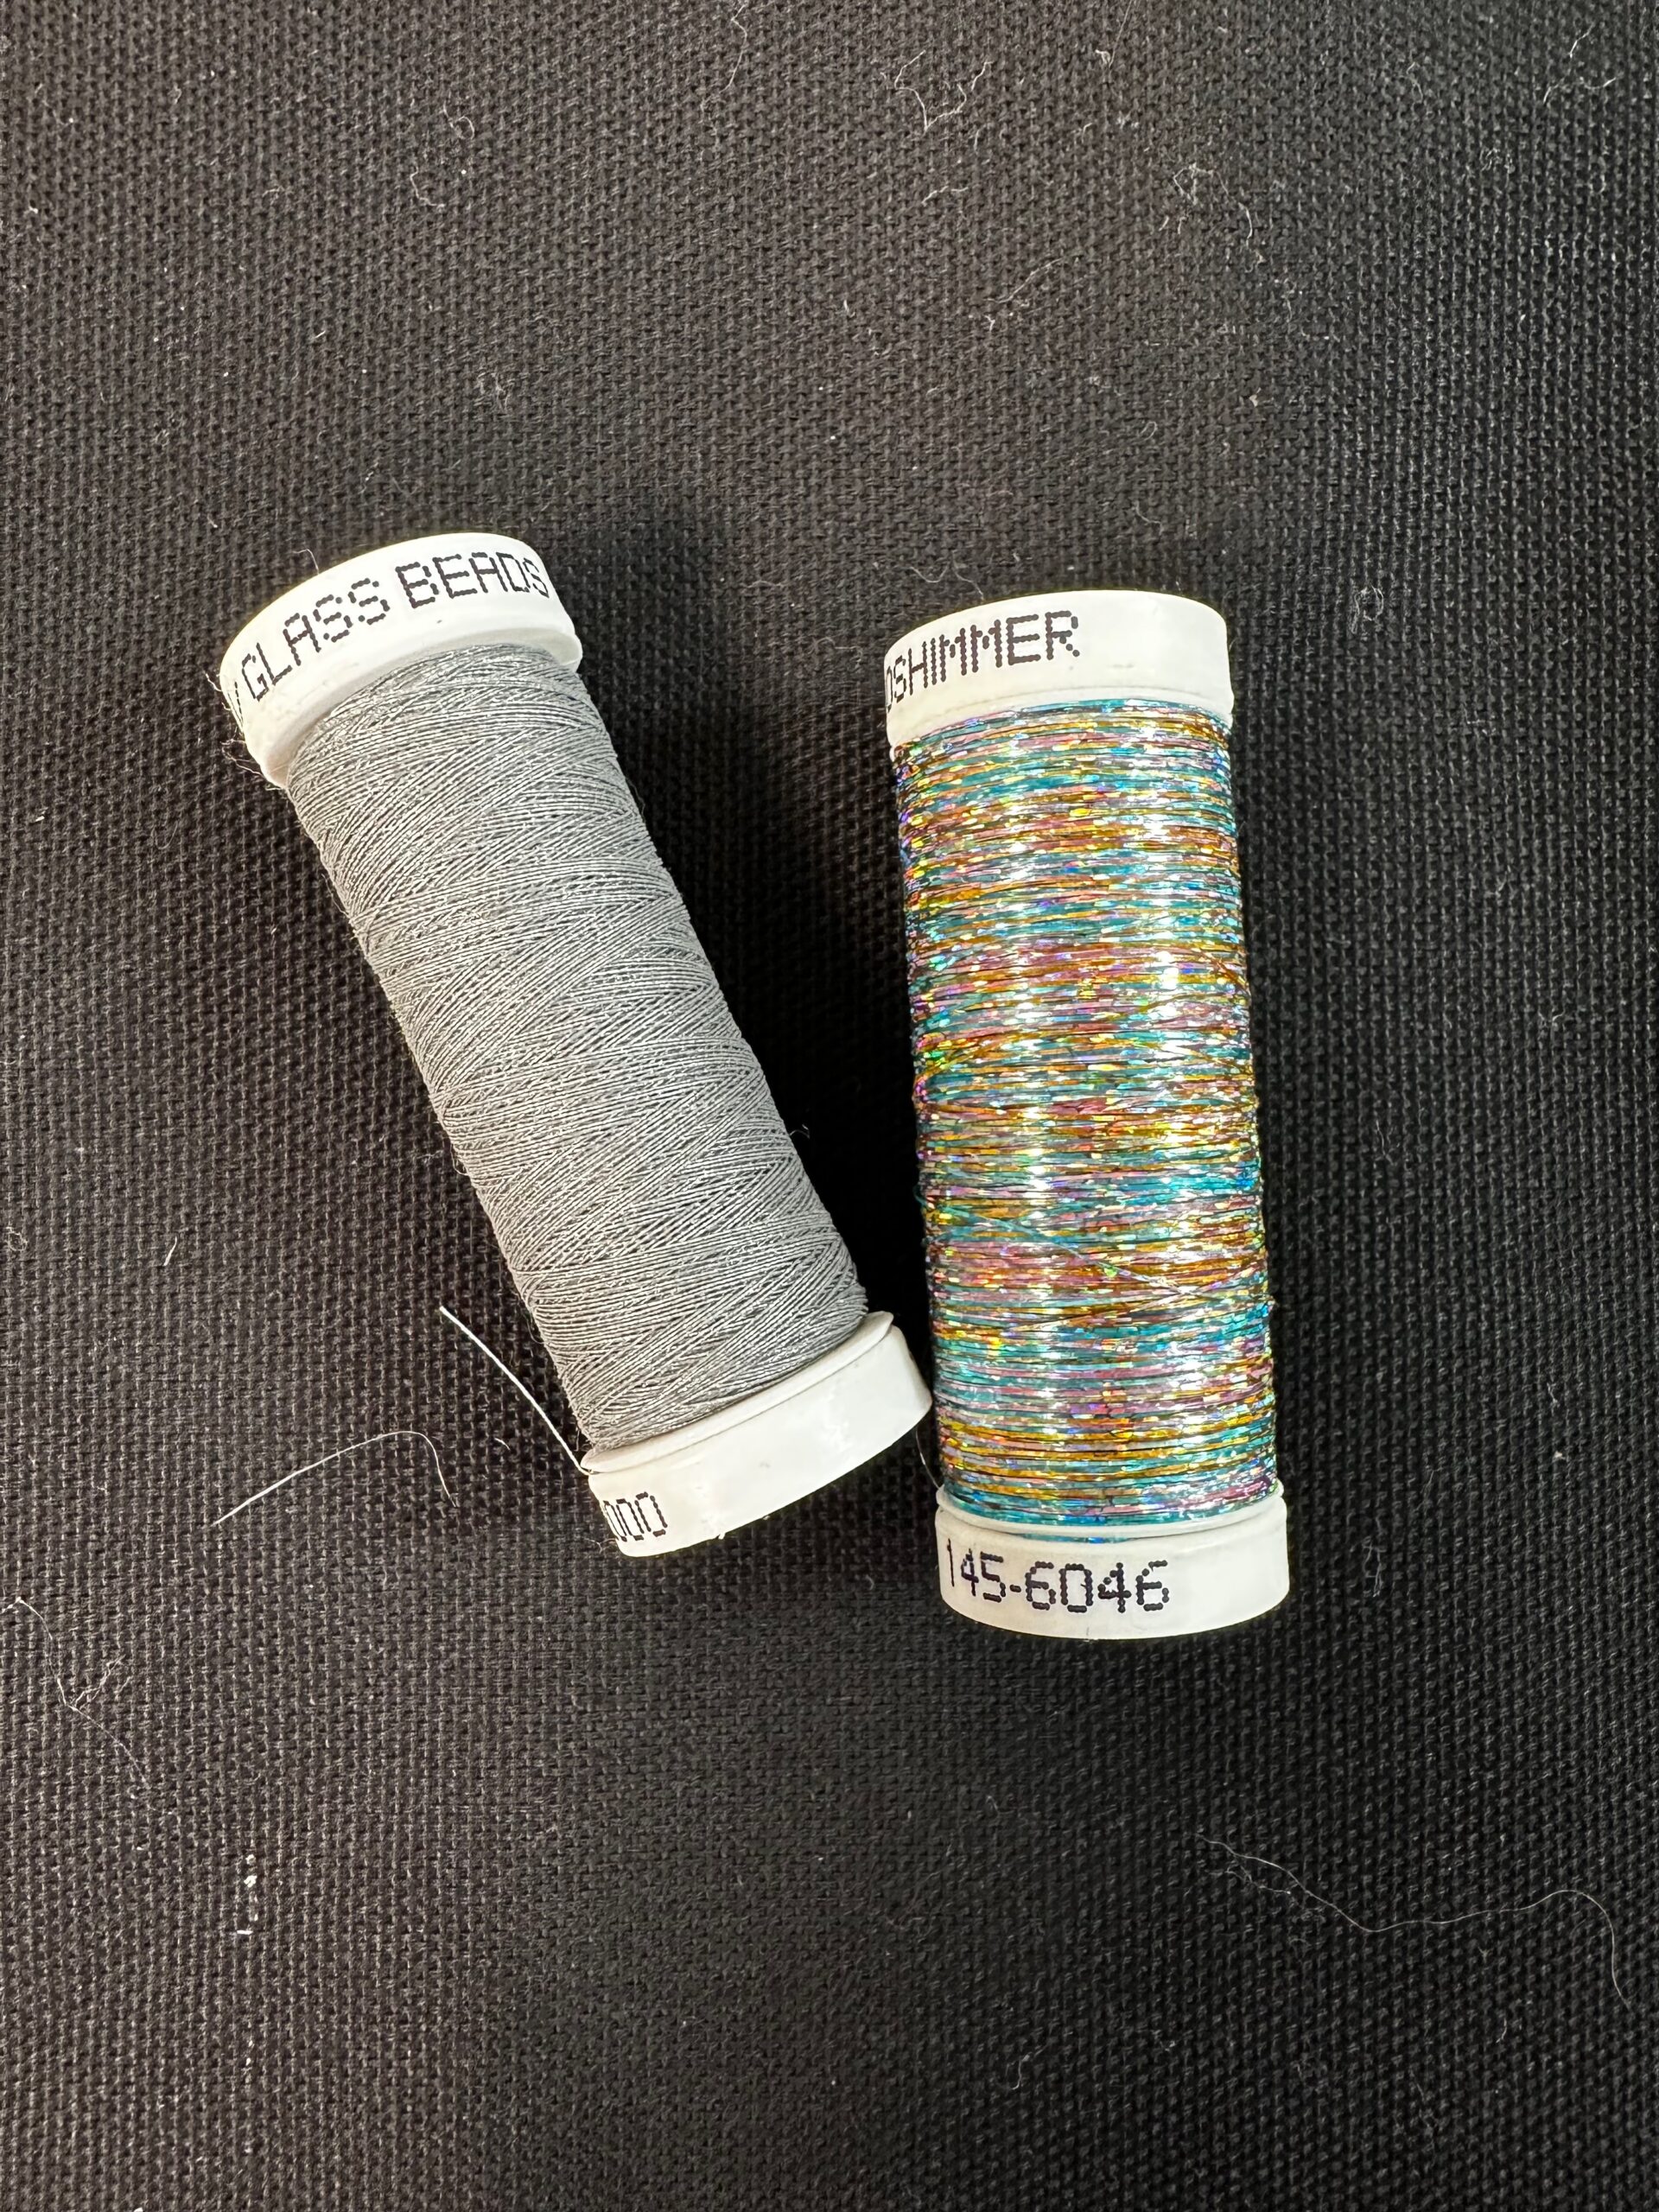
Thread a hand sewing needle with two to four strands of Sulky CRY Thread. This thread has glass beads in it, making it reflective. It’s a great choice for the Millennium Falcon™ motif. If you want to forgo hand stitching, install a size 90/14 Top Stitch Needle into the machine and thread it with CRY Thread. Use 40 wt. Poly Deco Thread in the bobbin to match whatever fabric you’re using.
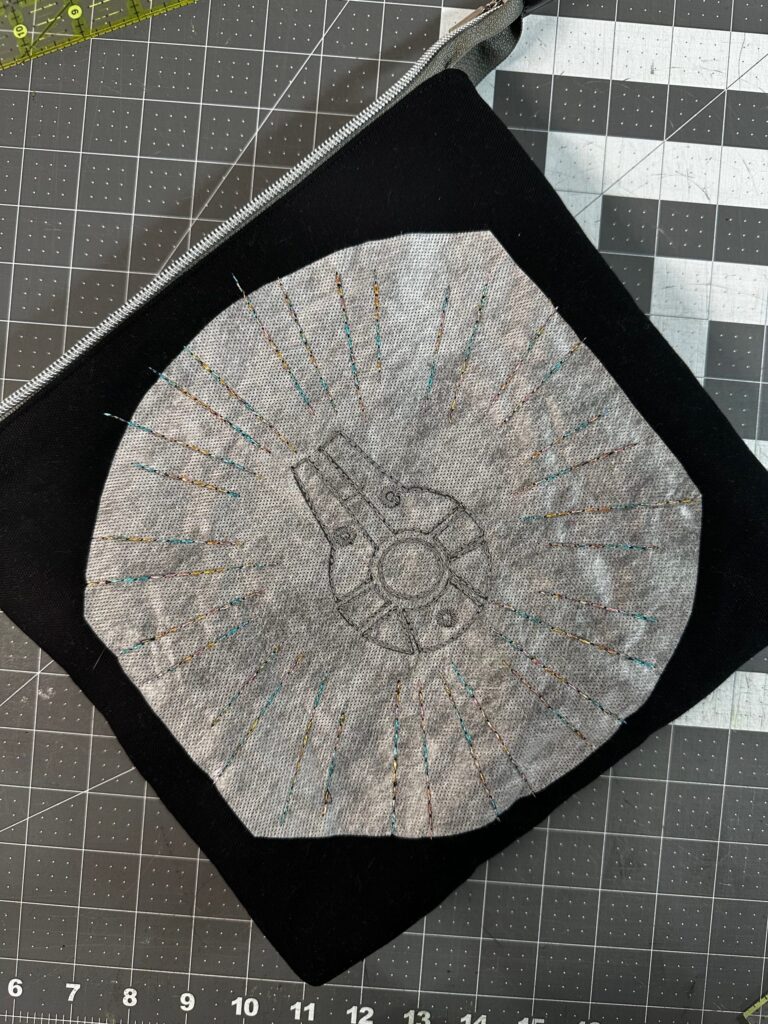
Stitch along the center motif using a backstitch.
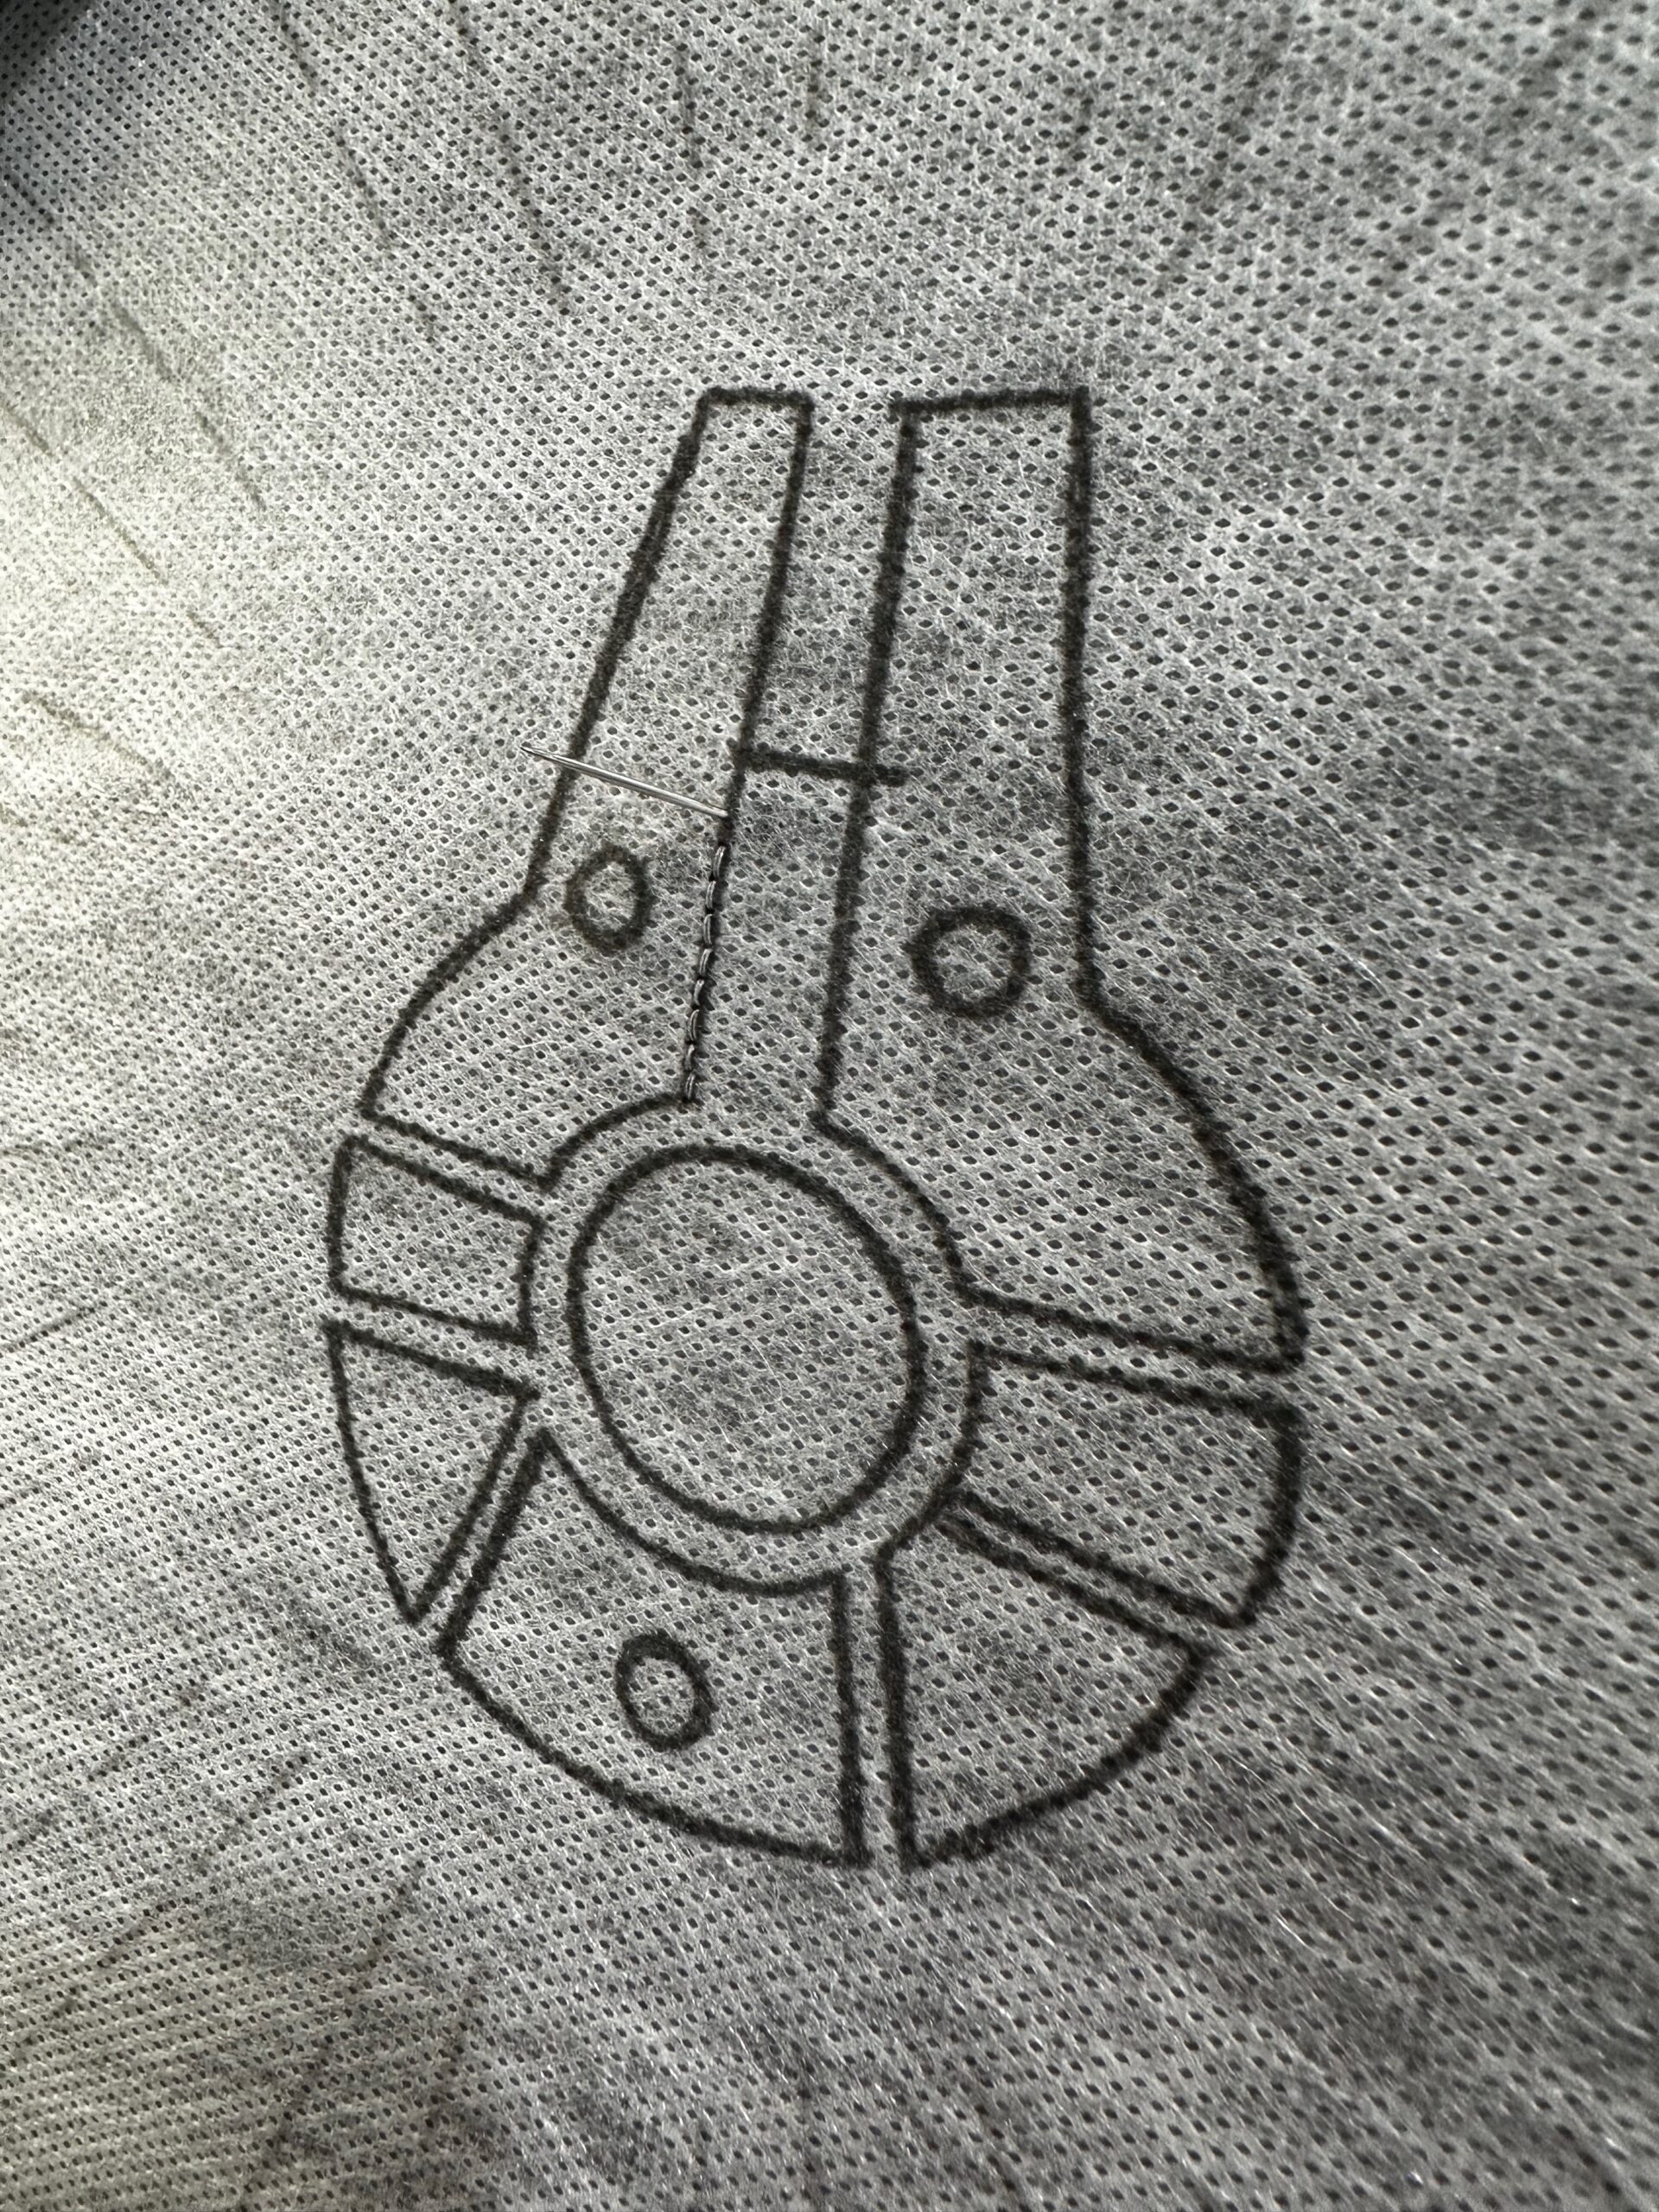
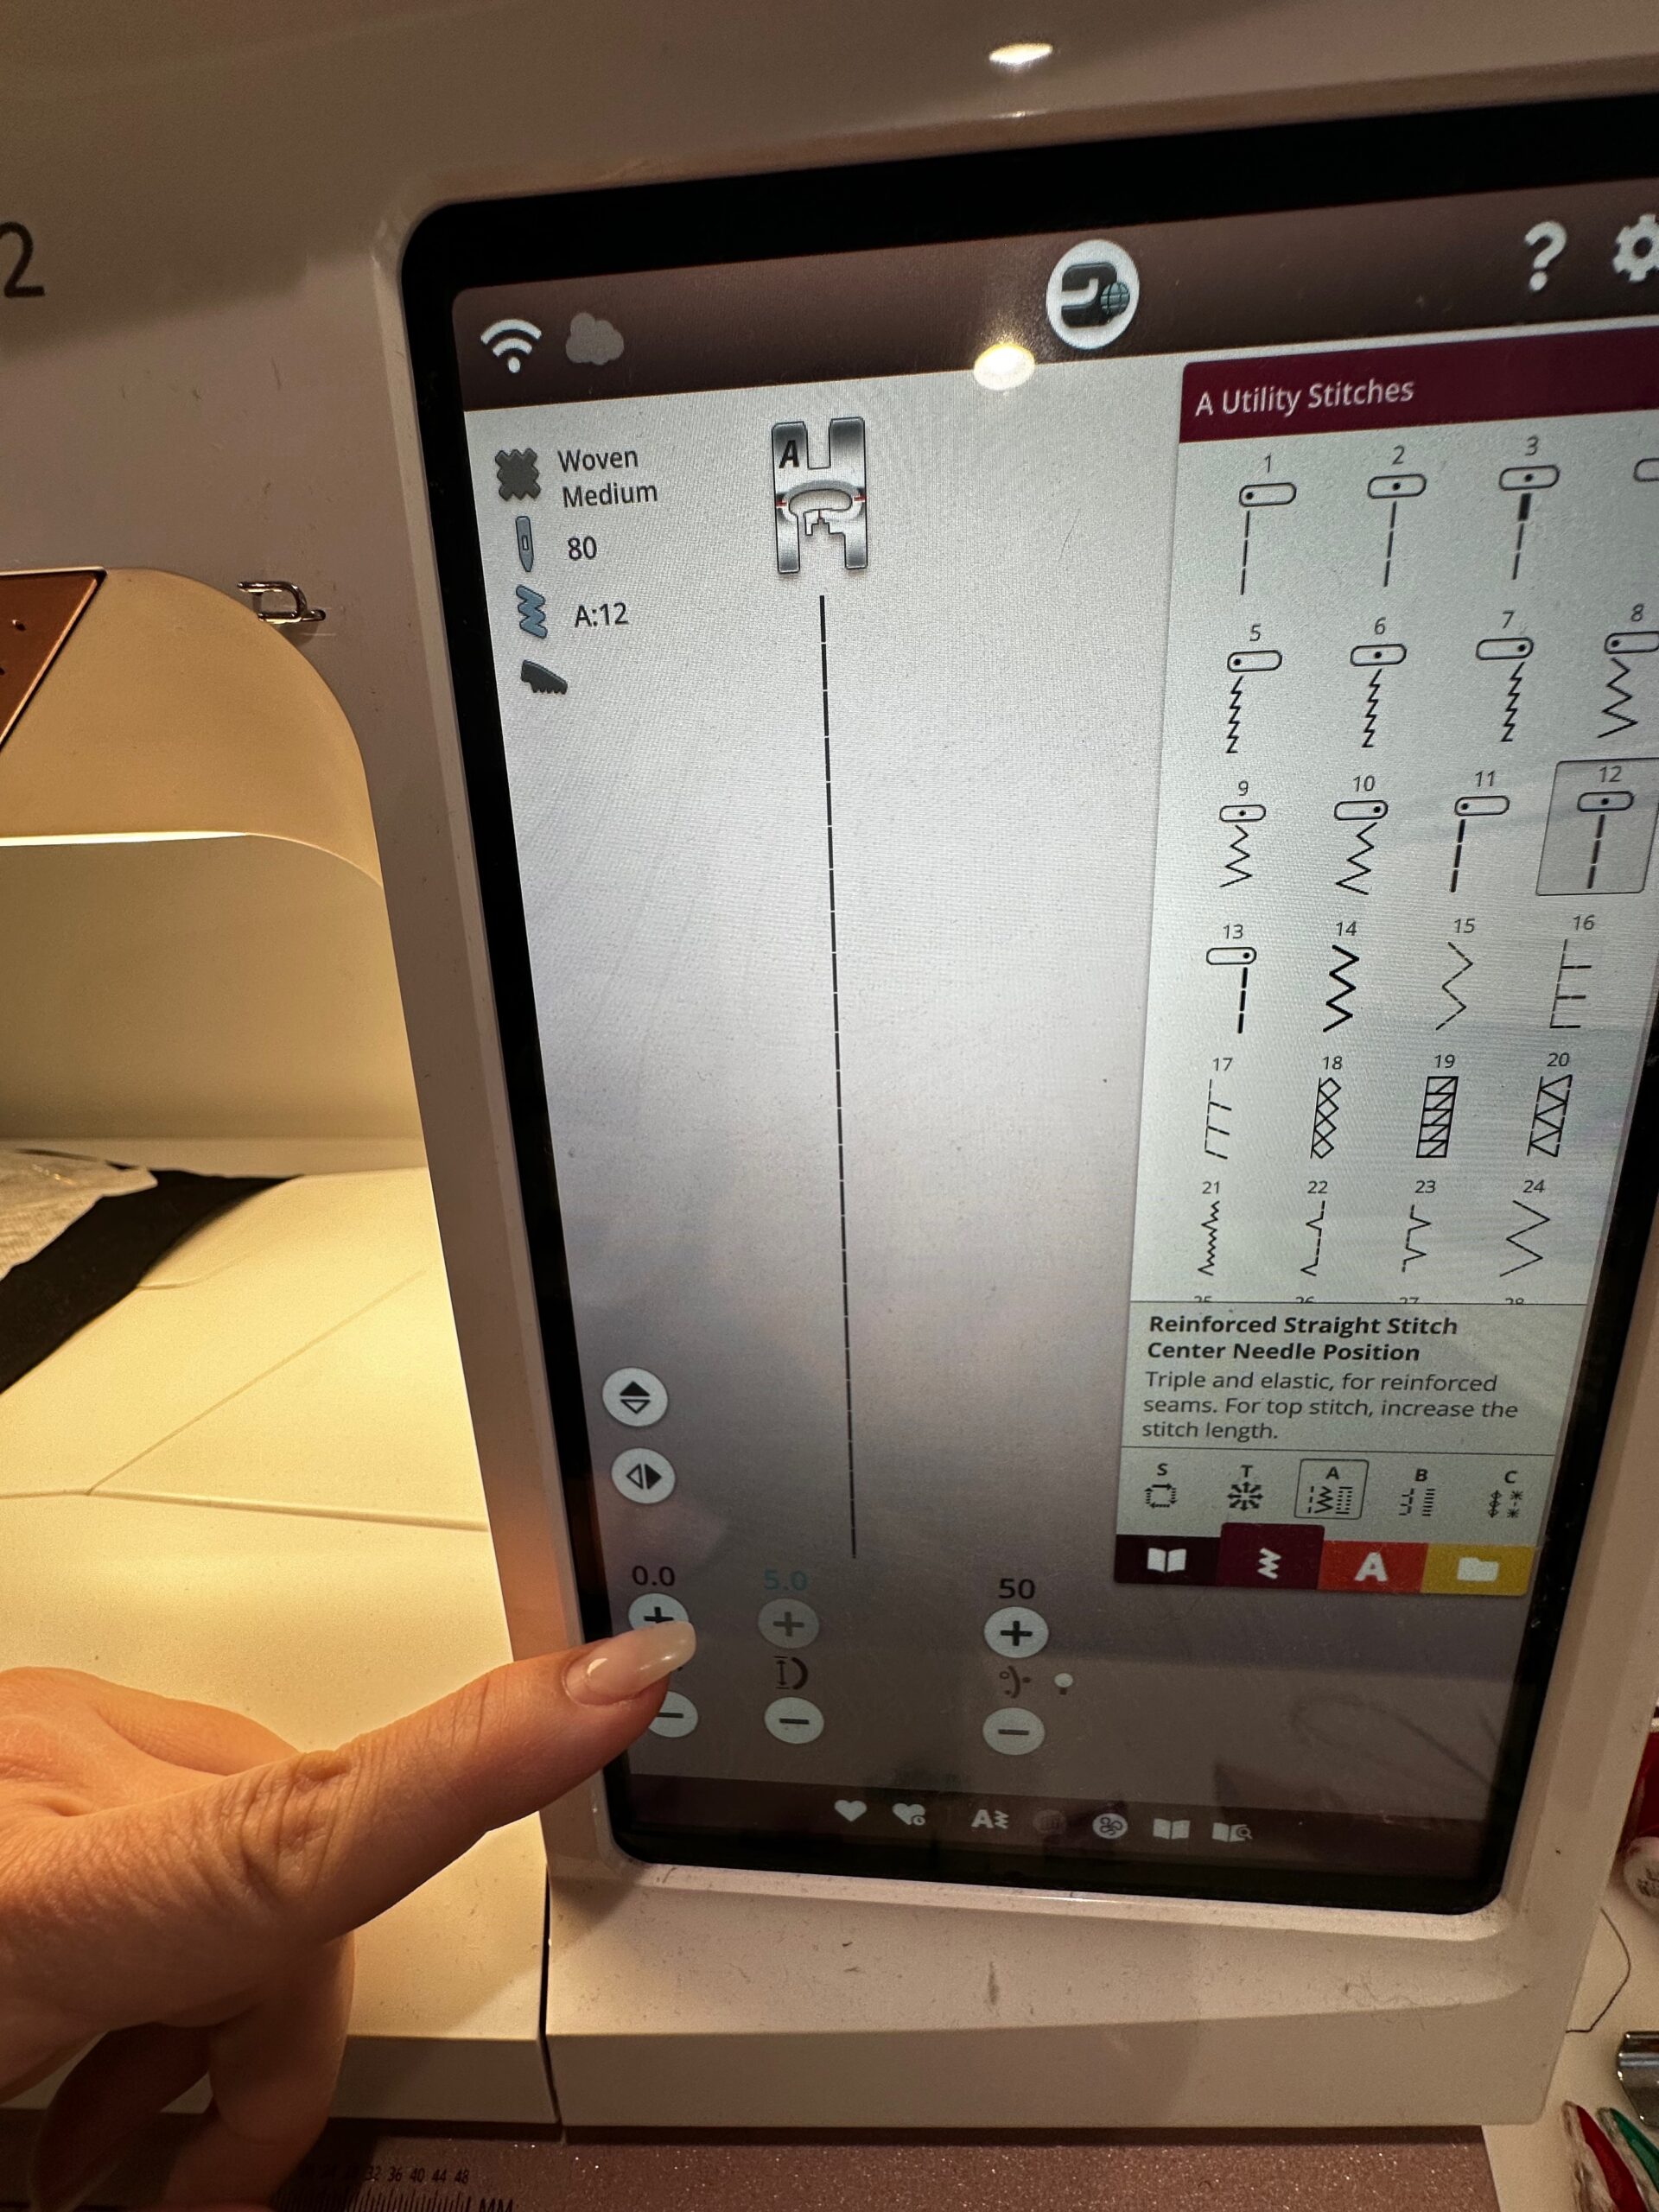
Or set the sewing machine for a triple straight stitch and stitch along the printed lines of the ship.
Add a couple of stitching lines for best coverage and stronger reflective properties.
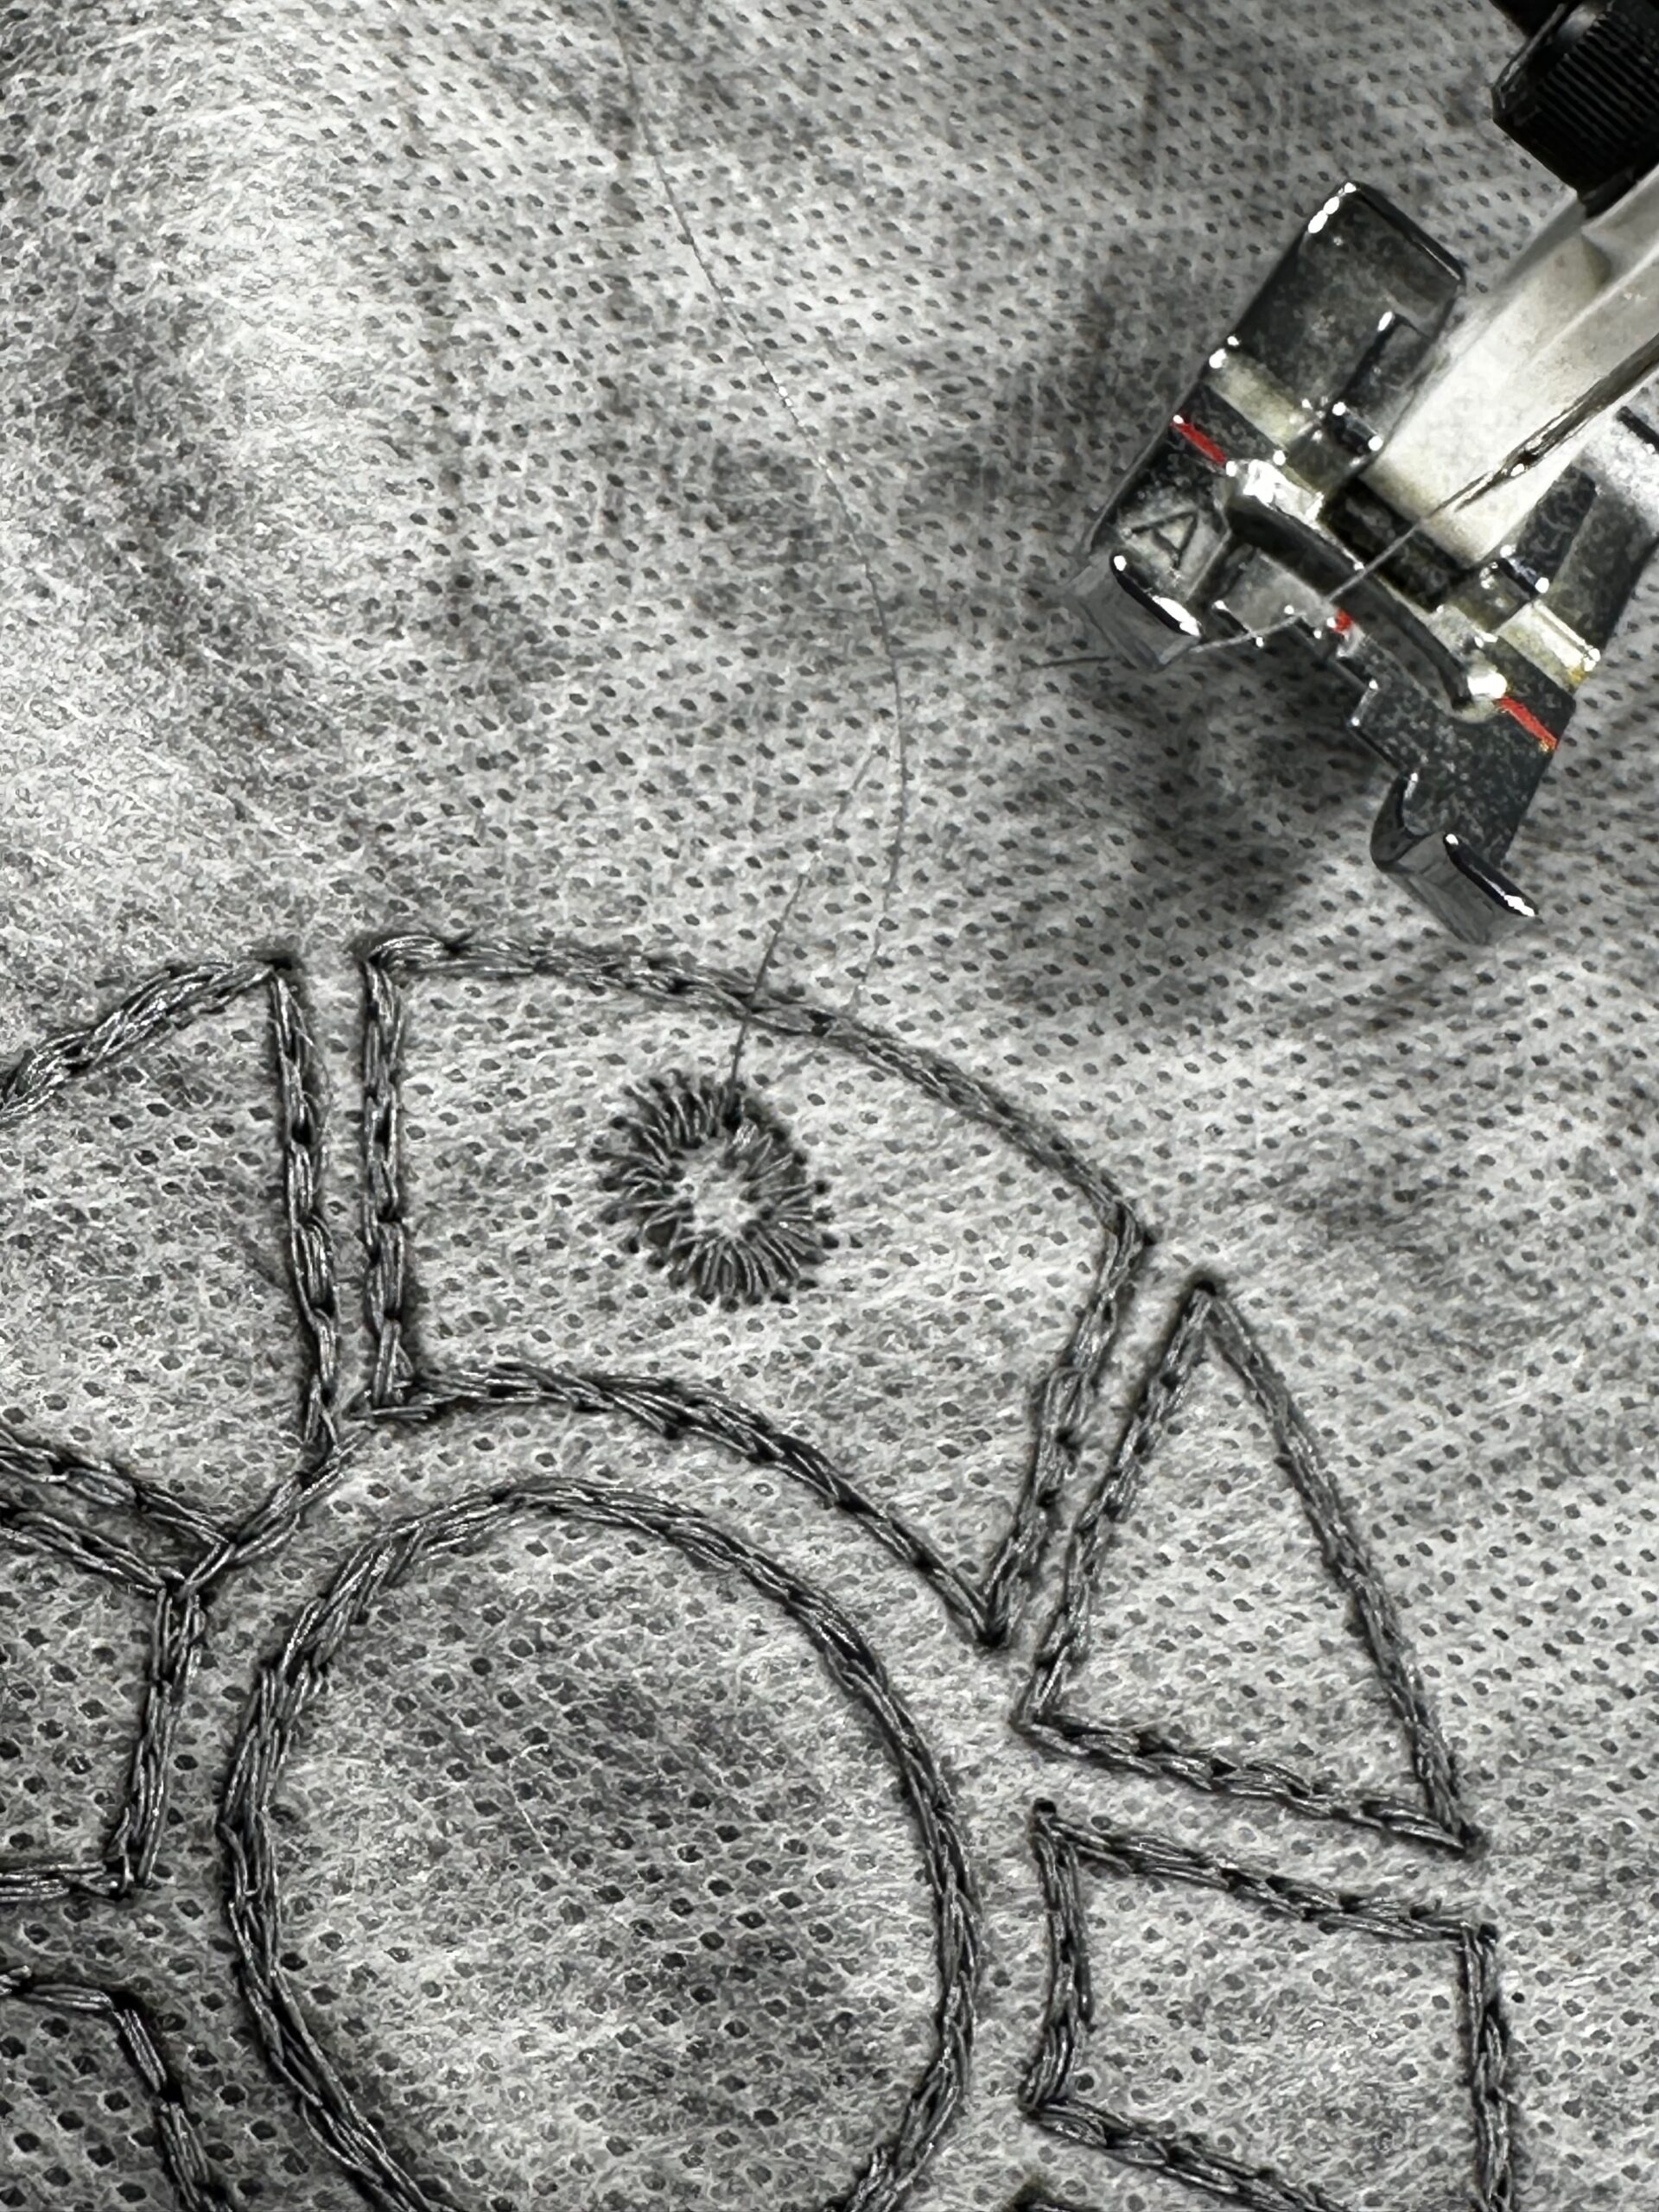
Next, switch to Sulky Holoshimmer™ Metallic Thread and stitch along the other “light speed” lines, either by hand or machine.

If desired, stitch the stars using Sulky 12 wt. Cotton Petites Thread in golds and silvers.
After embroidery/stitching is complete, trim the fabric to 12 1/2″ W x 11 3/4″ H.
After removing the stabilizer, fuse a piece of Soft ‘n Sheer™ Extra Stabilizer to the fabric wrong side, using a press cloth. The stabilizer helps seal the embroidery stitching while giving the fabric more body.
Skip to the bottom of this post for Stick ‘n Stitch Stabilizer removal instructions. If proceeding with the Zip Pouch, you can leave the Stick ‘n Stitch stabilizer intact; do not fuse the Soft ‘n Sheer Extra until after the Stick ‘n Stitch stabilizer is removed.
ZIP POUCH SUPPLIES
- (2) 12 1/2″ x 11 3/4″ rectangles of canvas fabric (exterior)
- (2) 12 1/2″ x 11 3/4″ rectangles of quilting cotton fabric (lining)
- (2) 3/4″ x 2″ rectangle of no-fray fabric (such as cork, faux leather or vinyl)
- (1) 14″-long #5 zipper with pull
- Sulky 40 wt. Poly Deco™ Thread
- Organ® size 80/12 Universal Needle
- Fusible fleece (optional)
ZIP POUCH PREP
Install a size 80/12 Universal Needle and thread it with Sulky 40 wt. Poly Deco Thread. Use the same thread in the bobbin.
If using, fuse the fusible fleece to each exterior rectangle wrong side. Be careful to avoid the embellishment thread with the iron, even if using a press cloth. NOTE: If using fusible fleece on the exterior fabrics, you MUST remove the Stick ‘n Stitch Stabilizer before fusing. The Stick ‘n Stitch cannot come in contact with the heat/iron.
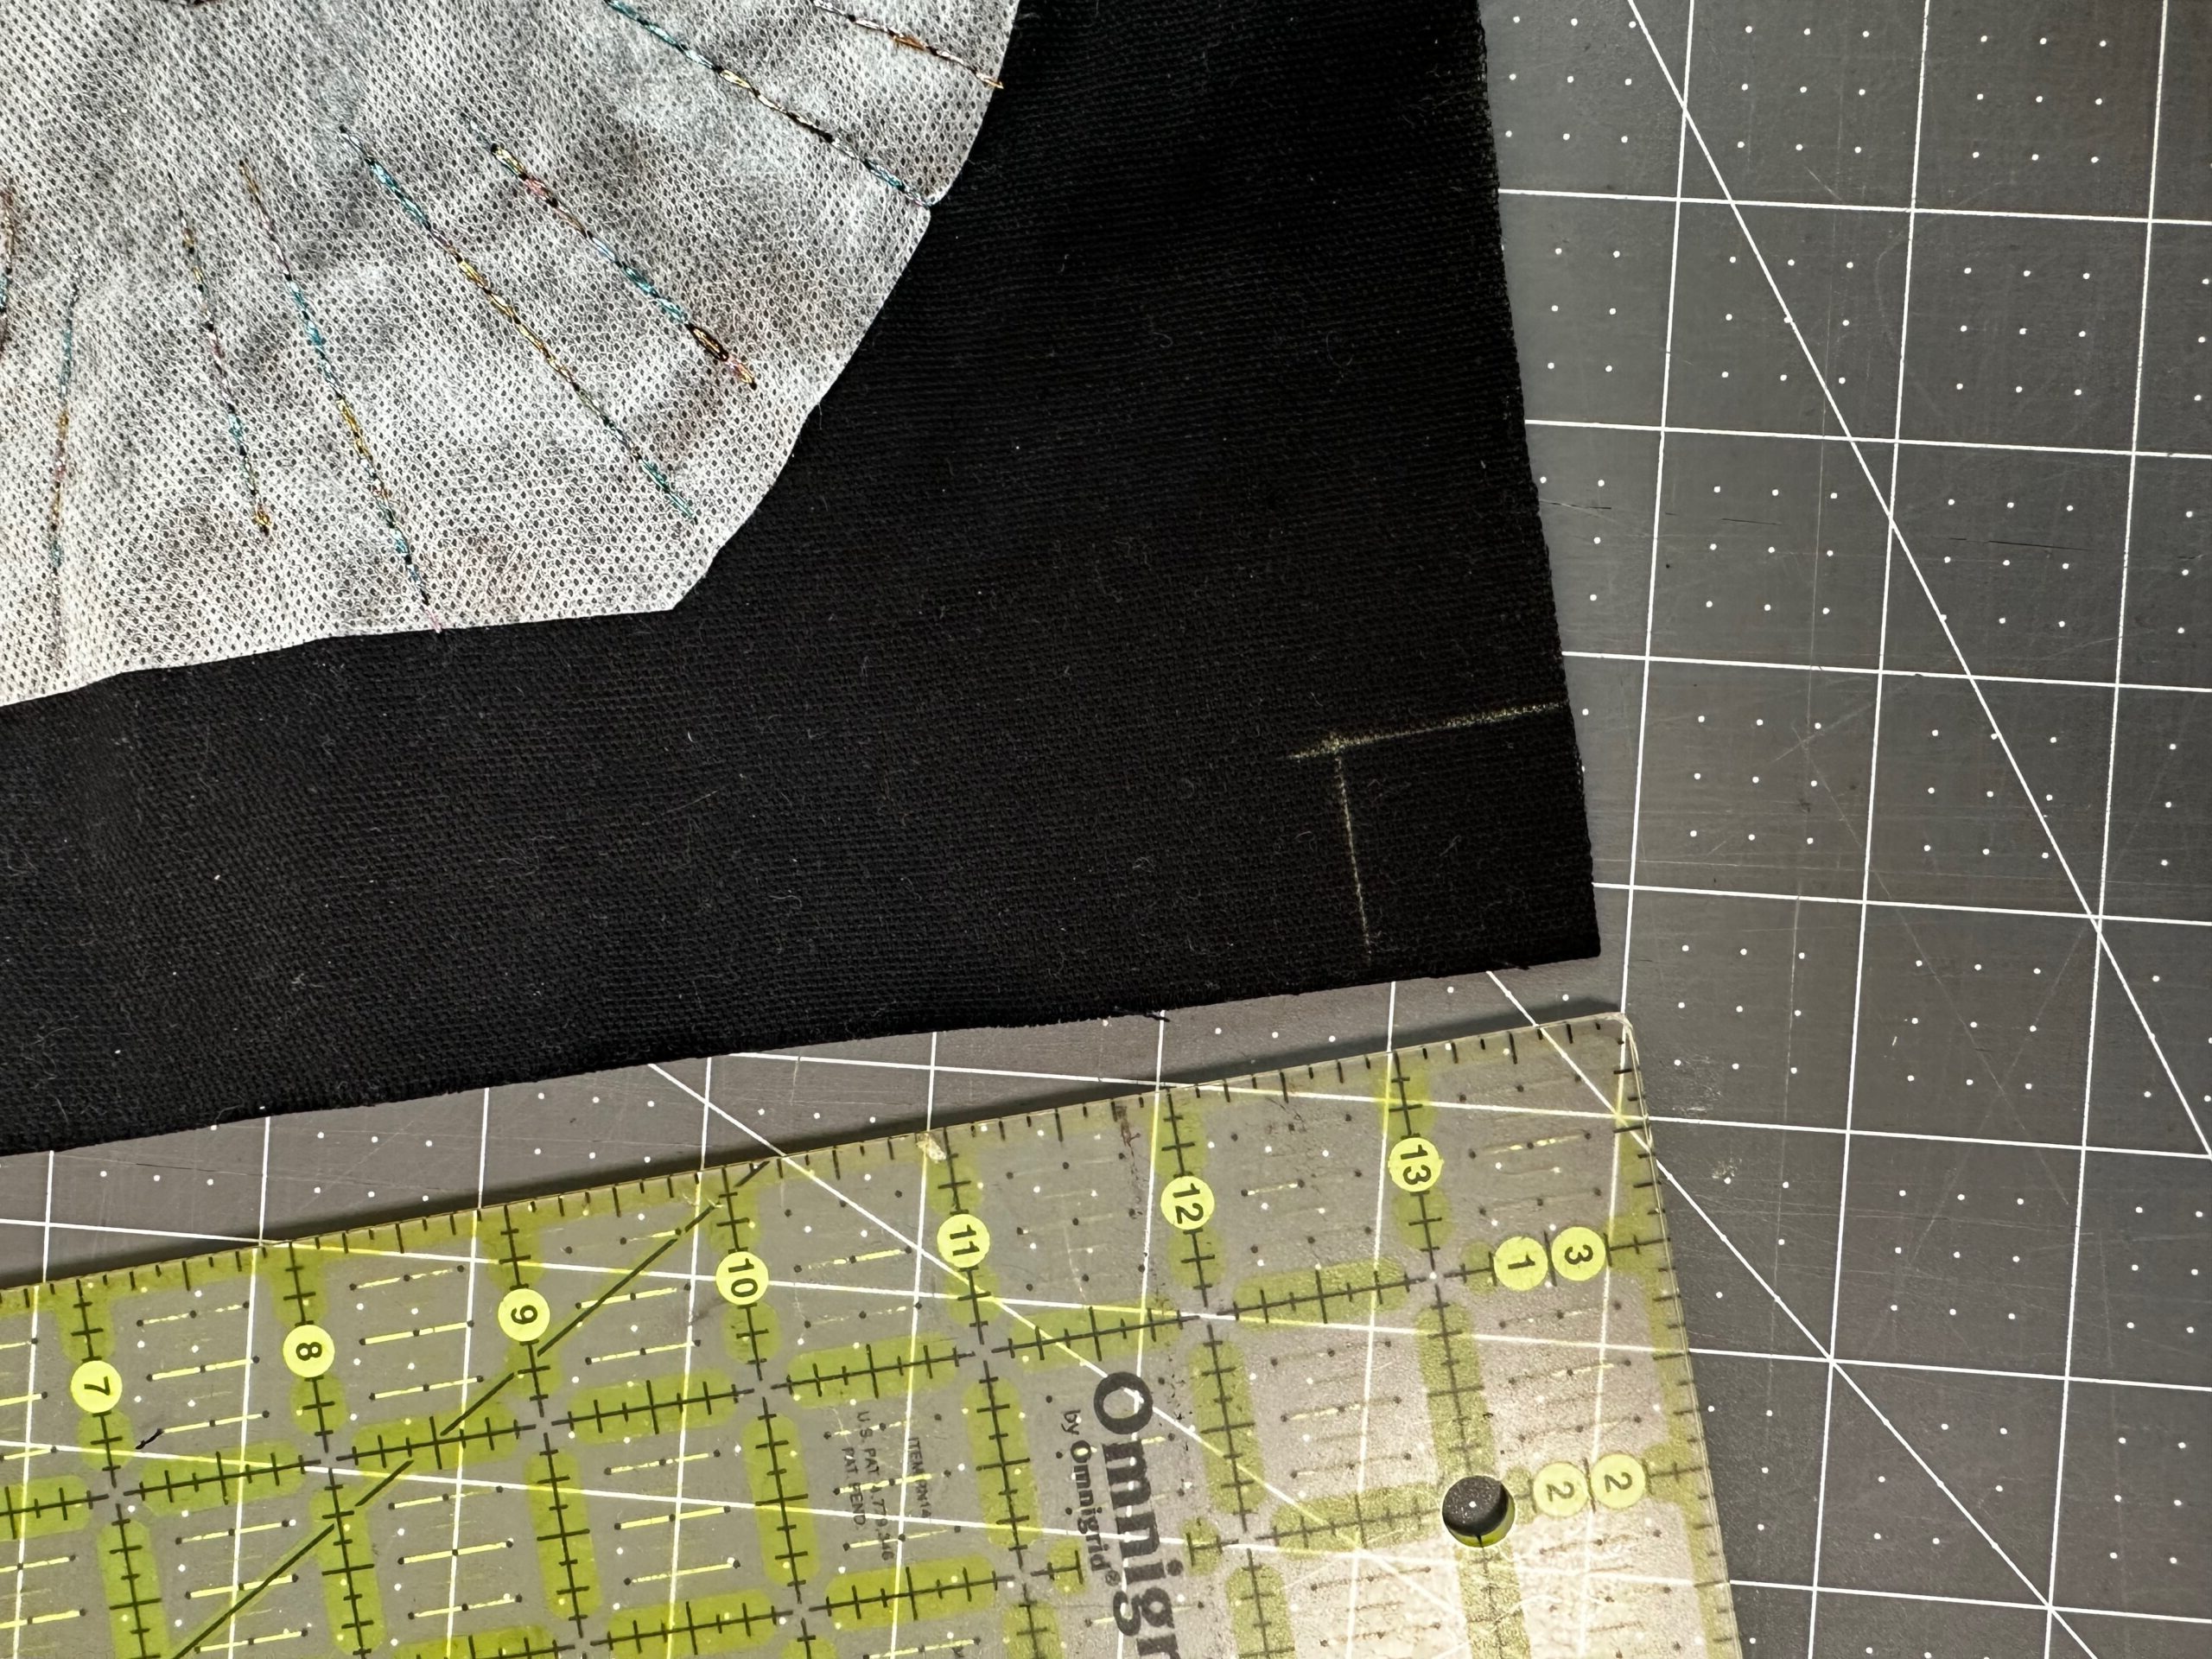
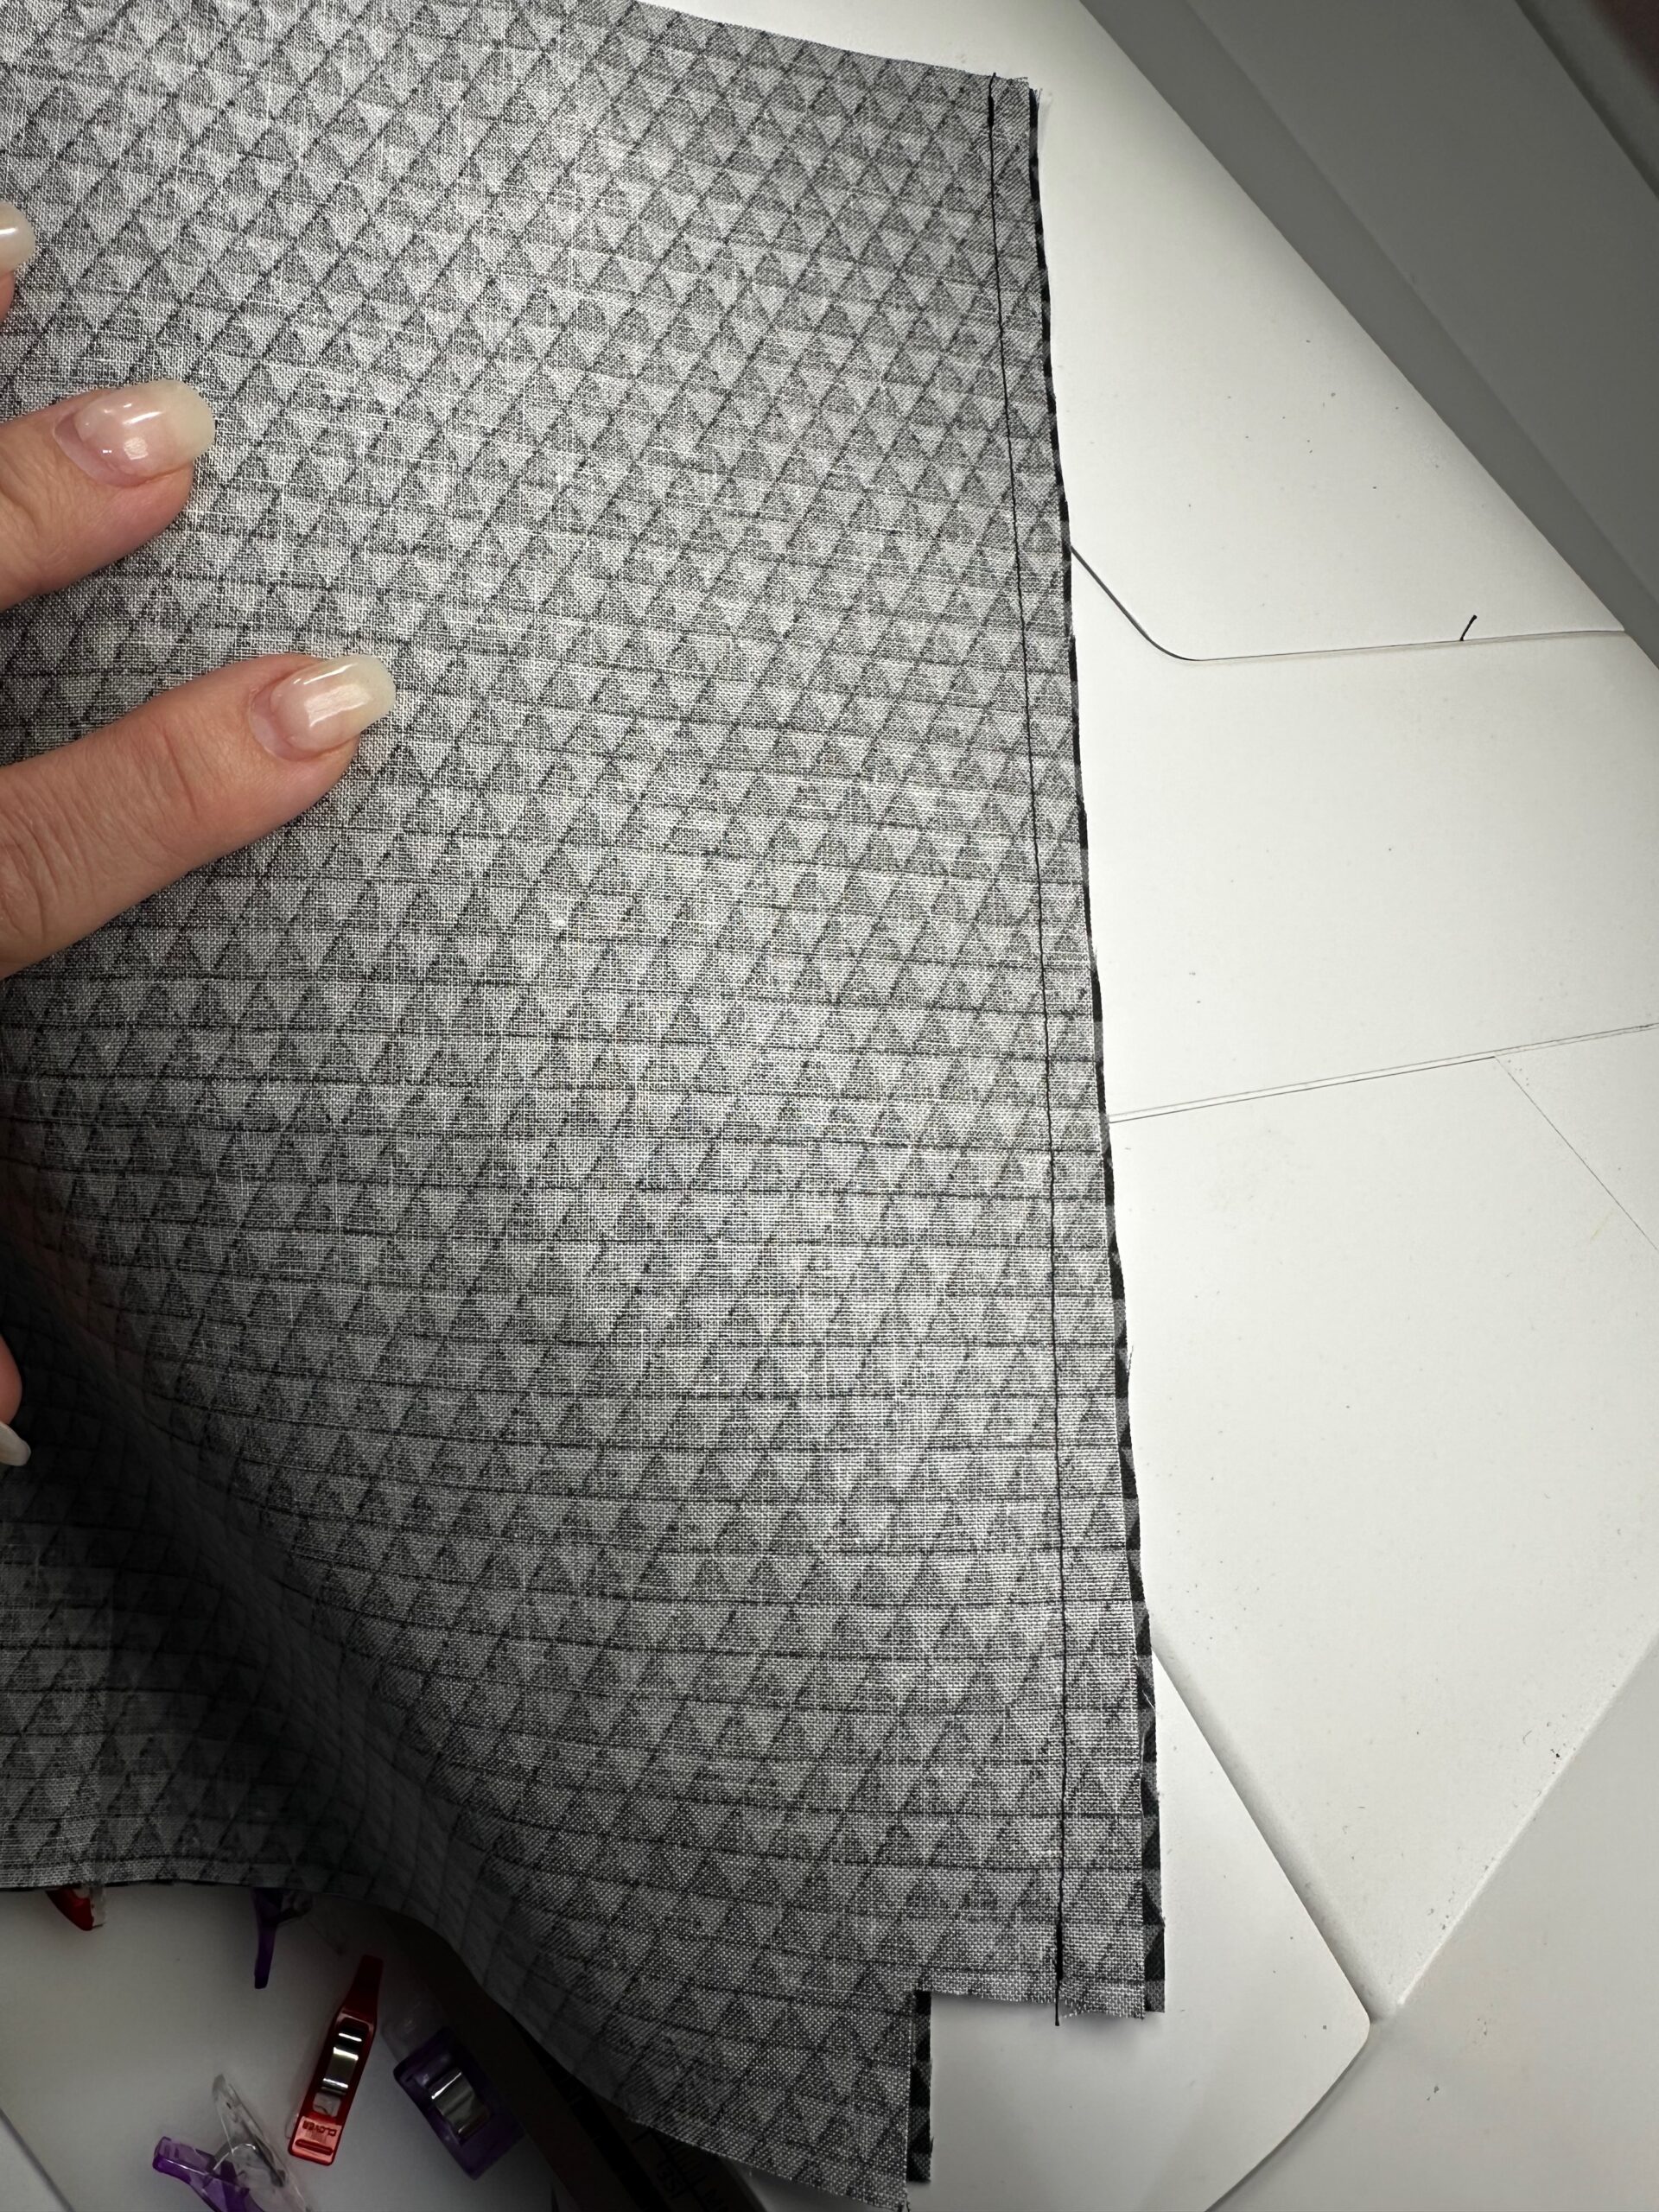
Choose one long edge of each exterior rectangle as the lower edge. Measure and mark a 1″ square at each fabric lower edge. Then, cut out the square. Repeat to cut squares from each lining lower edge.
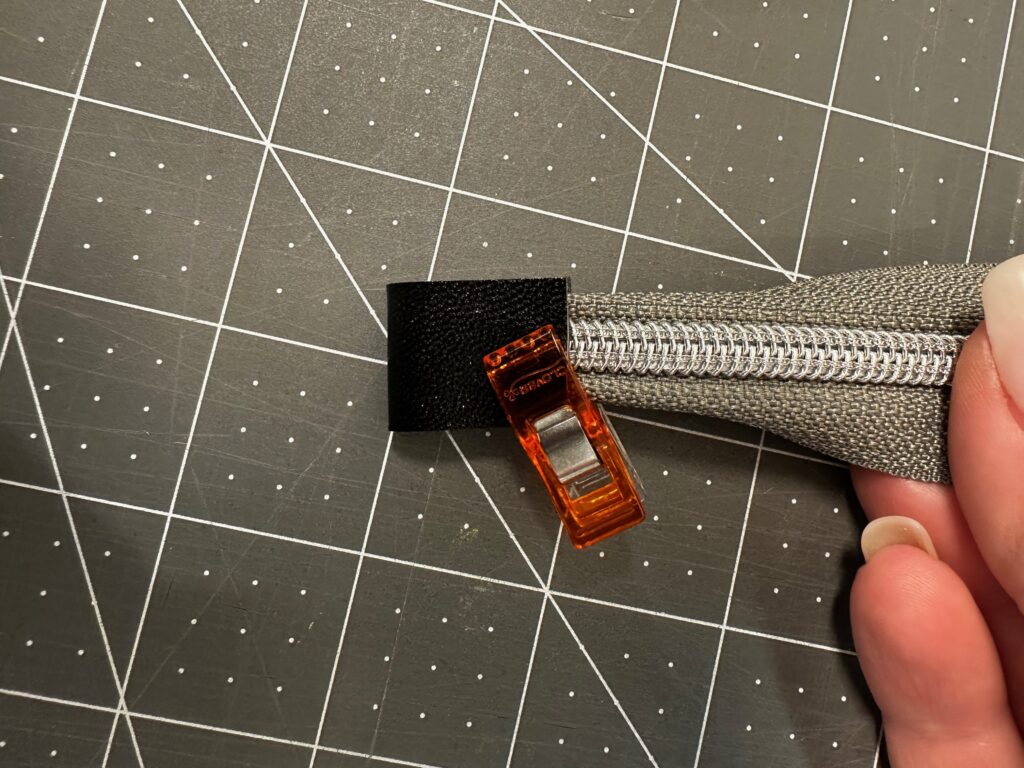
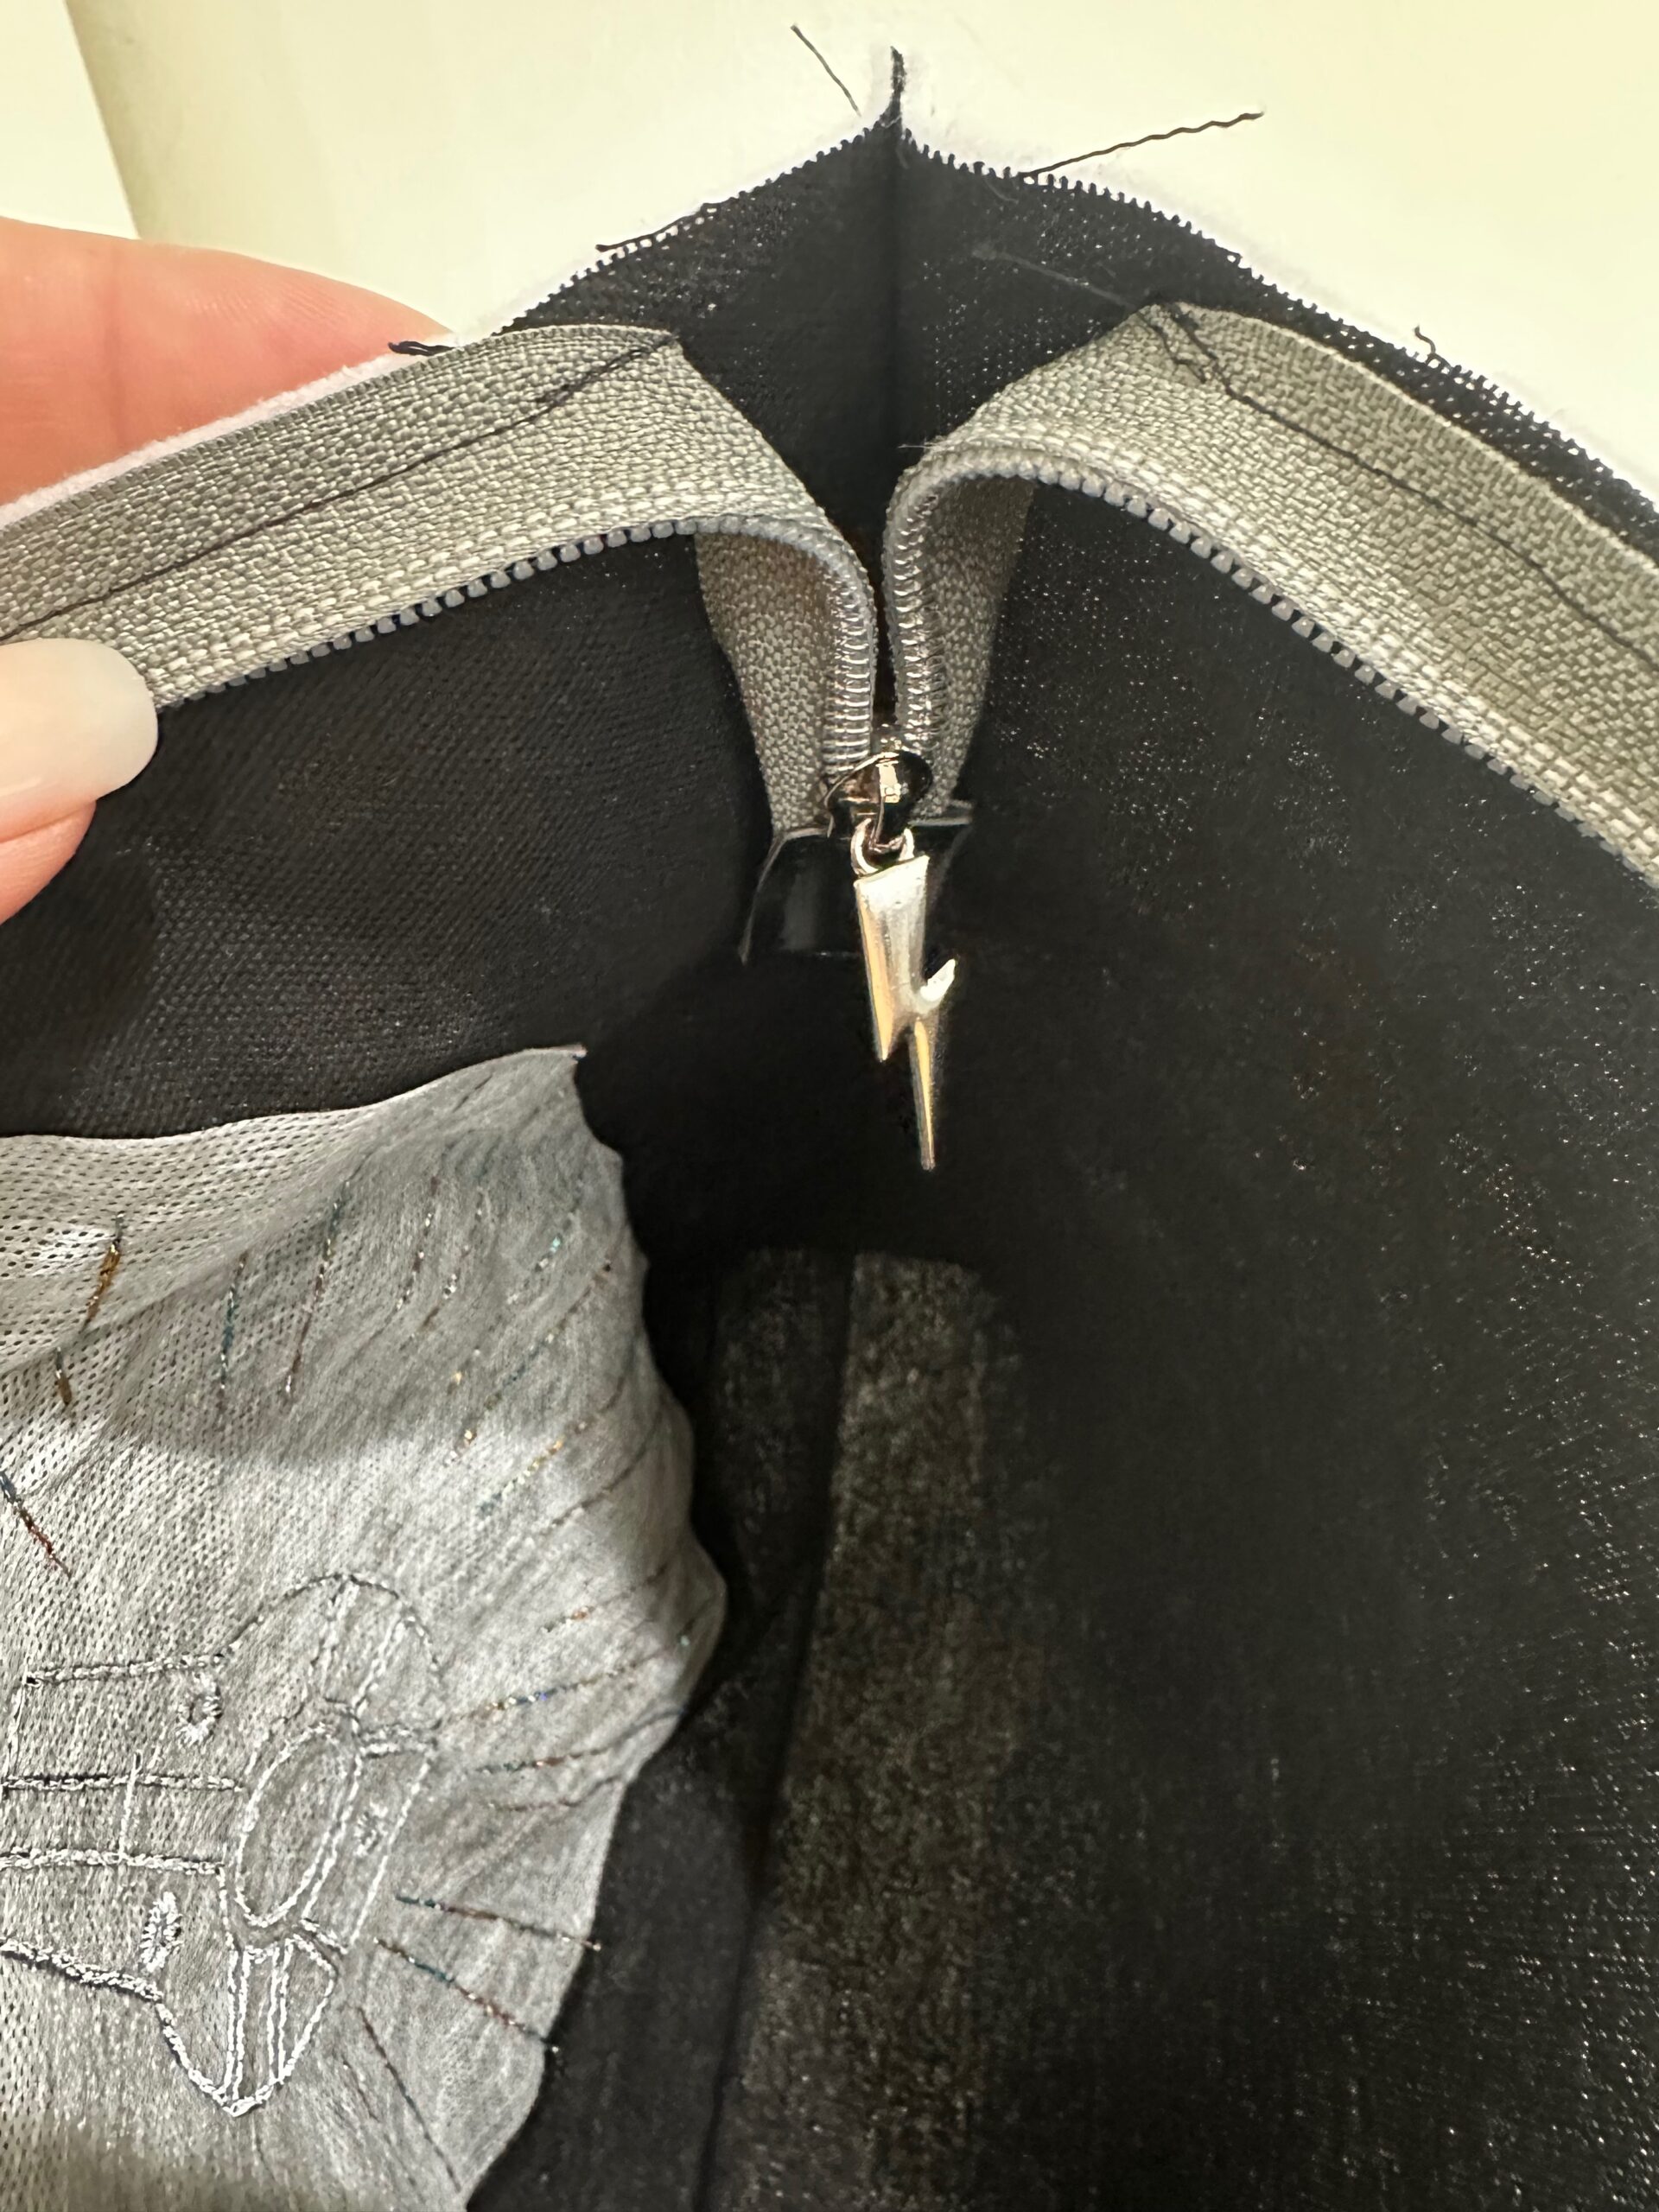
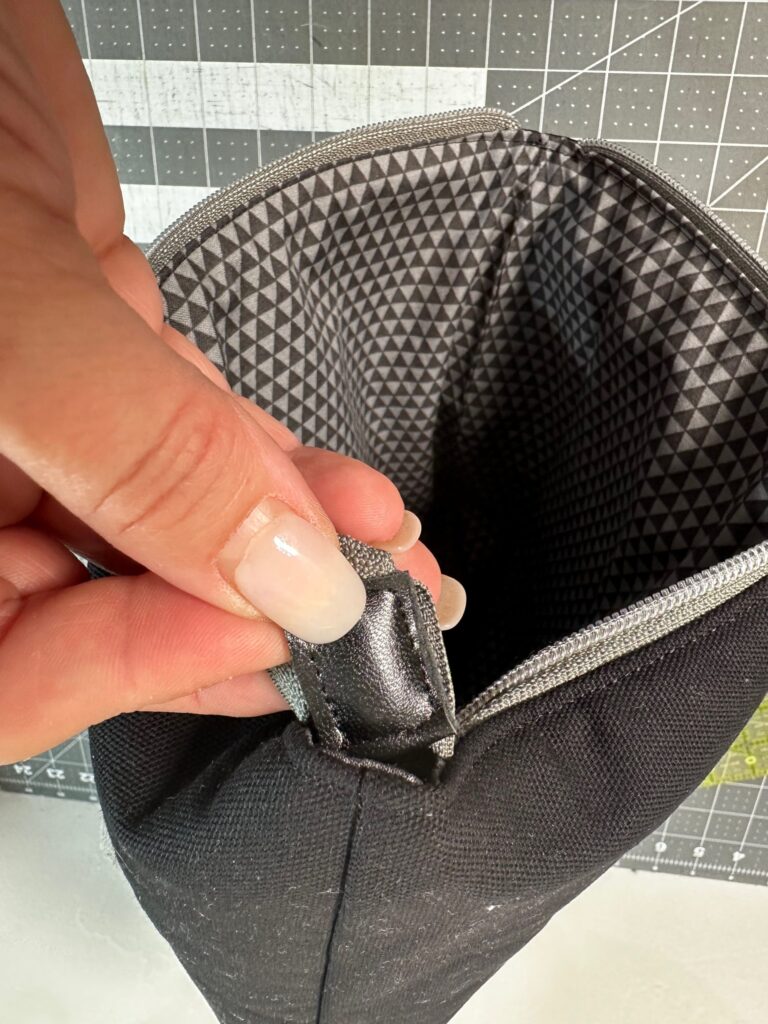
If using a zipper that has a stopper, trim it off. At the zipper end, fold the zipper tape edges toward the wrong side so it measures approximately 3/4″ wide.
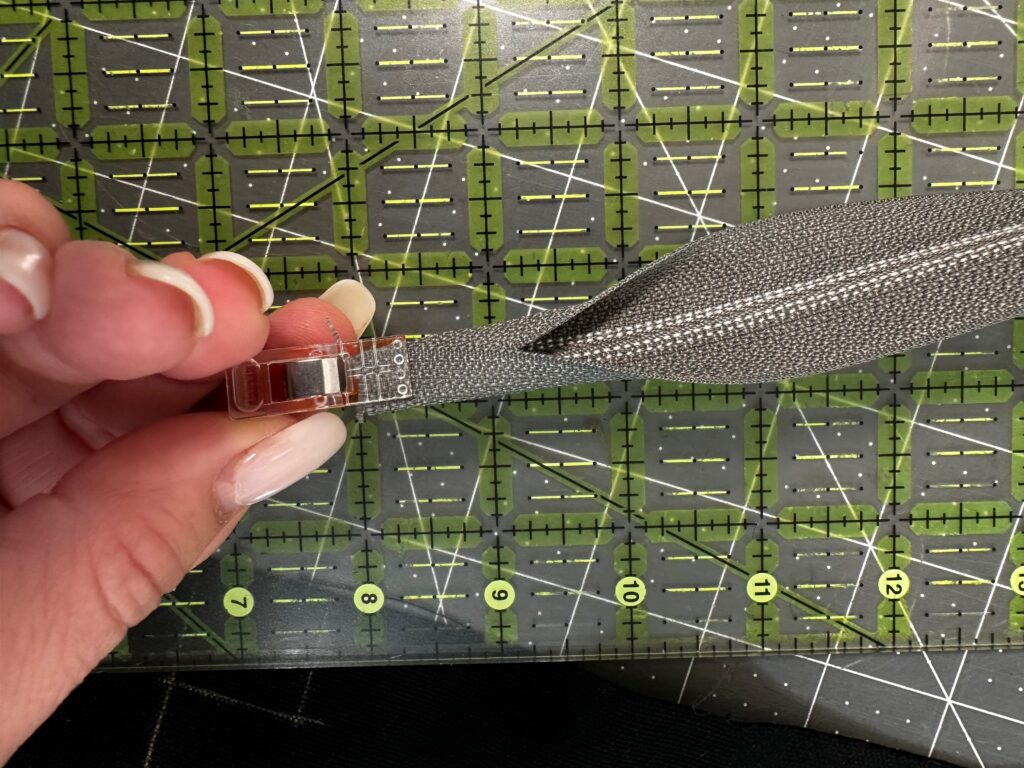
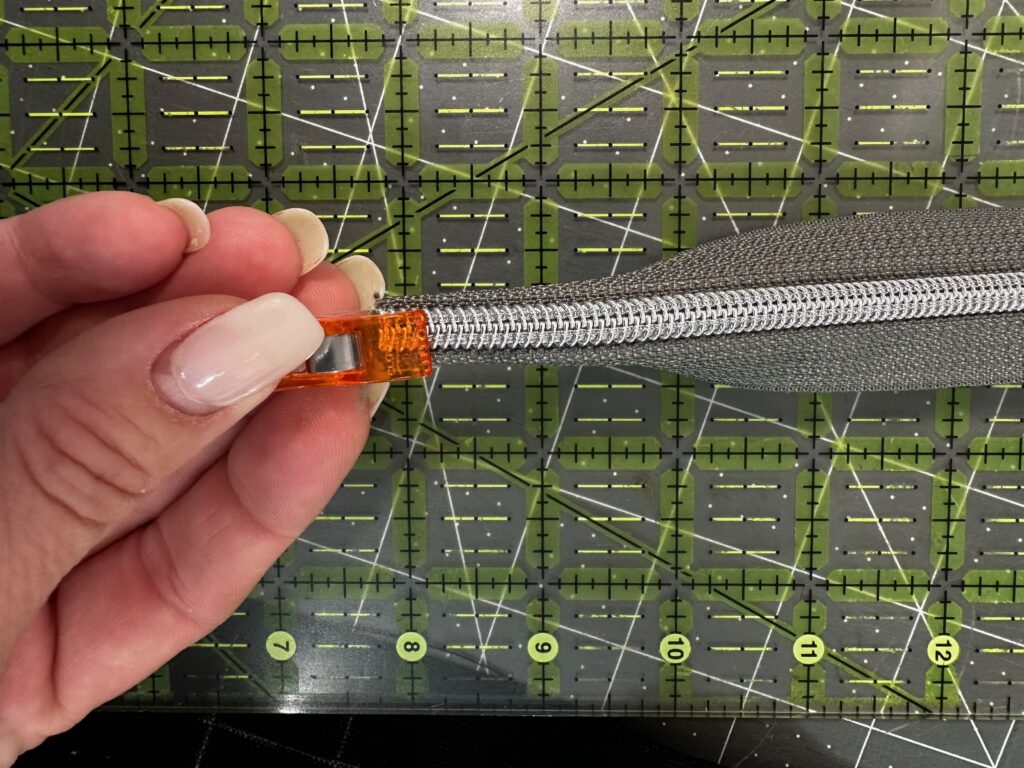
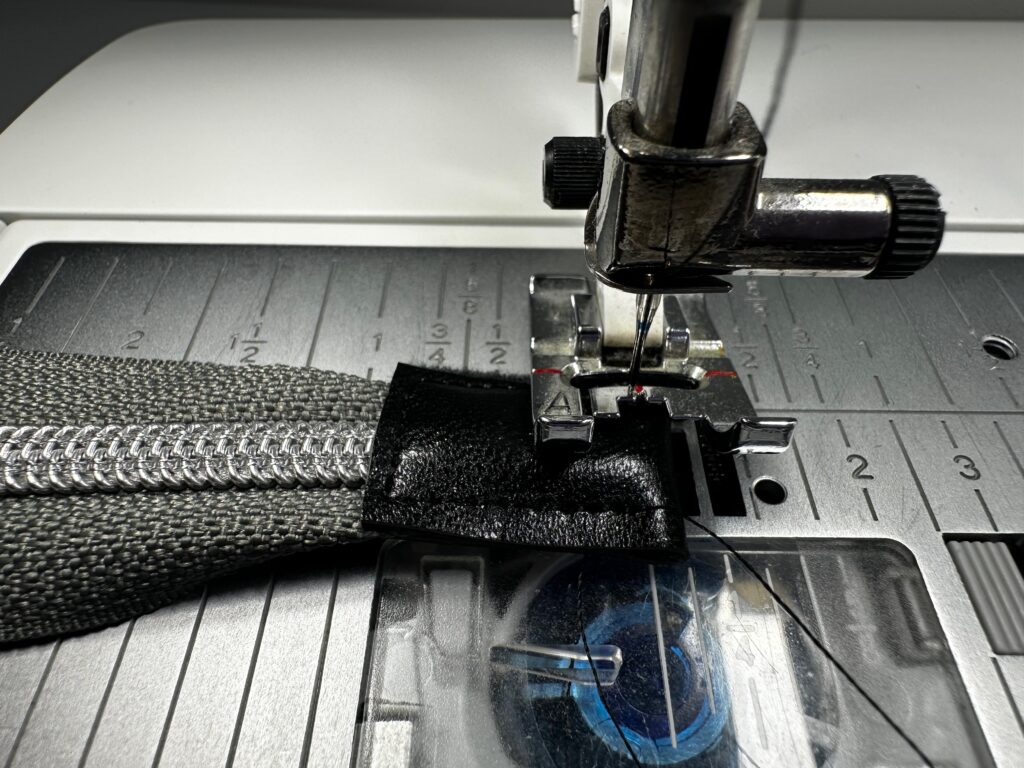
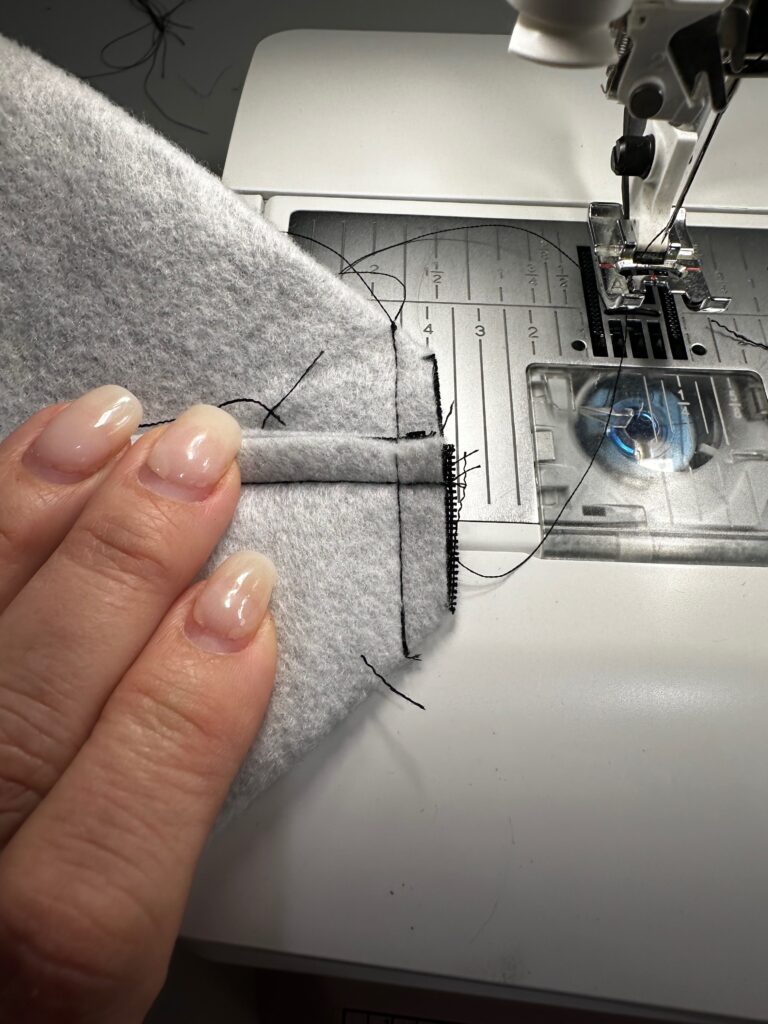
Fold the no-fray fabric rectangle in half so it measures 3/4″ x 1″. Sandwich the zipper end between the folded rectangle; clip to secure. Topstitch the fabric edges to enclose the zipper end.
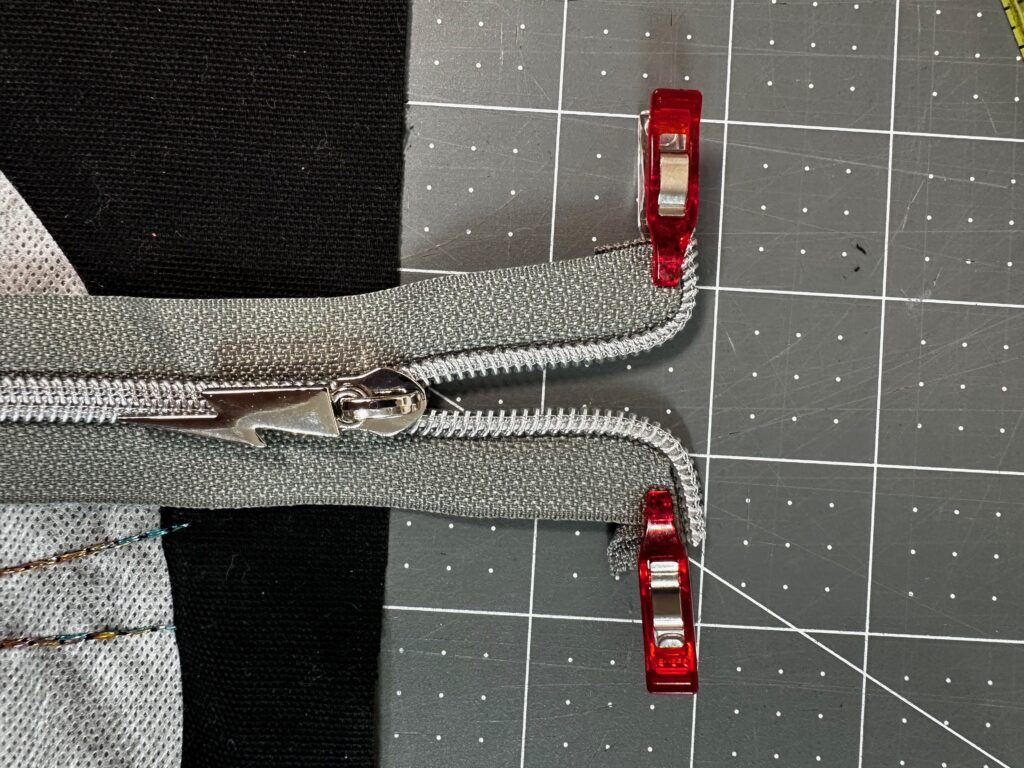
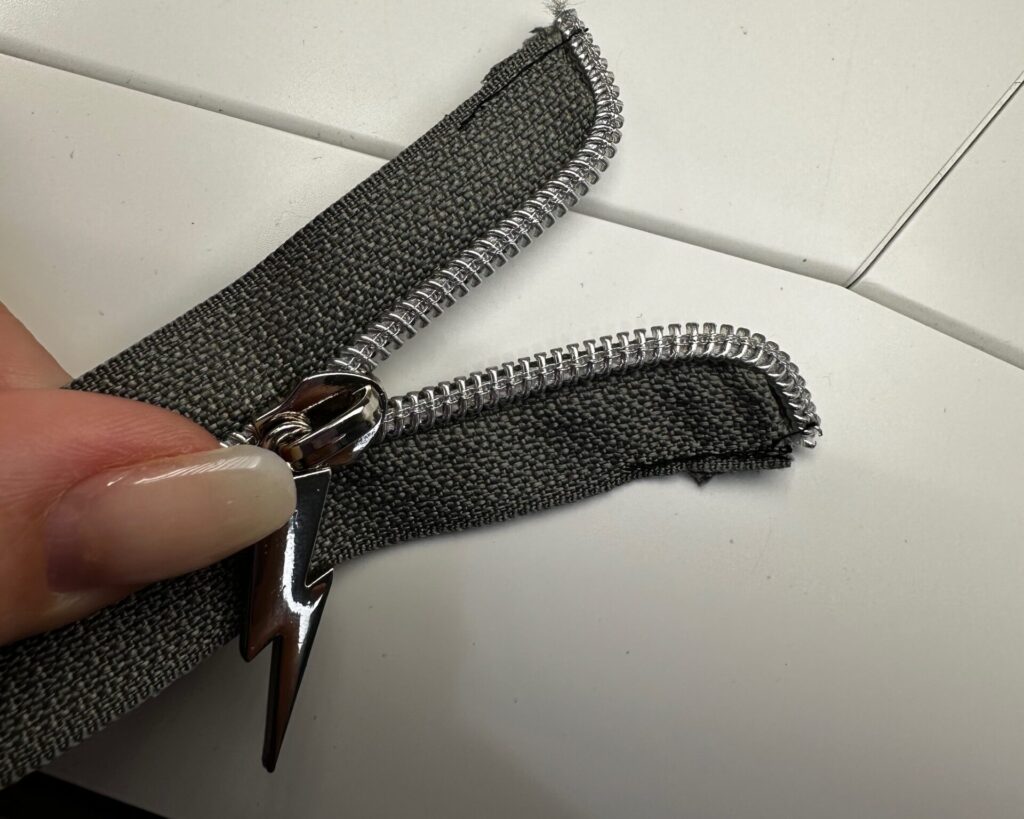
On the opposite zipper end (closest to the pull), fold each zipper end back at a 90° angle away from center; stitch in place. Then open the zipper completely.
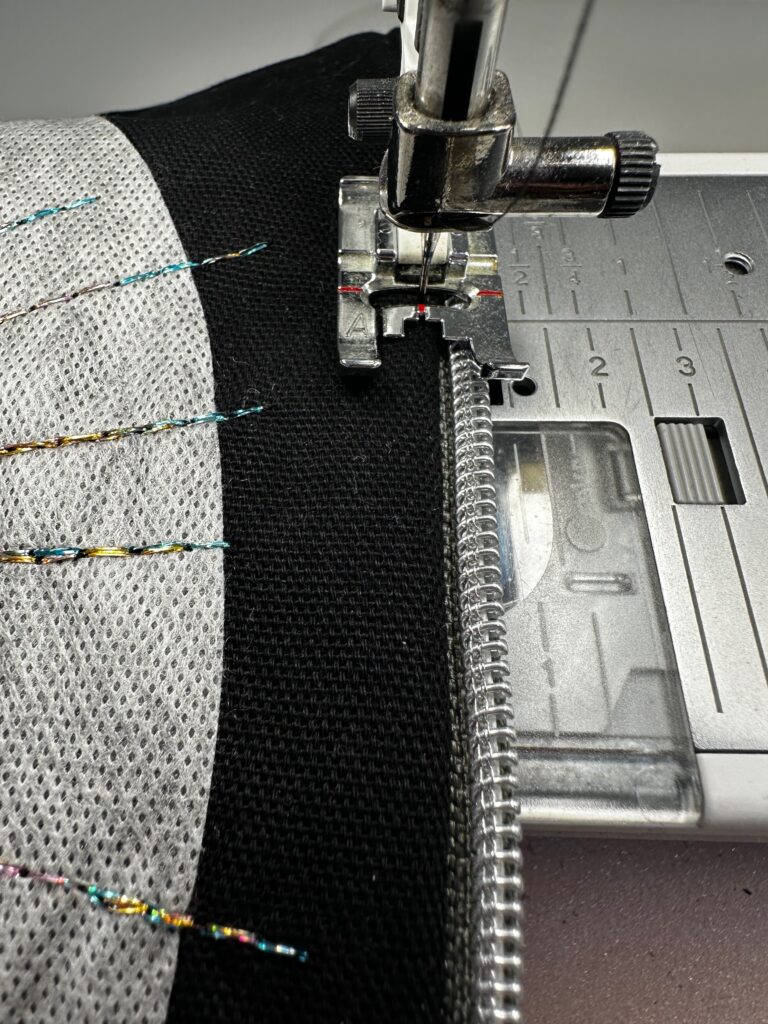
With right sides together, clip one zipper tape edge to one exterior upper edge. Place the angled zipper end 1/4″ from the left edge. Mark the exterior 1 1/2″ from the right edge; this is where you’ll stop stitching and angle the zipper end down away from the pouch edges.
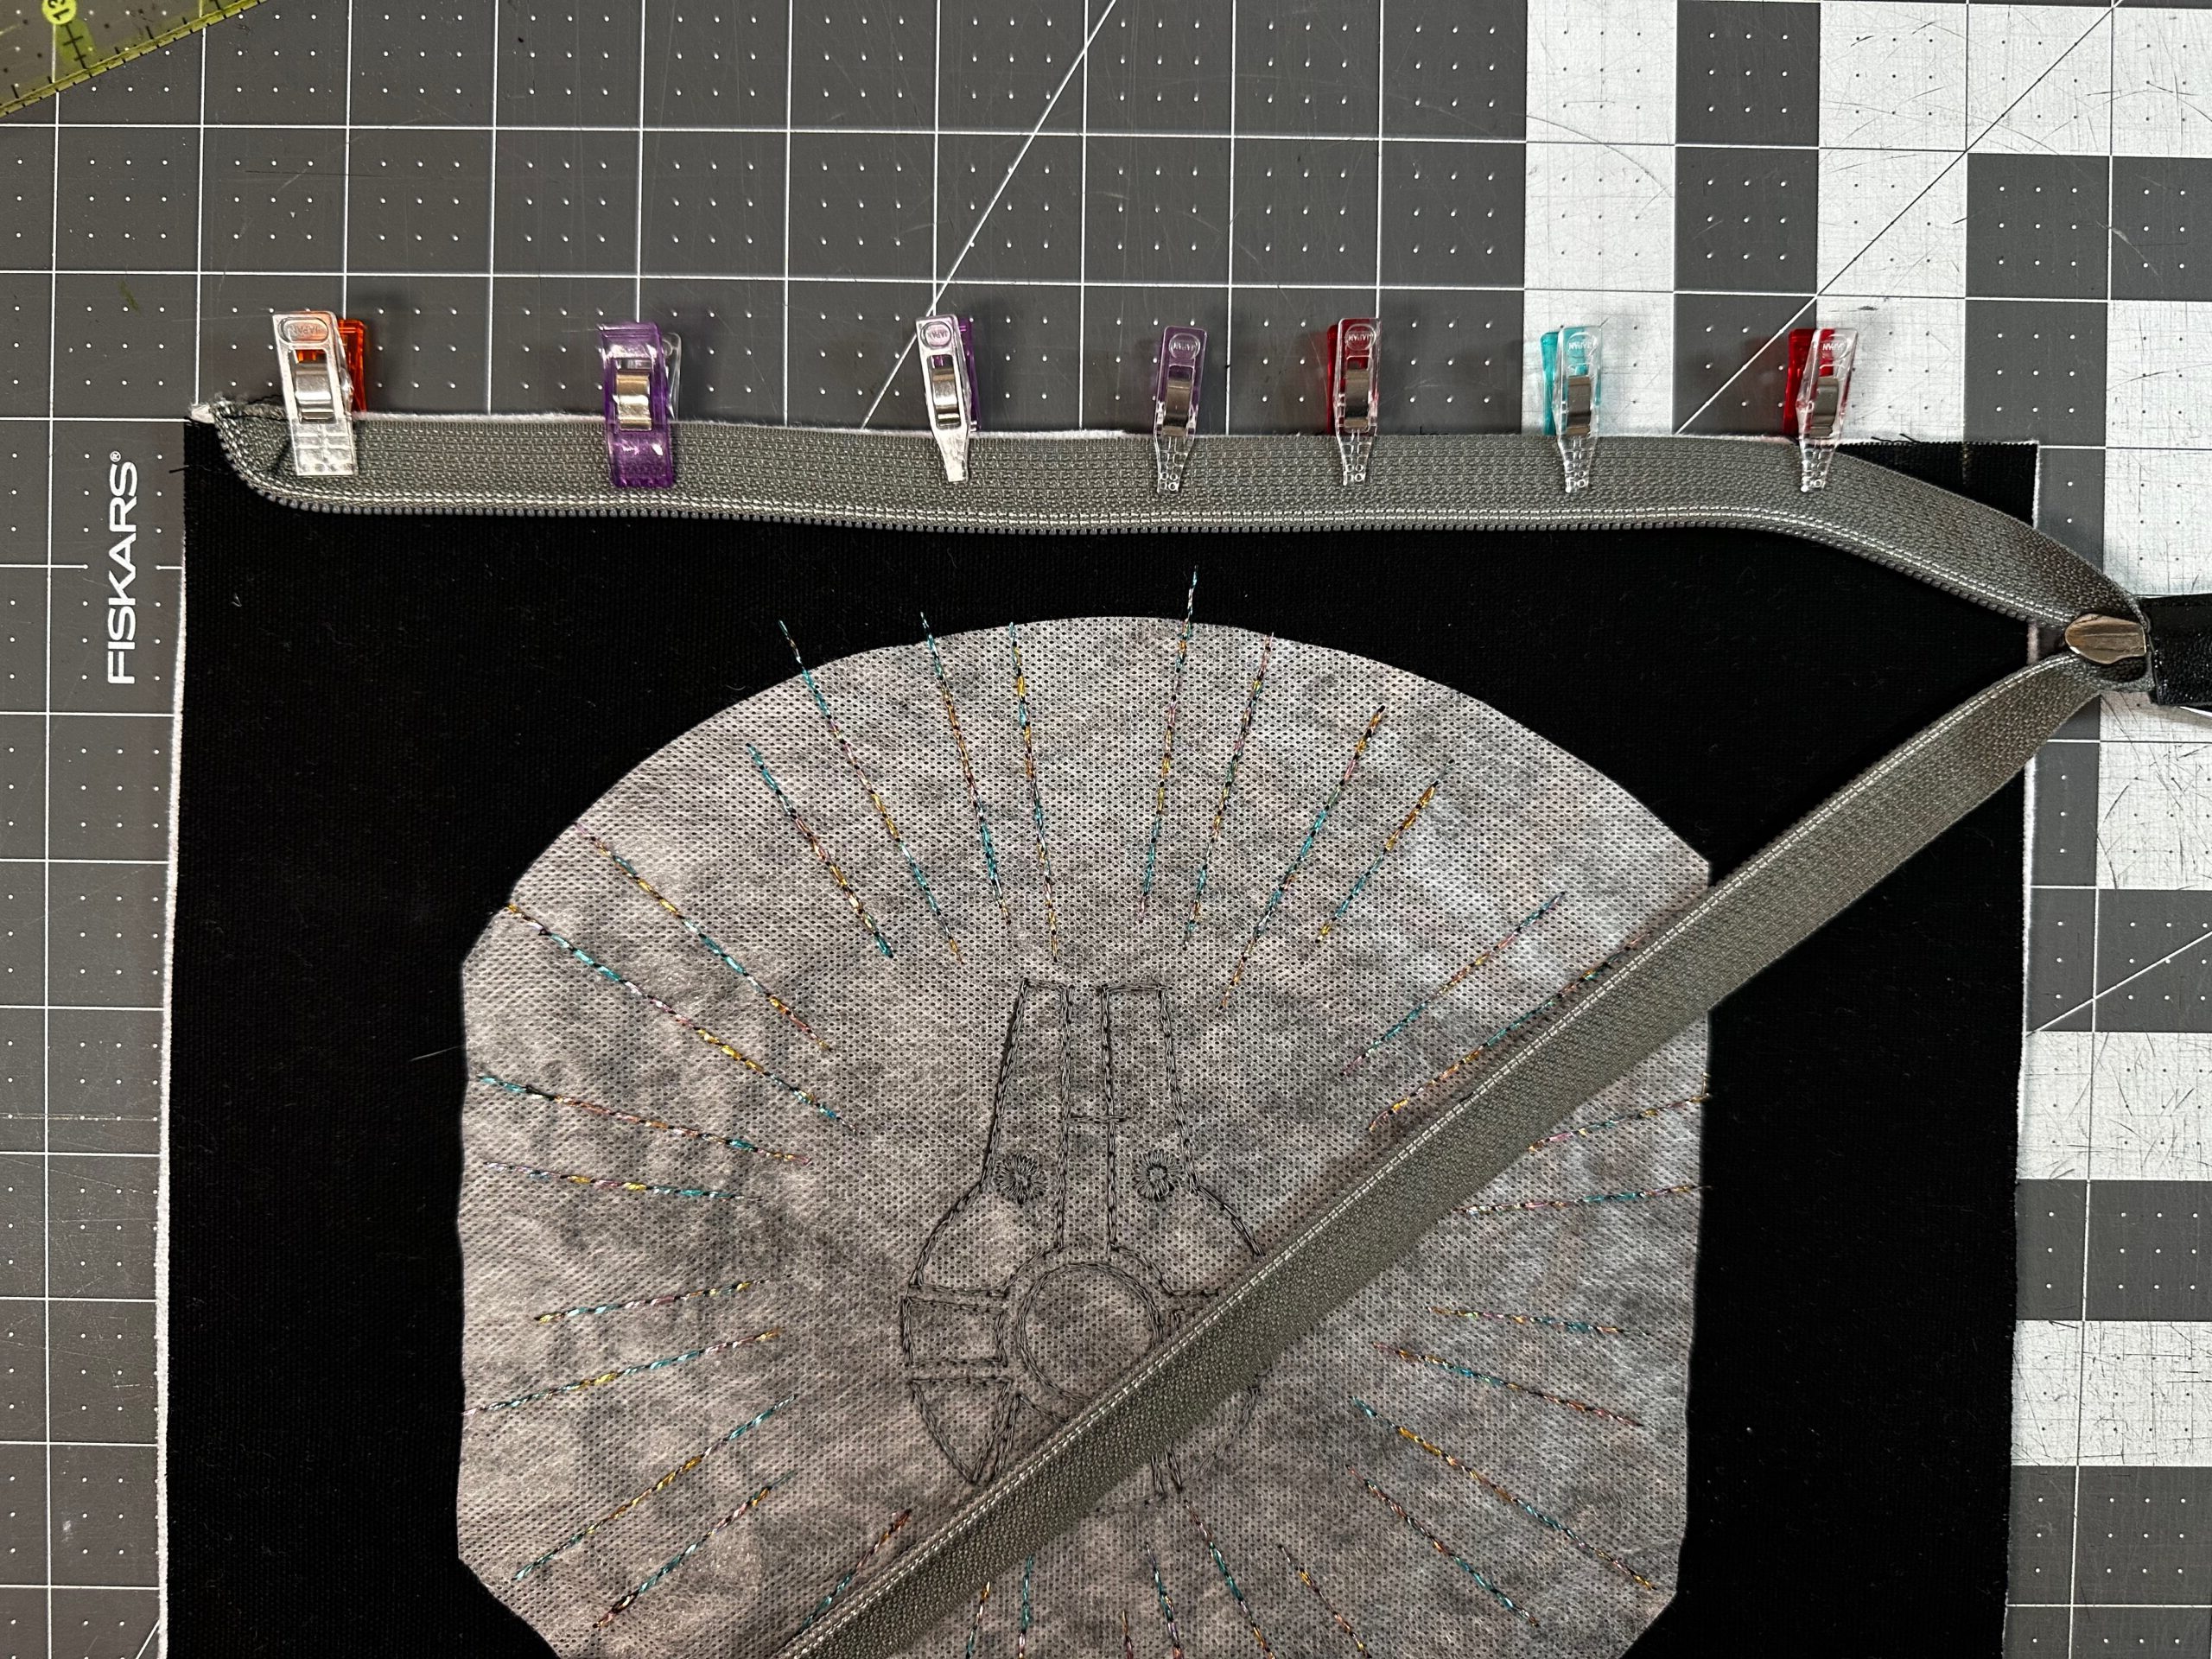
Stitch the zipper in place.

Repeat to stitch the opposite zipper tape edge to the remaining exterior fabric upper edge.

EXTERIOR ZIP POUCH
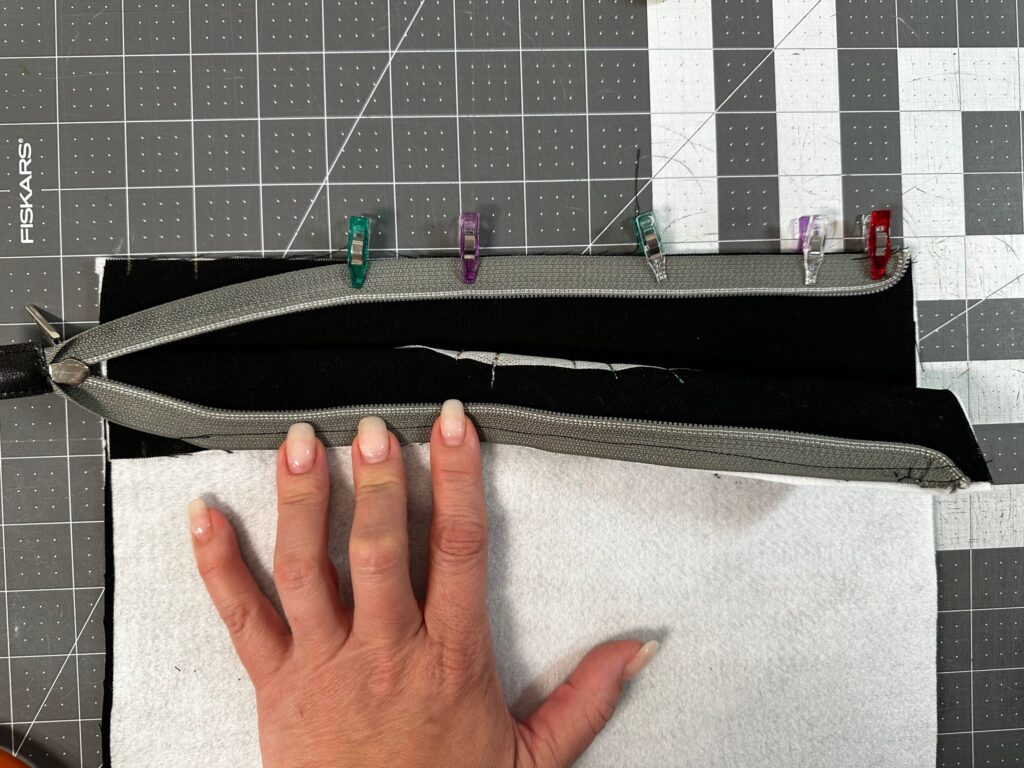
Clip the exterior side seams together with right sides facing. Make sure the zipper end is up and out of the way. Then, stitch the side seams with a 1/4″ seam allowance. The zipper teeth at the pull end should be just outside the stitching.
Next, stitch the exterior lower edge.
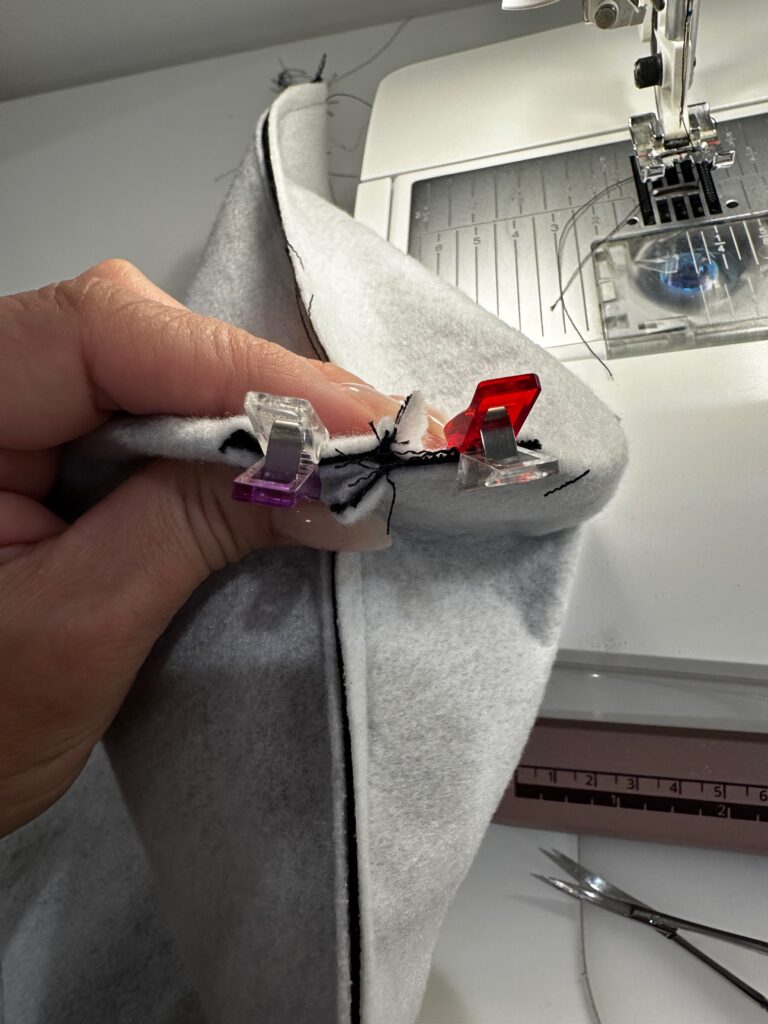
Box both exterior lower-edge corners. Align one side seam with the lower-edge seam; clip. Then, stitch across the boxed edge with a 1/4″ seam allowance. Repeat to box the opposite corner.
Keep the exterior wrong side out. Push the zipper end in toward the right side. Set aside.
LINING ZIP POUCH
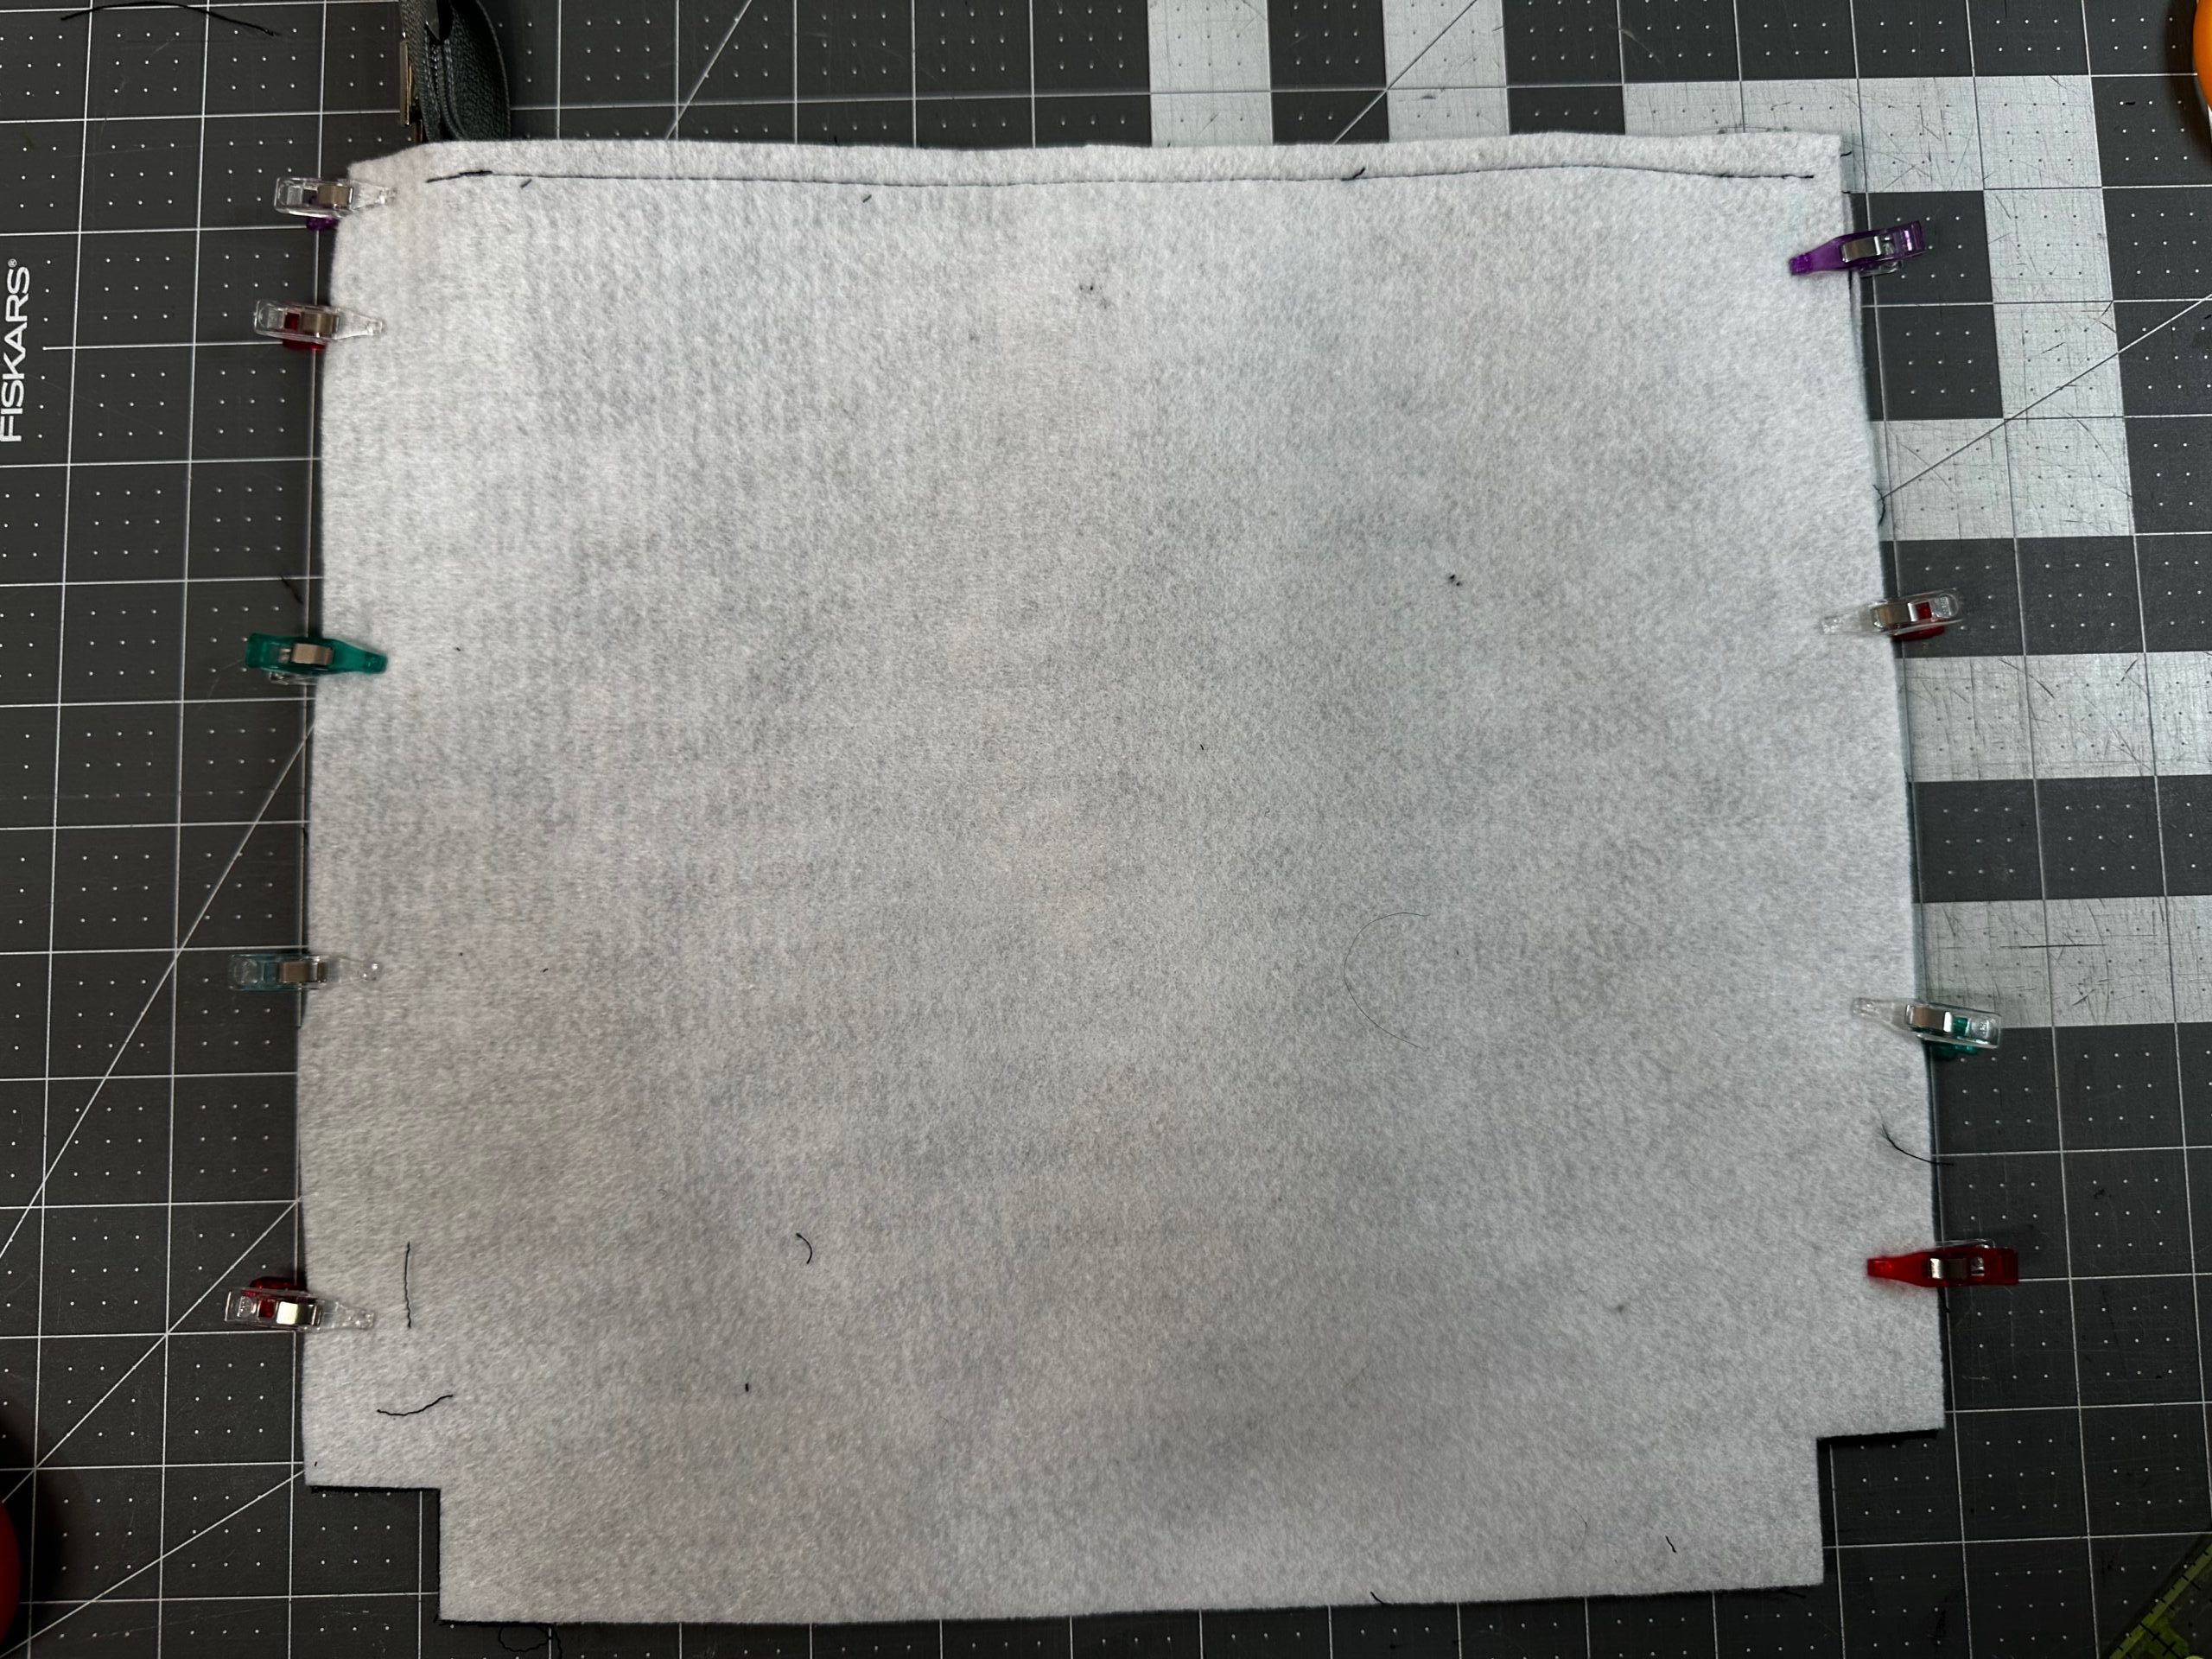
Place both lining rectangles right sides together, aligning all edges and corners.
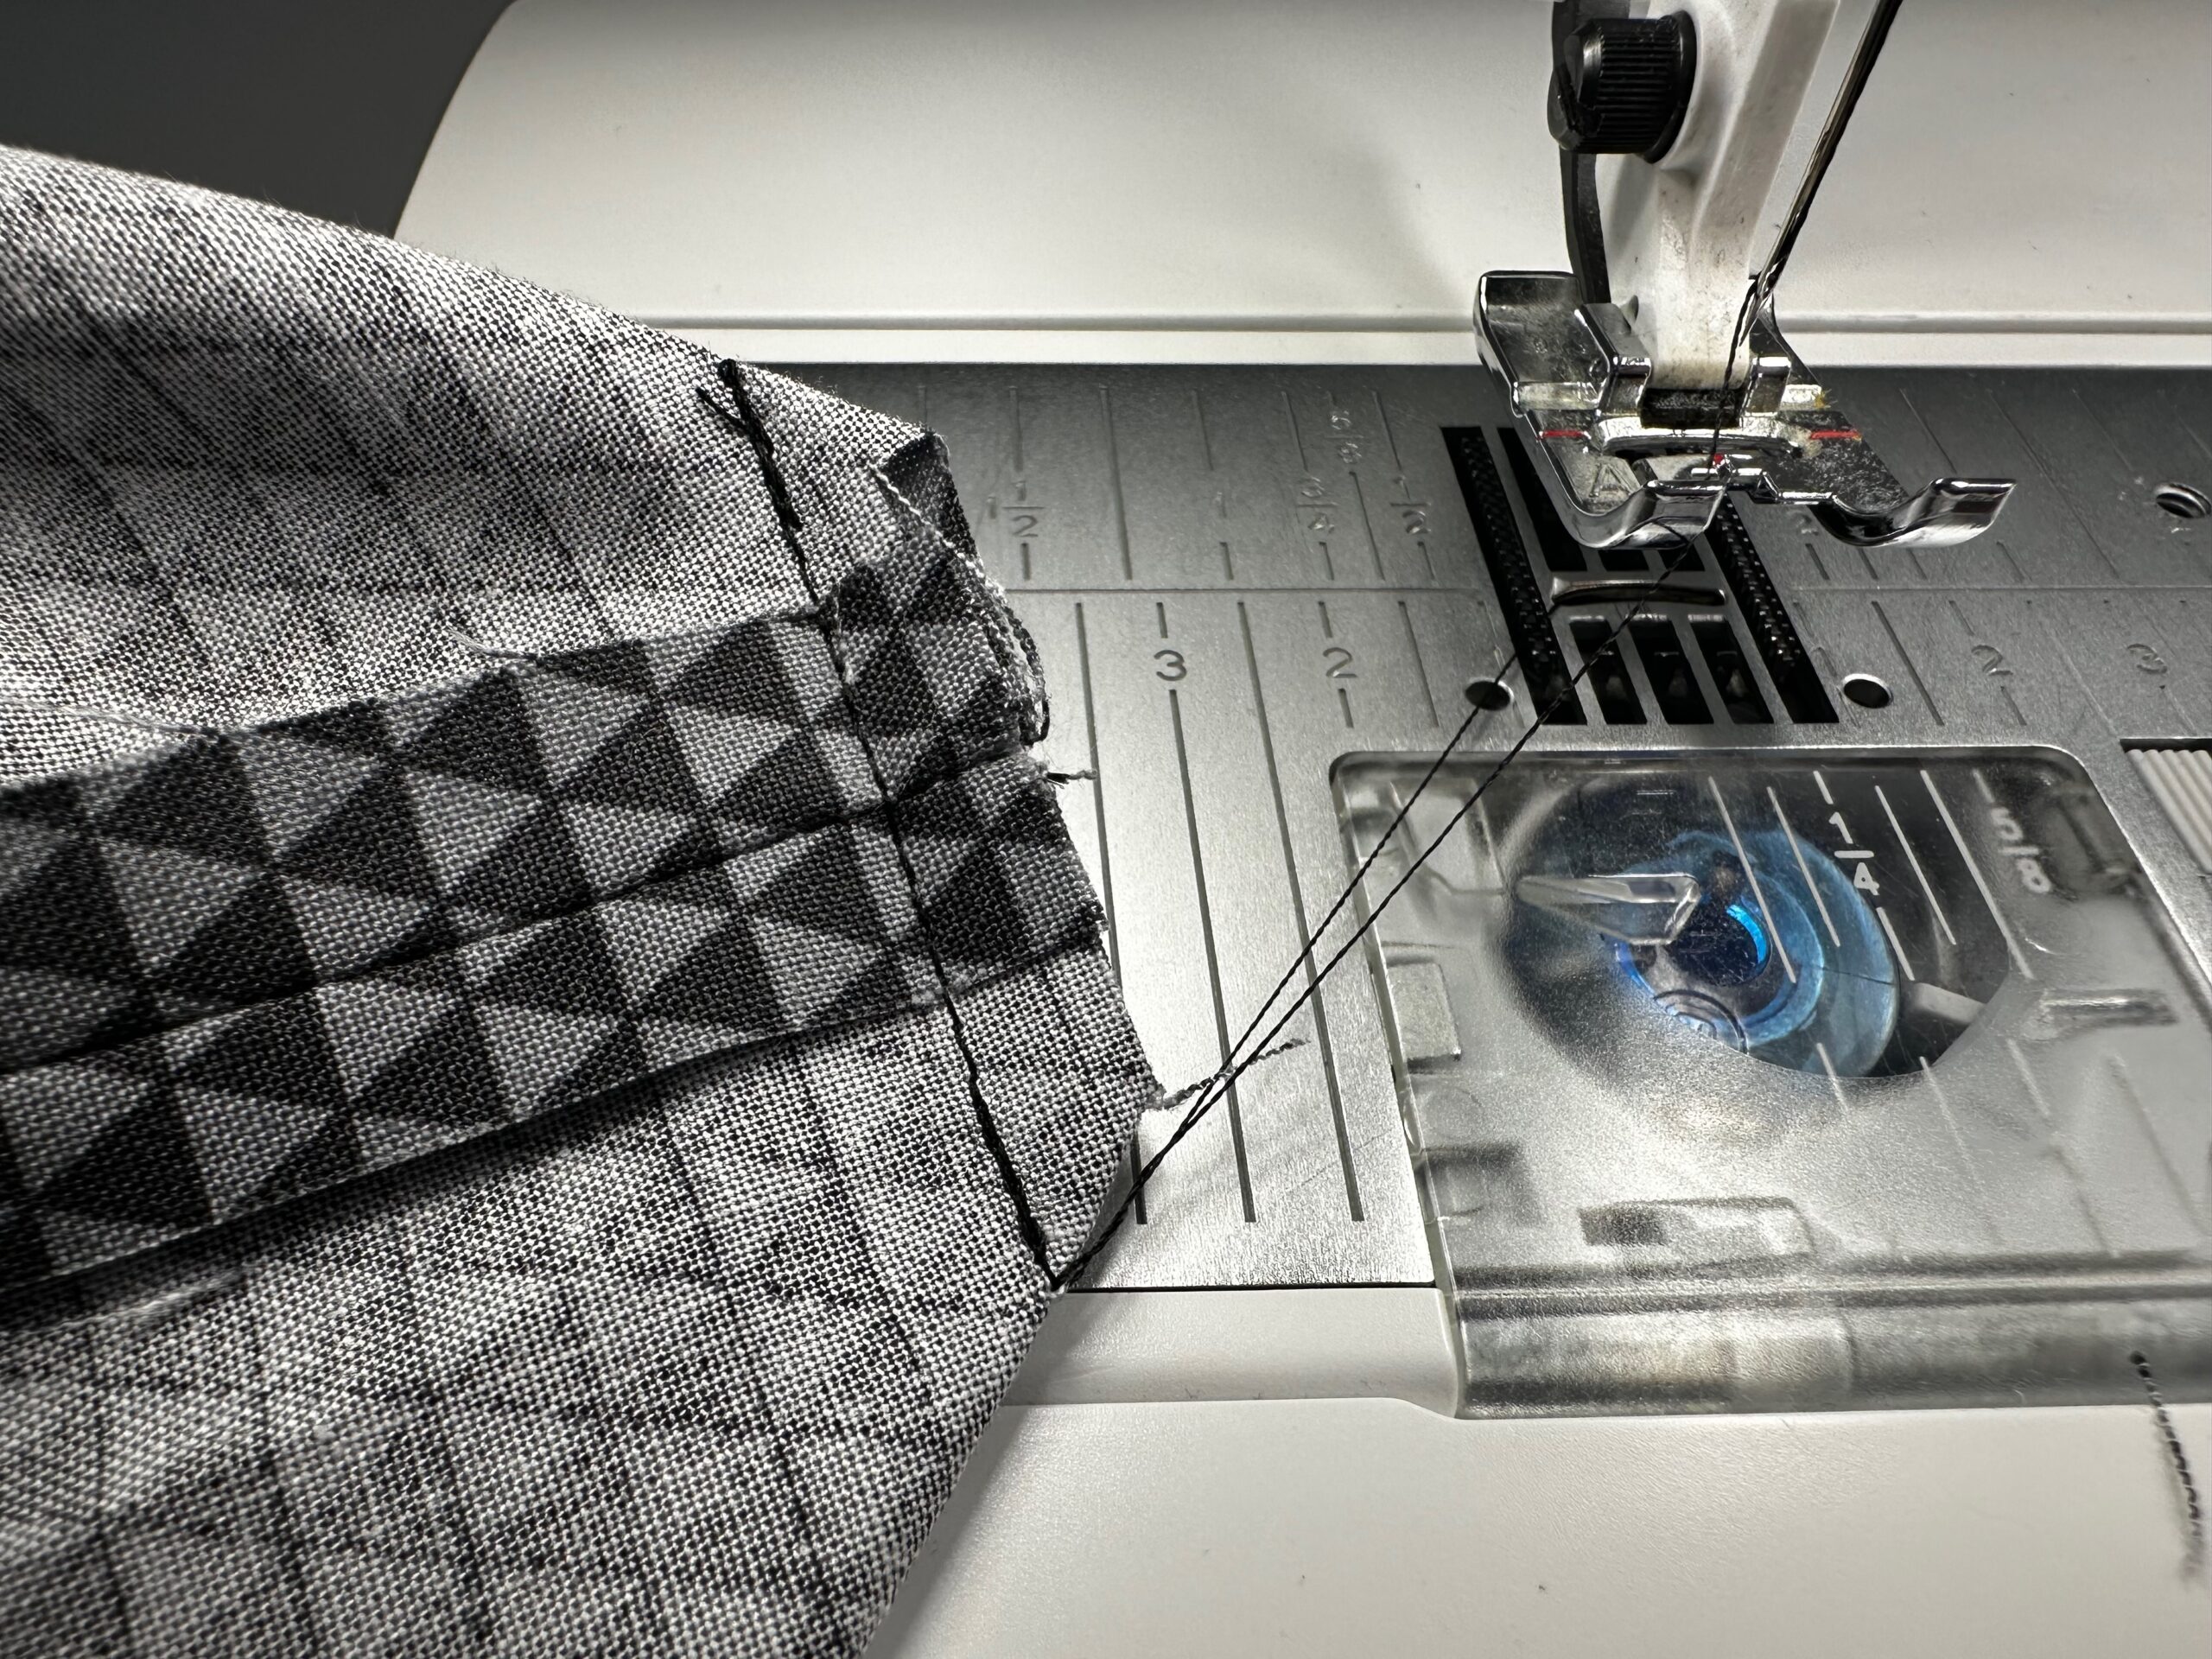
Then, stitch the side seams, beginning with a 1/4″ seam allowance and increasing to a 1/2″ seam at the lower edge. On one lining side, leave a 4″ – 5″ opening for turning.
Press open the seam allowances, folding the opening allowances toward the wrong side.
Then, stitch the lower-edge seam using a 1/4″ seam allowance.
Box the corners, following the previous instructions.
ZIP POUCH FINISHING
To finish the zip pouch, first insert the lining into the exterior so right sides are facing and all seams are aligned.
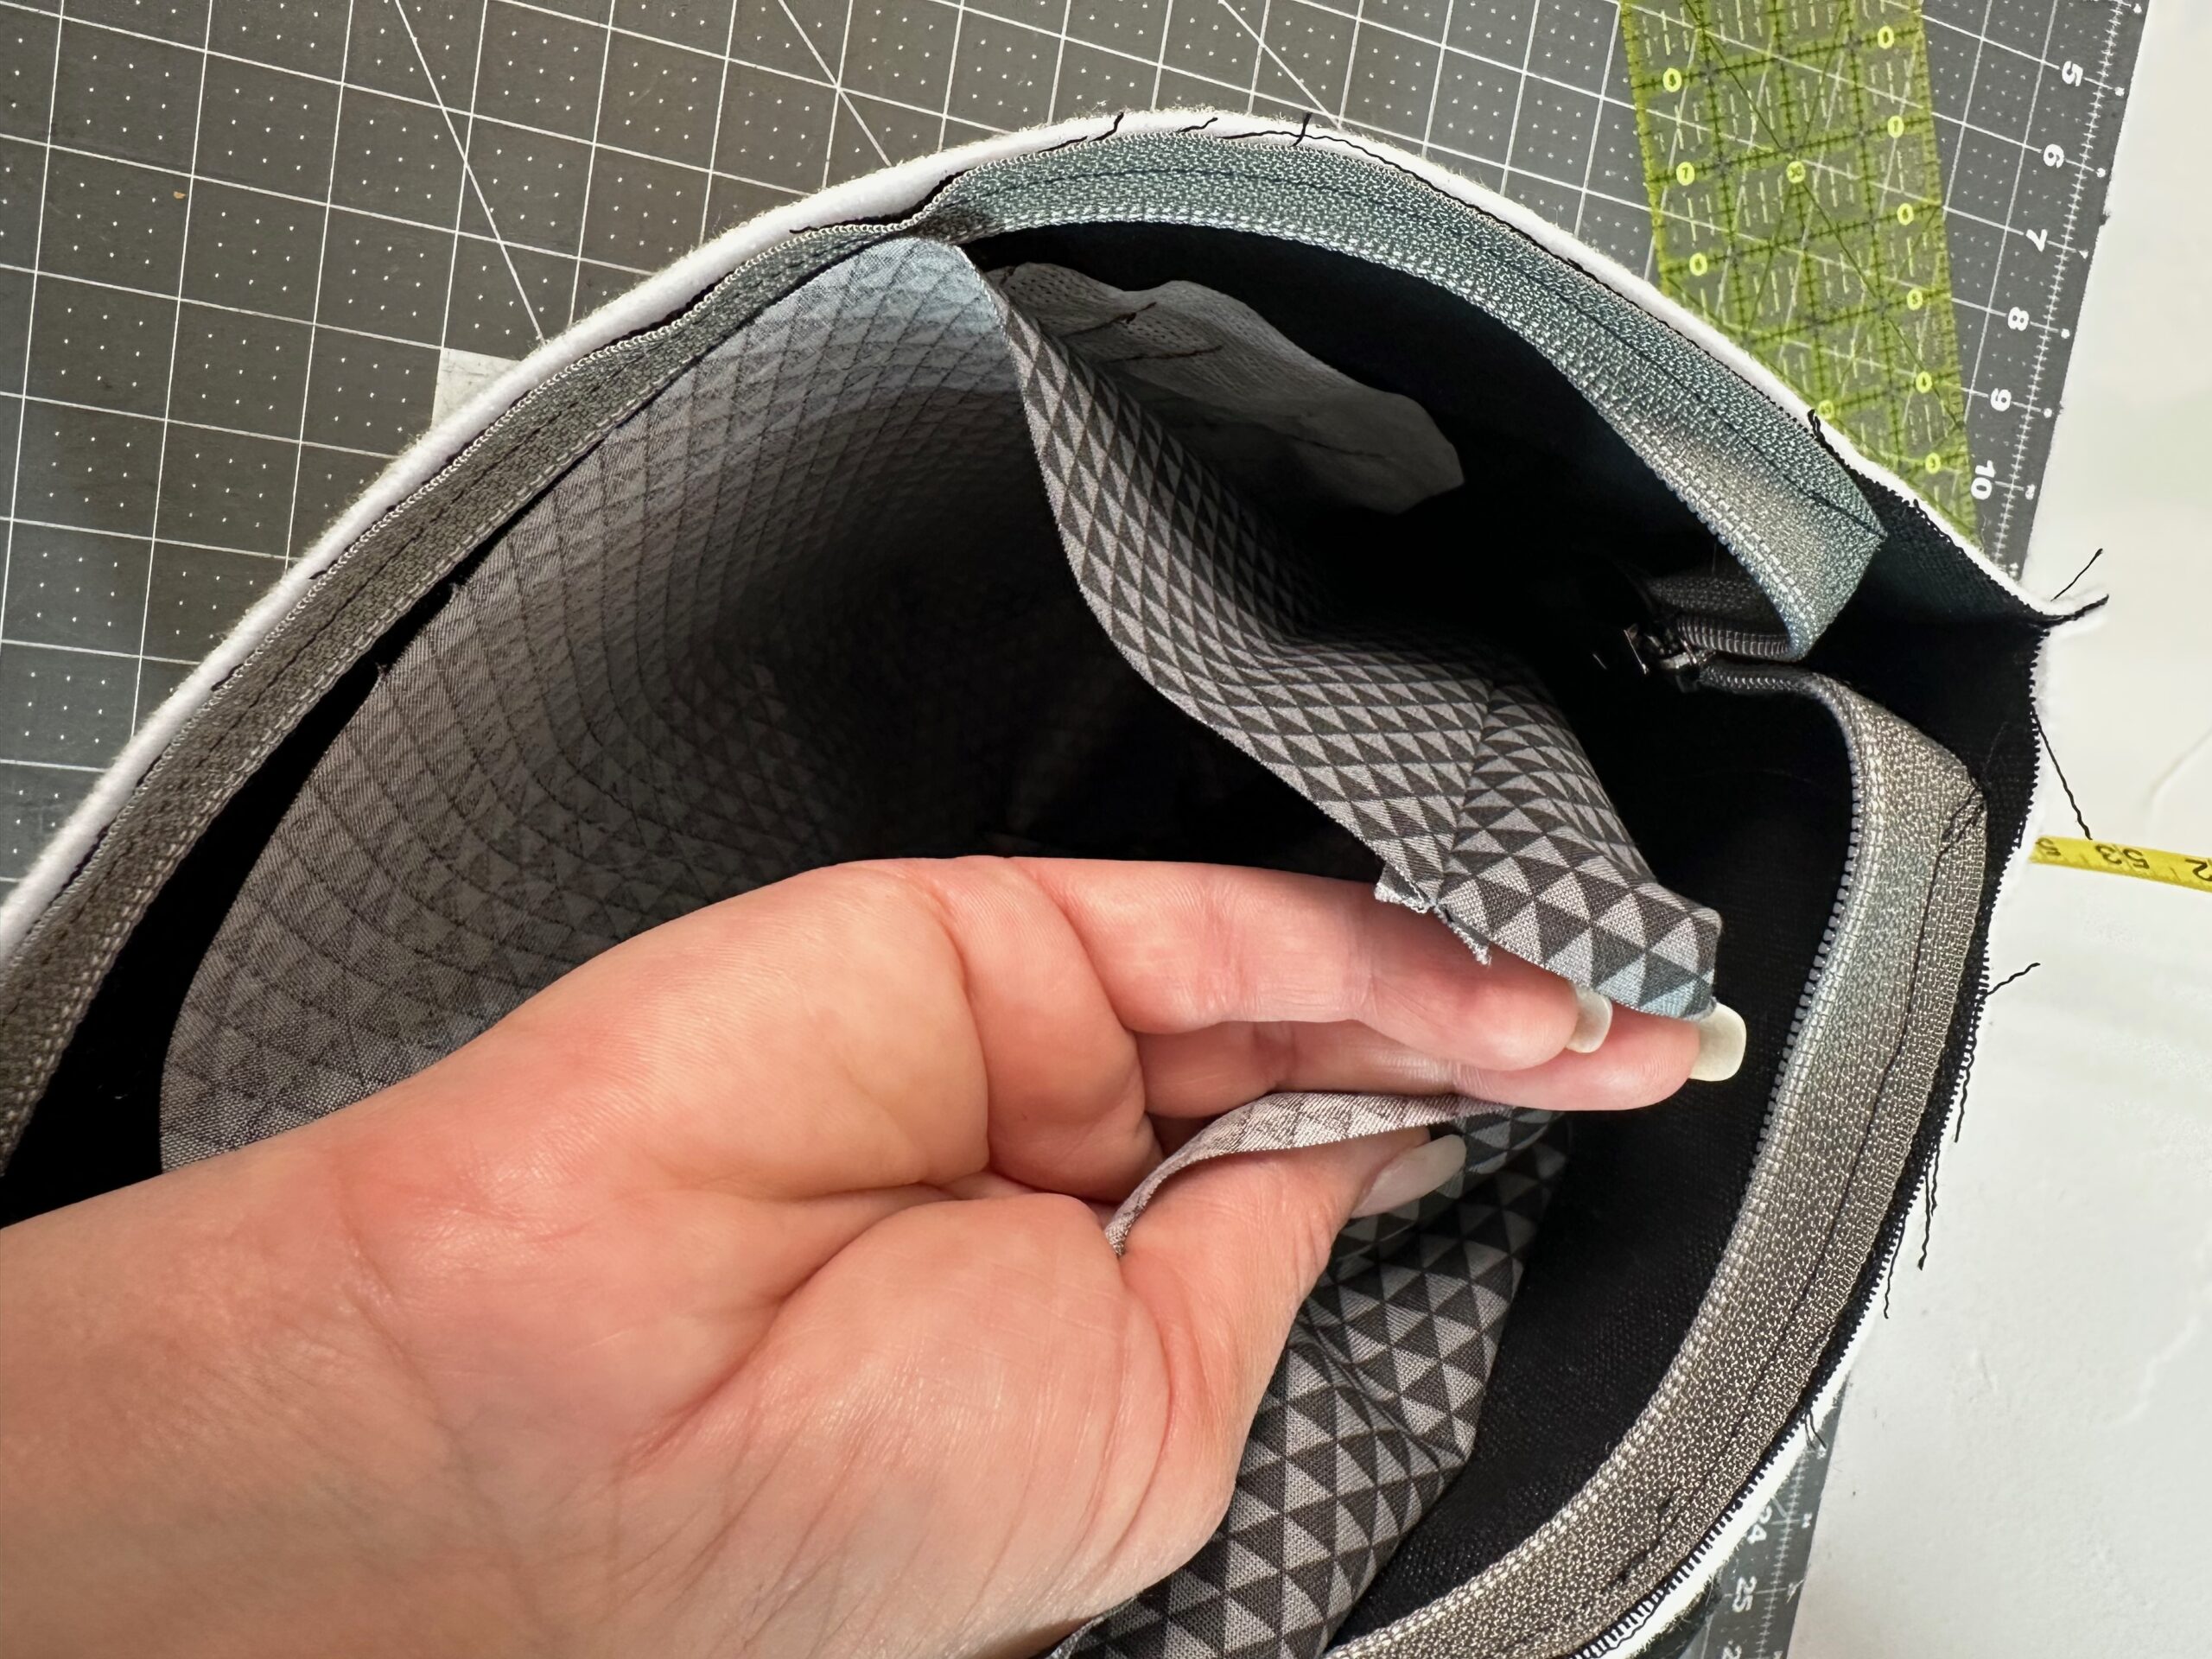
Clip generously.
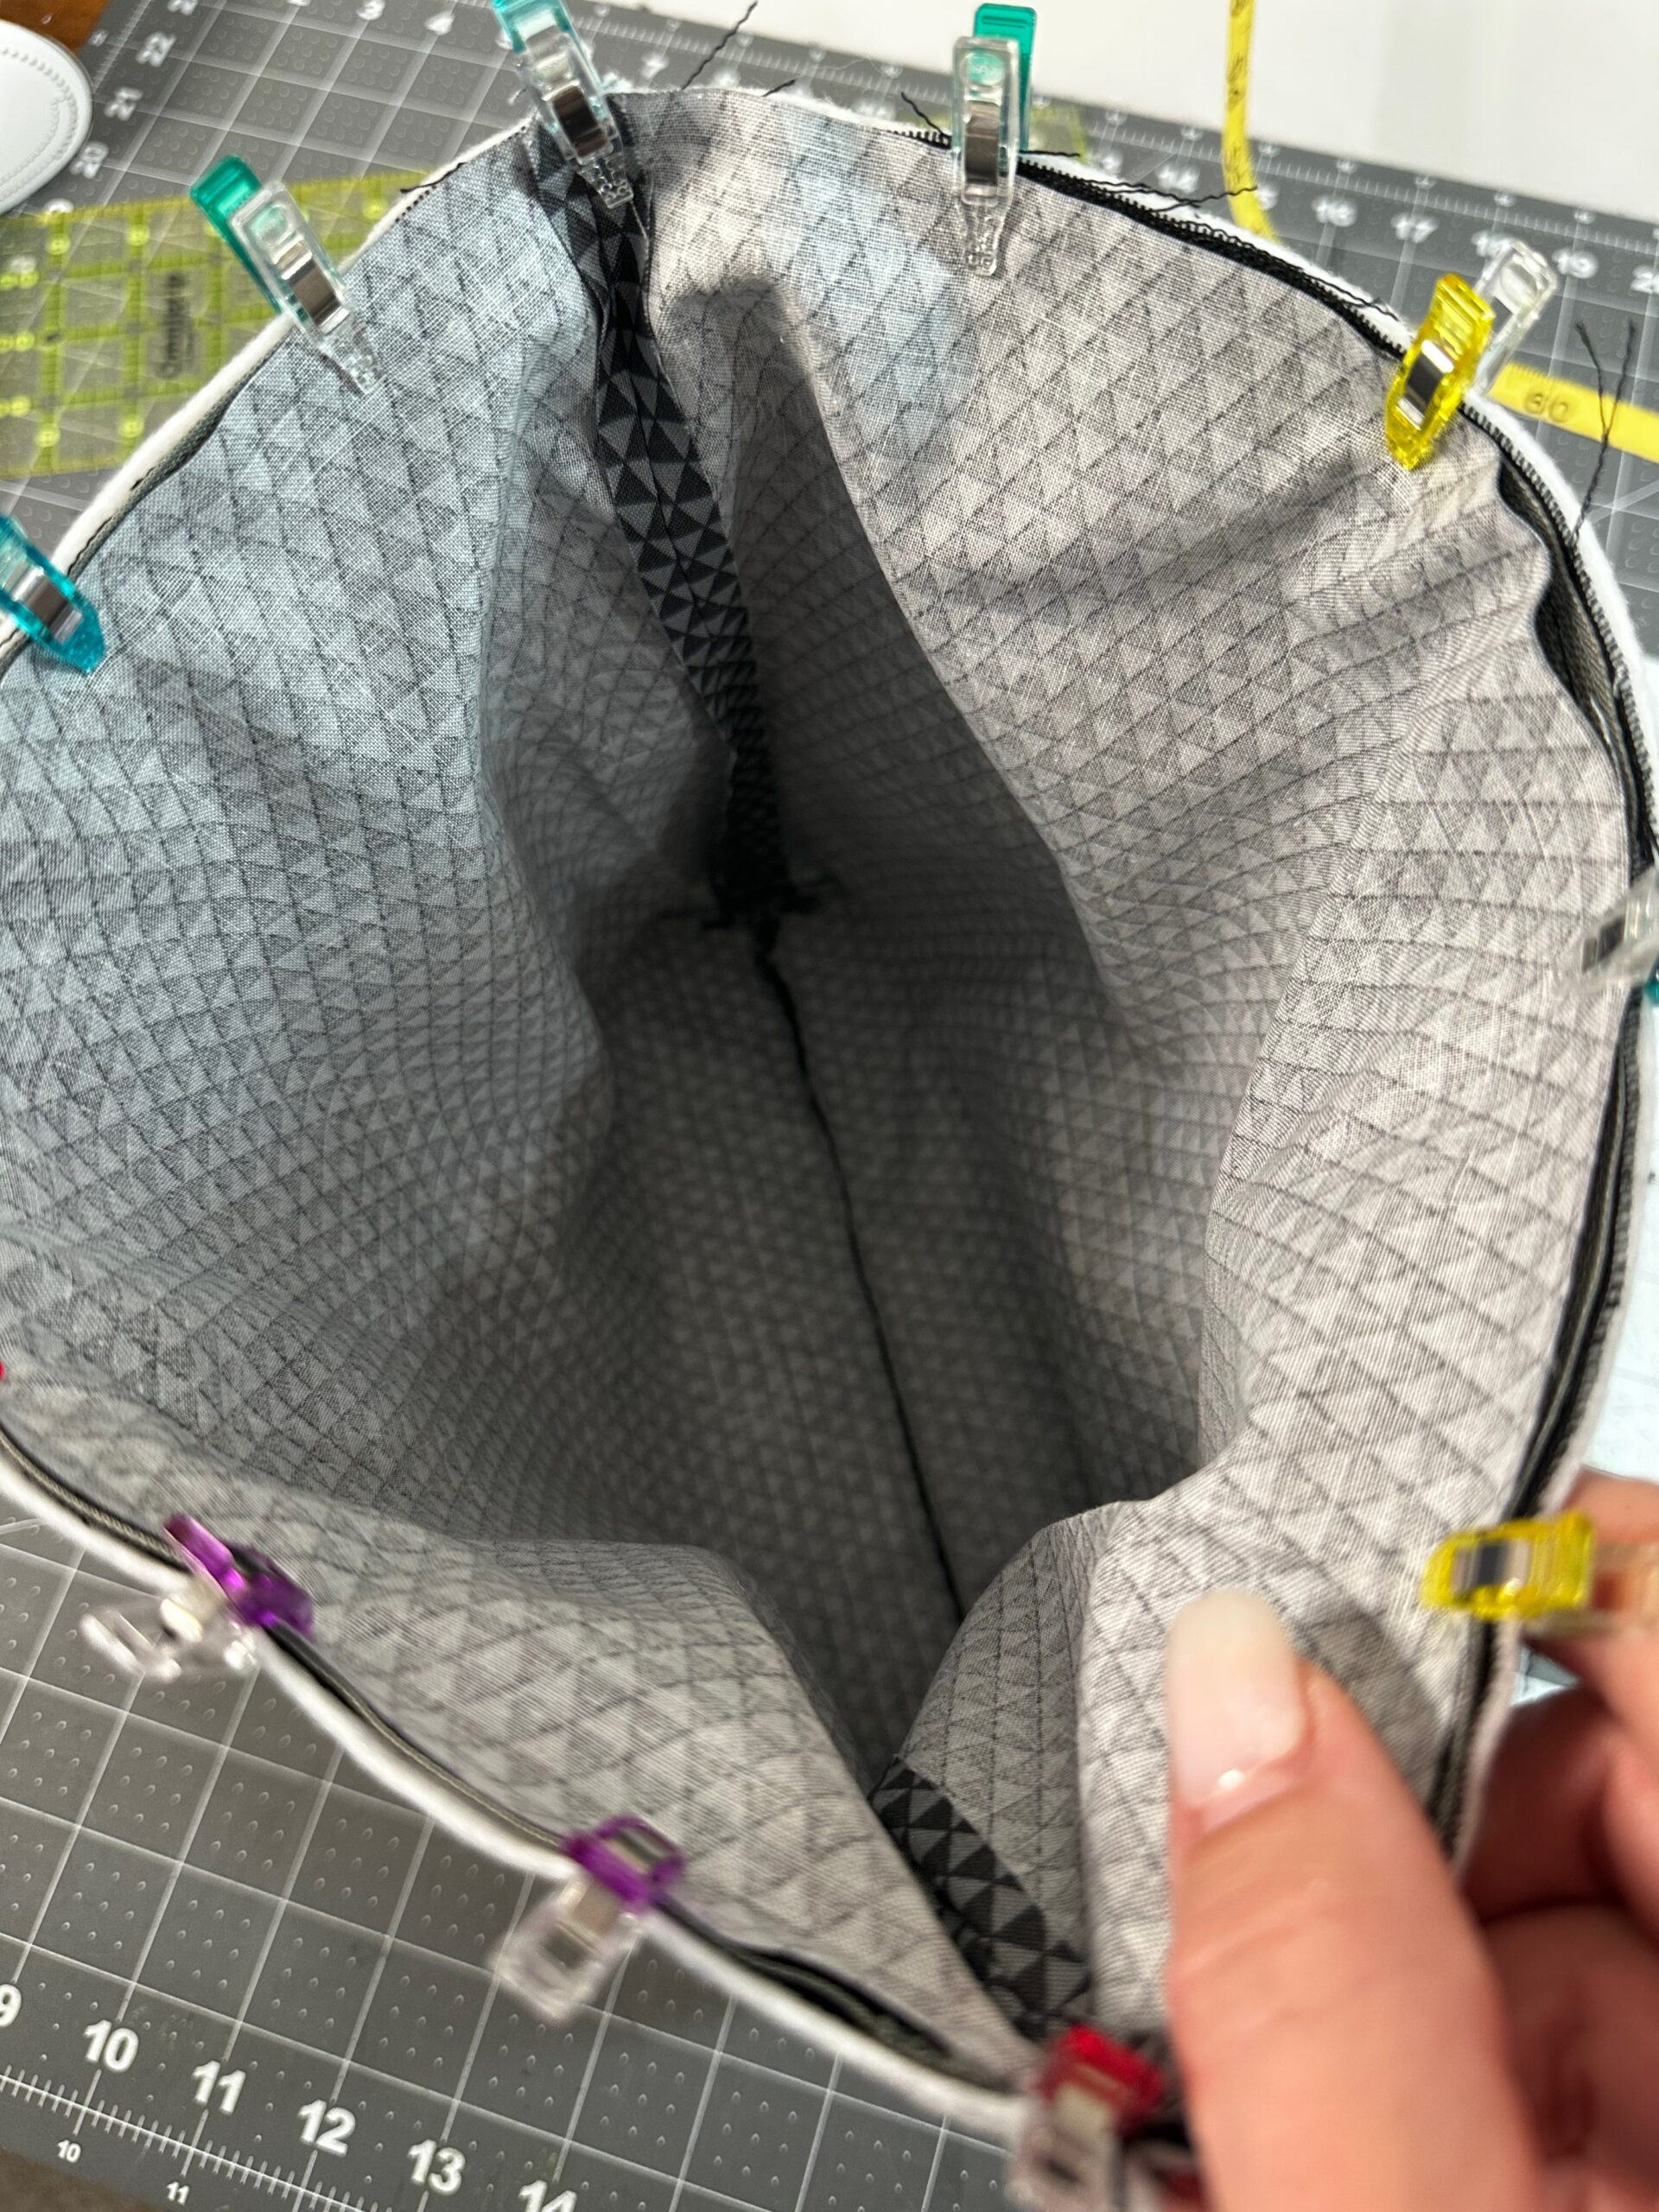
Stitch the upper edge using a 3/8″ seam allowance. Depending on your machine brand, you may want to install a zipper foot or narrow-edge foot for this step.
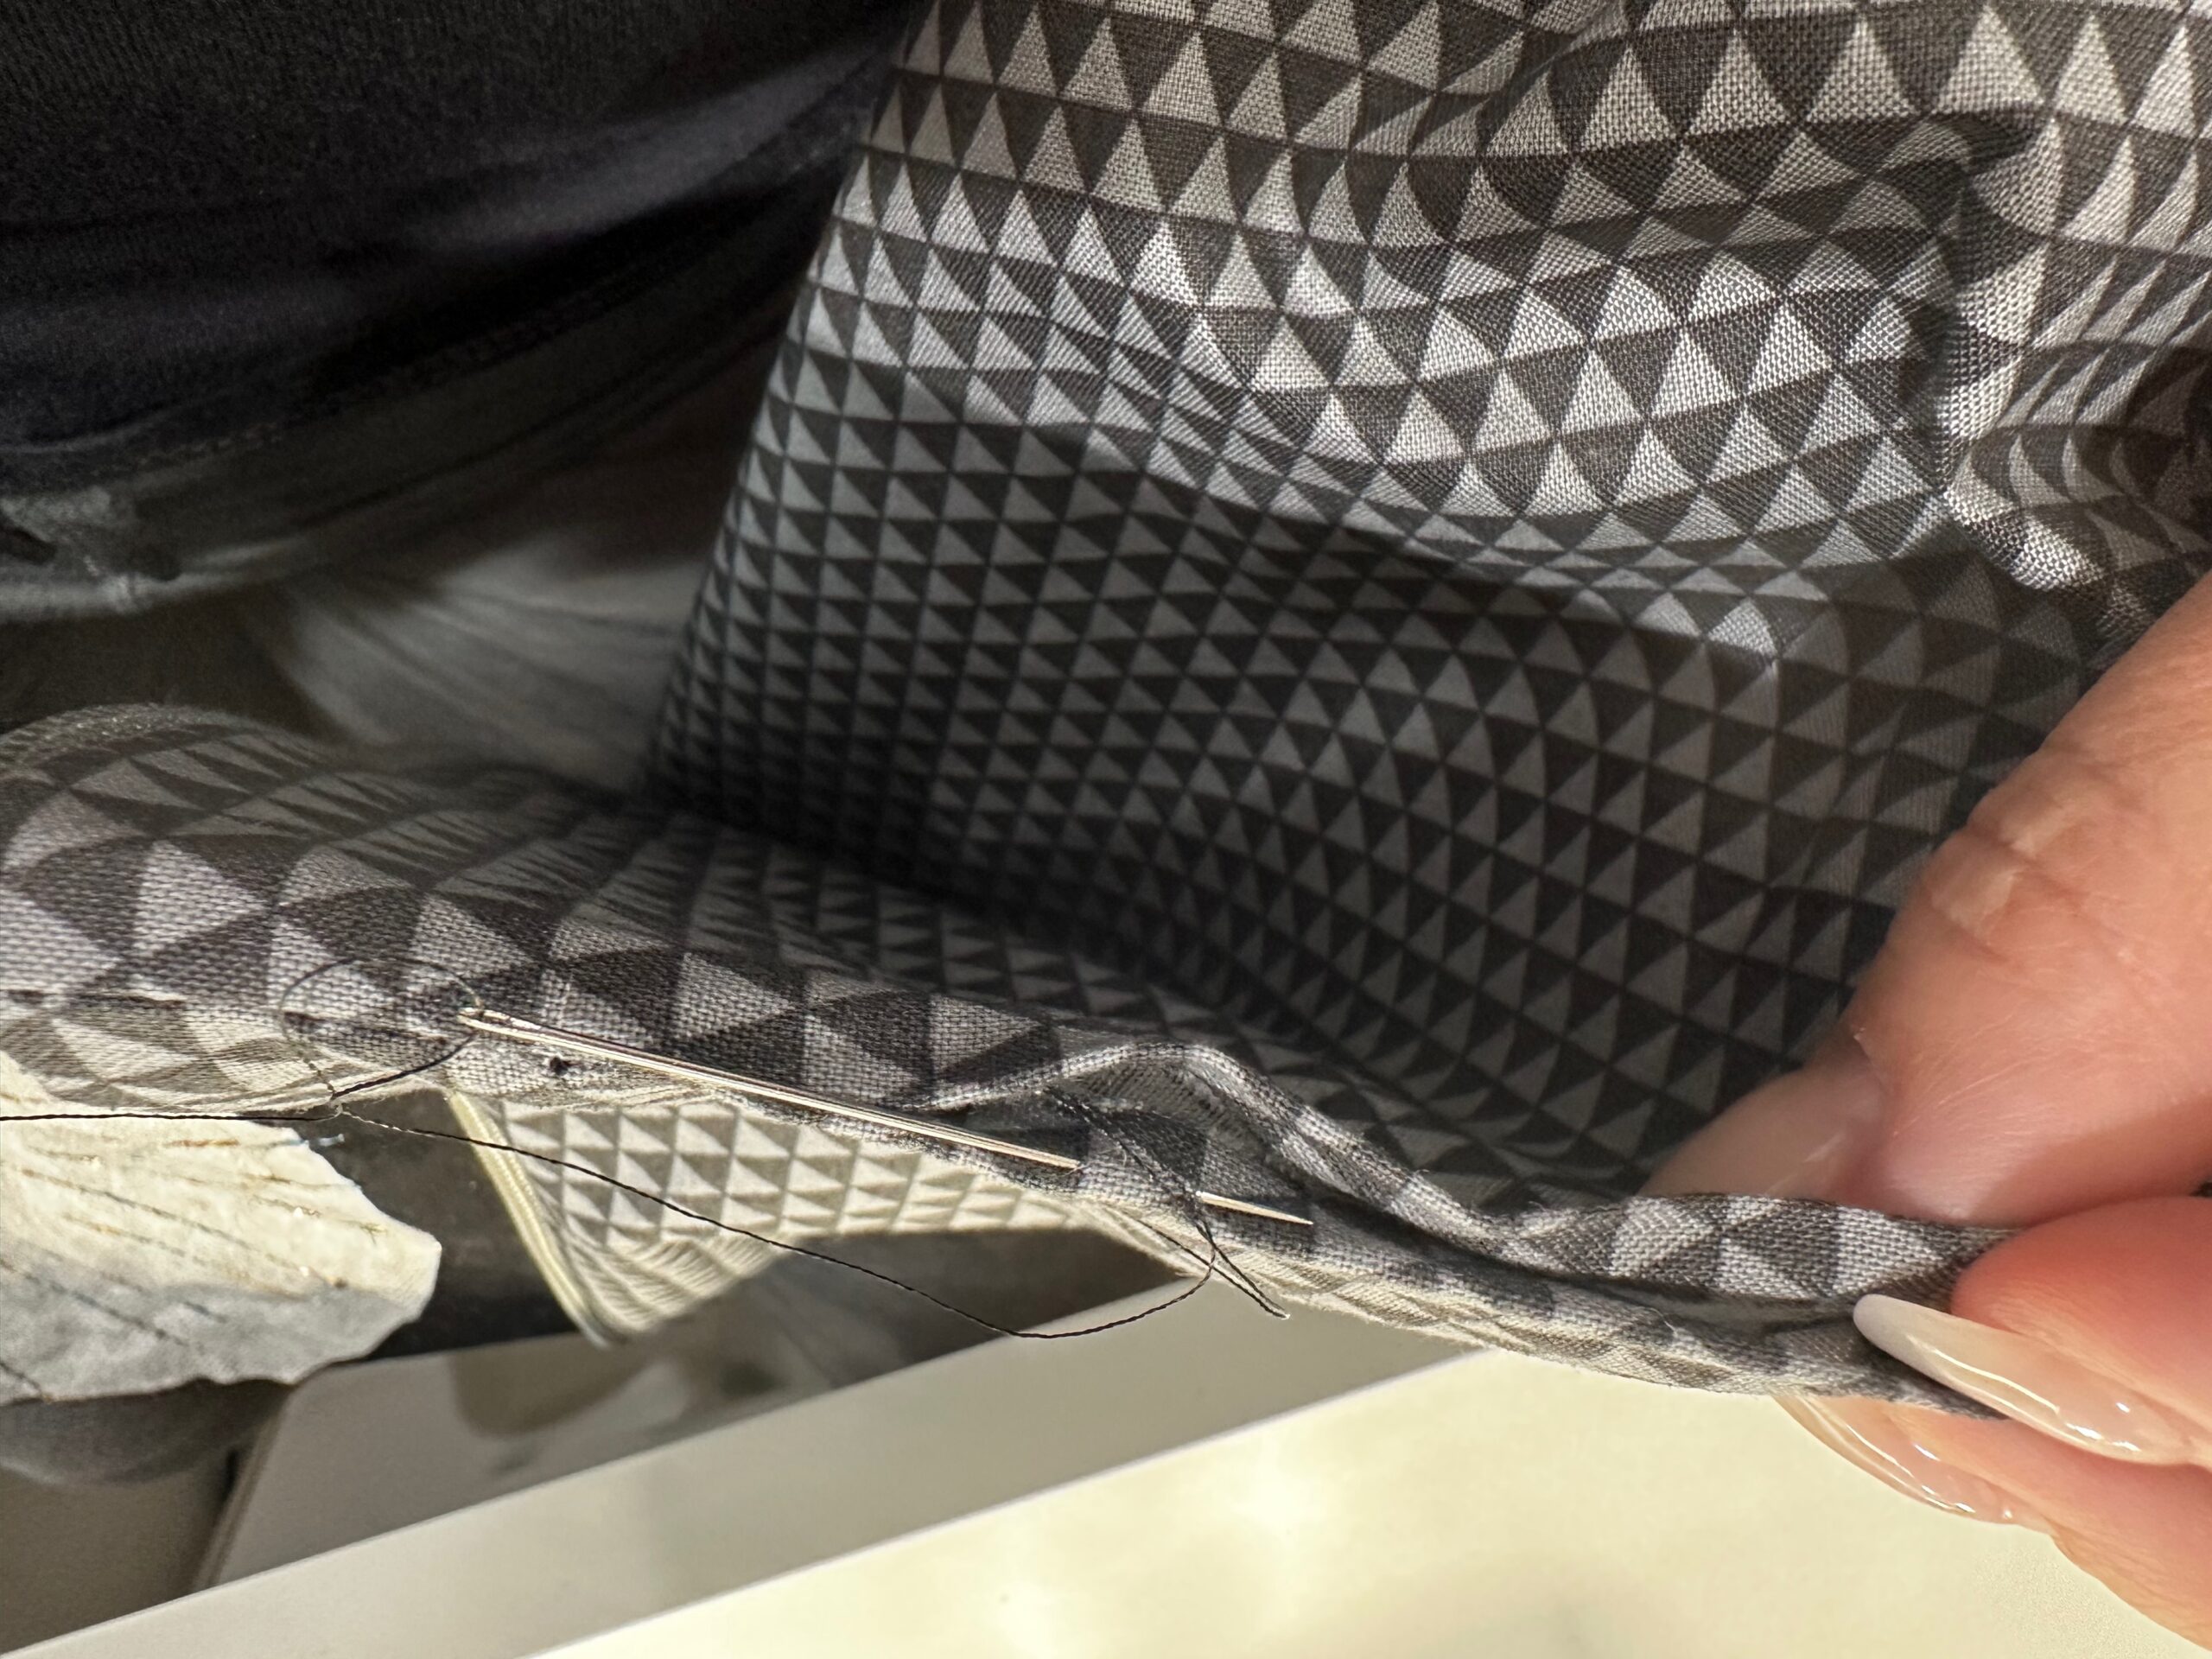
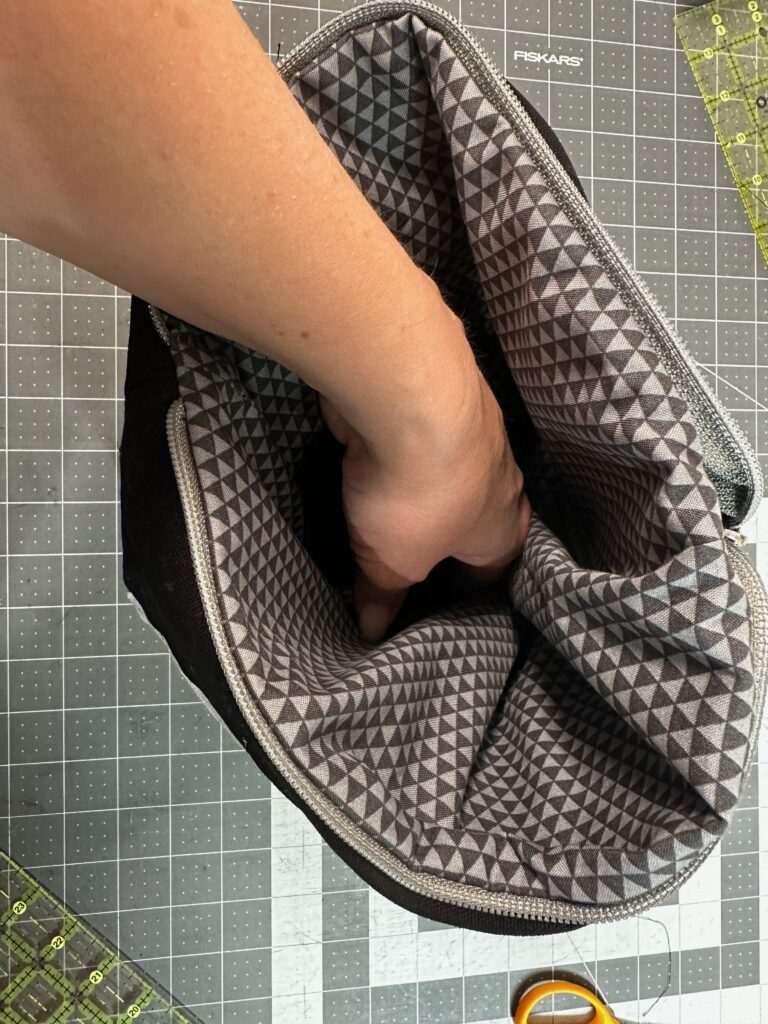
Next, turn the pouch right side out through the opening in the lining.

Using a hand sewing needle, slipstitch or whipstitch the opening shut. Or topstitch the opening closed using the sewing machine.
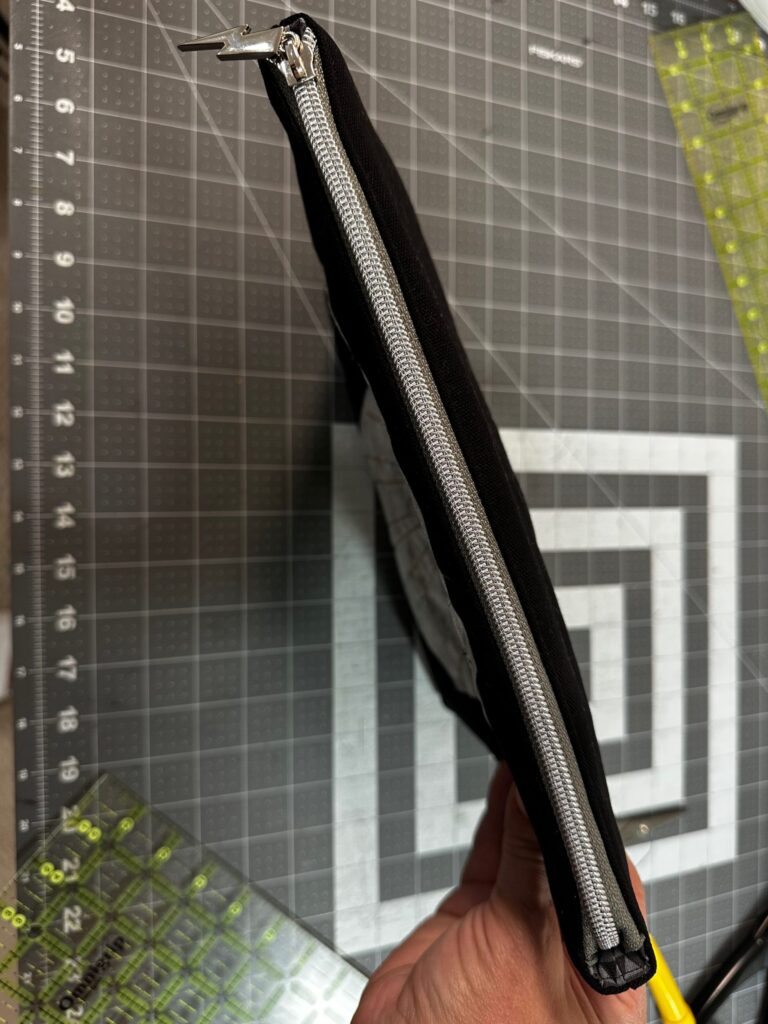
Push the lining into the tote; press the upper edges. Then, topstitch 1/8″ from the pouch upper edge, moving the zipper end out of the way of the stitching if needed. Insert the zipper end into the tote, and then zip closed.
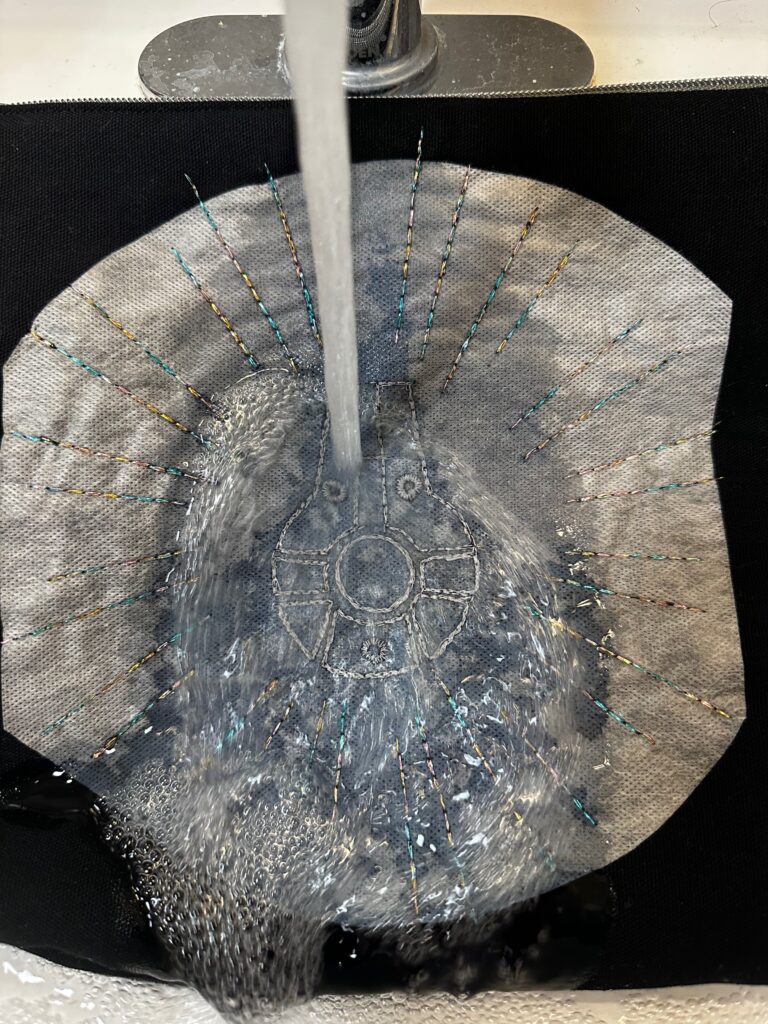
STABILIZER REMOVAL
To remove the Stick ‘n Stitch Stabilizer, do one of the following methods:
- Toss the zip pouch into the washing machine on a rinse-and-spin cycle. Then, let dry flat. Press, if needed, to remove any wrinkles once dry, avoiding the stitching.
- Rinse the stabilizer under warm, running water until it dissolves completely. Then, let the pouch dry flat on a towel before pressing, if needed.