Irish Chain Quilt Tutorial
An Irish Chain Quilt is a traditional quilt pattern, with three varieties to choose from: Single Irish Chain, Double Irish Chain or Triple Irish Chain. In this quilting tutorial, we’ll focus on the Single Irish Chain Quilt, as it’s the easiest of the three. This is a great beginner quilt pattern, and also great for using up scraps.
We’ll explore this Irish Chain Quilt pattern because:
- It’s National Quilting Month, so let’s learn something new!
- We’re headed to Ireland in July with Craftours! It’s a trip of a lifetime that you can take with us, too. CHECK IT OUT>>
- It’s March and we’re channeling our inner leprechaun with St. Patrick’s Day coming soon.
ABOUT IRISH QUILTING
Irish quilting has a long history, dating back to the 18th century. Irish Chain piecing is believed to have originated as early as 1800, adapted from weaving patterns. The Smithsonian has a completed Irish Chain Quilt, made in 1825 and completed in 1830. The quilt features 348 white blocks and 348 pieced blocks, which are comprised of 10,092 blocks measuring square! The small one we’ll make here has only 179 squares, so don’t worry!
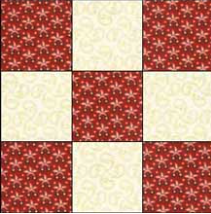
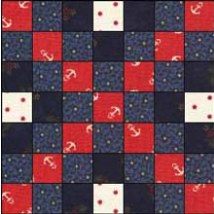
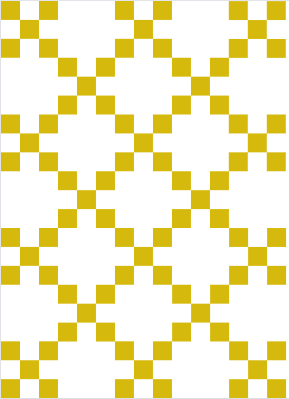
A Single Irish Chain Quilt is comprised of nine patch blocks and the same amount of background blocks. (Images courtesy of Generations Quilt Patterns.)
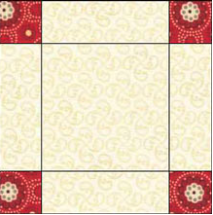
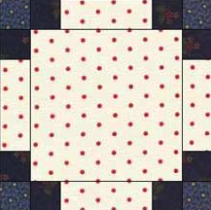
A Double Irish Chain Quilt is a two-block pattern, and the open “background” block is smaller. (Images courtesy of Generations Quilt Patterns.)
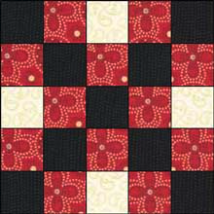
A Triple Irish Chain Quilt requires two blocks made with four fabrics to create three interlocking “chains.” (Images courtesy of Generations Quilt Patterns.)
For all three Irish Chain Quilts, the blocks are pieced together in horizontal rows, alternating between each block. The open/background block is the perfect place for more intricate piecing, an applique or even a machine embroidery design.
SINGLE IRISH CHAIN QUILT
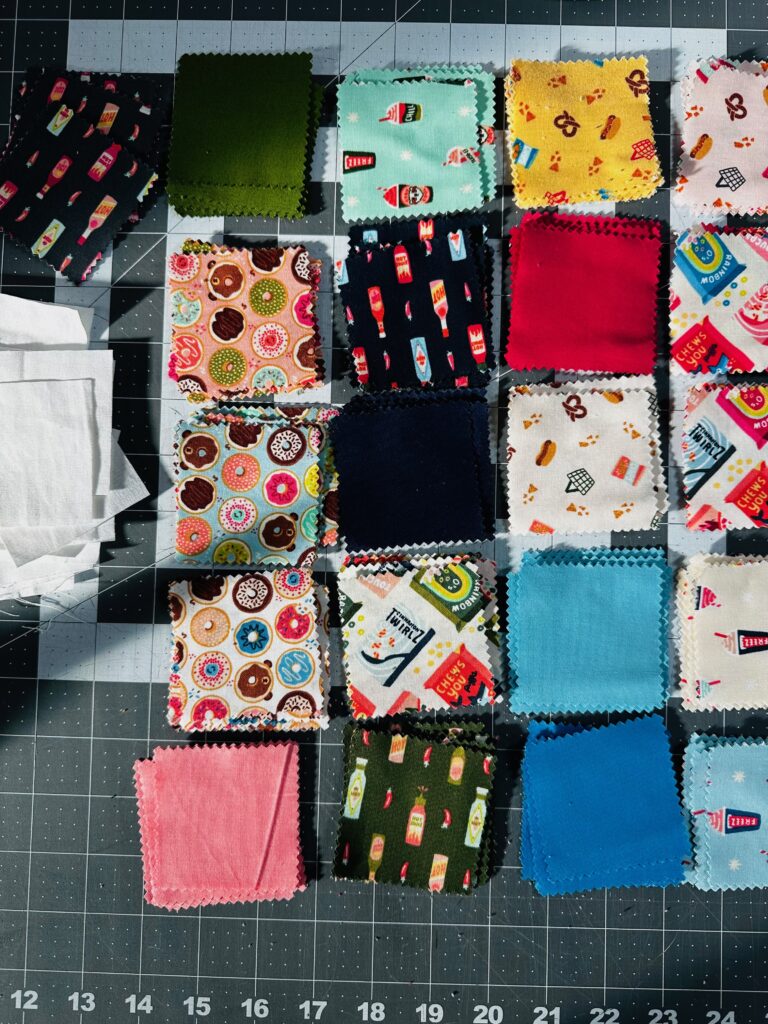
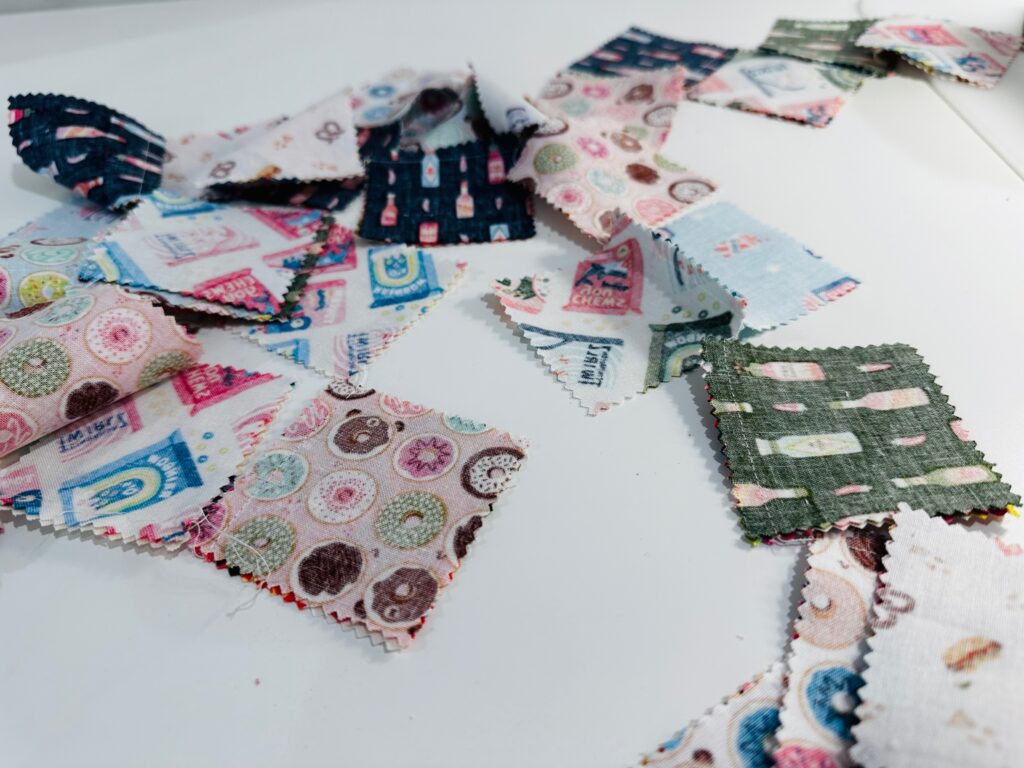
For this tutorial, I’ll work with 2 ½” squares for the nine-patch blocks. However, a more efficient way to approach this pattern is to strip-piece fabrics, and then cut them into smaller strips for each nine-patch block. The reason I’m choosing to work with 2 ½” squares (which admittedly are a bit unwieldy), is because Cotton + Steel handed me some mini charm packs at Quiltcon that are absolutely adorable (from the Mini Market Collection by Beth Gray) and I must use them! If you prefer the strip-piecing method, consult this tutorial and free pattern for guidance.
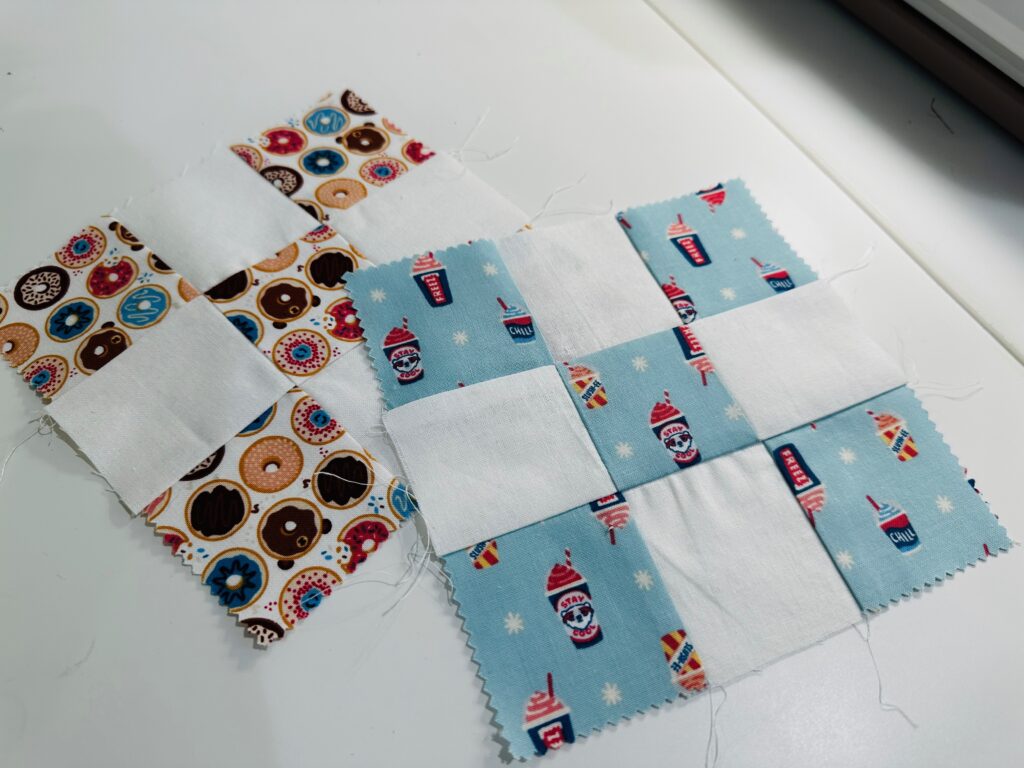
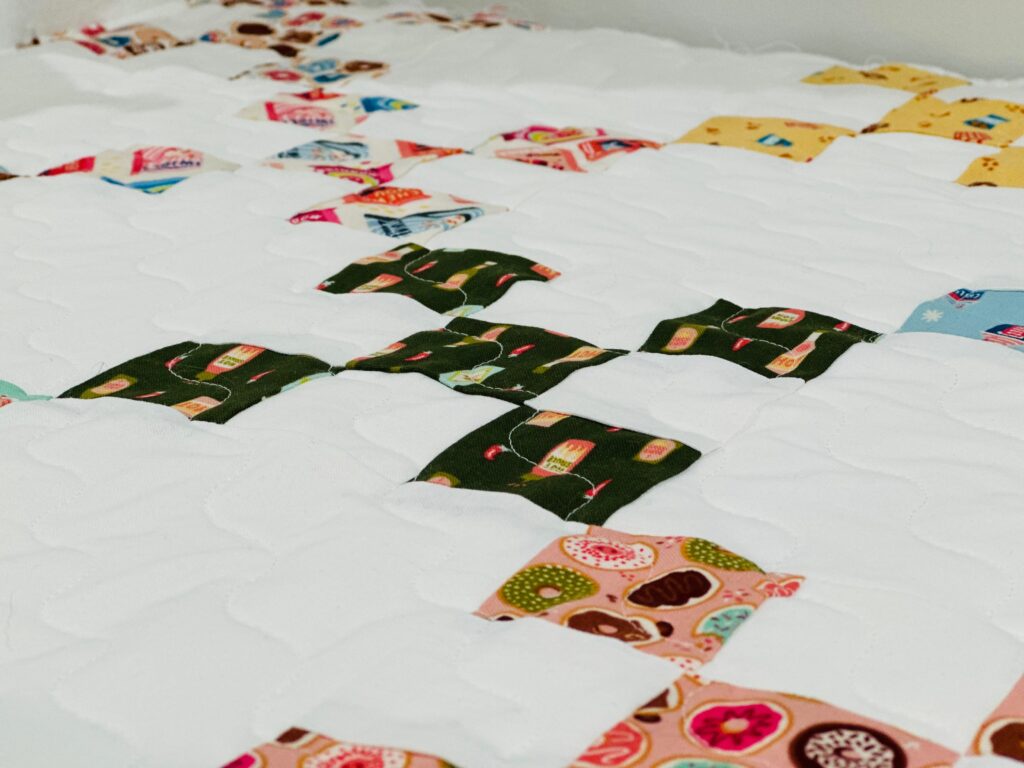
Choose a print fabric and a low-volume blender or solid fabric. Or choose several print fabrics paired with one blender/solid fabric. I’m going the scrappy route and working with a different print fabric for each nine-patch block. There are so many ways to arrange the nine-patch blocks, by using one print per block or several prints per block. The important thing to remember is to always keep the blender/solid squares in the same place.
When piecing 2 ½” fabric squares, the nine-patch blocks finish at 6″ square. The finished quilt requires 18 nine-patch blocks and seventeen 6″ background squares from the blender/solid fabric. Each nine-patch block requires four 2 ½” blender/solid squares and five 2 ½” print squares. This makes a small display quilt that measures 27 ½” W x 35″ H. (To make a larger quilt, either enlarge the fabric squares/blocks or make more blocks per row.)
Piece together the nine-patch blocks, pressing the seams toward the darker fabric. Begin by piecing the top row, then the middle row, then the lower row. And then piece together the rows, nesting the seams.
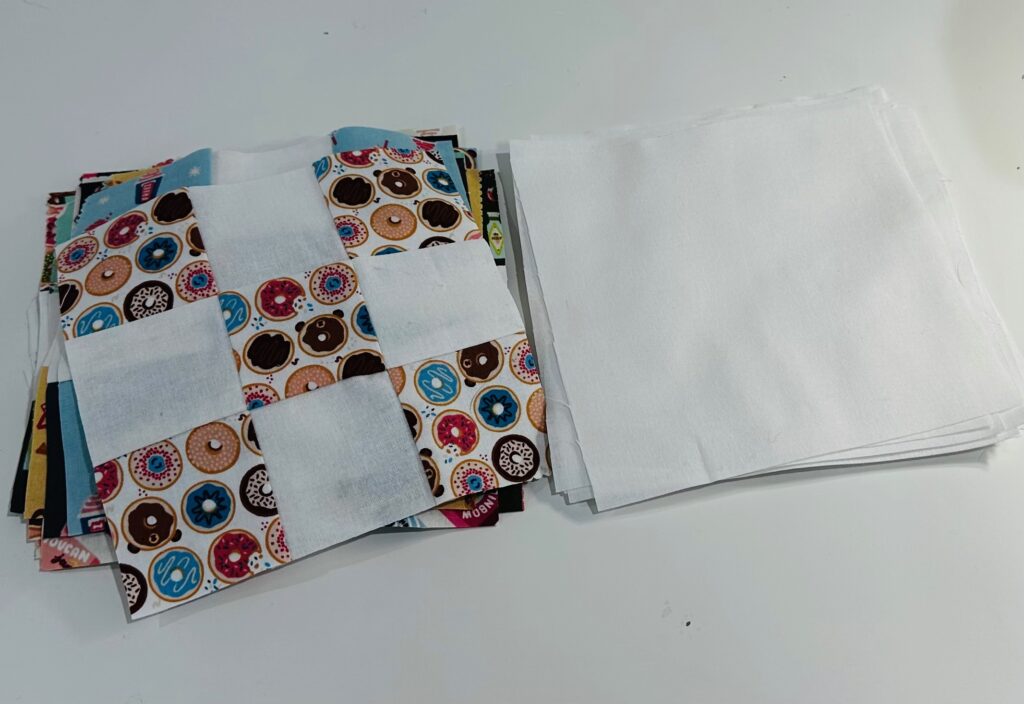
Repeat to create 18 nine-patch blocks.
IRISH CHAIN ASSEMBLY
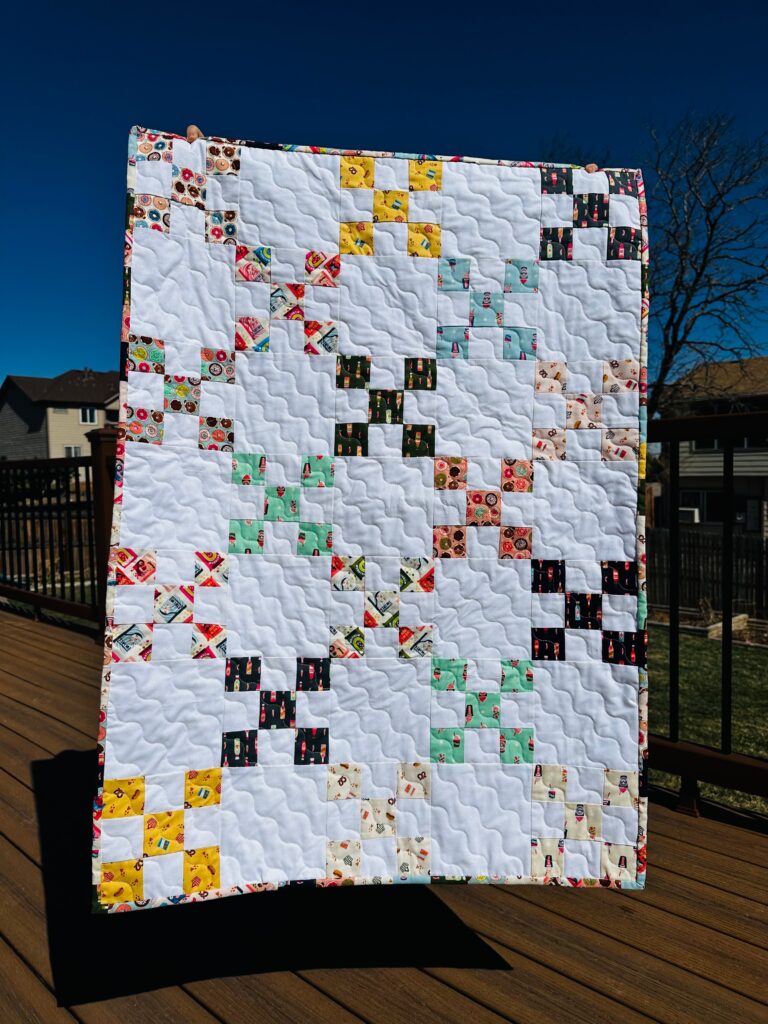
Arrange the nine-patch blocks and background blocks right side up on a flat work surface or quilt wall in seven rows of five blocks. Note: It’s very striking, and more traditional, to use two fabrics as shown below to get more of the “chain” effect. But I was chomping at the bit to use my mini charm packs from Quiltcon!)
Piece together the five blocks to create each row.
Then, piece together the rows to create the quilt top.
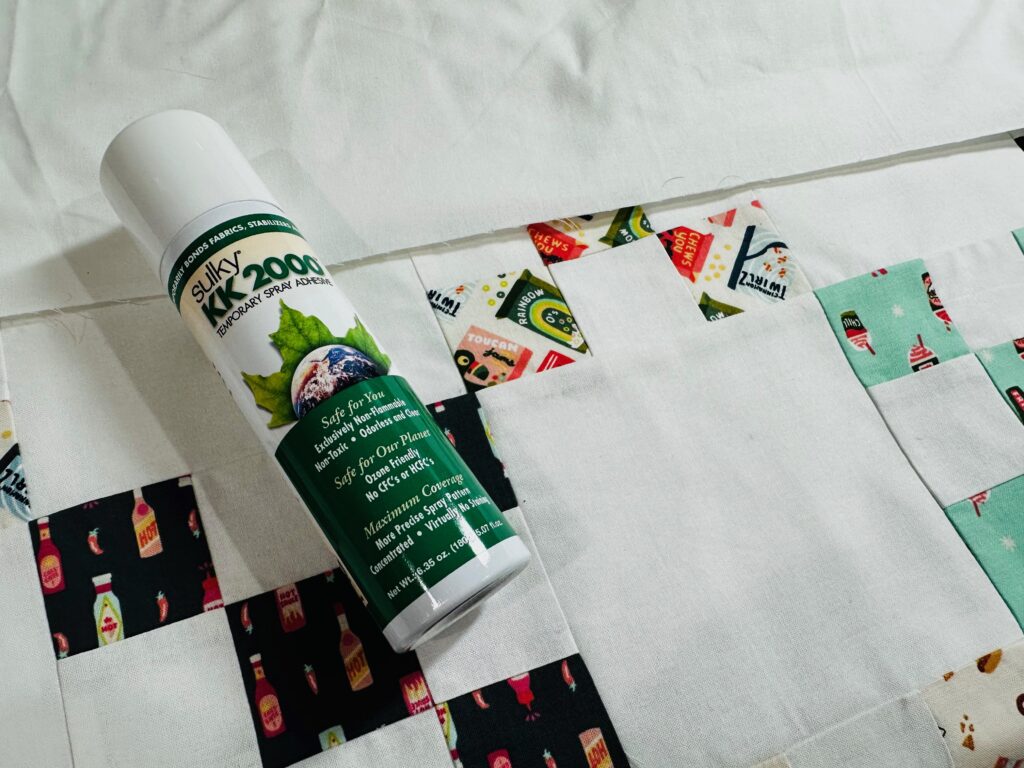
Create a quilt sandwich with backing fabric, batting and the quilt top secured with Sulky KK 2000 Temporary Spray Adhesive.
QUILTING OPTIONS
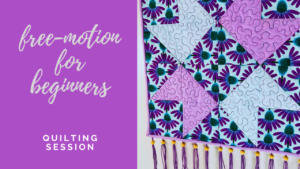
The quilting options are, as always, endless! Try a fun quilt stencil in the center of each background block. Or drop the sewing machine feed dogs and free-motion quilt. If you’re new to free-motion quilting, take our Free-Motion for Beginners Quilting Session and get five quilting templates, plus NINE video tutorials to take you through the process with an expert!
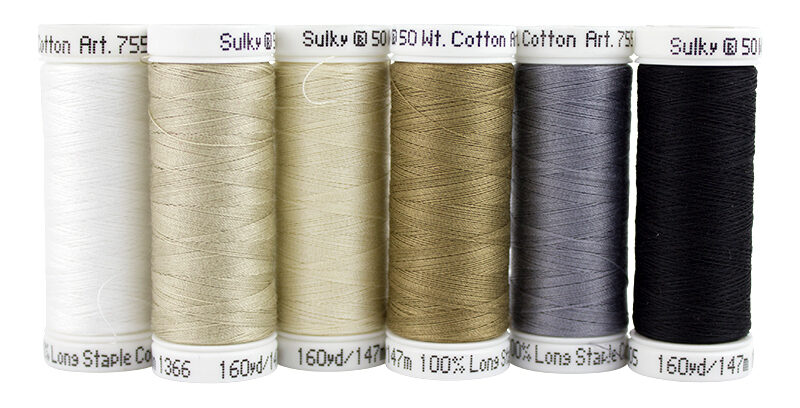
For quilting that blends into the fabrics, choose Sulky 50 wt. Cotton. Pick two colors – one for quilting the “chain” areas and one for quilting the blender/solid areas. Pair this thread with a size 70/10 Quilting Needle.
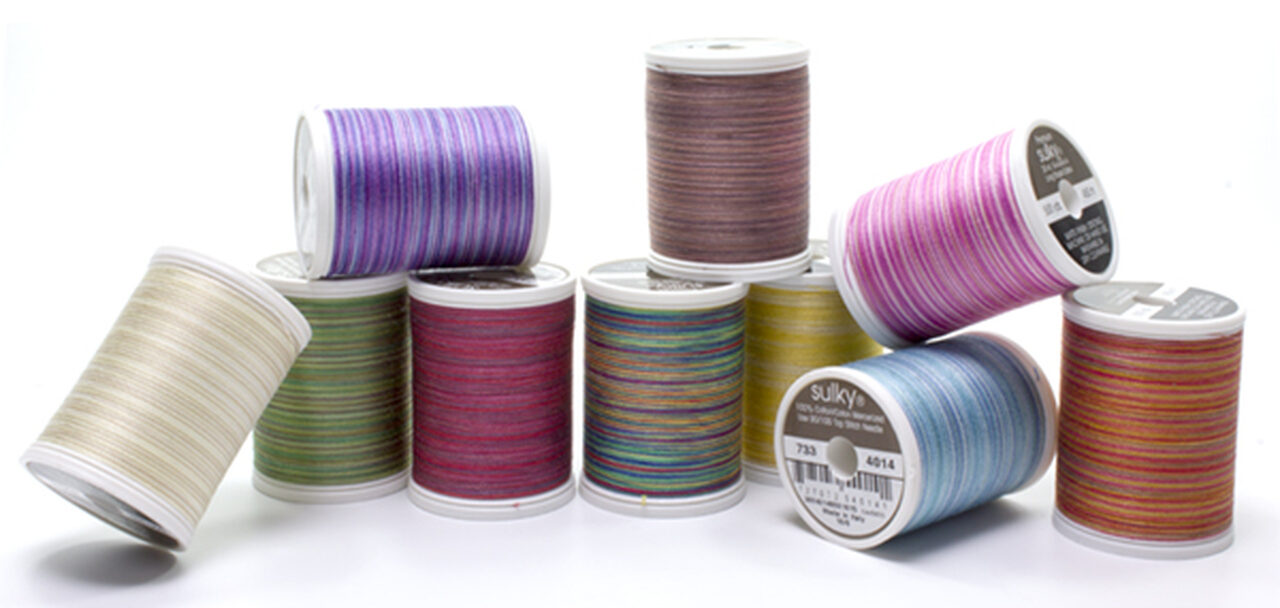
To create quilting that has more dimension and color variation, choose Sulky 30 wt. Cotton Blendables Thread. This thread is randomly dyed every 2 ½” to 5″ across the thread length, resulting in an almost watercolor effect over the quilt. Pair this thread with a size 90/14 Quilting Needle.
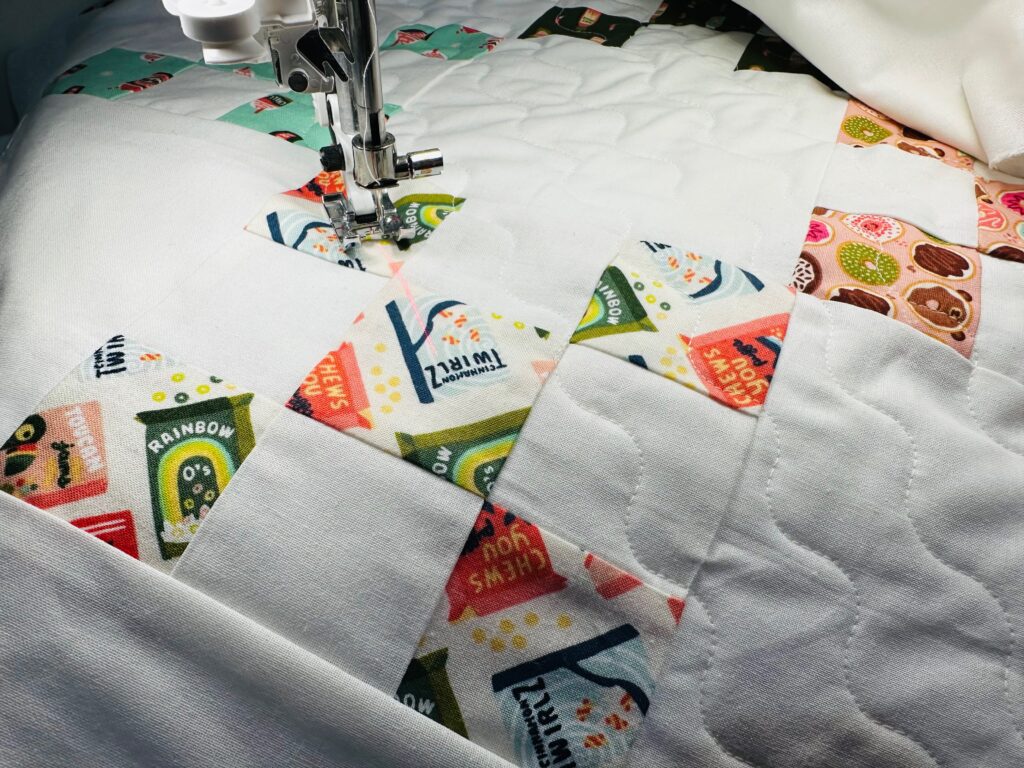
The featured quilt was stitched with a wavy stitch, spaced equidistantly across the quilt in a diagonal pattern.
After quilting the piece as desired, trim the edges so they’re even.
Then, bind the quilt in the manner of your choice.
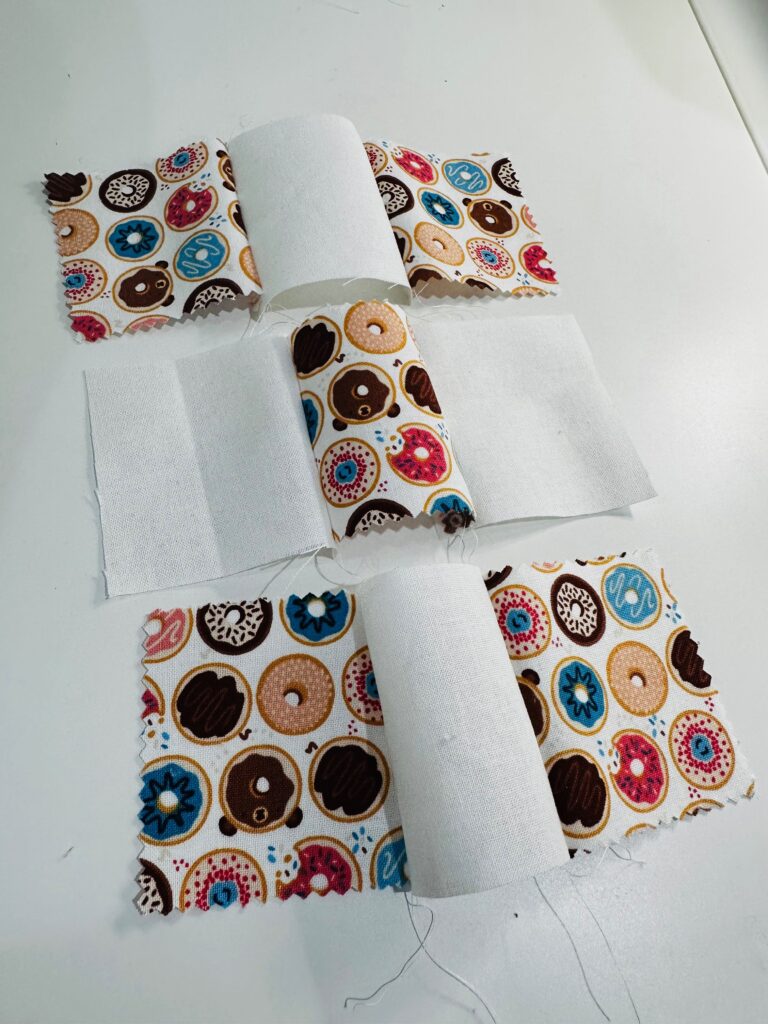
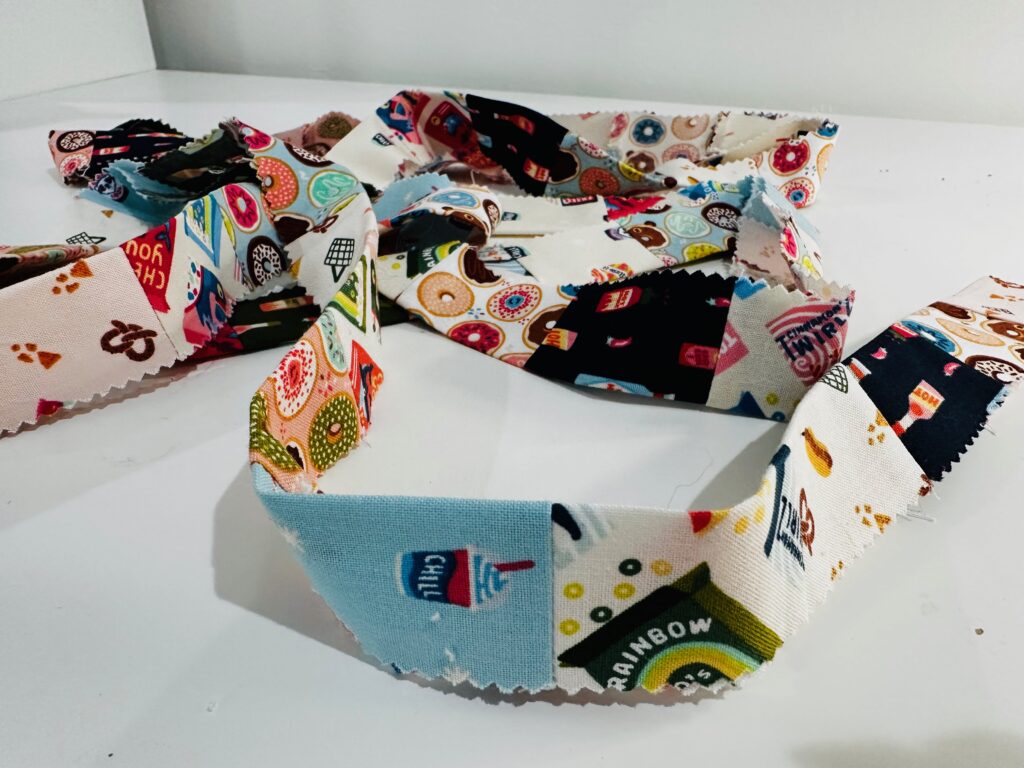
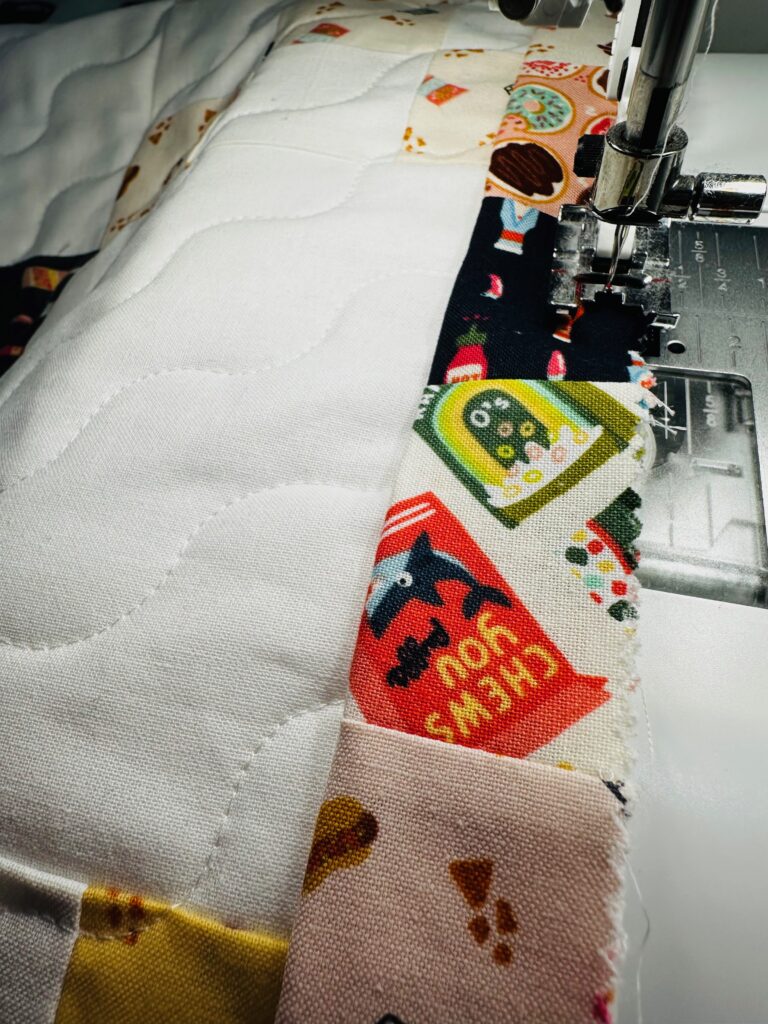
The featured quilt has a scrappy binding, created using all the leftover mini charm squares. First, piece together the squares to obtain one long strip.
Press the seams all in the same direction. Then, press the binding strip in half lengthwise with wrong sides facing.
Apply the binding using your preferred method.
Now that you’re in the “Irish spirit,” don’t forget to check out our trip to Ireland before it sells out! CHECK IT OUT>>




Thank you for enhancing my knowledge about quilts design.