This series is written by guest blogger, Pamela Cox. Pamela is an expert embroiderer, designer, digitizer and all around wonderful girl! We are so happy to have her contributing to the Sulky Blog!
Wool and Cashmere
Cooler temperatures are quickly settling in, so let’s turn our attention to fabrics which will keep us warm.
Wool is a natural material obtained from sheep by spinning their crimped locks into long fibers which are then woven together. 100% wool can be found in a wide range of weights, nap density, and weaves. It can also be blended with other fibers, both synthetic (polyester, acrylic) and natural (cotton) fibers.
Beautifully embroidered wool begins with evaluating the characteristics of the fabric currently being used. In other words, “proper hooping” for lighter-weights, looser weaves and flatter naps will be different than its counter parts. The one common factor all types of wool fabrics share is that they should never be secured directly in the hoop’s frame.
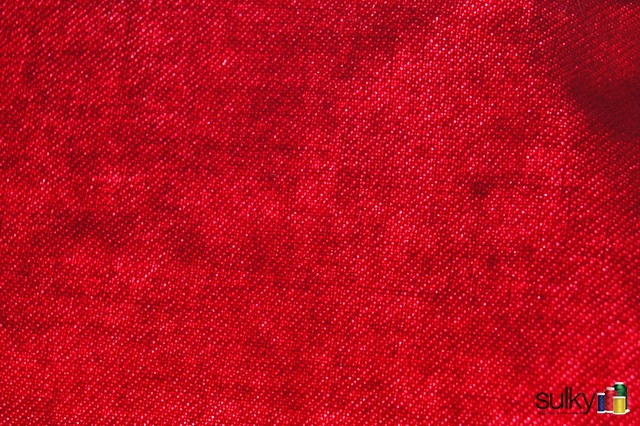
Let’s take a look at several pieces of wool fabric all displaying different characteristics, with the first being a cranberry colored, light-weight, twill weave. The photo below was taken with sunlight behind the fabric showing the loosely woven fibers.
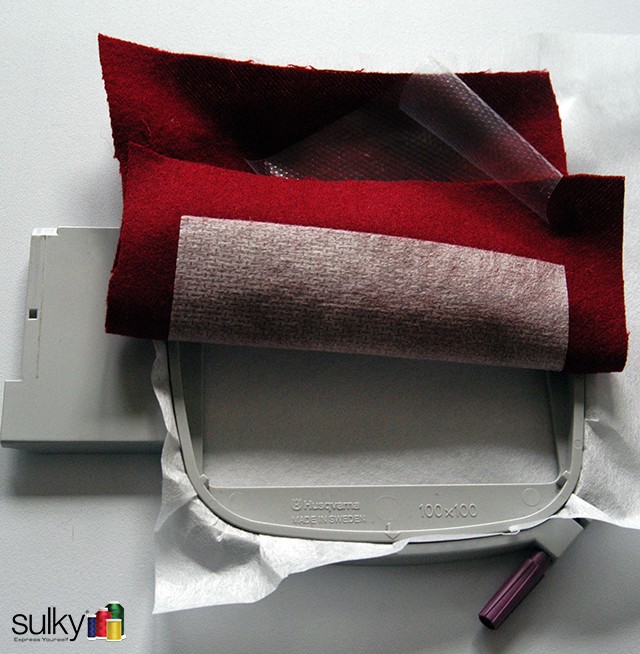
Sulky® Soft ’n Sheer Extra™ was chosen as the stabilizer. (The “Extra” means it’s fusible.) It’s rough side (the fusible side) was ironed to the wrong side of the wool. Always allow the fabric to cool completely prior to moving it.
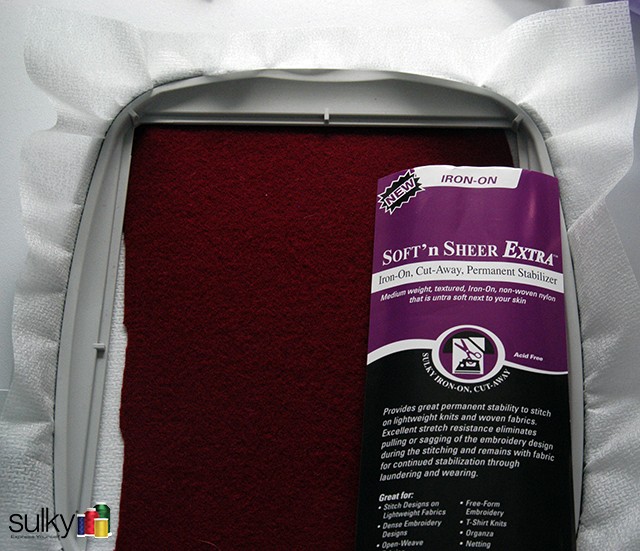
Since my design was being stitched on a small square, I centered the wool on a much larger piece of Soft ’n Sheer Extra™ fusing it in place. I was then able to simply hoop the outer edges of the stabilizer itself.
There are times when multiple layers of stabilizers can, and should be, used in conjunction with one another.
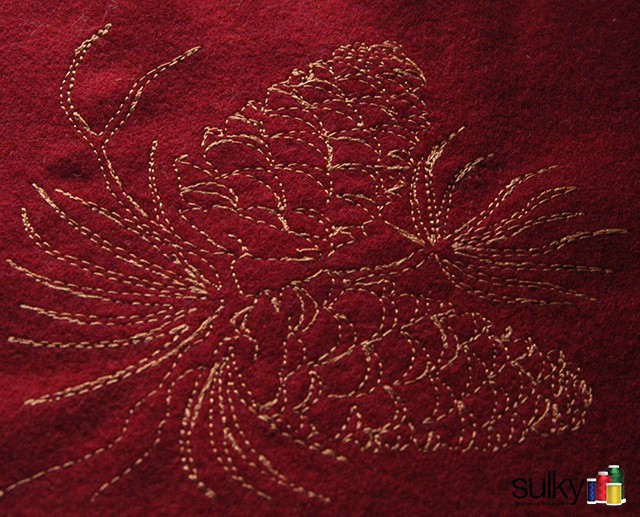
The cranberry wool features design #883-pinecones available at the Sulky Embroidery Club. The design was first stitched in 40 wt. Sulky Rayon Thread, without any topper, using a 90/14 embroidery needle. The machine was slowed down to half-speed.
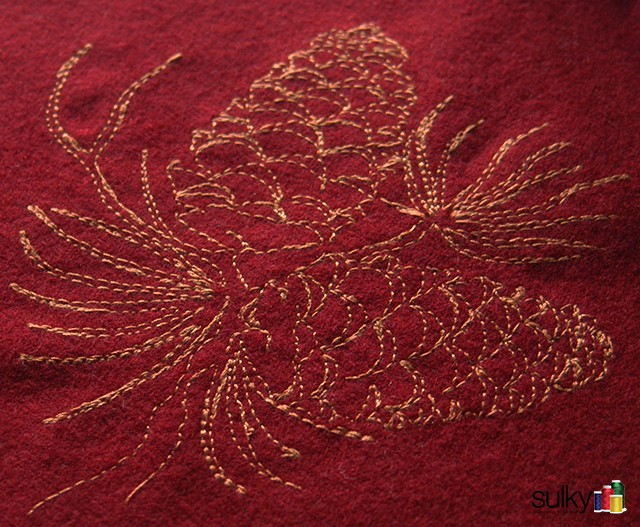
Although the line design does show, to make it become a more prominent design, another piece of the same fabric was stitched using Sulky® 30 wt. Cotton thread. The machine was slowed down to the slowest speed possible and a 100/16 topstitch needle was used to stitch out the design.
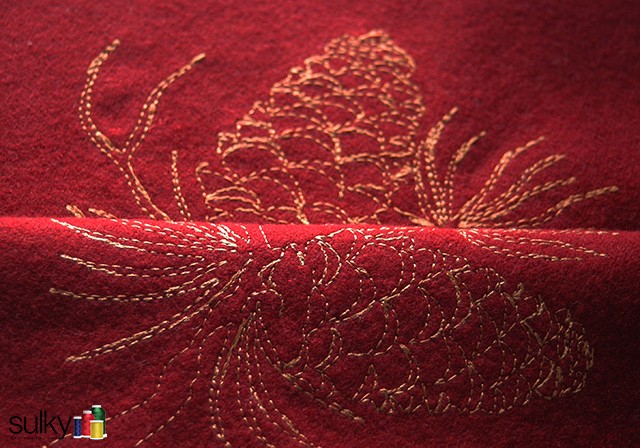
The heavier thread definitely is bolder. Compare them side-by-side. It is evident that the cotton thread is in the top half of the picture.
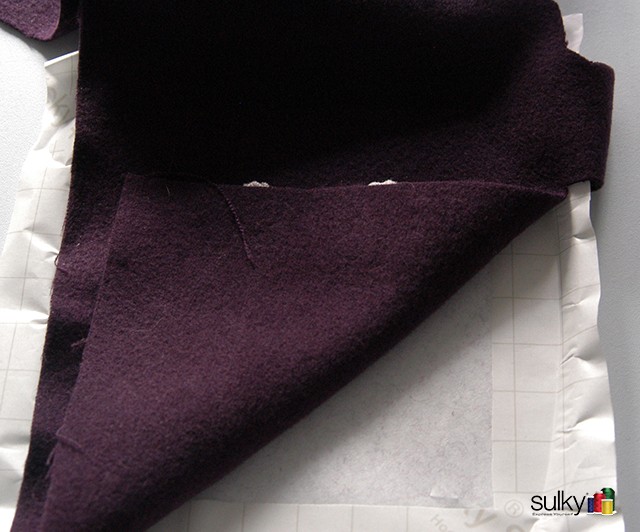
Boiled-wool presents very different characteristics which must be taken into consideration for machine embroidery. It is a very compact, dense fabric. Sulky® Sticky +™ works wonderfully well with this texture. Not only does the fuzzy fabric surface adhere completely to the sticky stabilizer, but the fabric’s short, thick nap, affords easy removal.
Hoop Sulky® Sticky +™ with the paper still intact and facing up. Lightly score the area inside the hoop’s frame, lifting and discarding the shiny paper.
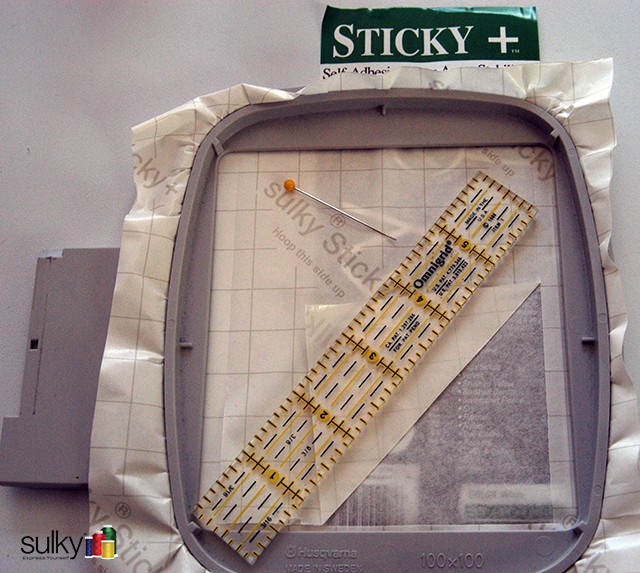
Smooth the wrong side of the wool to the stabilizer. Match the design and hoop centers, if applicable.
The “spongy” nap requires a top stabilizer insuring that the layered embroidery threads will “sit on top” of the surface as opposed to “sinking into” the fabric.
Lightly spray a piece of Sulky® Heat-Away Clear Film™ with KK 2000™ Temporary Adhesive and press it firmly on top of the wool.
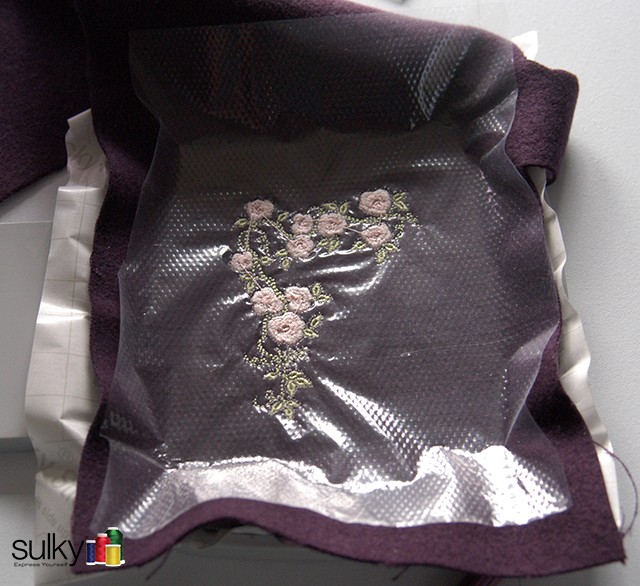
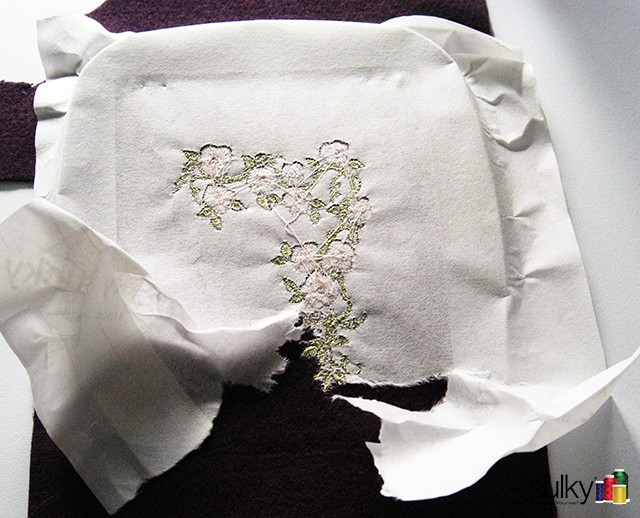
The embroidered design is #262-sweet nothing roses corner available through The Sulky Embroidery Club. Once the embroidery is completed, stabilizers need to be removed.
Often times, keeping the fabric hooped makes this process easier! Begin by removing the topper. Heat-Away Clear Film™ easily tears away from the majority of the project.
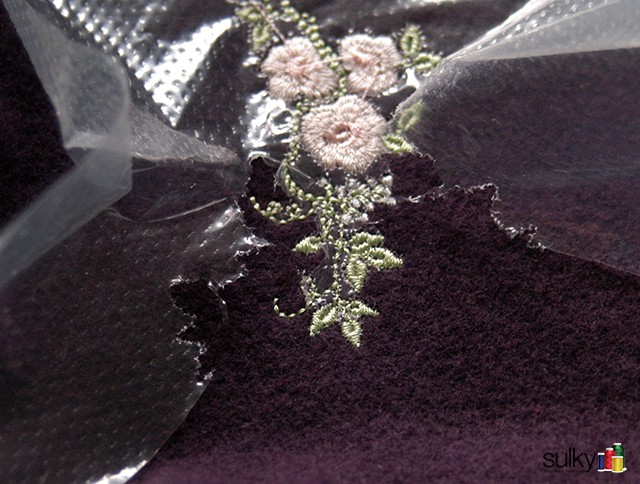
For smaller areas, try using a tweezer to slide under and lift up the stabilizer for easy removal.
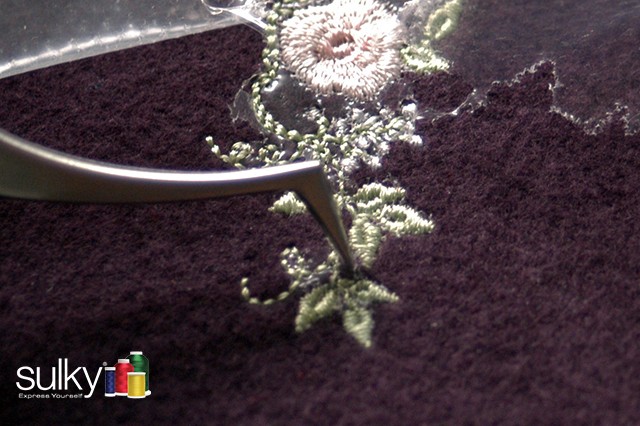
Keep in mind that this stabilizer “disappears” with the heat of the iron!
Little effort is needed to gently peel Sticky +™ from the back.
Once the bulk of the stabilizer has been removed, carefully tear the stabilizer away from the embroidered design’s edges. Keeping the fabric on a flat surface and applying finger pressure to the stitched threads, allows this stabilizer to easily be removed.
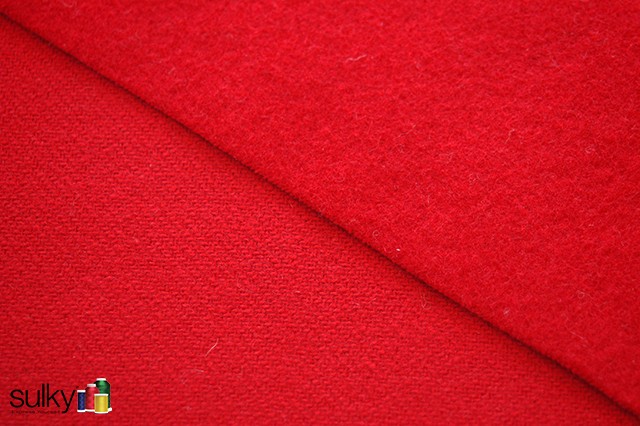
Let’s evaluate this medium-weight, red wool fabric. Since it is tightly woven, either Soft ’n Sheer™ or Sticky +™ would be applicable stabilizers.
Two stabilizers are required: a securely hooped stabilizer plus a top stabilizer, Heat-Away Clear Film™, to tamp down the nap. The fabric and top stabilizer can be secured in one step by fixing/basting, which is a function available on many embroidery machines, or incorporate Sulky KK 2000™ Temporary Adhesive to hold the fabric in place prior to securing the topper.
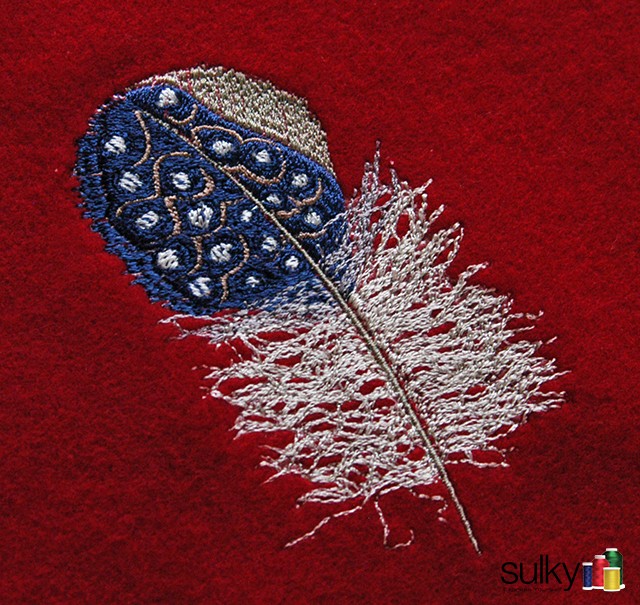
Design, #921- feather, also available at the Sulky Embroidery Club, has been stitched on this fussy, napped, woolen surface in Sulky 40 wt. Rayon Thread.
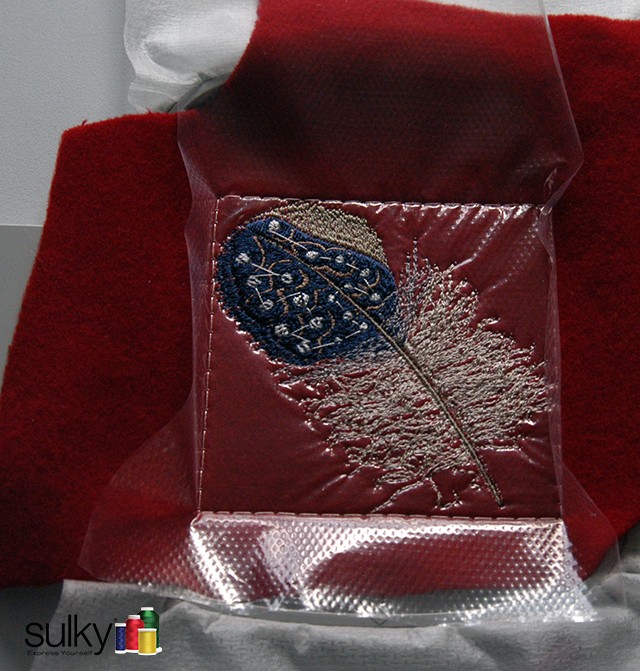
Once the embroidery is completed, always release the basting box stitches from the wrong side avoiding the possibility of cutting into the nap of the wool.
Excess top stabilizer is gently torn away from the design. A hot iron was touched to the surface and the remaining stabilizer, in those hard to reach places, simply curled into little balls.
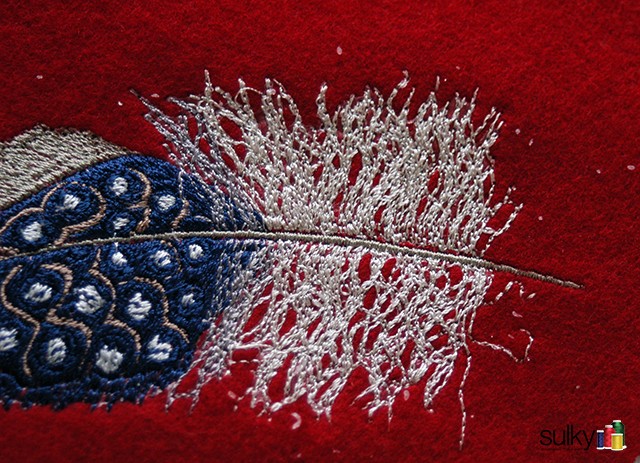
The balls can then be brushed away or use a piece of painter’s tape to lift the balls off the wool.
Cashmere, a member of the wool family differentiates itself by being produced from the hair of Cashmere goats resulting in a thinner, softer fabric.
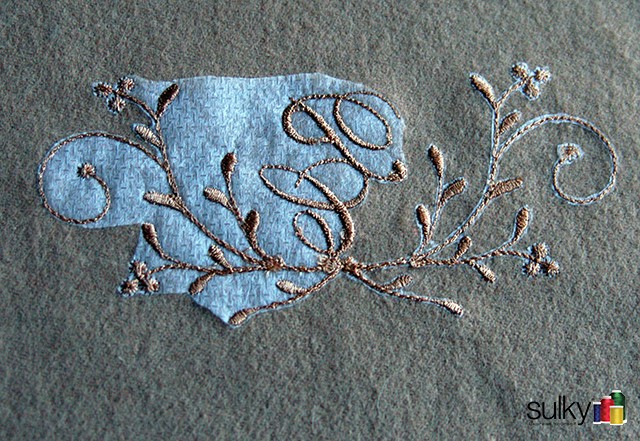
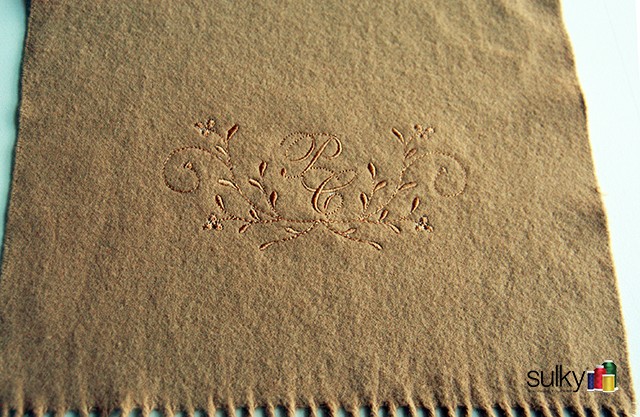
A purchased cashmere scarf was enhanced with an original monogram incorporating a monochromatic color theme.
Sulky® Soft ’n Sheer™ Stabilizer (regular Soft ‘n Sheer, not the iron-on version) was tightly secured in a larger sized hoop than the design required. Able to see a cutting mat’s grid markings through the hooped stabilizer, insures accurate matching of centers plus keeping the pre-made item straight.
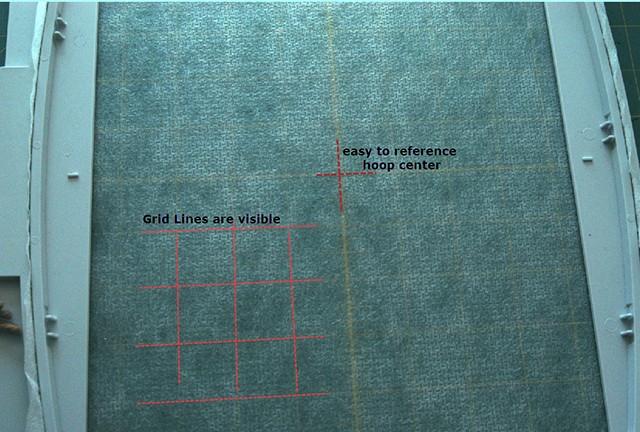
Hand basted lines indicate the design center placement.
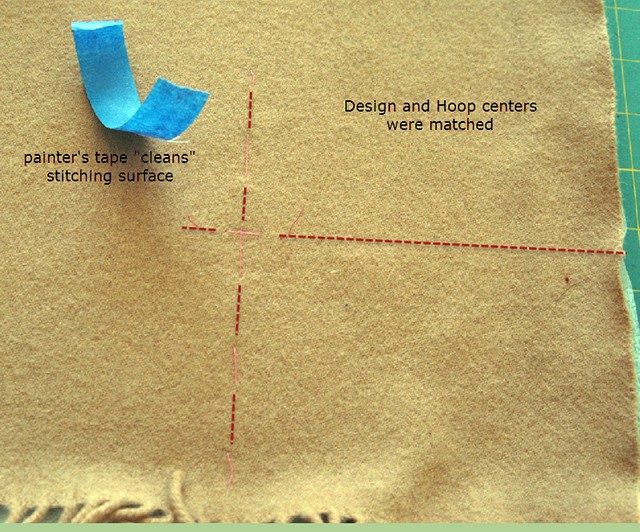
A piece of painter’s tape was used to pick up any threads or lint from within the stitching area. The wrong side of the scarf was sprayed with KK 2000™ Temporary Adhesive and the cashmere was securely pressed in place on top of the stabilizer, matching the design center to the hoop center. A few pins were placed well outside of the stitching area to ensure that the long scarf would not shift while it was carried over to the machine.
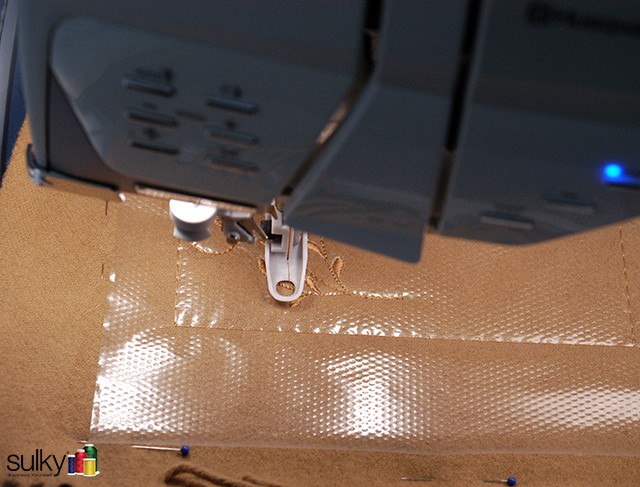
Even though the nap on this piece of cashmere was not that noticeable, considering the design was being stitched in matching colors, I thought it best to add a top stabilizer, Heat-Away Clear Film™, to ensure that the design threads sat on top of the surface.
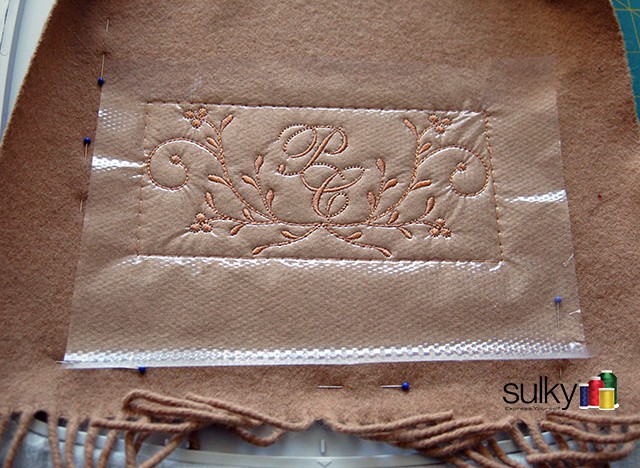
Once again, with the embroidery completed, the top stabilizer was gently torn away from the design knowing that hard to remove areas could be removed by touching a hot iron to the surface.
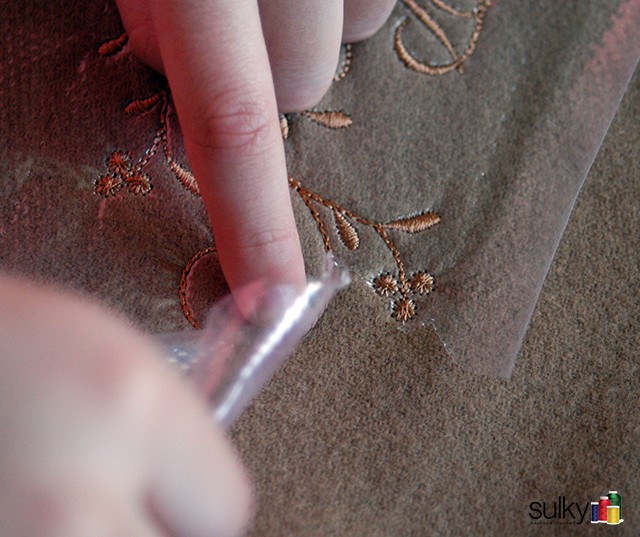
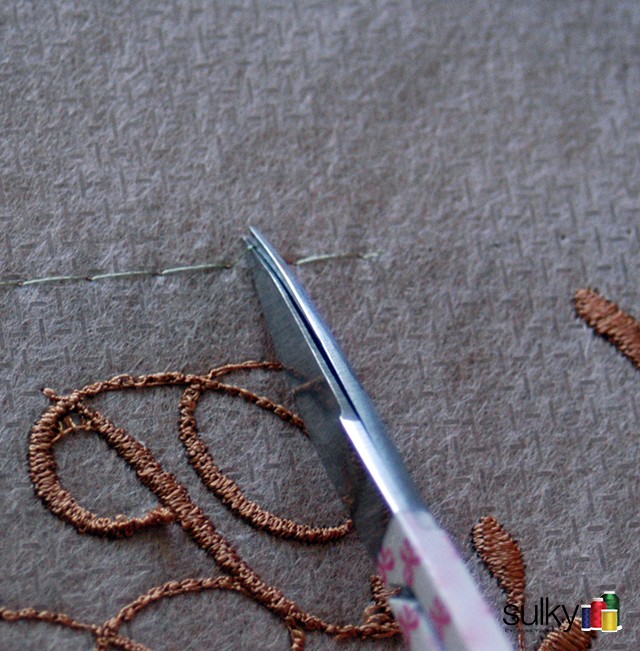
Soft ’n Sheer™ is a cut-away stabilizer, but it is easy to carve from the design with a small, sharp pair of scissors. Areas which simply cannot be removed, remain almost invisible.
Even a cashmere scarf, a luxurious accessory all on its own, reaches an even higher level with a personalized machine embroidery design!
Once again, we see that there is no “one way” to hoop a fabric family. Often times the choice of stabilizer depends upon the intended usage of the final product. If the original feel/drape of the wool is soft and subtle, Sulky Soft ’n Sheer™ is my first choice. If the reverse side is to be seen, and the wool is washable, Sulky® Fabri-Solvy™ could be incorporated. If the embroidered wool piece is part of a patchwork pattern for a tote-bag, Tear-Easy™ might be the stabilizer of choice.
Just remember: Sulky has quality stabilizers for any project that your creative spirit imagines!!


Very informative. Thank you so much for this information that I am sure will help me with my embroidery on wool.
Thank you so much , this was very helpful. i have a scarf similar to the cashmere one shown, what type of needle did you use?
Pamela used a 90/14 embroidery needle with the 40 wt. rayon on the one (she slowed her machine to half speed), and for the other heavier 30 wt. thread she used a 16/100 topstitch needle (Probably an Organ or Schmetz needle), and the slowest speed. We sell Organ needles on our website, too, http://www.sulky.com if you’re interested.