Micro-embroideries on Shoes
Micro-embroidery on shoes is a fun and creative way to personalize footwear. Sulky Stick ‘n Stitch Stabilizer is the best way to transfer the embroidery to shoes while Sulky 12 wt. Cotton Petites Thread gives the embroidery a beautiful, delicate texture. The beauty of this trend is the attention to detail in the small motifs. You can embroider anything from flowers to geometric patterns or even tiny illustrations. It’s a perfect way to elevate a pair of plain shoes into something one-of-a-kind. Choose a canvas shoe, such as Converse or Keds, and get stitching!
SHOE EMBROIDERY SUPPLIES
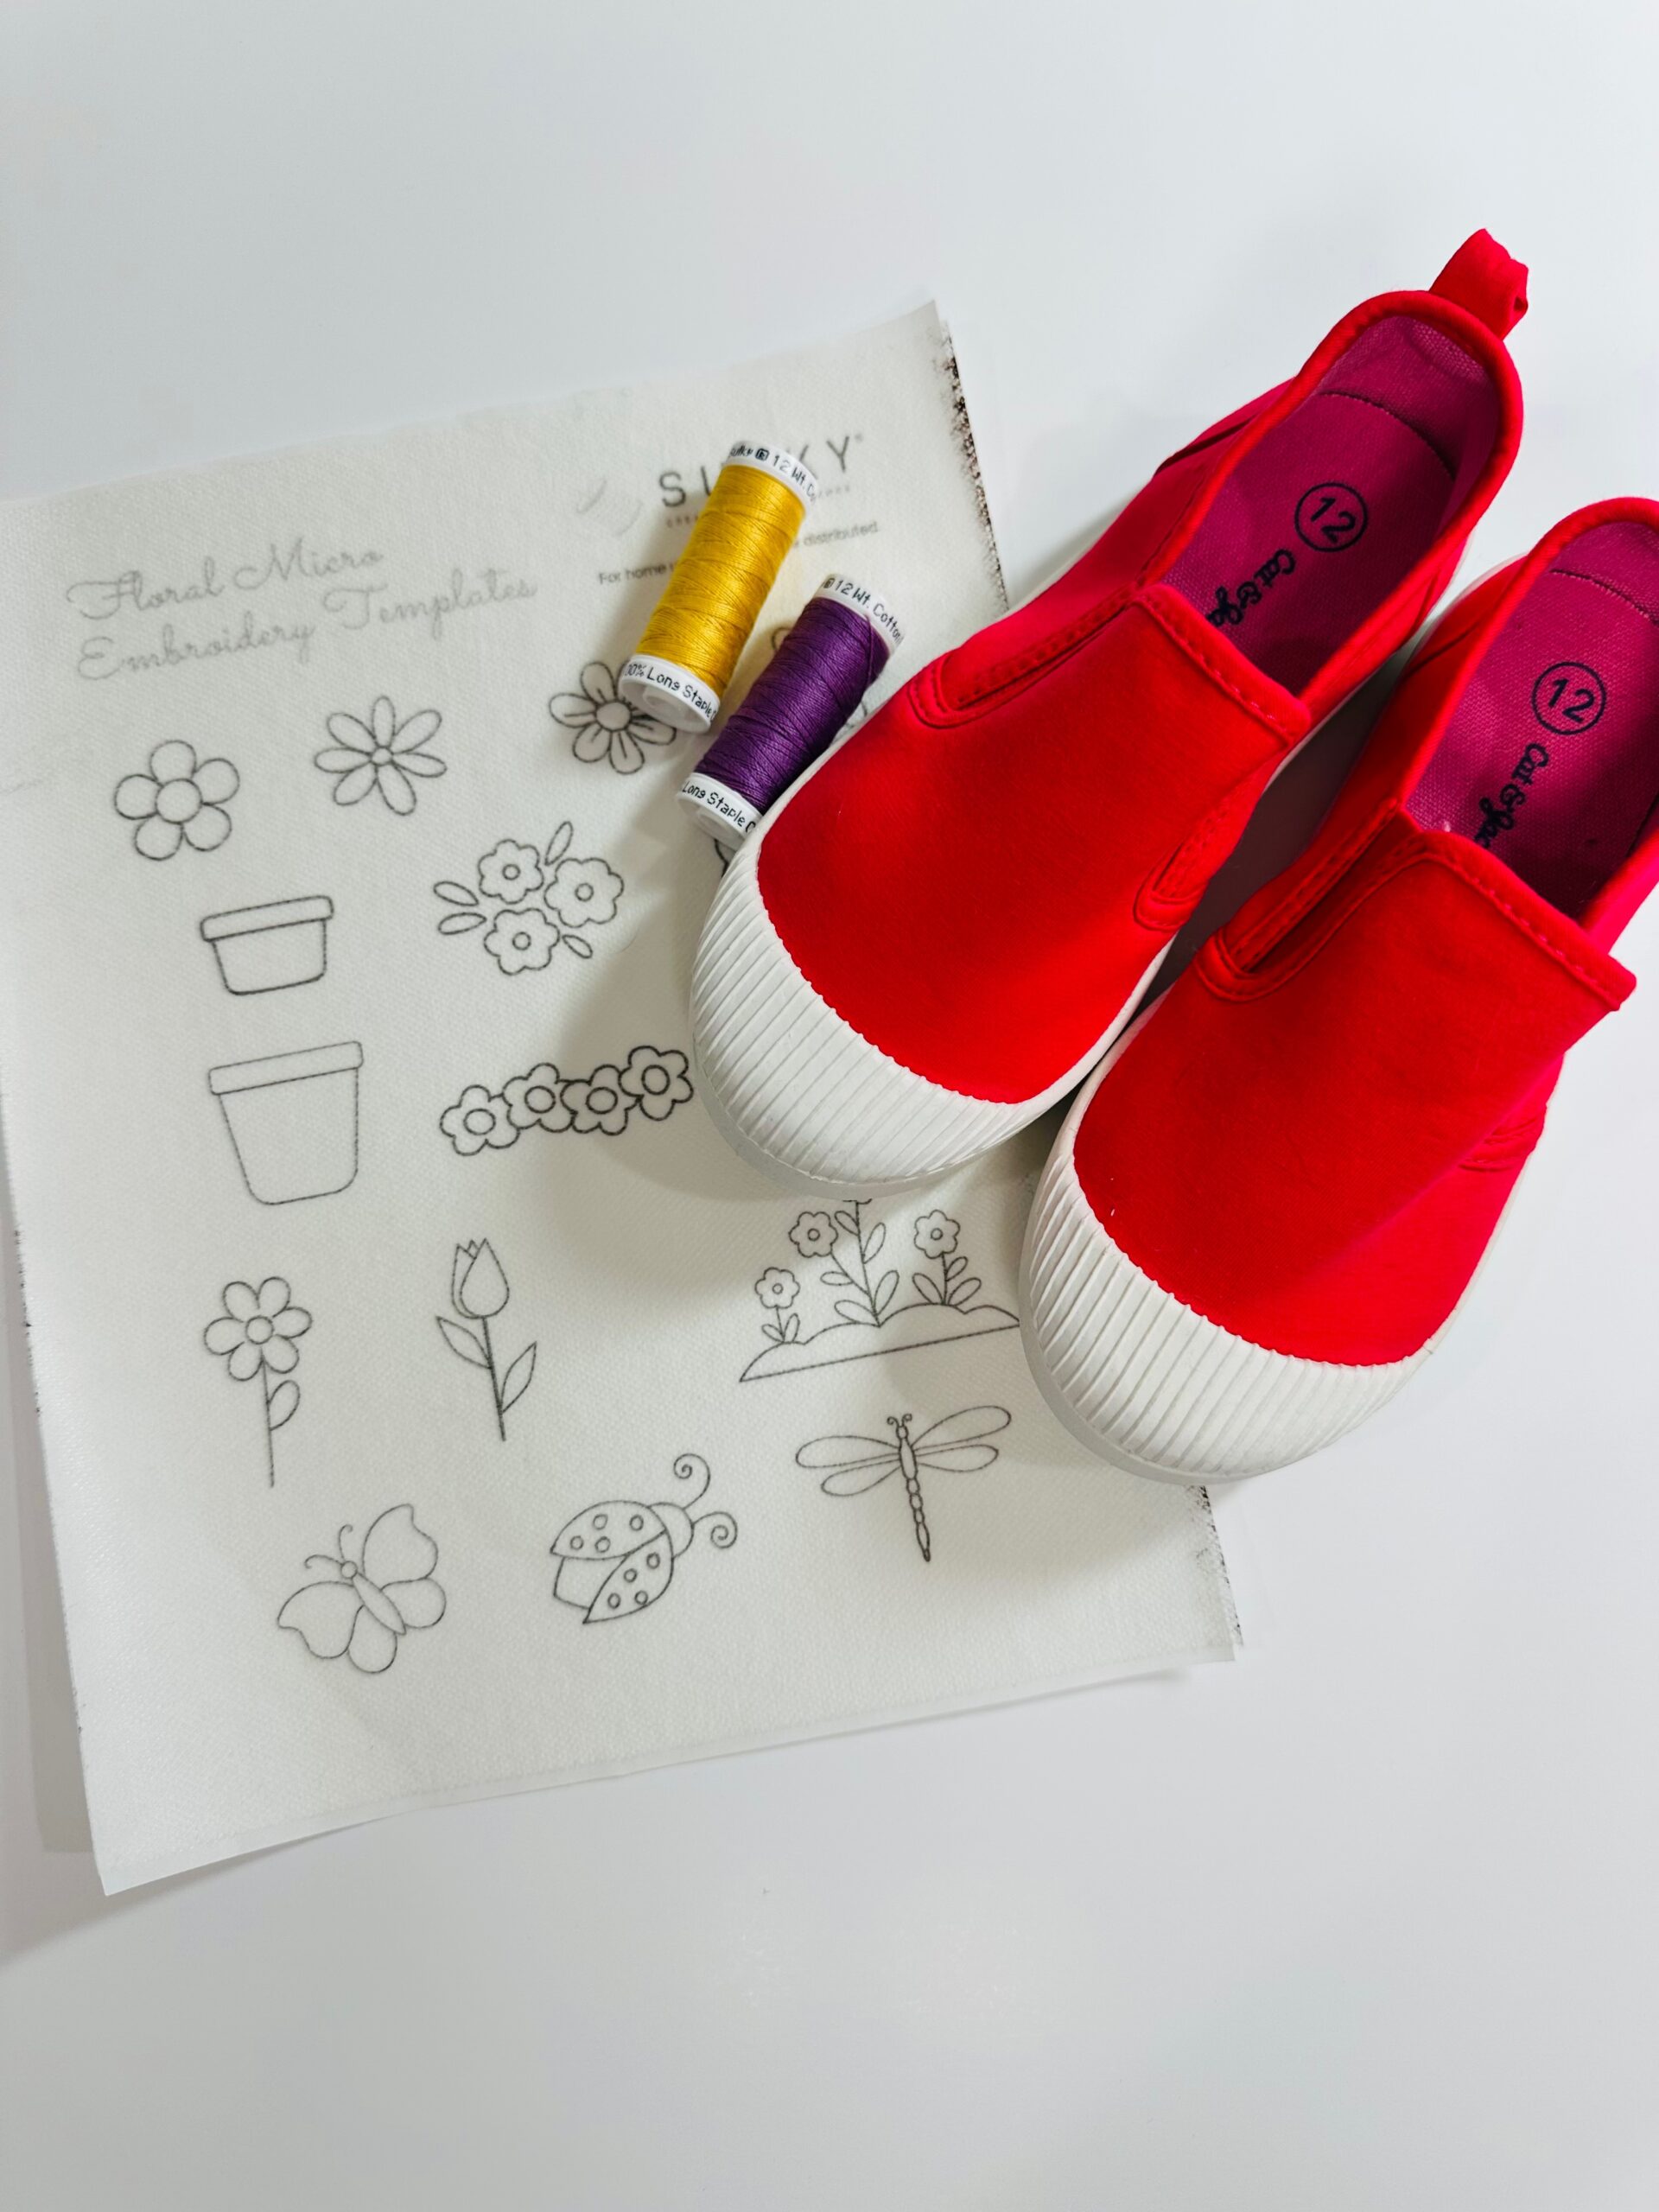
- Pair of cloth or canvas shoes
- Sulky Stick ‘n Stitch Stabilizer – printable sheets that wash away after embroidery is complete
- Sulky 12 wt. Cotton Petites Thread – one strand equals two strands of traditional floss
- Hand sewing needle
- Embroidery designs – grab this free printable pattern to get started
MICRO-EMBROIDERY DESIGN TRANSFER
Either use the provided embroidery template or print your own design onto a sheet of Sulky Stick n Stitch Stabilizer. Make sure to print on the fabric-like side and set the printer for “draft” or the lowest ink setting, if possible.
Determine the desired design(s) for the shoes. The great thing about shoes is that they come in a pair! So you can do an entirely different design on each shoe and tie the look together by using the same thread colors. Or do the same design on both, making sure to mirror them if they have a directionality.
Cut out the design(s) you want to use form the Stick n Stitch. Audition them by holding them up to the shoe in the desired location(s).
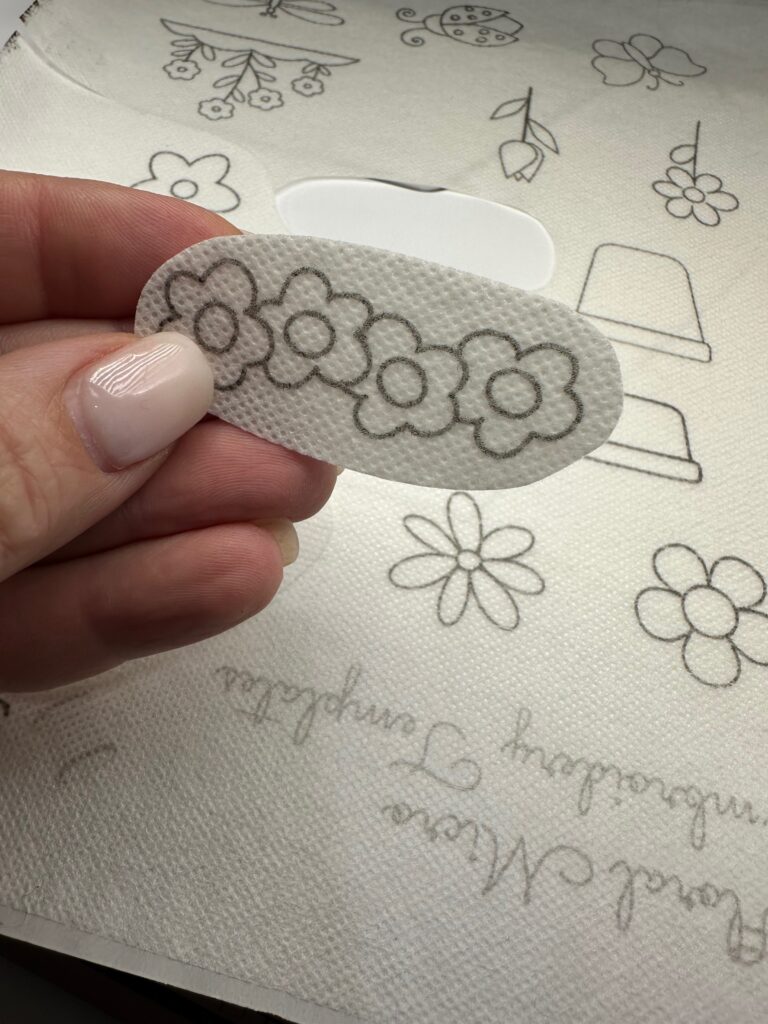
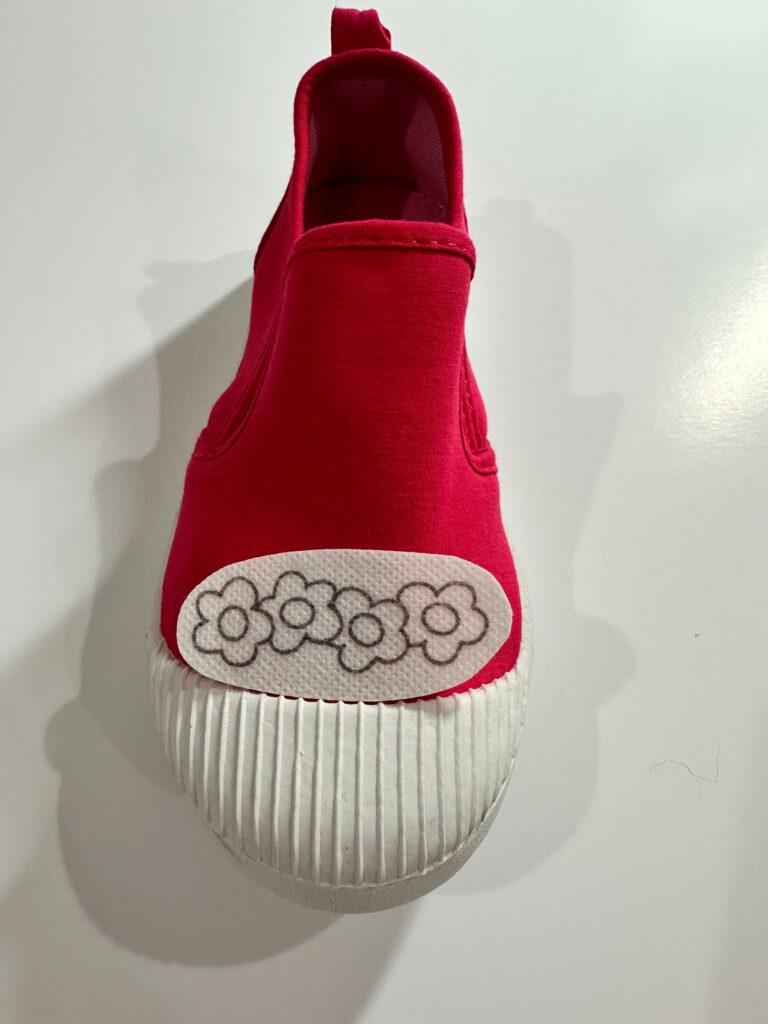
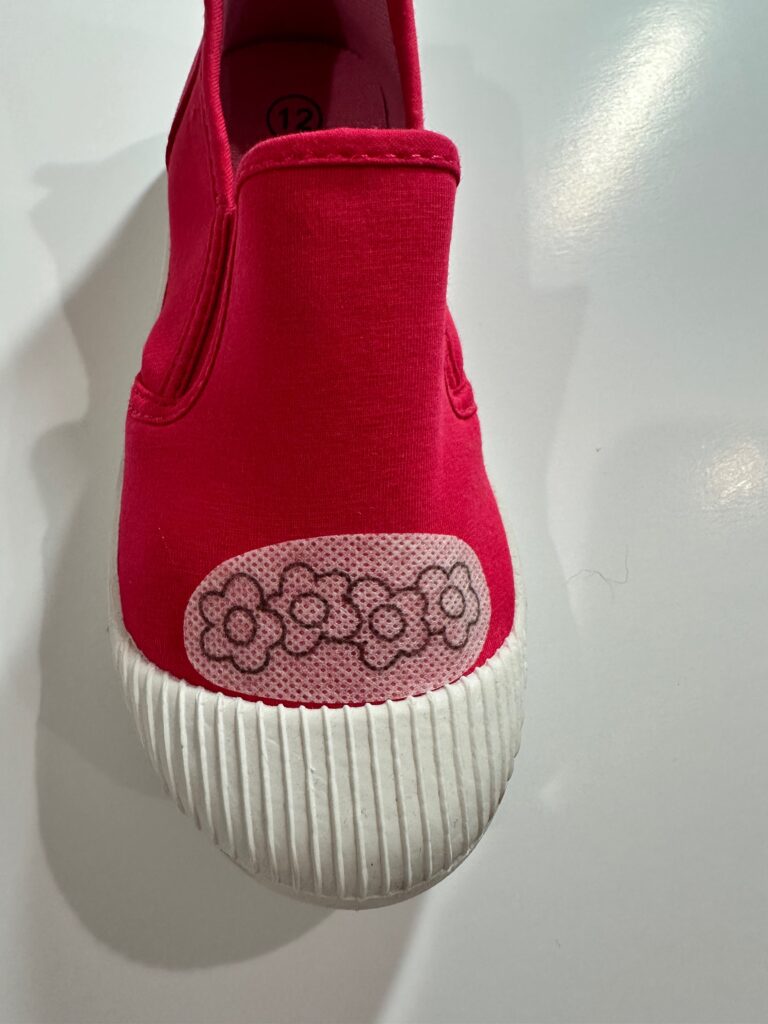
Once satisfied with the placement(s), remove the paper backing of the stabilizer to expose the sticky surface. Stick the transfer to the shoe with the right side facing up.

MICRO-EMBROIDERY PROCESS
Thread a hand sewing needle with one or two strands of Sulky 12 wt. Cotton Petites Thread. If you plan to fill in any motif areas, go with two strands. If you plan to outline, perhaps go with only one strand.
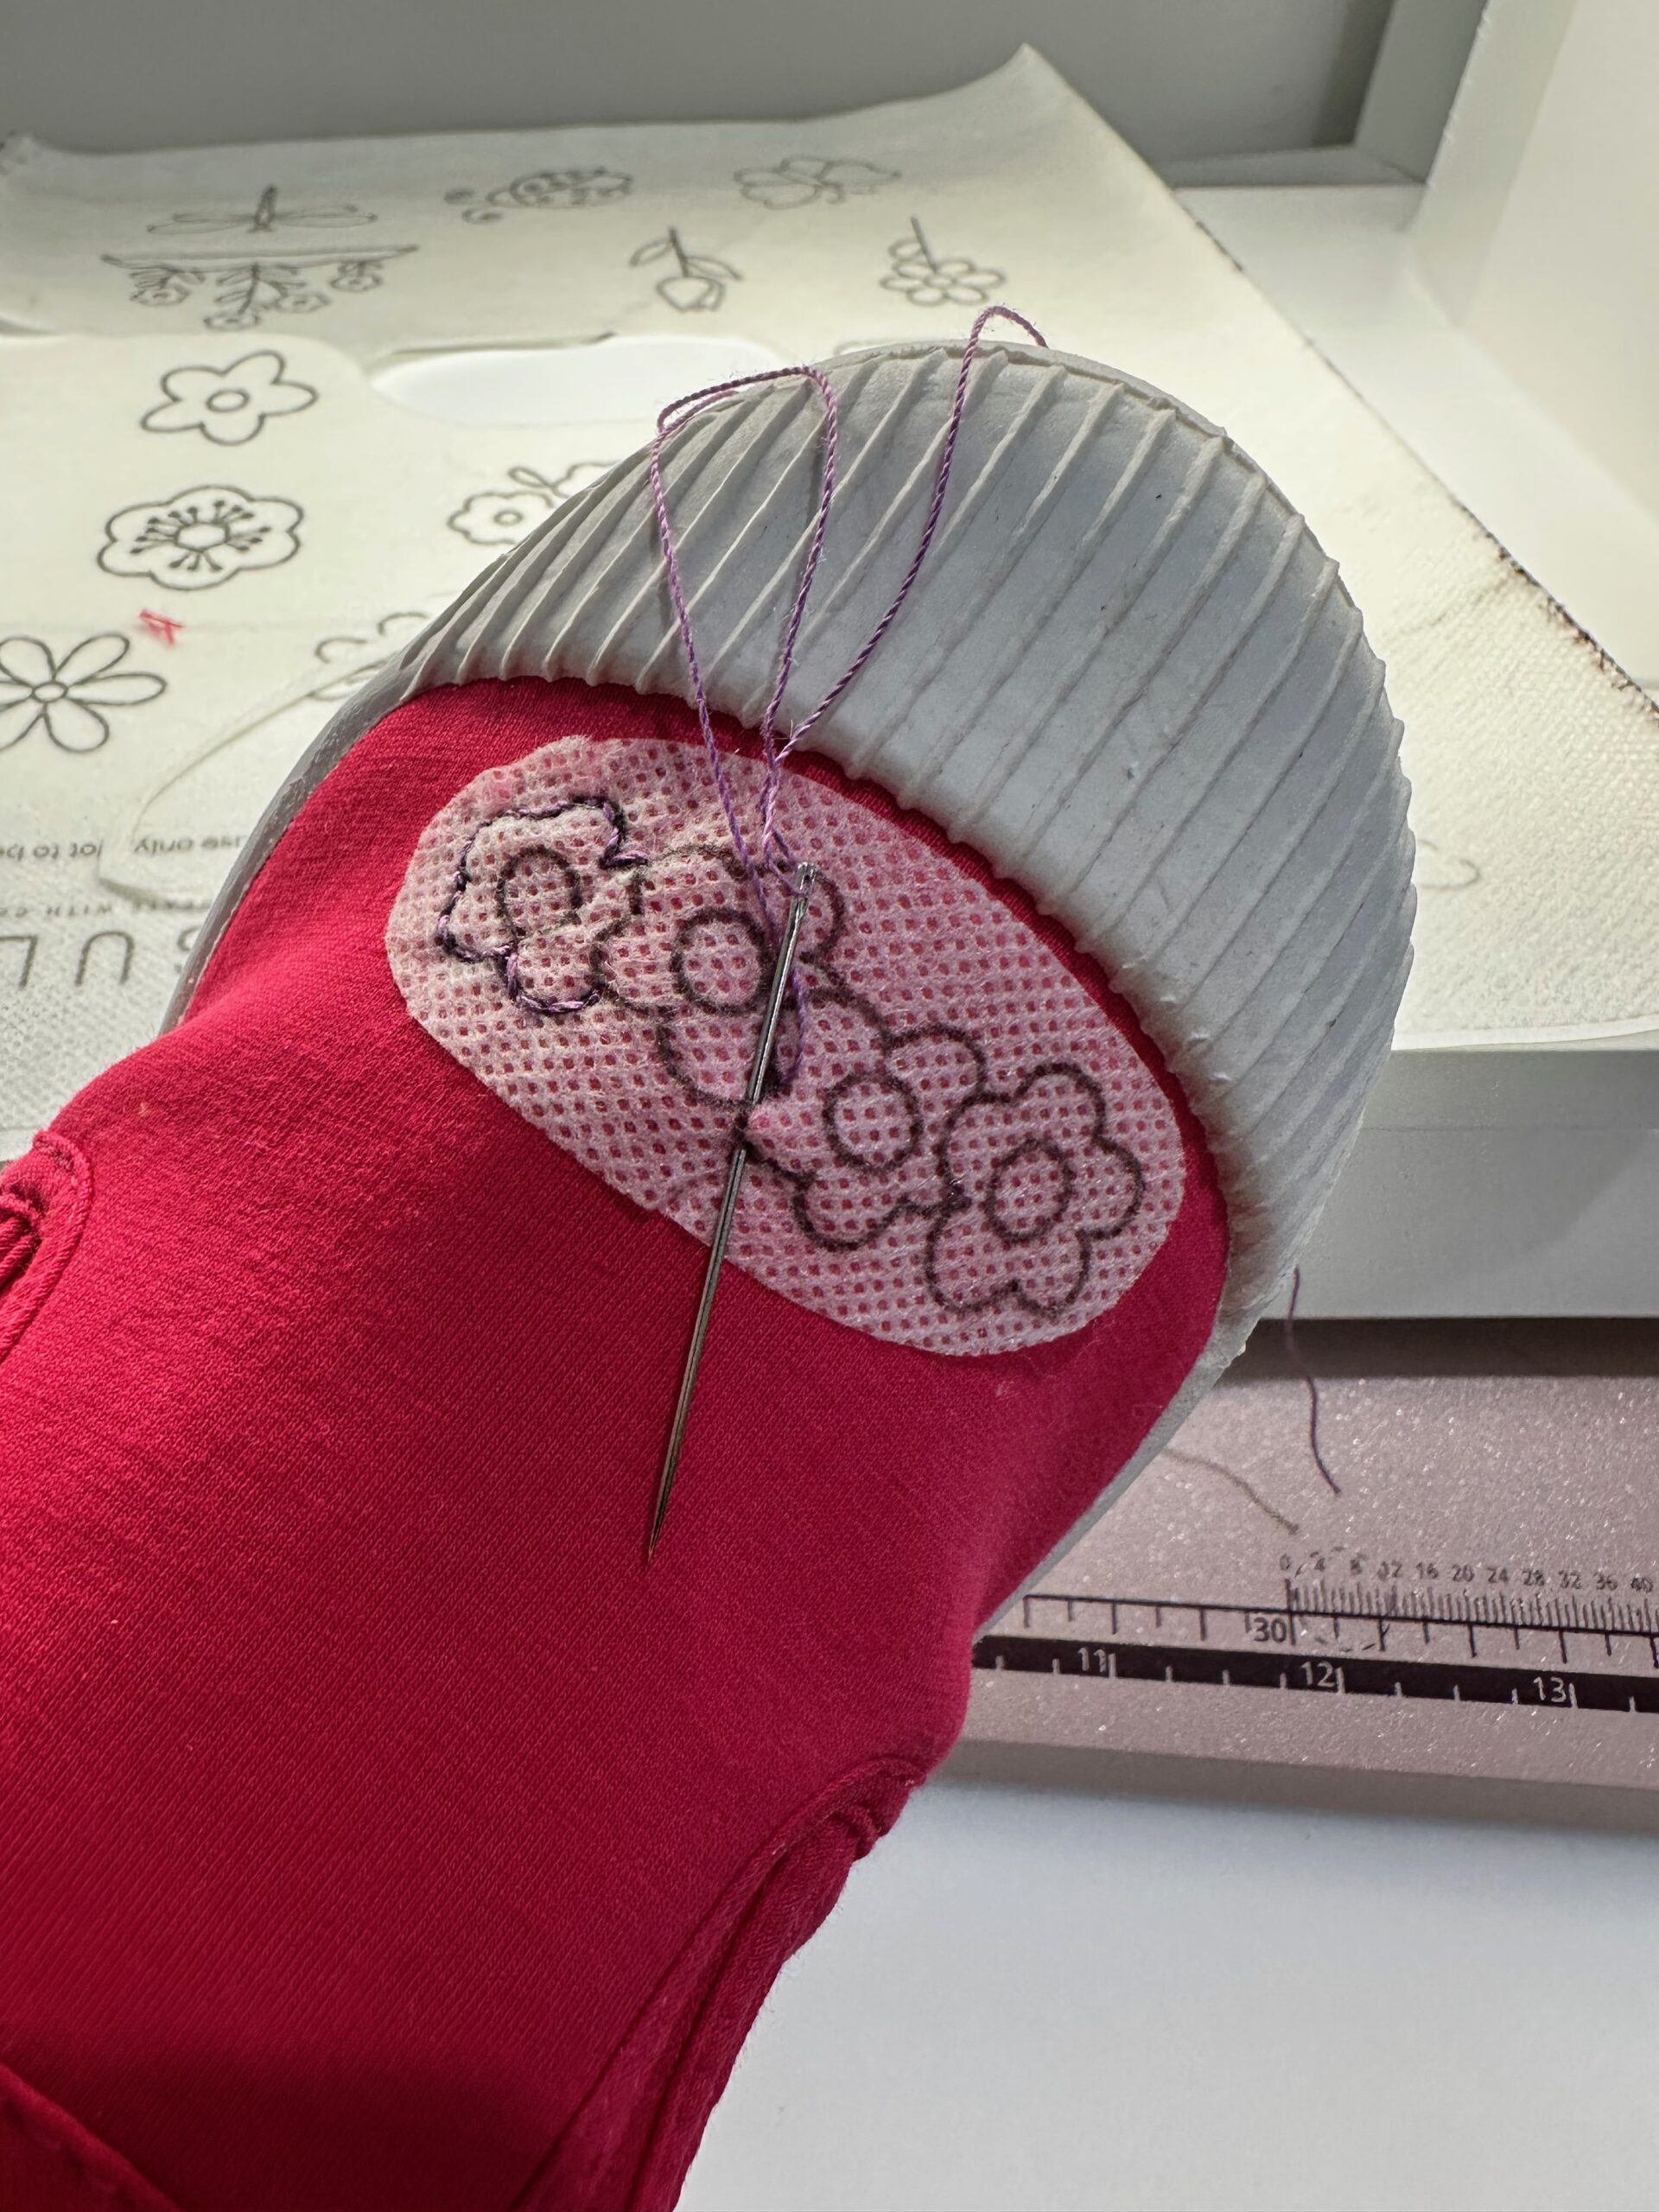
Because these embroideries are rather small (hence the “micro” term), take that into account when placing the embroider. You want to make sure you can still access the interior of the shoe in order to create the stitches you want to make.
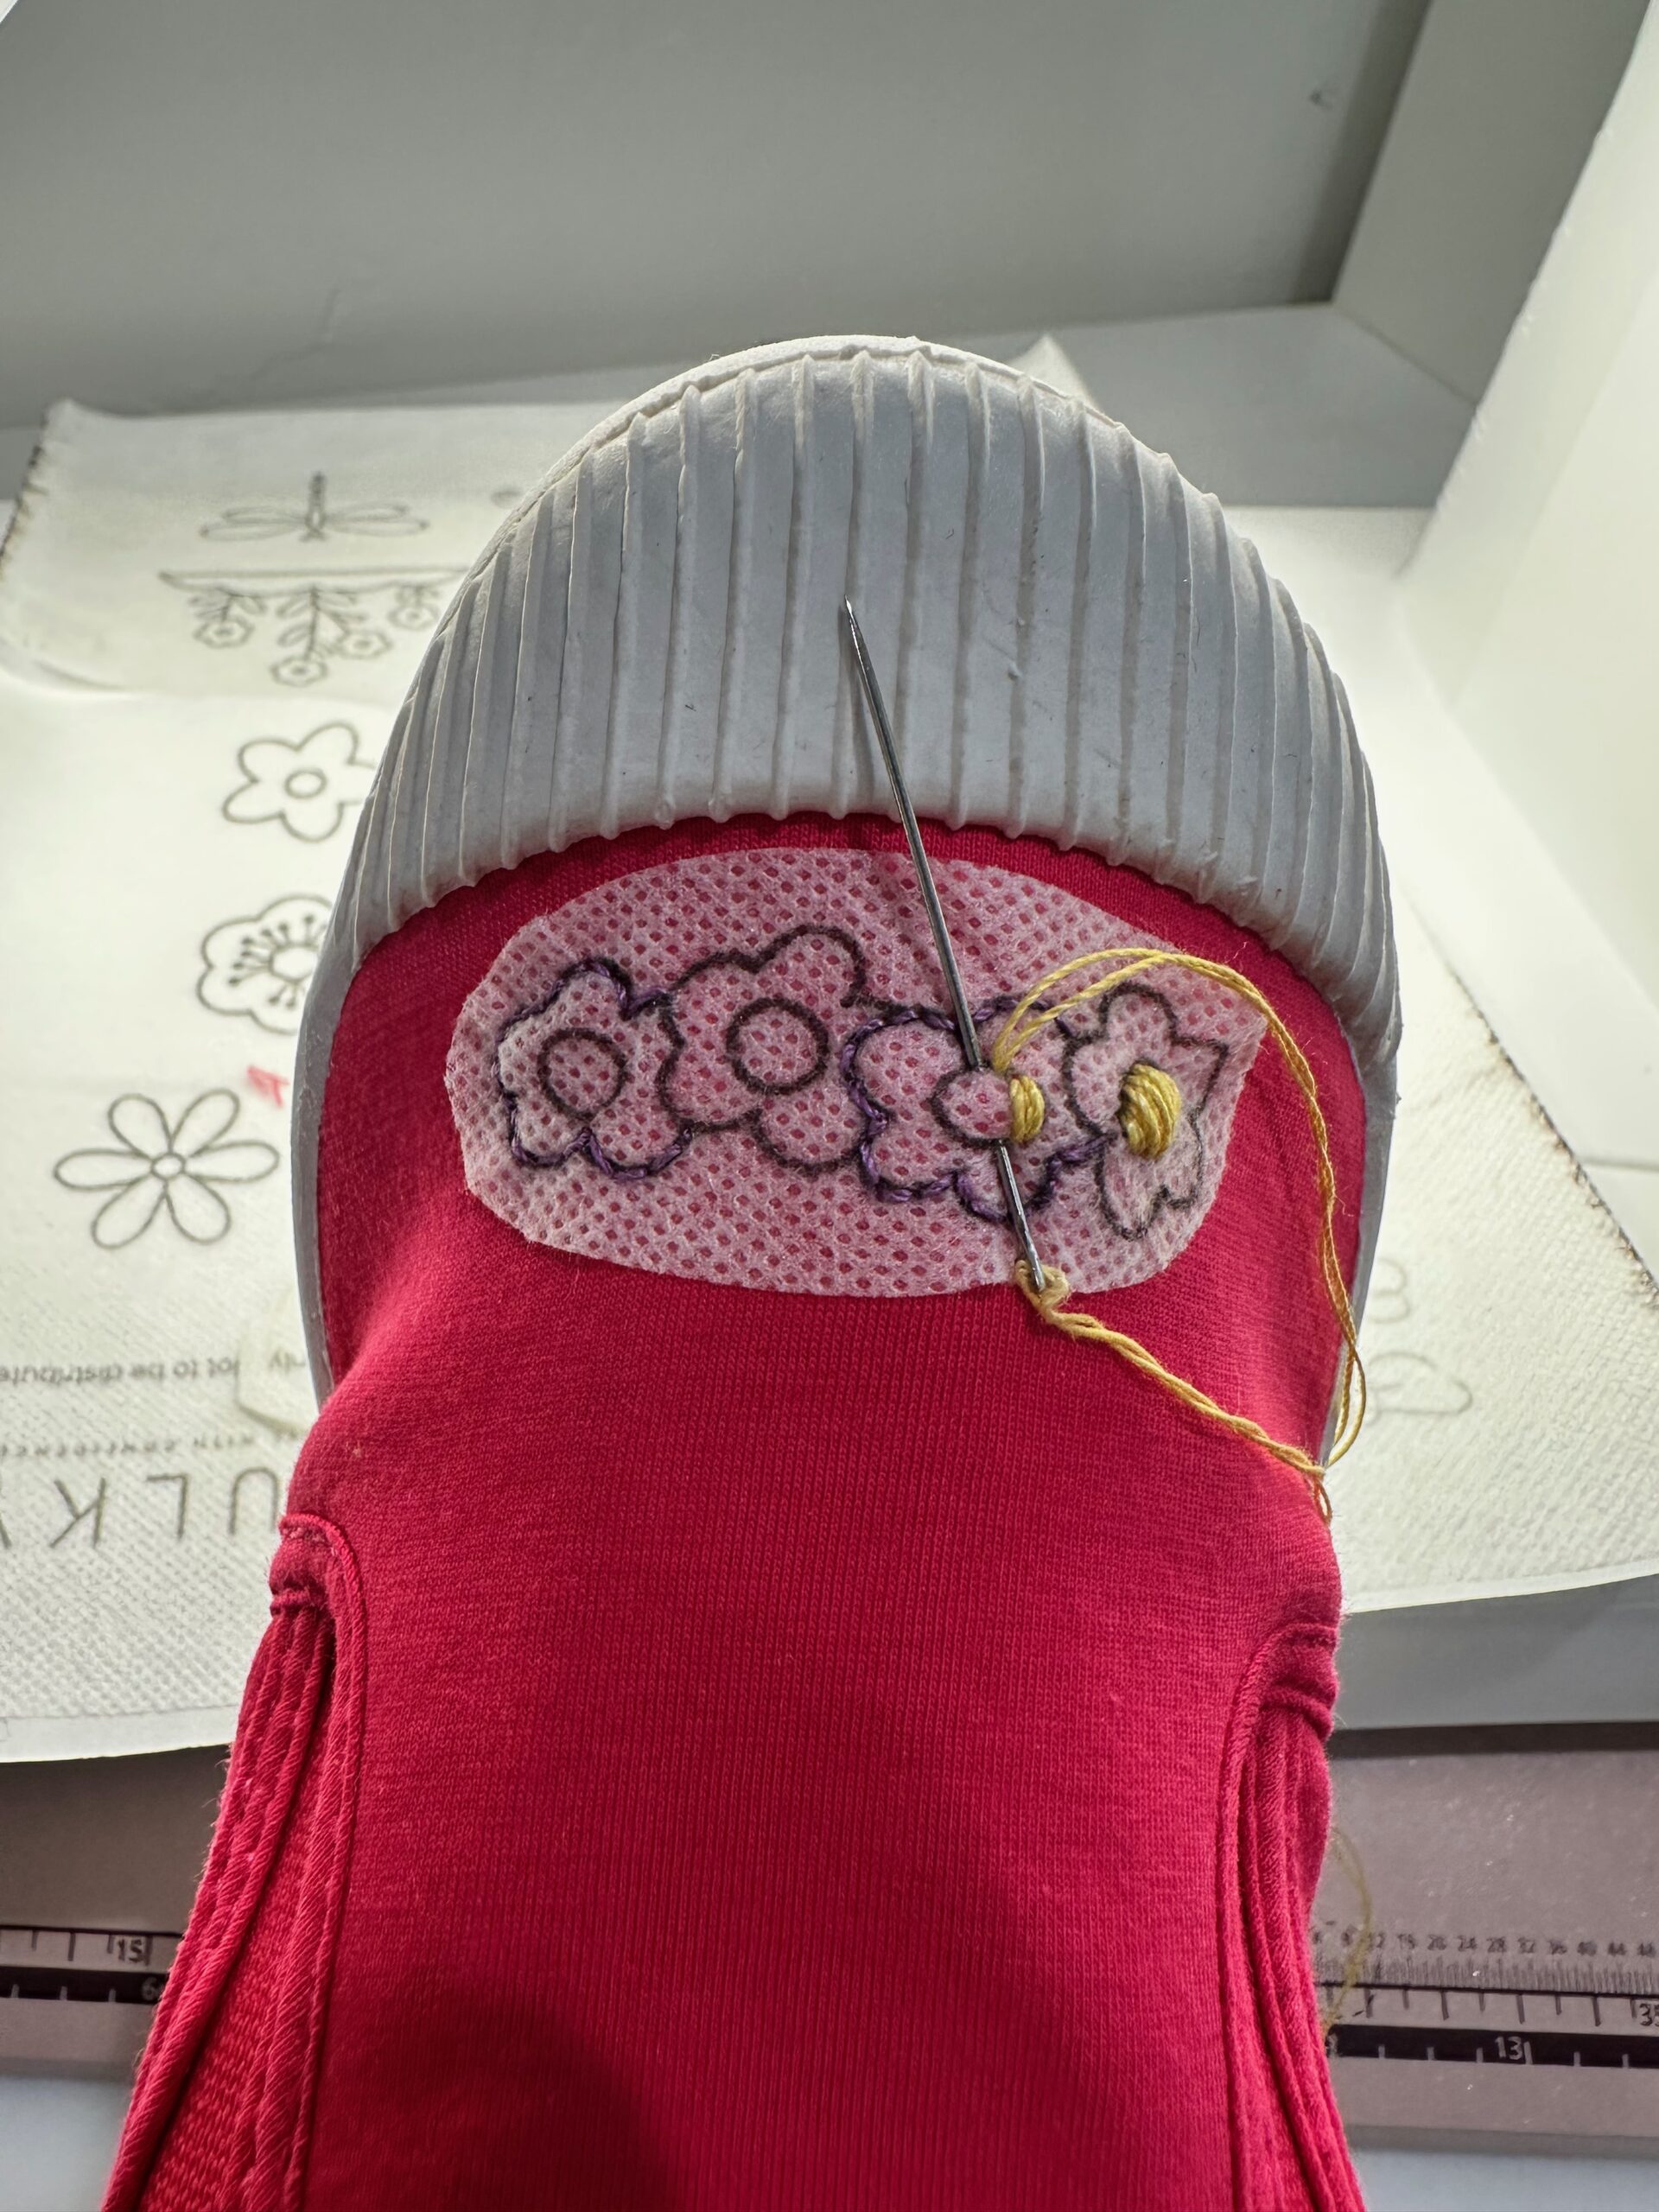
Continue embroidering, switching thread colors as desired. Choose from backstitches, running stitches, satin stitches, stem stitches or your favorite embroidery stitches to complete the design(s).
When the embroidery is complete, consider adding more micro-embroideries to the shoes in other areas.
SHOE FINISHING
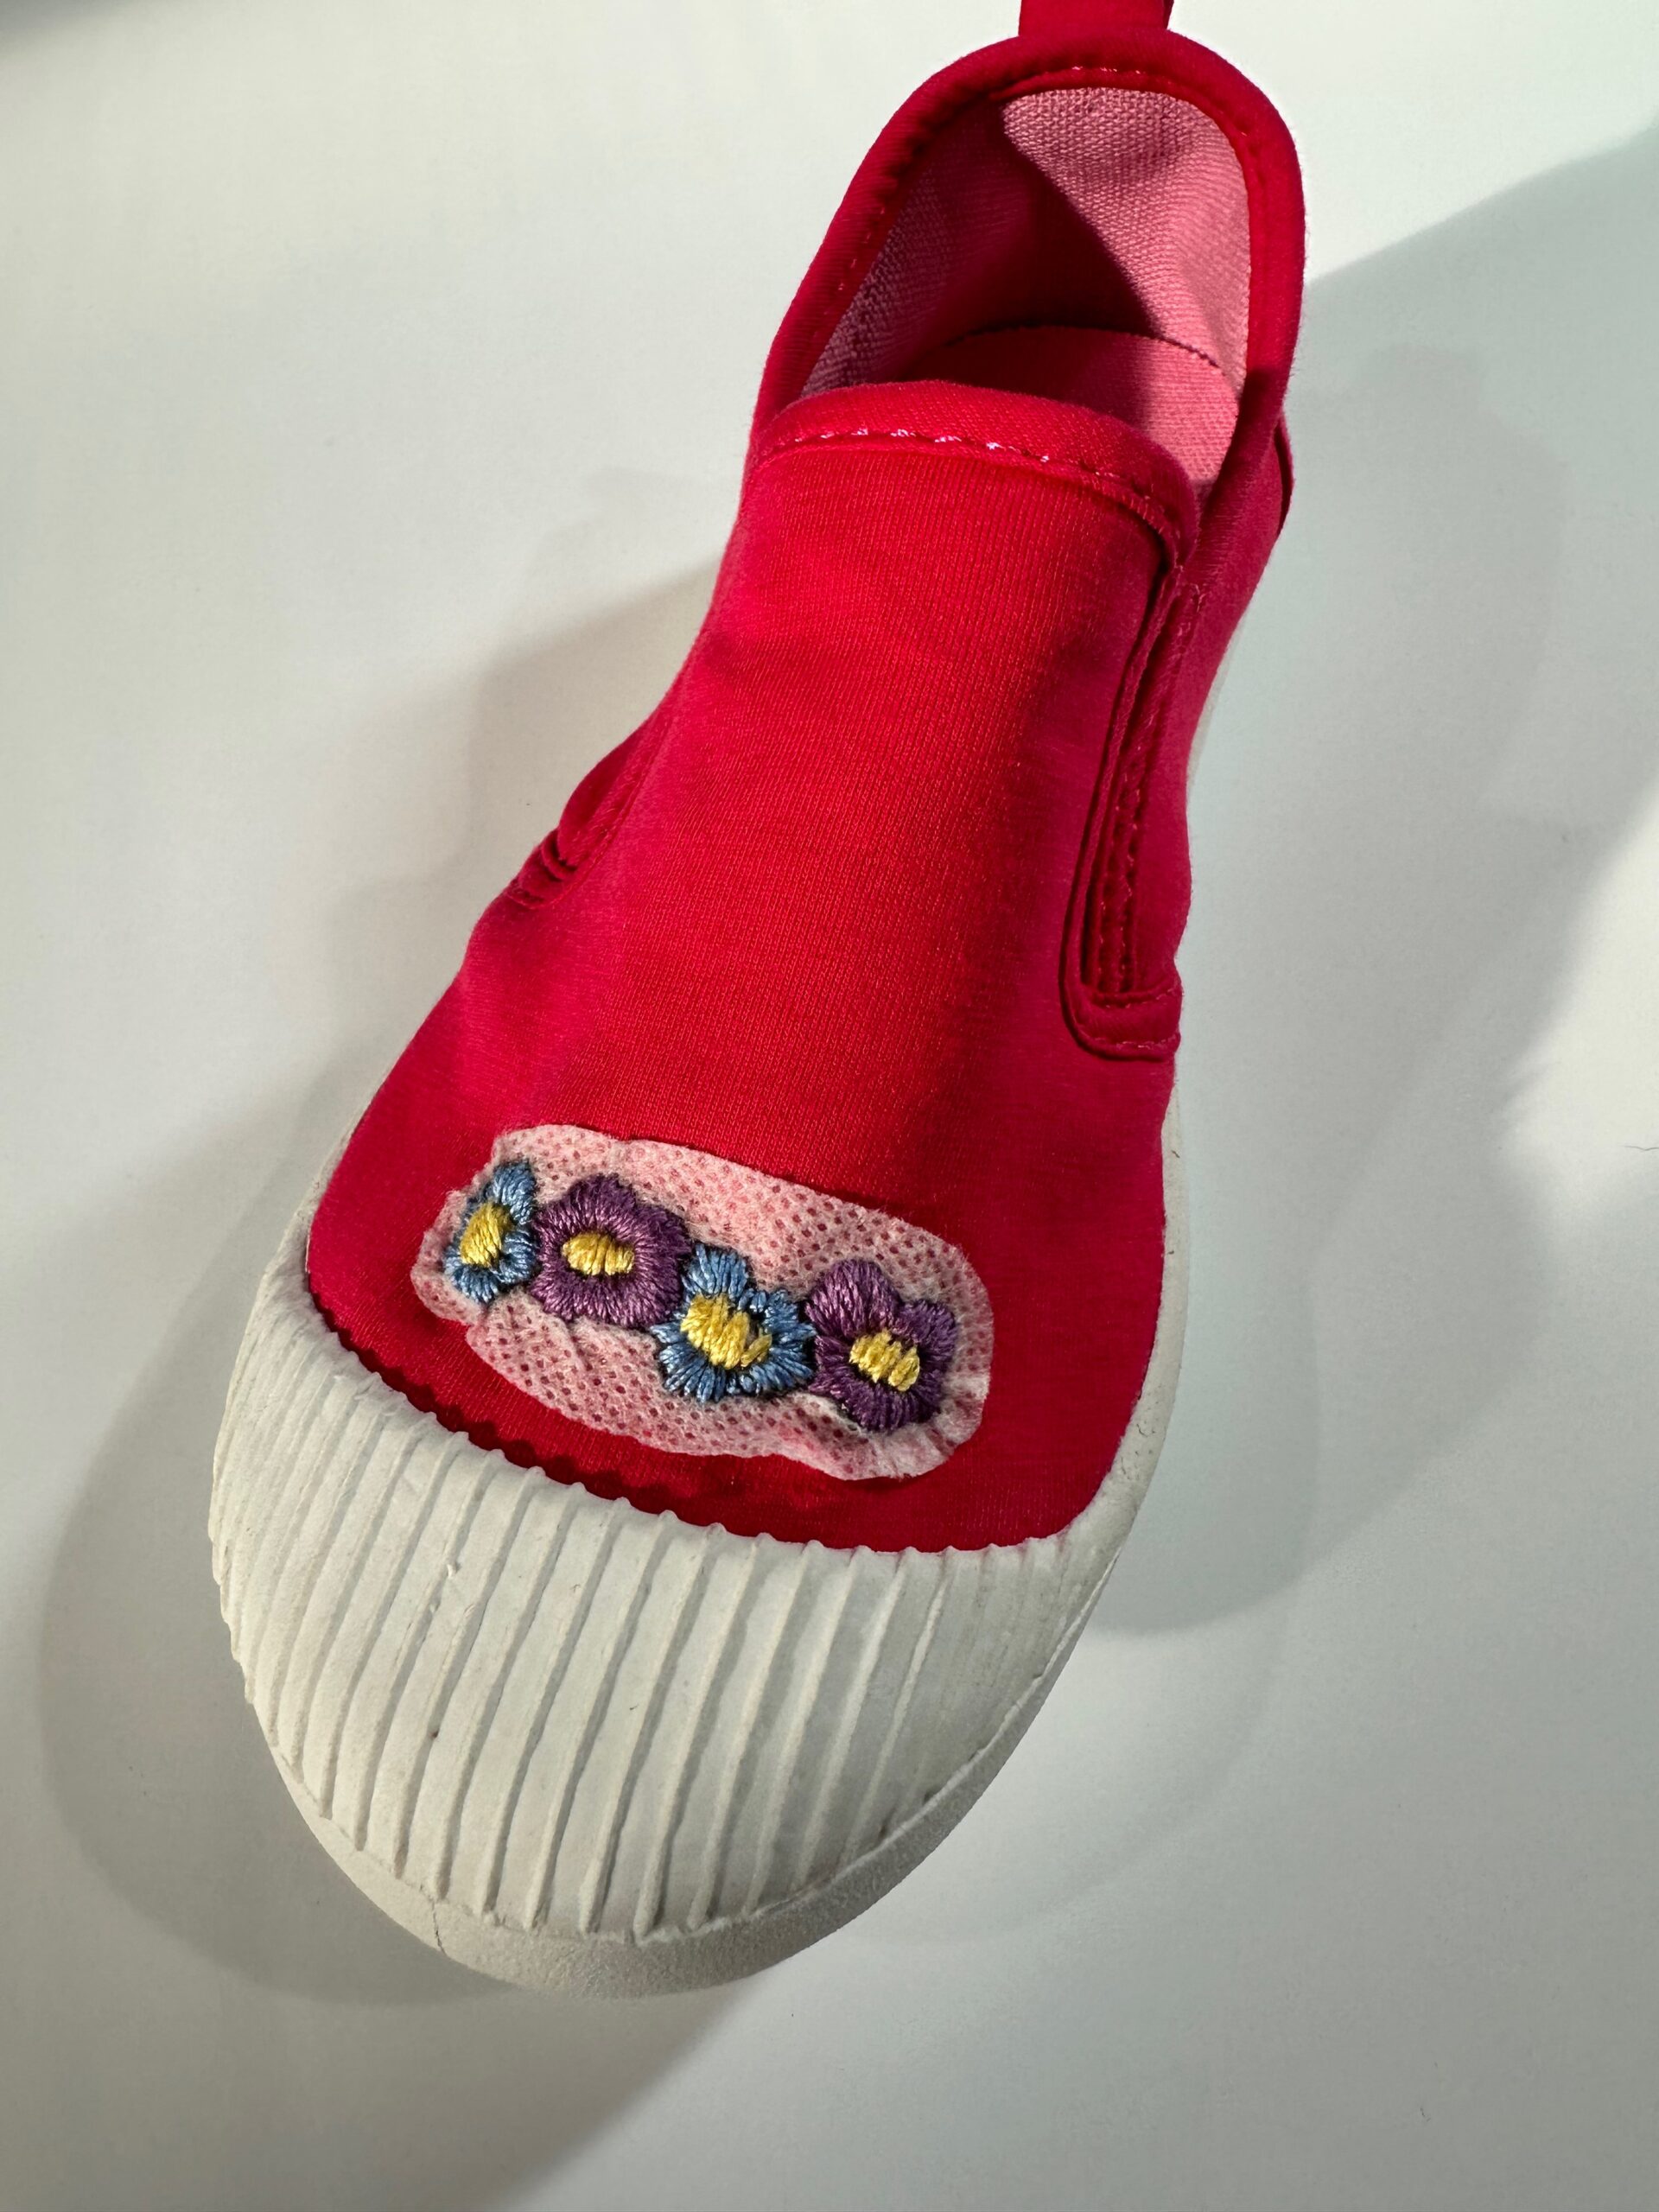
When all of the embroideries are complete, rinse away the stabilizer under warm running water. Apply a bit of agitation with your fingers to loosen the stabilizer until it dissolves completey.

Then, let the shoe dry on an absorbent towel.
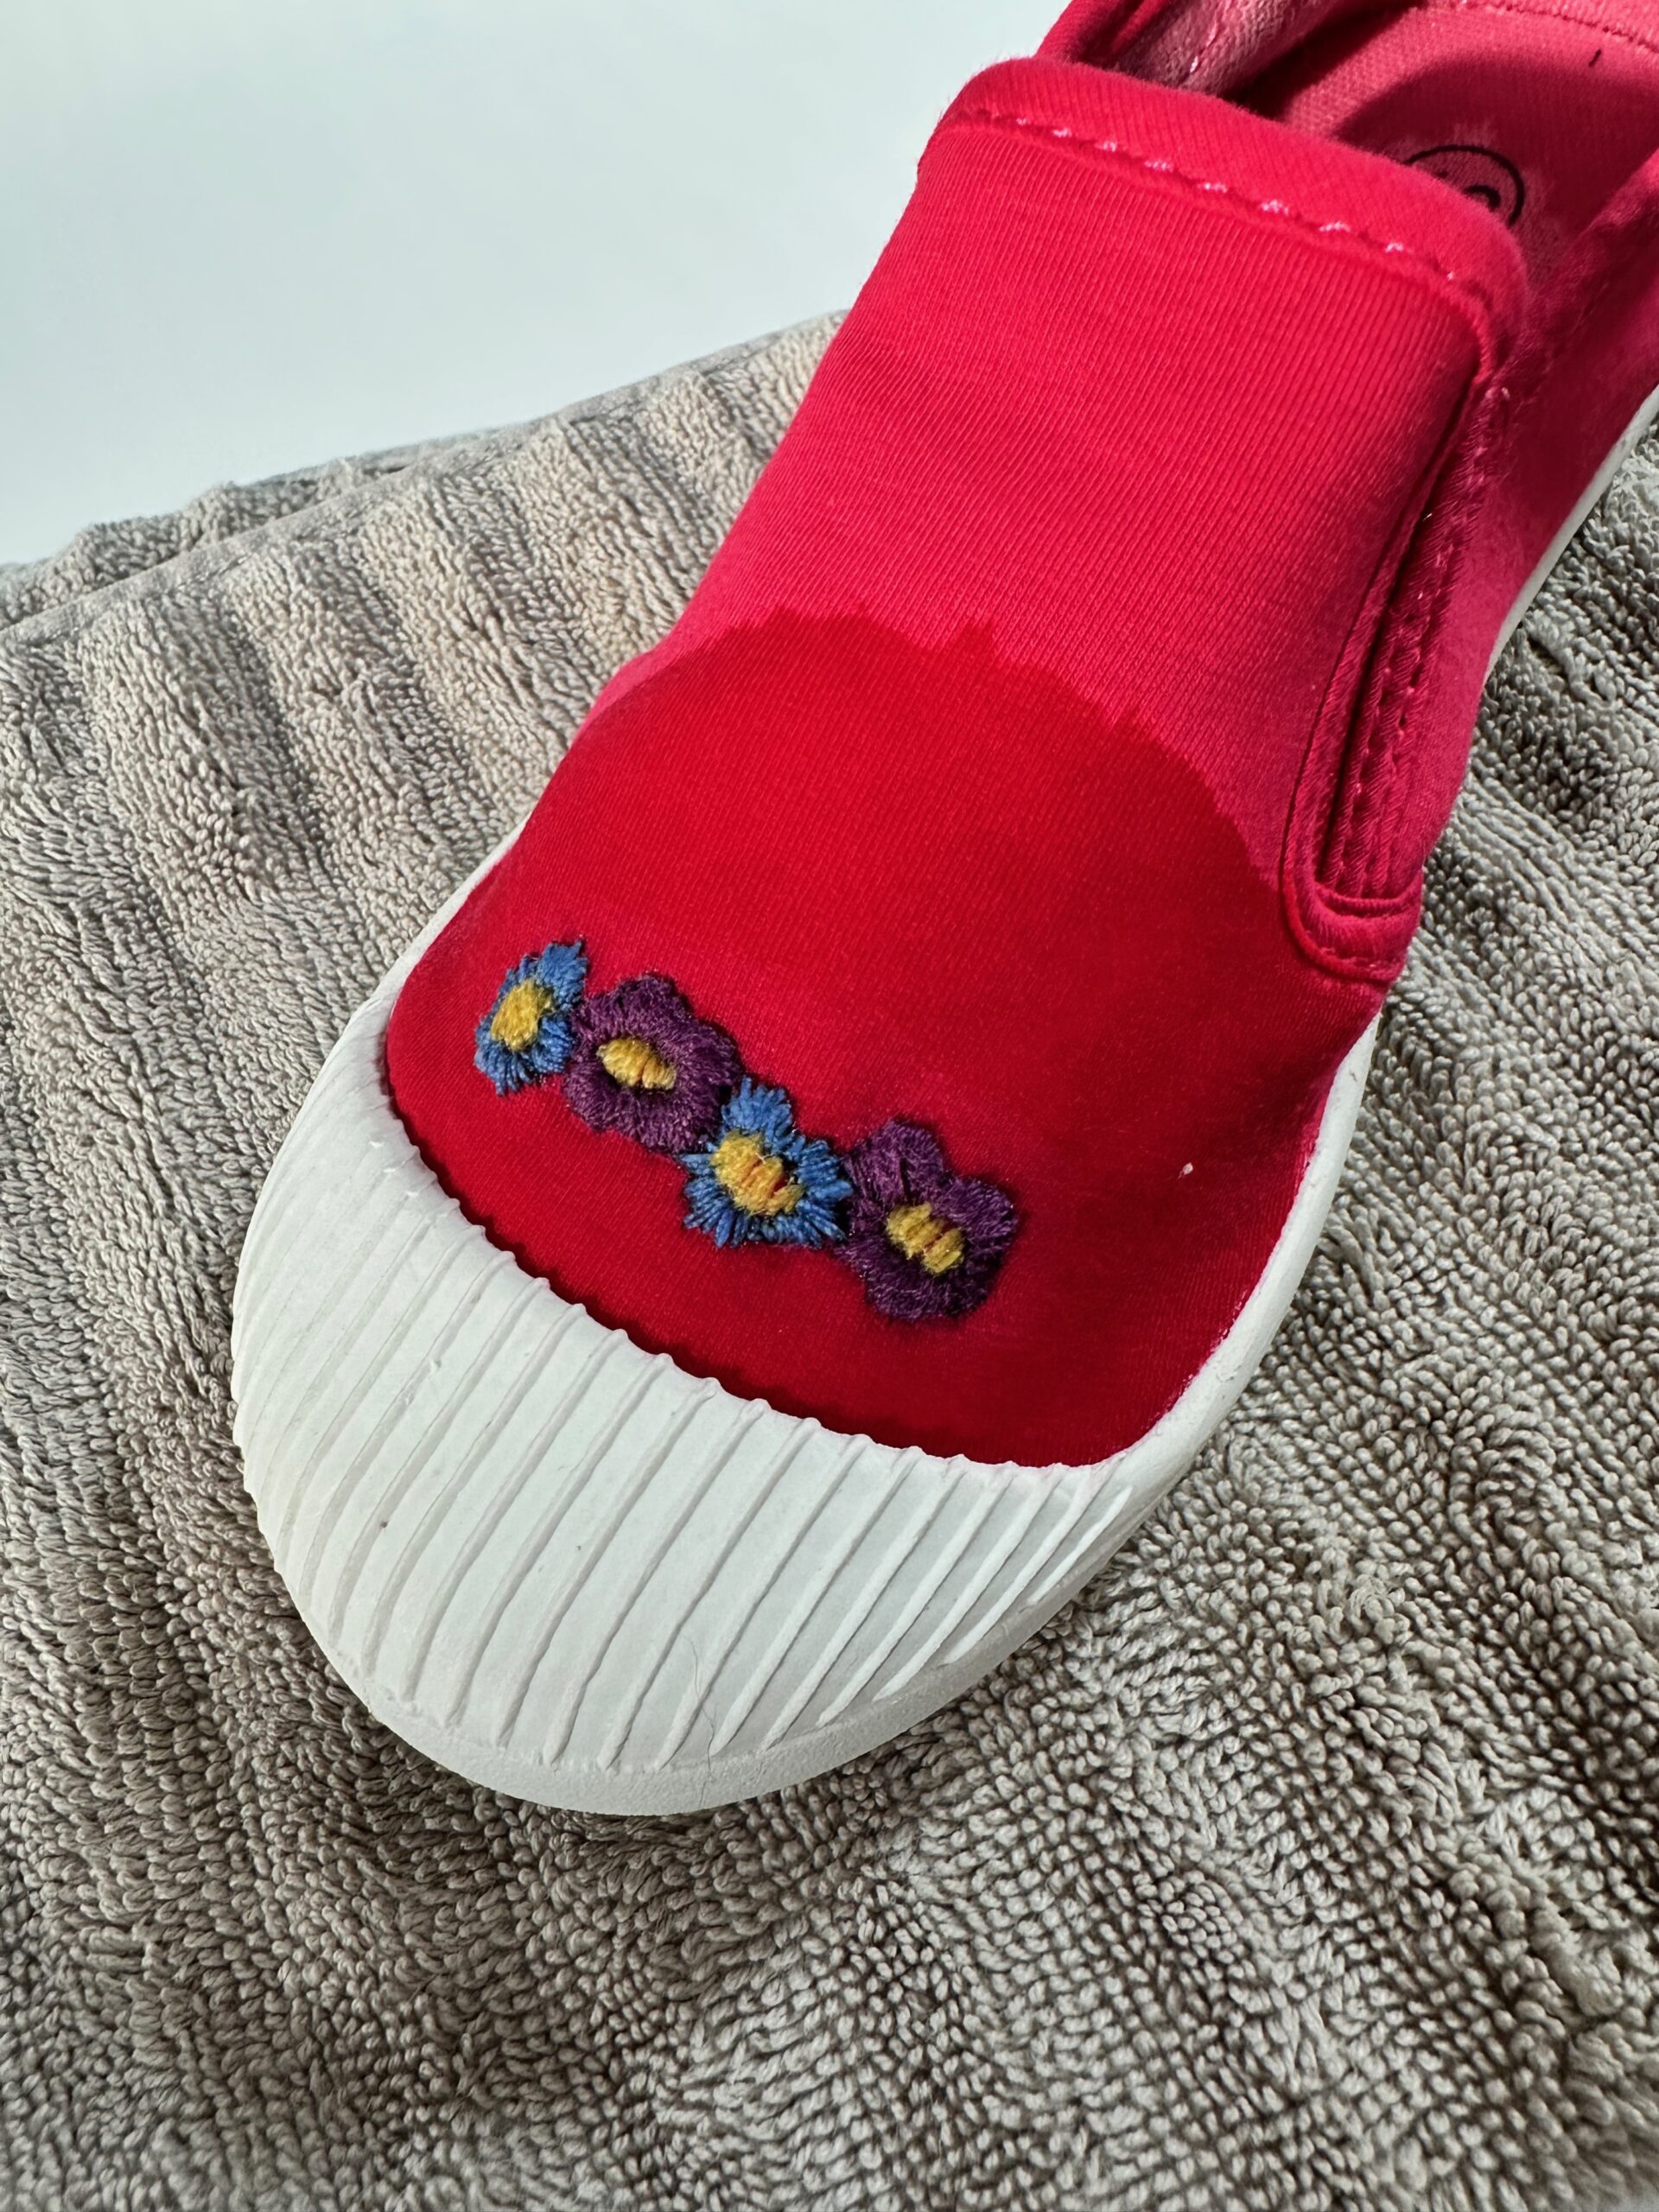
Repeat to embroider the second shoe.

If your shoes have a logo, you may want to either highlight or hide it in stitches. Play around with the micro-embroidery placements until satisfied before stitching. The Stick ‘n Stitch transfers are easily moved and re-placed before stitching begins!

About 50 years ago, my mom and I embroidered some espadrilles, we were the talk of the town (denver) and all our friends wanted to learn how to do them!!! It was fun to do, might try that again