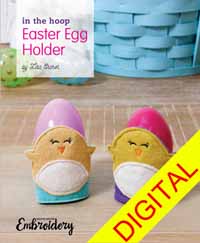
Easter Egg Holder Made In The Embroidery Hoop
Easter Egg Holder Make an Easter Egg Holder completely in the hoop of your embroidery machine! This cute Easter Egg Holder design can be changed up by recipient by choosing …
Easter Egg Holder Make an Easter Egg Holder completely in the hoop of your embroidery machine! This cute Easter Egg Holder design can be changed up by recipient by choosing …

We are all ooo-ing and aahh-ing (and a little bit of cuddling) over these new Embroider Blankies that we have in stock on our website! We have this cute giraffe, …
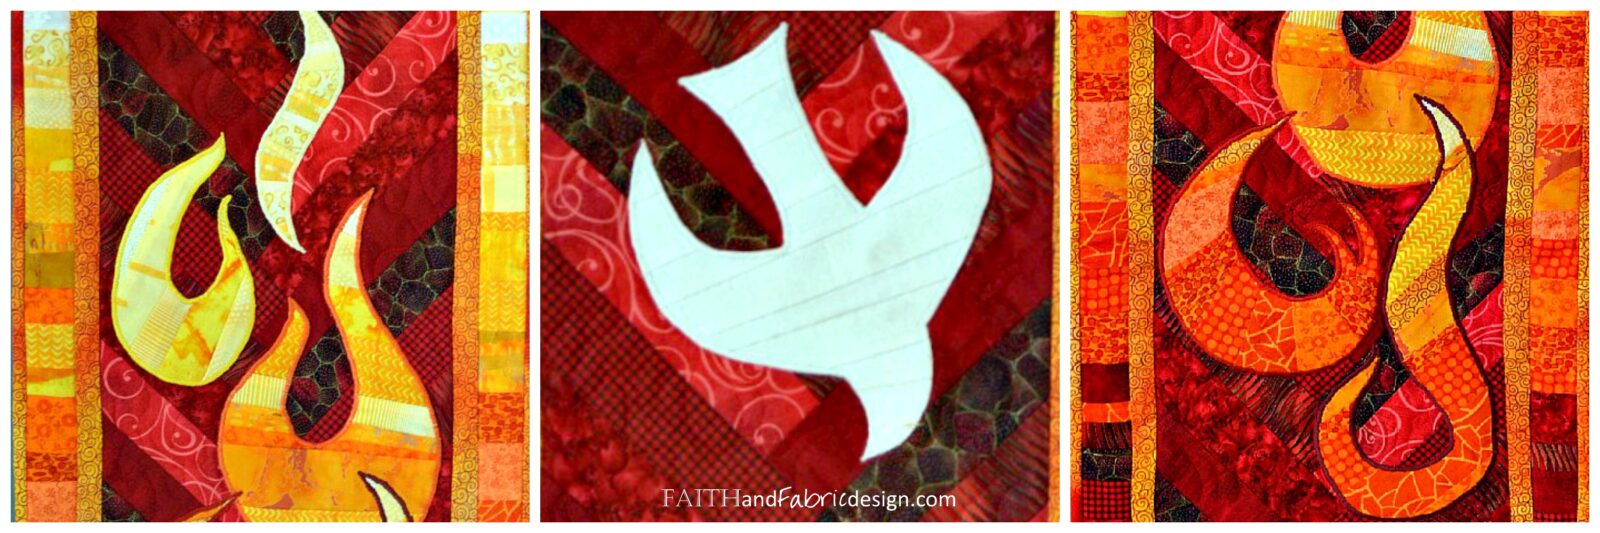
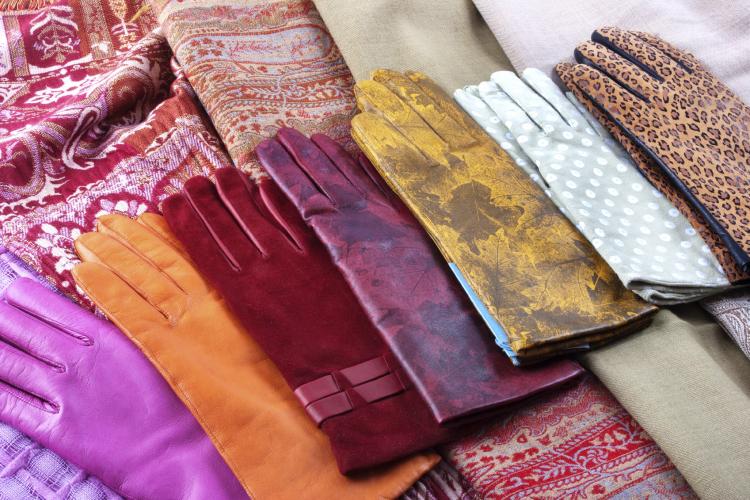
Guest Blog Post by Jen Frost of Faith and Fabric Inspiration is defined as: “the process of being mentally stimulated to do or feel something, especially to do something creative”. …
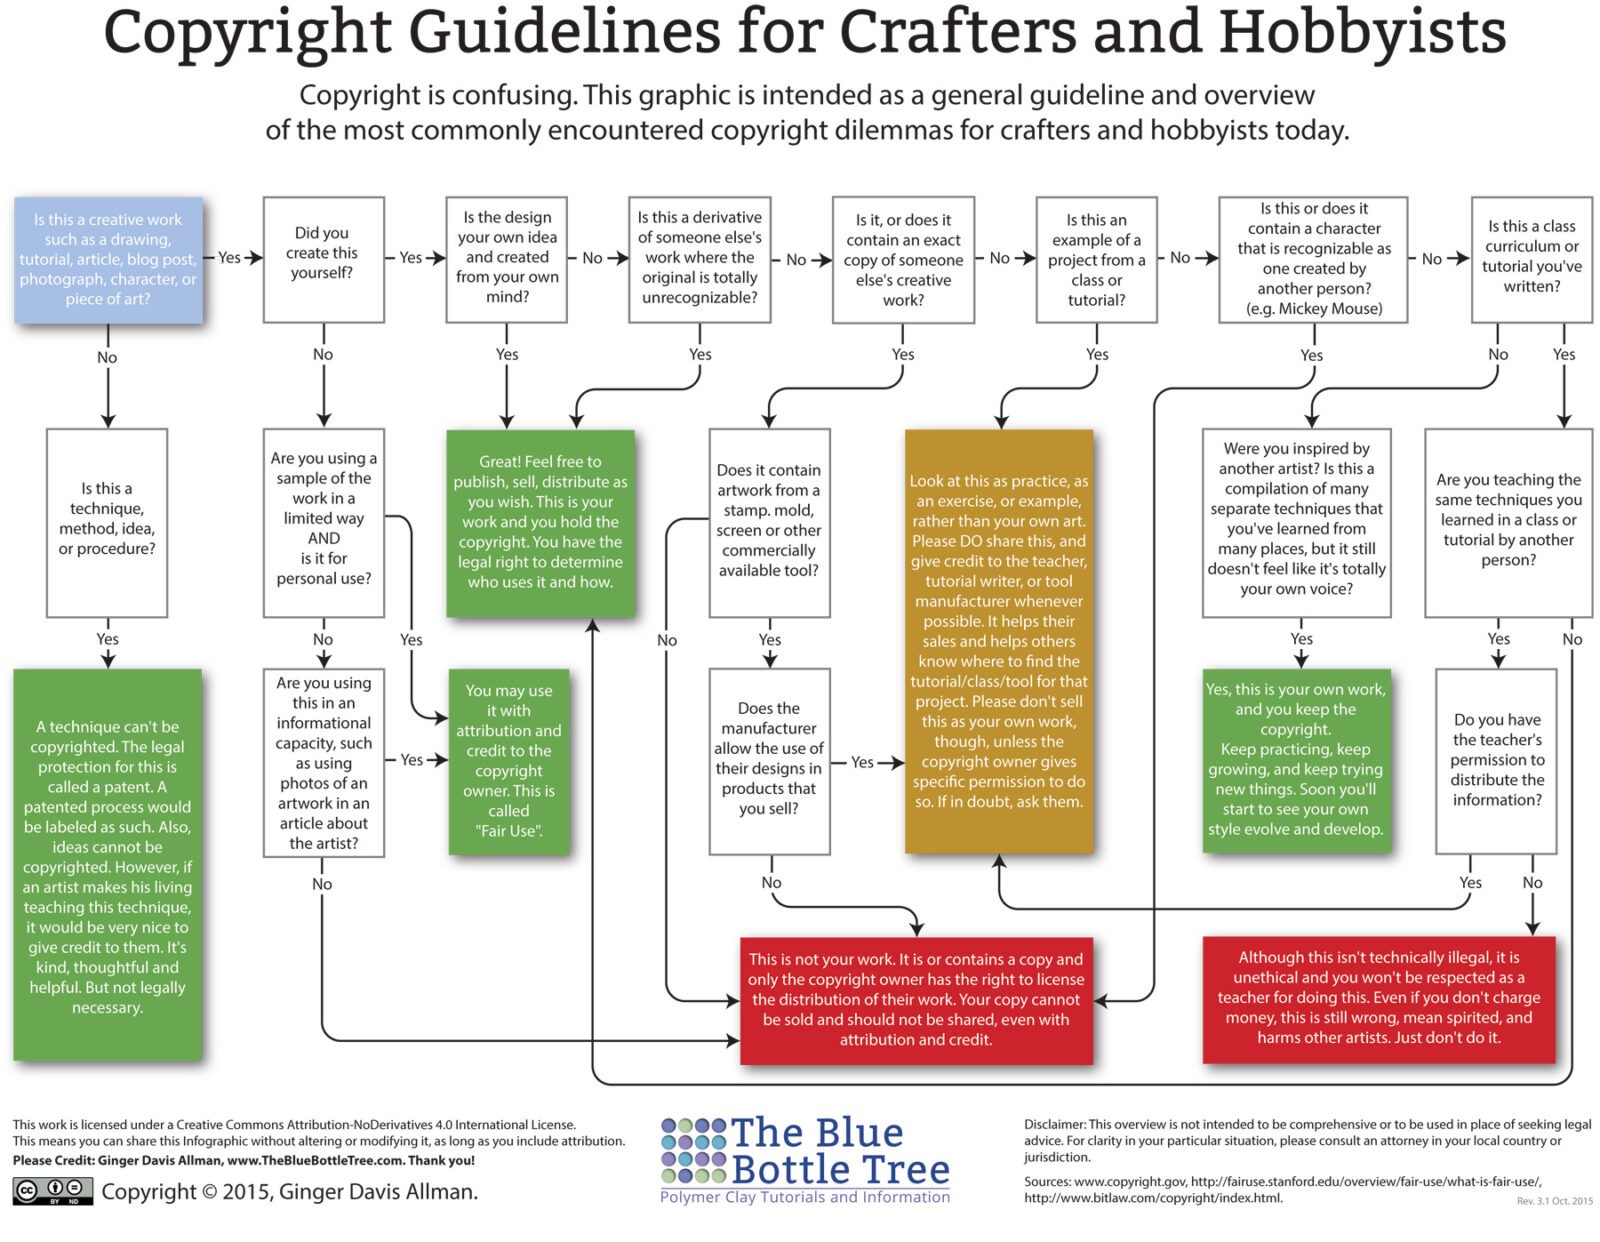
Copyright and crafters – a recap of a Quiltcon panel discussion! One of the fun thing I was able to do at Quiltcon West in Pasadena, CA a couple weeks …
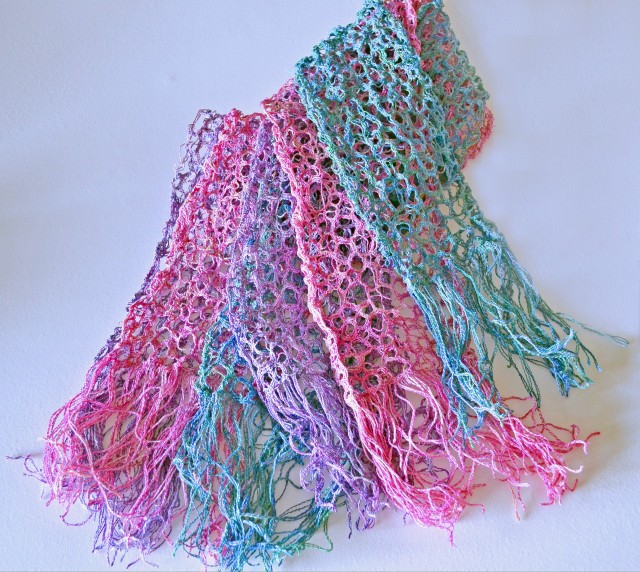
Thread Lace Scarf Free Sulky Webinar A thread lace scarf is either elegant or casual, depending on how you wear it and how you pair it. This thread lace scarf …
Leap Day Fun Facts are Here! Today is Leap Day. Every 4 years we get this extra day. I have to be honest, it doesn’t quite make sense to me, …
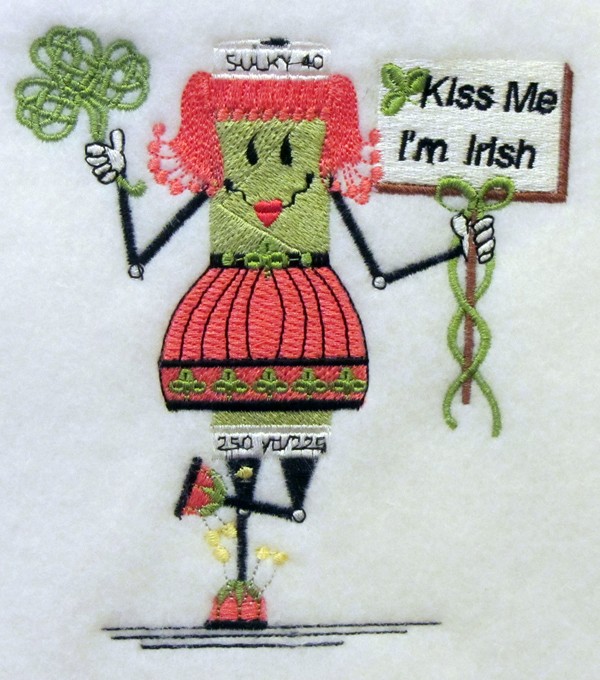
St. Patrick’s Day is just 3 weeks away! Are you planning a fun party, an Irish meal or doing any St. Patrick’s inspired crafts with you kids? My girls love …
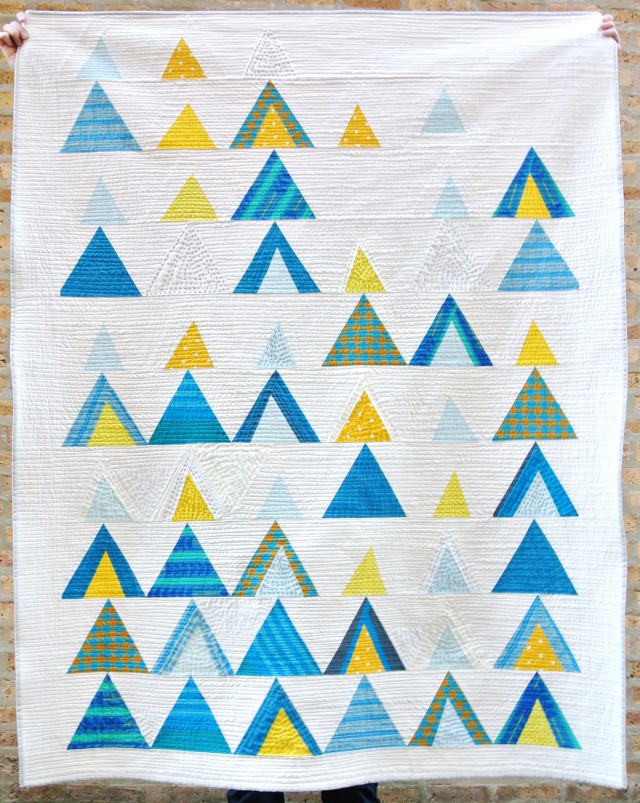
Growing up with a mother that is an artist and sewist means I have been going to quilt shows, craft fairs, art galleries and gatherings of creative people since before I …
The Sulky Affiliate program is here! We are so pleased to be able to announce that we have a new way for Sulky friends and fans to share their love …
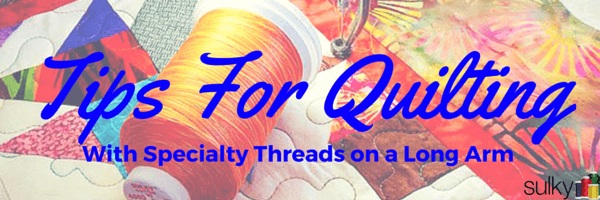
By Sue Moats and Evelyn Byler These tips are from two professional Long Arm Quilters who are graciously allowing us to learn from their vast experience. Do you have any tips …