Patriotic Porch Pillows
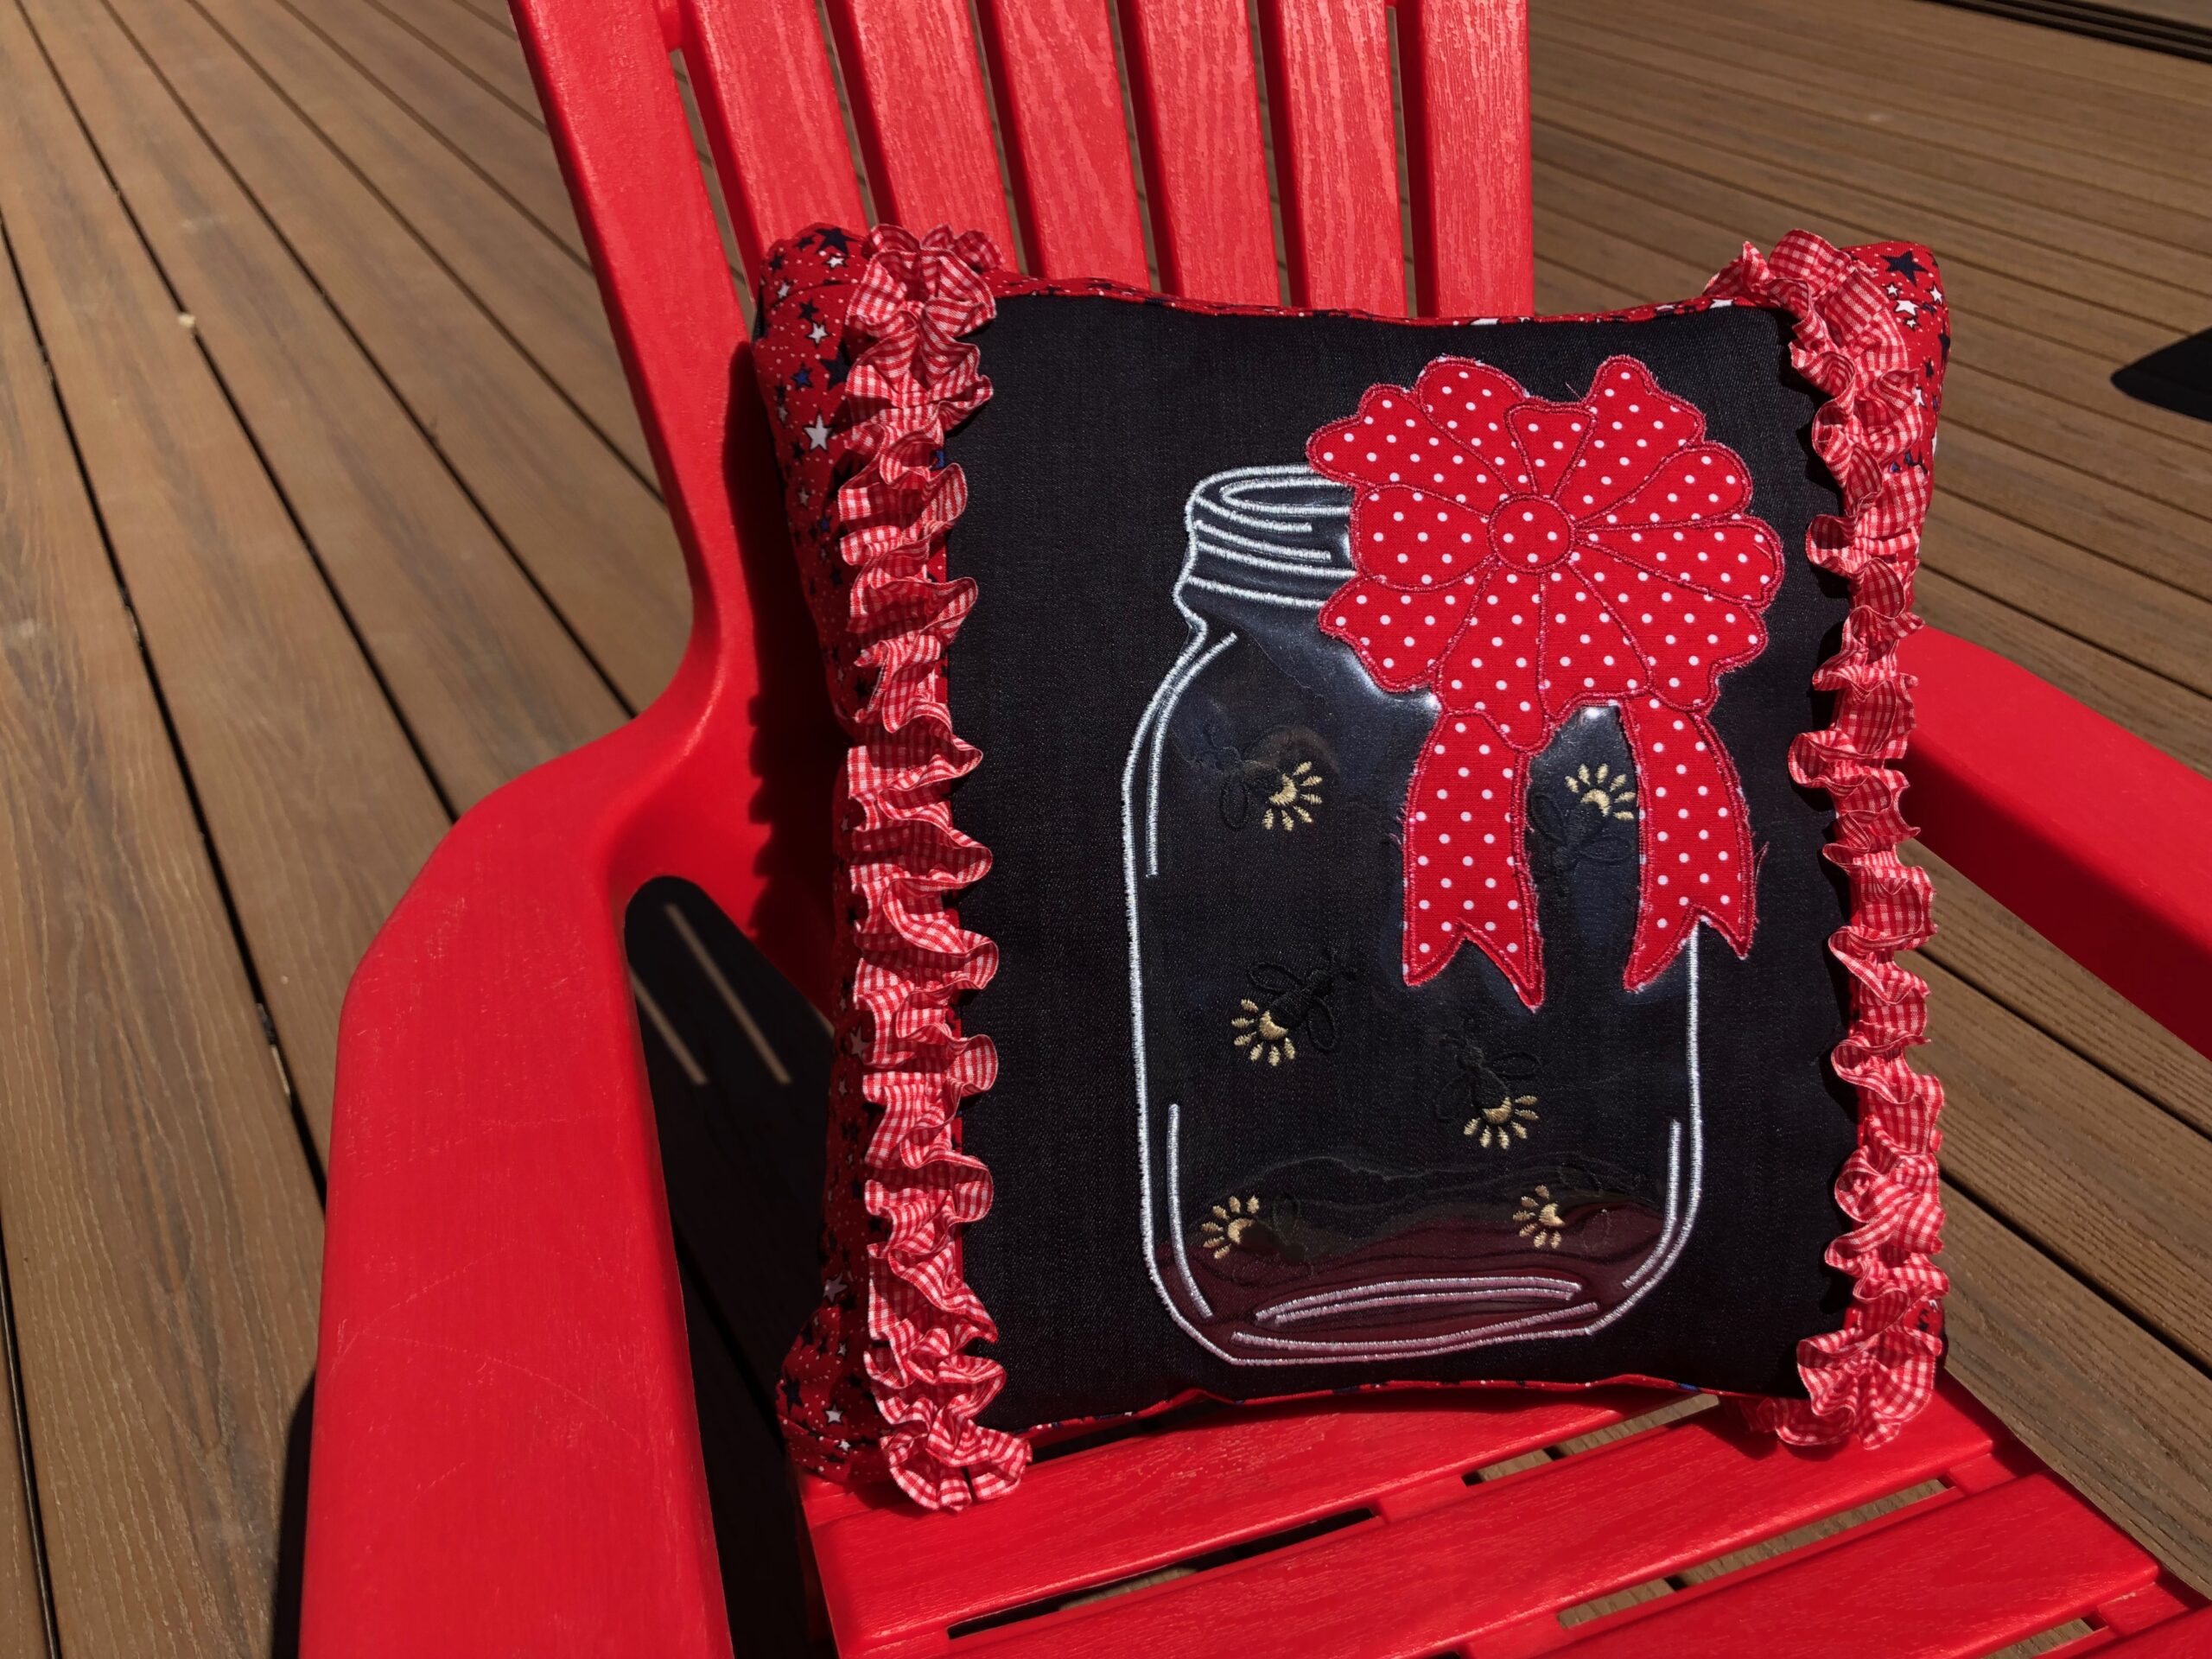
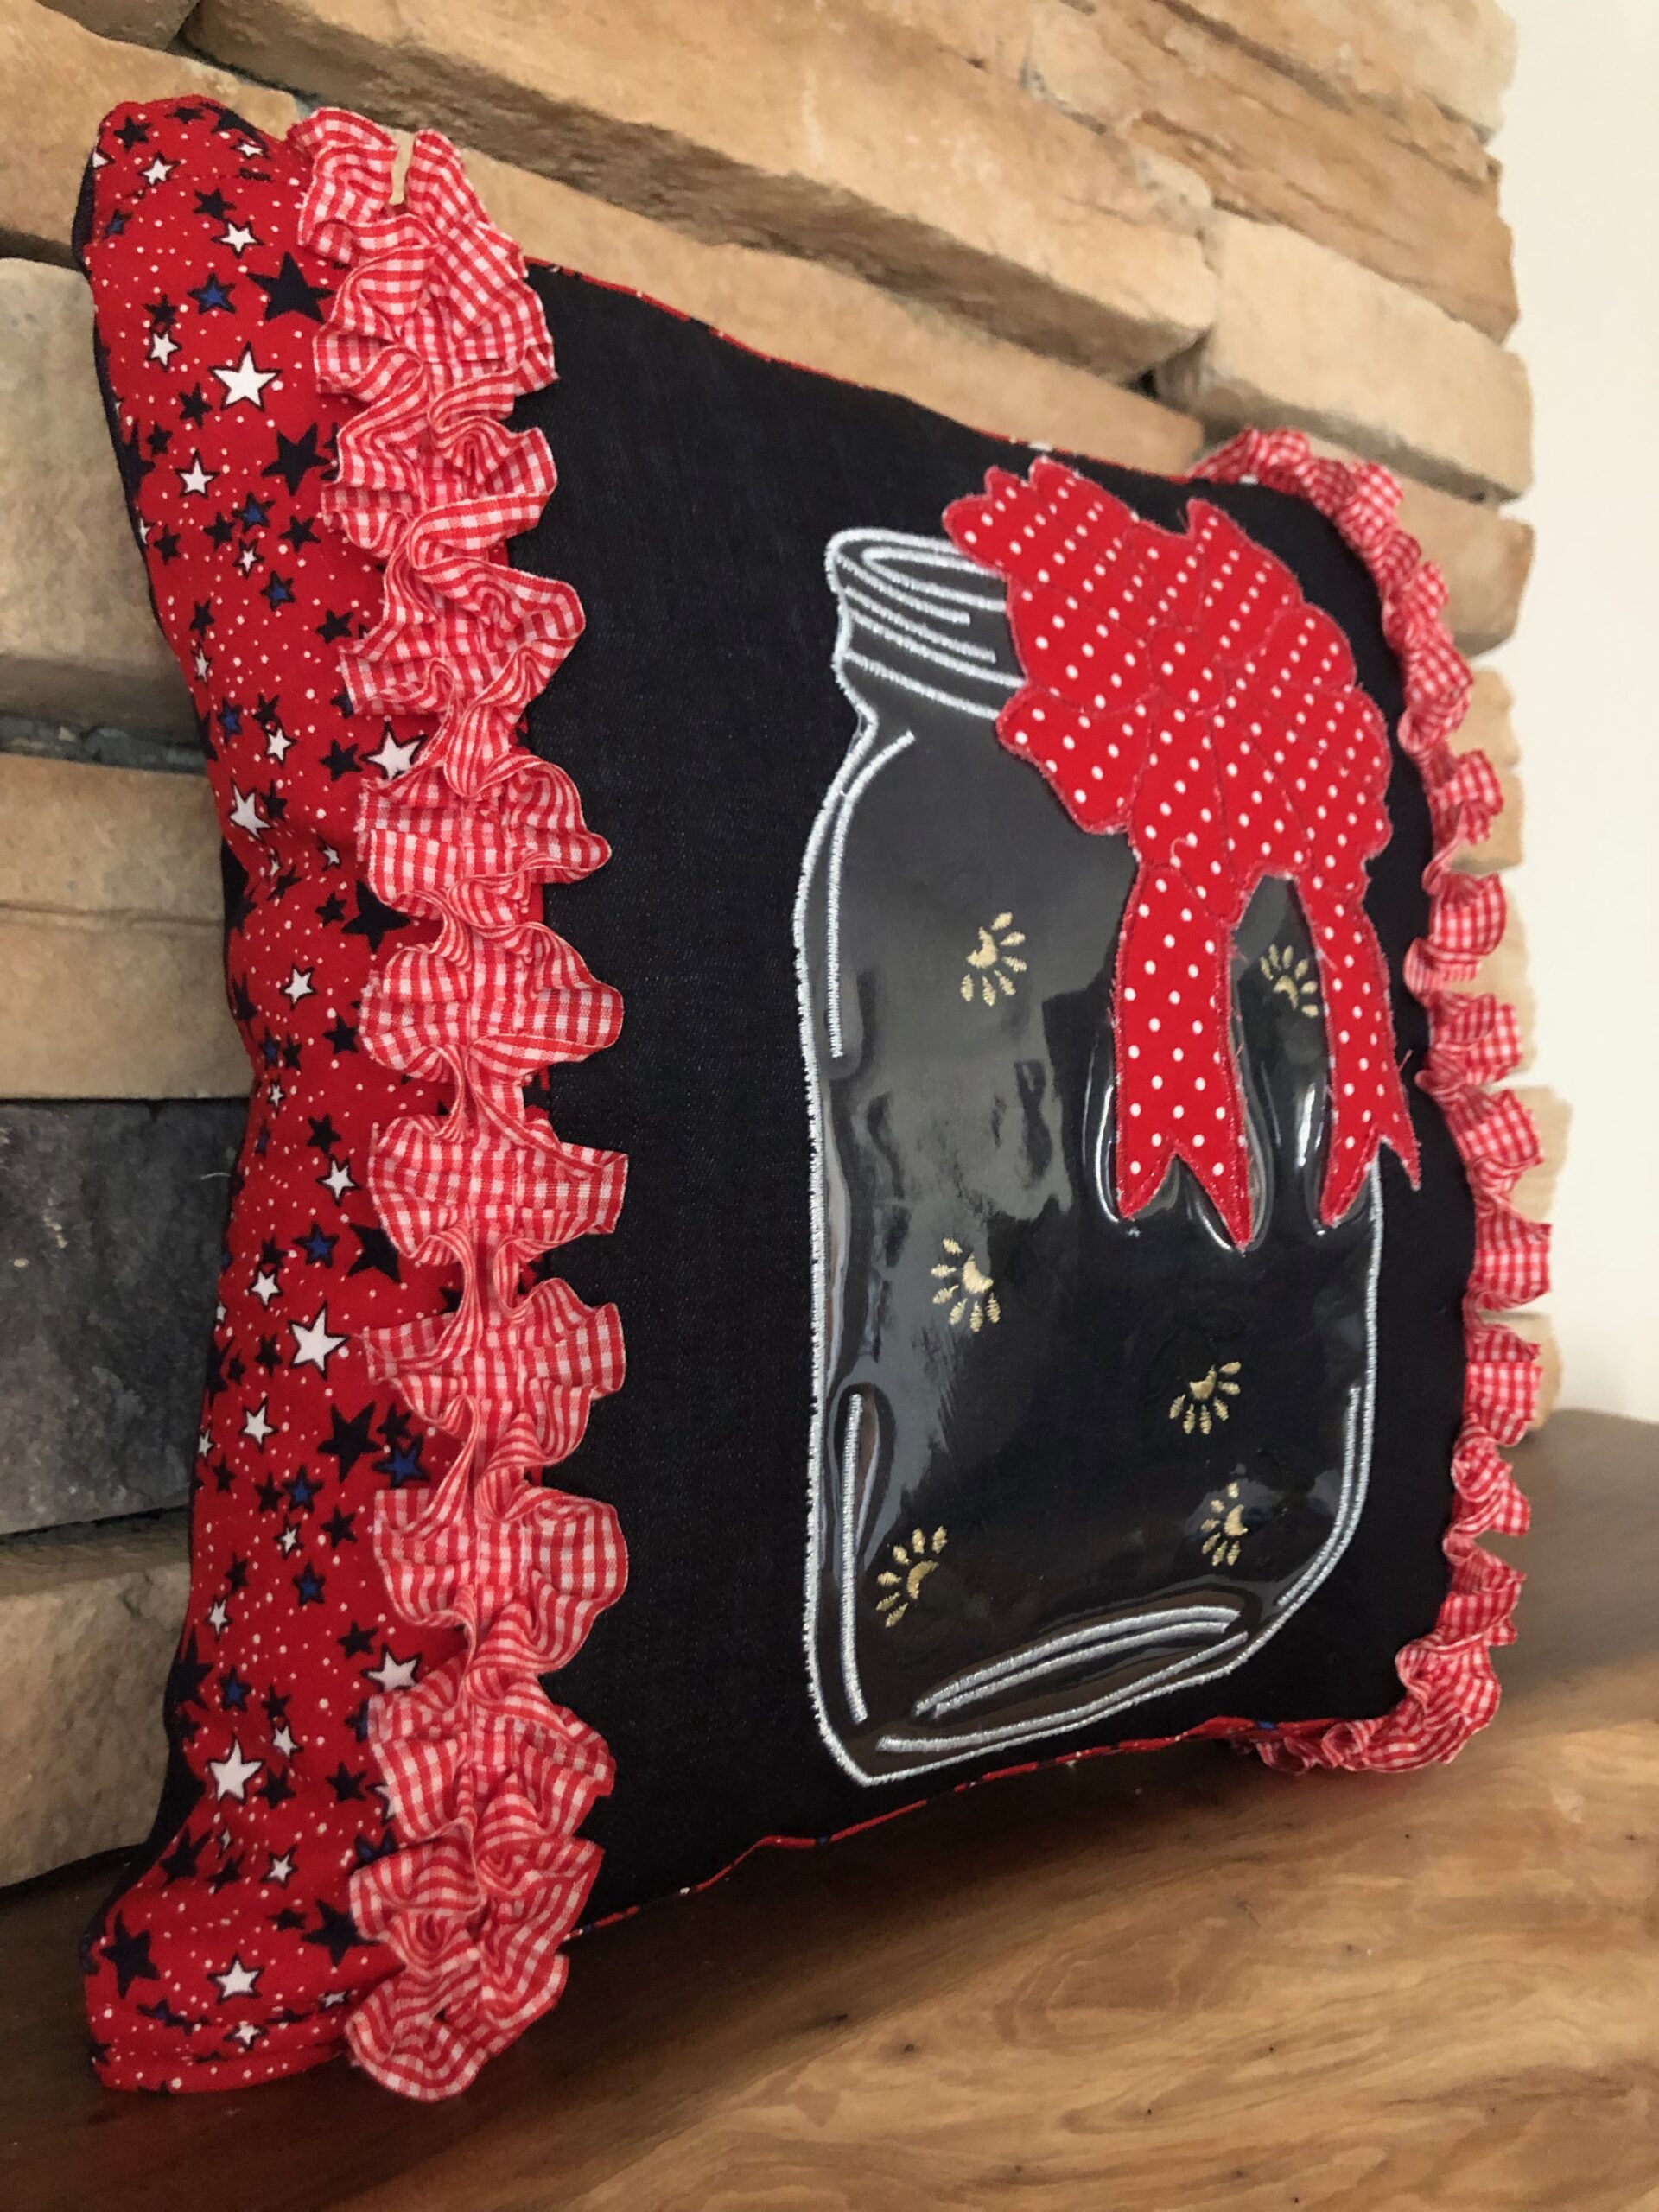
Spend summer nights outdoors with decorative porch pillows. This pillow featured our Summer Nights machine embroidery design, part of our Uncle Sam Machine Embroidery Collection. The design is modified to include vinyl and fabric appliqués for a fun design element. Note that the featured design is NOT an appliqué design, but modified as such.
PORCH PILLOWS SUPPLIES
*Supplies listed are enough to make one 14″ square pillow.
- Uncle Sam Machine Embroidery Palette (includes 11 spools of Sulky Rayon & Poly Sparkle Thread and the Uncle Sam Machine Embroidery Collection; featured design is Uncle Sam: Summer Nights)
- Sulky Stiffy™ Stabilizer
- Organ® Needles: size 80/12 Top Stitch
- Sulky 40 wt. Poly Deco™ Thread (construction) & 60 wt. Bobbin Thread (machine embroidery)
- 16 gauge clear vinyl (optional appliqué)
- machine embroidery tape, Washi tape or strips of Sulky Sticky Fabri-Solvy™
- 5″ x 7″ rectangle of quilting cotton fabric (optional appliqué)
- Sulky KK 2000™ Temporary Spray Adhesive
- Decorative ruffle trim
- 1/2 yard of denim fabric
- Quilting cotton fabric (two 3 1/4″ x 12″ & two 1 1/2″ x 14 1/2″)
- 14″ pillow form
- Duck-billed appliqué scissors
- Wonder Clips (optional)
- Hand sewing needle
PILLOW PREP
Install a size 80/12 Top Stitch Needle. Wind a bobbin with 60 wt. Bobbin Thread to prep for machine embroidery.
From the denim fabric, cut two 14 1/2″ squares. (Note: You may need extra denim fabric to account for hooping.)
From the quilting cotton fabric, cut two 3 1/4″ x 14″ & two 2 1/2″ x 9″ rectangles. Reserve some extra fabric, if desired, for the ribbon appliqué. Or use a different fabric from your stash.
PORCH PILLOW MACHINE EMBROIDERY
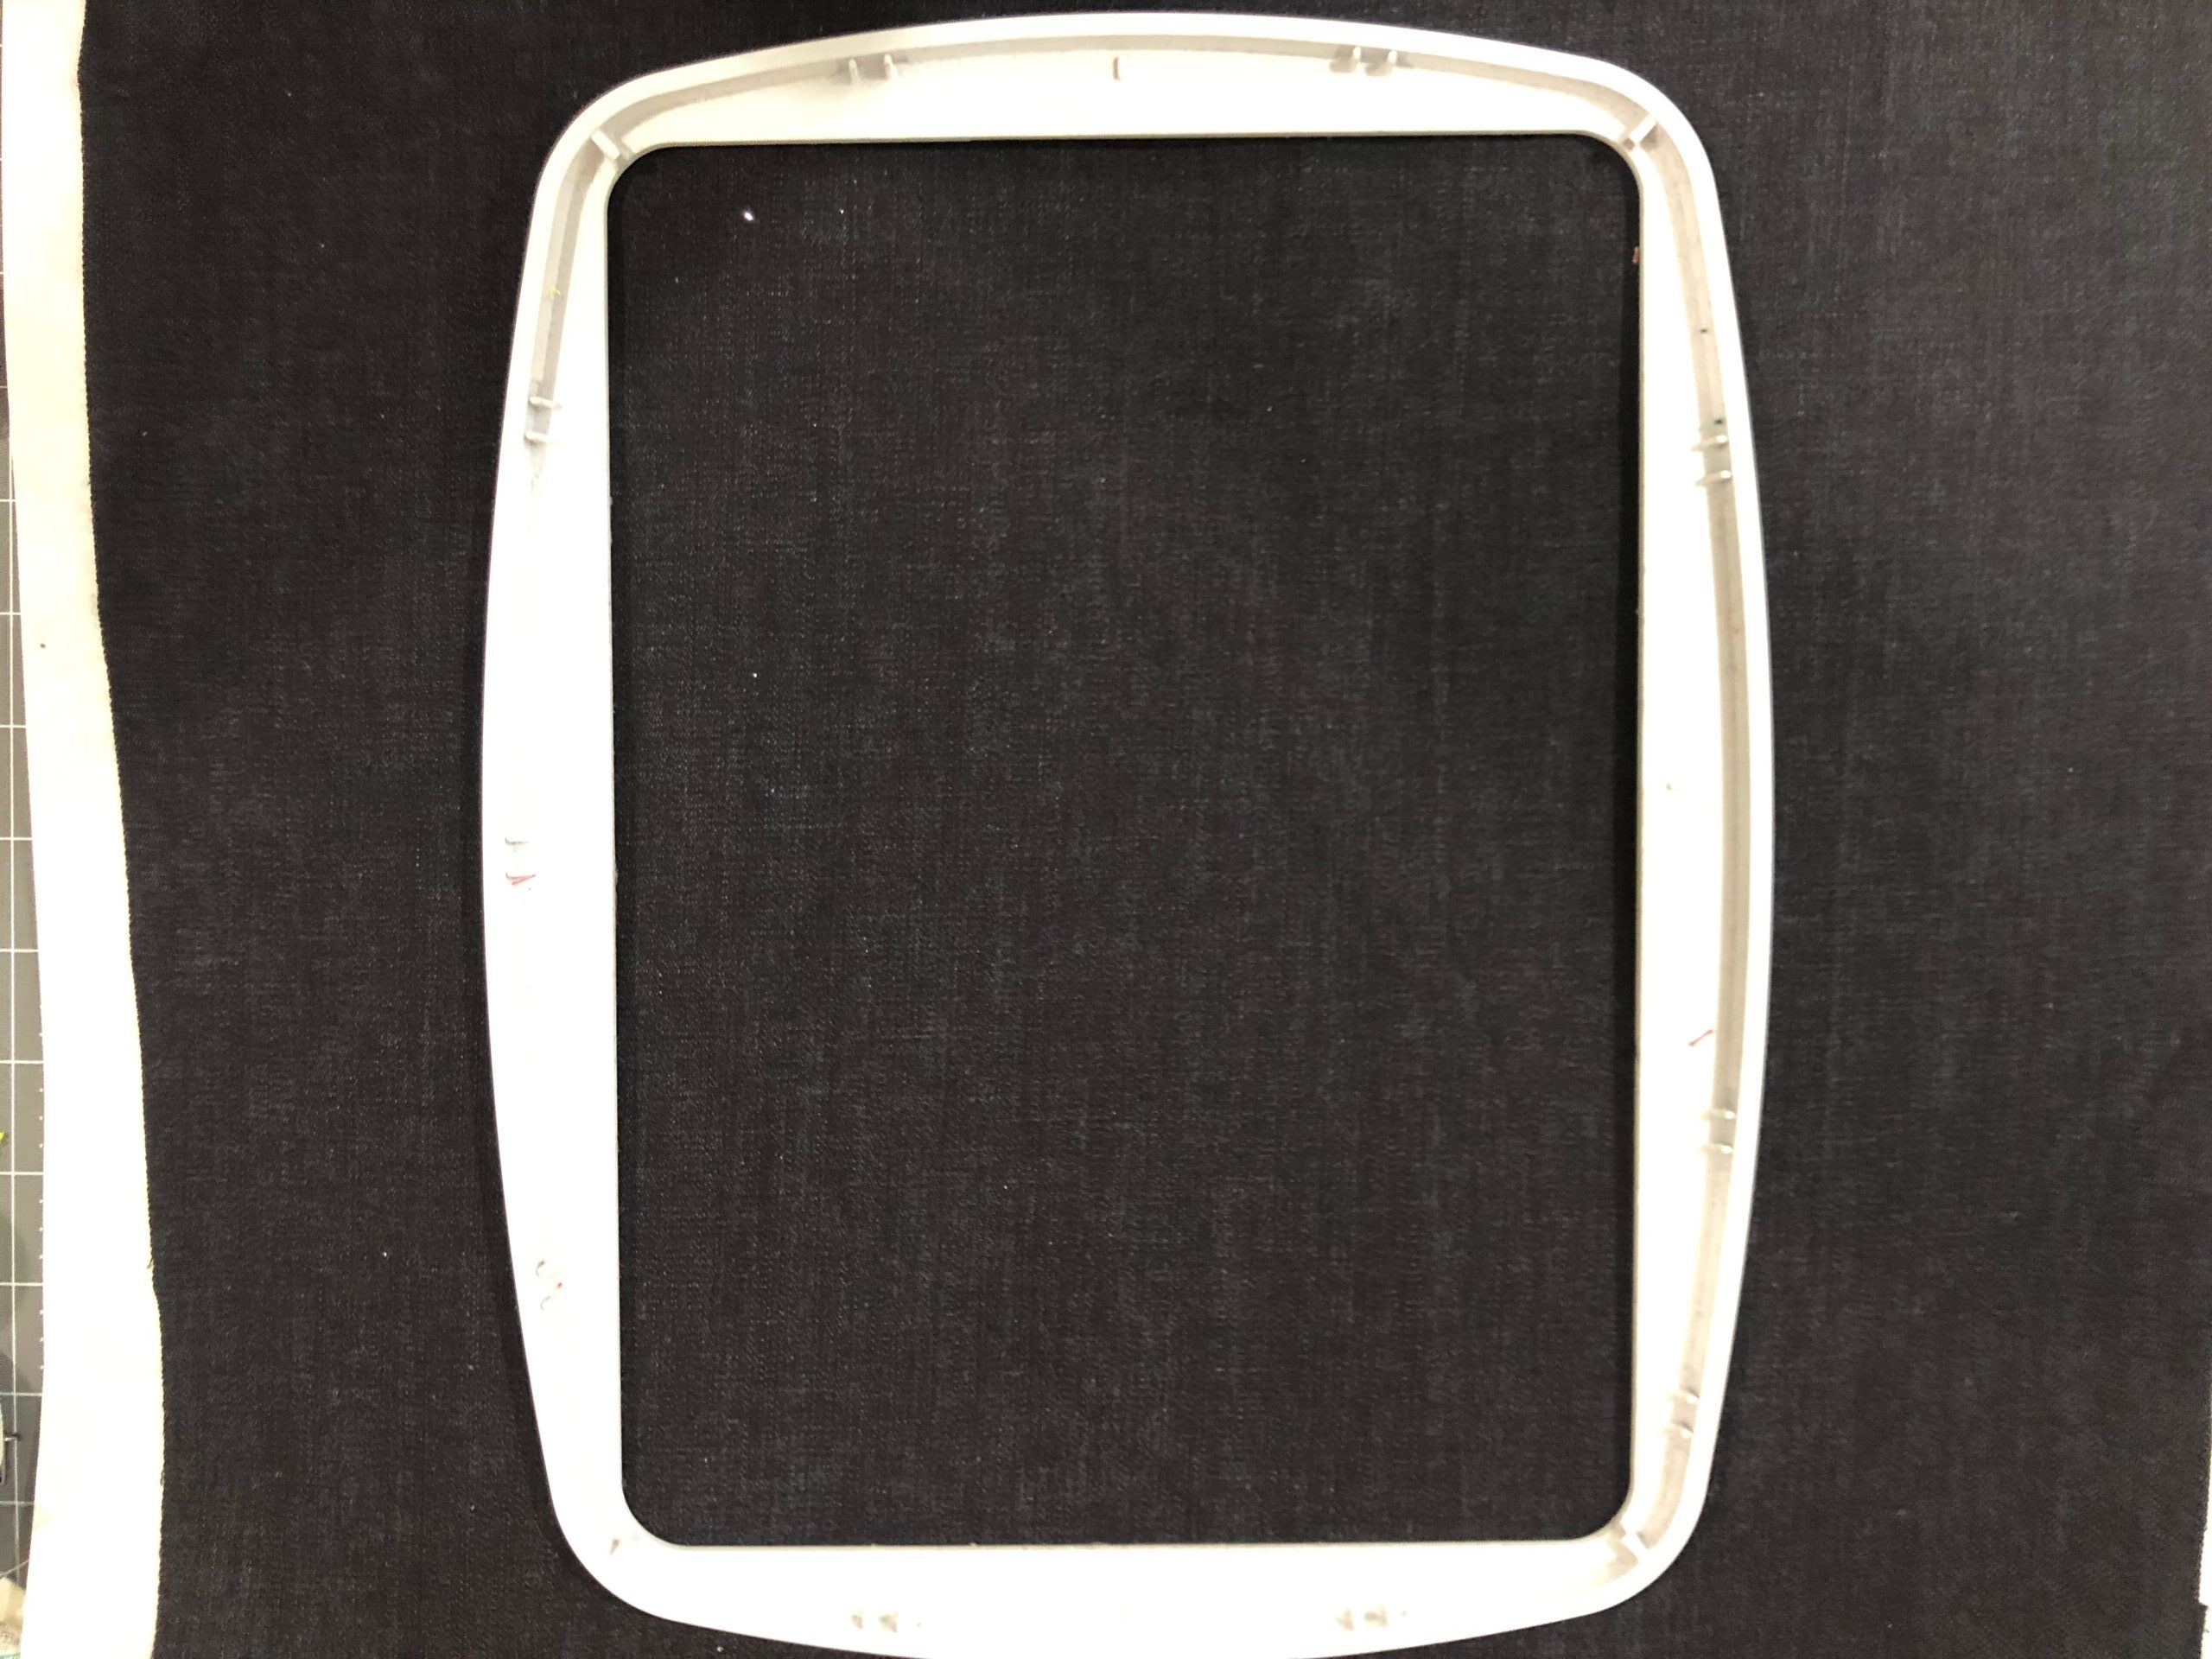
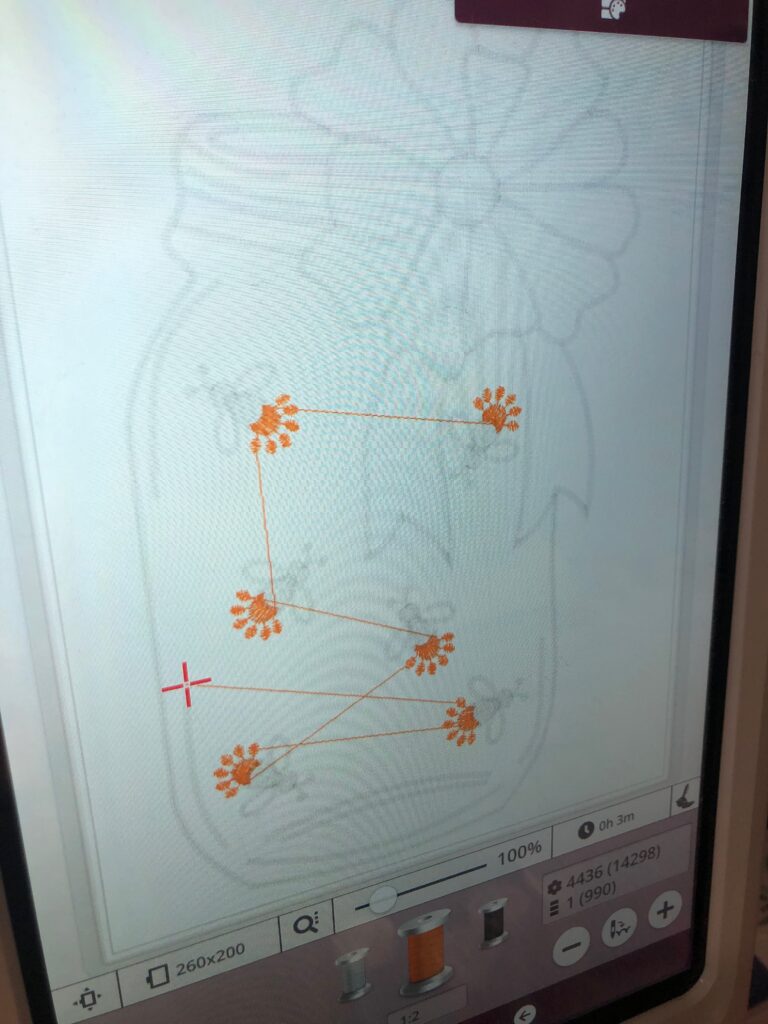
To begin, load the Summer Nights design into the embroidery machine. The featured pillow showcases the 9×10 hoop size; choose the size desired and/or applicable to the desired hoop. Note: If embroidering a smaller design size, plan to sew additional fabric strips to the denim background fabric after trimming, or add more rows of trim to balance the pillow front design.
Then, hoop one denim square with Sulky Stiffy Stabilizer. Place the hoop onto the machine.
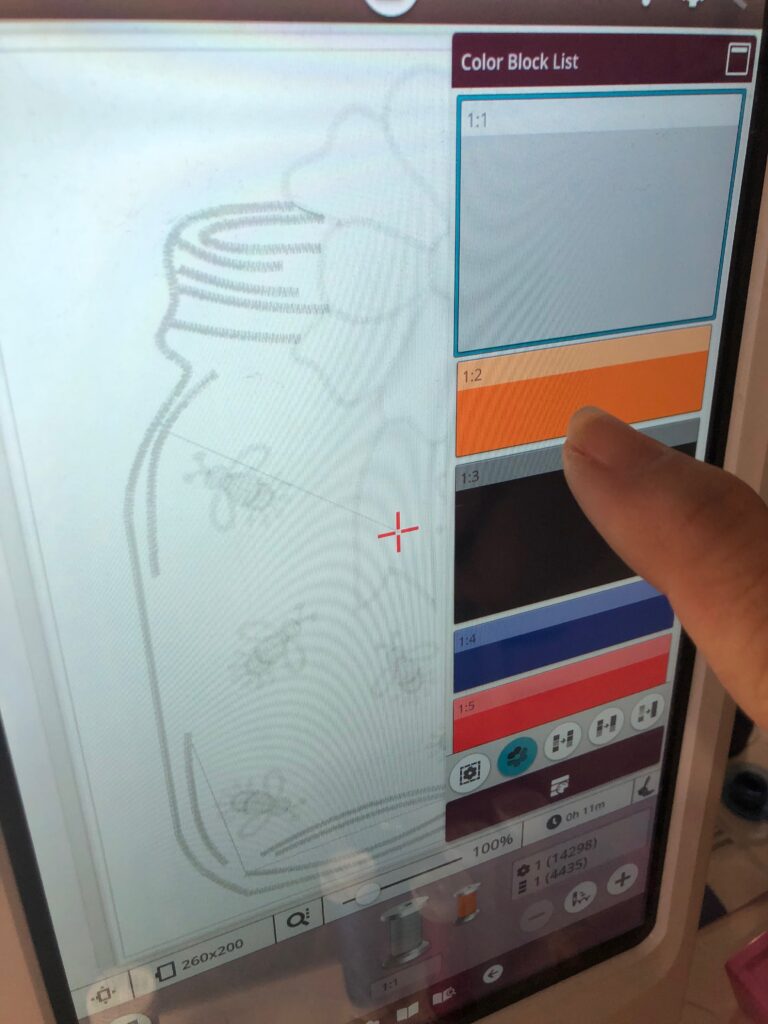
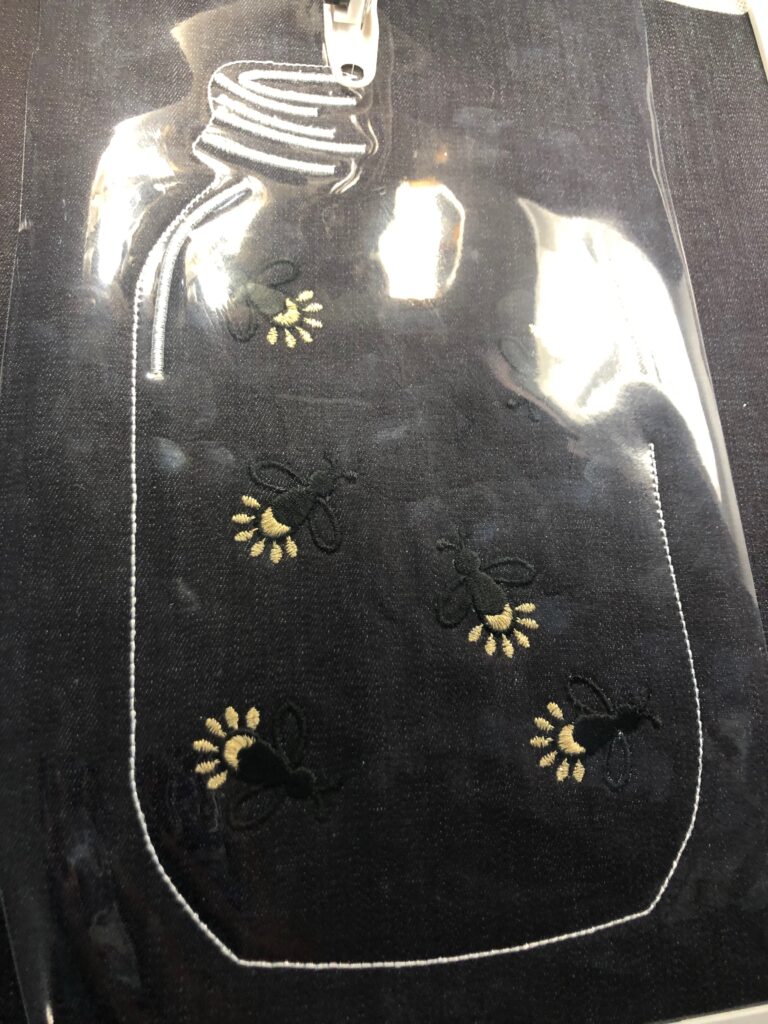
The featured design is NOT an appliqué design. But, the stitchout sequence for the mason jar allows for an appliqué placement, which is a fun way to add a “jar-like” quality to the design. To achieve the same look, skip the mason jar stitching (color stop 1), and stitch the fireflies first. There are two color stops for the fireflies: Black Rayon and Gold Poly Sparkle.
When the firefly stitching is complete, clip all jump threads.
VINYL APPLIQUÉ
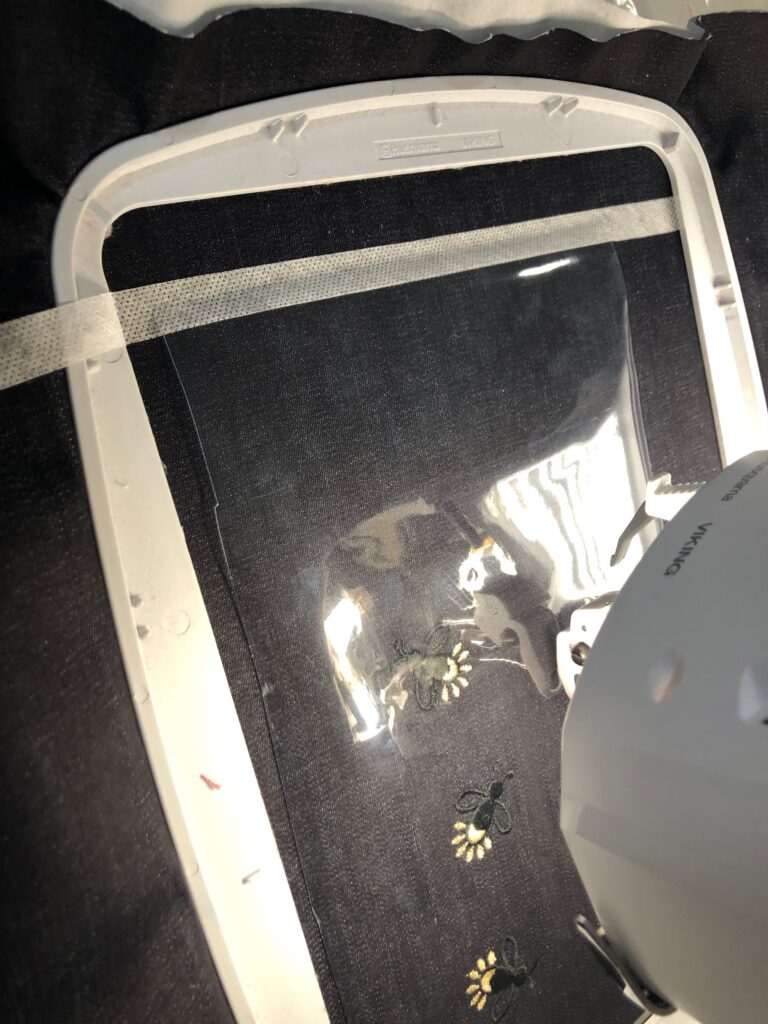
This step is optional, but a fun addition to the pillow. First, place a rectangle of vinyl over the fabric in the hoop. Make sure the vinyl is large enough to include all the mason jar stitches. Tape down the vinyl edges using machine embroidery tape, Washi tape or strips of Sulky Sticky Fabri-Solvy™.
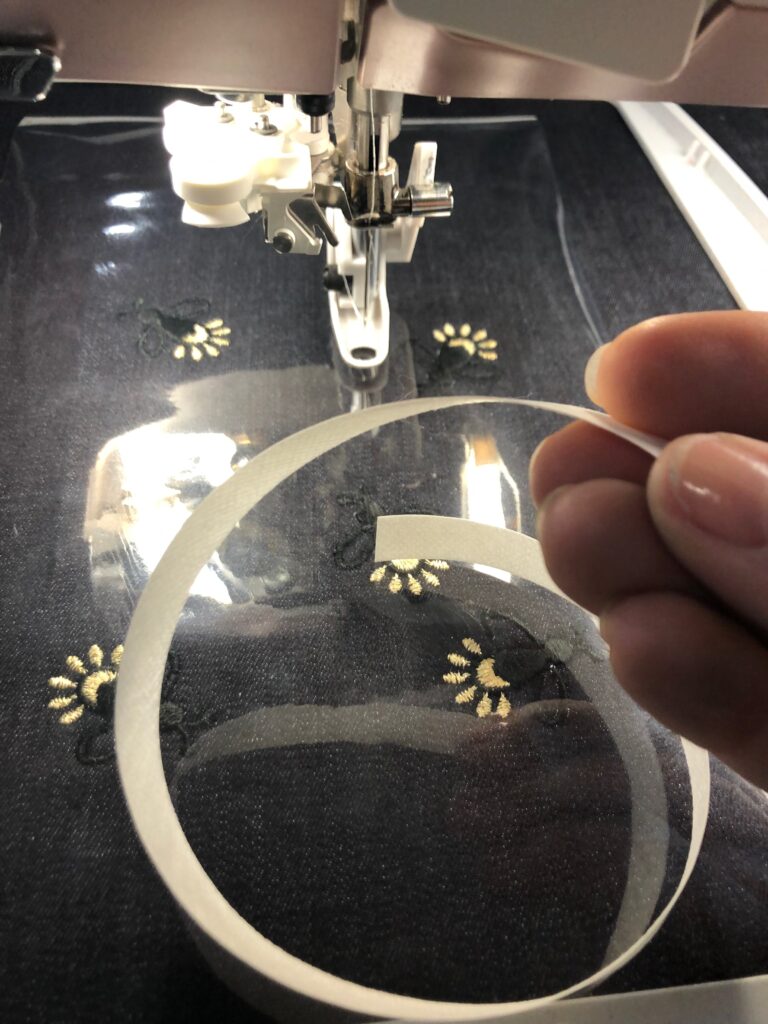
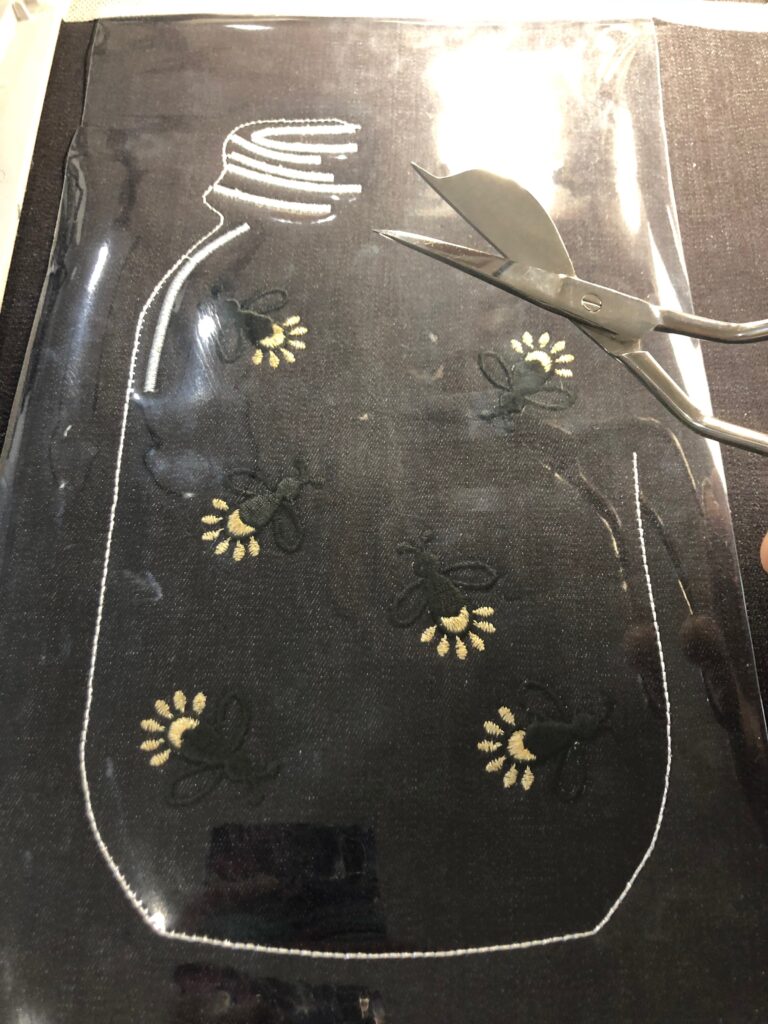
Go back to the mason jar color stop (stop 1). Start the stitchout, stopping after the upper mason jar satin stitches (there should only be straight stitches representing the outer mason-jar outline). (This stitch number will differ based on the size you choose to embroider. Watch the video below to see where/when to stop your machine. Keep in mind, YOUR stitchout will have the fireflies already stitched prior to this step.)
Remove the hoop from the machine (or press the “trim position” function to move the hoop away from the needle.
Trim the vinyl close to the outline stitching of the mason jar. At the right edge where there’s no stitching, eyeball the mason jar edge to the best of your ability. This edge will hide under the ribbon appliqué fabric in a later step.

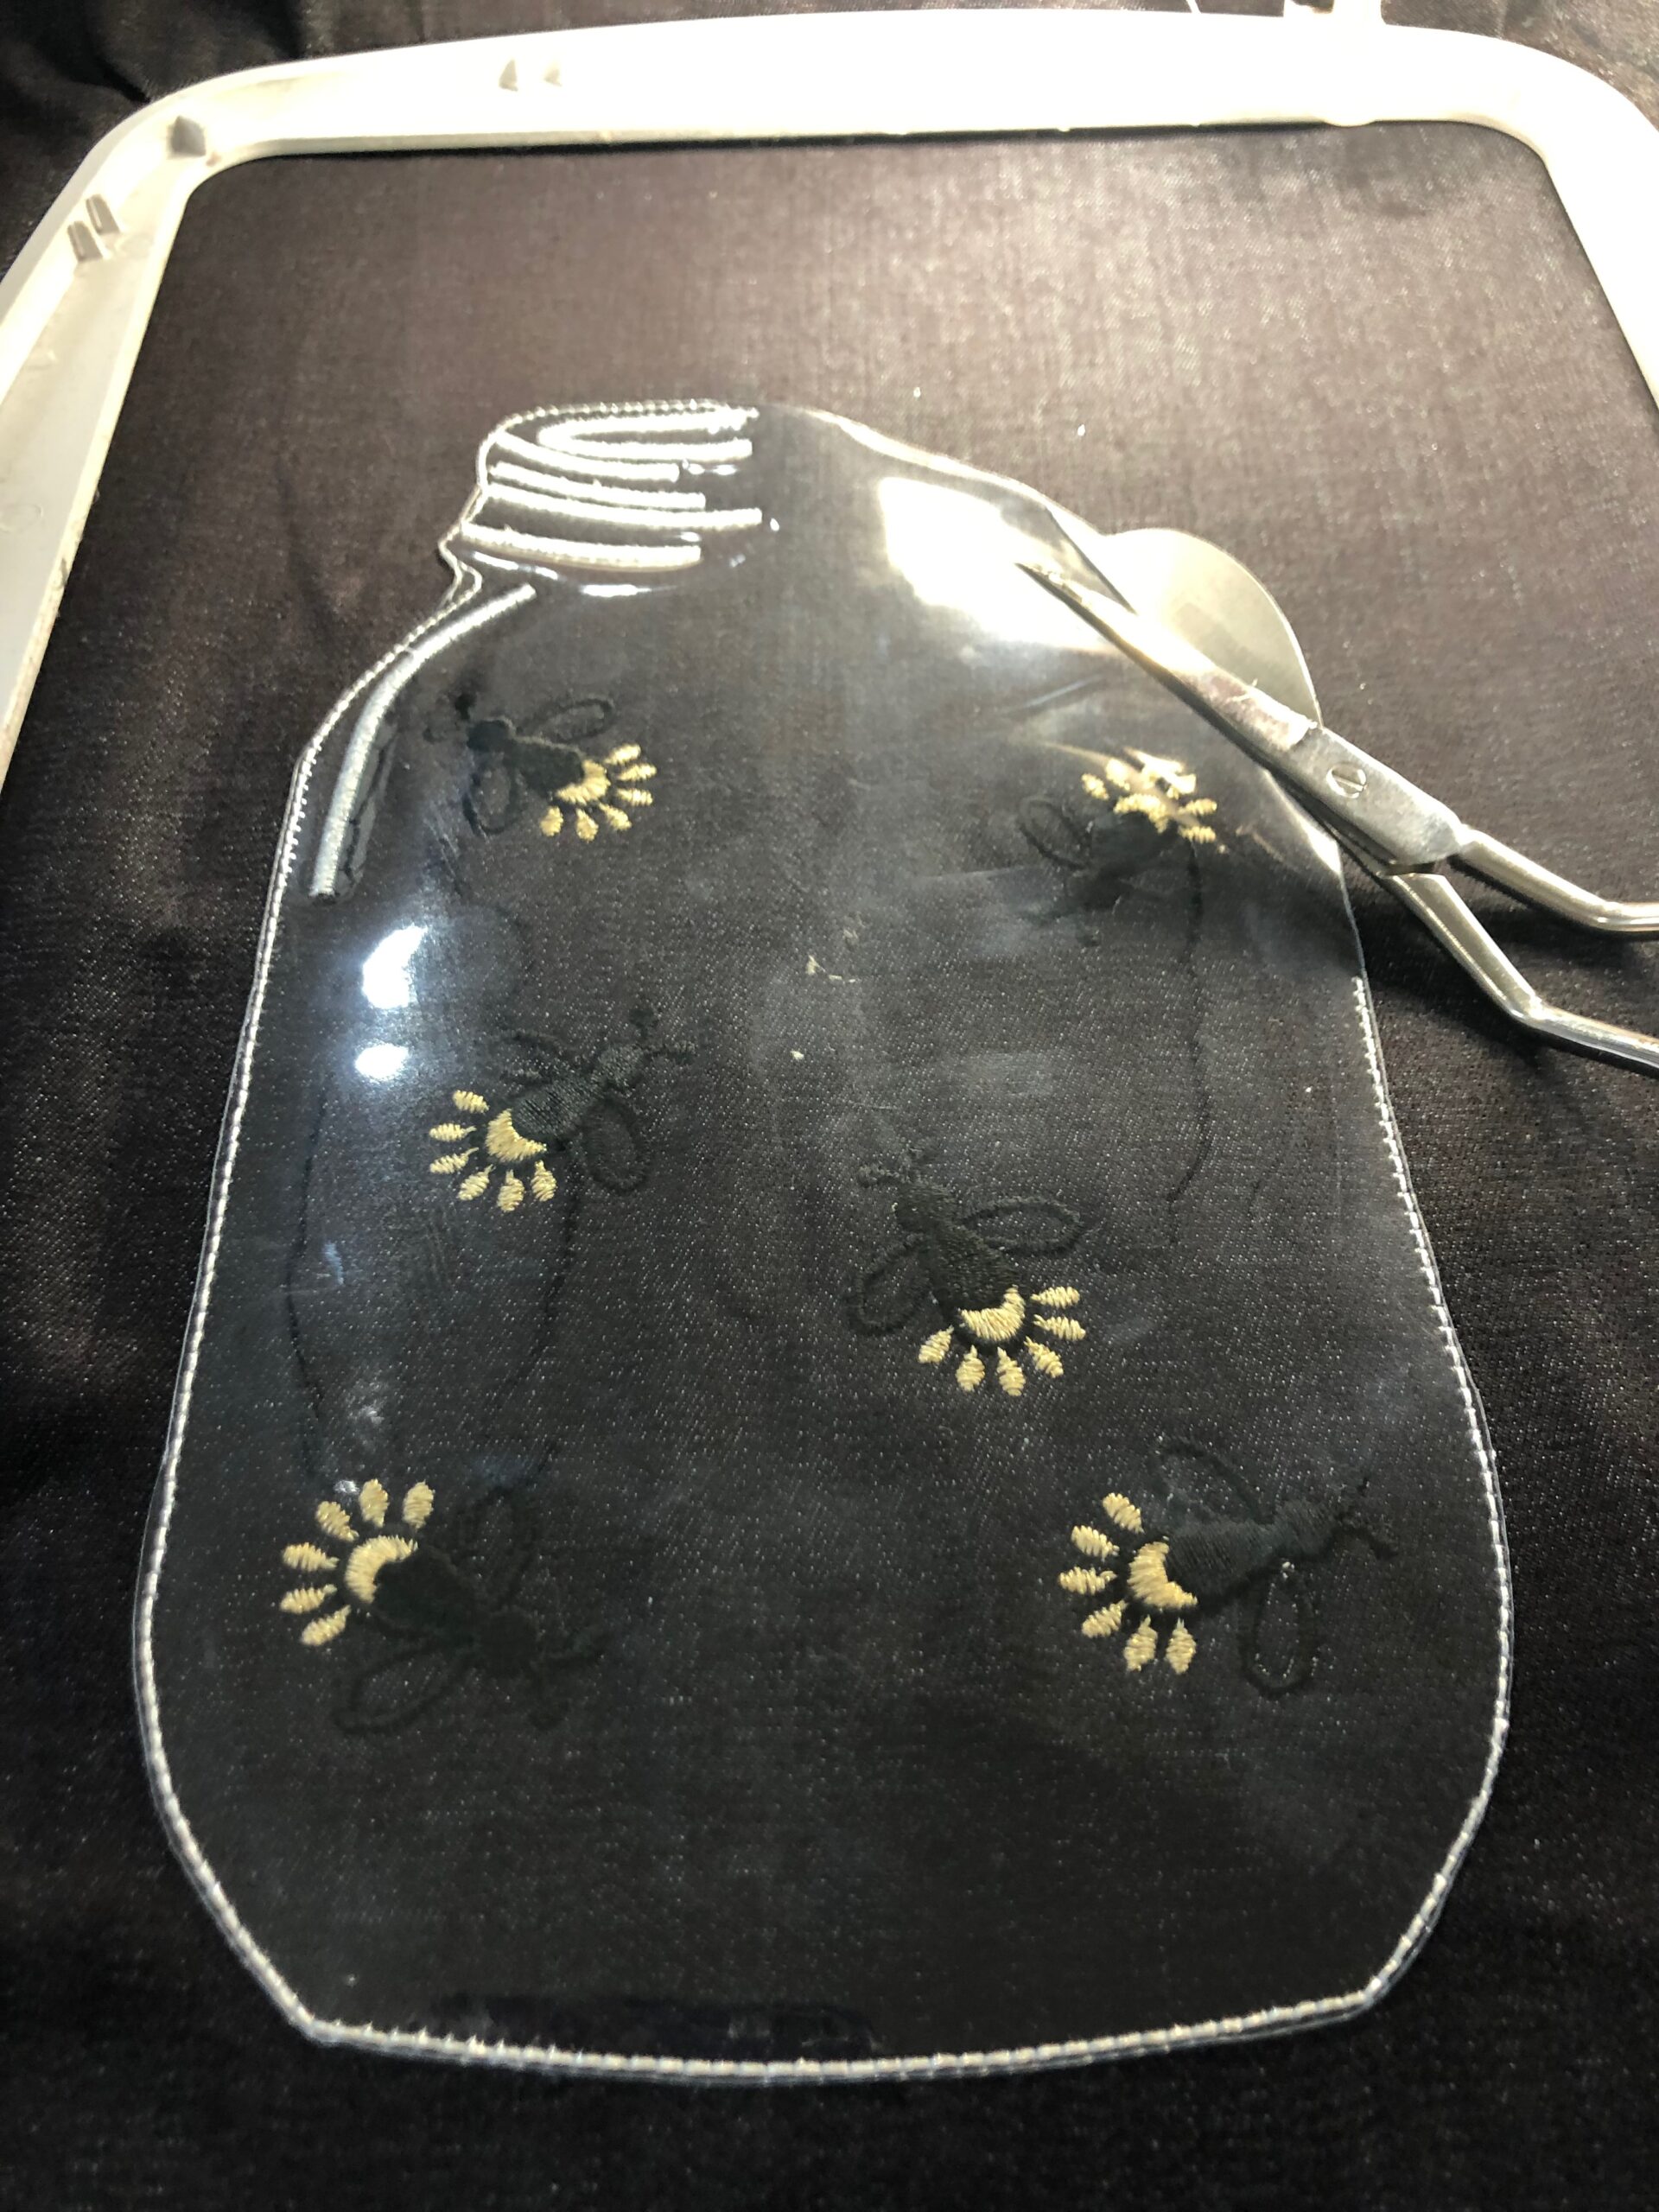
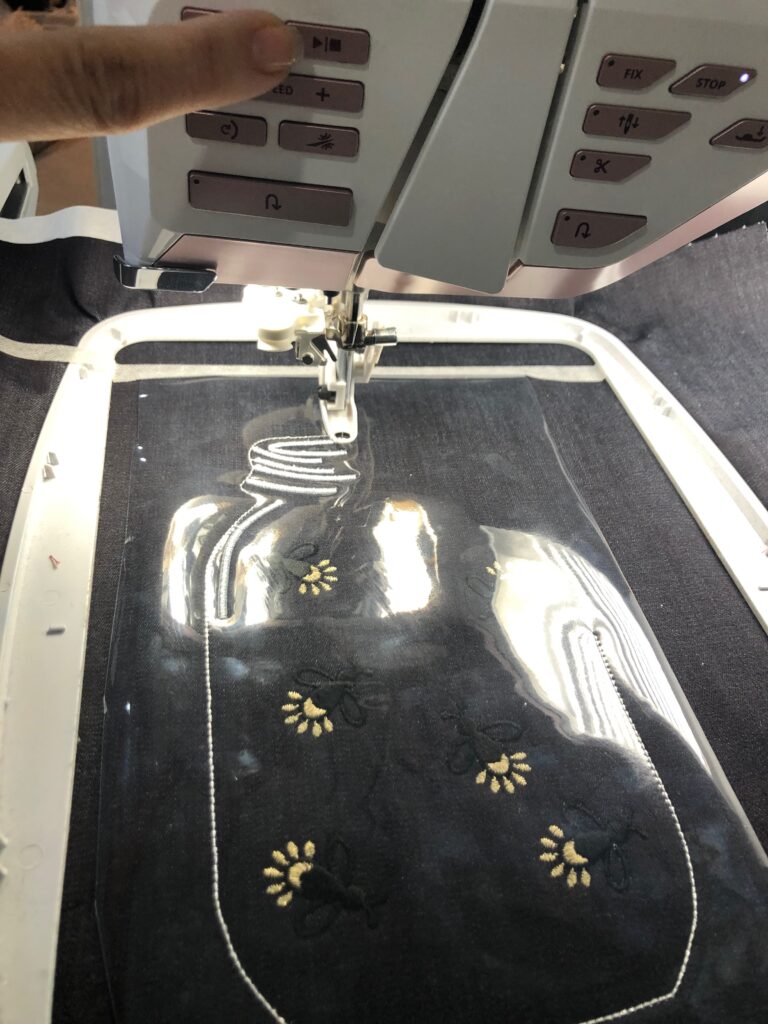
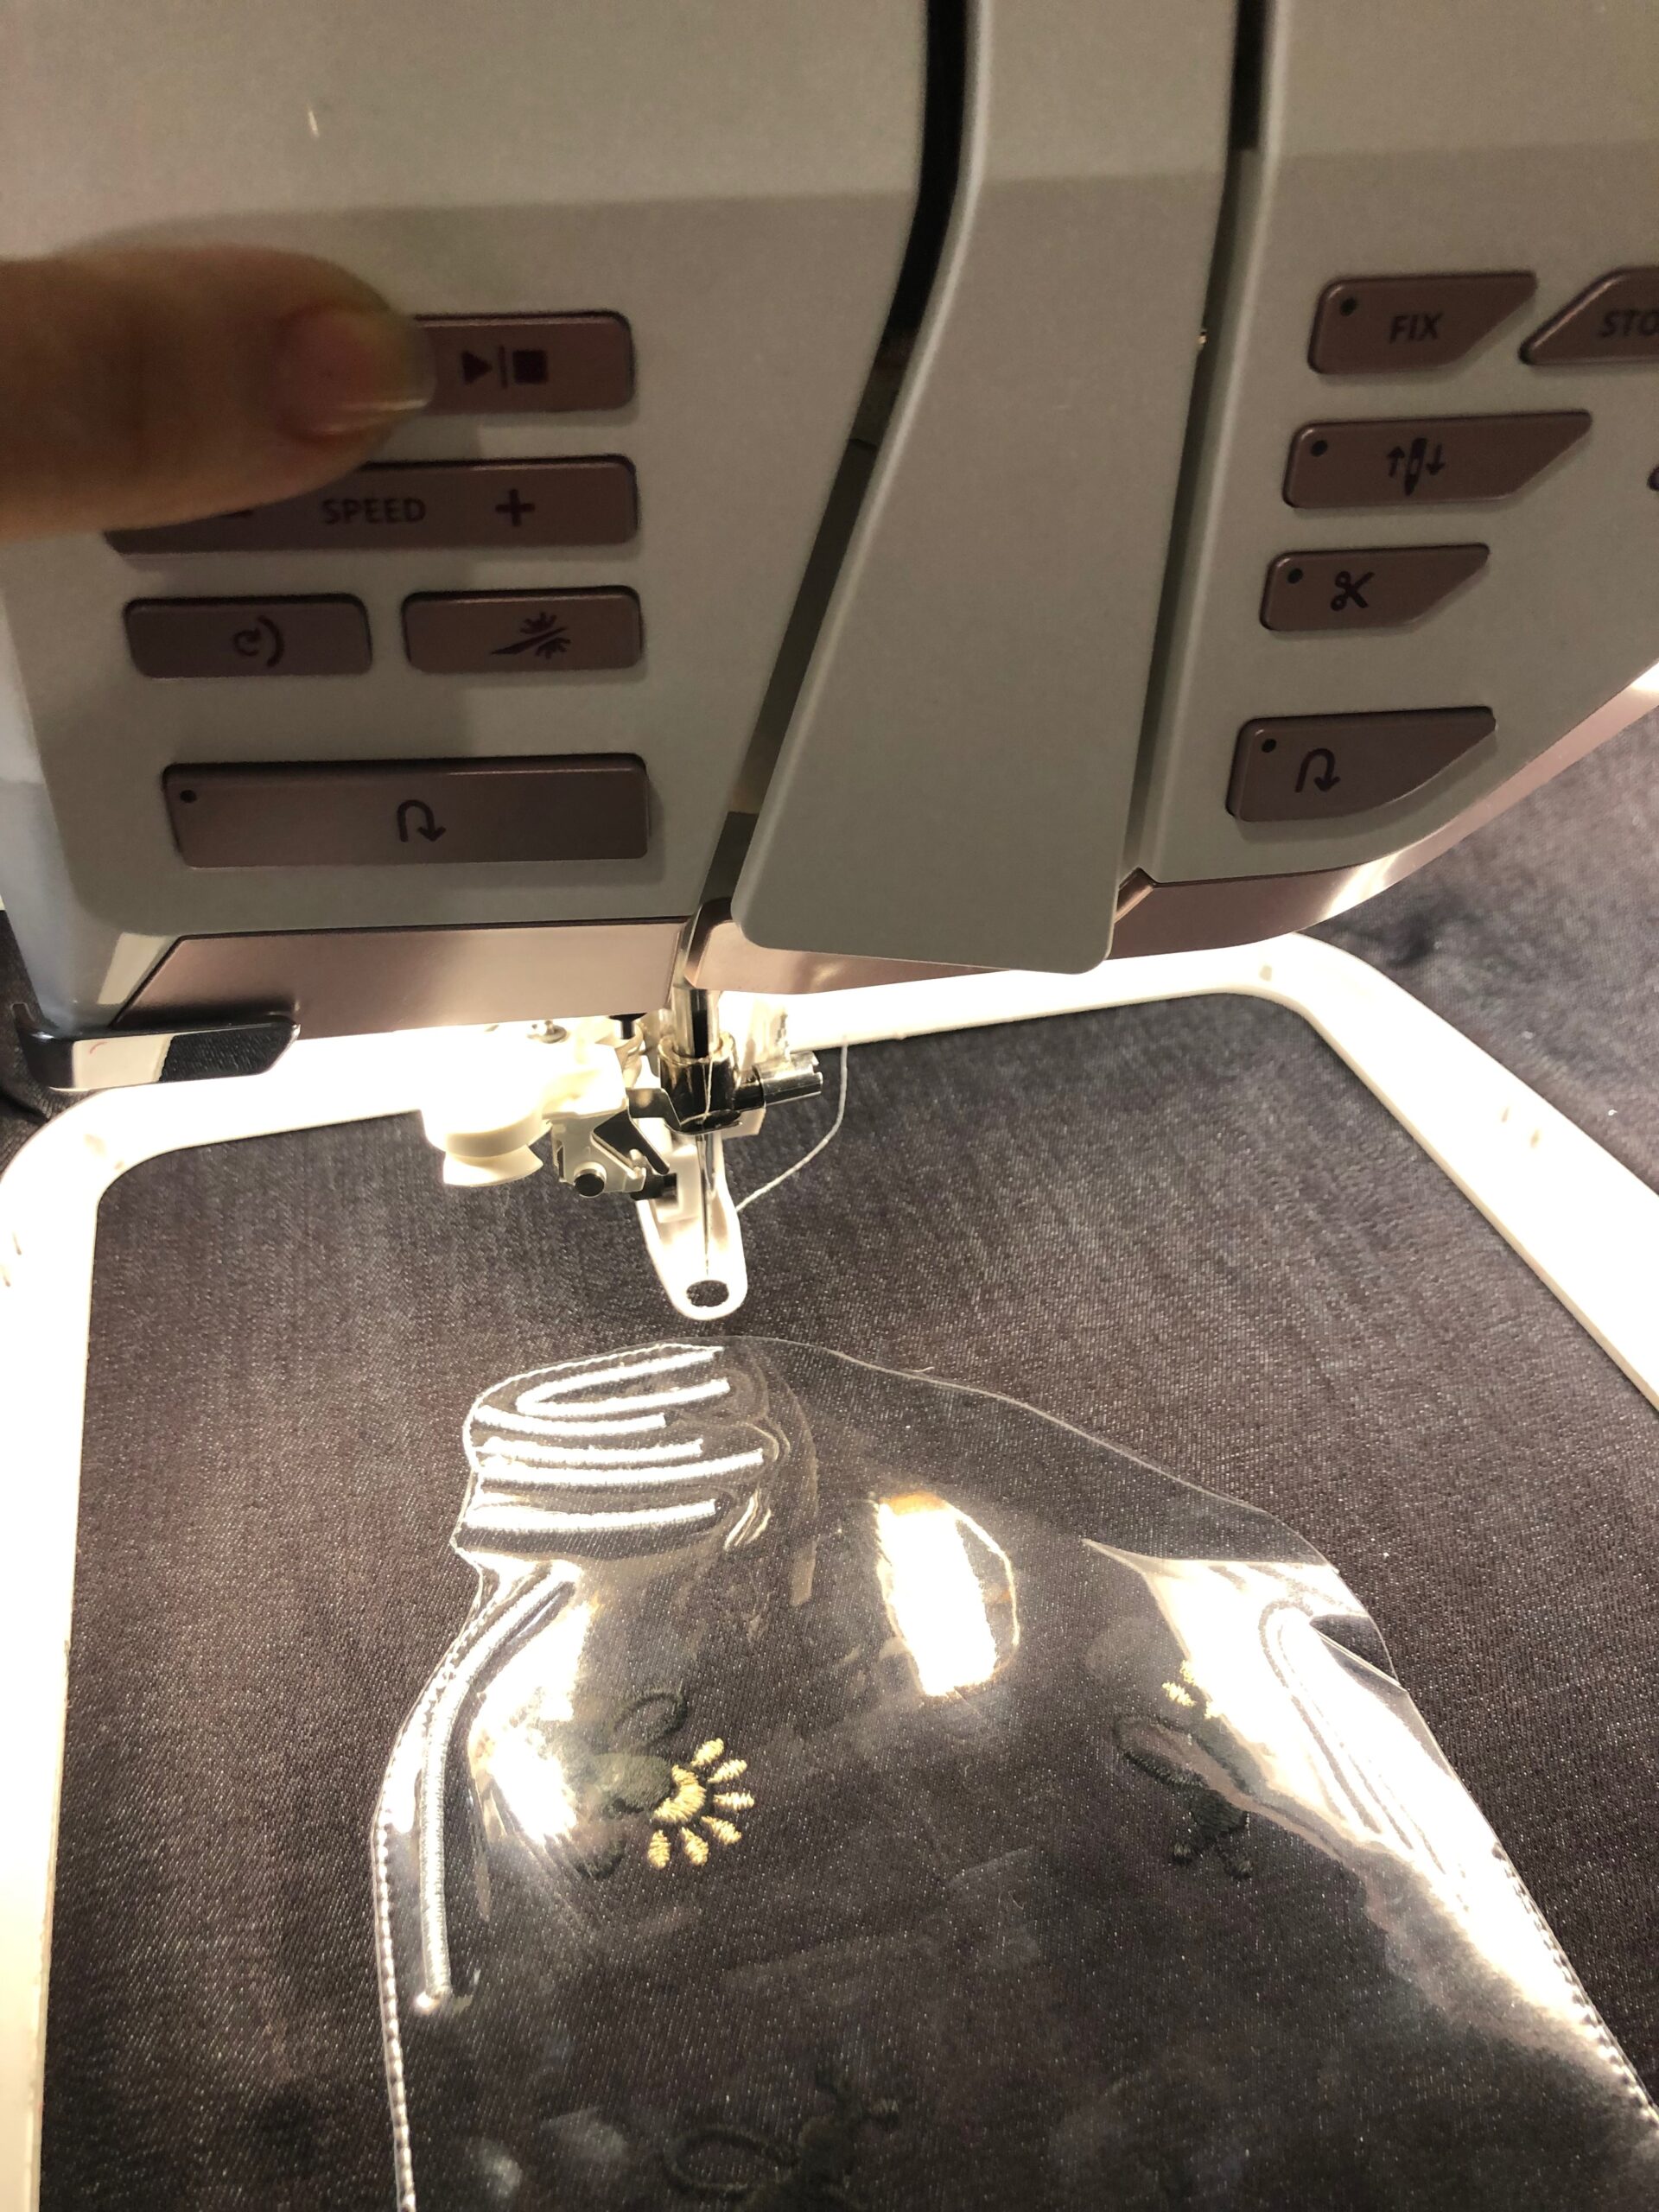
Finish color stop 1, which will add satin stitches to the vinyl edges.
RIBBON FABRIC APPLIQUÉ
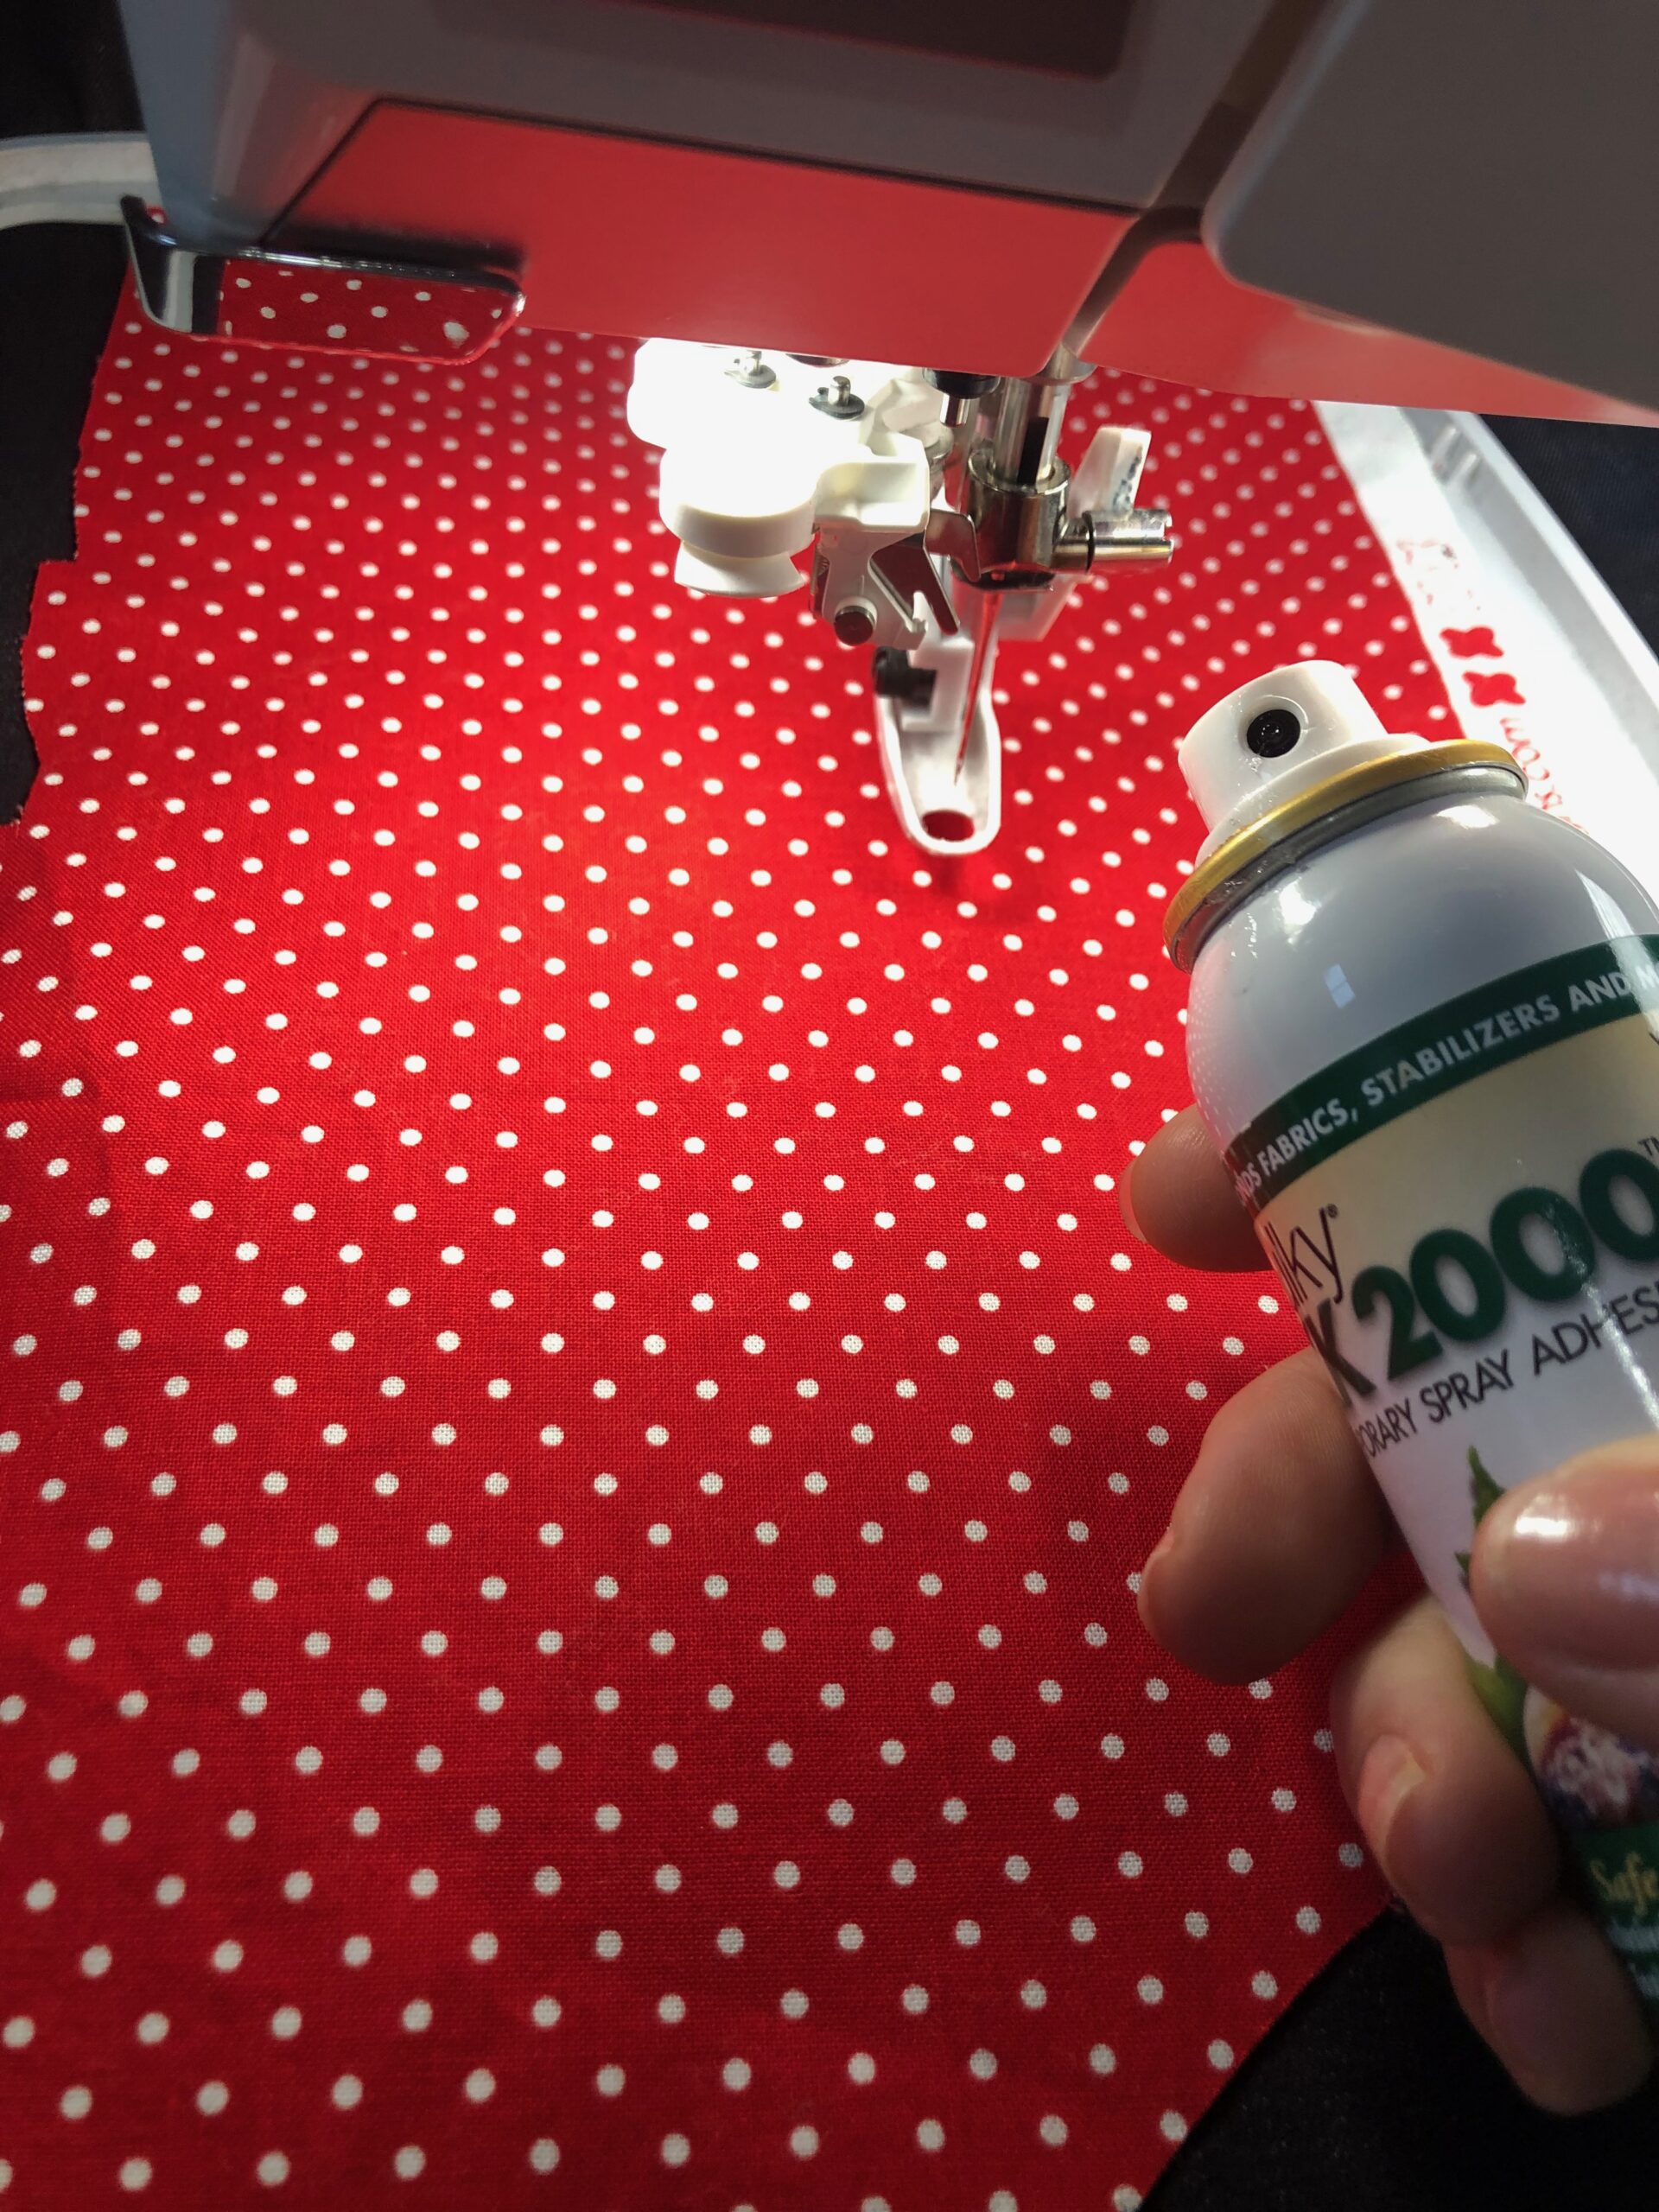
Place the reserved fabric rectangle over the hooped fabric in the location of the ribbon stitching. Use Sulky KK 2000 to secure the fabric. (Hint: Use the machine functions to advance the stitches in order to see where the needle will penetrate for the ribbon stitching. This allows you to position the appliqué fabric correctly. Then, go back to the beginning of the ribbon stitching once the fabric is secured.)
Next, advance to the ribbon stitching, after the firefly stops. For the featured pillow, the red Poly Sparkle thread color was used for the entire ribbon stitching, although it is actually several colors (reds and blues) and several color stops. If desired, stitch the ribbon per the color sequence chart, as intended, or take liberties based on the desired look and chosen appliqué fabric.

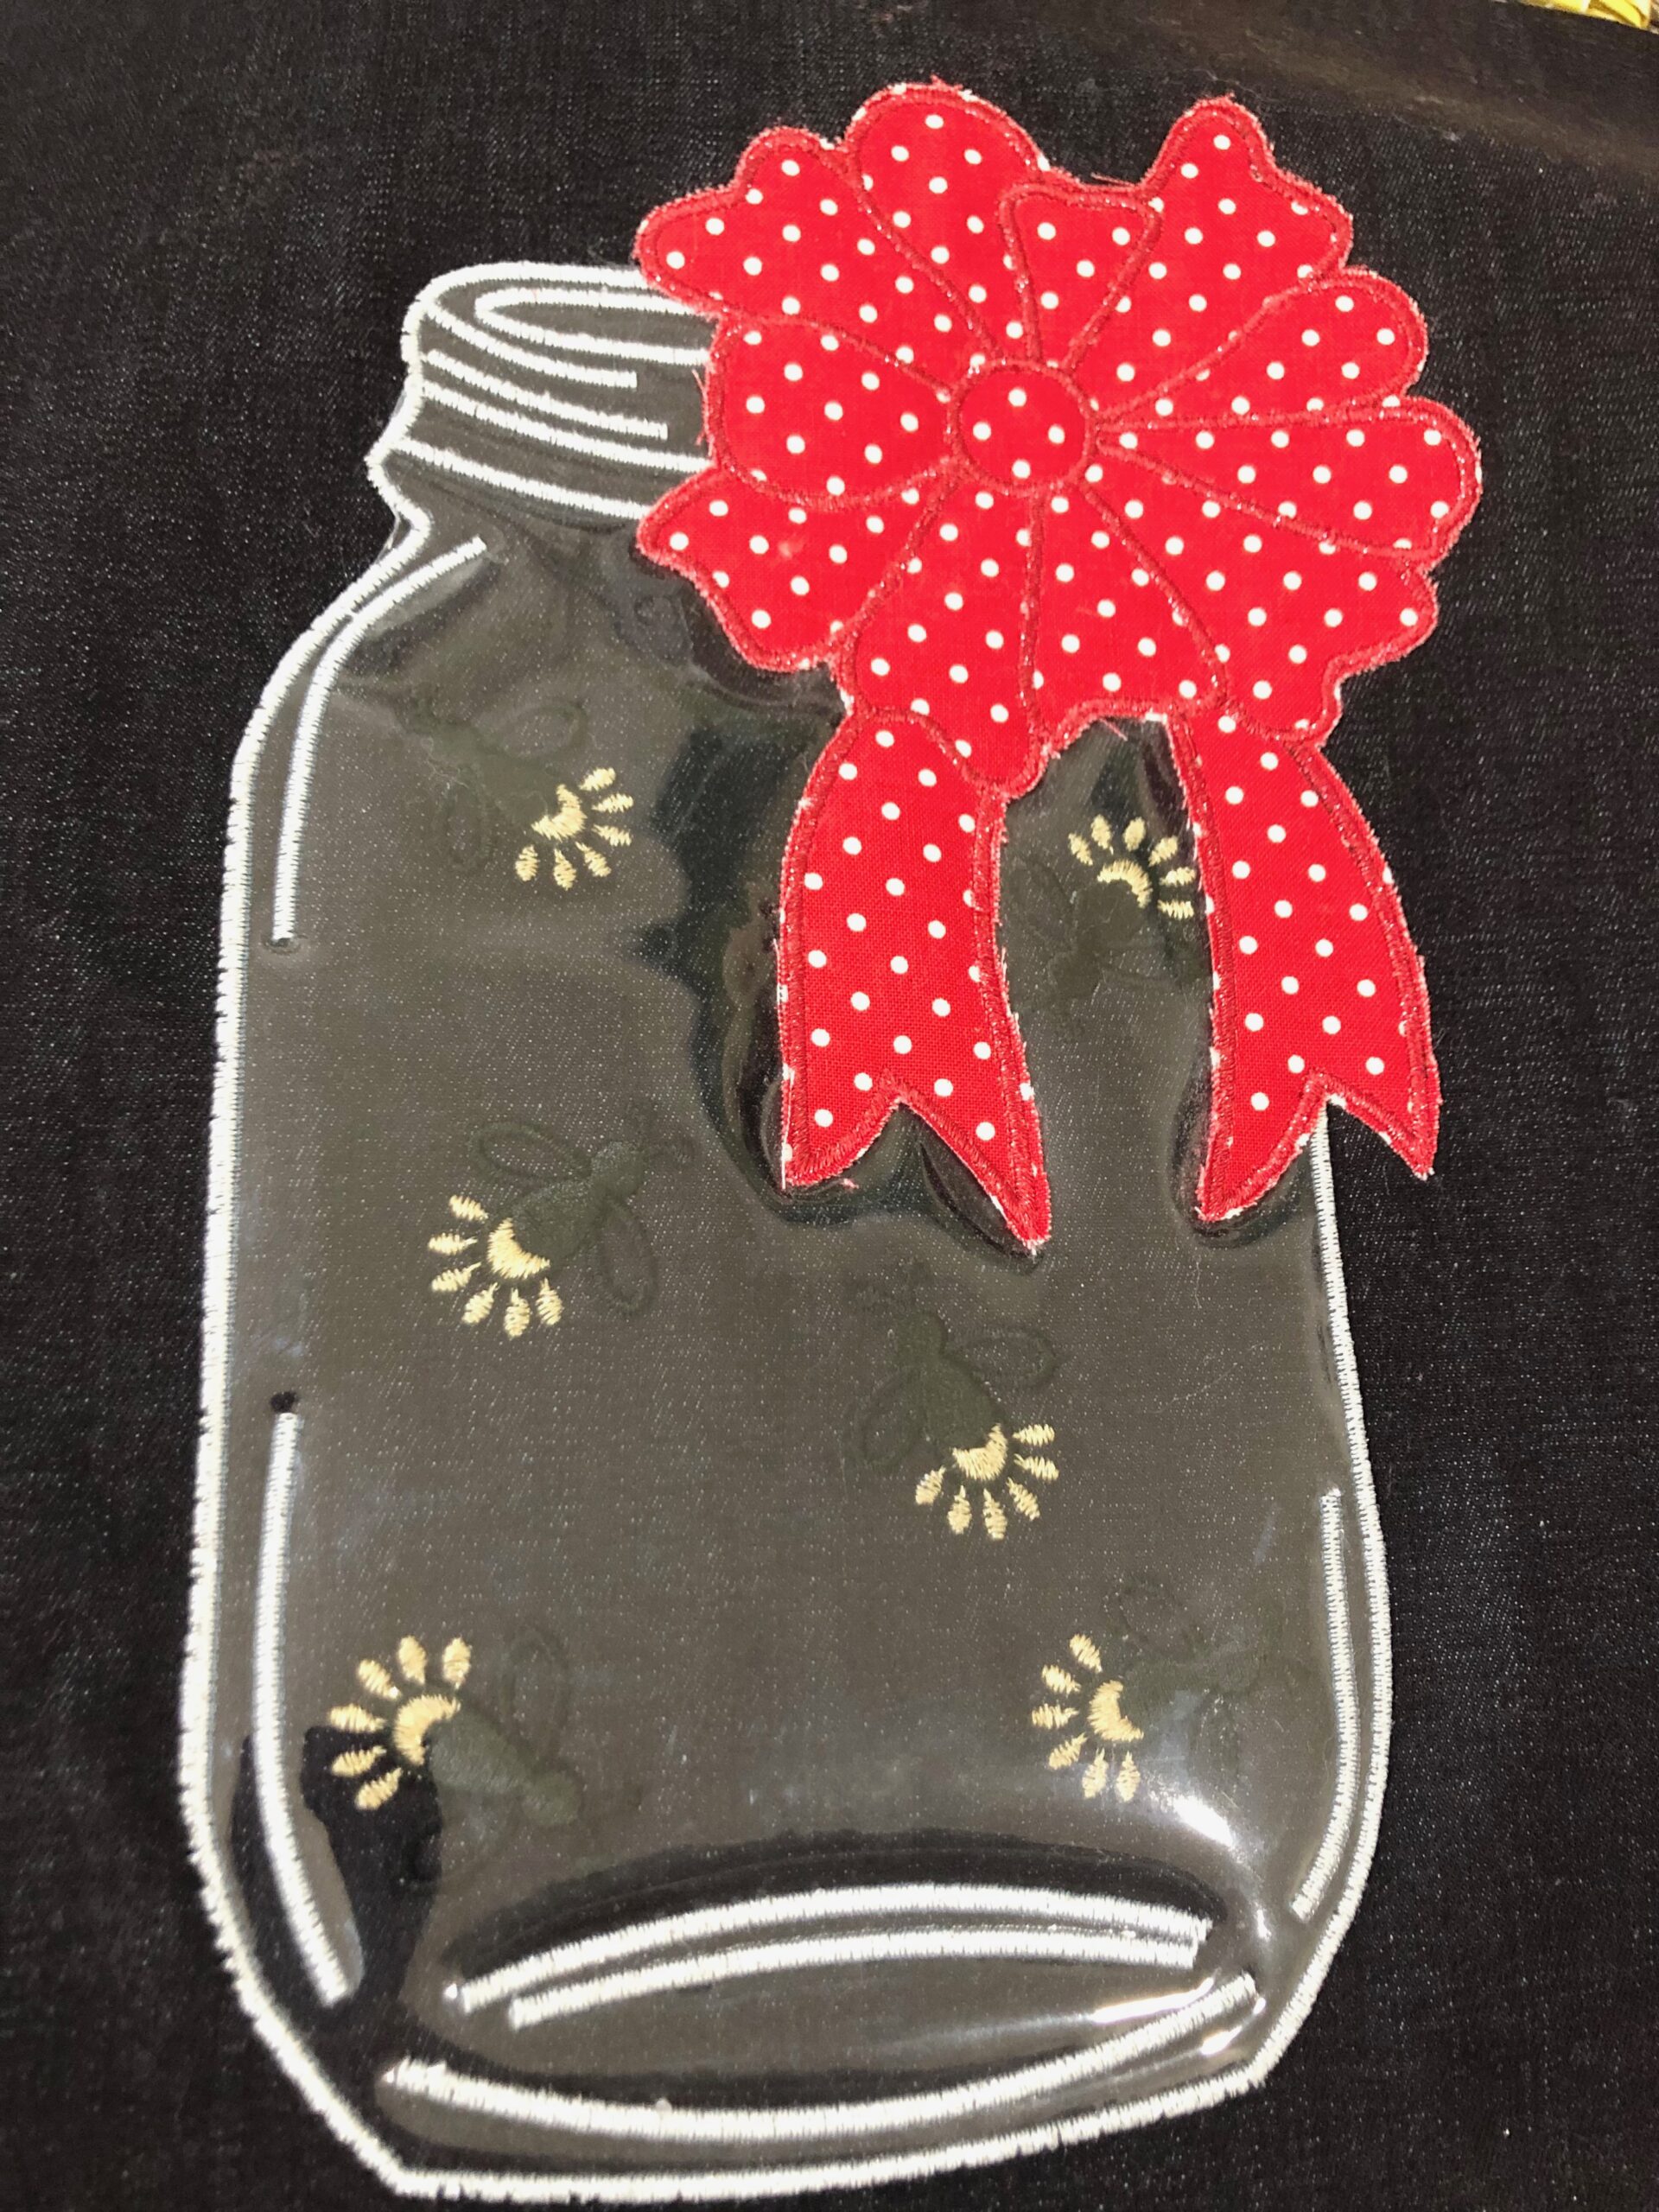
Embroider the ribbon stitching. Remember, this is NOT digitized as an appliqué design. The stitches will be satin stitching, so when the fabric is trimmed it will have raw edges beyond the satin stitching. This gives the pillow a bit of a rustic flair.

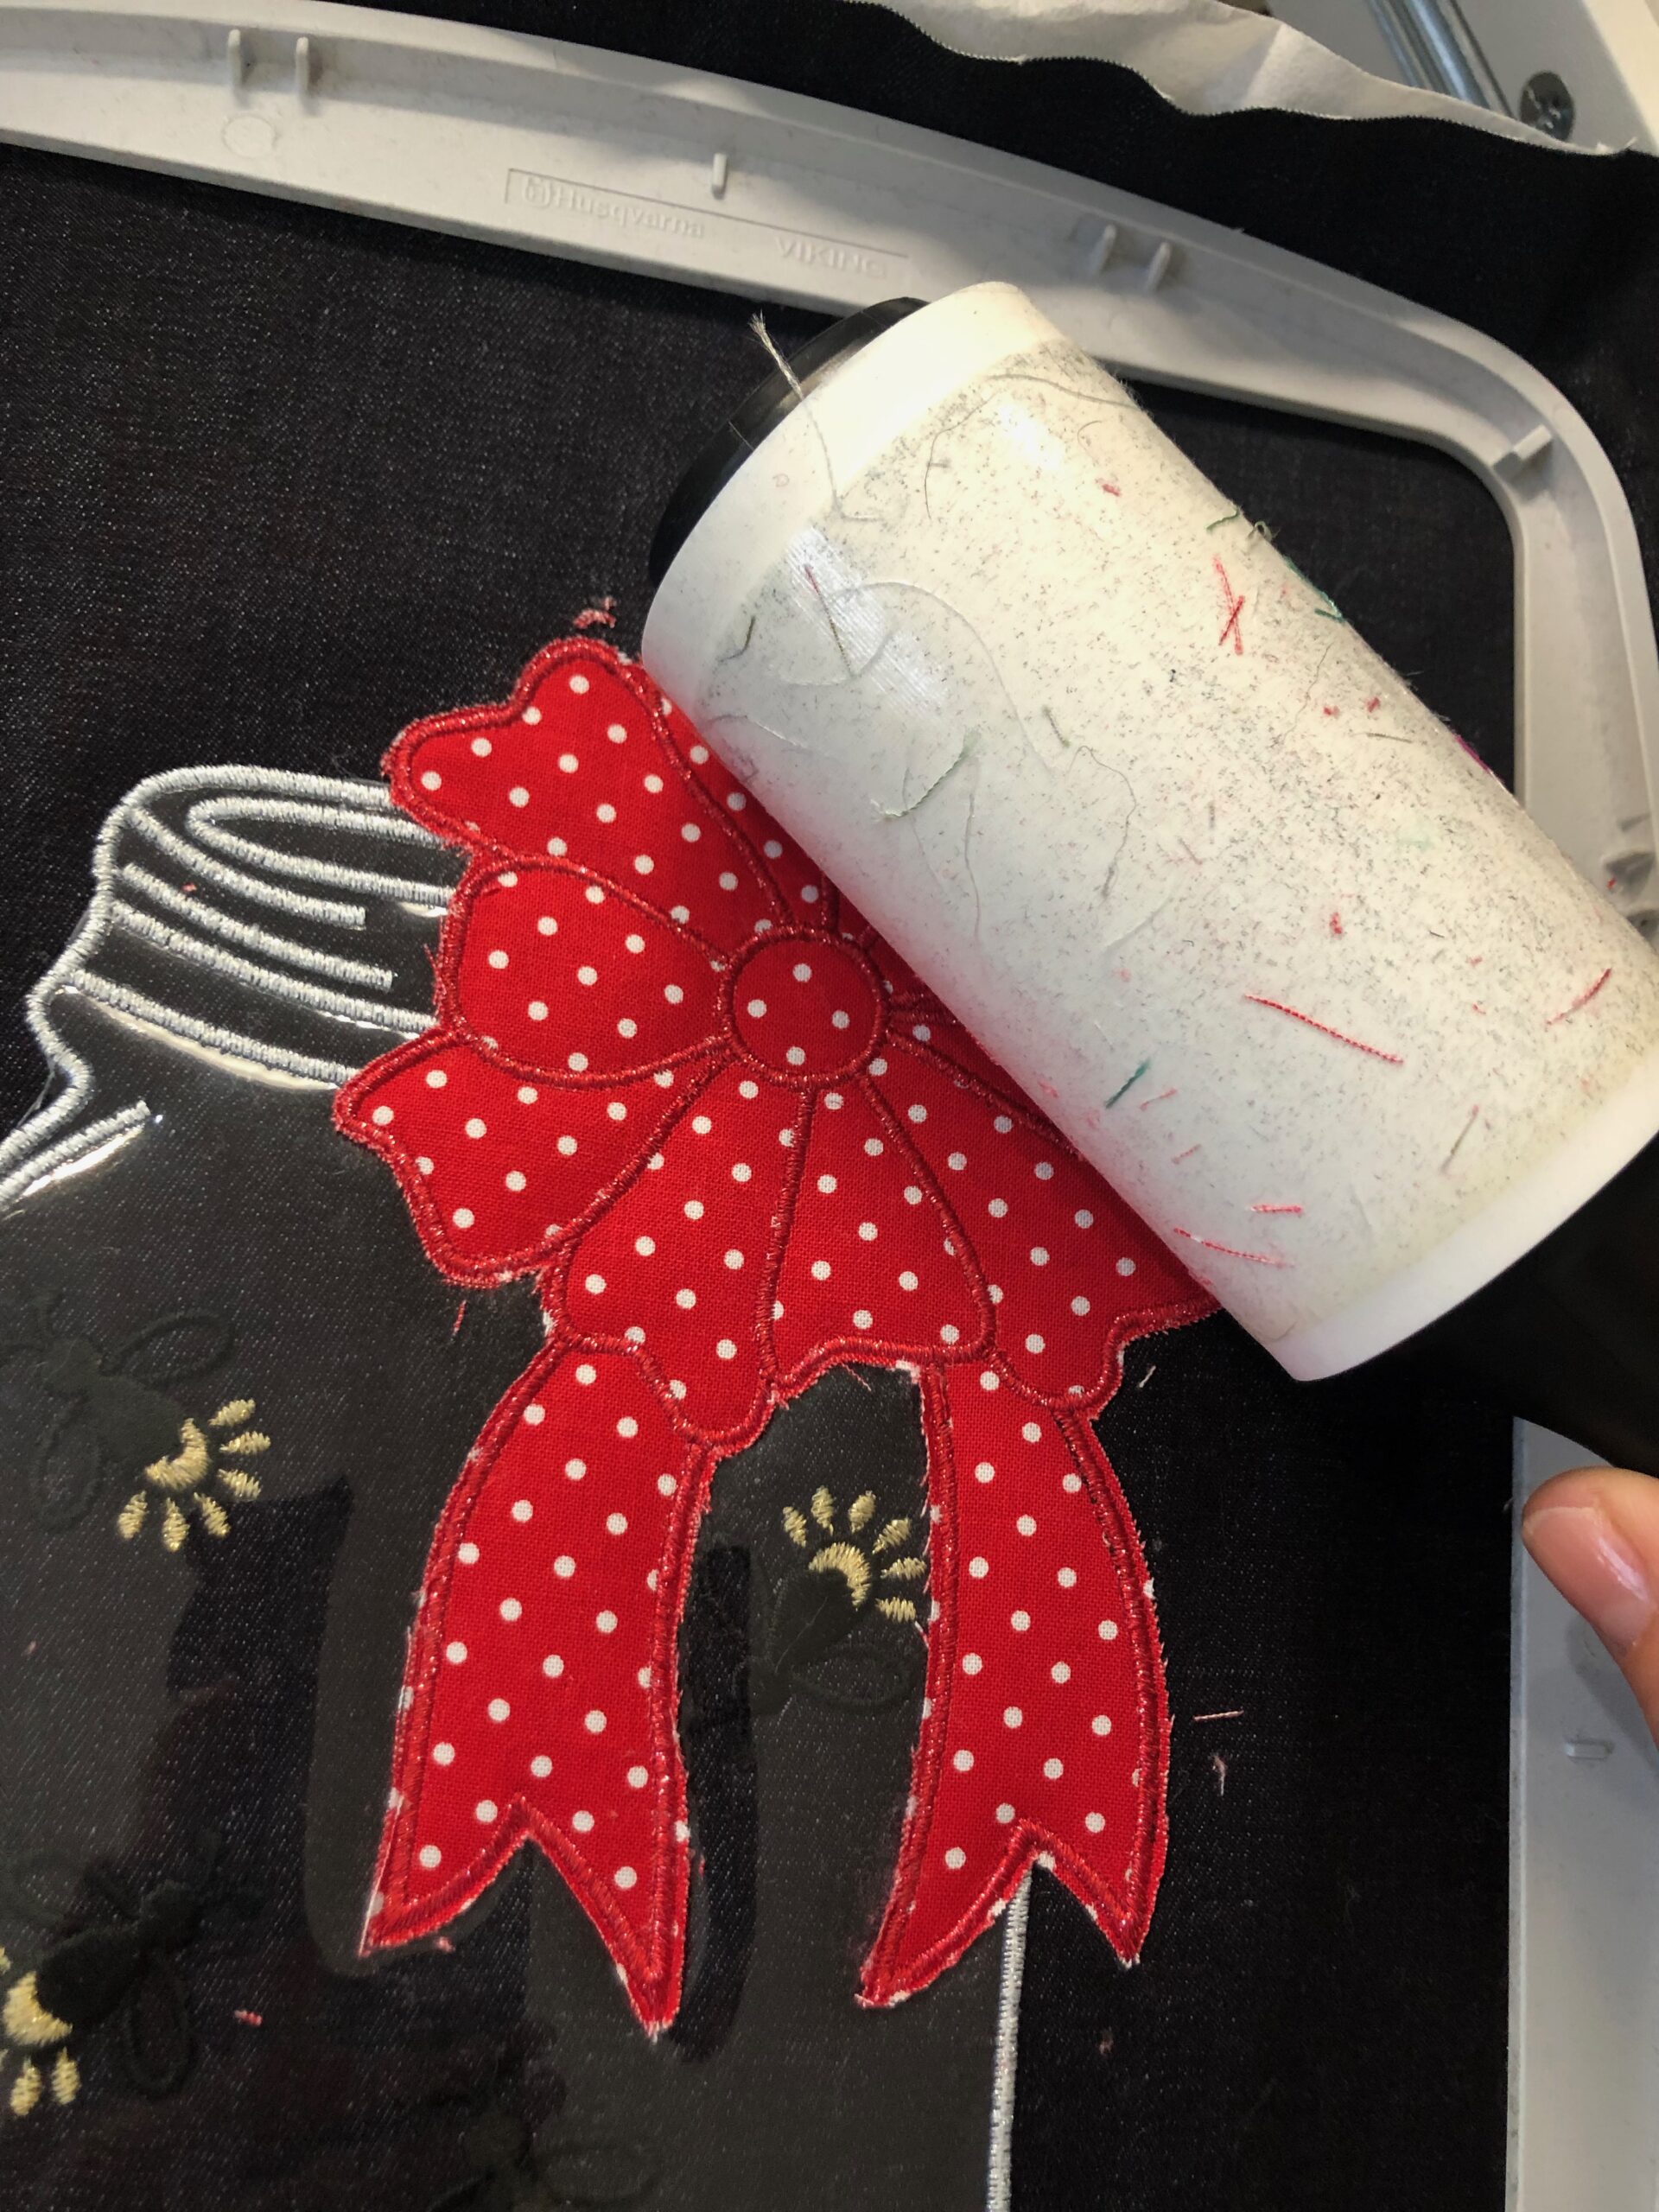
When the ribbon stitching is complete, clip the jump threads. Trim the appliqué fabric close to the satin stitch edging using appliqué scissors, leaving a slight 1/8″ or smaller border.
Use a lint roller to clean up the frayed fabric edges and excess jump threads, if needed.
Remove the hoop from the machine and the fabric from the hoop. Keep the stabilizer intact. Lastly, press any hoop markings away using a hot, dry iron. Be sure to keep the iron far away from the vinyl.

PILLOW CONSTRUCTION
Use 1/4″ seam allowances.
First, trim the embroidered square to 9″ x 12″, centering the embroidery design.
Stitch the narrow quilting-cotton rectangles to the embroidered rectangle upper and lower edges, with right sides facing and edges aligned. Press the seam toward the denim fabric, being careful to avoid the vinyl.
Then, stitch each wide quilting-cotton rectangle to either side of the embroidered square, with right sides facing and edges aligned. Press the seam toward the denim fabric, being careful to avoid the vinyl.

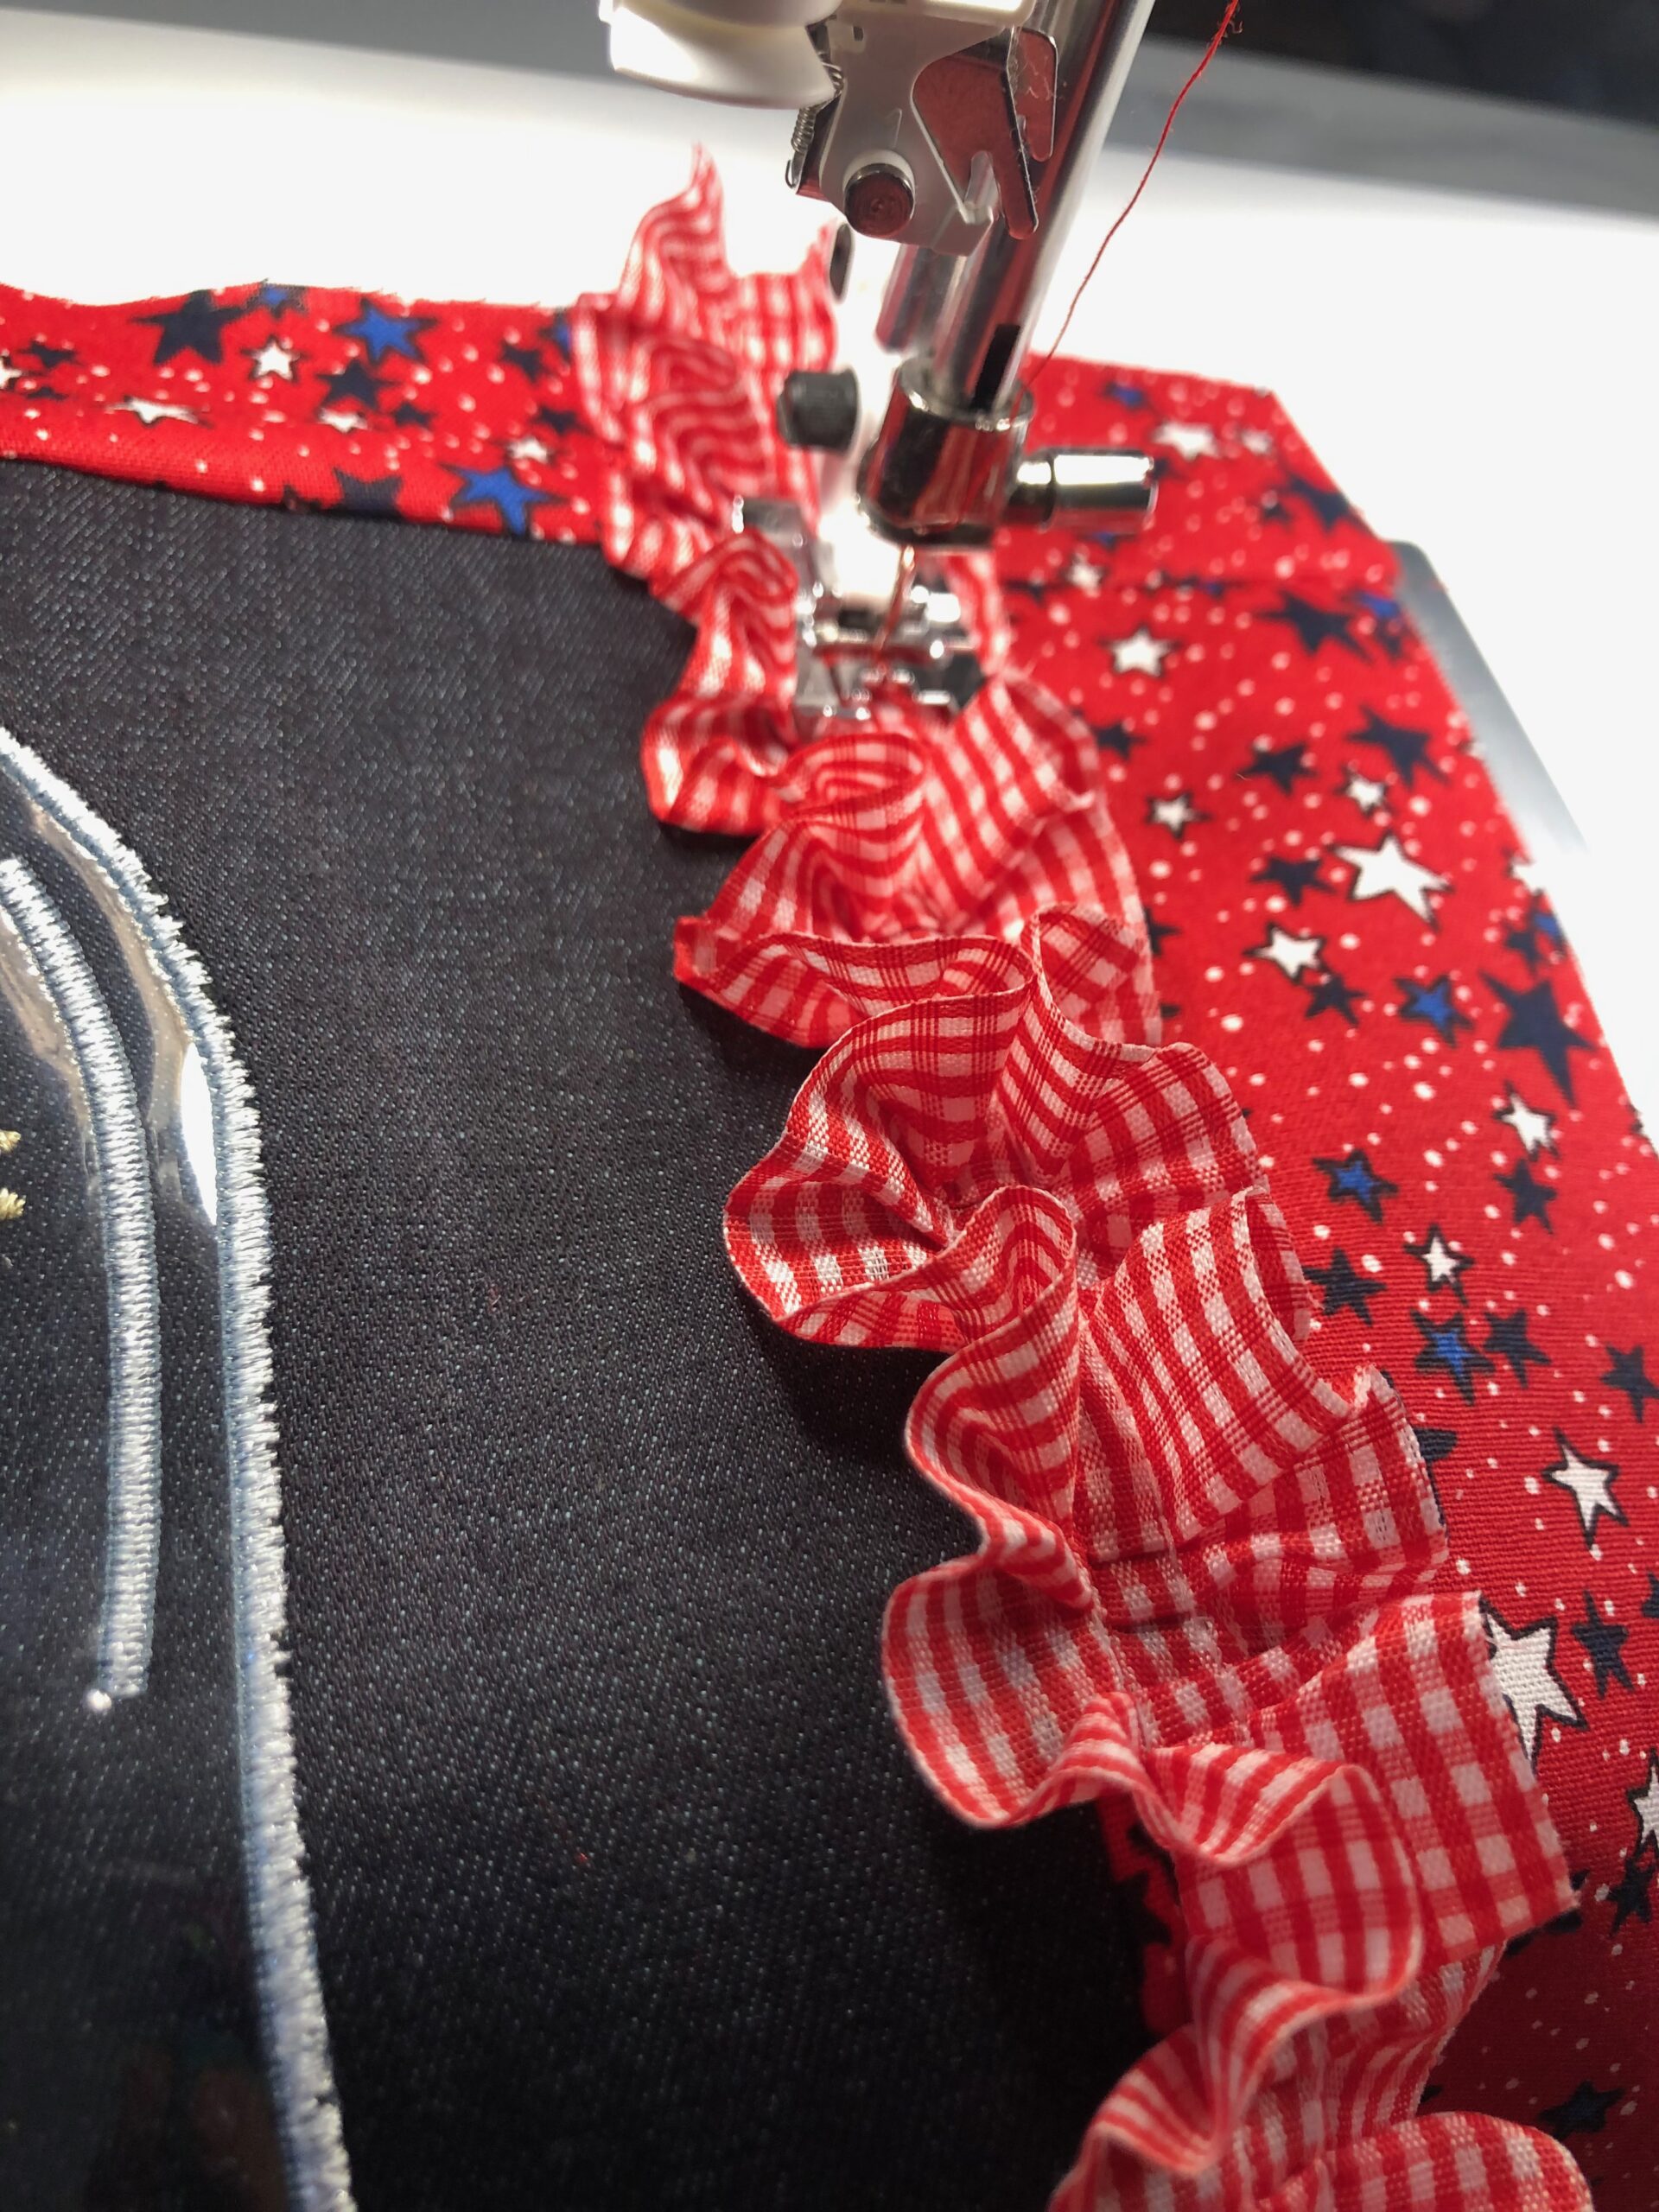
Place a length of trim along each embroidered square/wide rectangle seam; pin in place.

Next, topstitch down the trim center to secure.
PORCH PILLOW FINISHING
Place the reserved denim square over the embroidered and trimmed square, with right sides facing and all edges and corners aligned.
Then, stitch the pillow perimeter, leaving a 6″ opening along one side edge for turning and stuffing.
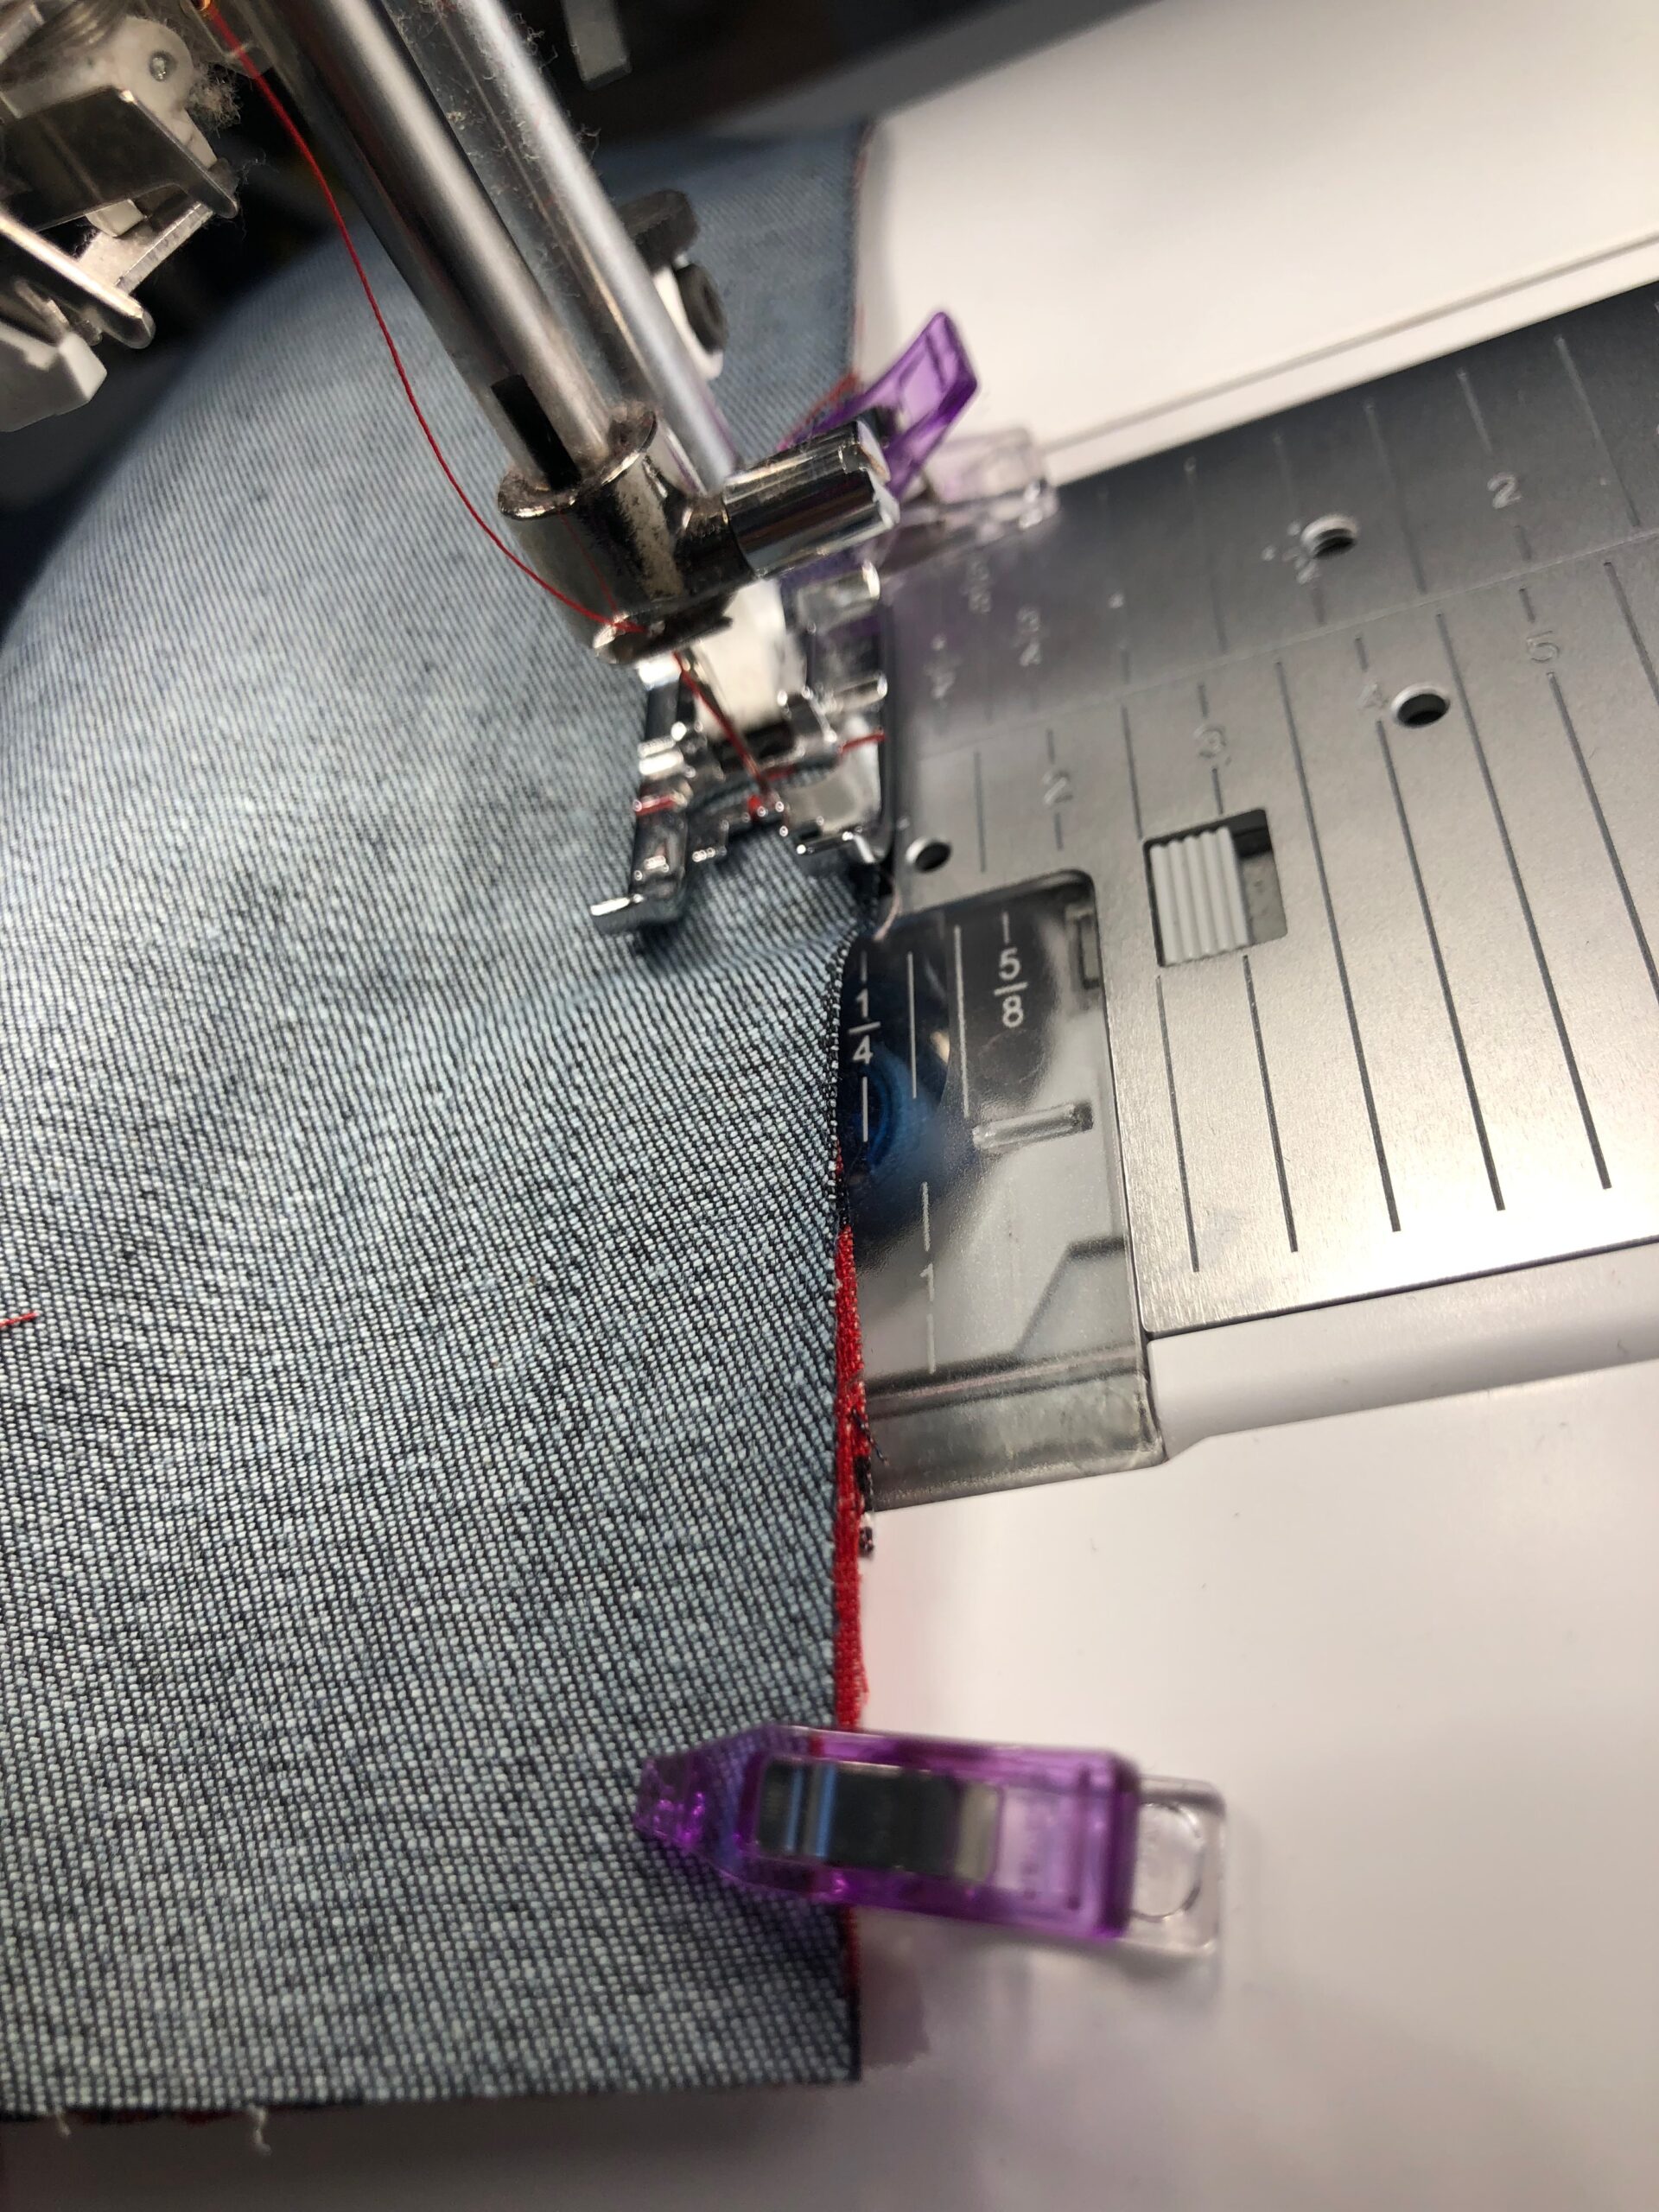
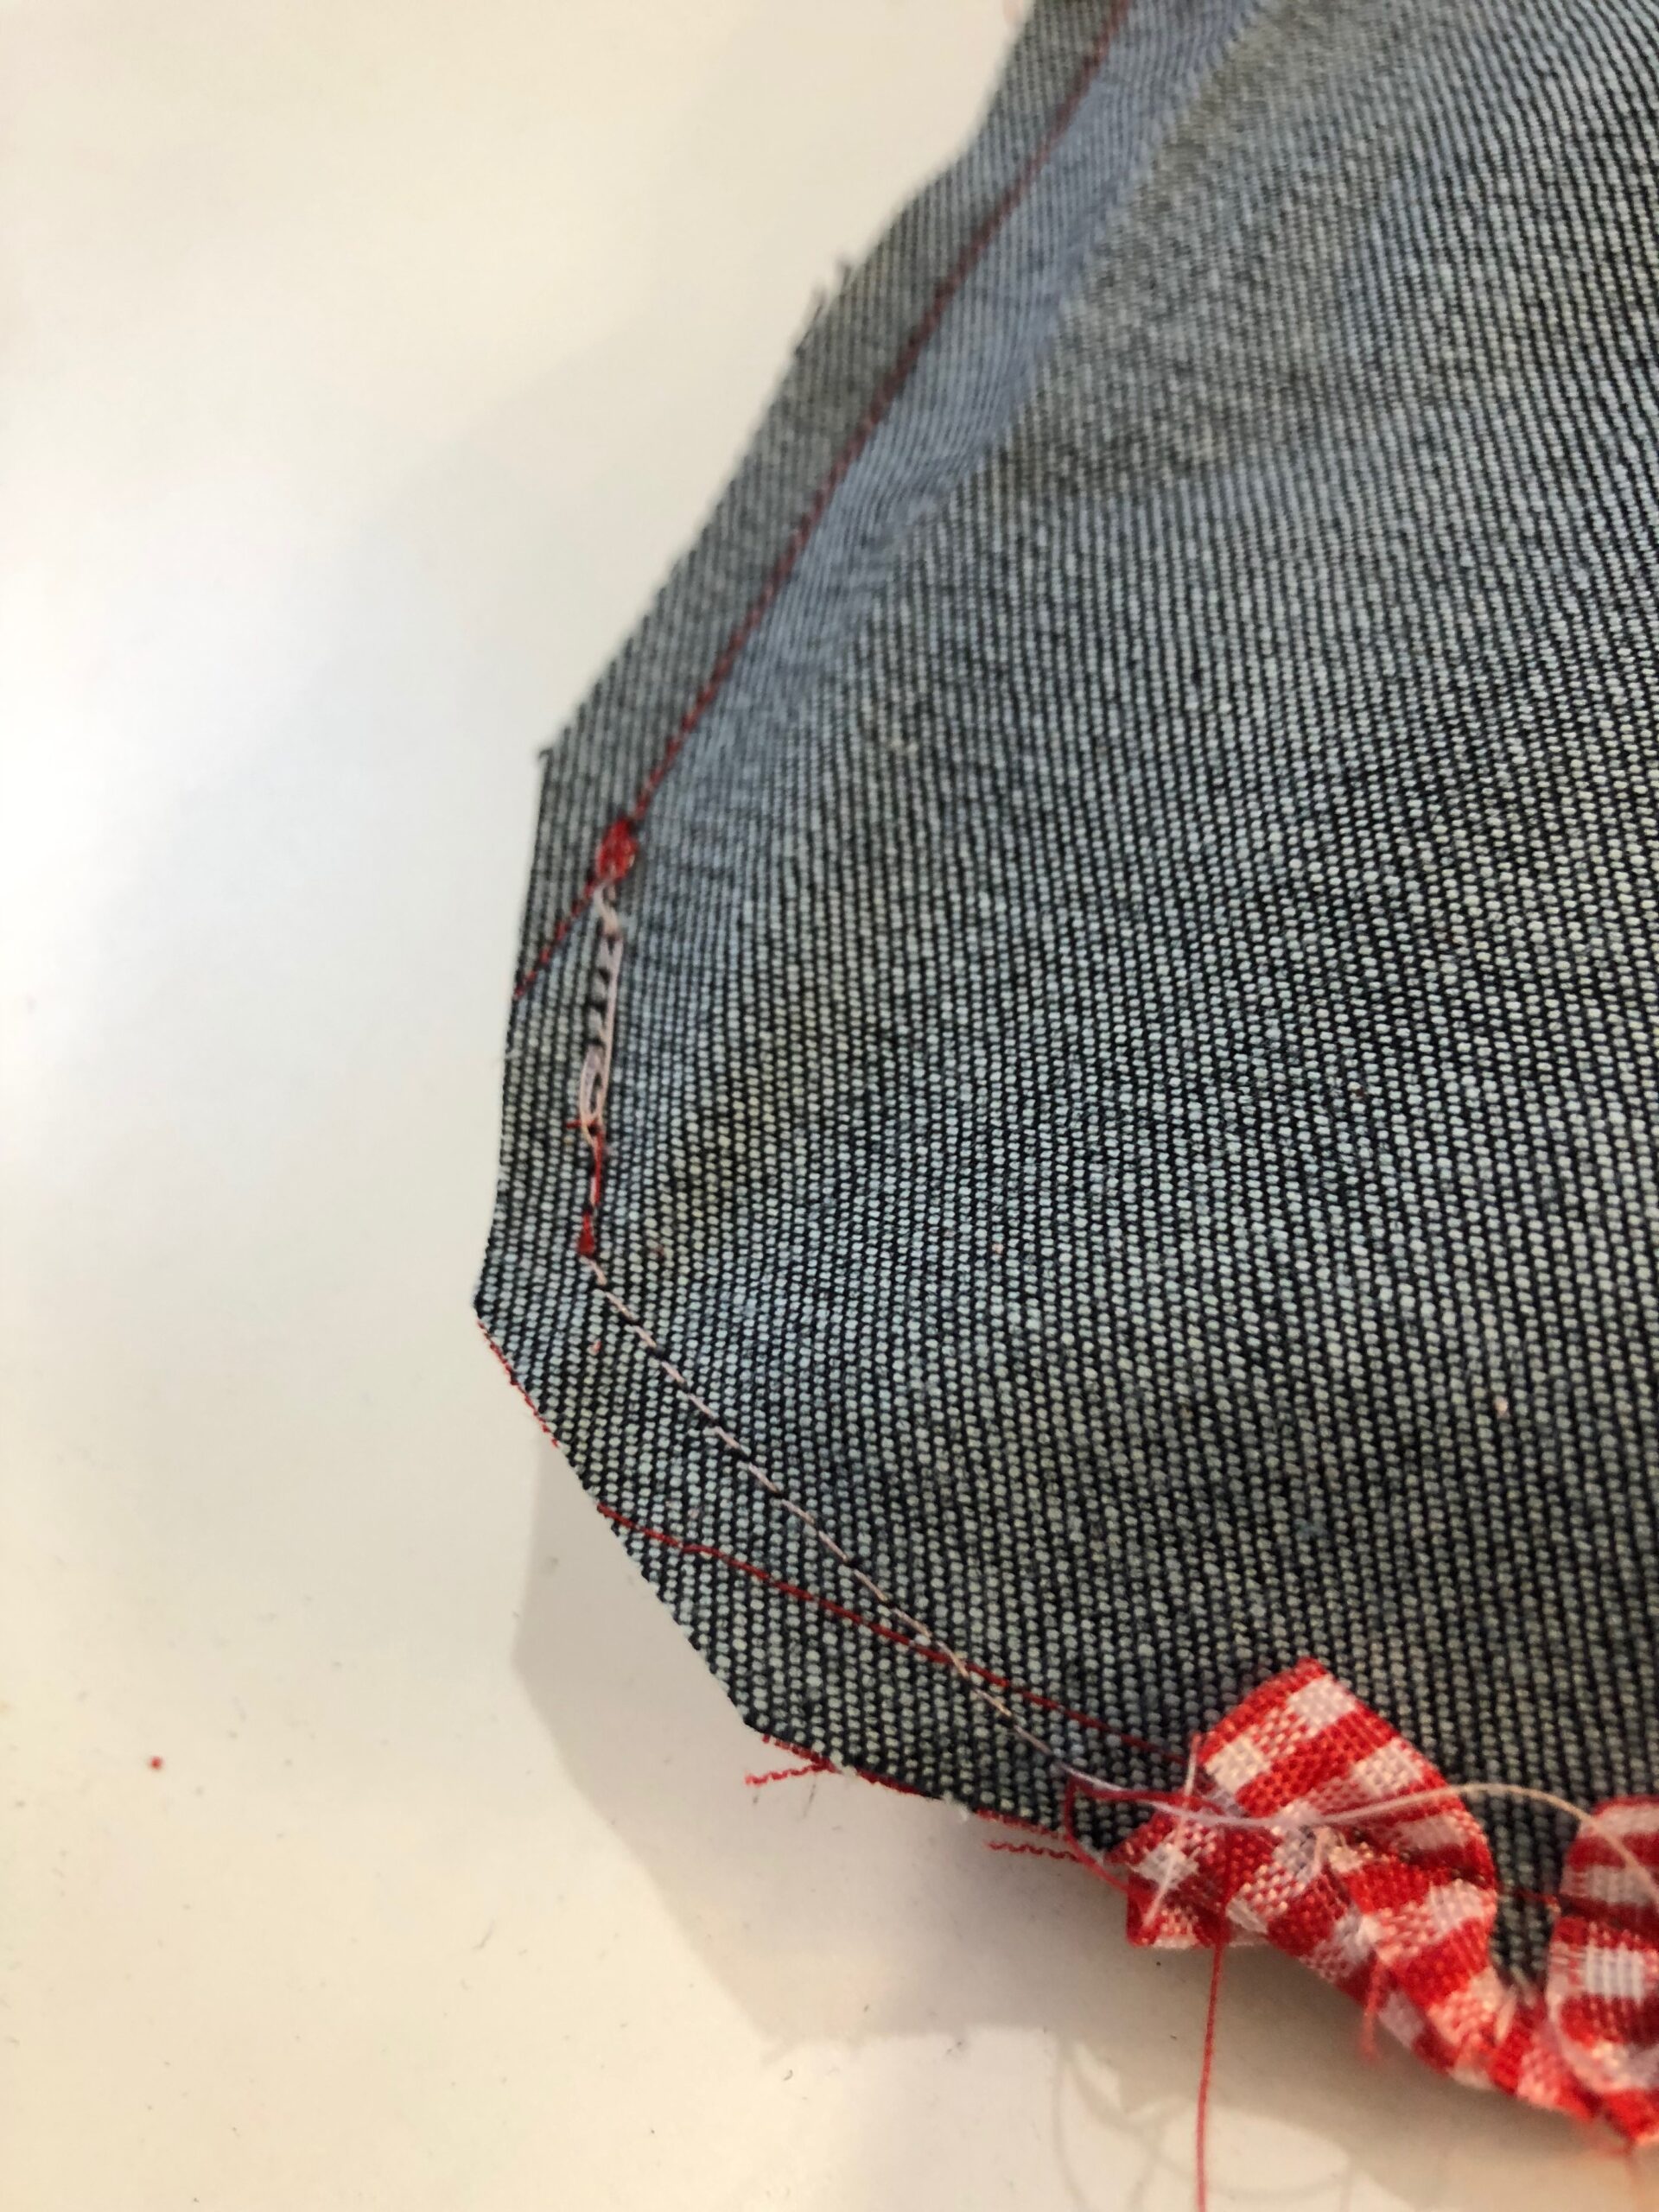
To eliminate “dog ear” corners, taper the stitching at each corner.
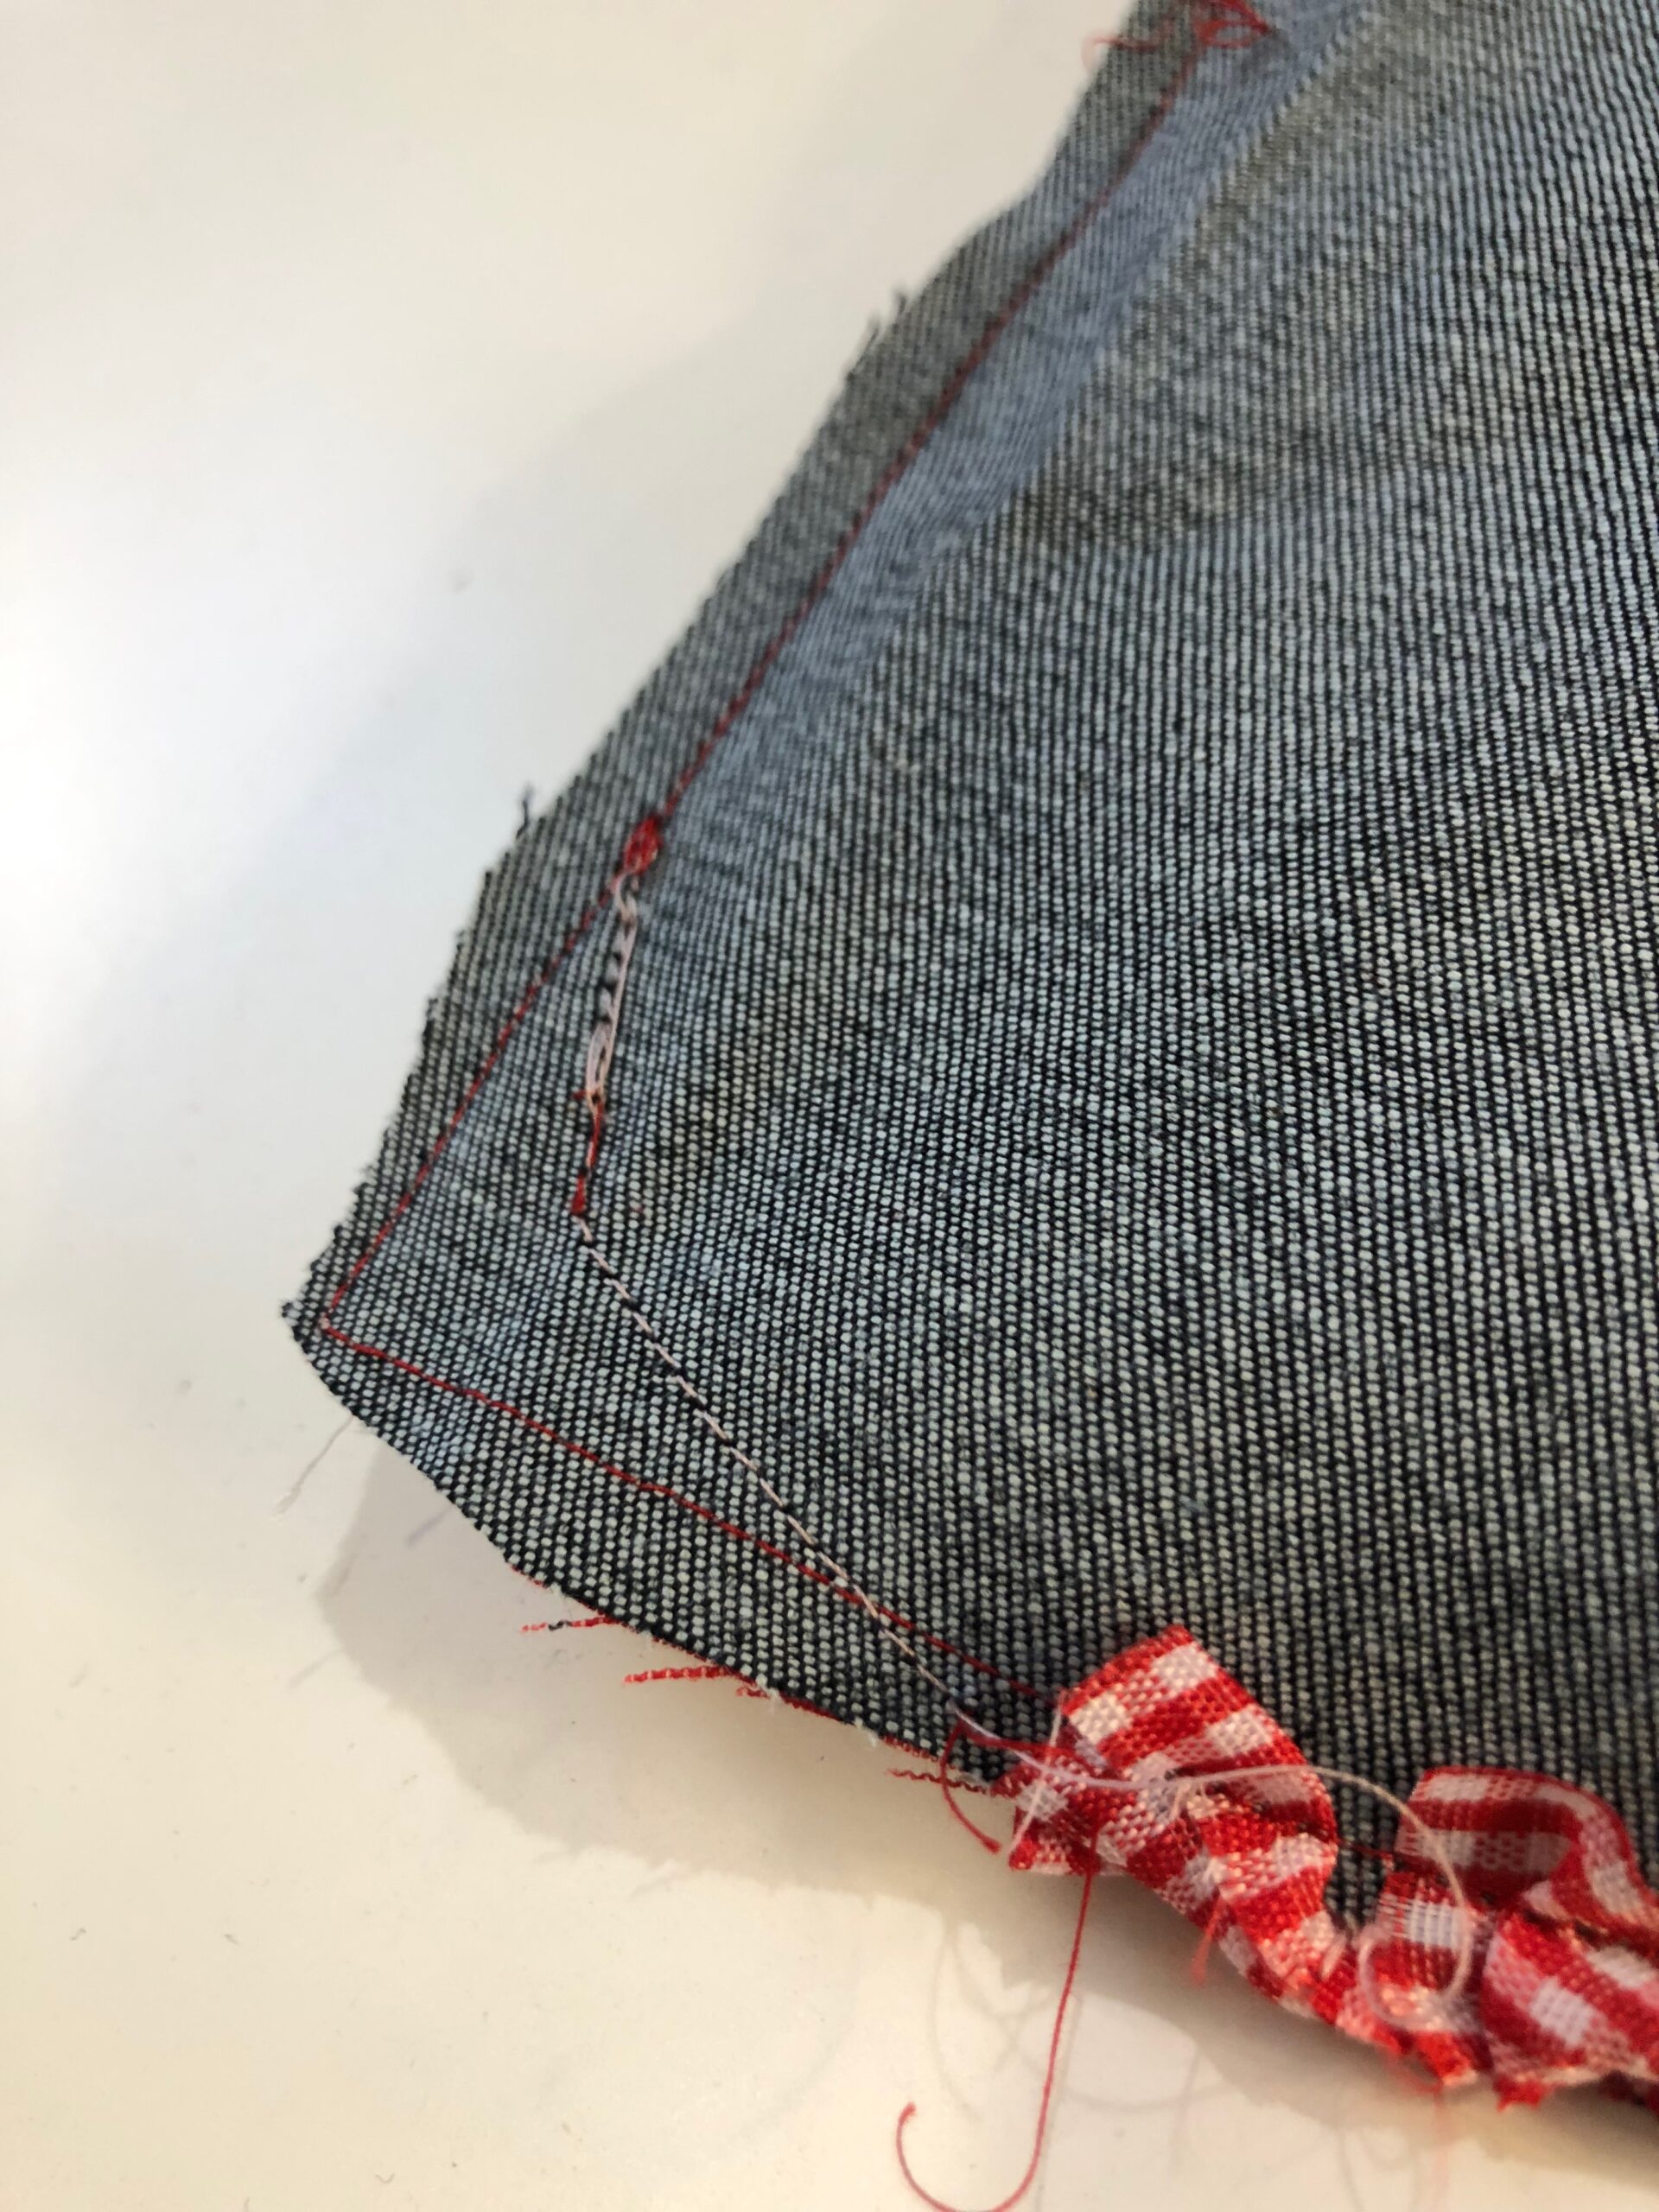
Trim close to the corners, being careful to not clip through the stitching.
Then, turn the pillow right side out through the opening.

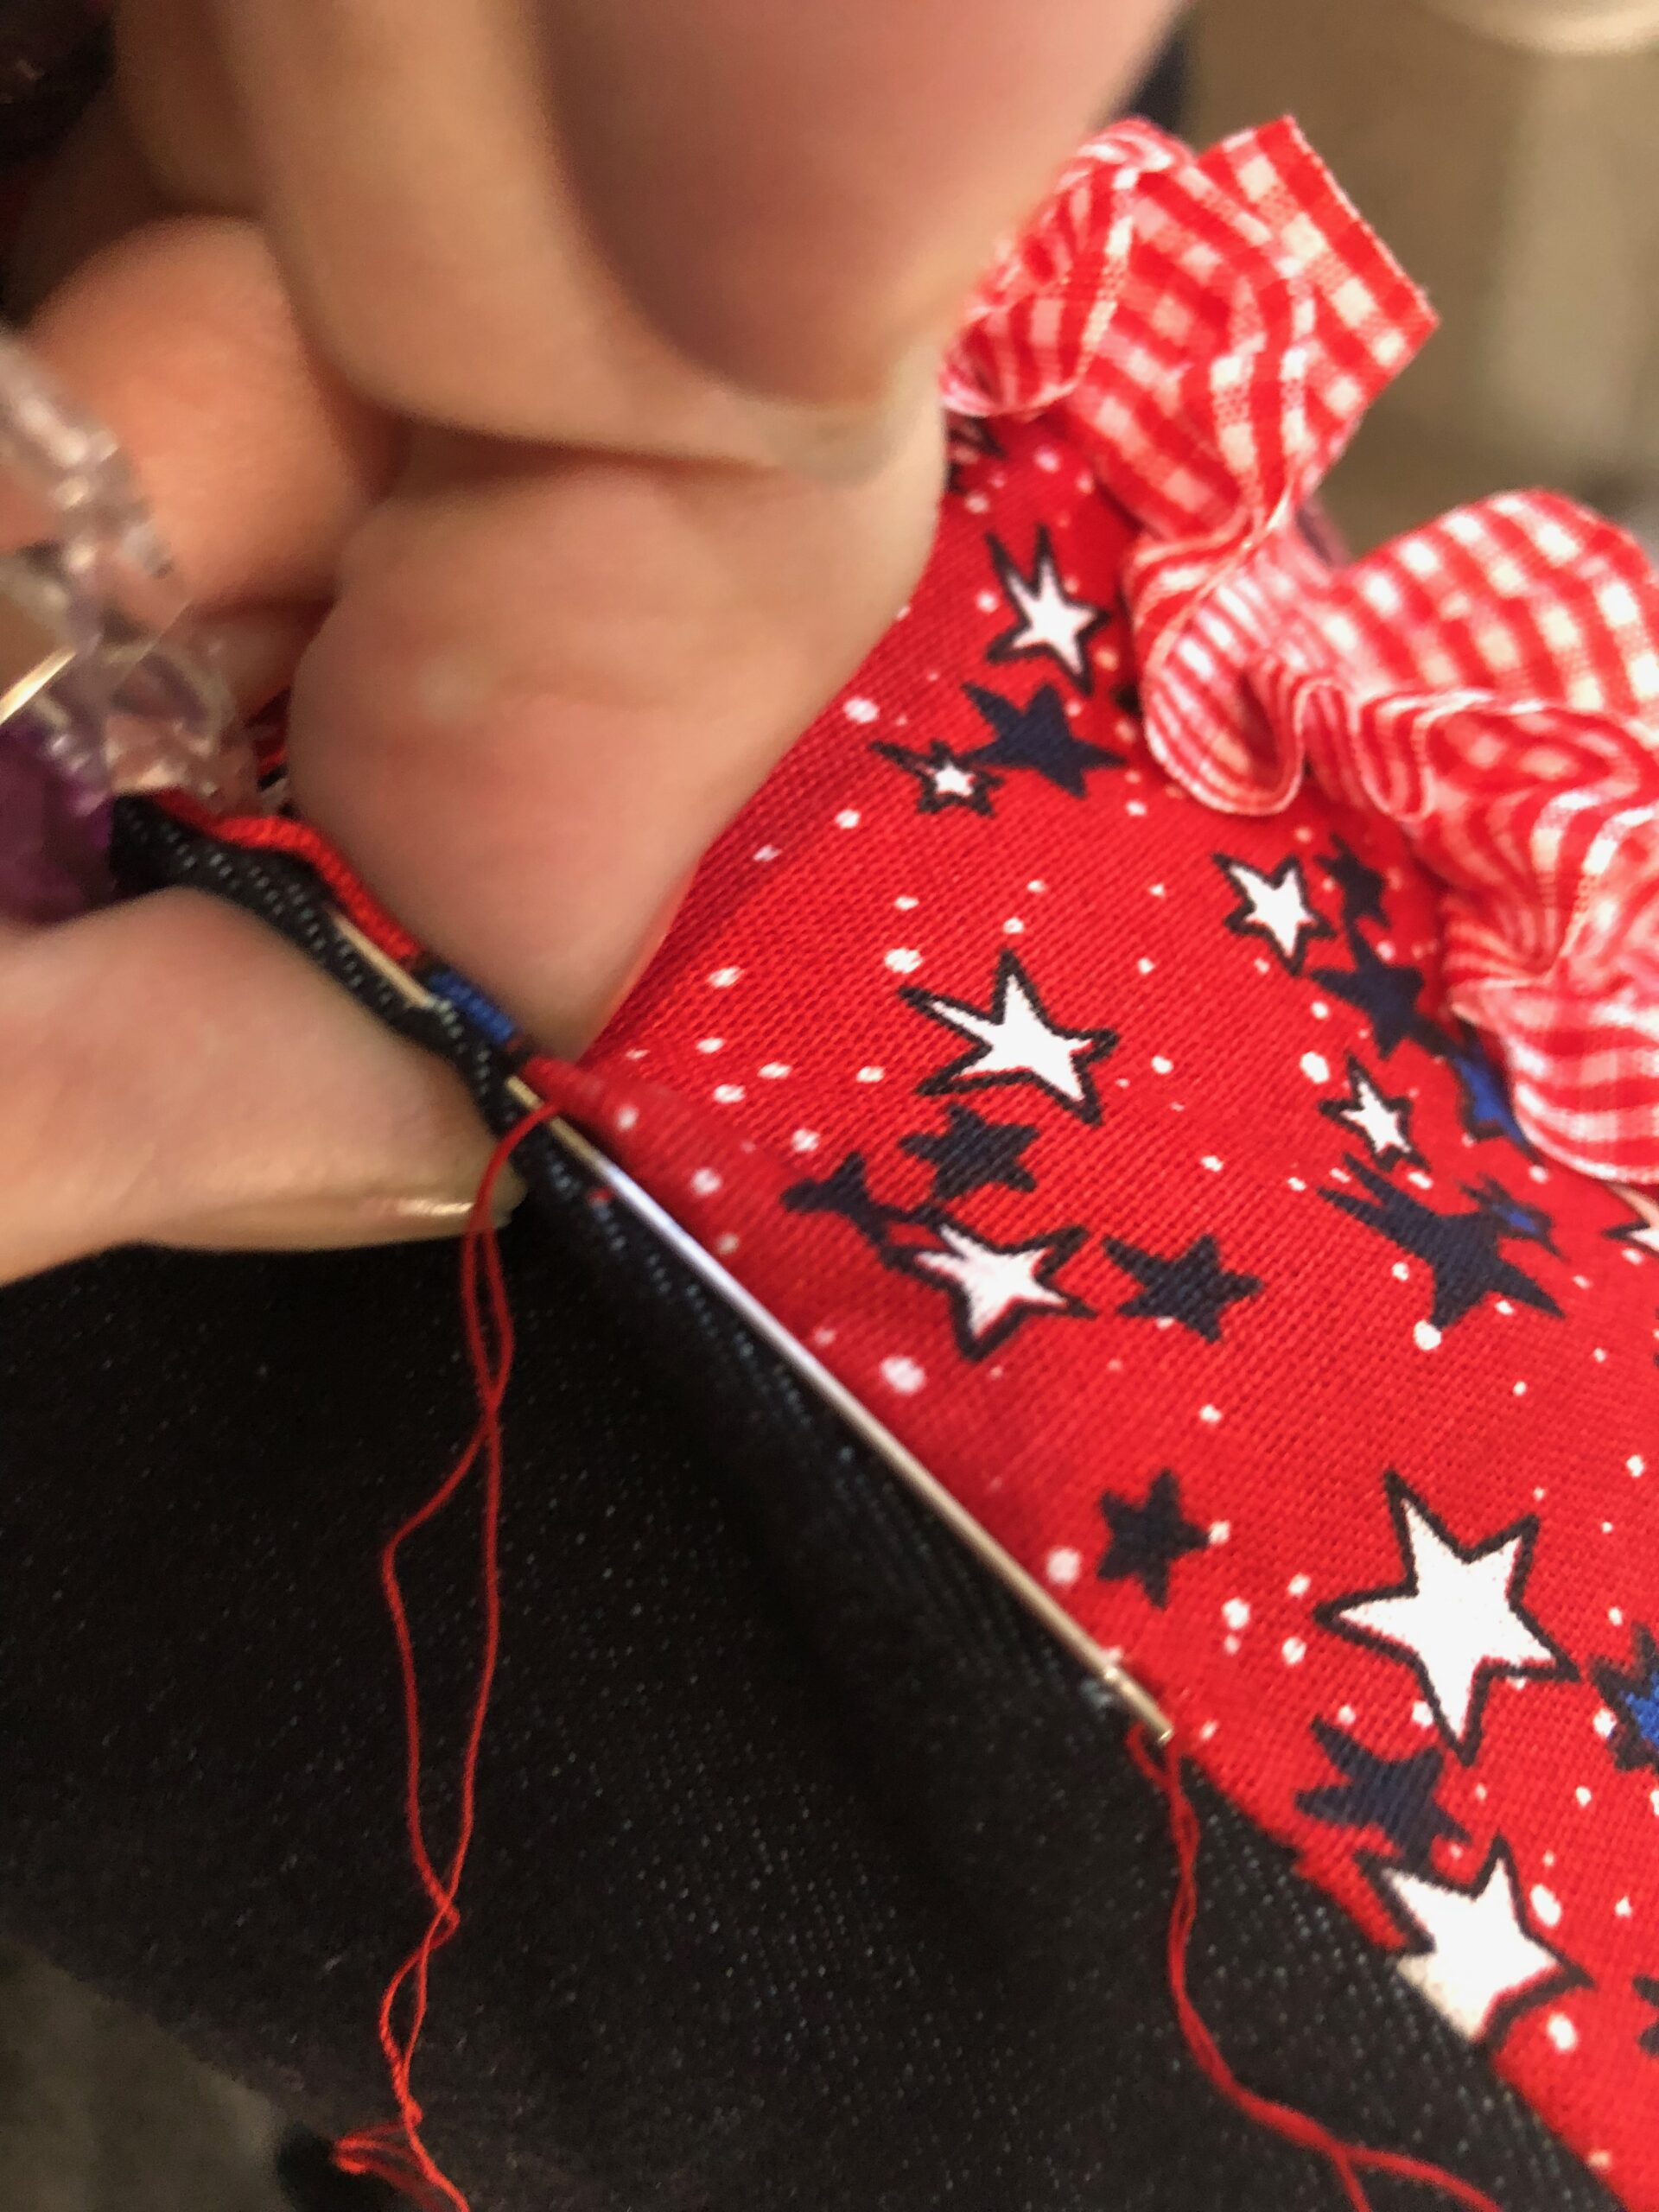
Next, insert the pillow form into through the opening. Clip the opening shut generously using Wonder Clips or pins.

Then, hand sew the opening shut.
Lastly, display your finished porch pillow on a chair or ledge to celebrate all things patriotic!