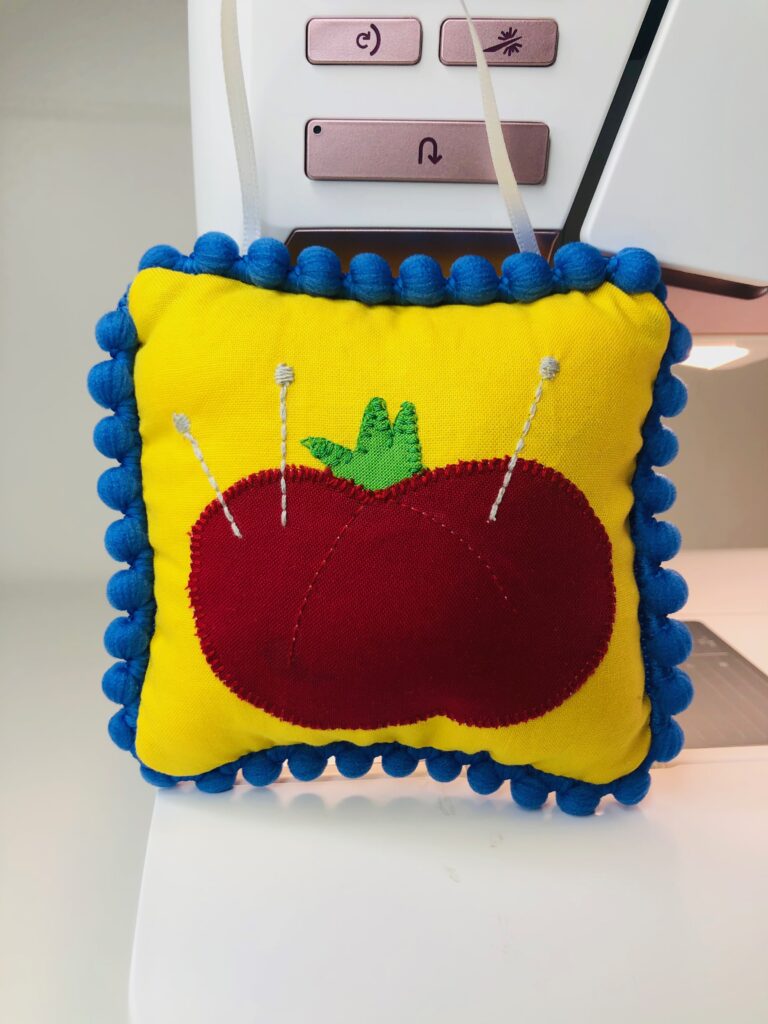
Sewing Ornament with Fabric Scraps
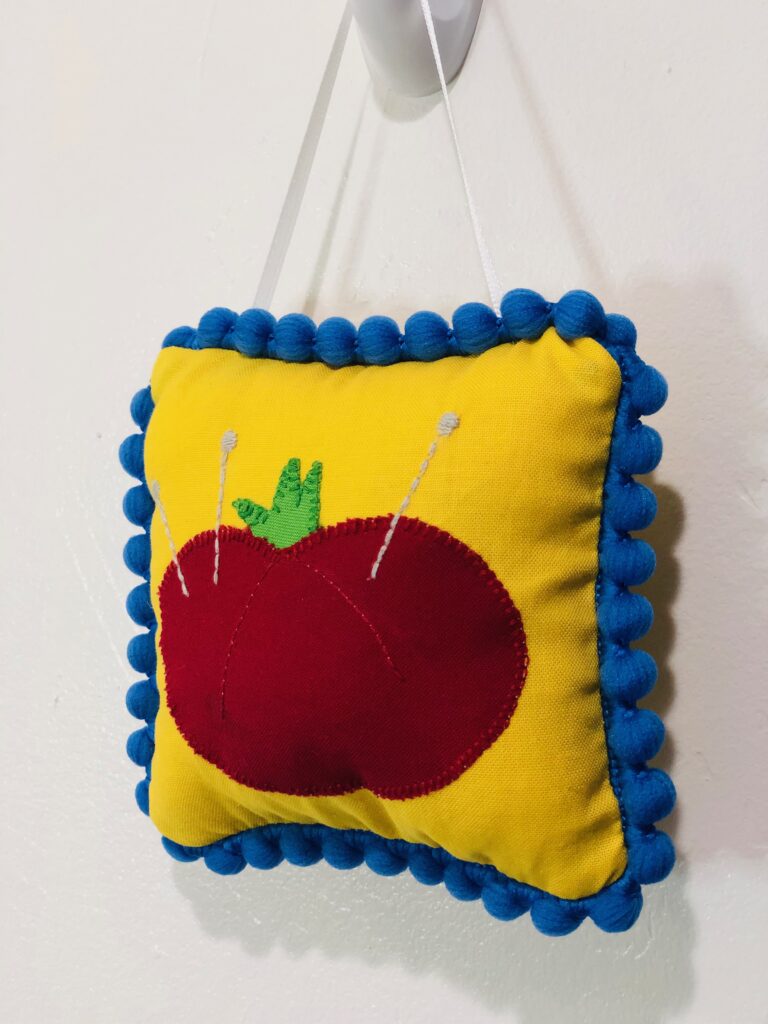
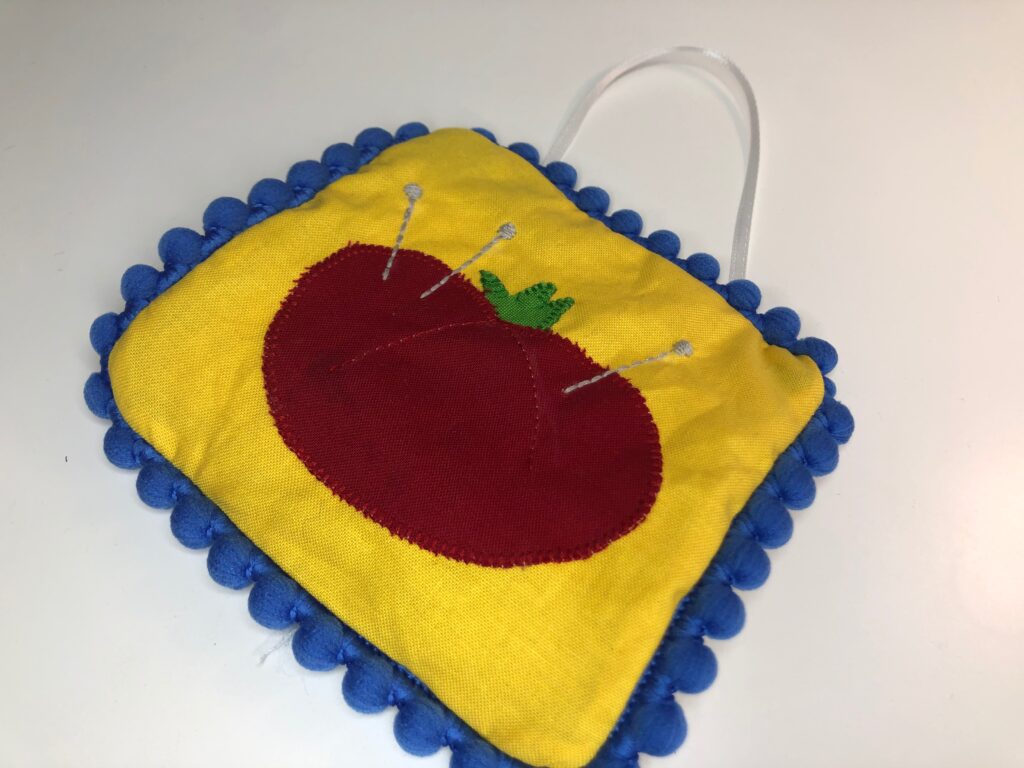
Dive into your scrap bin and make a fun sewing ornament to gift to friends and fill up your tree! The free Tomato Pincushion appliqué pattern is easily adaptable for a number of projects, and they look great sewn in Sulky 30 wt. Cotton Thread.
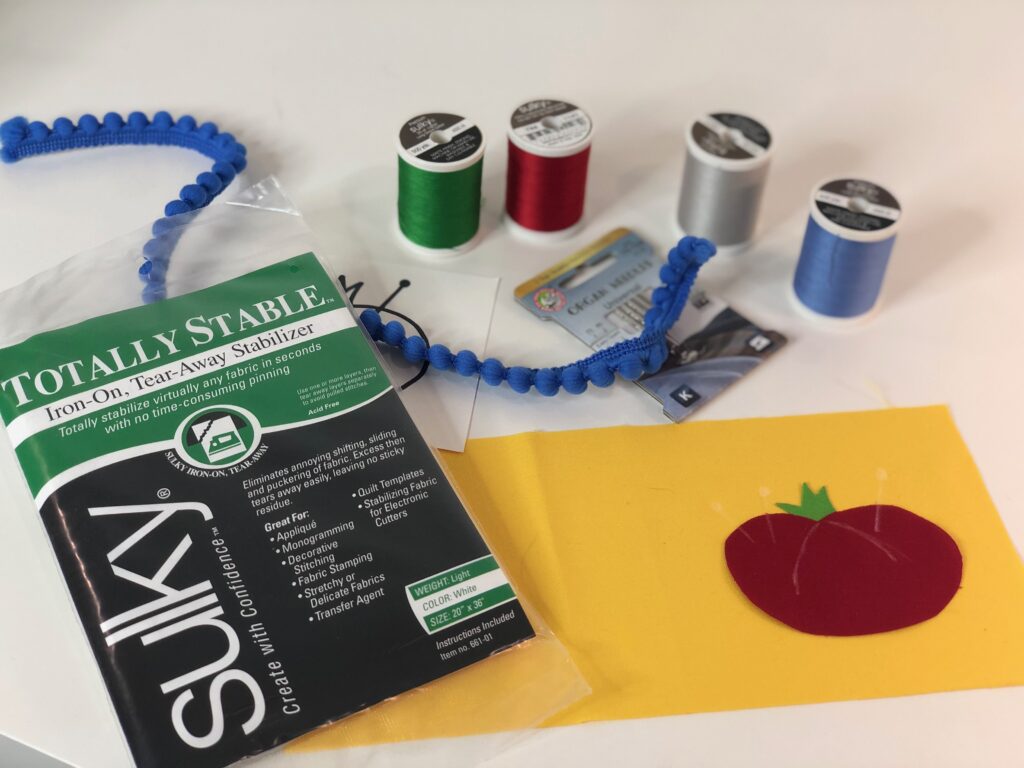
SUPPLIES
- Sulky 30 wt. Cotton Thread: True Red, Christmas Green & Silver Gray
- 50 wt. Cotton+Steel Thread by Sulky (to match base fabric)
- Sulky Bobbin Thread
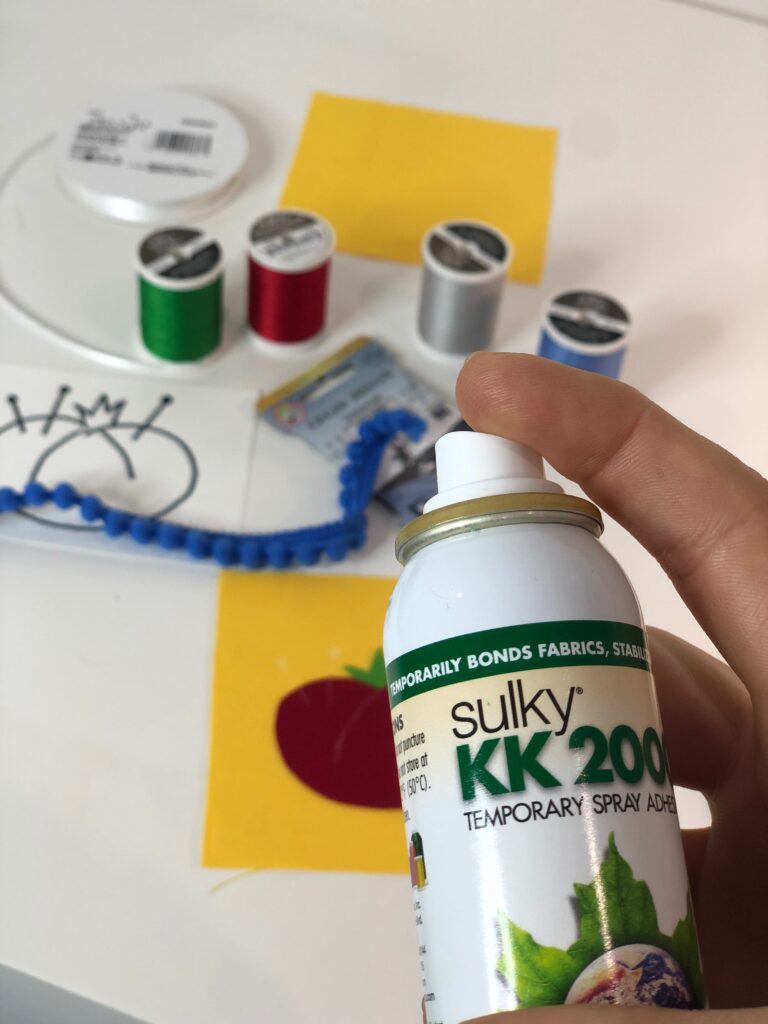
- KK 2000™ Temporary Spray Adhesive
- Size 90/14 Organ Universal Needle
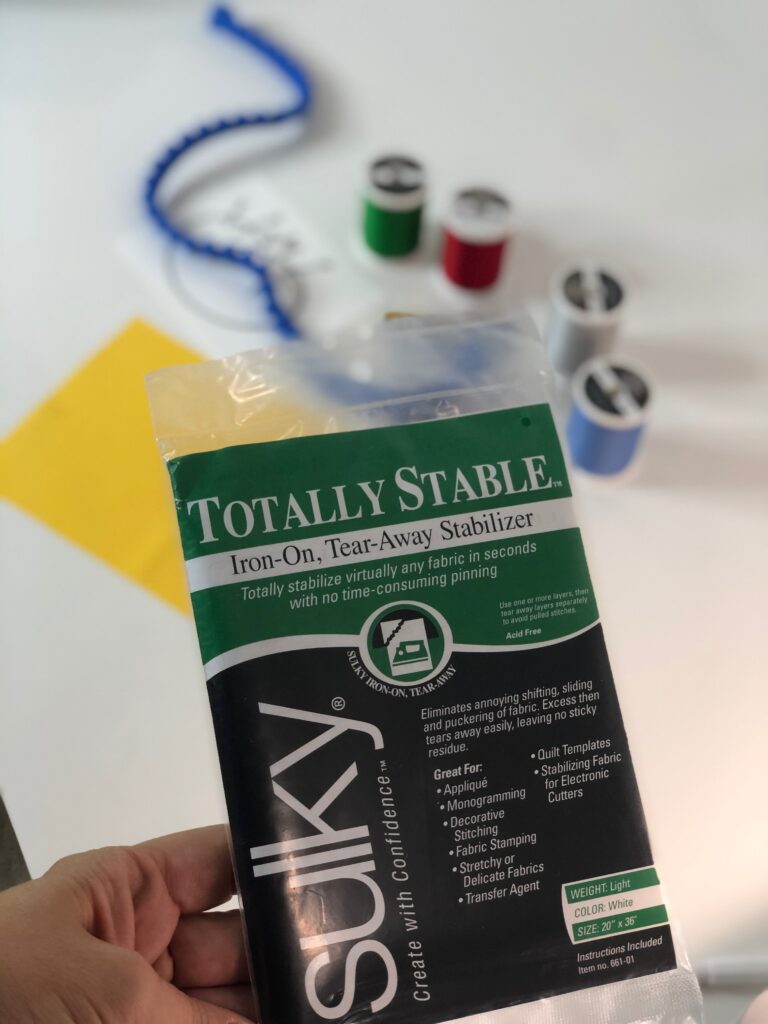
- Sulky Totally Stable® Stabilizer
- Clover Wonder Clips
- (2) 4 1/2″ squares of fabric (ornament base)
- Approximately 18″ of mini pom-pom trim
- 6″ length of double-sided 1/4″-wide ribbon
- Scrap of red fabric (tomato pincushion)
- Scrap of green fabric (tomato stem)
- Poly-Fil Polyester Fiberfill
- Hand sewing needle
- Removable marking pen or chalk
*We may earn a commission from items purchased through links on this page. Does not increase your cost in any way.
SEWING ORNAMENT APPLIQUÉ
Grab the Tomato Pincushion Appliqué pattern. From the red fabric, cut one tomato. From the green fabric, cut one tomato stem.
Fuse a square of Sulky Totally Stable to the wrong side of one base fabric square.
Center the appliqués onto the right side of that square, overlapping the stem lower edge with the tomato upper edge. Use KK 2000 Temporary Spray Adhesive to adhere the pieces to the fabric square.
Transfer the tomato markings and pin designs to the ornament front, using chalk or a removable marking pen.
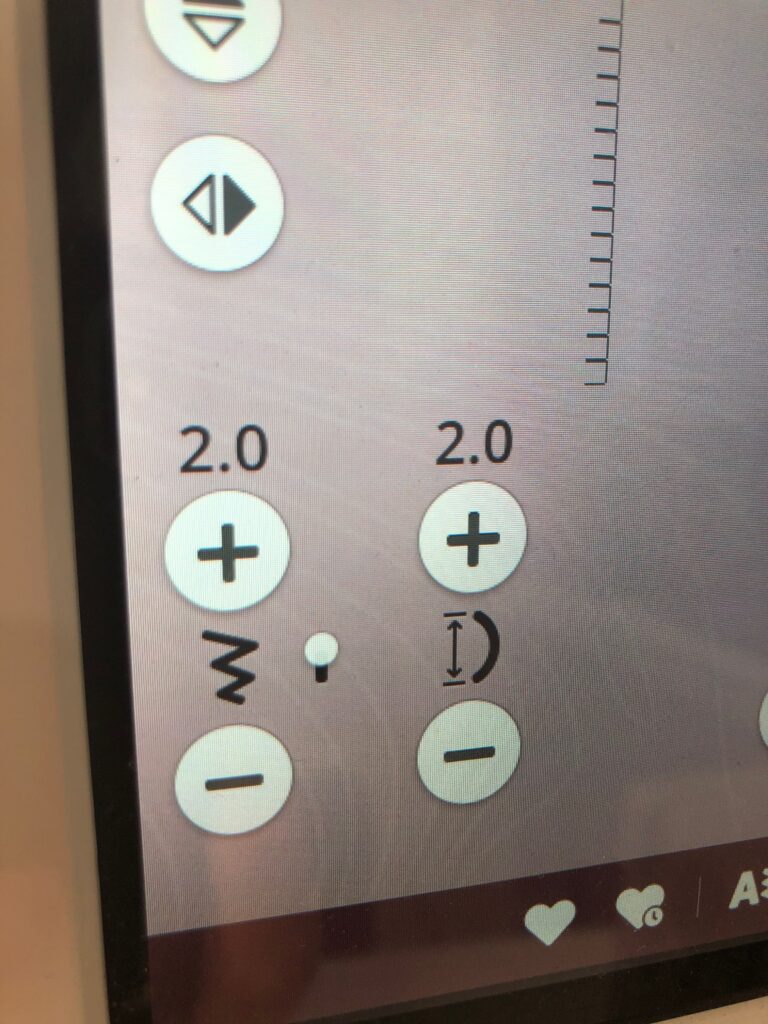
Choose an appliqué stitch from the available built-in stitches on your machine. The featured stitch is a 2mm wide, 2mm long blanket stitch.
DECORATIVE STITCHING
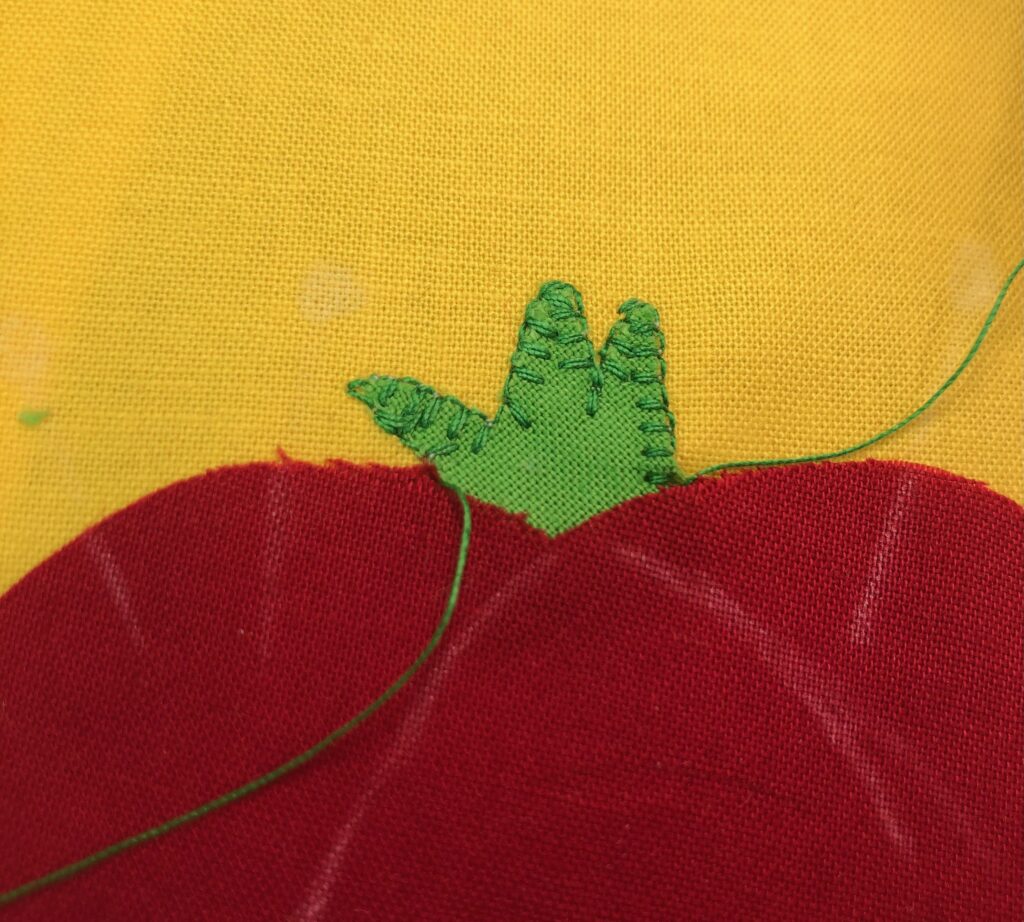
Stitch along the tomato stem using the Christmas Green Cotton Thread in the needle and Sulky Bobbin thread in the bobbin. Carefully watch the needle to place the horizontal stitch along the stem body and the vertical stitch along the stem edge. (You may find it useful to practice a few decorative stitches on scrap fabric until you find the one you like for the project elements.) Then, pull the thread tails through to the wrong side of the work and either weave through the stitching on the wrong side or tie off and trim.
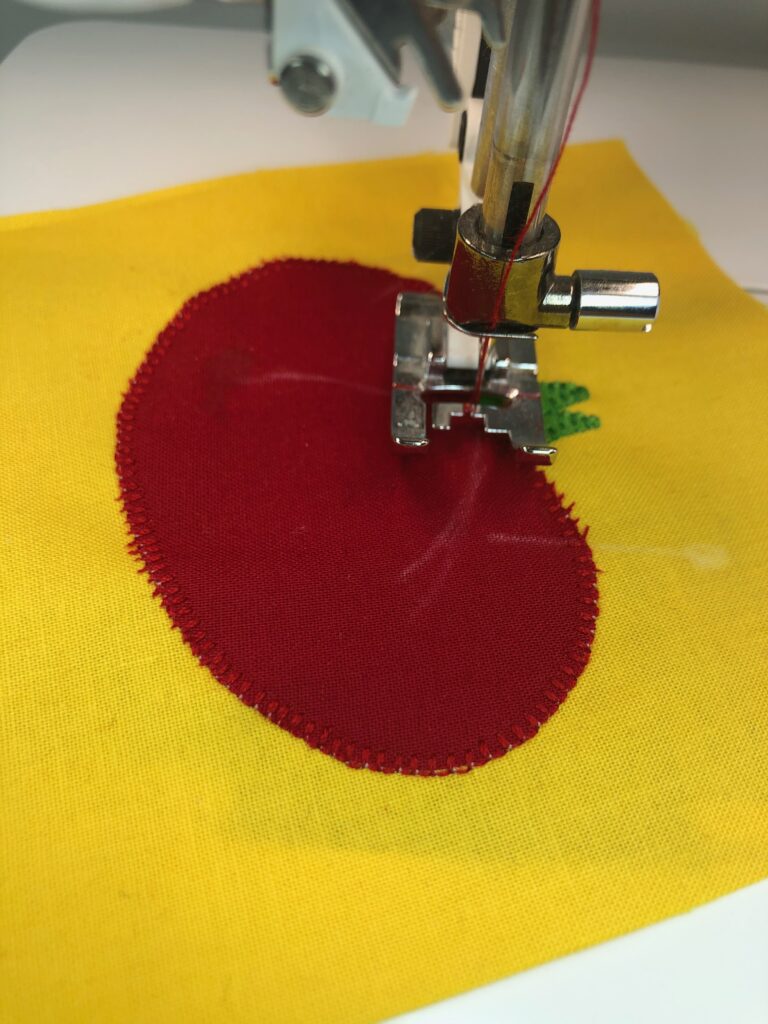
Repeat to appliqué the tomato onto the sewing ornament base fabric, using True Red 30 wt. Cotton Thread.
Then, trim any frayed fabric edges, being careful to not cut through the stitching.
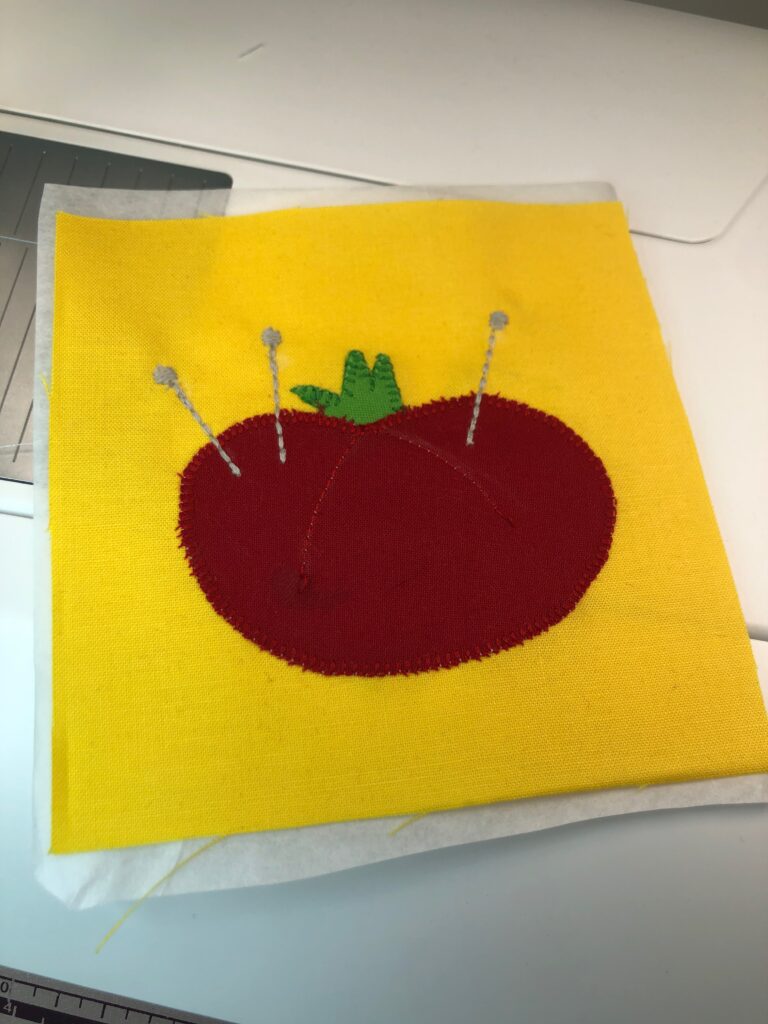
Choose a straight stitch or triple straight stitch on the sewing machine. Stitch the tomato details, following the marked lines.
Thread the needle with 30 wt. Silver Gray thread. Then, stitch along each pin straight line using a triple straight stitch. At the end, for the “ball” of each pin, select a circle-shaped stitch, if available. Stitch only one circle, and then tie off the thread along the backside of the work.
Leave the stabilizer intact, but trim it to match the fabric square.
ADDING FRINGE
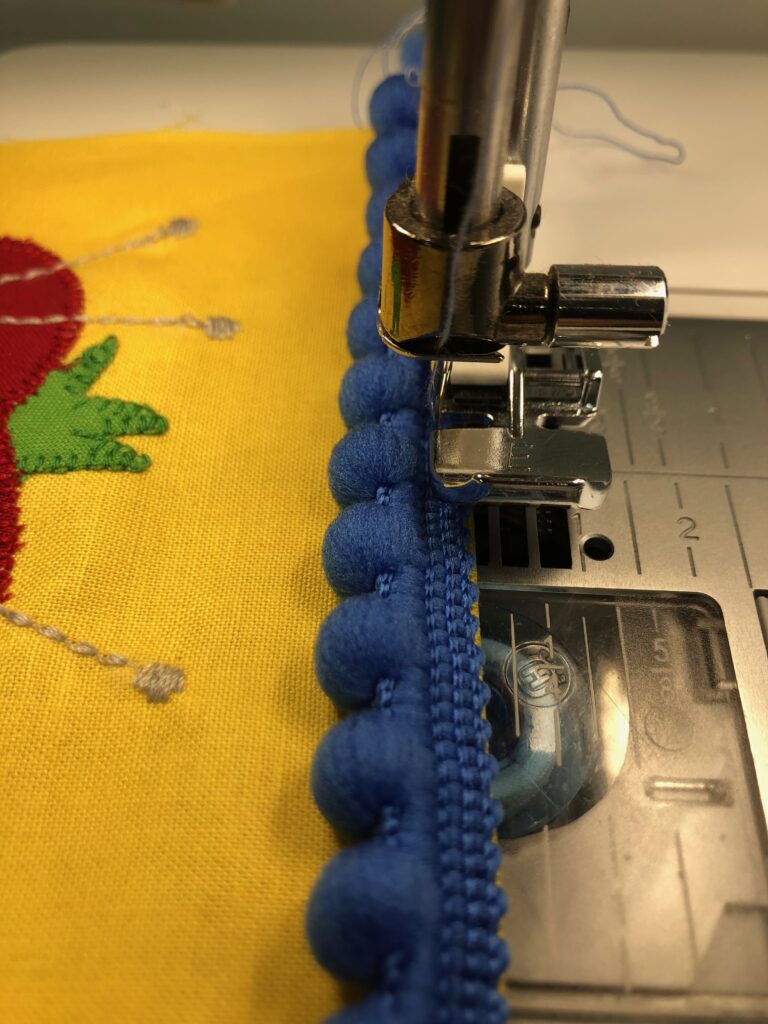
Then, place the trim right side down over the appliquéd fabric square. Next, set the machine to a basting stitch and install a zipper foot.
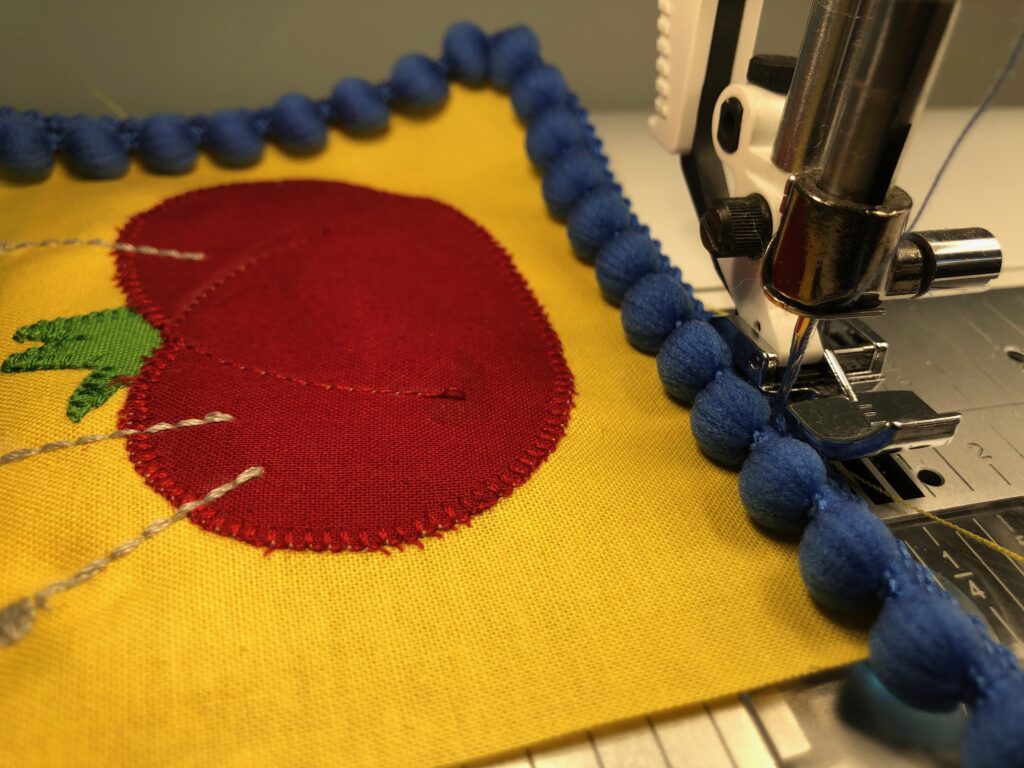
Lastly, baste the trim edge to the fabric edge.
At each corner, curve the trim to bypass the point. At the trim ends, overlap one or two pom-poms and place the ends beyond the fabric edge so they form a “v”.
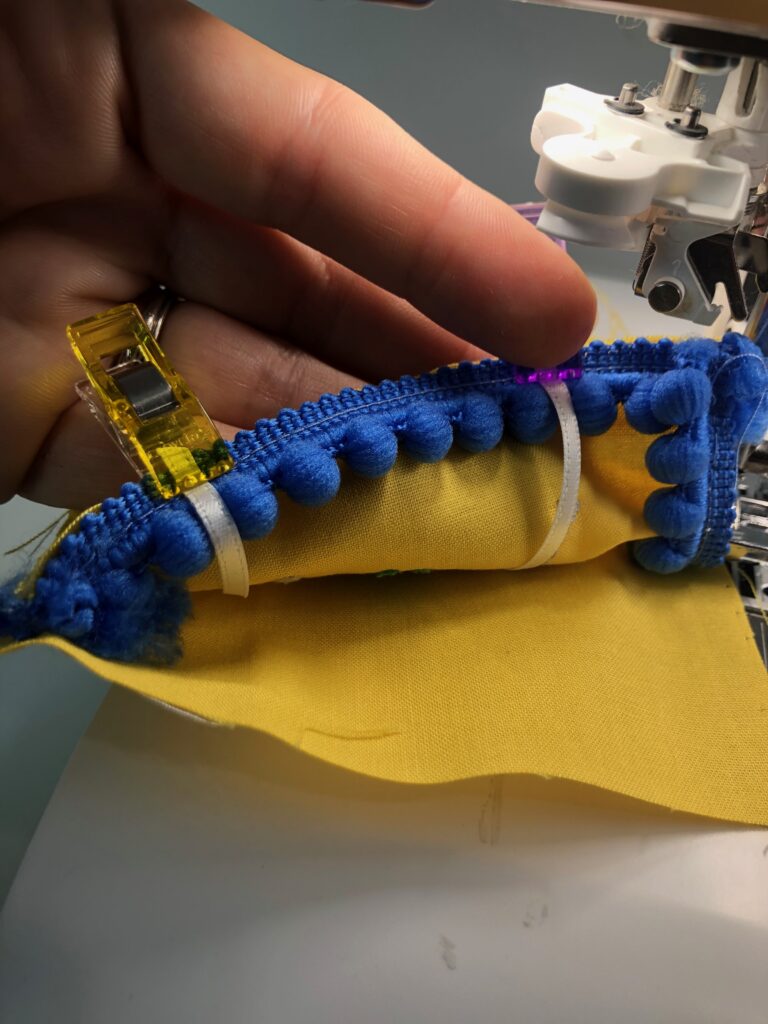
Place the ribbon ends along the fabric square upper edge to form a hanger.
Then, place the remaining fabric square right side down over the embellished fabric square. To help secure the trim without snagging it, use Clover Wonder Clips in lieu of pins.
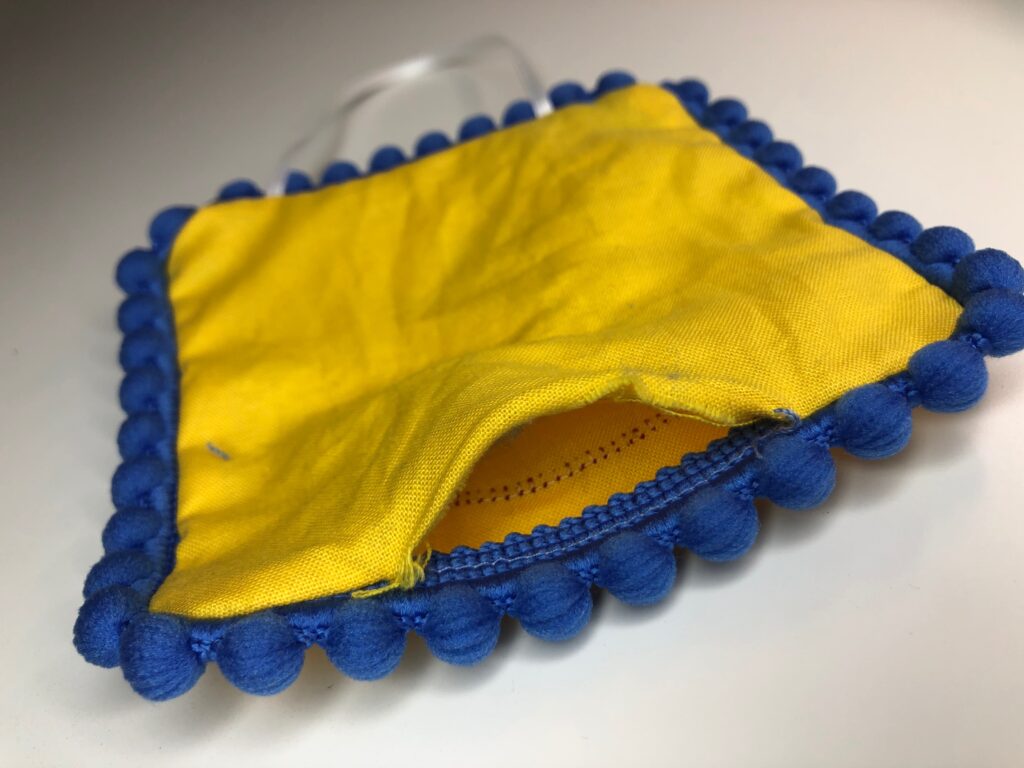
Set the machine for a 3mm stitch length. Then, stitch the fabric squares together, leaving an opening for turning along the ornament lower edge. Next, turn the sewing ornament right side out through the opening.
FINISHING
Gently press the ornament to get rid of the wrinkles.
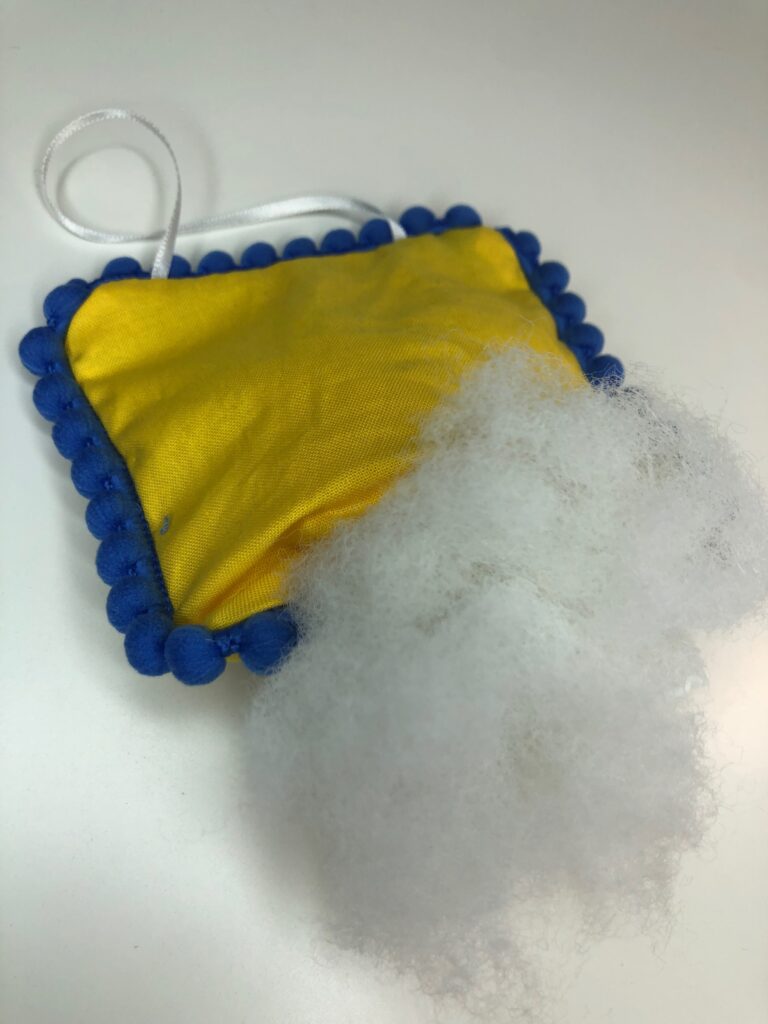
Lastly, stuff the ornament with the fiberfill to the desired plumpness.
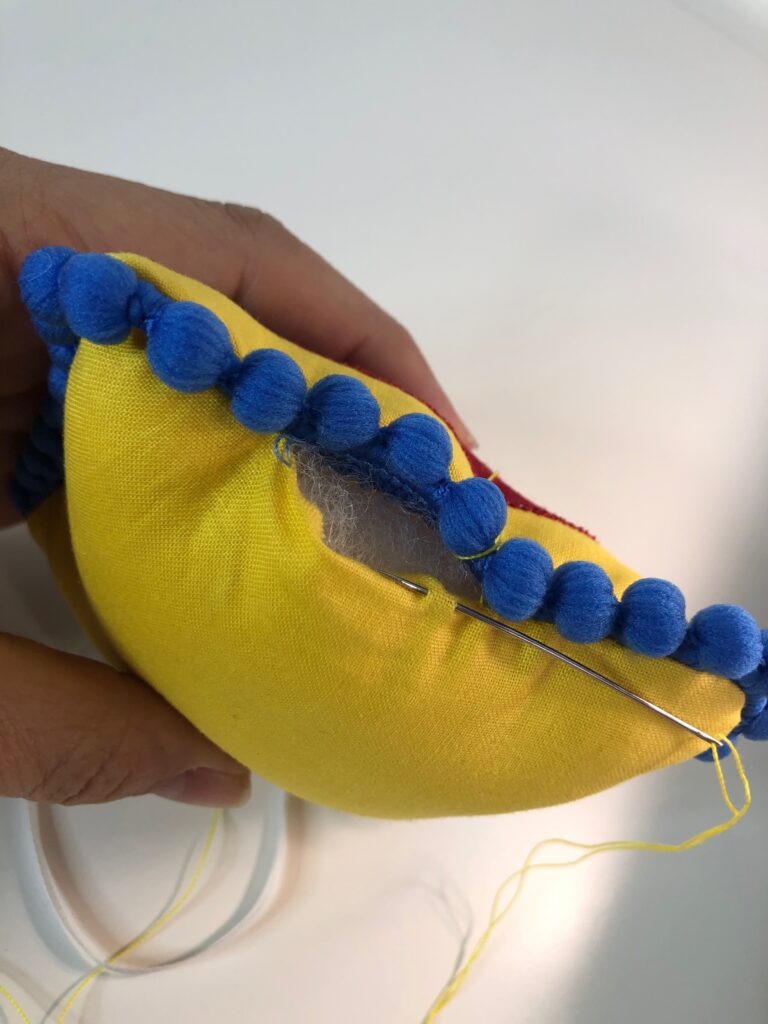
To finish, turn the opening seam allowance toward the wrong side and hand sew closed using a slipstitch or ladder stitch.
Then, hang the ornament where desired.
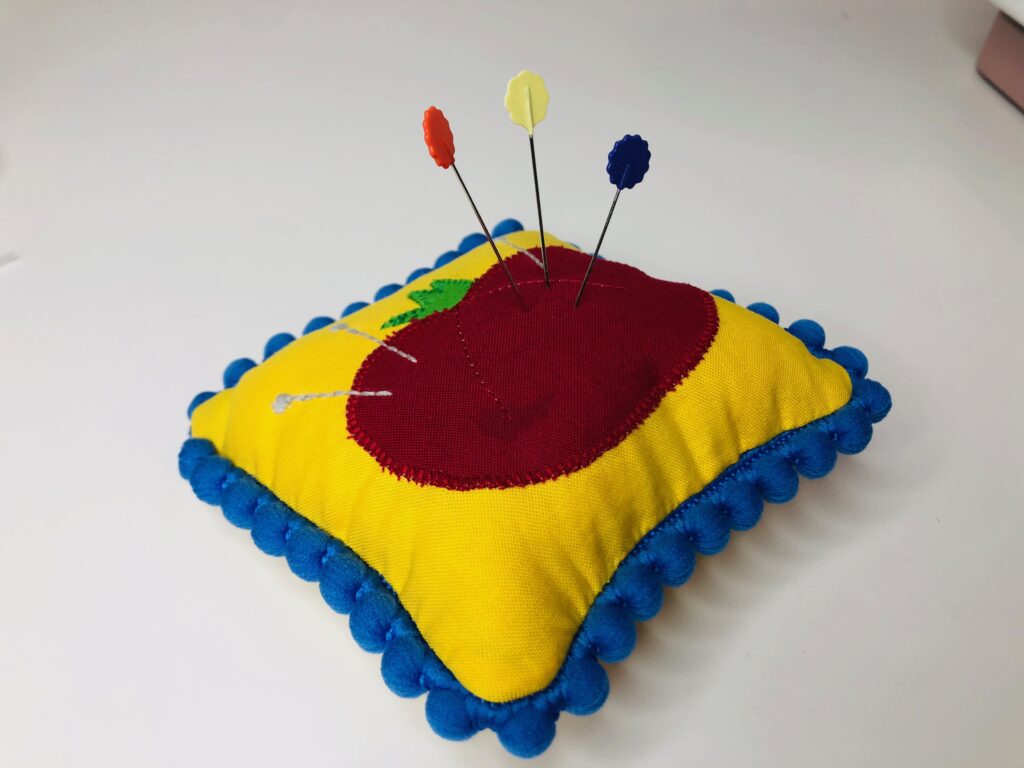
After the holidays, the little pillow can become a pincushion. Simply hang it near the sewing machine or place it on the sewing table.

