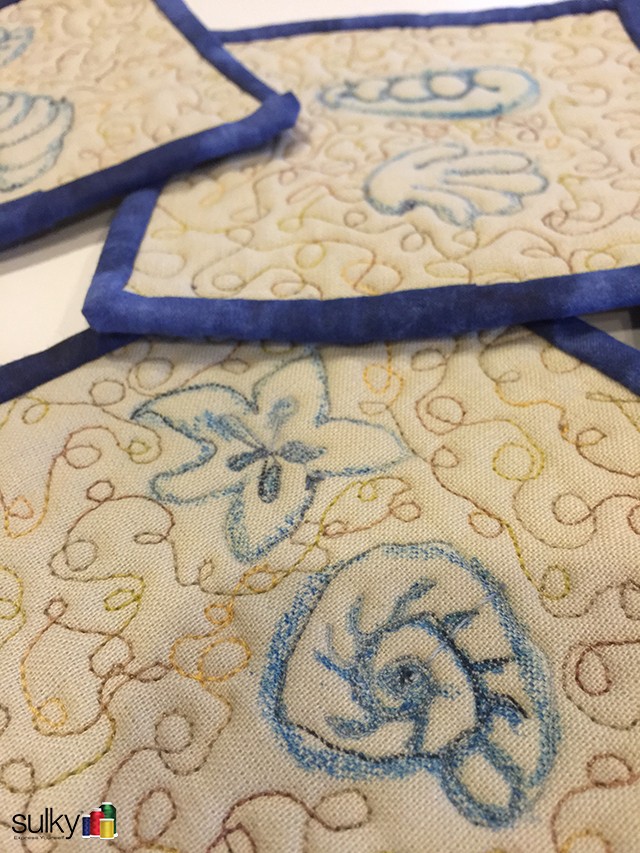
Yesterday, I did a tutorial on Sandpaper Crayon Art and I ended up with these lovely seashells.
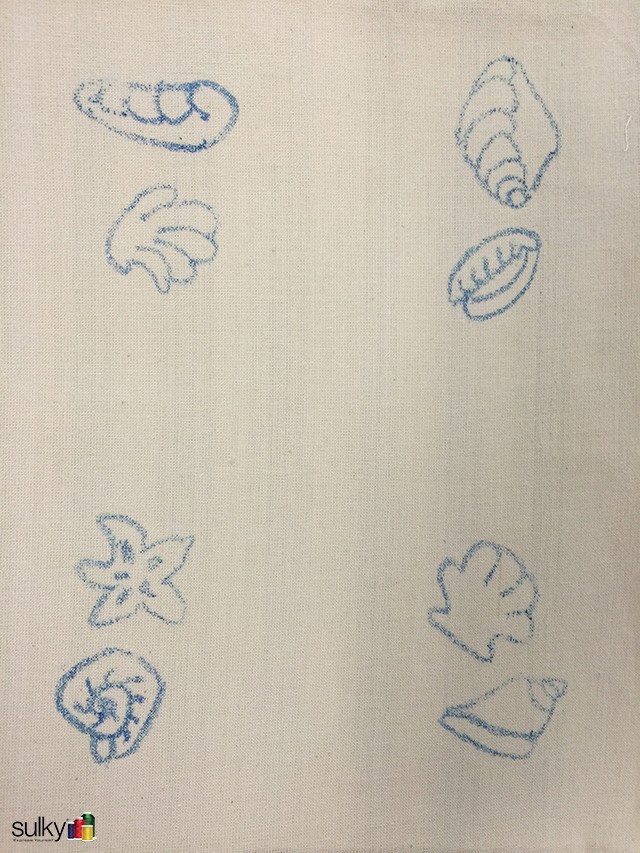
I decided they would be perfect coasters and a great way to practice my free-motion quilting skills!
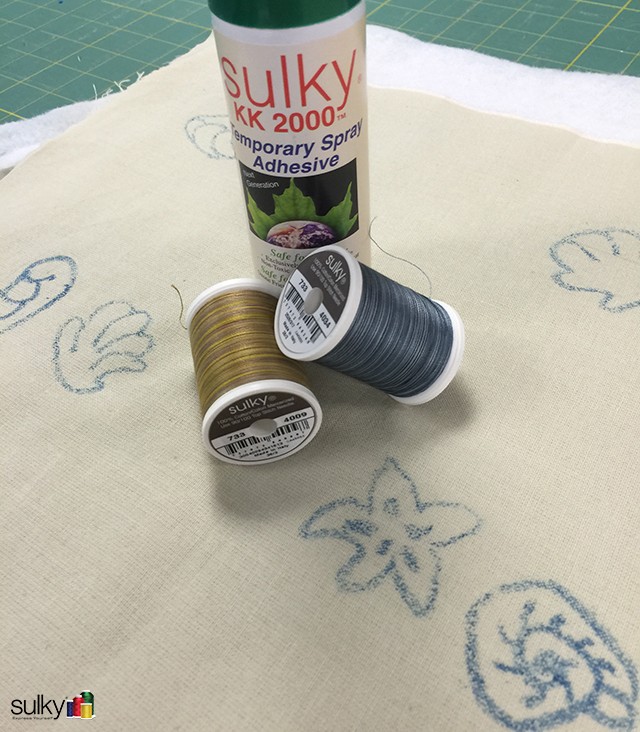
I took the fabric and layered it with batting and backing, securing everything together with Sulky KK 2000™ Temporary Spray Adhesive.
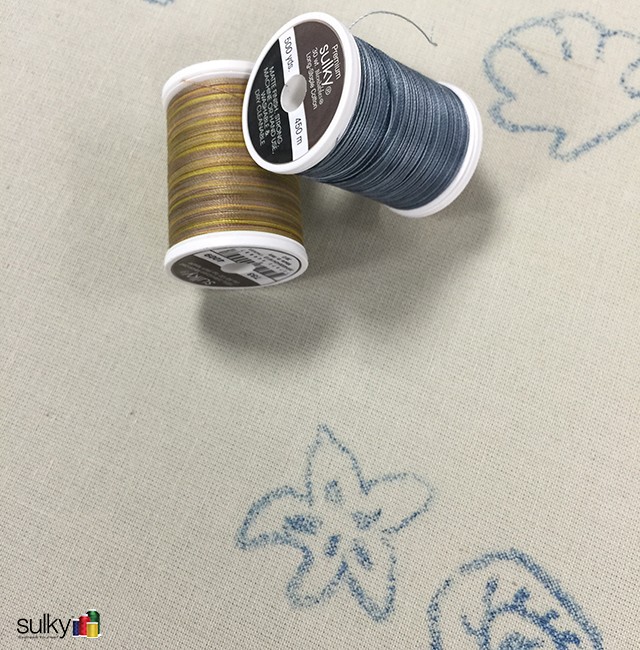
I also picked some thread colors. I used Sulky 30 wt. Cotton Blendables in Hyacinth #4079 for the shells and Foliage #4009 for the quilting. I used a Sulky prewound bobbin the the bobbin.
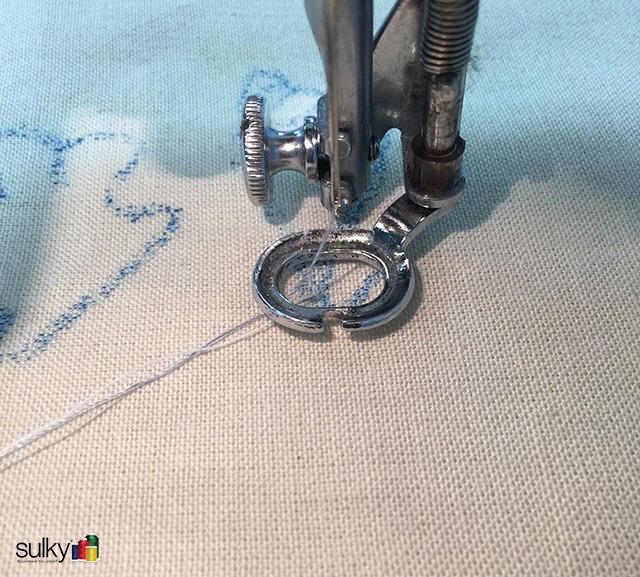 Set up your machine for free-motion. For my machine, I lower the feed dogs, put on the free-motion foot and use a Schmetz 100/16 topstitch needle. Most people can use a 90/14 Topstitch needle, but my machine is picky I guess! With Sulky 30 wt. Cotton thread, I don’t have to change the tension on my machine for free-motion, but many people do. Don’t be afraid to experiment with your tension. This is the perfect project for that kind of thing. Remember, practice truly does make perfect when it comes to sewing :).
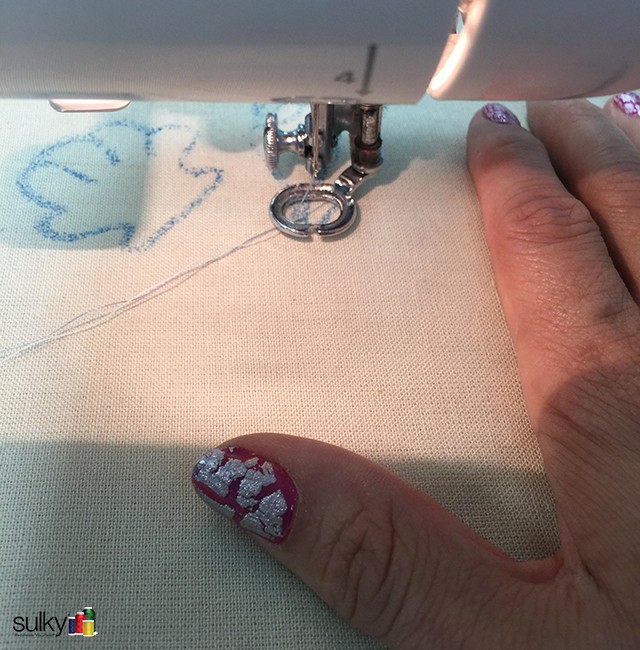
It is also a good idea to bring your bobbin thread up to the top and hold the two thread ends off to the side as you begin your free-motion quilting. Take a deep breath, lower your shoulders and as you exhale, and start sewing.
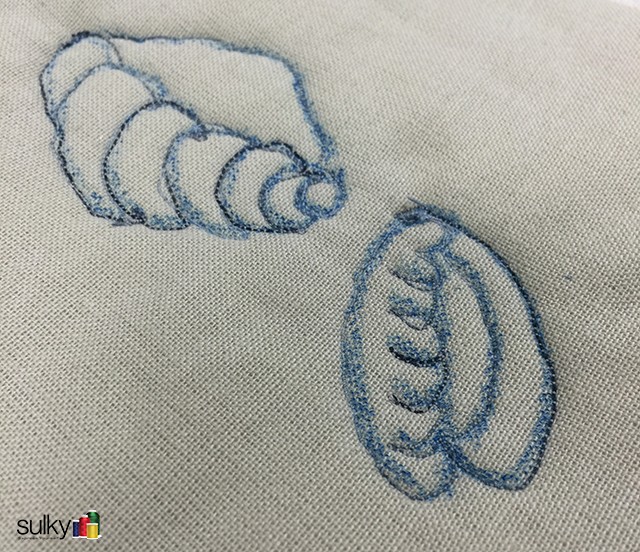
Use your crayon art seashells as your guide and just follow the lines.
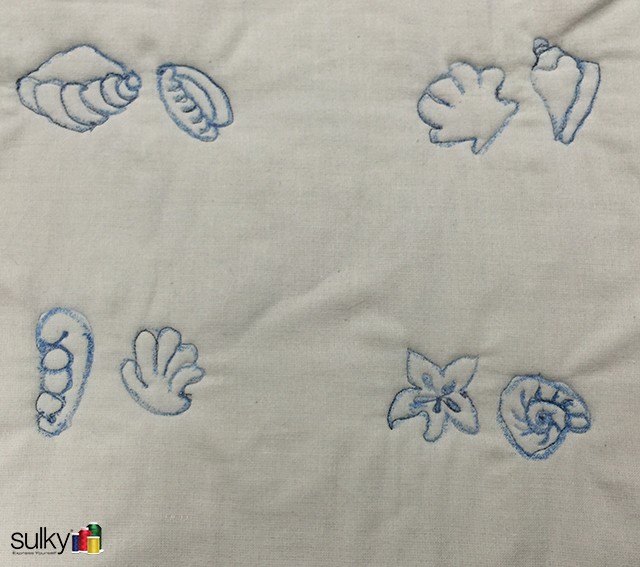
When you have all the shells done, switch your thread to the other color and start quilting! Start in the center and work out. Free-motion is all about getting into a rhythm and since the very center of this piece will not be used, I stay near the center until I feel good about the rhythm and movement and then sew closer to the shells.
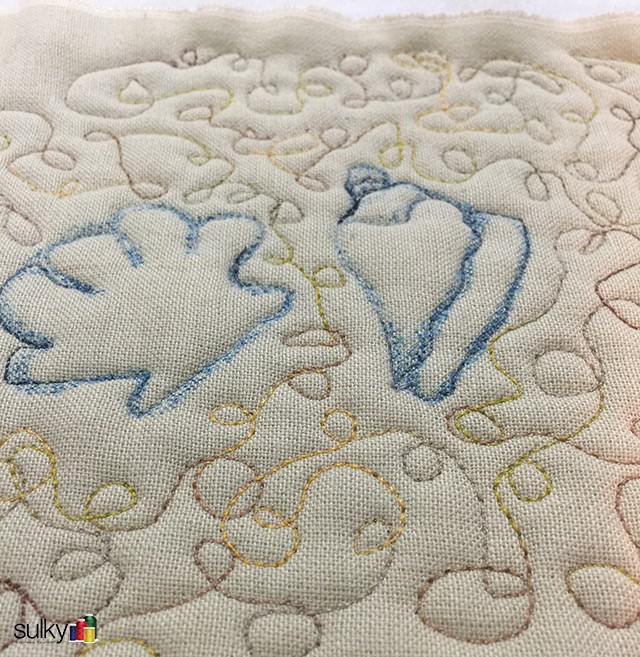
Since this is practice, I decided to practice doing little circles in my meander quilting. One of the reasons I love the Sulky Cotton Blendables thread is it even makes my practice quilting look okay! This certainly isn’t perfect, but I did feel like I had improved my skills by the time I finished quilting.
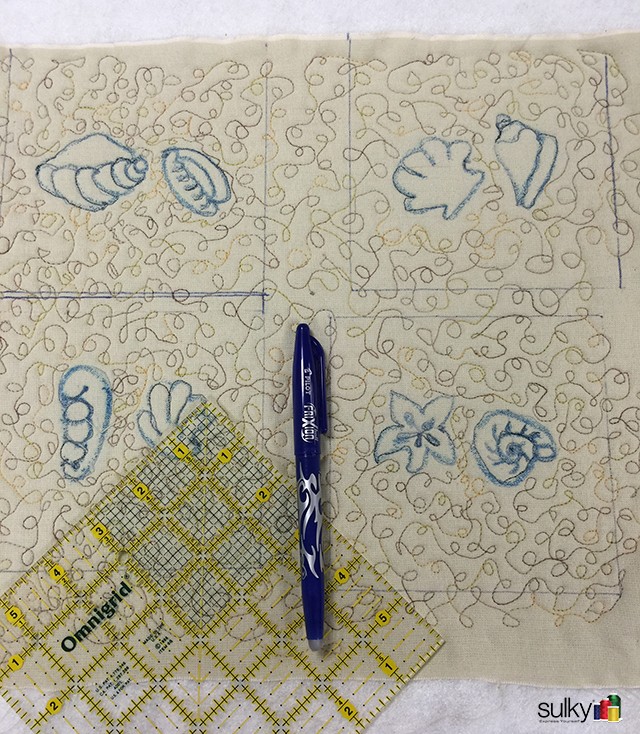
When I finished quilting, I sprayed the entire thing with starch and ironed it flat. If you haven’t already heat-set your crayon art, do that before spraying any starch on it. You also may want to use a scrap piece of muslin of the top just to be sure the crayon art doesn’t smear. Then I used a 6″ square ruler and a FriXion pen to draw a square around each of the shell pairs. I made my squares 5″ but you can make them any size you want. I cut the squares out and then bound the coasters with a dark blue batik that I had left in my stash from another project.
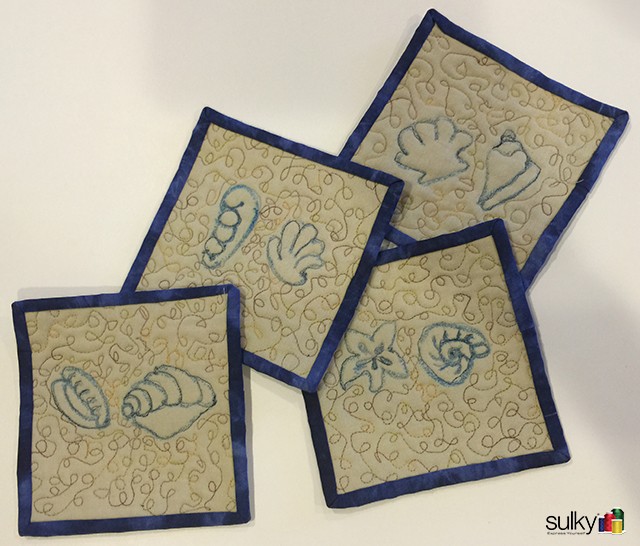
This entire project only took me a few hours including doing the Crayon Art, which you can see the tutorial for that here.
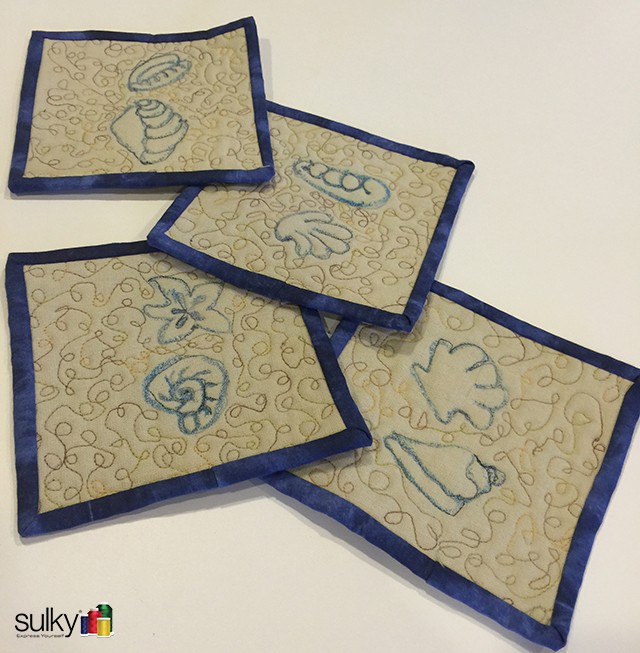
This is a great way to try something new, practice a new skill and have a fun gift for yourself or a friend when you finish. I hope you will try this. If you do, let me know in the comments below!

Happy Sewing!


The coasters turned out really cute and there’s nothing wrong with your meandering. That’s something I’ve never mastered.
Love the Coasters with this technique. Great Job Kelly!
Lee