Serger Snack Pouches
These serger snack pouches are quick projects that are made even quicker using a serger. The snack pouch edges are completely enclosed in the serger stitches, so there’s no need for finishing raw edges any other way. There’s no need to turn the project right side out or close any openings with hand sewing. To begin, look to this tutorial from Baby Lock, the “king” of sergers. But, take it a step further by using laminated cotton or oilcloth fabric for the lining. This makes for a snack pouch that’s easily cleaned by wiping with a disinfectant wipe or rinsed under water after use.
In the spirit of National Serger Month, we encourage you to try making one (or several) serger snack pouches and gift them filled with sweet goodies for an Easter or May Day treat.
This post contains affiliate links. We may make a commission if you purchase something through these links.
WHICH THREAD TO USE?
Contrary to popular belief, you don’t nee to use a “serger” thread in your serger. You can use so many thread types and weights in your serger, all resulting in different finishes and effects. For this project, use Sulky 40 wt. Poly Deco for a sheen that mimics the sheen of the laminated/coated fabric. Or use a heavier 30 wt. Cotton Thread for a bolder stitch that’s equally as strong. I prefer using King or Jumbo spools in the serger so the thread lasts a long time. Because the loopers use more thread than the needles, you may prefer to use Snap Spools in the needles and King spools in the loopers. Match the spool cap size to the thread spool size so the thread winds off properly into the machine paths.
For a different look, try using a solid color thread in the needles and a Blendables® Thread or contrasting color in the loopers. Since the stitches are seen from the project right side, there’s an opportunity for fun embellishment!
SERGER SNACK POUCH NOTES
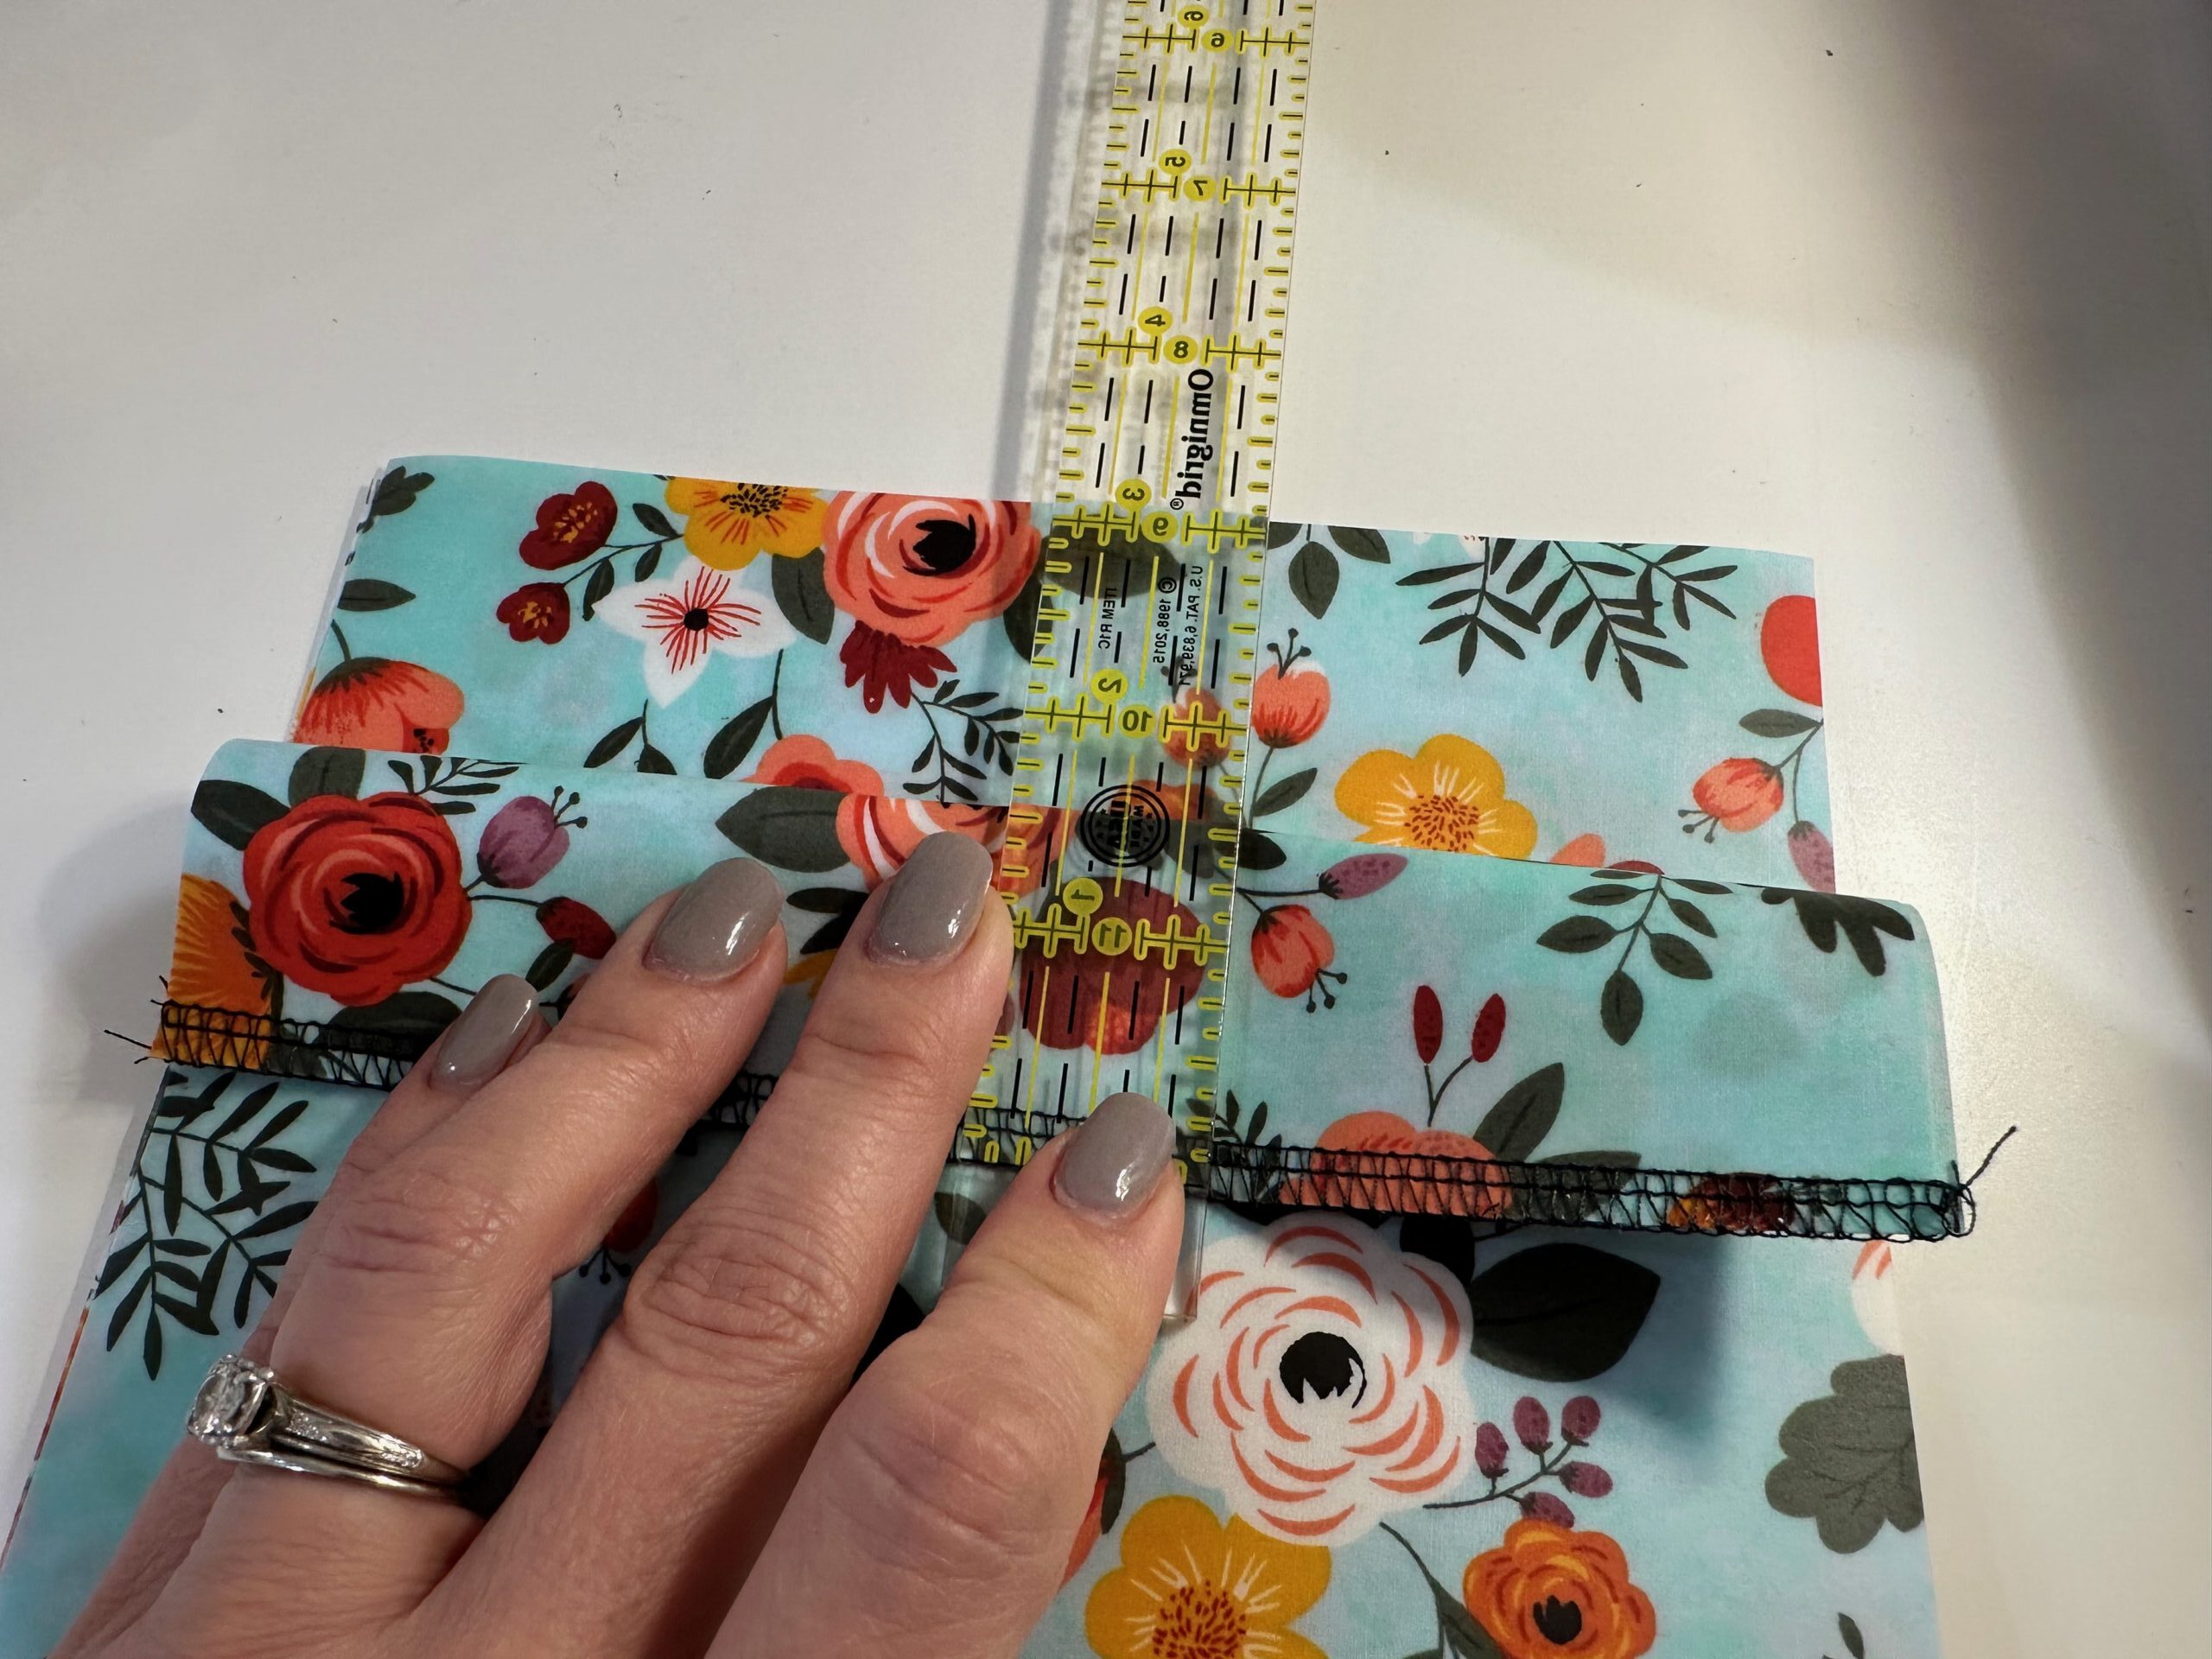
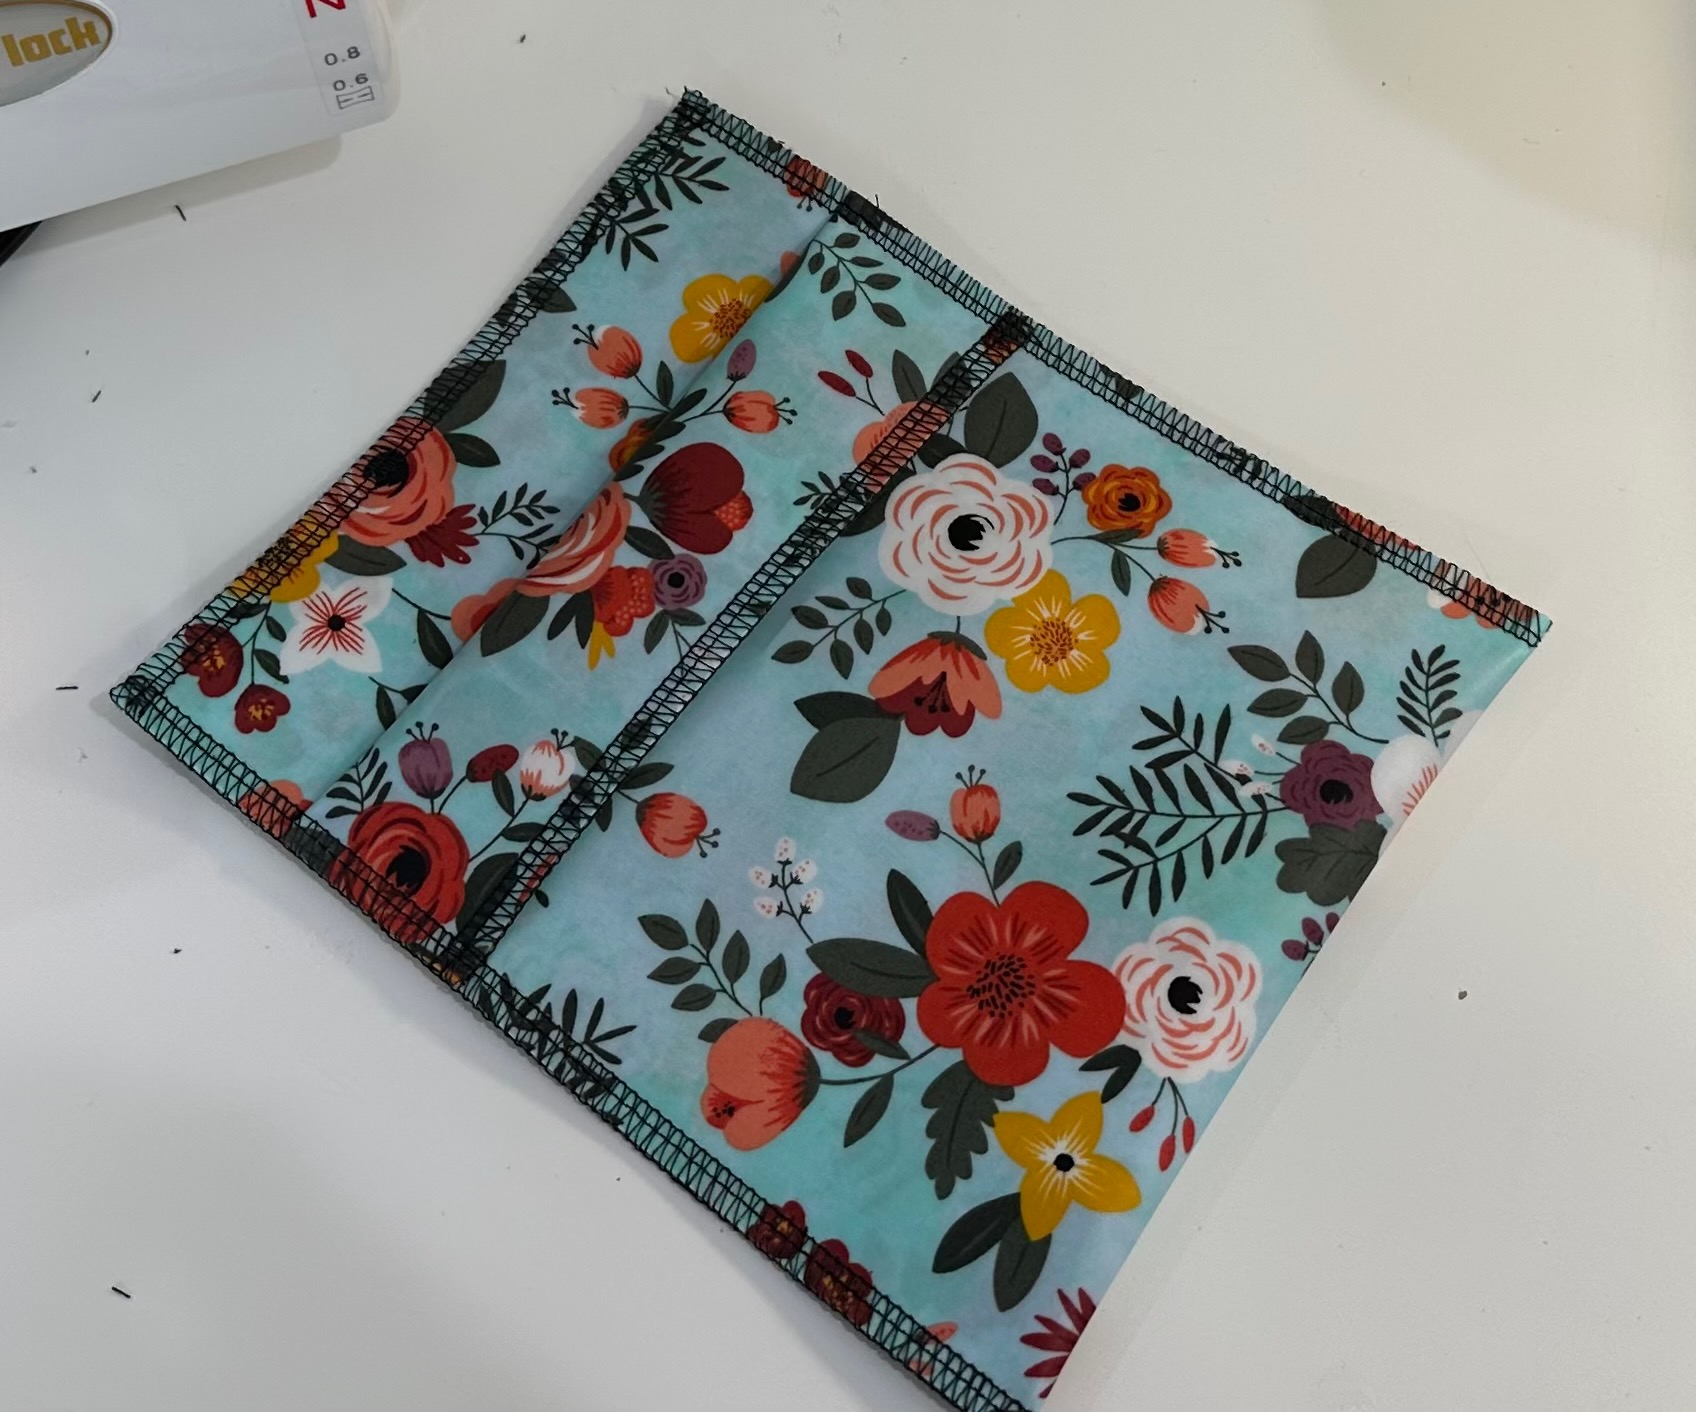
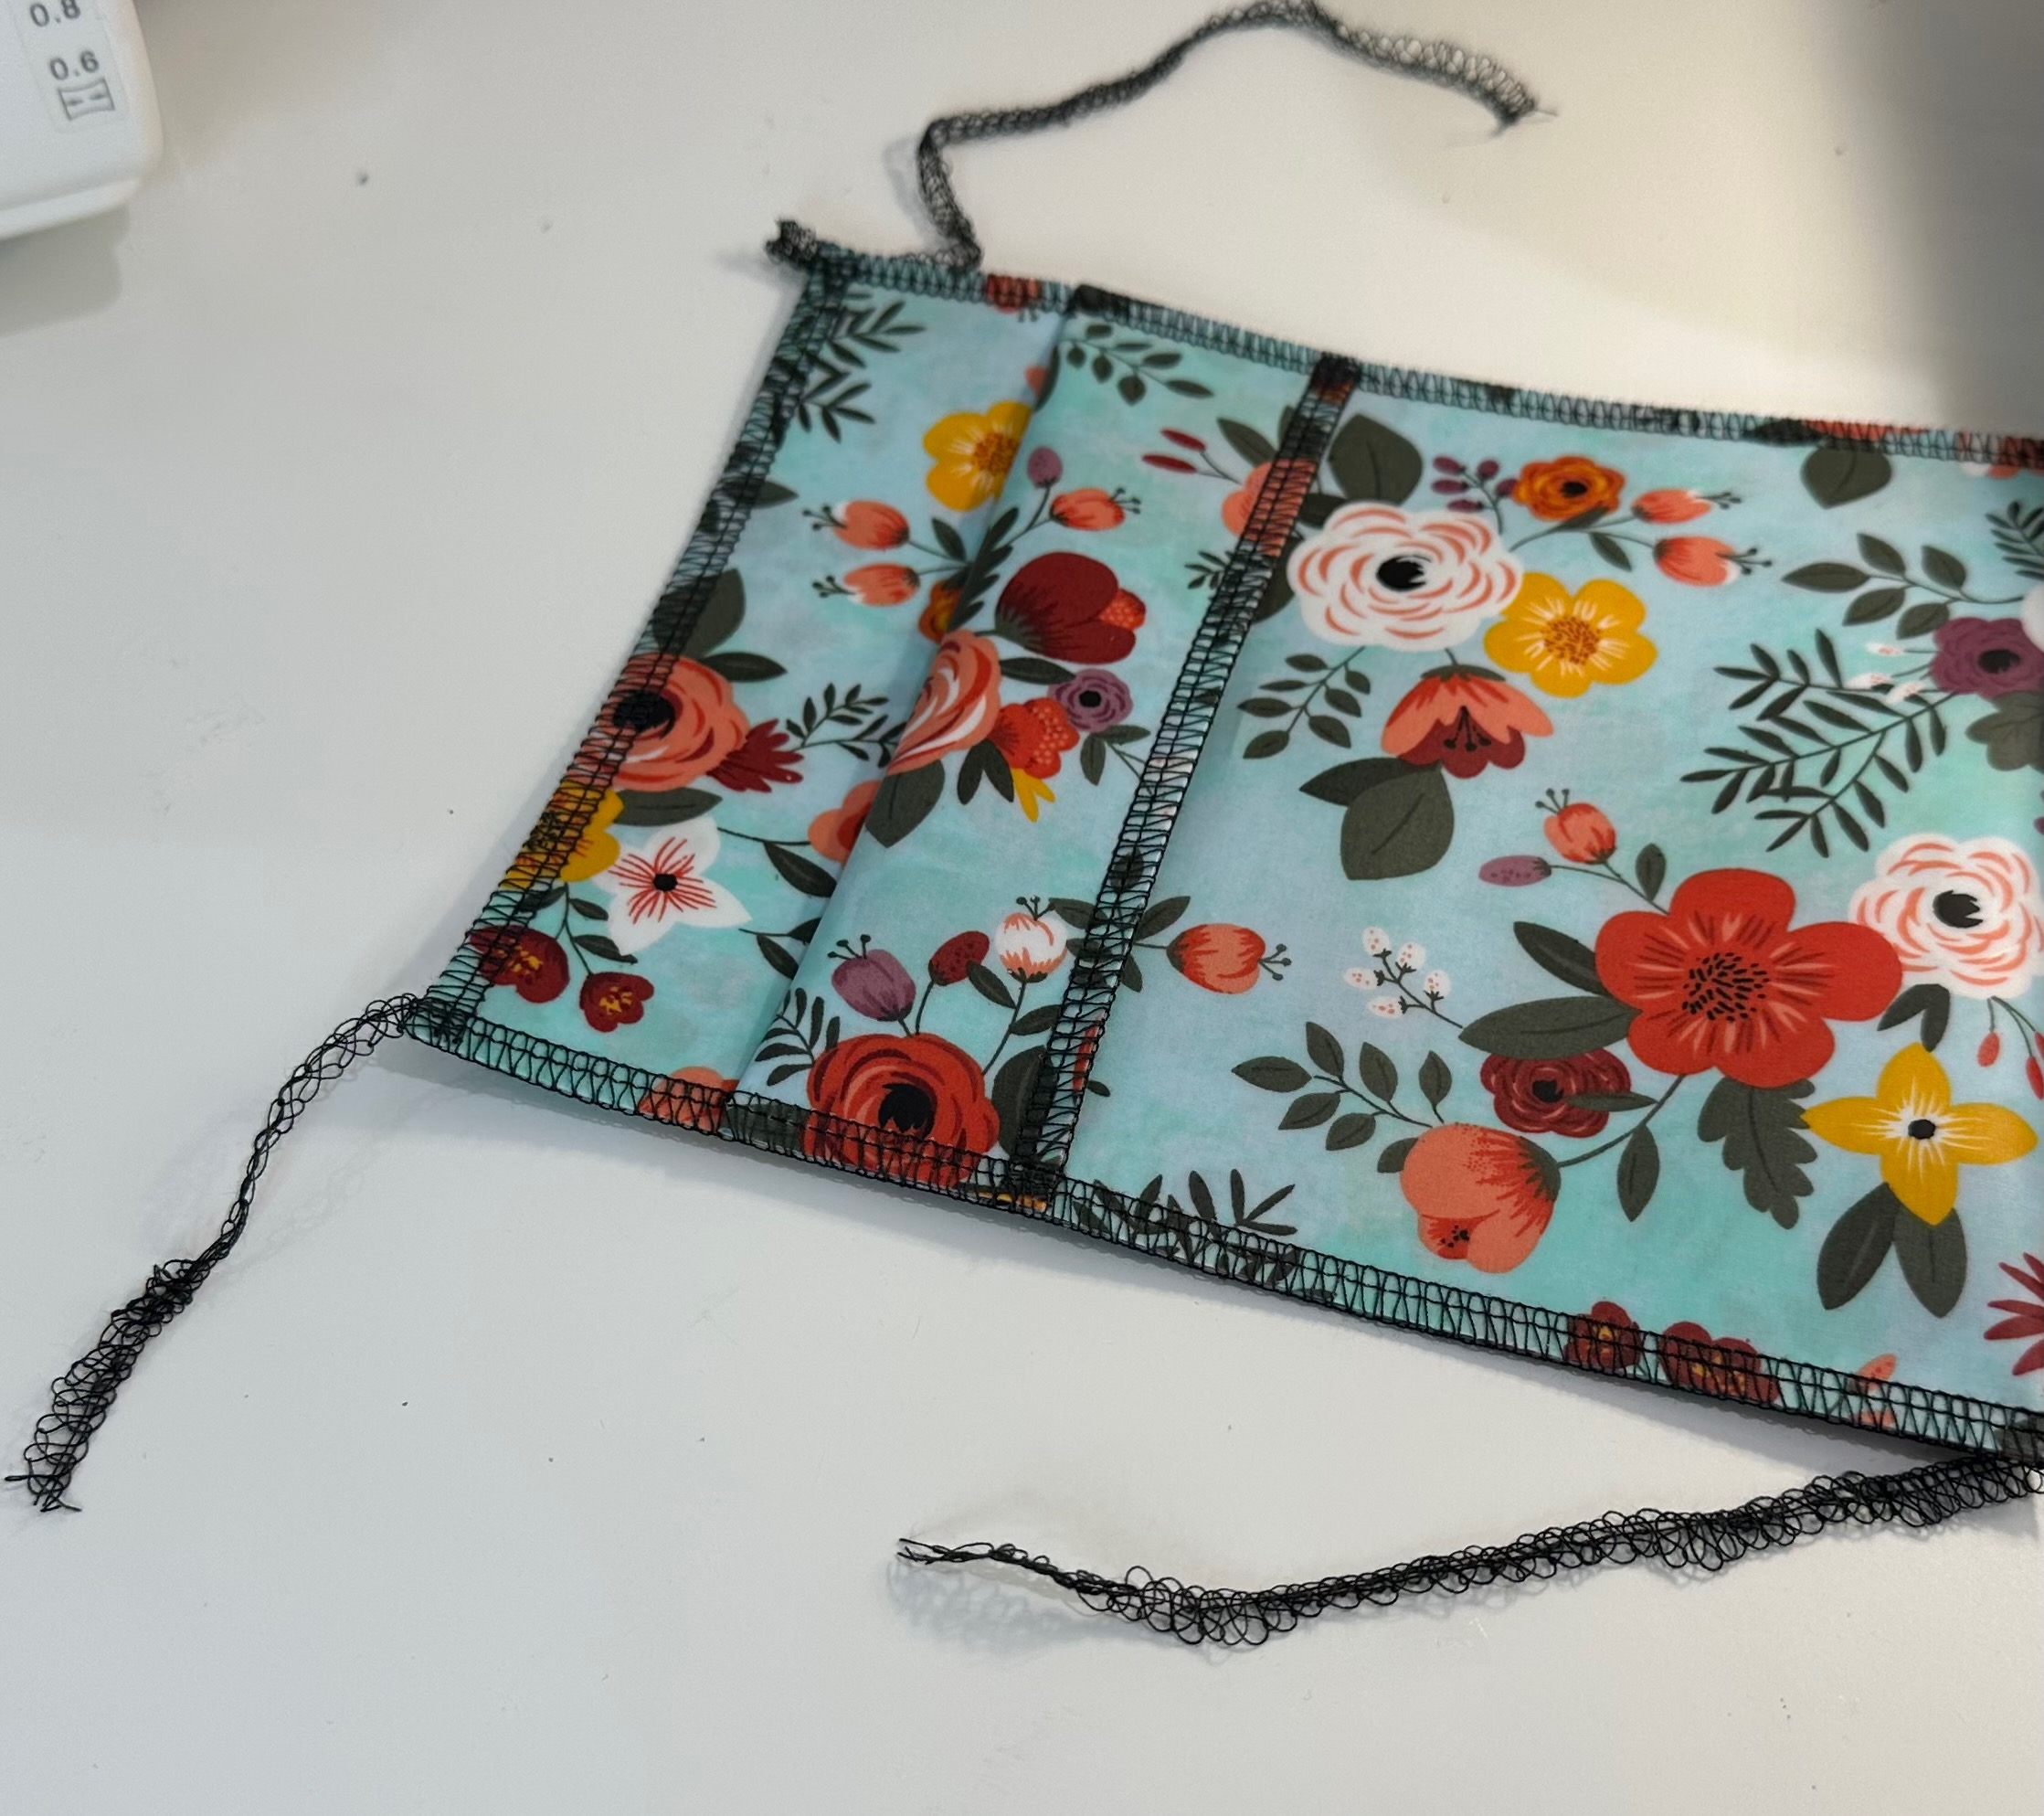
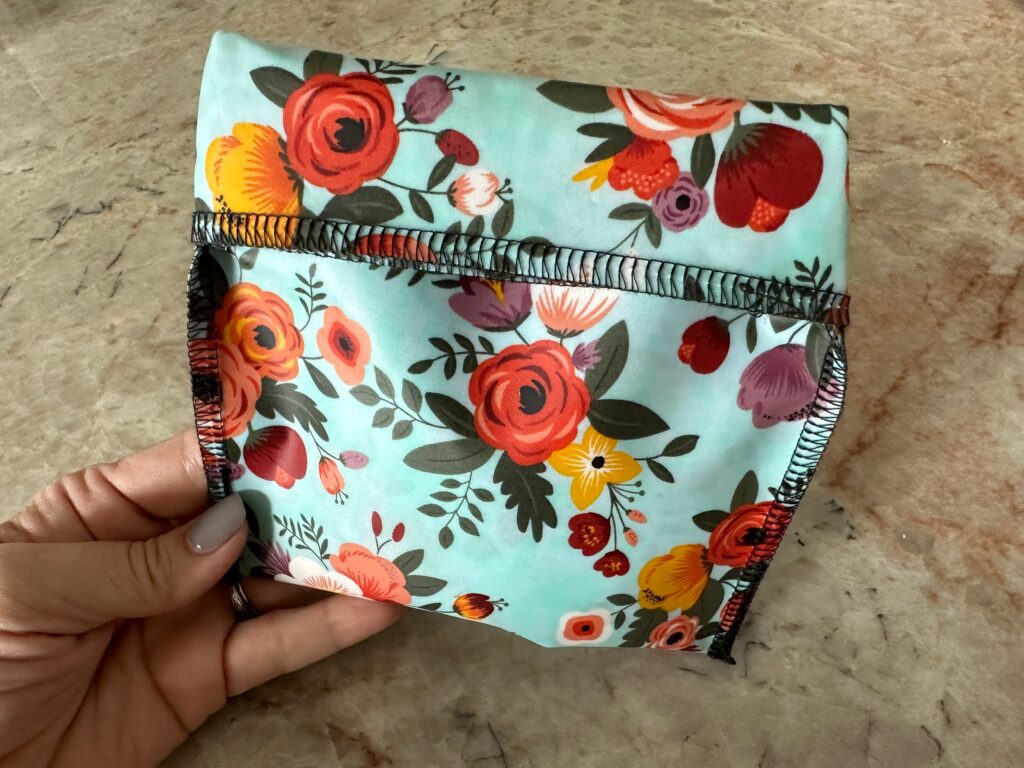
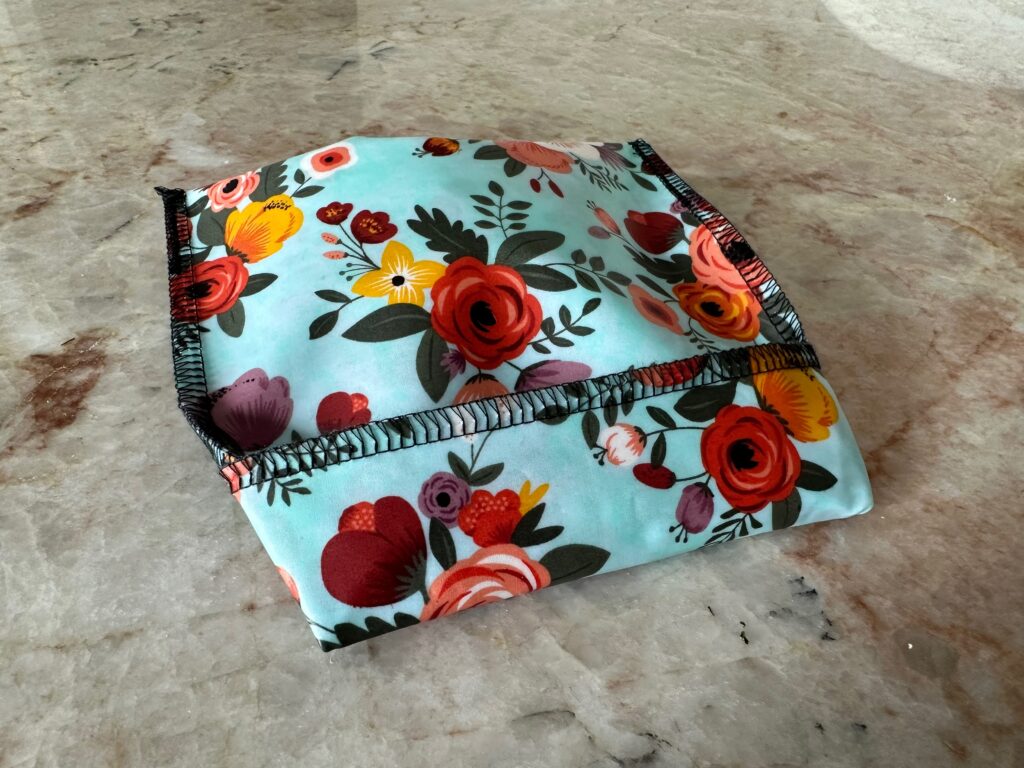
The Baby Lock tutorial starts with two fabrics cut to 7″ x 15″. This results in a great all-purpose size. However, it’s easy to adjust the rectangle dimensions based on your snacking needs! And if you have a fabric scrap you’re dying to use but it doesn’t fit those dimensions, make a smaller (or larger) snack bag. The fabrics are folded in half widthwise, with a cuff folded along the front to help close the pouches after filling.
The tutorial also recommends using two woven cotton fabrics. However, you can swap the fabrics with a laminated cotton or oilcloth to make cleanup a breeze. Can’t find laminated cotton? Try fusible vinyl to make your own. Use the same fabric for the outer and lining snack pouches, or choose coordinating fabrics. If using a directional print, pay attention to the direction when determining the pouch upper edge.
Fray Checkor Aleene’s® Stop Fraying product works well to seal the serger ends, as directed by the Baby Lock tutorial.
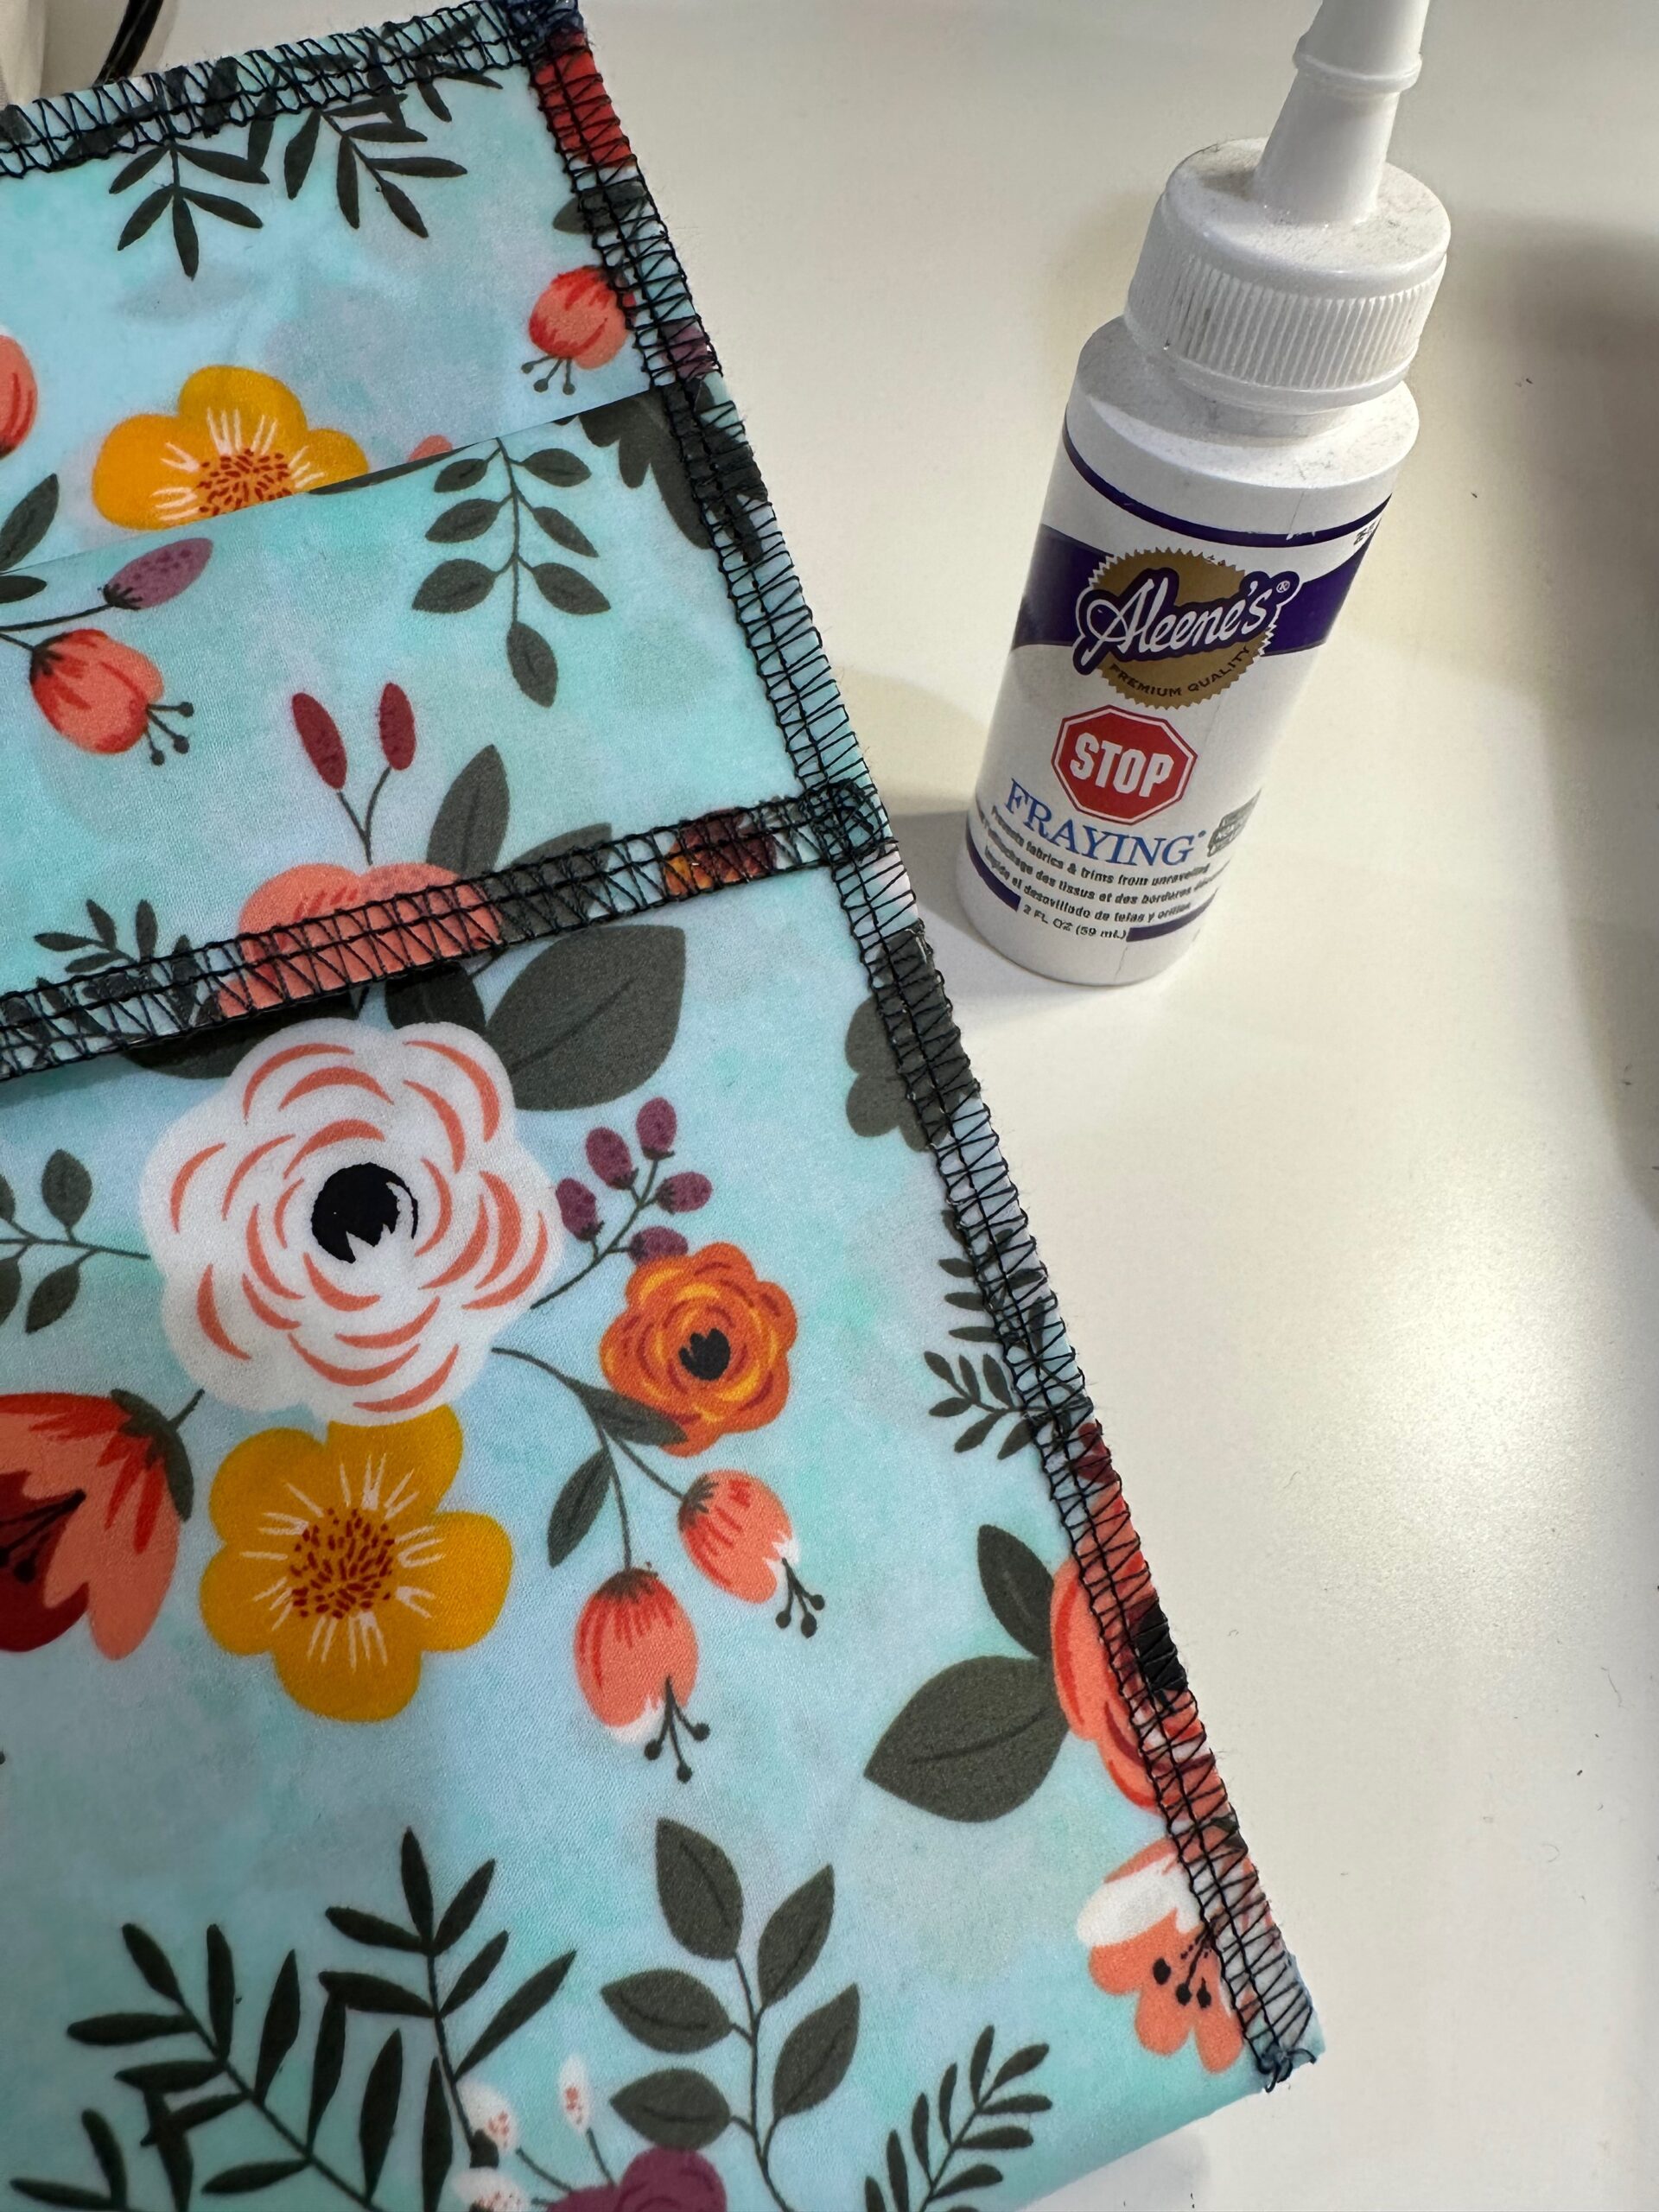
But, it’s much more secure to serge off the side edges about 3″ beyond the short ends.
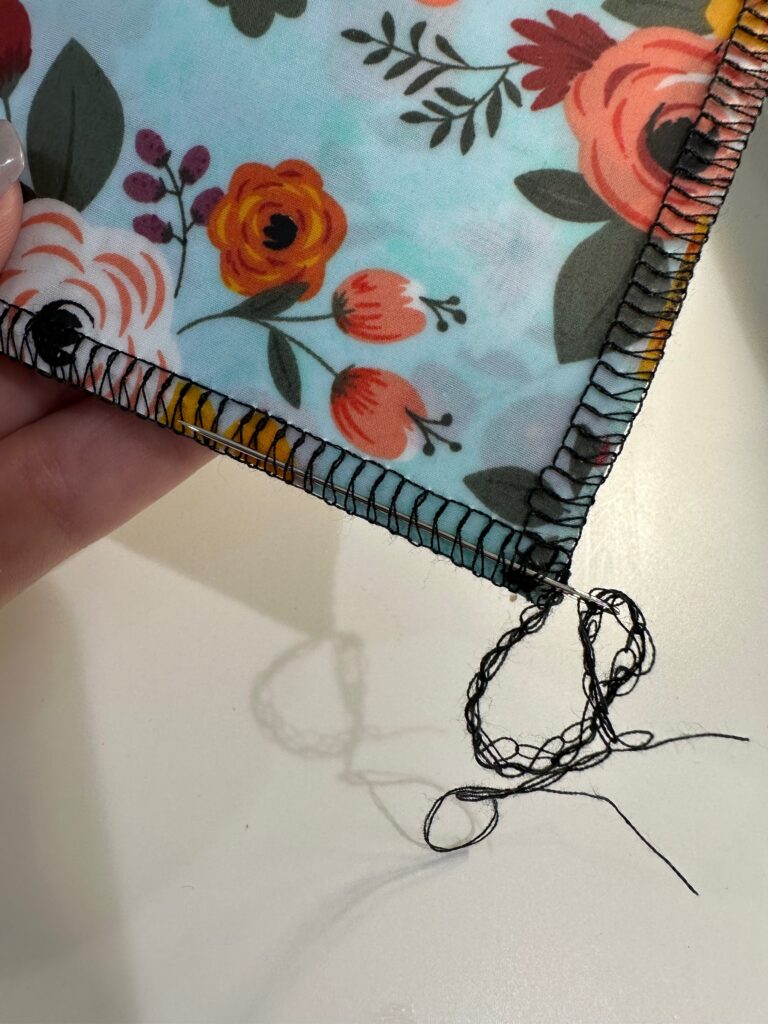
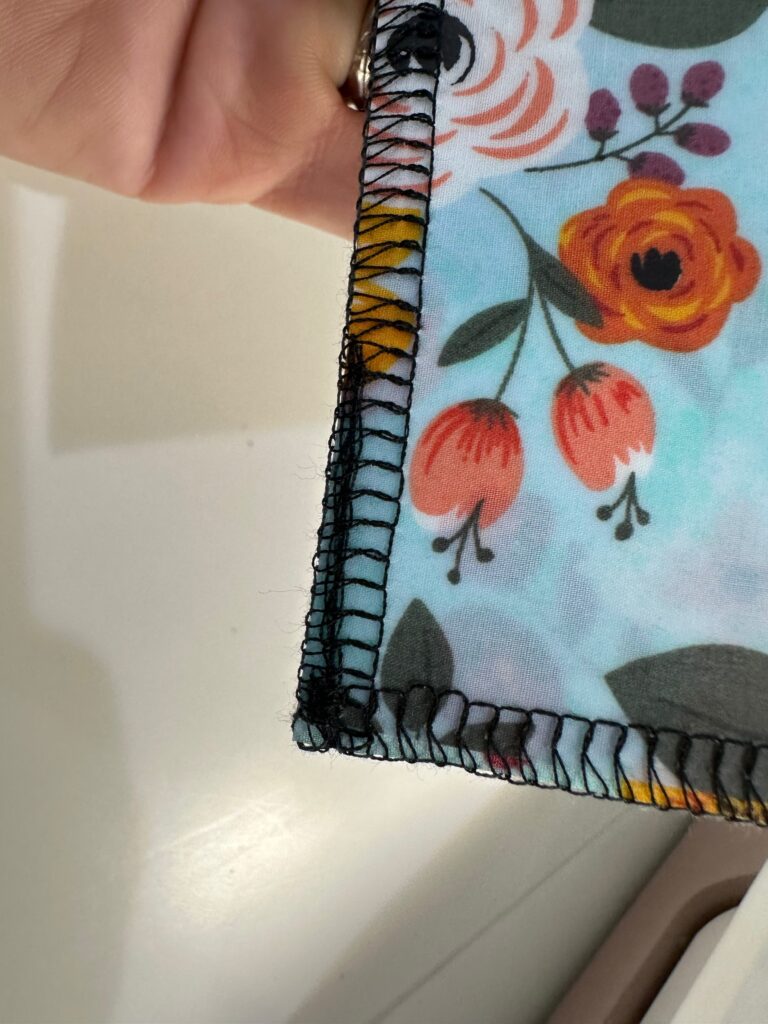
Then, thread a large-eye hand sewing needle with the serger tail and thread it back through the serger stitches on the pouch back to secure them. This way the seam won’t unravel over time.
ABOUT SNACK POUCH FABRIC
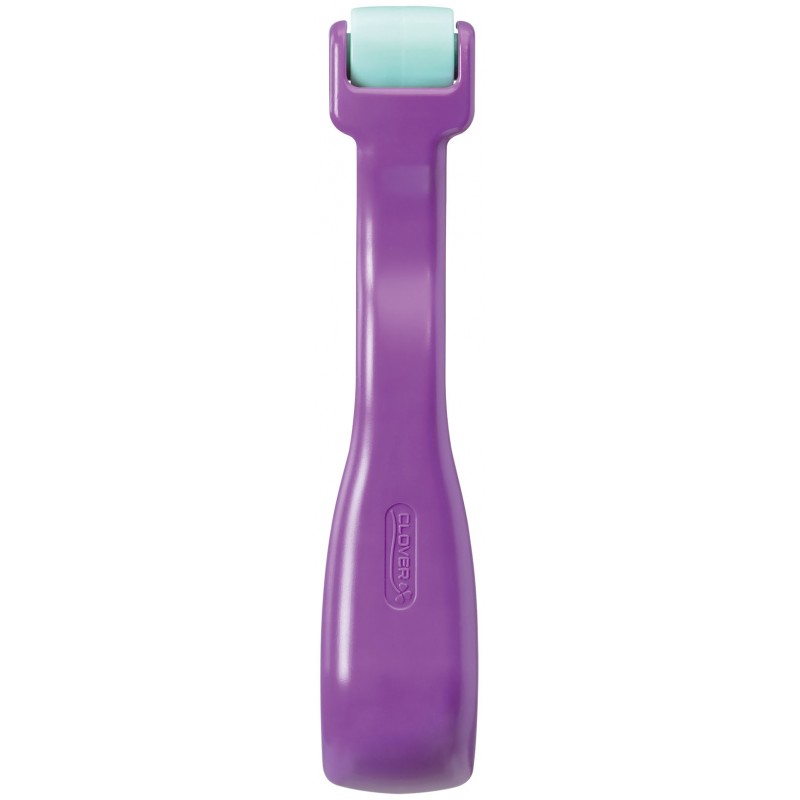
Laminated cotton and oilcloth are similar in that they cannot be ironed. To set creases, either finger-press or use a seam roller.
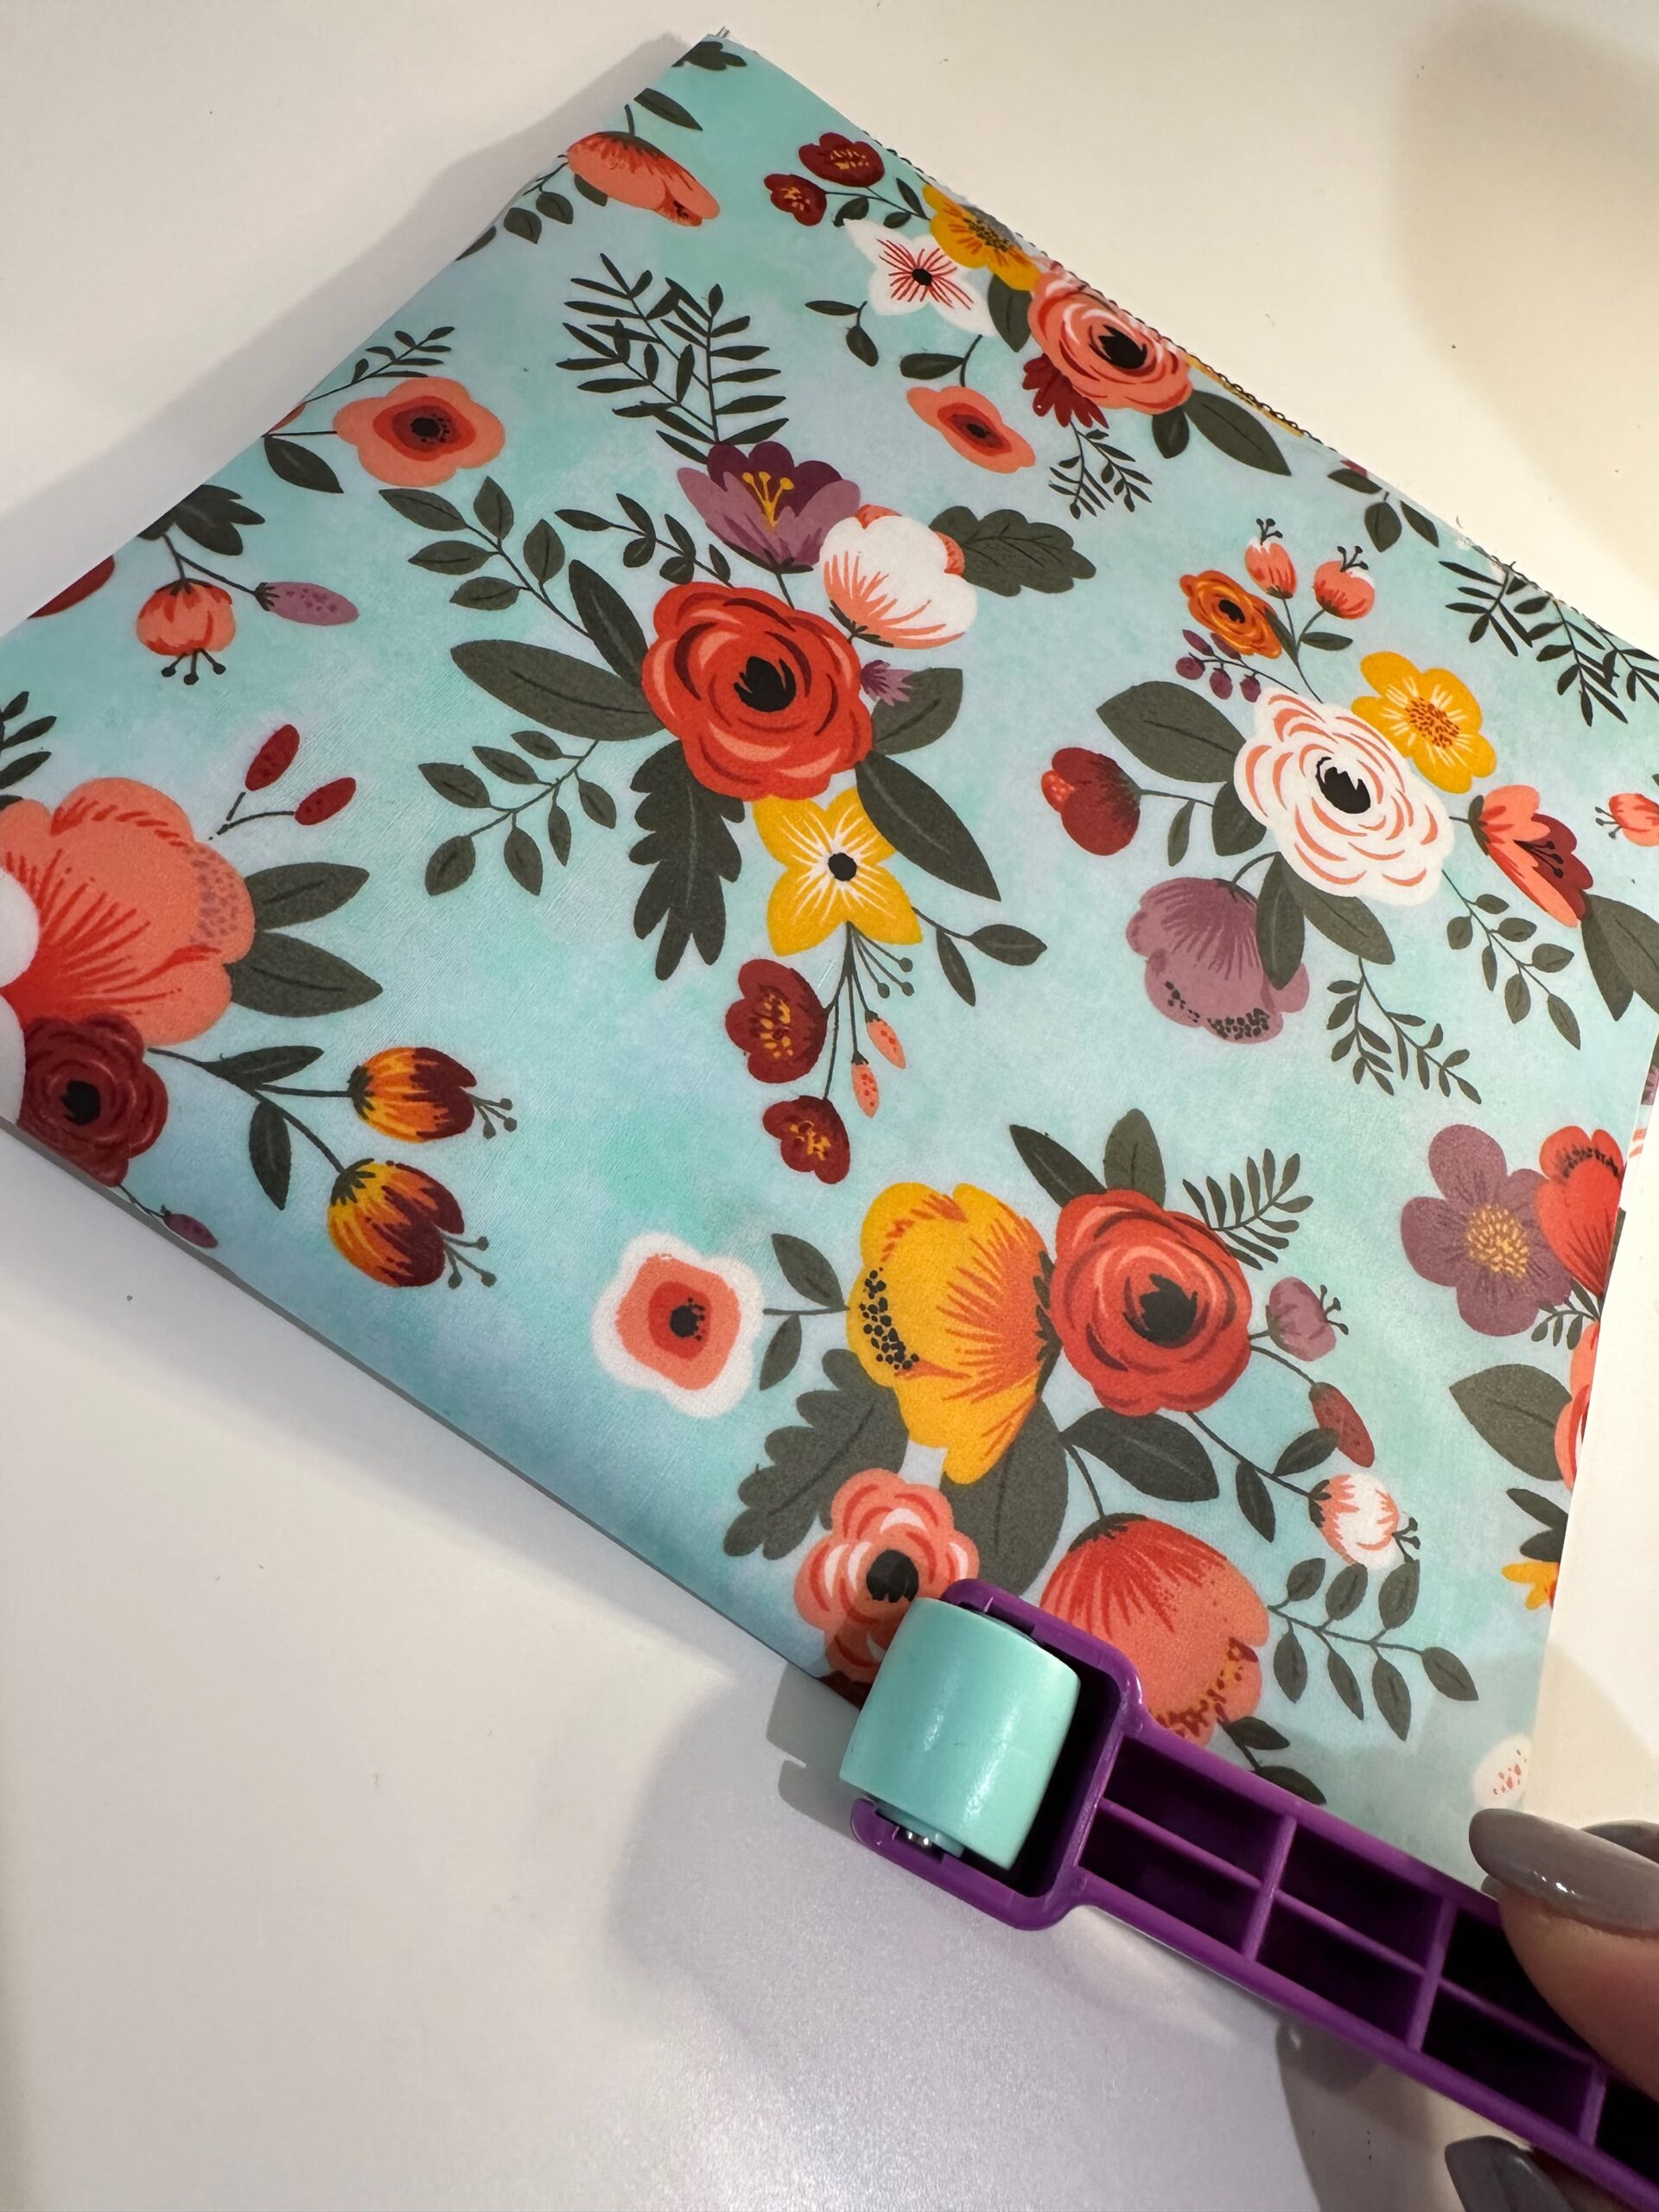
If the fabric is wrinkled, try setting it under a heavy book. In some cases, steam is helpful in small shots to the wrong side (if the wrong side is NOT coated). Or hang the fabric in a steamy bathroom after a shower to try and release stubborn wrinkles. To ensure desired results, first test this on a small scrap using a press cloth to protect the iron, if using. After purchasing, roll the fabric instead of folding to reduce the liklehood of wrinkling.
Oilcloth is generally more heavyweight than laminated cotton. The extra weight makes it more difficult to fold over the upper cuff to close the pouch, but it’s still do-able. If making these for children, you may want to opt for laminated cotton or only use the coated fabric for the pouch lining to make closing the pouch easier.
HOW TO USE THE SNACK POUCHES
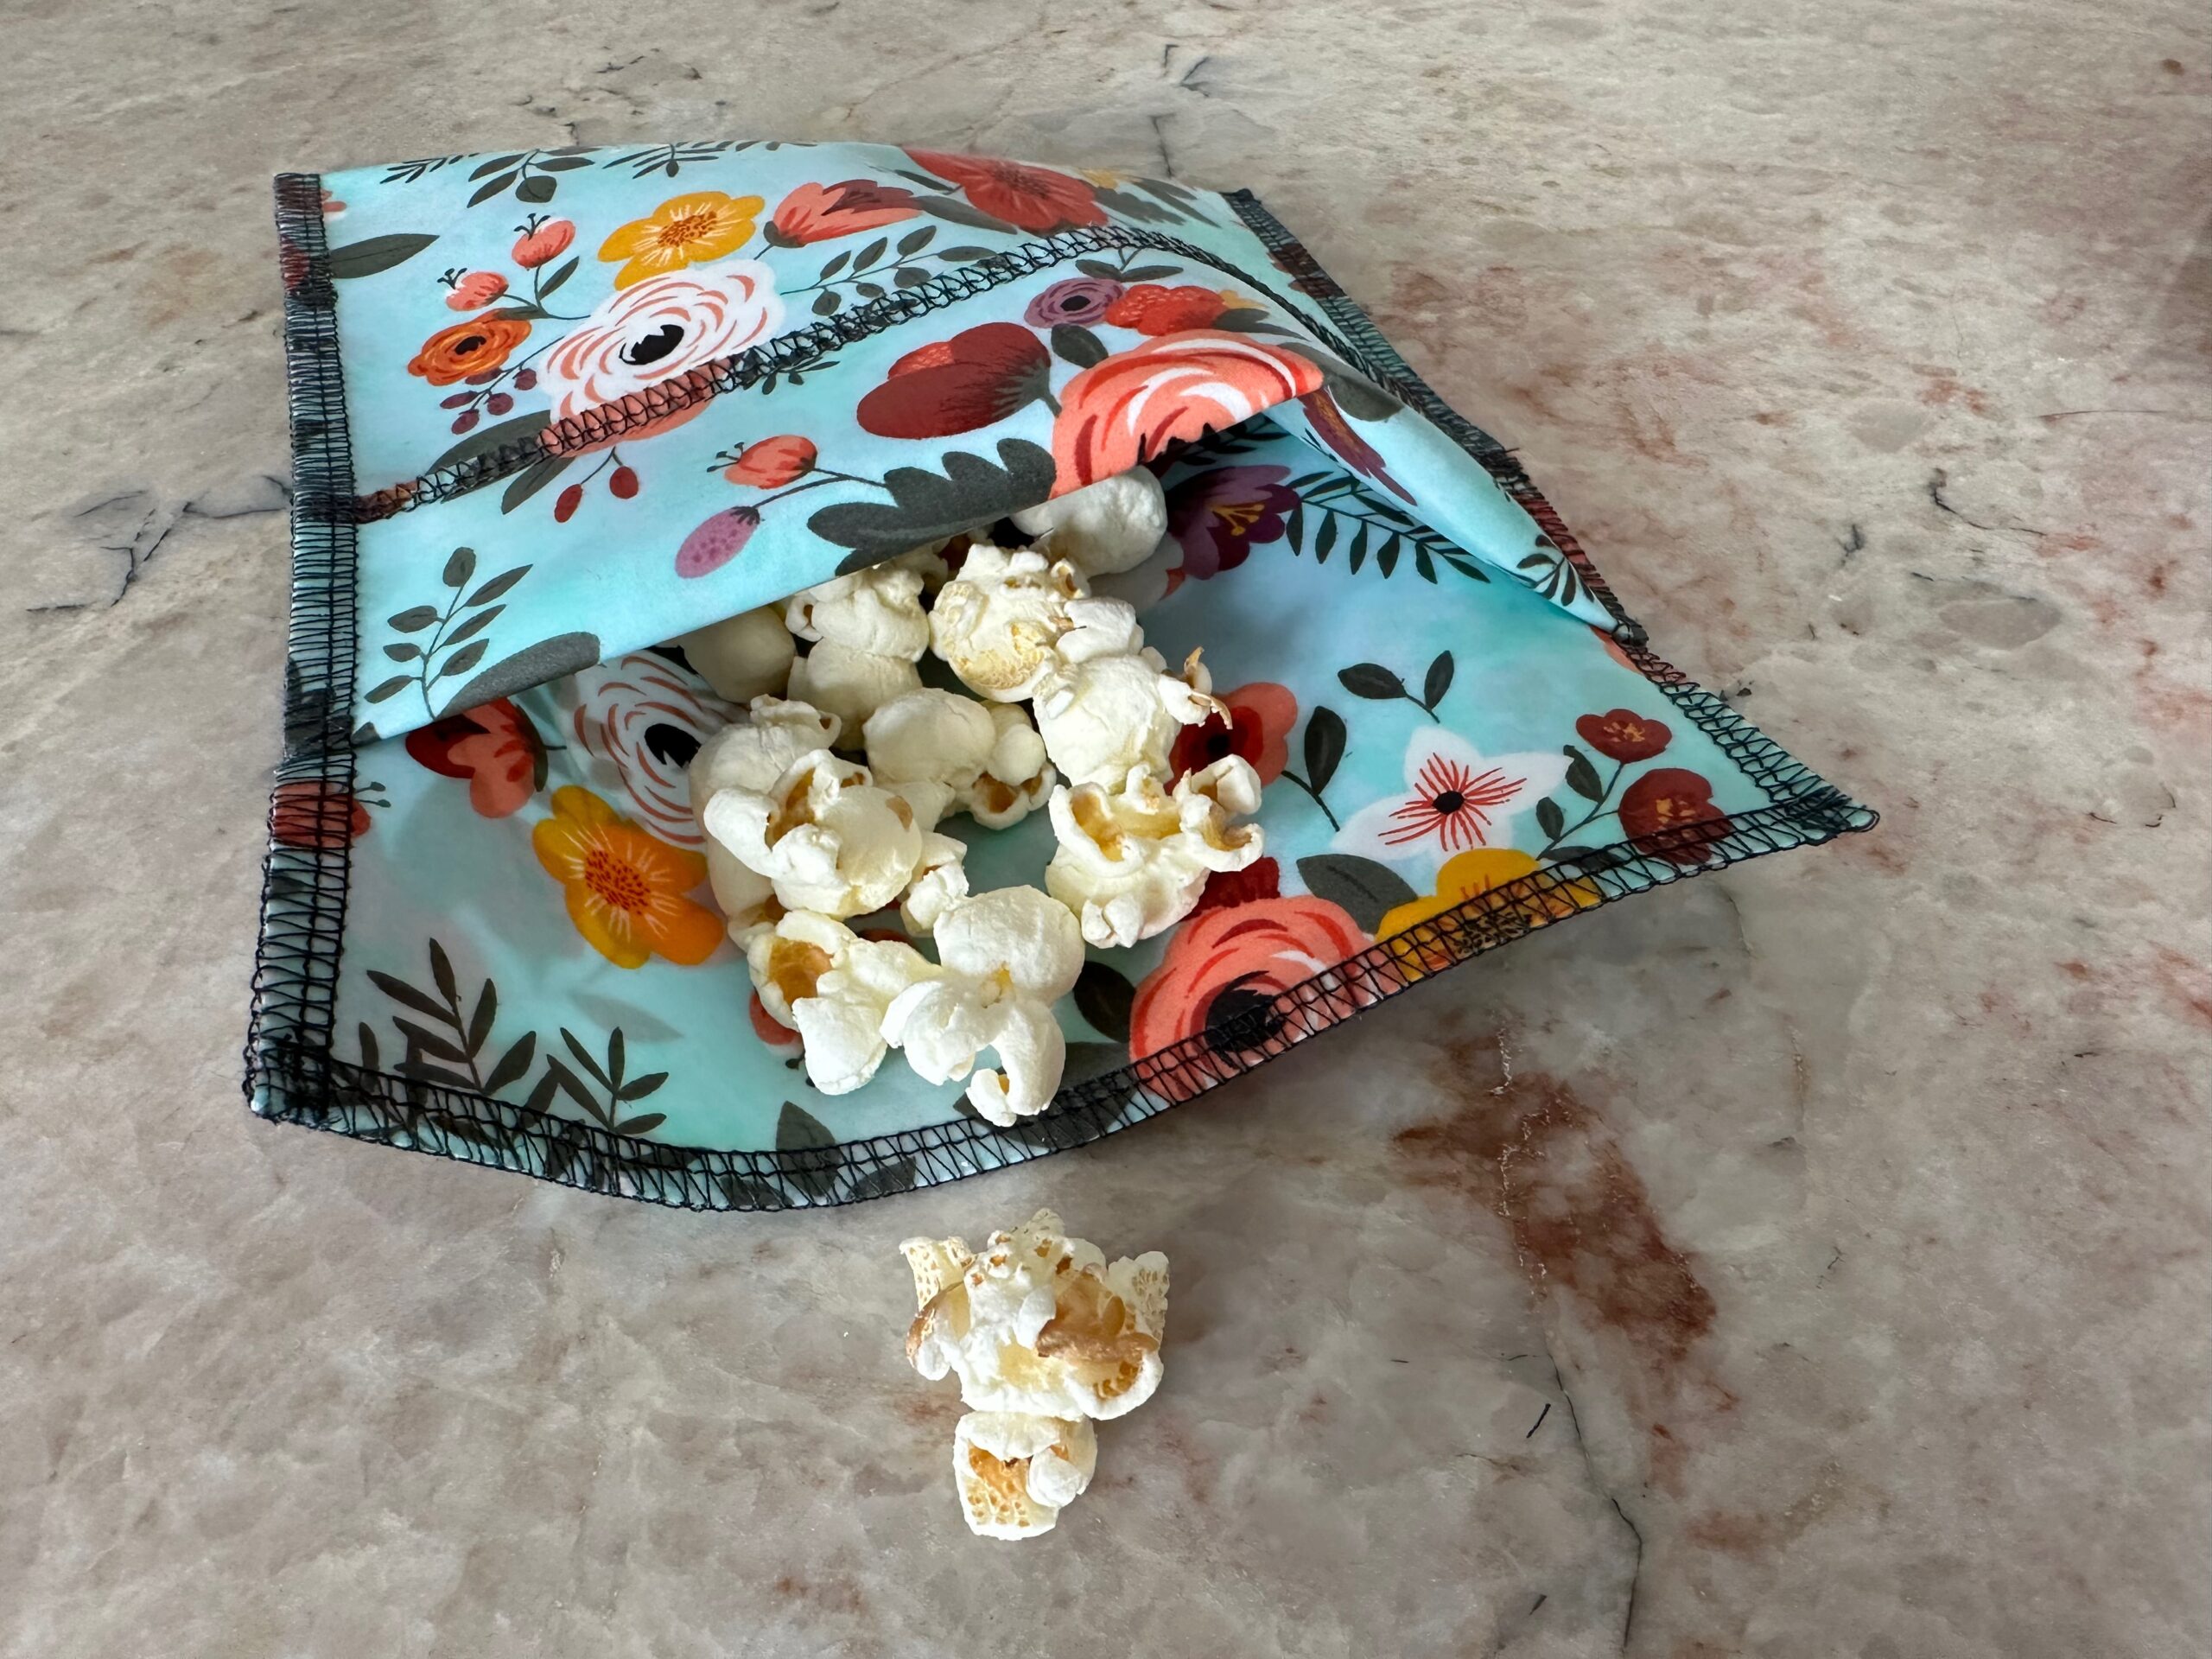
After filling the serger snack pouches with goodies, wrap the upper fabric hem over the pouch back to enclose the contents.
Make these serger snack bags in 10 minutes or less (cutting time included!), and make several to give as gifts. They’re also easily personalized with machine embroidery, such as a monogram or favorite motif. (For machine embroidery tips on this fabric, look to this post.)

I Love the quick serger snack bag,I will have my Summer sewing class,make these! Thanks for the ideas!