Sew Your Own Napkins for Family Gatherings
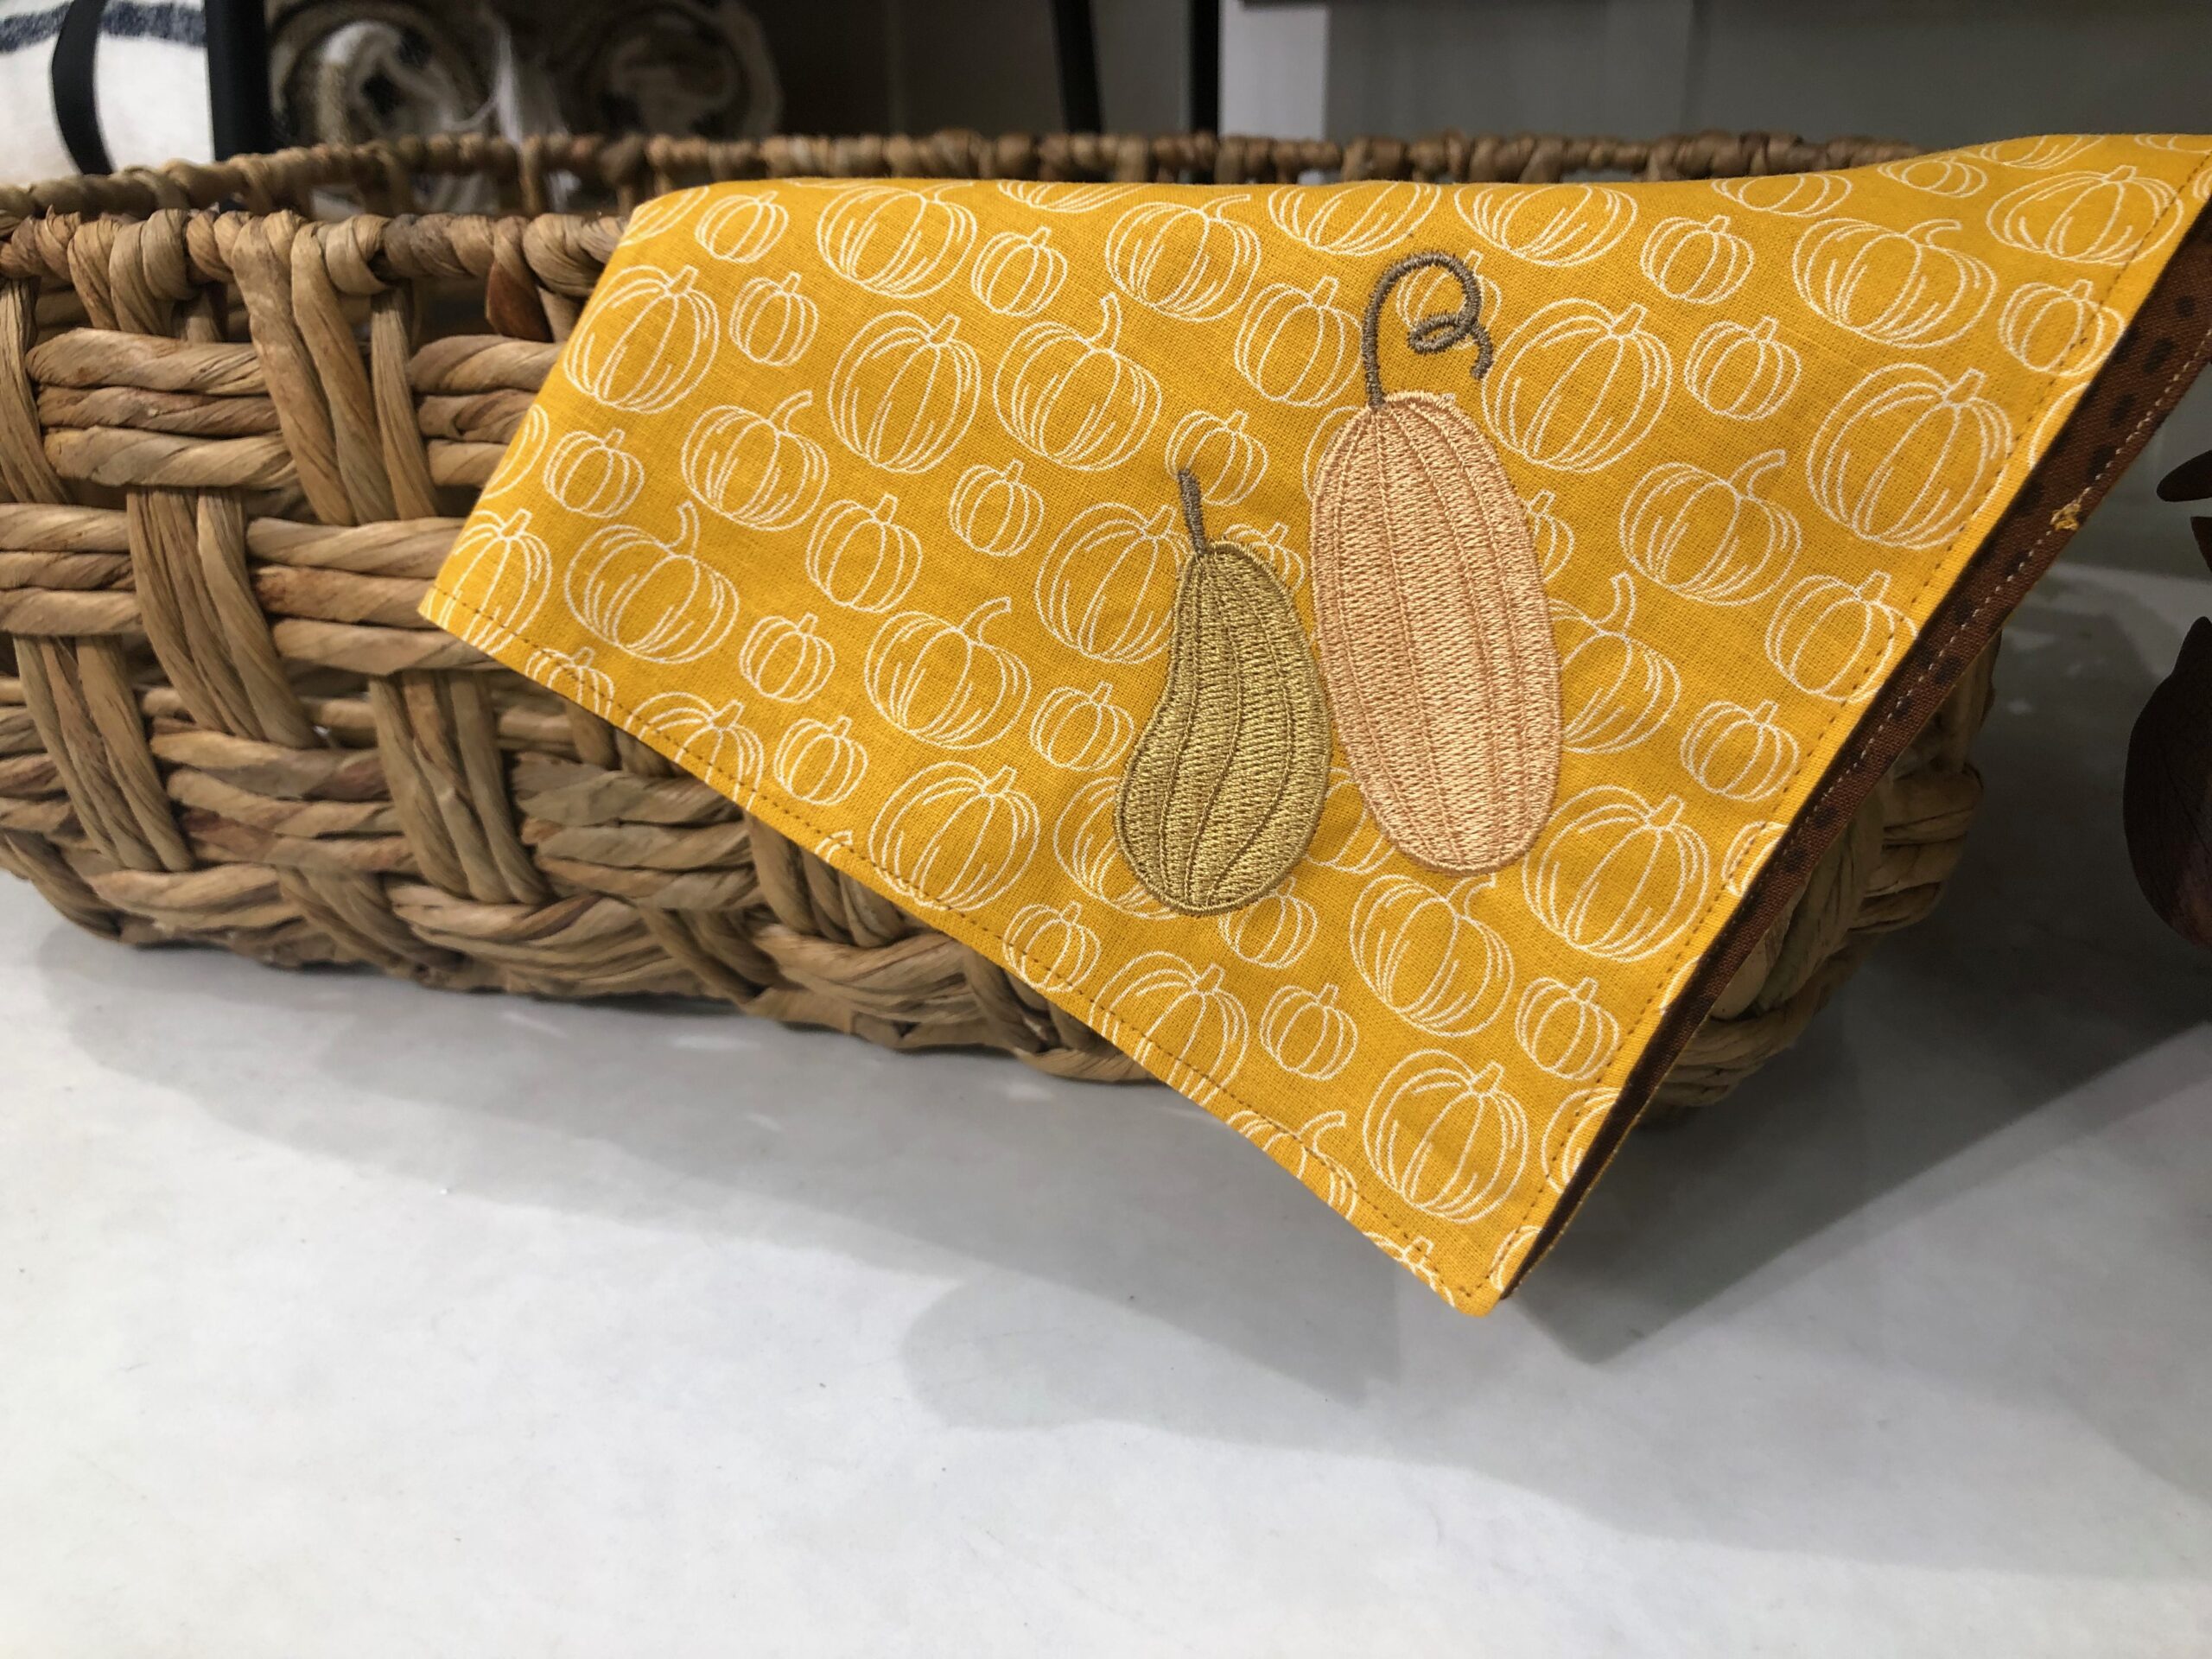
Sew your own napkins for a great alternative to single-use paper napkins. Cloth napkins are easy to sew and really add a personal touch of handmade to your family gatherings, holiday meals and home décor.
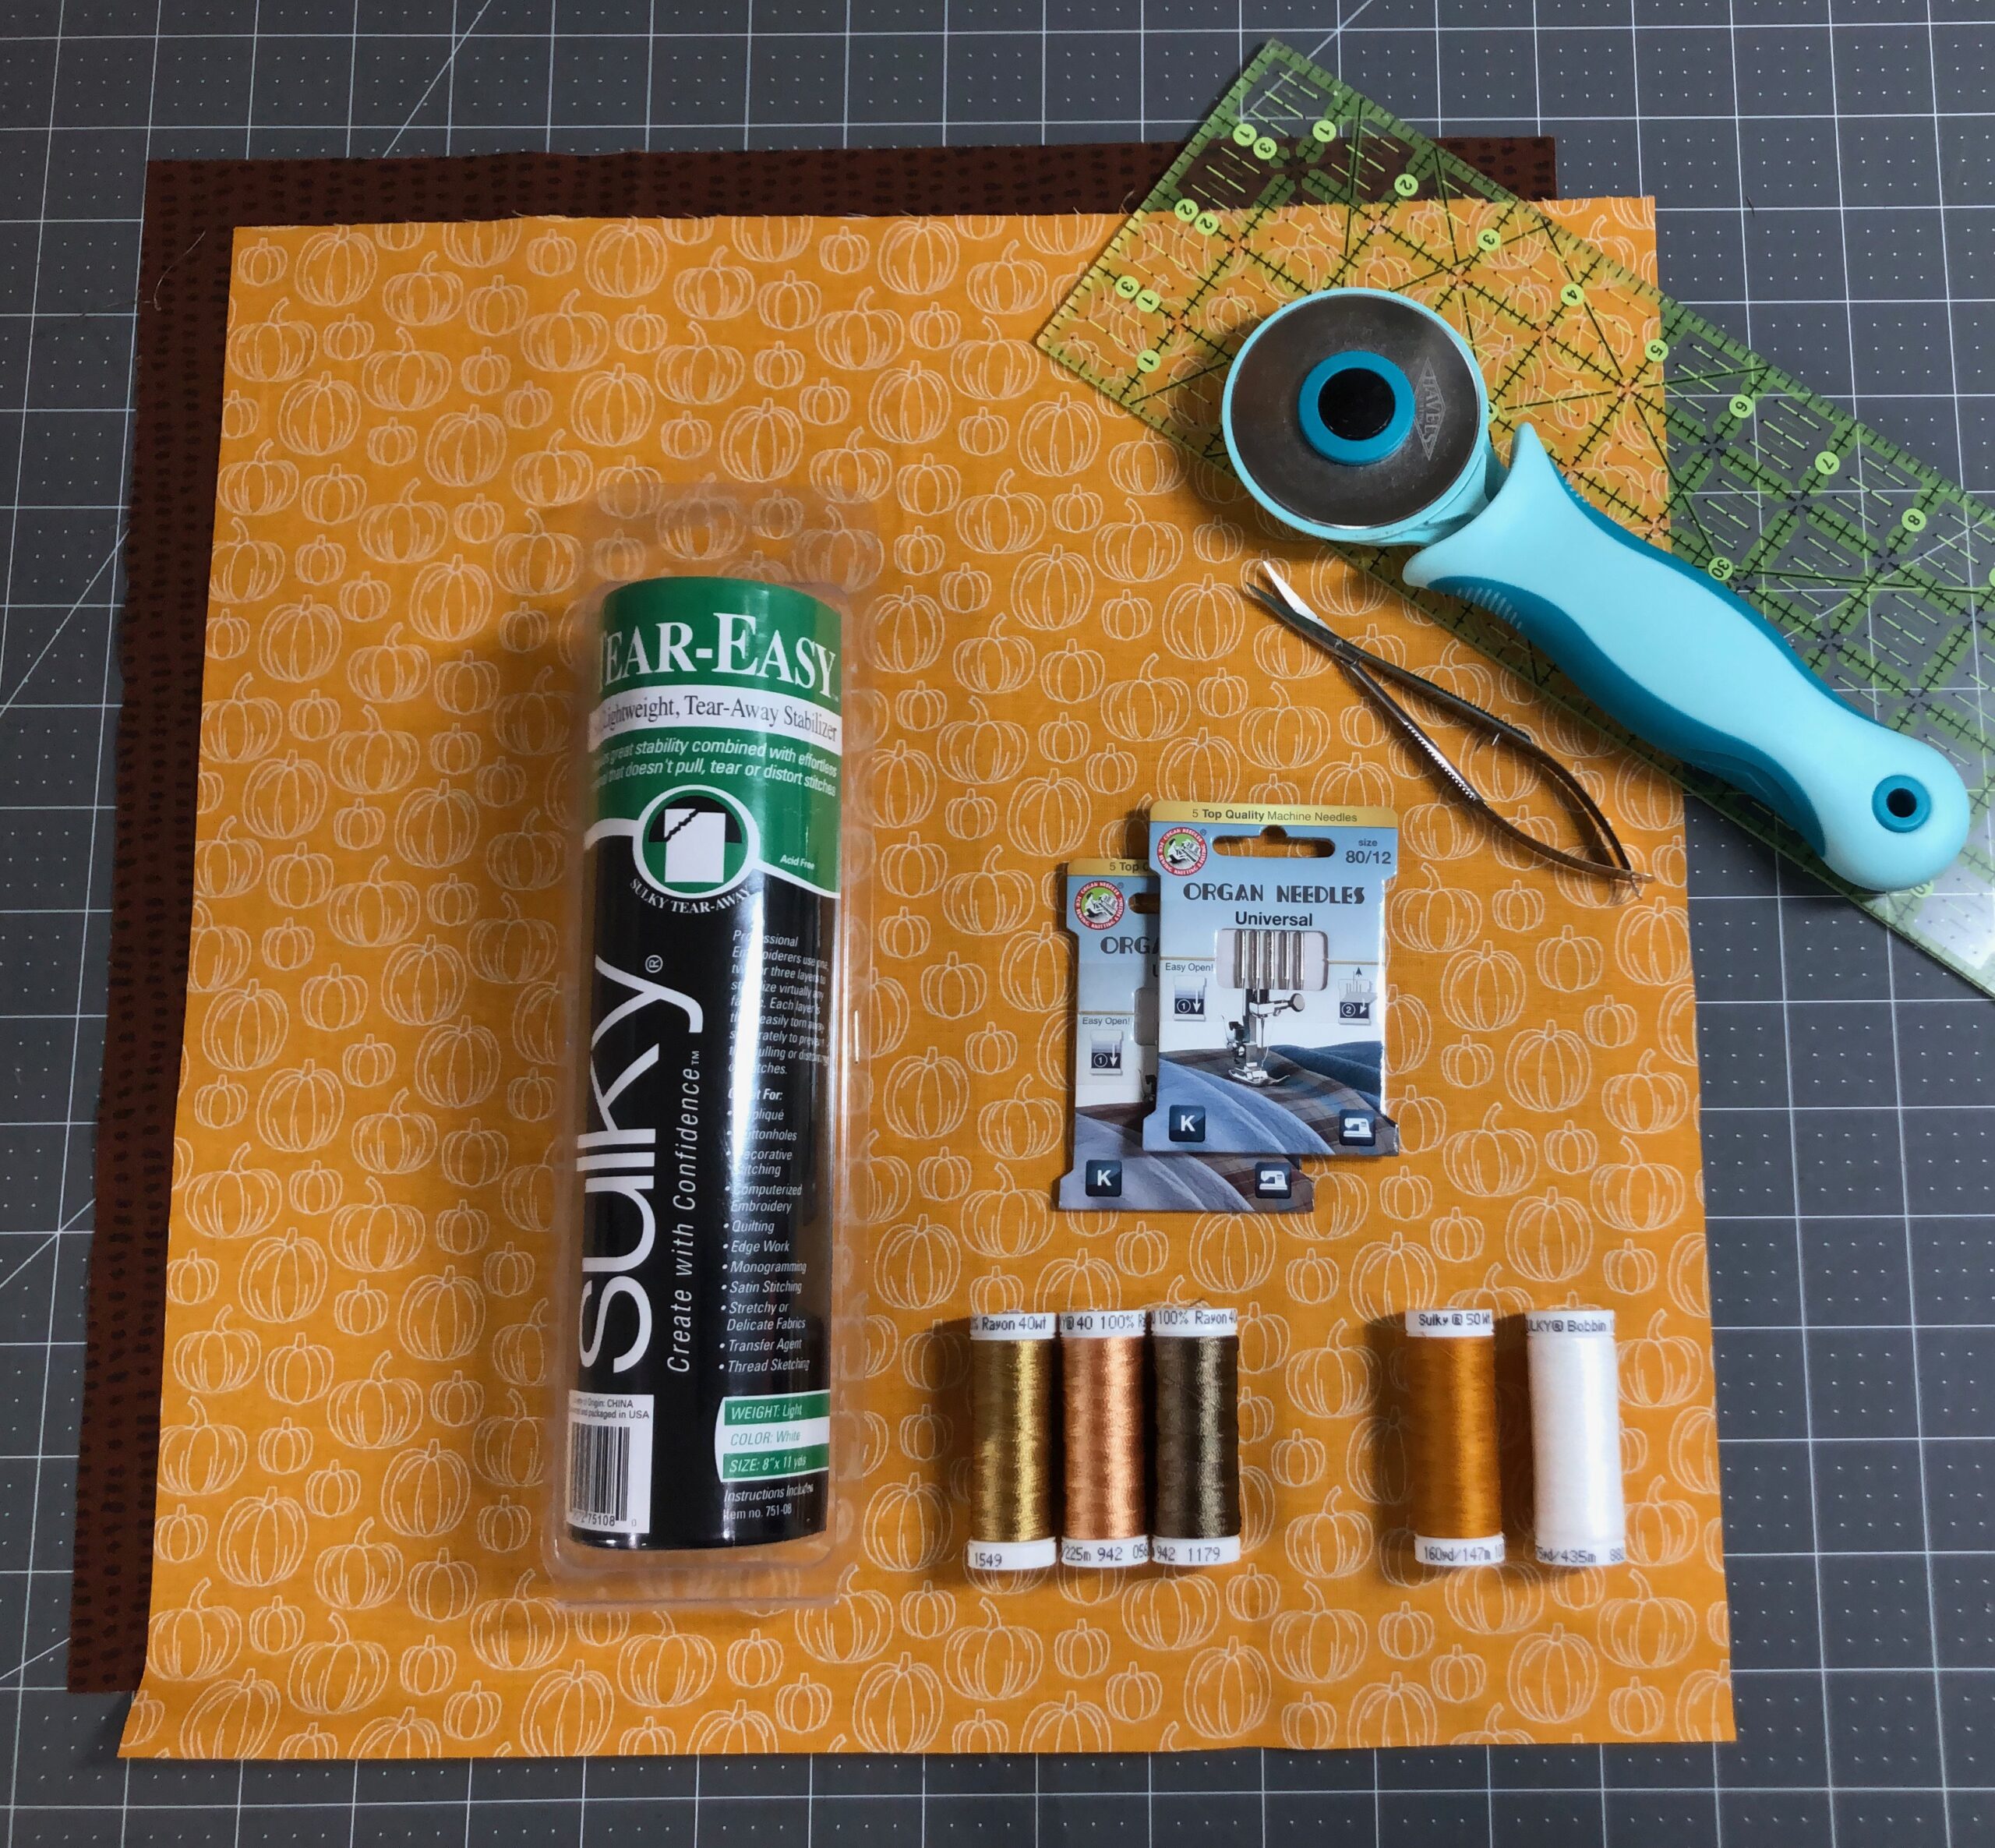
SUPPLIES TO SEW YOUR OWN NAPKINS
- 2 coordinating cotton fabrics (Amount & size depends on personal preference. See “NAPKIN FABRICS & CUTTING” below for guidance.)
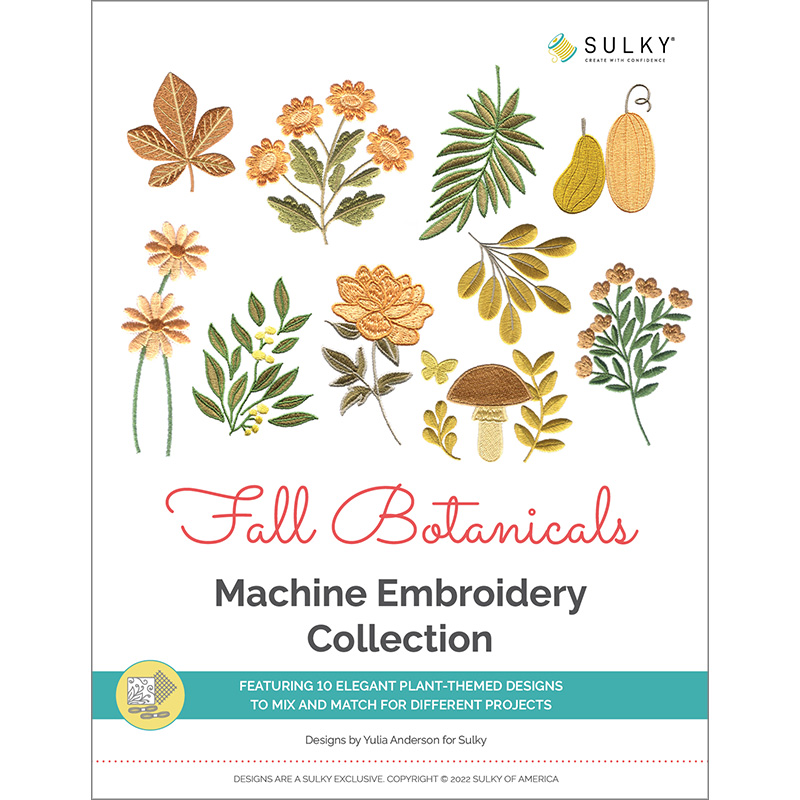
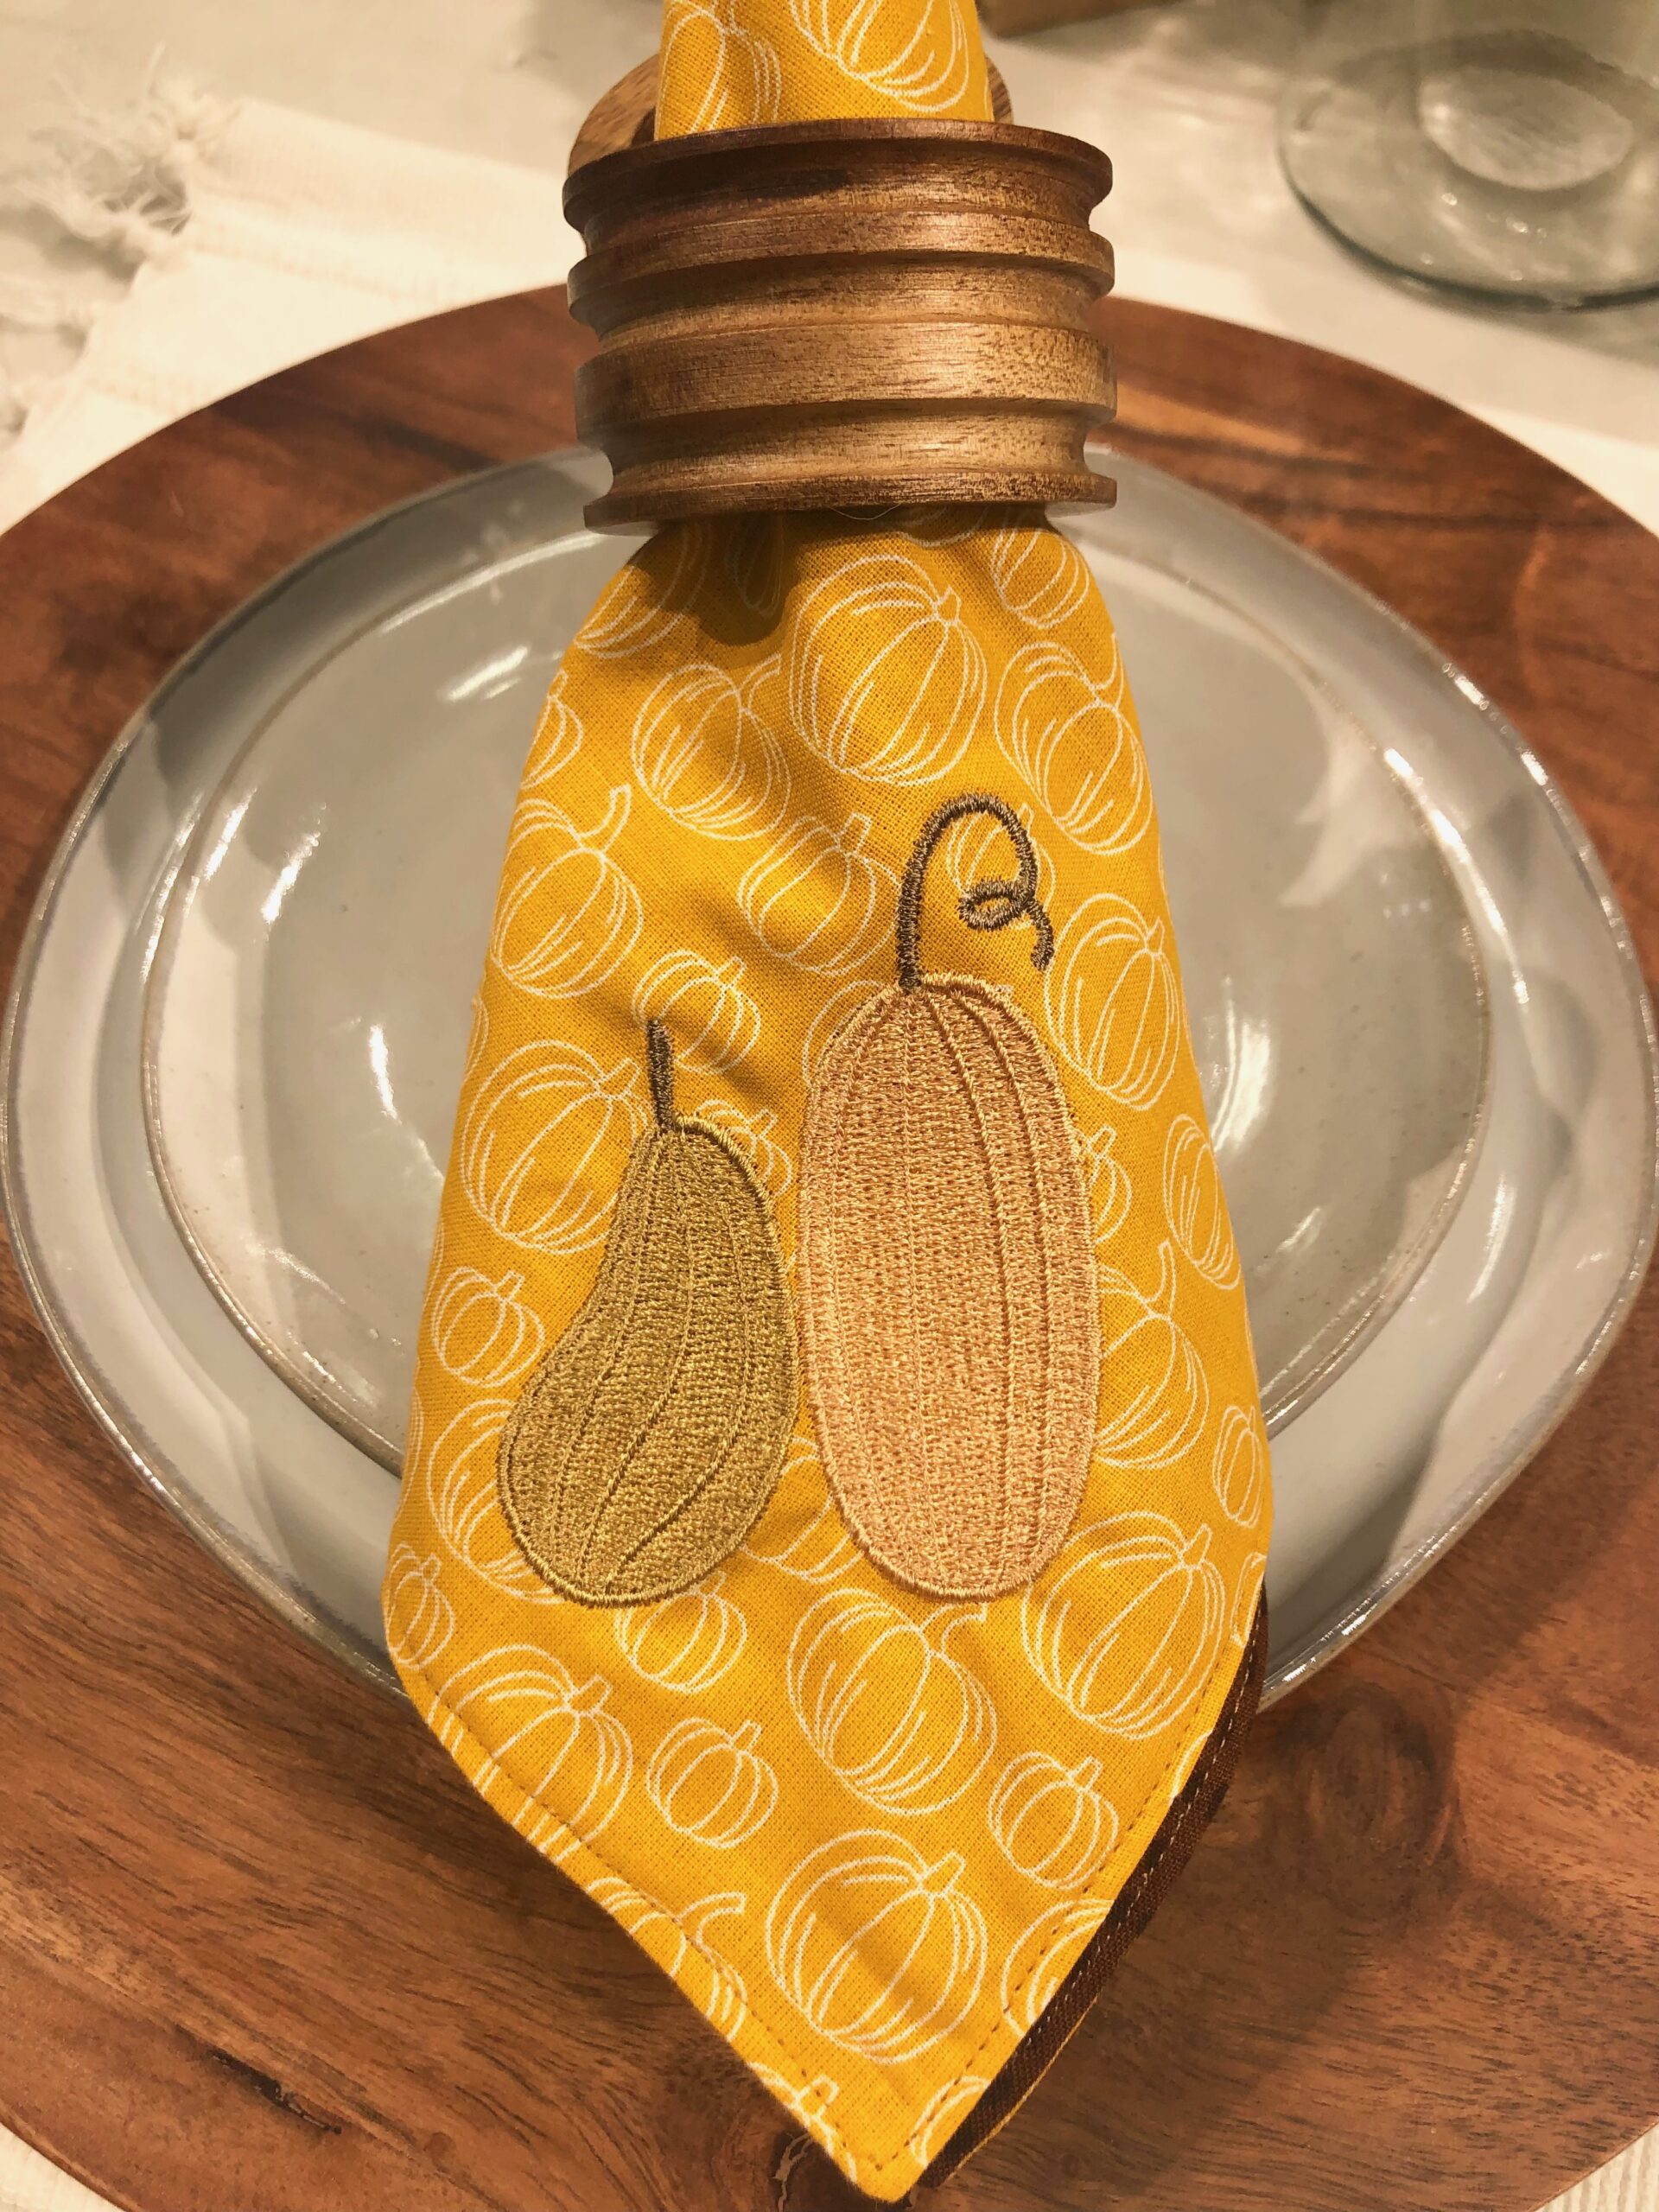
- Sulky Fall Botanicals Machine Embroidery Collection (or design(s) of your choice no larger than 3″ wide; featured design: Fall Botanicals Gourds)
- Tear-Easy Stabilizer
- Sulky Thread: 40 wt. Rayon (colors determined by embroidery designs; featured colors are 942-1549 Flax, 942-0562 Spice & 942-1180 Med. Taupe), 60 wt. Bobbin (machine embroidery) & 50 wt. Cotton (construction)
- Organ® Needles: size 70/10 Universal (construction) & size 80/12 Universal (Embroidery)
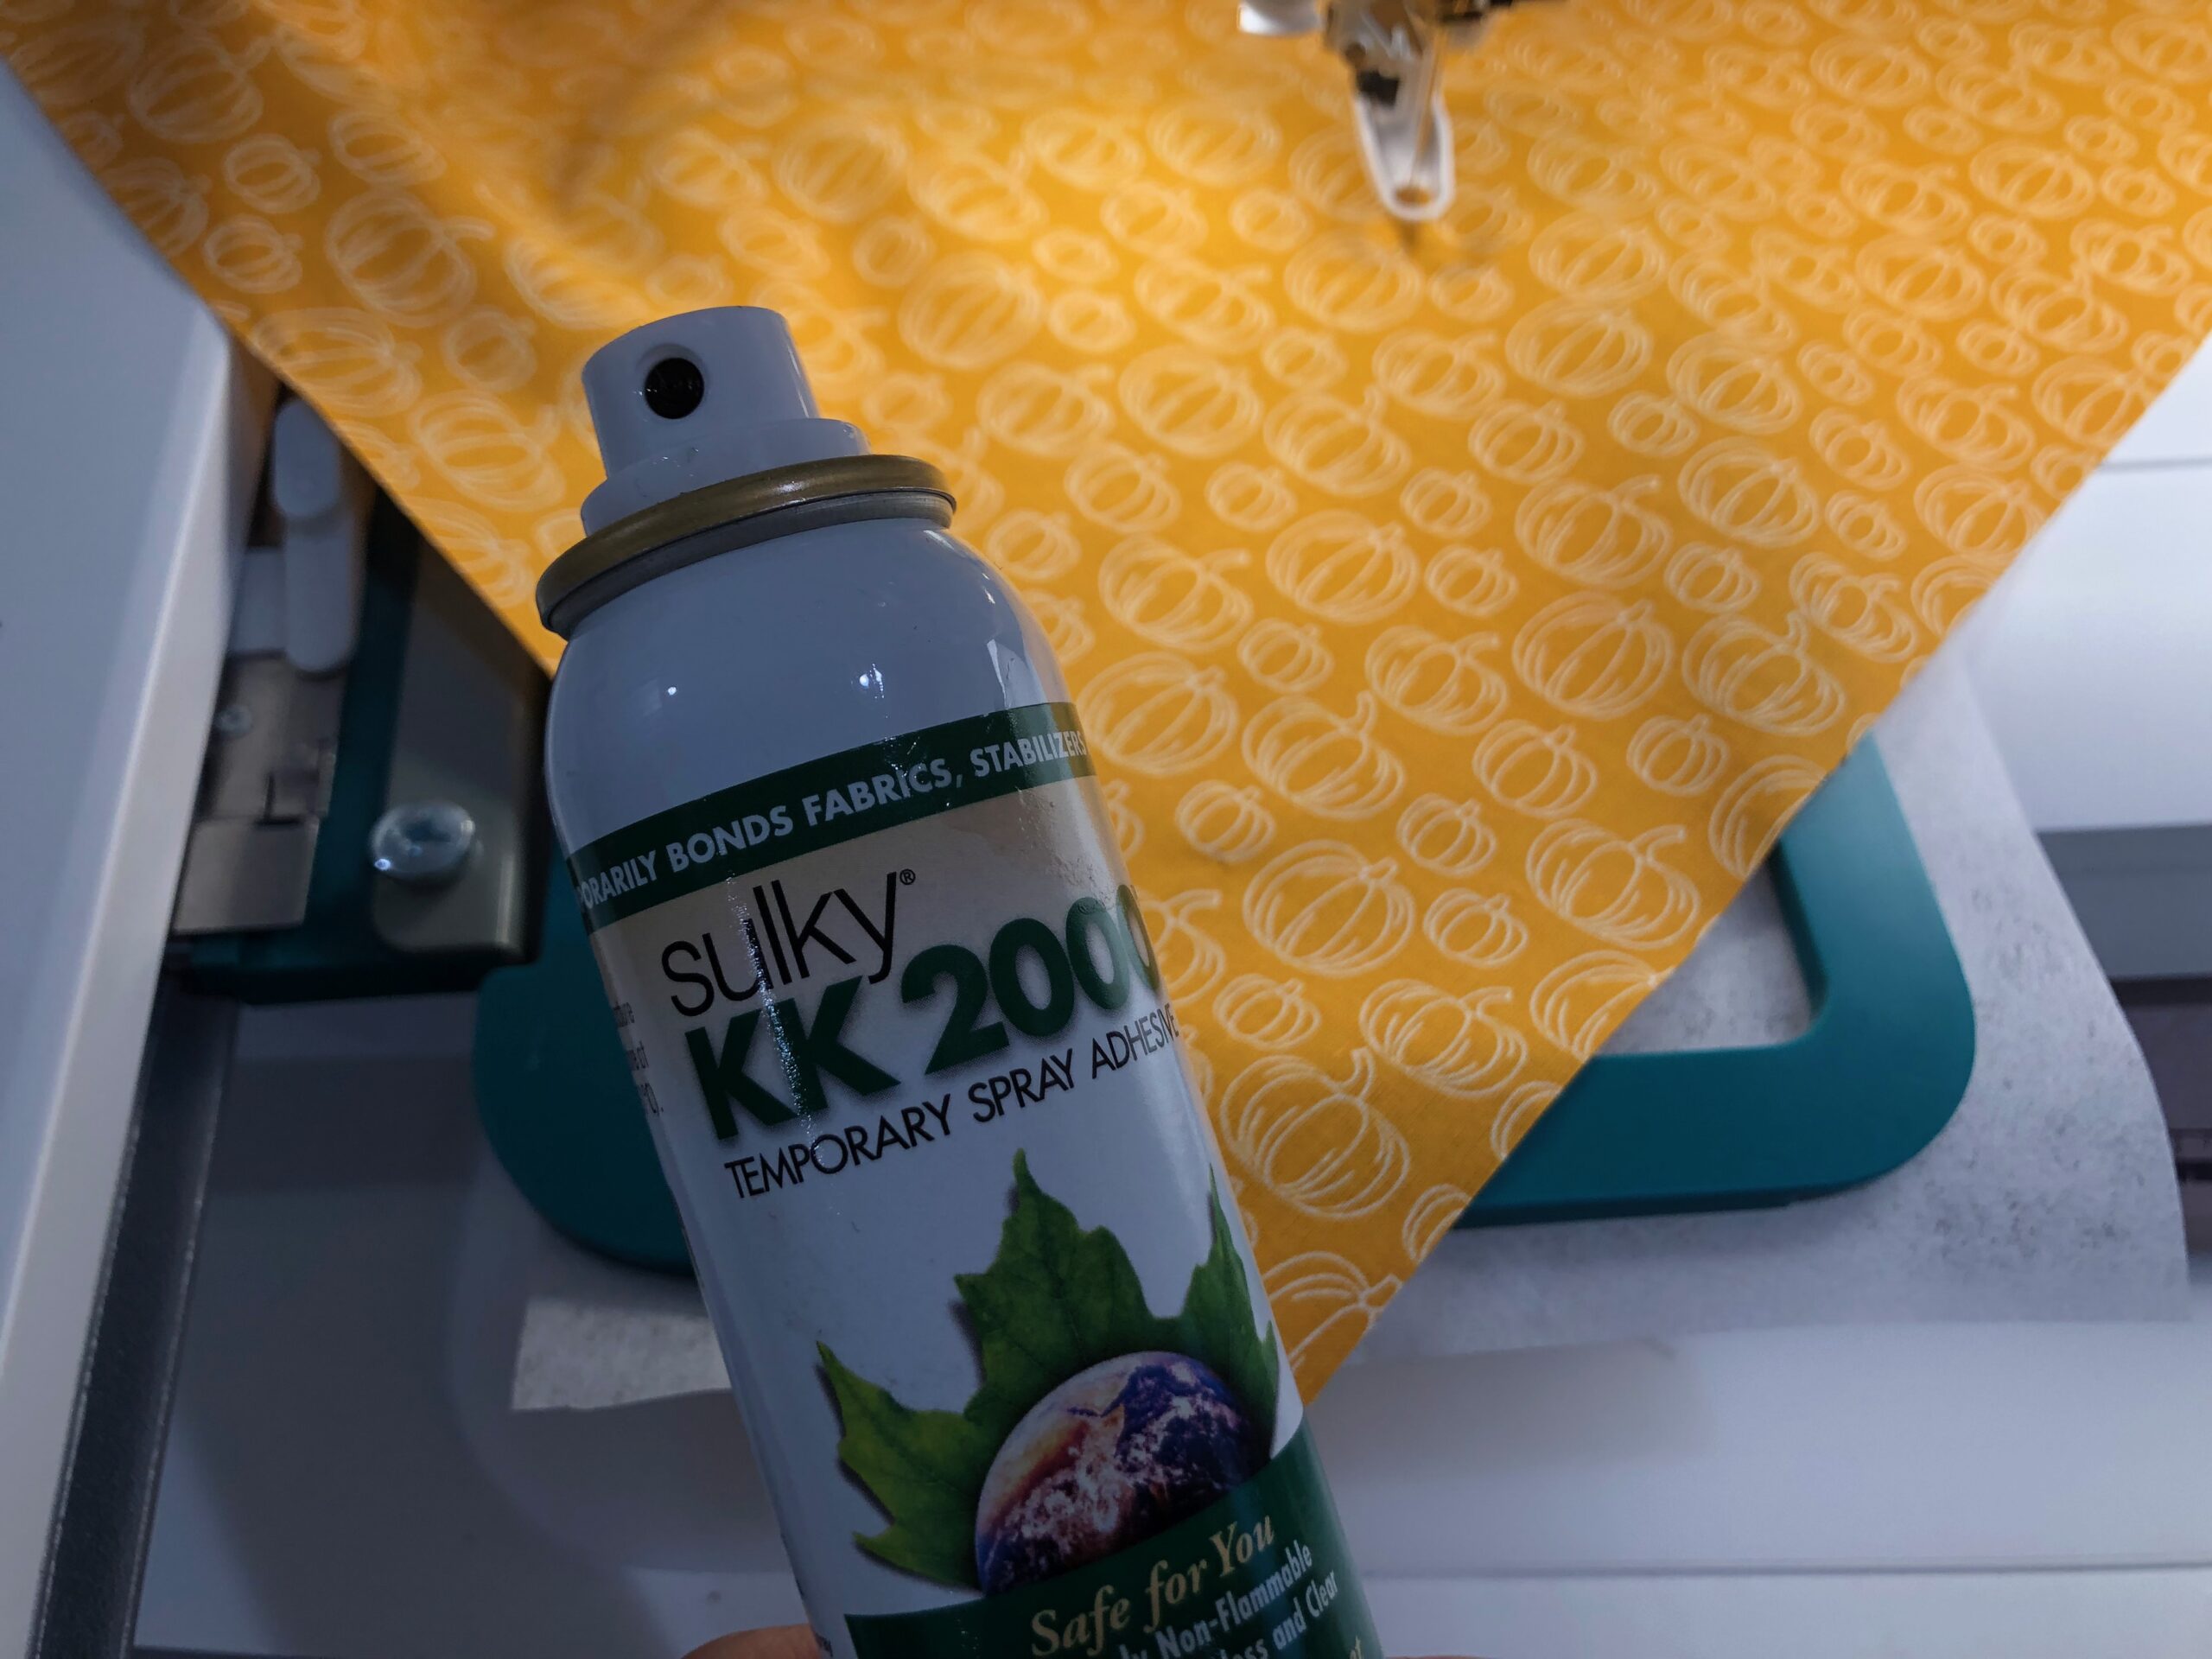
- Sulky KK 2000 Temporary Spray Adhesive
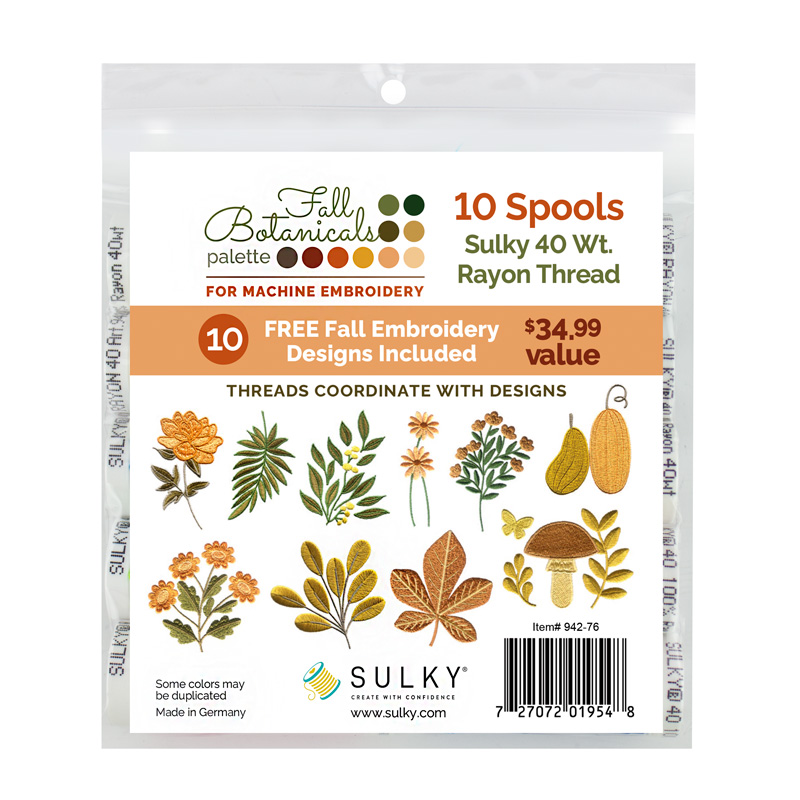
TIP: Grab the Fall Botanicals Machine Embroidery Palette to have all 10 designs and 10 Rayon Thread spools needed to create a collection of napkins that all coordinate.

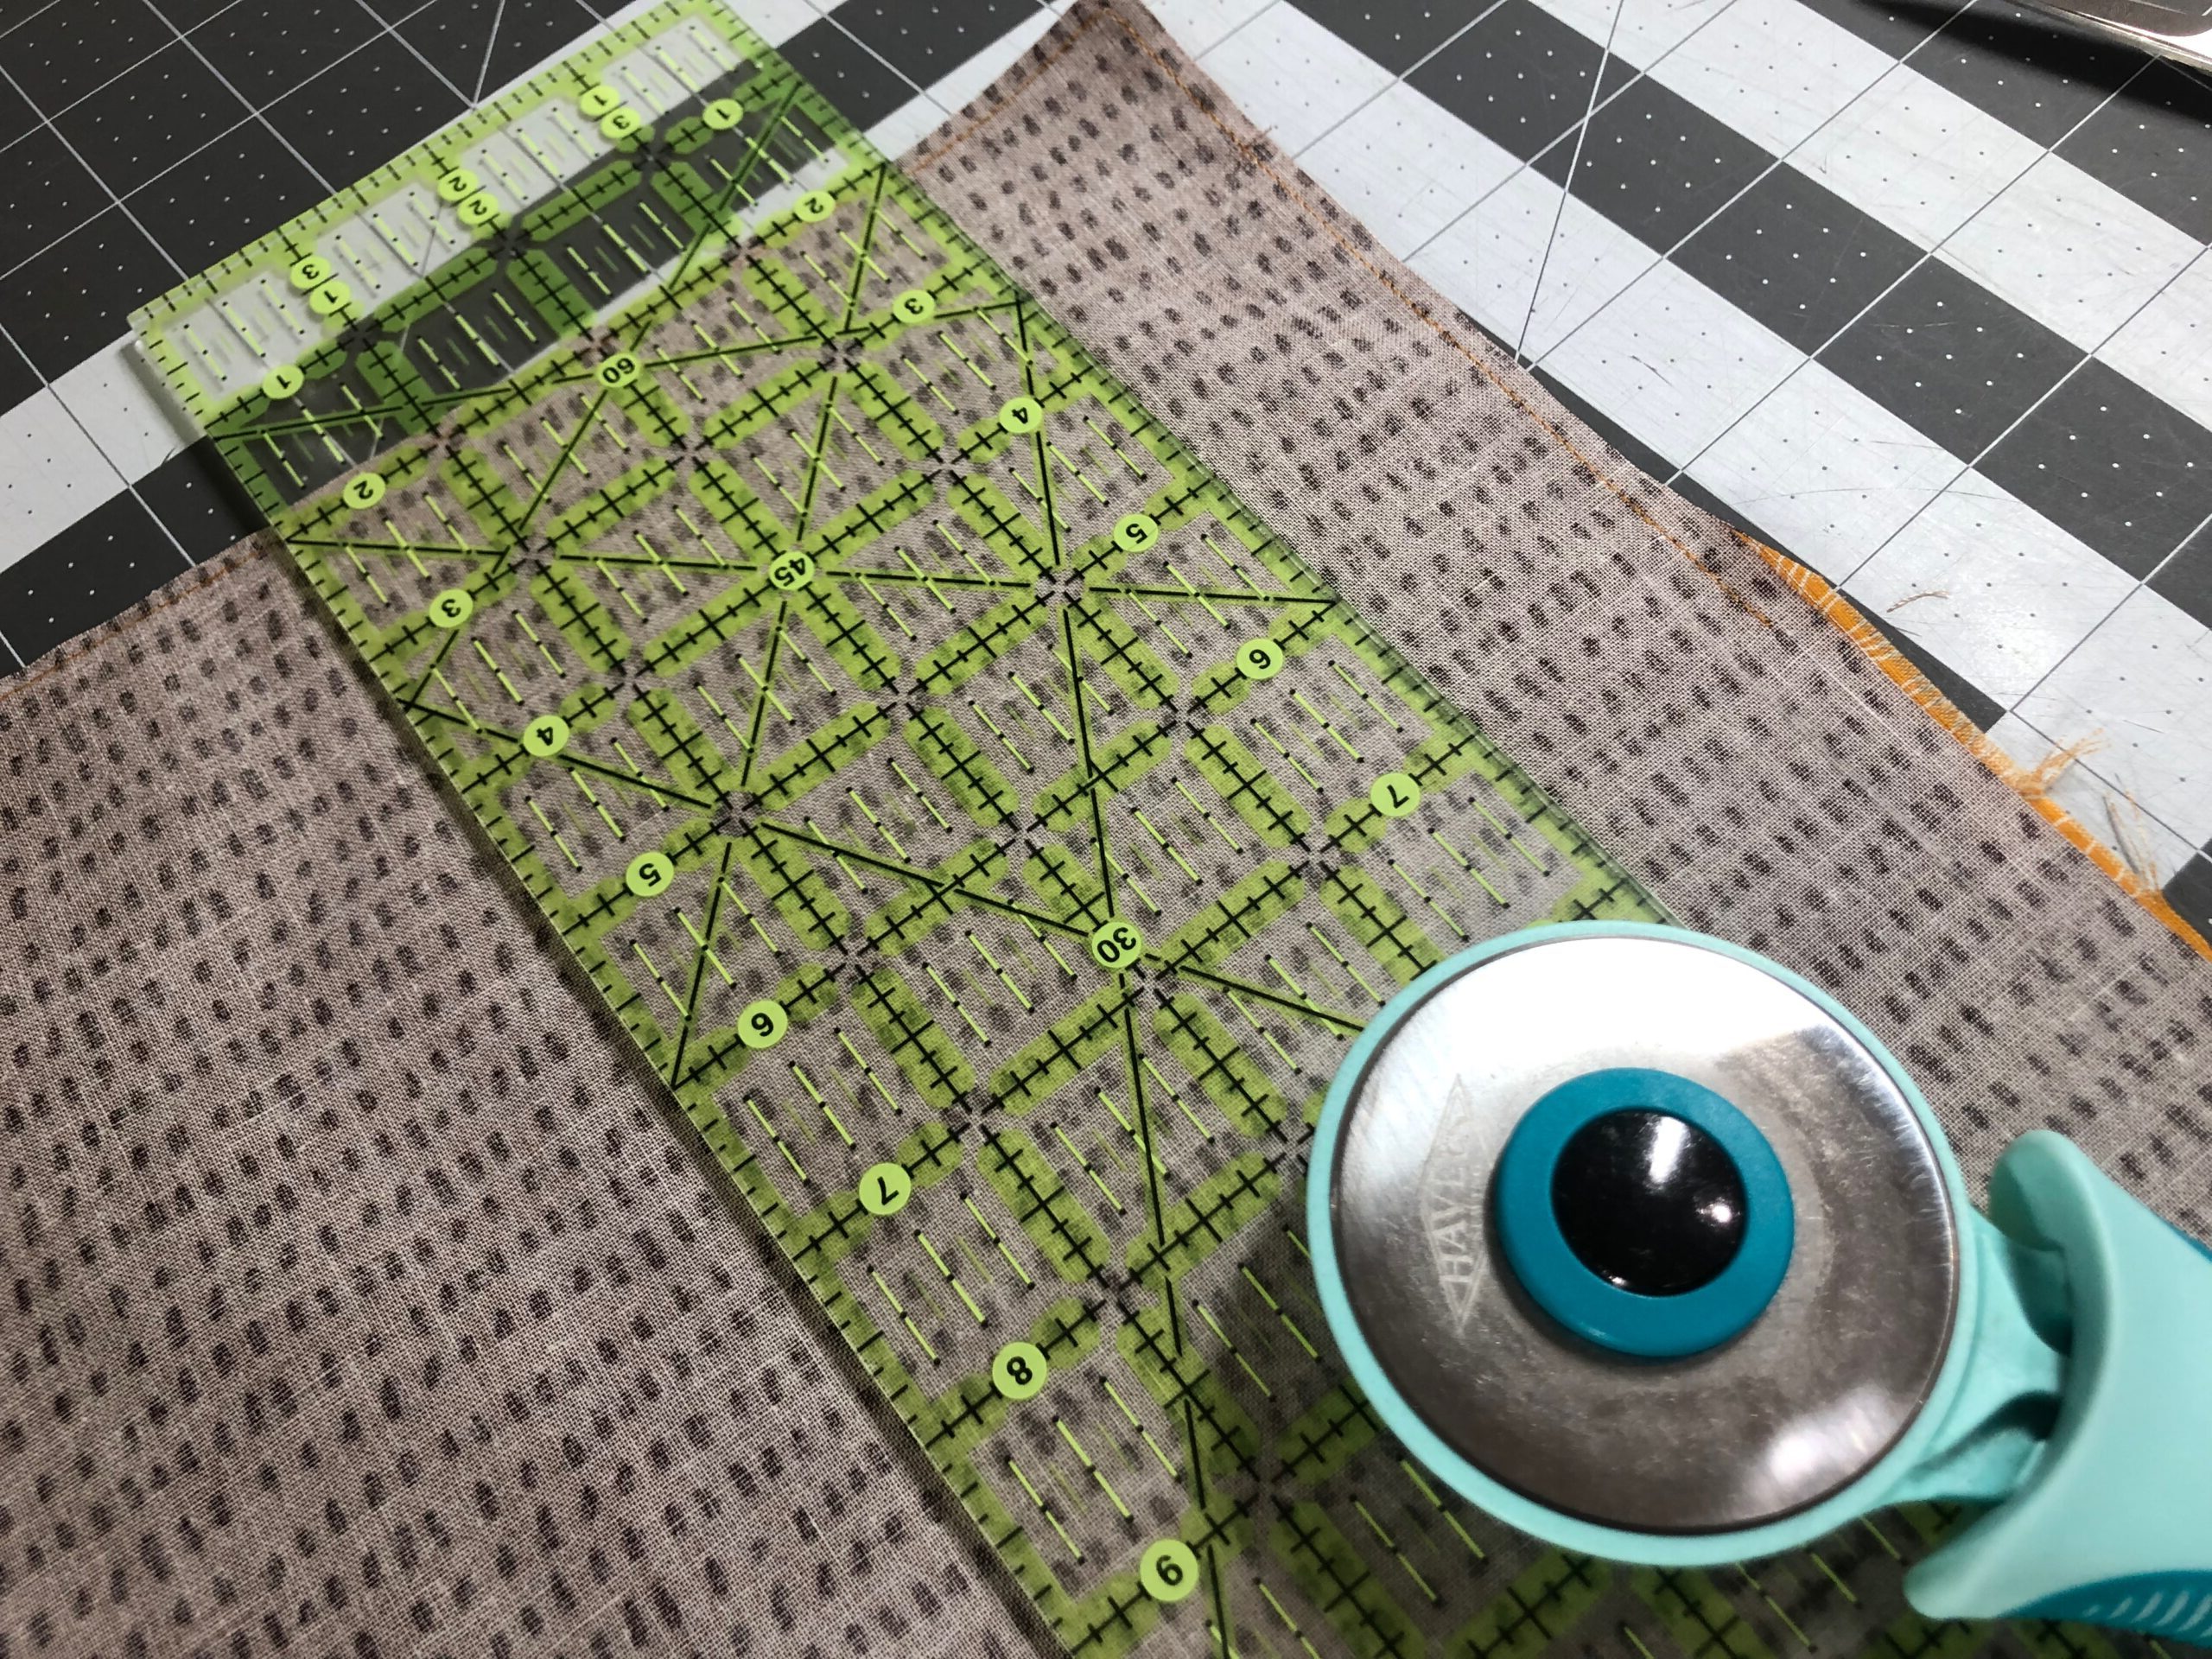
NAPKIN FABRICS & CUTTING
Napkins vary greatly in size, and the beauty of being able to sew your own napkins is that you get to choose the napkin size to make. The featured napkins are 14″ square. Some people prefer a 186″ square napkin for a “dinner” size, while others prefer a 10″ napkin for a “cocktail” size.
Determine the number of napkins desired and the desired size, and then decipher the yardage required from there.
Nice quality quilting cotton fabrics make great napkins. Linen fabric is also a luxurious choice, but wrinkles severely when washed and oftentimes has an open-weave structure that can stretch and/or warp when hooped, so not the best for machine embroidery.
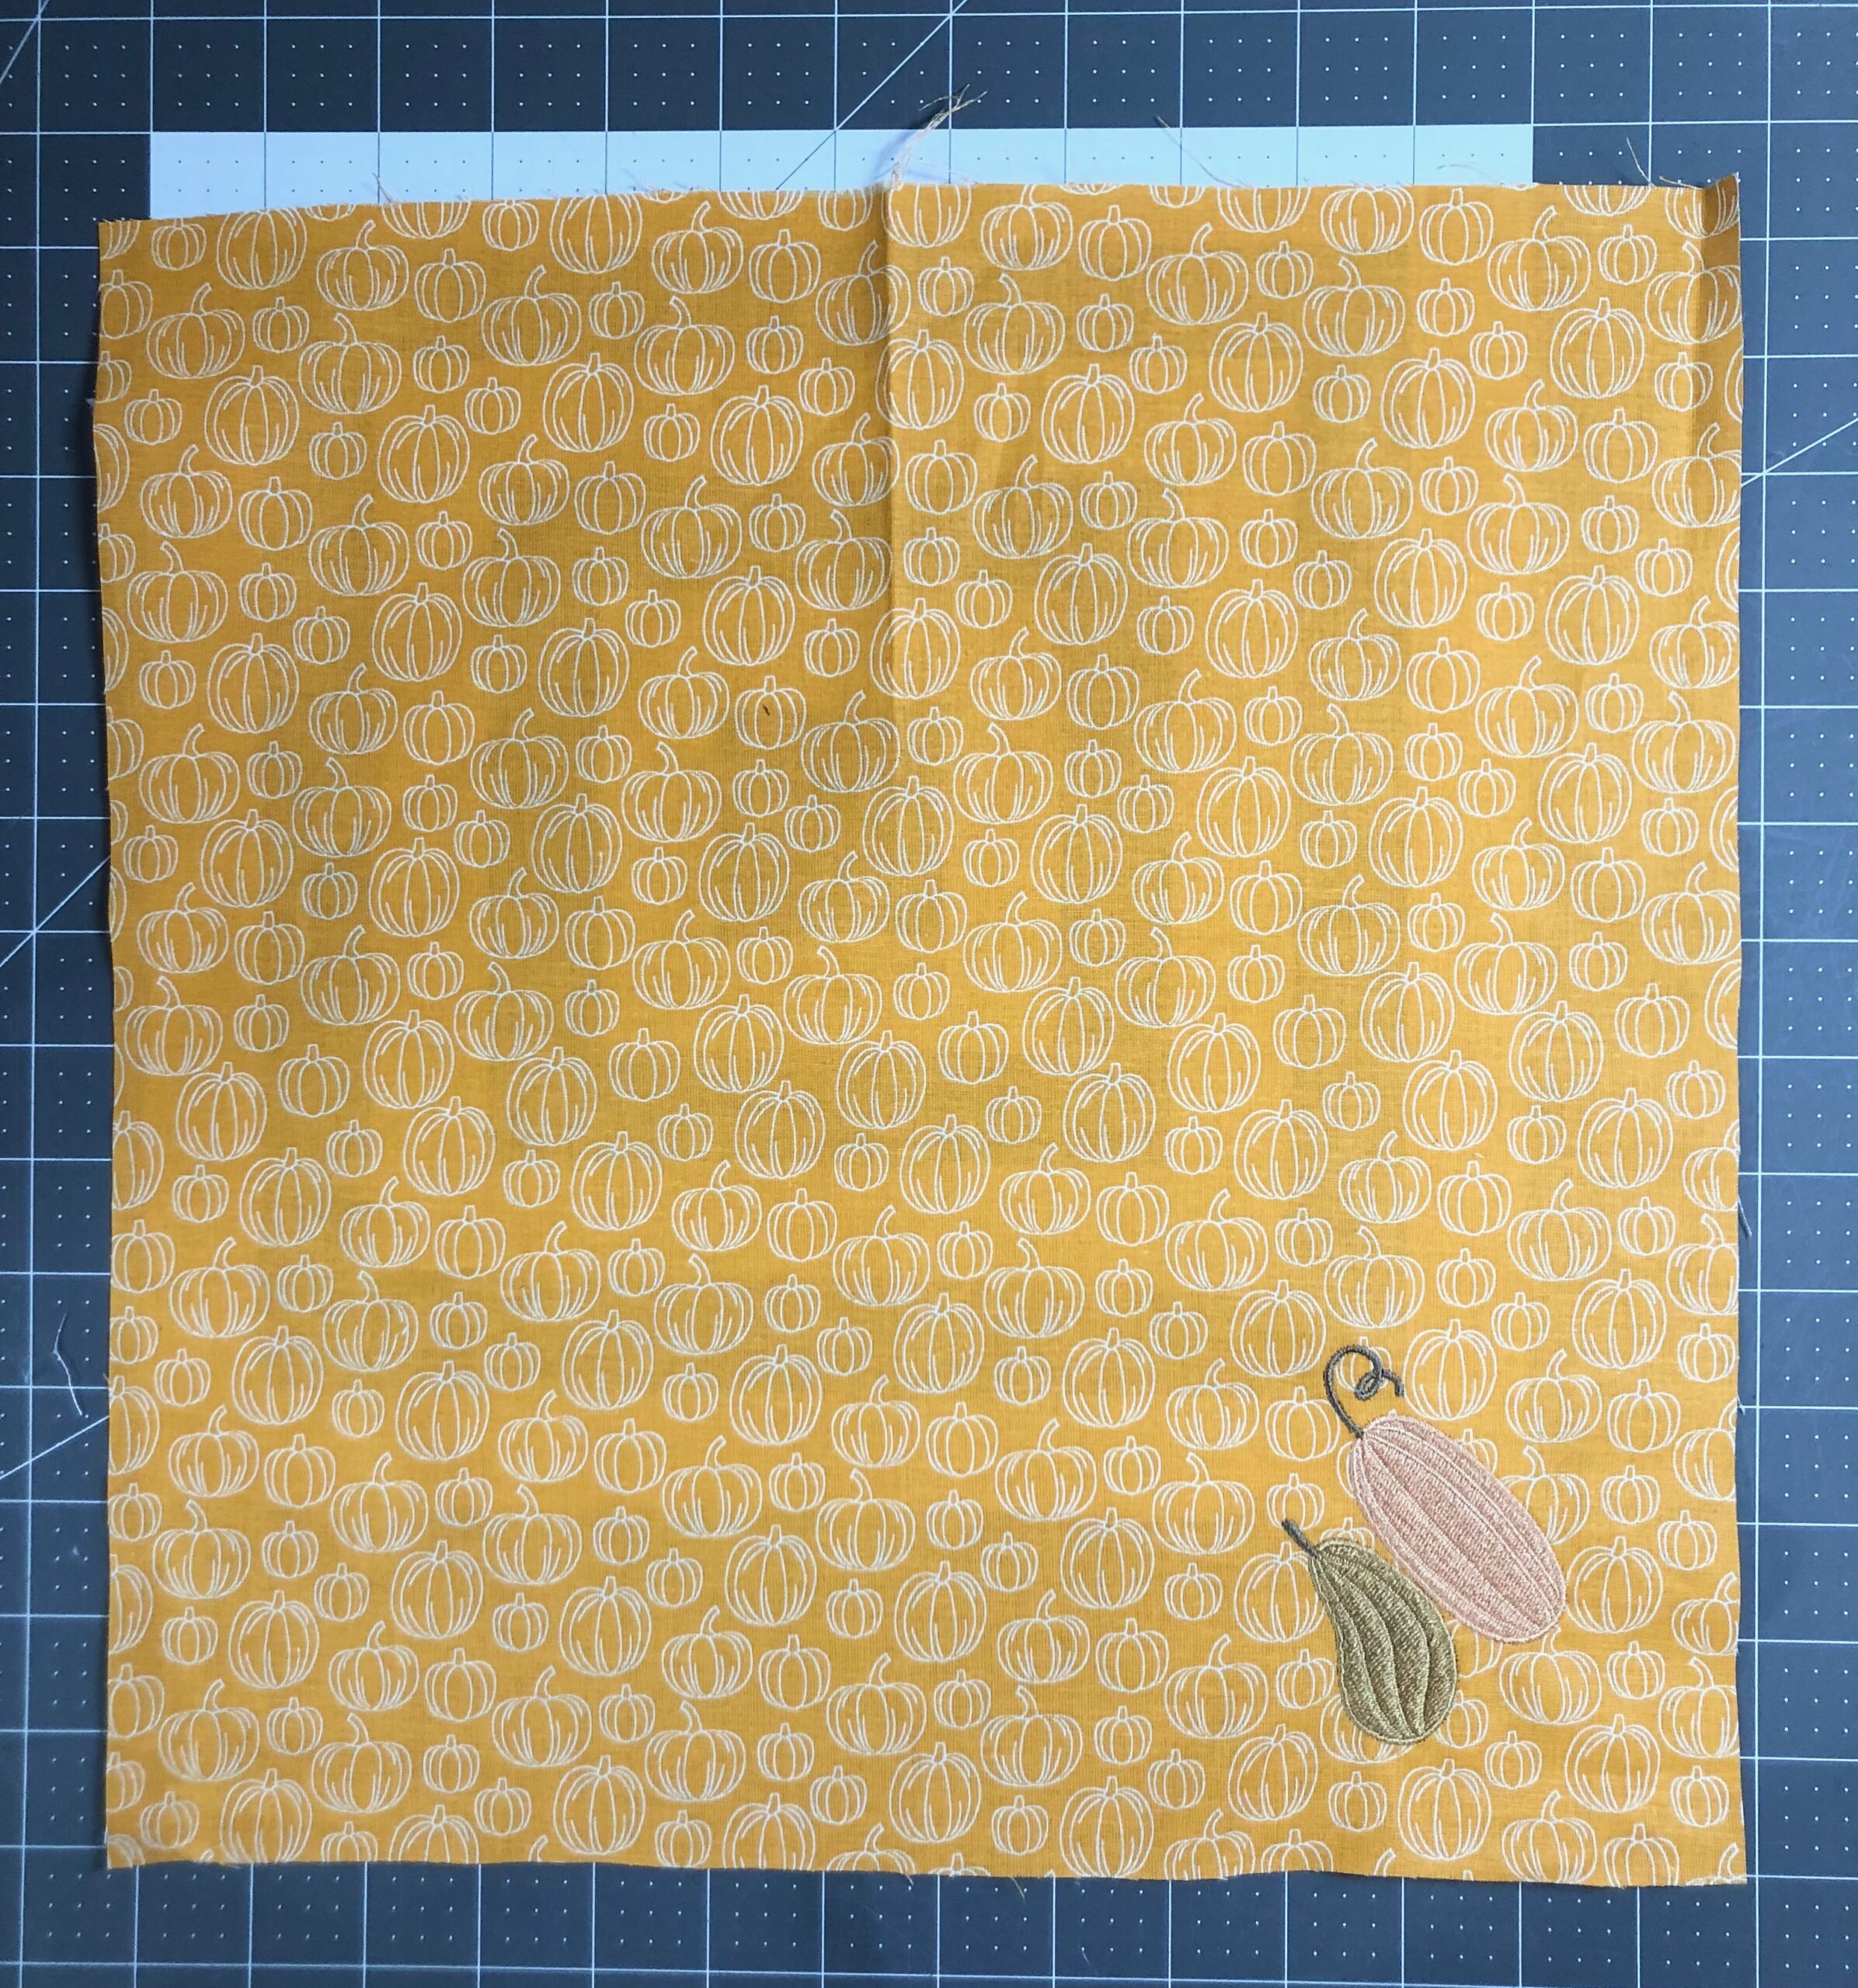
Not all napkins need to match! If you have a fat quarter bundle of fabrics from the same collection, make different napkins that coordinate for a festive table. Choose a different fabric for the front and back, making the napkins reversible for different holidays or décor styles.
After cutting the napkin squares for each napkin desired, set them aside to prep the sewing machine for embroidery.
Install a size 80/12 Universal needle. Thread the needle with the first Rayon Thread color in the design. Then, install a bobbin wound with 60 wt. Bobbin Thread.
EMBROIDERY ON NAPKINS
Smaller scale designs work well on napkins, providing a subtle yet effective embellishment. The Fall Botanicals embroidery designs range from 1″ to 3″ and all fit within a 4×4 hoop. Plan to stitch the same design on all the napkins you’ll create, or choose different designs from the same collection to mix and match for a cute napkin collection.
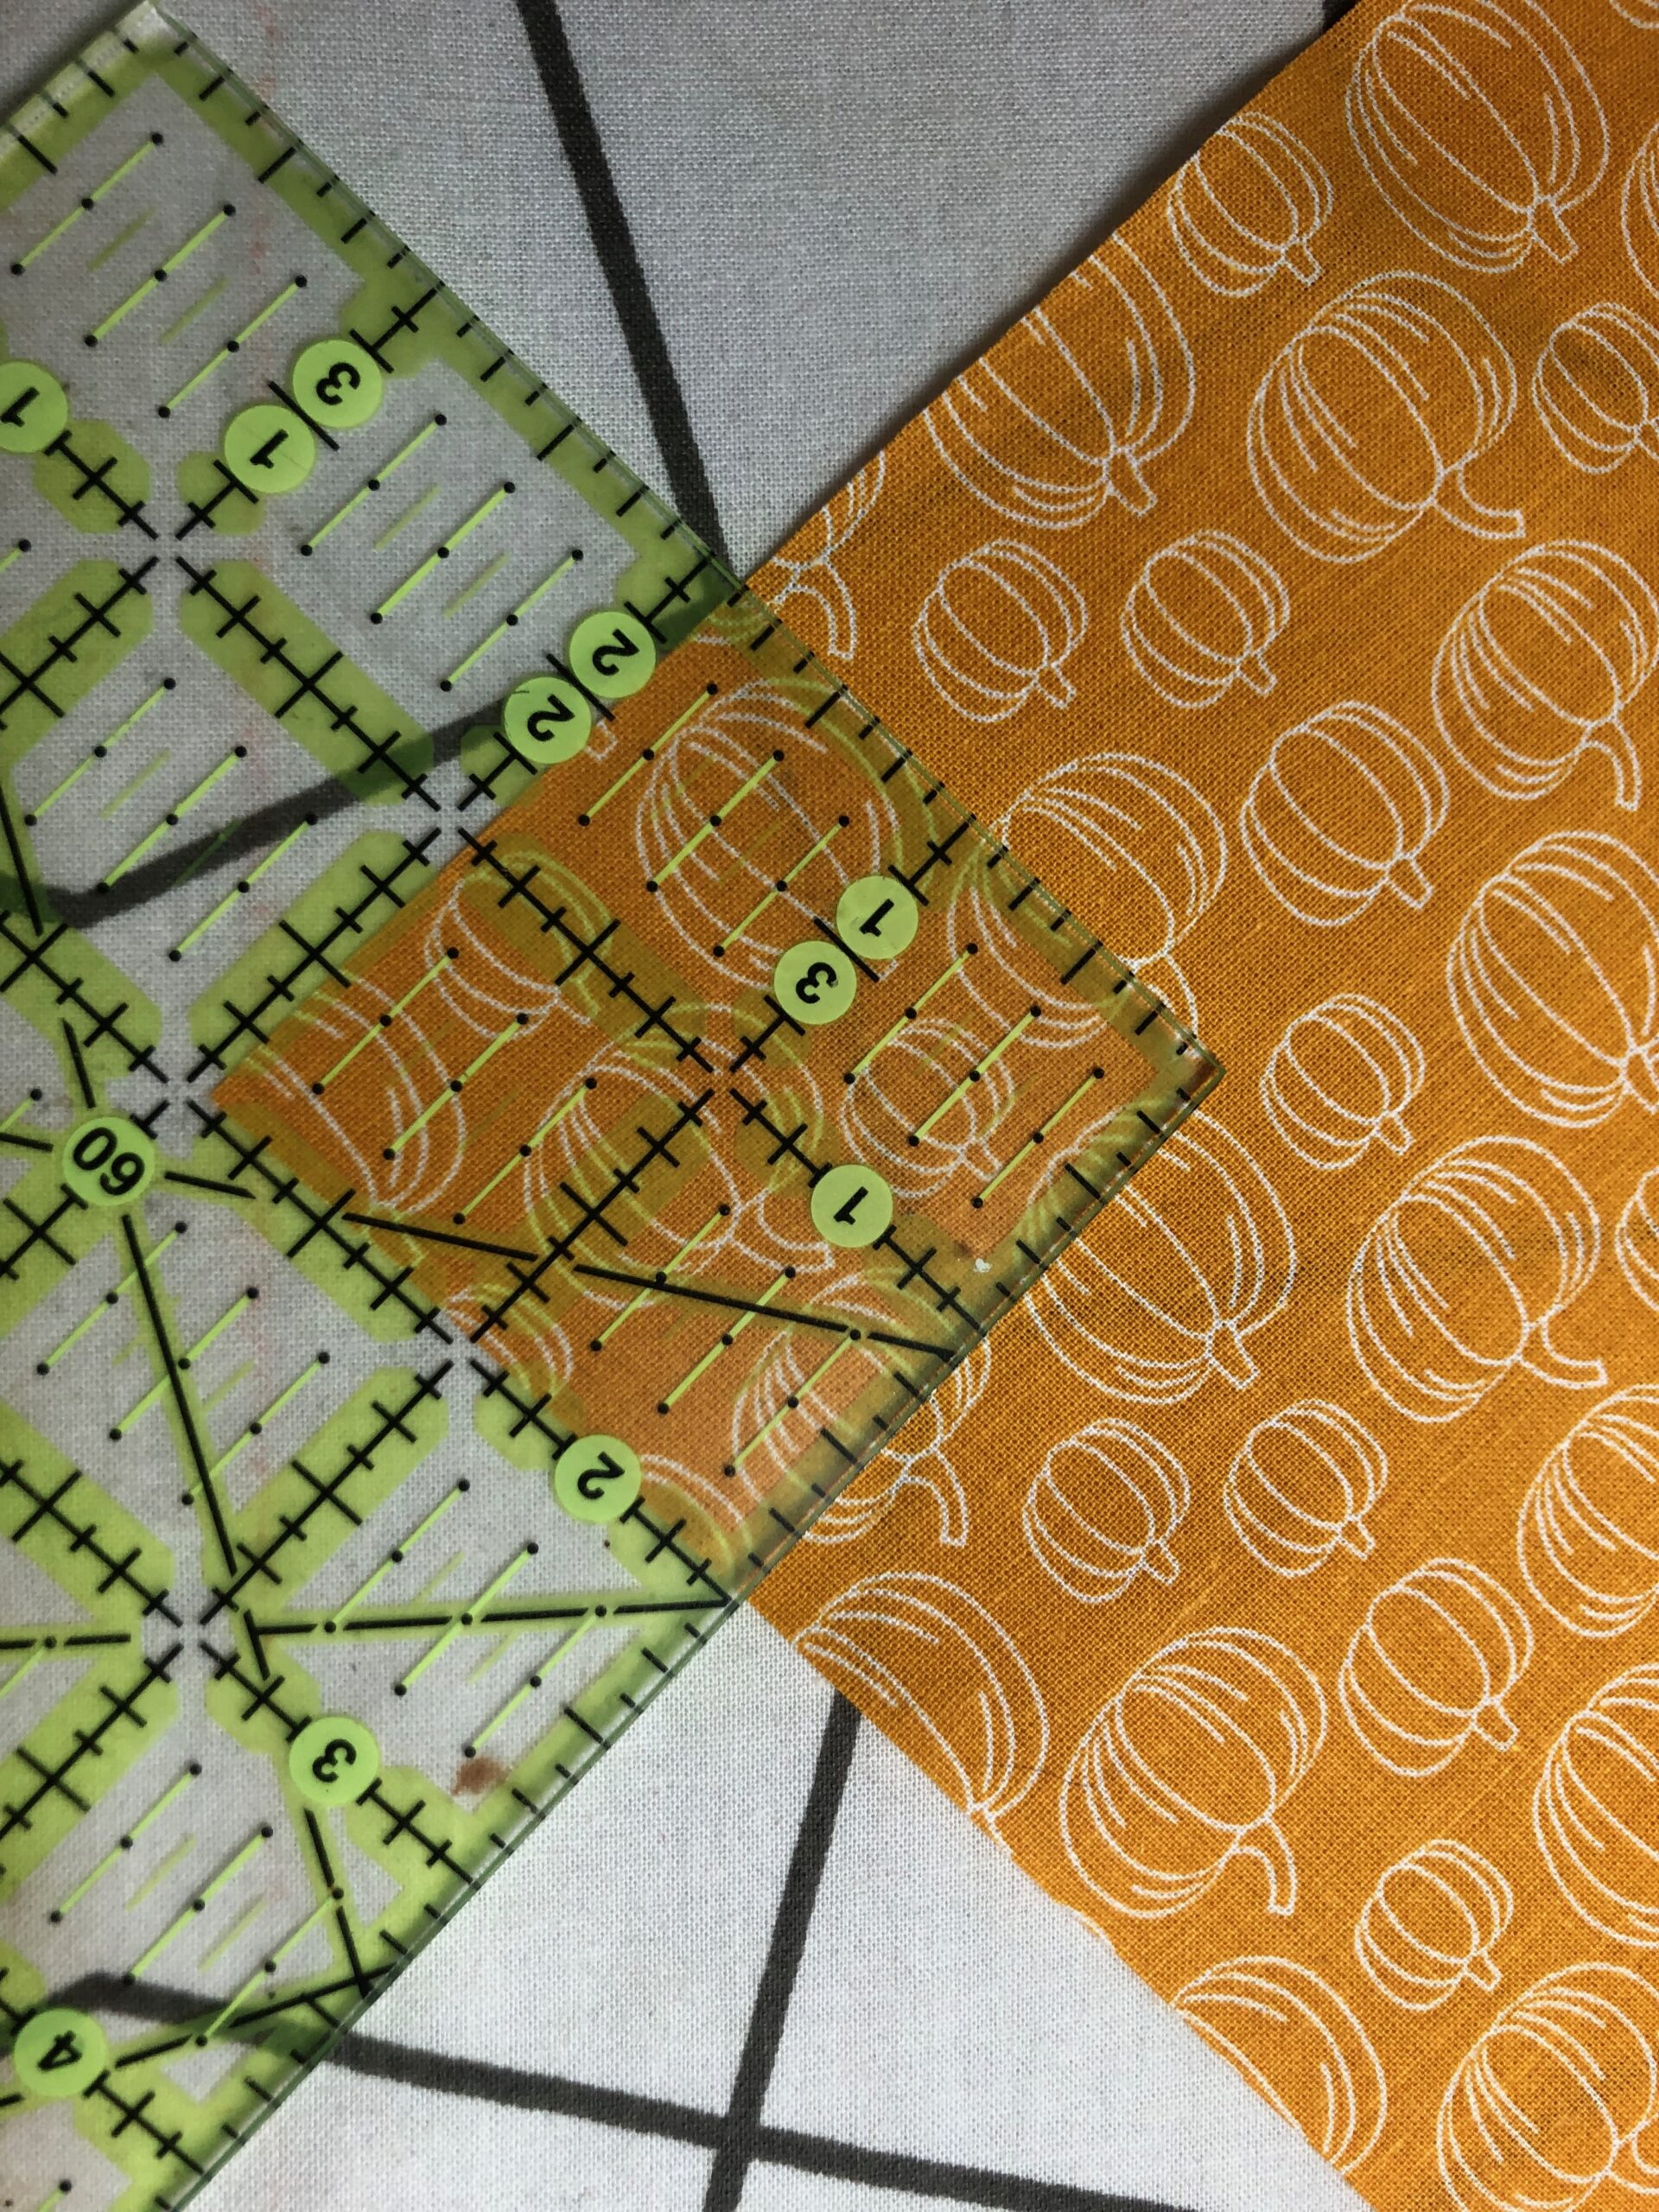
Decide on the embroidery design placement, using the napkin “front” to audition an embroidery template in the correct size. The featured napkin is embroidered along one corner point, leaving a 2″ fabric border beyond the design perimeter to account for seam allowances and topstitching.
Mark the design placement using a removable fabric marker. Or fold the fabric in half widthwise and lengthwise at the desired design center; finger-press, and then unfold.
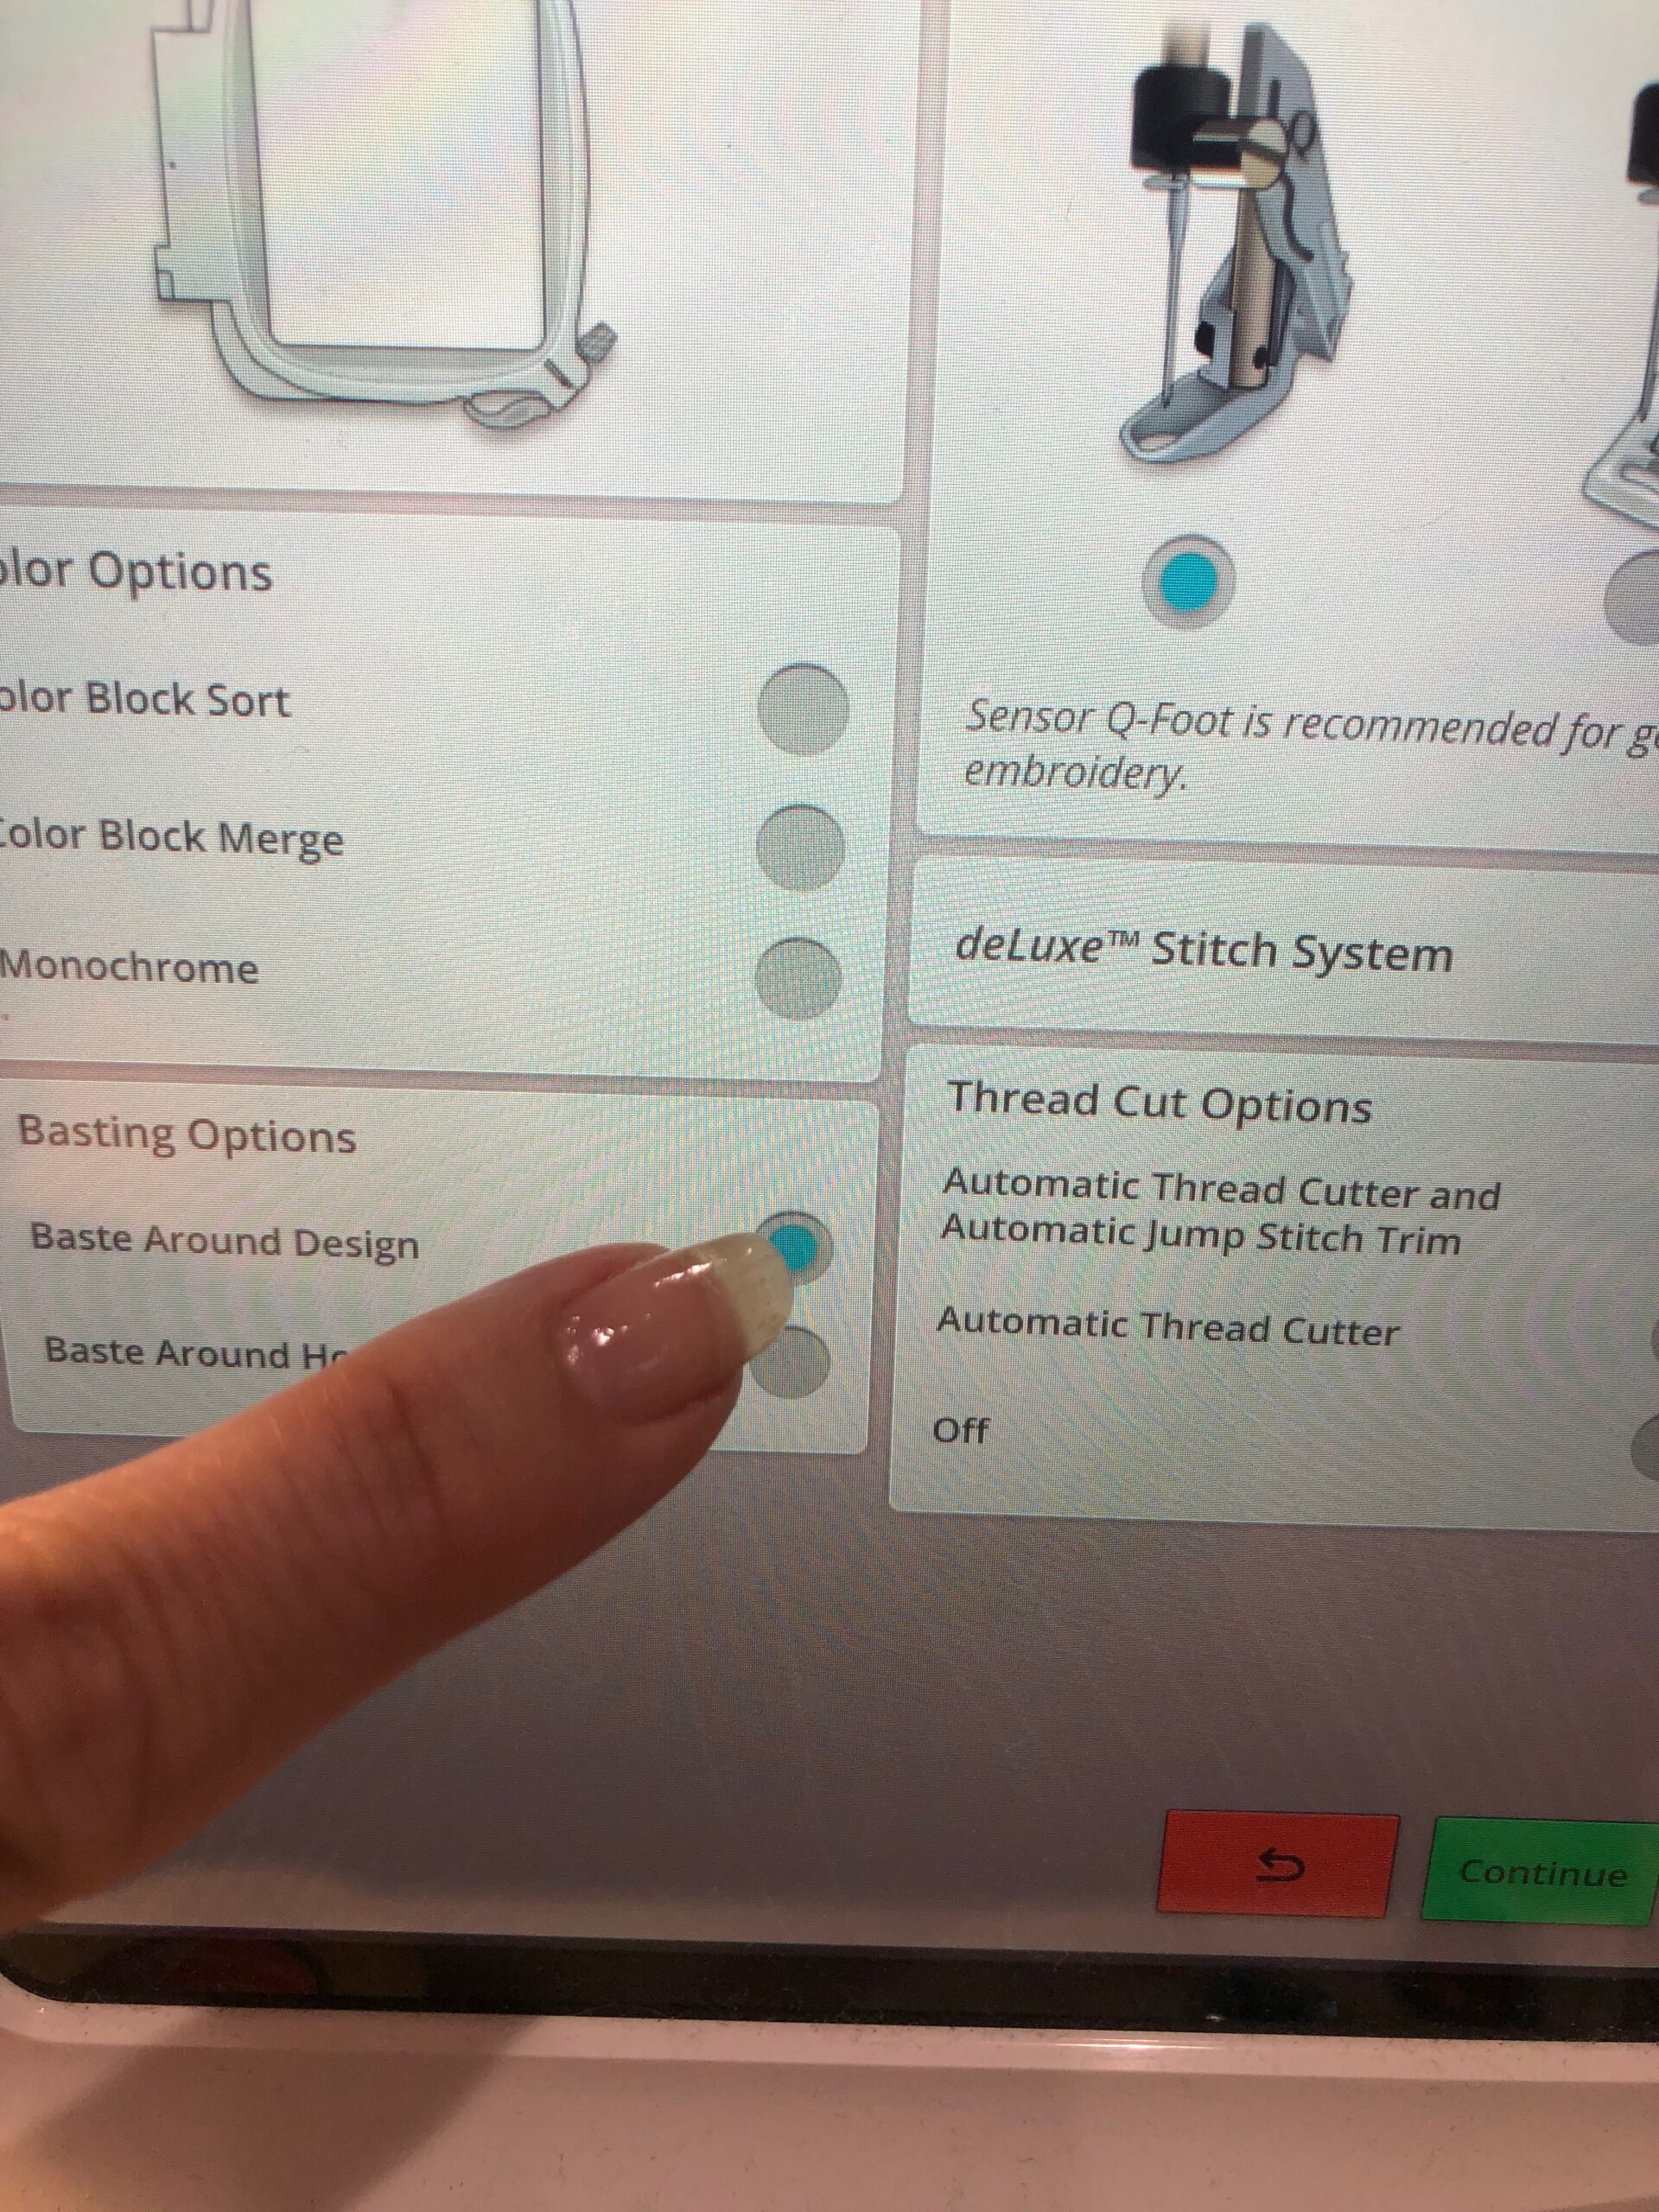
Then, load the design into the embroidery machine, and set the machine to add perimeter-basting around the design, if possible.
HOOPING NAPKINS
Hoop a piece of Tear-Easy Stabilizer. If embroidering a dense design, such as the featured Fall Botanicals Gourds design, hoop two layers of stabilizer.
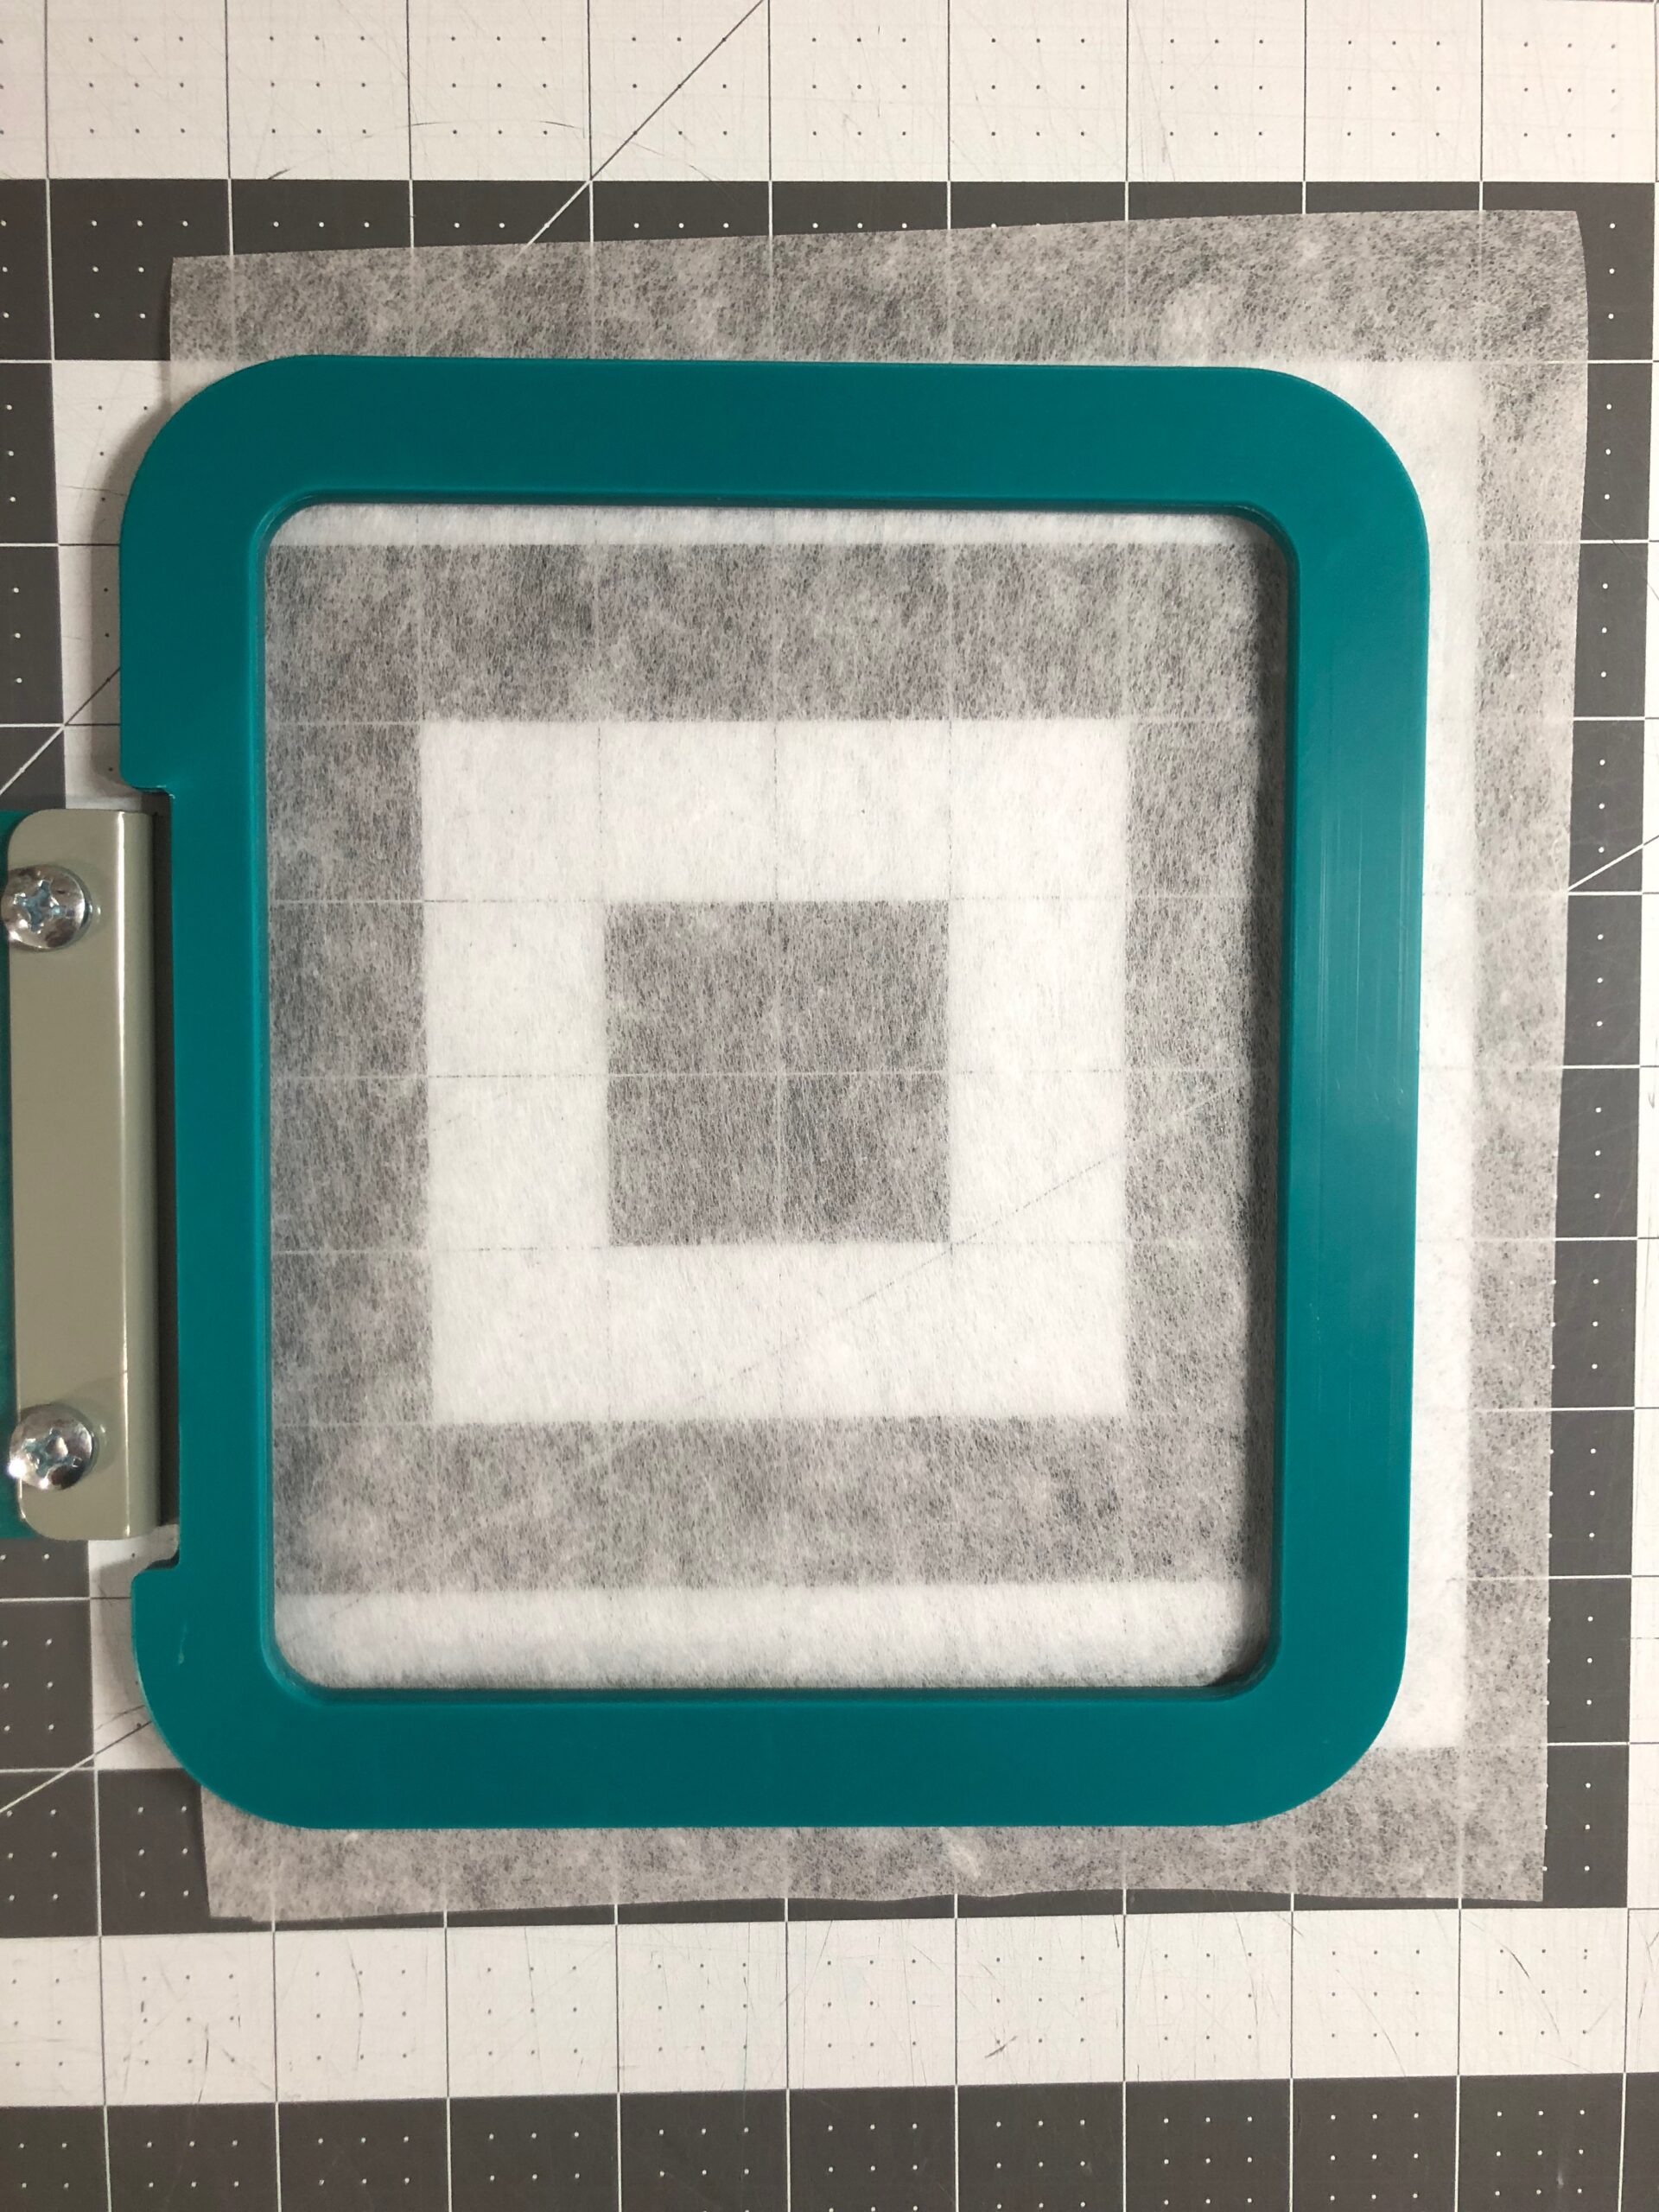
Place the hoop onto the machine.
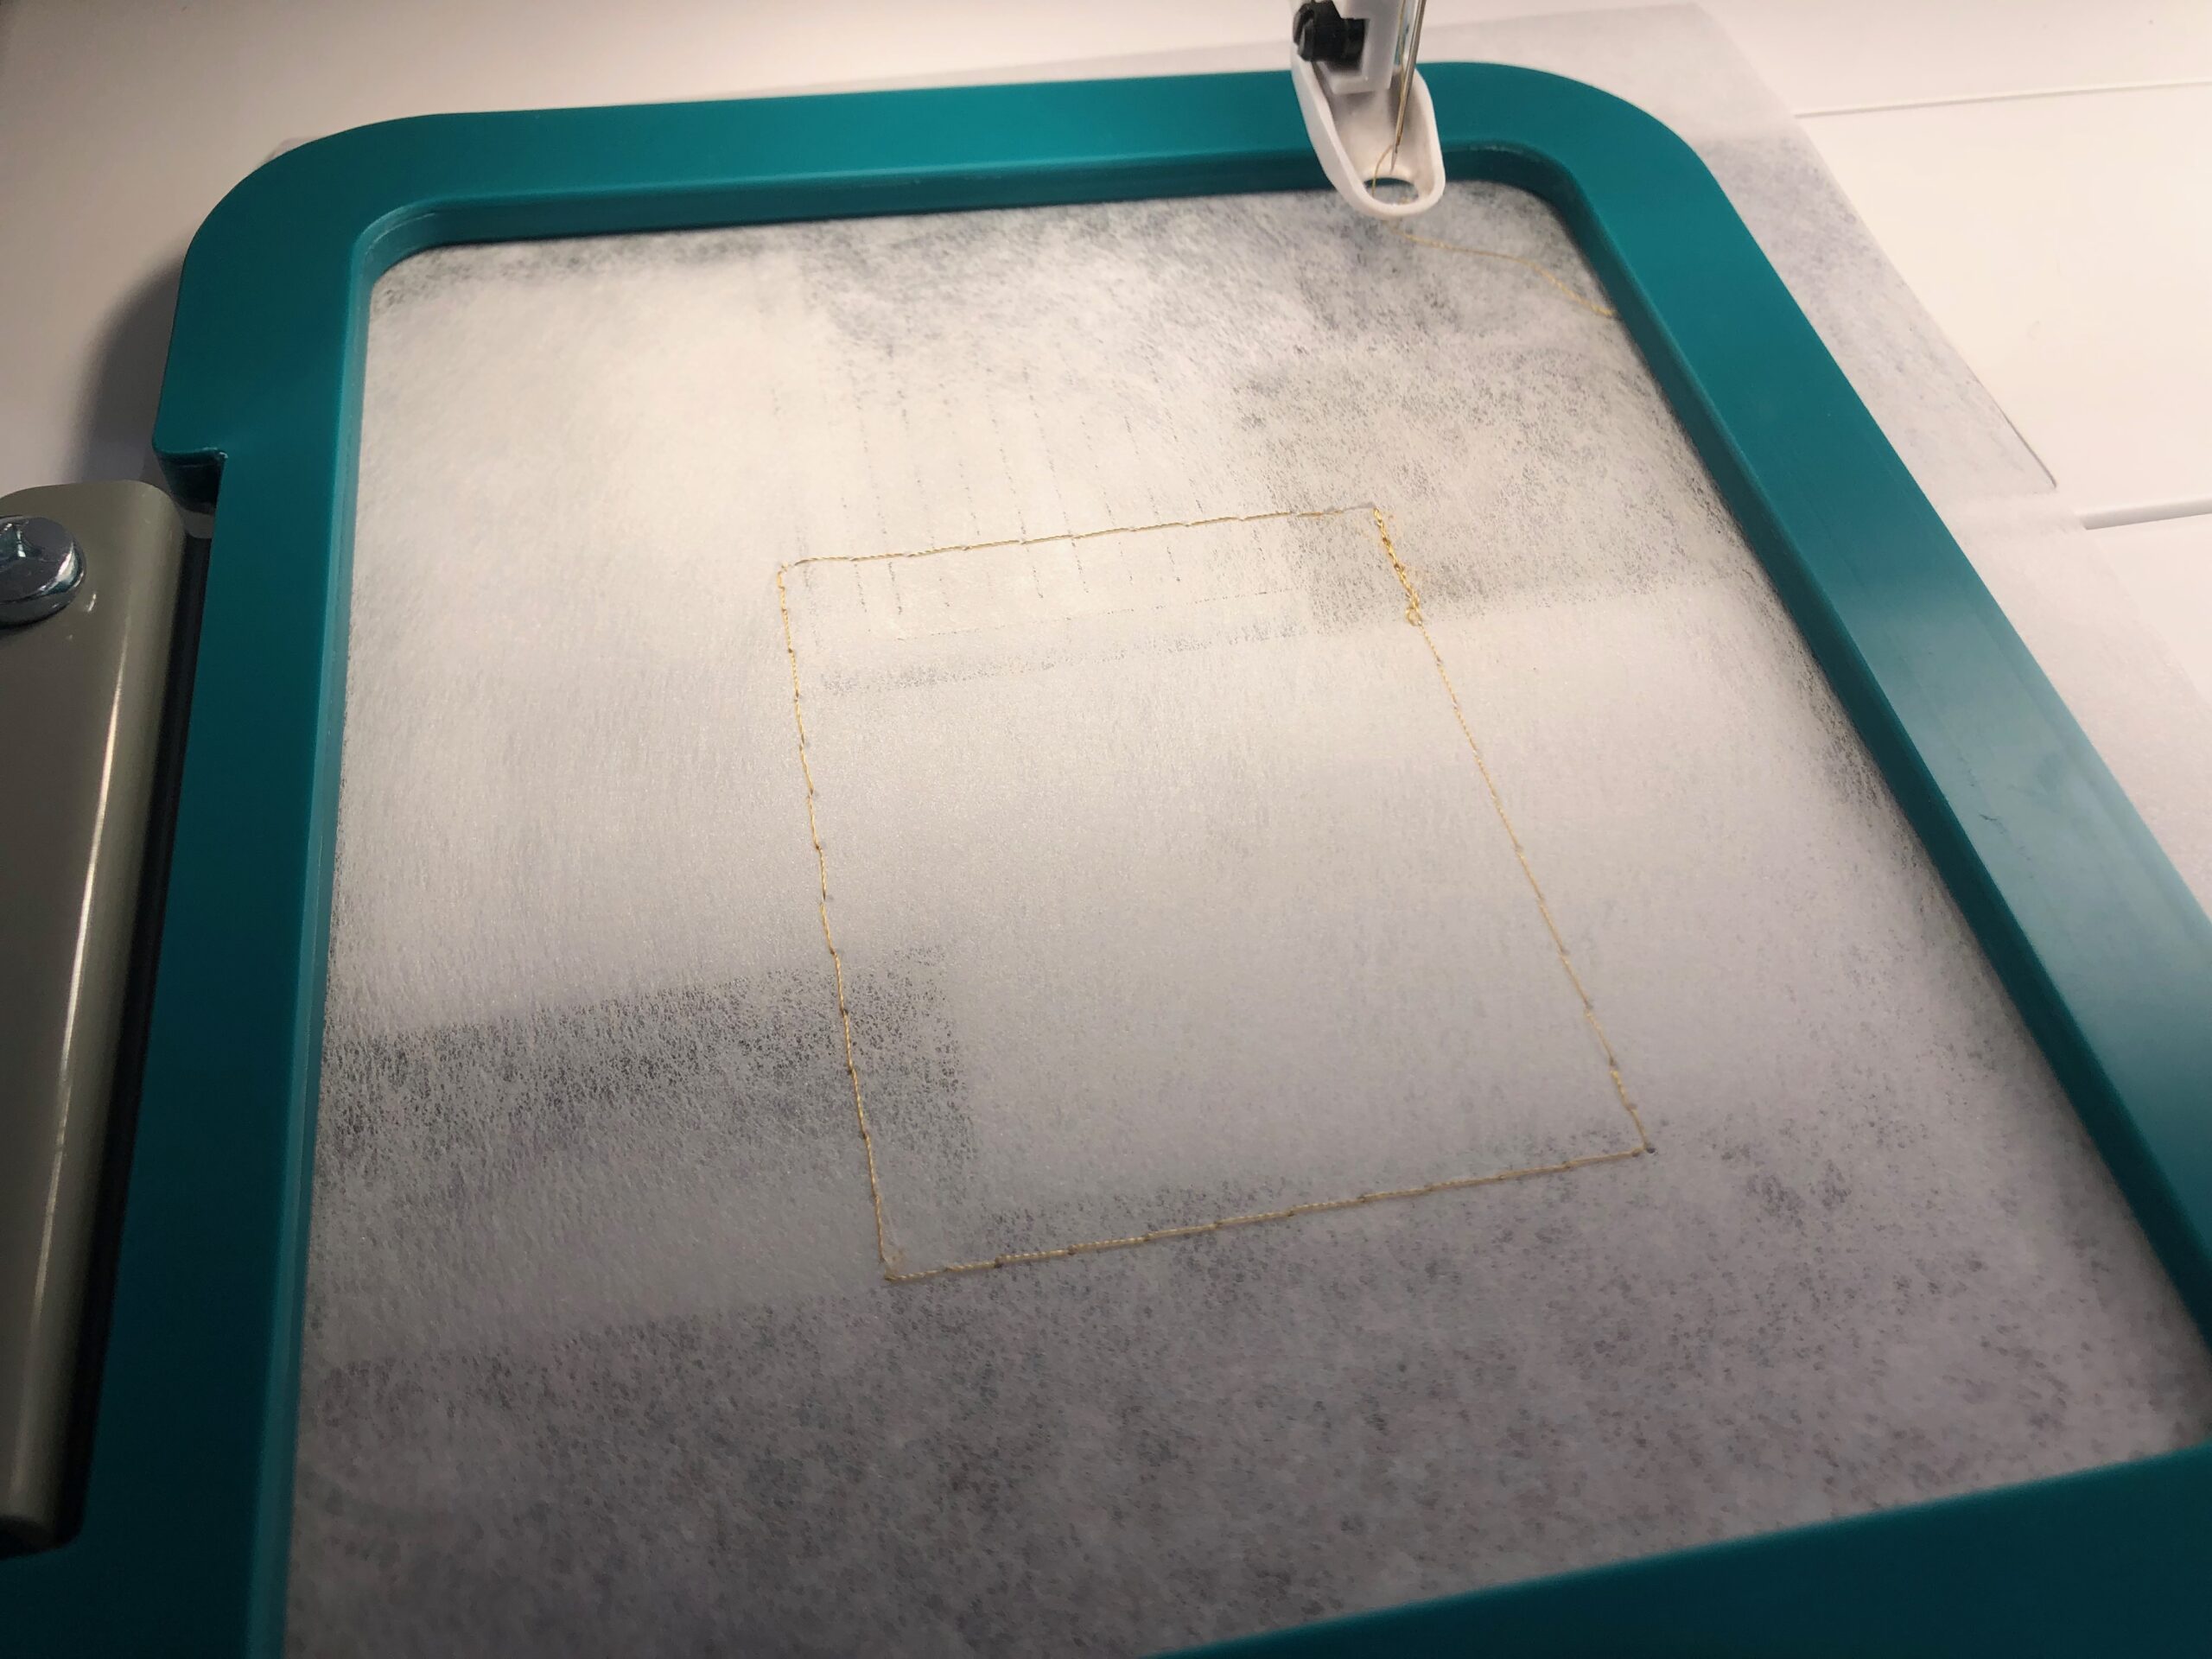
Next, stitch the first color stop, which is the perimeter basting, directly onto the stabilizer. If not using this function, omit this step and proceed to the next directive.
Then, remove the hoop from the machine. Use the perimeter basting stitches to aid in placing the napkin fabric square in the hoop, centering the markings. Or use the placement aid of your choice to ensure proper fabric placement.
Use KK 2000 to secure the napkin fabric to the hooped stabilizer.
TIP: If using a magnetic hoop, you can attach the top hoop right over the napkin fabric, even though it doesn’t fit entirely in the hoop! Magnetic hoops are a game-changer for machine embroidery in many ways, and this is one benefit to using them.
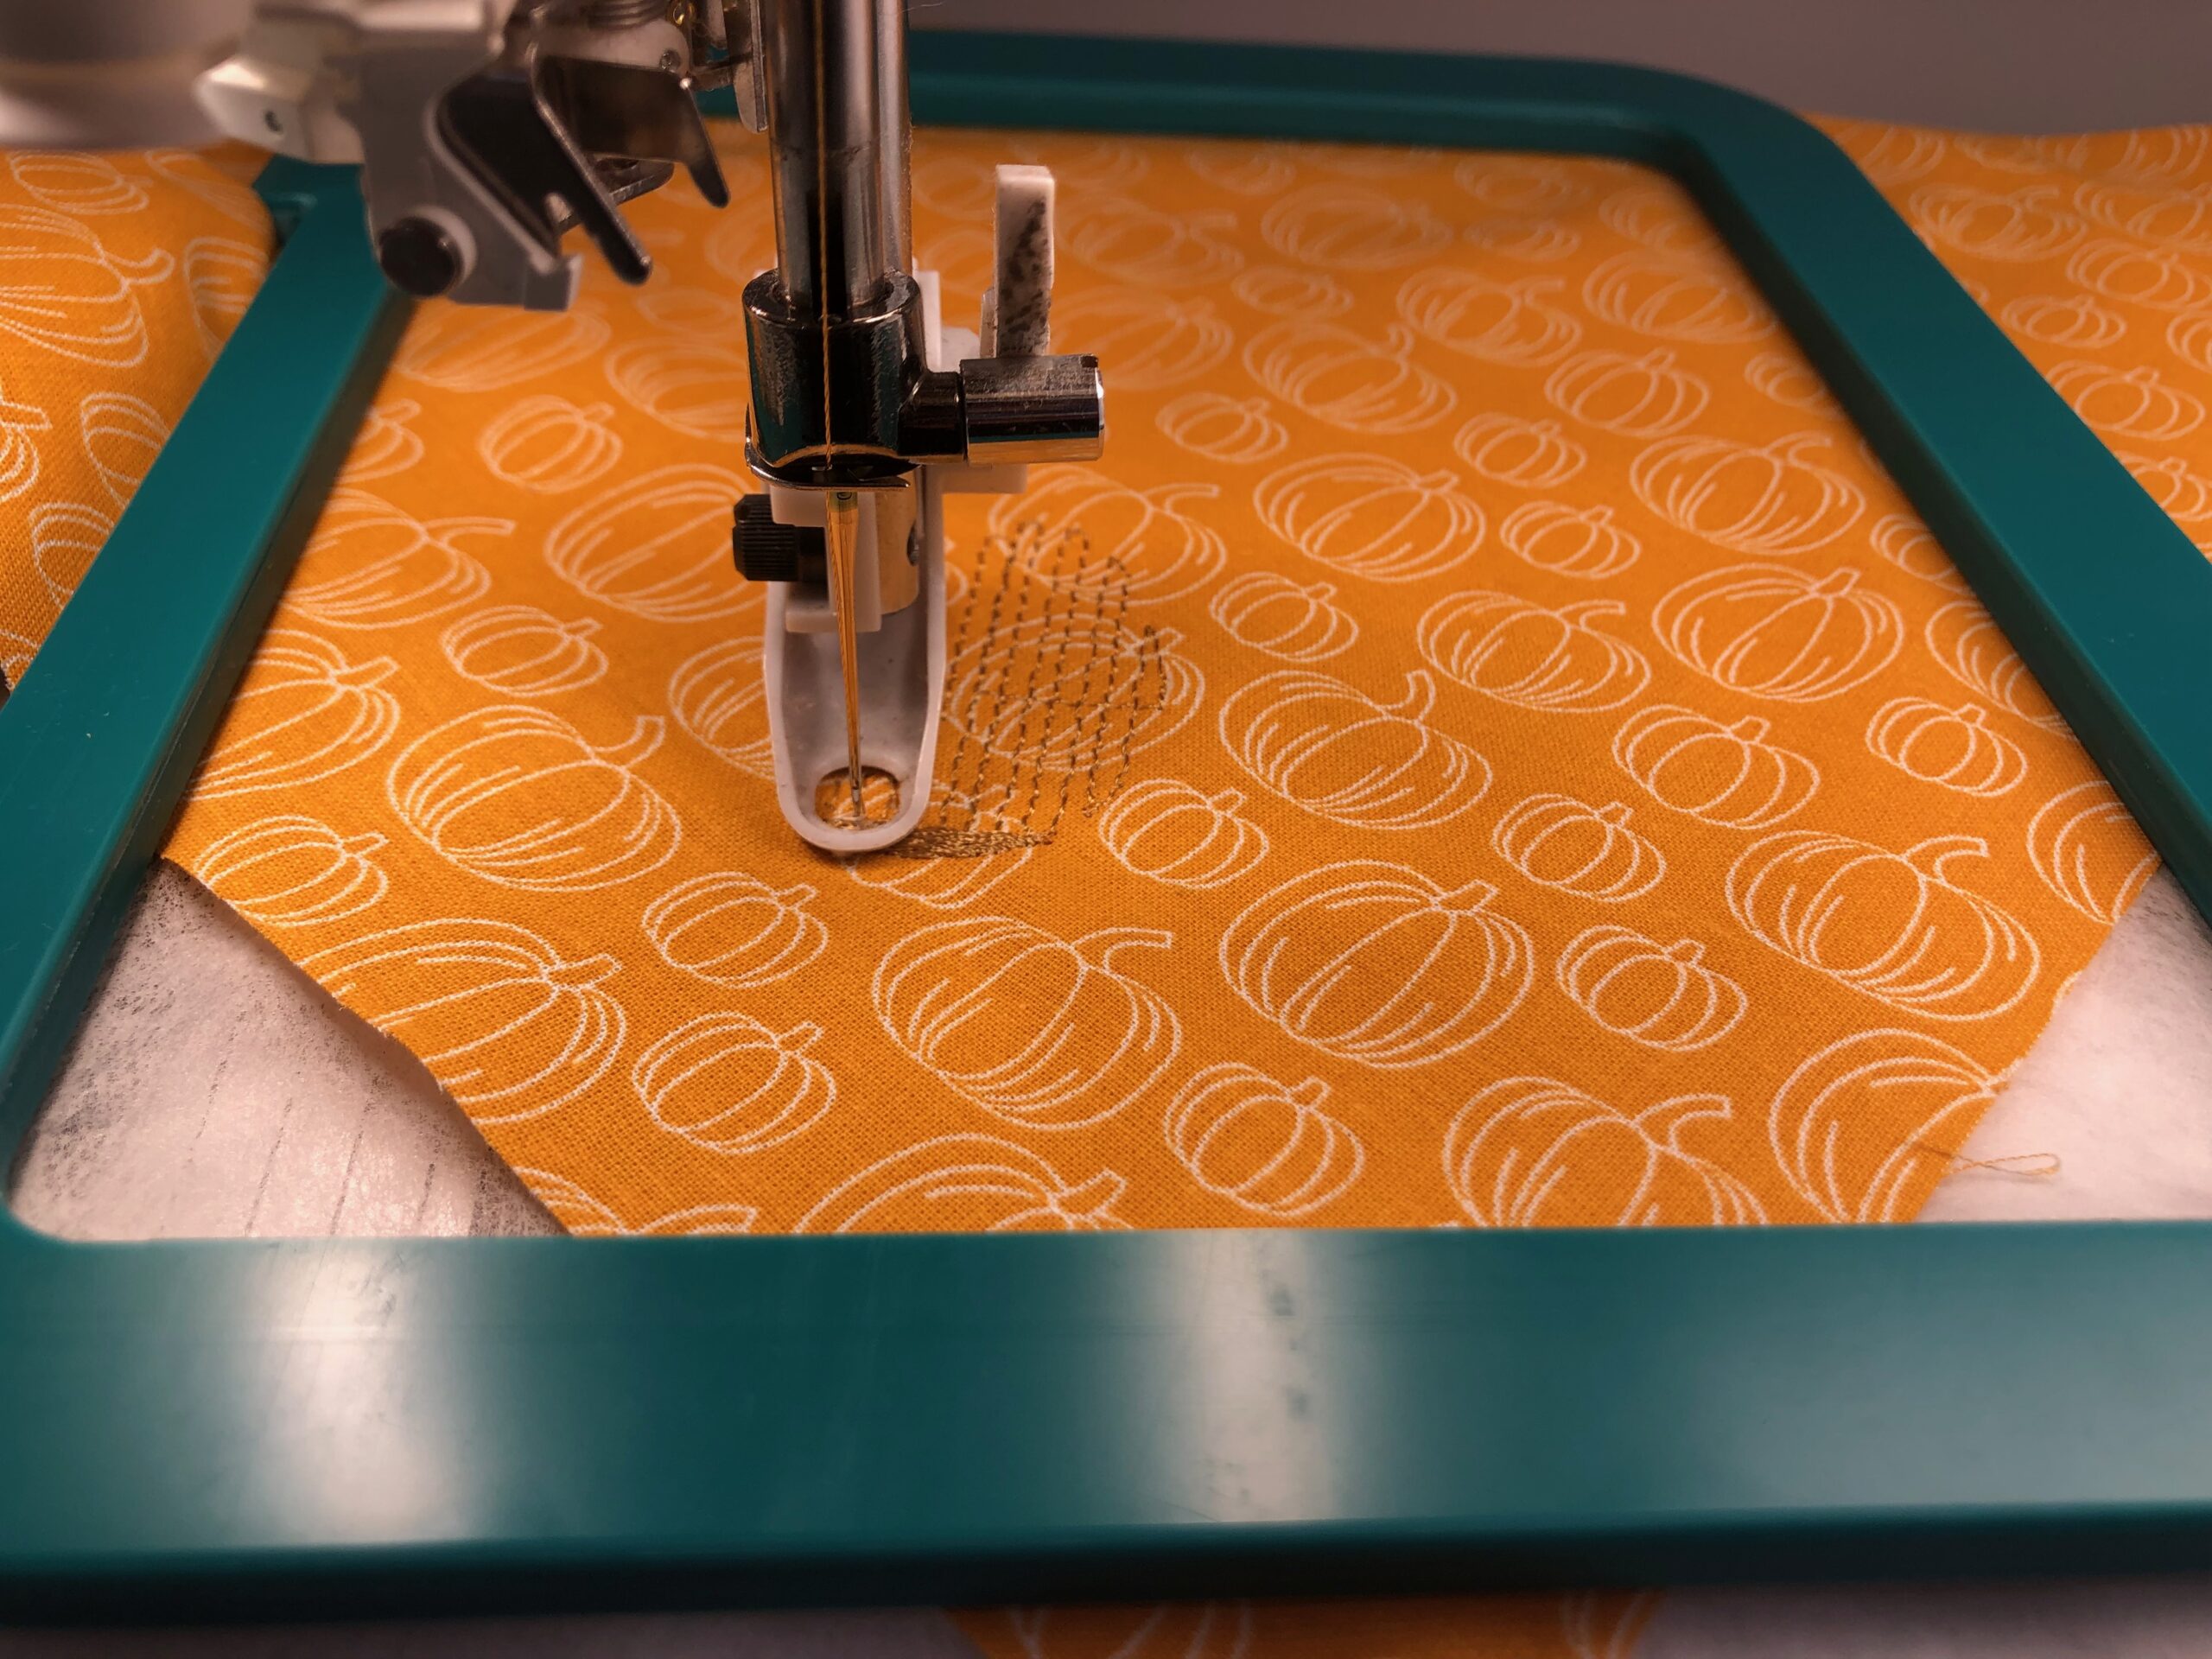
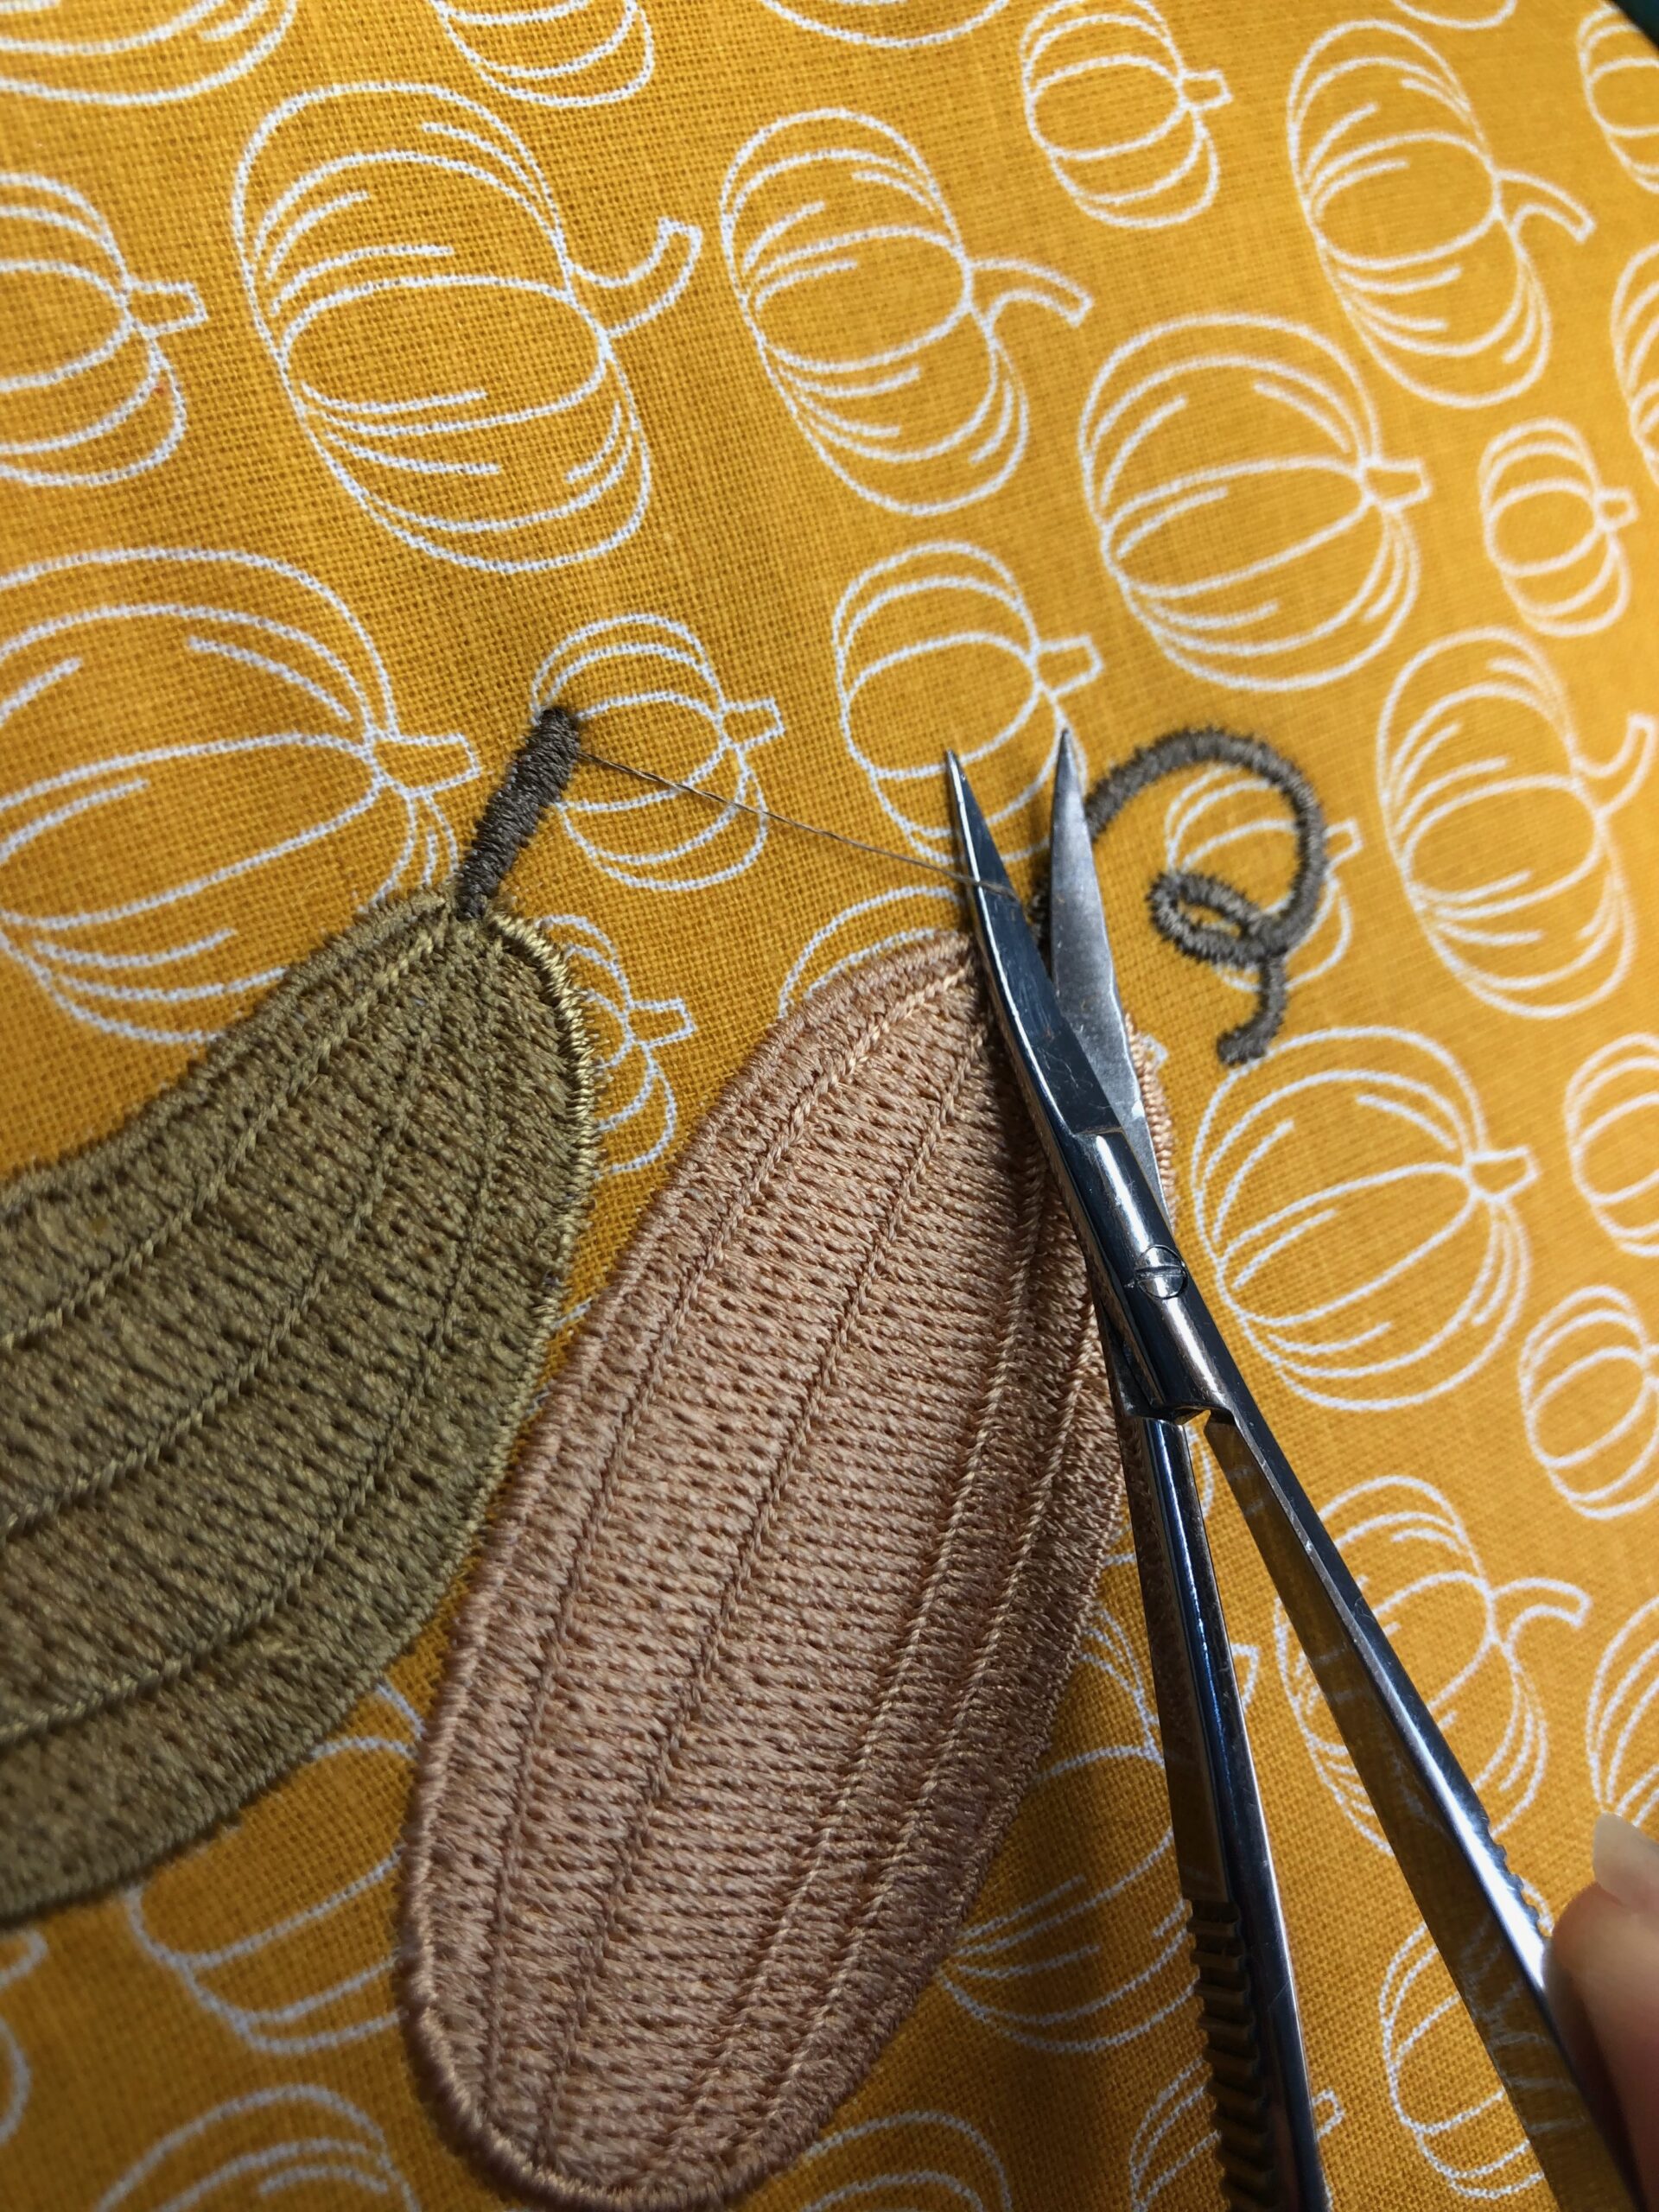
Place the hoop back onto the machine, and then embroider the design. Clip jump threads with each thread change, using Curved Tip Squeezers.
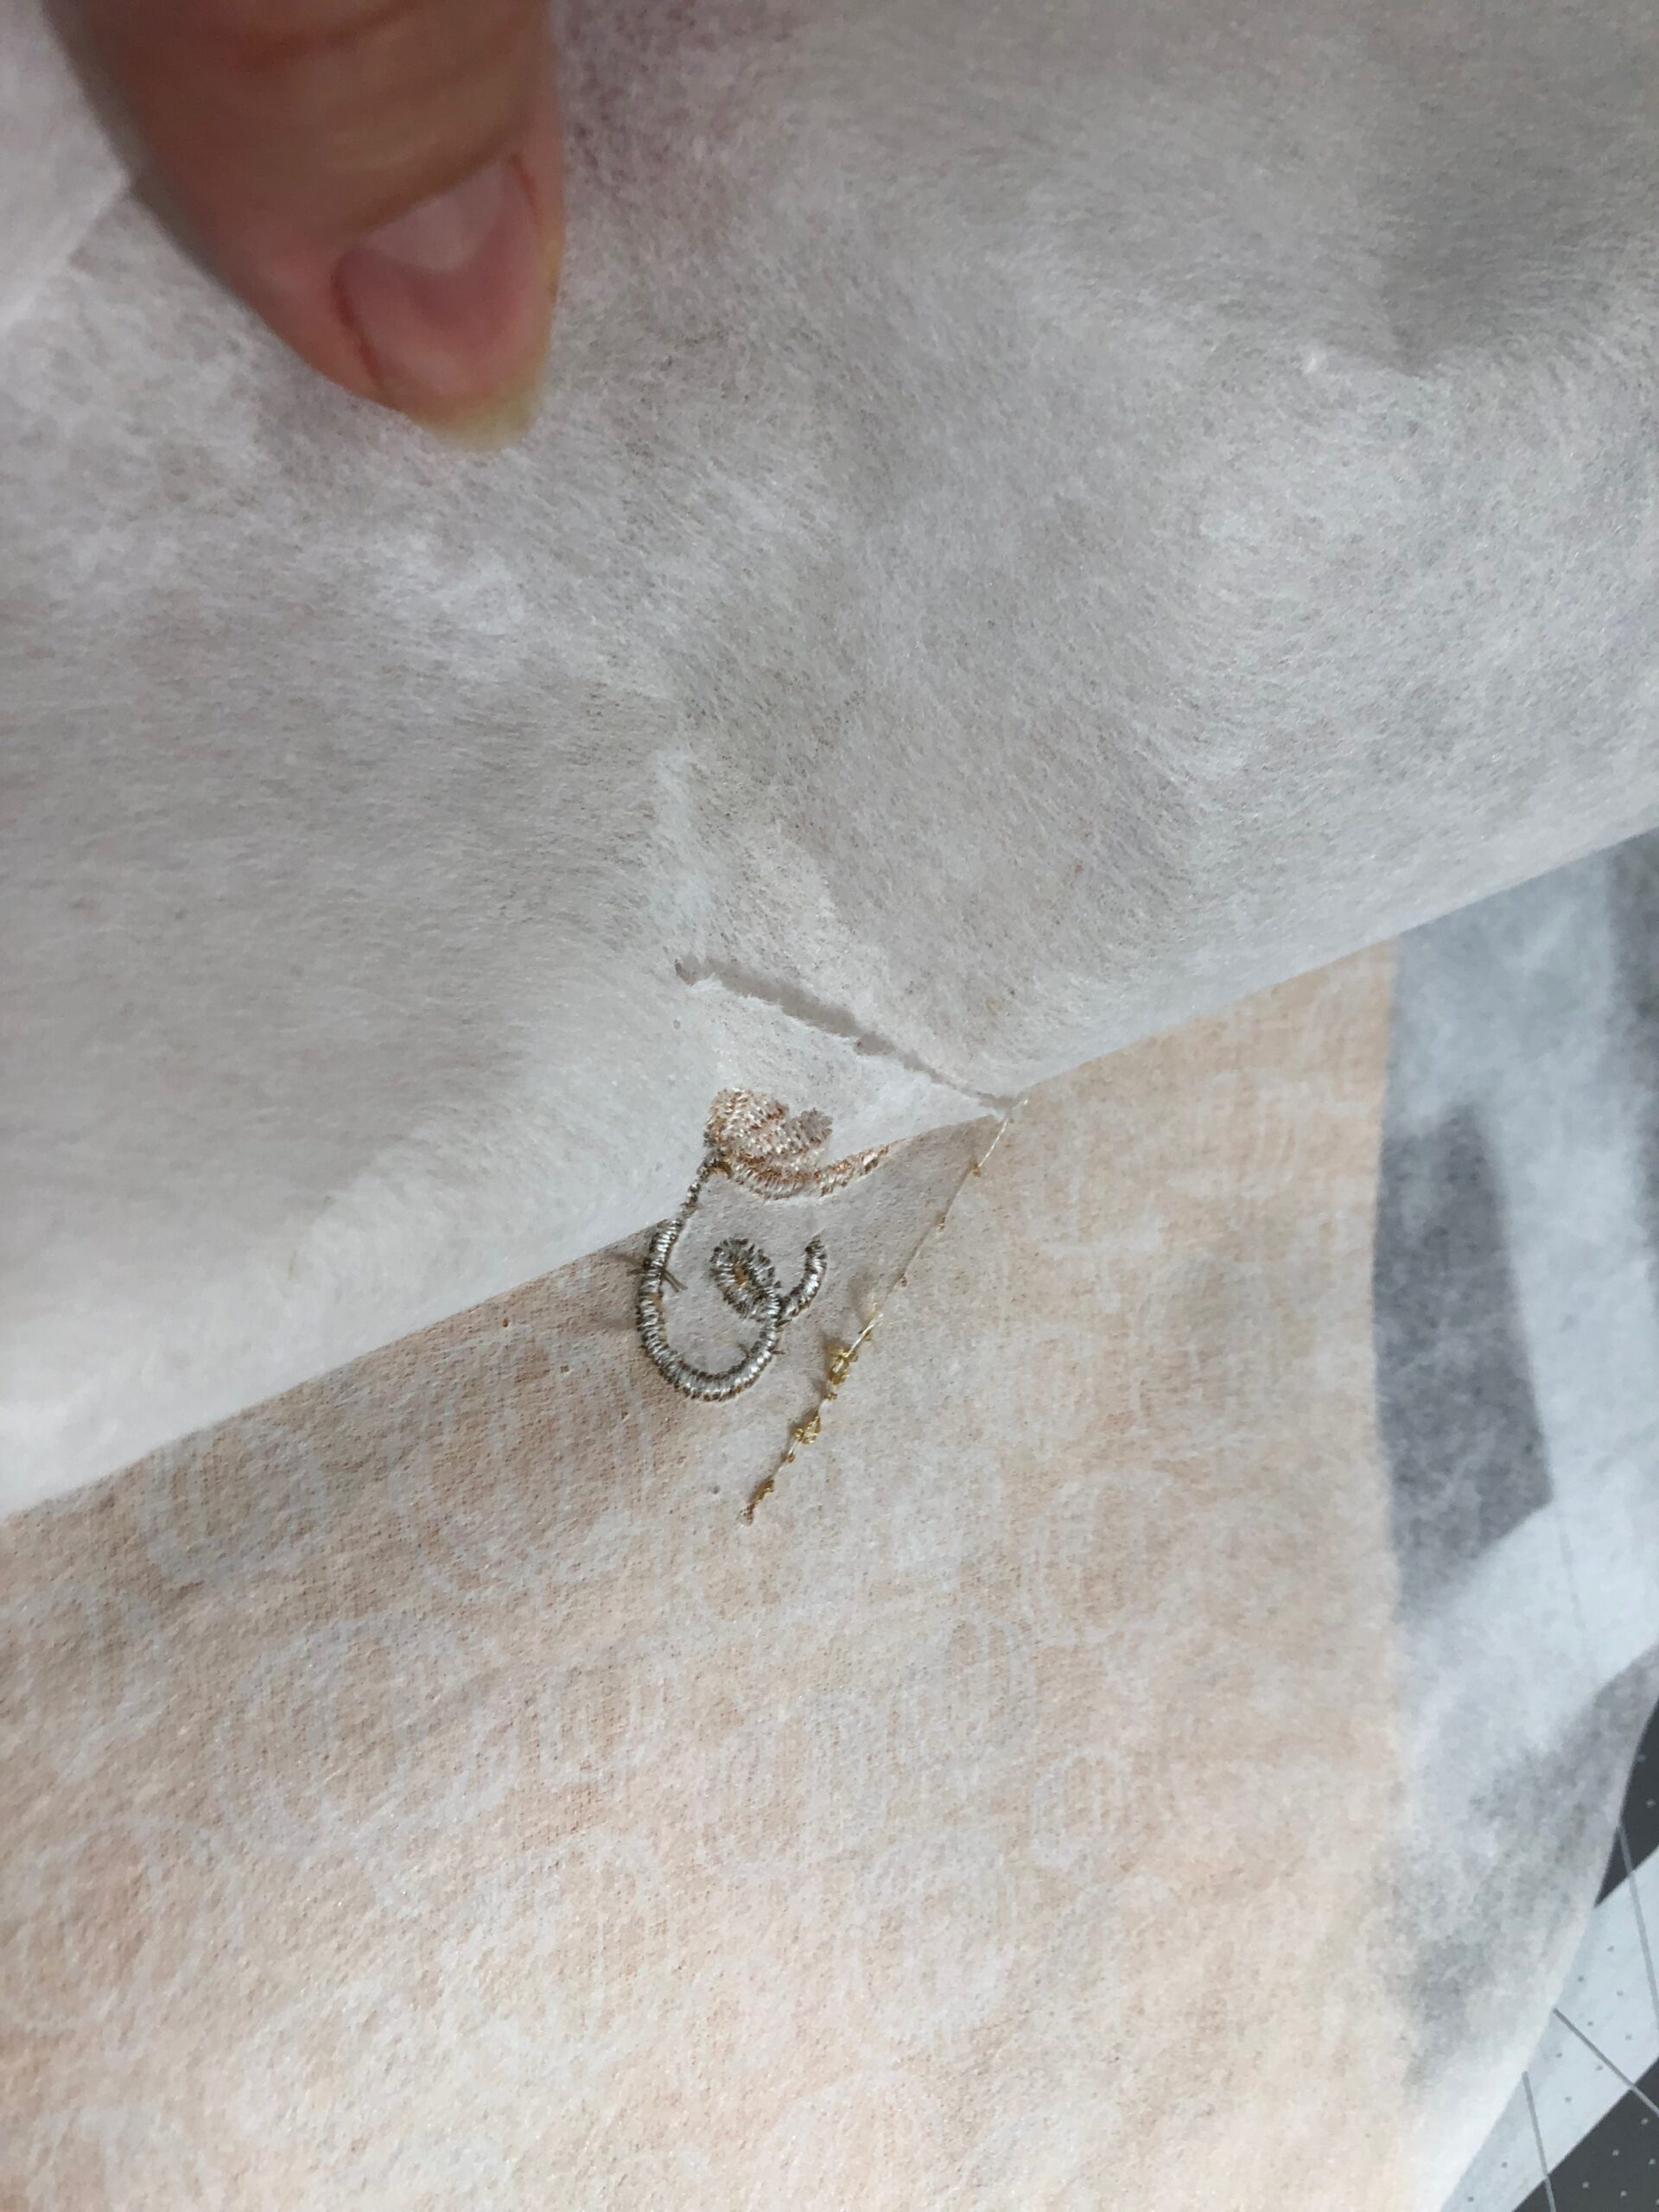
When the embroidery is complete, remove the hoop from the machine and the stabilizer from the hoop.

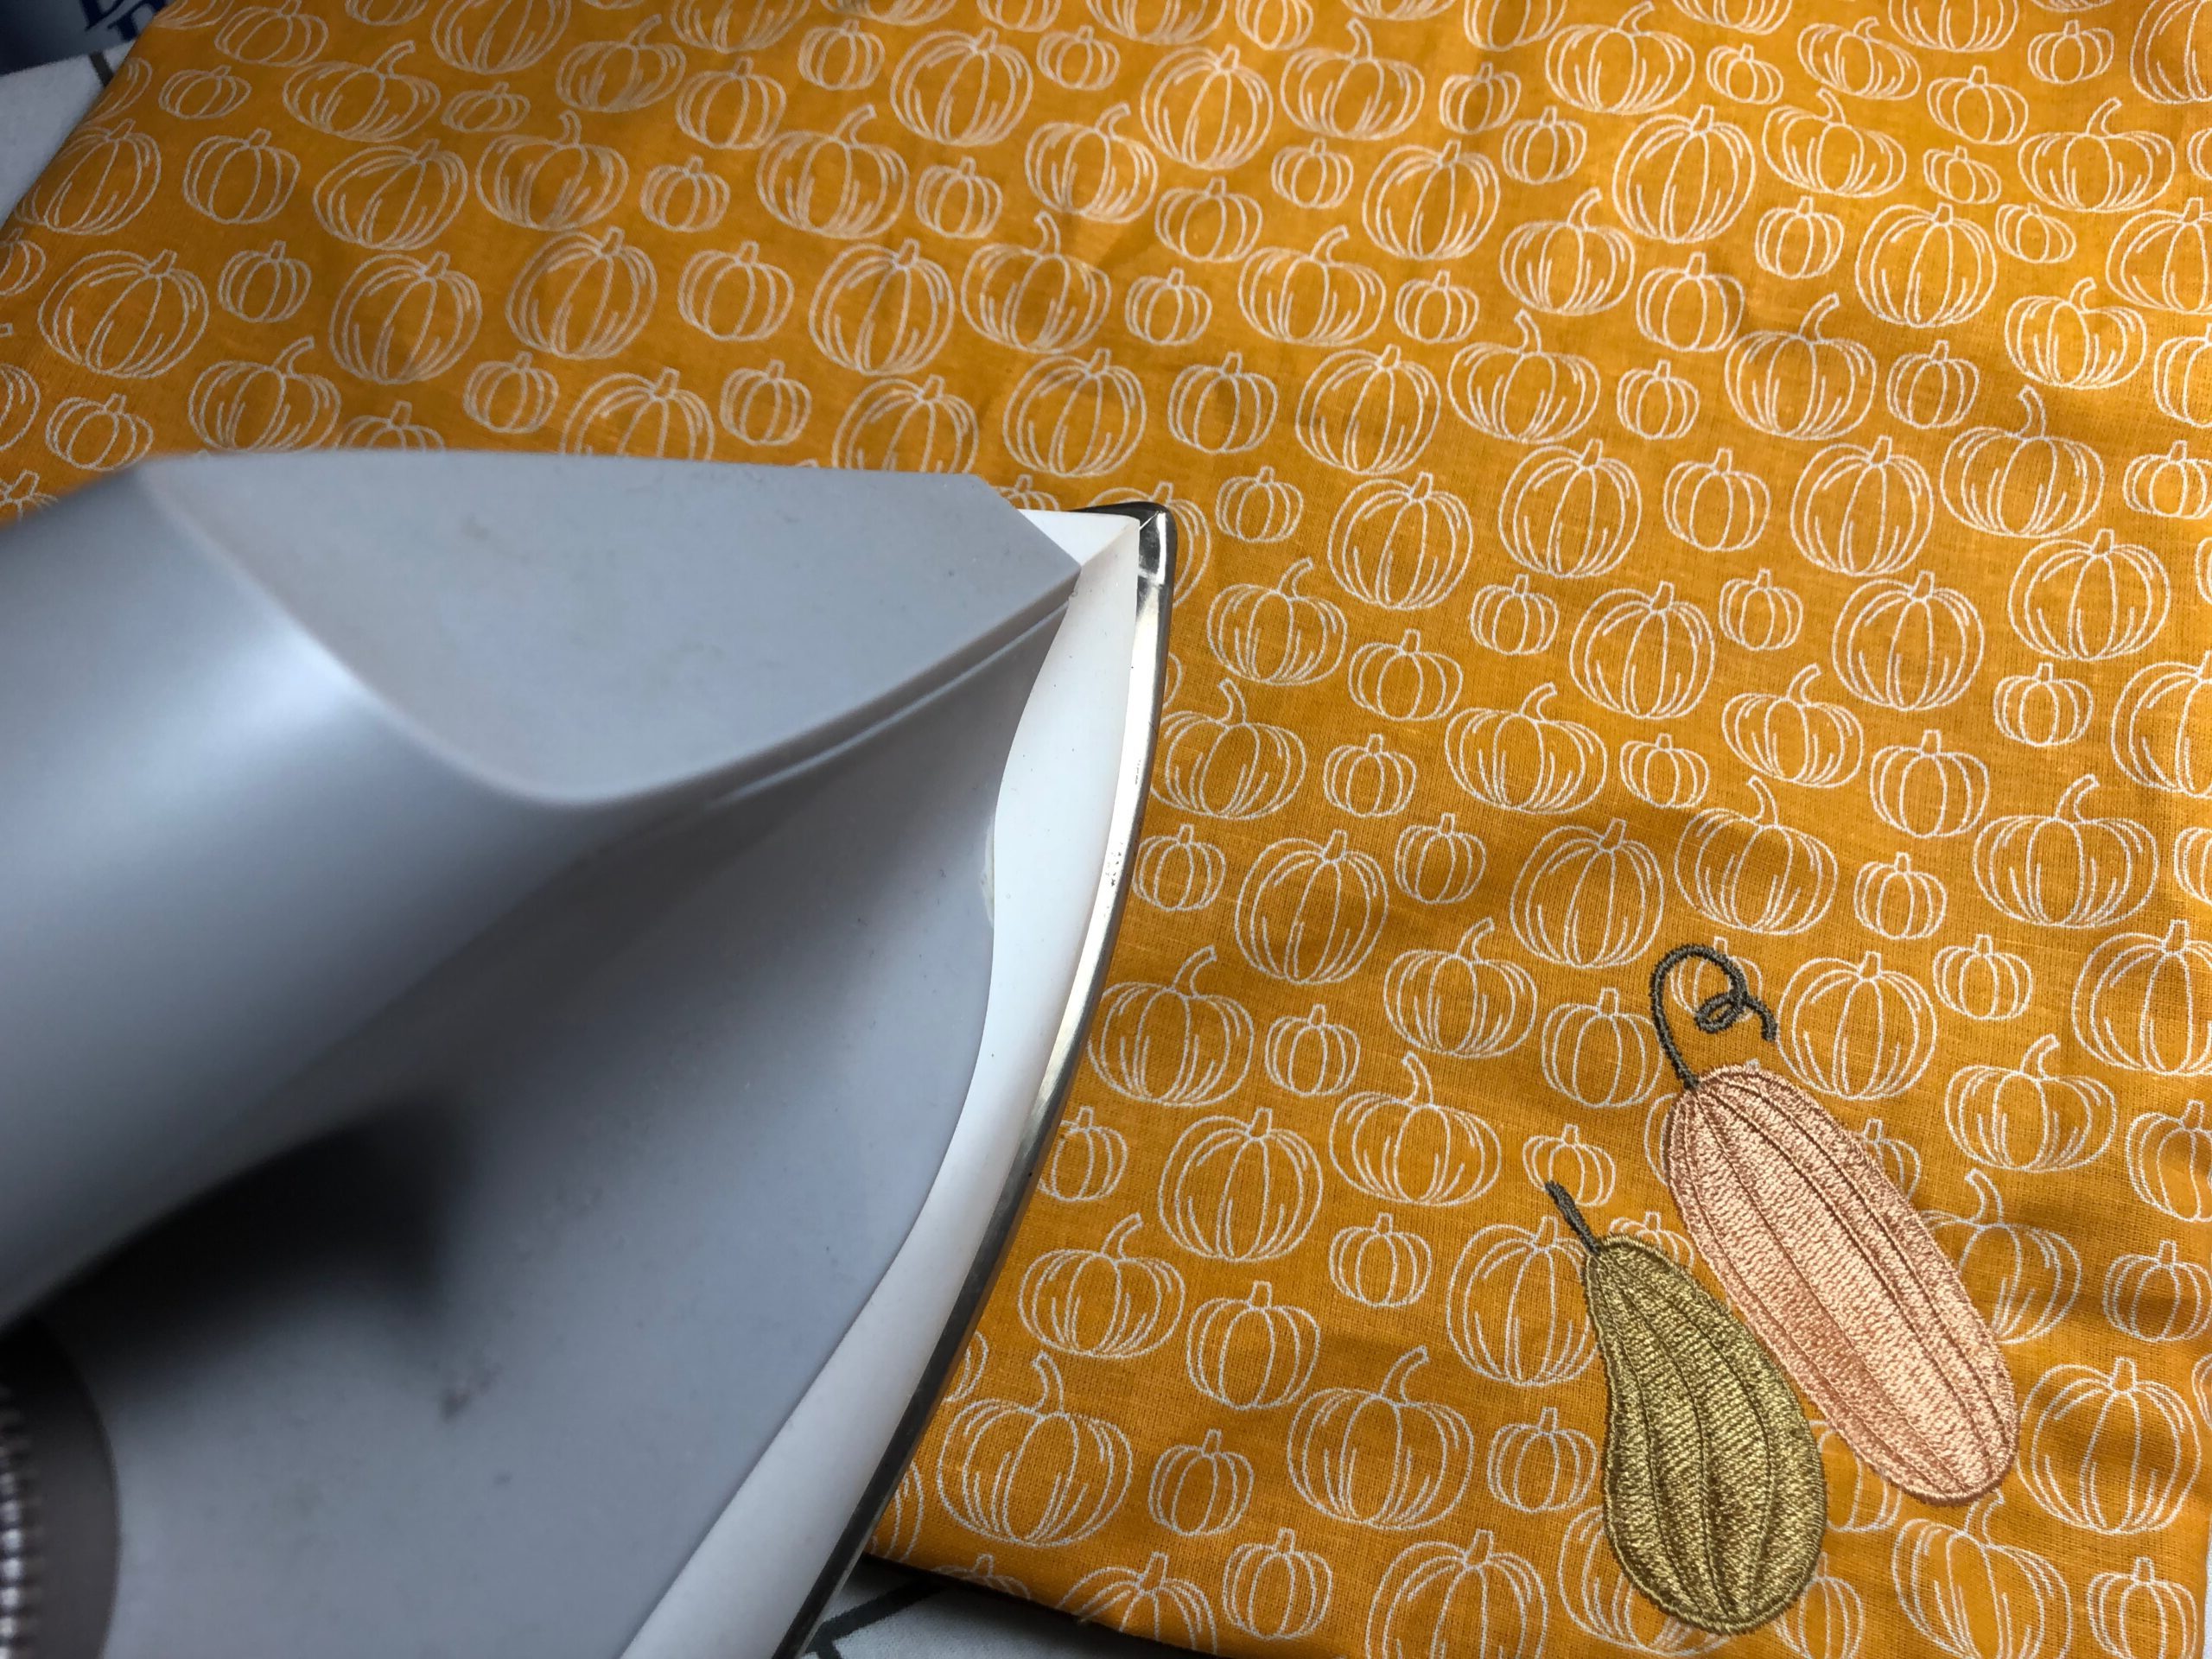
Then, gently tear away the stabilizer beyond the design perimeter. If using two layers of Tear-Easy for the stitchout, tear away each layer independently.
If needed, press the fabric from the wrong side, keeping the iron away from the stitching.
Repeat to embroider as many napkin front fabrics as desired.
NAPKIN CONSTRUCTION
Now you’re ready to sew your own napkins!
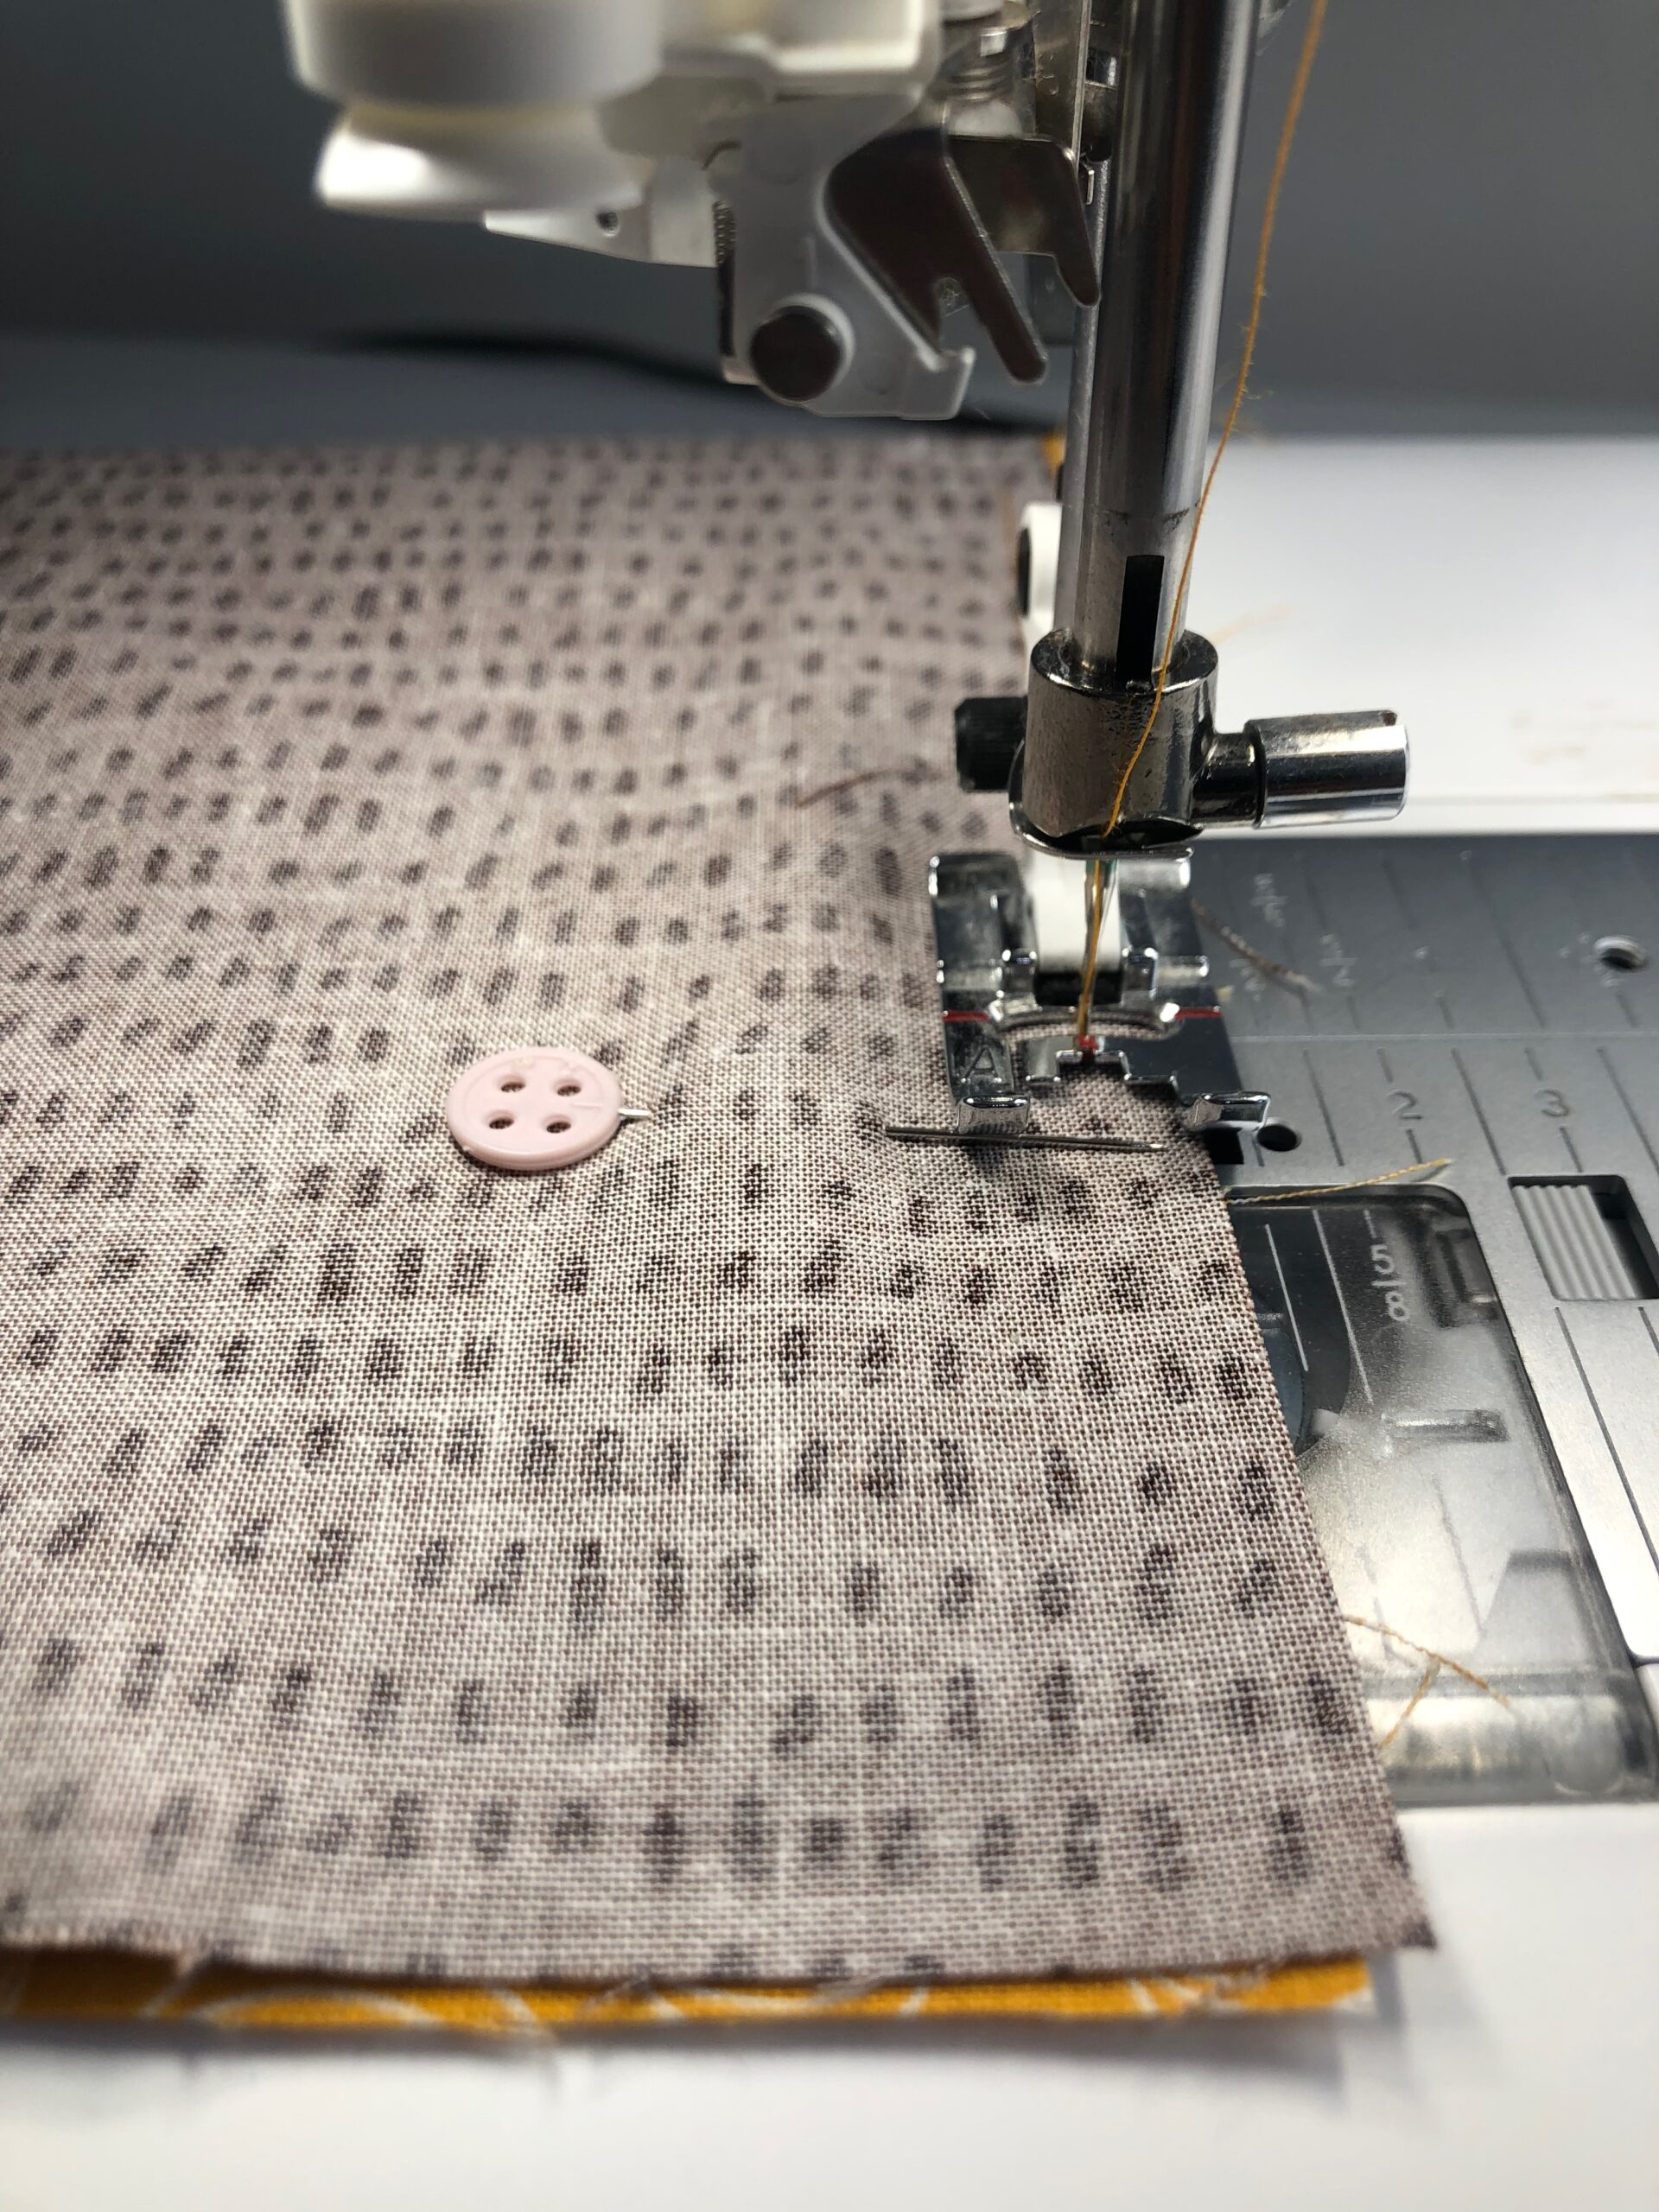
First, place the embroidered napkin and coordinating fabric squares on a flat work surface with right sides together. Pin the perimeter.

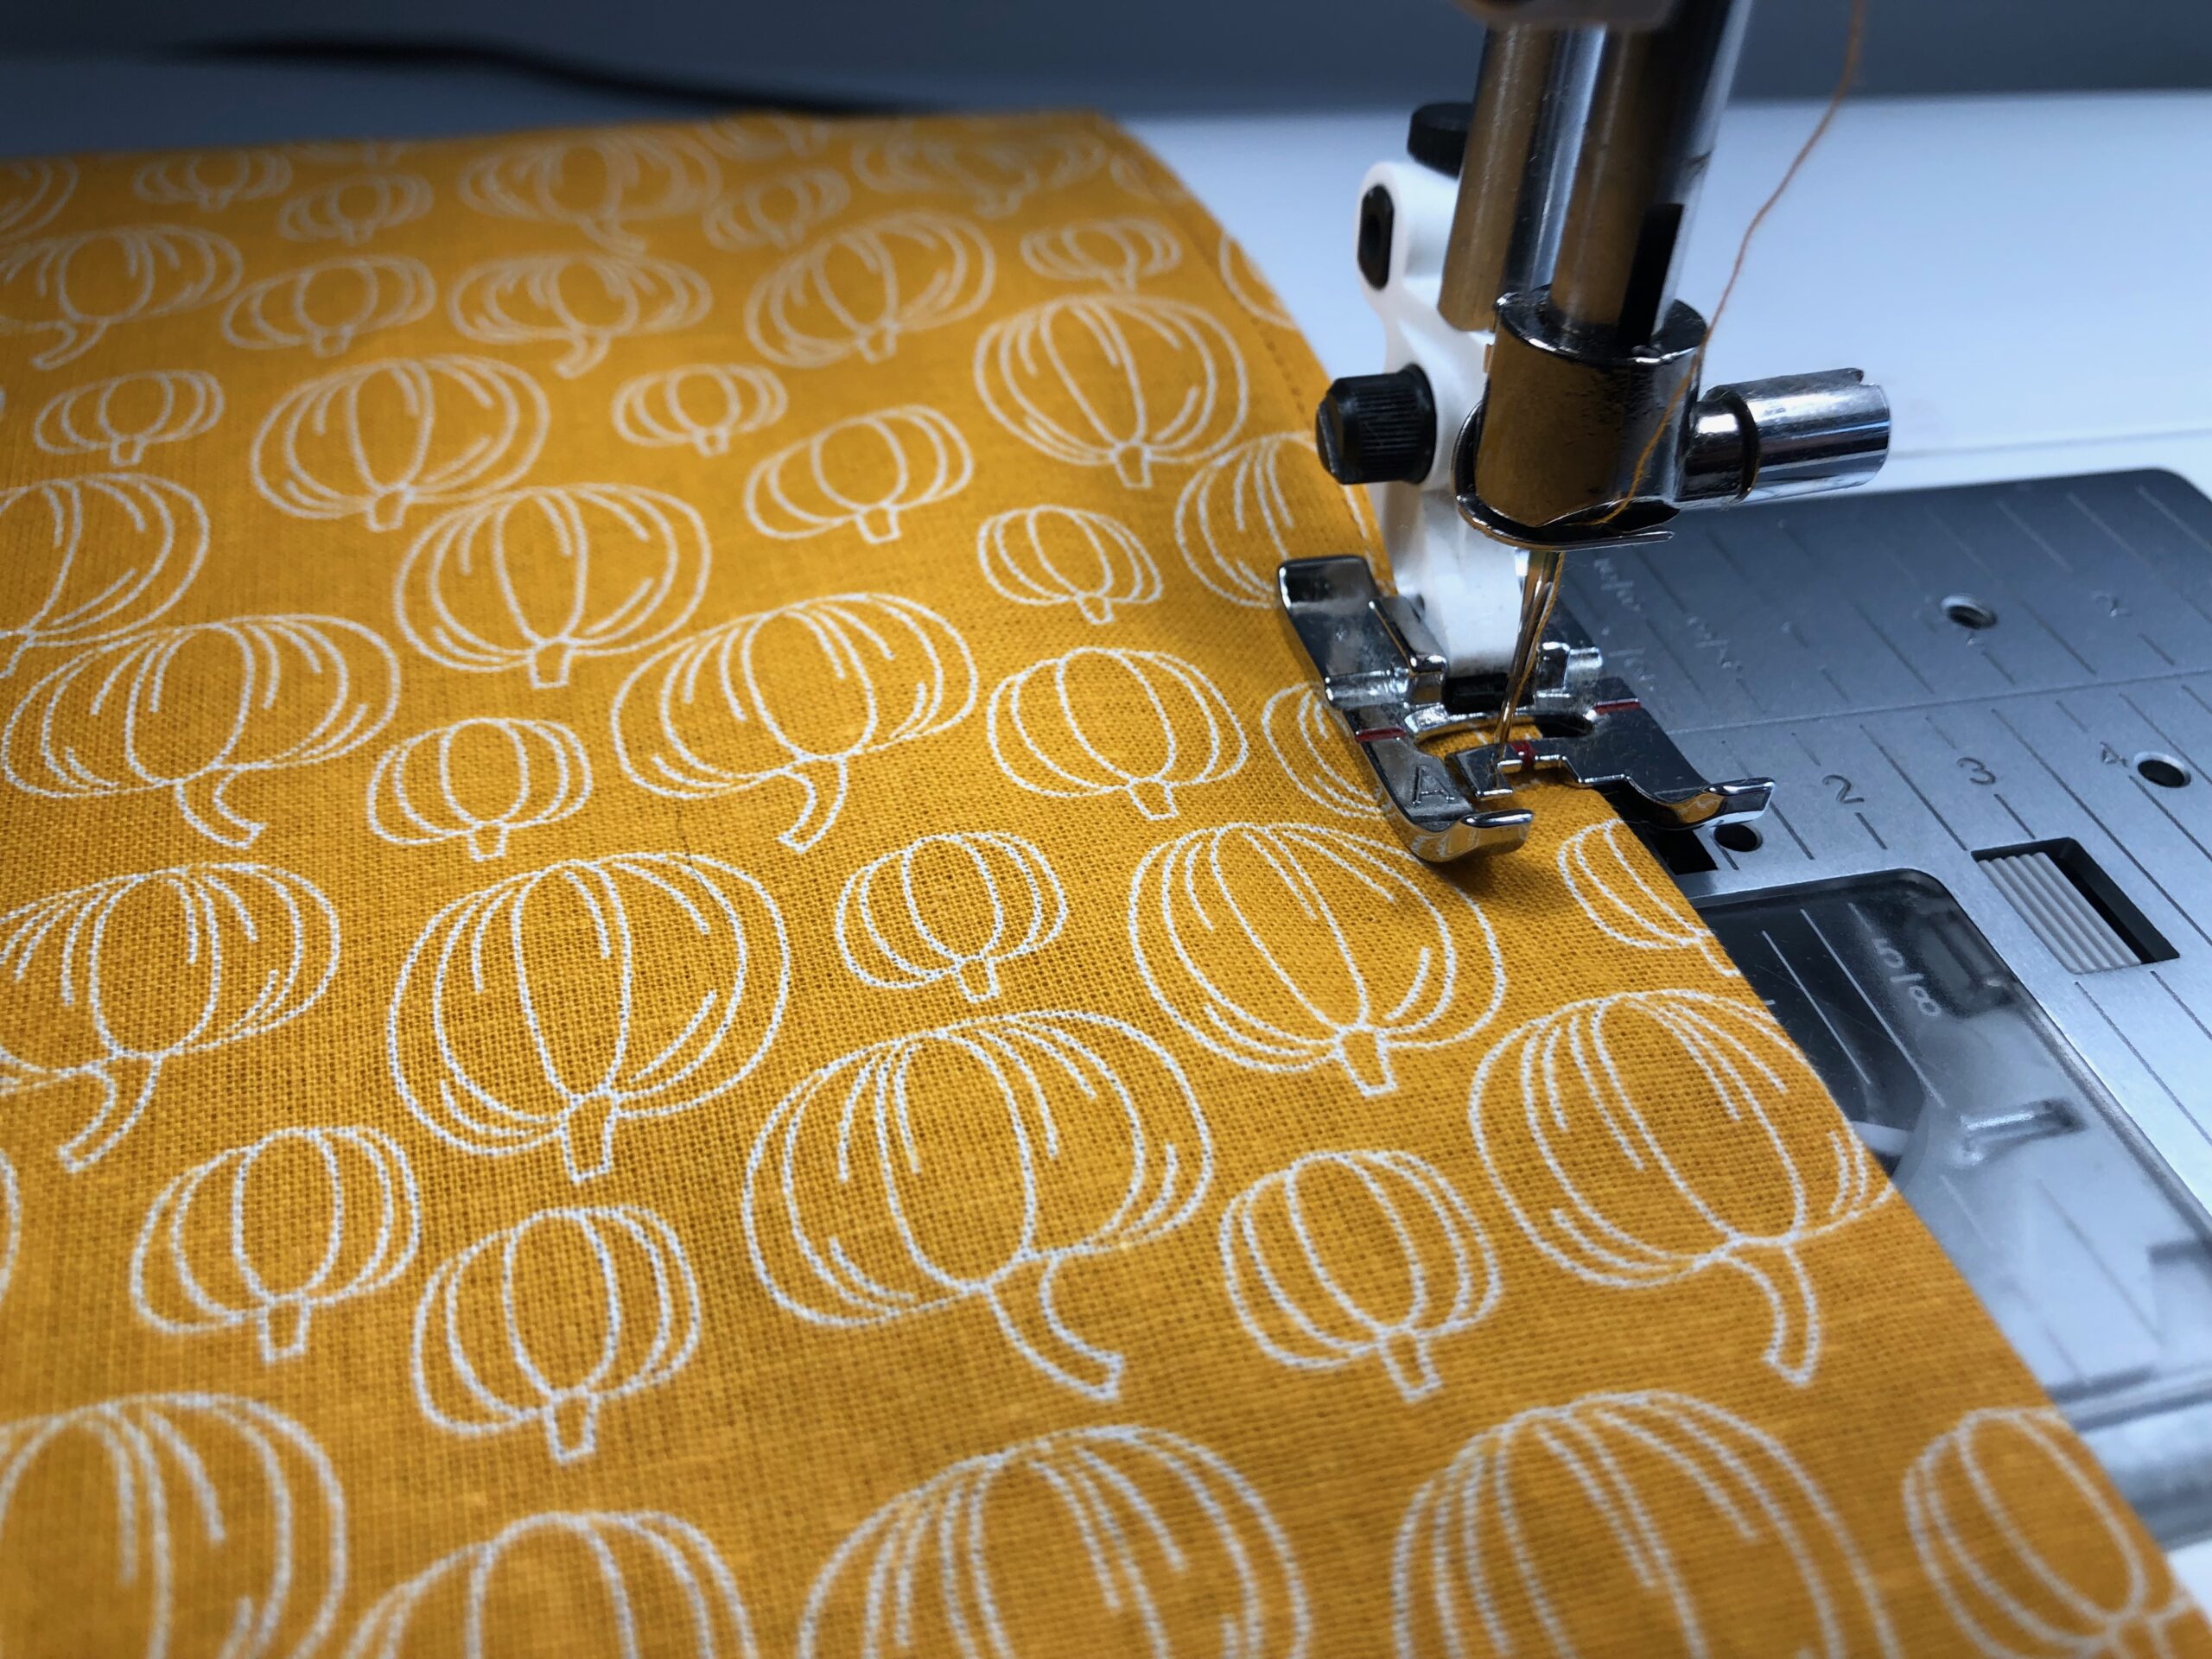
Then, stitch the perimeter with a 1/4″ seam allowance, leaving a 3″ to 4″ opening along one edge for turning.
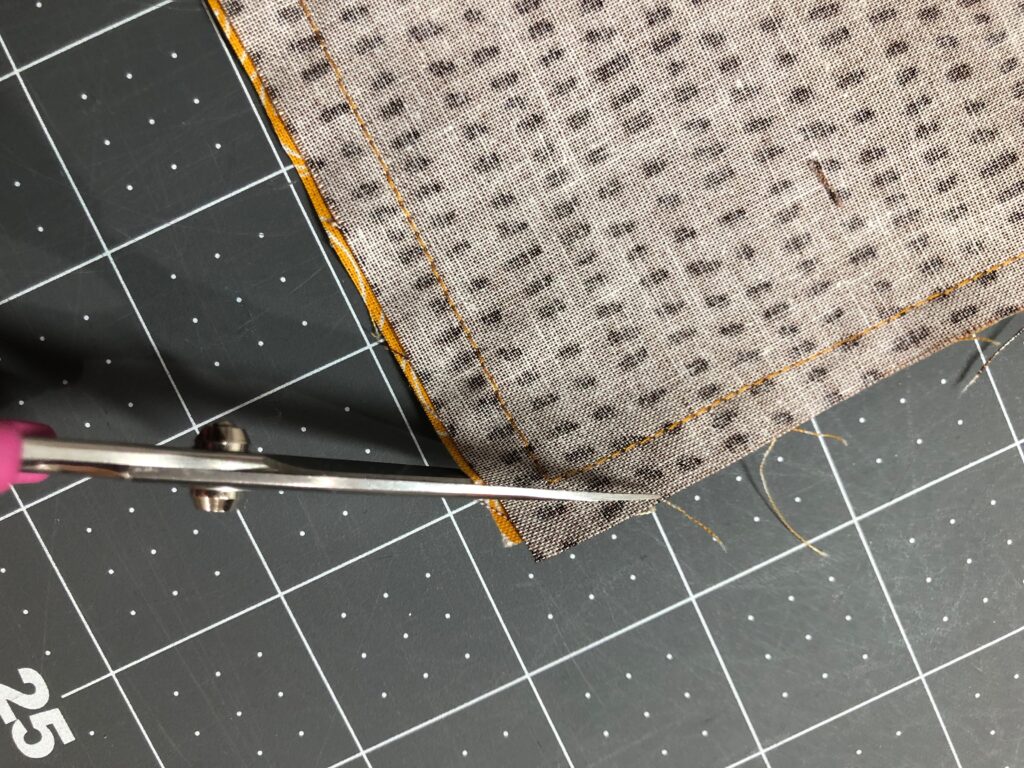
Next, clip the napkin corners up to, but not through, the stitching.
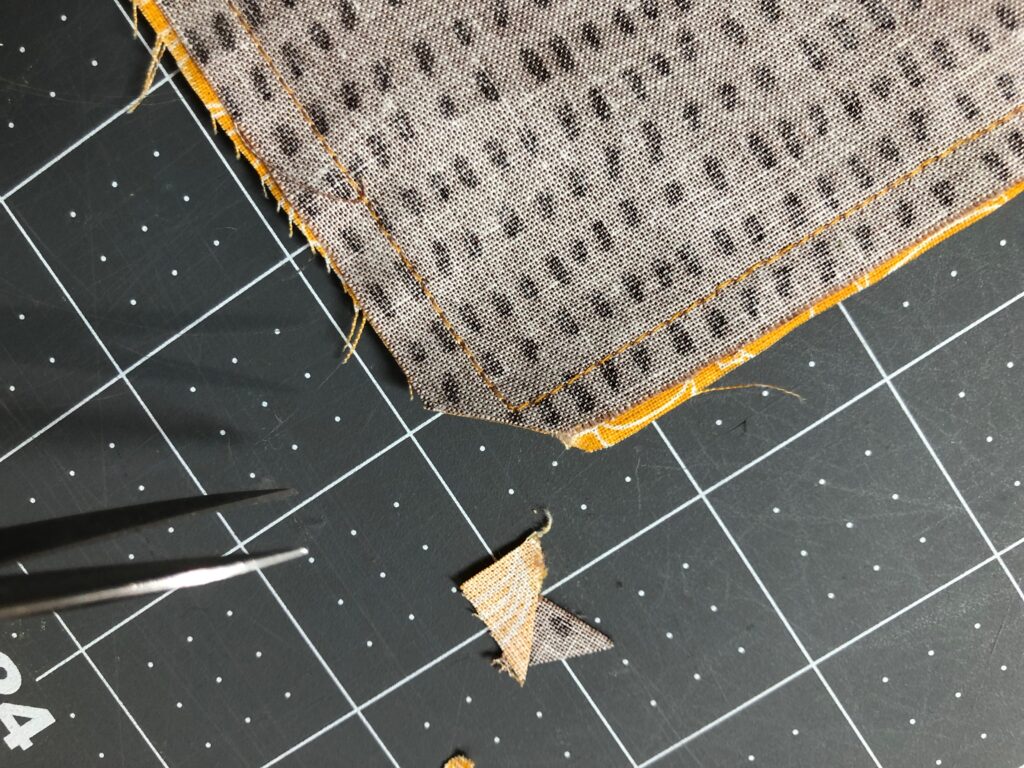
Then, trim the seam allowances to 1/8″ except for the opening location.
Turn the napkin right side out through the opening. Then, press the napkin perimeter to set the stitching. Next, fold the opening seam allowances toward the wrong side, and then press again.
Lastly, edgestitch the napkin perimeter, closing the opening with the stitches.
Repeat to construct each napkin.
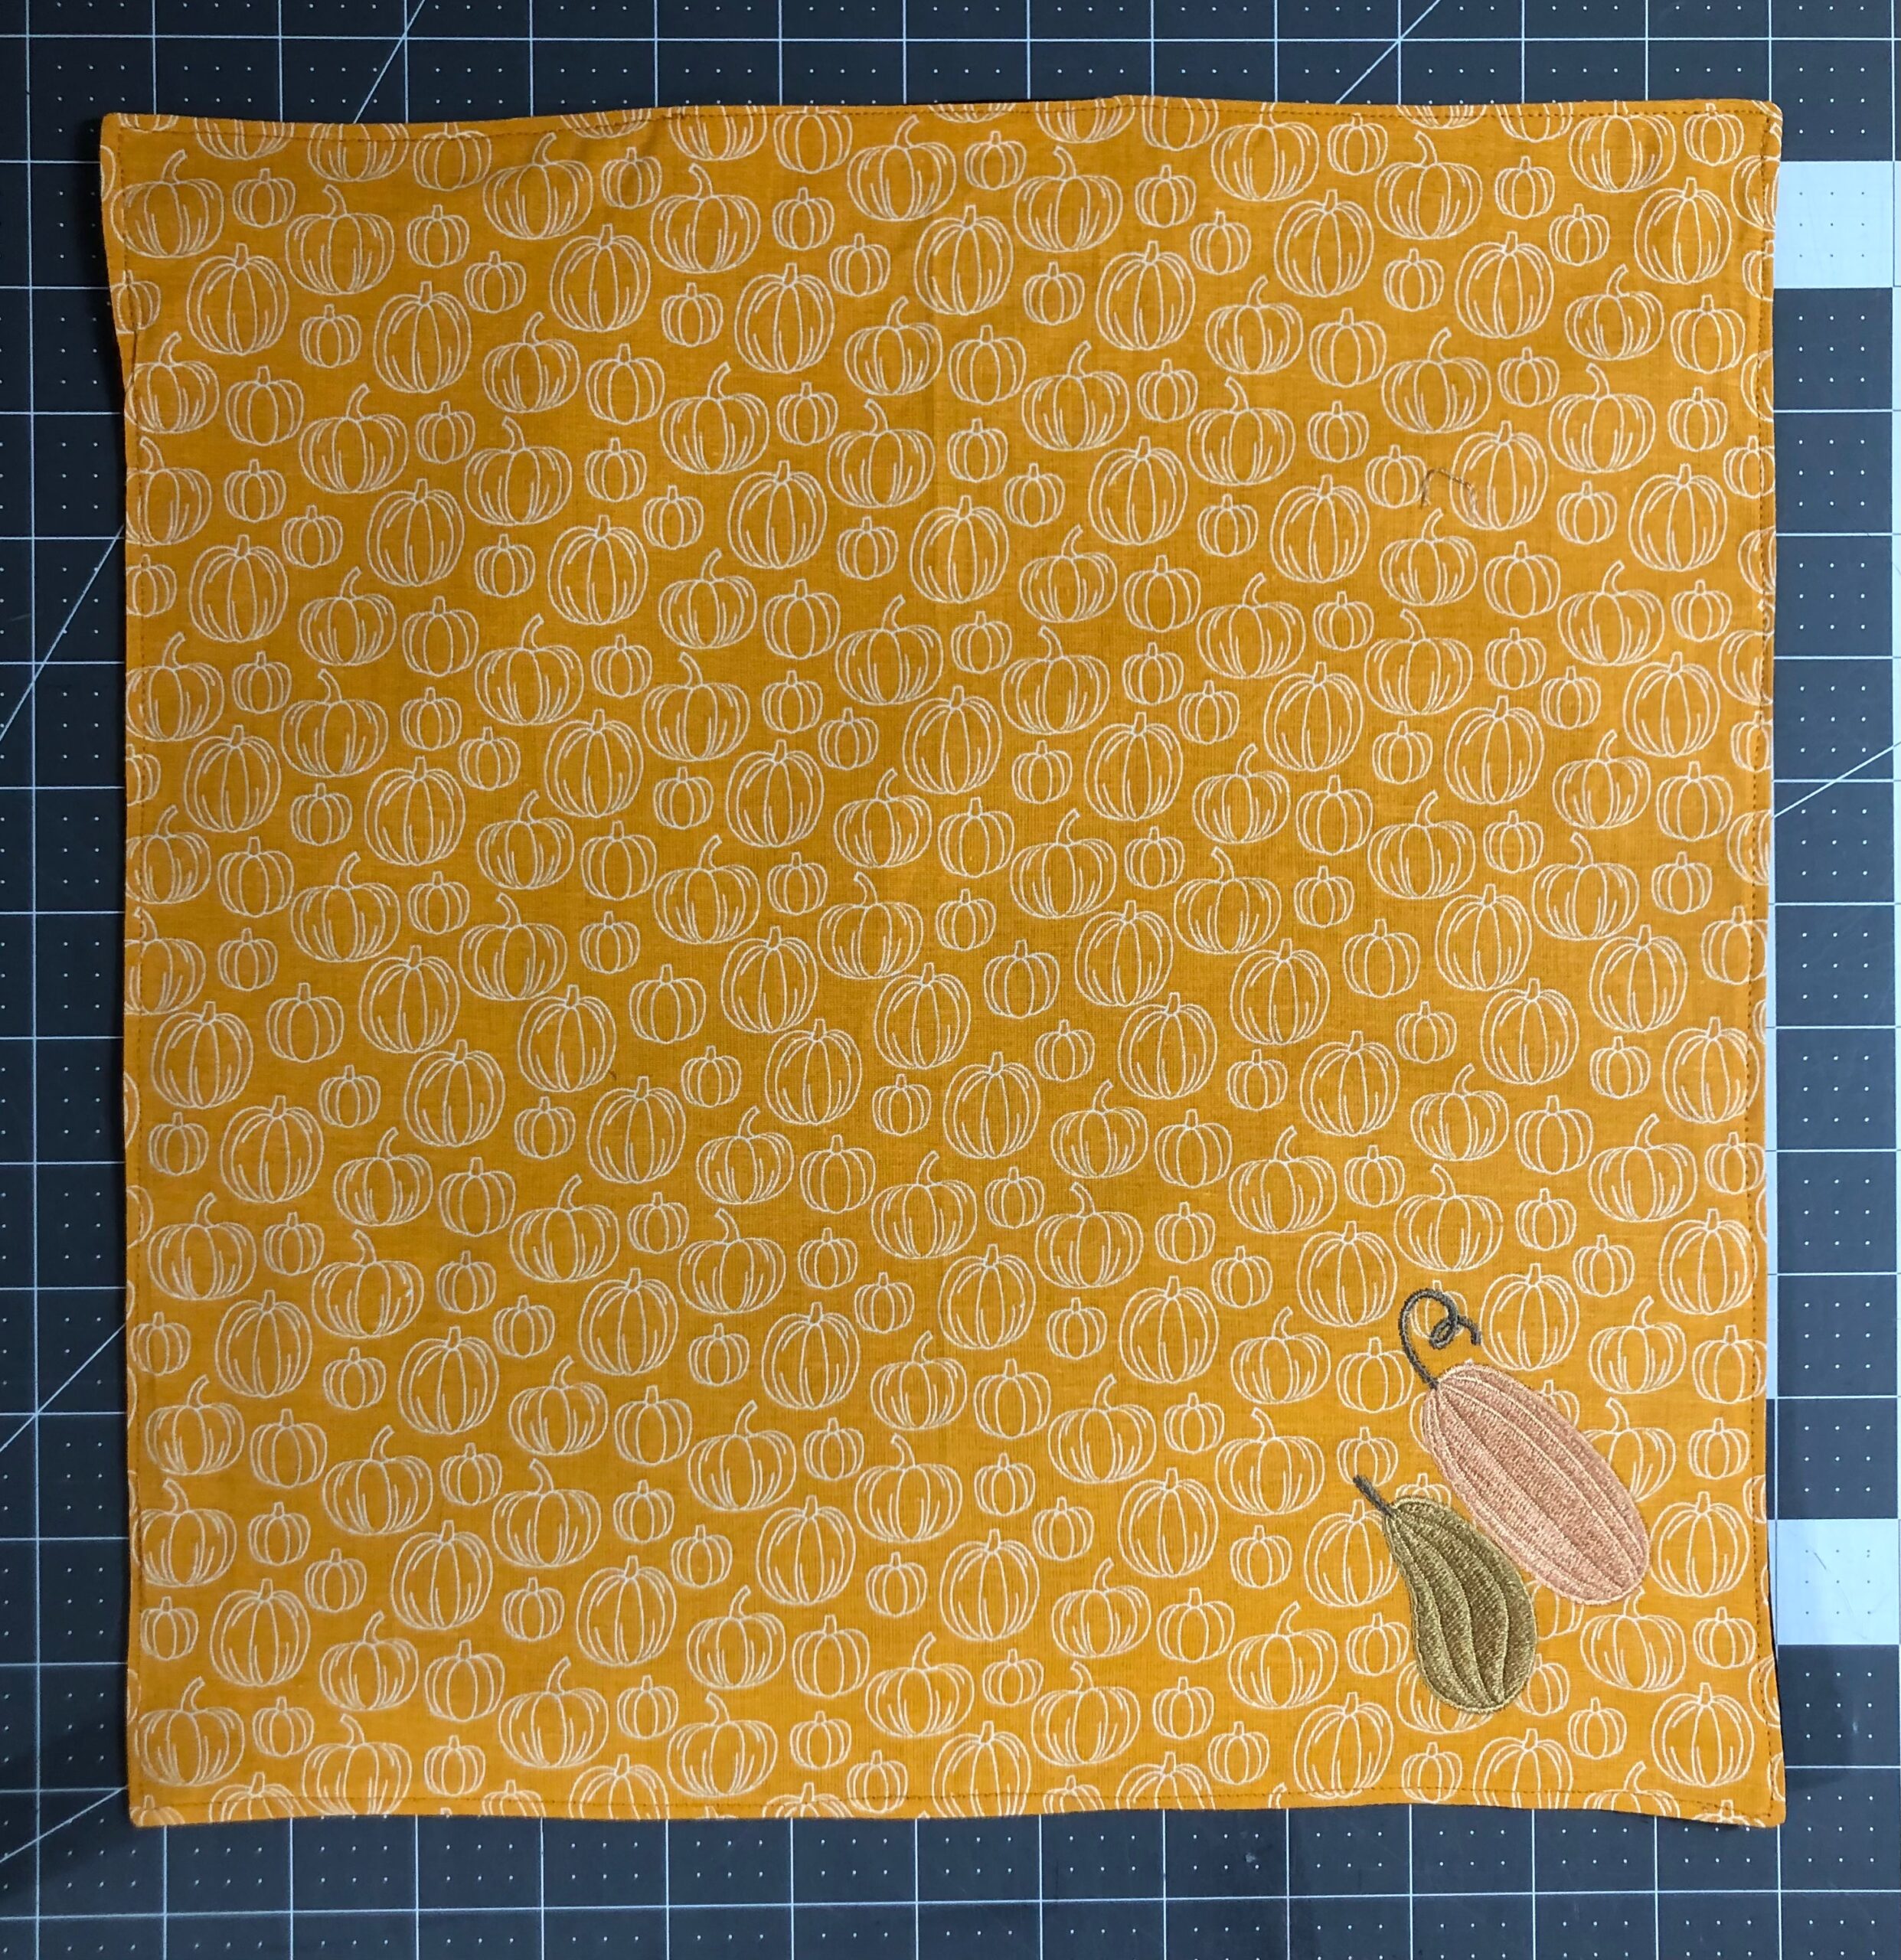
Finally, set the table for your holiday feast, placing each embroidered napkin atop a plate to display them proudly.

Lovely designs. Have you considered doing a mitered hem instead? I think it would look better with these designs and it’s easier to do than to turn inside out. See the YouTube video from Sew Very Easy (Laura Ann Coia), called something like Any Size Mitered Hem.