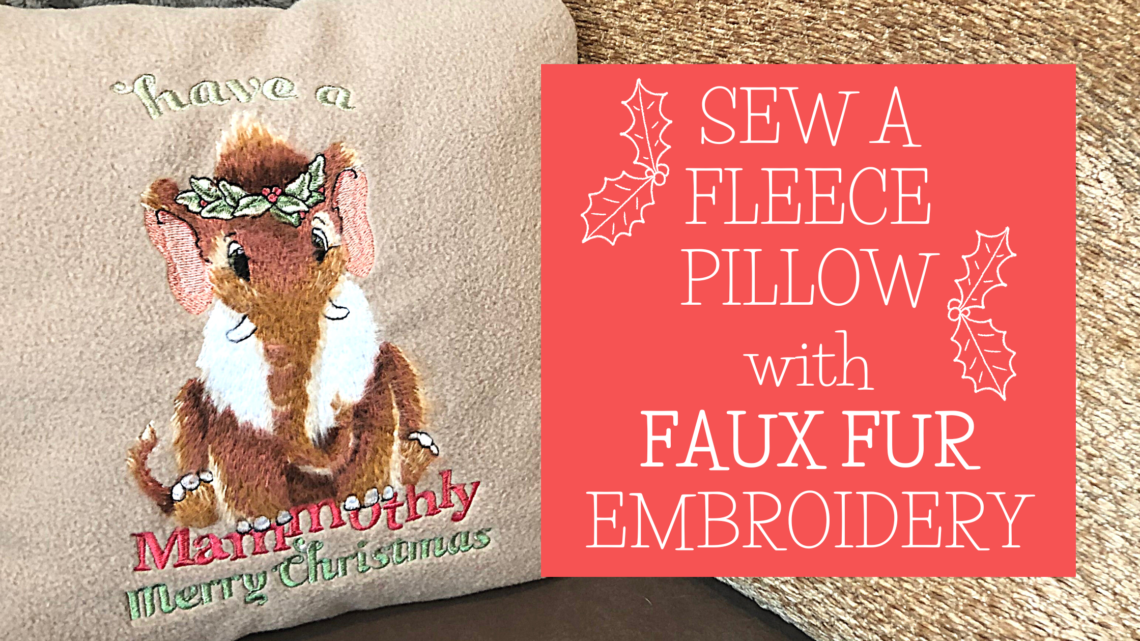
Sew a Fleece Pillow with Mammoth Fur Embroidery
Sew a Fleece Pillow
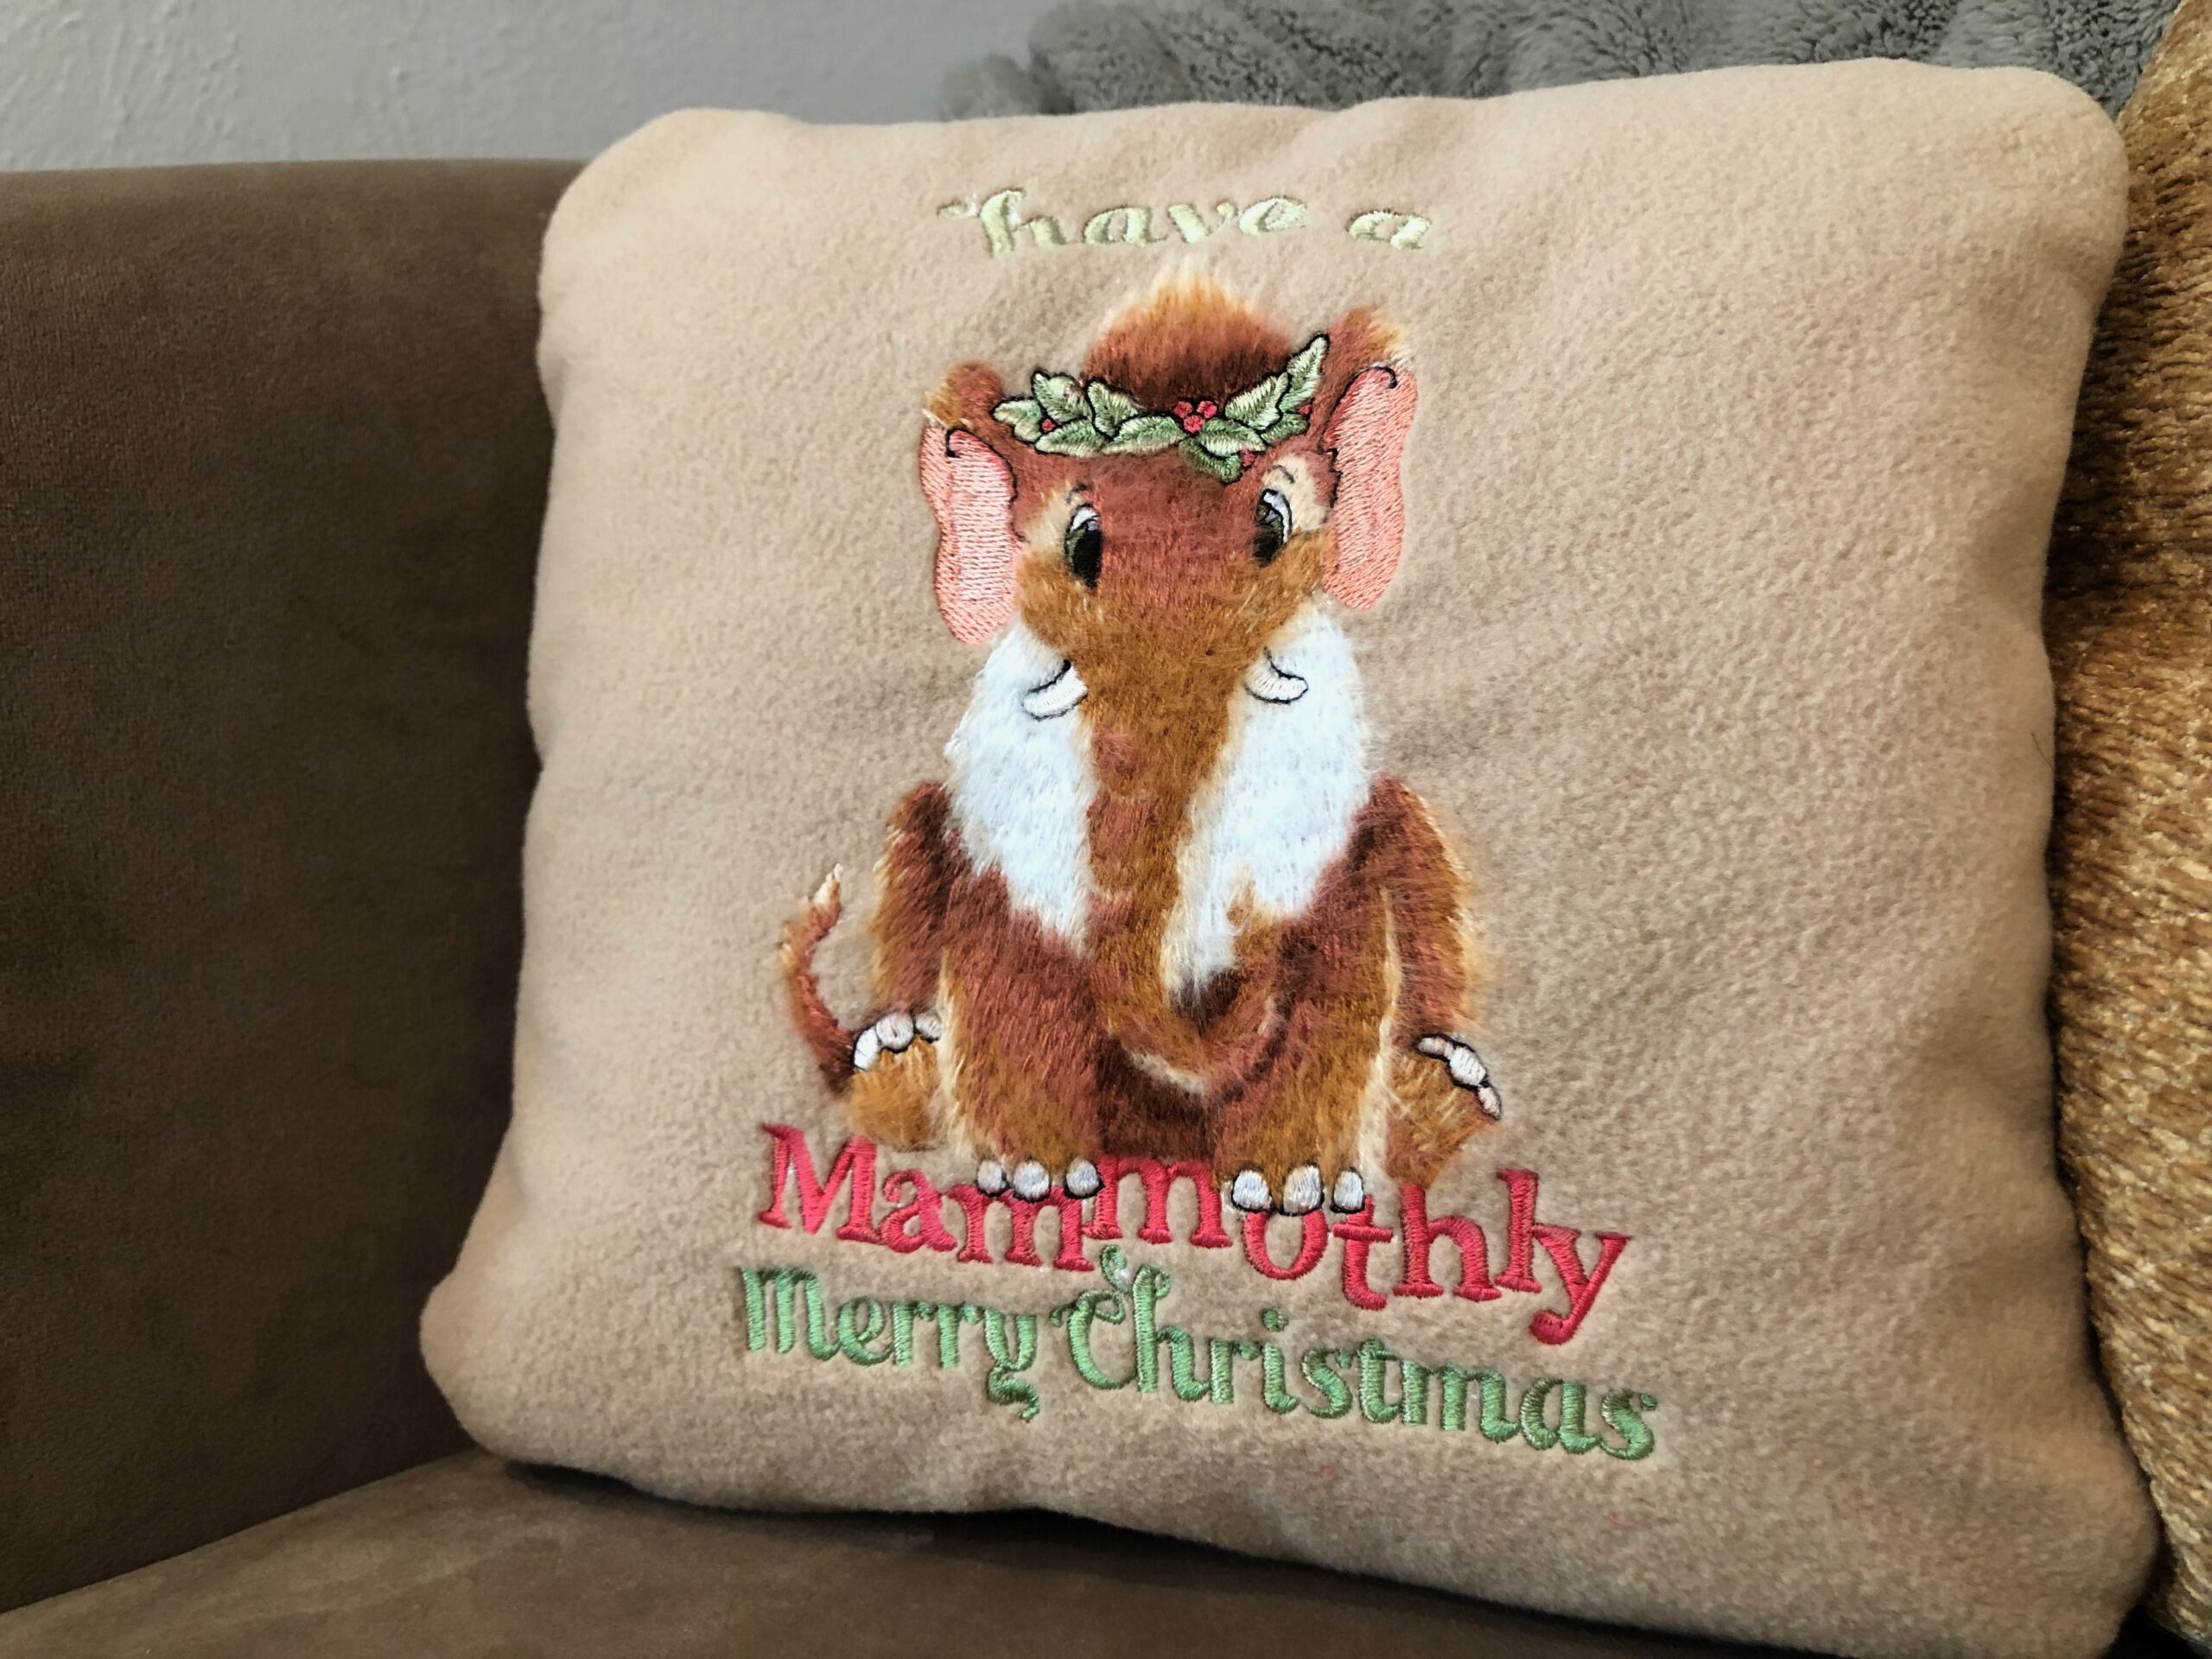
with “Mammothly Merry Christmas” Machine Embroidery
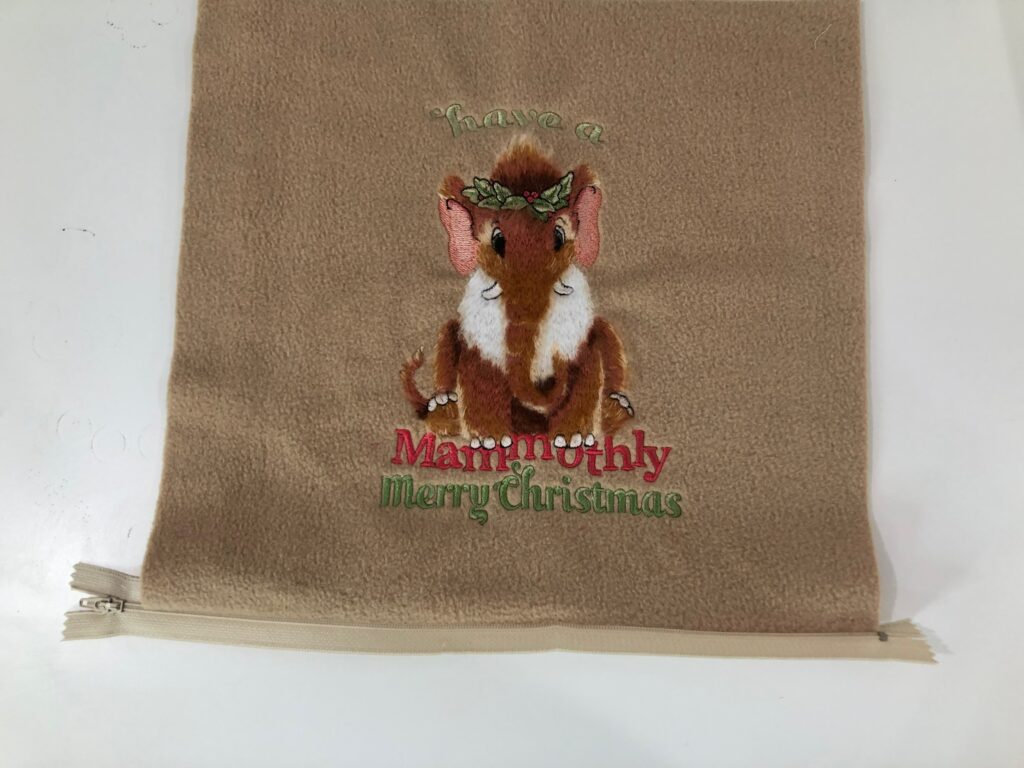
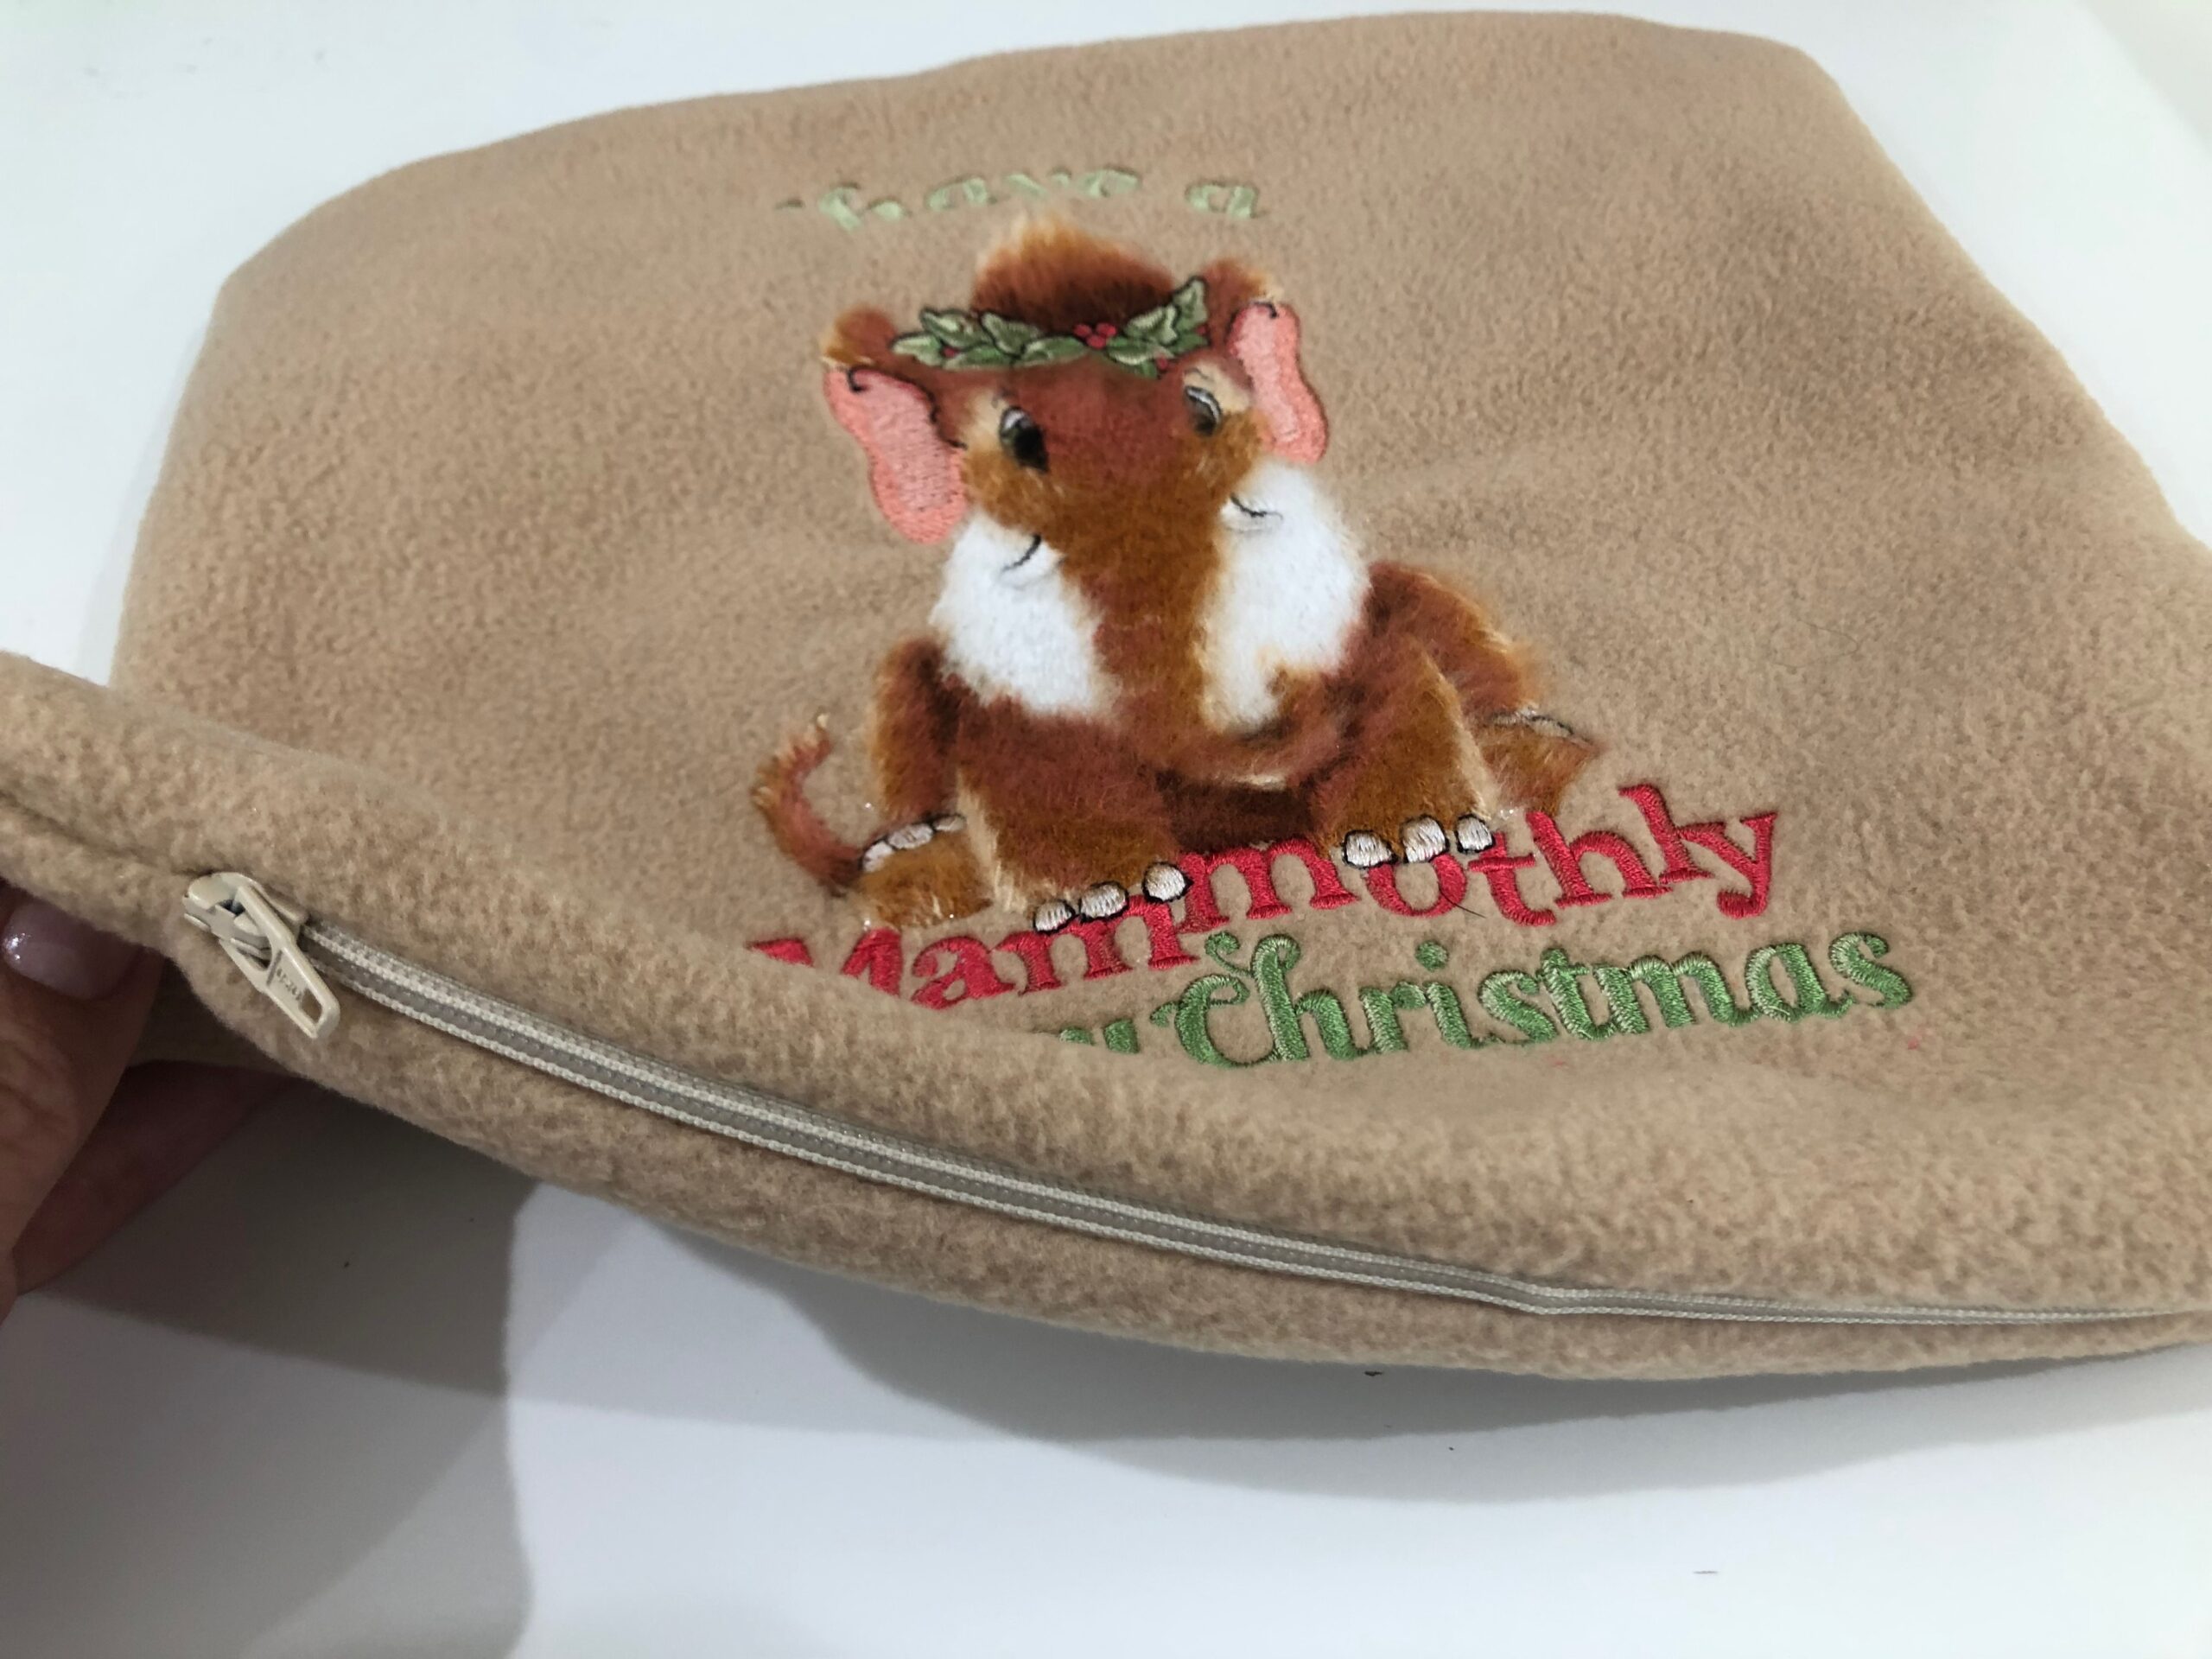
Sew a fleece pillow for the holidays with our NEW Mammothly Merry Christmas Machine Embroidery Design. Brush the Sulky Filaine Threads in the design to fluff the wooly mammoth and create a faux fur effect!
The supplies listed are enough to create one 12″ square pillow.
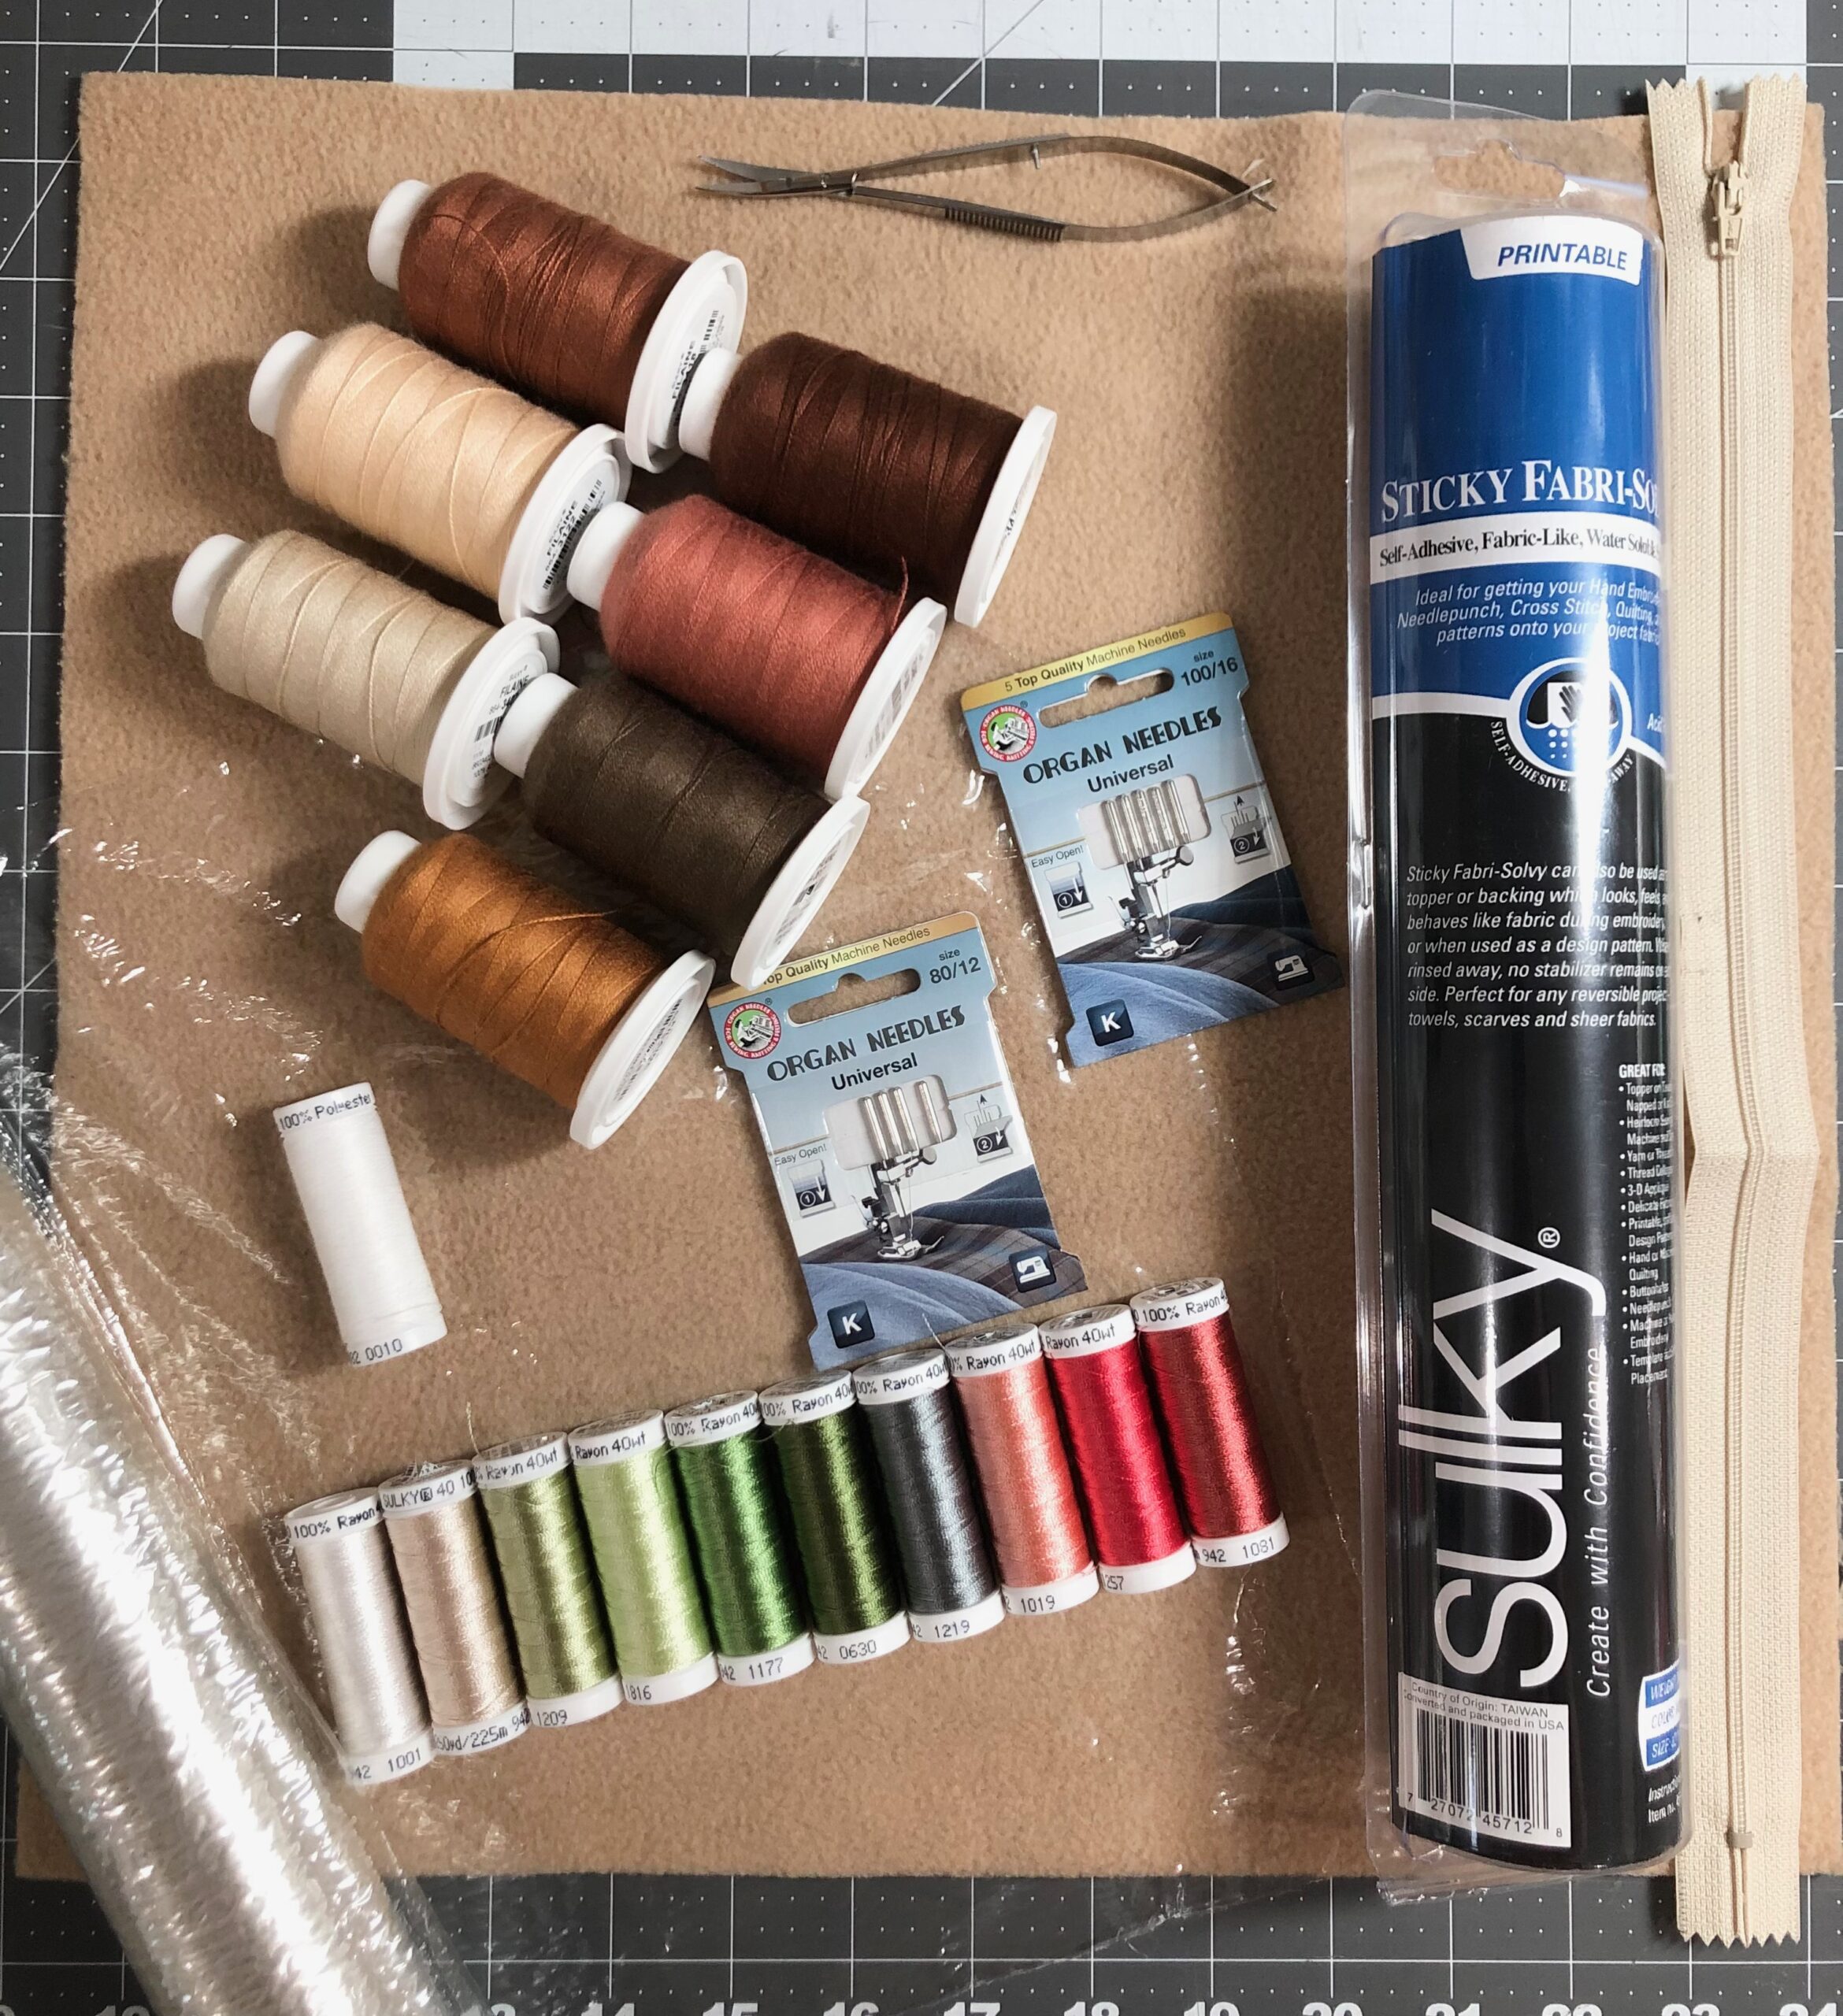
FLEECE PILLOW SUPPLIES
- Sulky Mammothly Merry Christmas Machine Embroidery Design (by Jennifer Carson of Fur & Feather Friends)
- Magnetic embroidery hoop (optional, yet very helpful!)
- Sulky Stabilizer
- Sticky+™ Slitting Pen (optional; if not using a magnetic hoop)
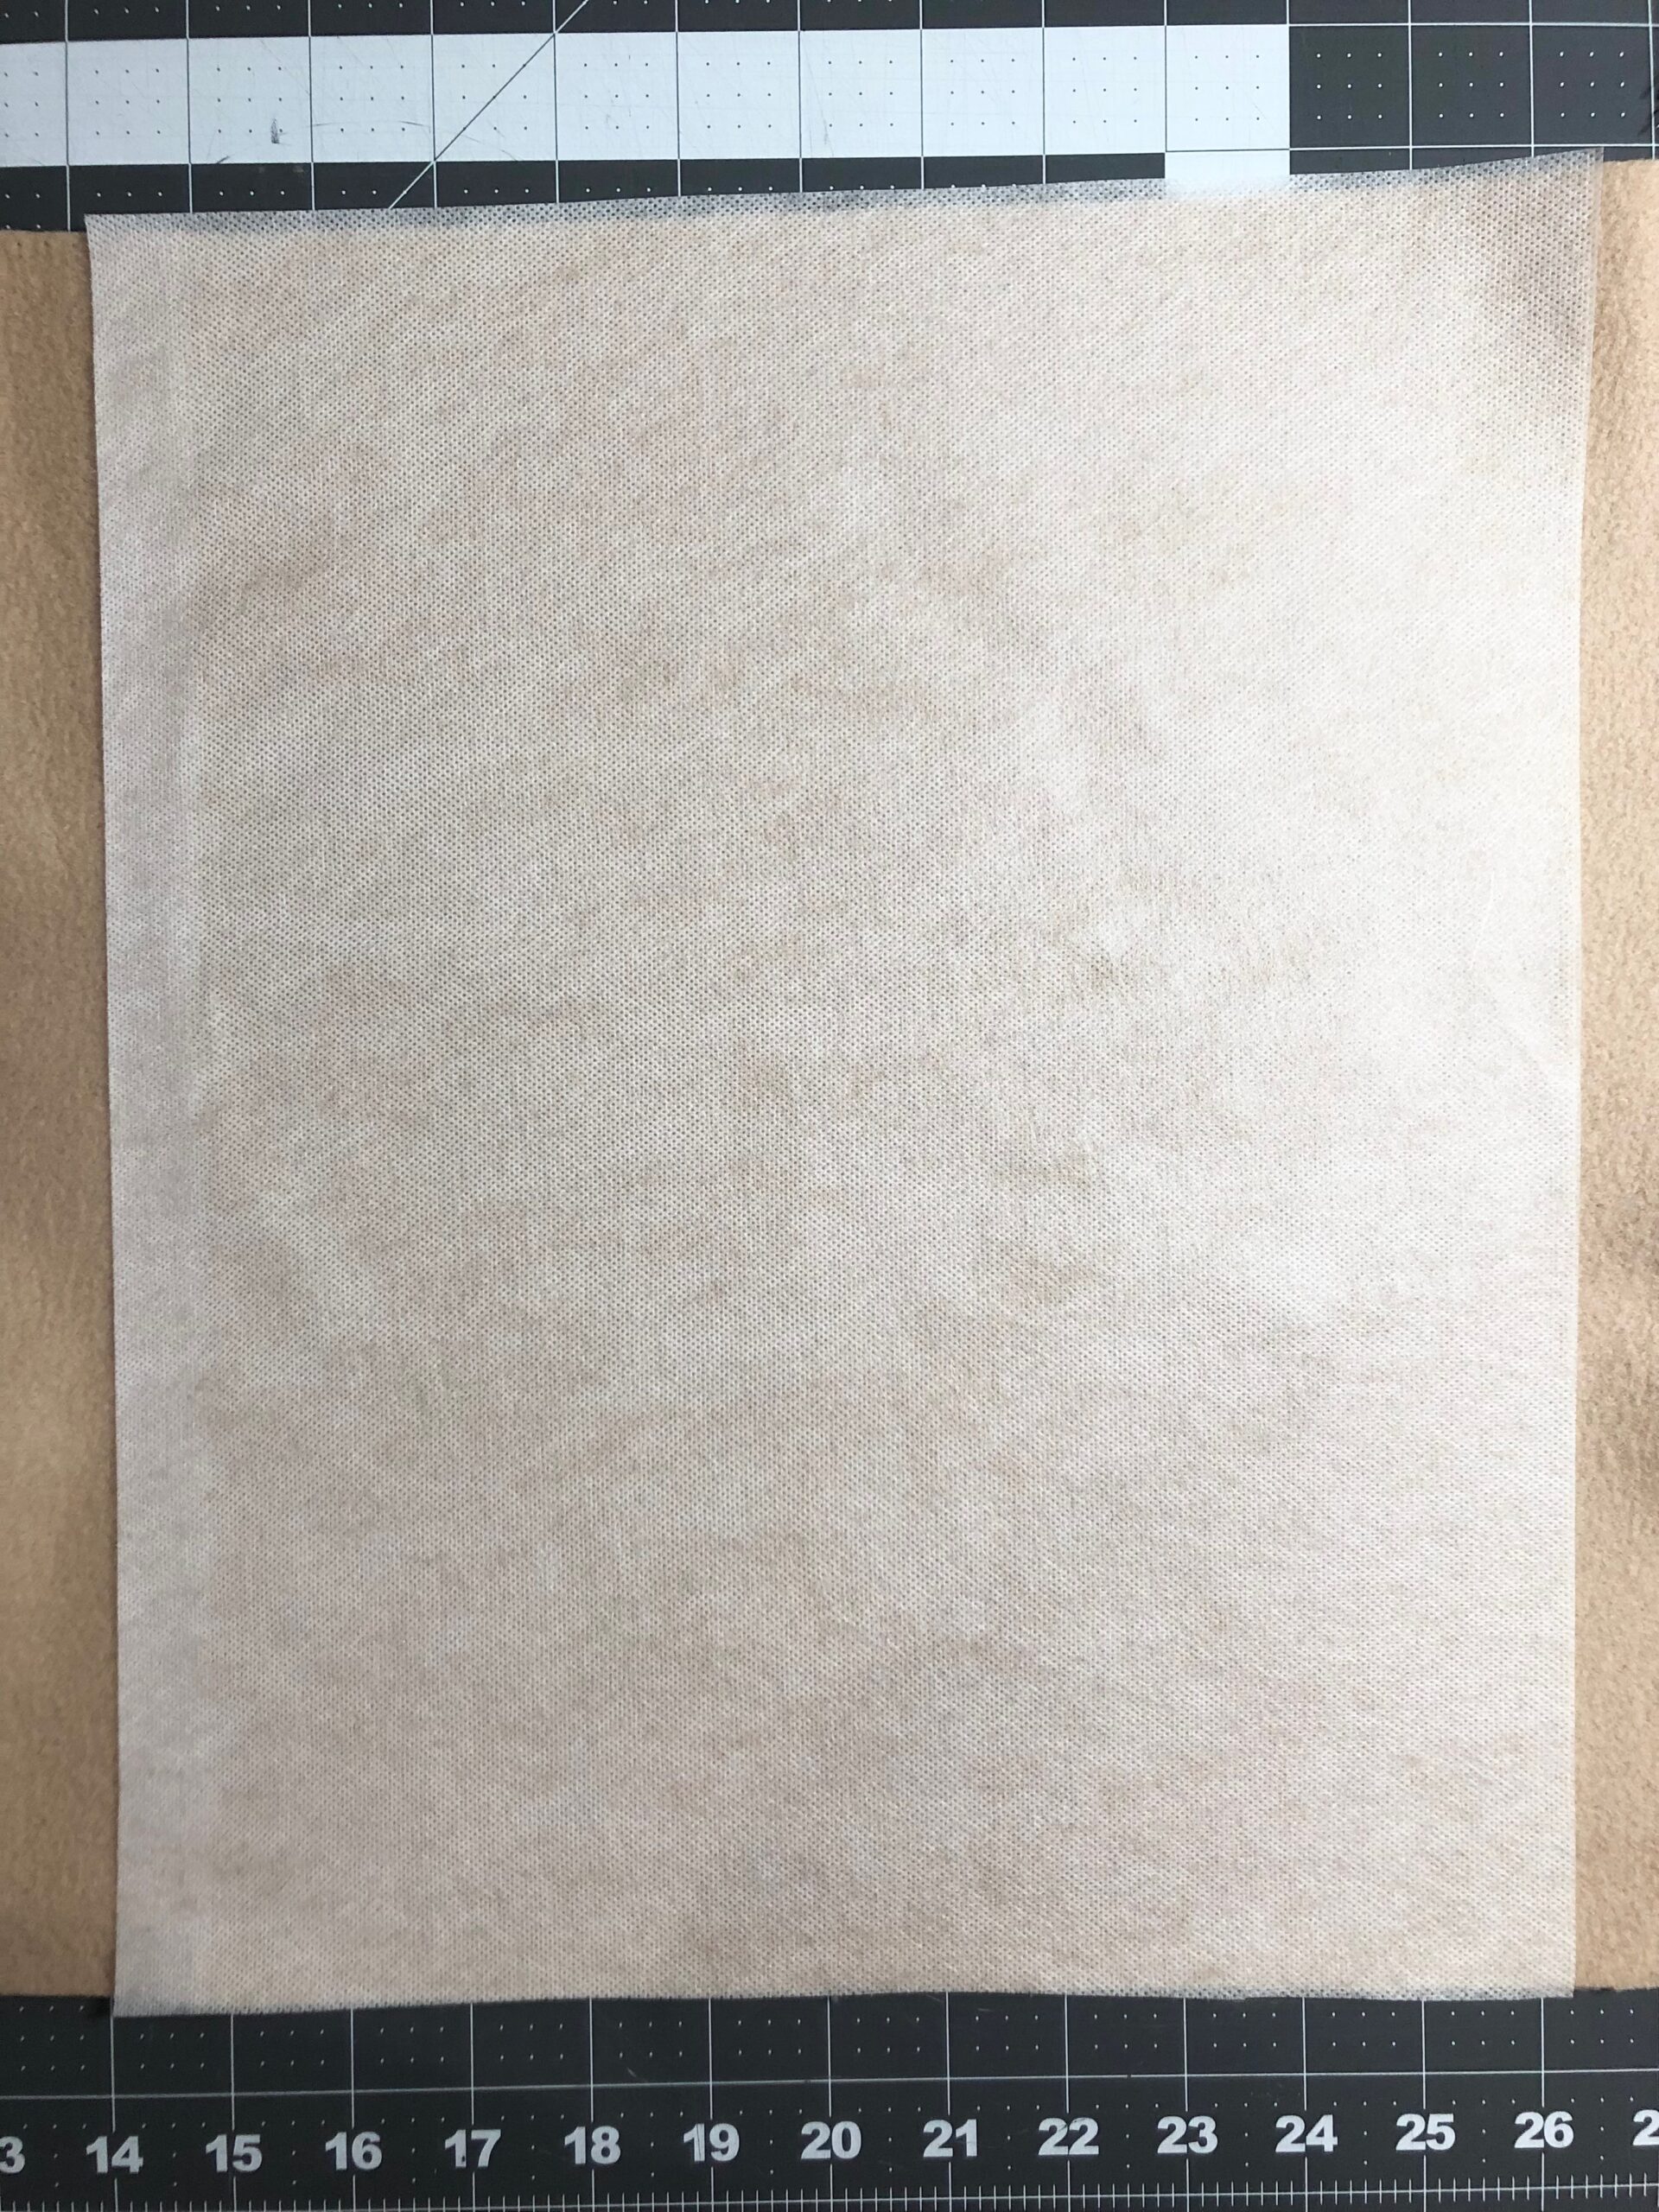
- (2) 13″ squares of fleece fabric
- (1) 14″-long all-purpose polyester zipper
- 12″-square pillow form
- Filaine™ Wire Brush
- KK2000™ Temporary Spray Adhesive
- Curved Tip Squeezers
- Clover Wonder Clips (optional)
- Sulky Threads
Sulky may earn an affiliate commission on items purchased through the above links.
FLEECE PILLOW DESIGN INFO
This embroidery design comes in two sizes – for a 5×7 hoop and a 6×10 or larger hoop. The large-scale design is perfect for holiday pillows, towels and more! Featuring Sulky Rayon Thread for detailing and Sulky Filaine Thread for the faux-fur effect, this Wooly Mammoth is a fun way to play with threads to create 3-D effects.
- This design is digitized for heavyweight, 12 wt. Filaine, thread, which requires special handling. Consult the included color chart to be sure to switch threads and needle size when required.
- When stitching Filaine portions of the design, slow the machine speed as low as it’ll go.
- Use a size 100/16 Titanium Top Stitch or Top Stitch Needle.
- Use 60 wt. Bobbin Thread.
- De-select auto-trims to avoid knots and bulk on the fabric wrong side; instead, use the handwheel at the start of the Filaine stitching and pull the bobbin thread up to the fabric surface. Then trim the thread tails after the first few stitches of the design portions.
- Fabric choice is important – medium- to heavyweight fabrics work best with this dense design. If lighter weight fabric is used, add interfacing and more layers of stabilizer or a heavier weight stabilizer to ensure stitching success.
- Be sure to stabilize the fabric adequately to support the many needle penetrations. Cut-away stabilizer varieties are best to support the stitching over time.
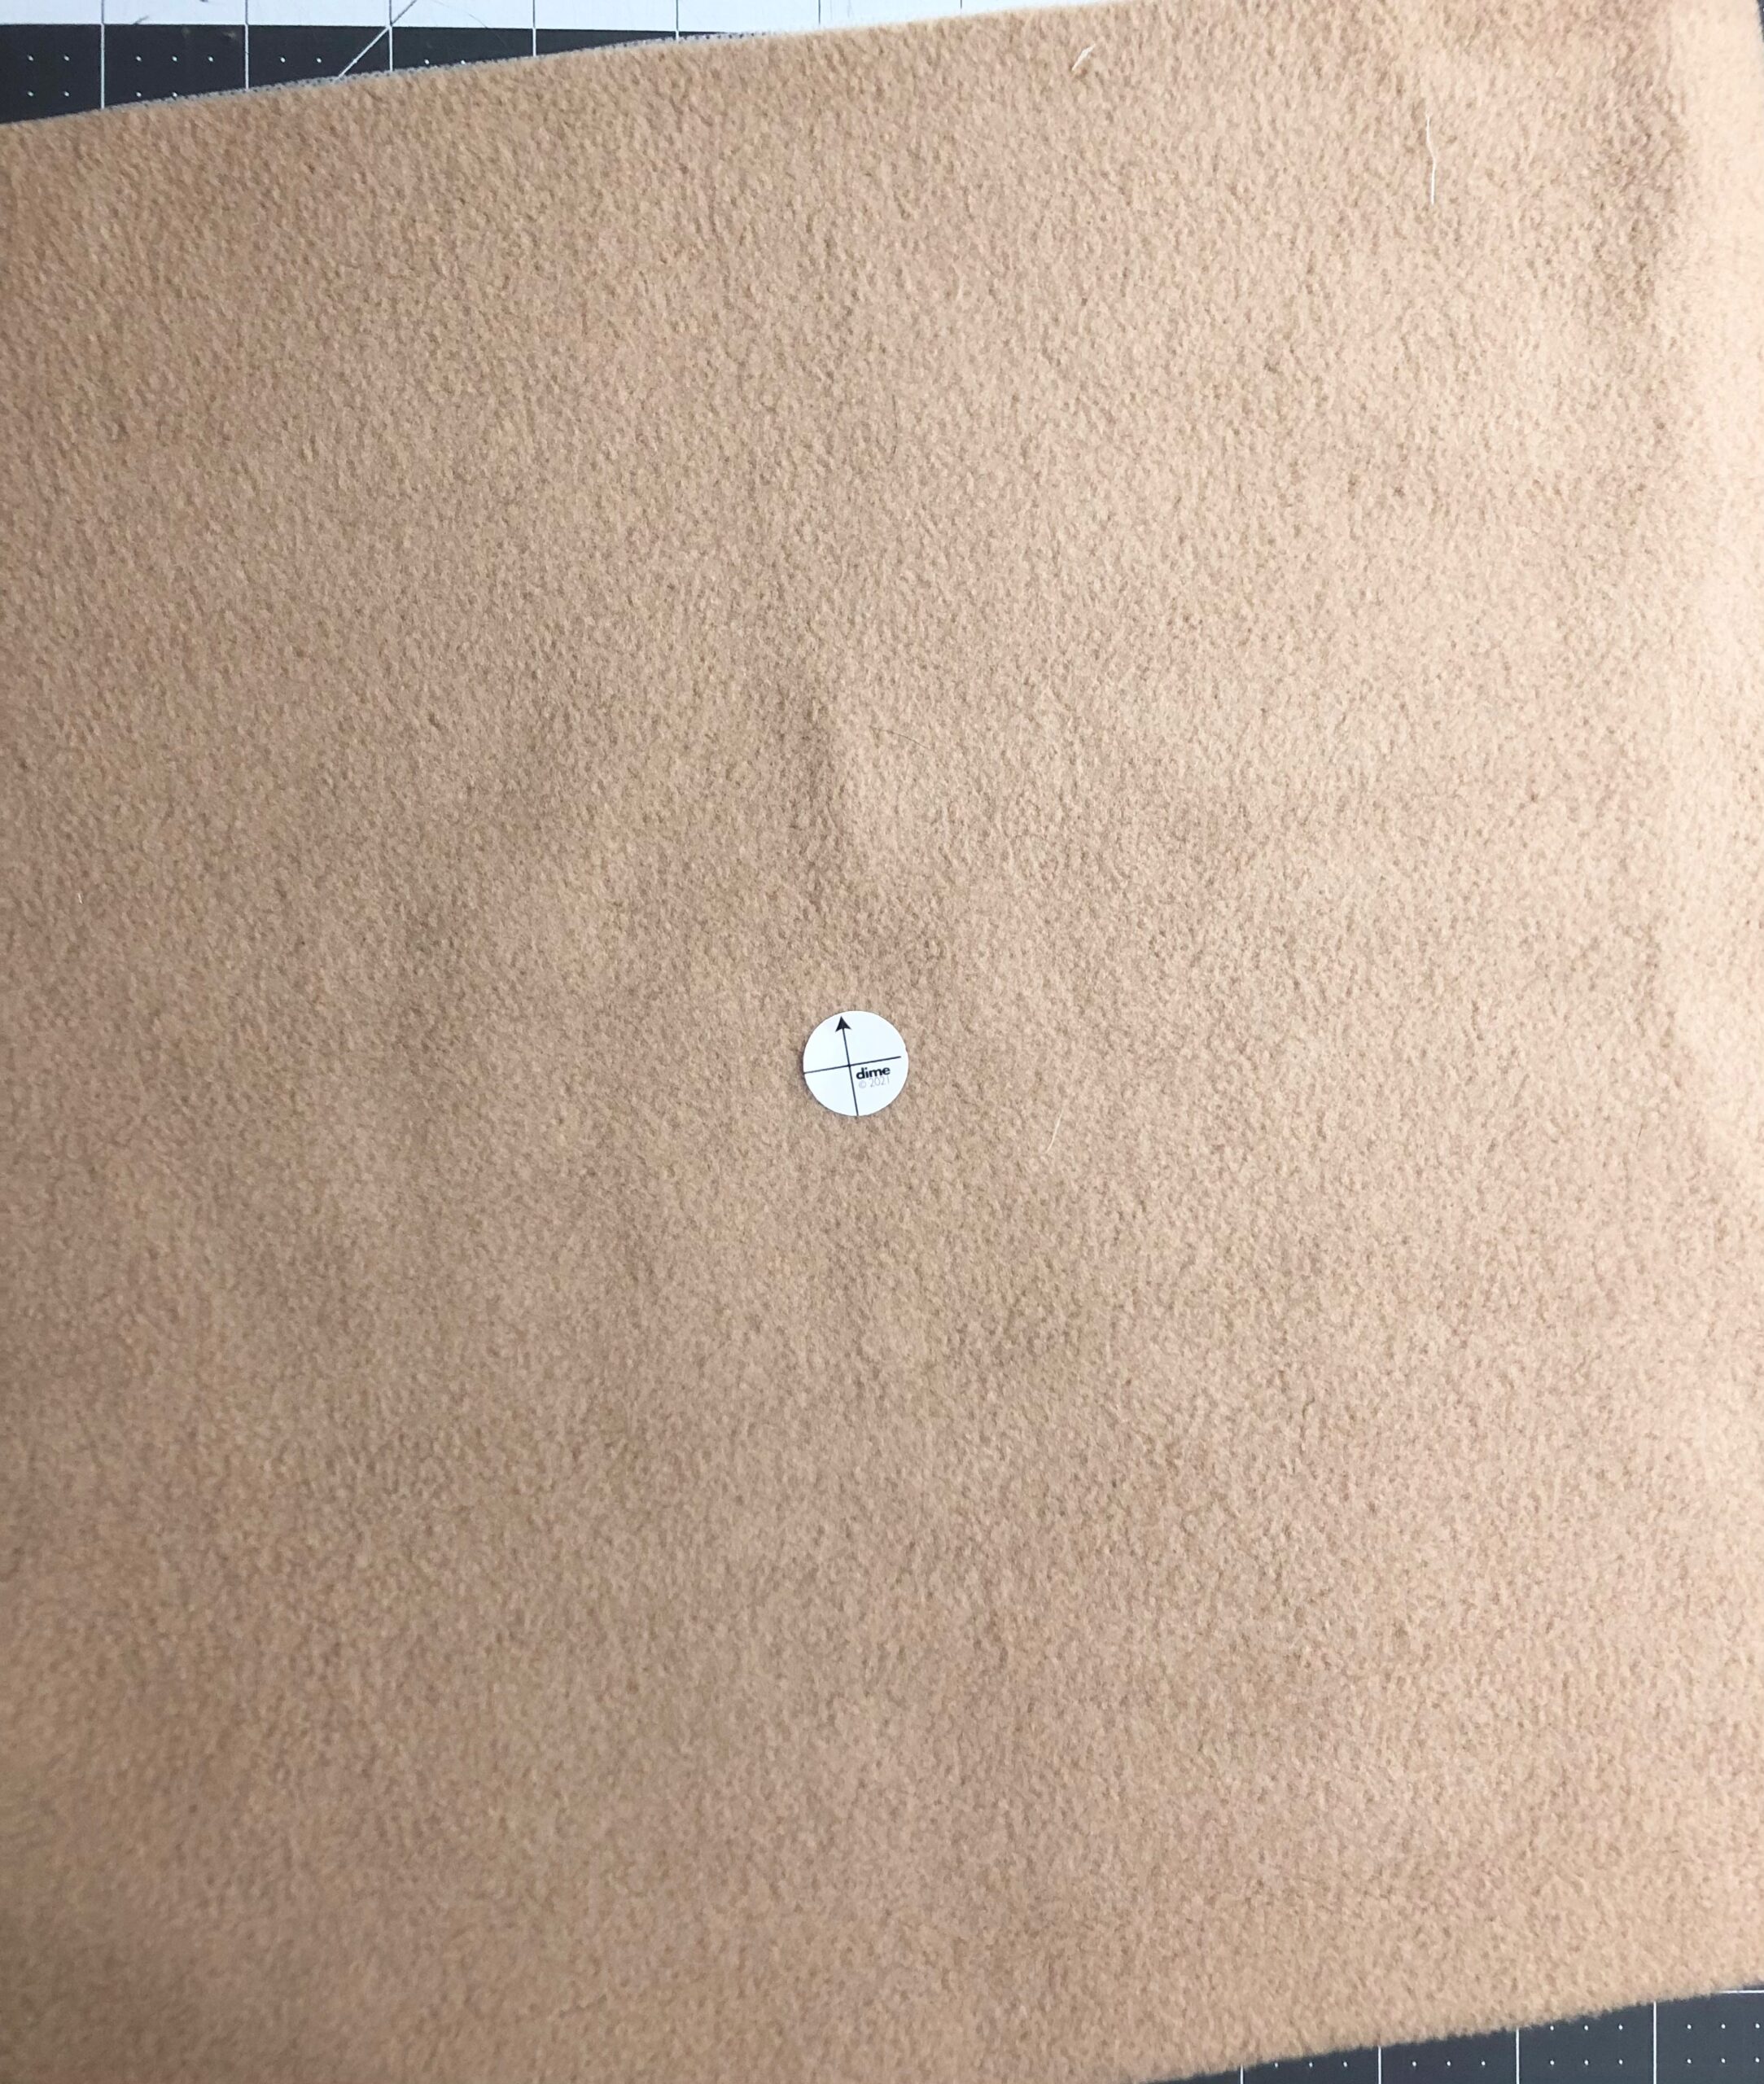
HOOPING FLEECE FABRIC
Determine the desired design placement on one fleece square, Pin-mark or use a placement sticker to demote the center cross marks of the design.
If using a magnetic hoop place a piece of Sticky Fabri-Solvy on the fleece wrong side, after smoothing the nap in one direction (down).
Then, hoop the fleece fabric, centering the design cross marks.
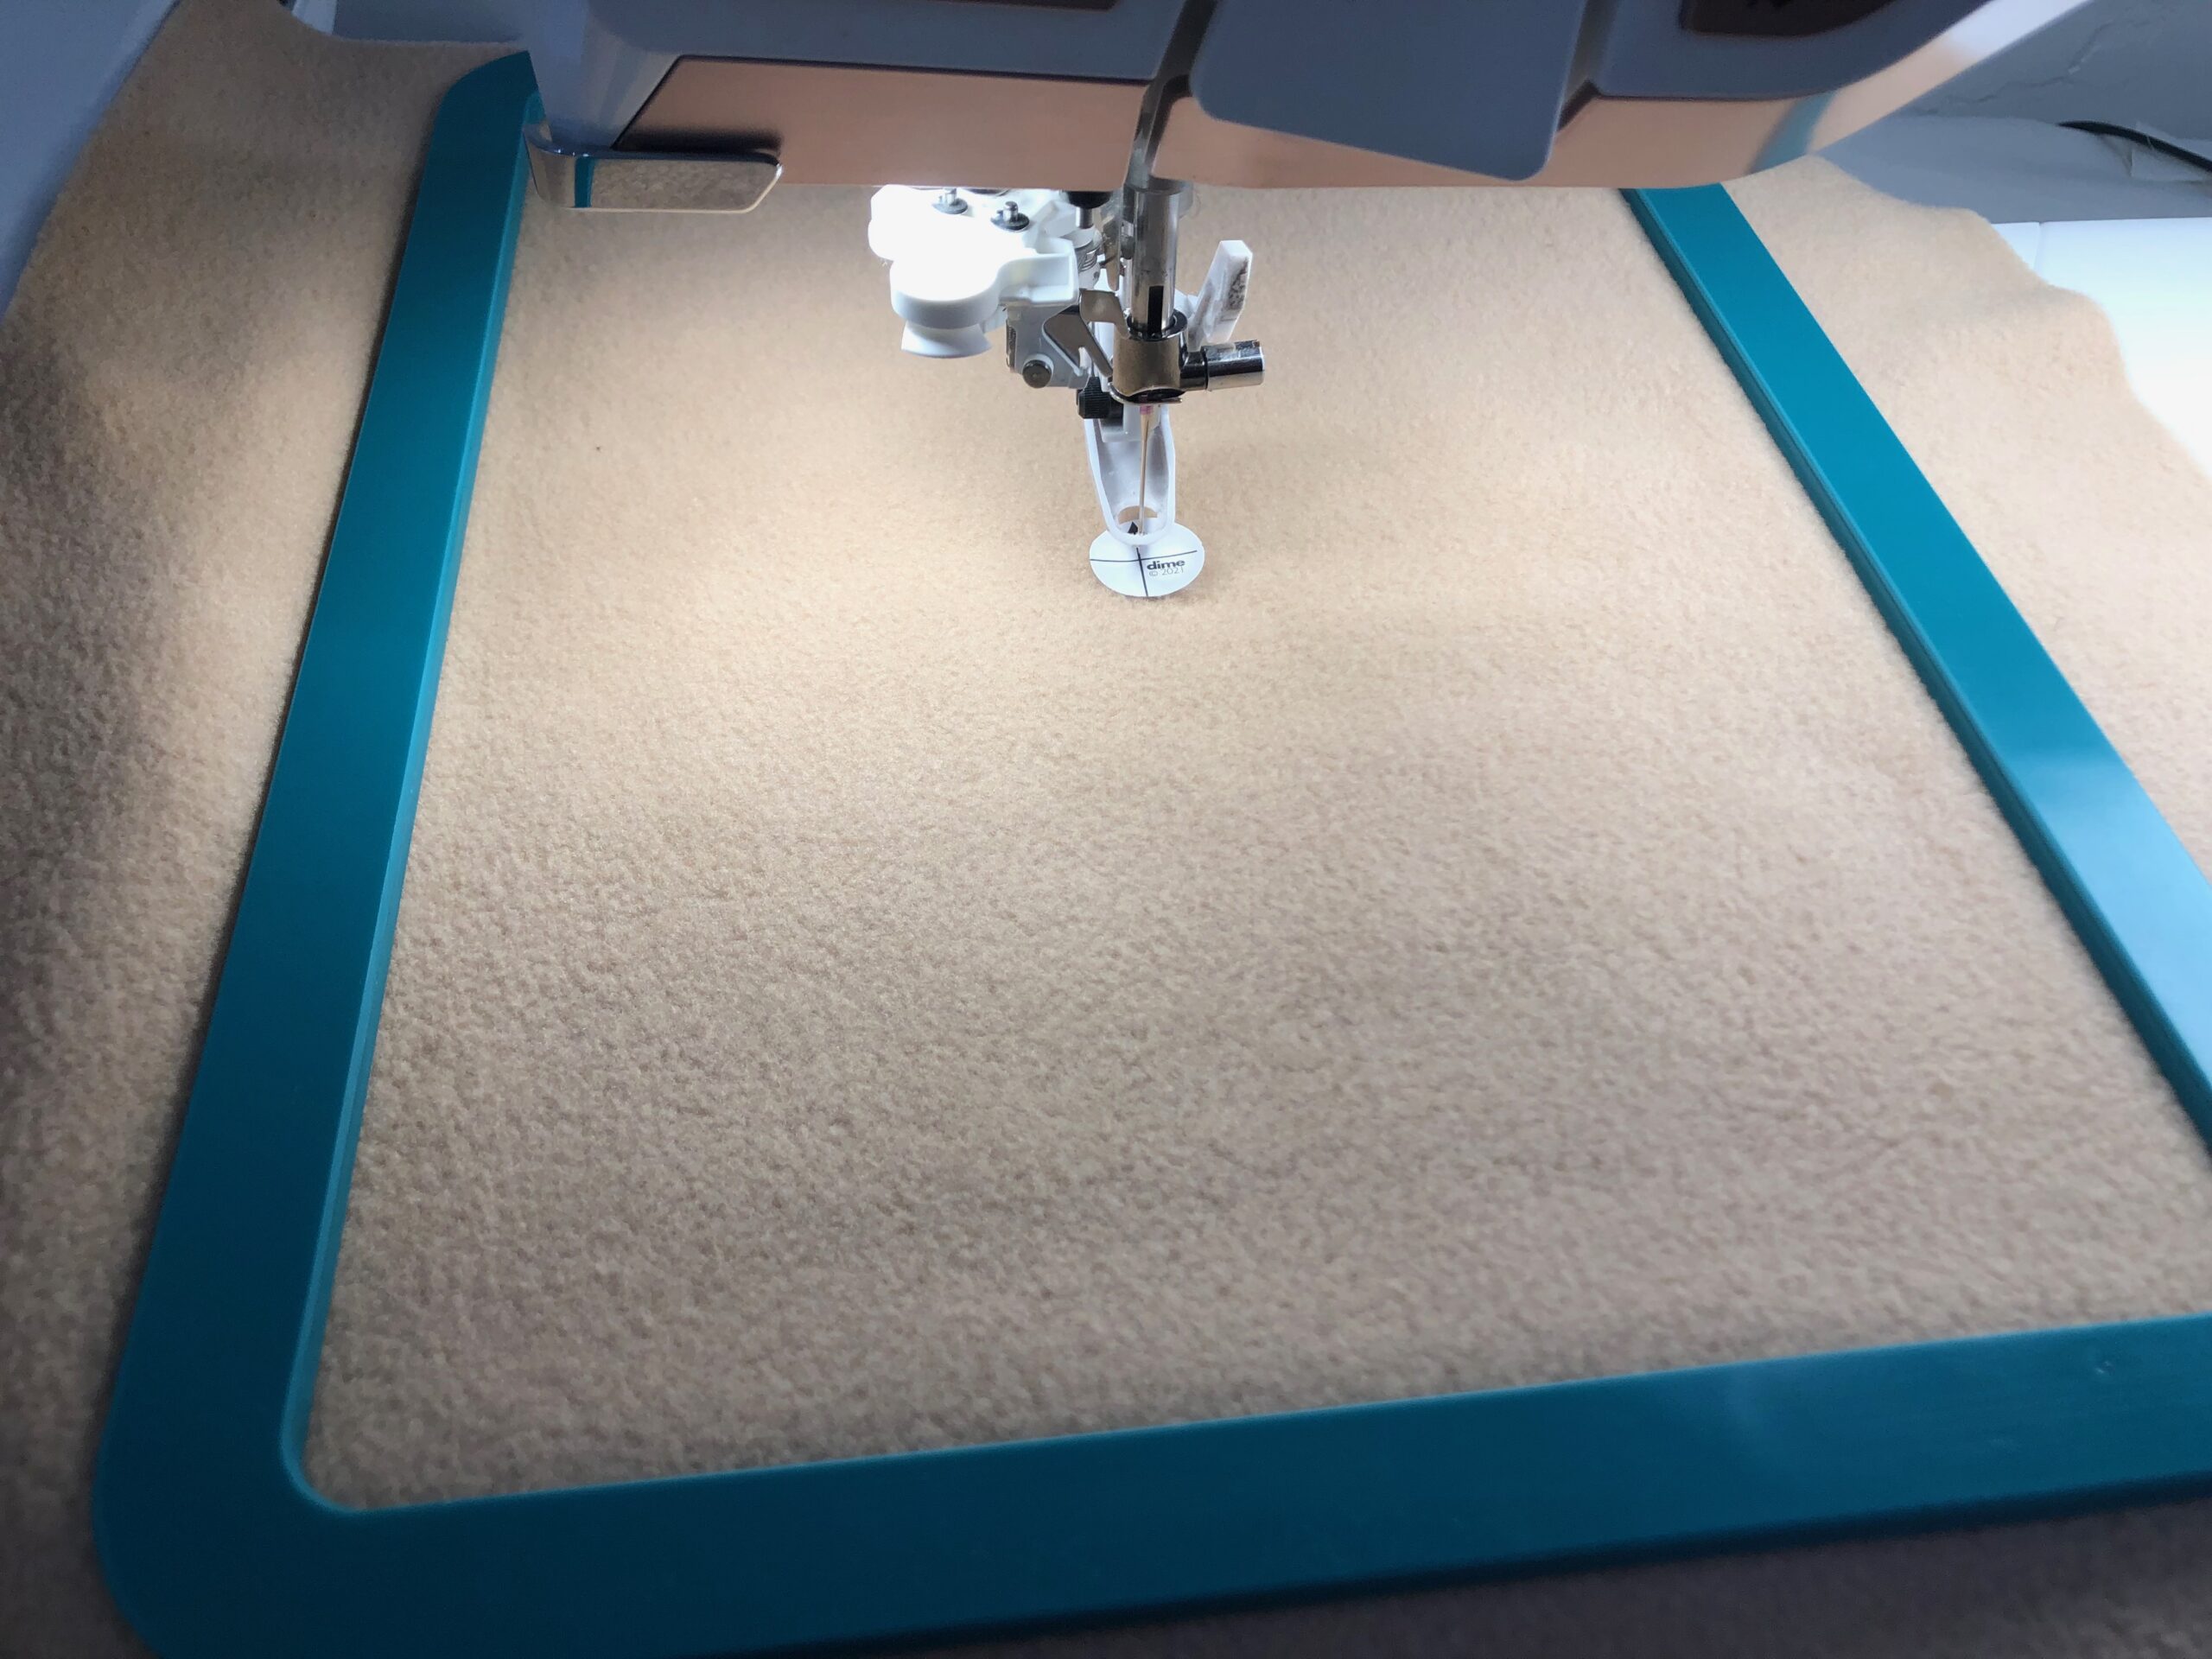
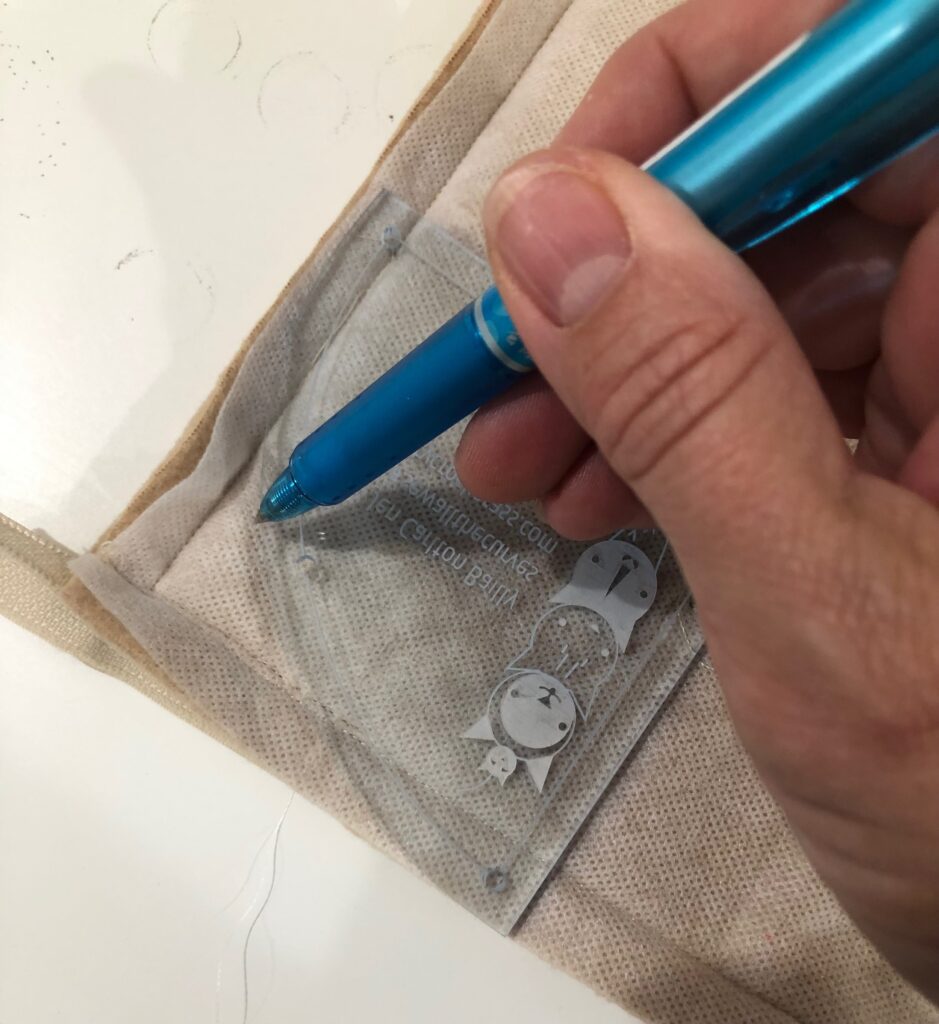
If not using a magnetic hoop, hoop a piece of Sticky Fabri-Solvy with the paper side facing up. Score the paper within the inner hoop ring using the Sticky+ Slitting Pen. Peel away the paper backing along the scored lines to reveal the stabilizer adhesive. Align the fleece cross marks with the hoop markings. Then, using your hands, gently press the fabric to the stabilizer to adhere it.
Place the hoop onto the machine. Center a piece of Solvy onto the fabric right side, using Sulky KK 2000 Temporary Spray Adhesive to secure. Make sure to brush the nap in one direction (down) prior to placing the Solvy.
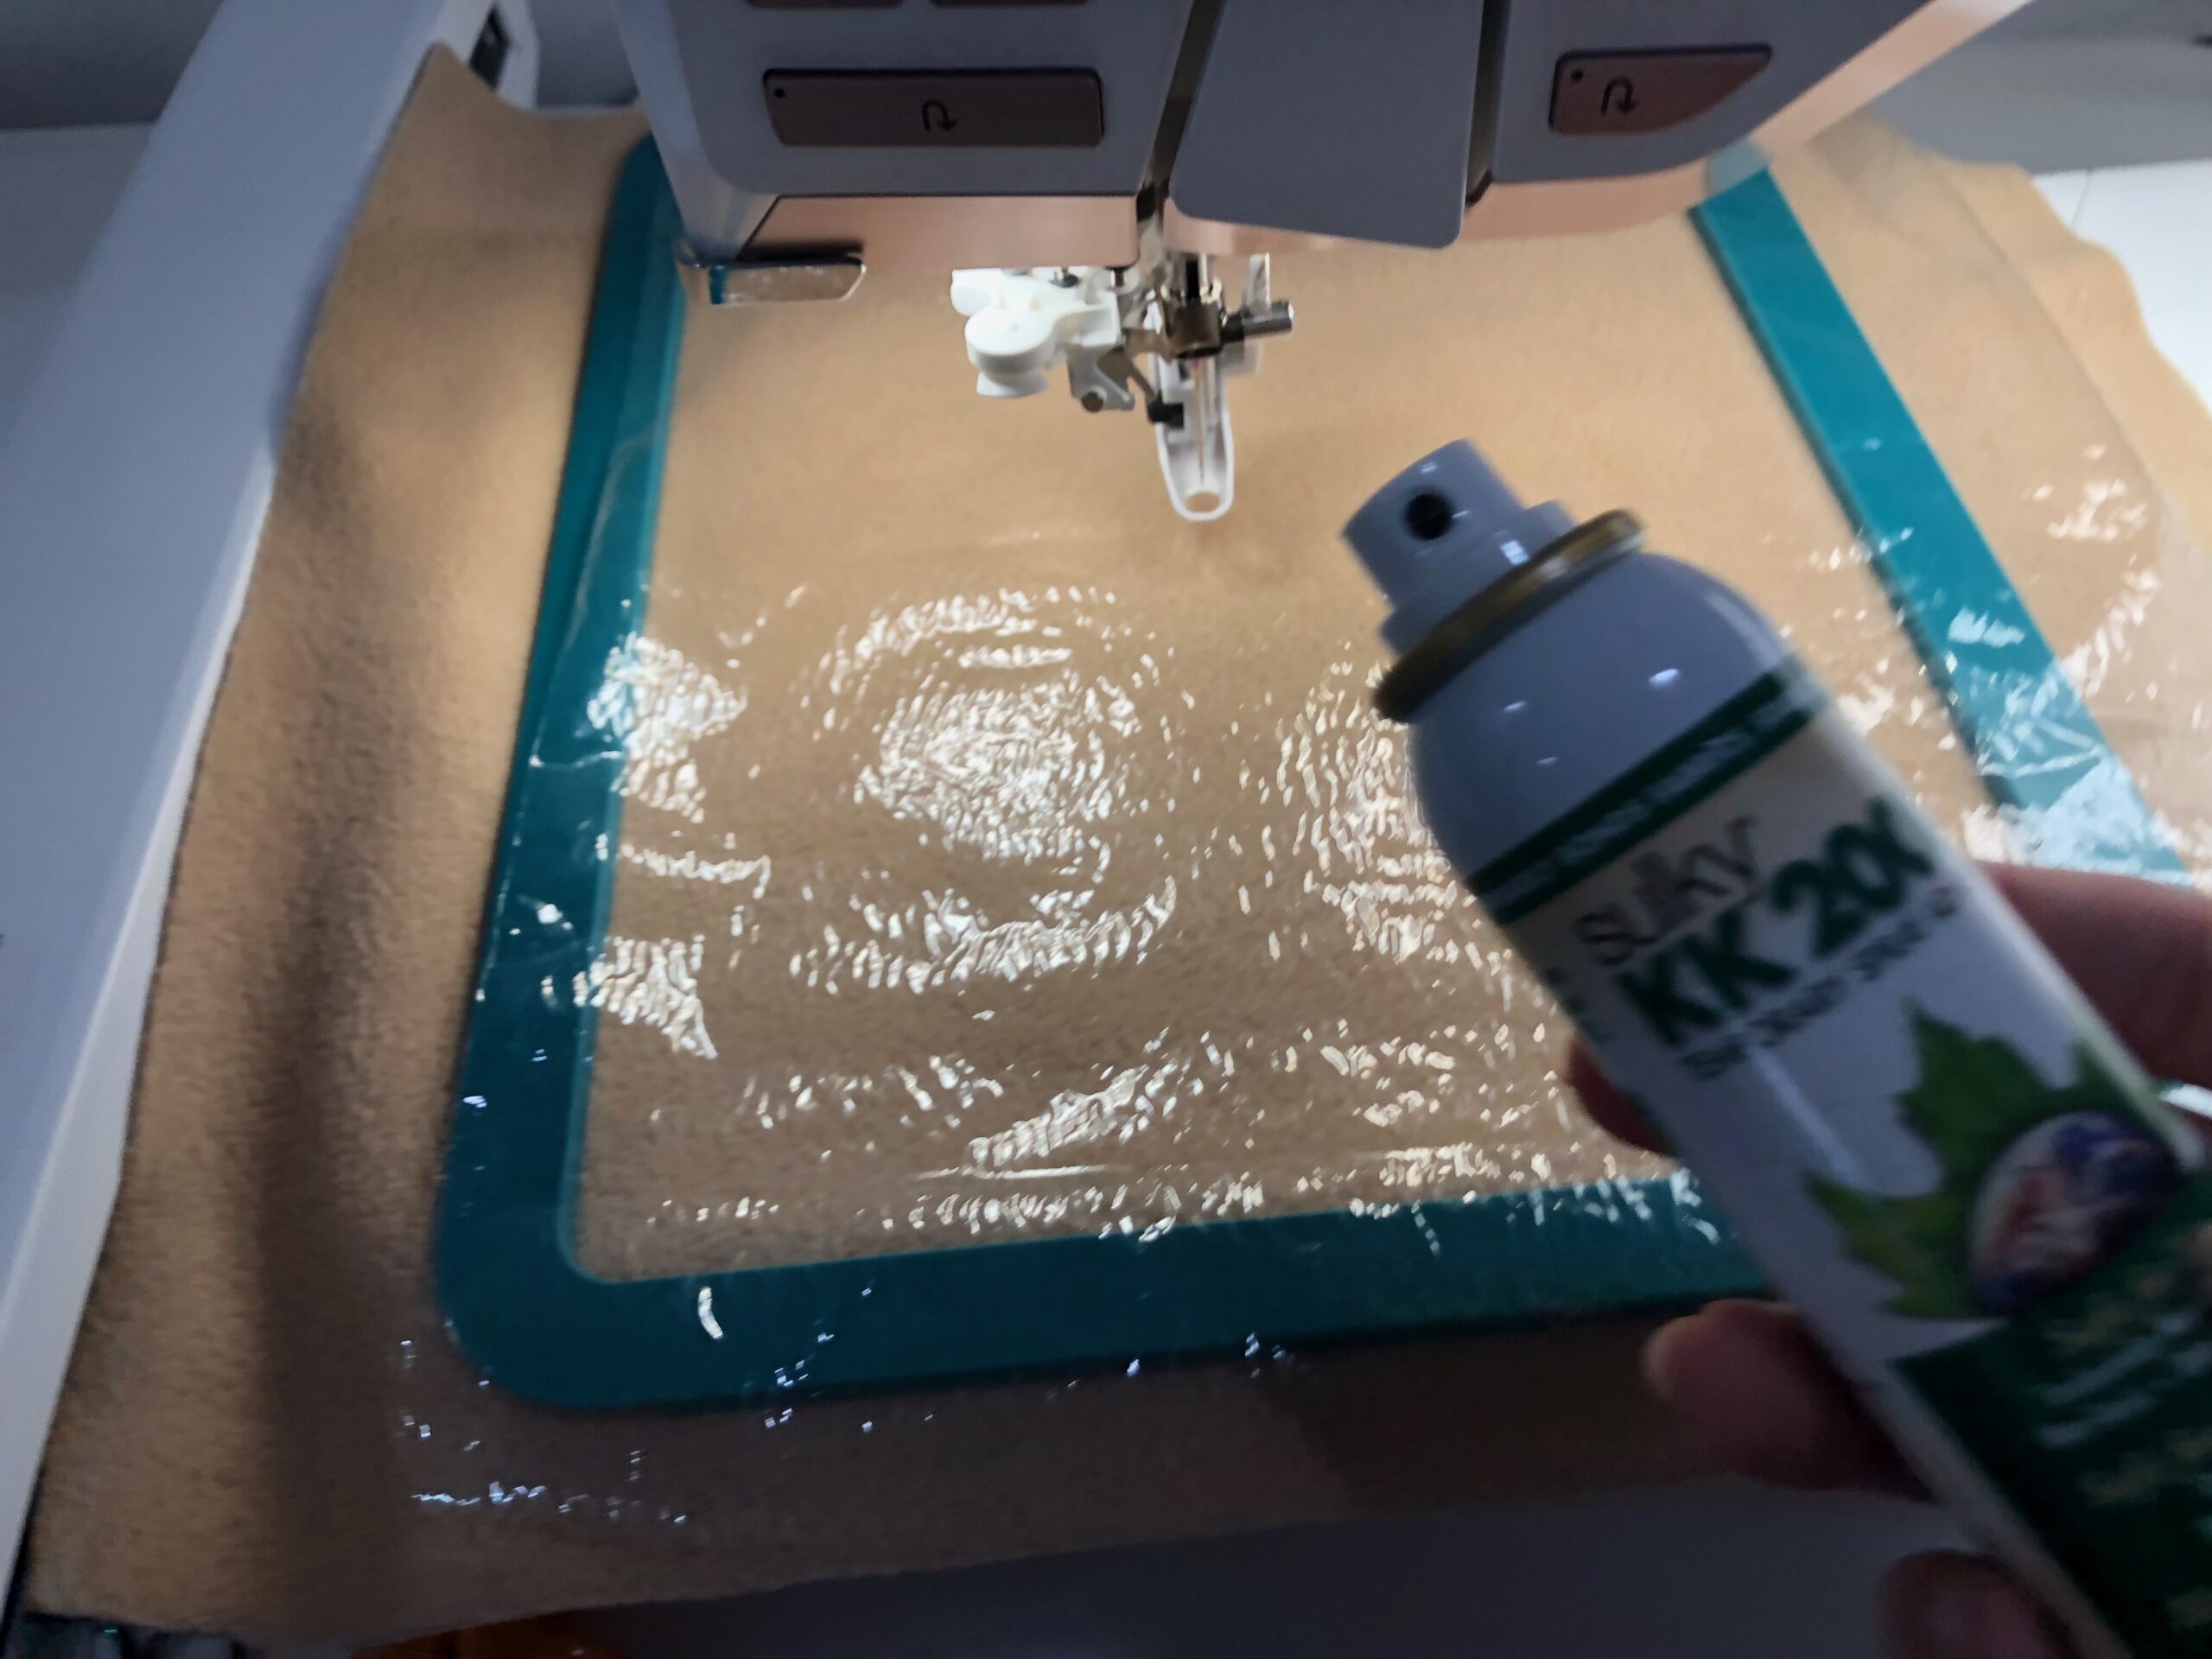
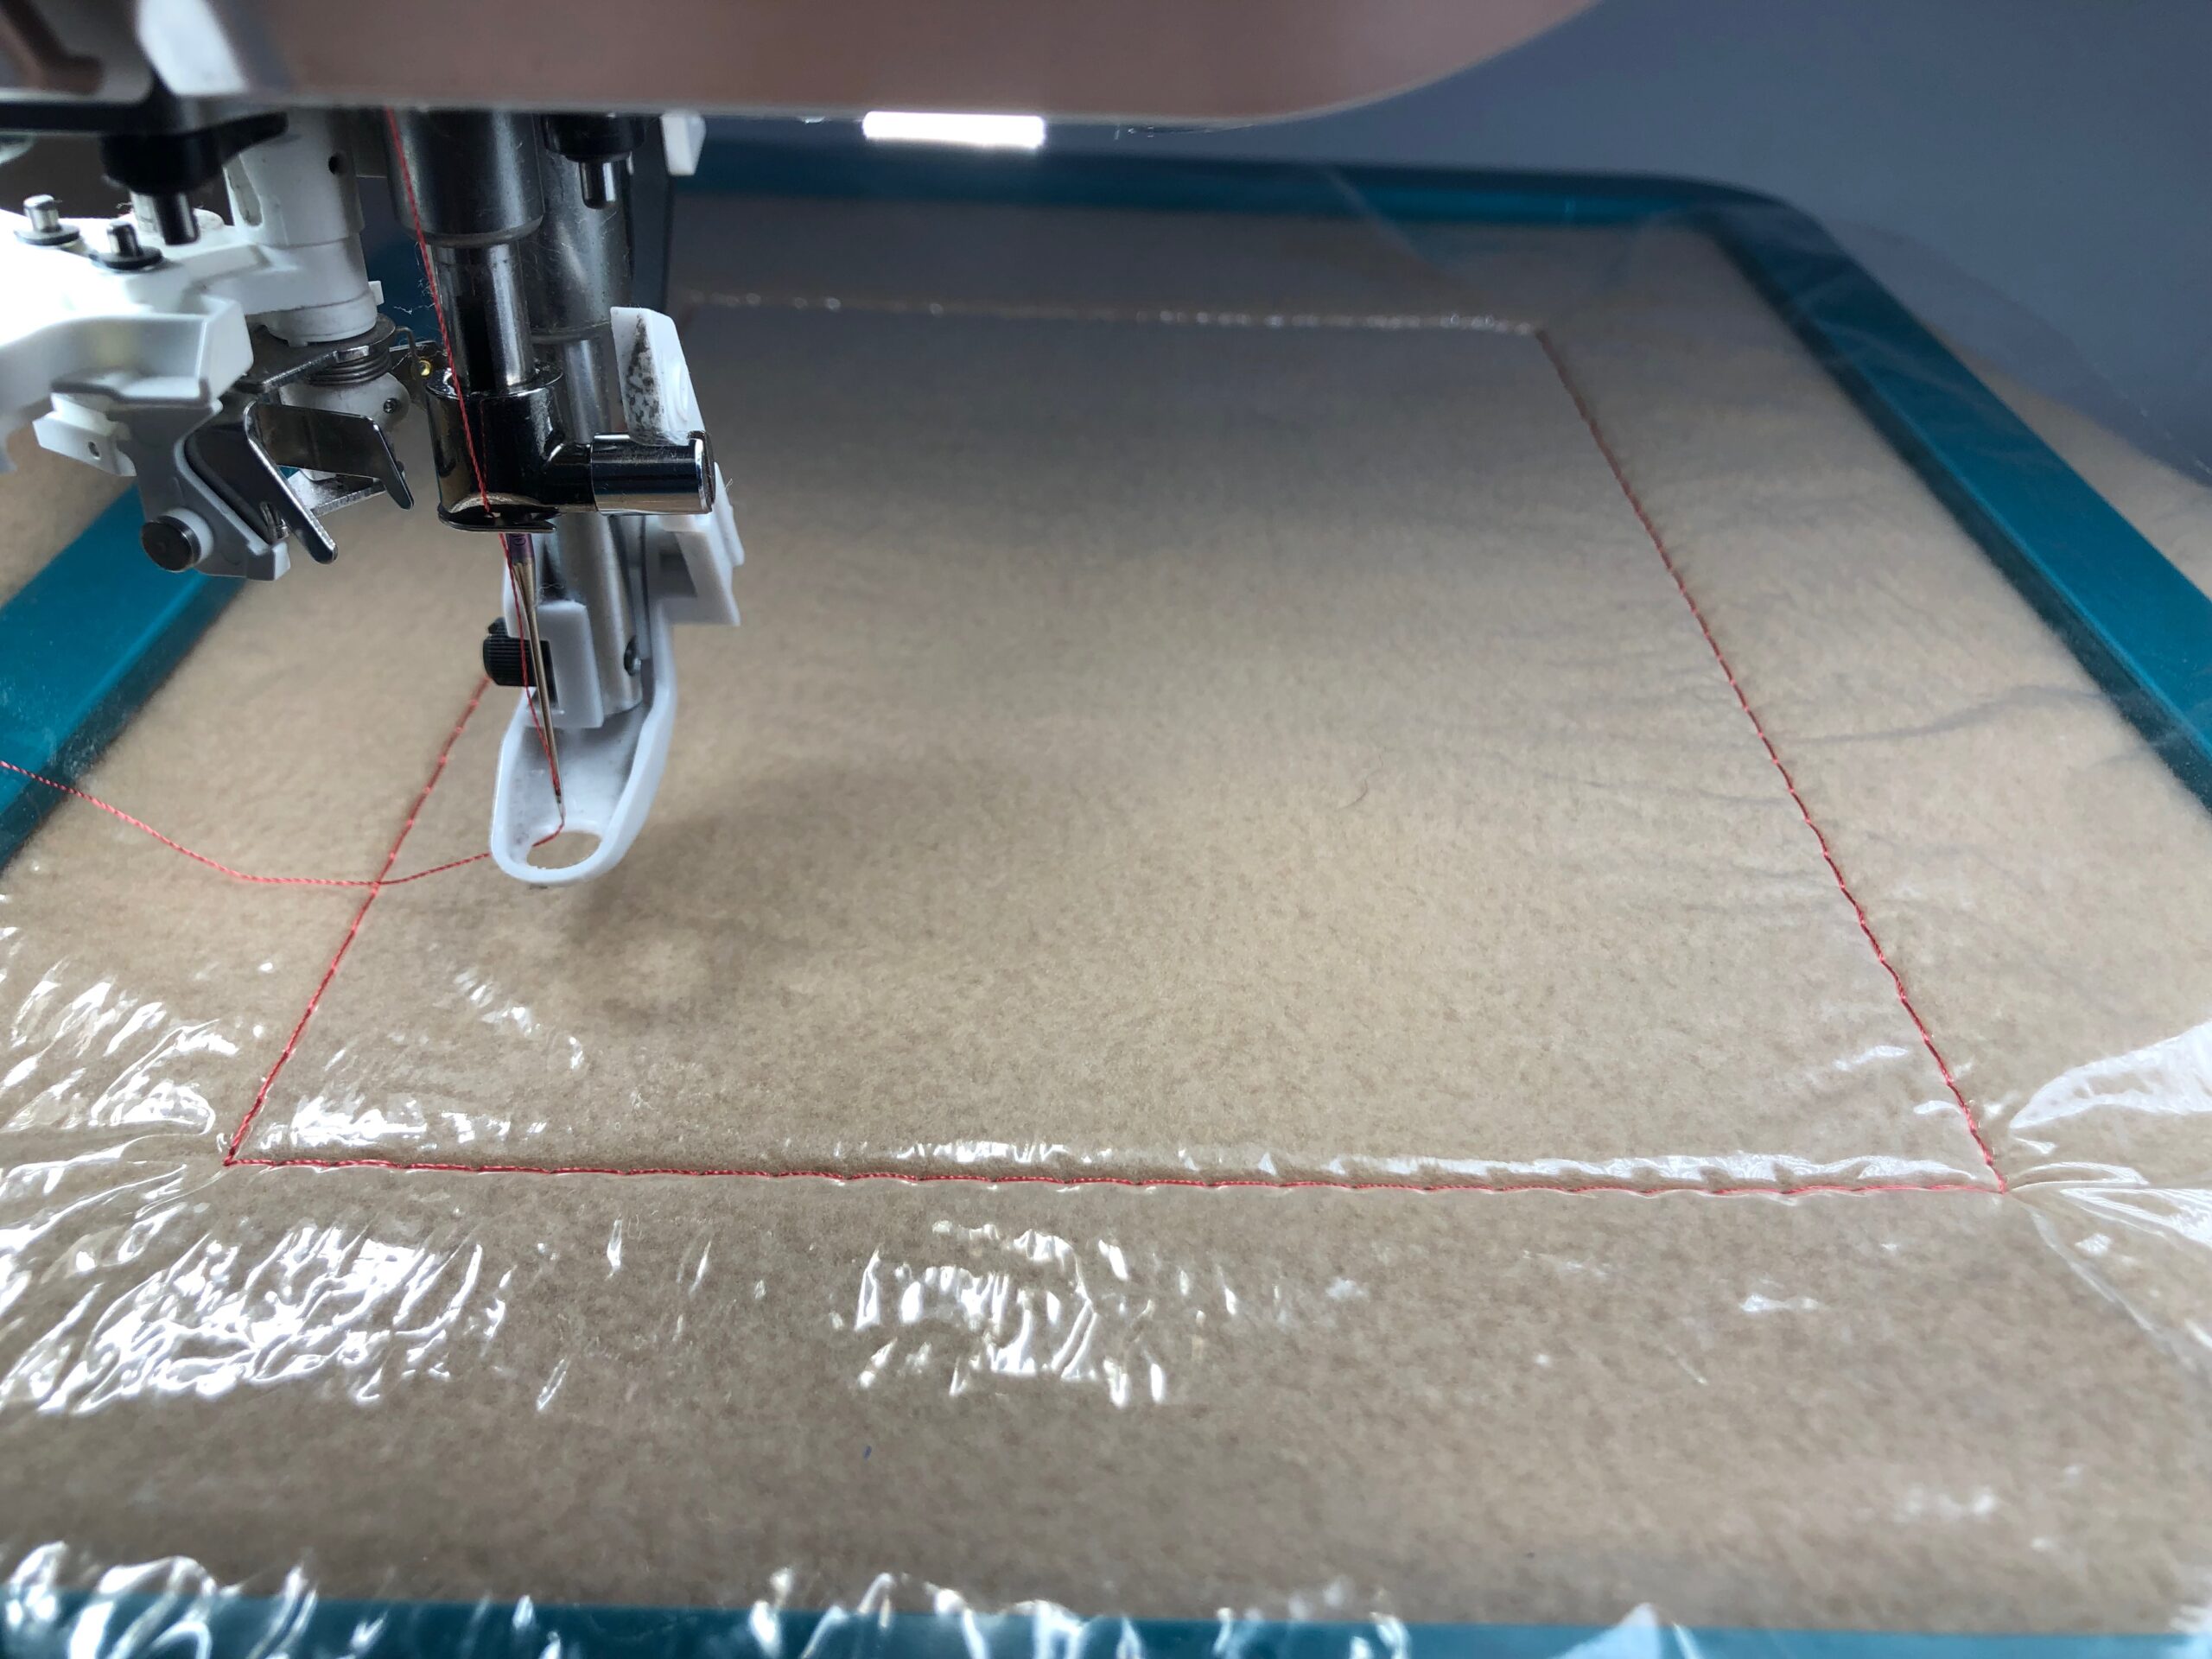
Perform a design perimeter baste function, if available, to further secure the Solvy to the fleece in the hoop.
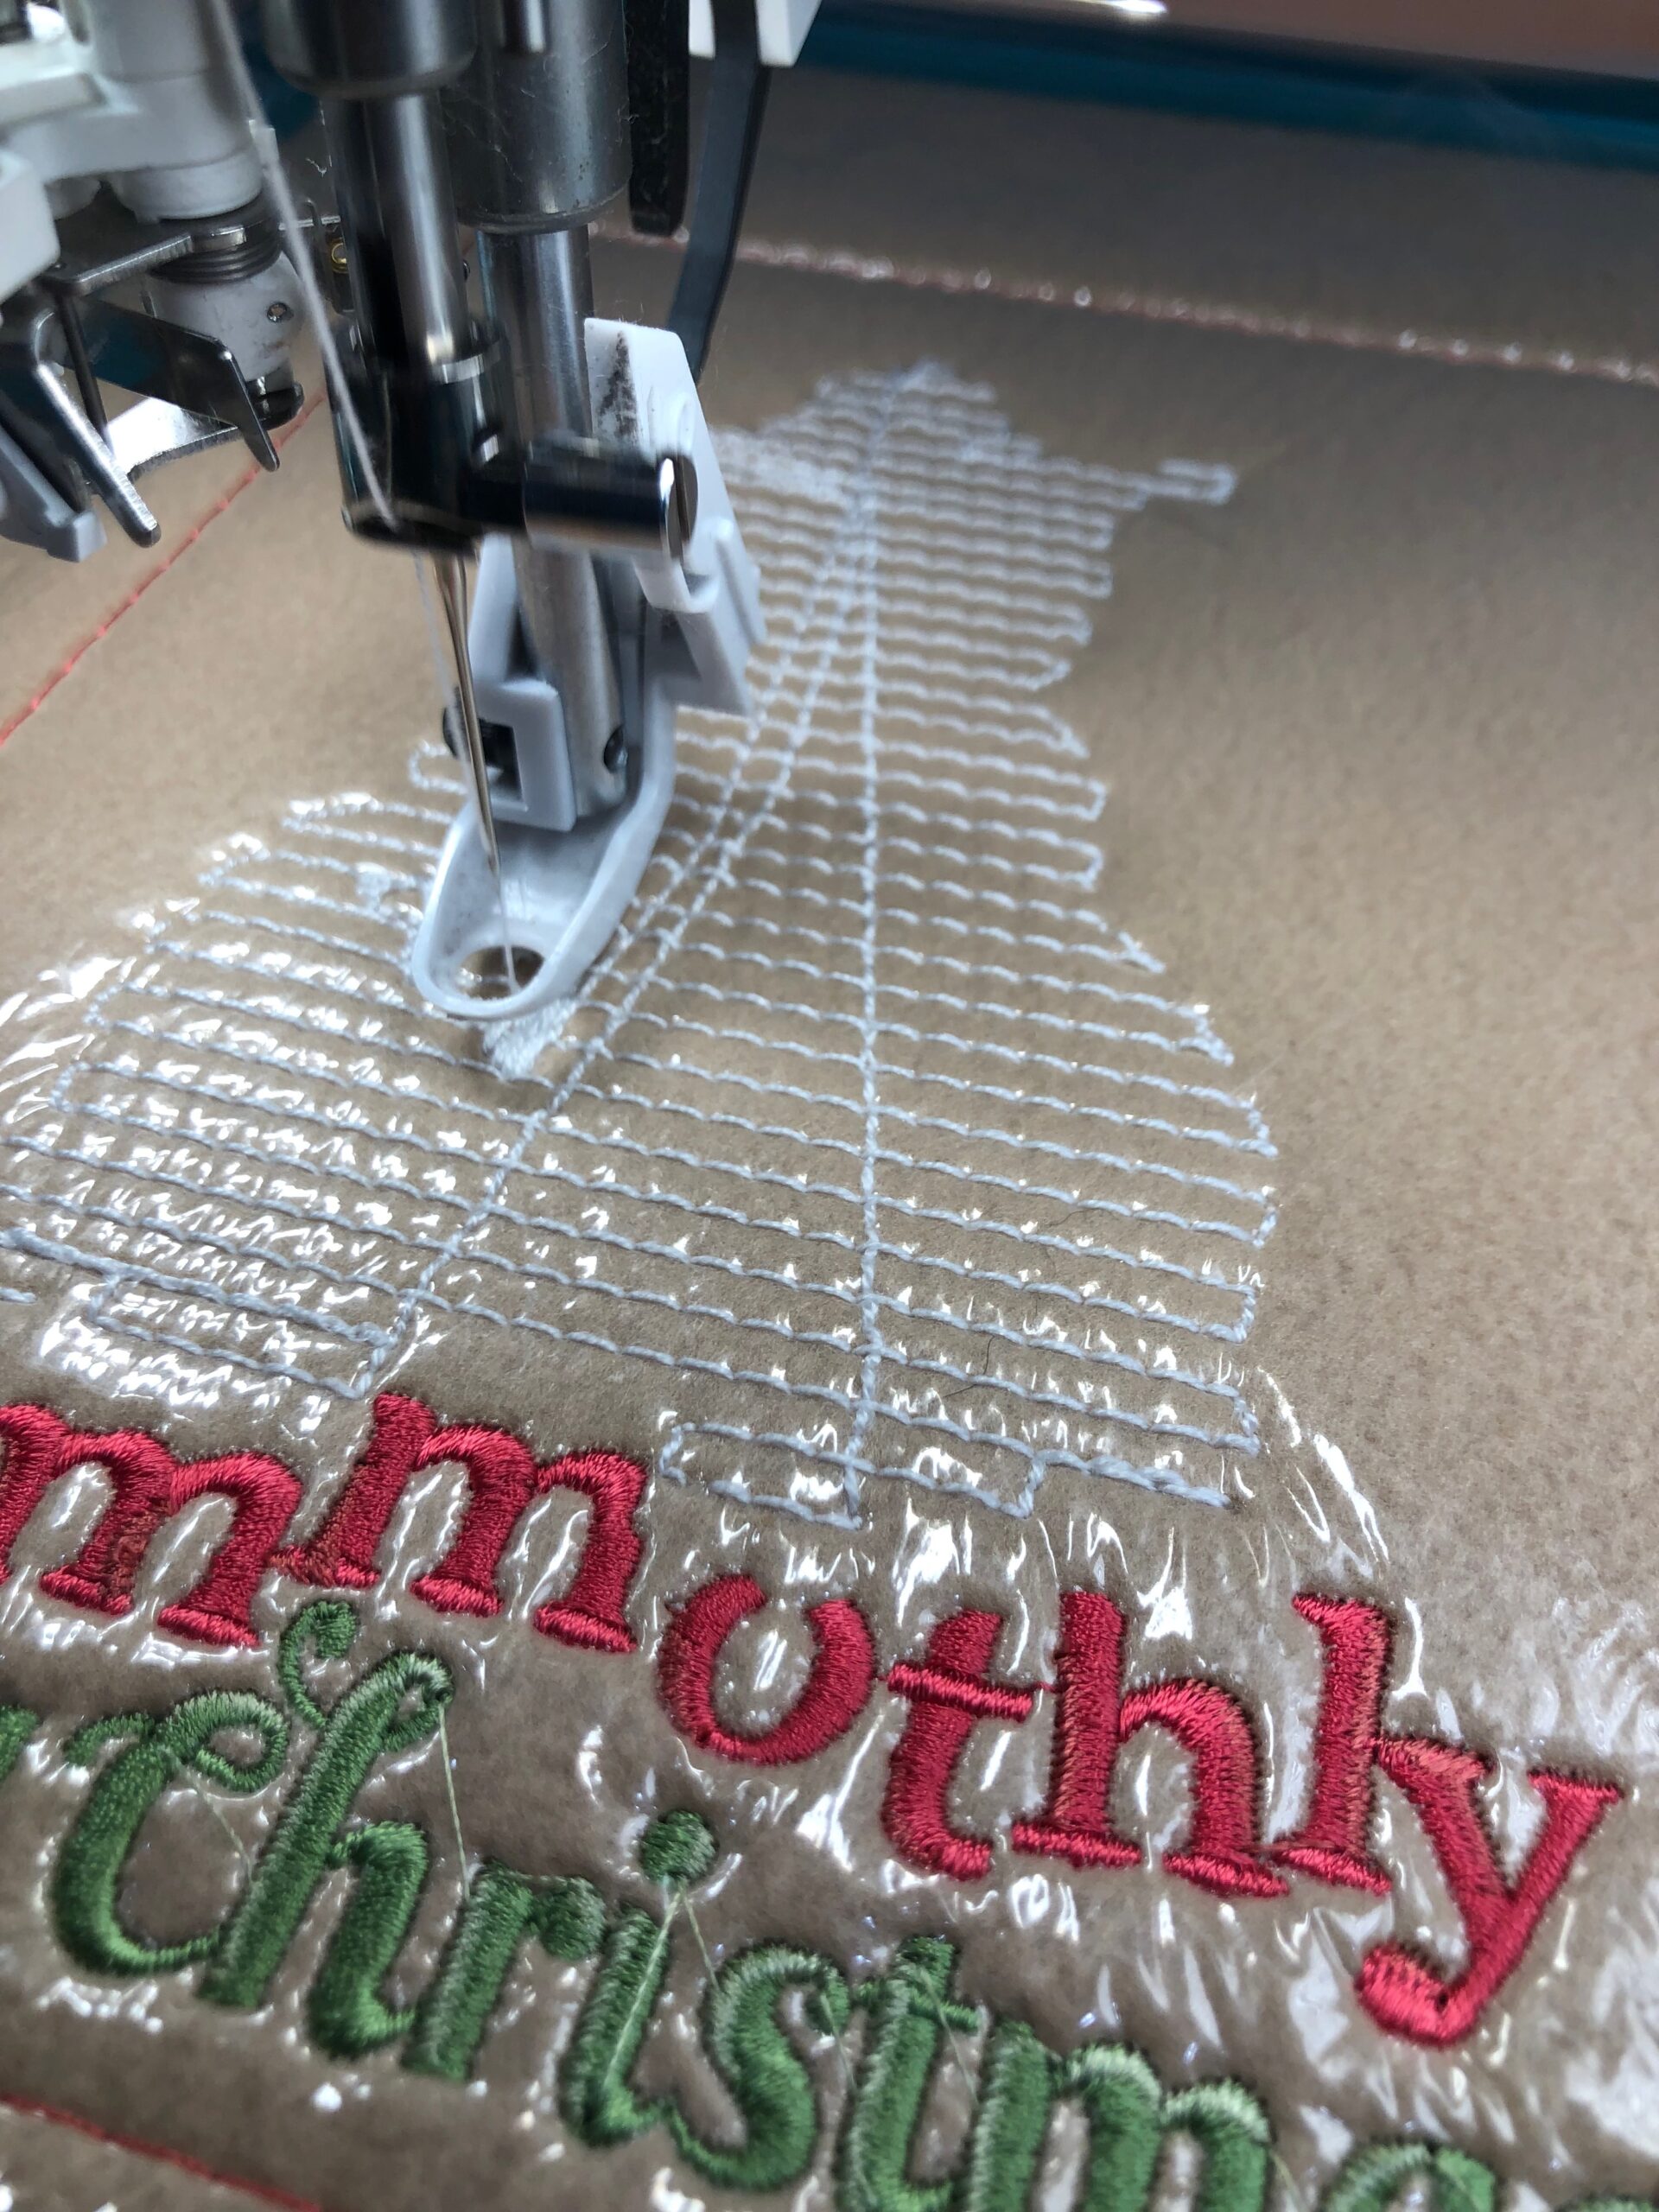
EMBROIDERING FLEECE FABRIC
Download and view the color sequence chart for the Mammothly Merry Christmas design. Some of the threads are Sulky Rayon while others are Sulky Filaine.
When swapping threads, be sure to also swap needle sizes to accommodate the thread weight. Use a size 90/14 Needle for the Rayon portions of the design and a size 100/16 Needle for the Filaine portions of the design.
Use Sulky 60 wt. Bobbin Thread for both threads.
Slow the machine speed all the way for the Filaine portions of the design.
Make sure to turn off the thread cutting feature at the beginning and end of each color stop, if possible. If not a function on your machine, advance the stitching by one or two stitches to bypass this function. Or, use the handwheel to pull up the bobbin thread at the start of the Filaine colors, and then trim after the embroidery begins and stitches a few stitches. This eliminates excess bulk on the fabric wrong side during the stitchout, which can interfere with the needle performance.
Clip jump threads with each thread change, using Curved Tip Squeezers. There will be a lot of jump threads since the machine is set to NOT auto-trim, so be prepared for that.
When the embroidery is complete, trim jump threads on the fabric front and back.
Remove the hoop from the machine, but leave the fabric in the hoop.
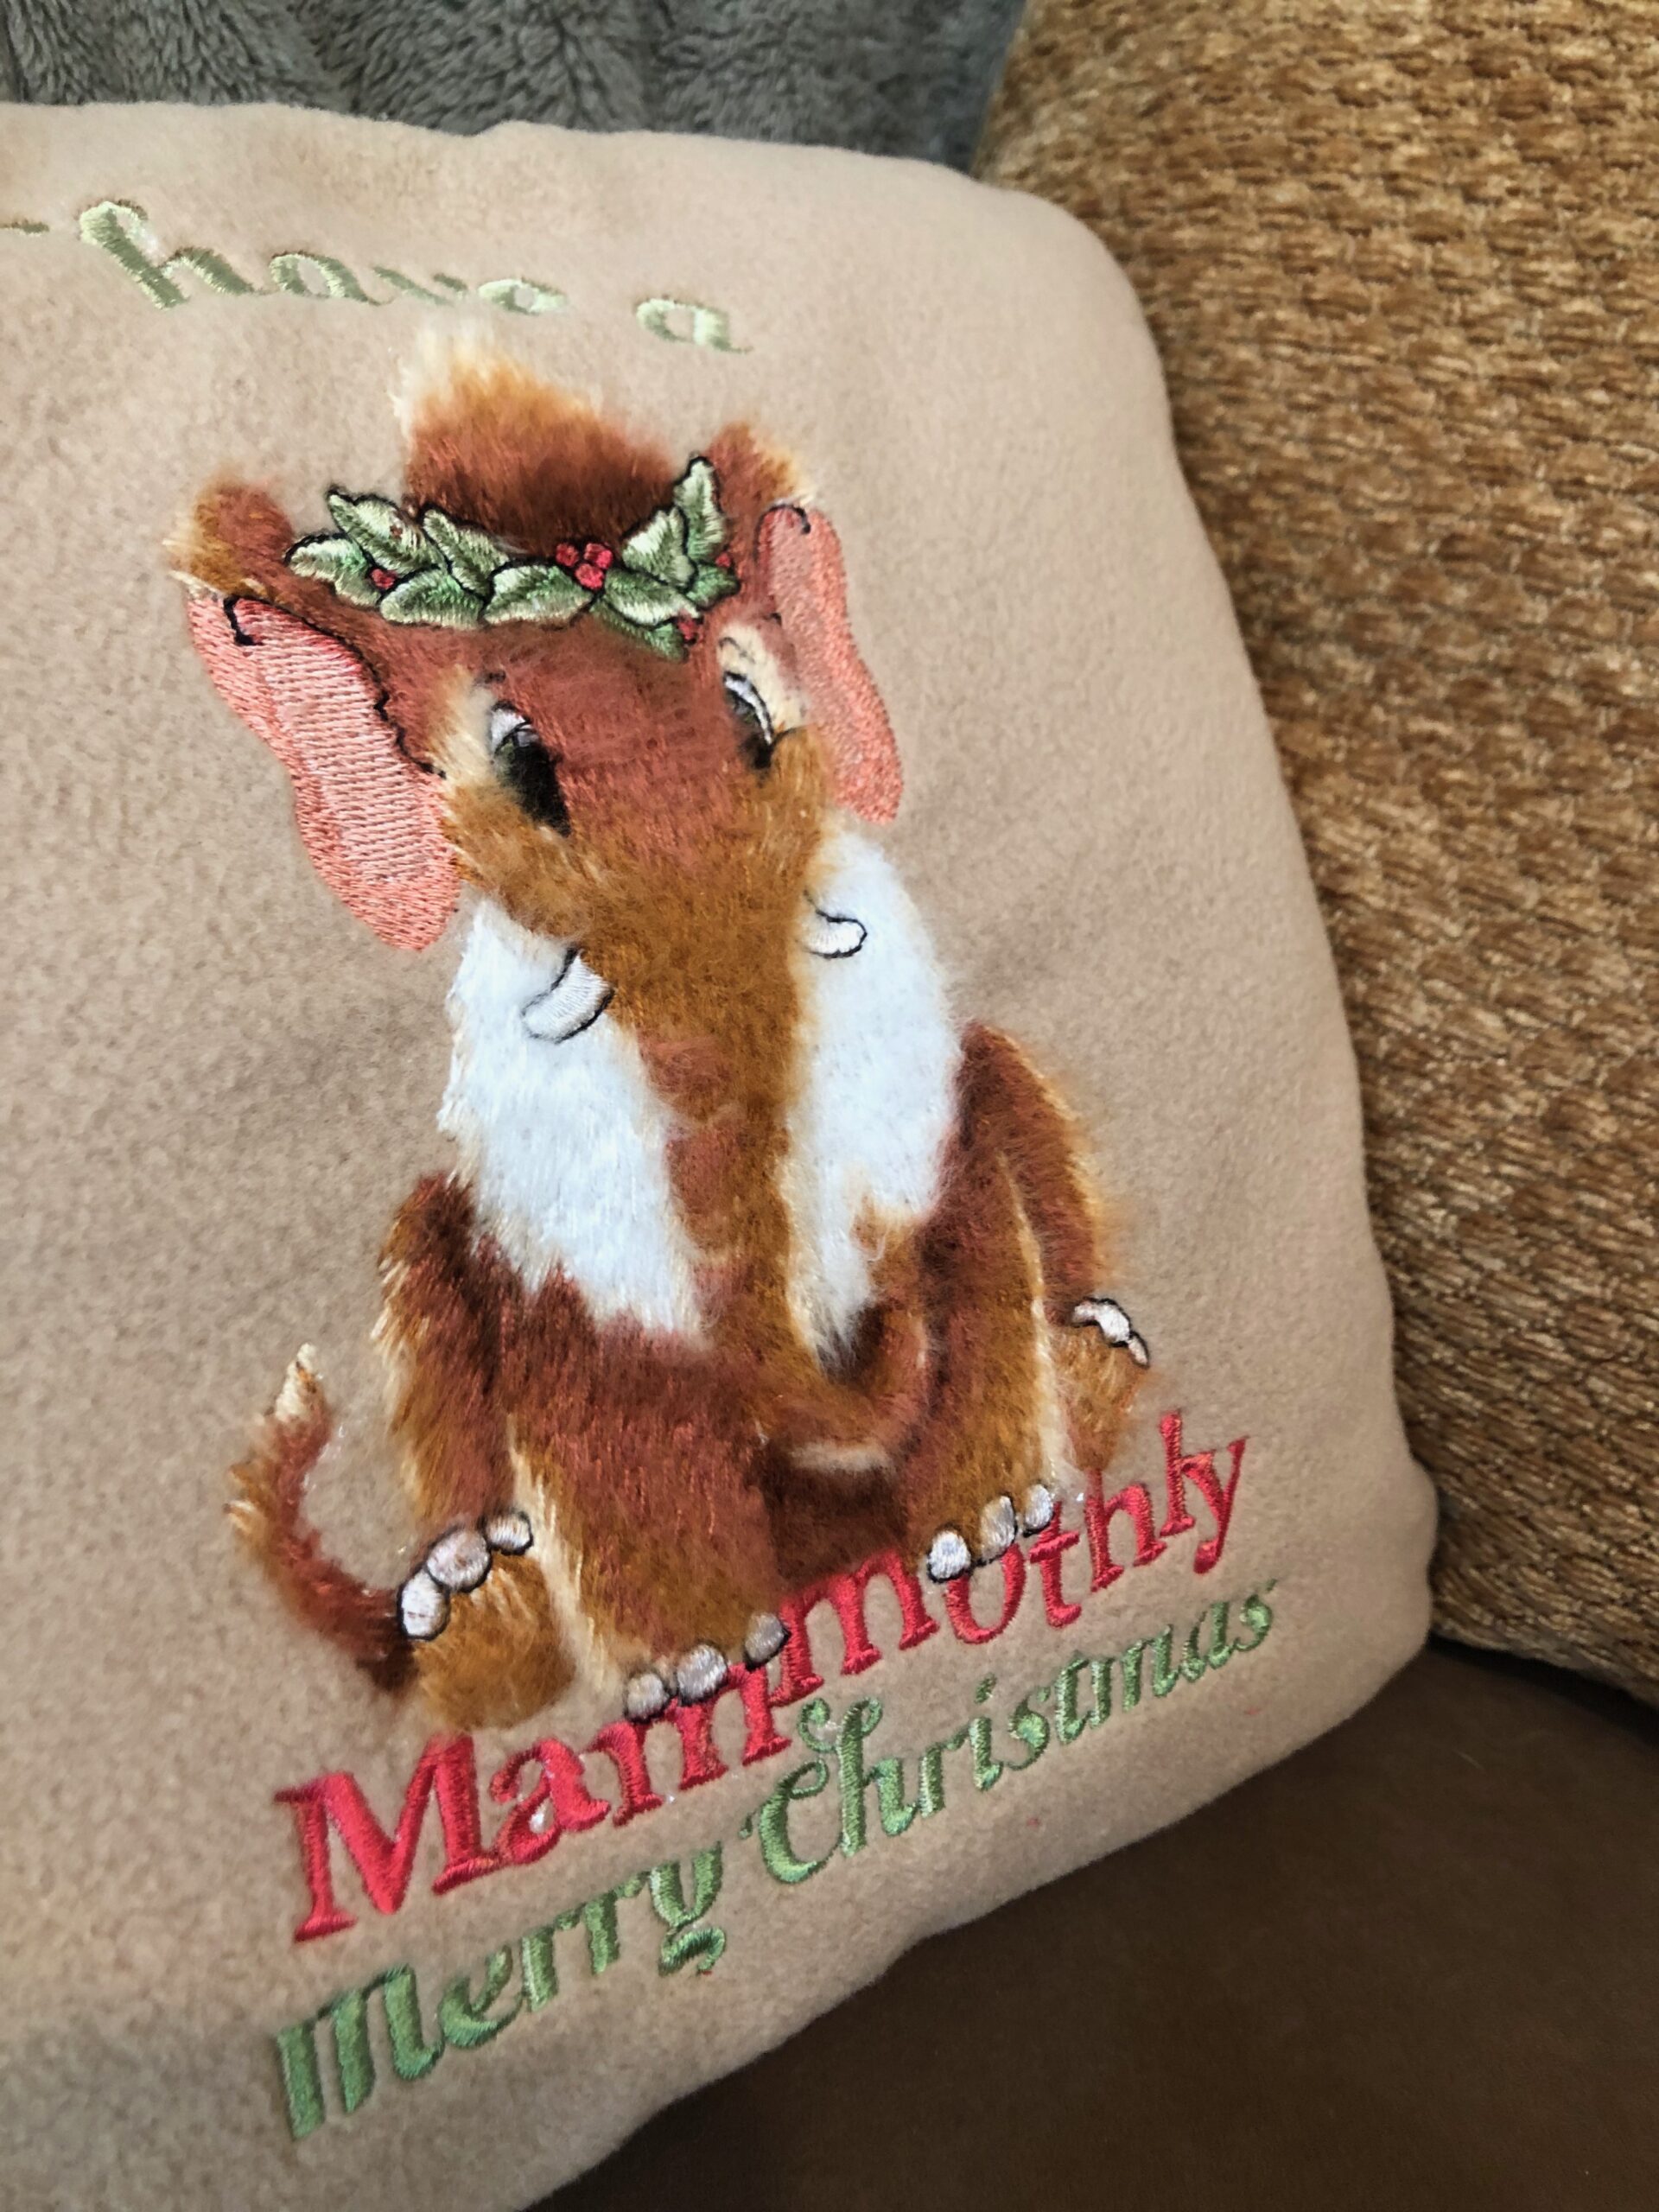
CREATING FAUX FUR WITH THREAD
Before removing the fabric from the hoop and tearing away the Solvy, use the Filaine Wire Brush to fluff the Filaine portions of the design. Brush in one direction (any direction will do), and then reverse the direction. Then brush side to side until the desired amount of fluff is achieved. The more you brush, the fuzzier the mammoth appears.

TIP: Leave the Solvy topper intact until after brushing is complete to avoid snagging the fleece fibers with the wire brush.
When the desired fluff is achieved, remove the perimeter basting stitches around the design.

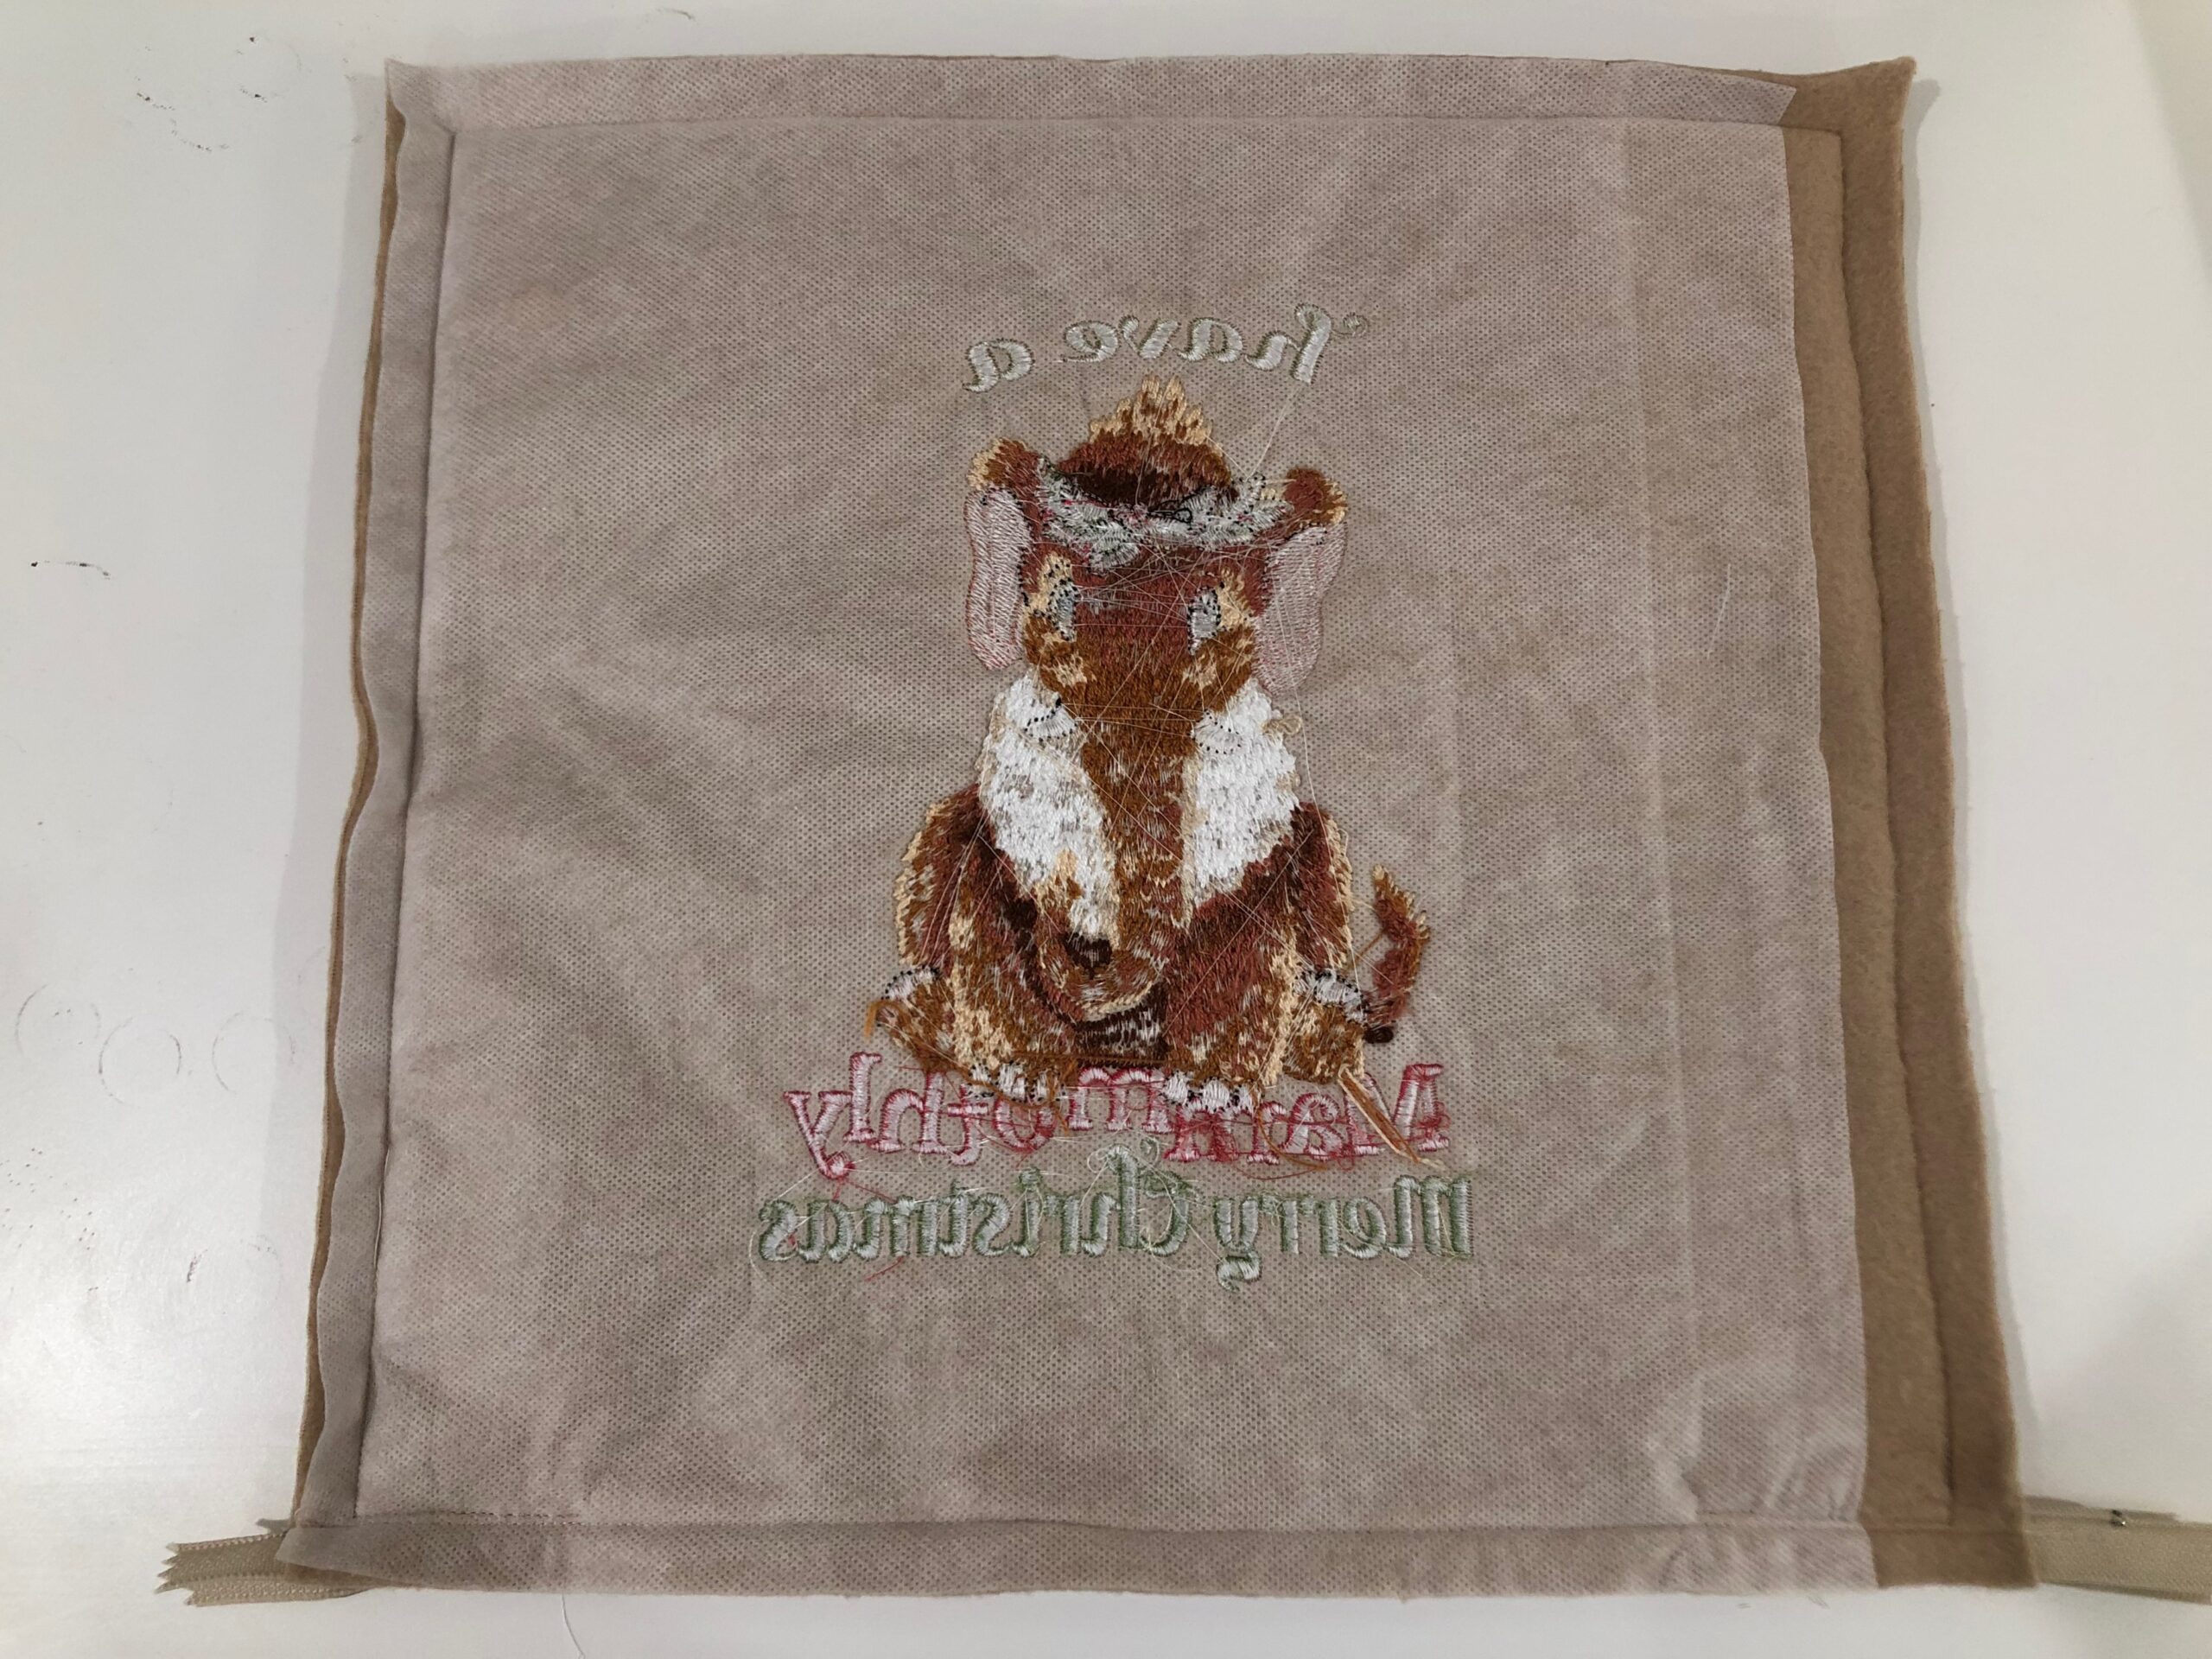
Then, gently tear away the Solvy where possible beyond the design perimeter.
Leave the Sticky Fabri-Solvy intact and plan to wash it in the washing machine after the pillow construction is complete. This process will also remove the excess Solvy from the fabric right side.
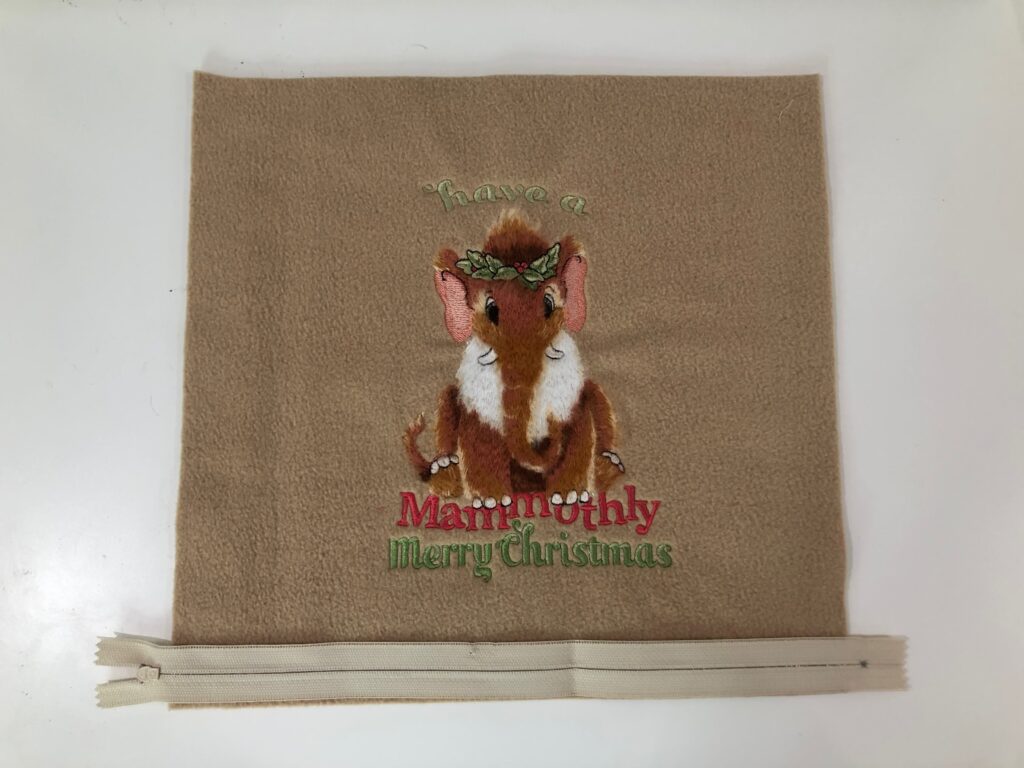
FLEECE PILLOW CONSTRUCTION
Trim the fleece pillow squares so they’re even, if needed.
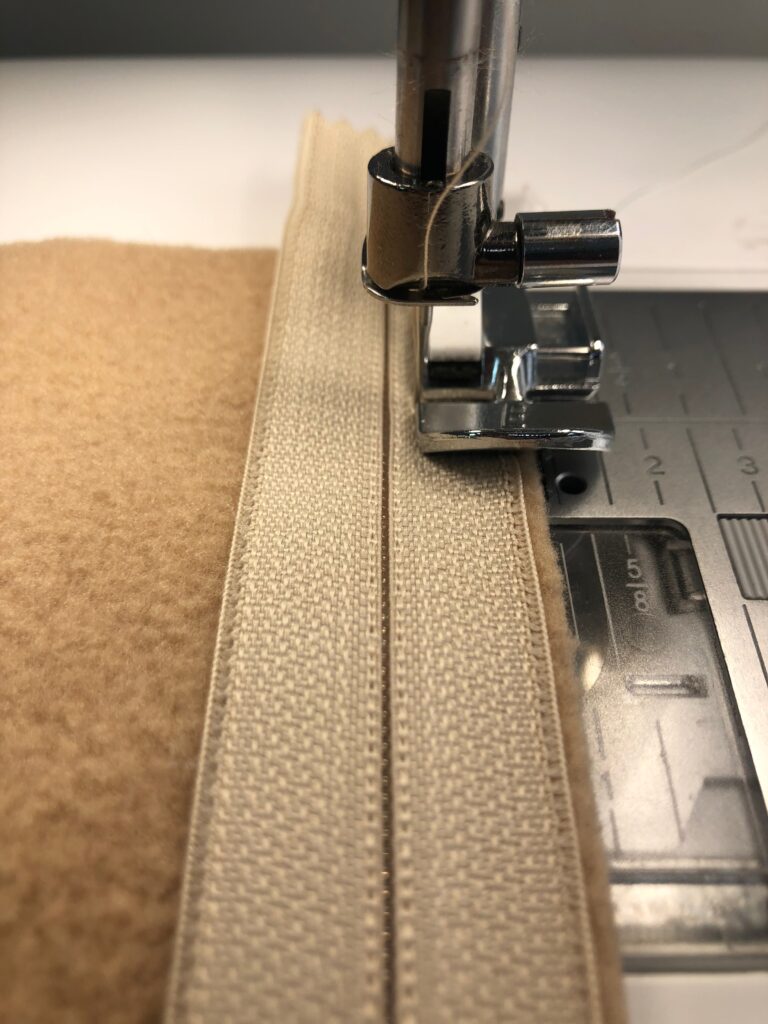
Install a zipper foot. Also, install a size 80/12 Universal Needle. Thread the needle and bobbin with 50 wt. Cotton Thread.
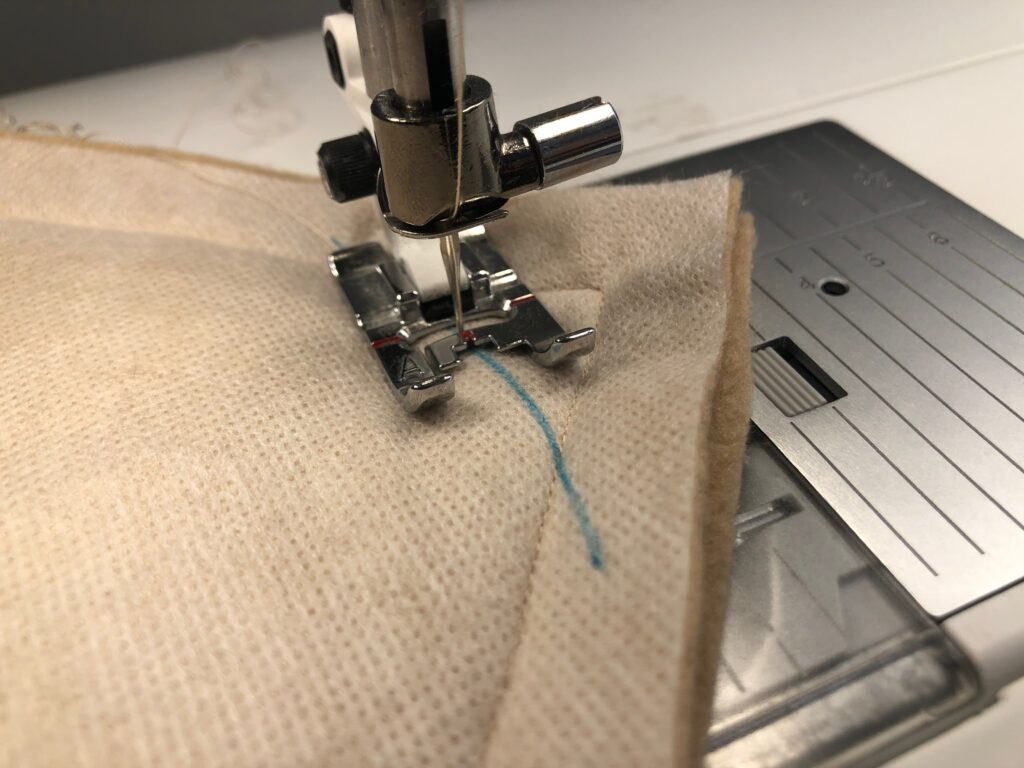
Center the zipper wrong side up along the embroidered fleece-square lower edge. Pin or use double-sided basting tape to secure the zipper.
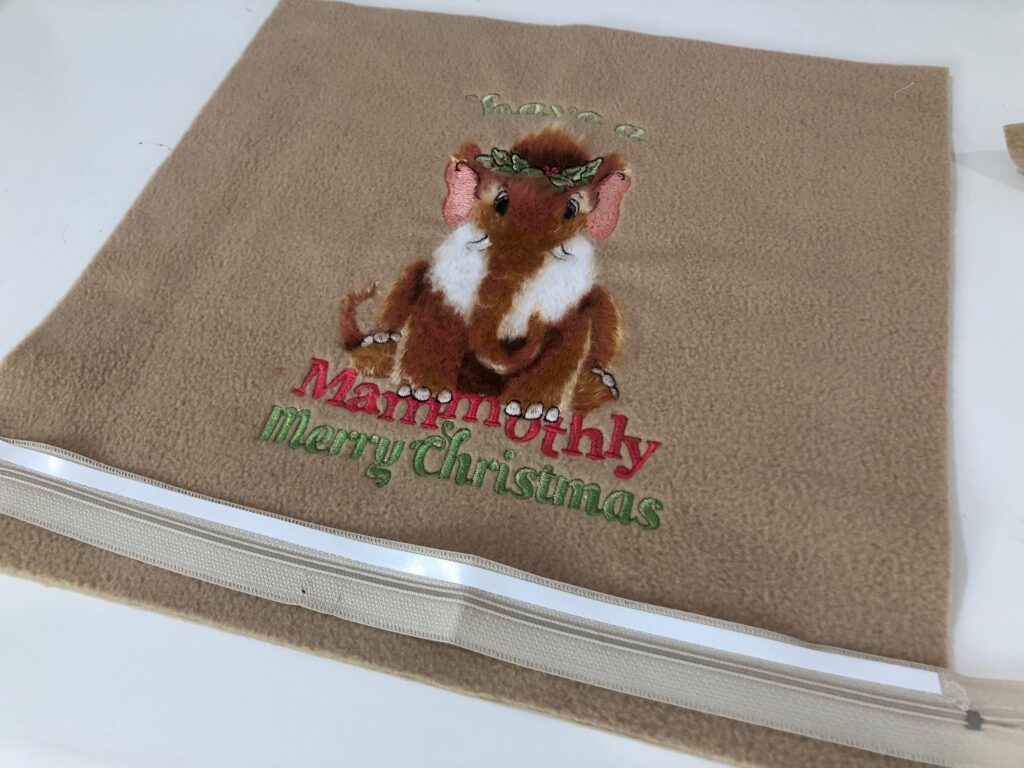
Then, stitch the zipper using a 1/4″ seam allowance.
Center the opposite zipper-tape edge along the remaining fleece-square lower edge. Pin or use double-sided basting tape to secure the zipper. Baste 1/8″ from the edge. Then, stitch the zipper using a 1/4″ seam allowance.
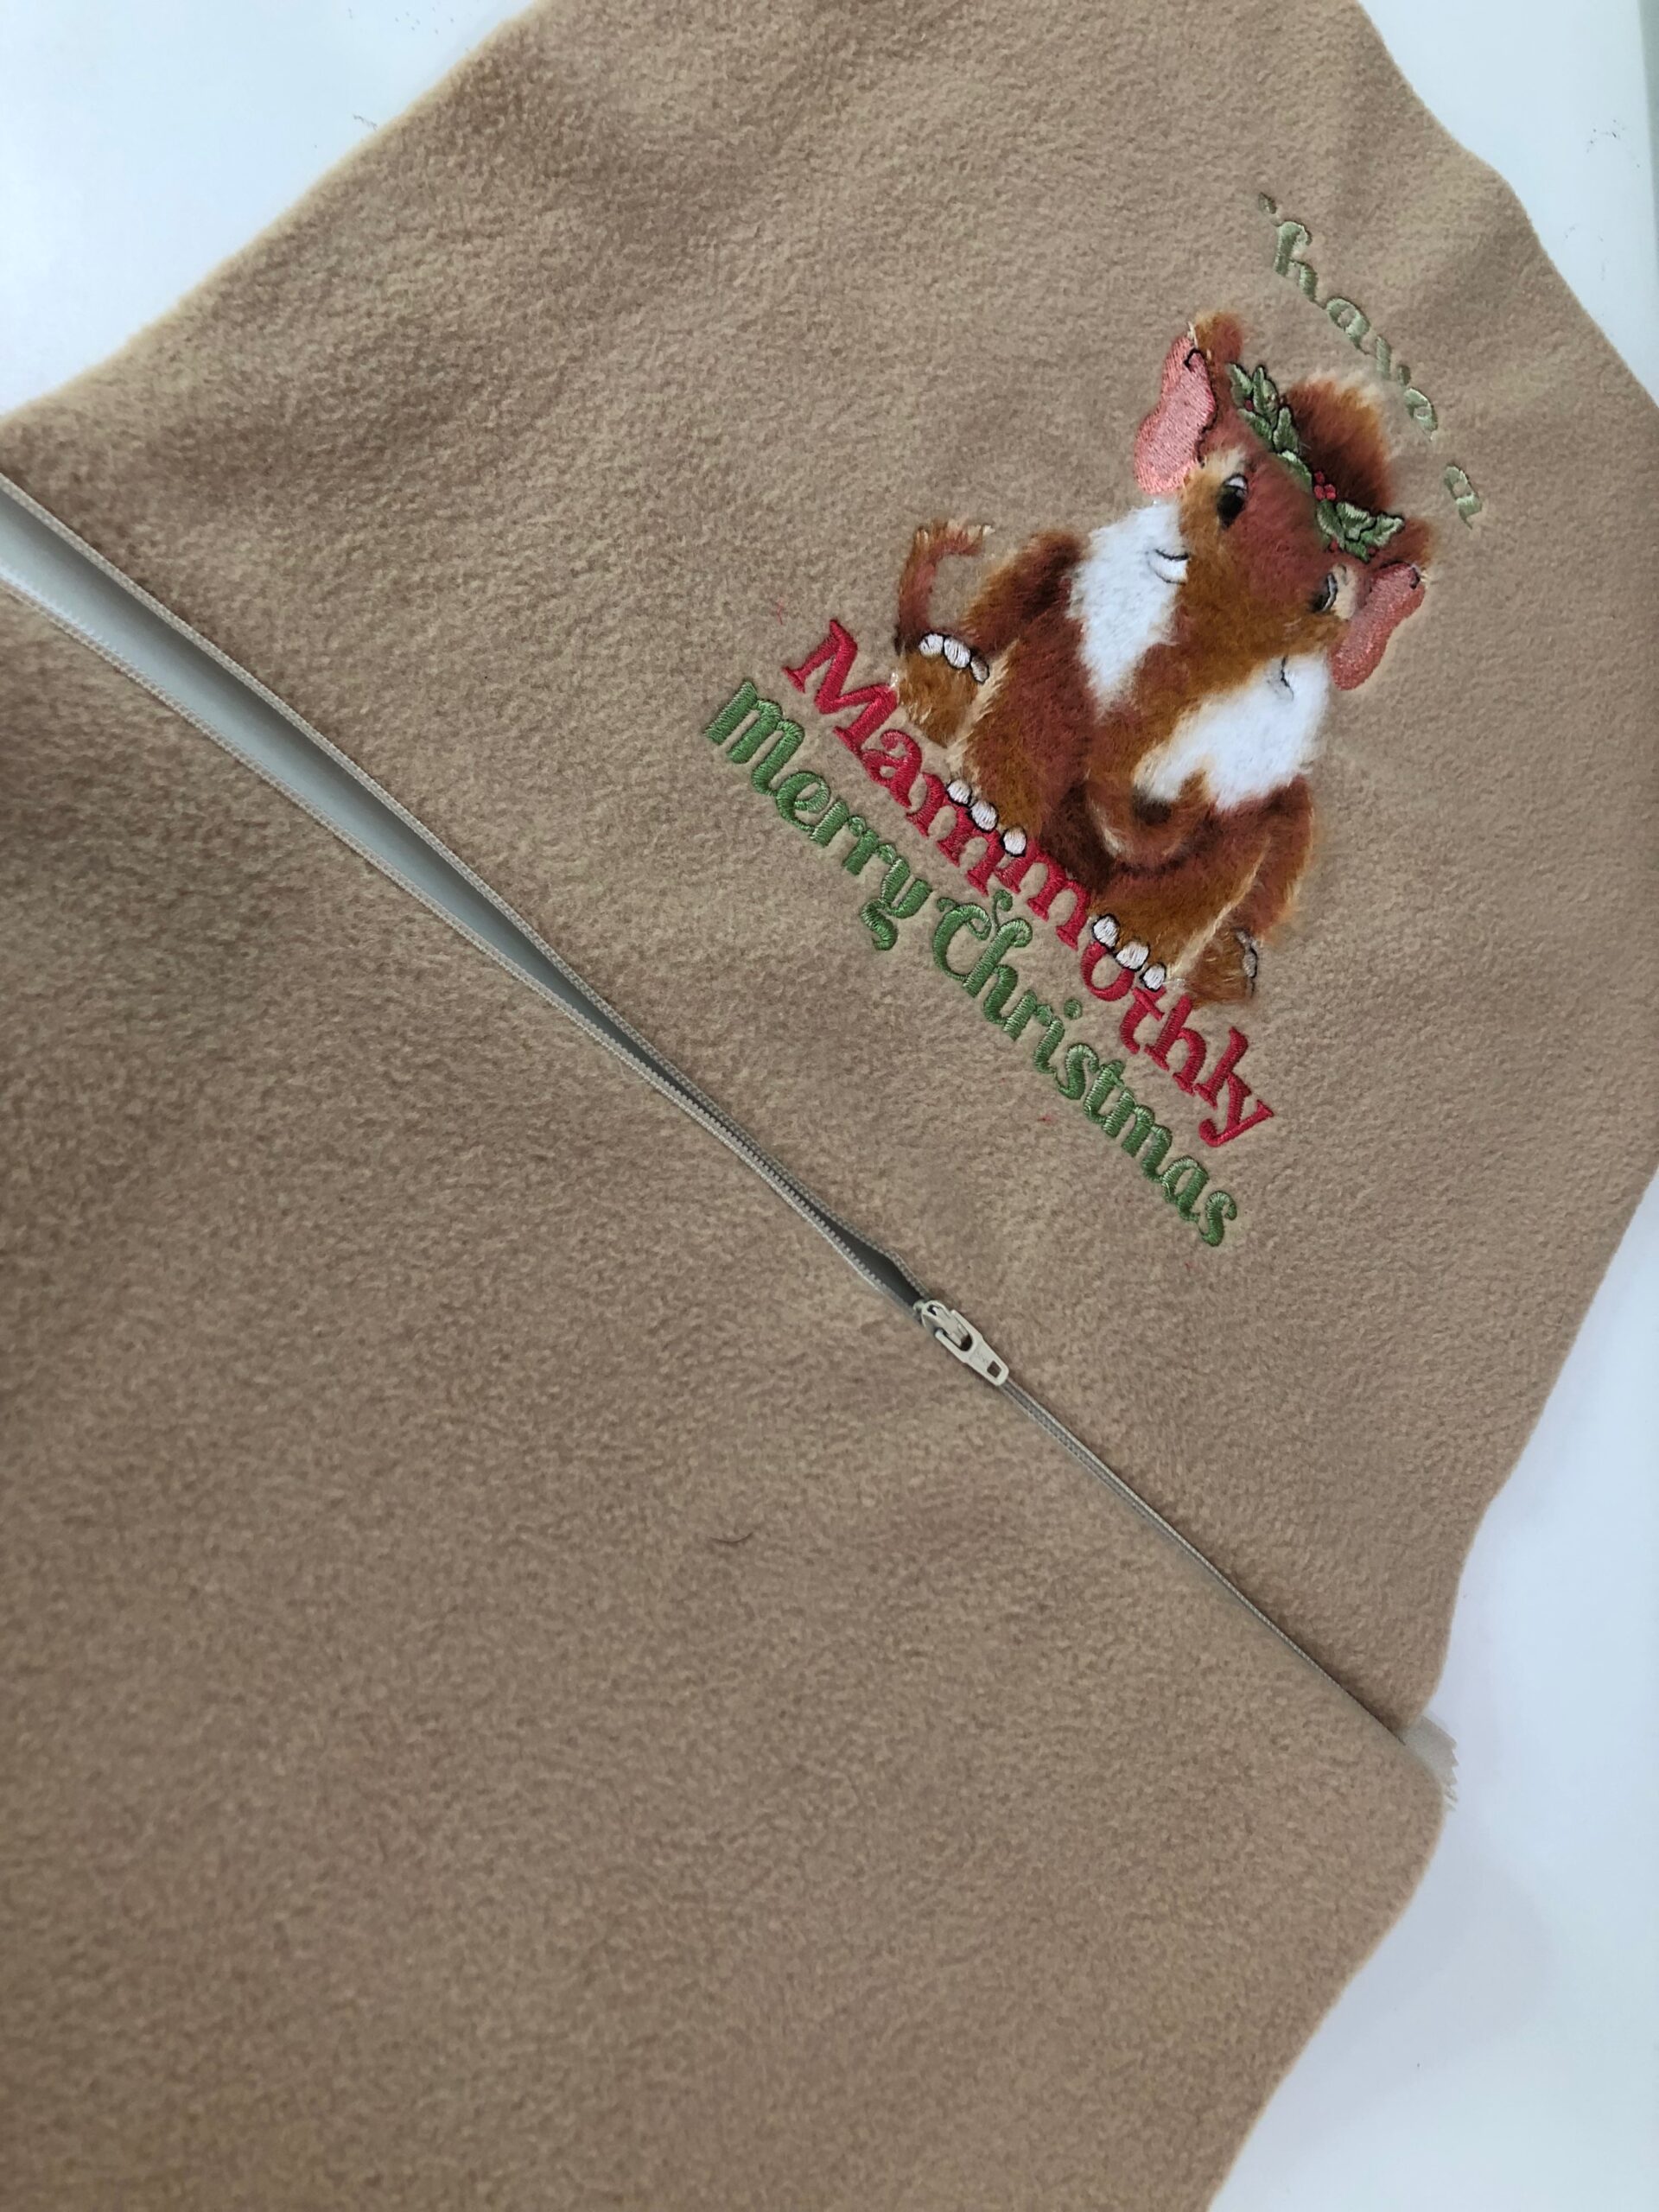
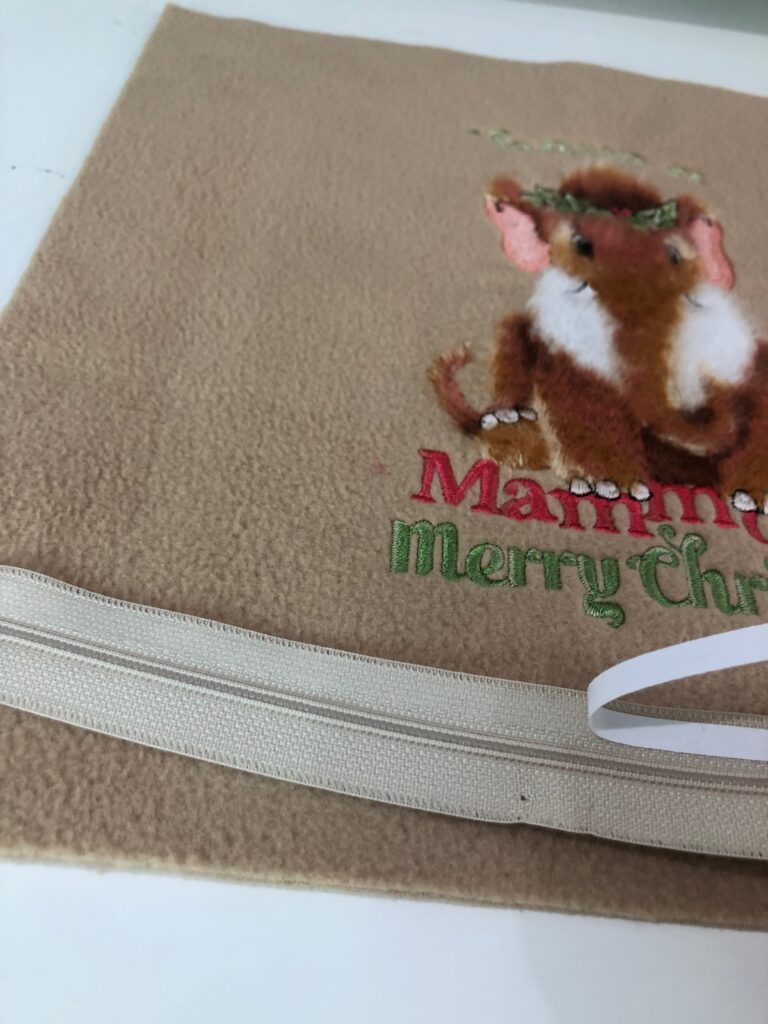
Unzip the zipper halfway.
Align the fabric squares so all edges and corners match; pin or clip the perimeter, if using Wonder Clips.
Stitch the fleece pillow perimeter with a 1/2″ seam allowance, beginning and ending 2″ from the zipper ends. Backstitch at the beginning and ending stitches.
At each corner, slightly taper the stitching. Stitch a rounded corner inside the corner stitching.
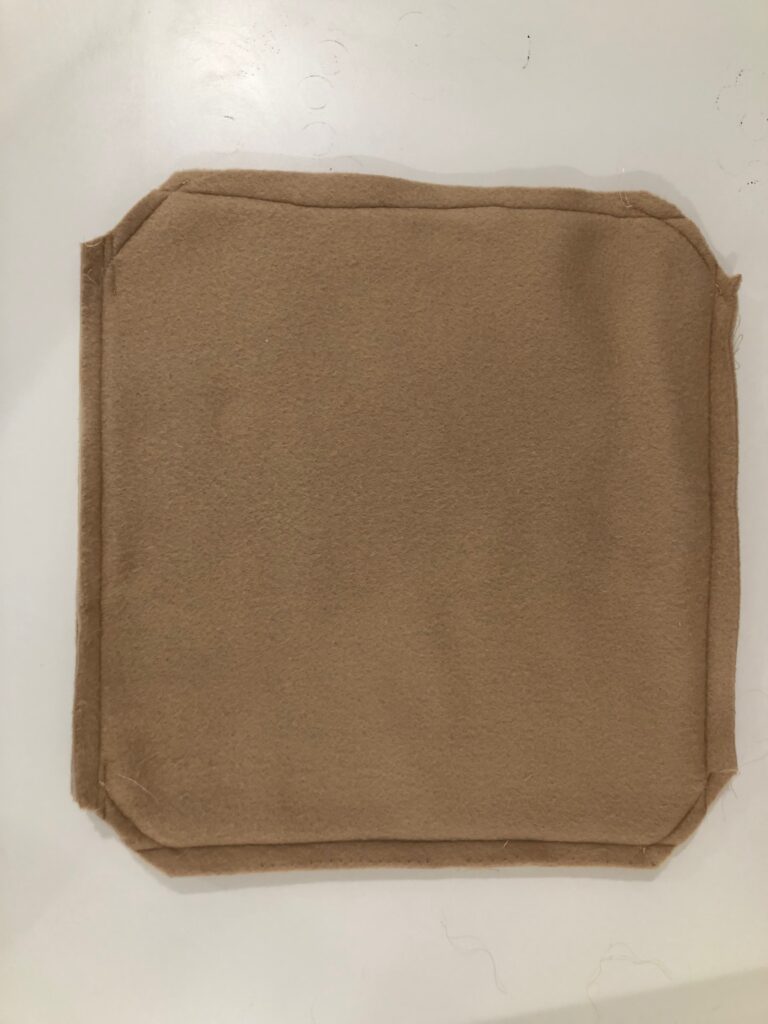
Clip the corners. Then, trim the upper and side seam allowances to 1/4″.
Finally, turn the fleece pillow right side out through the zipper. Then, insert the pillow form.
Make this project your own! Add fun pom-pom trim, fur fringe or a pieced border to further embellish the pillow. This is simply a plain version for you to modify to suit your décor and style. We’d love to see your creations on our Facebook Page: Sulky Stitch ‘n Post! Join us today!

Ellen March
I am the Director of Content for Sulky of America. The former Editor in Chief of Sew News and Creative Machine Embroidery magazines, I hosted Sew it All TV on PBS for nine seasons. I've appeared on It's Sew Easy on PBS, DIY Network's Uncommon Threads, Hallmark's Marie Osmond Show, MacPhee Workshop and more! Come sew with me!


2 Comments
lady1951
is this available in a kit, I would like 2 or more very much
Ellen March
It’s not available as a kit, but thanks for your interest!