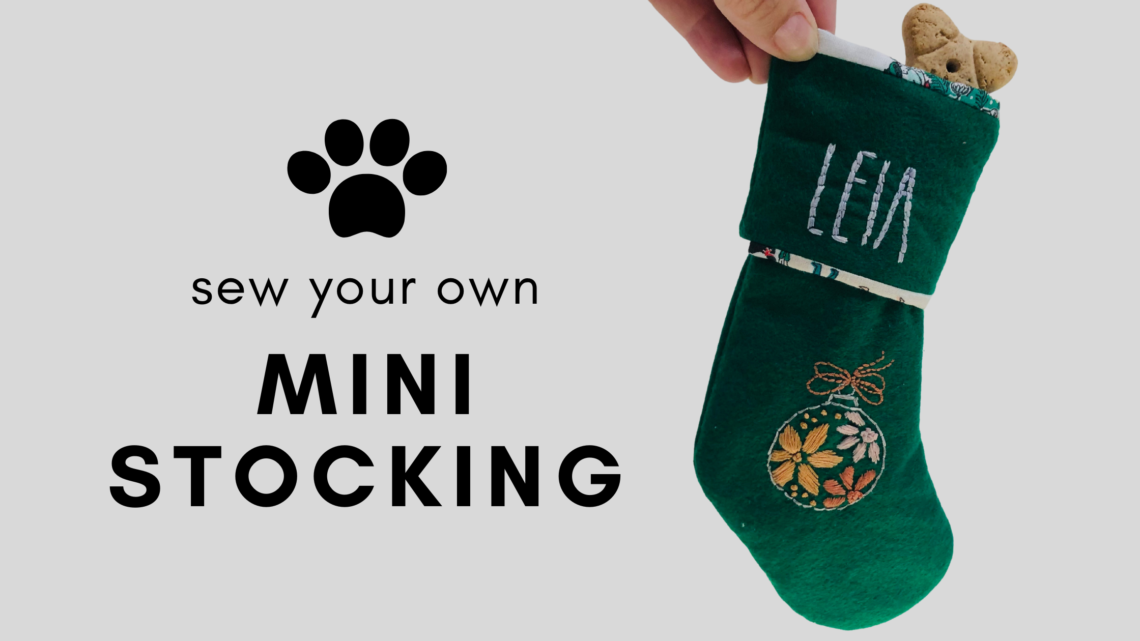
Mini Pet Stocking with Hand Embroidery
Mini Pet Stocking
Personalized with Holiday Cheer Hand Embroidery
Whip up a mini pet stocking and personalize it with a name and adorable hand embroidered motif. This same stocking size works well as an advent garland, too! Create 12 mini stockings, string them together and add a gift for the 12 days of Christmas.
SUPPLIES
- Sulky Felty™ (two sheets in desired color)
- coordinating print cotton fabric (lining)
- Holiday Cheer Hand Embroidery Kit (contains 10 spools of Sulky Cotton Petites™ Thread, one sheet of Felty, 10 hand embroidery designs and a sample of Sulky Stick ‘n Stitch™ with two printed designs)
- German Wooden Embroidery Hoop (optional)
- Hand Embroidery Needle
- Chalk Pencil
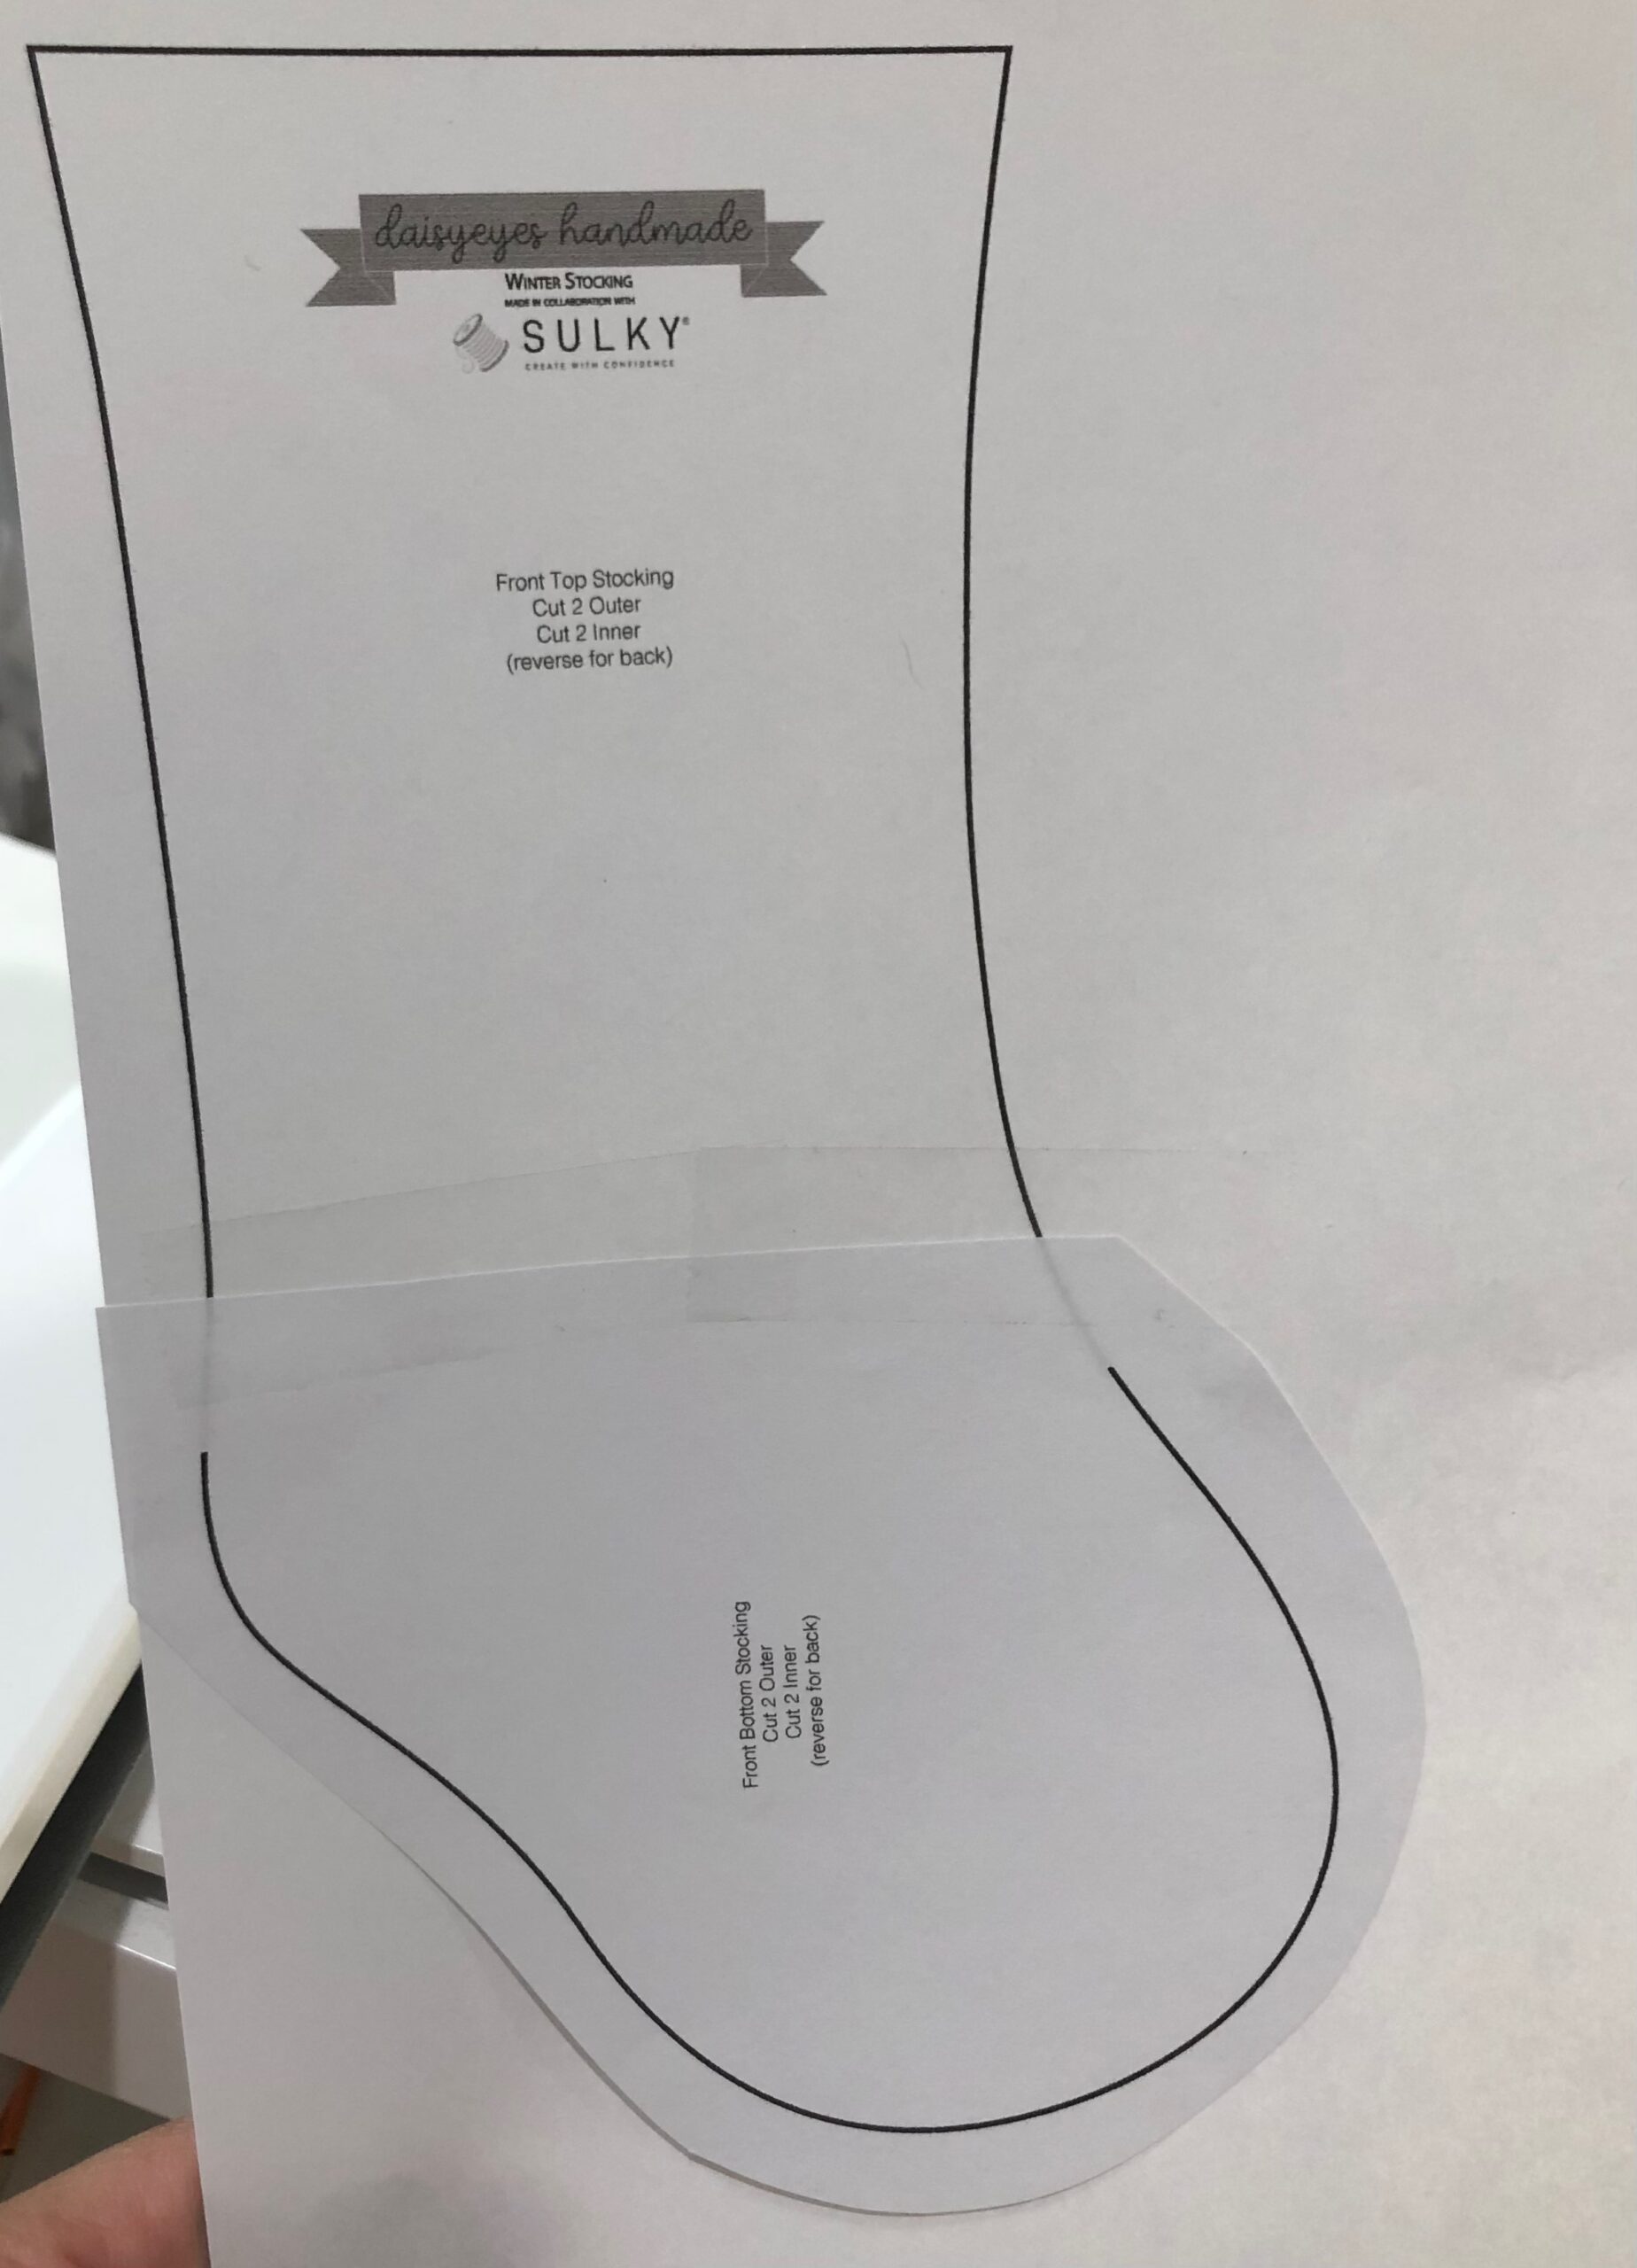
MINI PET STOCKING PATTERN
Begin by downloading this stocking pattern. Print it at 50%, and then cut out.
From the print cotton fabric, cut two mirrored stockings and two mirrored cuffs.
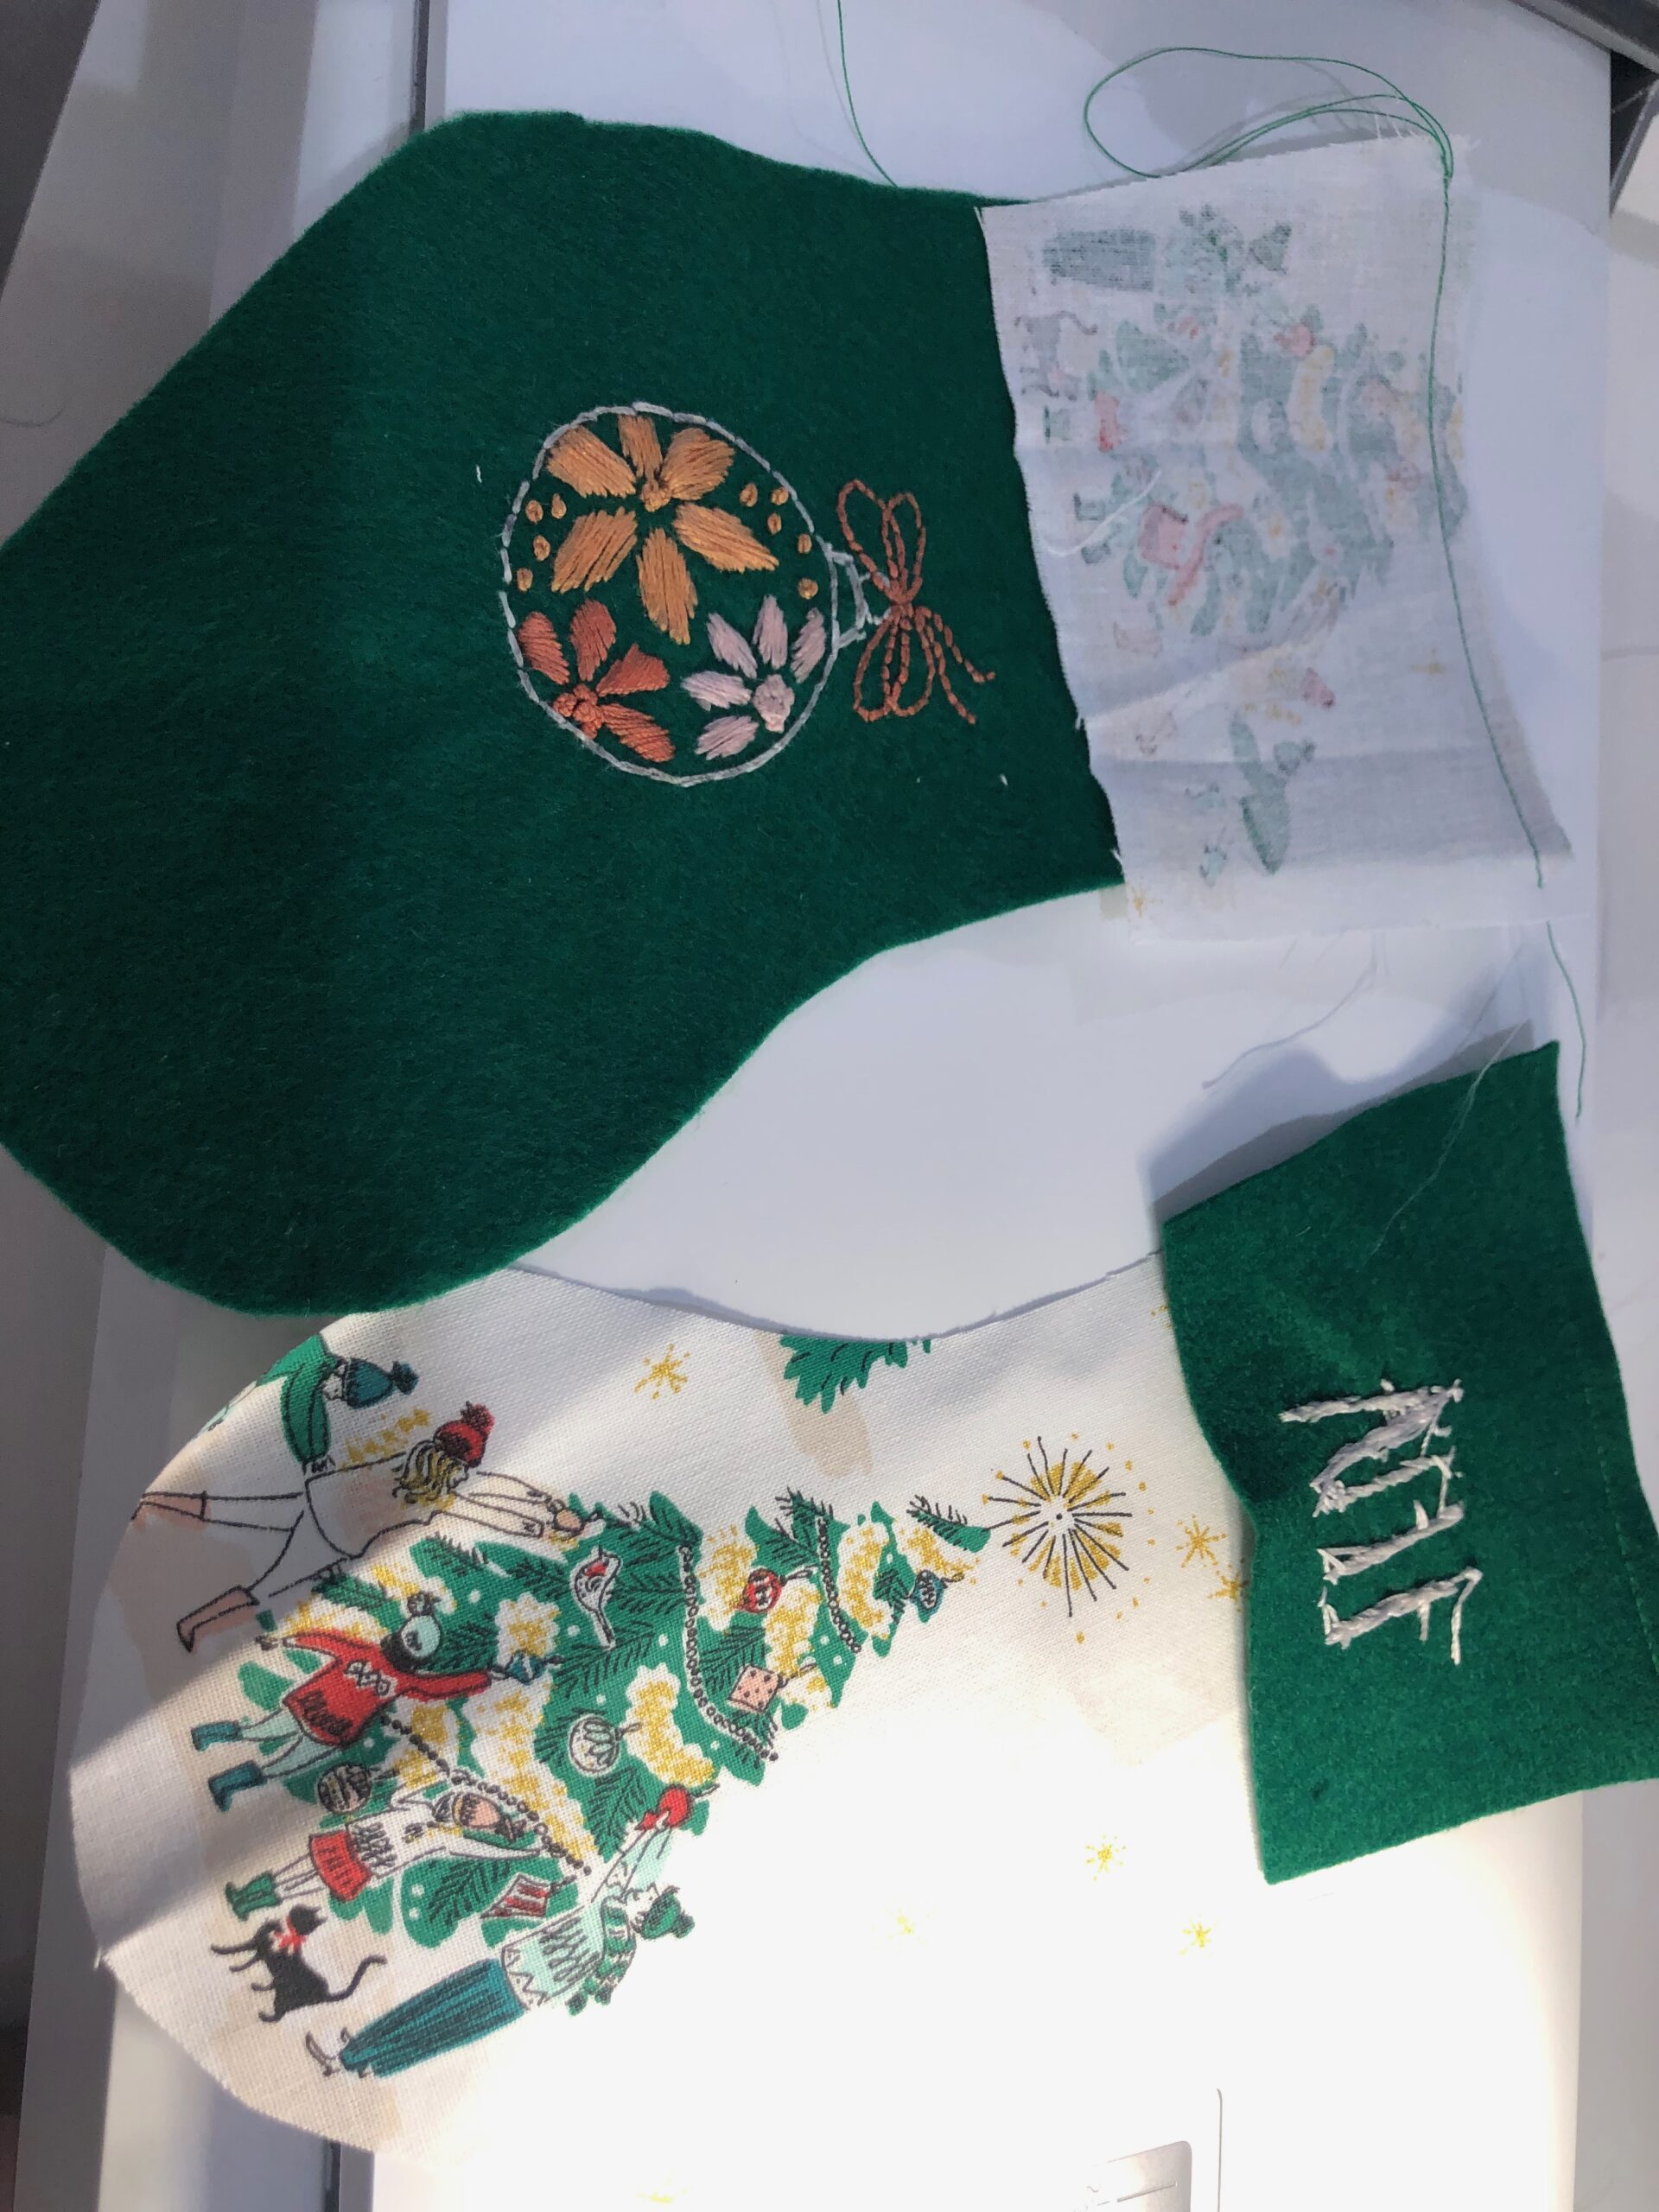
Download and print the hand embroidery design you desire for the stocking front. The featured ornament design is from the Holiday Cheer Hand Embroidery Kit (also available as a machine embroidery collection).
Print the hand embroidery pattern onto a sheet of Sulky Stick ‘n Stitch stabilizer. Make sure to print on the fabric-like side and set the printer for the lowest ink setting (or “draft” setting). Cut out the motif, leaving a slight border beyond the design perimeter.
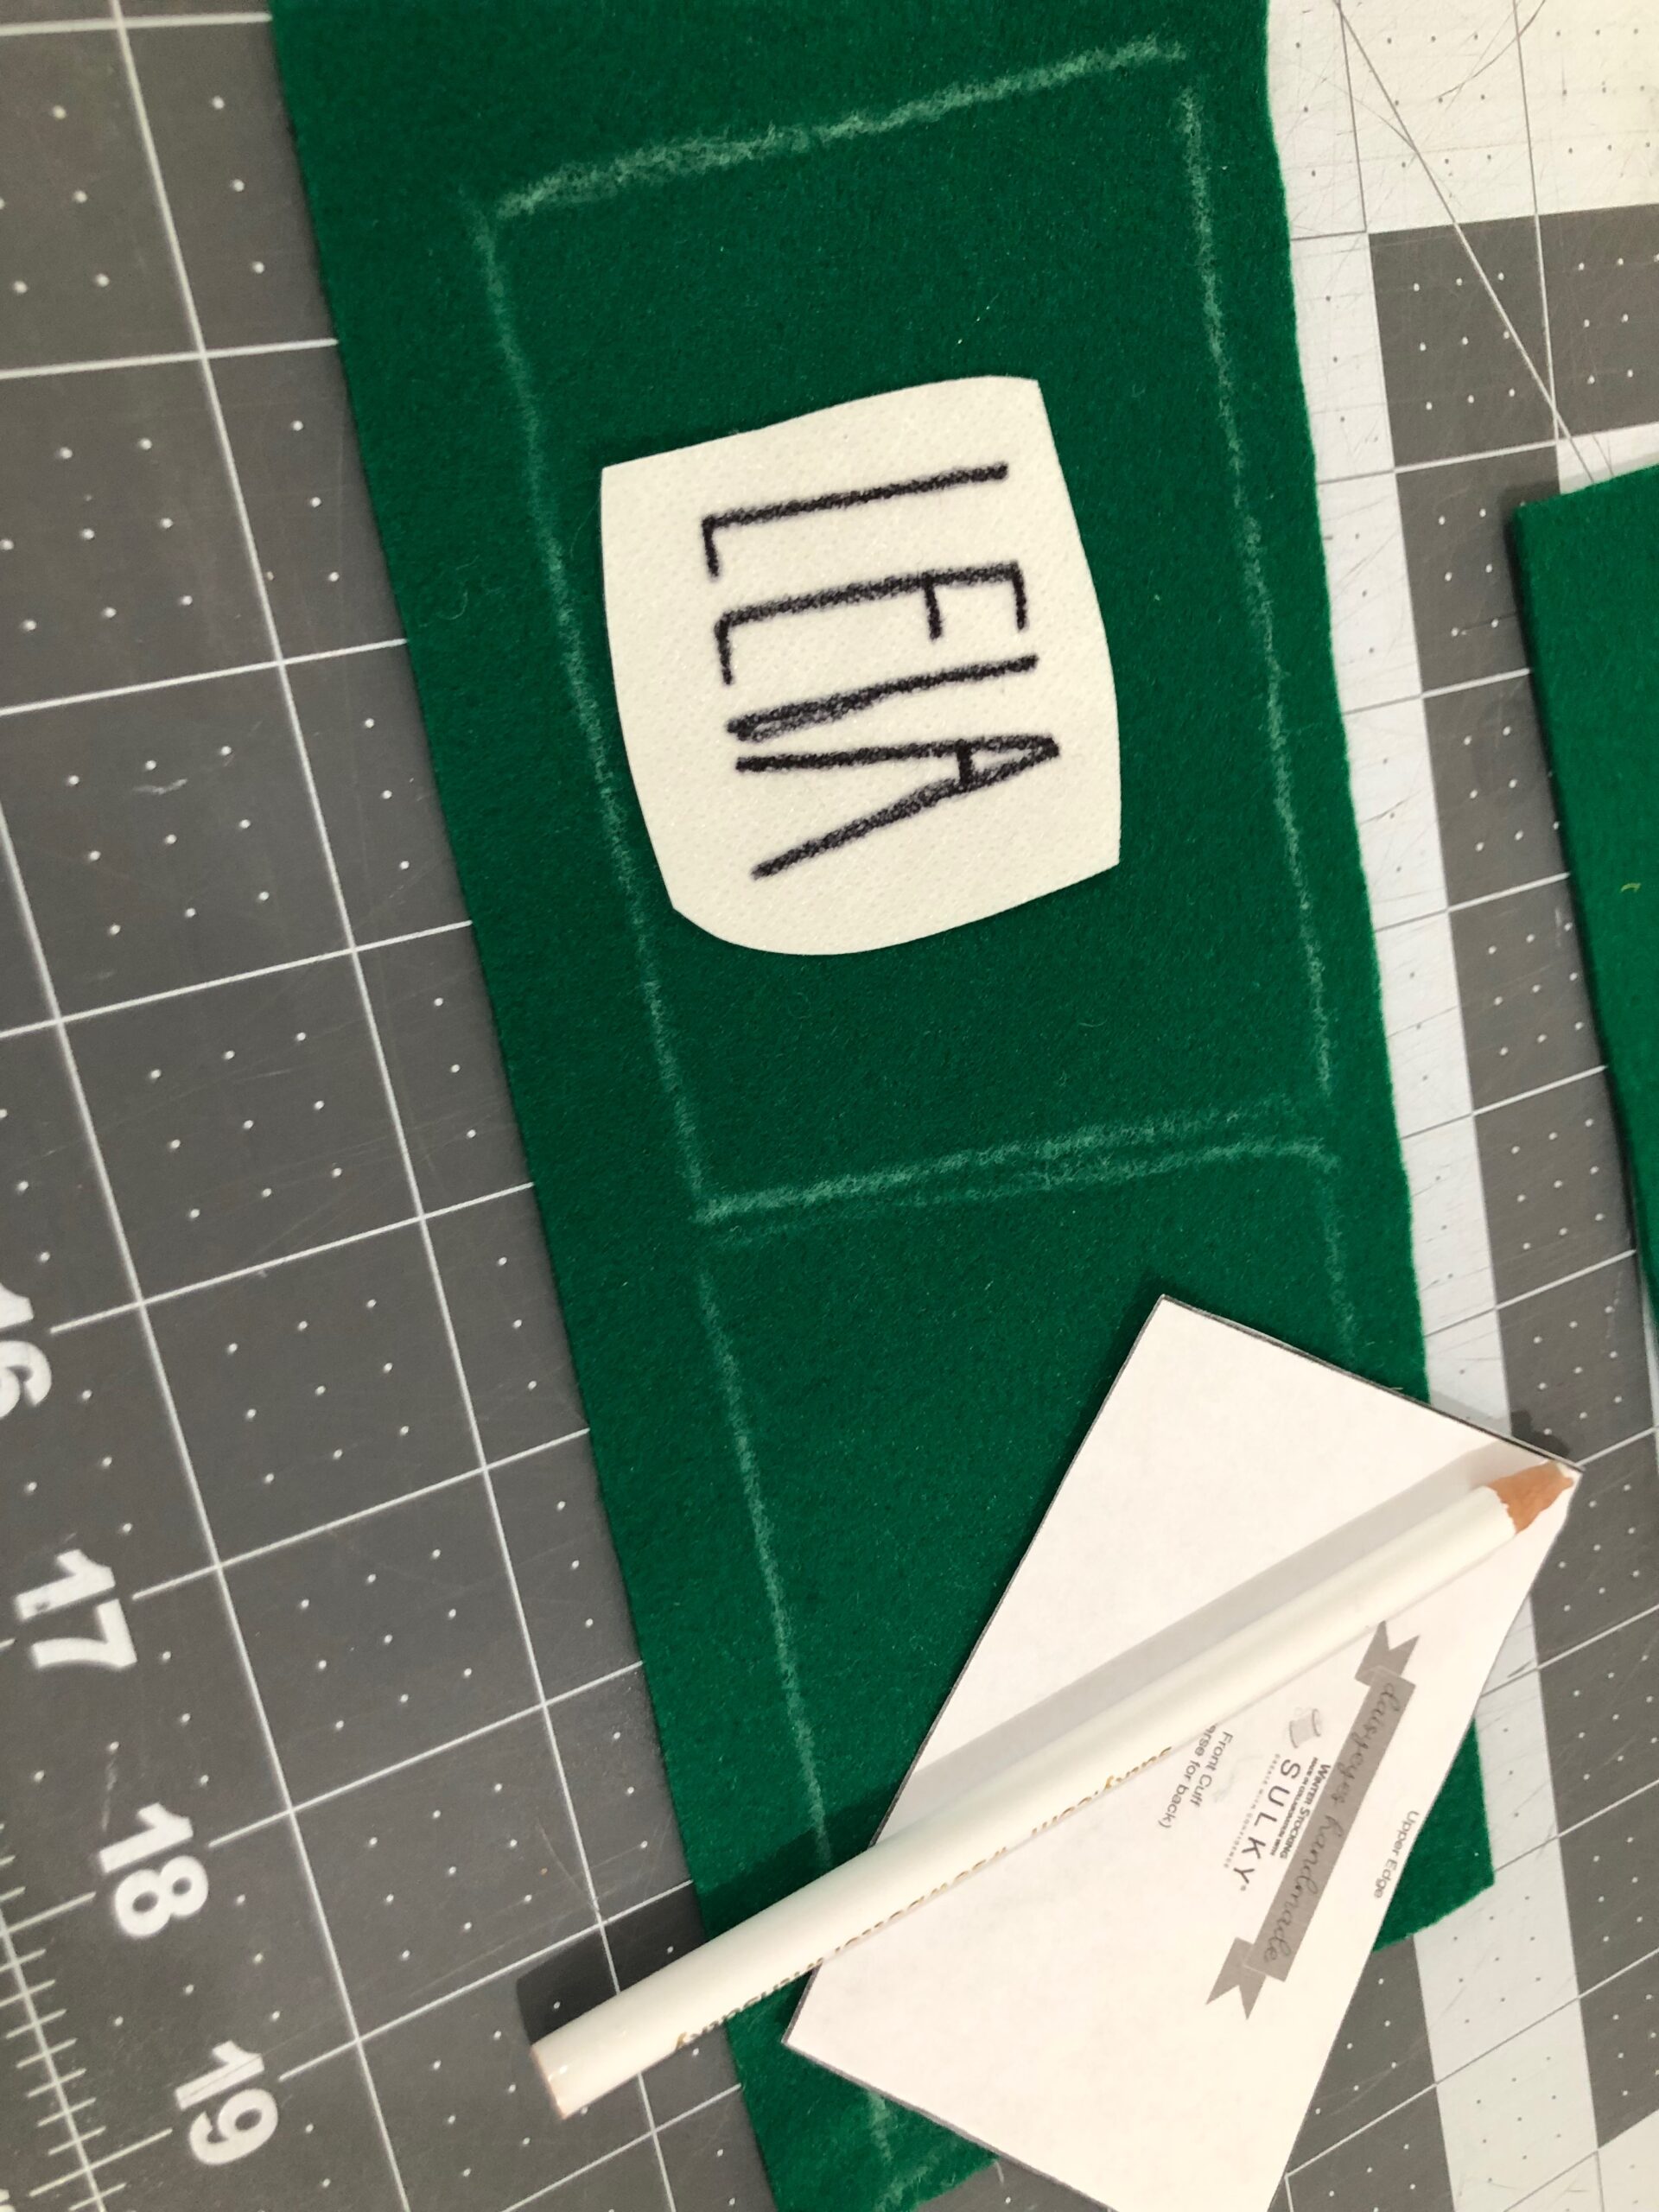
Open a word processing program on a computer and type the name of the pet (or number if doing an advent stocking garland). Choose a fun font and size it large enough to fit onto the cuff of the stocking, taking seam allowances into account. Print the name and/or number onto another sheet of Stick ‘n Stitch. Or use the leftover stabilizer from the first printing, if possible, and hand draw the name and/or number onto a scrap piece. Cut out the name/number(s), leaving a slight border beyond the perimeter.
STOCKING HAND EMBROIDERY
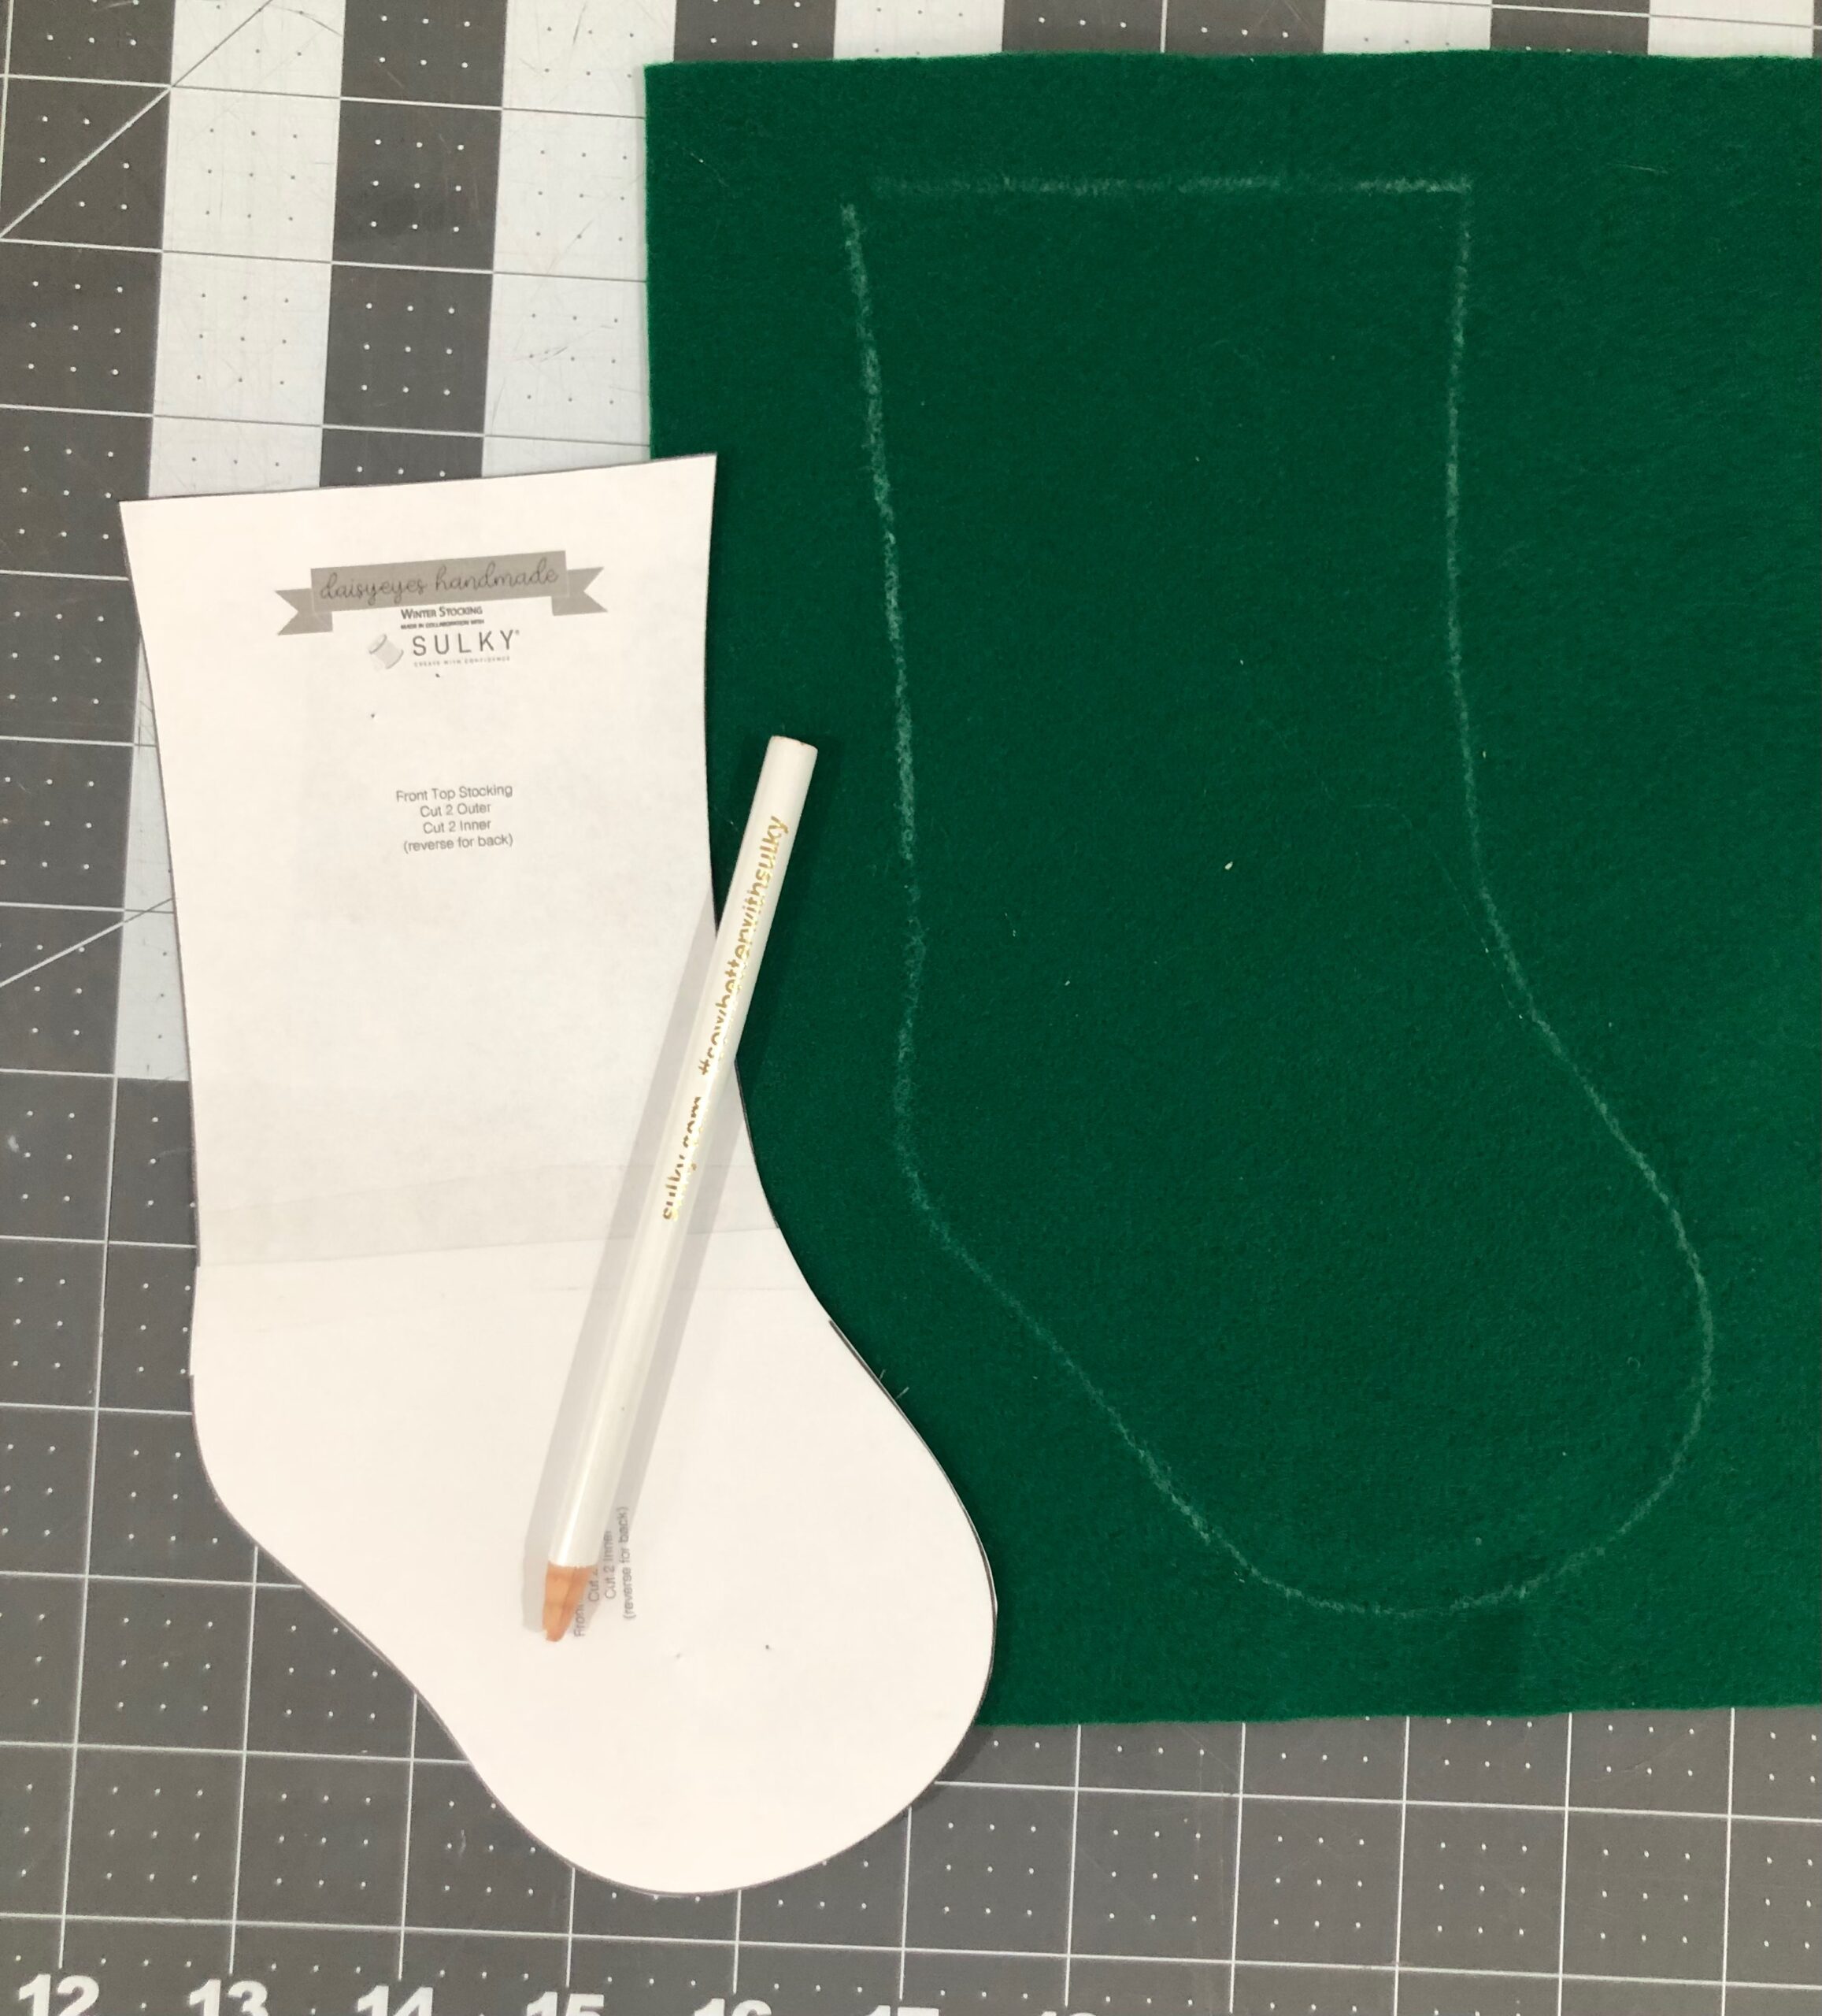
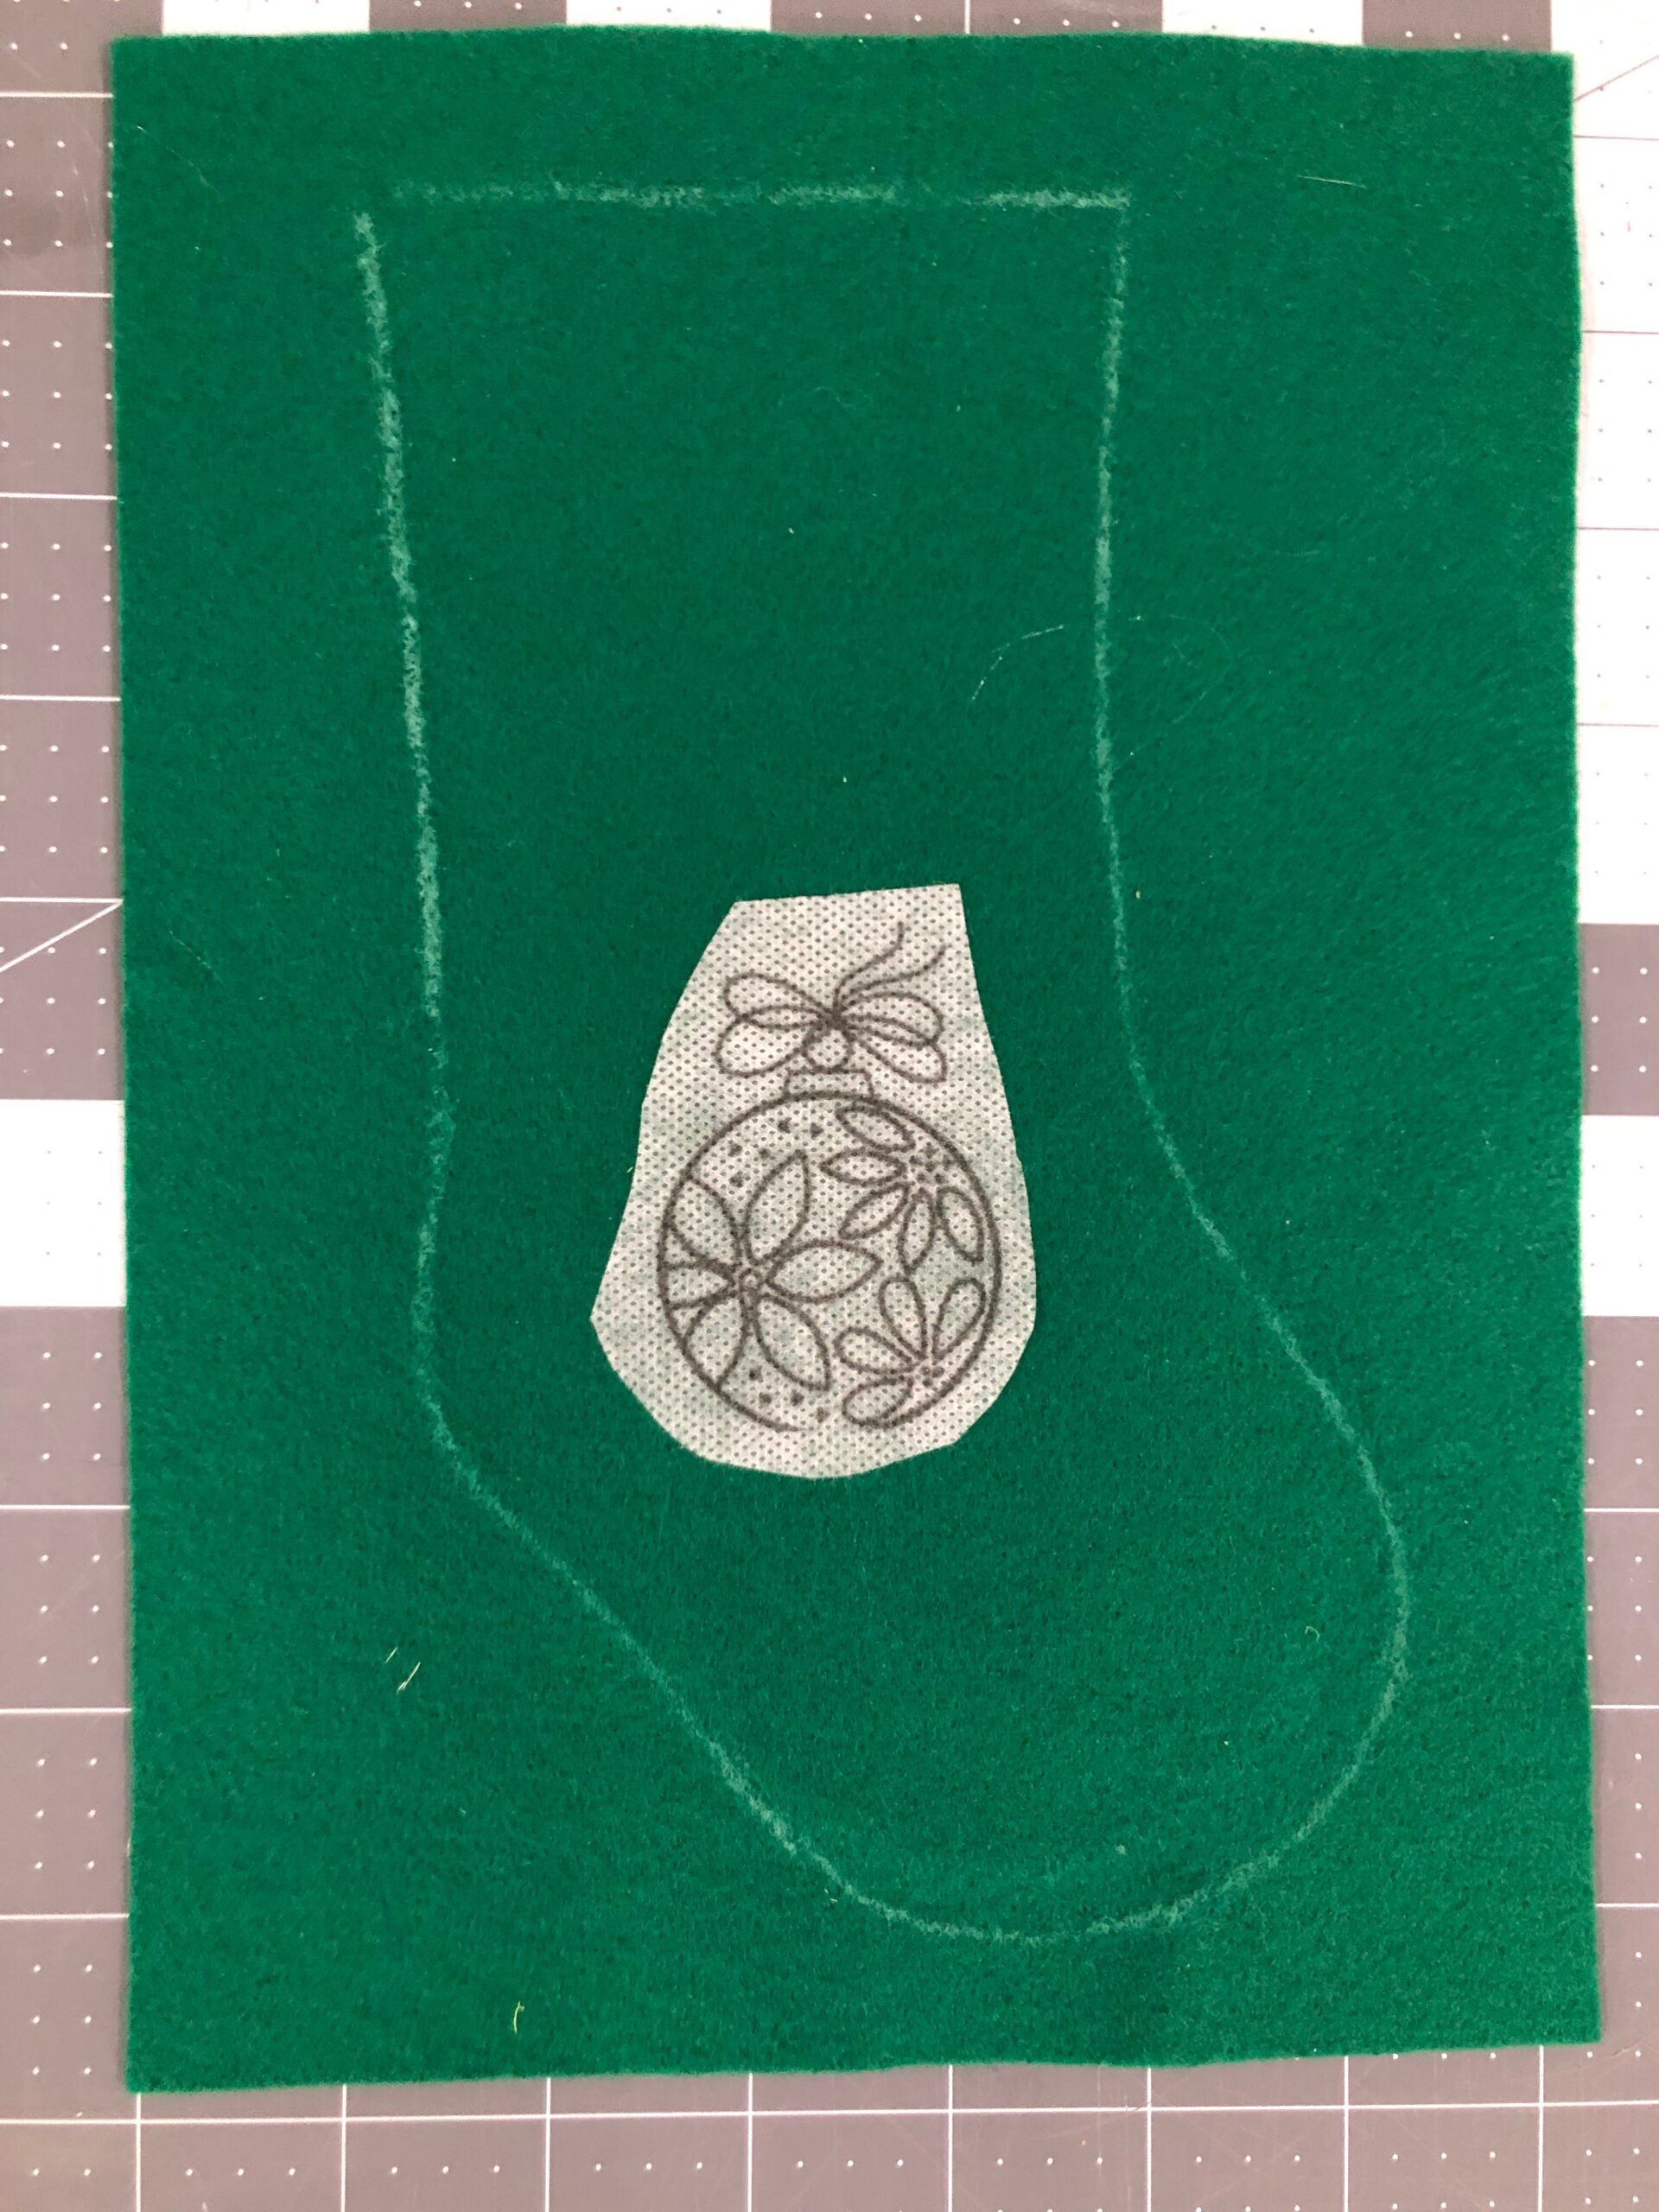
Using a chalk pencil, outline the pattern pieces onto the Felty. Make sure to outline two mirrored stockings and two mirrored cuffs. Make room for a 1″ x 4″ strip for the hanging loop.
Place the hand embroidery motif on one stocking right side.
Audition the name or number(s) onto one cuff right side.
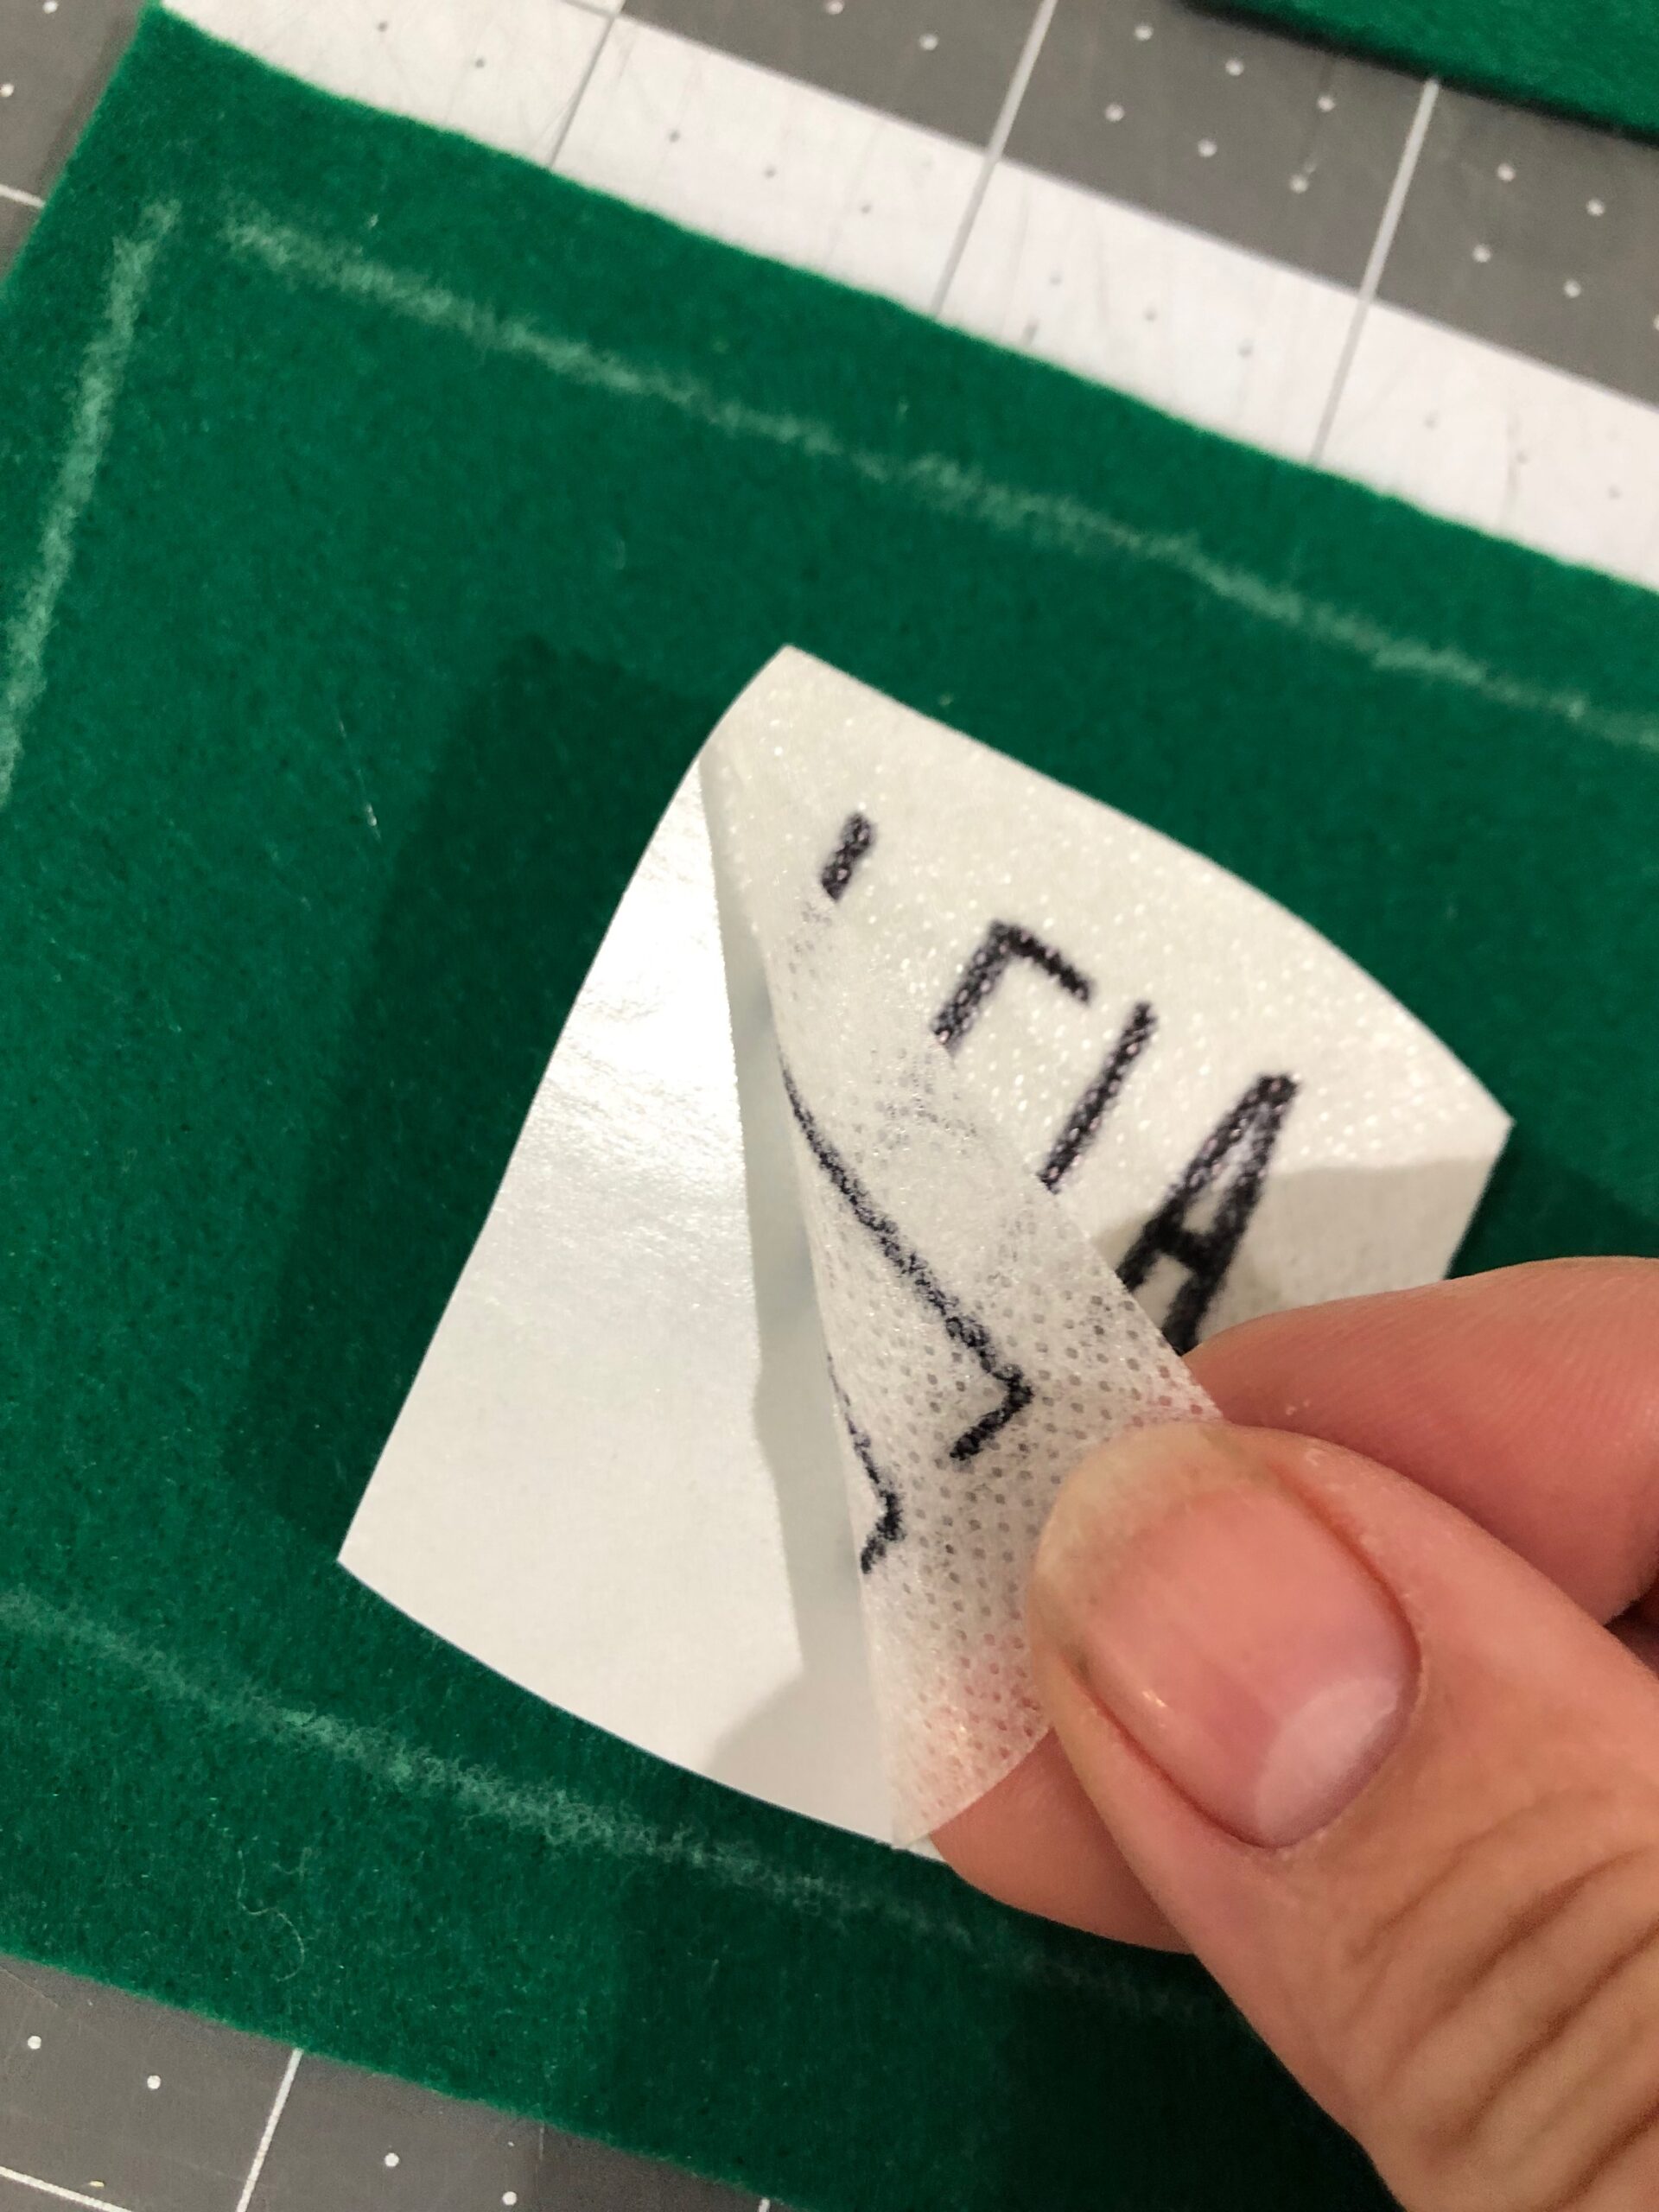
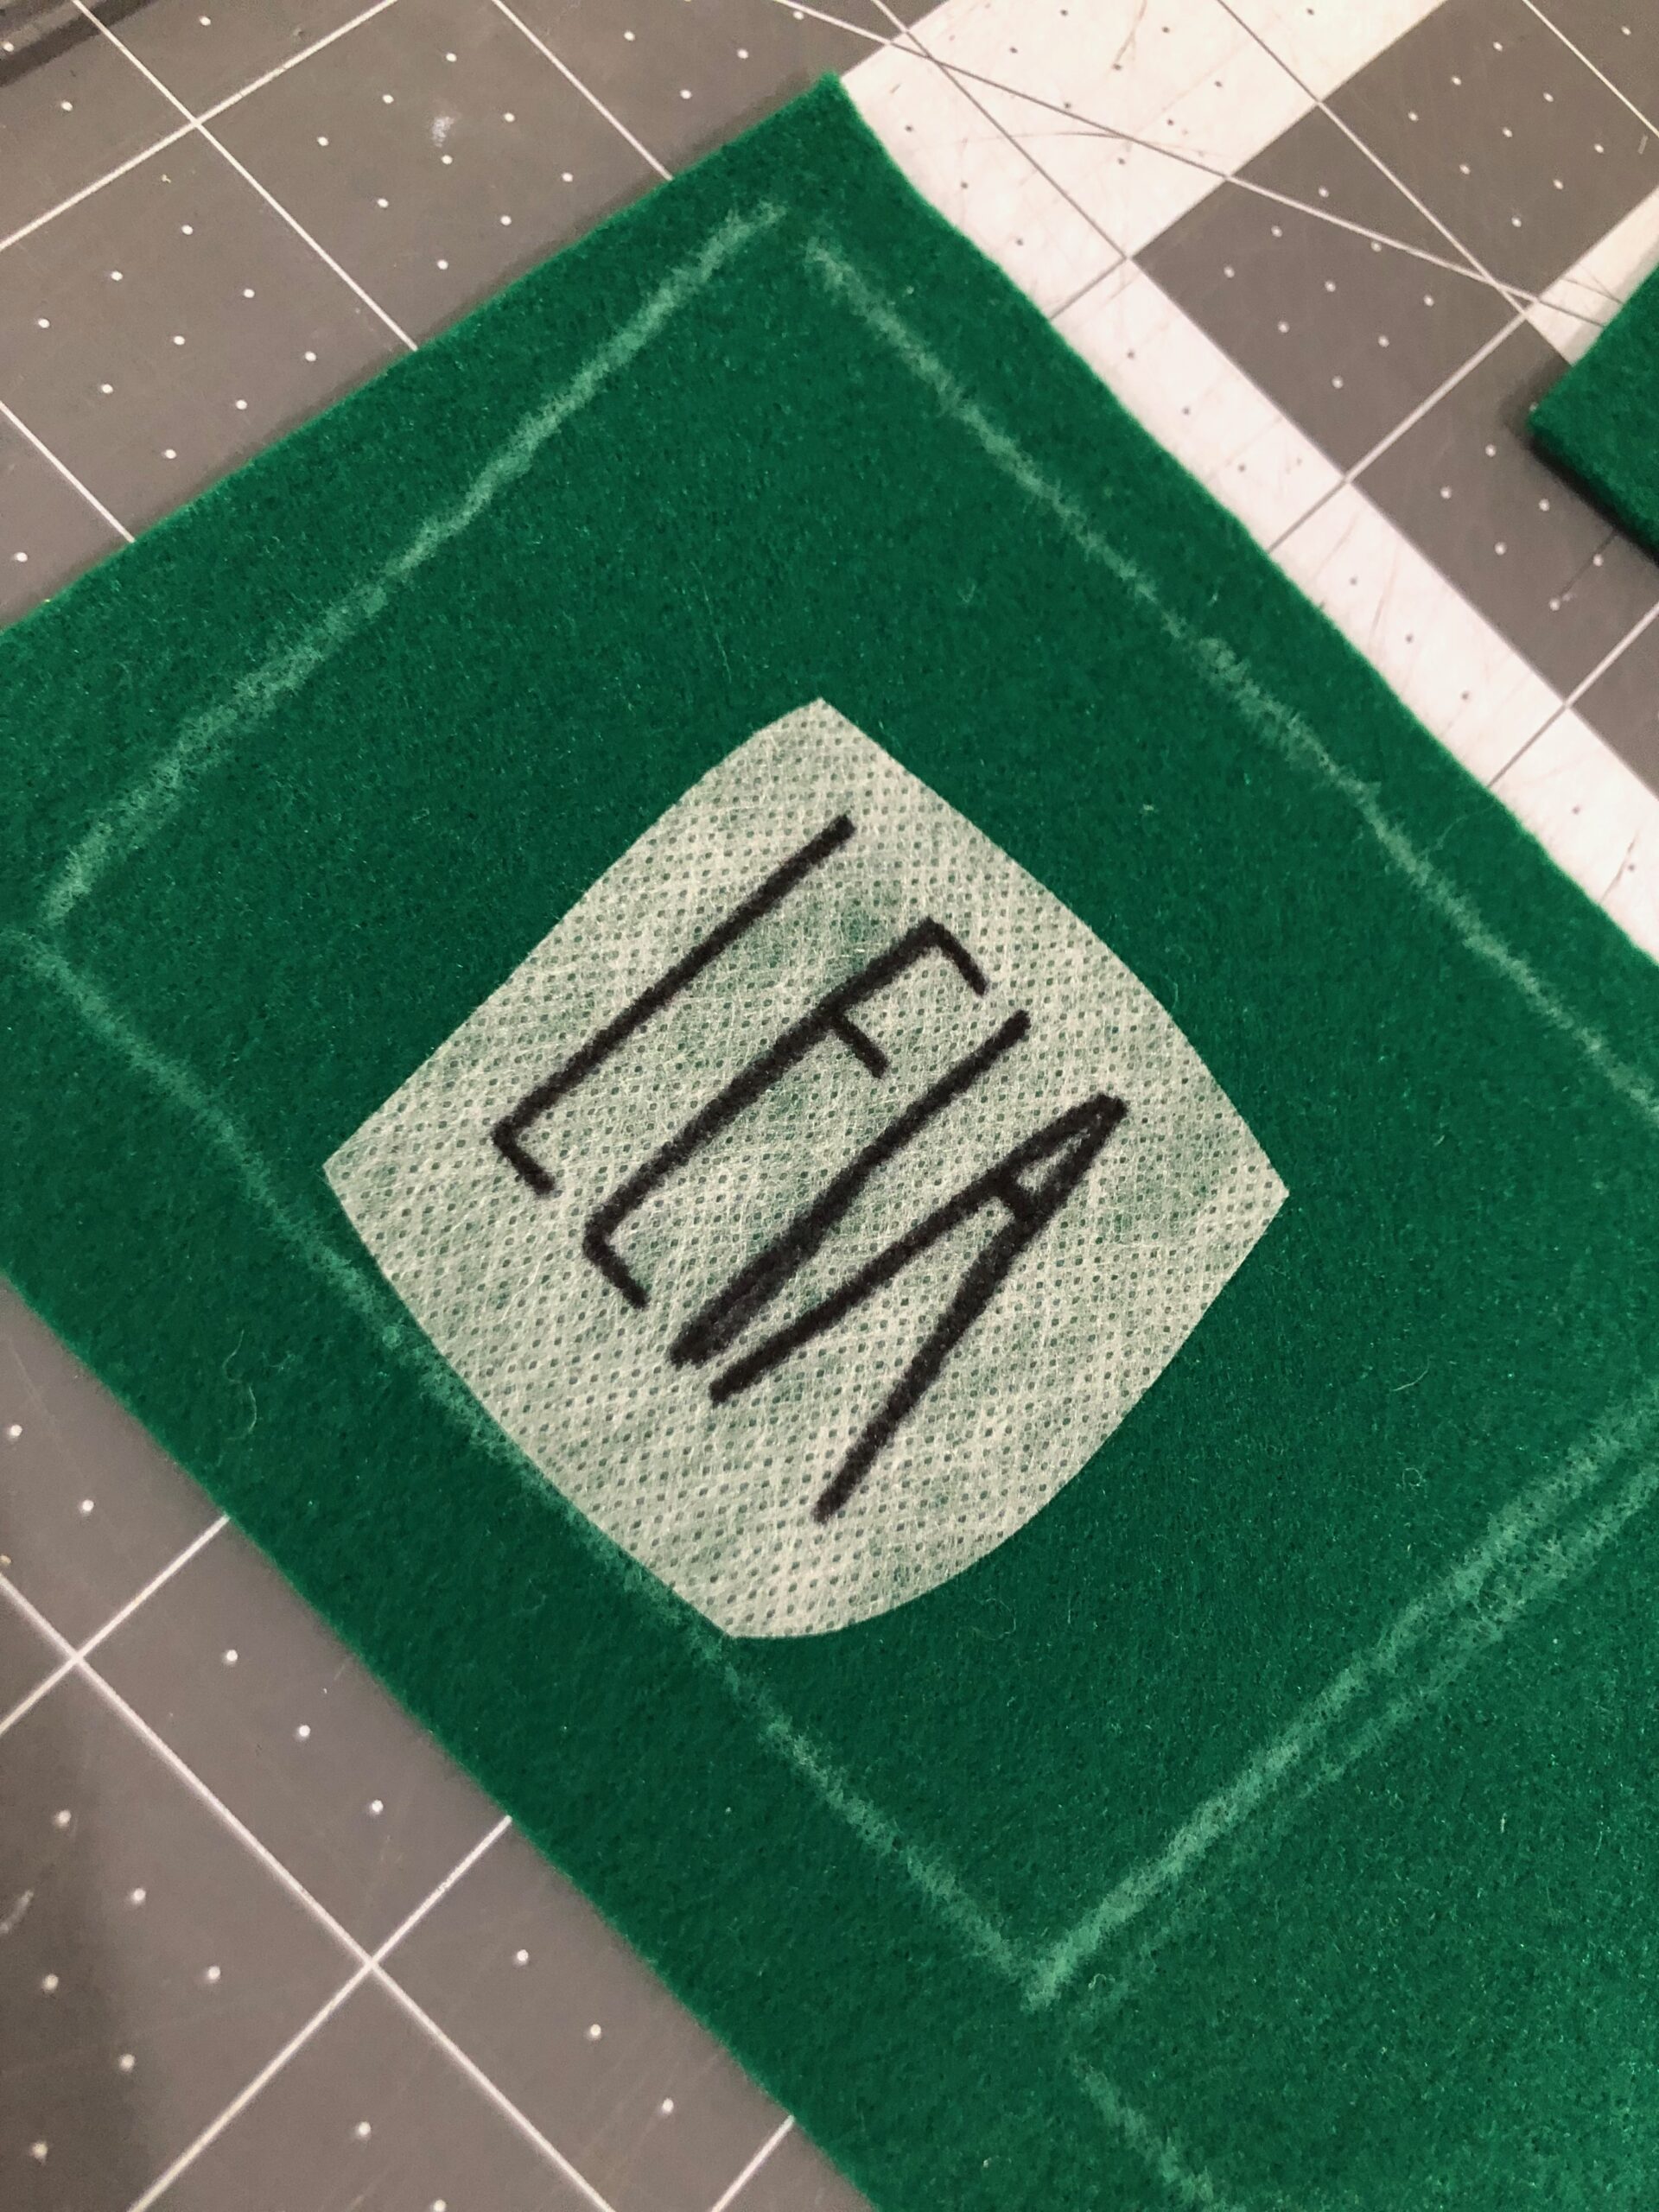
When satisfied with the placement, remove the paper backing and stick the stabilizer to the stocking cuff.
Hand embroider the stocking and cuff, using your preferred stitches. If using the Holiday Cheer hand Embroidery Kit, it comes with an extensive PDF booklet that contains a hand embroidery stitching guide, too.
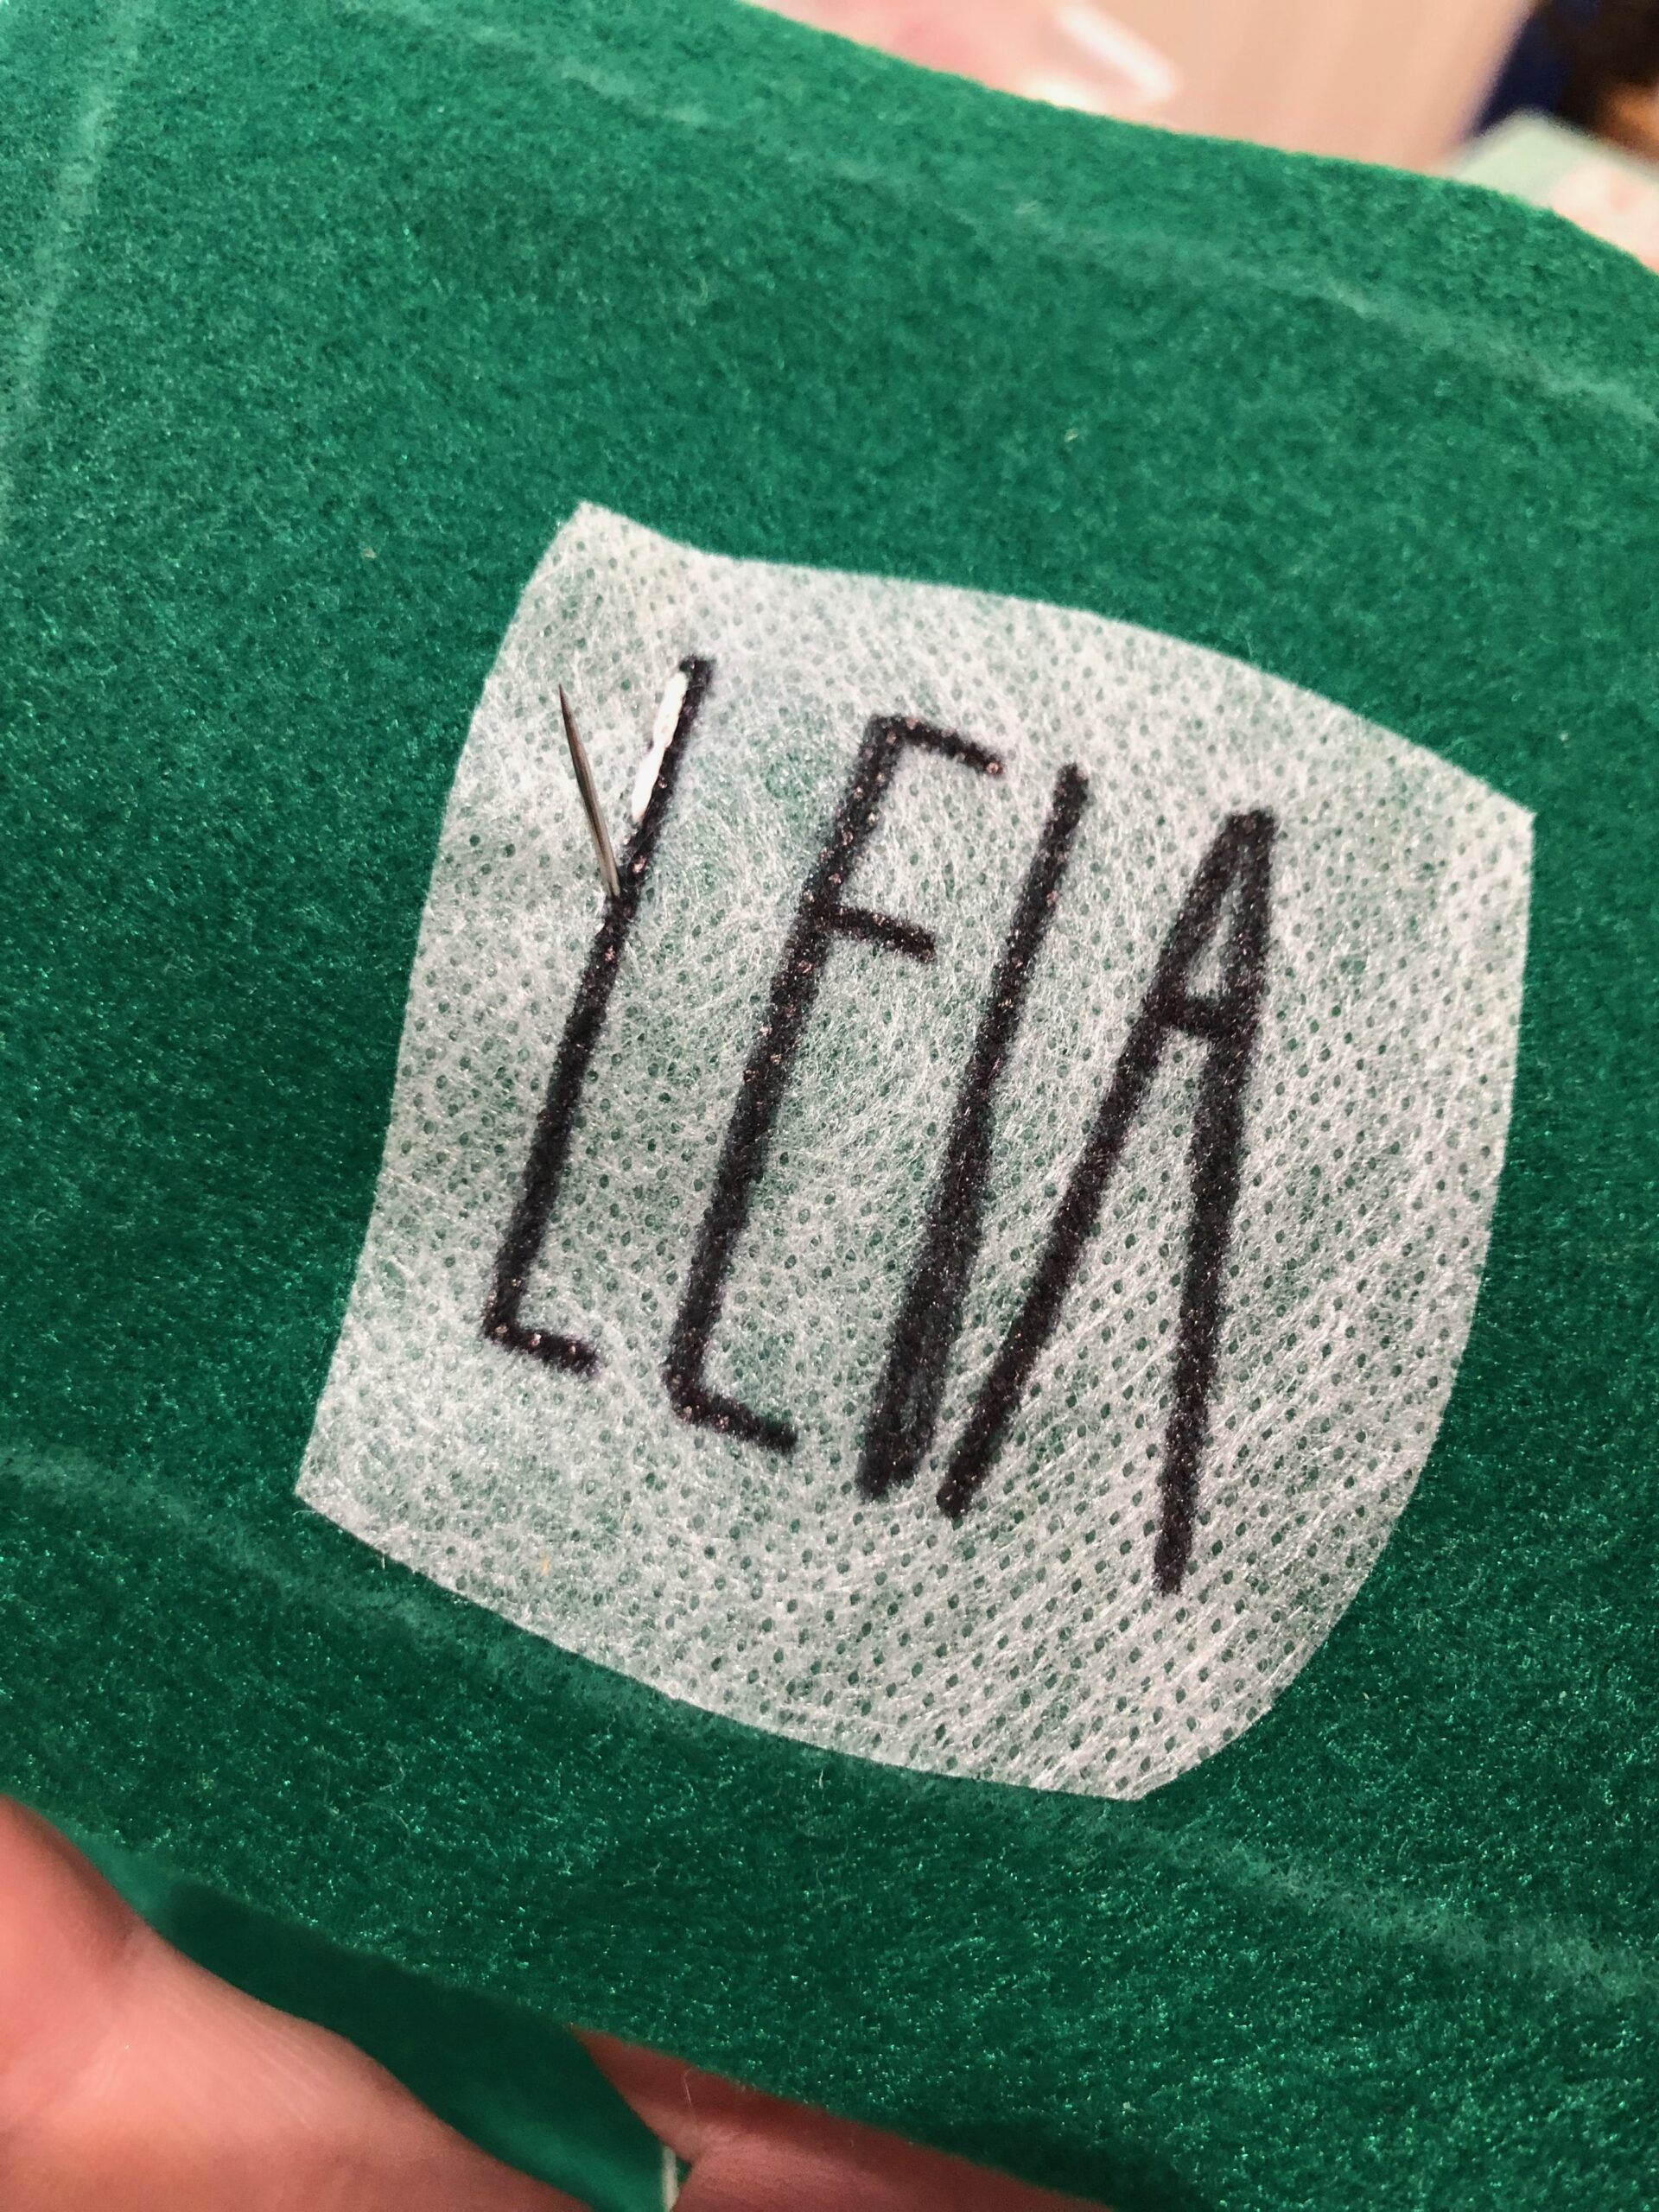
Backstitches look great for line art areas, such as the name/number(s). Stitch two rows of stitching to make the name/number(s) pop.
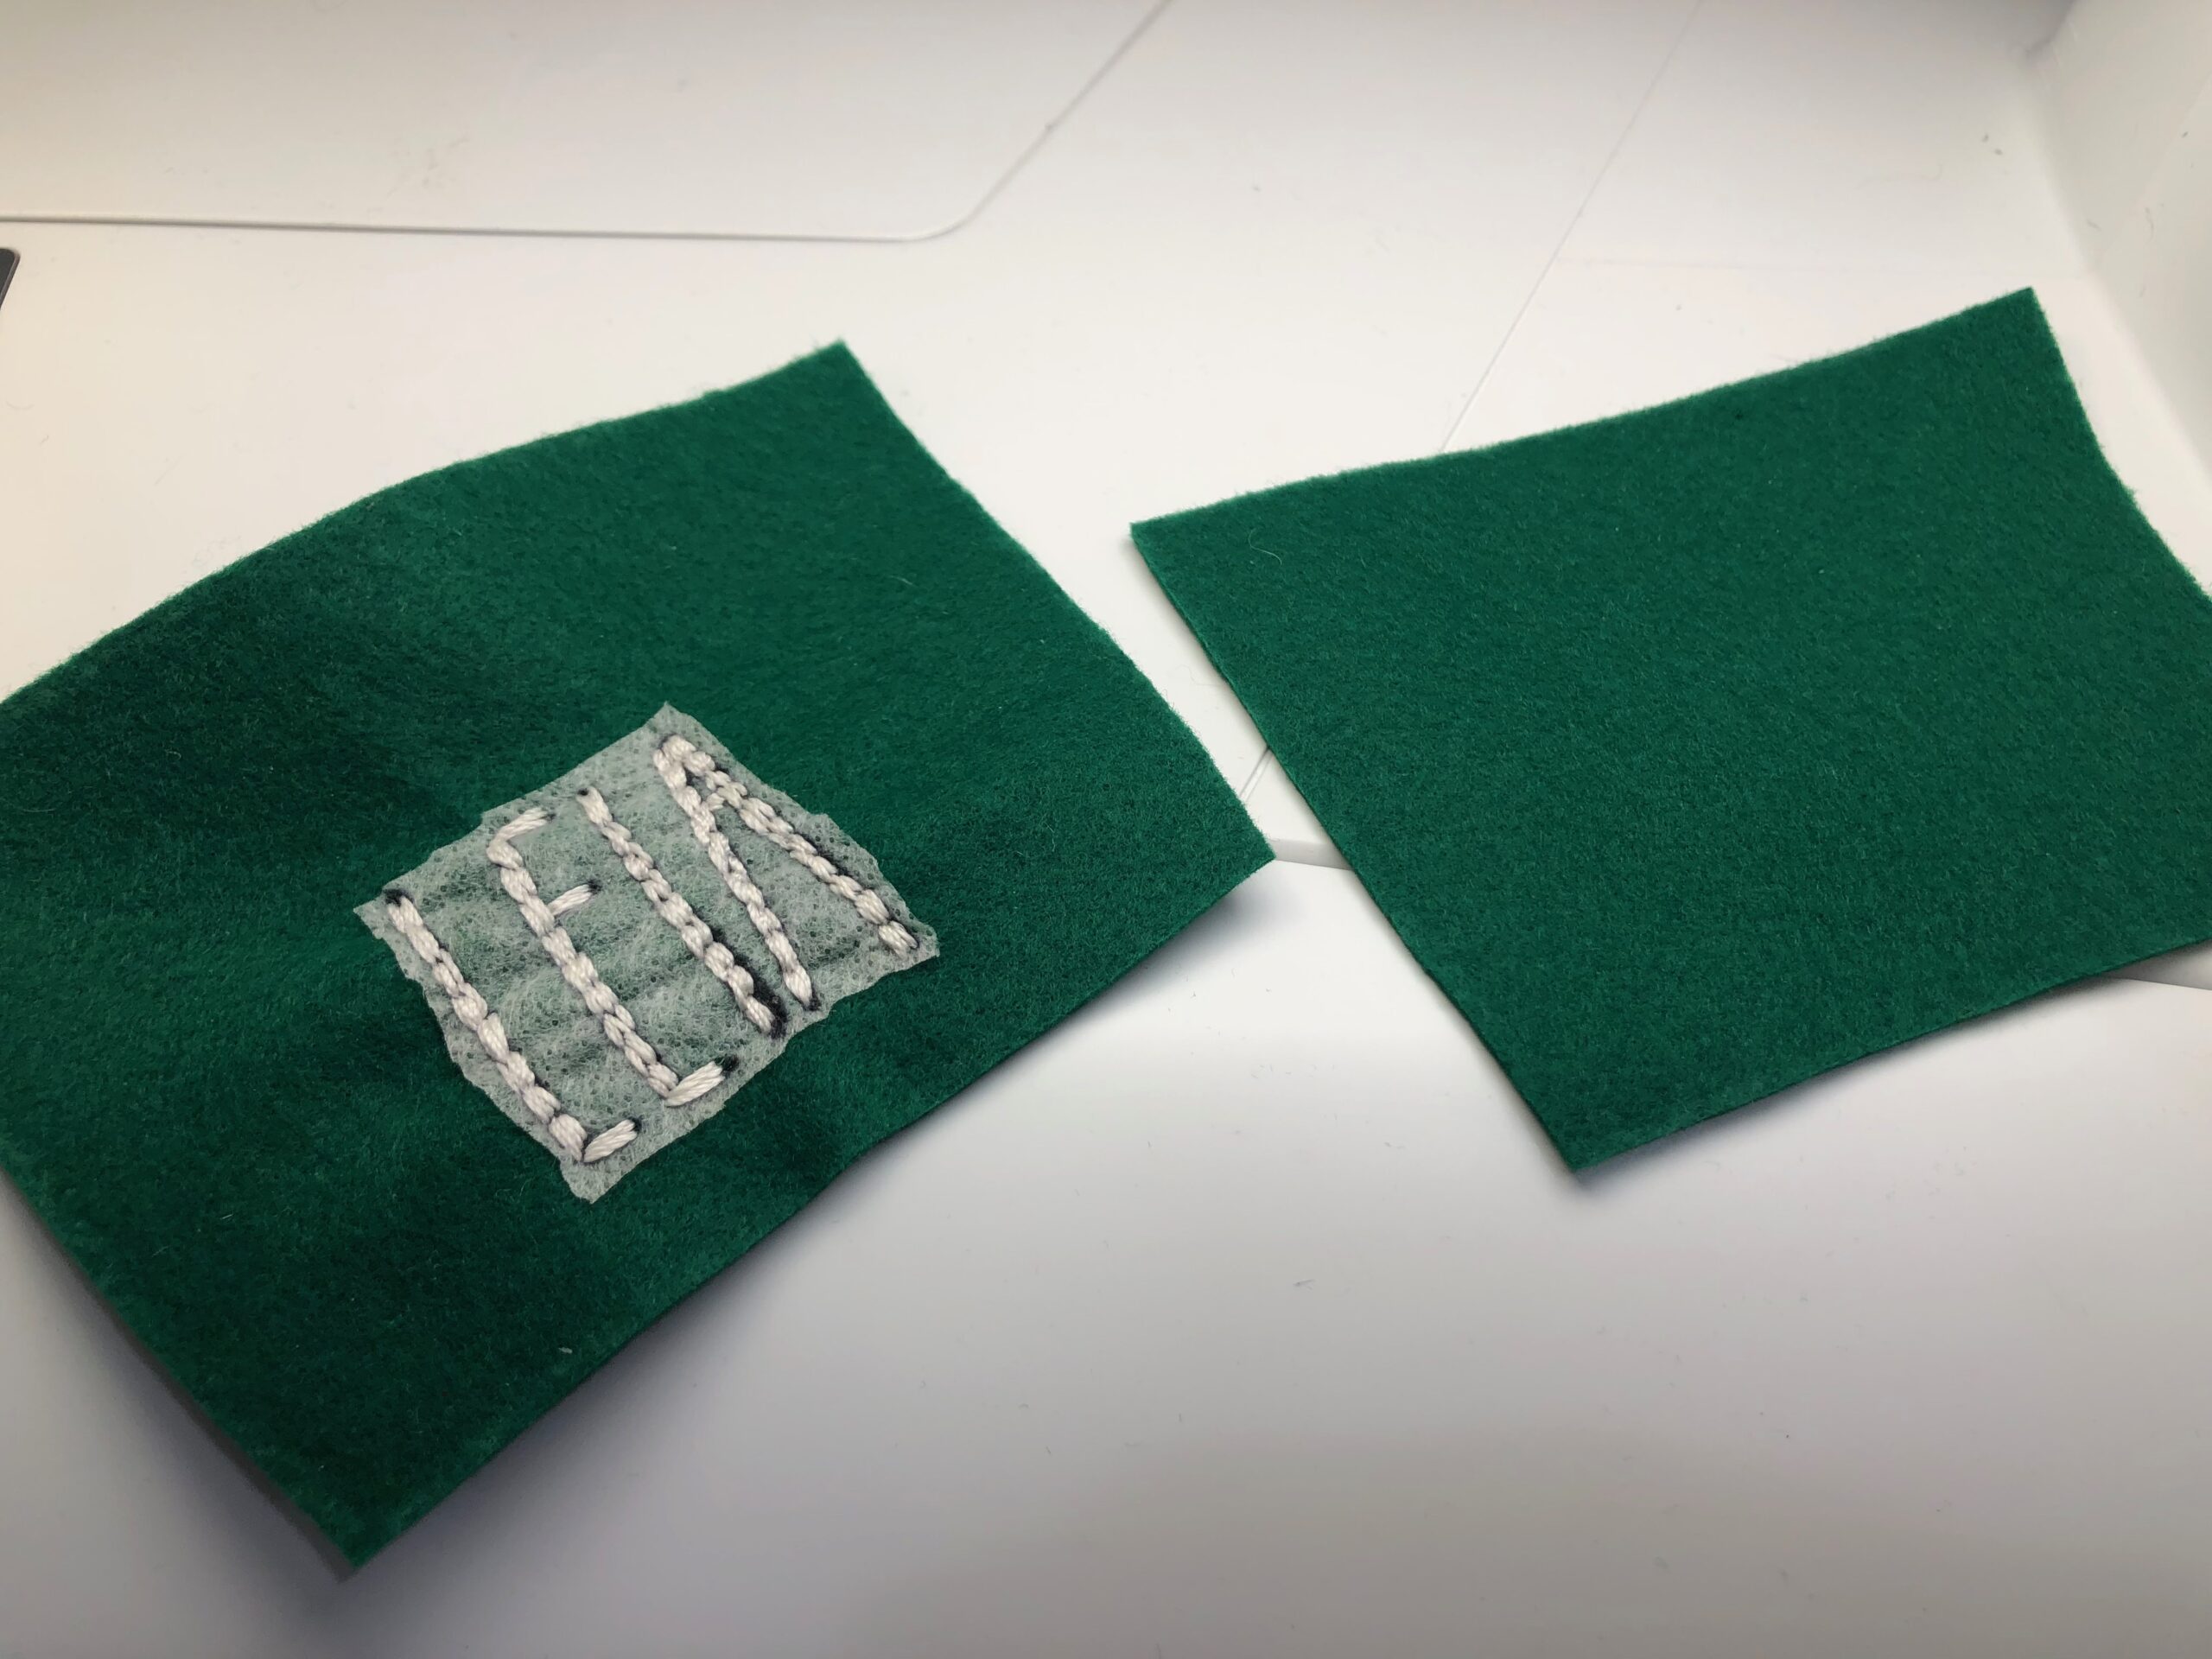
After embroidery on the Felty is complete, cut two mirrored stockings, two mirrored cuffs and a 1″ x 4″ strip for a hanging loop. Center the designs as desired before cutting, adjusting the pattern outlines if needed.

Rinse away the stabilizer under tepid running water until dissolved.
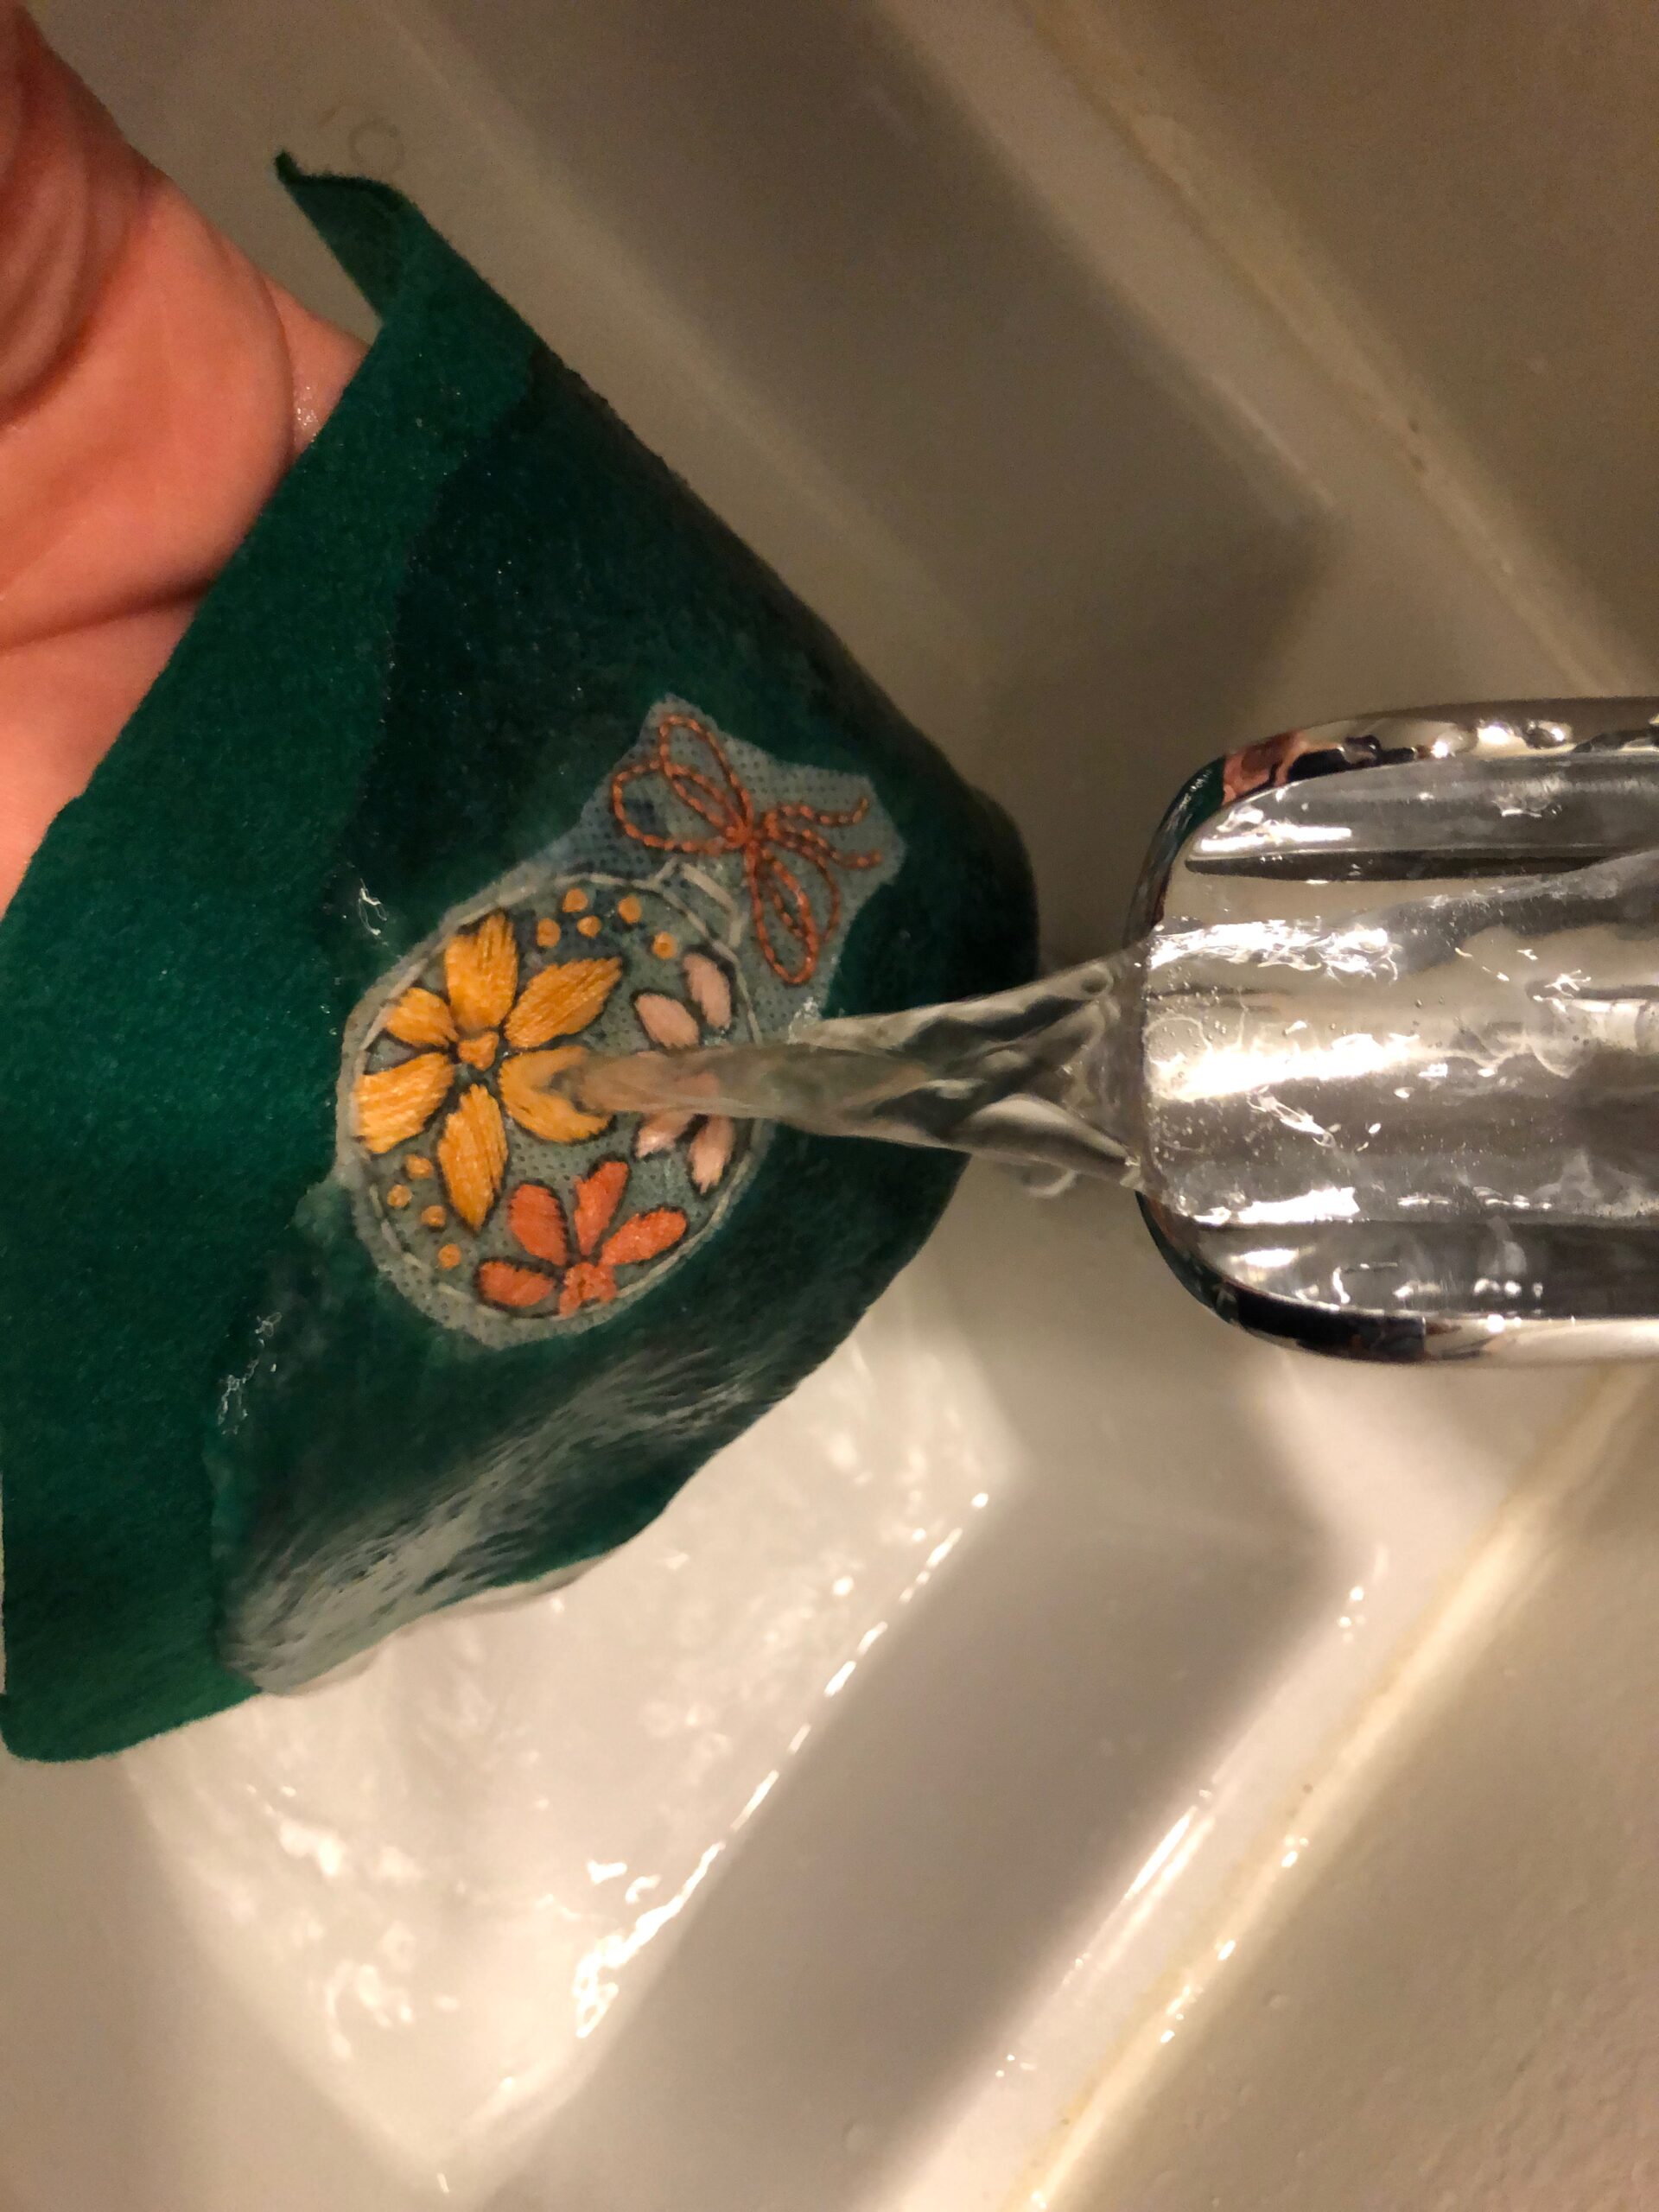
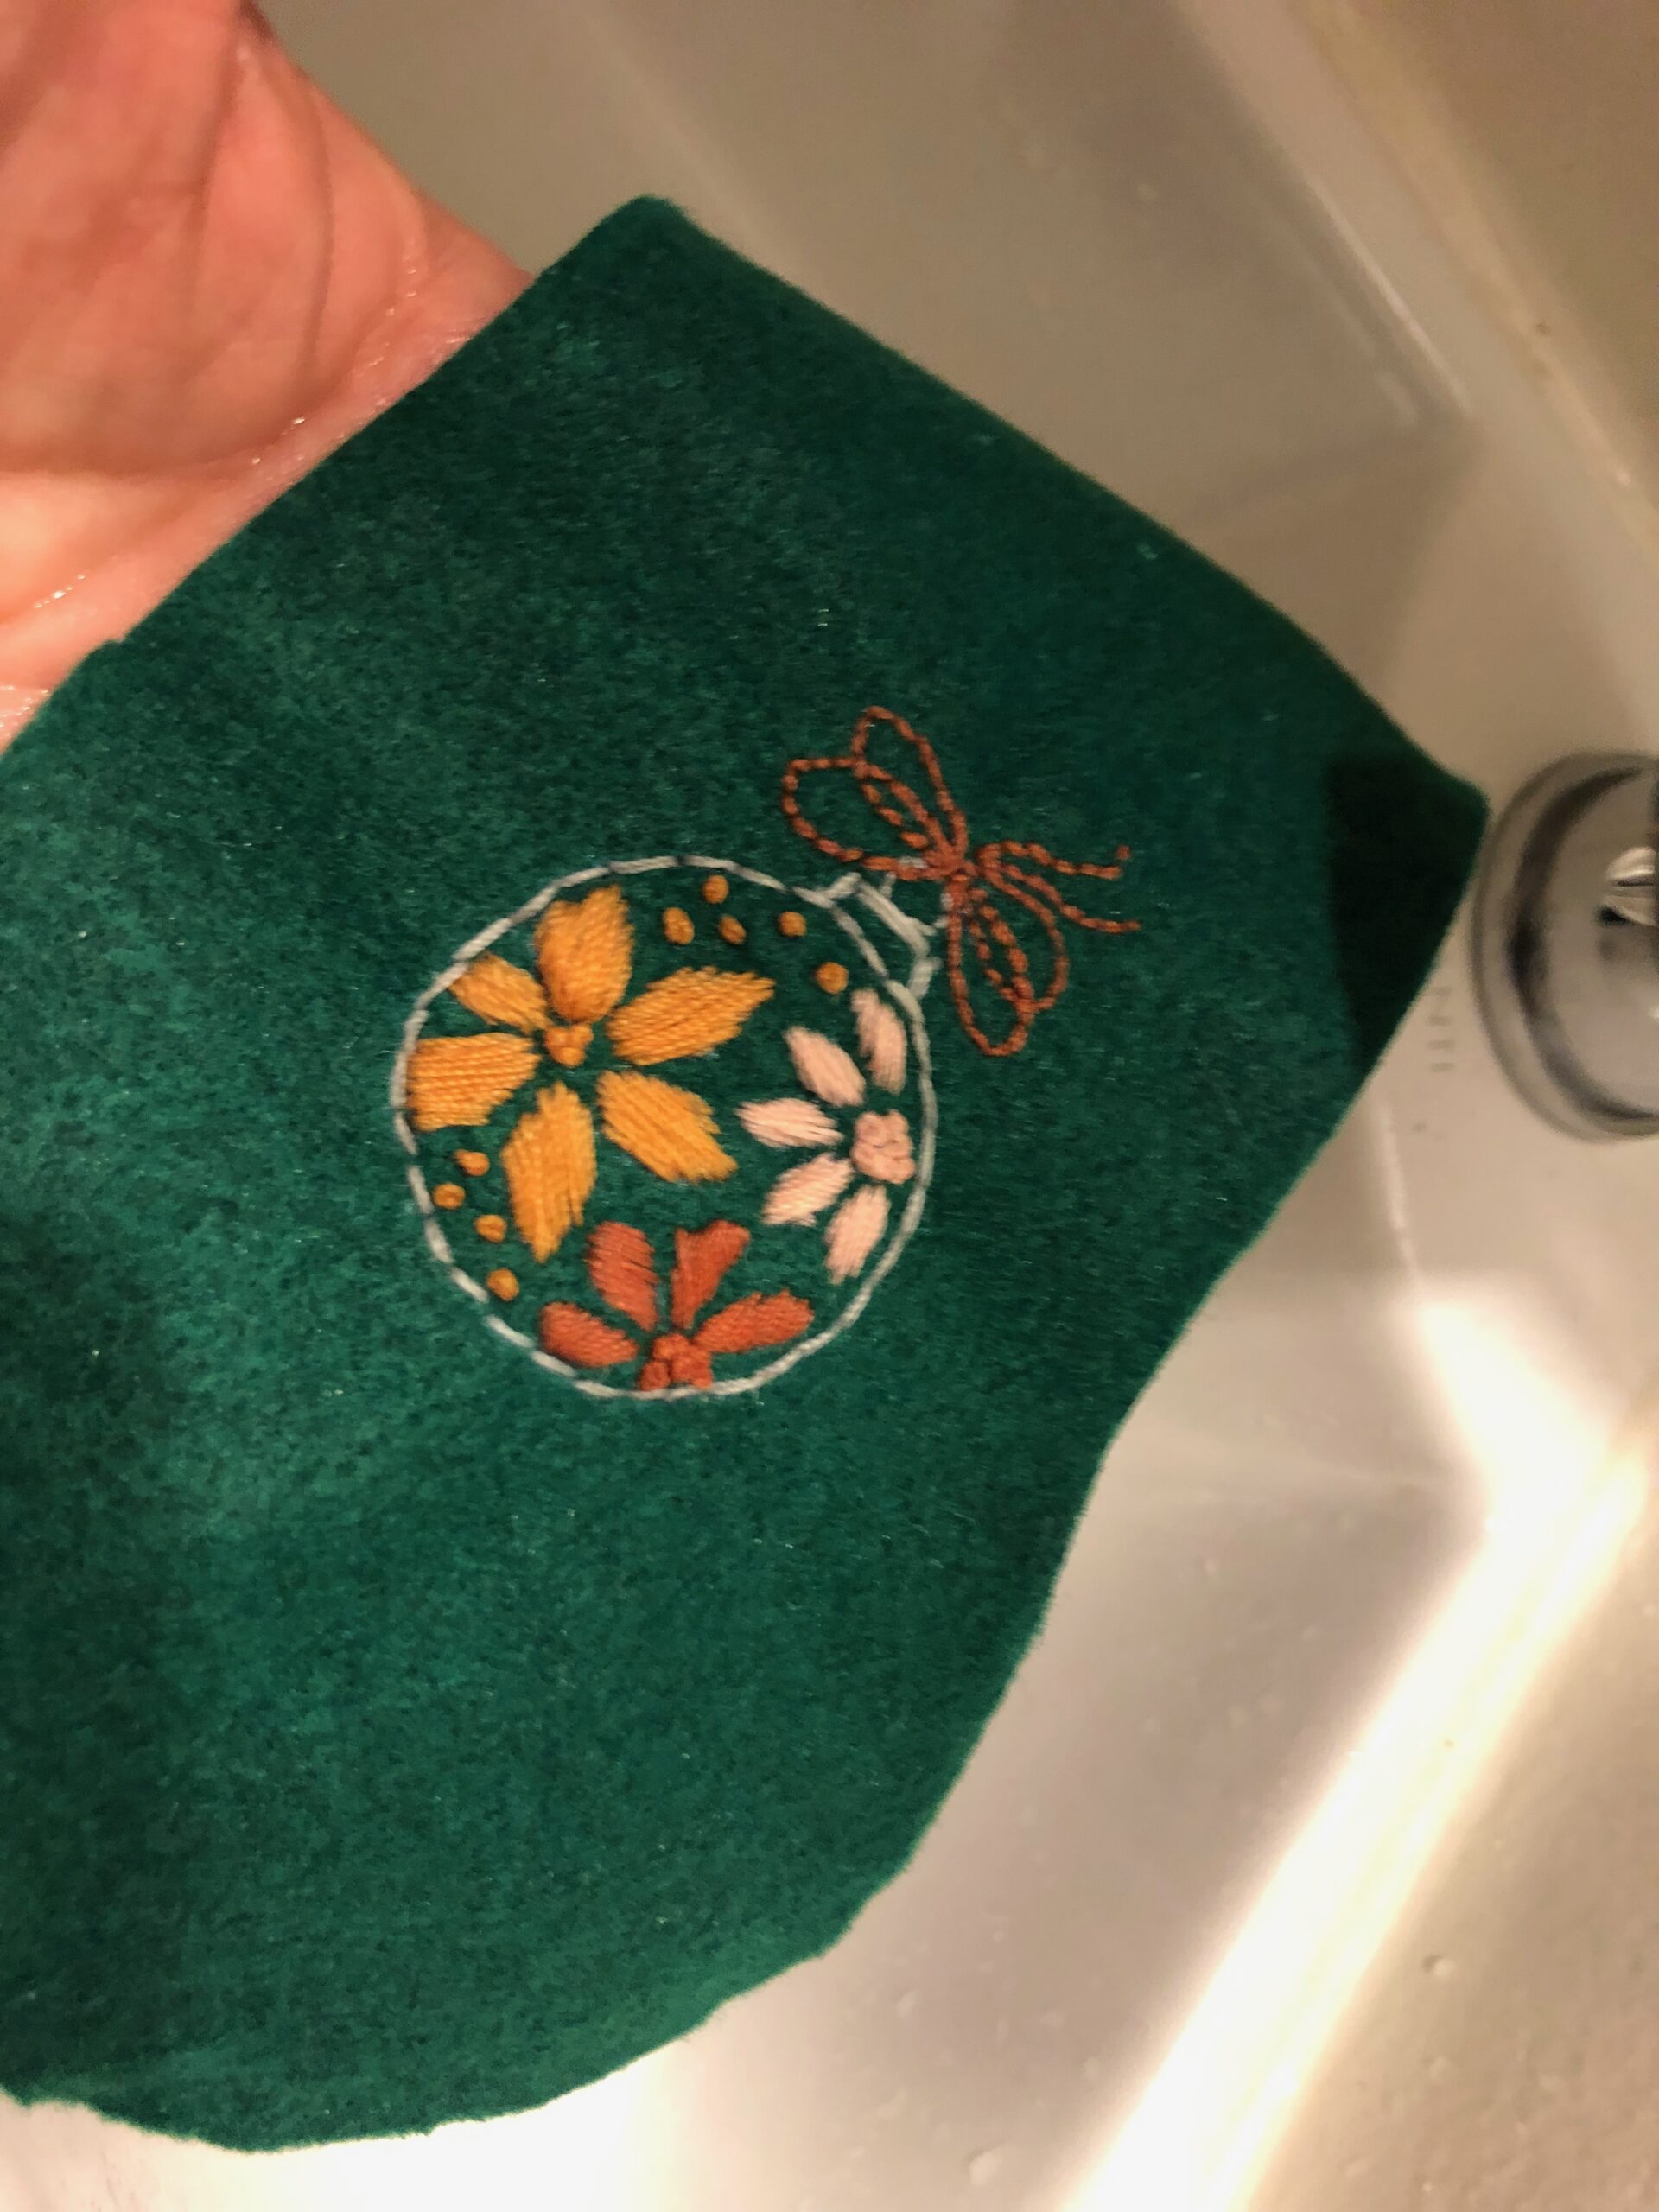
Then, let the pieces dry flat on a towel.
MINI PET STOCKING CONSTRUCTION
Place each Felty cuff on a lining stocking with right sides together and upper edges aligned.
Next, fold the hanging loop in half, matching the ends. Place the ends between the cuff/stocking edge along one stocking outer-edge seam; pin.
Then, stitch the upper-edge seam of each lining stocking, making sure the name/number(s) will be properly oriented when the stocking cuff is folded over the stocking front.
Then, place the lining cuffs on the Felty stockings with right sides together and upper edges aligned. Finally, stitch the upper edge of each stocking.
Next, fold the cuffs toward the right side; finger-press the seam toward the cuffs. (You will have two Felty stockings and two lining stockings. You’ll have a hanging loop protruding from the Felty cuff/lining stocking seam on one lining stocking.)

Place the lining cuffs/Felty stockings right sides together aligning the cuff edges. Stitch the cuff edge, and then press the seam to one side.
Repeat to stitch the Felty cuffs together.
Then, place the Felty stocking and Lining stocking right sides together; pin or clip the perimeter. Stitch the perimeter, leaving an opening along the lining straight outer edge for turning.

Clip the curves. Trim the Felty seam allowance to 1/8″.
MINI STOCKING FINISHING
Turn the stocking right side out through the opening in the lining.
Press the lining stocking, turning the opening seam allowances toward the wrong side. Then, hand sew the opening closed.
Next, push the lining stocking into the outer stocking. Finger-press the lining along the seam so it shows slightly from the right side.
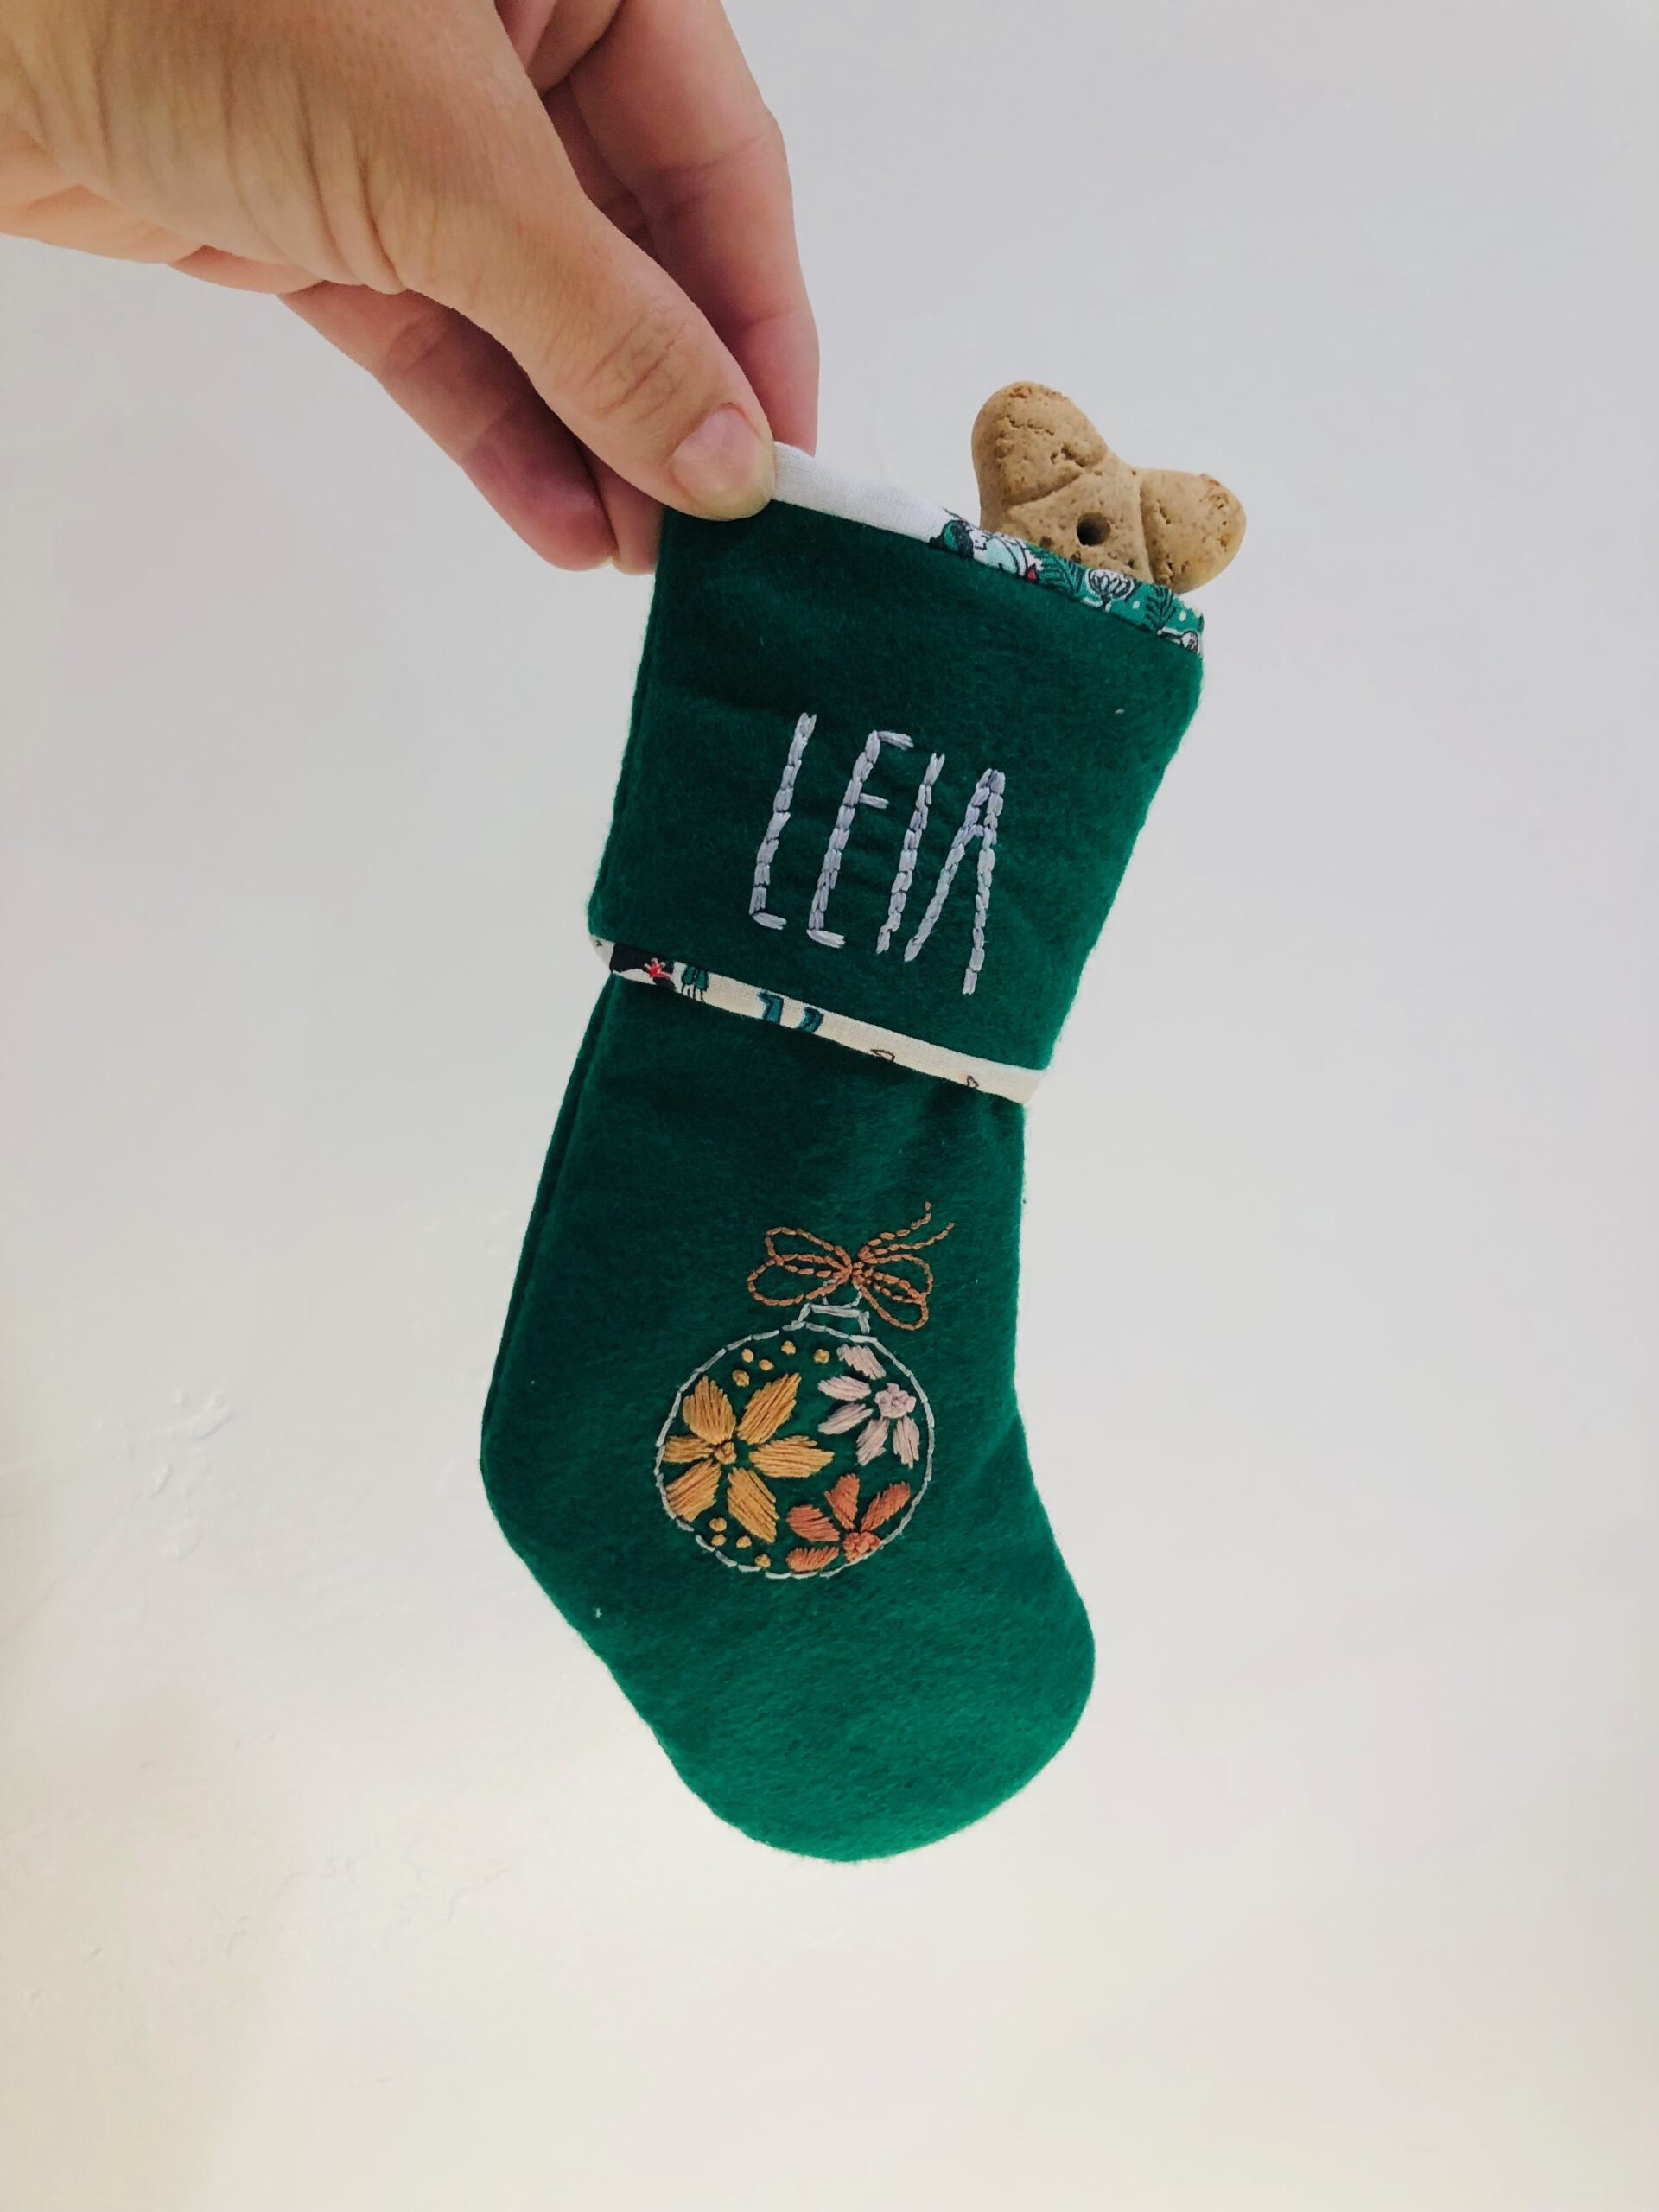
Fold the cuff toward the stocking front, revealing the hand embroidery. Stuff the stocking with a favorite bone or toy.
Finished dimensions: approx 4 3/4″ x 8 1/2″.

Ellen March
I am the Director of Content for Sulky of America. The former Editor in Chief of Sew News and Creative Machine Embroidery magazines, I hosted Sew it All TV on PBS for nine seasons. I've appeared on It's Sew Easy on PBS, DIY Network's Uncommon Threads, Hallmark's Marie Osmond Show, MacPhee Workshop and more! Come sew with me!


3 Comments
Rosemary
OOPS!! Wrong download for mini pet stocking!!
Ellen March
Thanks for bringing that to my attention! I have fixed it now. Refresh your browser and you’ll be able to download the correct pattern to resize for this project.
Rosemary
Thanks for fixing. I can’t wait to make some for my fur babies.