Santa and Elves Ornaments with Felty & Filaine
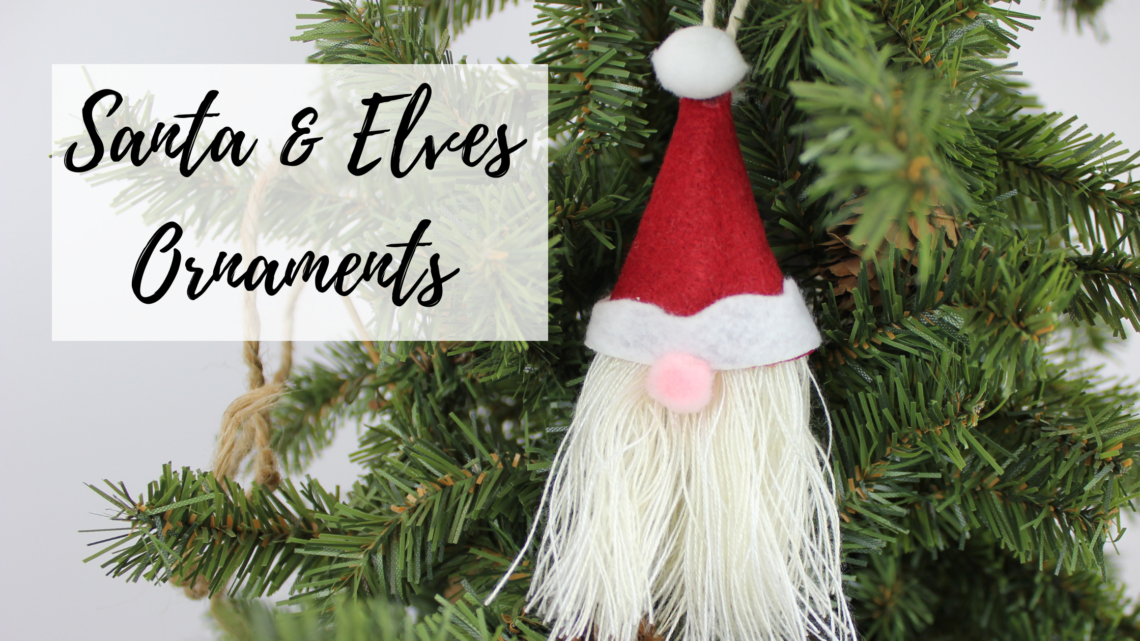
Santa and Elves Ornaments
Jingle Ornaments
Skill Level: Beginner
Approximately 4” high
Designed by Heidi Pridemore
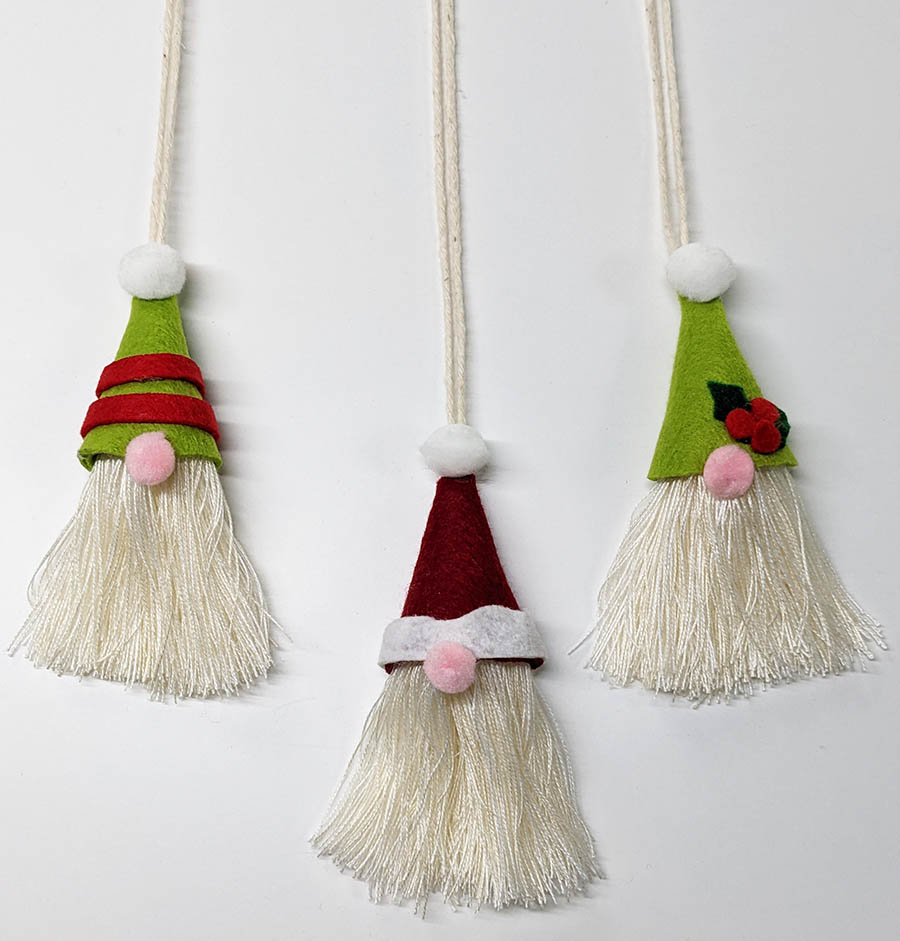
Santa and elves make great ornaments when paired with Felty and Filaine! Get crafty for the holidays and whip up a few fun ornaments using these templates and jingle bells for a bit of whimsy.
SANTA ORNAMENTS REQUIREMENTS
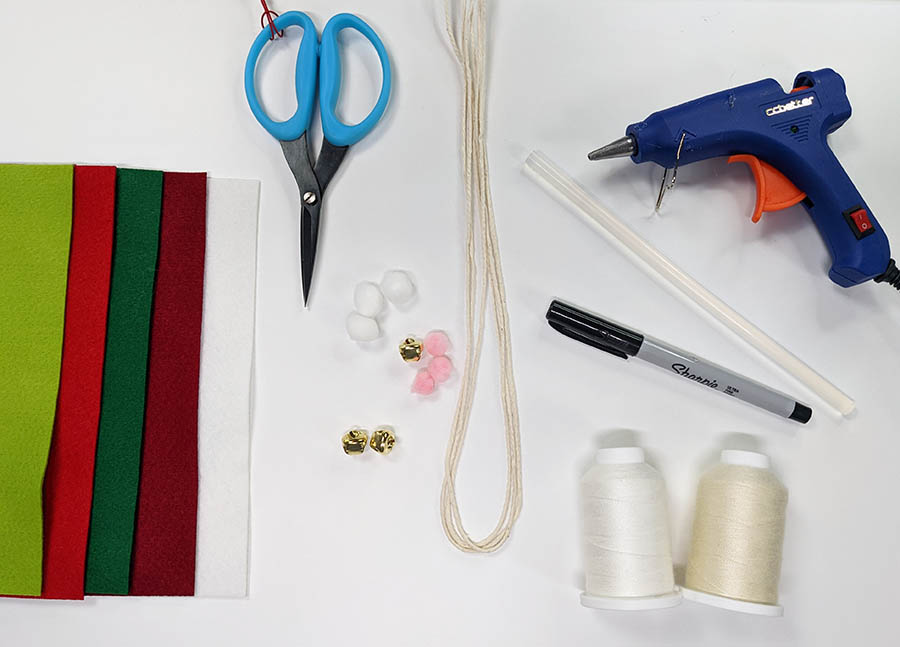
- Sulky Felty™: (1) of each, Dark Red, Cherry Red, Forest Green, Light Green & White
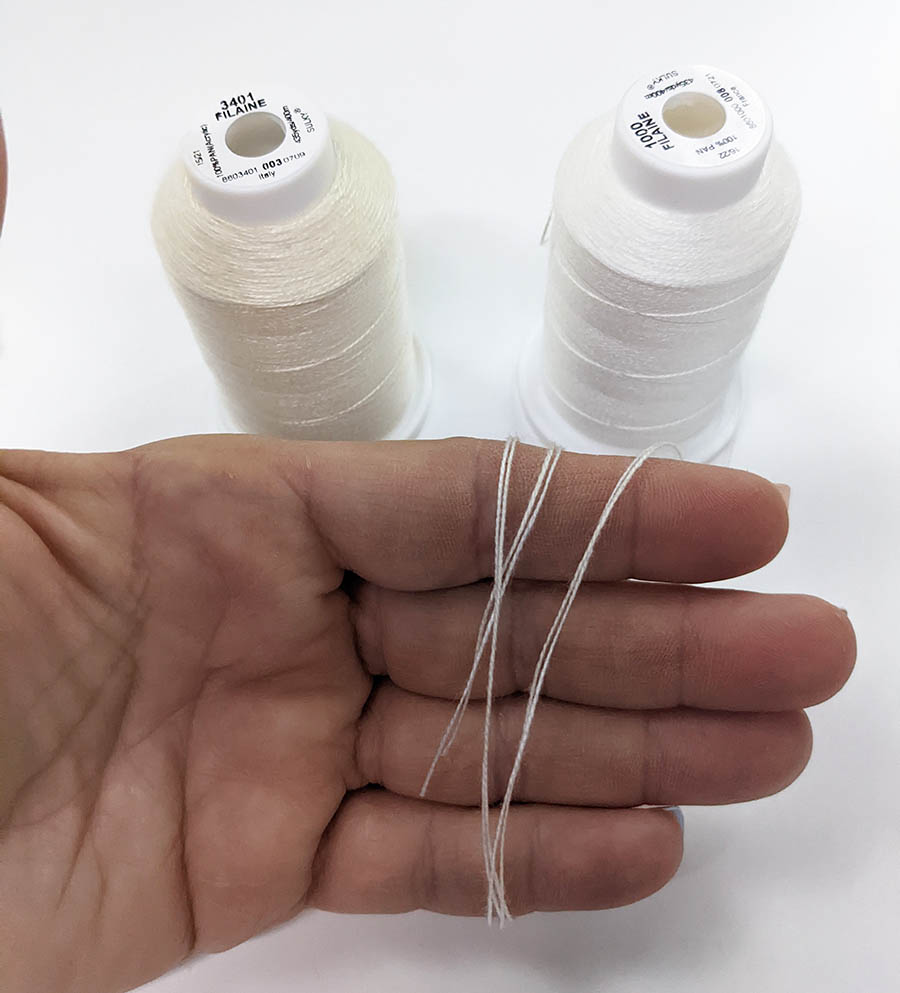
- (2) spools of Filaine™ Thread: 864-1000 & 864-3401
- (3) ½” Jingle Bells
- (3) pieces of string or twine, 28” long
- (3) ½” Pink Pom-Poms
- (3) ½” White Pom-Poms
- Craft Glue or Glue Gun & glue sticks
- Small Scissors
- Marking Pen
SANTA AND ELVES ORNAMENTS ASSEMBLY
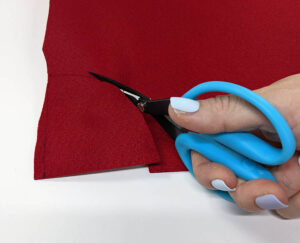
Print the Santa and the Elves Jingle Ornaments Templates. Cut out the paper Hat Template on the drawn line. Place the Hat Template on top of the Dark Red Sulky Felty sheet and trace with the marking pen. Cut the template out on the drawn line. Repeat this step to trace and cut two light green hats. Set the three hat pieces aside.

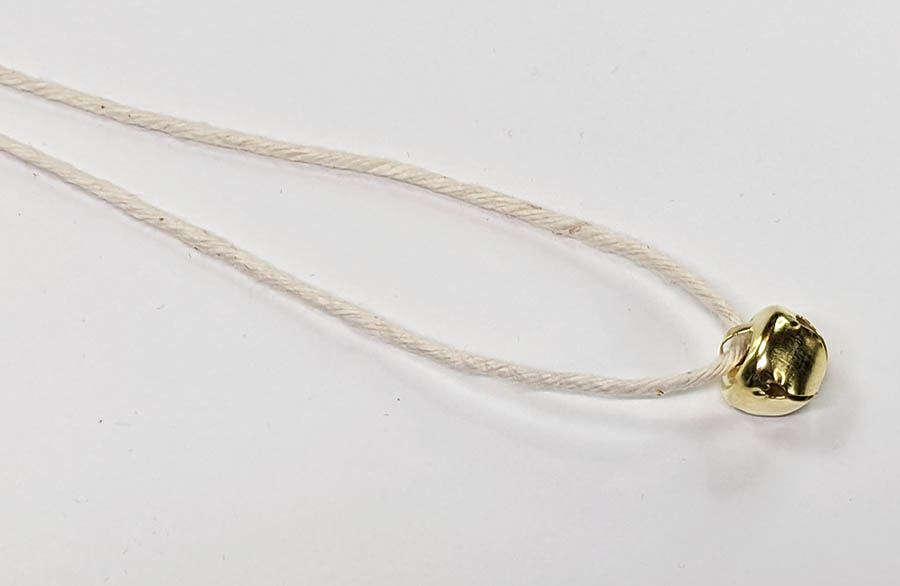
Slide one ½” Jingle Bell onto one 28” piece of string. Slide the bell to the center of the string. Repeat with the remaining two bells and strings. Set the Strings aside.
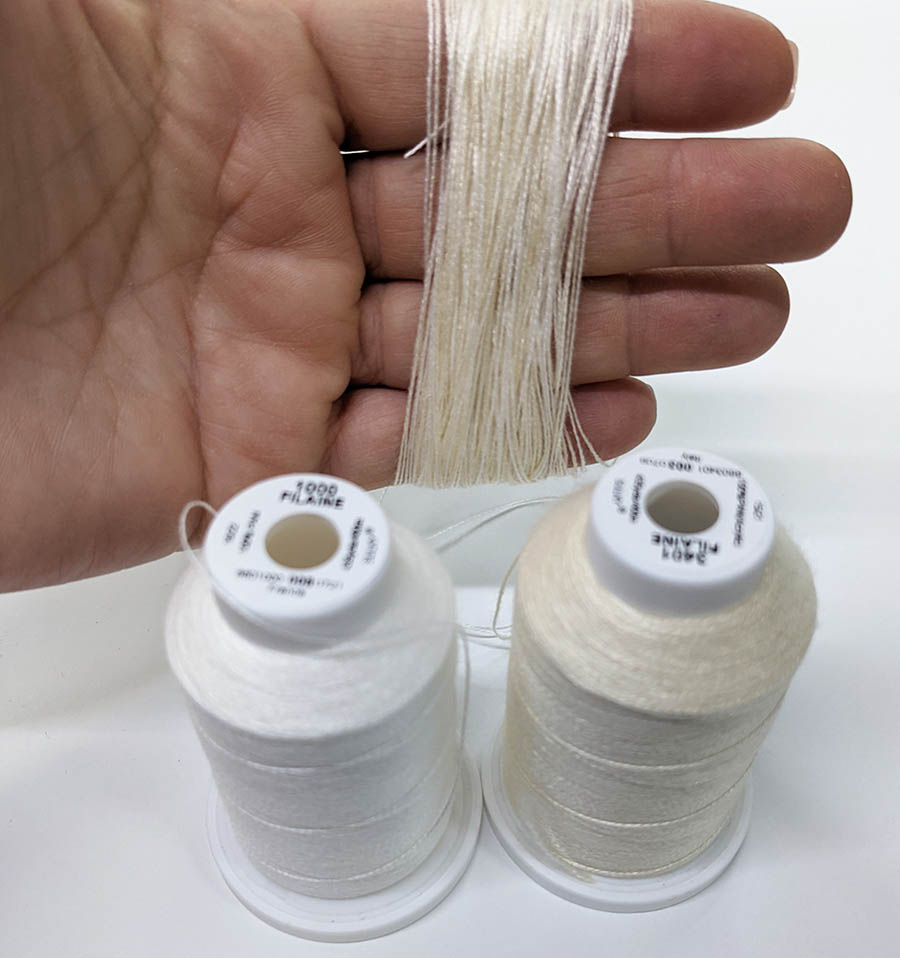
FILAINE BEARDS
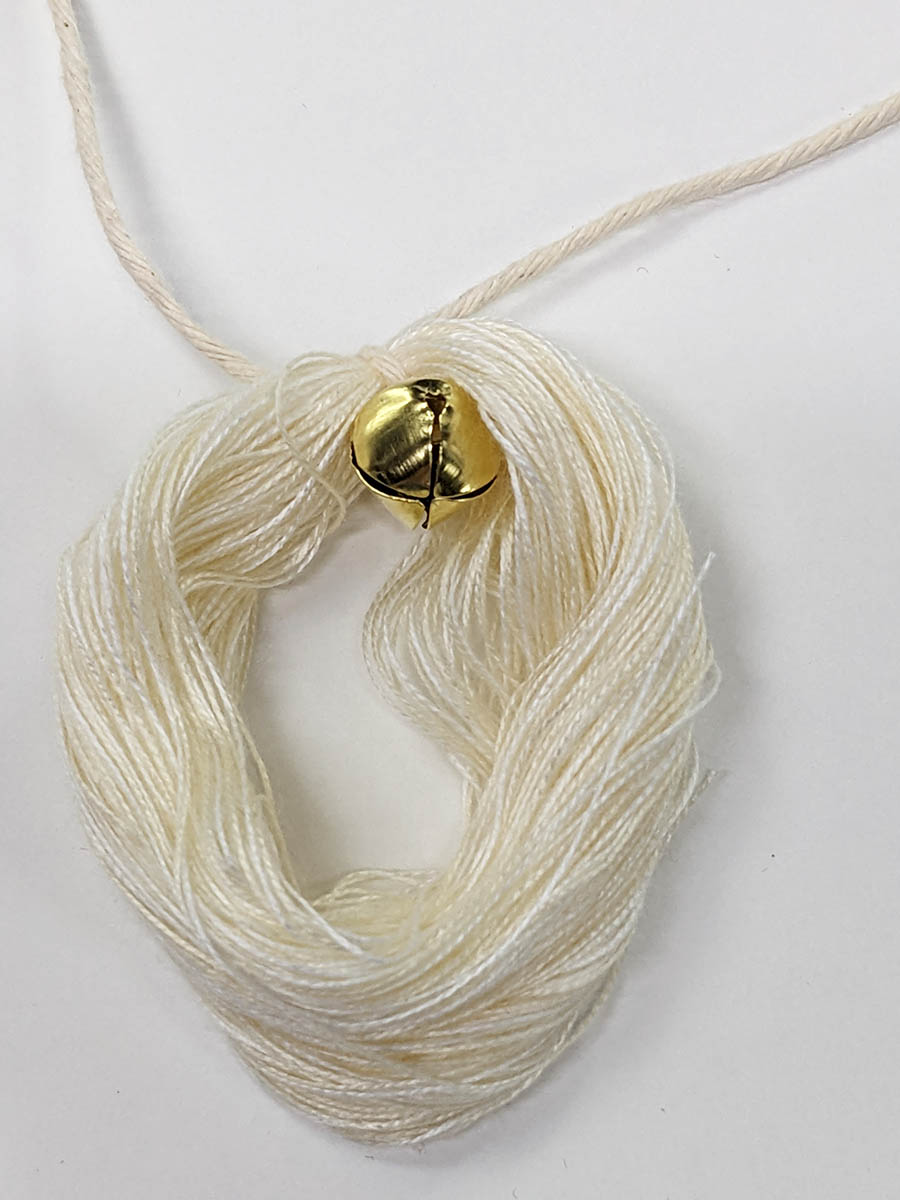
To make the beard, unwrap the thread end from both spools of Filaine threads and wrap them around your hand as shown. Keep your fingers slightly spread apart as you wrap to keep the wraps even. Wrap both threads at the same time around your fingers (100) times to create a nice full beard.
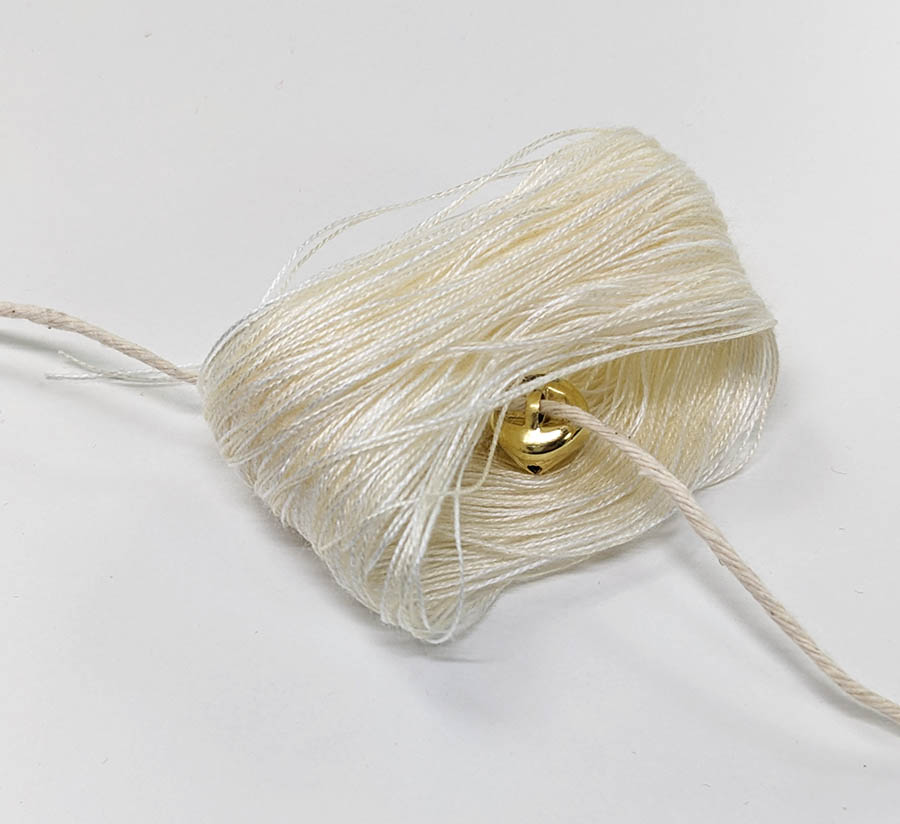
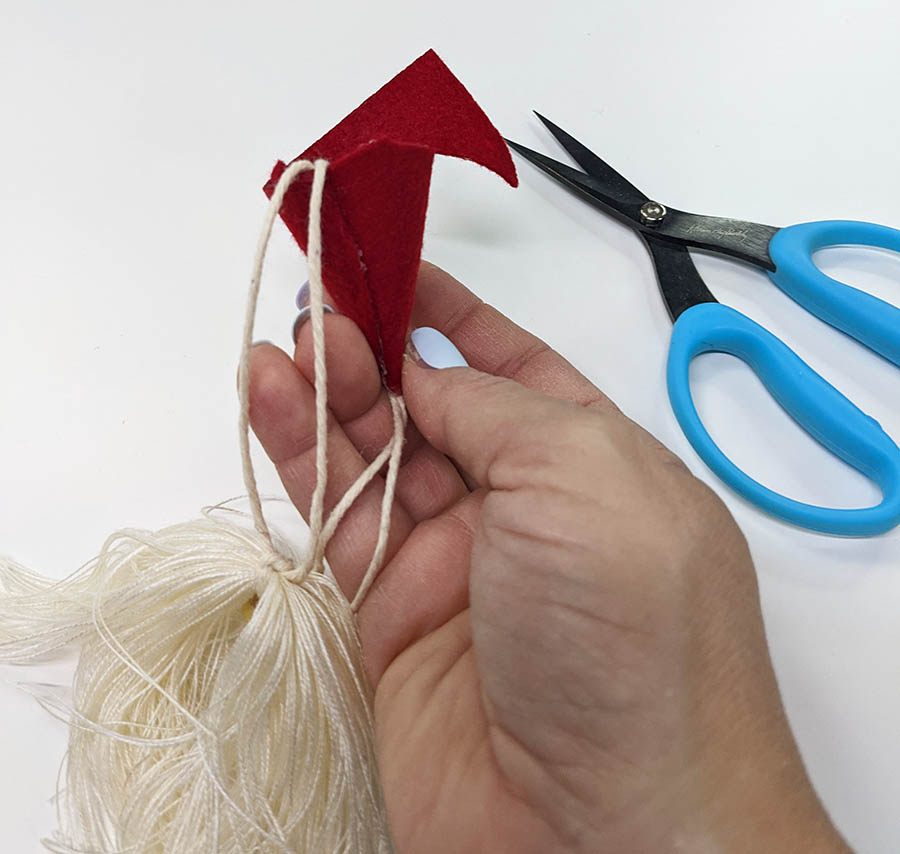
Slide one end of the string with the bell between your hand and the wrapped threads. Tie the string around the wrapped threads, slide the wrapped threads off your hand and secure them with a knot.
NOTE: The Bell at the center of the string should now be in between the wrapped threads as shown.
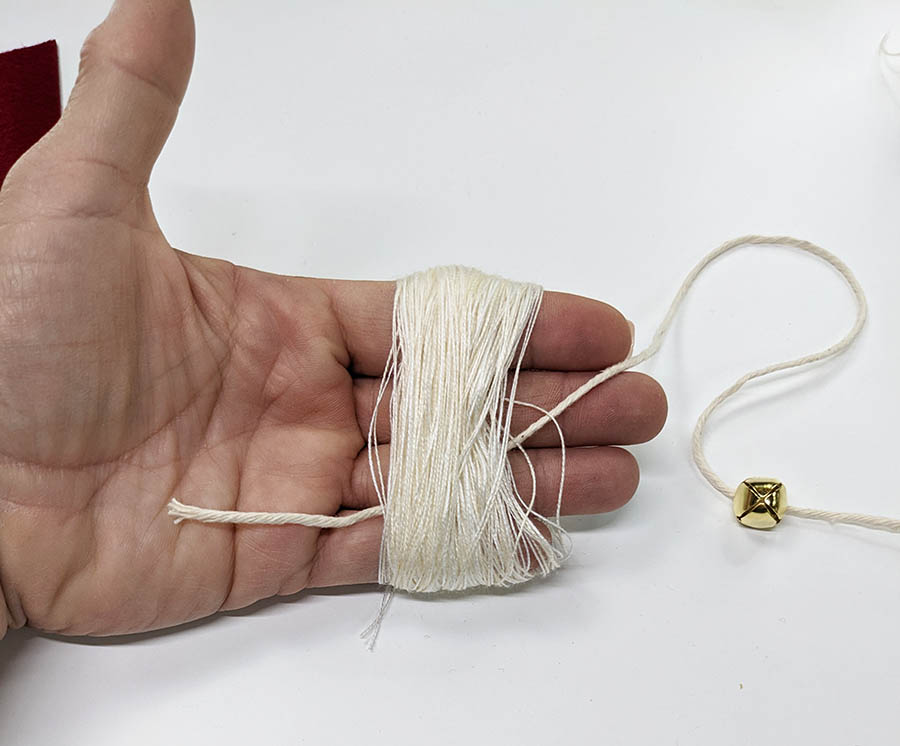
Carefully cut through the loop the wrapped threads, opposite from the bell to create a beard tassel.
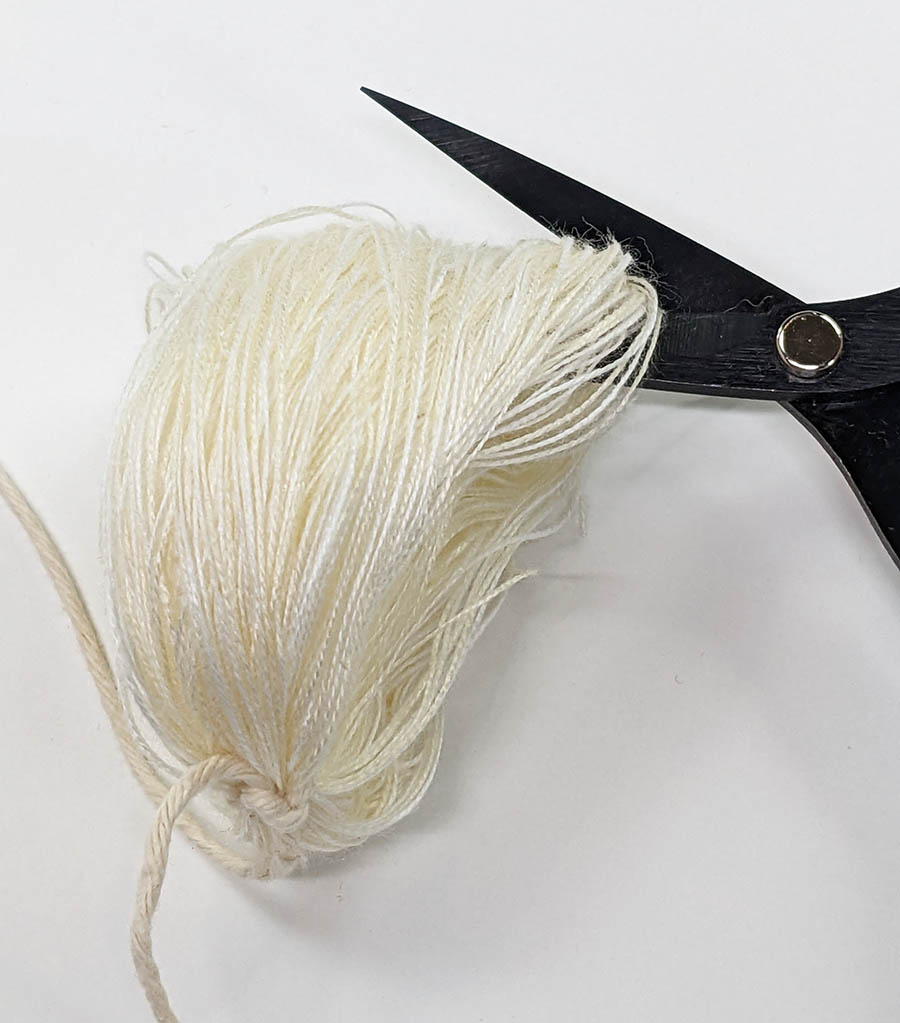
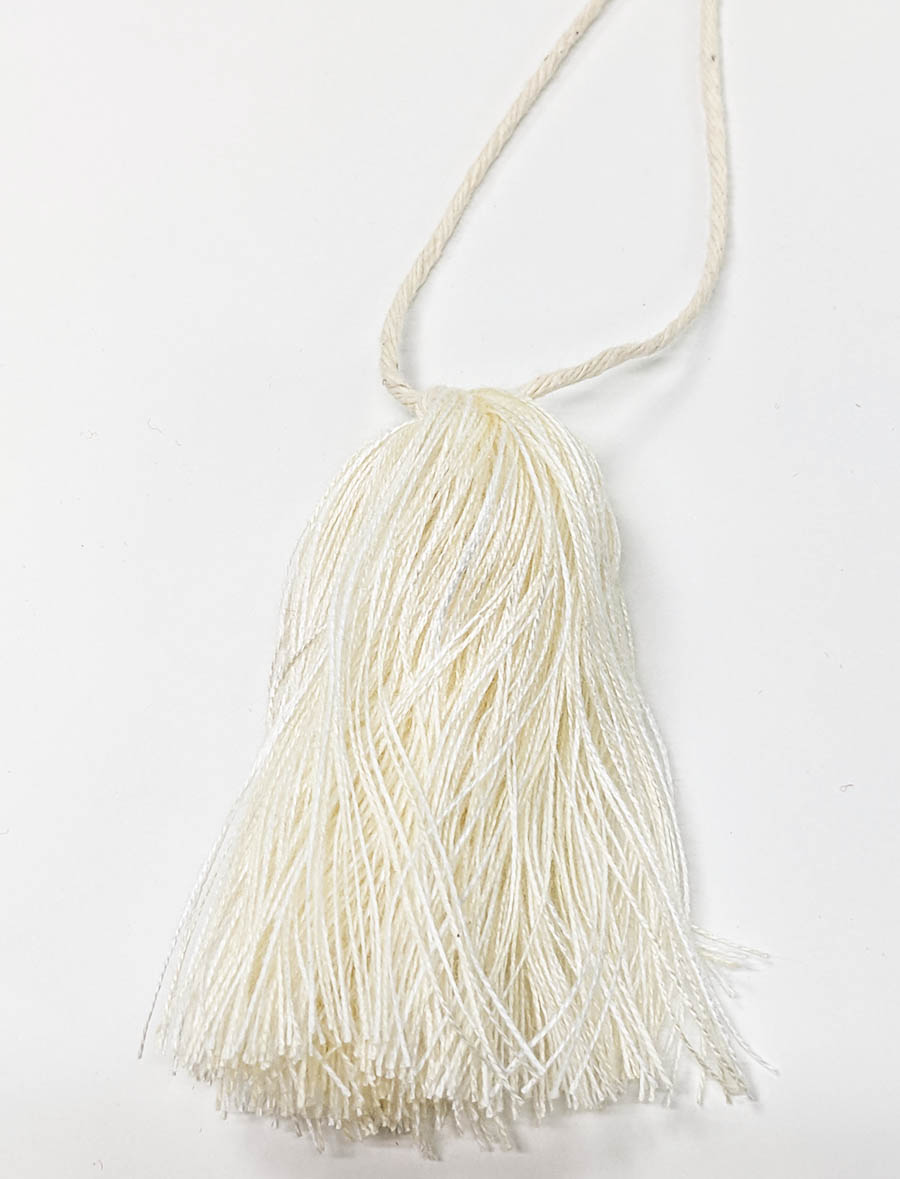
Repeat Steps 3-5 to make two more beard tassels.
SANTA ORNAMENT FINISHING
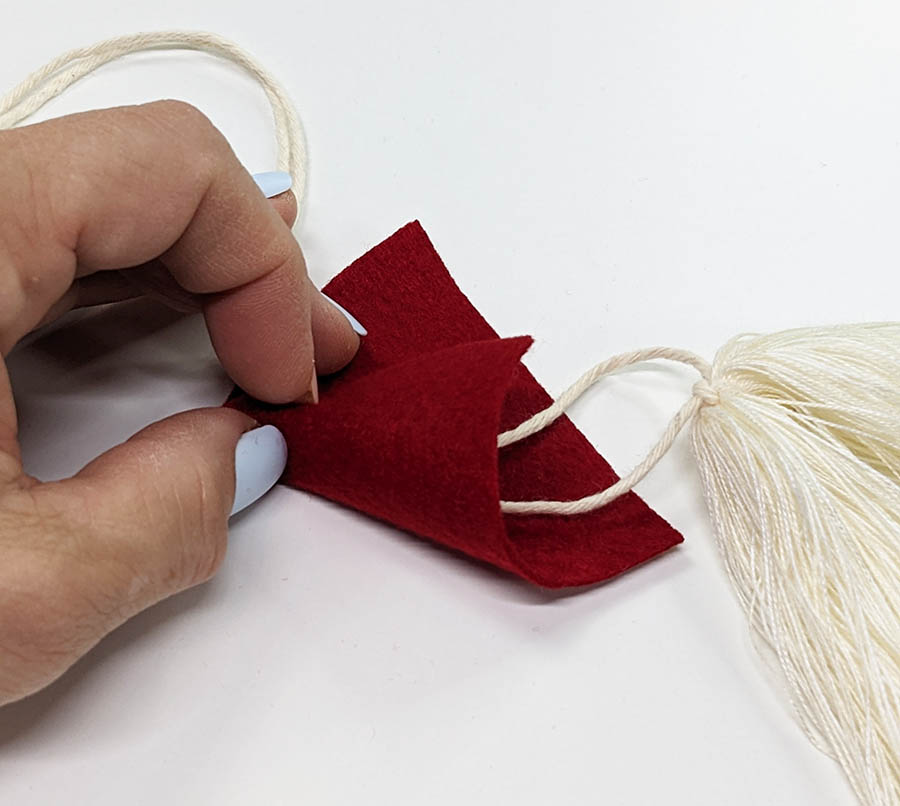
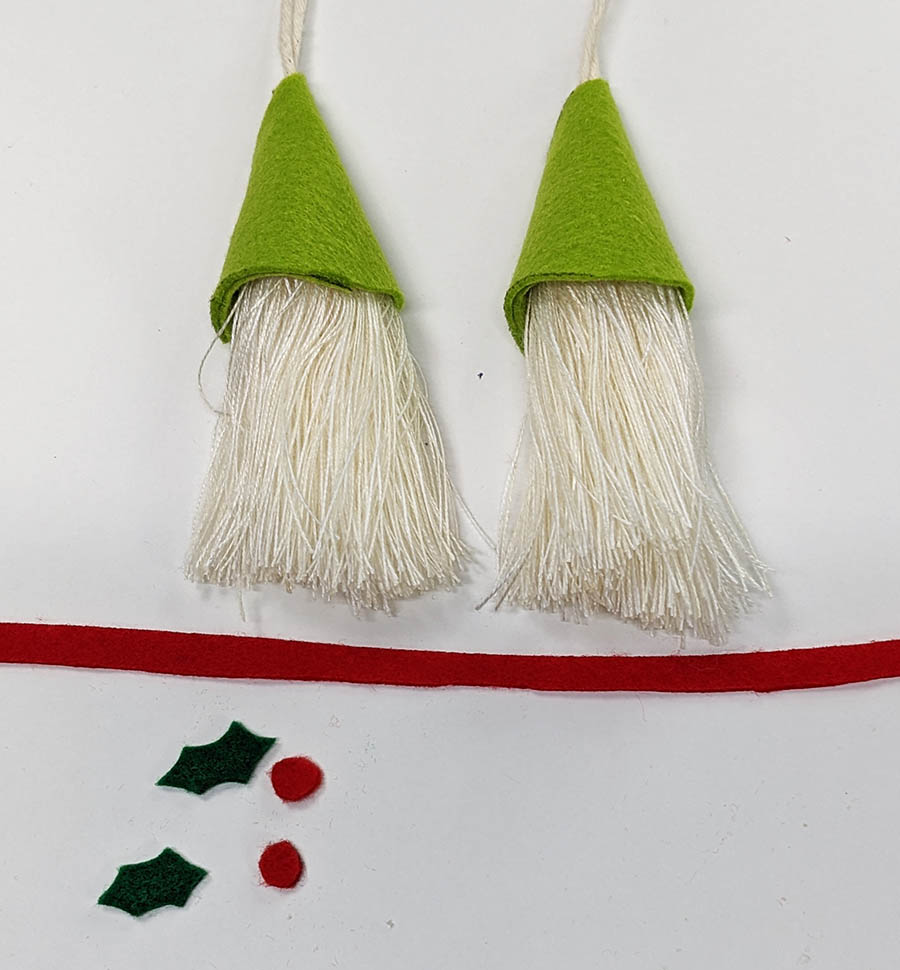
Place the Dark Red Sulky Felty Hat piece from Step 1 on a flat surface. Place one Beard Tassel on top of the hat piece to position the strings in the center of the hat piece.

Bring the bottom corner up to the center of the top straight edge. Carefully roll the hat piece around the strings to create a cone. Glue the outer edge of the cone in place to form the hat. NOTE: The bottom of the cone will be uneven at this point.
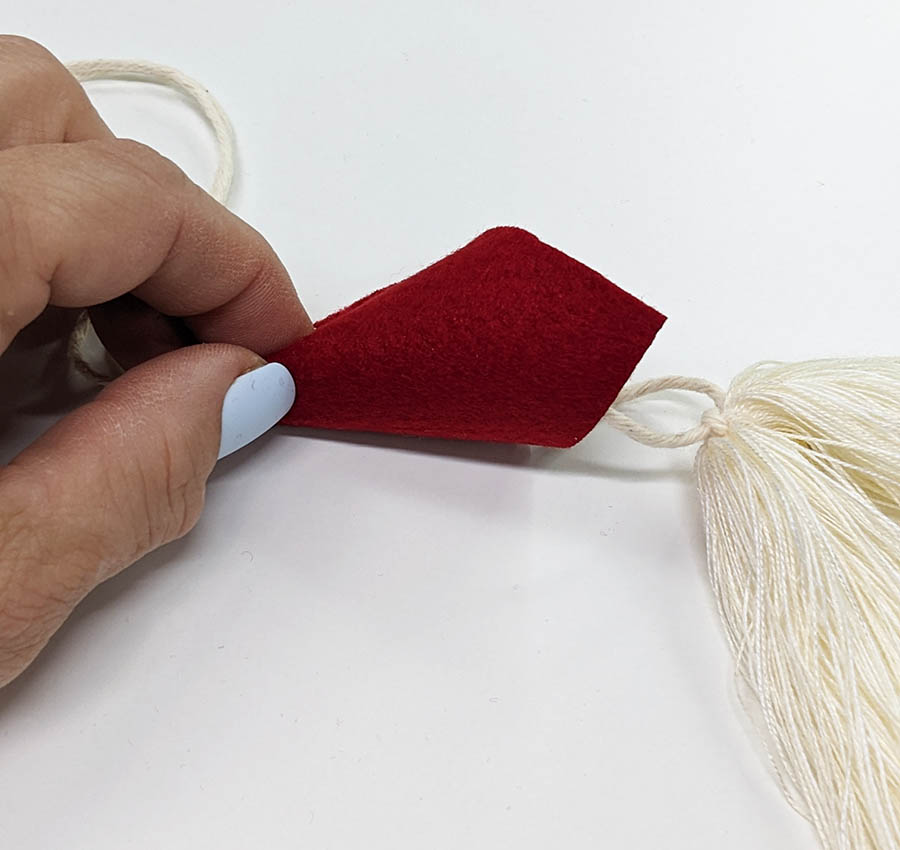

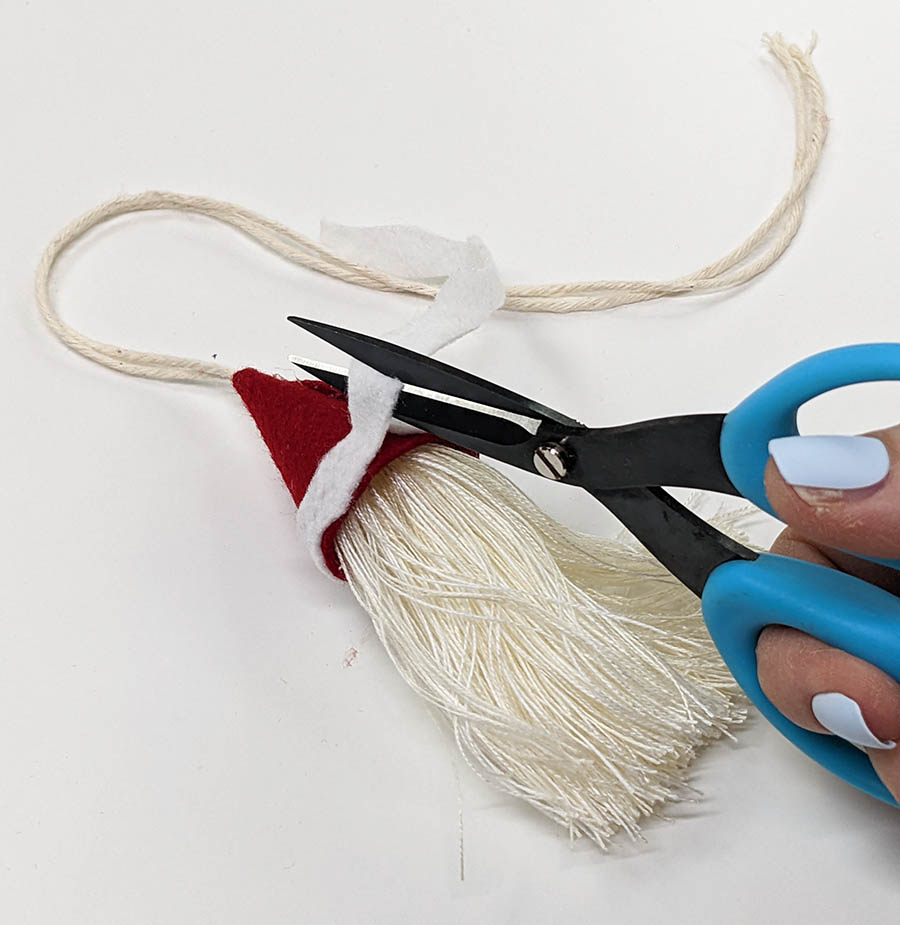
Hold the Hat by the point and trim the wide edge of the cone even with the shorted side of the cone to create an even edge around the hat to make the Santa Hat. Be careful not to cut the string with the bell in this step.
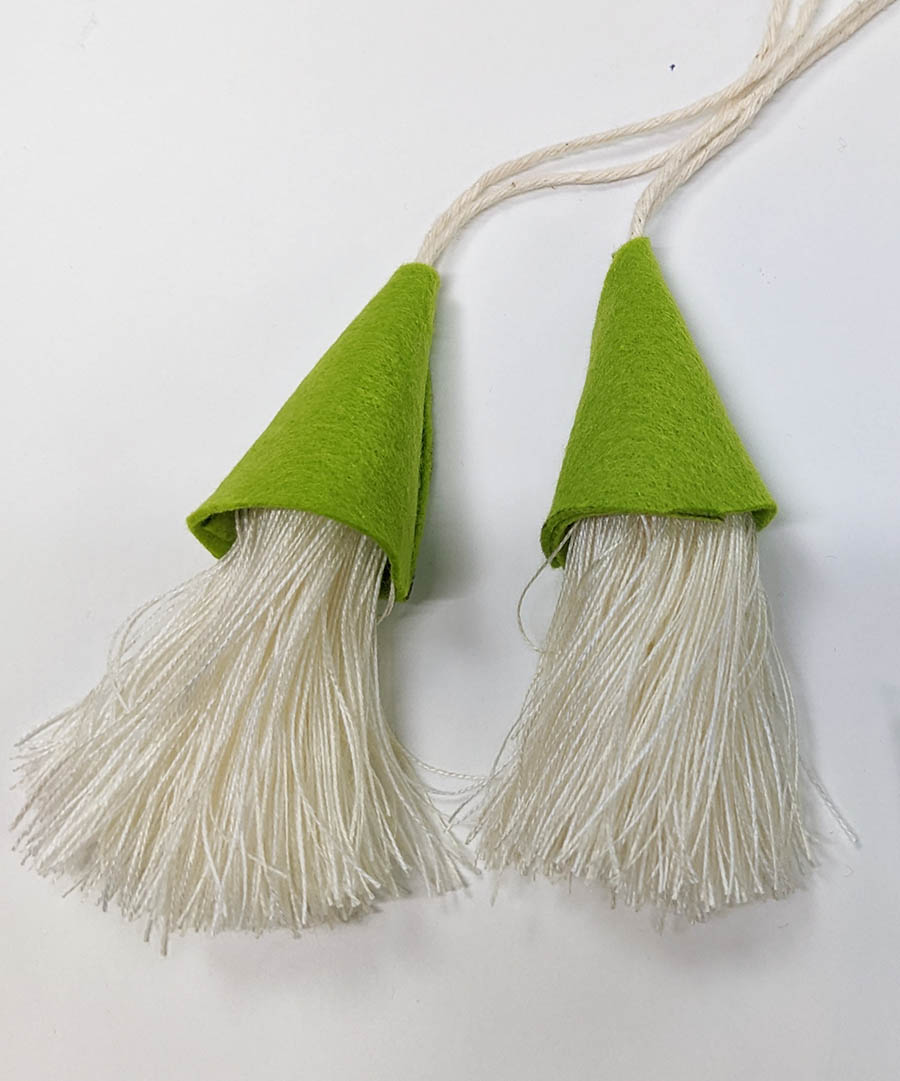
Repeat to make two Light Green hats with the two remaining beard tassels and two light green hat pieces to make (2) Elf Hats.
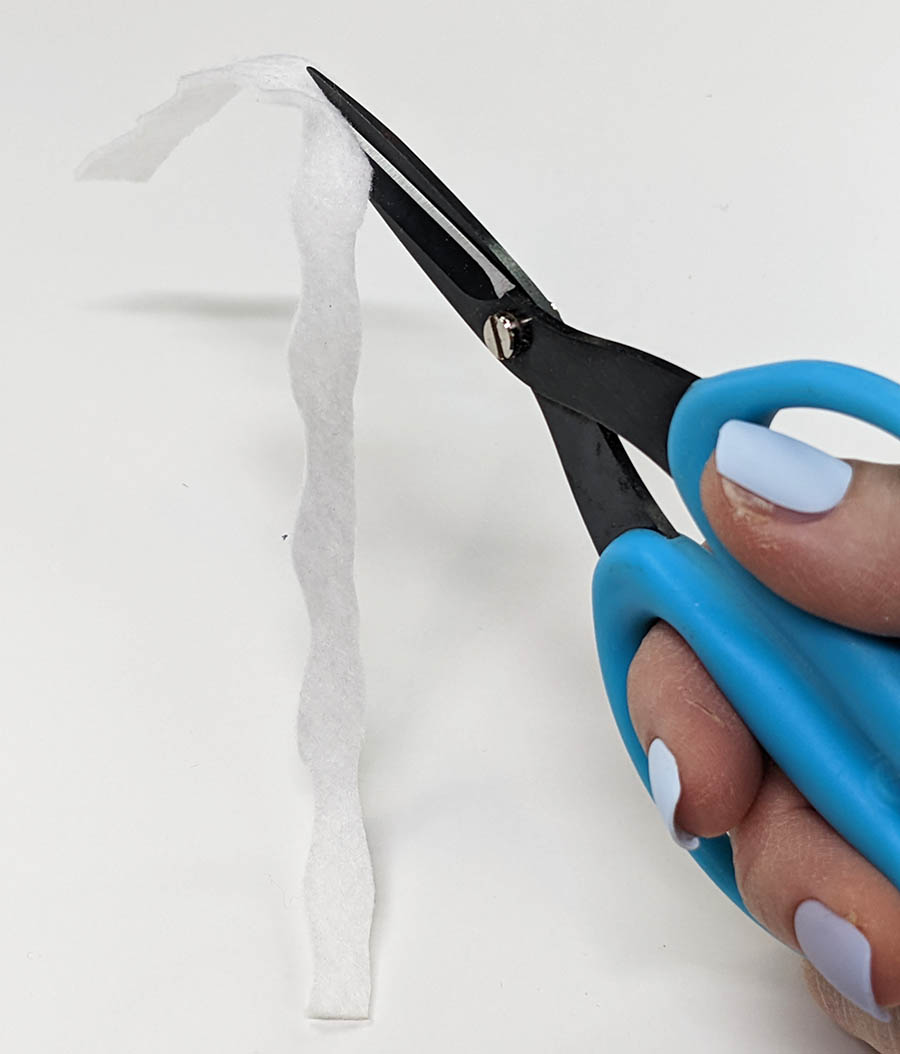
Cut one piece of white Sulky Felty approximately 3/8” x 5”. Cut a wavy edge along one long side to create a piece of hat trim. Starting at the back seam on the Santa hat. Glue the hat band to the bottom of the hat. Once you reach the back seam again, cut the hat band and glue the end in place to complete the Santa hat.
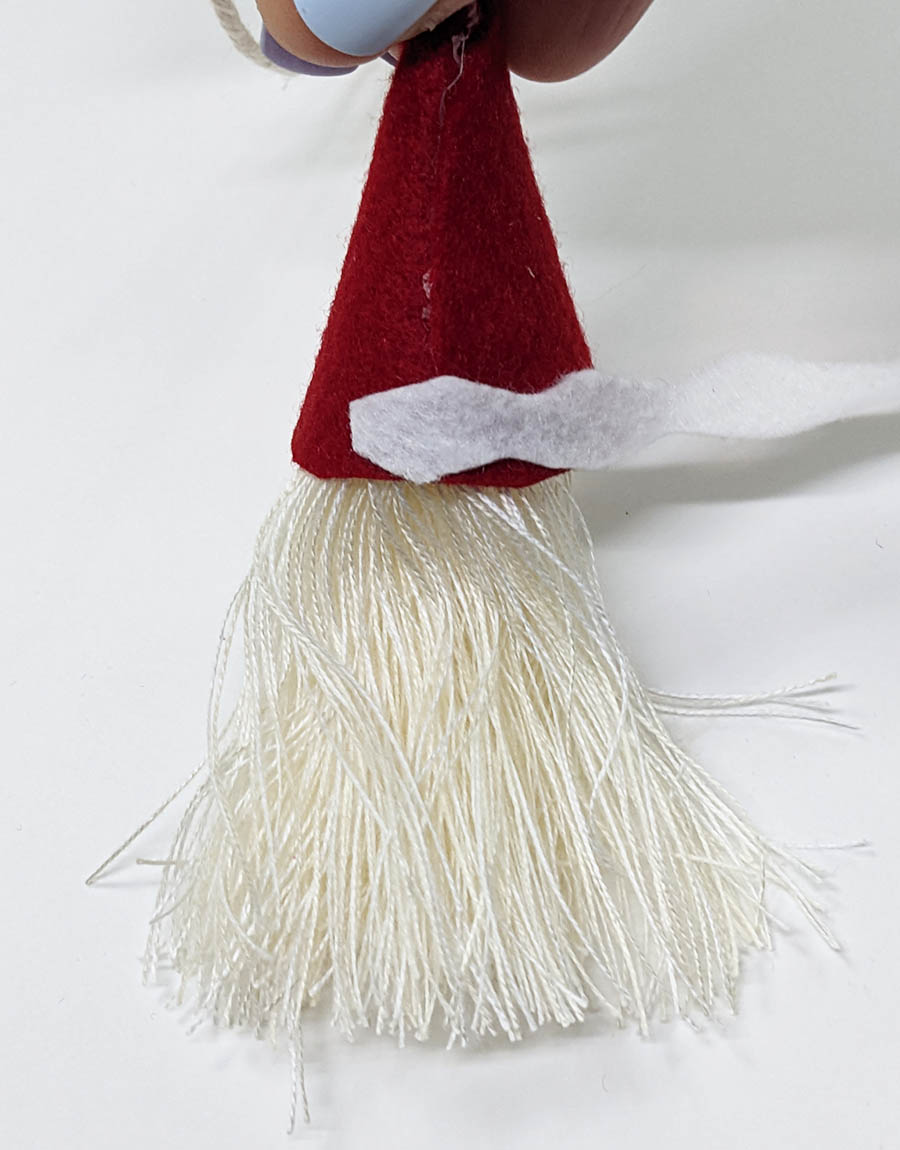
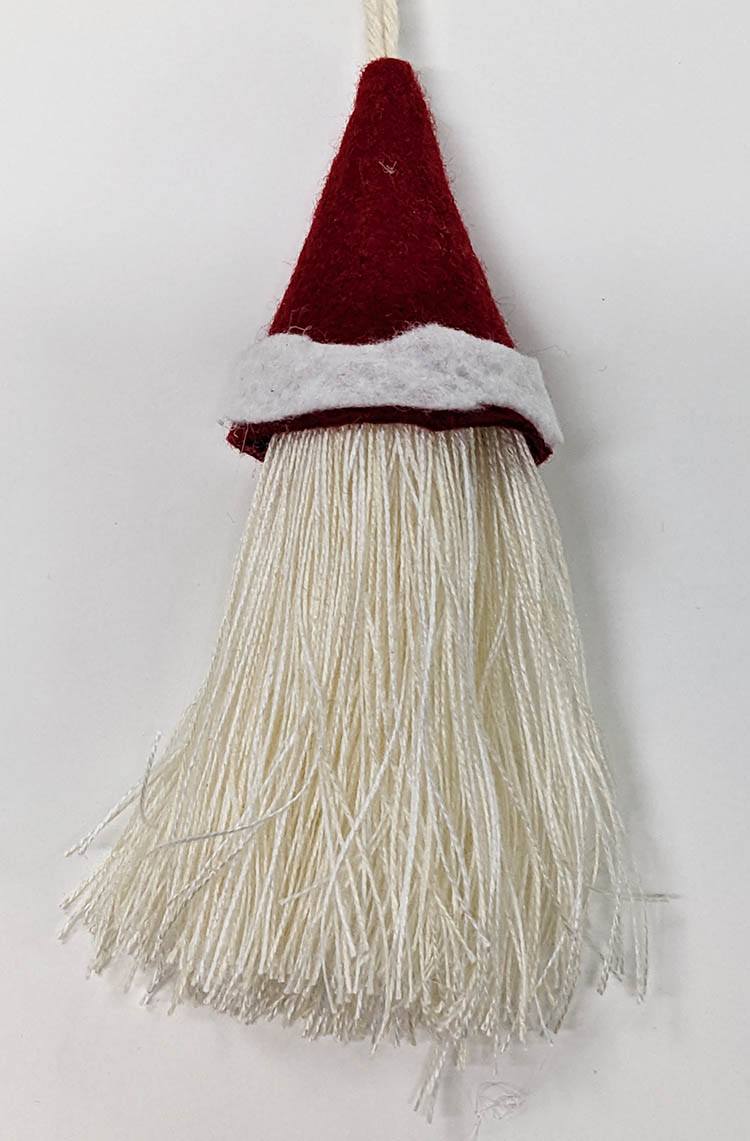
Slide the hat down so it fits snuggly over the beard tassel to create the Santa Ornament.
Position (1) ½” Pink Pom Pom on the front of the Santa Ornament so it is overlaps the hat and the beard. Glue the Pom Pom in place.

Position (1) ½” White Pom Pom at the top of the Hat and glue in place to complete the Santa Jingle Ornament.

ELVES ORNAMENTS
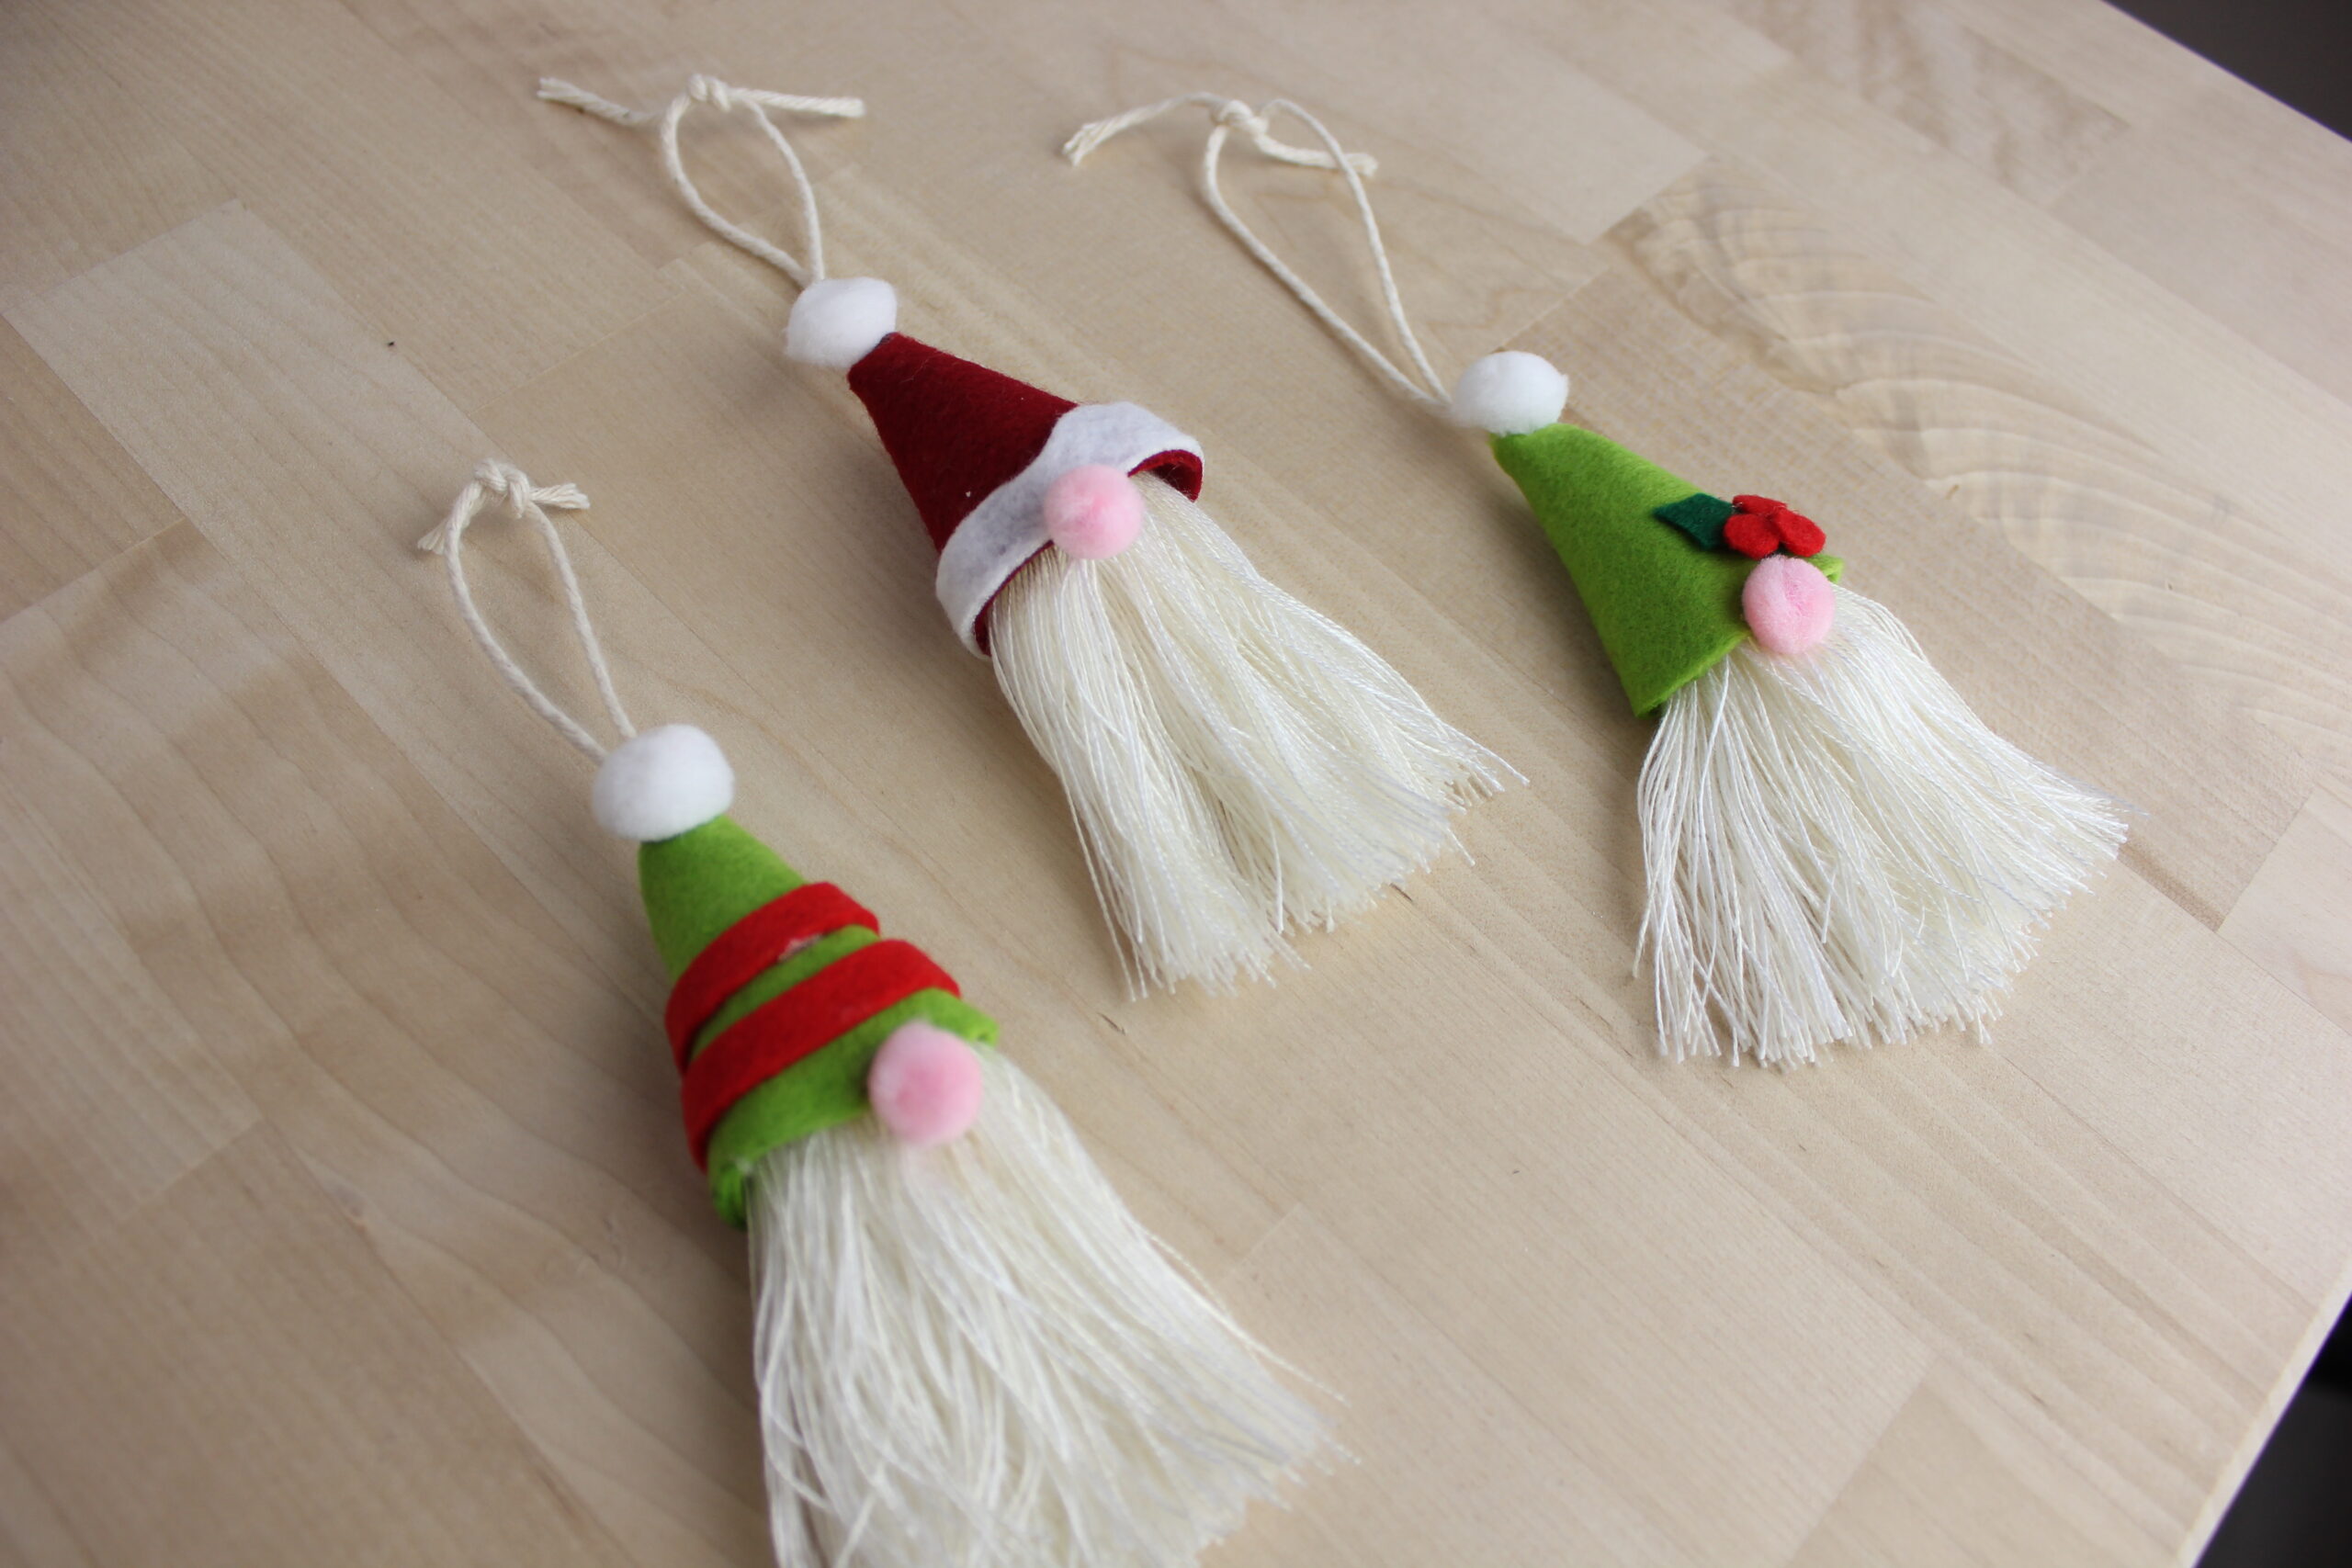
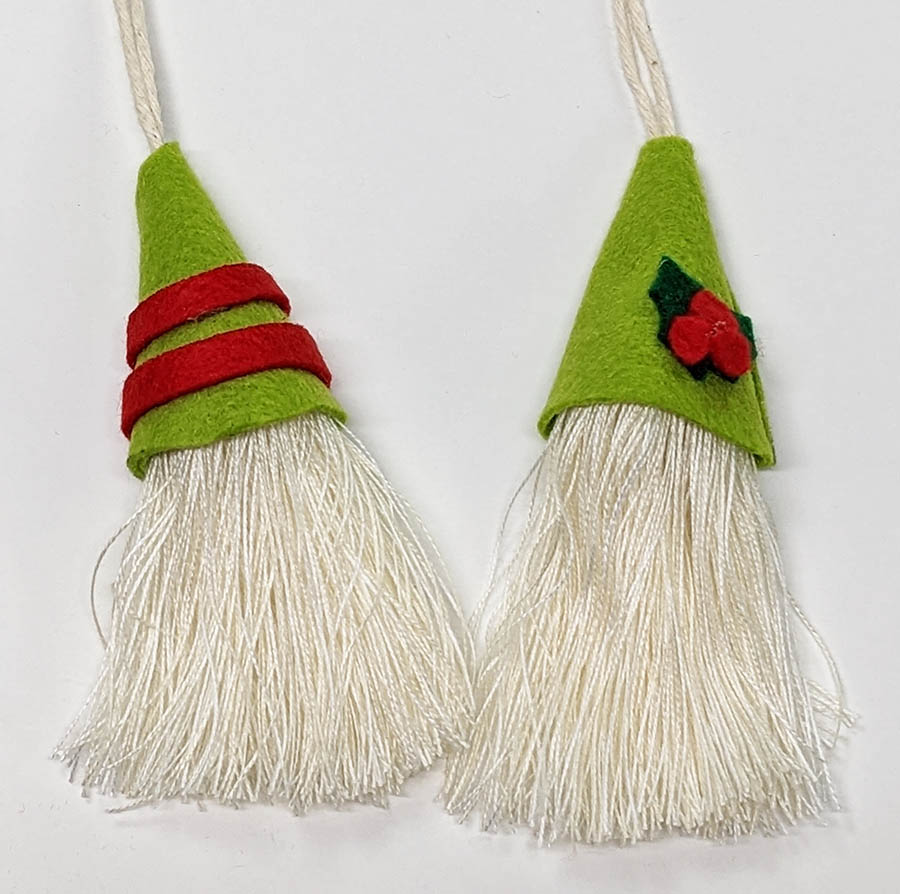
Cut (1) ¼” x 6” piece of Cherry Red Sulky Felty to create the stripes on the first Elf Hat. Starting at the back seam on one Elf Hat, position the stripe towards the wide edge of the cone. Glue one stripe in place. Wrap the stripe around the hat and trim the stripe piece even with the back seam and glue the stripe end in place. Repeat about a ¼” up from the bottom stripe to glue a second stripe to the hat to complete the first Elf Hat.
Using the paper templates to cut (2) Holly Leaves from the Dark Green Sulky Felty and (3) Holly Berries from the Cherry Red Sulky Felty. Refer to the photo to position and glue the two holly leaves in place. Then glue the three Holly Berries in place to complete the second Elf Hat.
Slide each Elf hat down so it fits snuggly over the beard tassels to create the two Elf Ornaments.
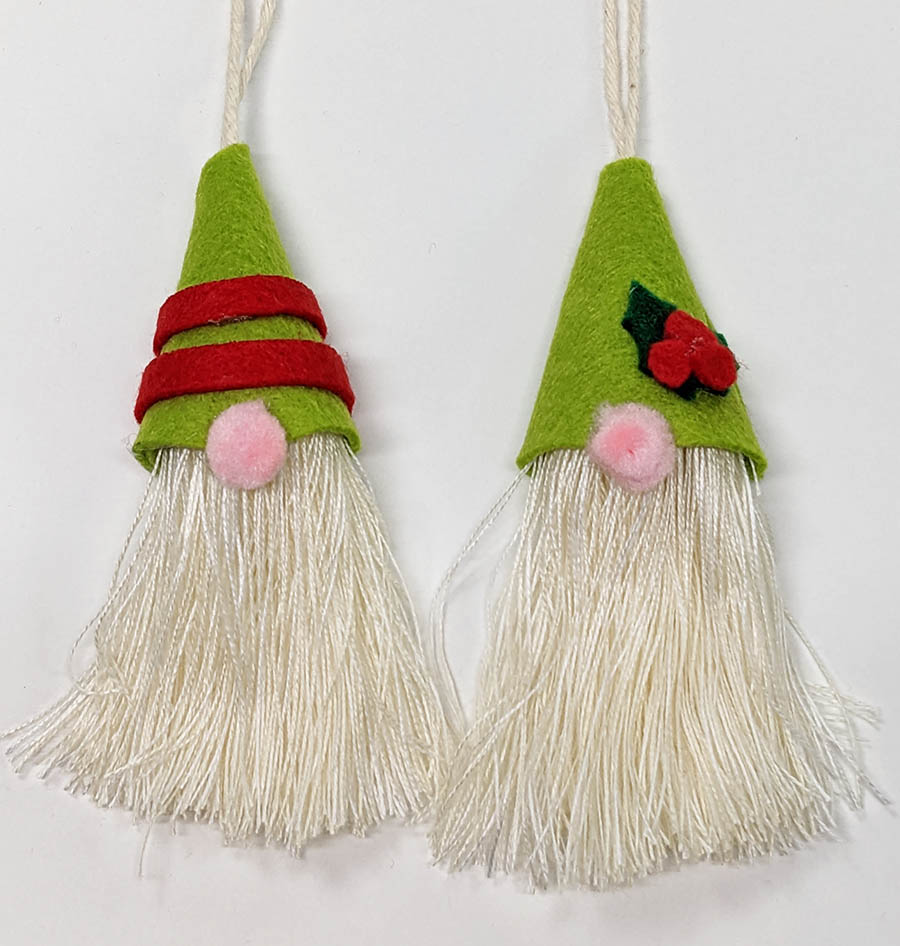
Position (1) ½” Pink Pom Pom on the front of each Elf and Glue in place, overlapping both the hat and the beard tassel.
Position (1) ½” White Pom Pom on the top of each Elf Hat and glue in place to complete each Elf Jingle Ornament.

Ellen March
I am the Director of Content for Sulky of America. The former Editor in Chief of Sew News and Creative Machine Embroidery magazines, I hosted Sew it All TV on PBS for nine seasons. I've appeared on It's Sew Easy on PBS, DIY Network's Uncommon Threads, Hallmark's Marie Osmond Show, MacPhee Workshop and more! Come sew with me!


2 Comments
Marlene
The Santa and Gnome ornaments are perfect! I make new ornaments for my grandchildren each year. That way when they have their own homes and families
, I will still be part of their Christmases.
Darlene Martinez
Going to Oregon for Christmas and want to make some with my grandson