Sewing Machine Appliqué
FREE Appliqué Template for Quilts & Quilty Projects
Use a free Sewing Machine Appliqué template to create a fun project that celebrates your love of sewing. Today is national Sewing Machine Day, so it’s time to give your BFF some love and attention and make something!
APPLIQUÉ TEMPLATE PARTICULARS
Let me begin by saying that the project I ended up with here, the Hemingway Pouch, was not the project I originally began making with this sewing machine appliqué template. But the beautiful thing about this template is that it is useful for a variety of projects! So when I had to pivot (more on this below), there were a number of things I could make using my appliquéd fabric.
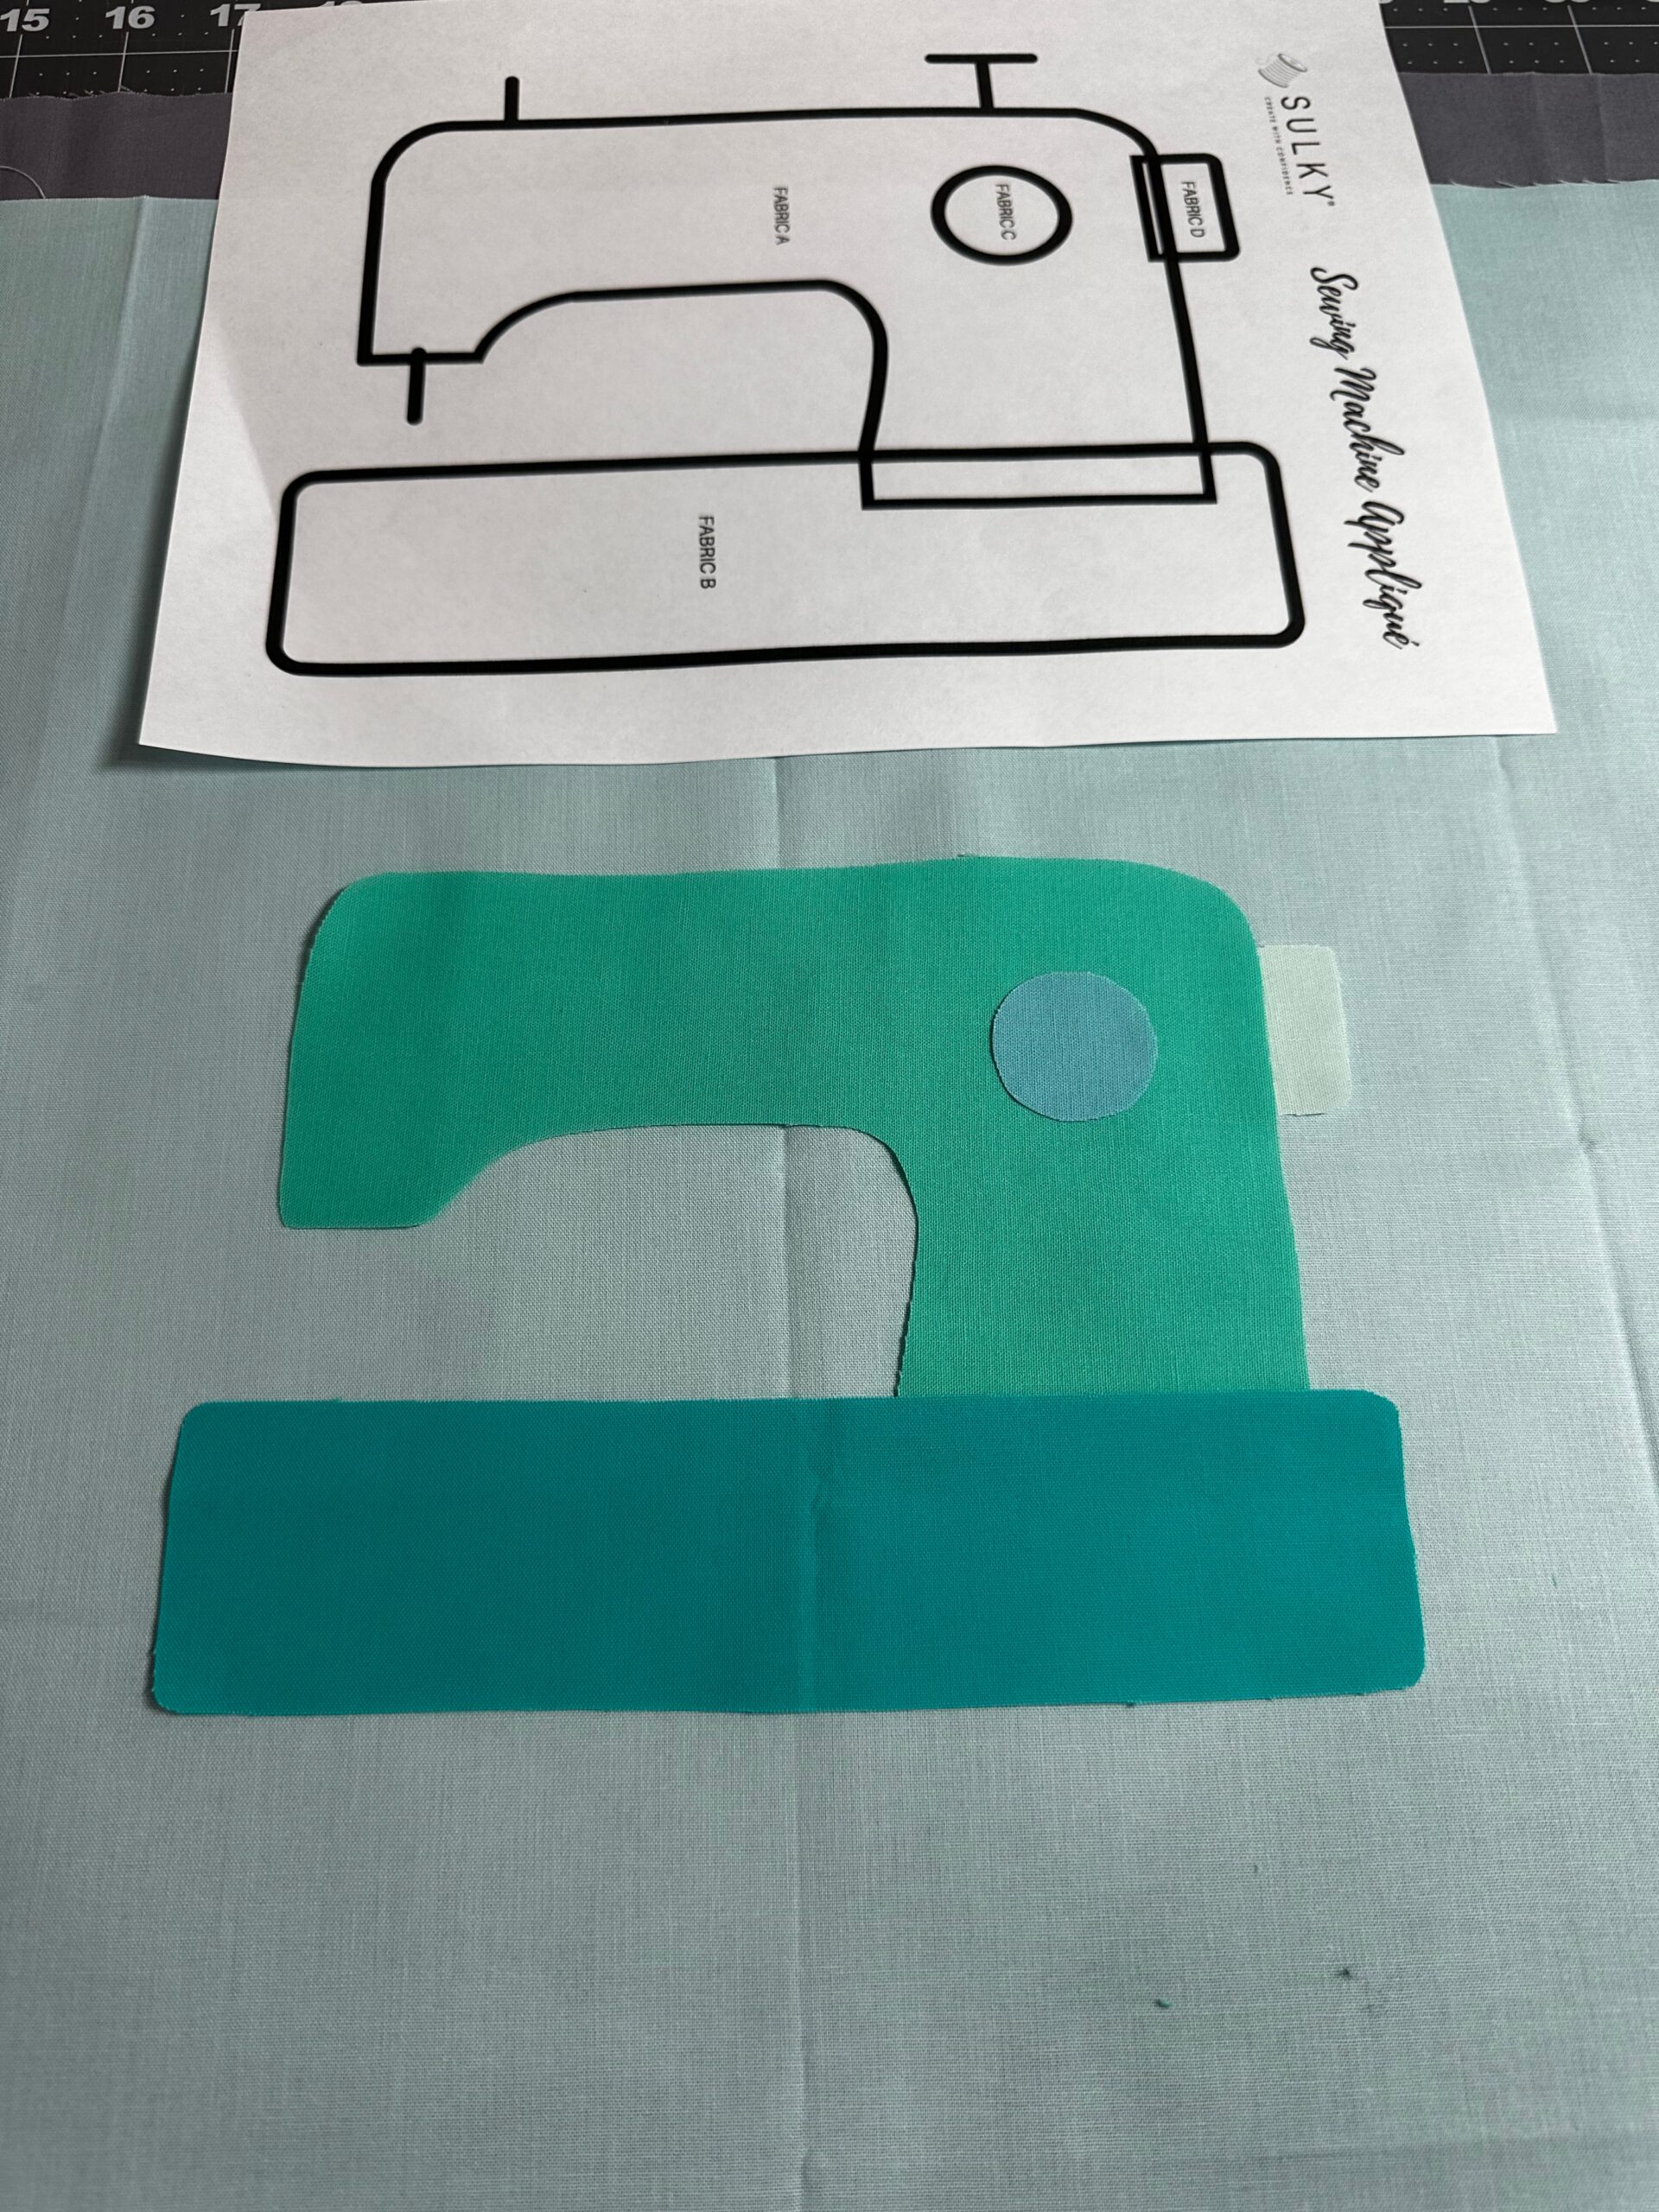
First, print the Sewing Machine Appliqué template.
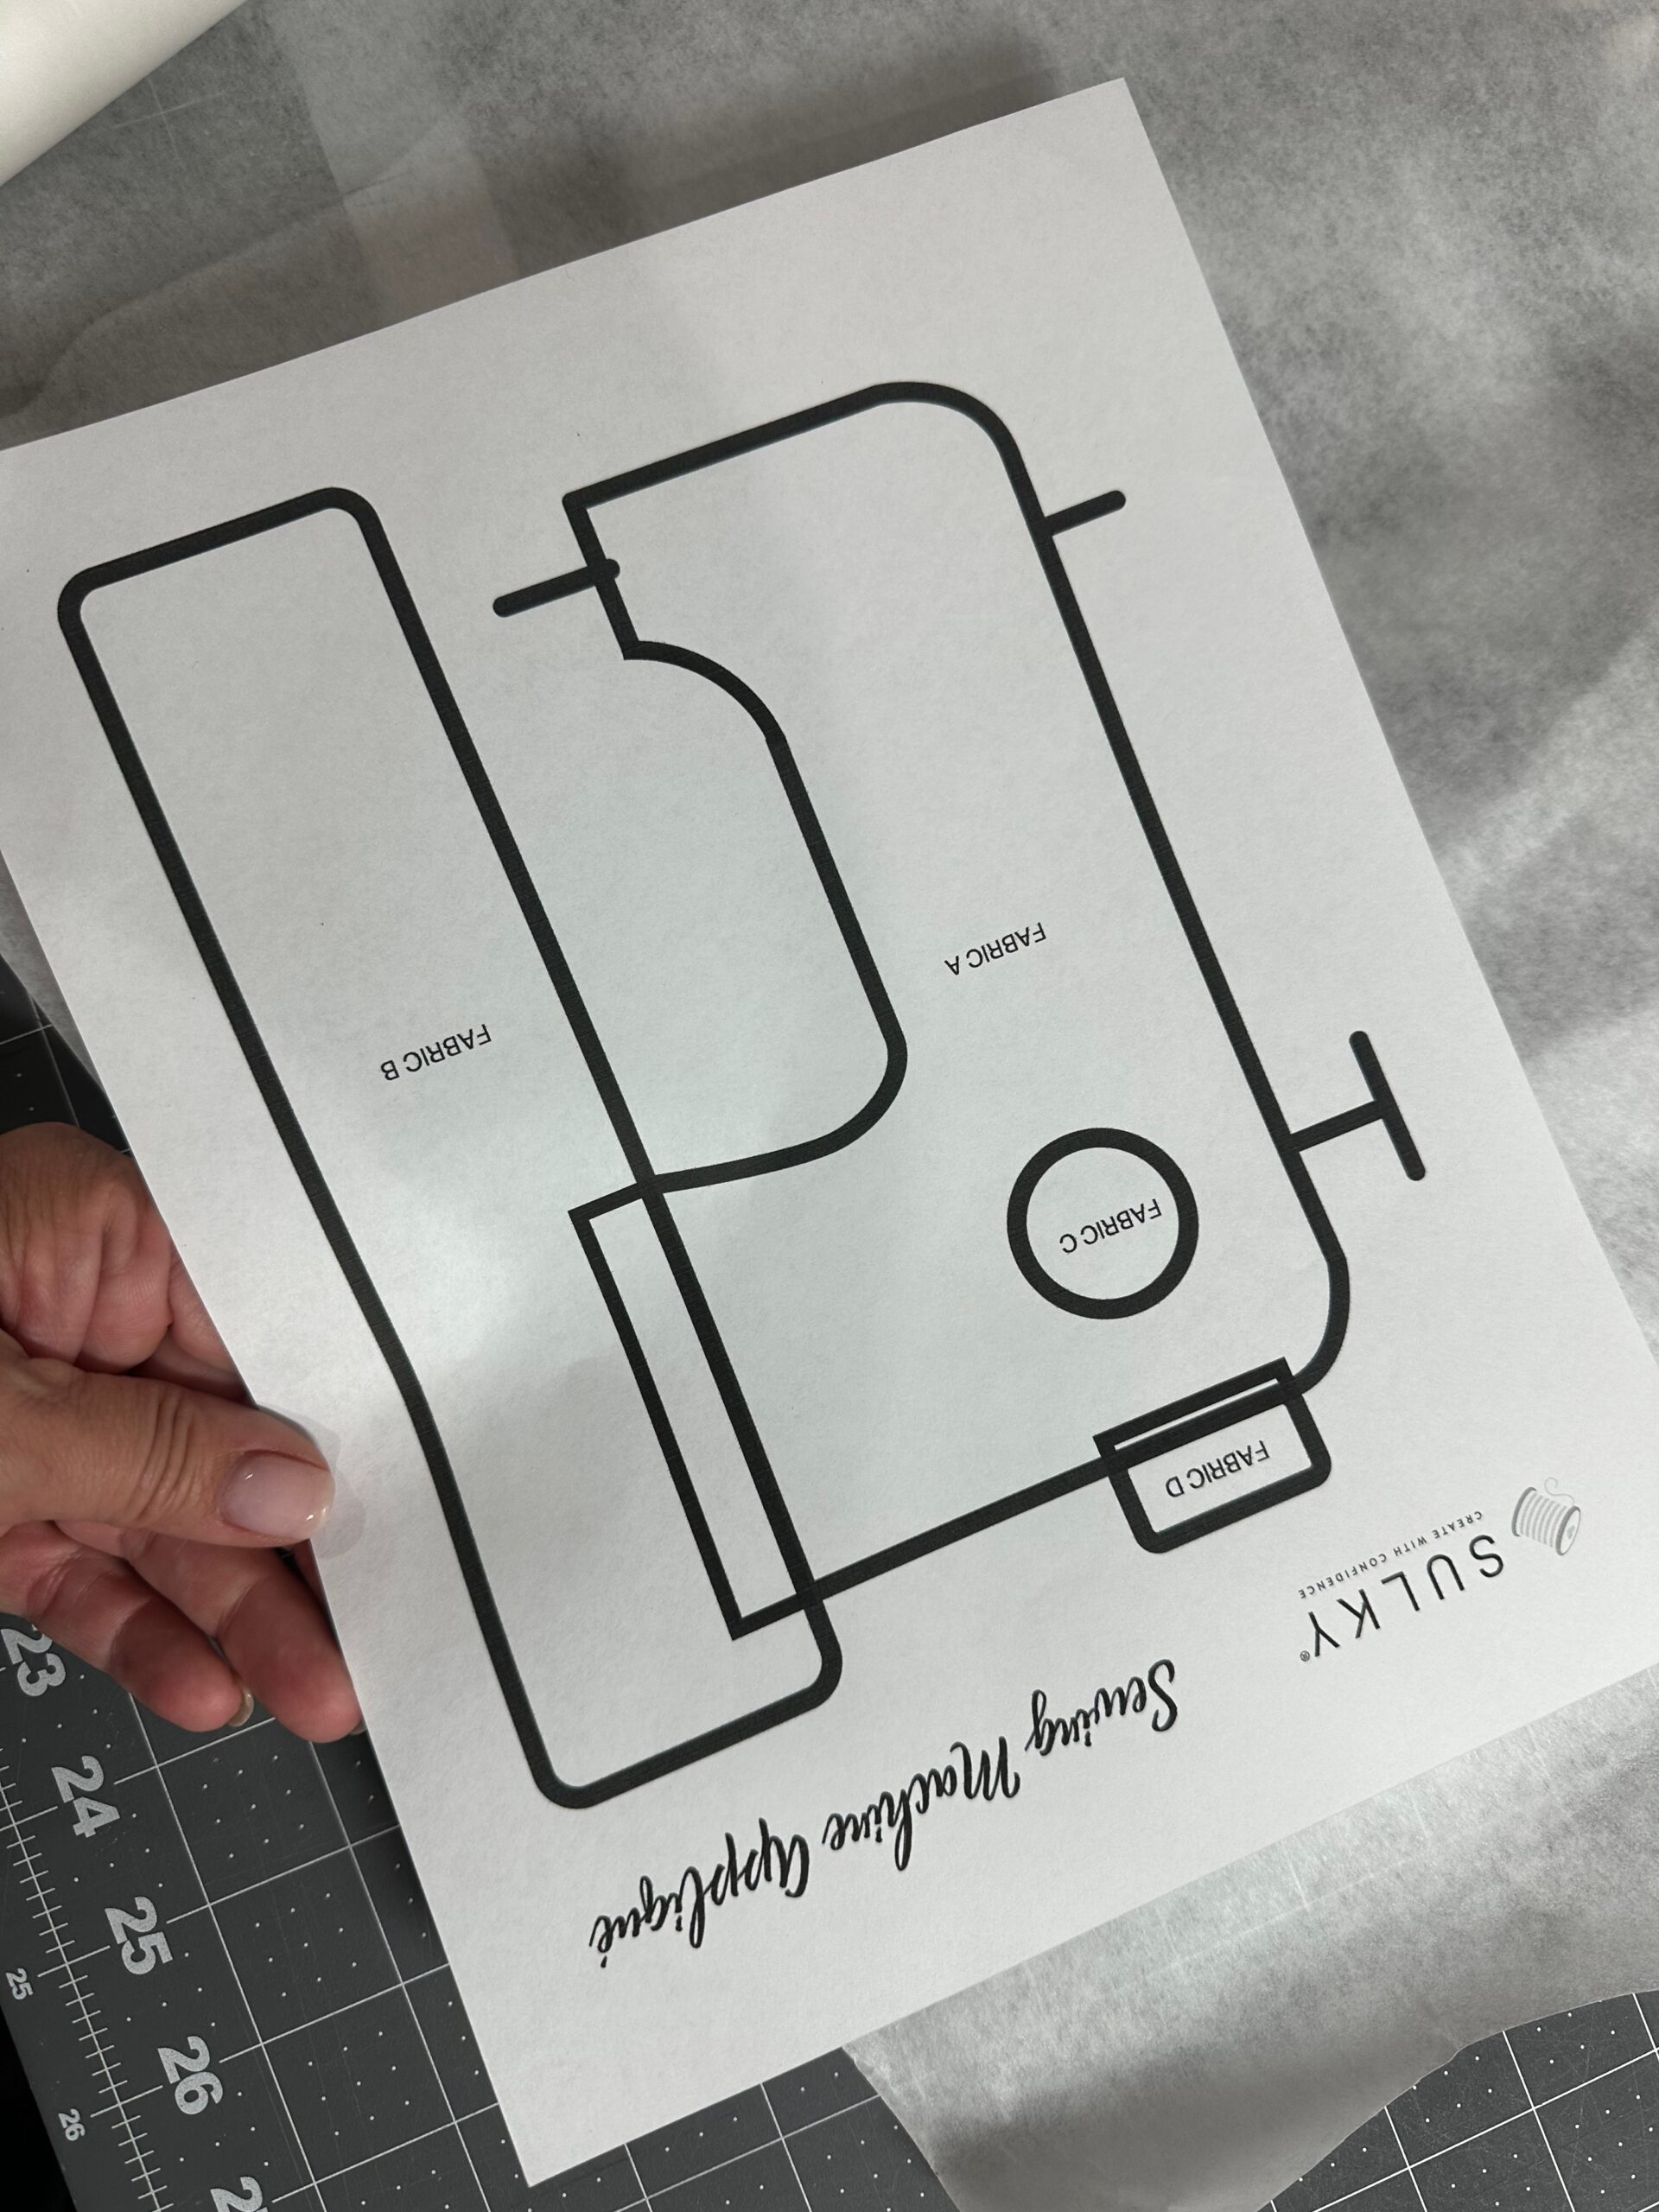
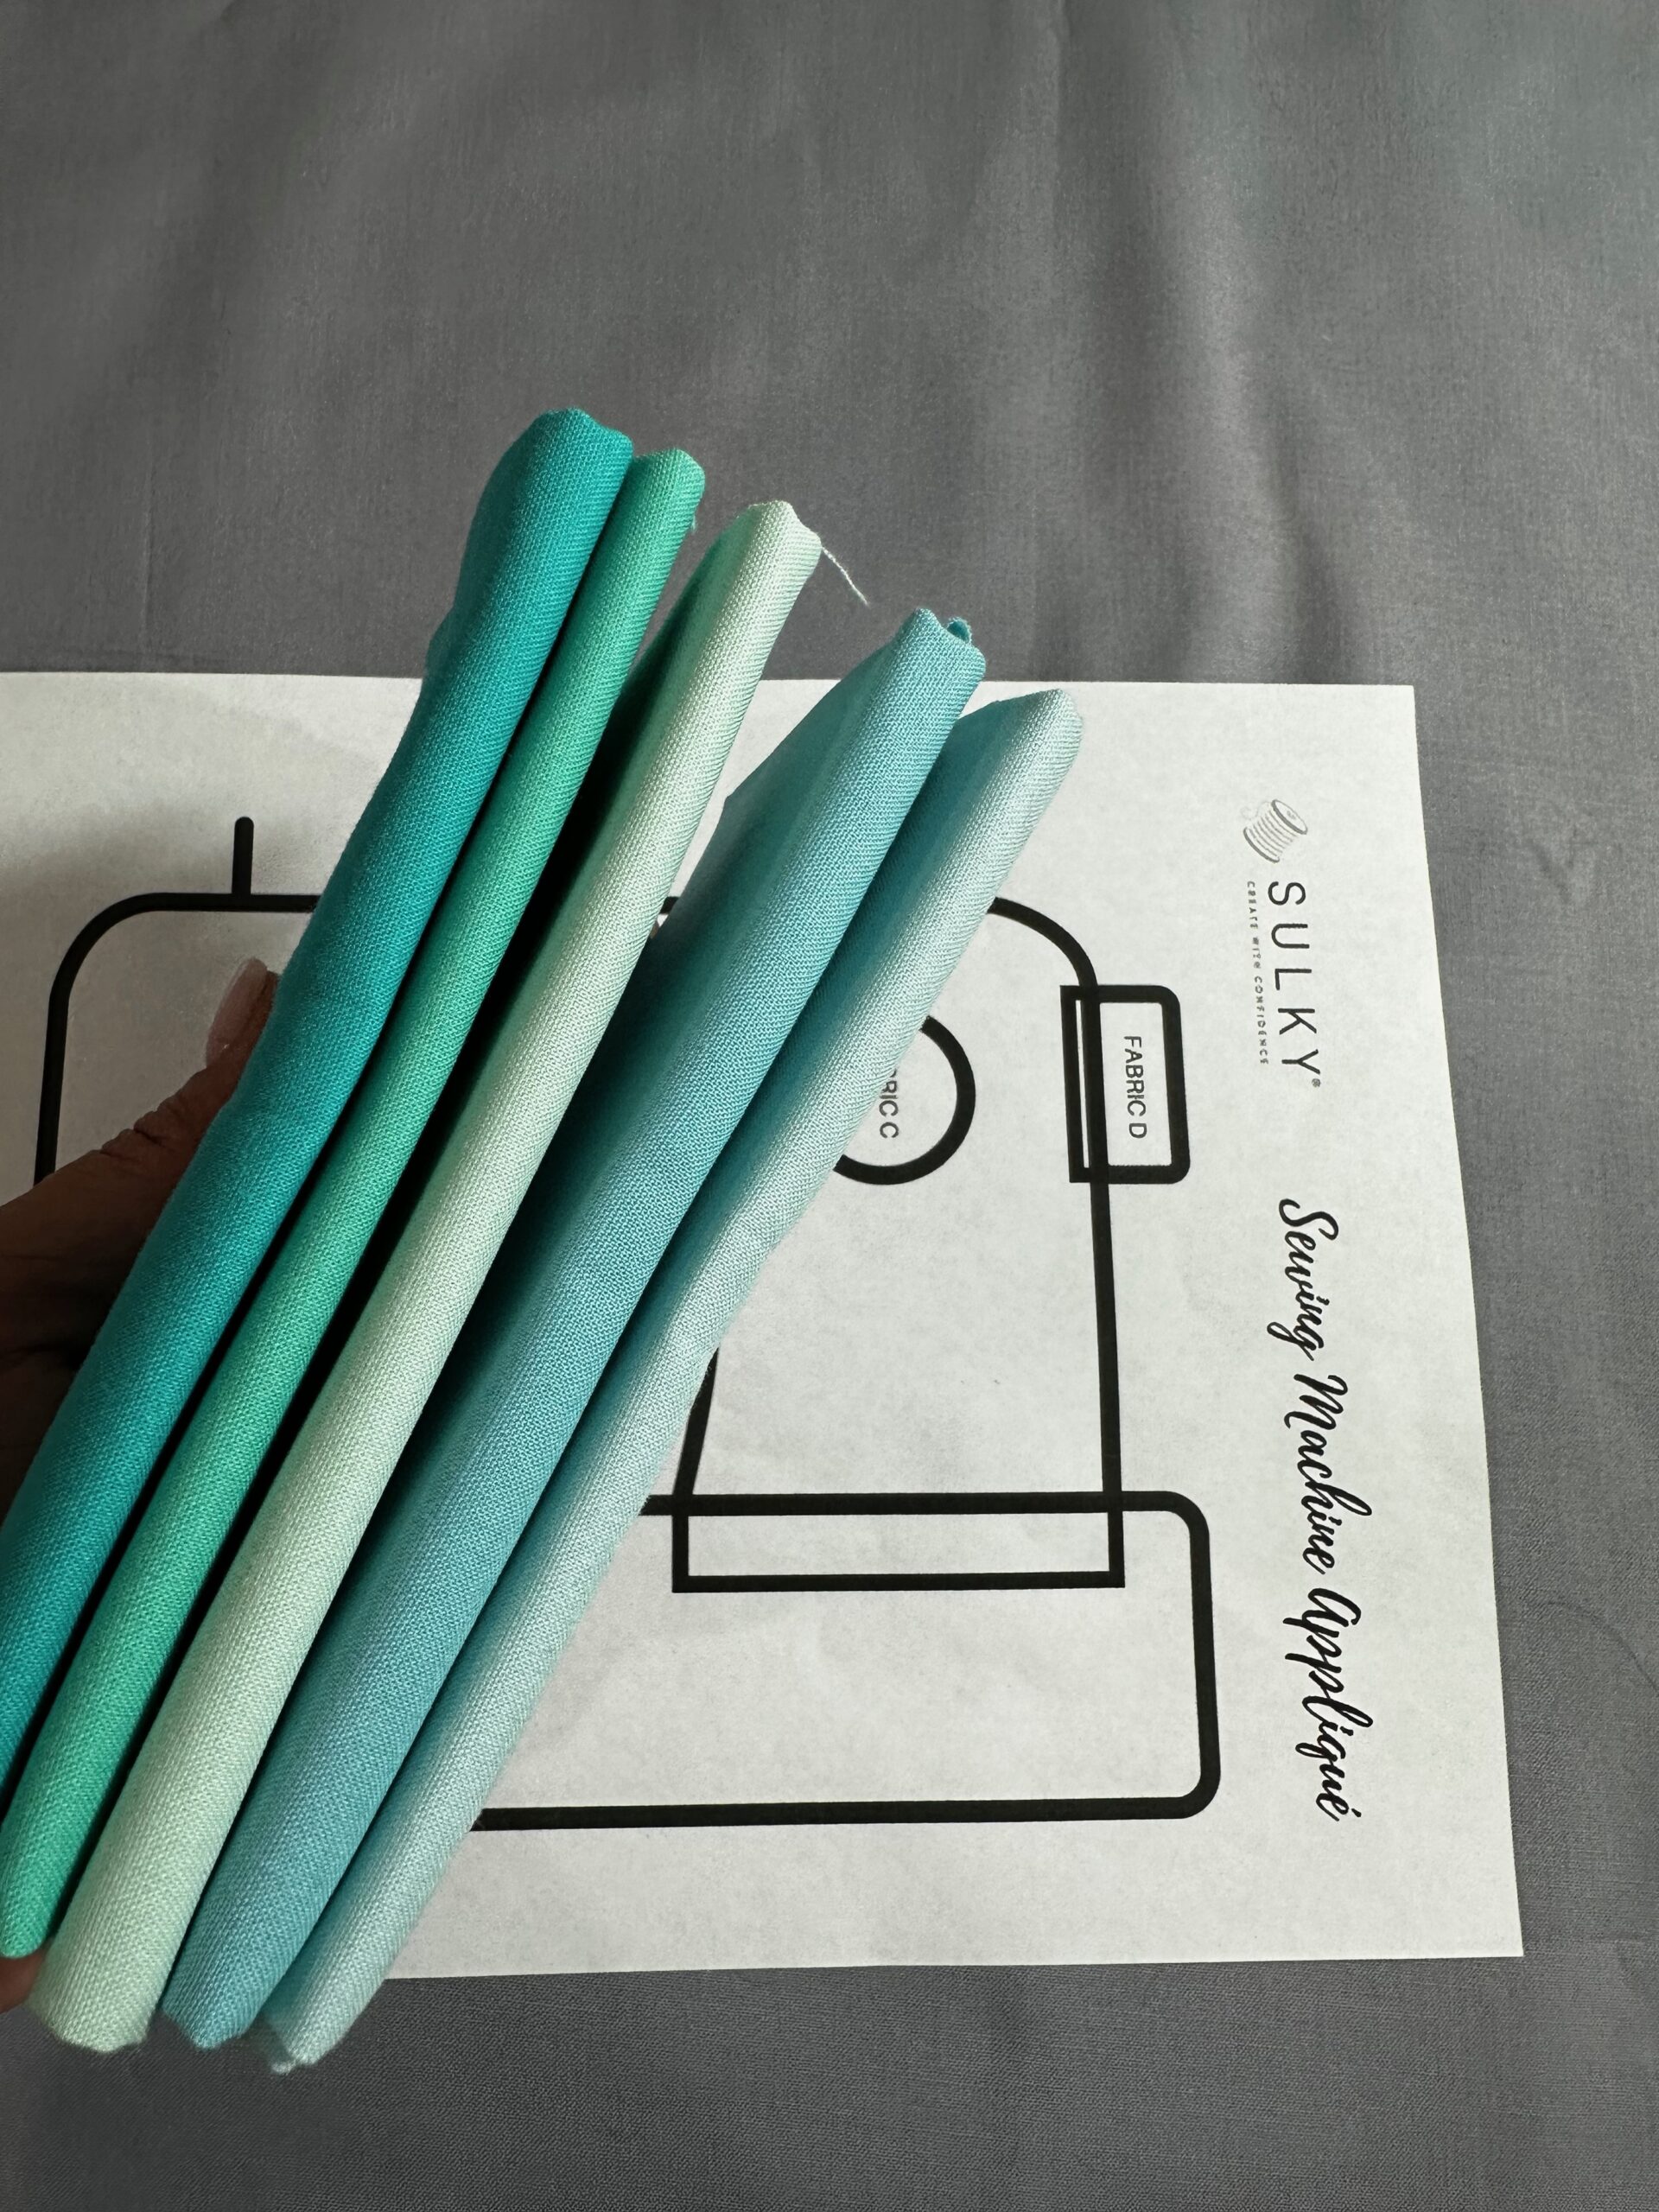
Each portion of the template is labeled for a different fabric. But, you can easily personalize this and use only two fabrics, or as many as desired. The featured Sewing Machine Appliqué is made of different shades of solid blue fabrics. But small-scale prints could also work for the different sewing machine parts.
You’ll also need a background fabric. The size and shape of this fabric depends on the project you intend to make. I started with a fat quarter of another coordinating solid fabric for my background, with the intent to make a small wall hanging.
Fusible Web is also a must, so choose Sulky Perfect Appliqué Fusible Web for a lightweight, yet strong, solution.
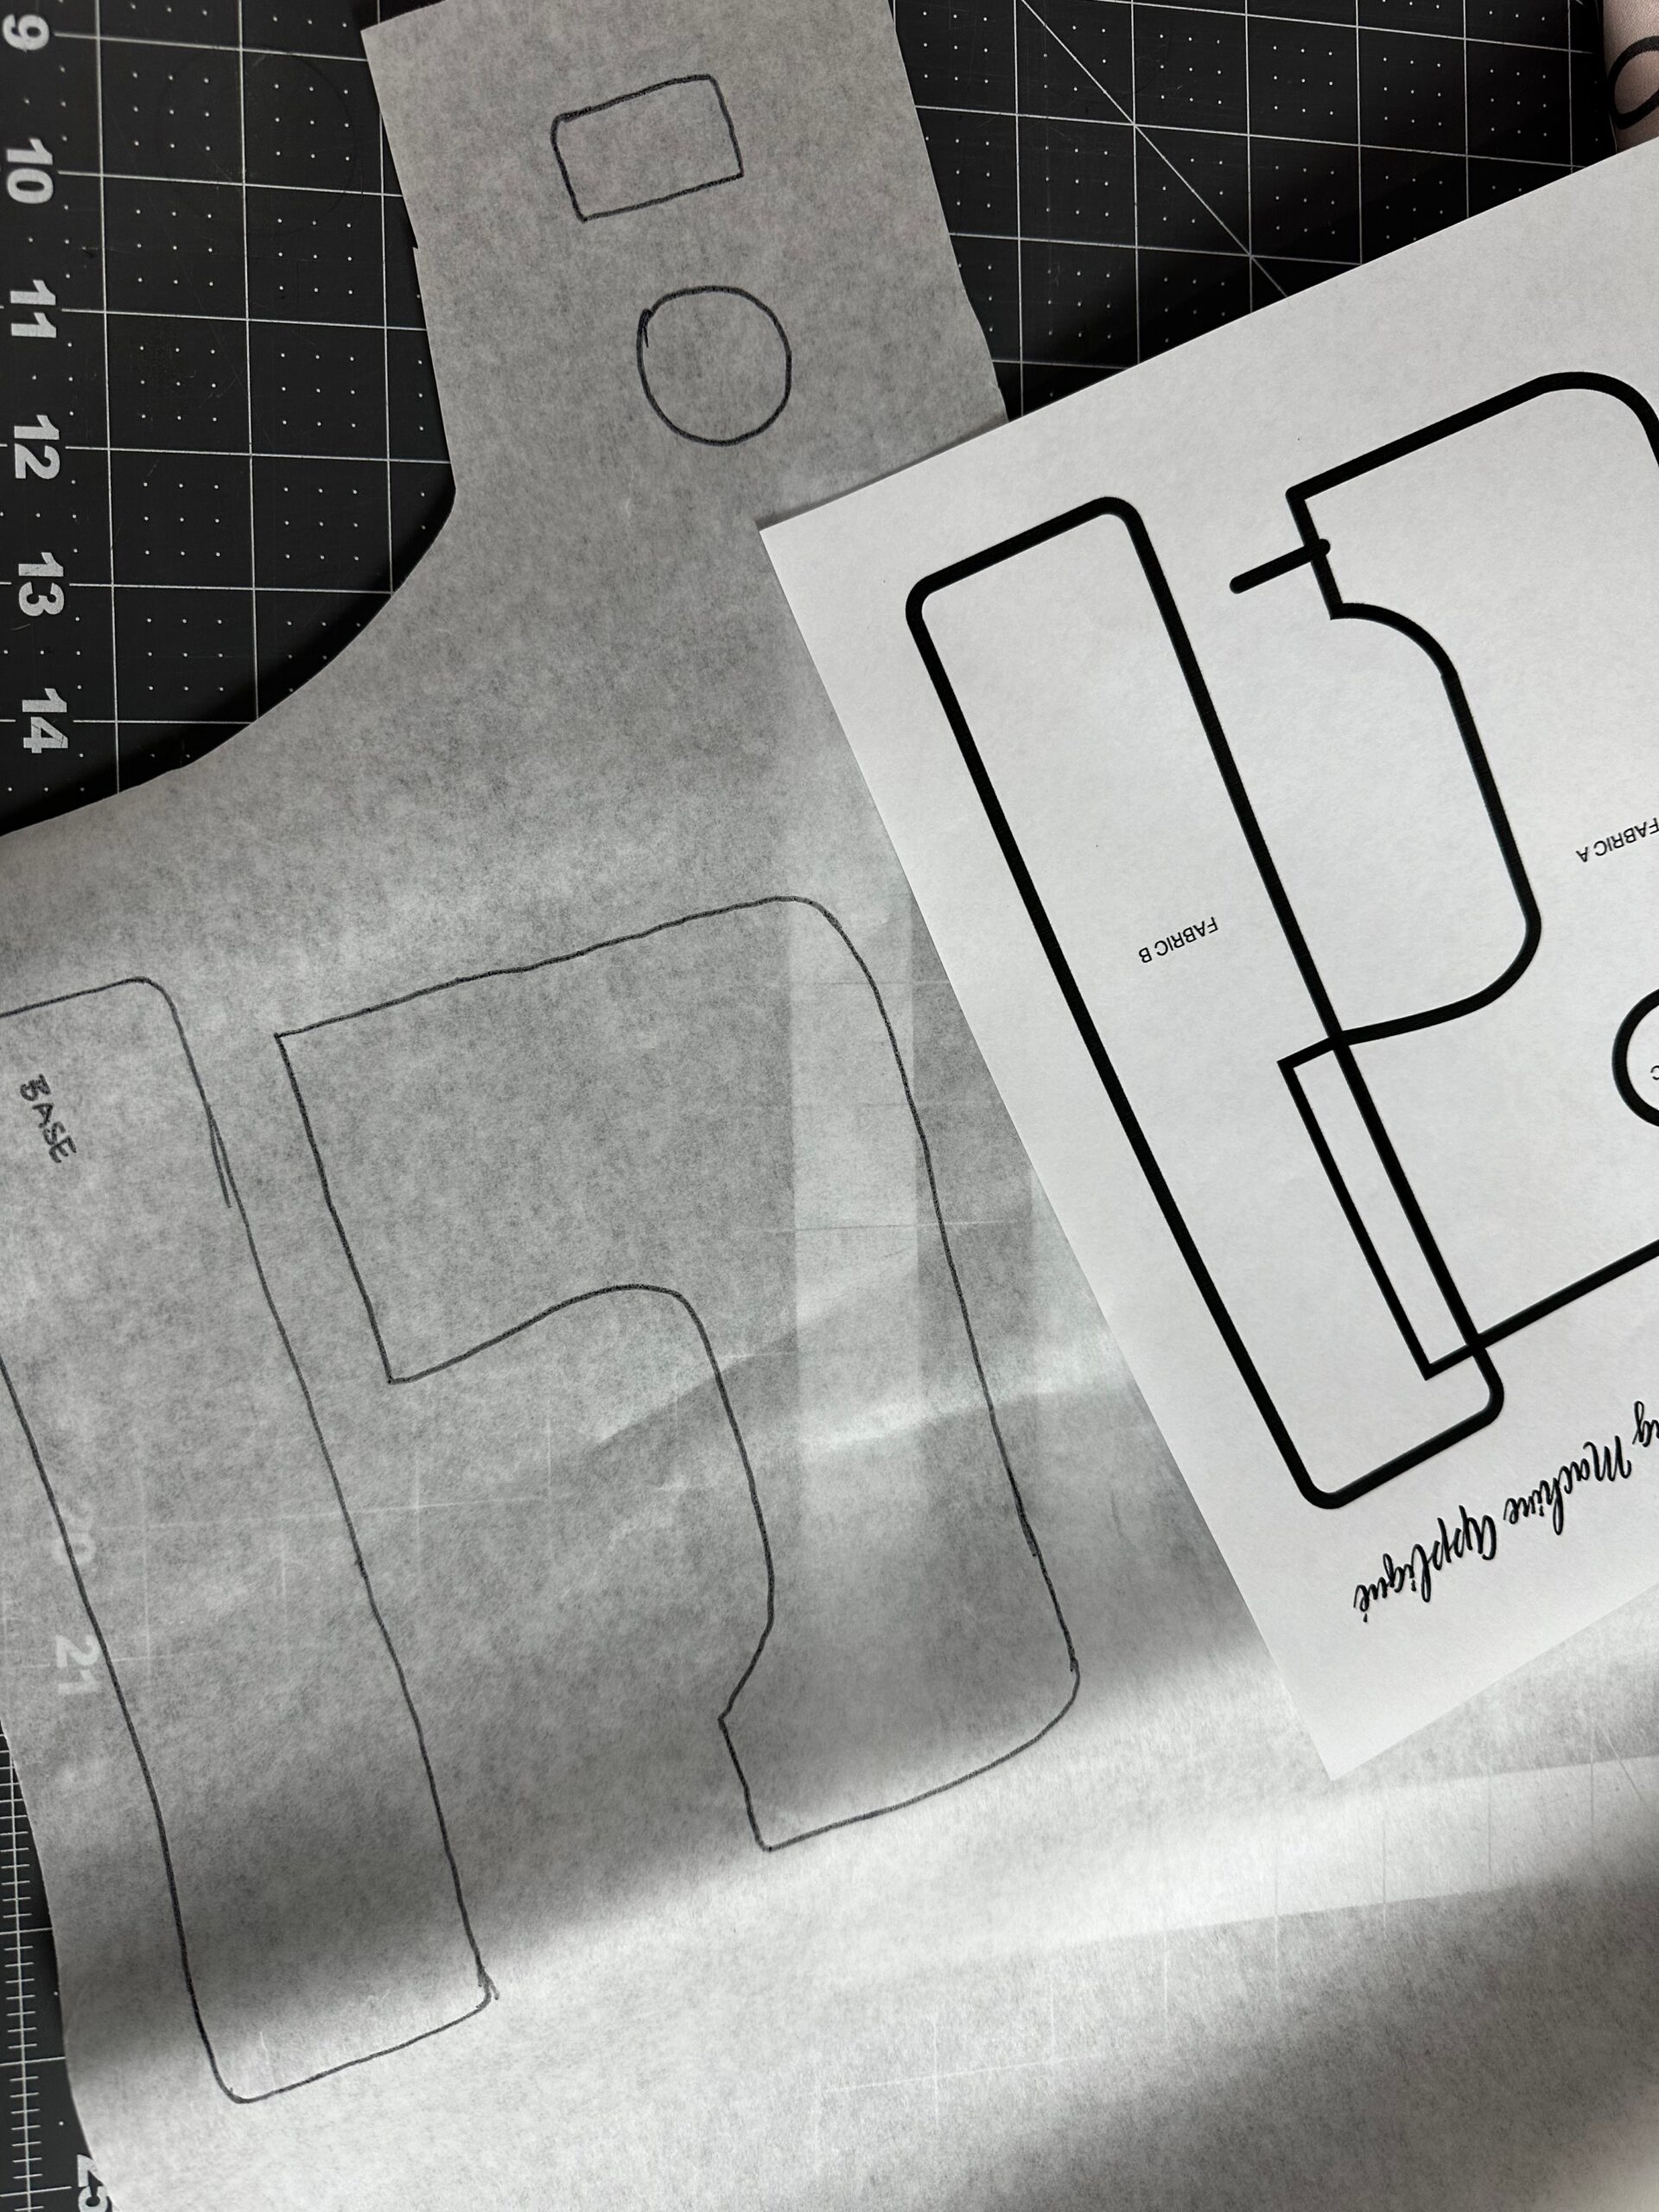
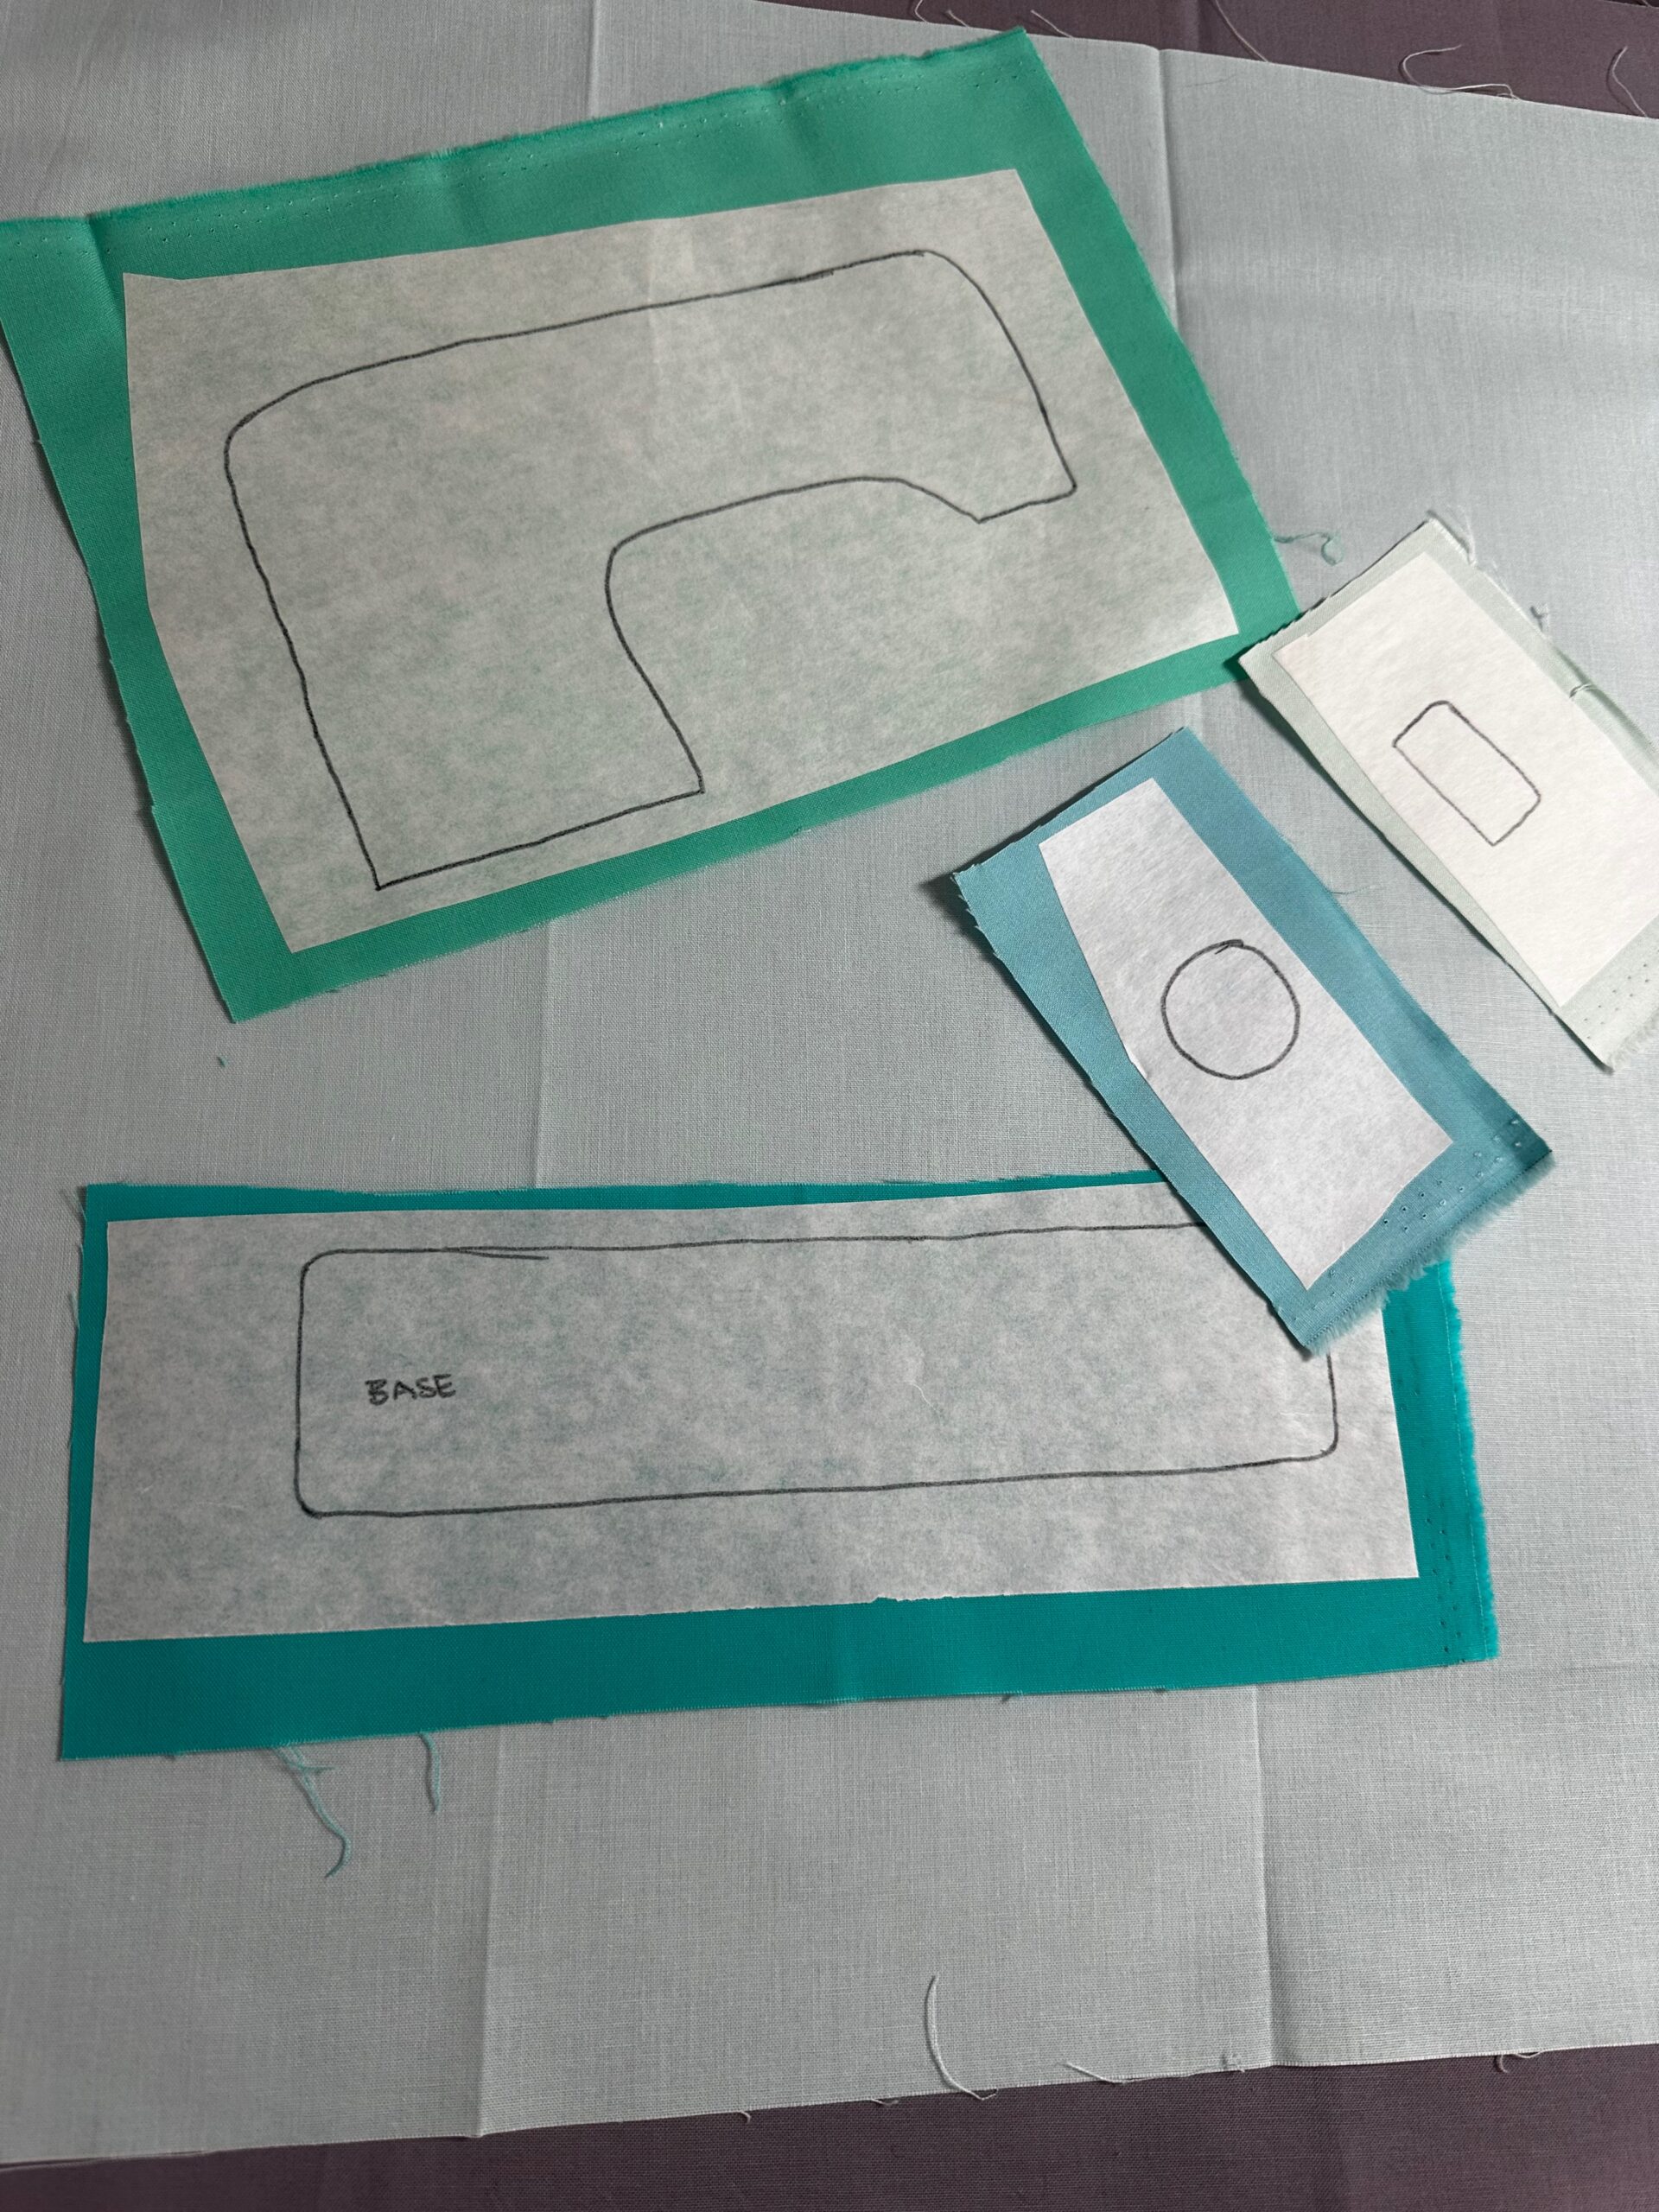
Flip over the template and trace the mirror image of the design sections onto the fusible web. You’ll notice that portions of the design overlap each other, to create a layered appliqué of sorts. Reserve the printed template to use later for transferring the needle, spool pin and thread guide lines to the fabric.
APPLIQUÉ
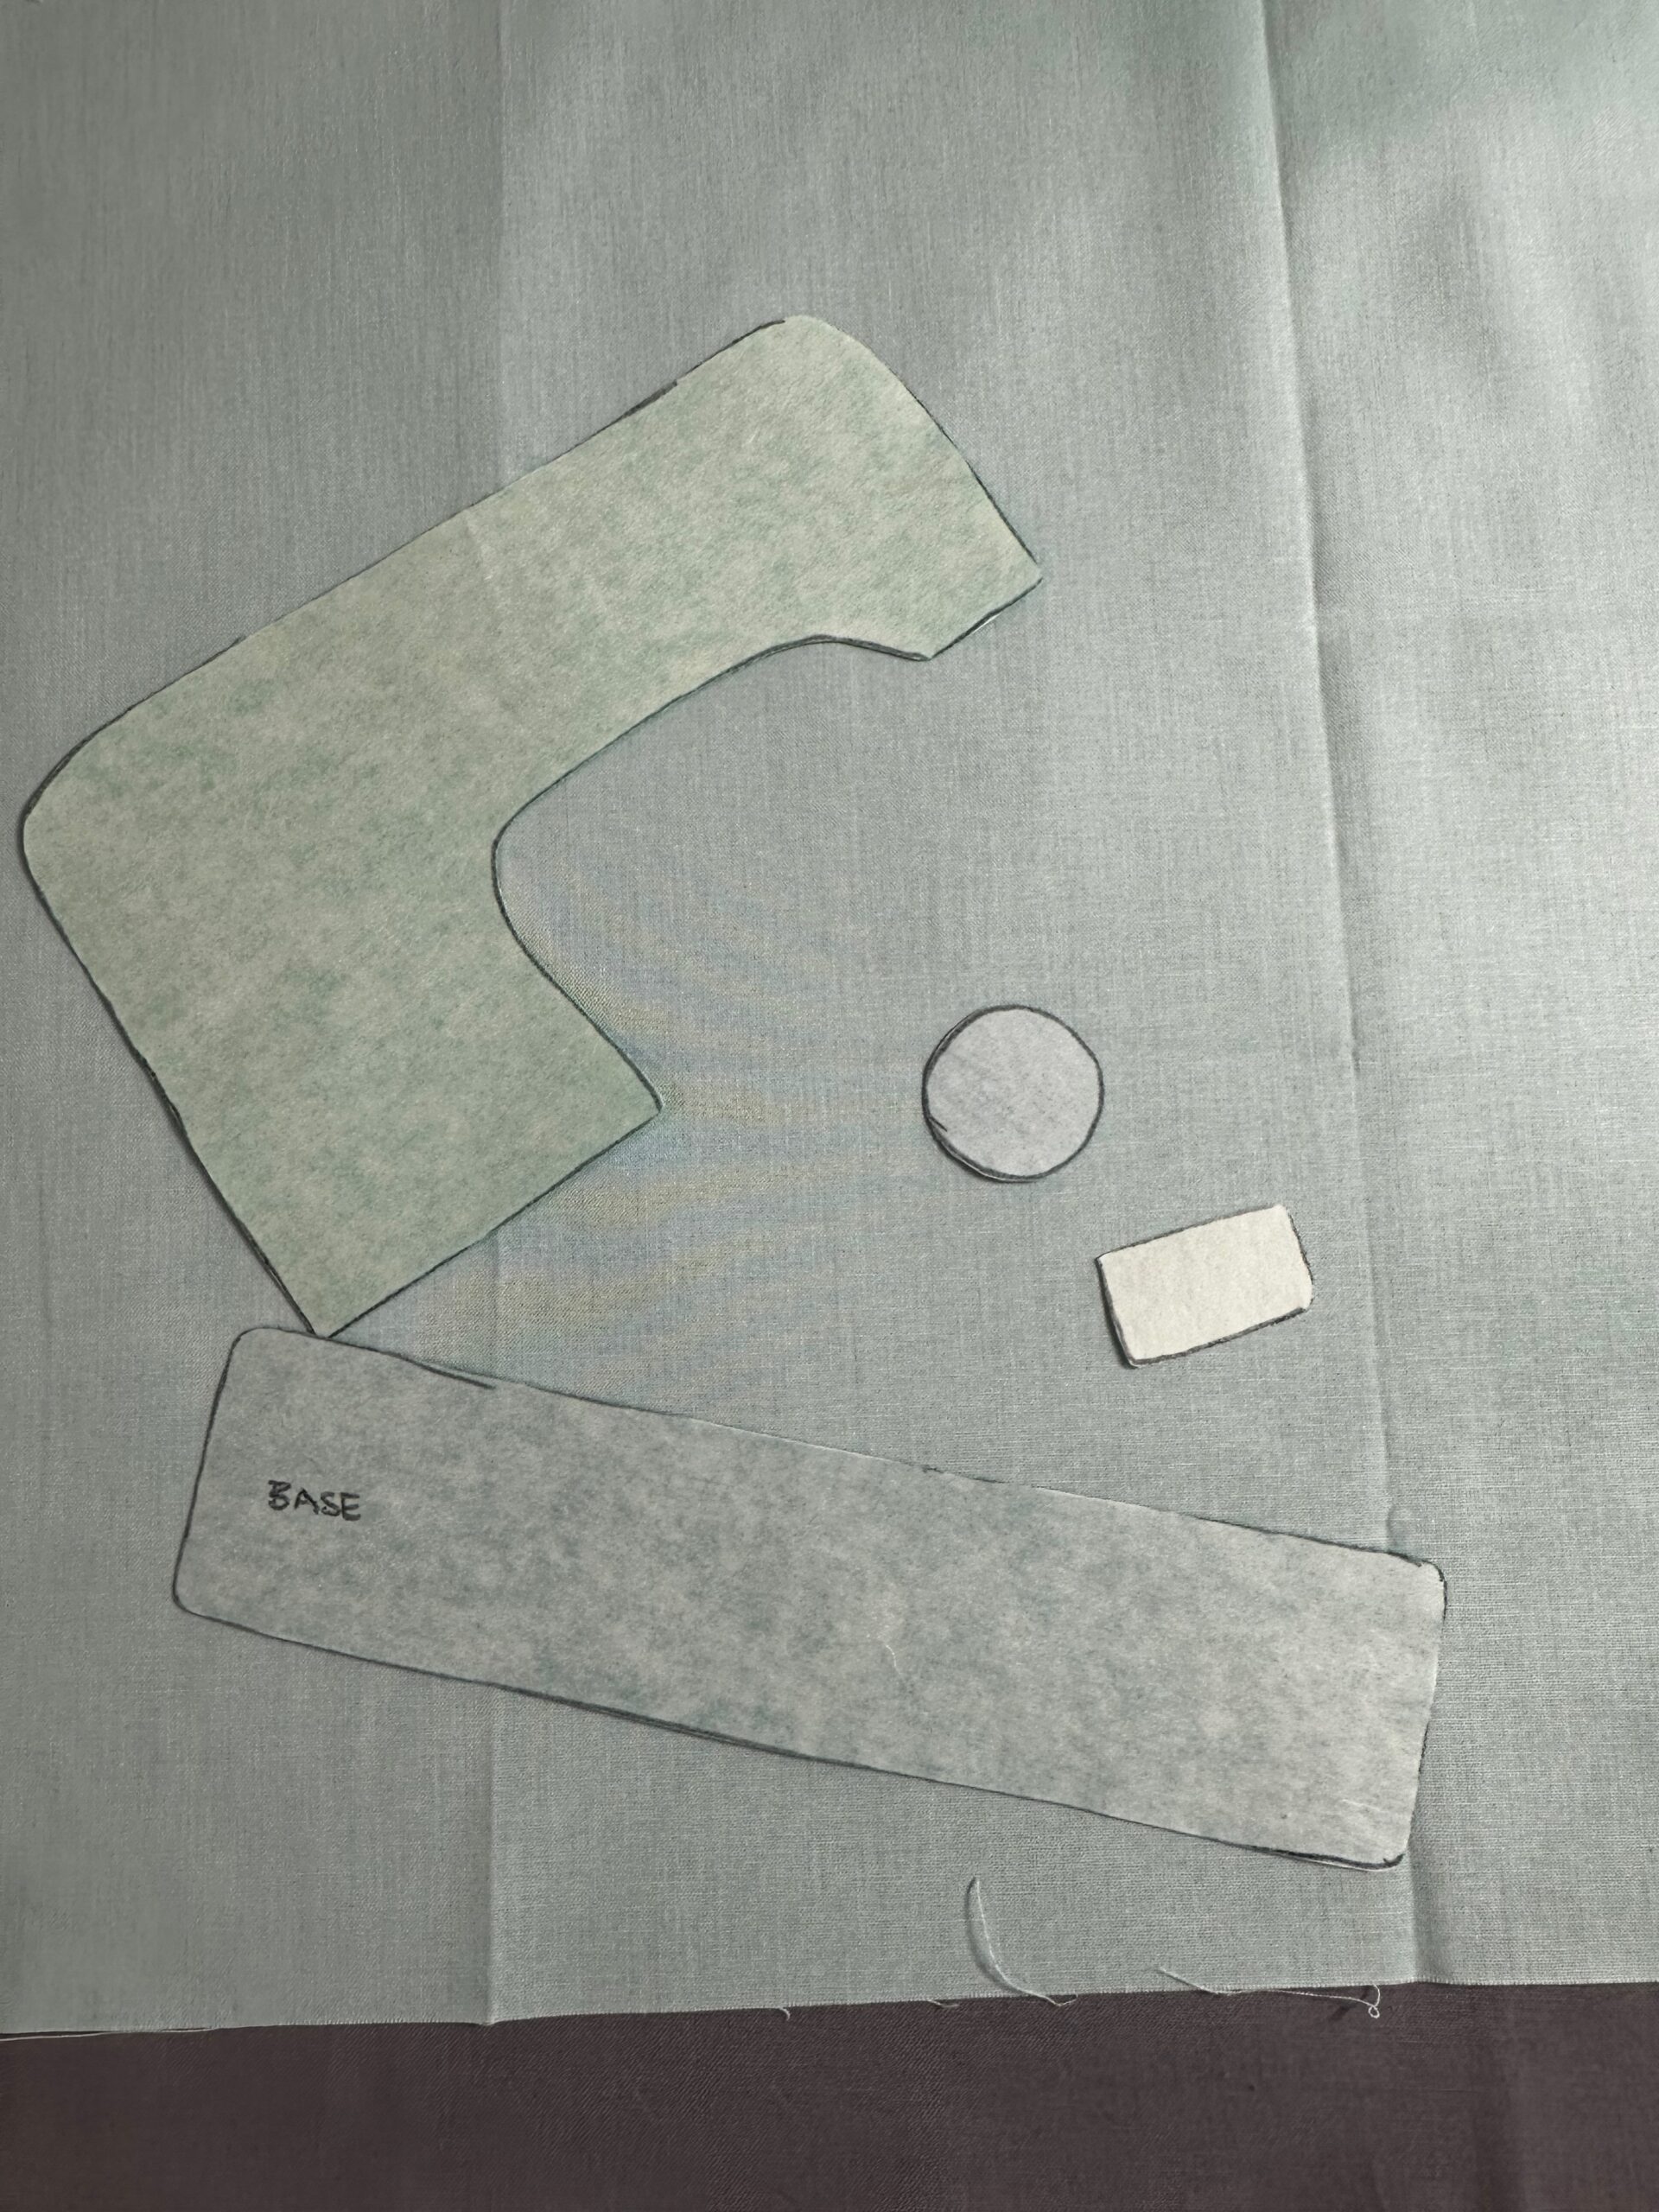
Fuse each sewing machine appliqué piece to the intended fabric wrong side. You may find it helpful to label the pieces, according to the pattern.
Cut out each shape.
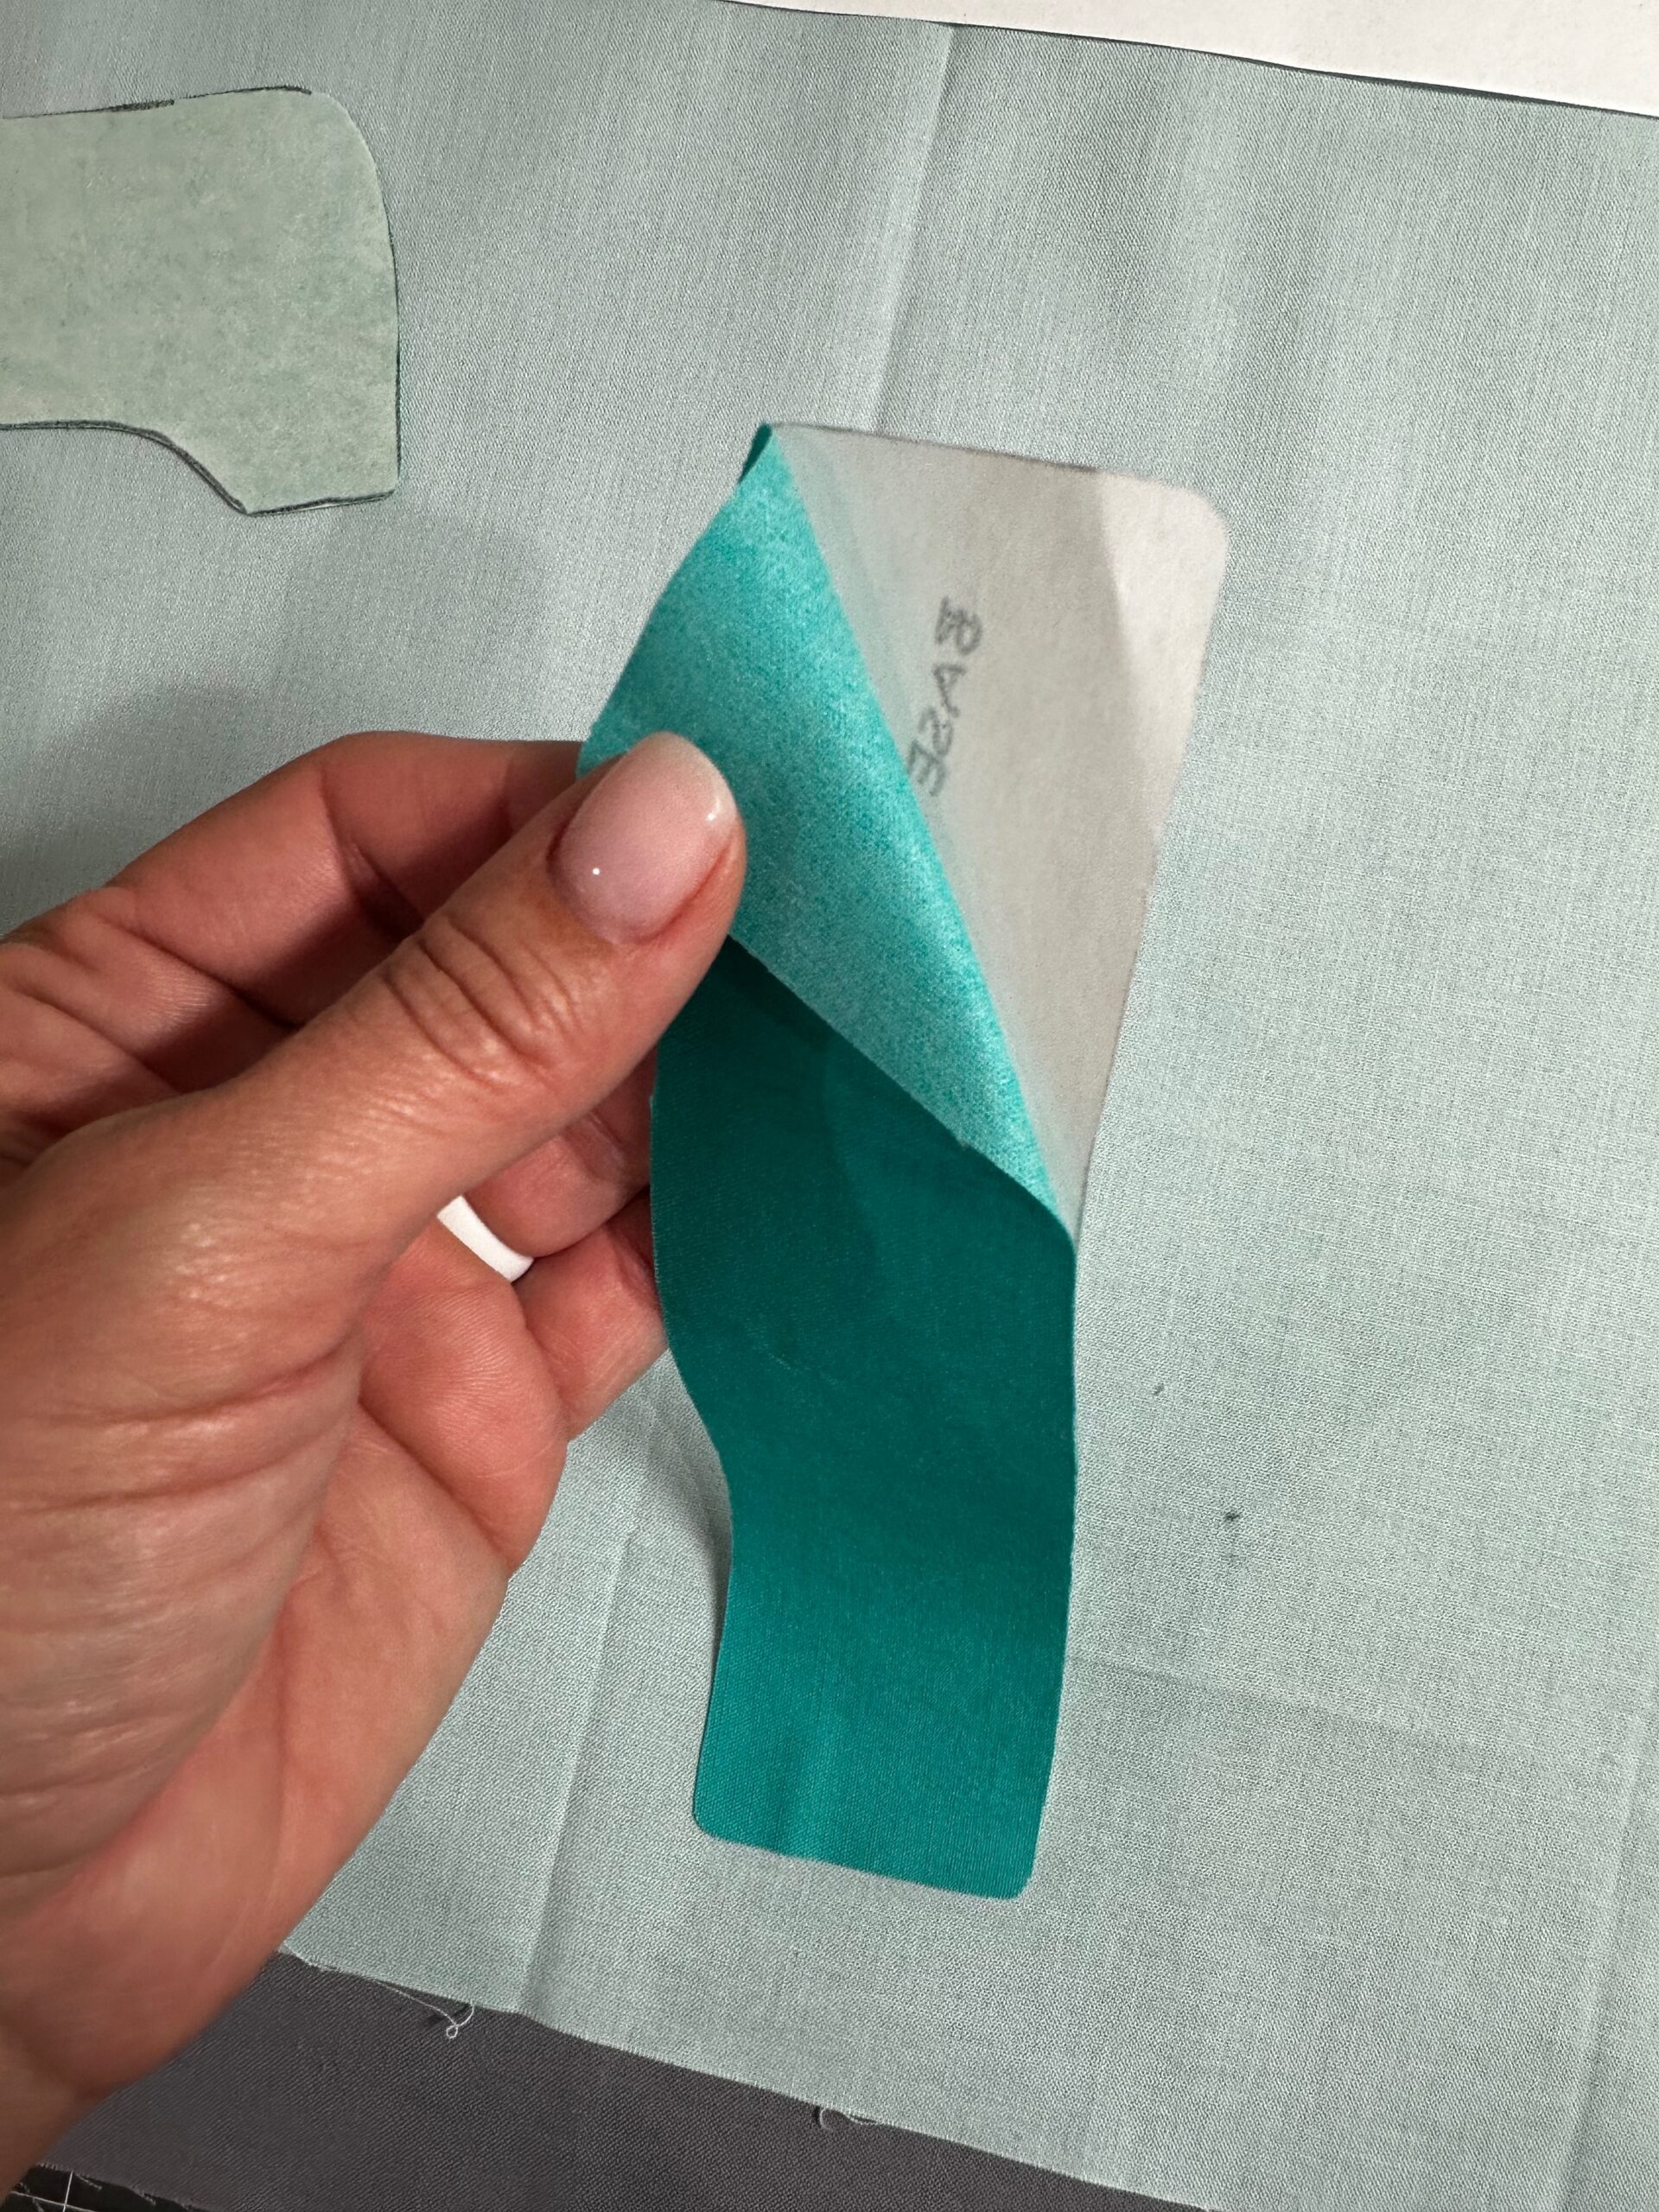
Next, remove the paper backing of the fusible web.
Determine where to place the sewing machine onto the backing fabric right side. I folded the fat quarter in half widthwise, and then lengthwise, to create foldlines that marked the center. (Note that this would not be the best choice for my end result, but for a wall hanging it was just perfect!)
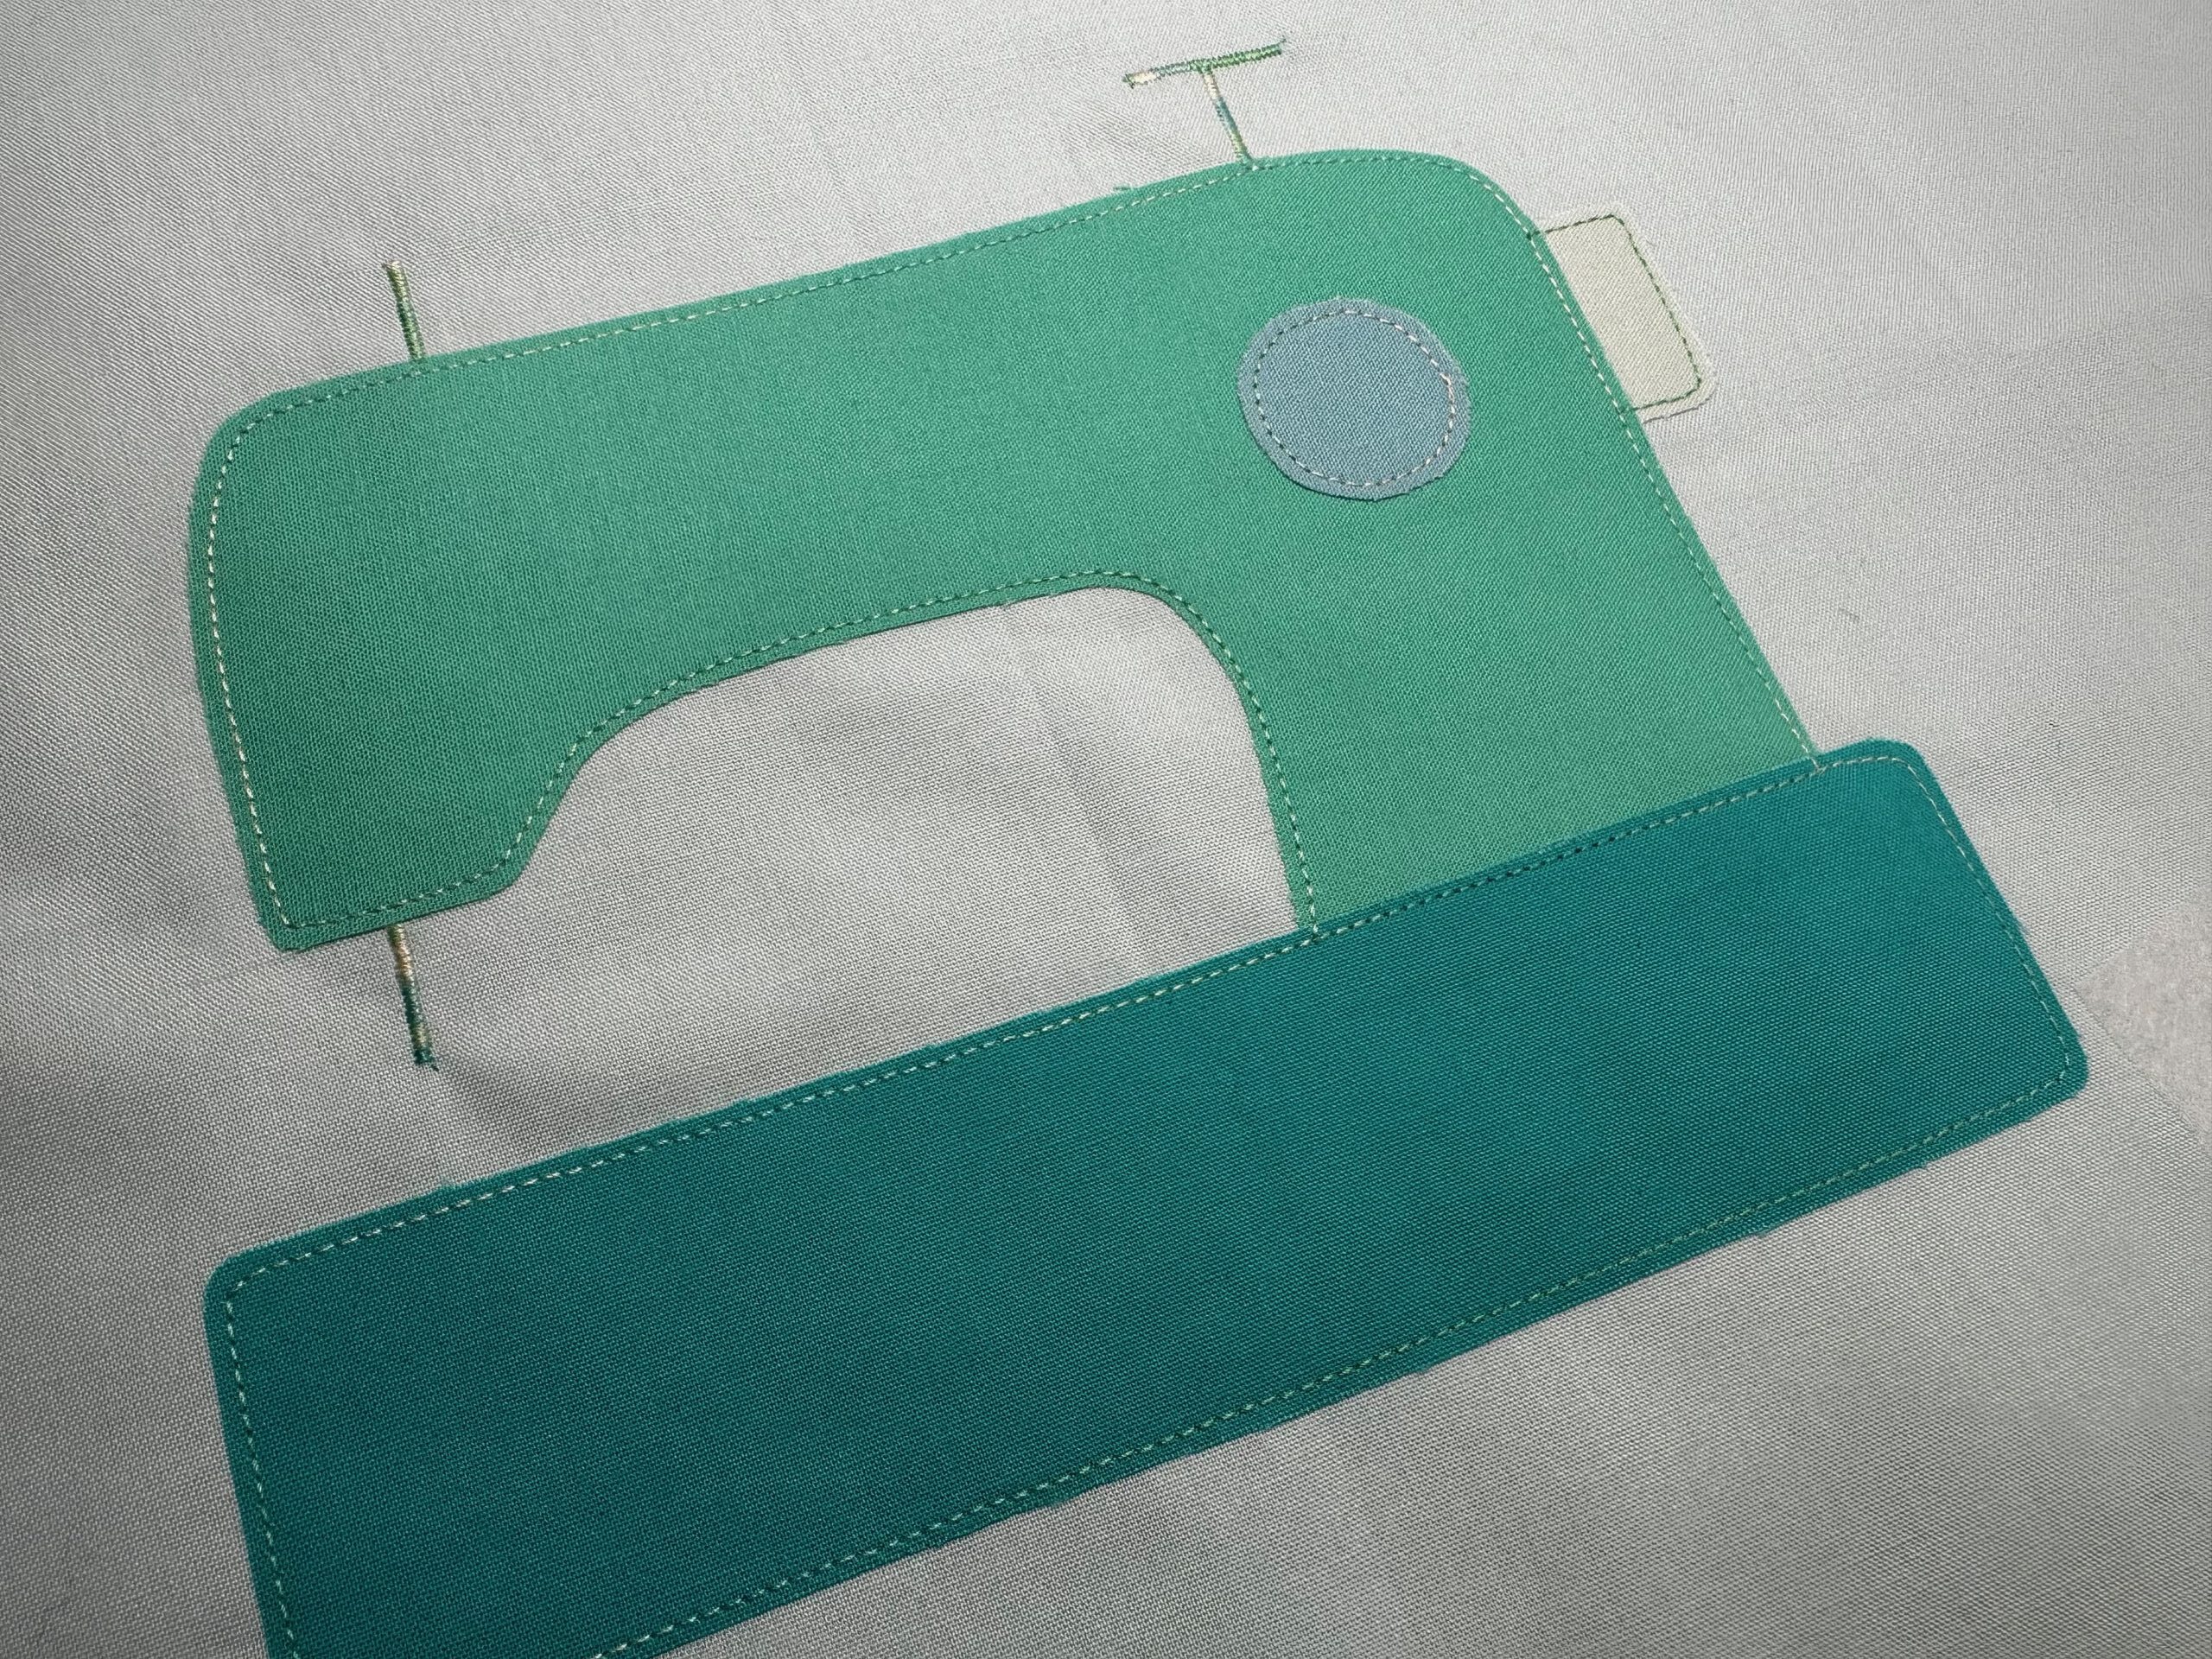
Place the sewing machine body piece at the desired center point on the background fabric. Then, place the base. Tuck the tension dial under the sewing machine upper-right side, using the template as a guide for placement. Then, place the tension dial circle. Fuse the layered appliqué to the background fabric using a low-to medium-temp iron.
Set the machine for the desired appliqué stitch. Choose from a straight stitch, zigzag stitch, satin stitch or decorative stitch.
Place the background fabric over a piece of Sulky Soft n Sheer Stabilizer.
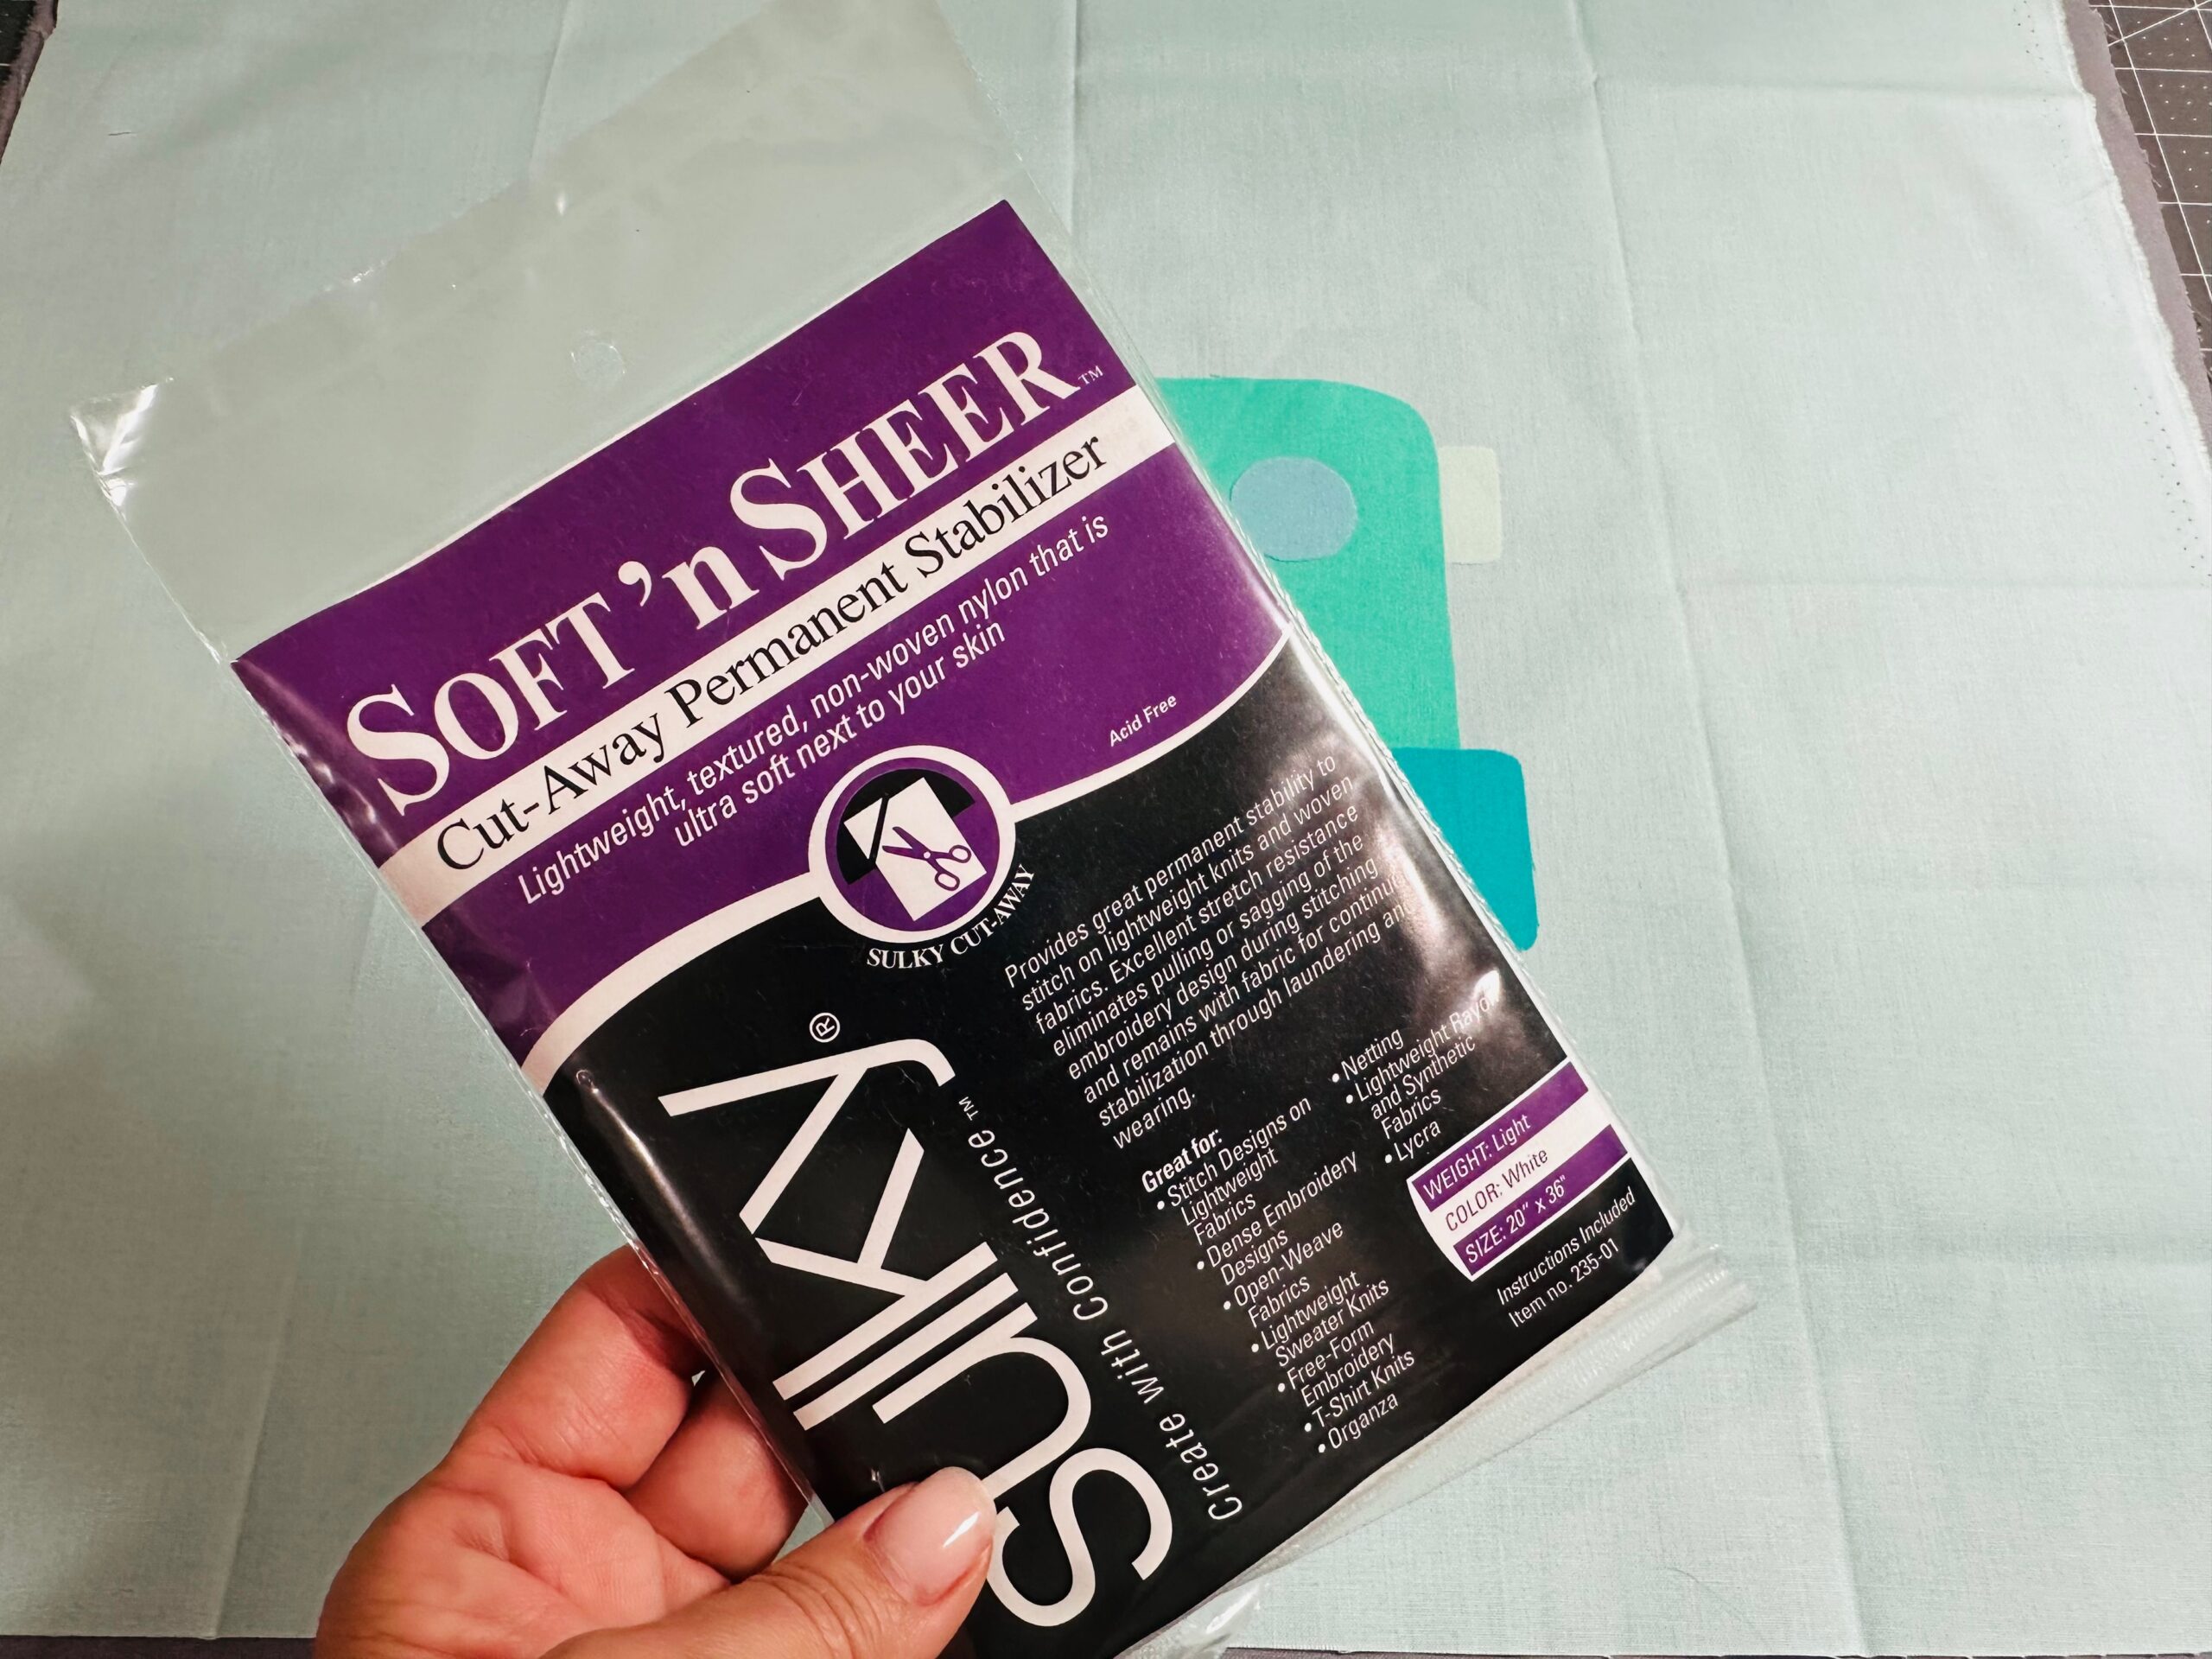
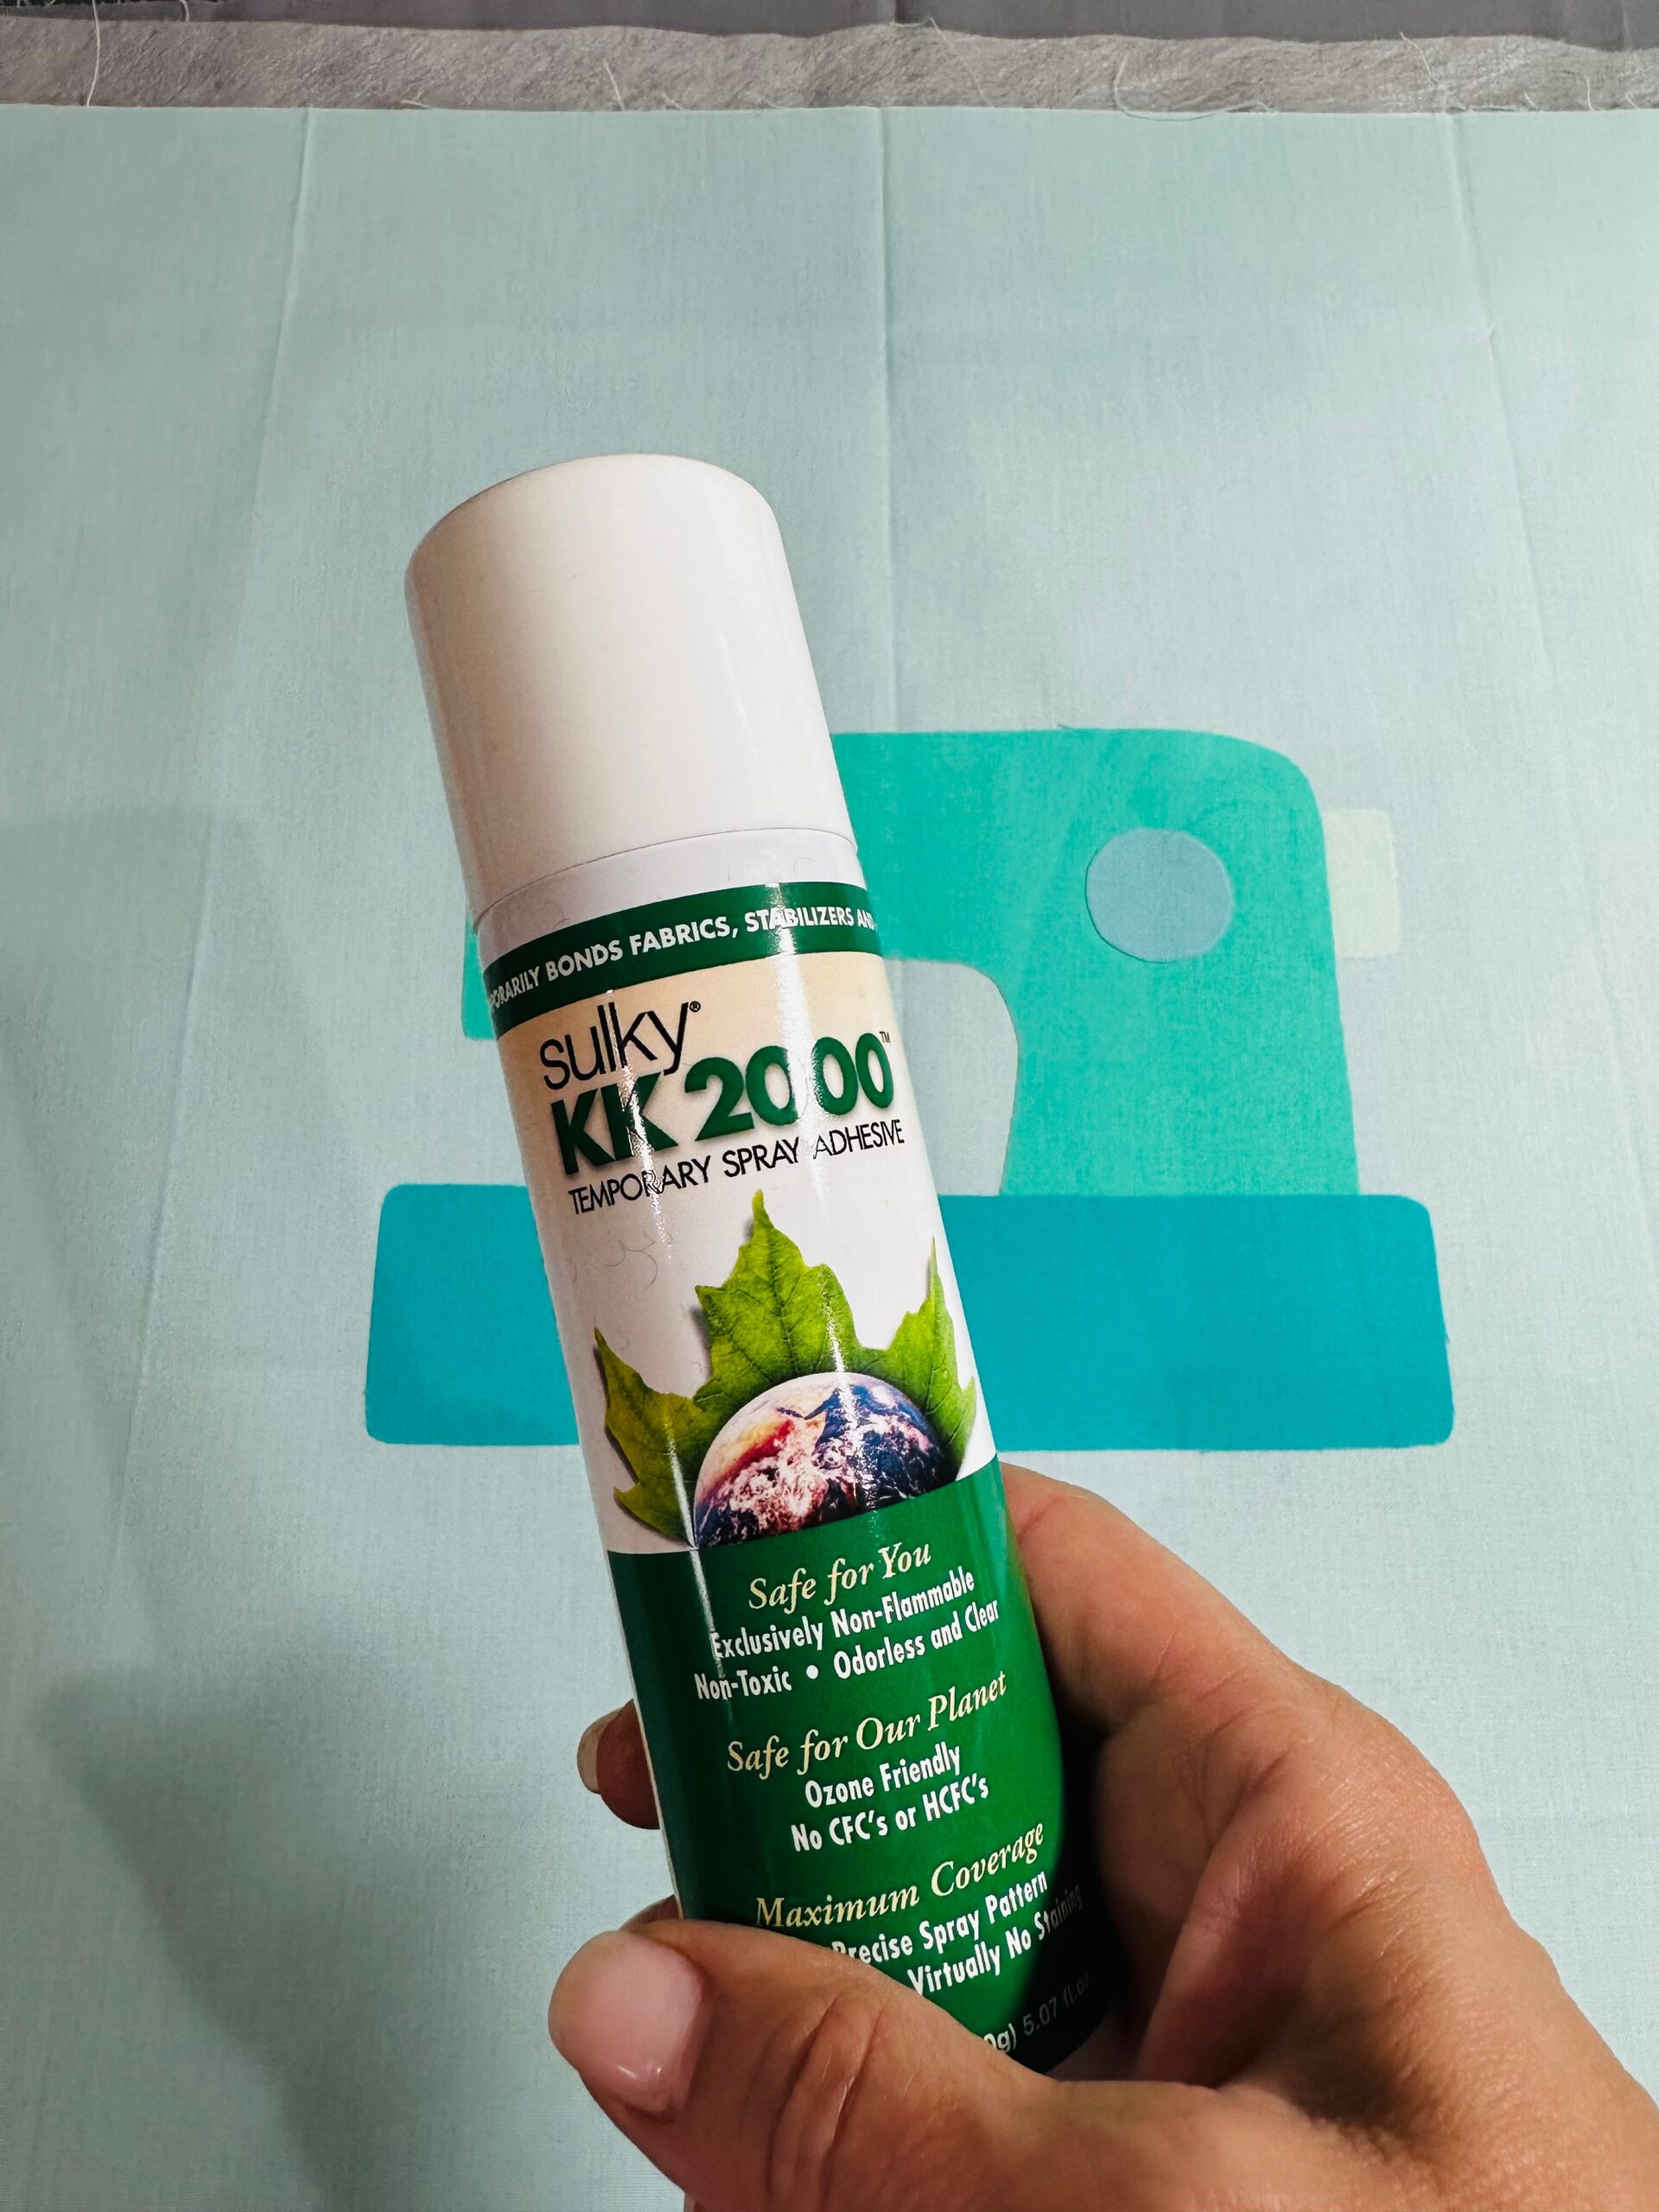
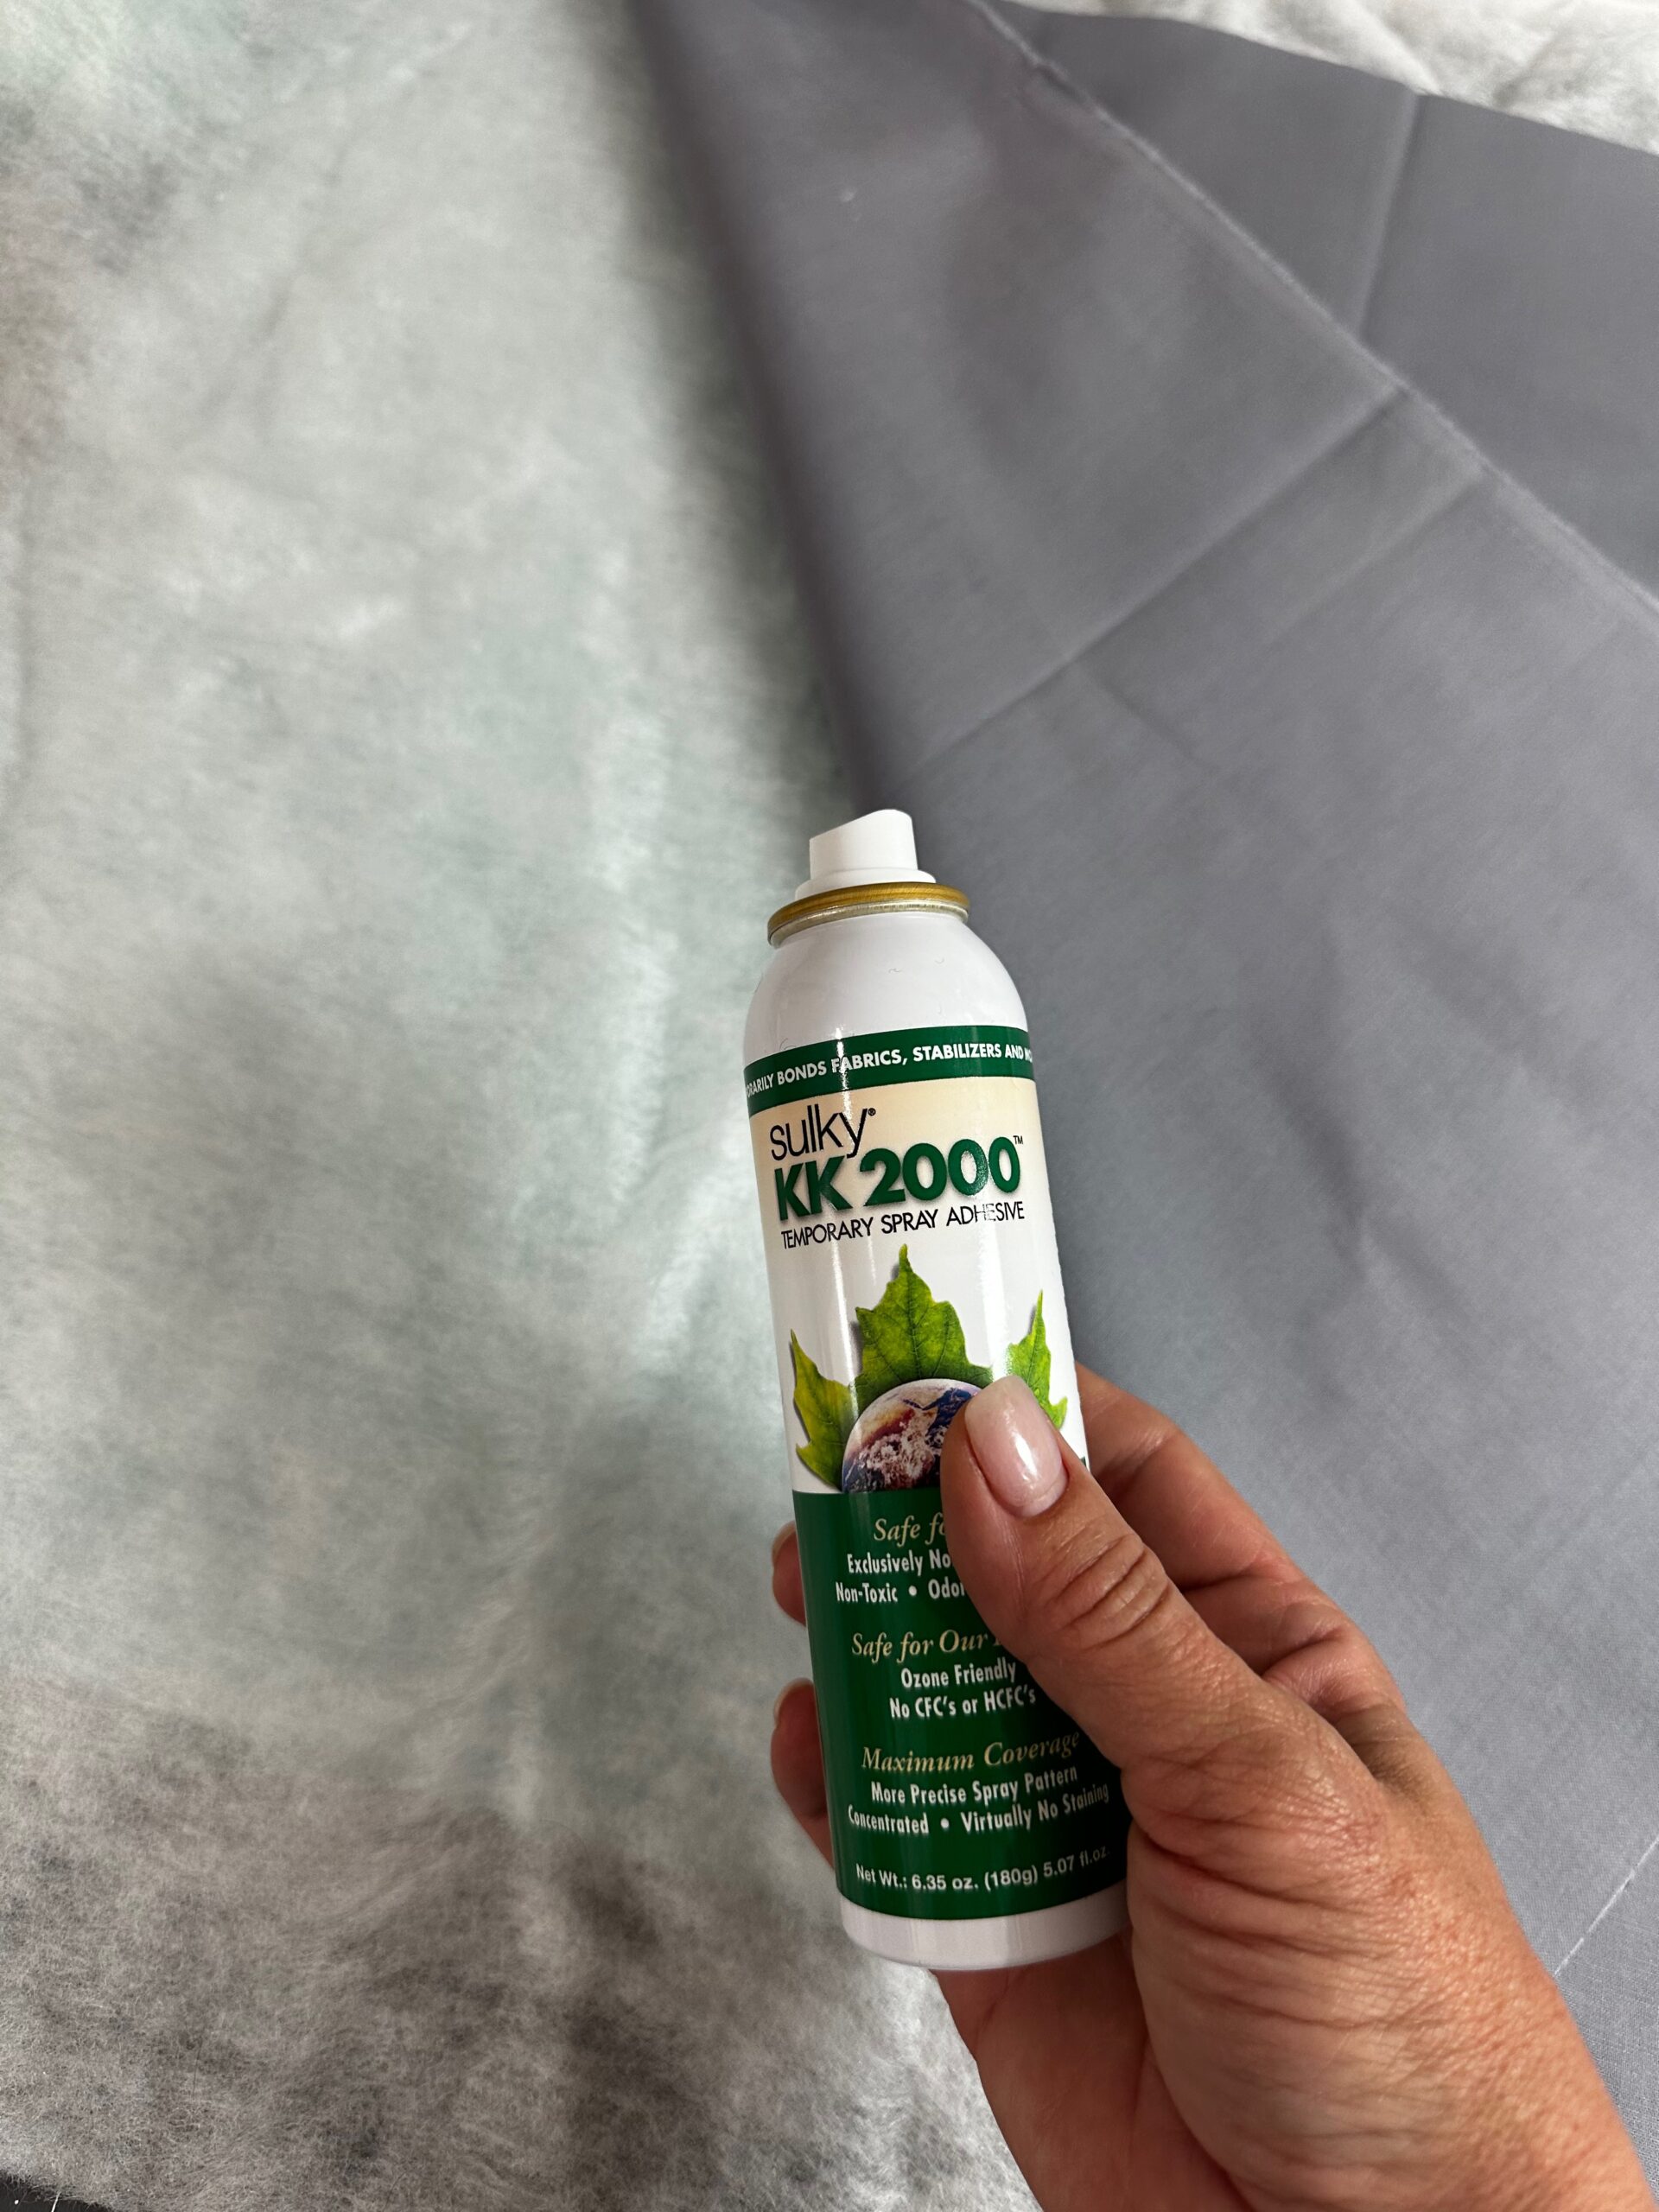
Use KK 2000 Temporary Spray Adhesive to secure the stabilizer to the fabric. The stabilizer will prevent the fabric from tunneling around the stitches, especially if using a satin or decorative stitch for the appliqué.
Install a size 90/14 Top Stitch Needle onto the machine. Thread the needle with 30 wt. Cotton Blendables® Thread. Use 60 wt. Bobbin or Polylite Thread in the bobbin.
Audition the desired thread color(s) by placing the spool on top of the background fabric to determine the best choice. Additionally, place about 10″ of the thread over the top of the fabric to see all the colors in the Blendables variety.

SEWING MACHINE STITCHING
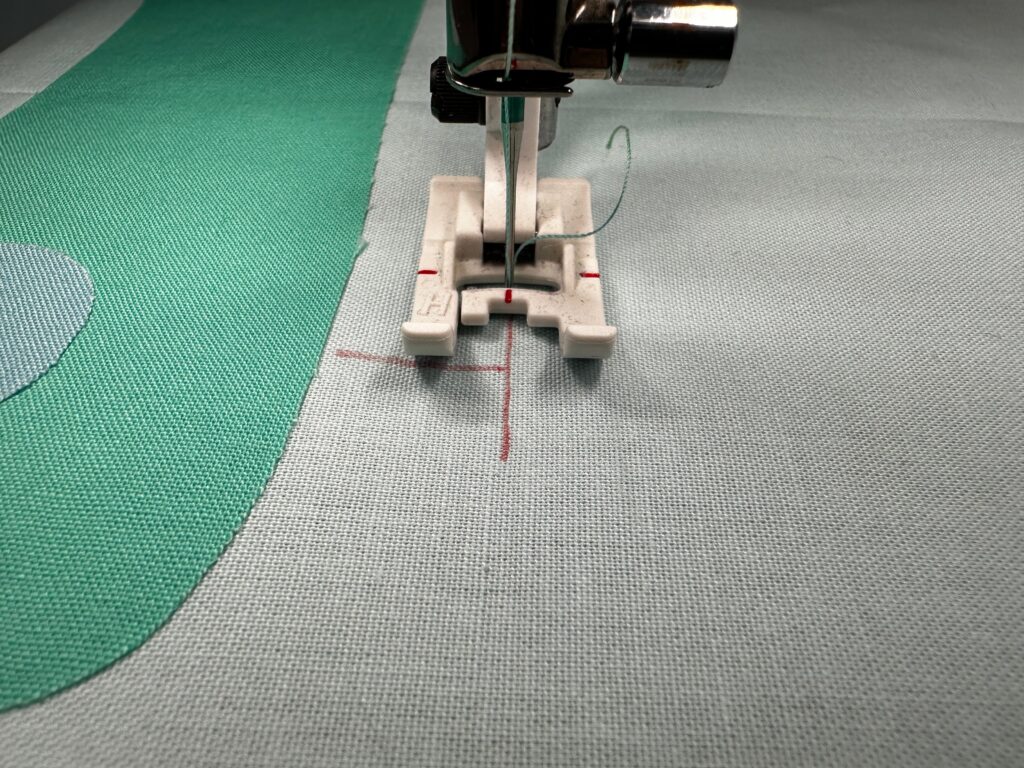
Before sewing, transfer the needle, spool pin and thread guide lines to the fabric right side using a removable fabric marker. Place the reserved template underneath the fabric, and then trace by following the lines. If it’s too difficult to see, try using a lightbox.

Set the machine for a narrow satin stitch and begin stitching along the transferred lines. (I straight stitched along the lines first, and then satin stitched over the top of those lines.)
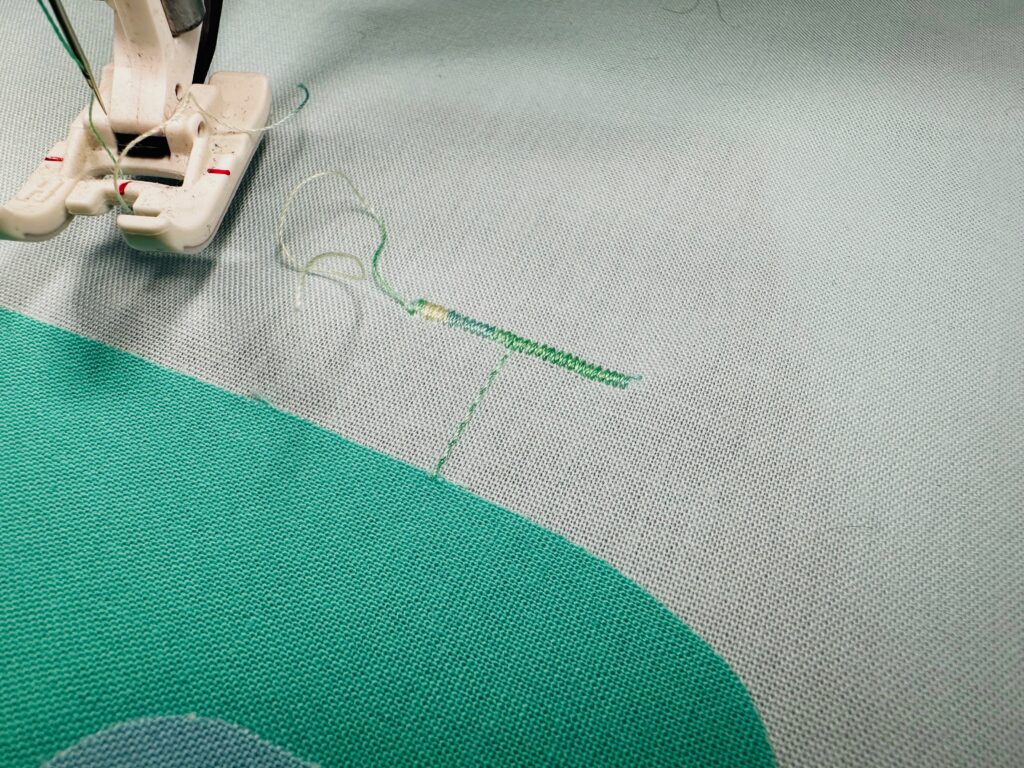
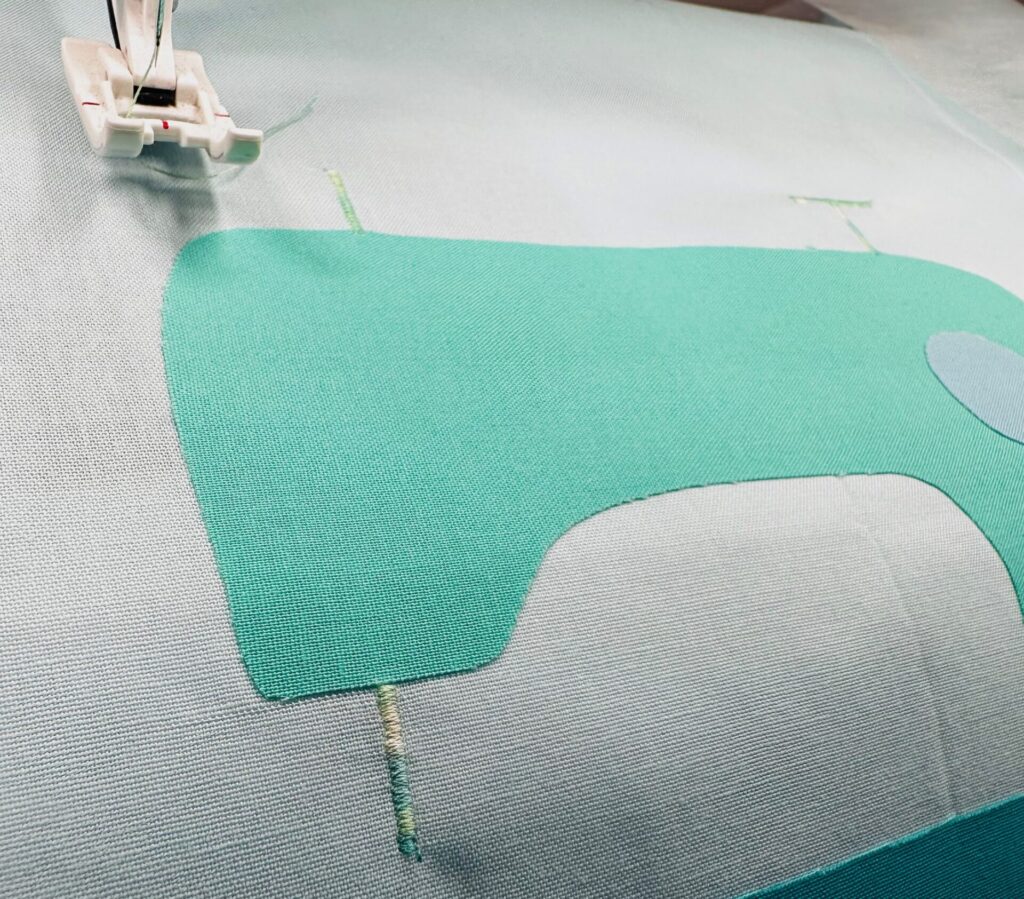
Then, stitch along or just inside the cut edges of the appliqué shapes.
QUILTING
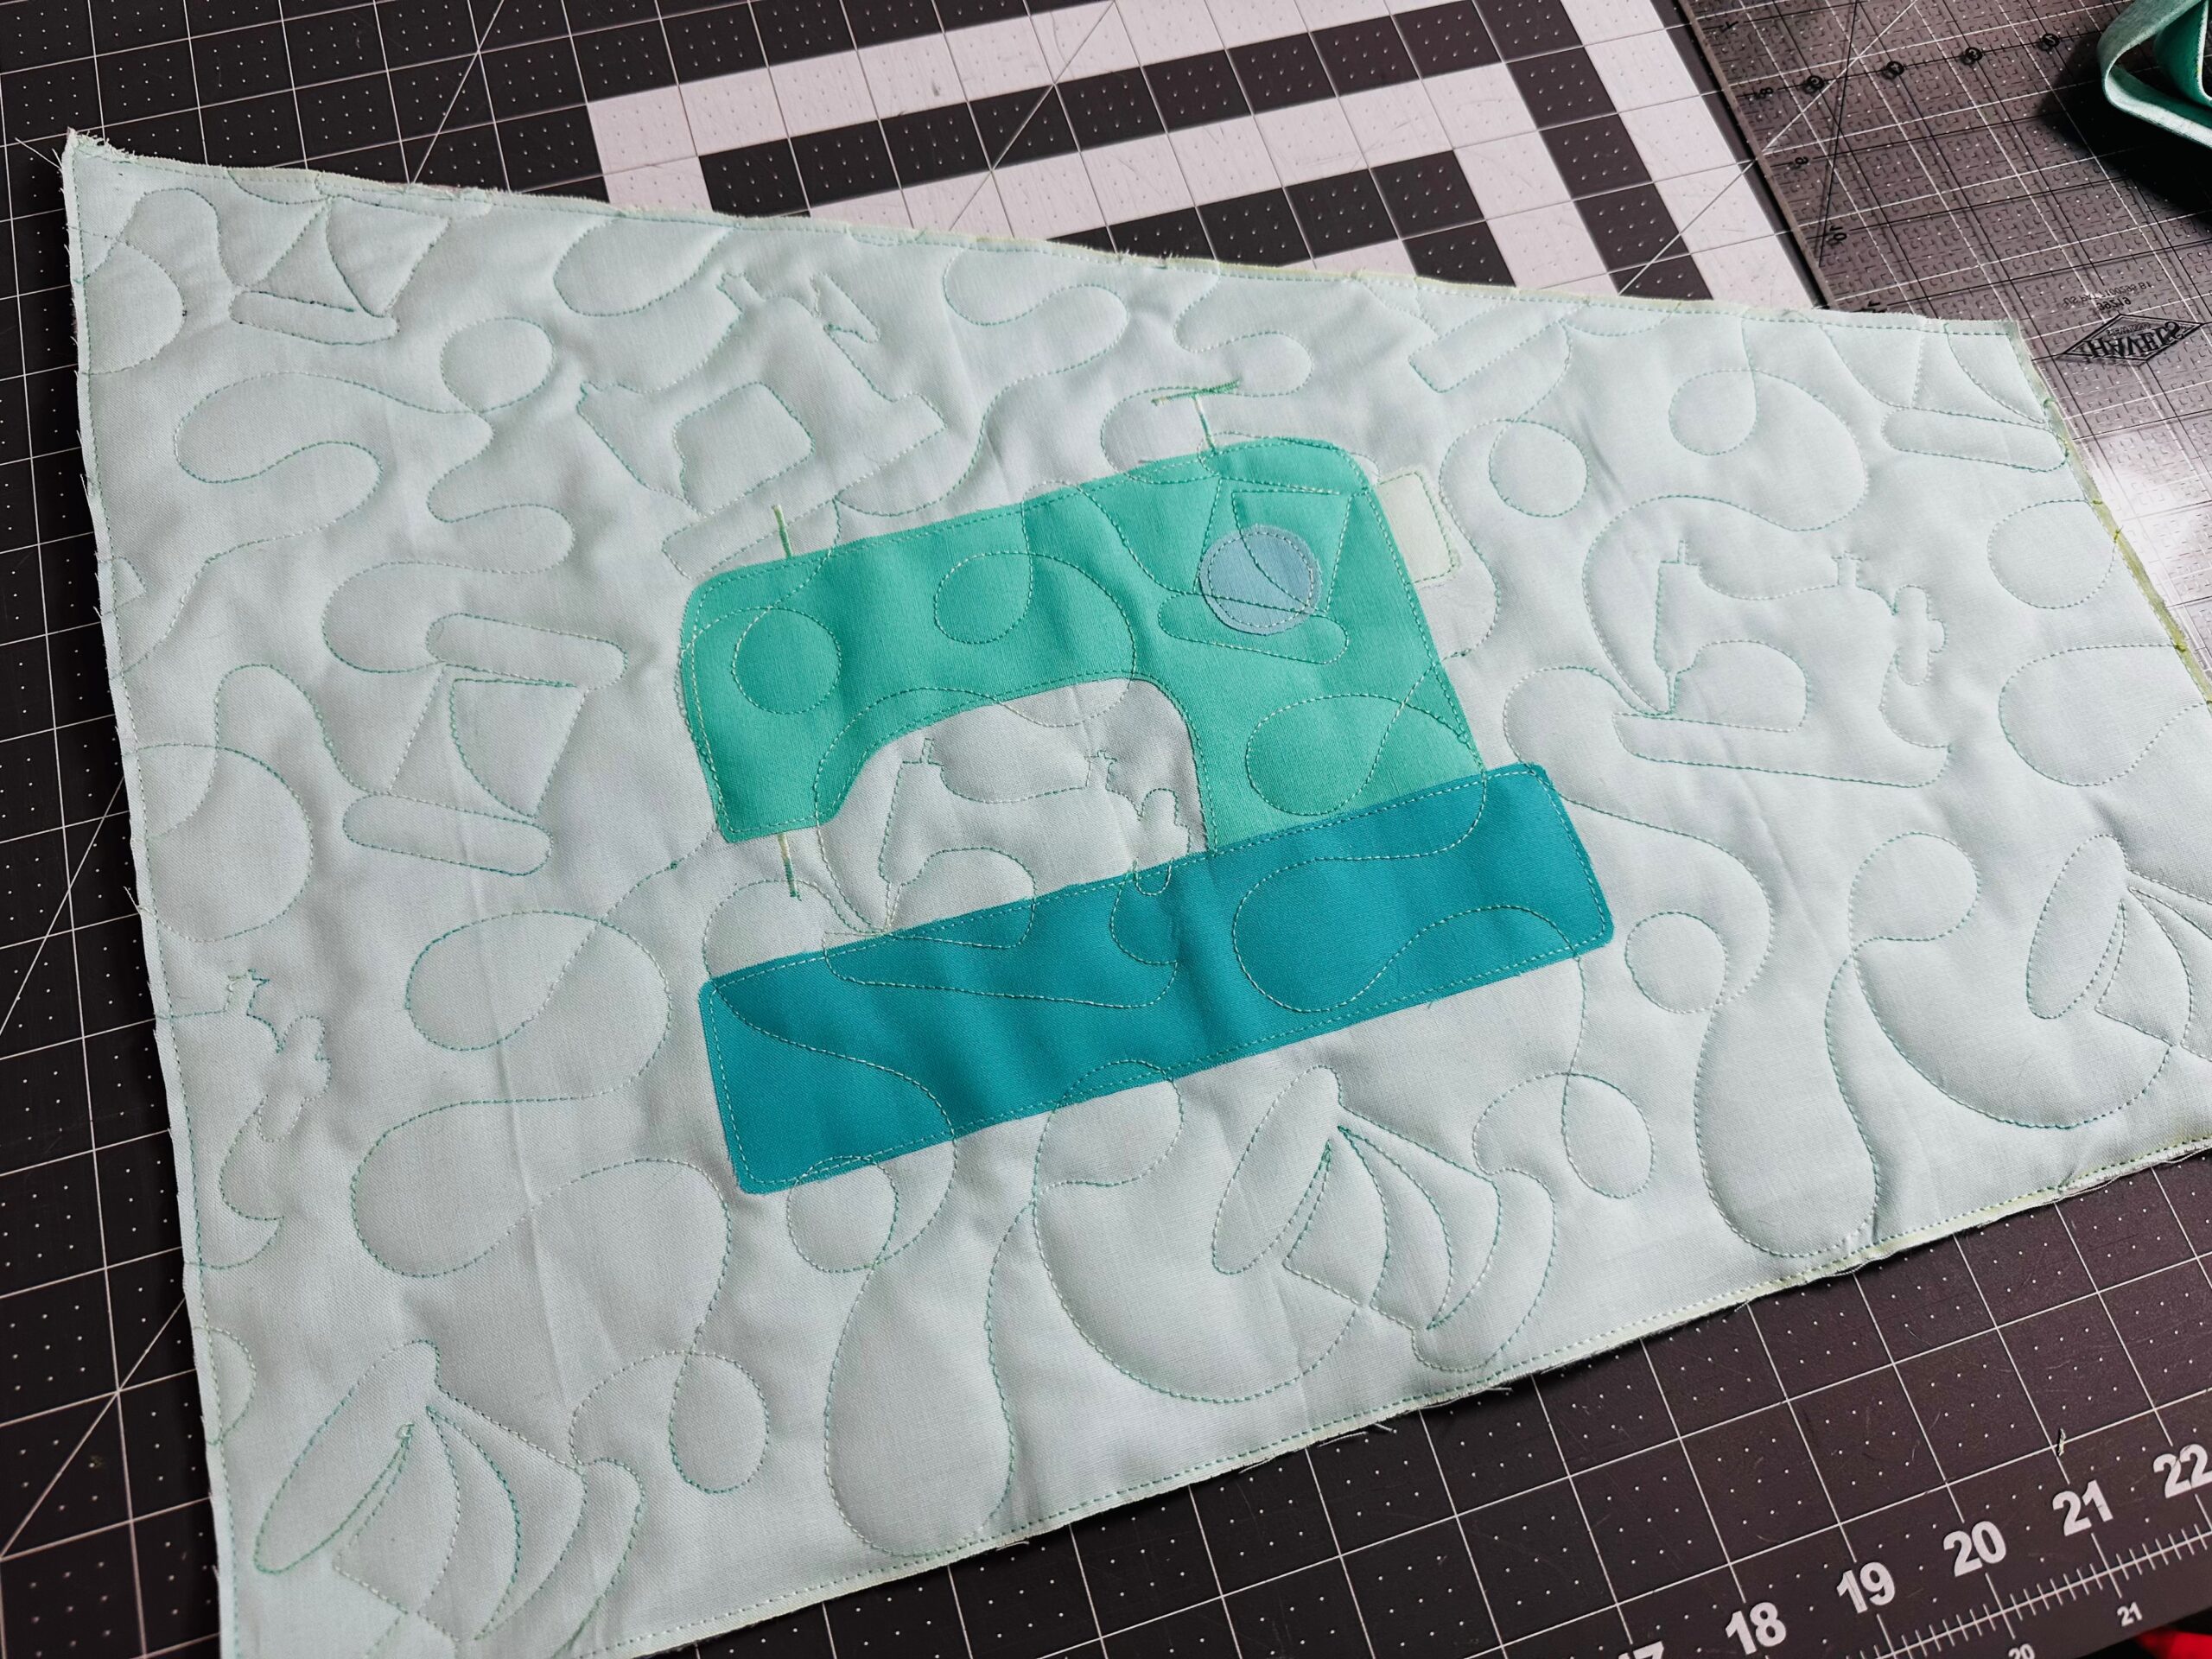
My whole plan for this project was to make a small wall hanging for my sewing room door. So, I looked to our Quilty Wall Hanging Embroidery Session to use the exclusive Sulky Quilt End-to-End Quilting Design from Designs by Juju. (The design comes in loads of different sizes for FREE with purchase of the Session.) This End-to-End design is absolutely perfect for quilting a quilt, table runner, wall hanging, or even the Hemingway Pouch I ended up with!
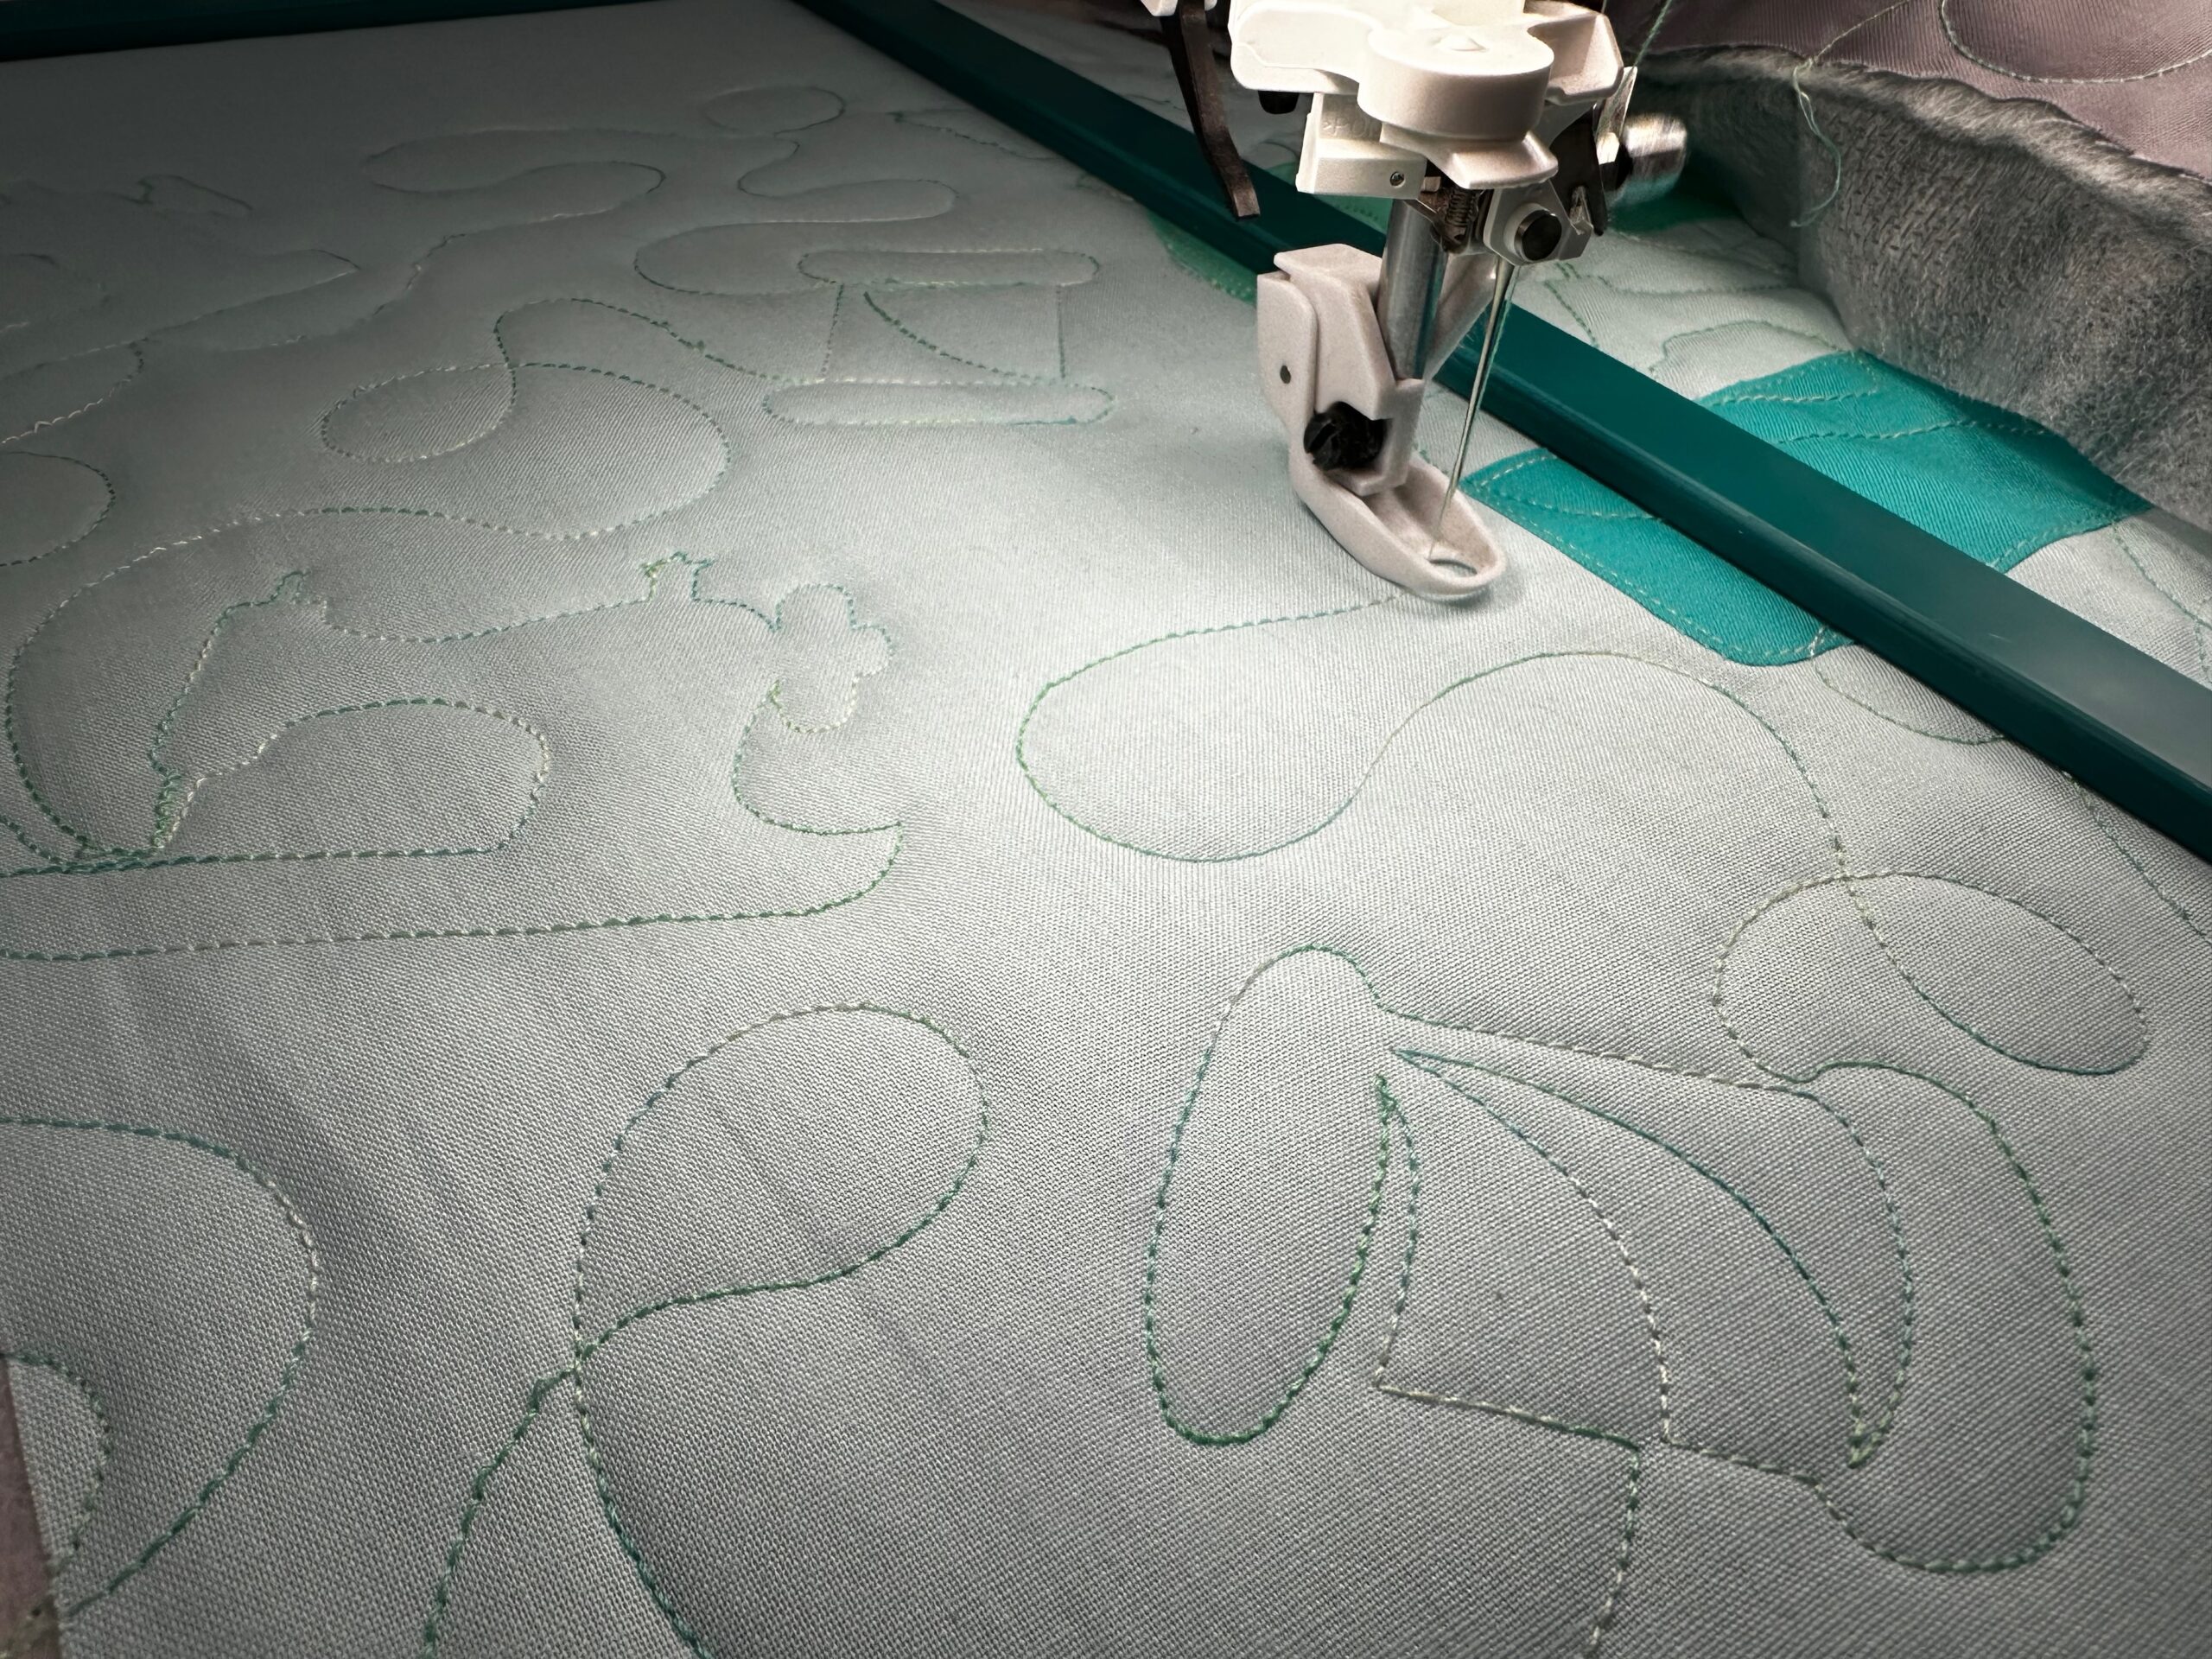
I utilized the videos, tutorials and info from the Sulky Session with Designs by Juju to quilt the fabrics in the hoop of my embroidery machine. But first, I sandwiched my appliquéd top with a piece of batting and backing fabric. Use KK2000 to spray-baste the layers together.
Then, hoop the fabric sandwich if using a Magnetic Hoop. If not using a magnetic hoop, follow the instructions within the Session for “hoopless” embroidery using these types of endless designs. I began the embroidery along the center, and then worked outward to match up my beginning/end points.

Here is where things got interesting for me. Let me begin by saying that I did NOT run a test stitchout using these materials. I relied on my past experience and mistakingly thought everything would be fine! I kept stitching along, watching the machine do its thing.
Then, I removed the hoop from the machine to align my fabric for the second stitchout. I was appalled to find that the entire back of my wall hanging was full of thread eyelashes! The tension was all wrong.
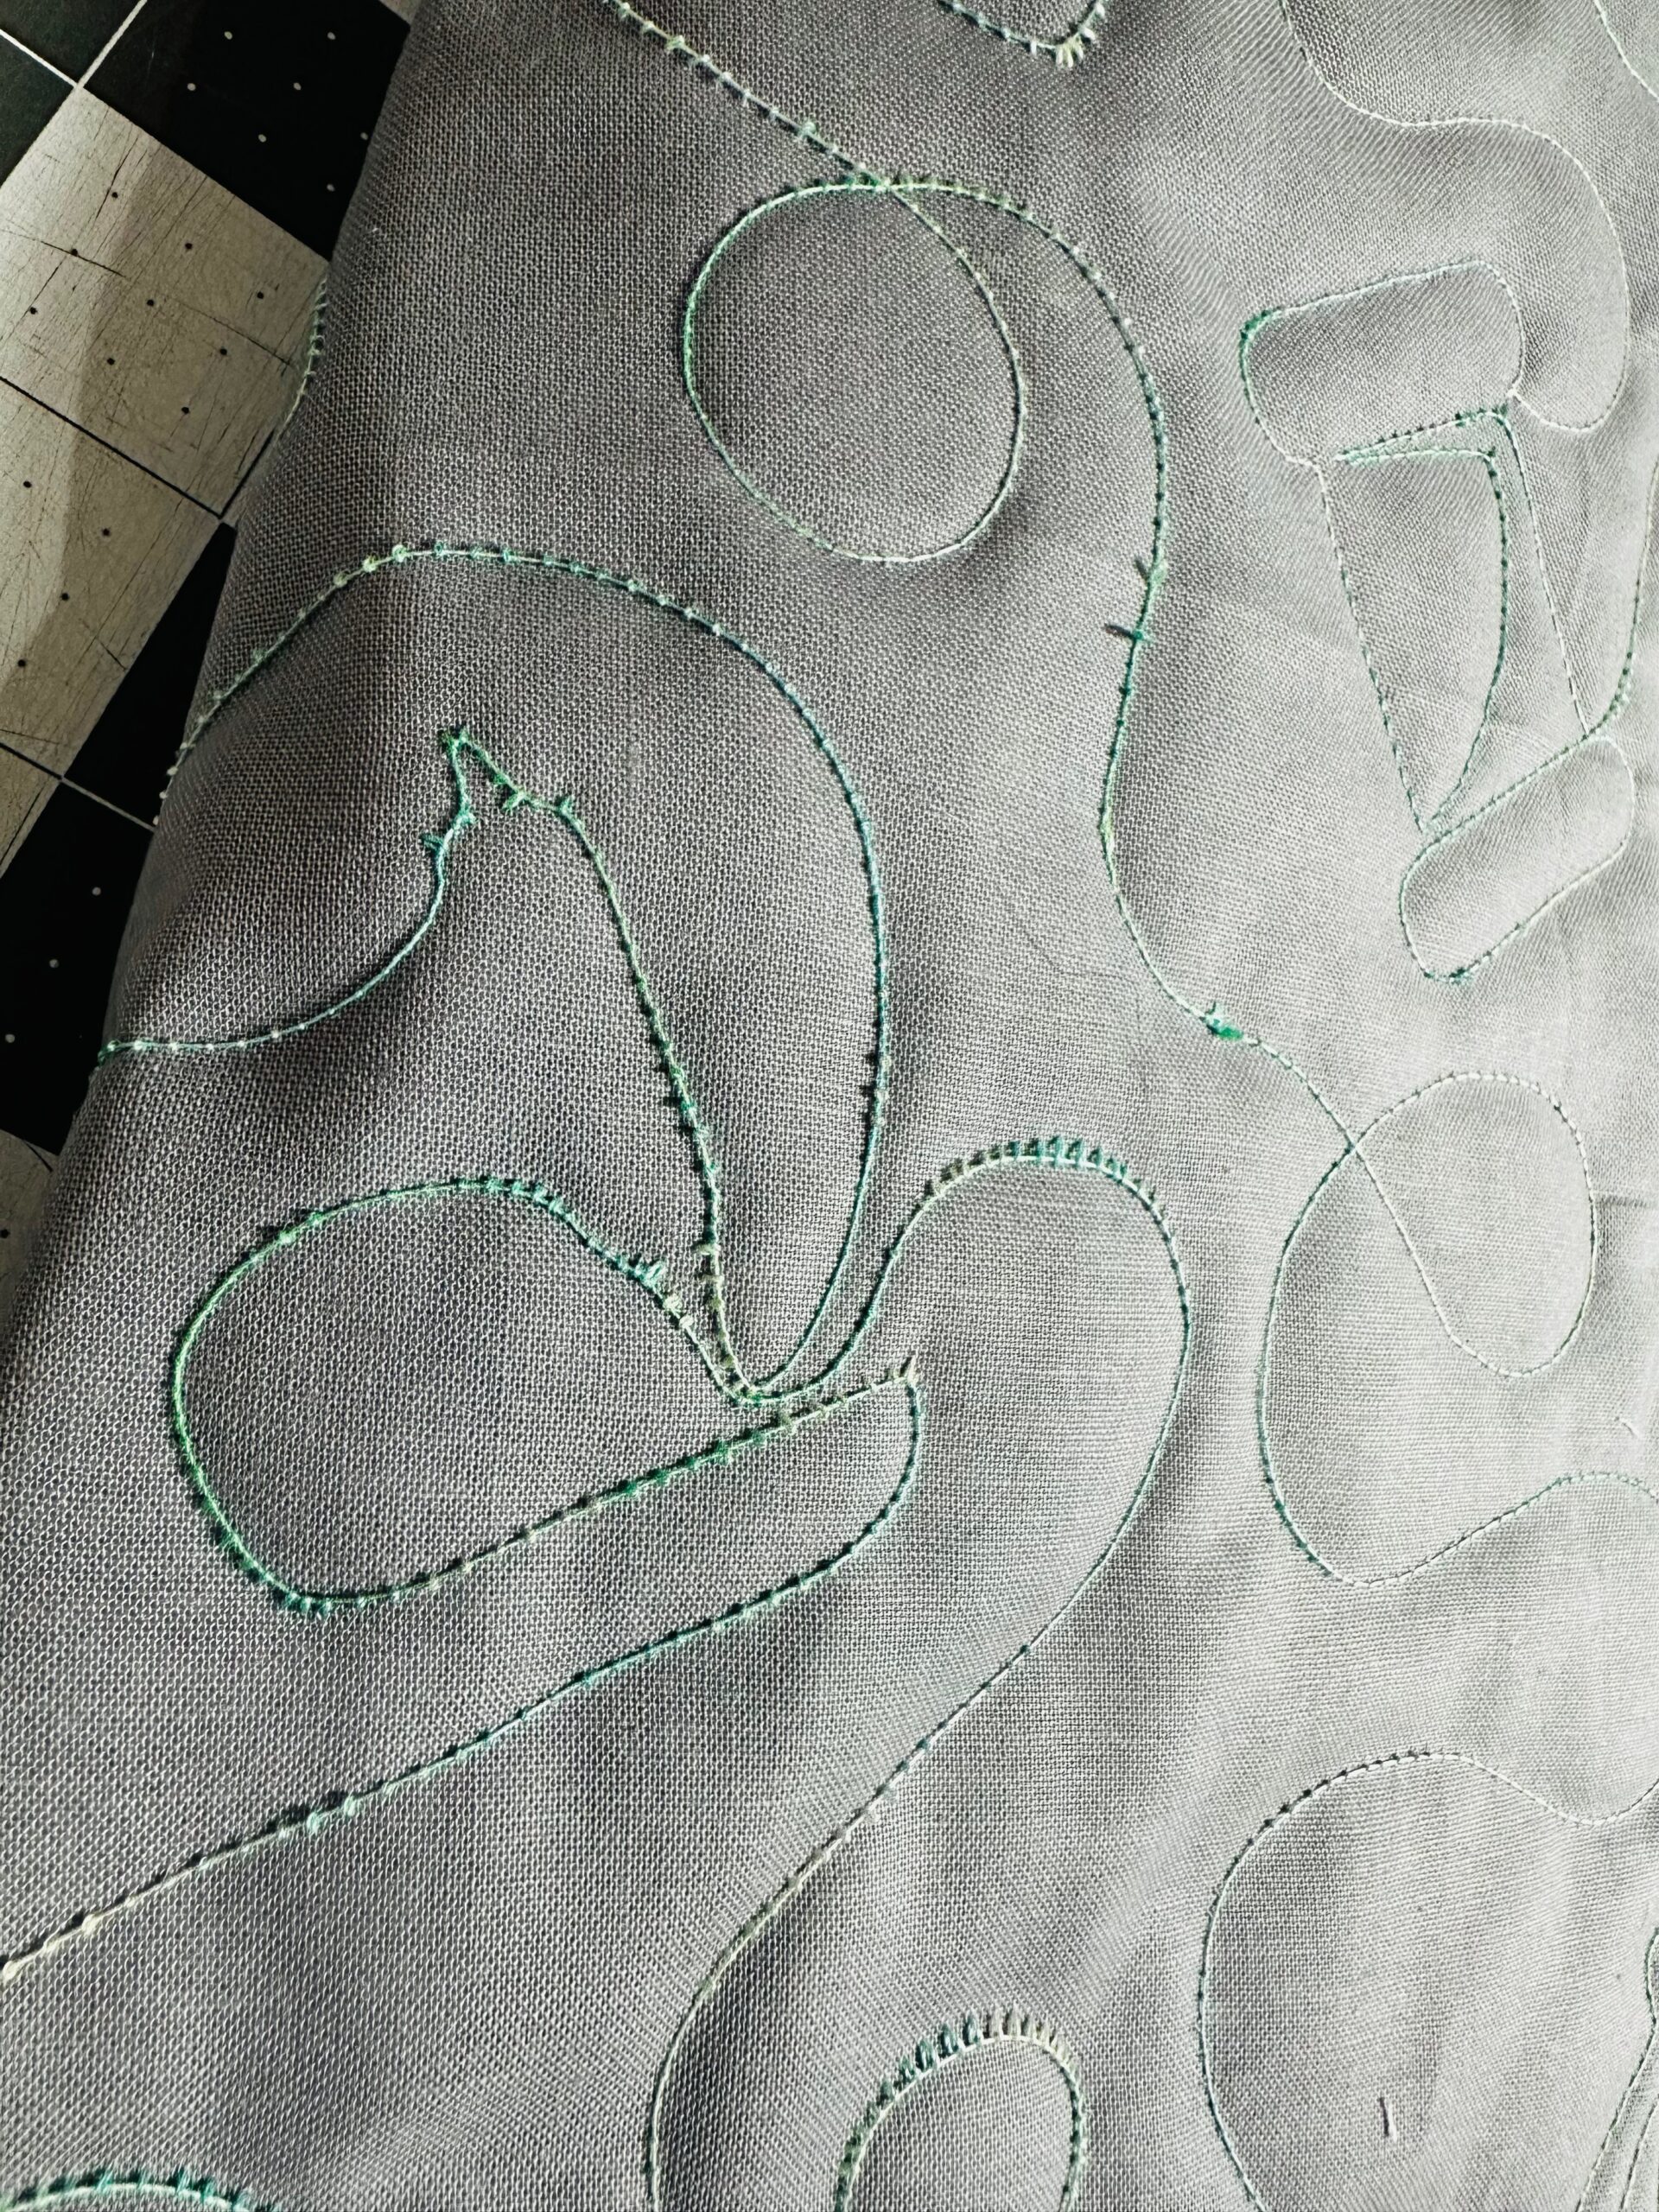
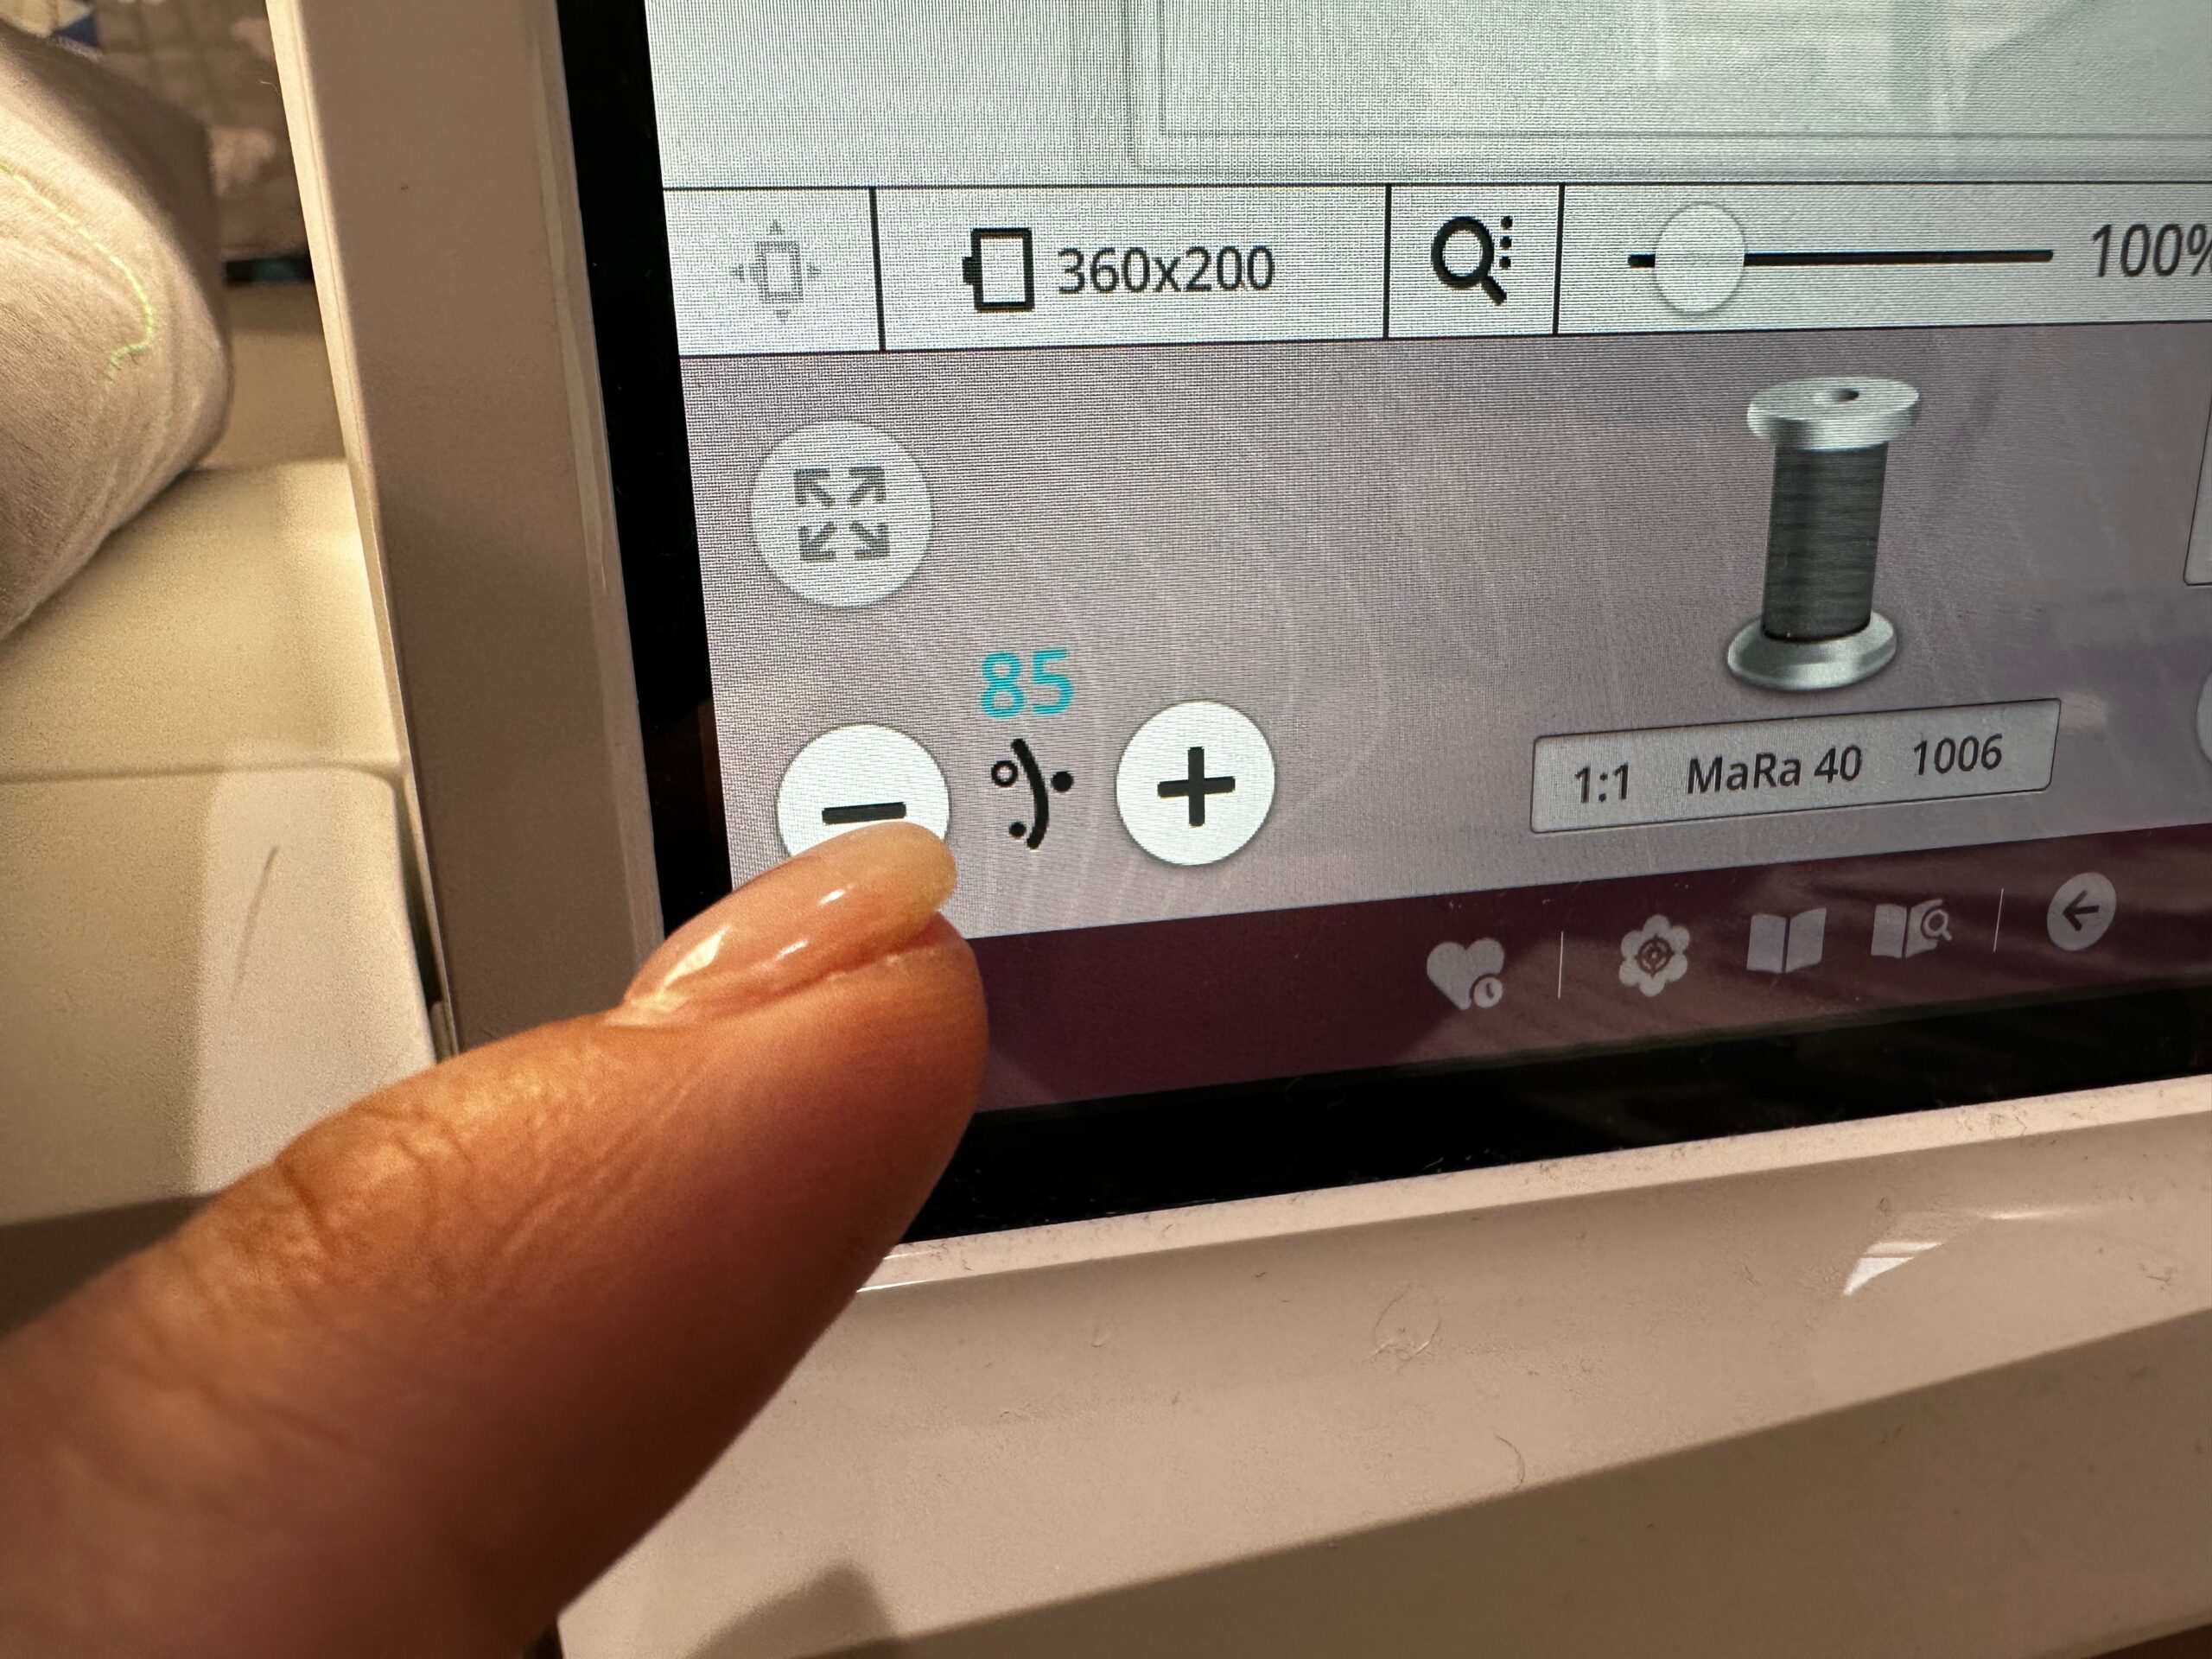
The top looked great, but the back was a mess. And I couldn’t very well pick out all that thread and start again! Instead, I played with the tension during my next stitchout until everything was balanced. I had to increase my top tension from 50 to 80 in order to get a balanced stitch. Why, you ask? Because embroidery designs are digitized so that the top thread shows slightly on the wrong side. This, coupled with me using a heavier weight thread than intended by the designer, caused my thread to pull on the wrong side during the high speed sewing.
After figuring this out, my thread stitchout was perfect. However, the majority of my project was already quilted (and quilted pretty badly, I might add). So I had to pivot on my original project plan and make something else.
SEWING MACHINE APPLIQUÉ FINISHED PROJECT
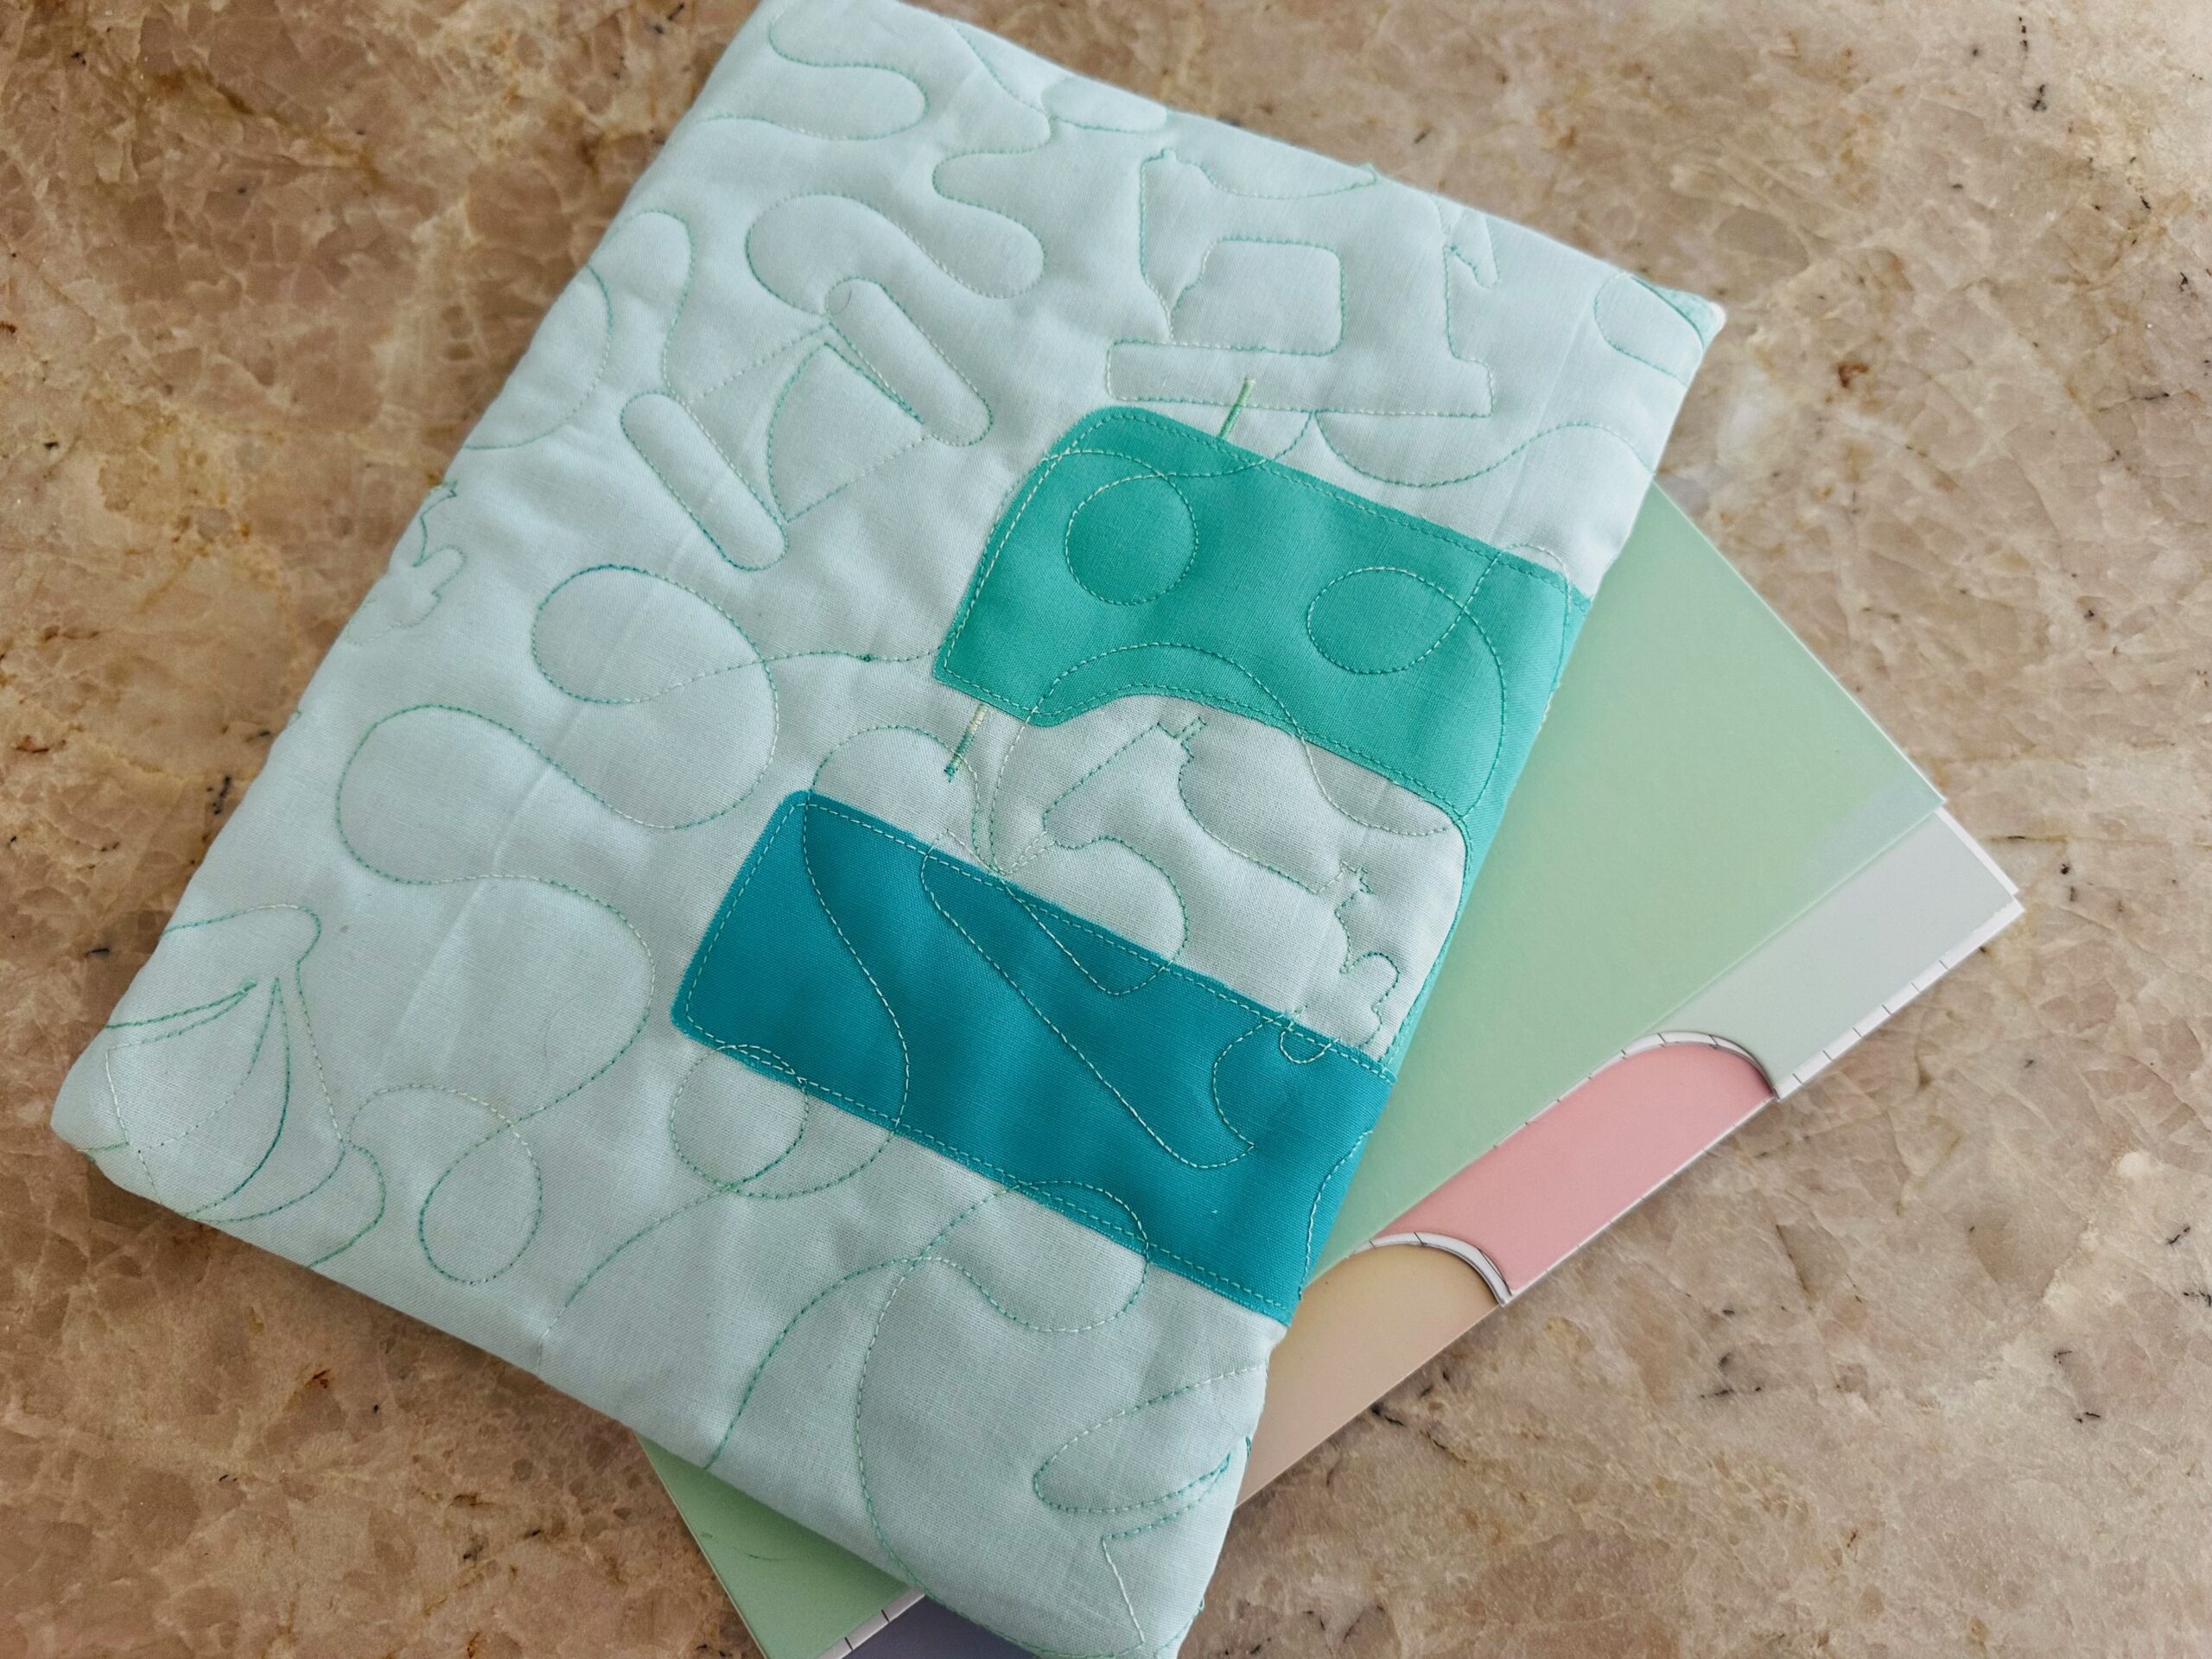
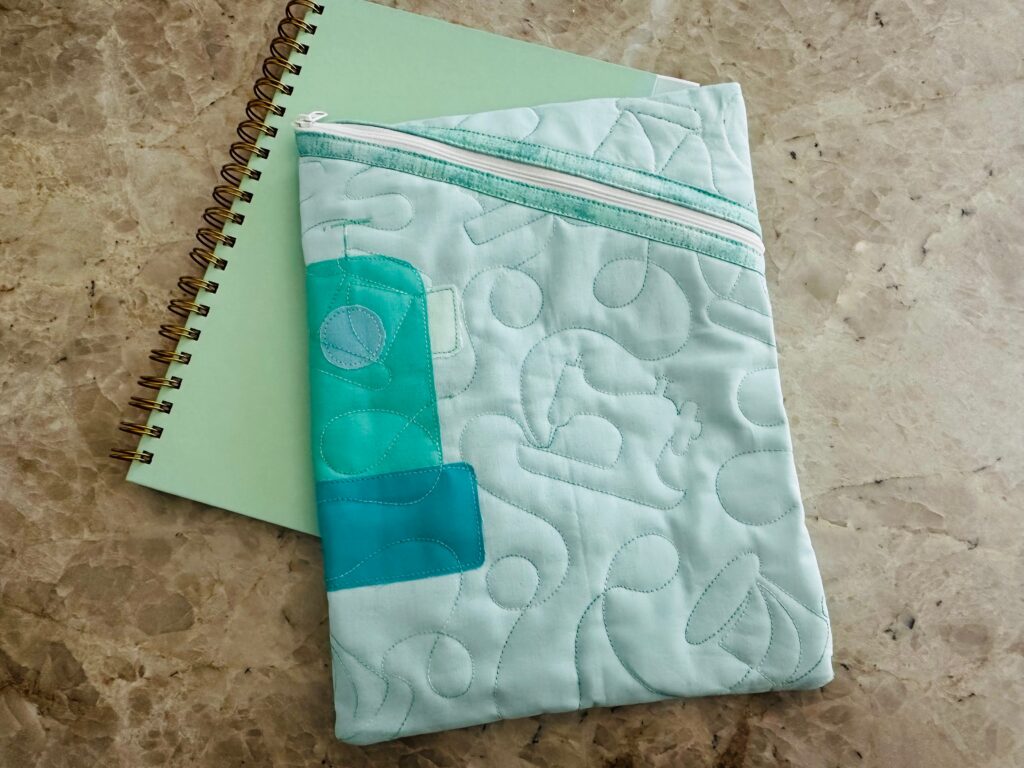
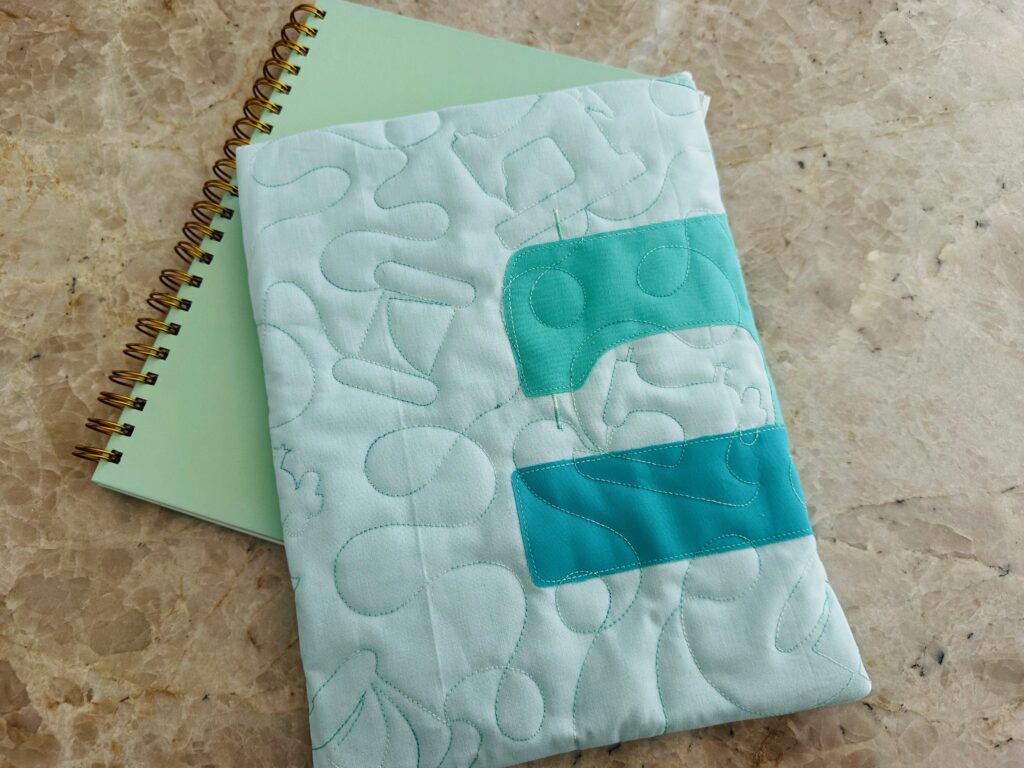
I didn’t want the back of my quilty wall hanging to EVER show, so I decided to make my Sewing Machine Appliqué into a Hemingway Pouch. This way, the eyelashed thread would be hidden inside the pouch, never to be seen again! The unfortunate thing is that my Sewing Machine Appliqué was already centered on the fabric. And with this pattern, the center becomes the folded side of the pouch. So I convinced myself that this would still work and be really neat (you’ll have to tell me if you agree).
I have made this pouch out of many, many fabrics and in all of the size variations available. It’s a quick sew (especially if you quilt it using an End-to-End Quilting design! You can see below that the pouch front has 1/3 of the sewing machine appliqué showing while the pouch back has 2/3 of the sewing machine showing.
I pondered making this into a pillow instead, but I didn’t have enough matching fabric for a pillow back or the right size of pillow form! Plus, the Hemingway Pouch is really growing on me and is the perfect size for my iPad (I made the Large size).

Had I intended to make this pouch from the start, I would have positioned my appliqué prominently on the front (centered along the left side of the fabric). But I’m glad to have something for my efforts that will still be used! And the Sulky Quilt End-to-End Quilting Design by Designs by Juju is a great addition! Plus, I like the pop of color added by the zipper binding, too.


I fell asleep and missed this on “Sew What”, but I love the slanted zipper on the Hemmingway Pouch and it really adds to the look!
Ellen, I have run into the same situation with eyelashes on the back of quilting. It is really easy to remove the stitches. Cut the bobbin thread periodically and pull it out. Long sections can be removed easily. That leaves few stitches needing more attention. Enjoy.