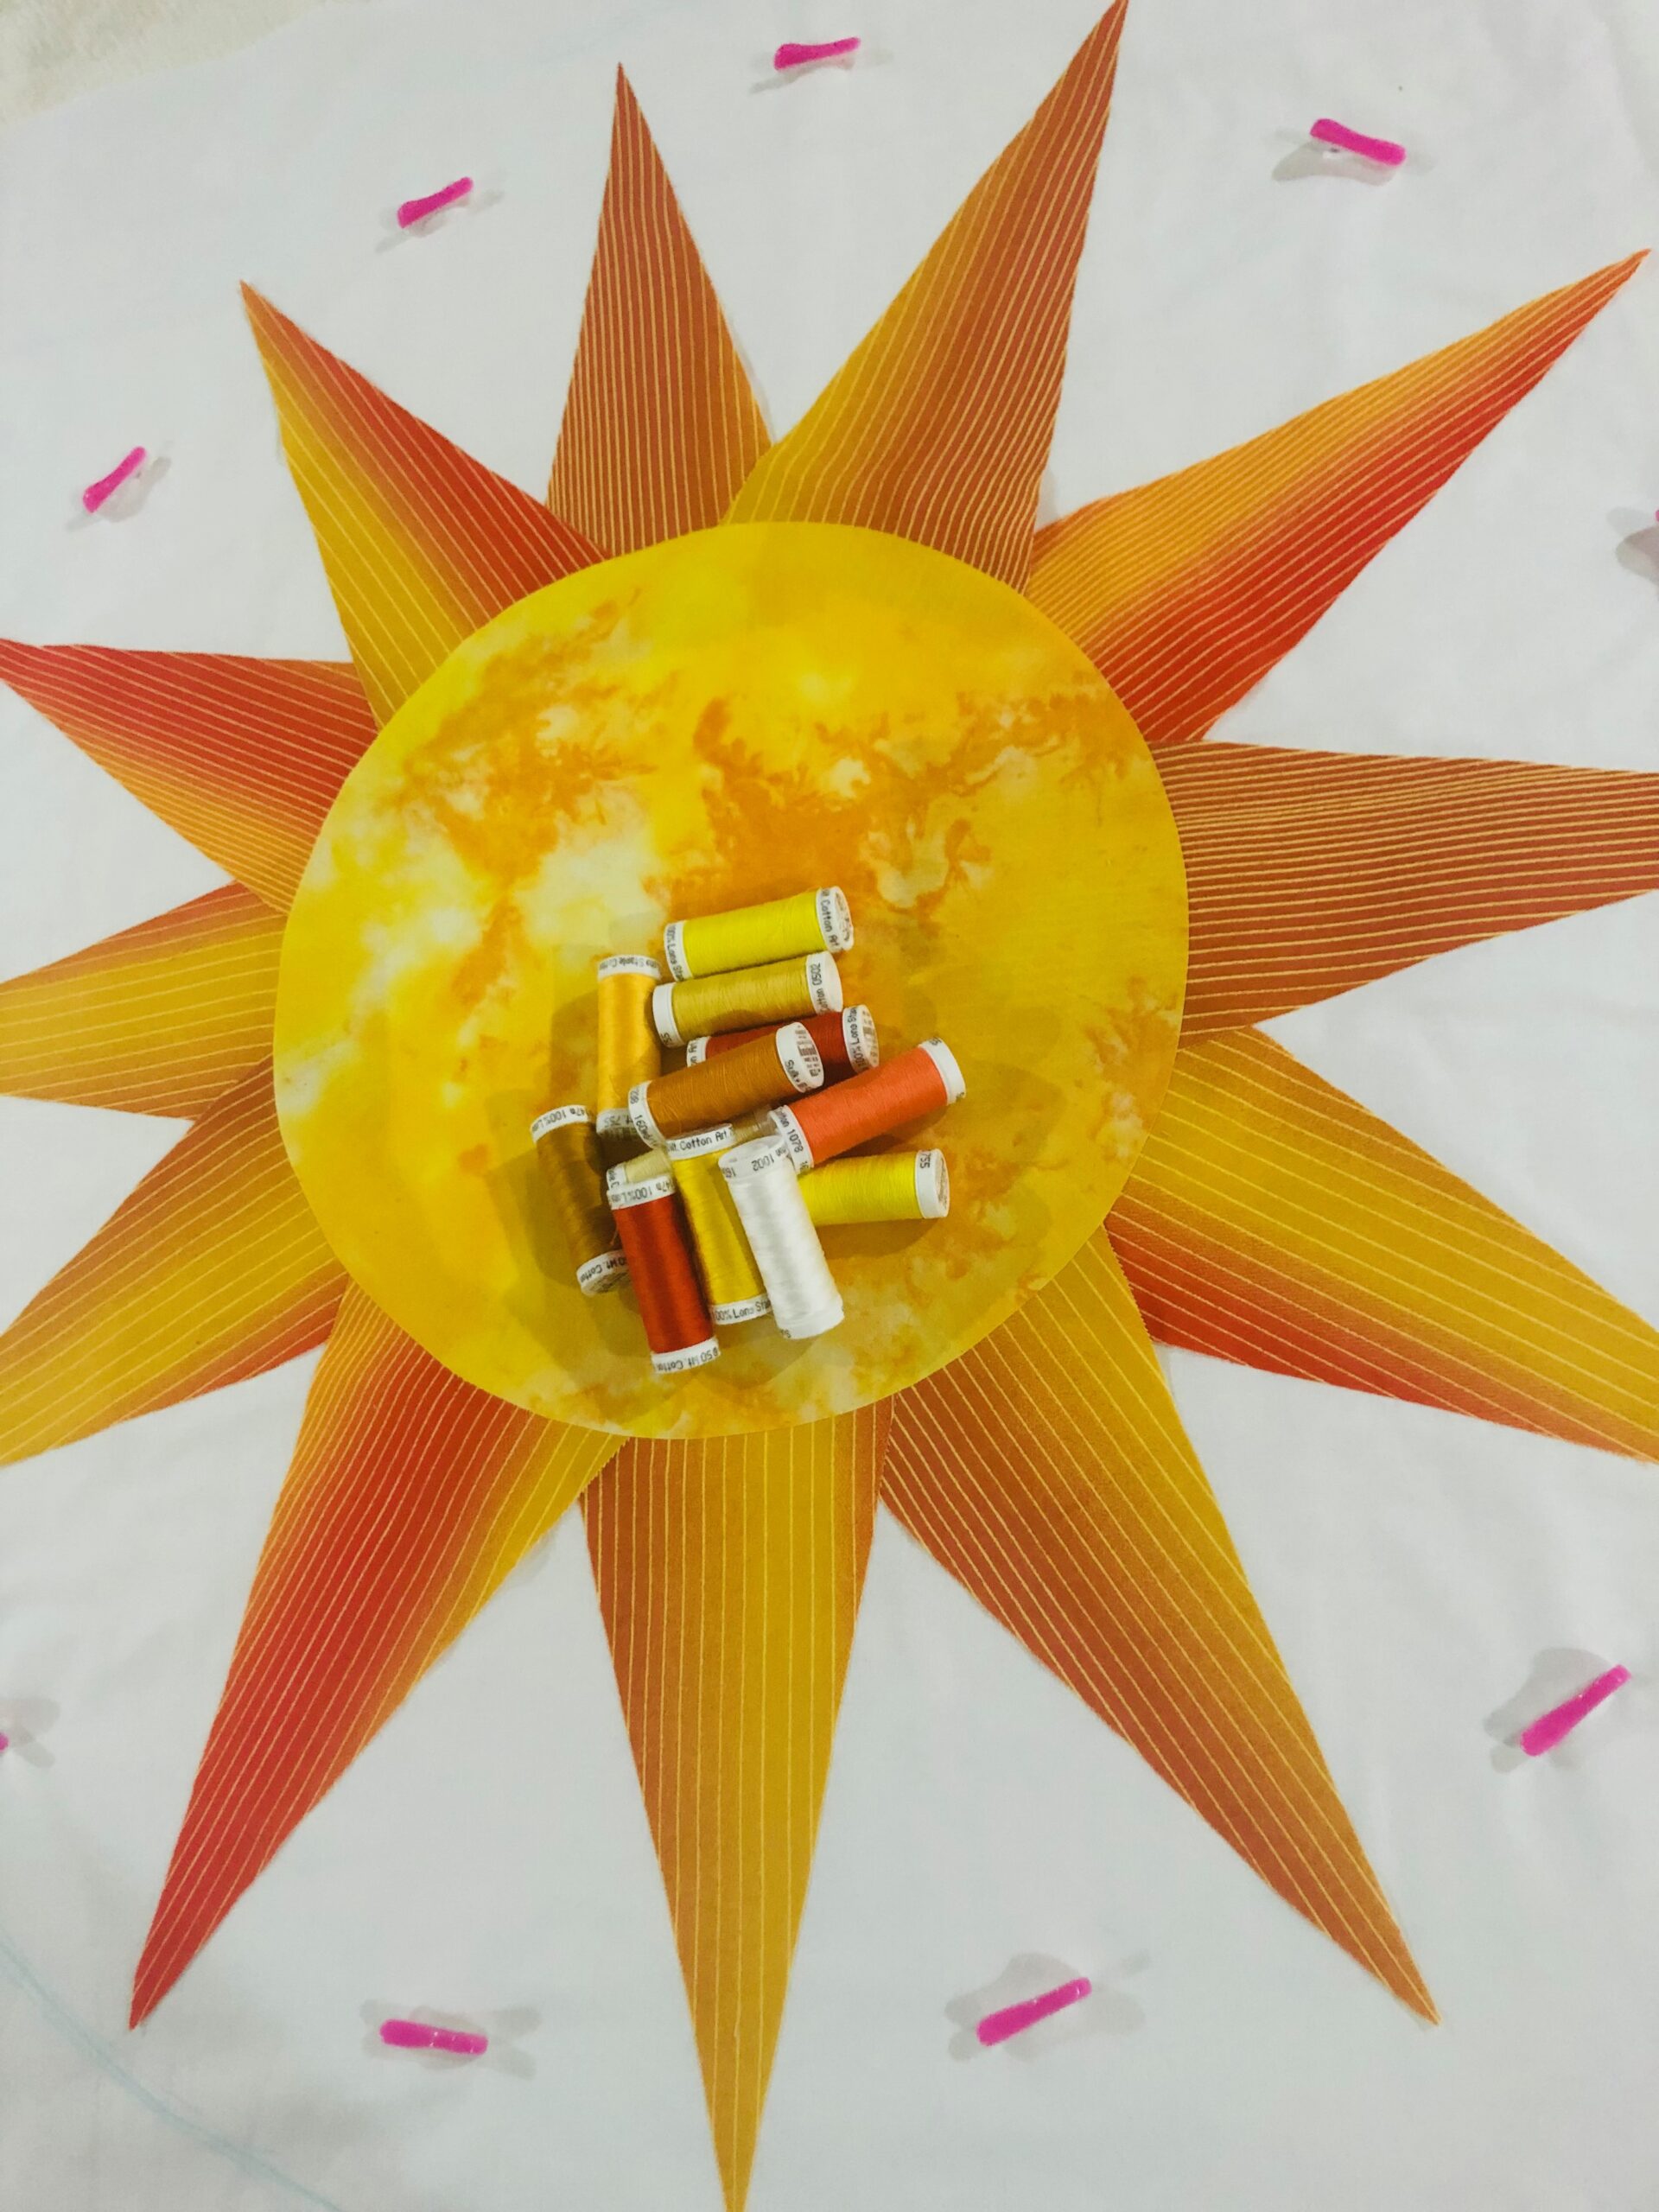
Here Comes the Sun Table Topper
designed by Ellen March

Let the sunshine in with a beautiful Sun table topper. Featuring appliqué and quilting, this centerpiece will bring you and your guests rays of happiness. The trick to successful sewing is to use lightweight, high-quality fusible web and lustrous, long-staple thread.
SUPPLIES
- Sulky Sunshine & Daydreams 50 wt. Thread Palette for Quilting
- KK 2000™ Temporary Spray Adhesive
- Lightweight fusible web (such as Sulky Perfect Appliqué Fusible Web (coming soon) or SoftFuse Premium™ )
- Size 70/10 Organ™ Microtex Needles
- (2) 30” squares of Background fabric (shown in white)
- 15” square of Center Sun fabric
- Fat quarter of Sun Ray fabric
- Fat quarter of Binding fabric
- Removable fabric marking pen
- Clover Wonder Pins
- Clover Wonder Clips
PREP
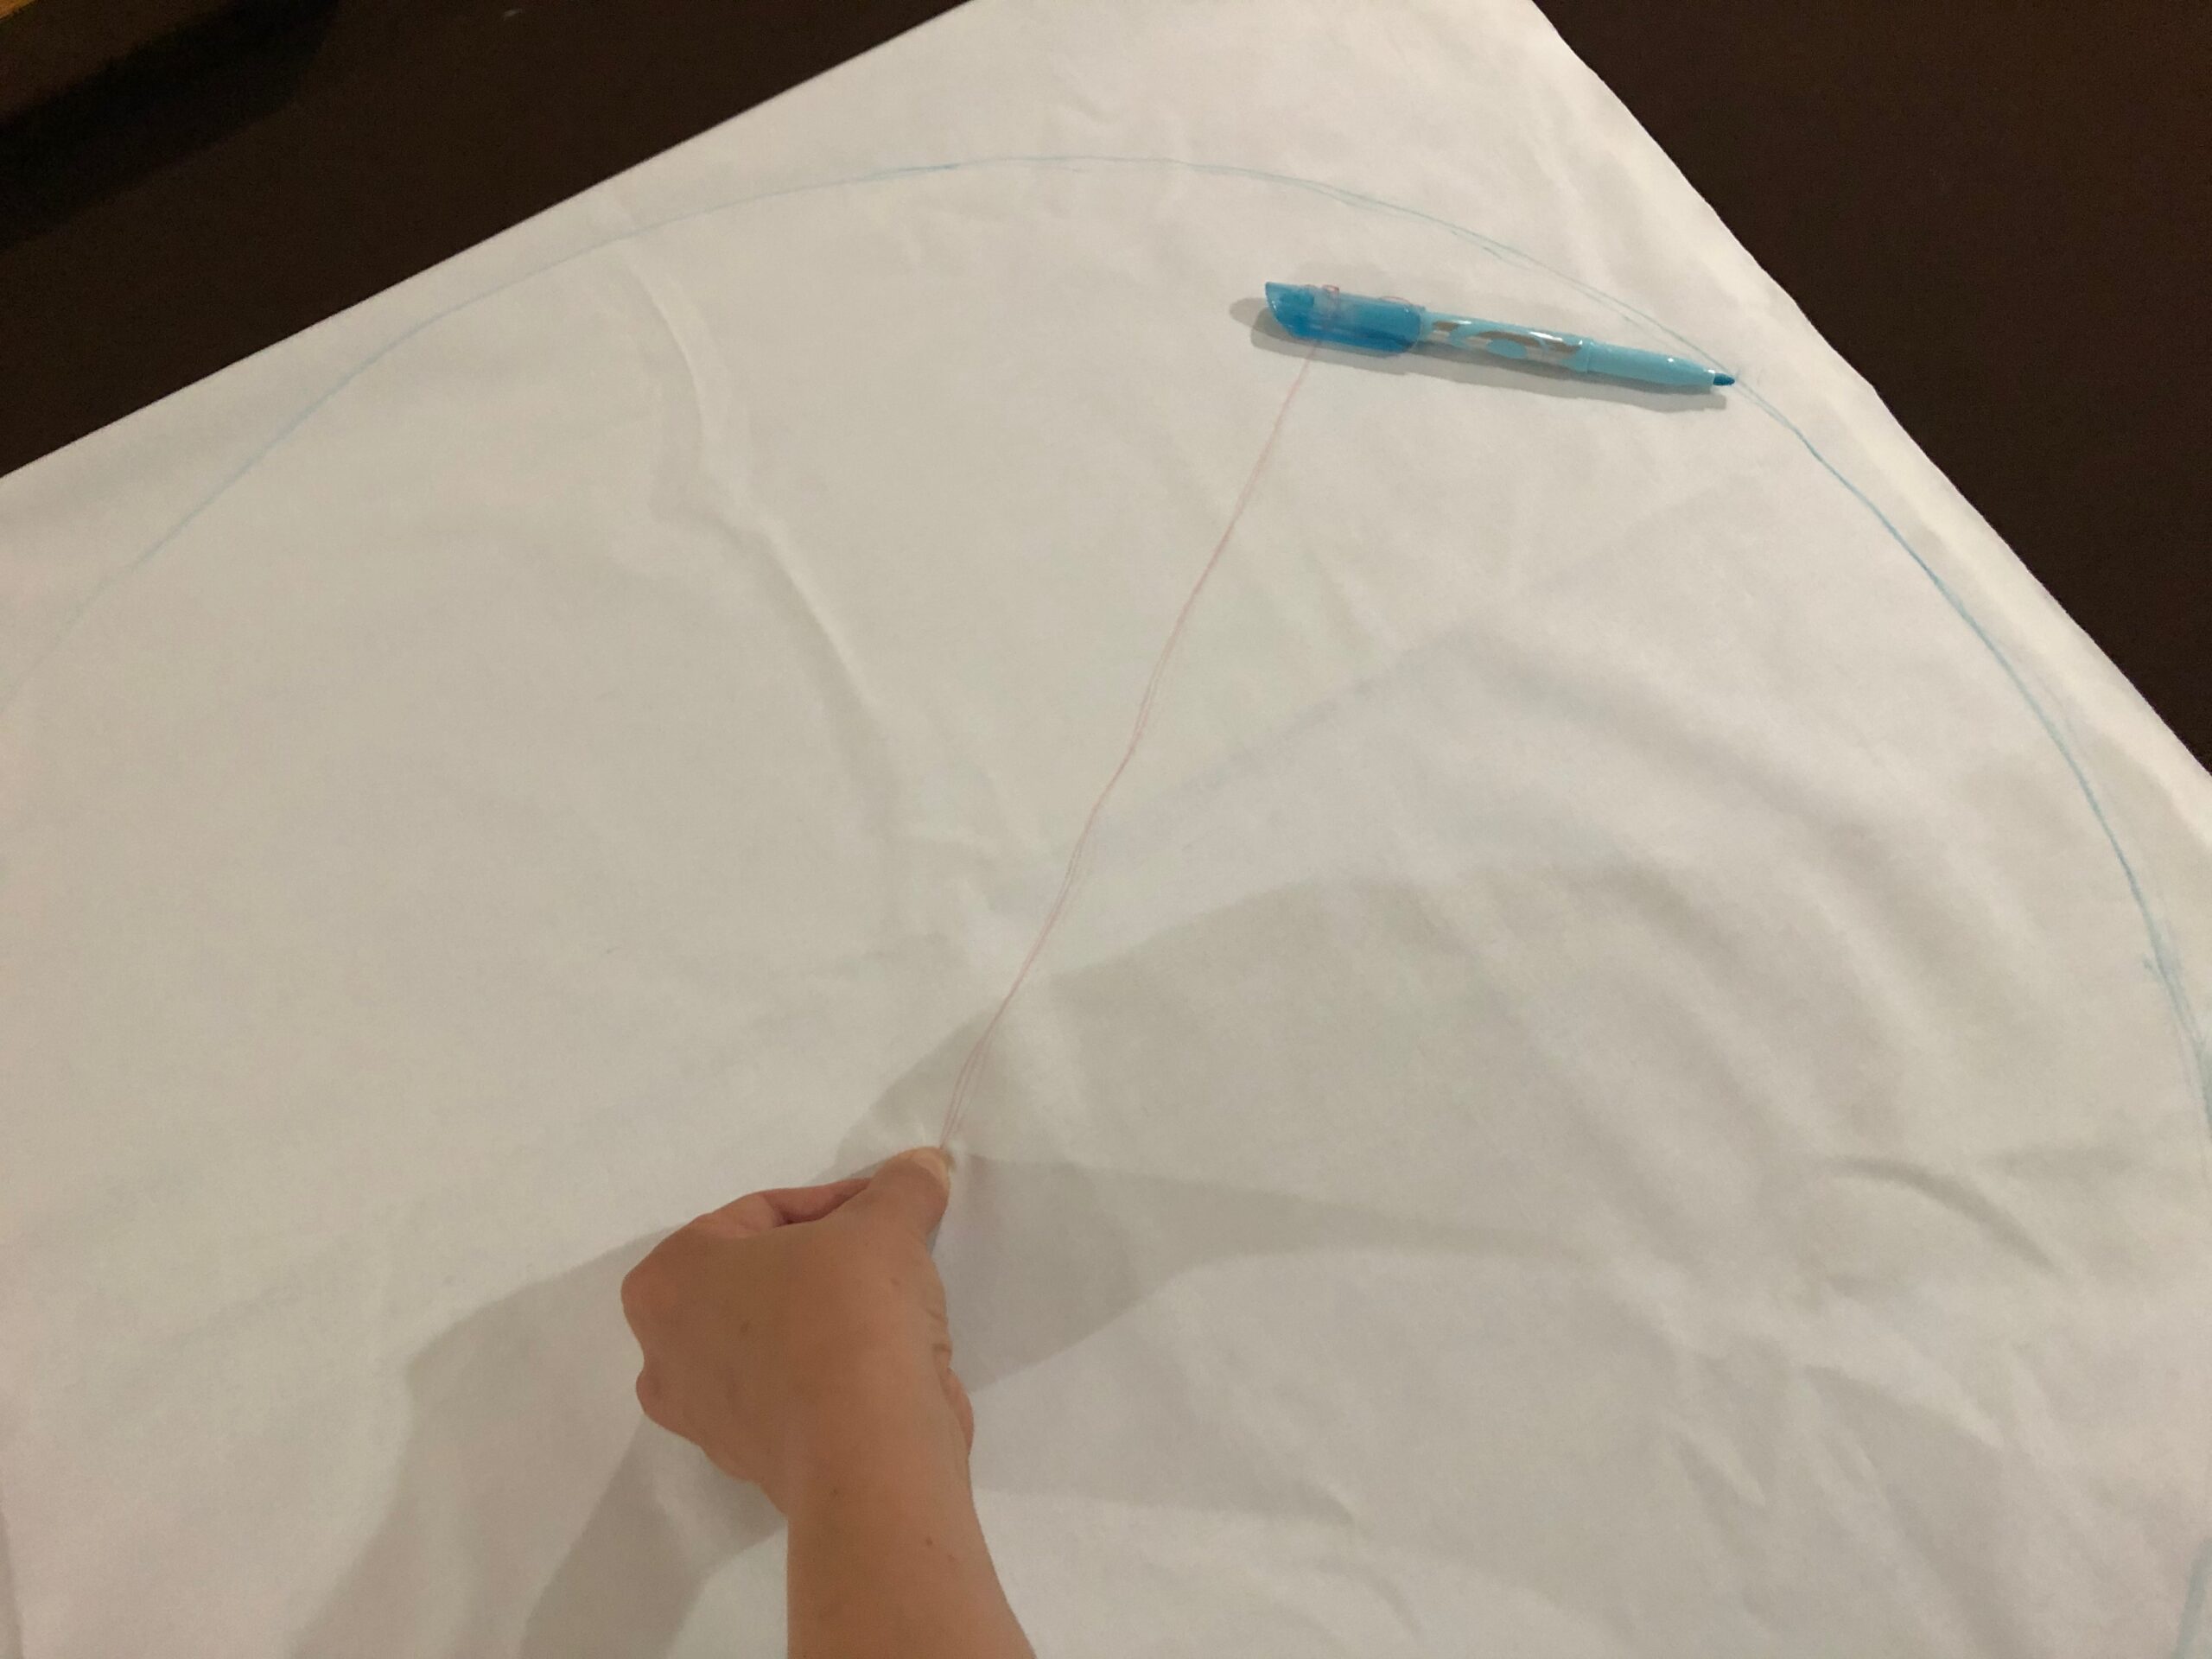
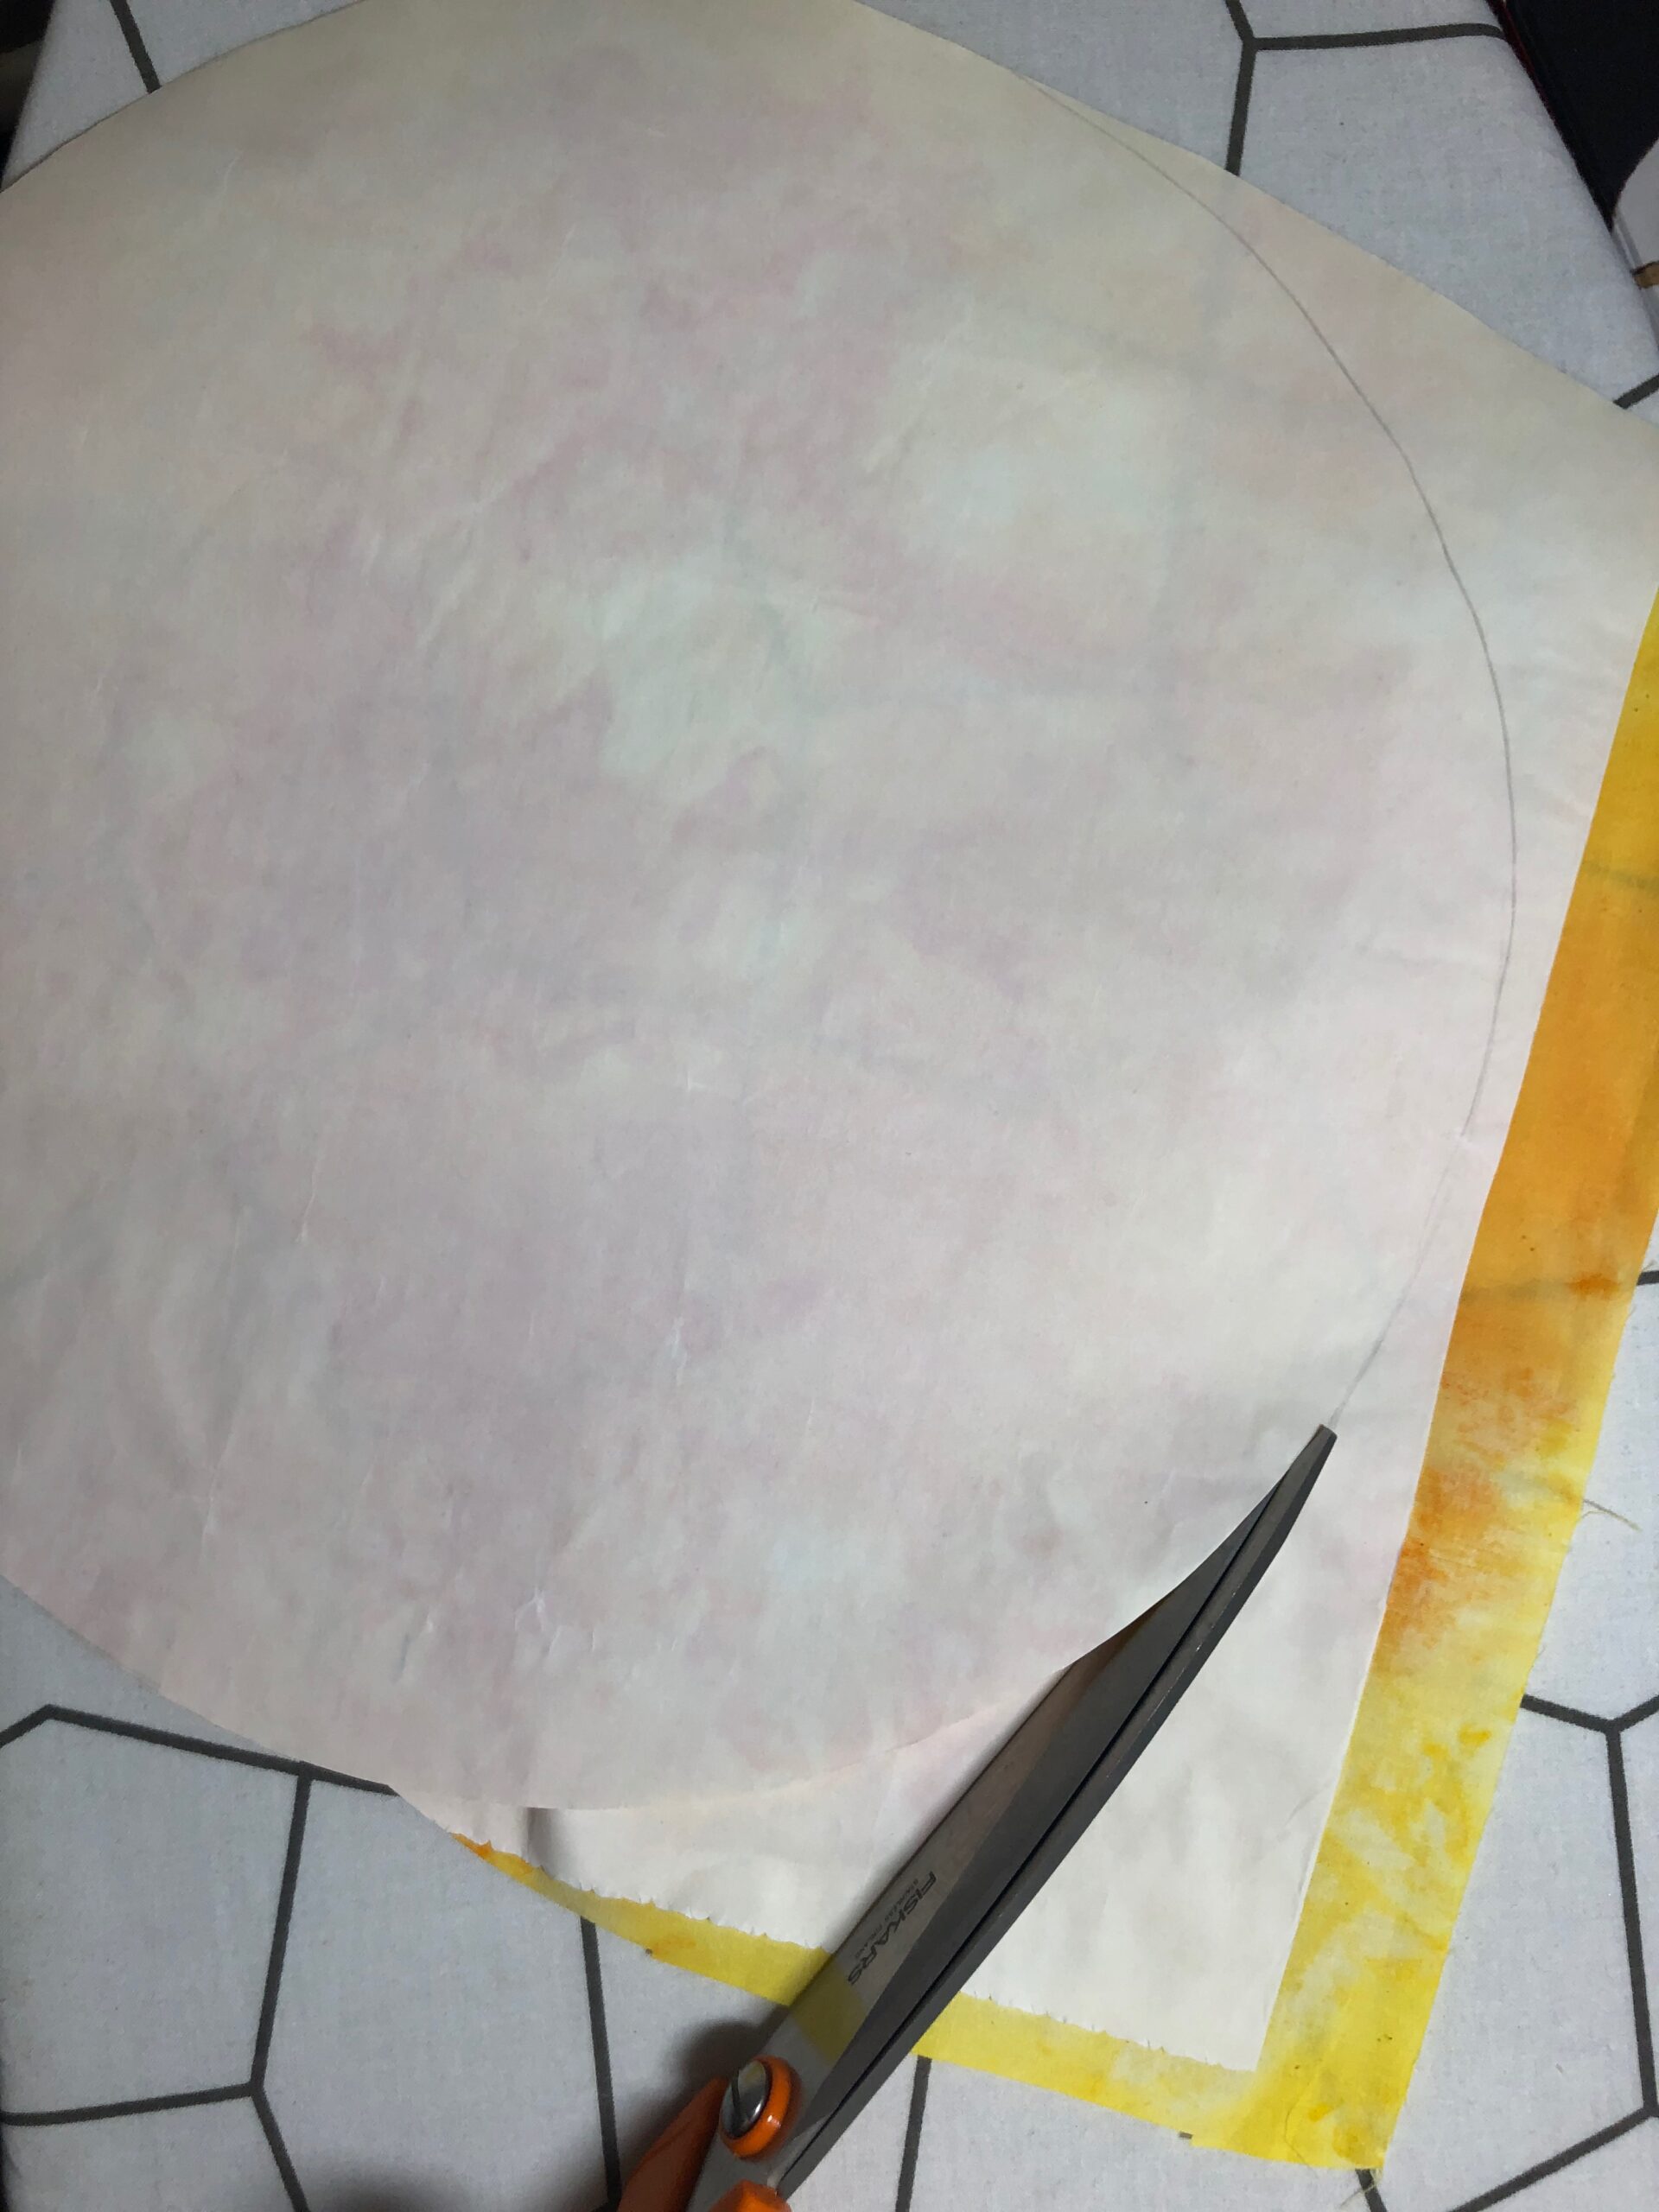
From the background fabric, cut two 28”-diameter circles. Set one aside for the Sun table topper backing. The other is the background.
TIP: Tie a string to the end of a fabric marking pen. Place the end of the string at the fabric center. Make sure the string measures 14” long from the end to the knot on the marking pen. Hold the string end firmly in place and move the marking pen around in a circle to mark the 28” diameter circle onto the fabric right side.
Adhere the fusible web to the wrong side of the Center Sun fabric and Sun Ray fabrics.
Draw a 12”-diameter circle on the paper side of the fusible web attached to the Center Sun fabric. Cut out the Center Sun appliqué.
Draw twelve 9”-long Sun Ray triangles on the paper side of the fusible web attached to the Sun Ray Fabric. Make each ray approximately 4 ½” at the triangle base, tapering to a point.
TIP: Create a triangle template cut each Sun Ray exactly the same.
Fold the Center Sun in half and then in half again, creating four quadrants. Then, remove the paper backing. Center the Center Circle on the background fabric. Audition the Sun Rays around the Center Sun, placing the wide ends under the Center Sun perimeter and spacing them equidistantly. Begin centering a Sun Ray at each circle foldline. Then space two Rays between.
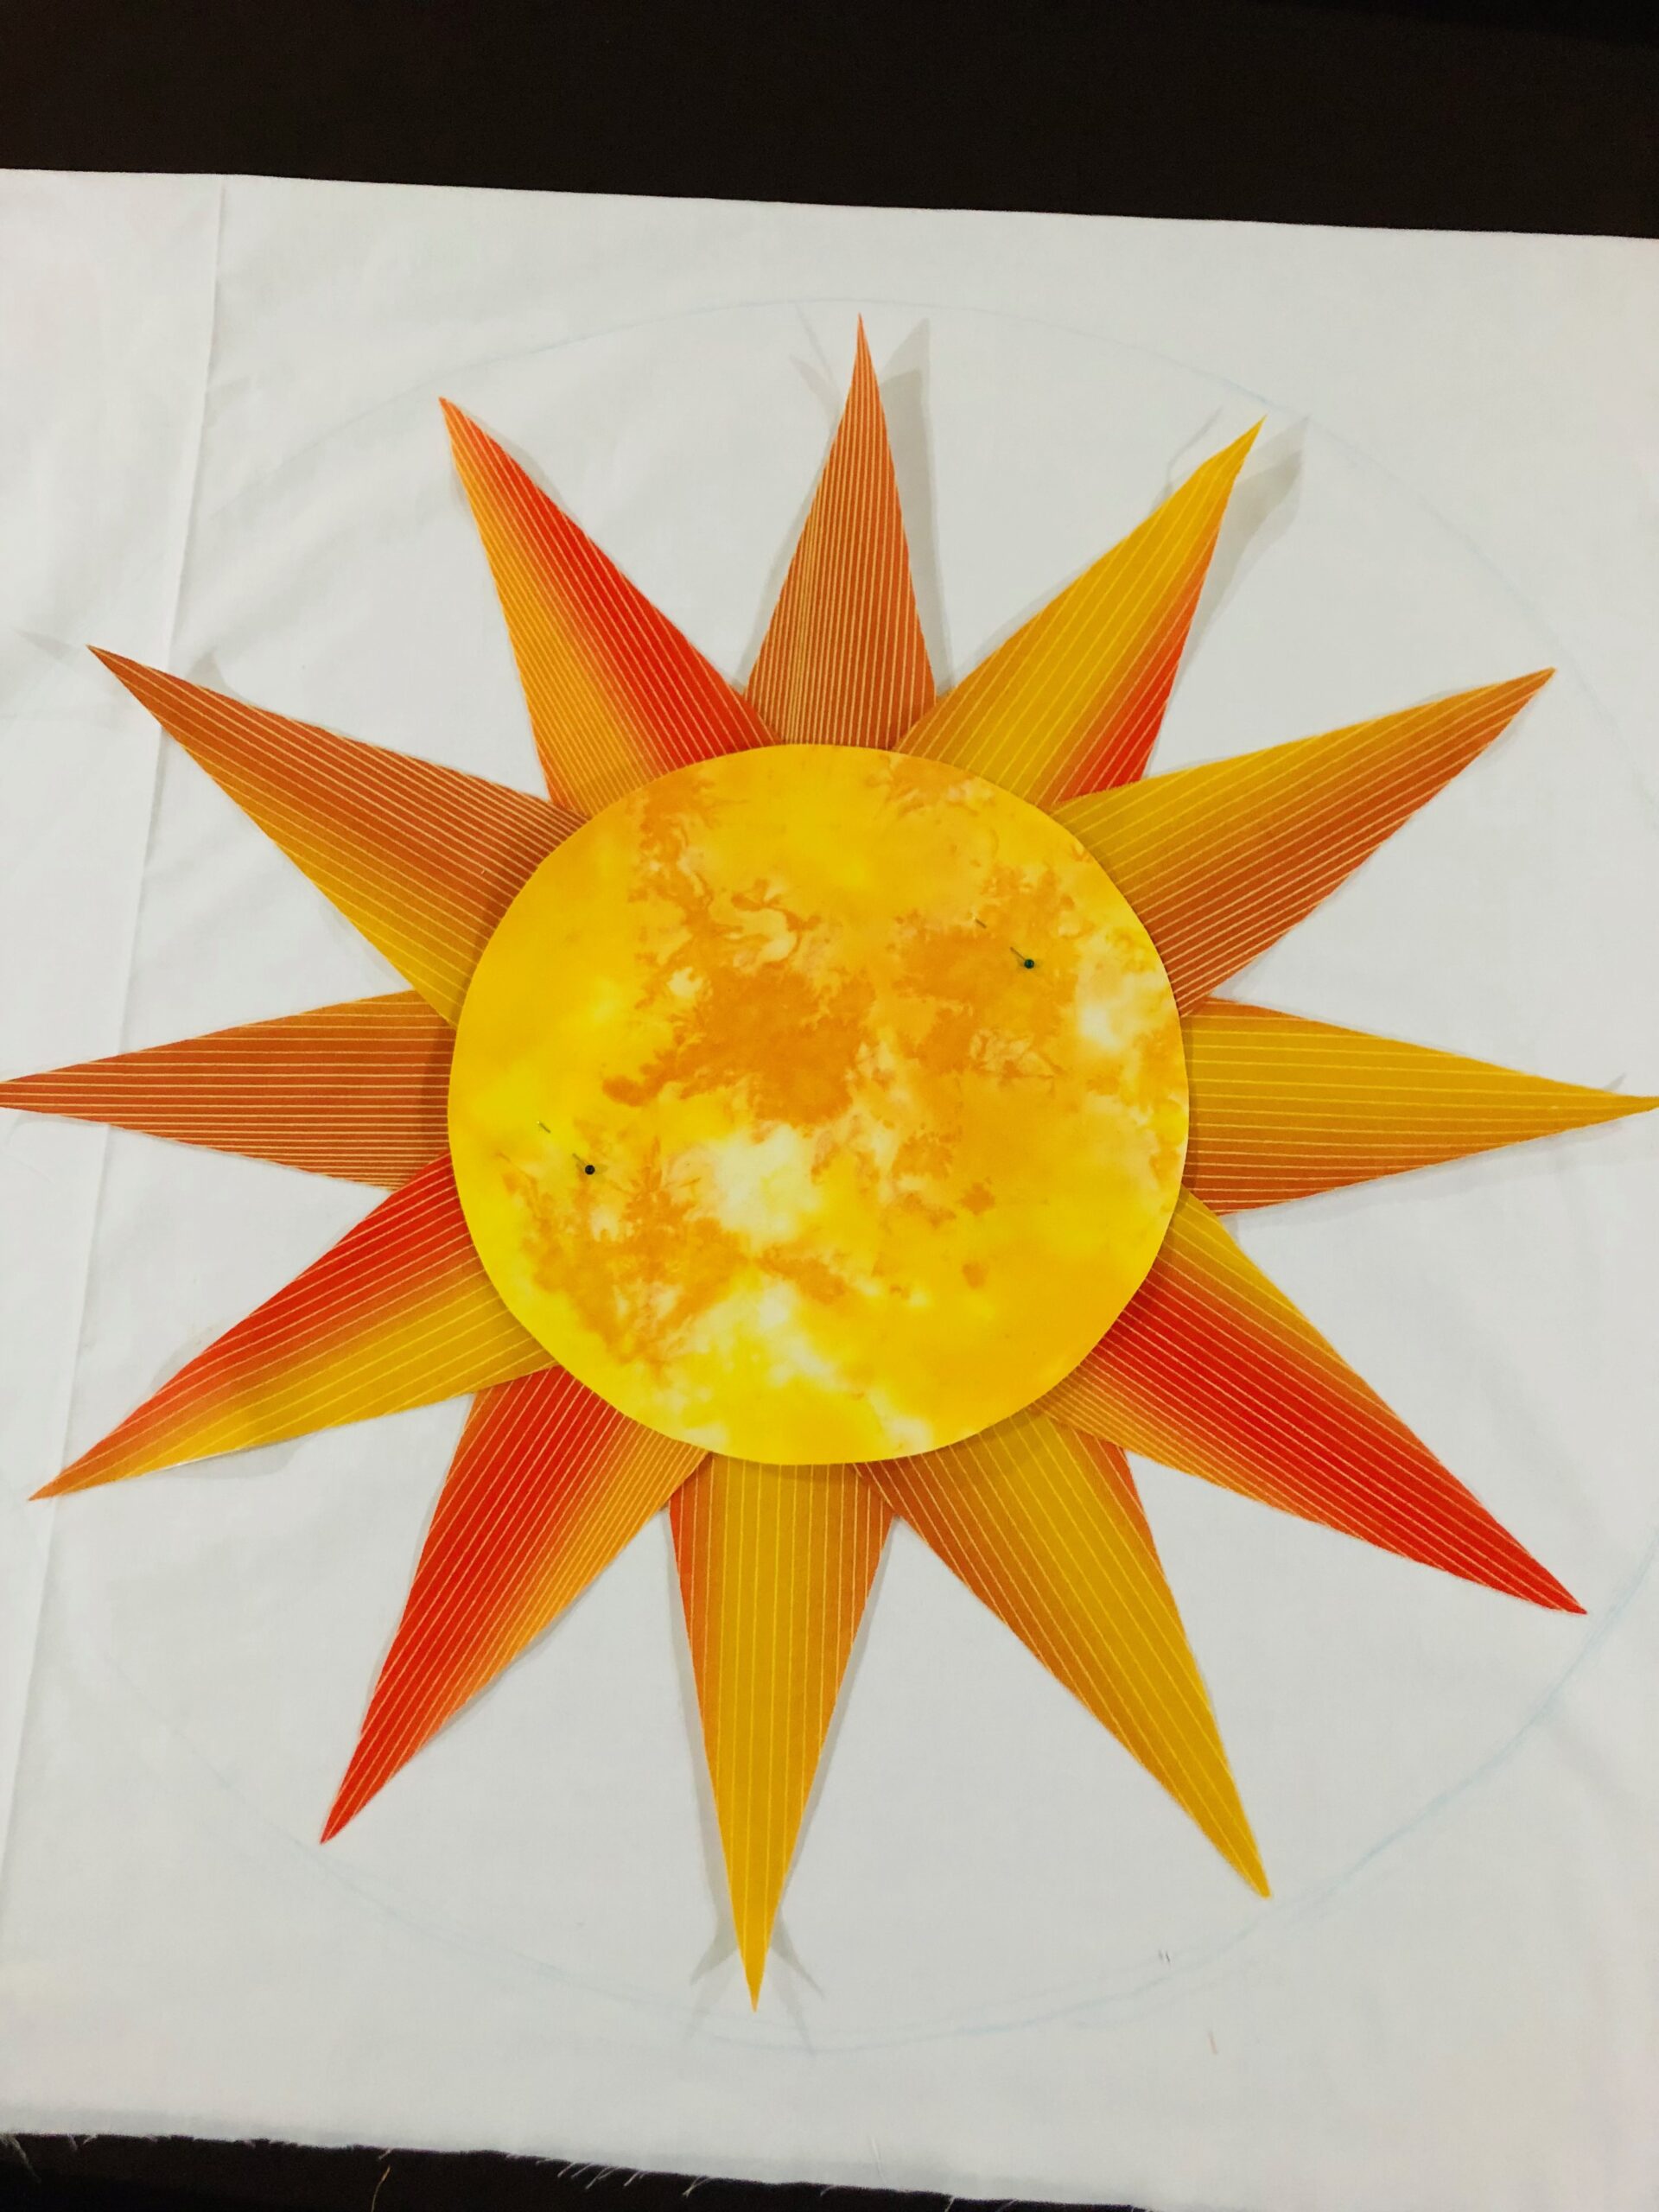
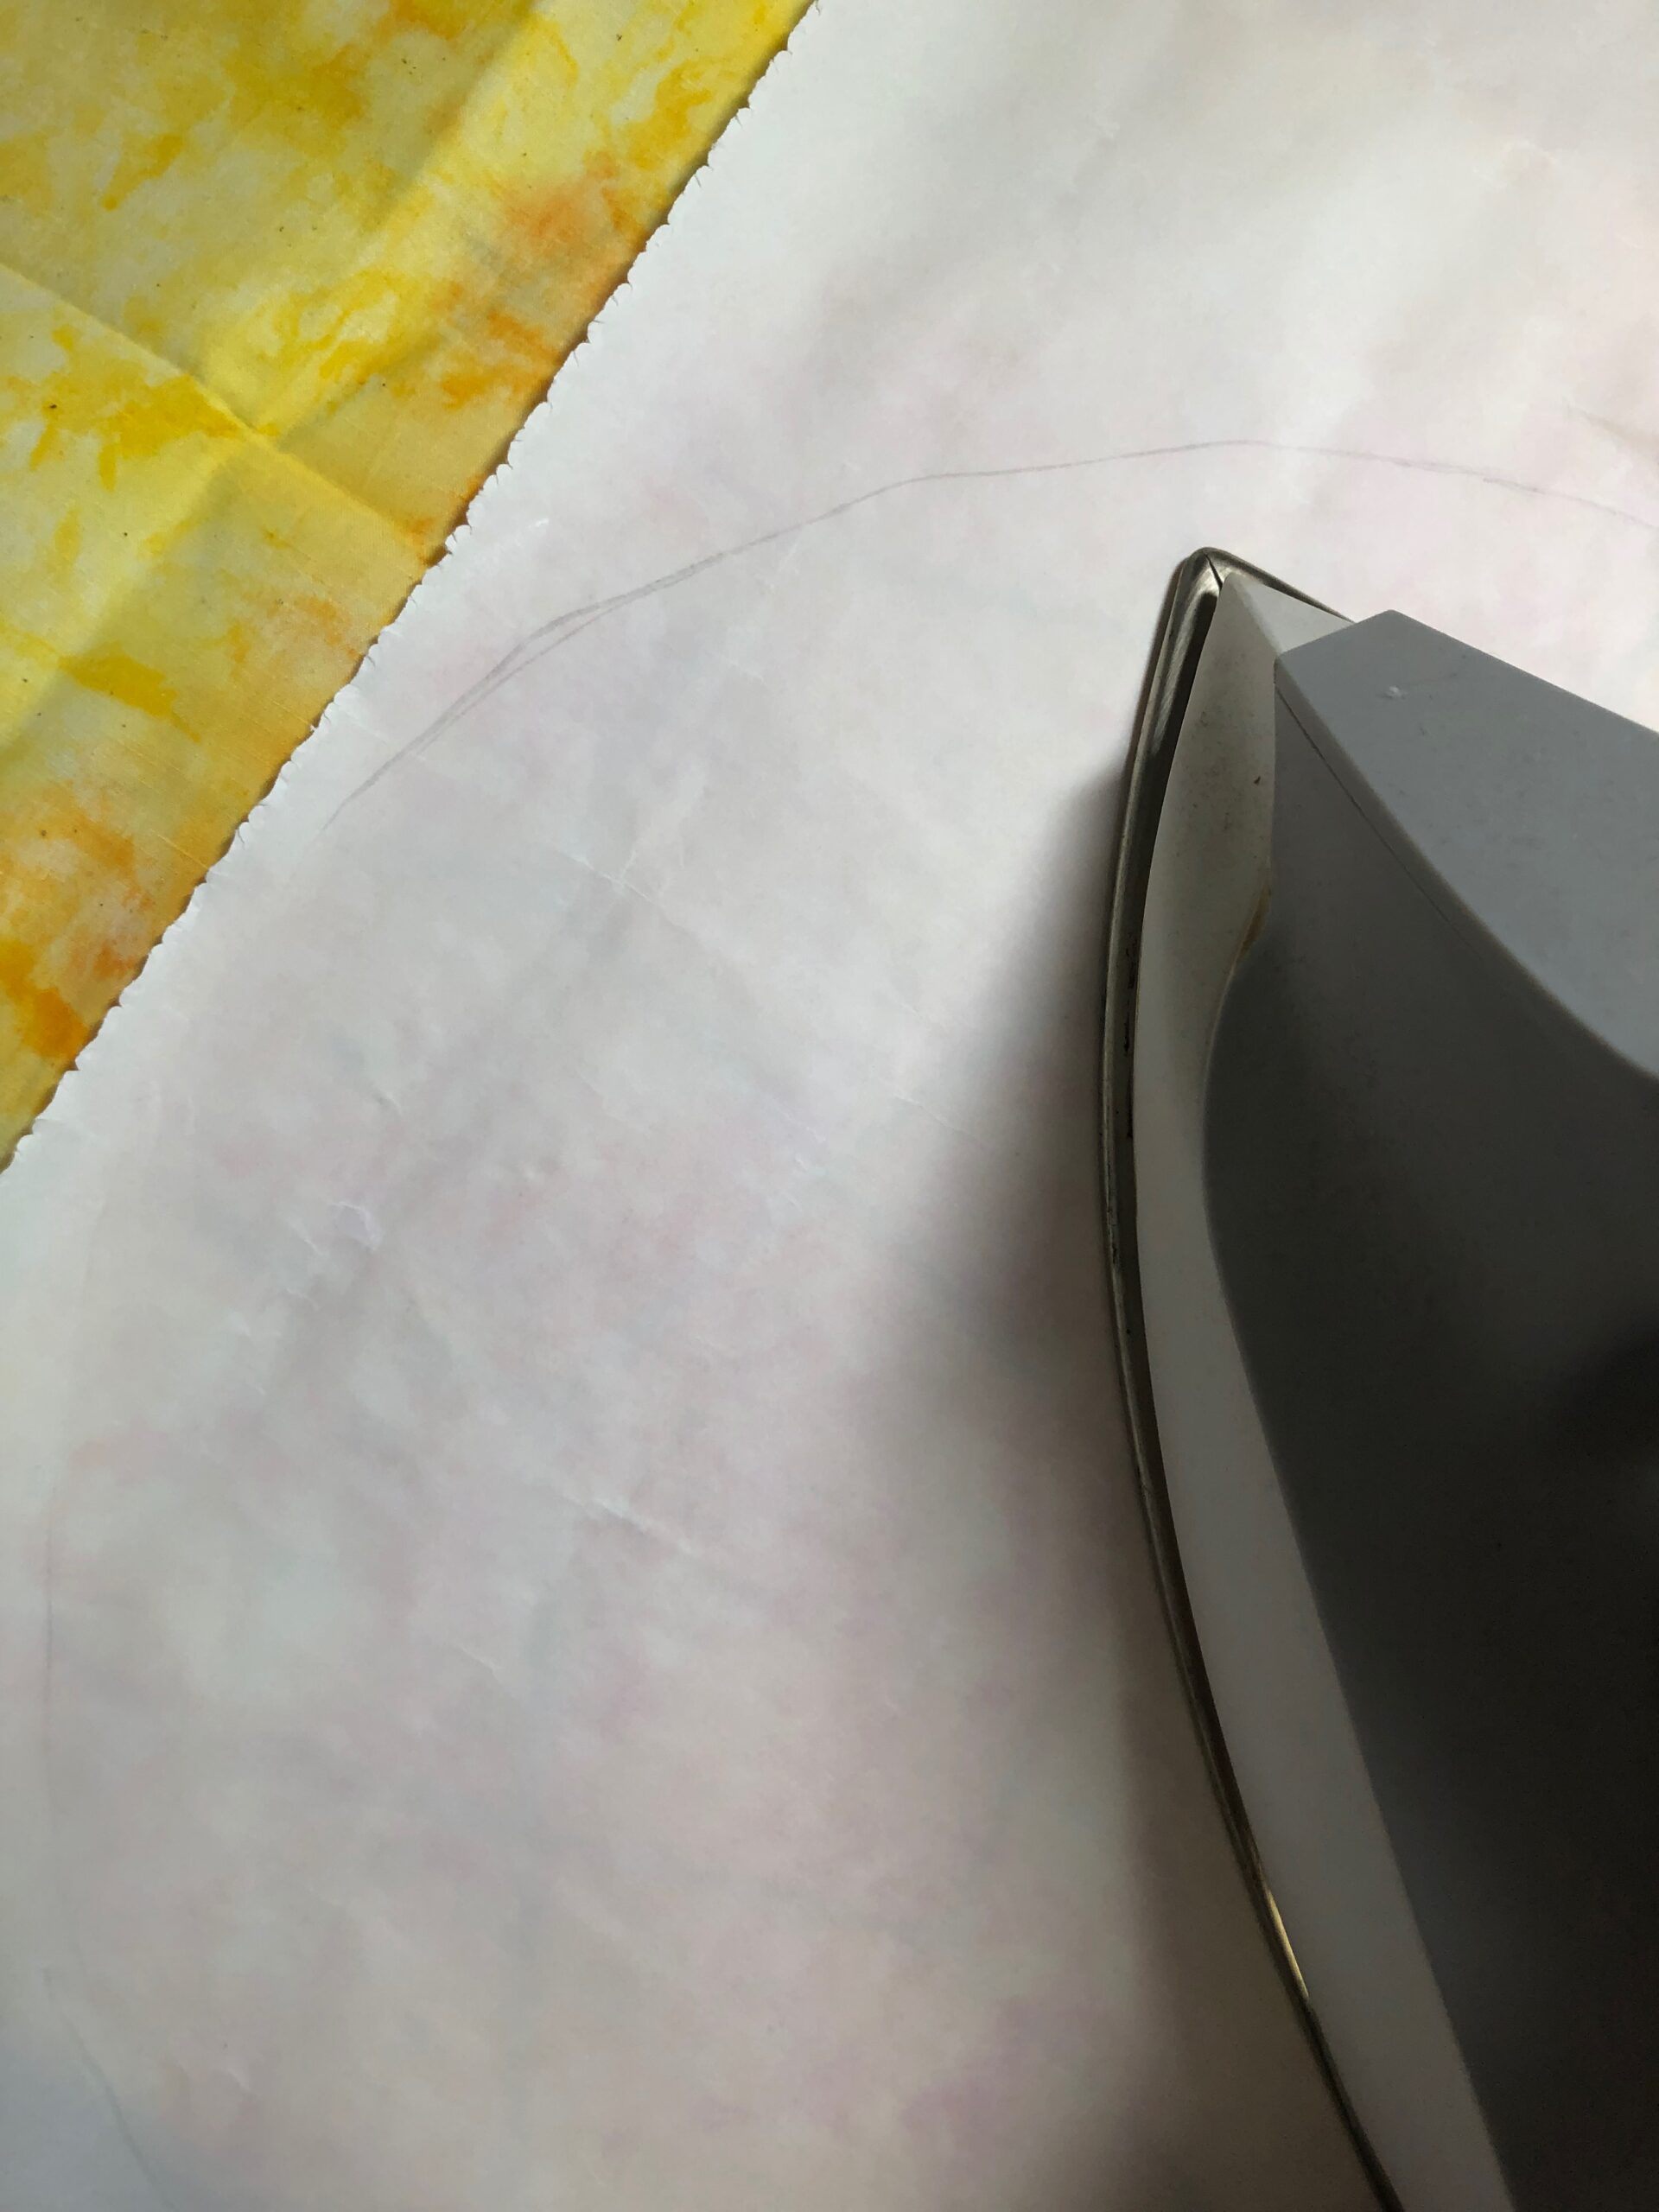
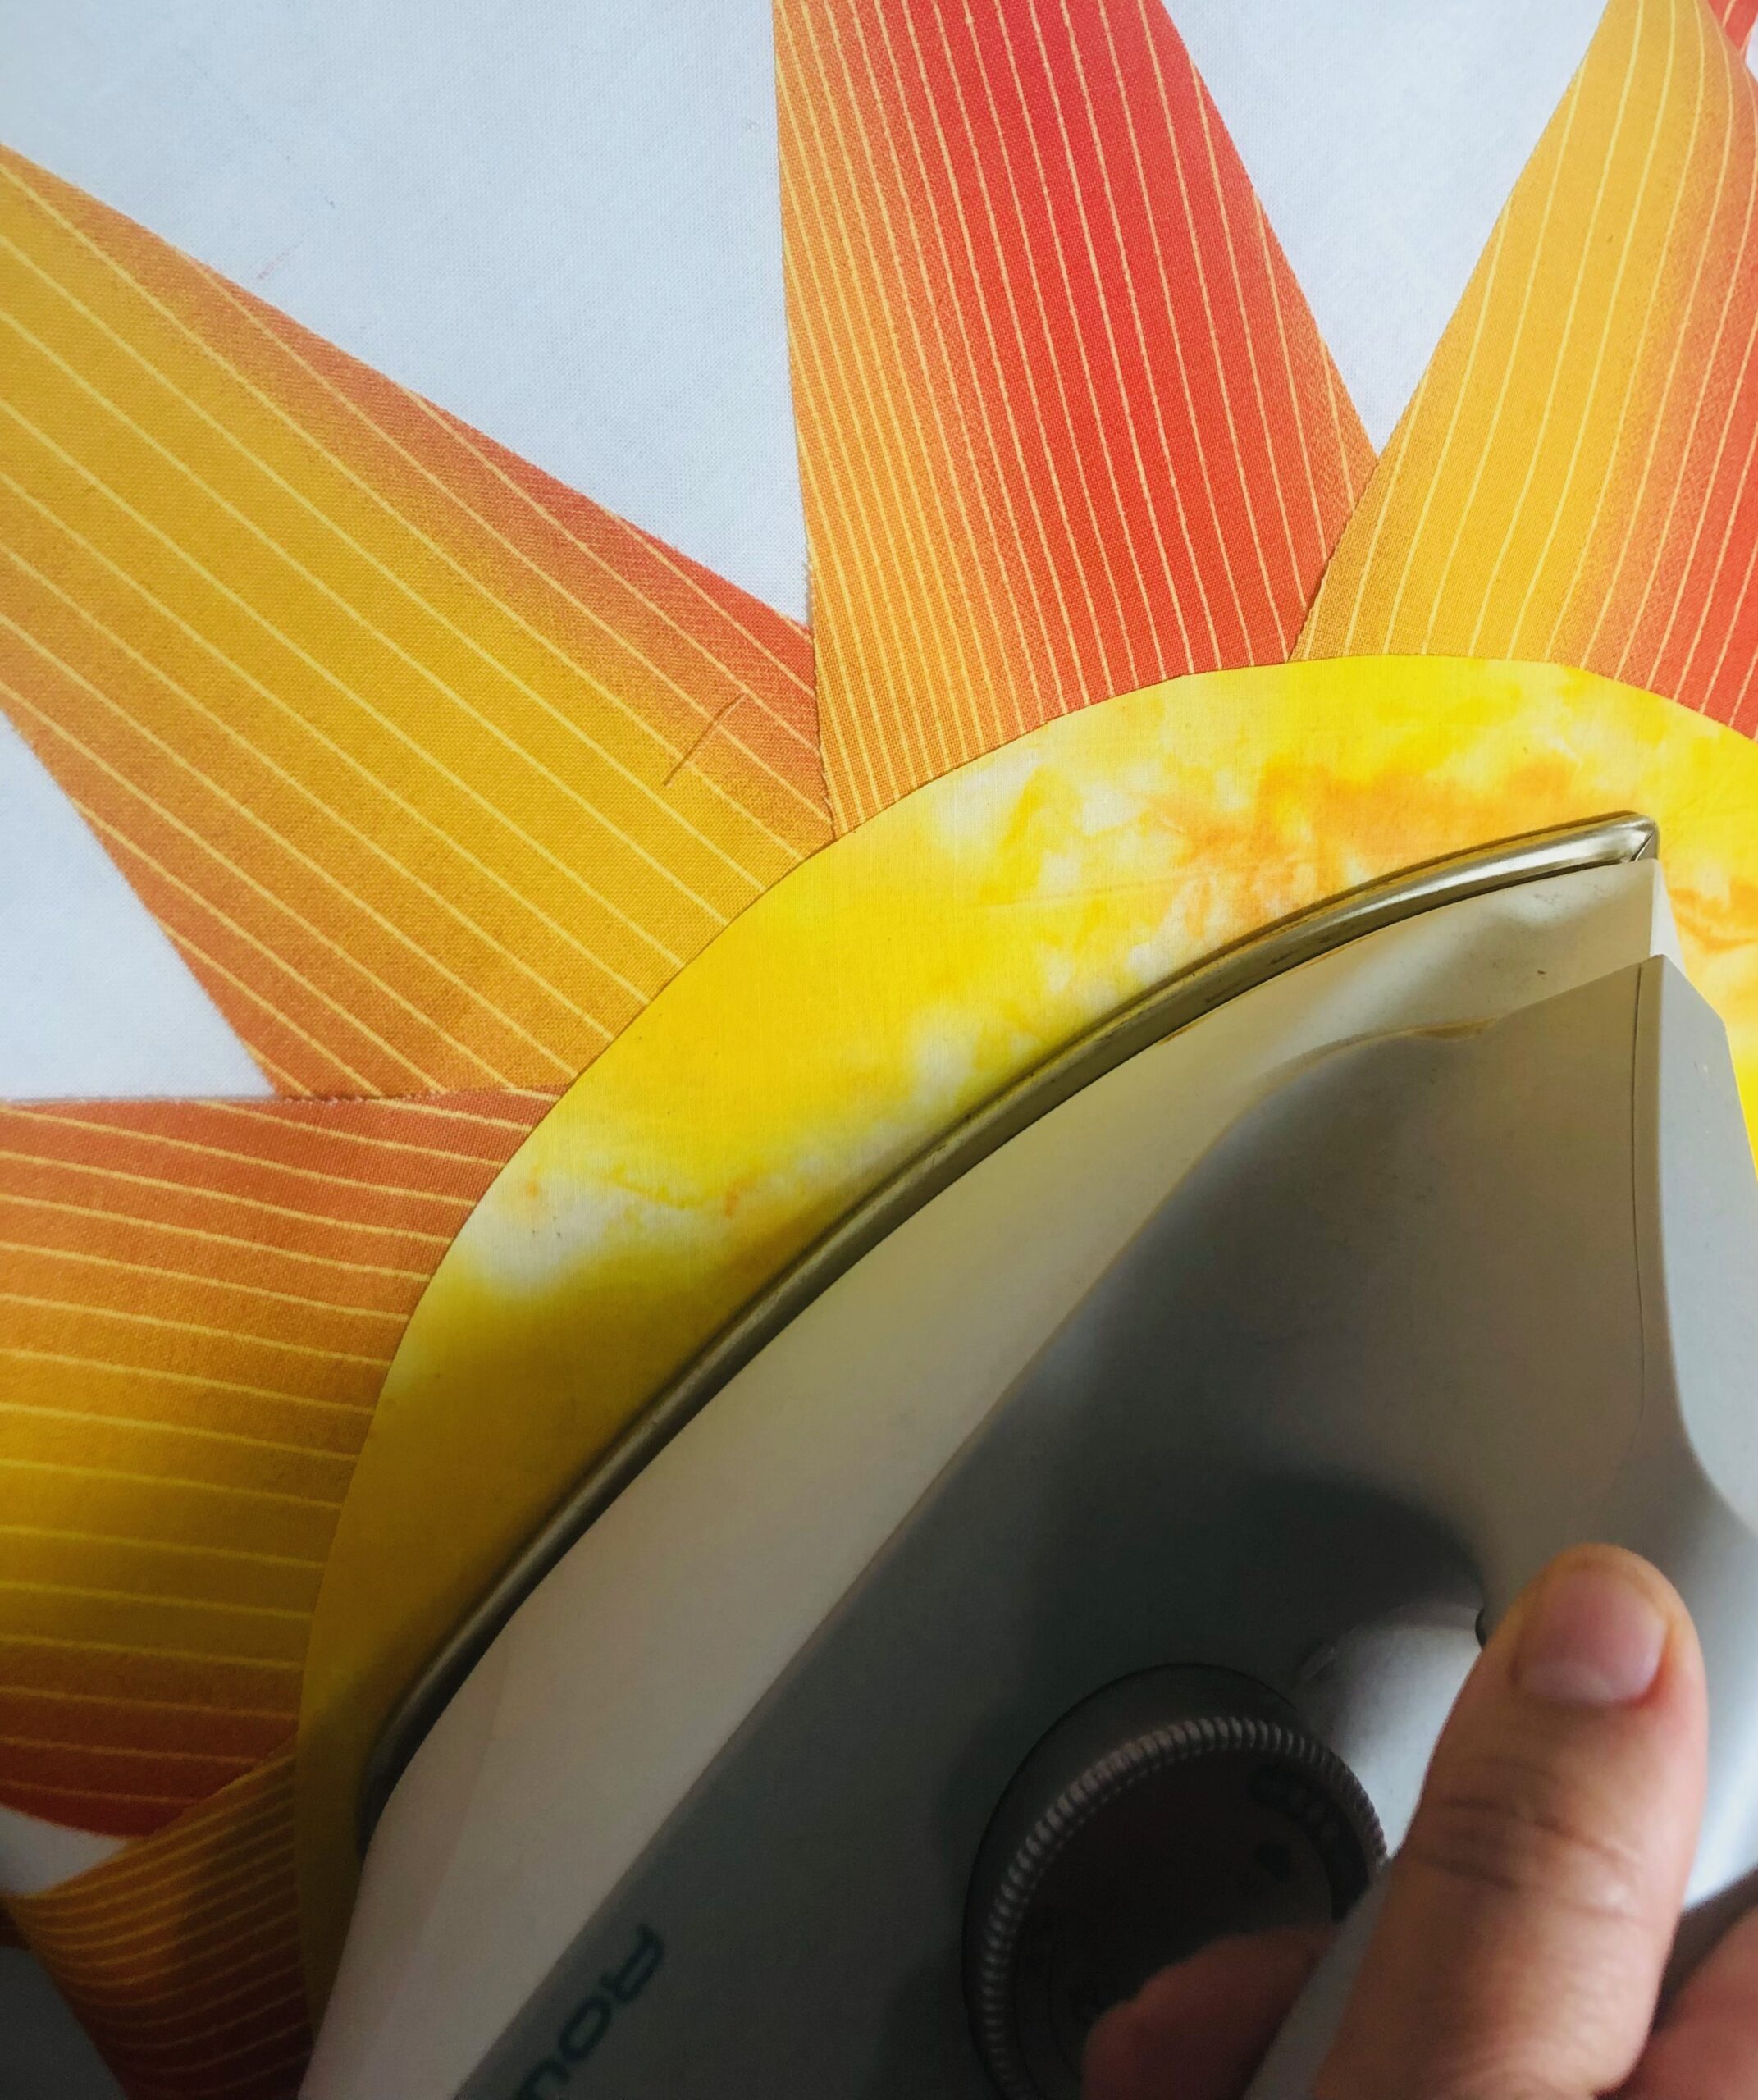
Once satisfied with the Sun Ray placements, fuse the appliqués in place for the Sun table topper. Make sure the iron is set at a medium heat setting and don’t go back and forth; rather, fuse in an up-and-down motion to avoid shifting the pieces. If desired, use a pressing cloth to ensure no fusible residue transfers to the iron soleplate. Let the Sun appliqué cool before continuing.
STITCHING THE SUN TABLE TOPPER
Install a size 70/10 Microtex Needle.
After fusing, decide which stitch to use to further secure the appliqués.
A blanket stitch gives a traditional look to the table topper and helps conceal the raw edges a bit. A straight stitch placed just inside the raw fabric edges gives a clean look. Wavy lines or star stitches are a bit more decorative and fun.
Choose the stitch you’d like for the Center Sun. Working with the Sunshine & Daydreams Thread Palette for Quilting, thread the needle with a thread color that matches or contrasts with the Center Sun fabric. Wind the bobbin with the same thread color.
Carefully stitch inside the Center Sun perimeter, watching the needle movement and pivoting accordingly to create a nice circle.
Don’t backstitch at the beginning and end of the stitching. Instead, leave long thread tails and pull them to the back of the work before tying off and trimming.
Repeat to appliqué each Sun Ray piece, changing thread colors and stitches if desired. Remember to change the thread color in the bobbin if switching thread colors in the needle.
For the featured table runner, the appliqué was secured with straight stitching, 1/8” inside each fabric piece.
Once stitching is complete, press the table topper to remove any wrinkles.
TIP: Create a stitch sampler to familiarize yourself with the decorative stitches built into your machine. Experiment by lengthening or widening the stitches to discover new patterns. A stitch sampler also helps you understand where and how the needle moves for each stitch so you can plan your design accordingly.
QUILTING THE TABLE TOPPER
Layer the fabrics with the backing circle wrong side up, batting, and then background right side up. Use KK 2000 Temporary Spray Adhesive to secure the layers.

TIP: Spray KK 2000 on the fabric wrong sides, rather than the batting, to evenly distribute the adhesive and avoid oversaturation.
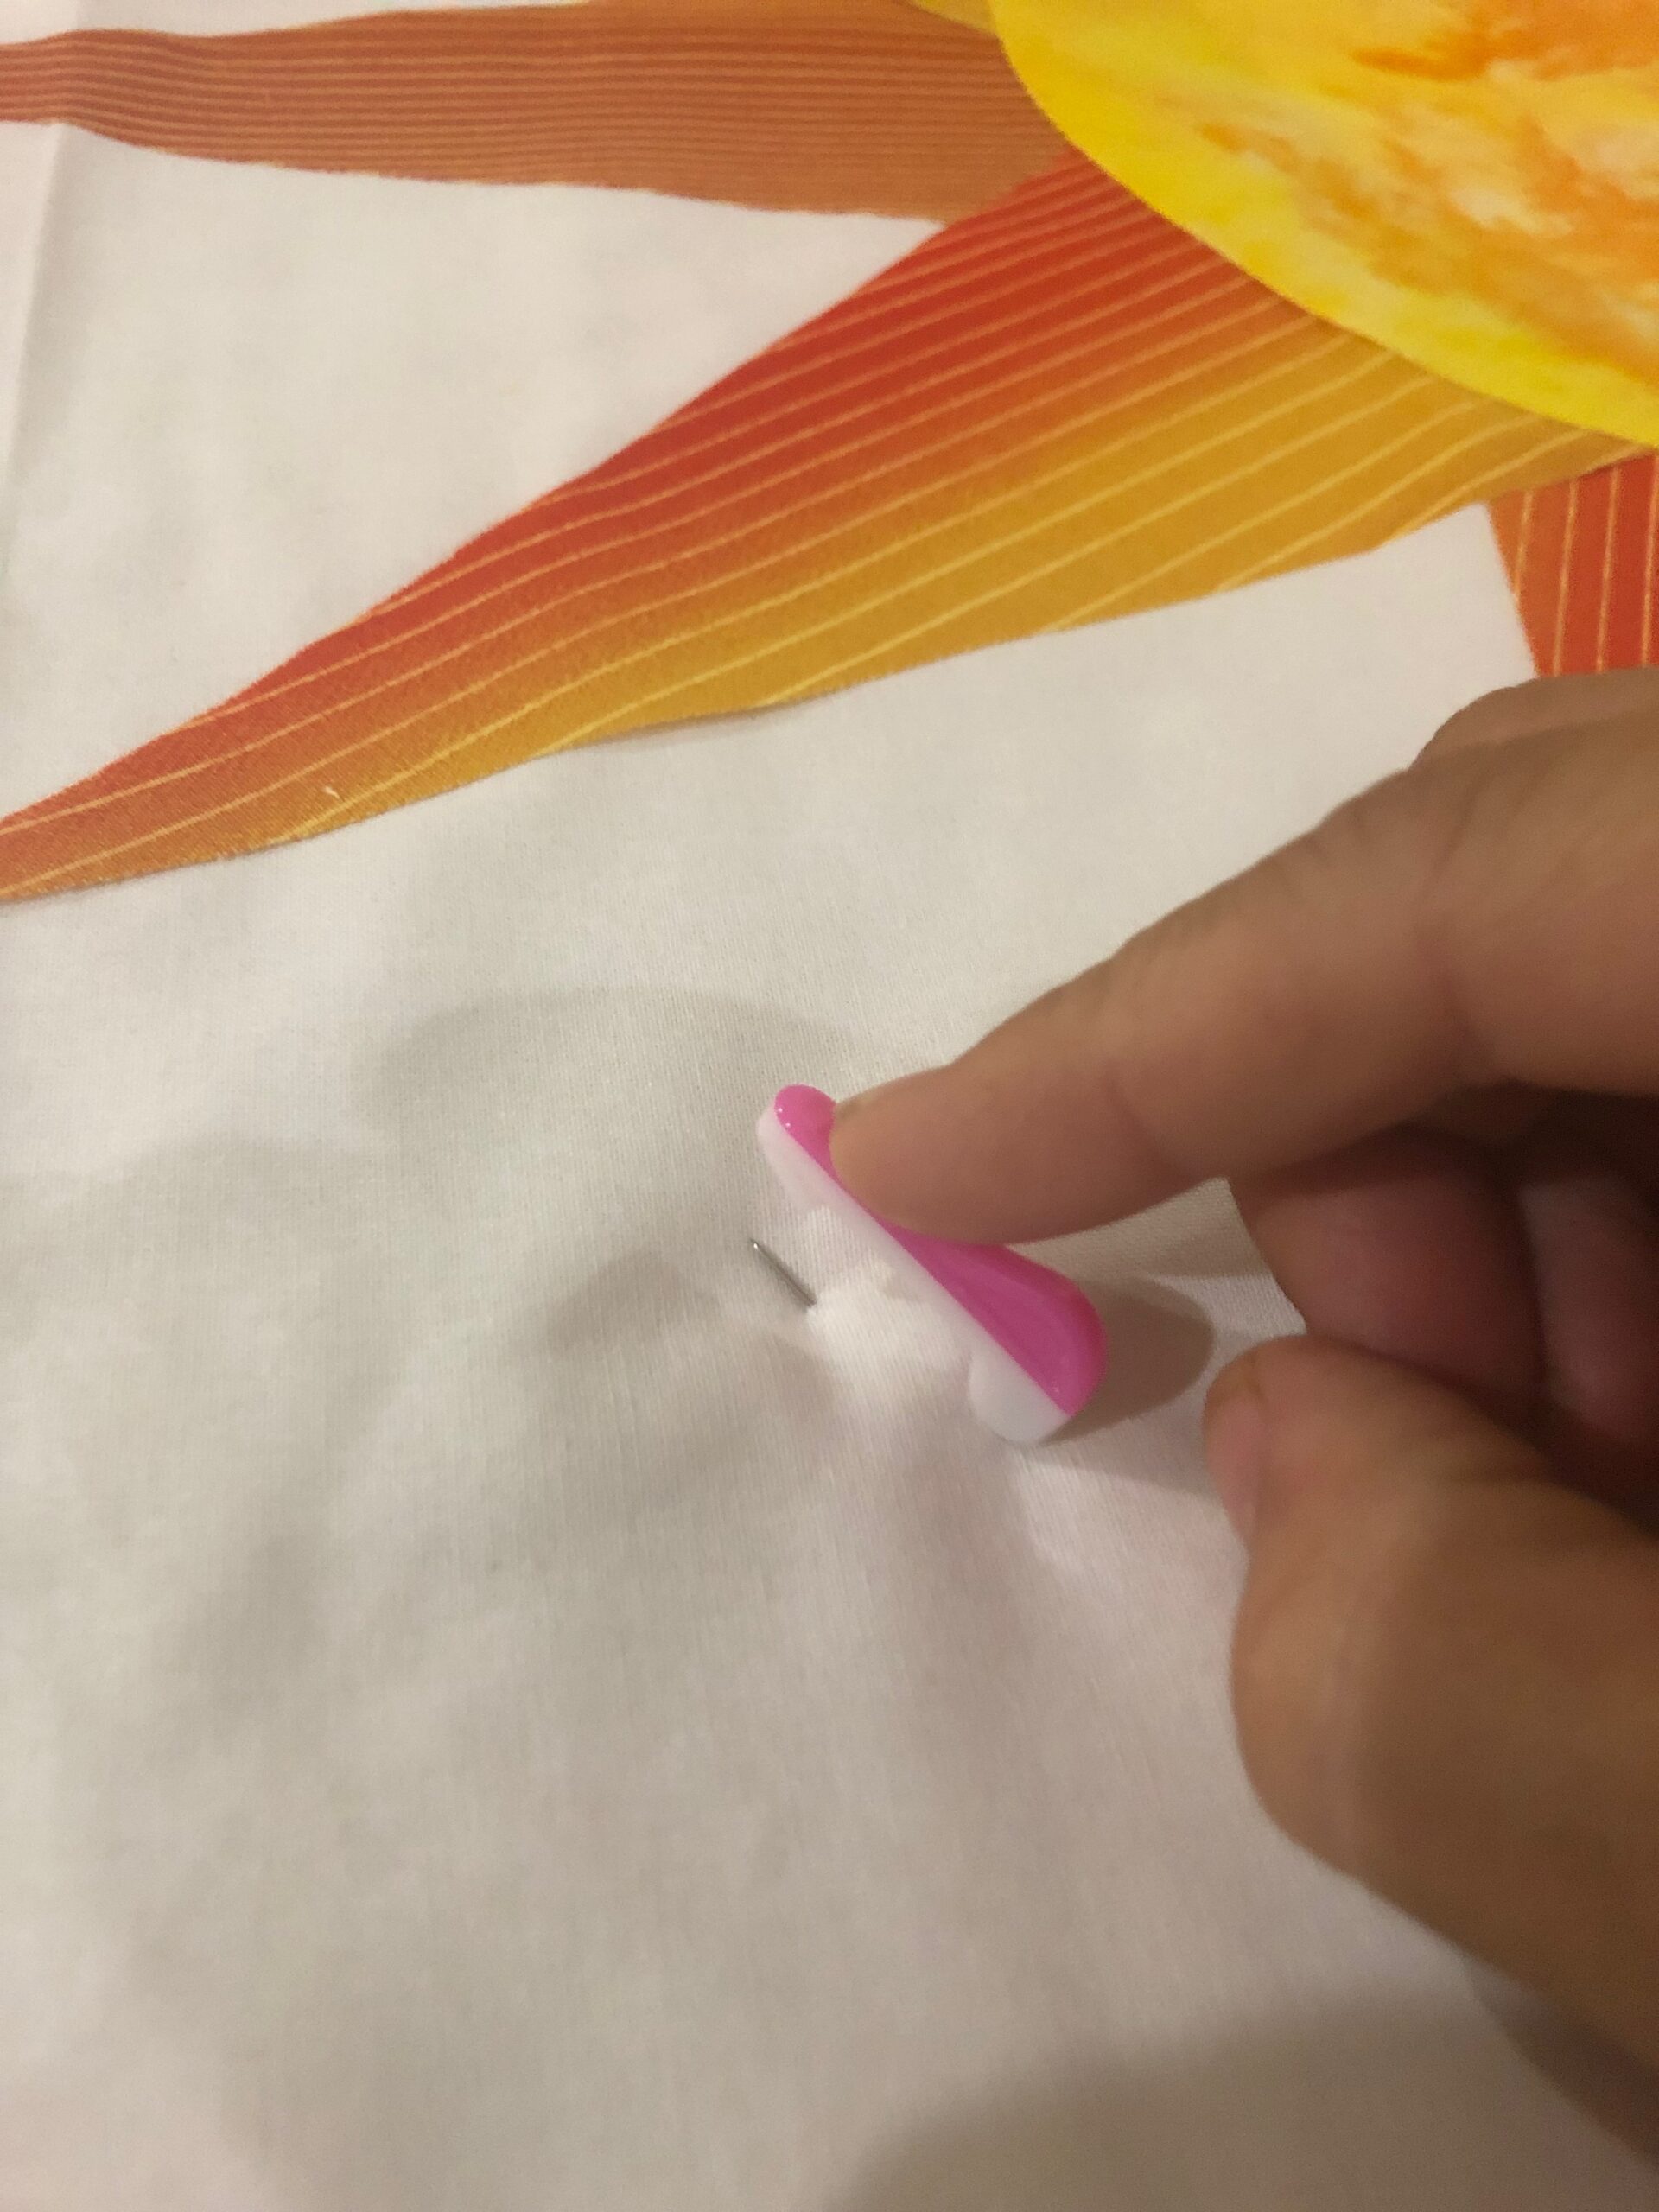
Add a few Clover Wonder Pins to the table topper to ensure it remains together during quilting. If you’ll be quilting over the course of a few days, rather than one sewing session, it’s important to add pins since the KK 2000 will dissipate over time. Clover Wonder Pins are easy to use, especially for arthritic or sore hands.
Quilt the table topper in the manner of your choice. Add end-to-end quilting designs using your embroidery machine; echo quilt around the sun ray appliqués, straight-line quilt in a diagonal direction; or free-motion quilt the piece.
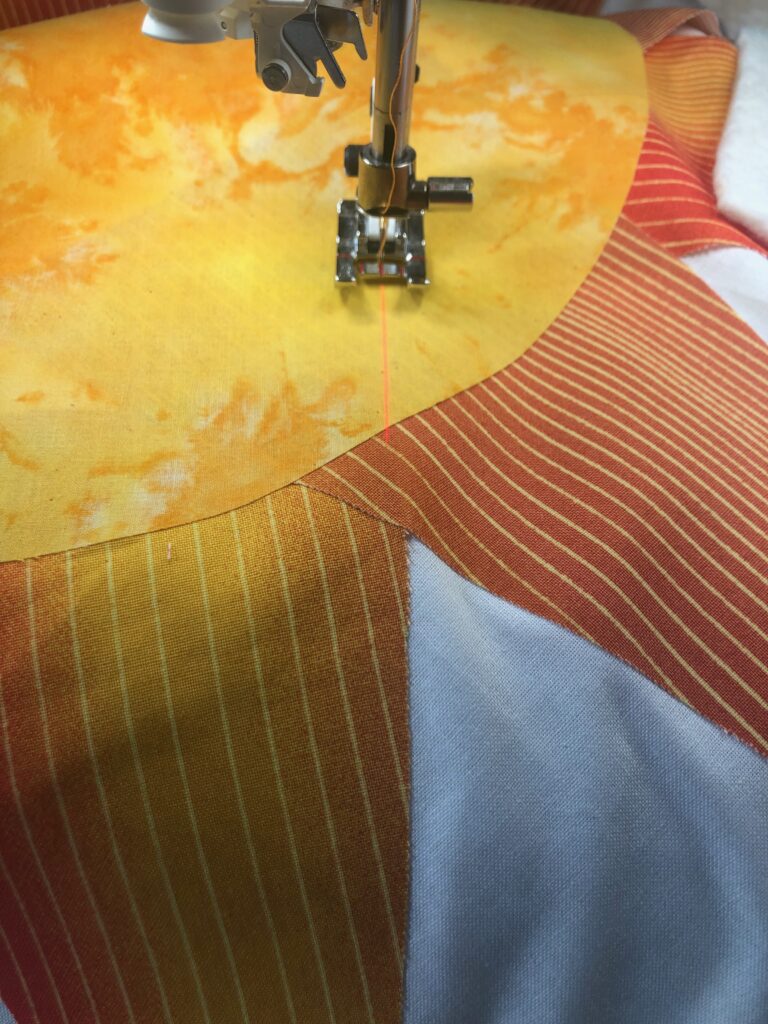
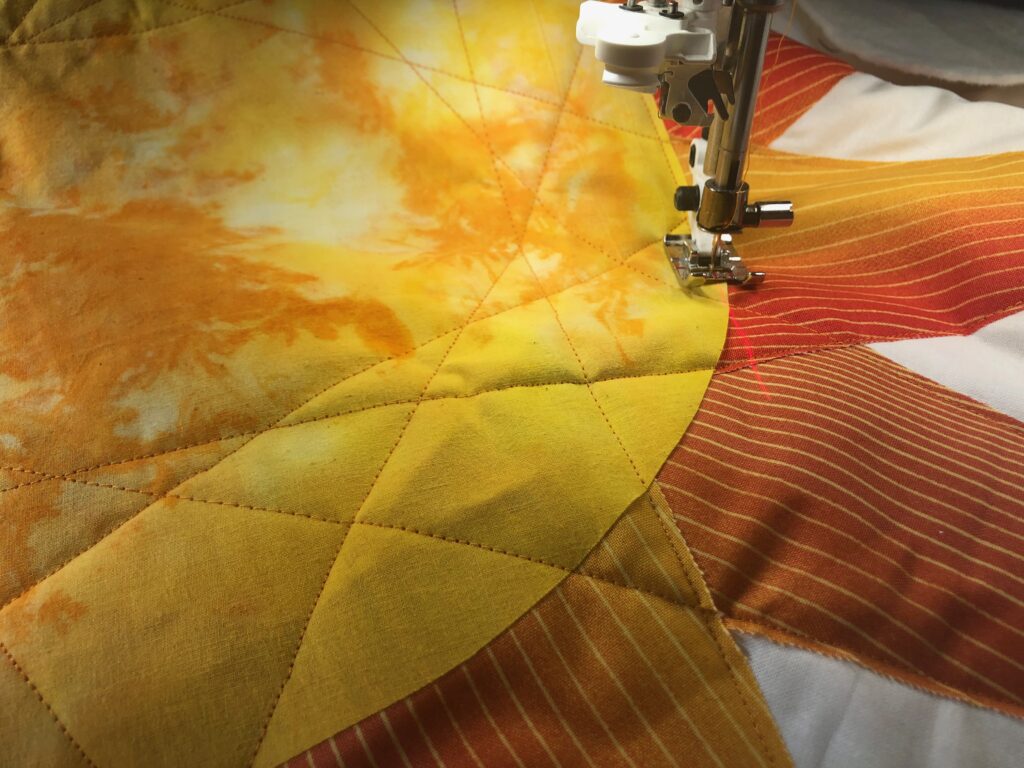
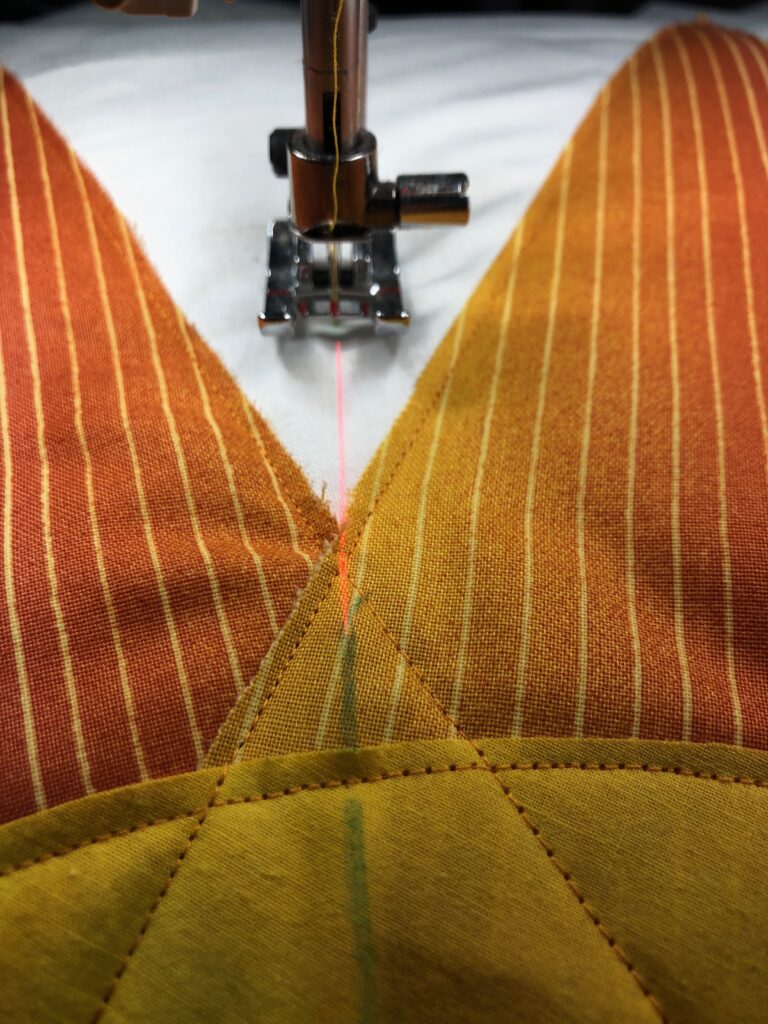
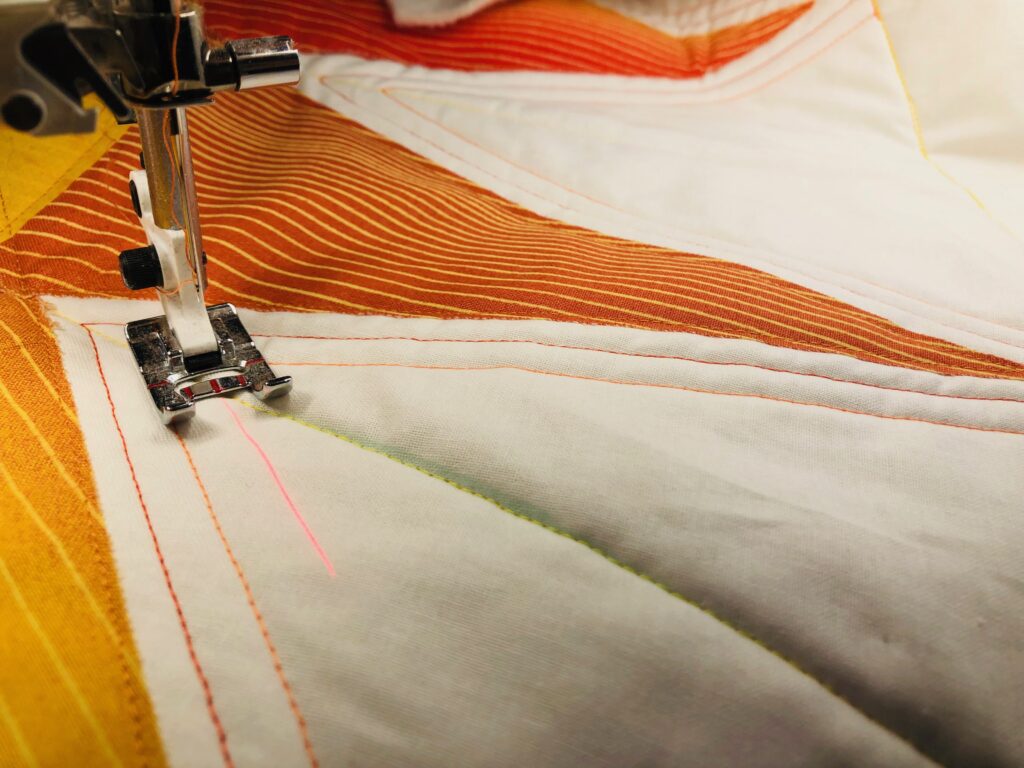
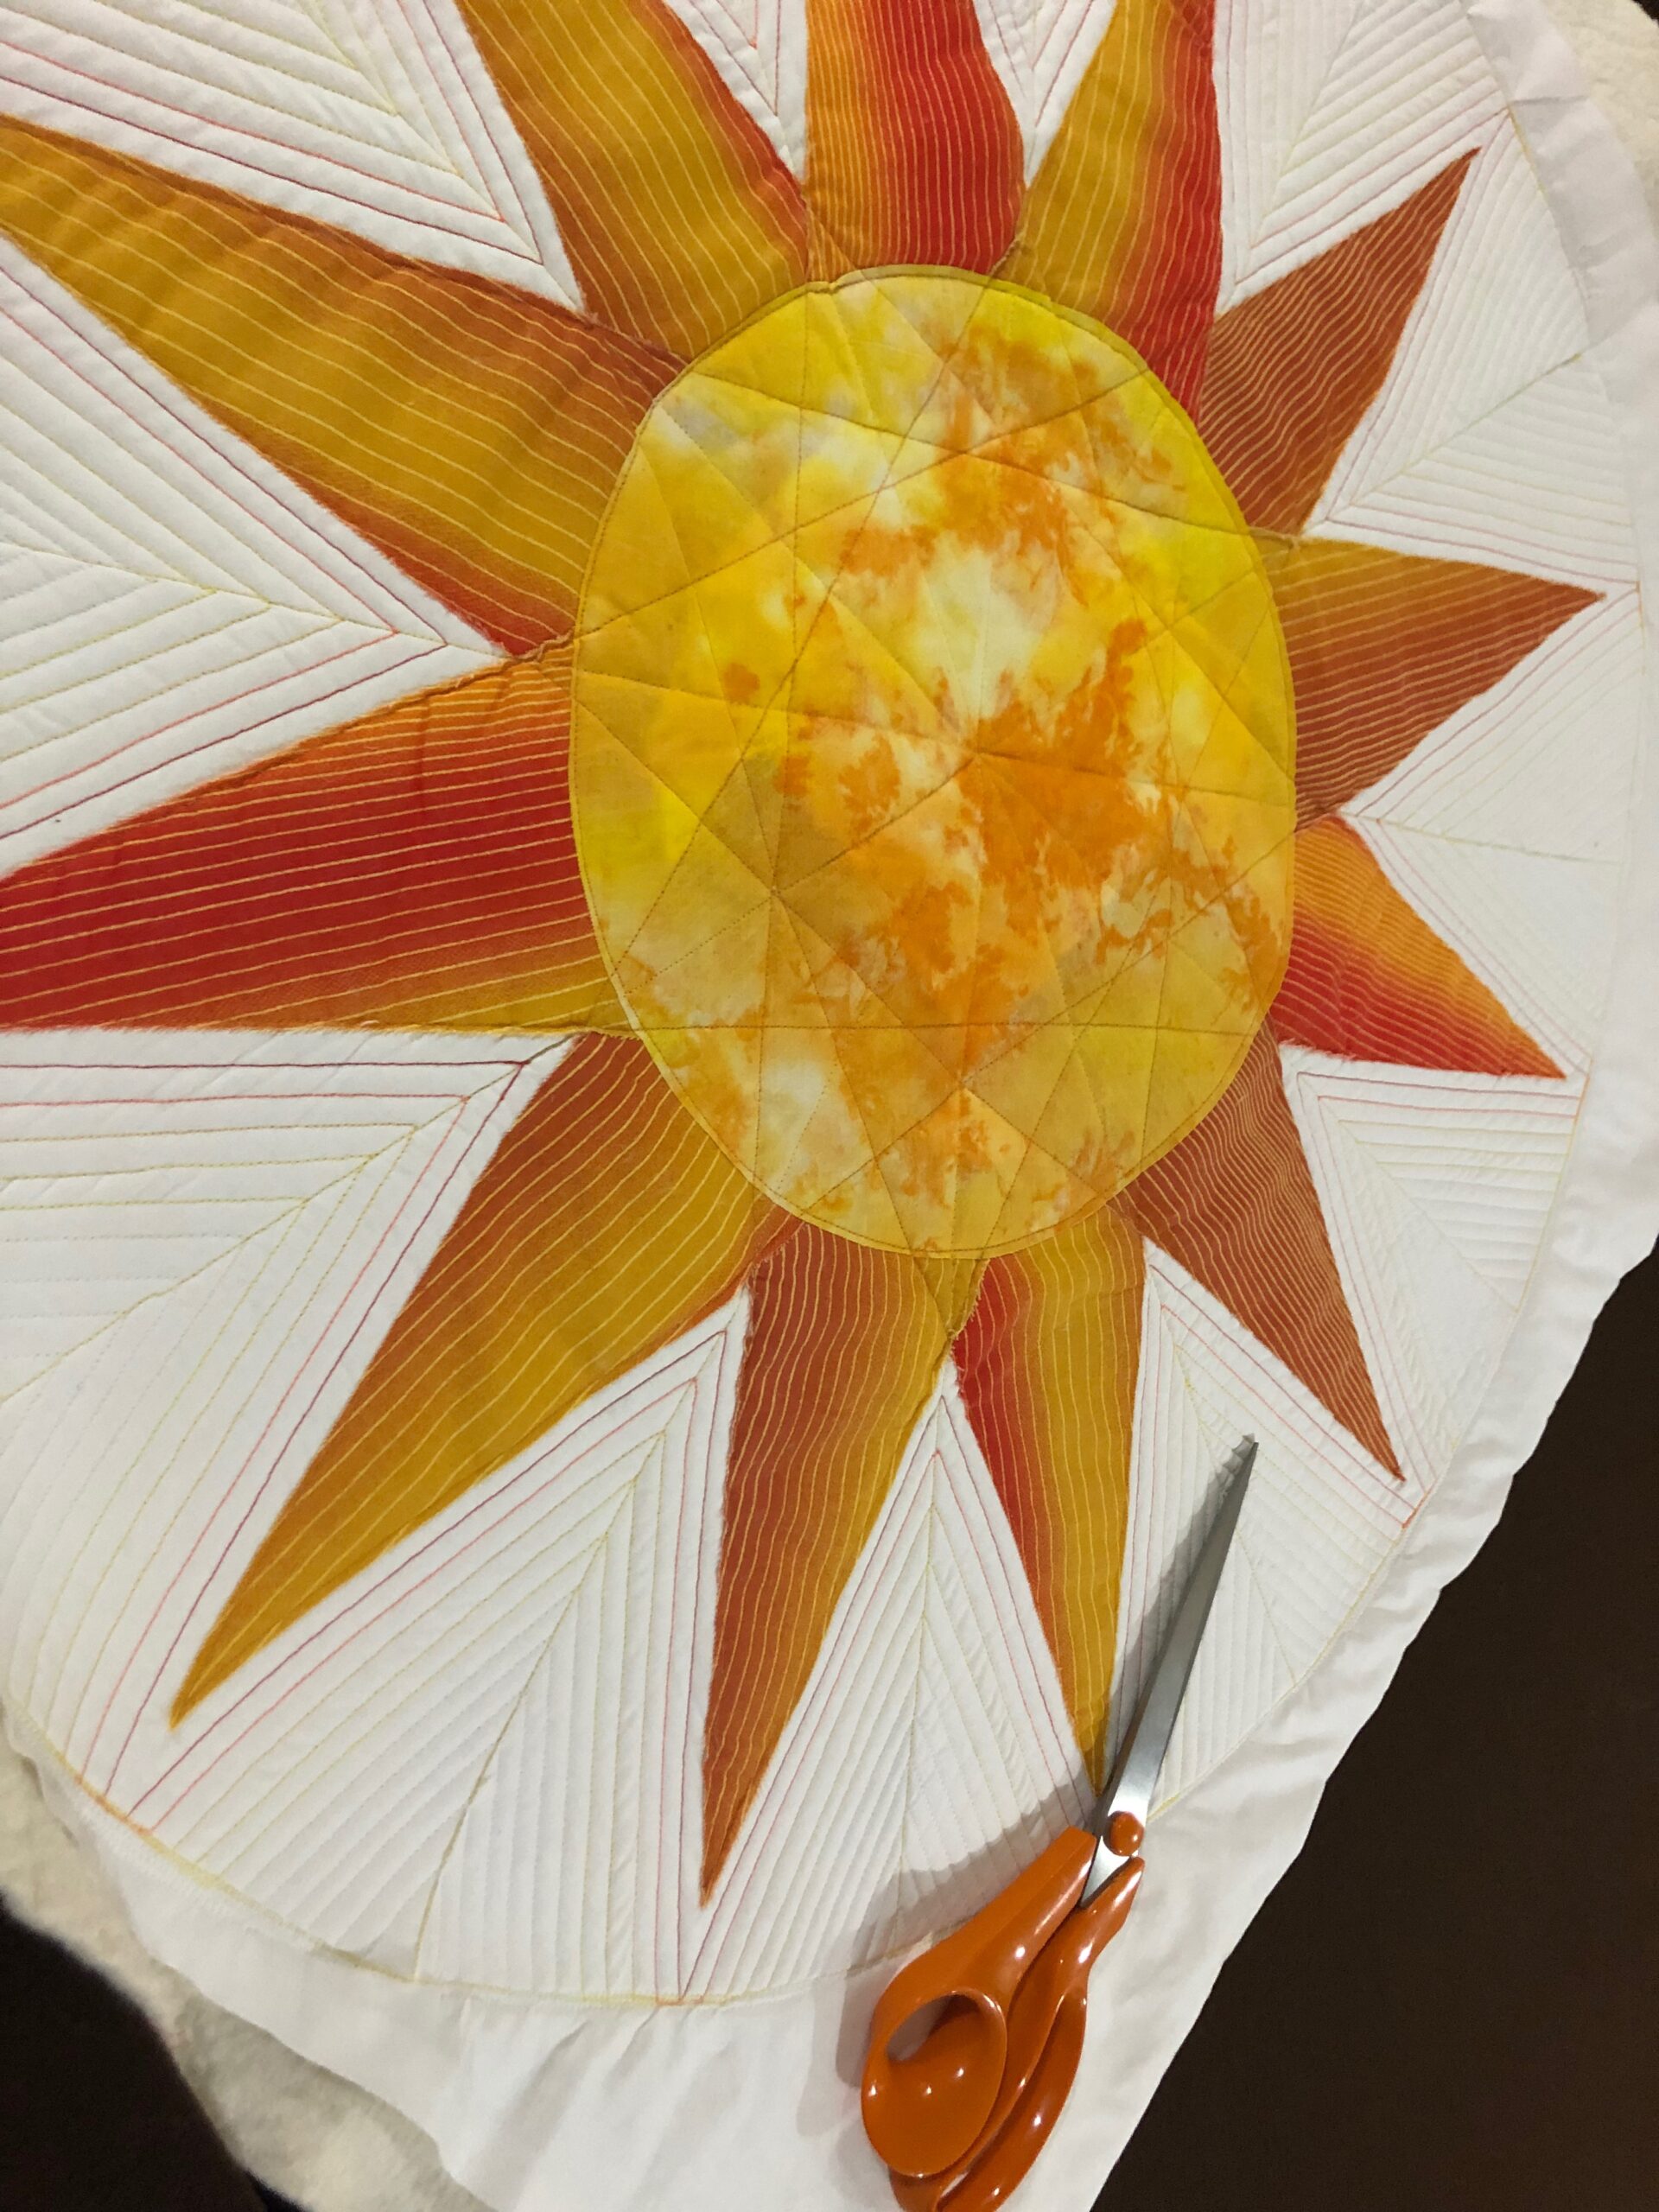
To create the look of the featured Here Comes the Sun Table Topper, quilt in straight lines in a star fashion. Begin by stitching along one edge of one ray, following the appliqué stitching. Continue stitching through the Center Sun, and along the opposite edge of the opposite ray. Pivot at the ray point, and then stitch another straight line along the adjacent ray edge, through the Center Sun, and along the opposite edge of the opposite ray. Continue until the entire sun is quilted. Then echo quilt the sun by adding more lines beyond the Sun perimeter. Space the lines equidistantly and switch thread colors with each line for interest.
Once quilting is complete, trim the Sun table topper evenly.
FINISHING
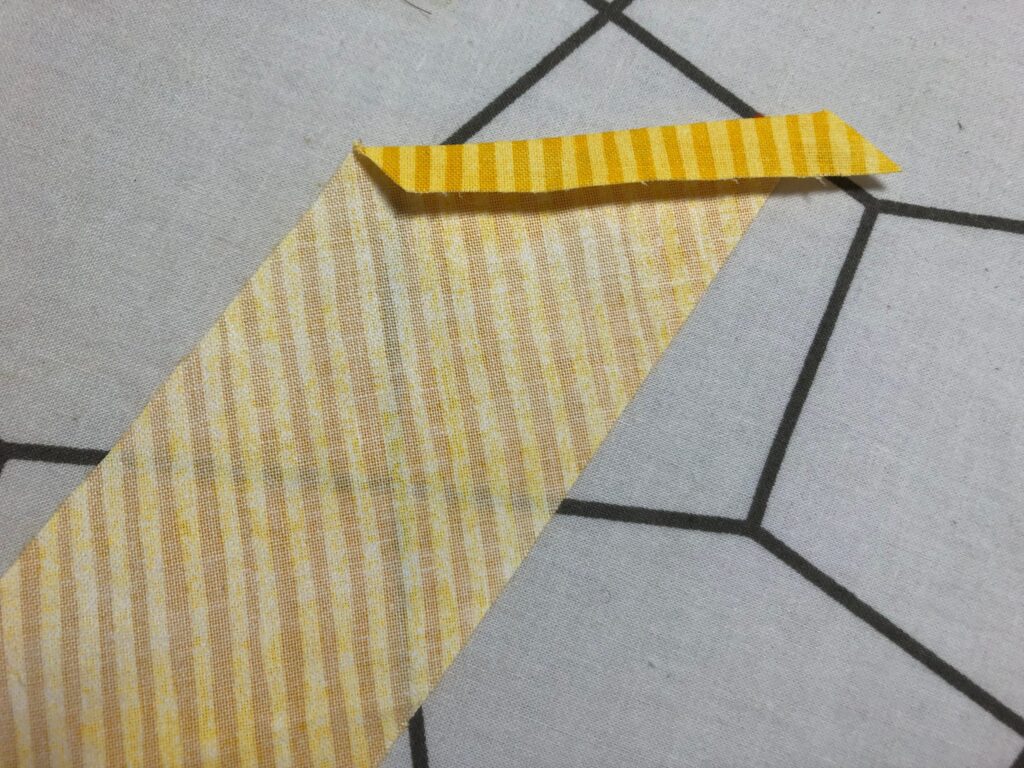
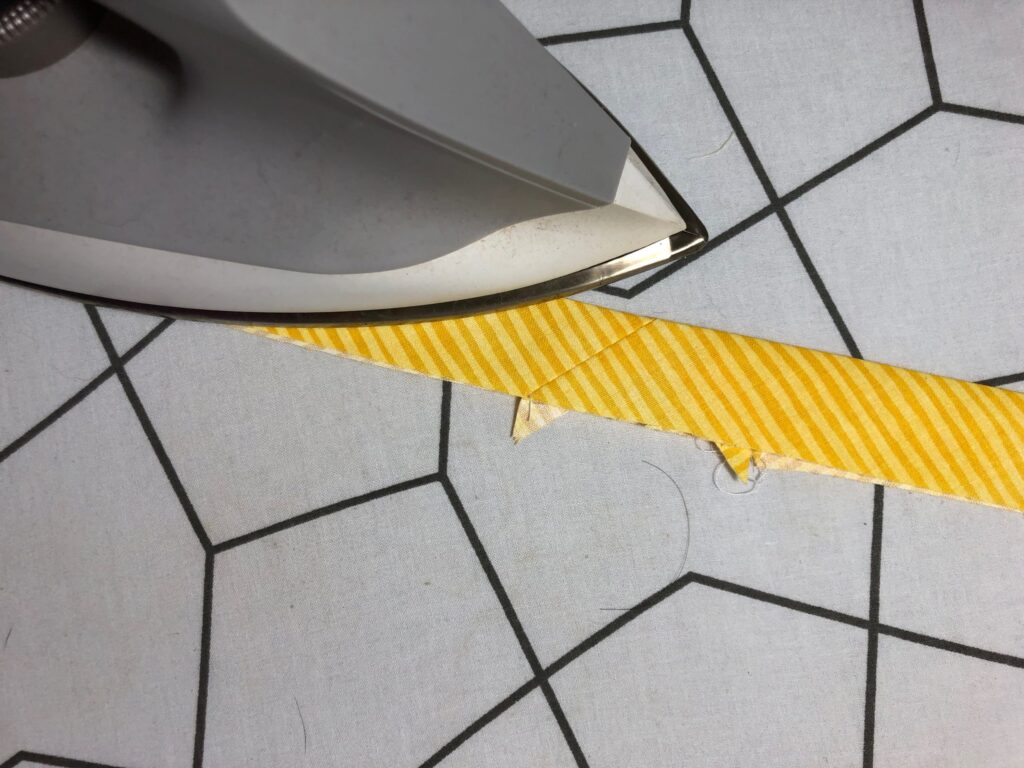
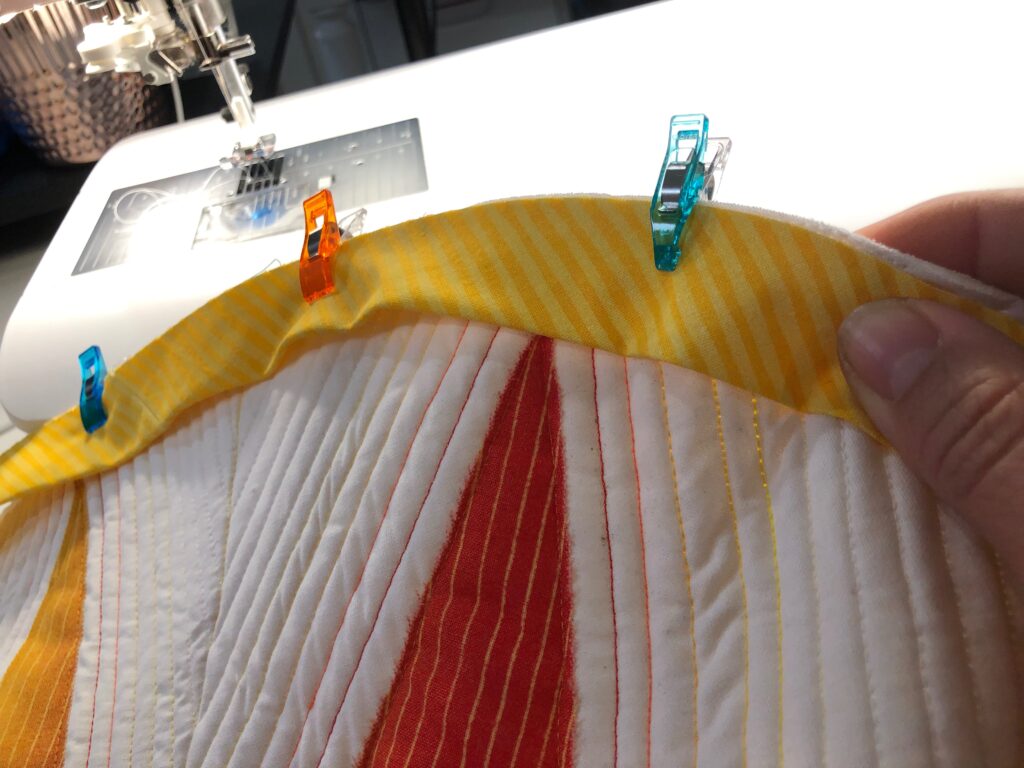
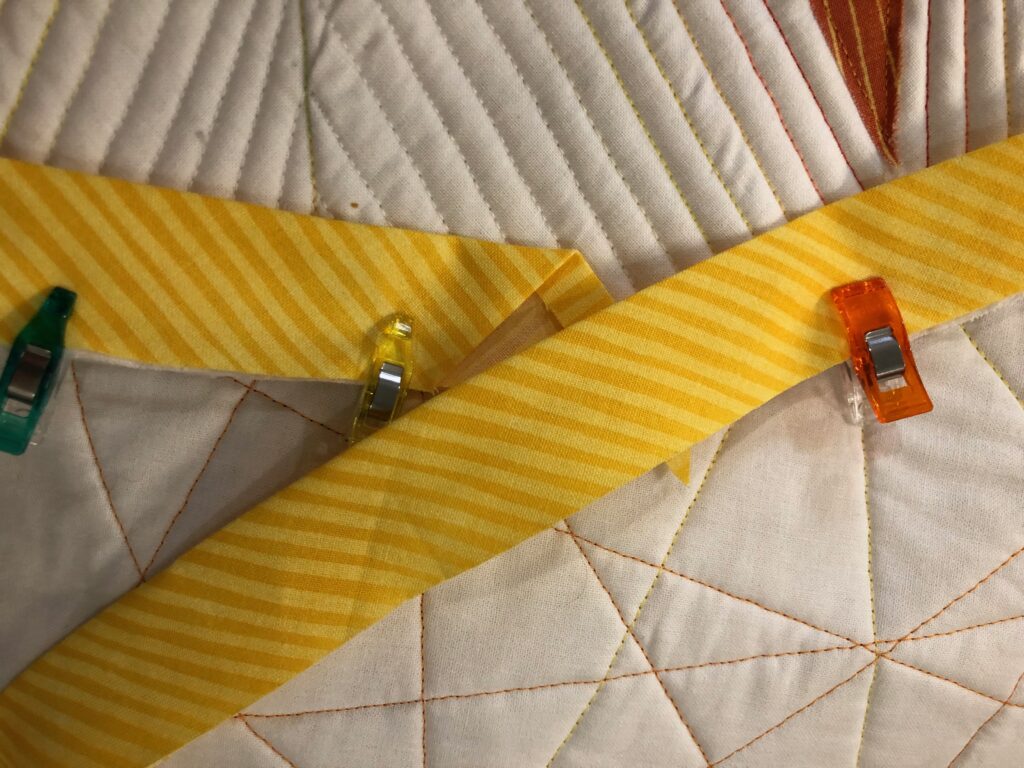
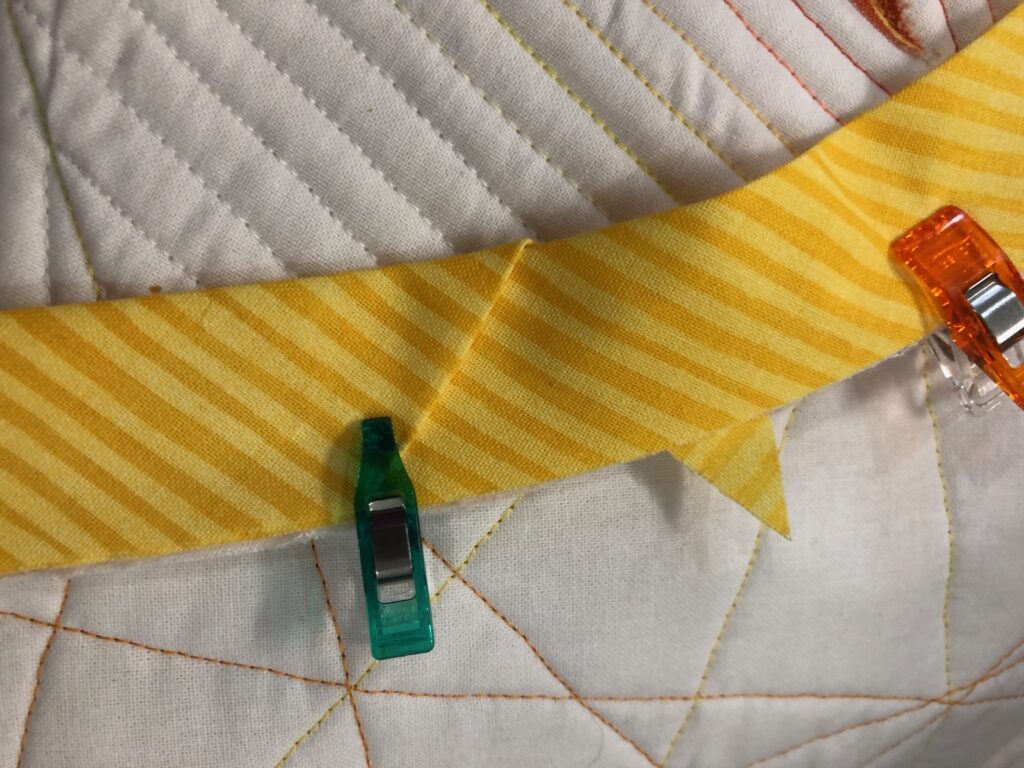
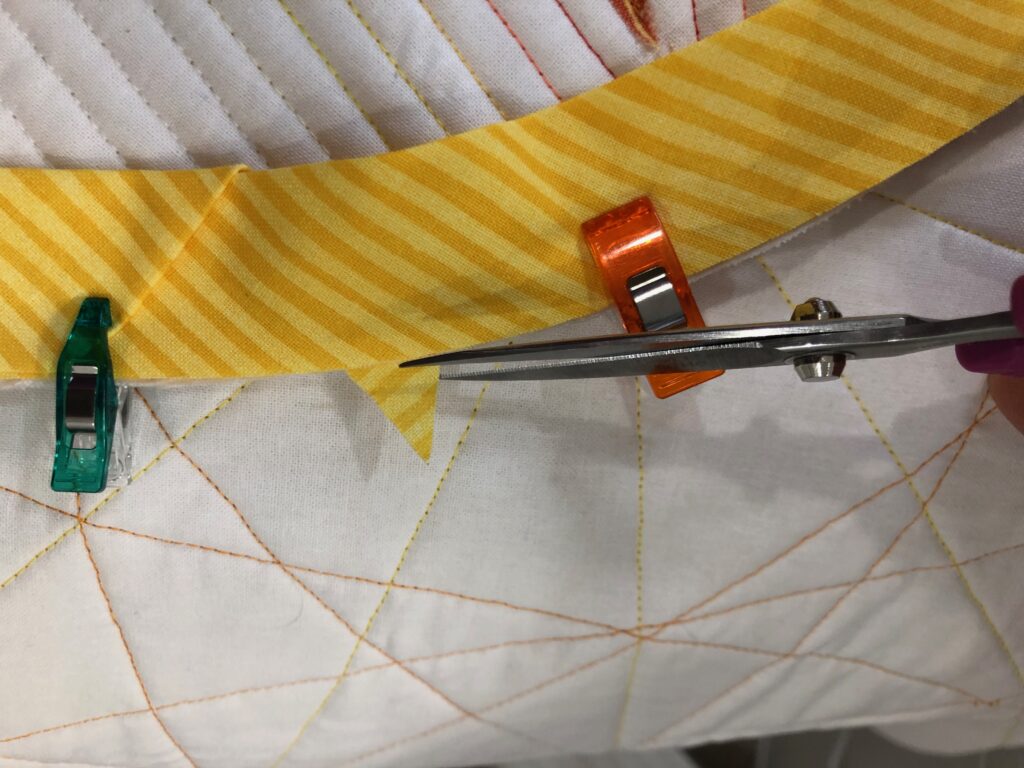
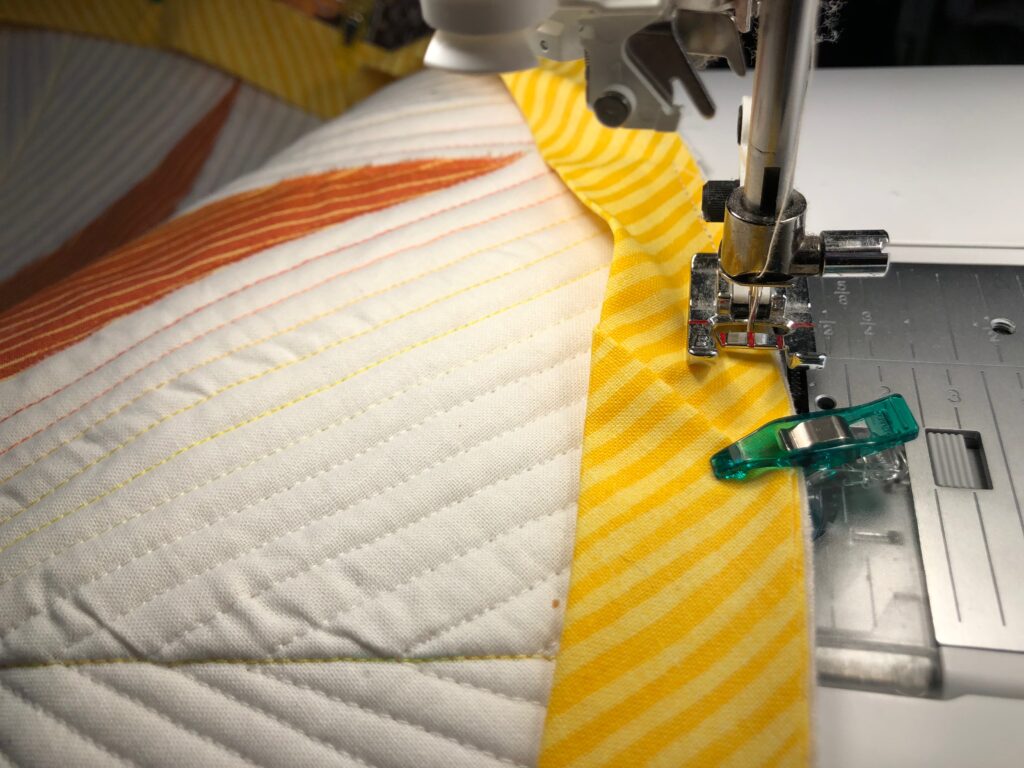
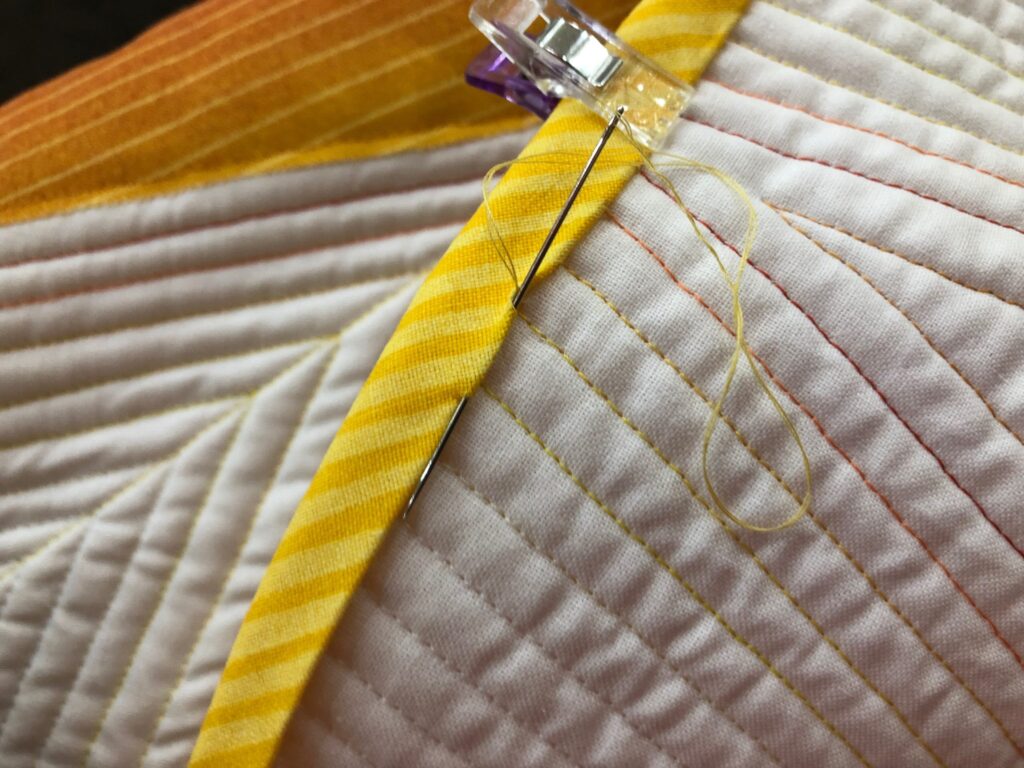
Bind the table topper using 2 1/4”-wide fabric strips cut on the bias. The bias cut allows for a slight stretch, needed to hug the curves of the circle.
Use the table topper to bring a little sunshine indoors or place it on your outdoor table to enjoy!

Looks like a lot of fun to make. However the instructions call for 10 sun rays, but there are really 12 rays.
Thank you Lynne! I have changed the instructions.