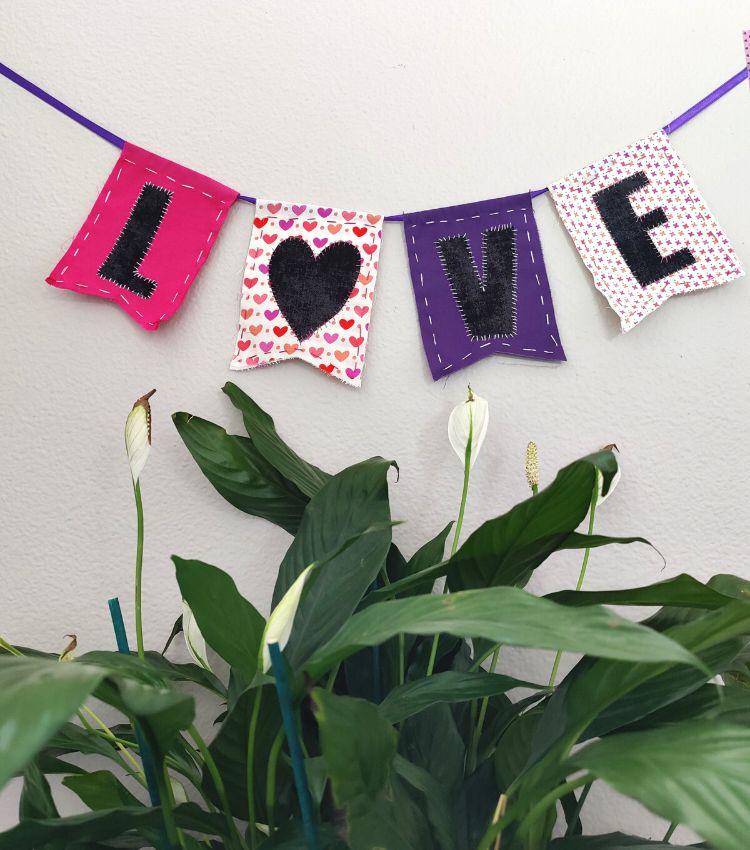
Love Appliqué Bunting
Valentine’s Day Décor to Sew by Hand or Machine
designed by Chelsea Briner, Sew Simple Home
Create a festive flag bunting featuring appliqué letters that spell out a special “love” note. Hand this up for Valentine’s Day, an anniversary celebration or birthday party. The following instructions are to sew the project by hand. Alternatively, do the appliqué and topstitching by machine for a quicker version. Use Sulky 50 wt. Cotton Thread for the machine version and a size 70/10 Universal Needle for stitching.
Love Appliqué Bunting Supplies
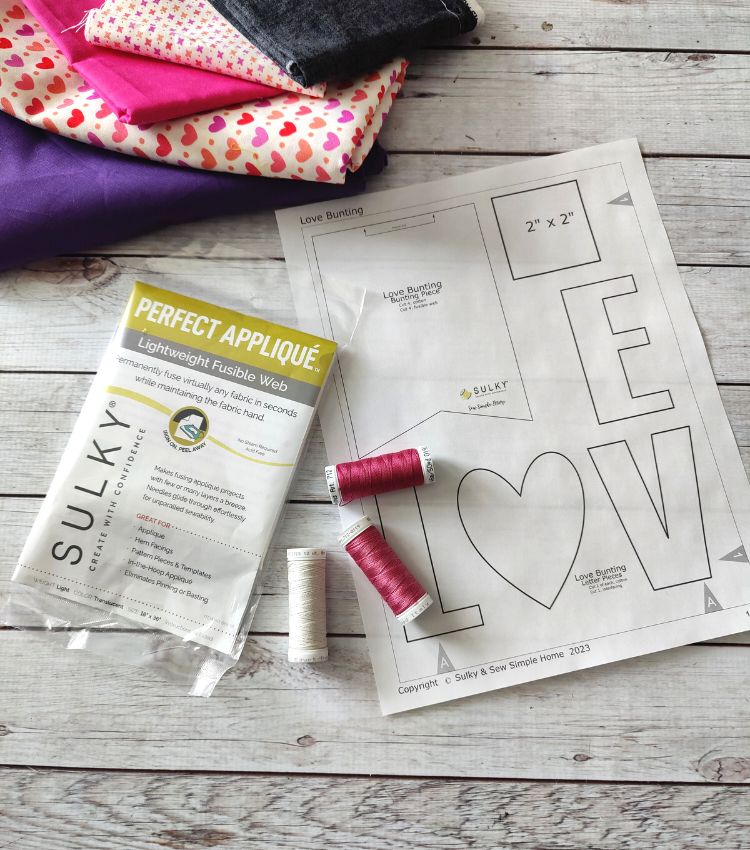
- Love Bunting Templates
- 3 to 5 cotton fabrics (or try Sulky Felty™ for a different, no-fray look)
- 35” length of 1/8”-wide ribbon
- 12 wt. Cotton Petites™ Thread (Off White, June Berry & Romantic Rose)
- Sulky Perfect Appliqué™ Fusible Web
- Hand sewing needle
Prepping & Cutting
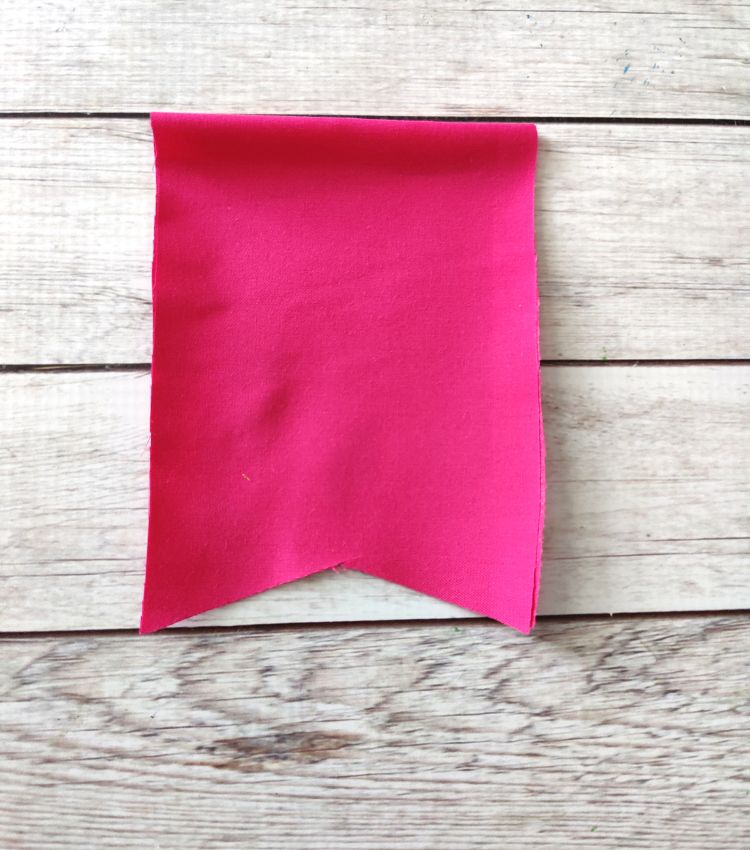
Cut out the bunting pattern and letters. Make sure to cut the bunting pattern on the fold of the fabric so you have a long piece to act as the front and back.
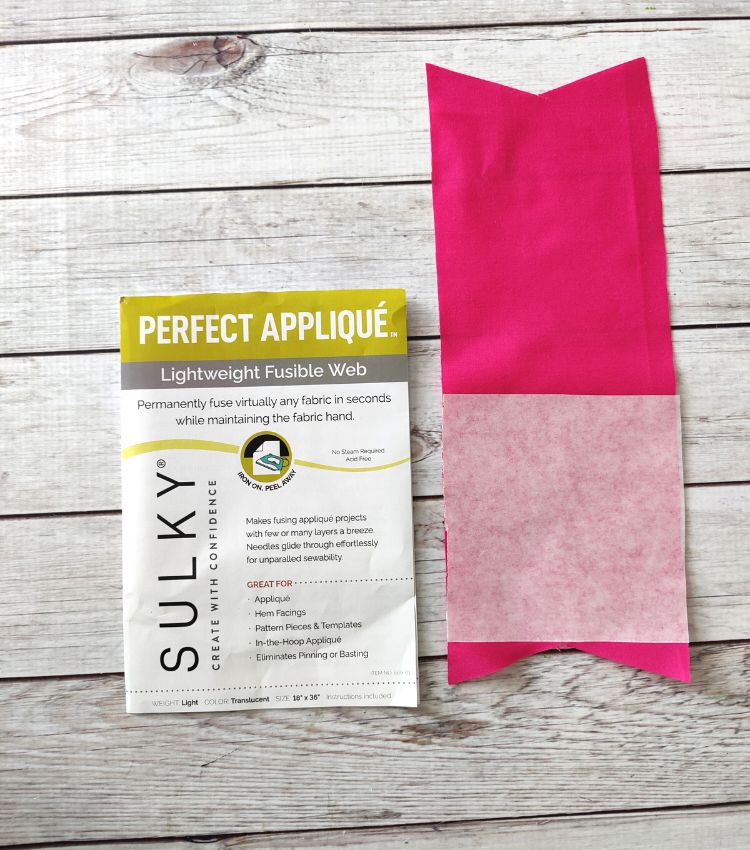
Cut out four 3 1/2” squares of Perfect Appliqué. Press the squares to the wrong side of the fabric of each of the bunting pieces. The square should be lined up with the bottom triangle of the bunting.
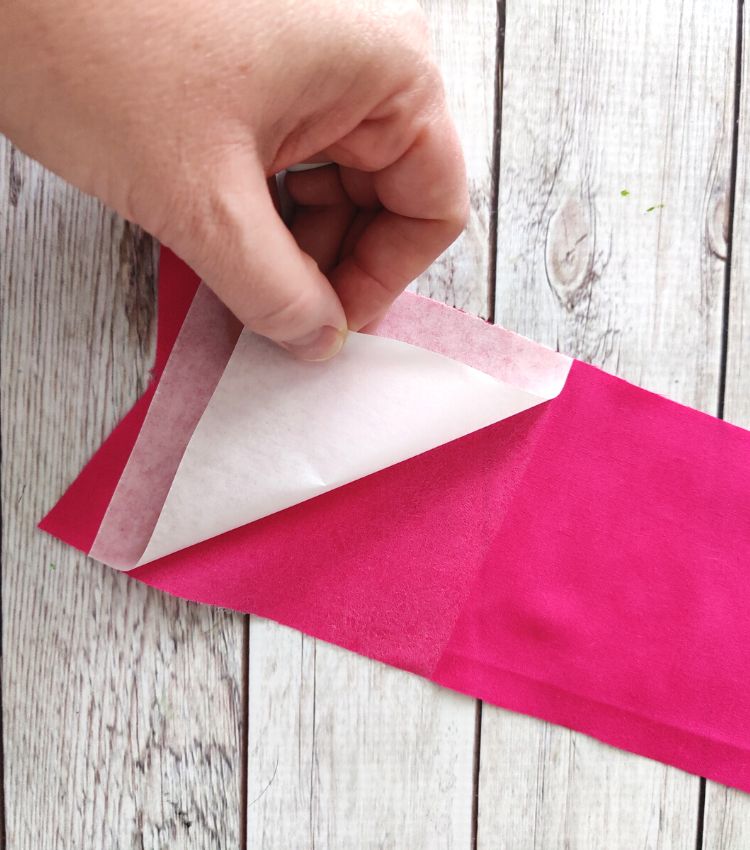
Remove the paper backing from each square.
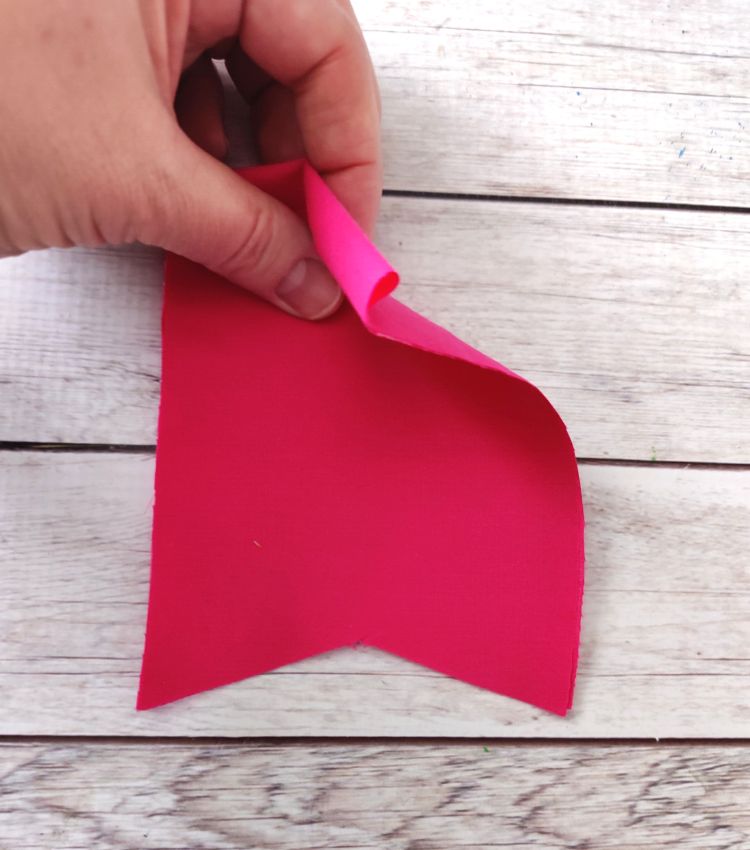
Fold the bunting piece in half, matching the wrong sides; press. The Perfect Appliqué should fuse the two sides of the bunting together. Repeat with each of the 4 bunting pieces.
There should be a small opening at the top of the bunting. This is a casing for the ribbon.
Appliqués
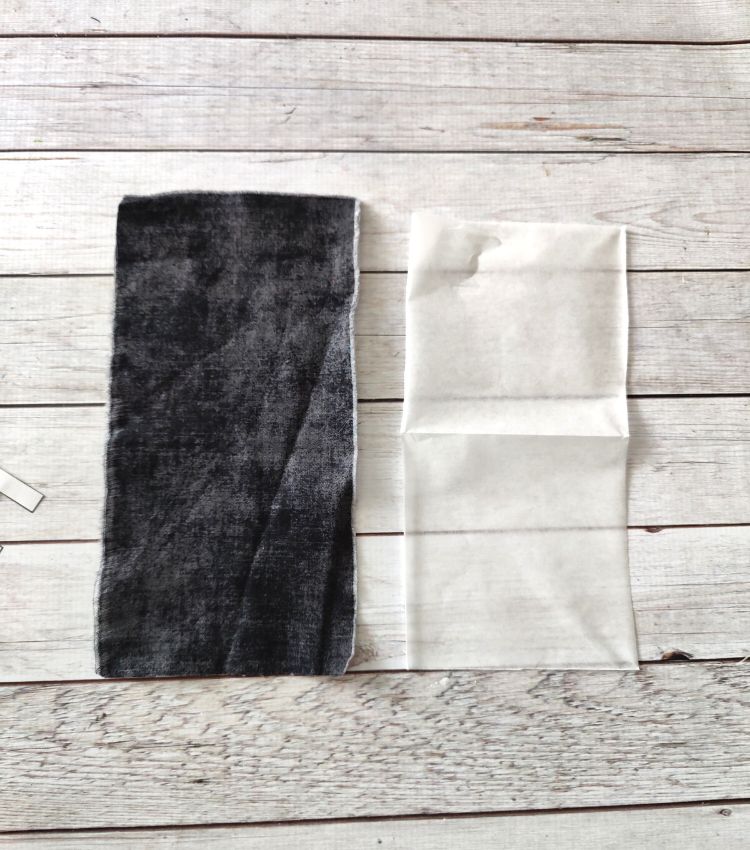
Using the letter fabric, cut a 9”x4” piece of fabric and of the Perfect Appliqué. Press the Perfect Appliqué to the wrong side of the fabric.
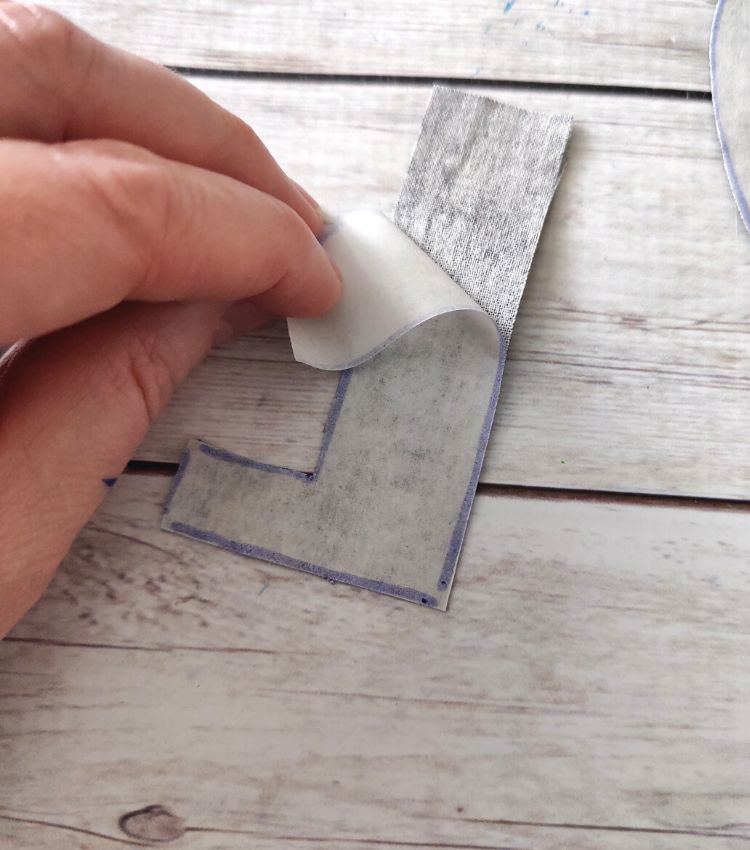
Use a permanent marker to trace the outline of each of the letters on the back of the Perfect Appliqué. Make sure to turn the letters backwards so they come out correctly.
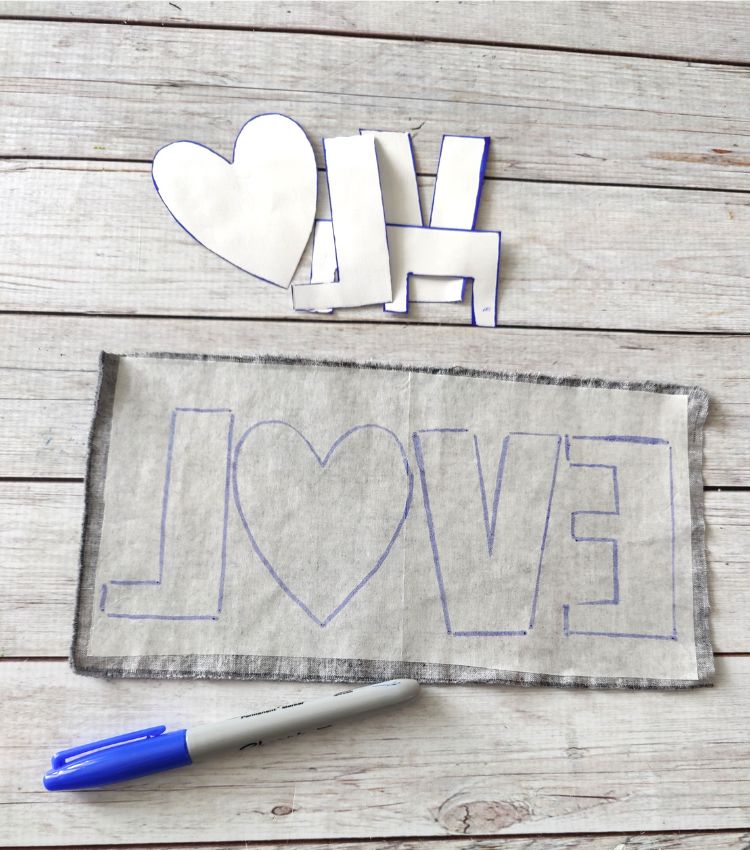
Cut out each letter. Remove the Perfect Appliqué paper from the back of each letter.
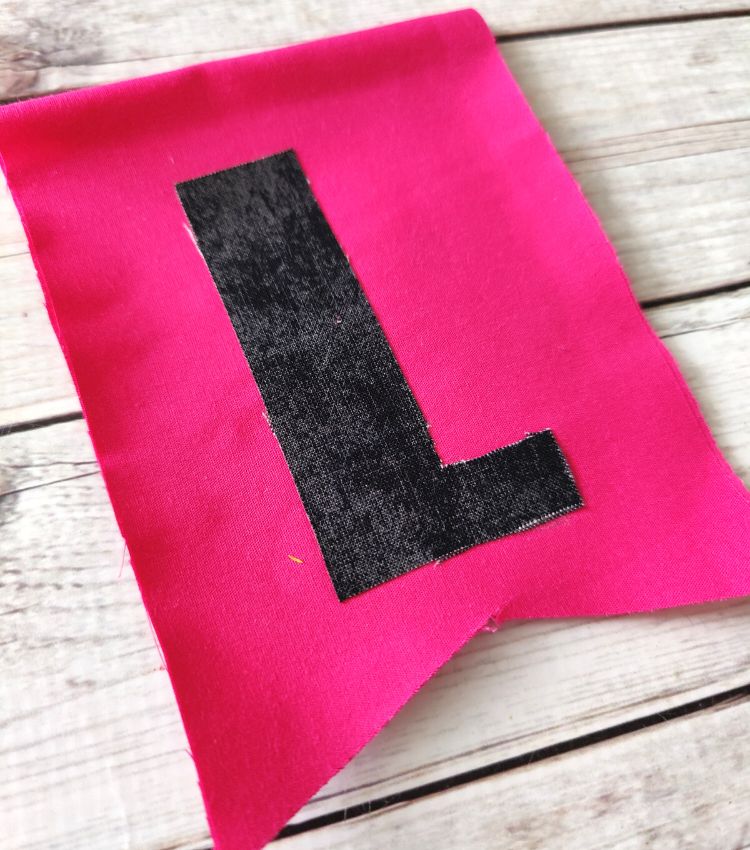
Press to fuse one letter to the center of each bunting piece.
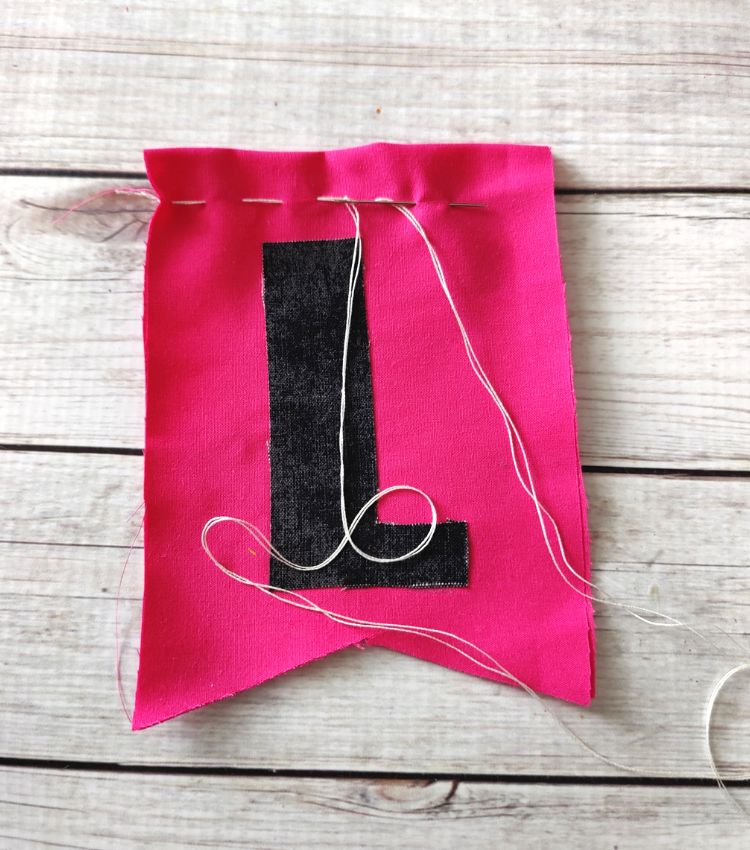
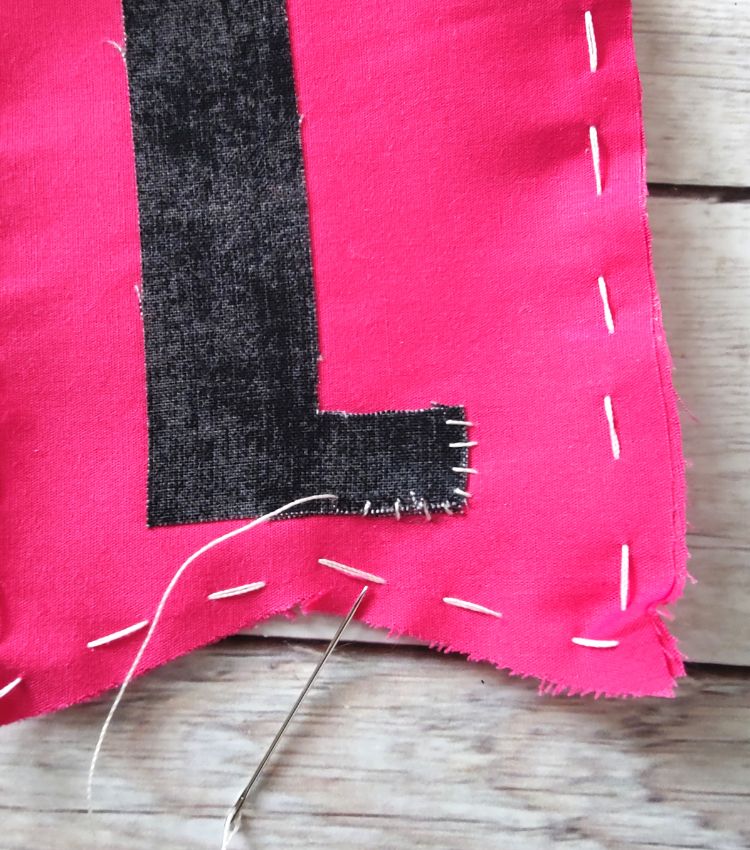
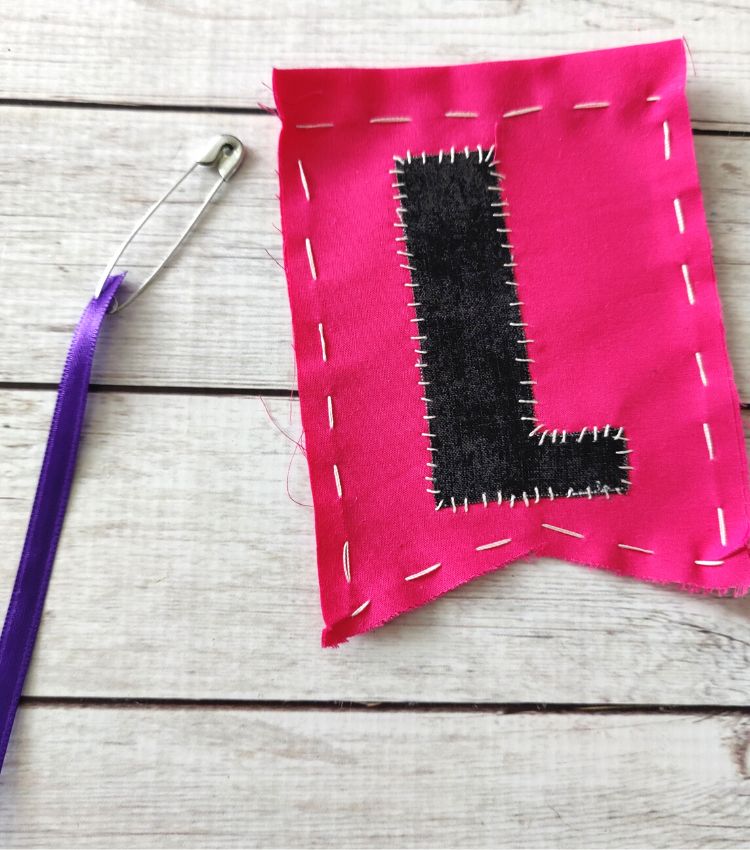
Thread a double strand of embroidery floss onto an embroidery needle. Leave a ½” seam allowance at the top of the bunting for the ribbon to go through. Use a running stitch to stitch a border around the bunting. Repeat with each bunting, alternating thread colors. Press.
Thread a single strand of embroidery floss onto an embroidery needle. Use a whipstitch or blanket stitch to appliqué each of the letters. Press.
Finishing Love Bunting
Place a safety pin on the end of the ribbon and thread it through the opening at the top of the bunting.
Leave long ribbon tails on either end of the flags.
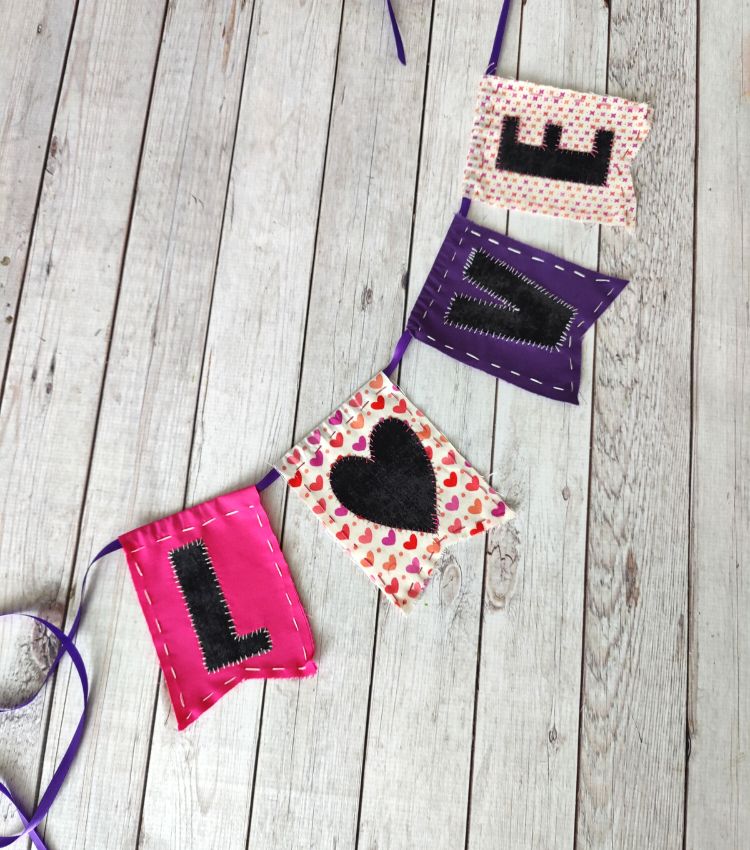
Hang the bunting where desired.

Beautiful, easy project!