
Thankful Velvet Pillow: Machine Embroidery on Plush Fabrics
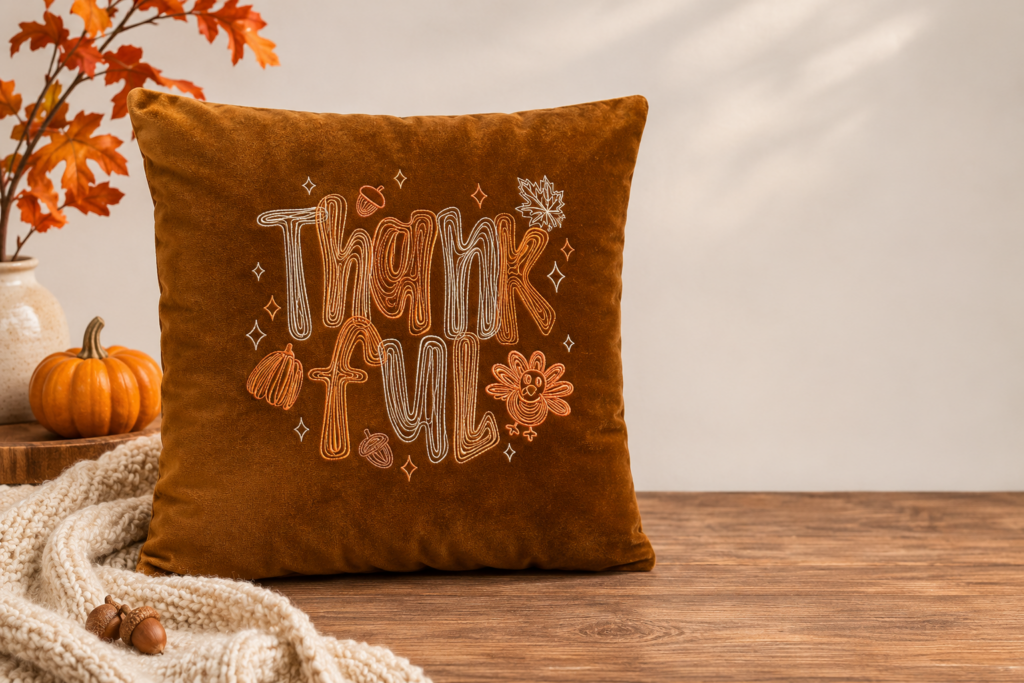
Add a little texture, a lot of gratitude and a beautiful embroidered accent to your fall décor!
There’s something about velvet that instantly makes a space feel cozy, luxurious and inviting. Add a beautiful machine embroidery design, and you’ve got a custom home décor accent that looks like it came straight from a high-end boutique. This Thankful Velvet Pillow combines the rich texture of plush velvet with the beautiful sheen and durability of Sulky 40 wt. Poly Deco Thread. The result is a stunning seasonal accent that’s perfect for a sofa, favorite chair or Thanksgiving guest room.
Why Embroider on Velvet?
Velvet is a gorgeous choice for home décor projects because of its soft texture, rich color and elegant appearance. However, that same plush pile can make machine embroidery a little tricky.
Traditional hooping can leave marks or crush the velvet fibers, creating an unwanted impression around the embroidery design. The fabric can also shift during stitching if it isn’t properly supported.
That’s where hoopless embroidery comes in! Instead of hooping the velvet itself, we’ll hoop a layer of stabilizer and secure the fabric on top using Sulky KK2000XT Temporary Spray Adhesive. This technique helps protect the fabric’s surface while providing the support needed for beautiful embroidery stitches.
Supplies for the Thankful Velvet Pillow Set
Gather these Sulky favorites before getting started:
- Thankful Machine Embroidery Design – Choose a design size that fits your embroidery hoop and pillow front. The featured “Thankful” design is 9.81″ W x 9″ H.
- Plush Velvet Pillow Covers – A rich autumn color, such as rust, burgundy, golden brown or deep green, makes a beautiful backdrop. This 18″ pillow set comes in numerous fall shades and is an affordable way to create this pillow set with less fabric waste
- Sulky Soft ‘n Sheer Cut-Away Stabilizer – Provides lightweight, permanent support for the embroidery stitches.
- Sulky Solvy Wash-Away Stabilizer
- Sulky 40 wt. Poly Deco Thread – Creates beautiful, durable embroidery with a lovely sheen.
- Sulky 60 wt. Bobbin Thread – Lightweight bobbin thread designed for machine embroidery.
- Sulky KK2000XT Temporary Spray Adhesive – Holds the velvet securely to the hooped stabilizer without permanent bonding.
- Size 80/12 Microtex Needle
Sulky Tip: If you’re creating a pillow from scratch, embroider the pillow front before constructing the pillow. It’s much easier to position the design and manage the fabric when you’re working with a flat piece rather than a finished pillow cover.
Prepare the Pillows
Because the featured pillow blanks are plush and have a zipper closure, it’s easiest to remove the side seams in order to open the pillow flat for embroidery. If following suit, pay attention to how the side seams are constructed before using a seam ripper to carefully remove them. You’ll want to reconstruct them in the same way. For example, the featured pillow has a double straight stitch for the seam and a 3-thread overlock along the edge.
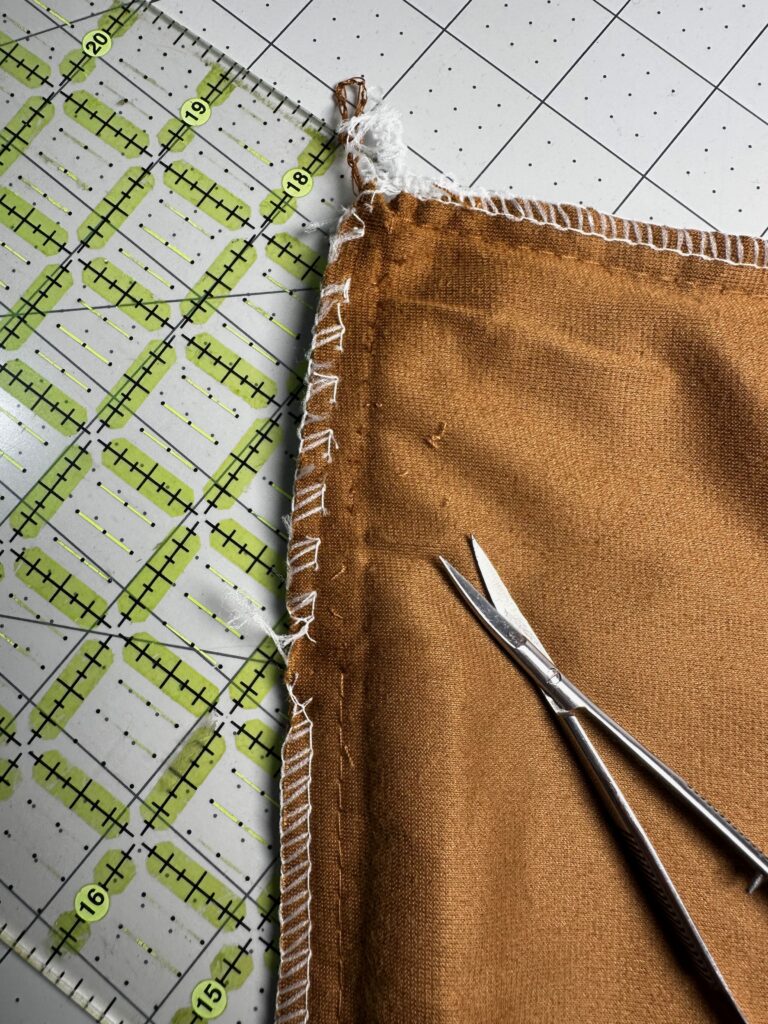
The featured pillow set also has an invisible zipper at the lower-edge seam. To preserve this (and the stitching on either side of the zipper), take apart the upper-edge seam instead of the zipper seam.
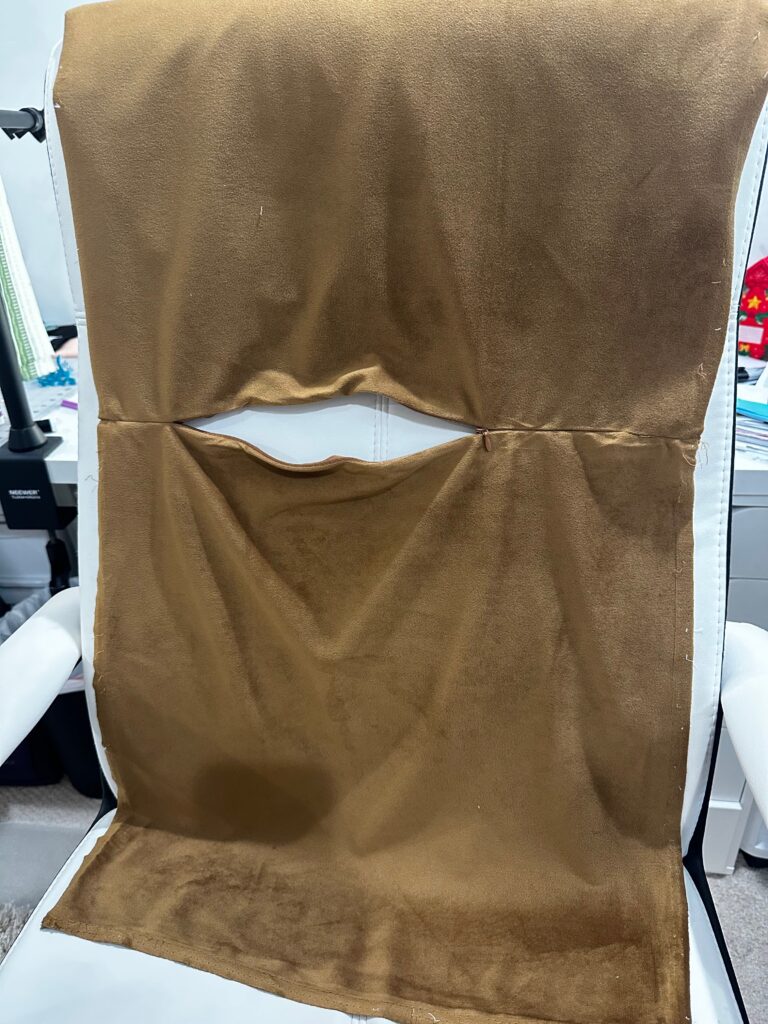
Cut a piece of Sulky Soft ‘n Sheer Stabilizer that’s larger than your embroidery hoop, and secure the hoop so the stabilizer is taut but not overly tight.
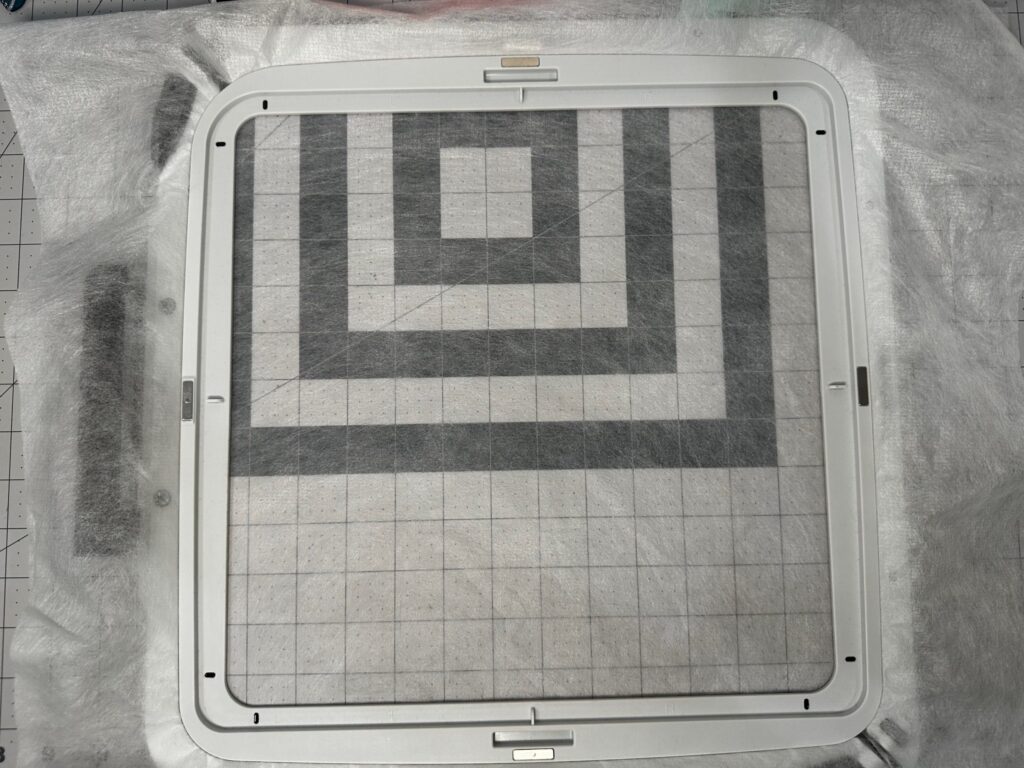
Next, determine where you want the Thankful embroidery design to appear on the pillow. For a traditional look, center the design on the pillow front. Fold one half of the pillow (the pillow front exterior) in half widthwise and lengthwise to find the center. Then, place the fabric on the hooped stabilizer, centering the width- and lengthwise folds in the hoop. Use the hoop markings as a guide, as the stitching field center may not actually be the center of the hooped stabilizer.
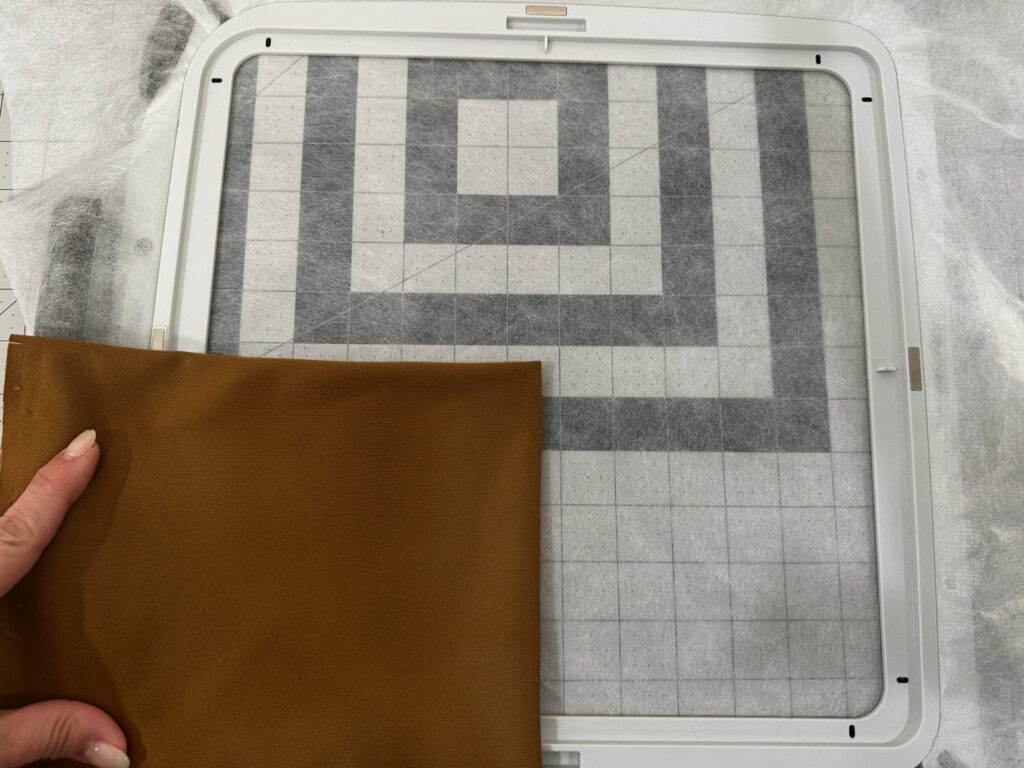
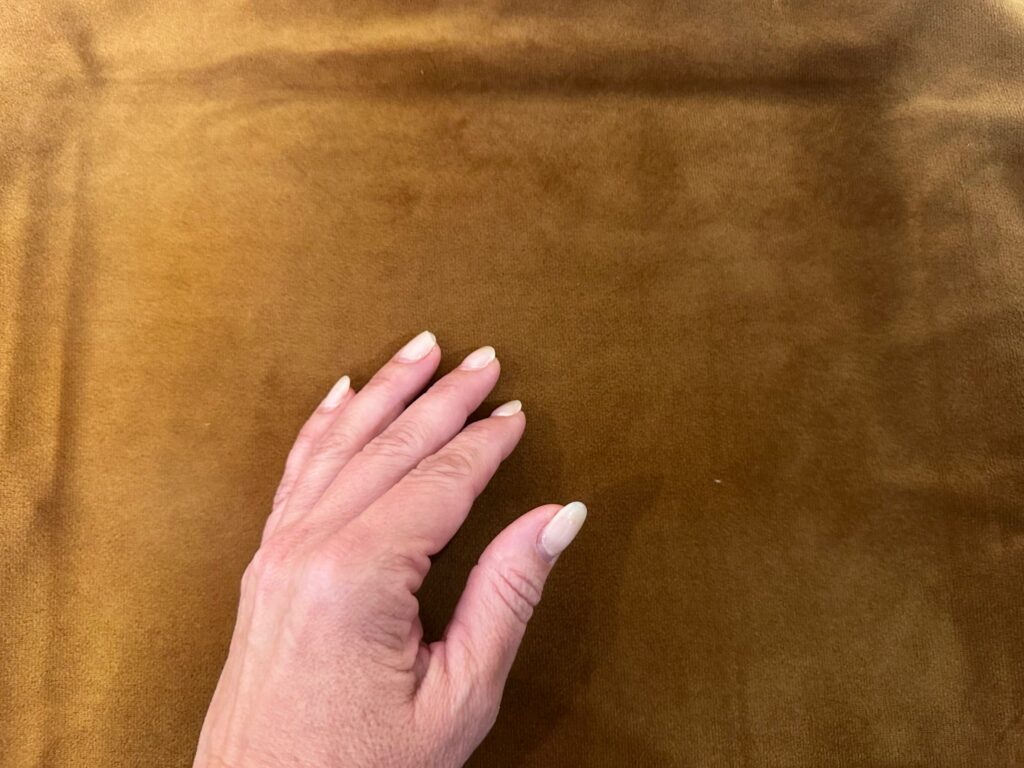
Before stitching, determine the fabric’s nap direction. Velvet looks different depending on which way the pile lies, so make sure the pillow pieces are oriented consistently.
Secure the pillow front exterior to the hooped stabilizer using KK2000XT. Work in sections to ensure the pillow is straight and the design will be centered properly.
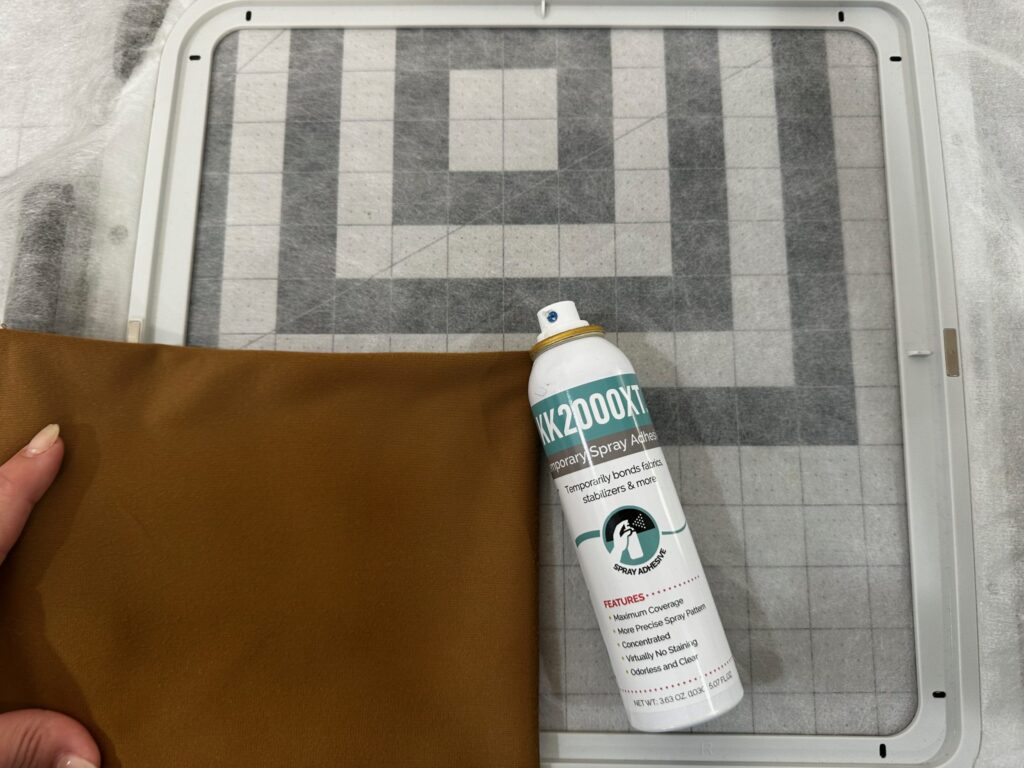
Why Soft ‘n Sheer? This lightweight cut-away stabilizer remains behind the embroidery after stitching, supporting the stitches without adding excessive bulk to the finished pillow. Its soft hand makes it a great choice for decorative projects where you want the finished fabric to remain flexible.
Set Up the Machine with Sulky Threads
For the Thankful design, we’re using Sulky 40 wt. Poly Deco Thread in the needle and Sulky 60 wt. Bobbin Thread in the bobbin.
Poly Deco is an excellent choice for decorative pillows, especially those that may see regular use. This polyester embroidery thread offers beautiful color, a subtle sheen and excellent durability. It also holds up well to laundering, making it a practical option for home décor projects that are meant to be enjoyed, not just admired.
Sulky 60 wt. Bobbin Thread helps create balanced embroidery stitches without adding unnecessary bulk to the back of the design.
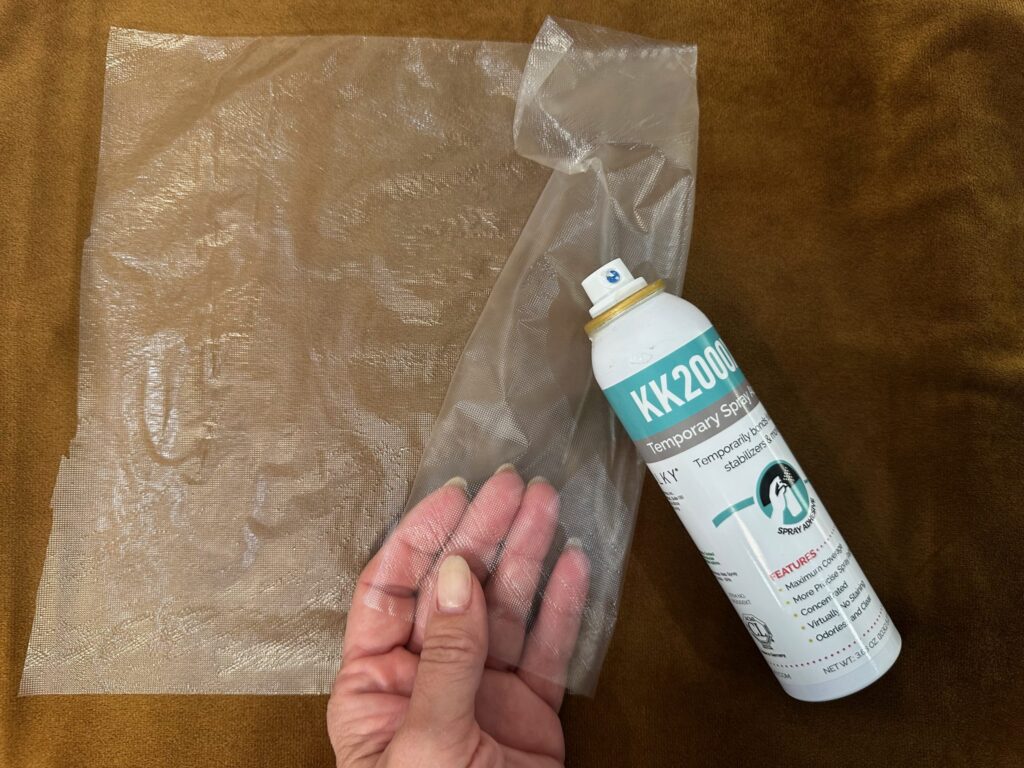
Next, place a layer of Sulky Solvy Water-Soluble Stabilizer on top of the fabric before stitching. This topper helps prevent the embroidery stitches from sinking into the pile, keeping the Thankful lettering crisp and visible. Secure the topper without stretching the velvet. Secure the Solvy by spraying a small amount of KK2000XT onto the Solvy before placing it on the velvet. Again, check to make sure the velvet pile is all going in the same direction.
Embroider the Design
With the velvet secured to the hooped stabilizer, load the Thankful machine embroidery design and confirm its placement. Begin the embroidery.
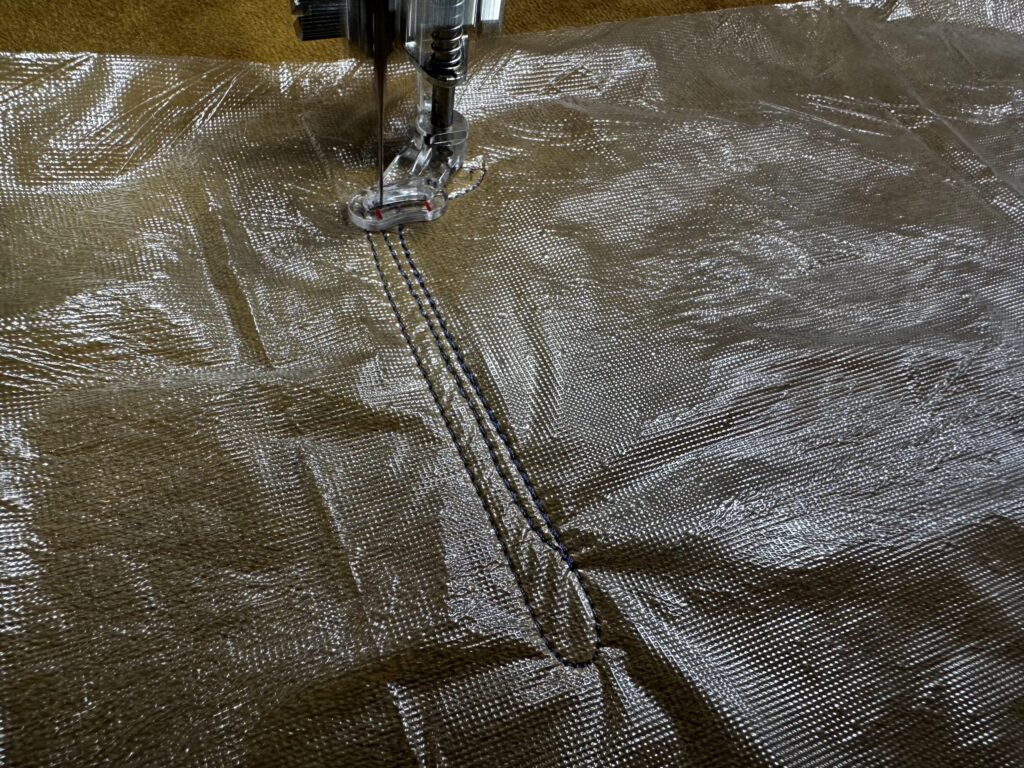
The combination of Soft ‘n Sheer Stabilizer and KK2000XT helps minimize shifting during embroidery, while Poly Deco Thread adds beautiful definition to the lettering. Be sure to choose thread colors with enough contrast against the pill
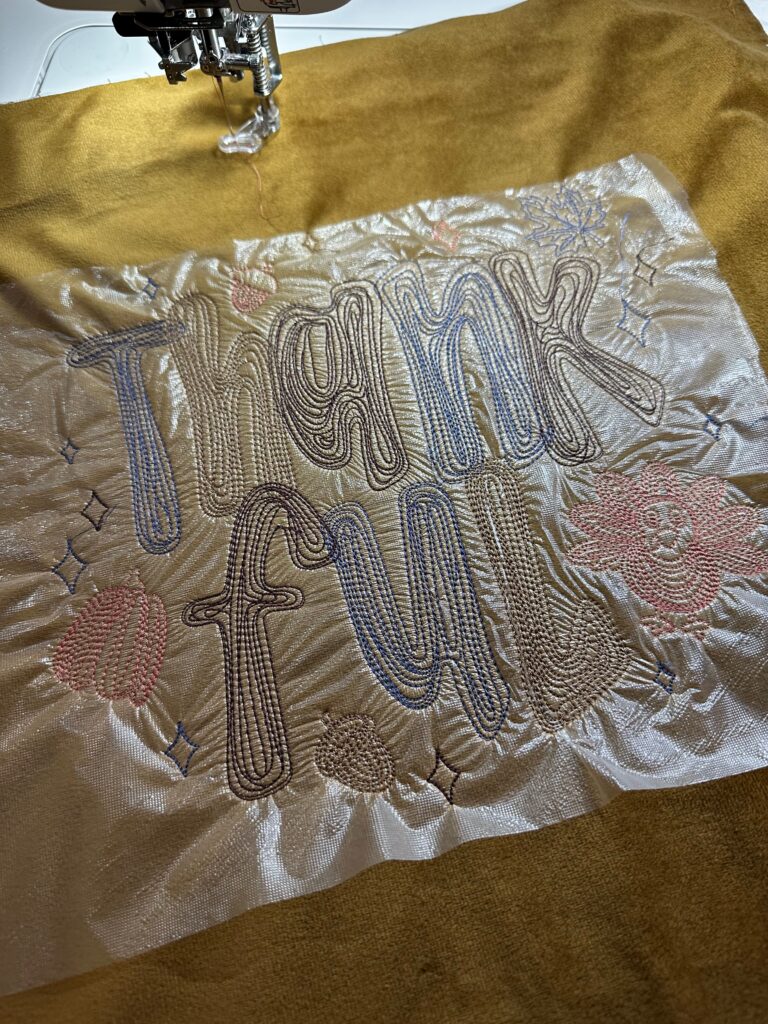
Finish the Embroidery
Once the design is complete, carefully remove the hoop from the machine.
Gently tear away the excess Solvy beyond the design perimeter.
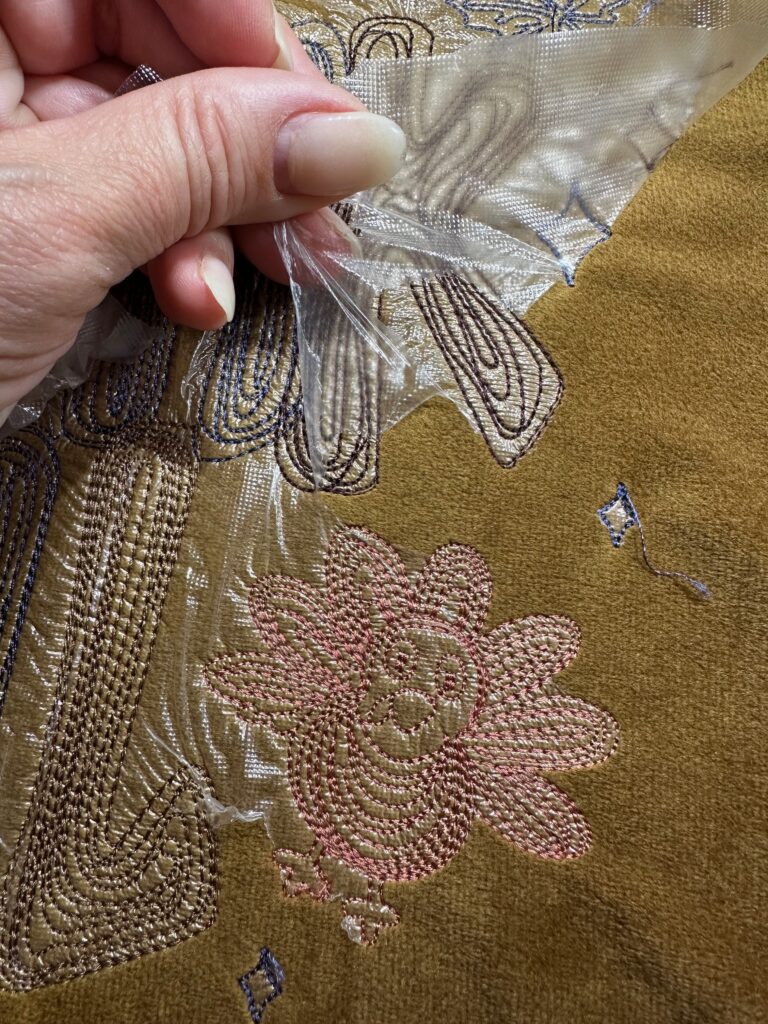
Turn the fabric over and trim the Soft ‘n Sheer Stabilizer around the embroidery, leaving a margin of approximately ¼” to ½” beyond the design. Take care not to cut the embroidery stitches or the velvet.
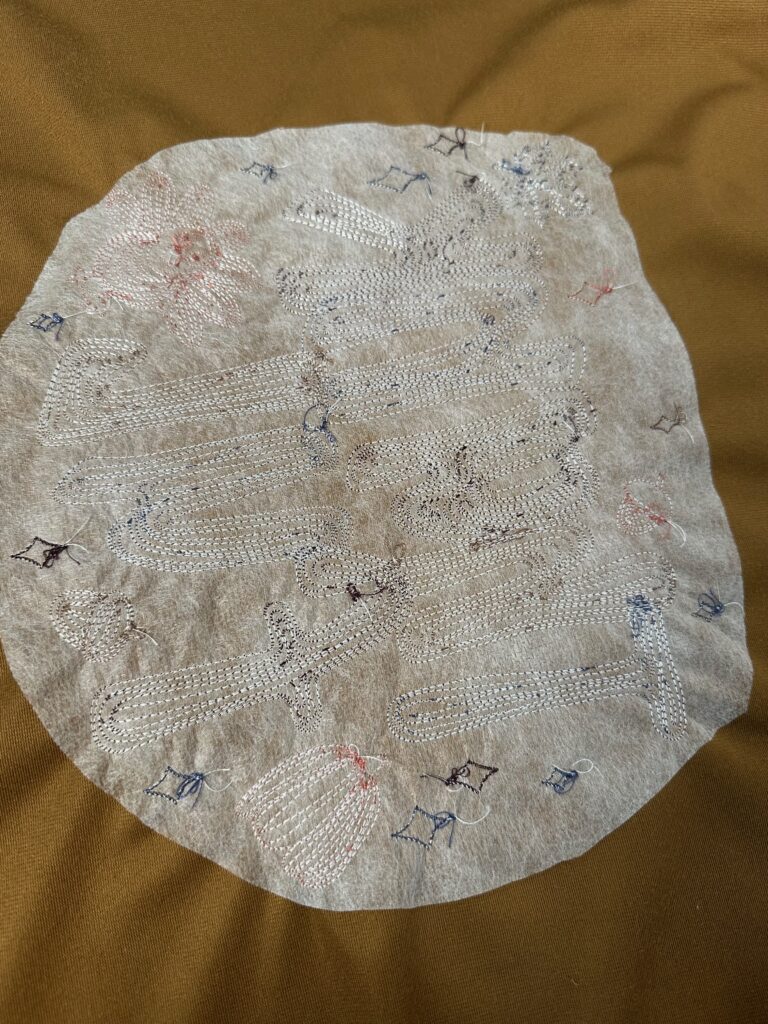
Because Soft ‘n Sheer is a cut-away stabilizer, the remaining portion stays in place to support the embroidery throughout the life of the pillow.
Re-Stitch the Pillow
If you’re making the pillow from scratch, use the embroidered velvet as the pillow front and construct the pillow using your preferred method.
If using a pre-made pillow, as shown, reconstruct the pillow using the original manufacturer’s method. Be sure to open the zipper (if applicable) before sewing the pillow edges.
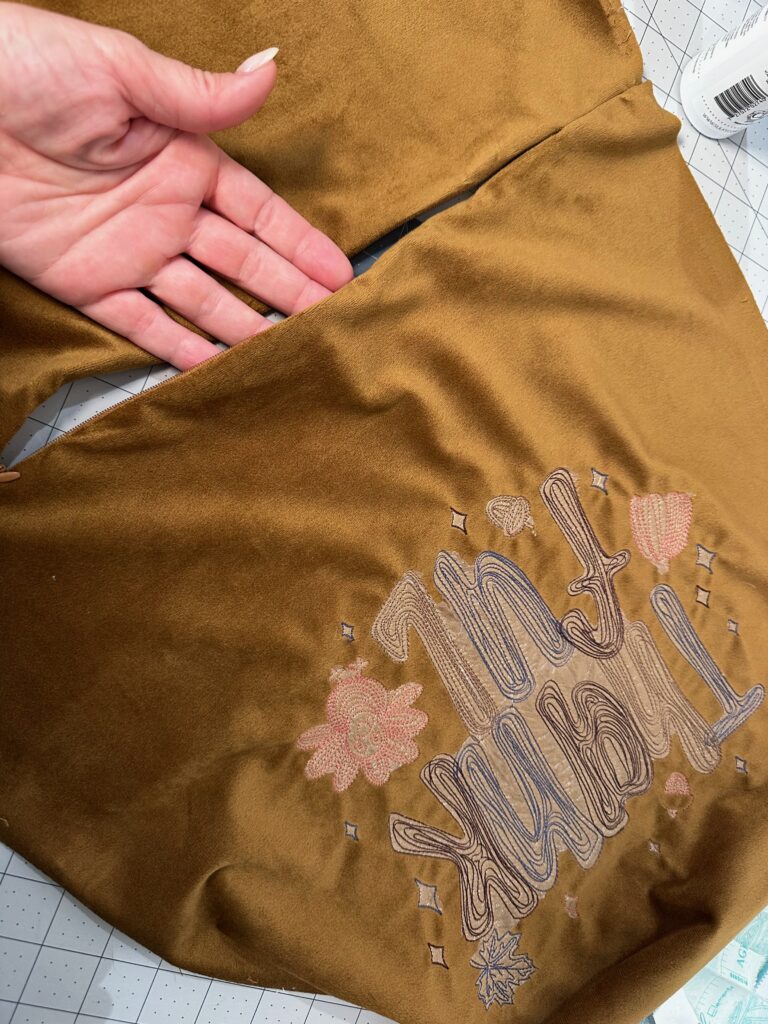
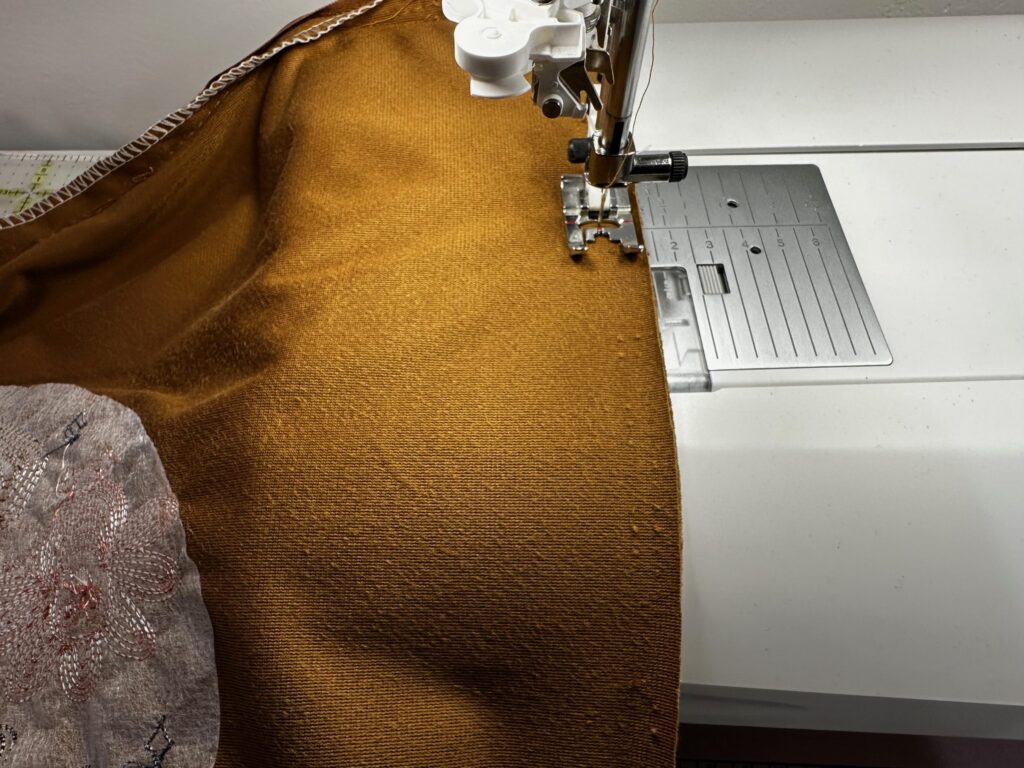
Remove any remaining Solvy using water; either dampen a towel and blot the remaining bits or wash the pillow in the washing machine. Be mindful of the velvet care requirements when using moisture. (Remove the Solvy after completely constructing the pillow to make things easier!)
Display & Enjoy!
Insert a pillow form, if using, and display the pillow on your couch or favorite recliner. If desired, repeat this process to create a pillow pair!
