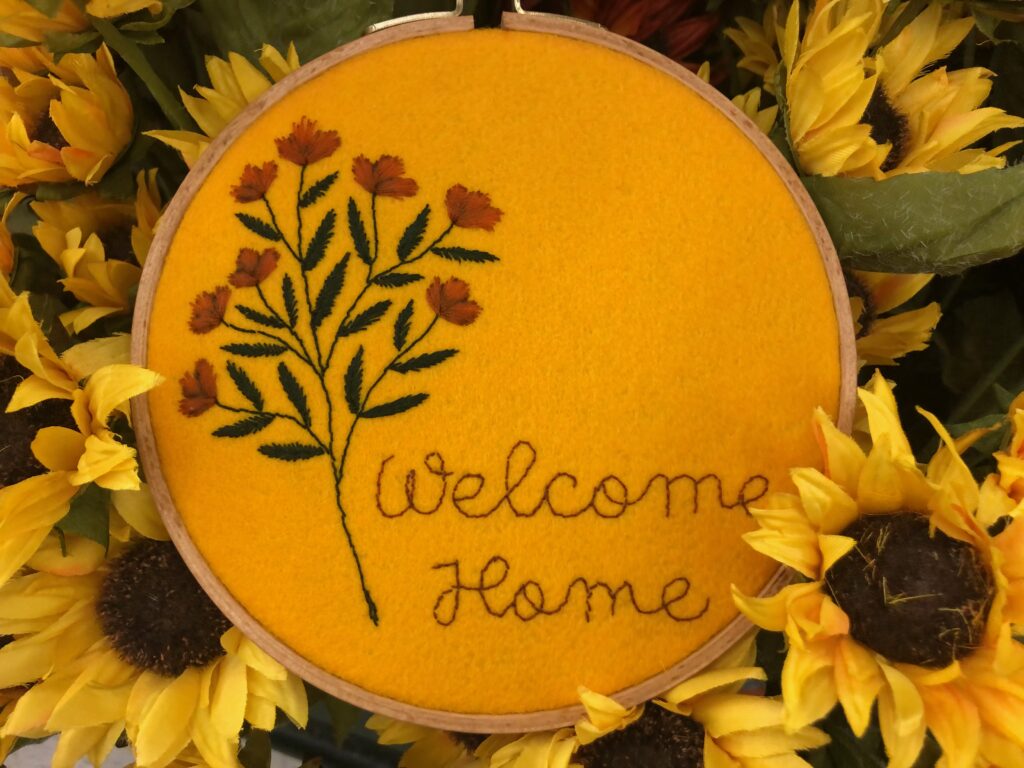
Welcome Home Family & Friends with Festive Wall Art
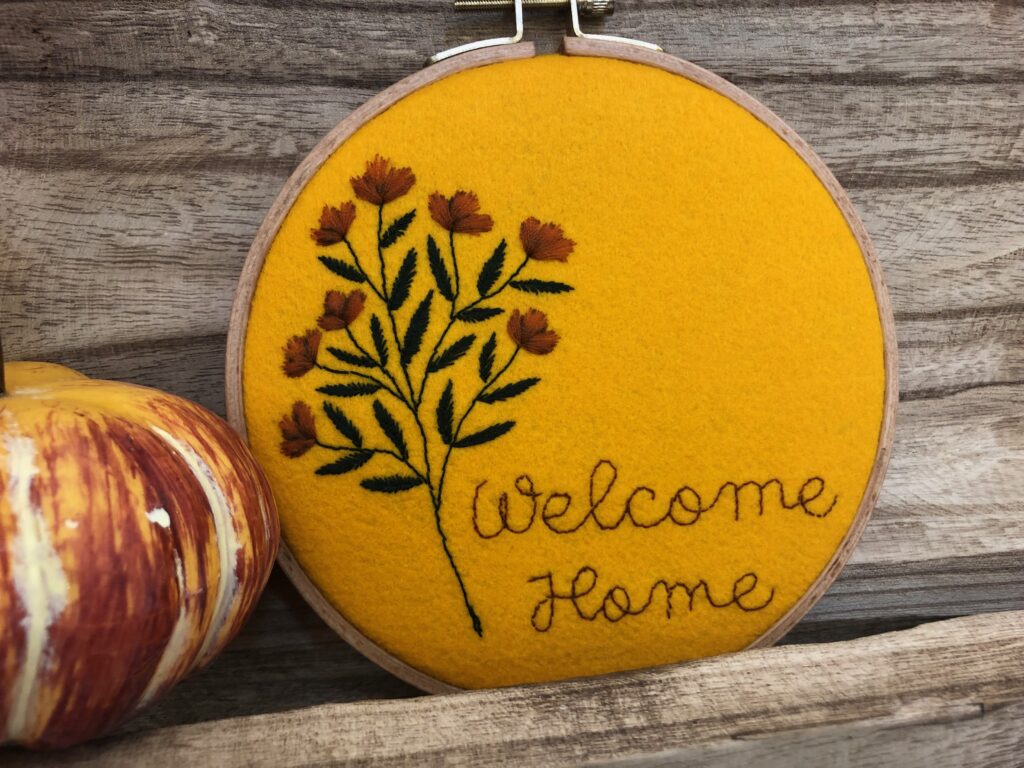
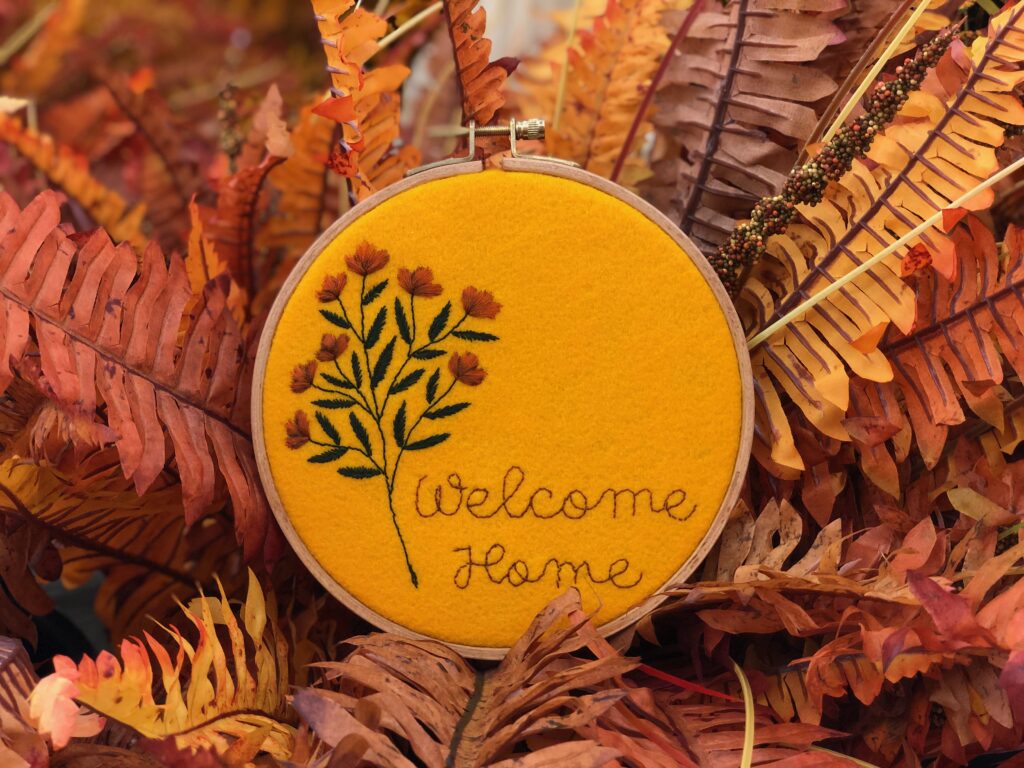
Create a fun and easy hooped “Welcome Home” wall art for your front door or a décor shelf. Start with our Fall Botanicals Hand Embroidery Kit to have what you need to get started stitching.
WELCOME HOME WALL ART SUPPLIES
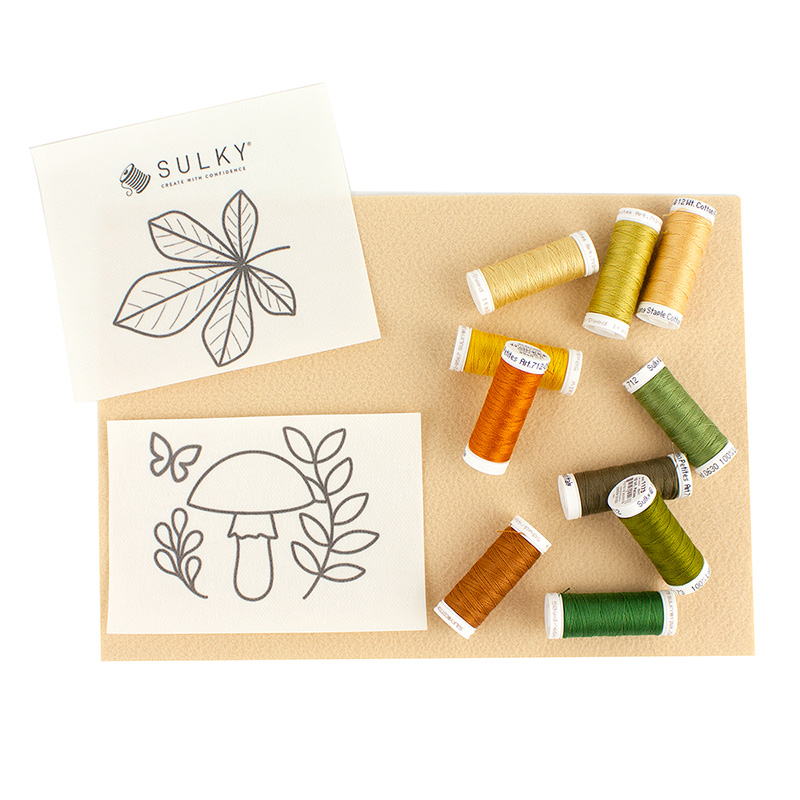
- Fall Botanicals Hand Embroidery Kit (shown above; includes a sheet of Cream Sulky Felty, 10 spools of Sulky Cotton Petites Thread, Sulky Stick ‘n Stitch sample with printed designs, complete Fall Botanicals digital hand embroidery collection & PDF instruction booklet)
or
- Sulky Felty (one sheet in the color of choice)
- Stick ‘n Stitch Stabilizer
- Cotton Petites Thread
- Hand embroidery designs of choice
- Hand embroidery needle
- German Wooden Embroidery Hoop
- Ribbon or Sulky Invisible Thread (for hanging)
- Needle Minder
GETTING STARTED – WALL ART PREP
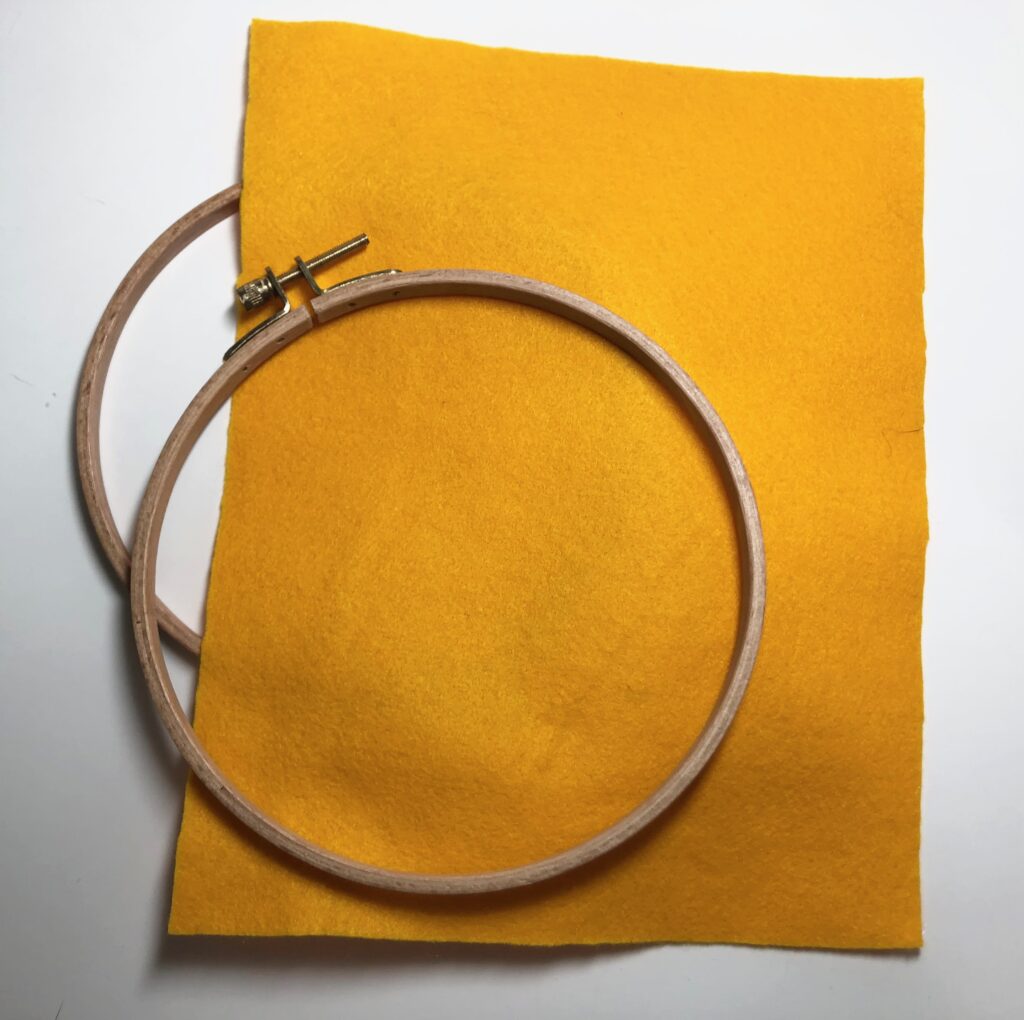
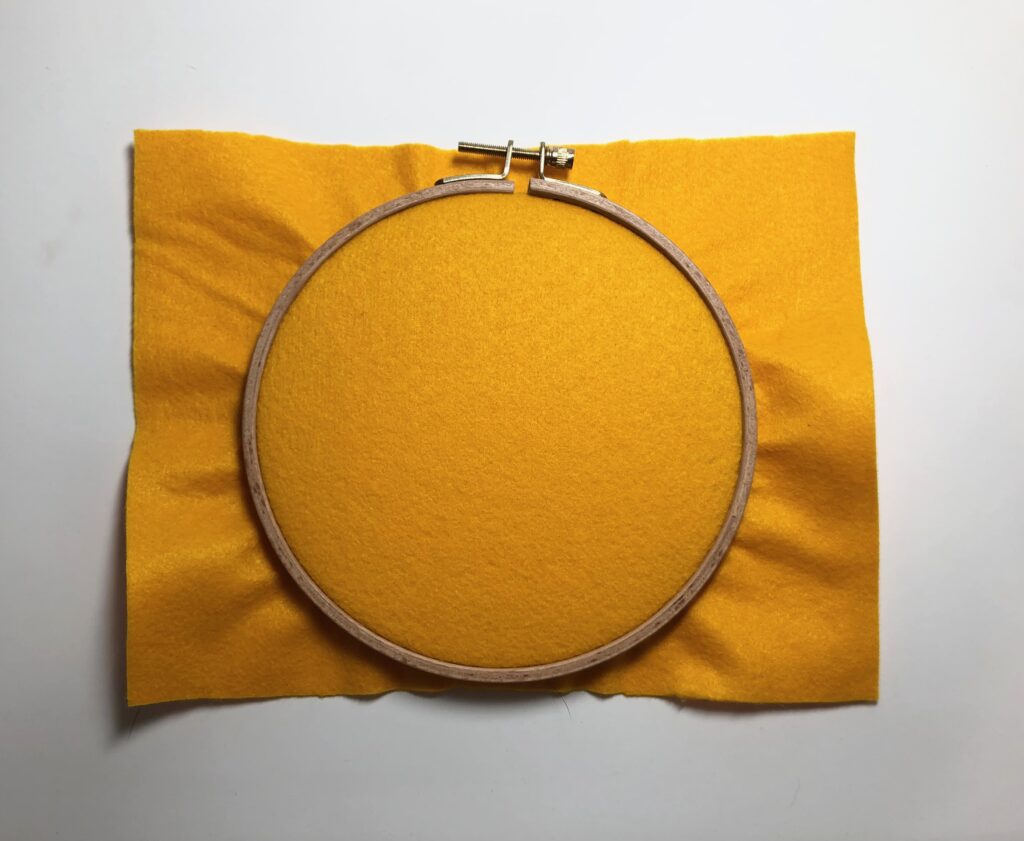
Hoop the sheet of Sulky Felty in a German Wooden hand embroidery hoop. The 8″ size works well for this project. (Add this with purchase of the kit!)
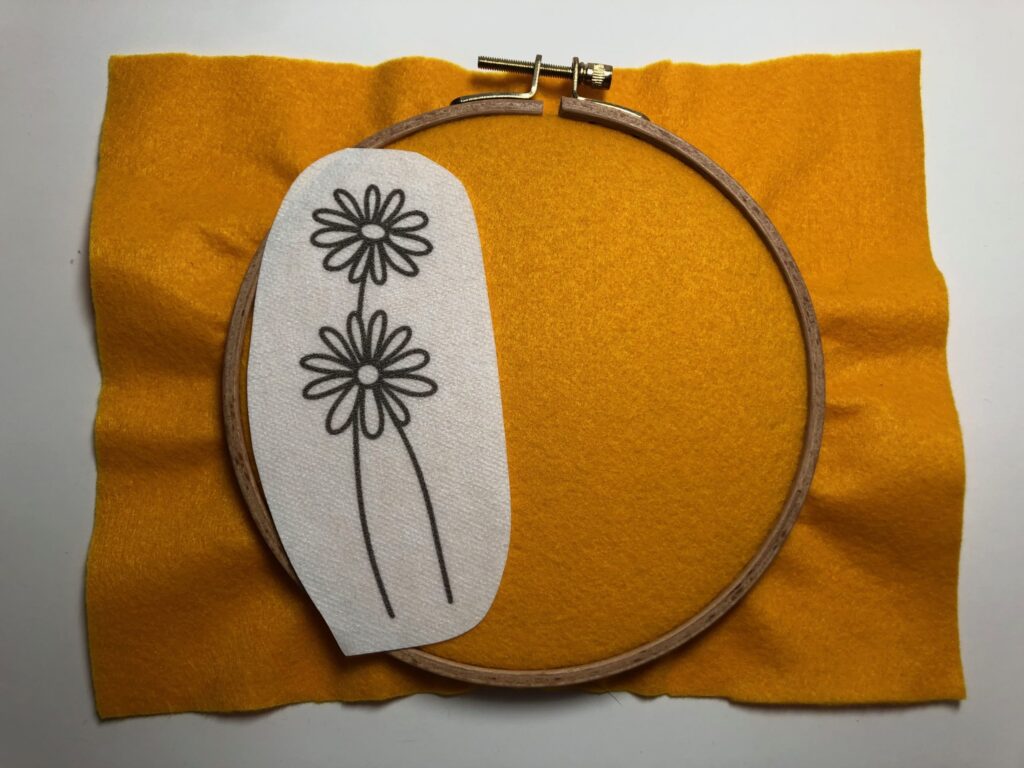
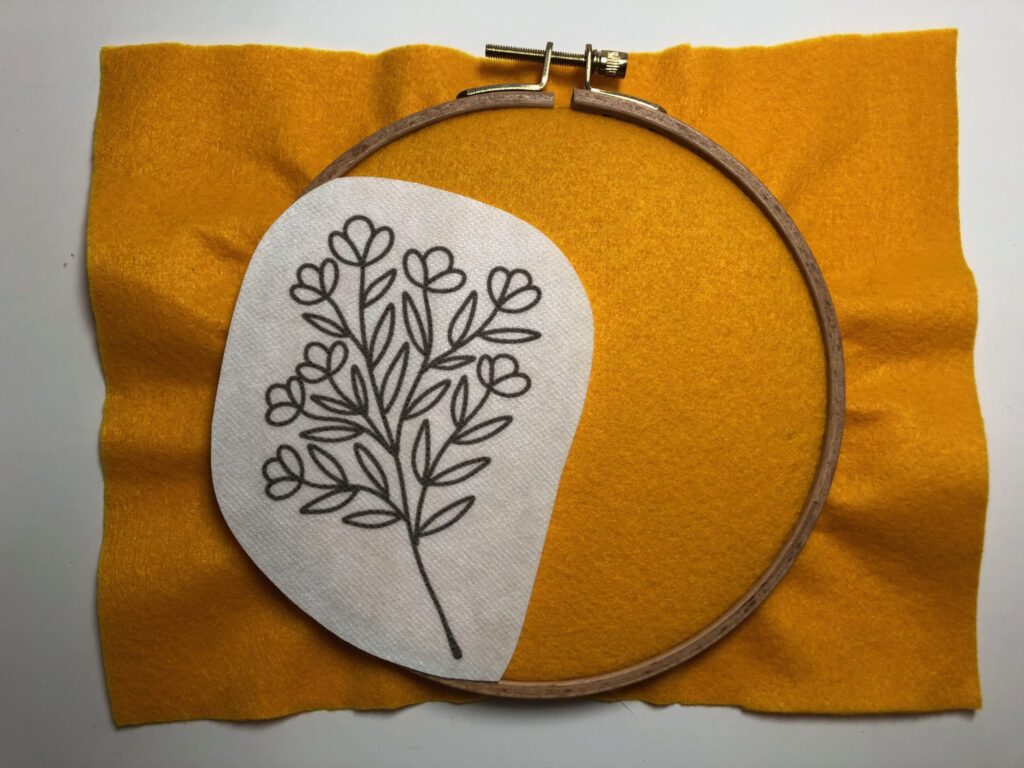
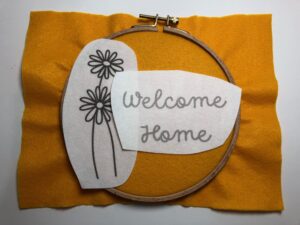
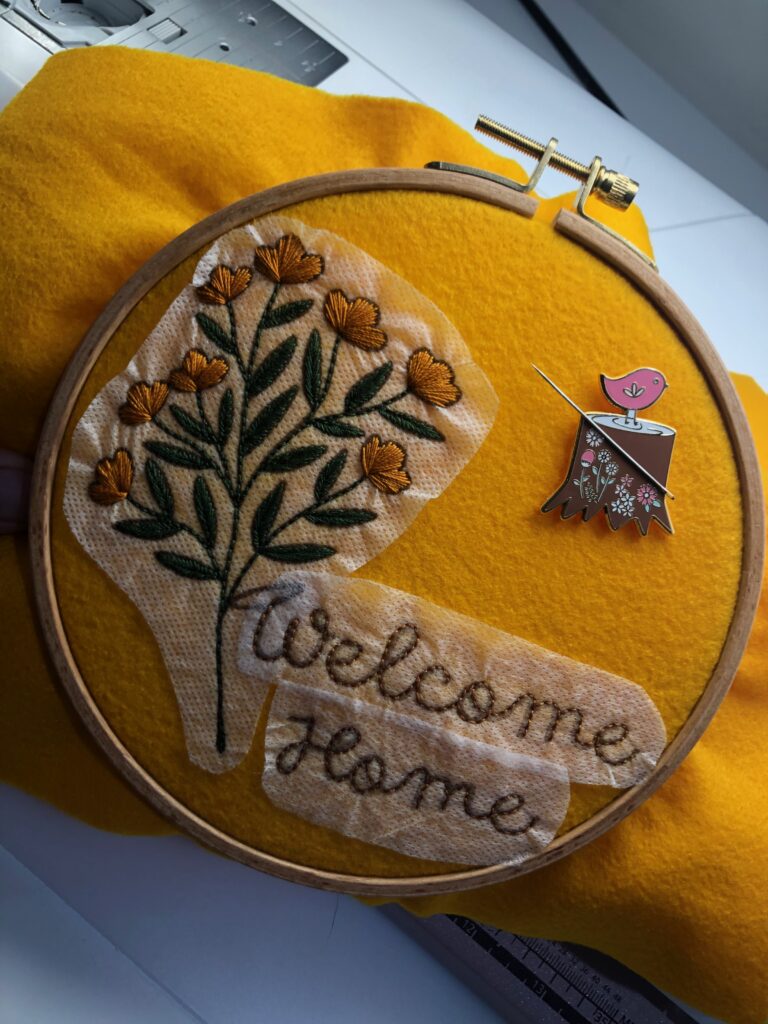
Print the chosen design(s) onto a sheet of Sulky Stick ‘n Stitch. Make sure to feed the stabilizer into the printer to print on the fabric-like side, and set the printer for the lowest ink setting (draft mode). If using the Fall Botanicals Hand Embroidery Kit for the Welcome Home Wall Art, choose the pre-printed design you like best.
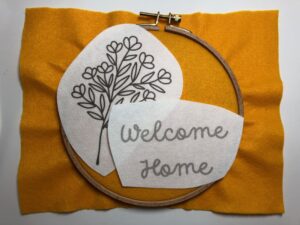
After printing, cut out the motif(s), leaving a slight border around the design.
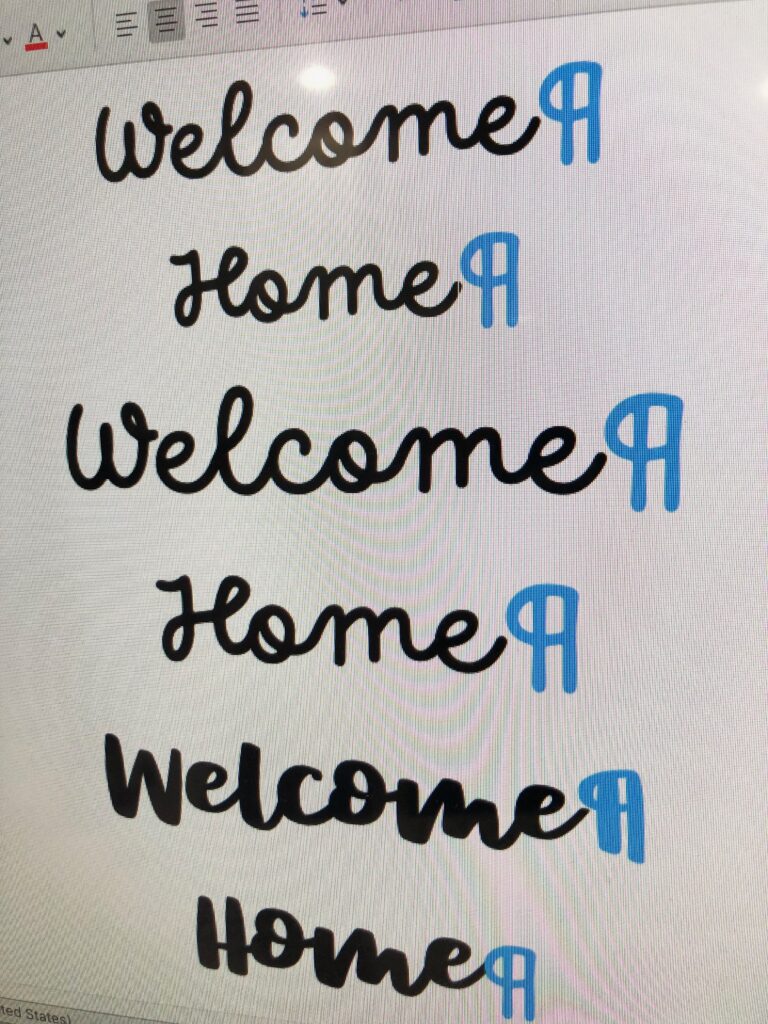
If desired, choose a font in your word processing program and print out letters to create the phrase “Welcome Home.” Print several font sizes and different font styles to audition them on the hooped Felty prior to stitching.
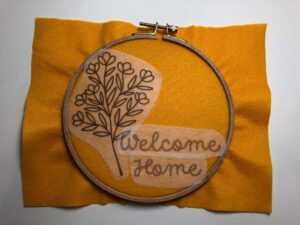
Once the desired look is achieved, stick each design/phrase to the hooped stabilizer where desired.
WALL ART HAND EMBROIDERY
Consult the color chart that accompanies the chosen design(s), if applicable. If using the Fall Botanicals Hand Embroidery Kit, consult the PDF booklet for common hand embroidery stitch diagrams and helpful tips, along with recommended thread colors for each design portion.
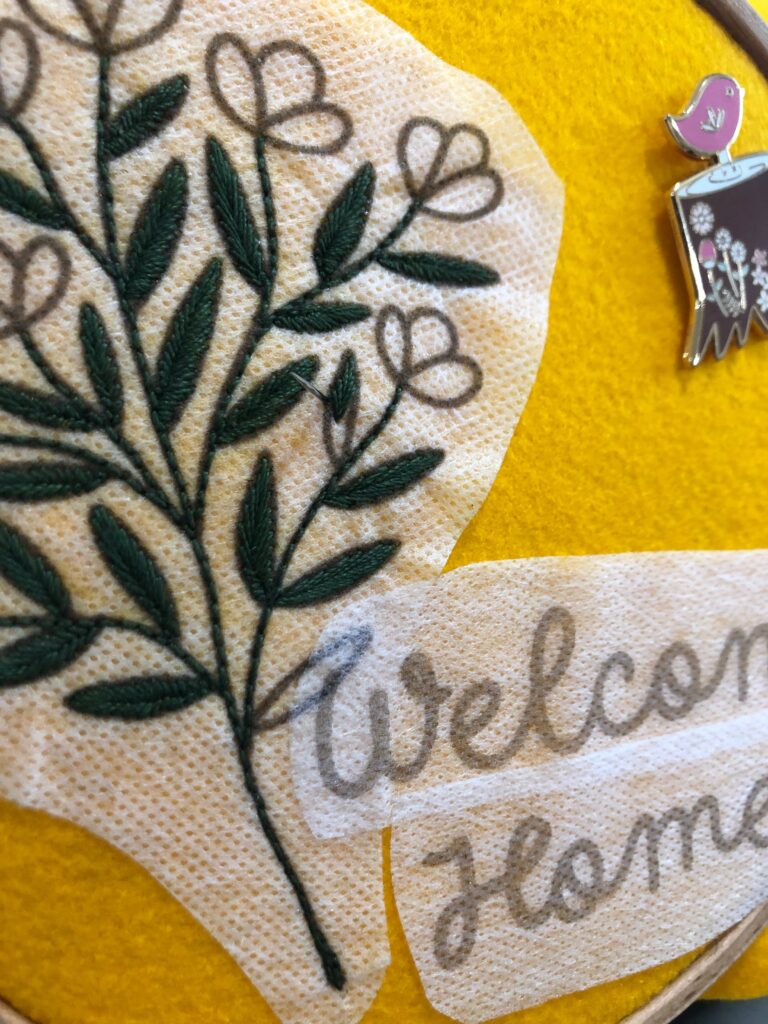
If not using the kit, choose the stitches you like best for the wall art design portions. Backstitches work best for thin lettering; satin stitches and Lazy Daisy stitches work well for flower petals; fishbone stitches work well for leaves; French Knots work well for berries and dots.
TIP: Check out our Hand Embroidery for Kids video series to watch how to form basic stitches.
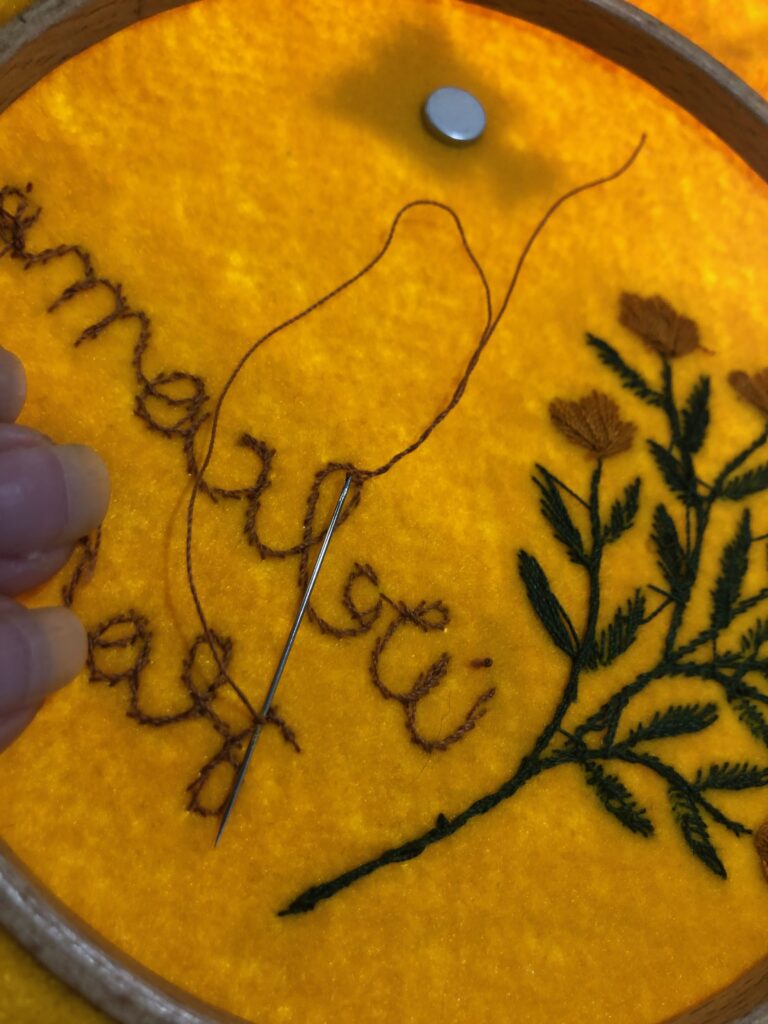
Thread the hand embroidery needle with one strand of Sulky Cotton Petites in the color you’re working with first. One strand equals two strands of traditional floss; only use two strands is working a heavily filled area for greater coverage in less time.
Leave a long thread tail on the back of the work when taking the first stitch, and prepare to weave the thread tail through a few stitches on the wrong side once finished with the current strand. Repeat when beginning a new strand and/or color.
WALL ART FINISHING
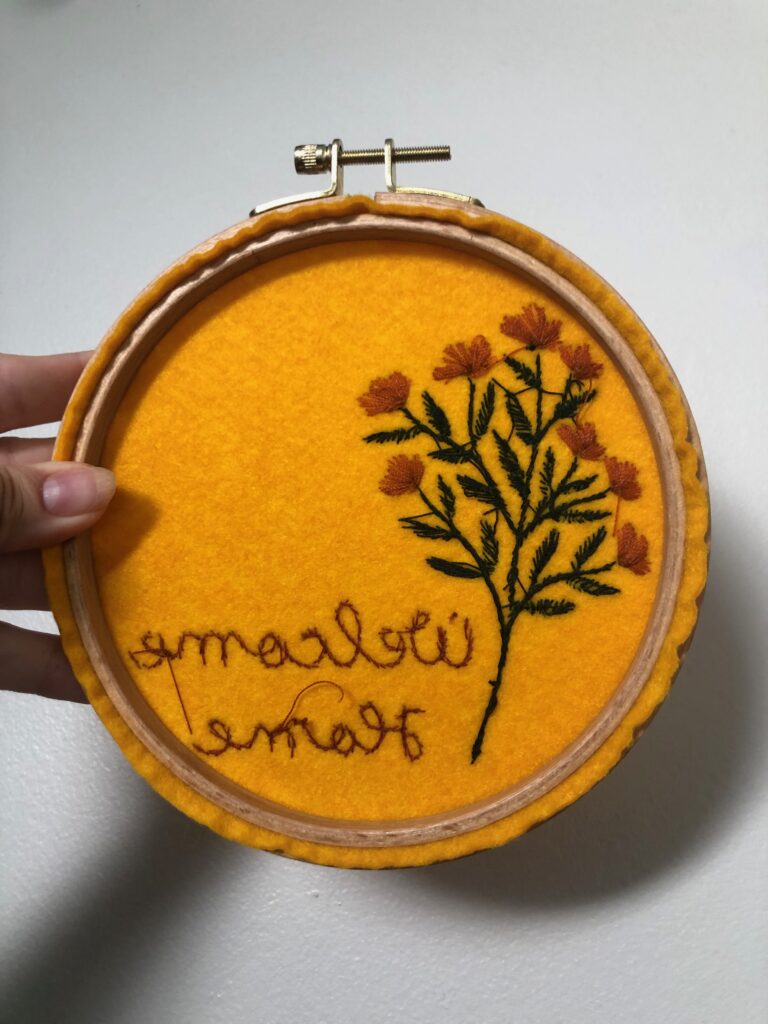
When the embroidery is complete, clean up any stray threads on the wrong side, if needed.
Then, remove the Felty from the hoop.
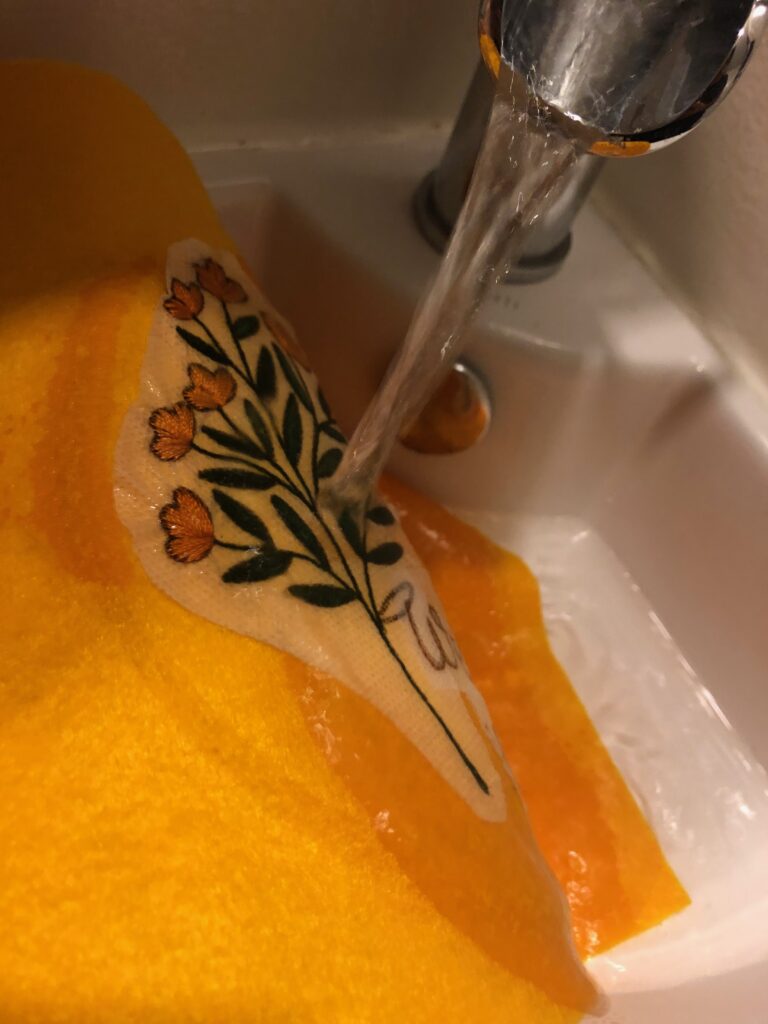
Rinse away the Stick ‘n Stitch stabilizer under running tepid water until the fibers break apart and it dissolves completely. You may need to agitate the fibers a bit with a finger or fingernail until it’s completely rinsed away.
Then, squeeze out the excess water.
Let the Felty dry flat on a towel.
Once dry, re-hoop the Felty, centering the design as desired in the hoop.
Trim the excess Felty beyond the outer hoop ring.
Hand the Welcome Home Wall Art from the embroidery hoop using a length of ribbon or Sulky Invisible Thread. Or place the hoop inside a wreath for hanging.



Thank you for showing us how you made this beautiful design