Trapunto Embroidery 101
Learn all about trapunto embroidery techniques and how to achieve the look with pretty designs & fun thread.
What is Trapunto Embroidery?
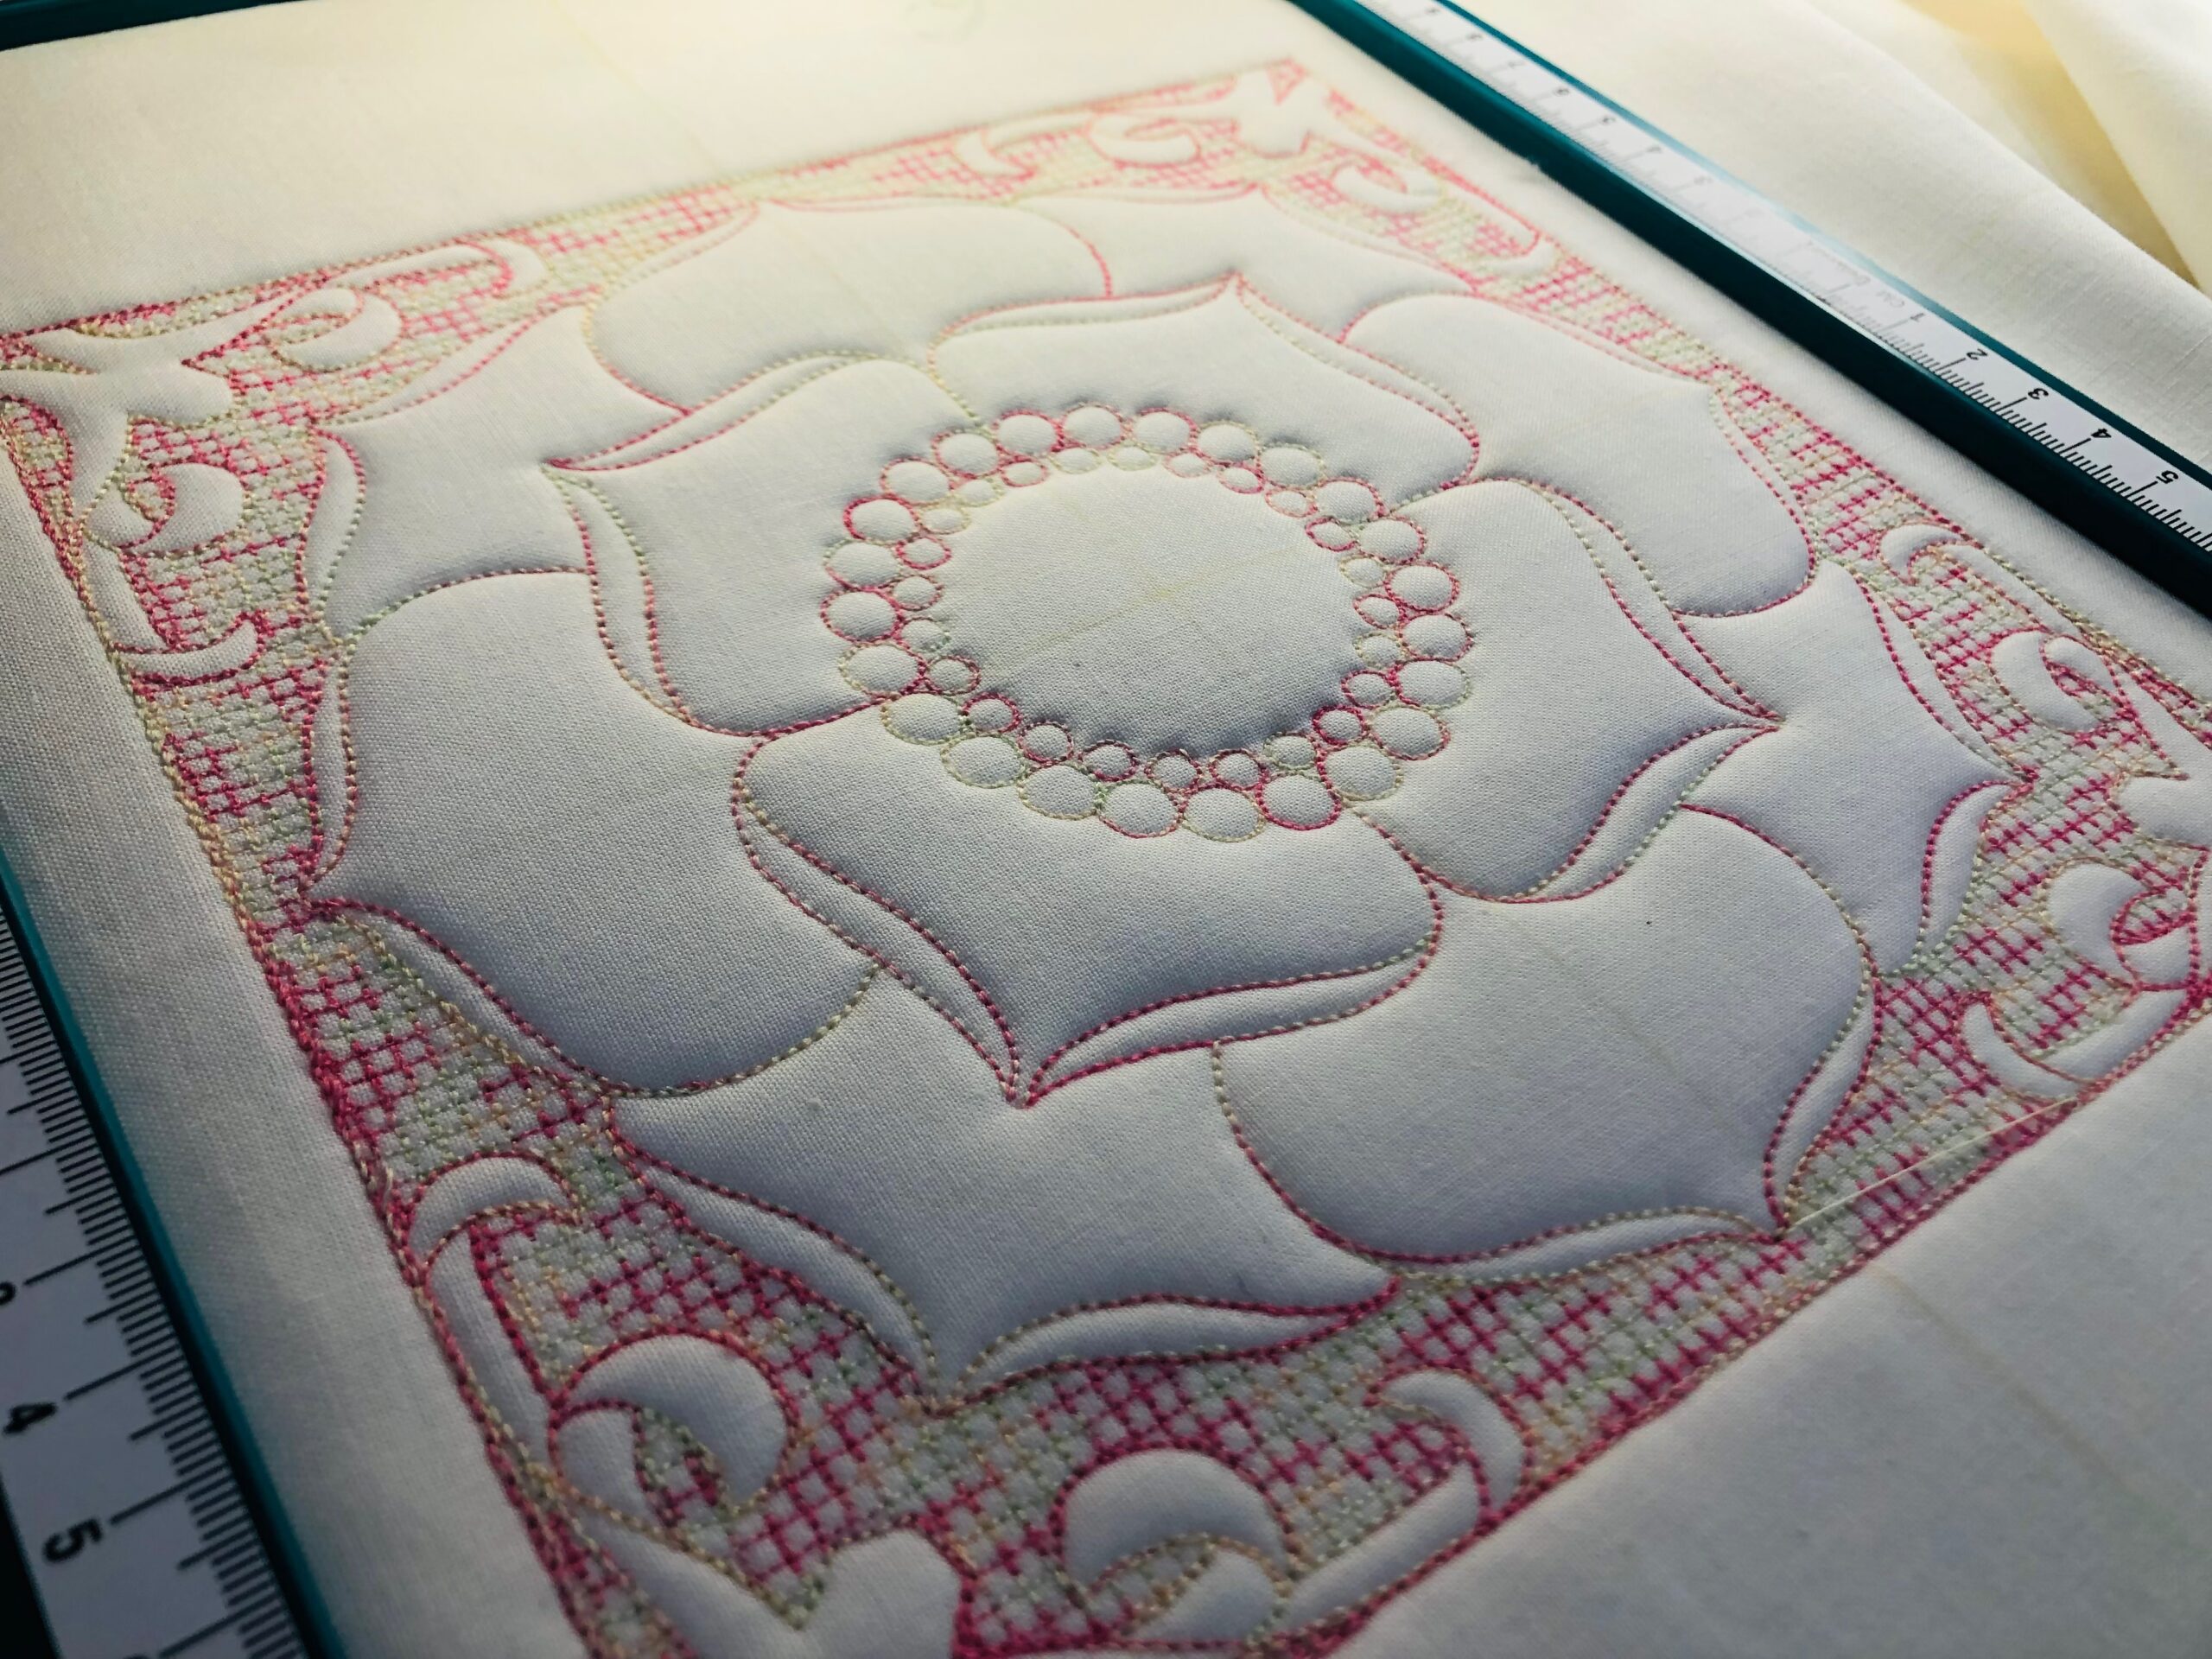
Trapunto is a technique that provides a dimensional effect, similar to the puffiness of a quilt. Fabric is layered with batting before the stitching begins, so open areas of the design “puff” up, raising the fabric surface.
Embroidery designs labeled as “trapunto” are digitized with this in mind. There are often knockdown stitches in areas of the design that compress the batting around larger motifs that are left open to accommodate the loft.
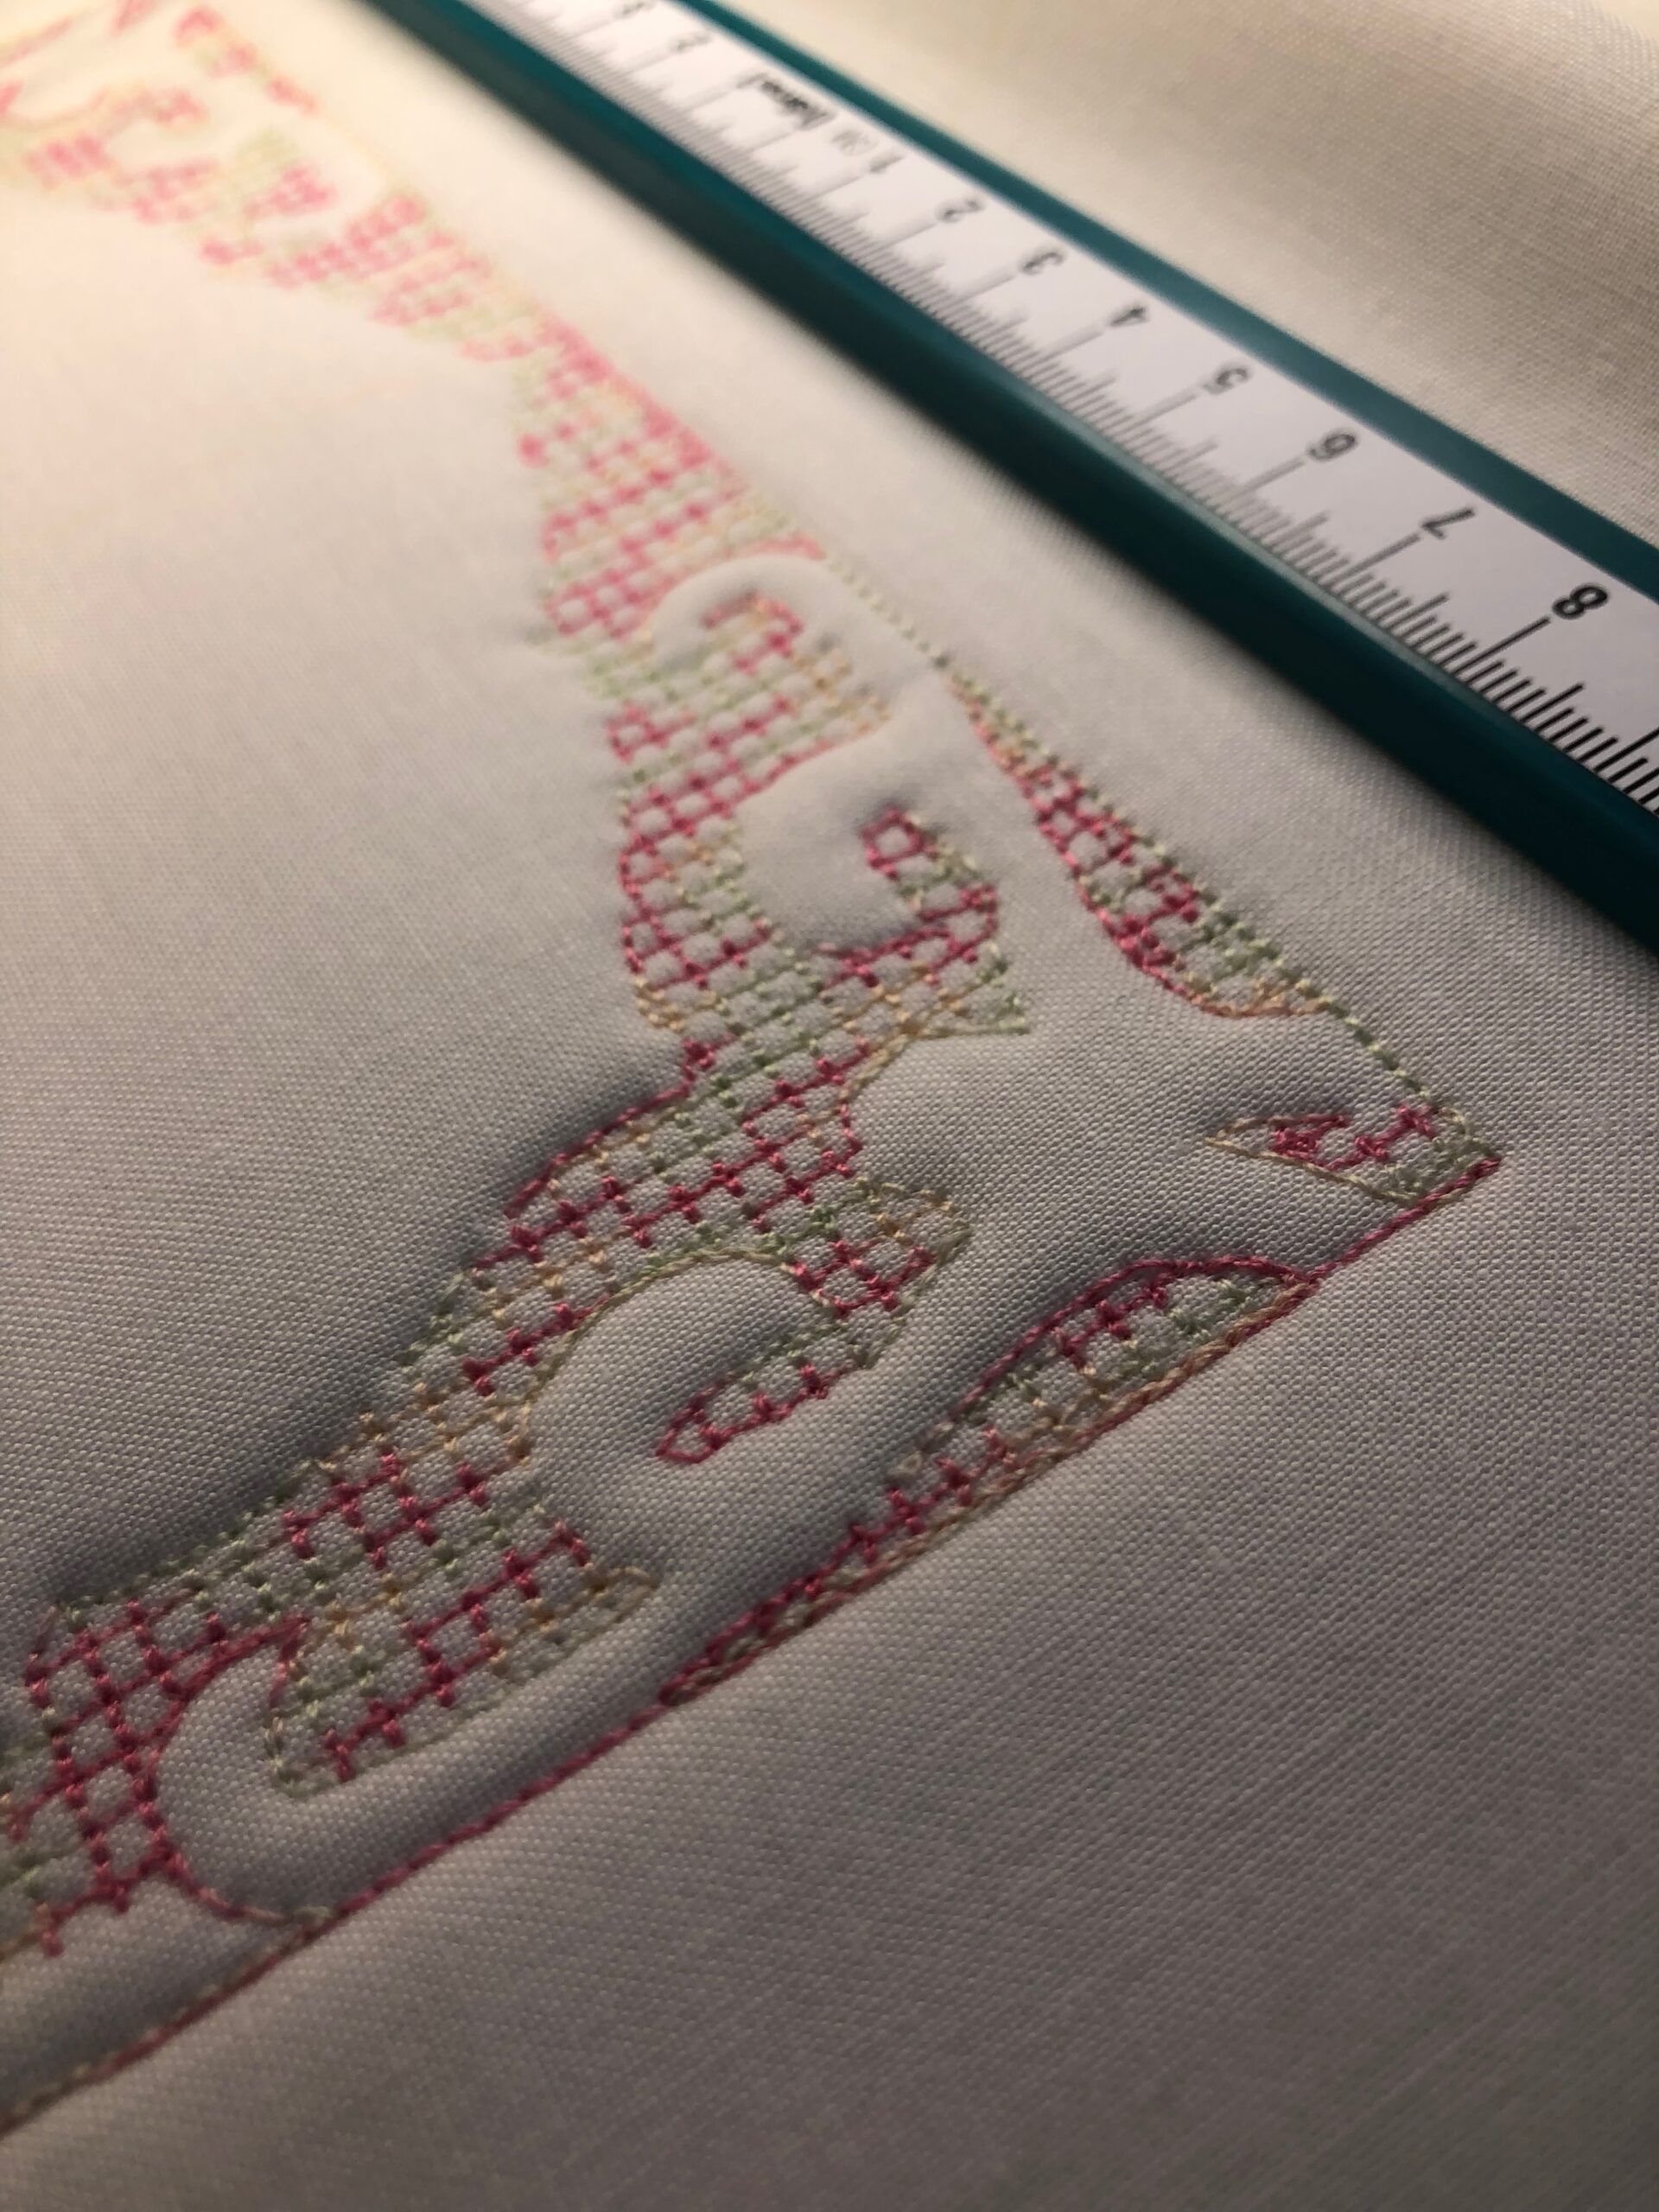
Knockdown stitches consist of close stitches in the shape of circles, squares or quatrefoils (similar to a symmetrical clover). You may be familiar with knockdown patterns beneath monogram designs, as these stitches are used to also compress the nap of a terrycloth towel so the monogram stitches sit atop the fabric surface.

While the towel embroidery shown above is not layered with batting, it has a “faux” trapunto effect due to the knockdown stitches in the design. To achieve true trapunto, batting (or even lofty fusible fleece) is required.
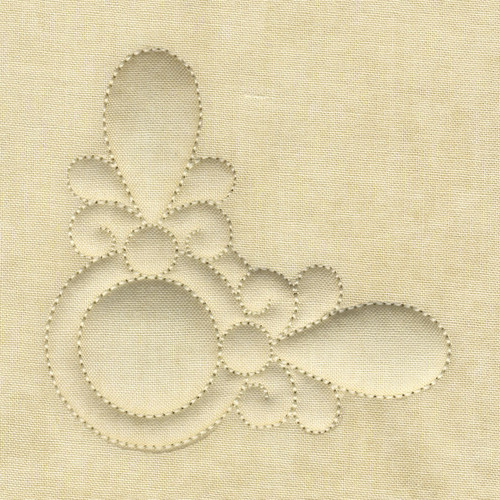
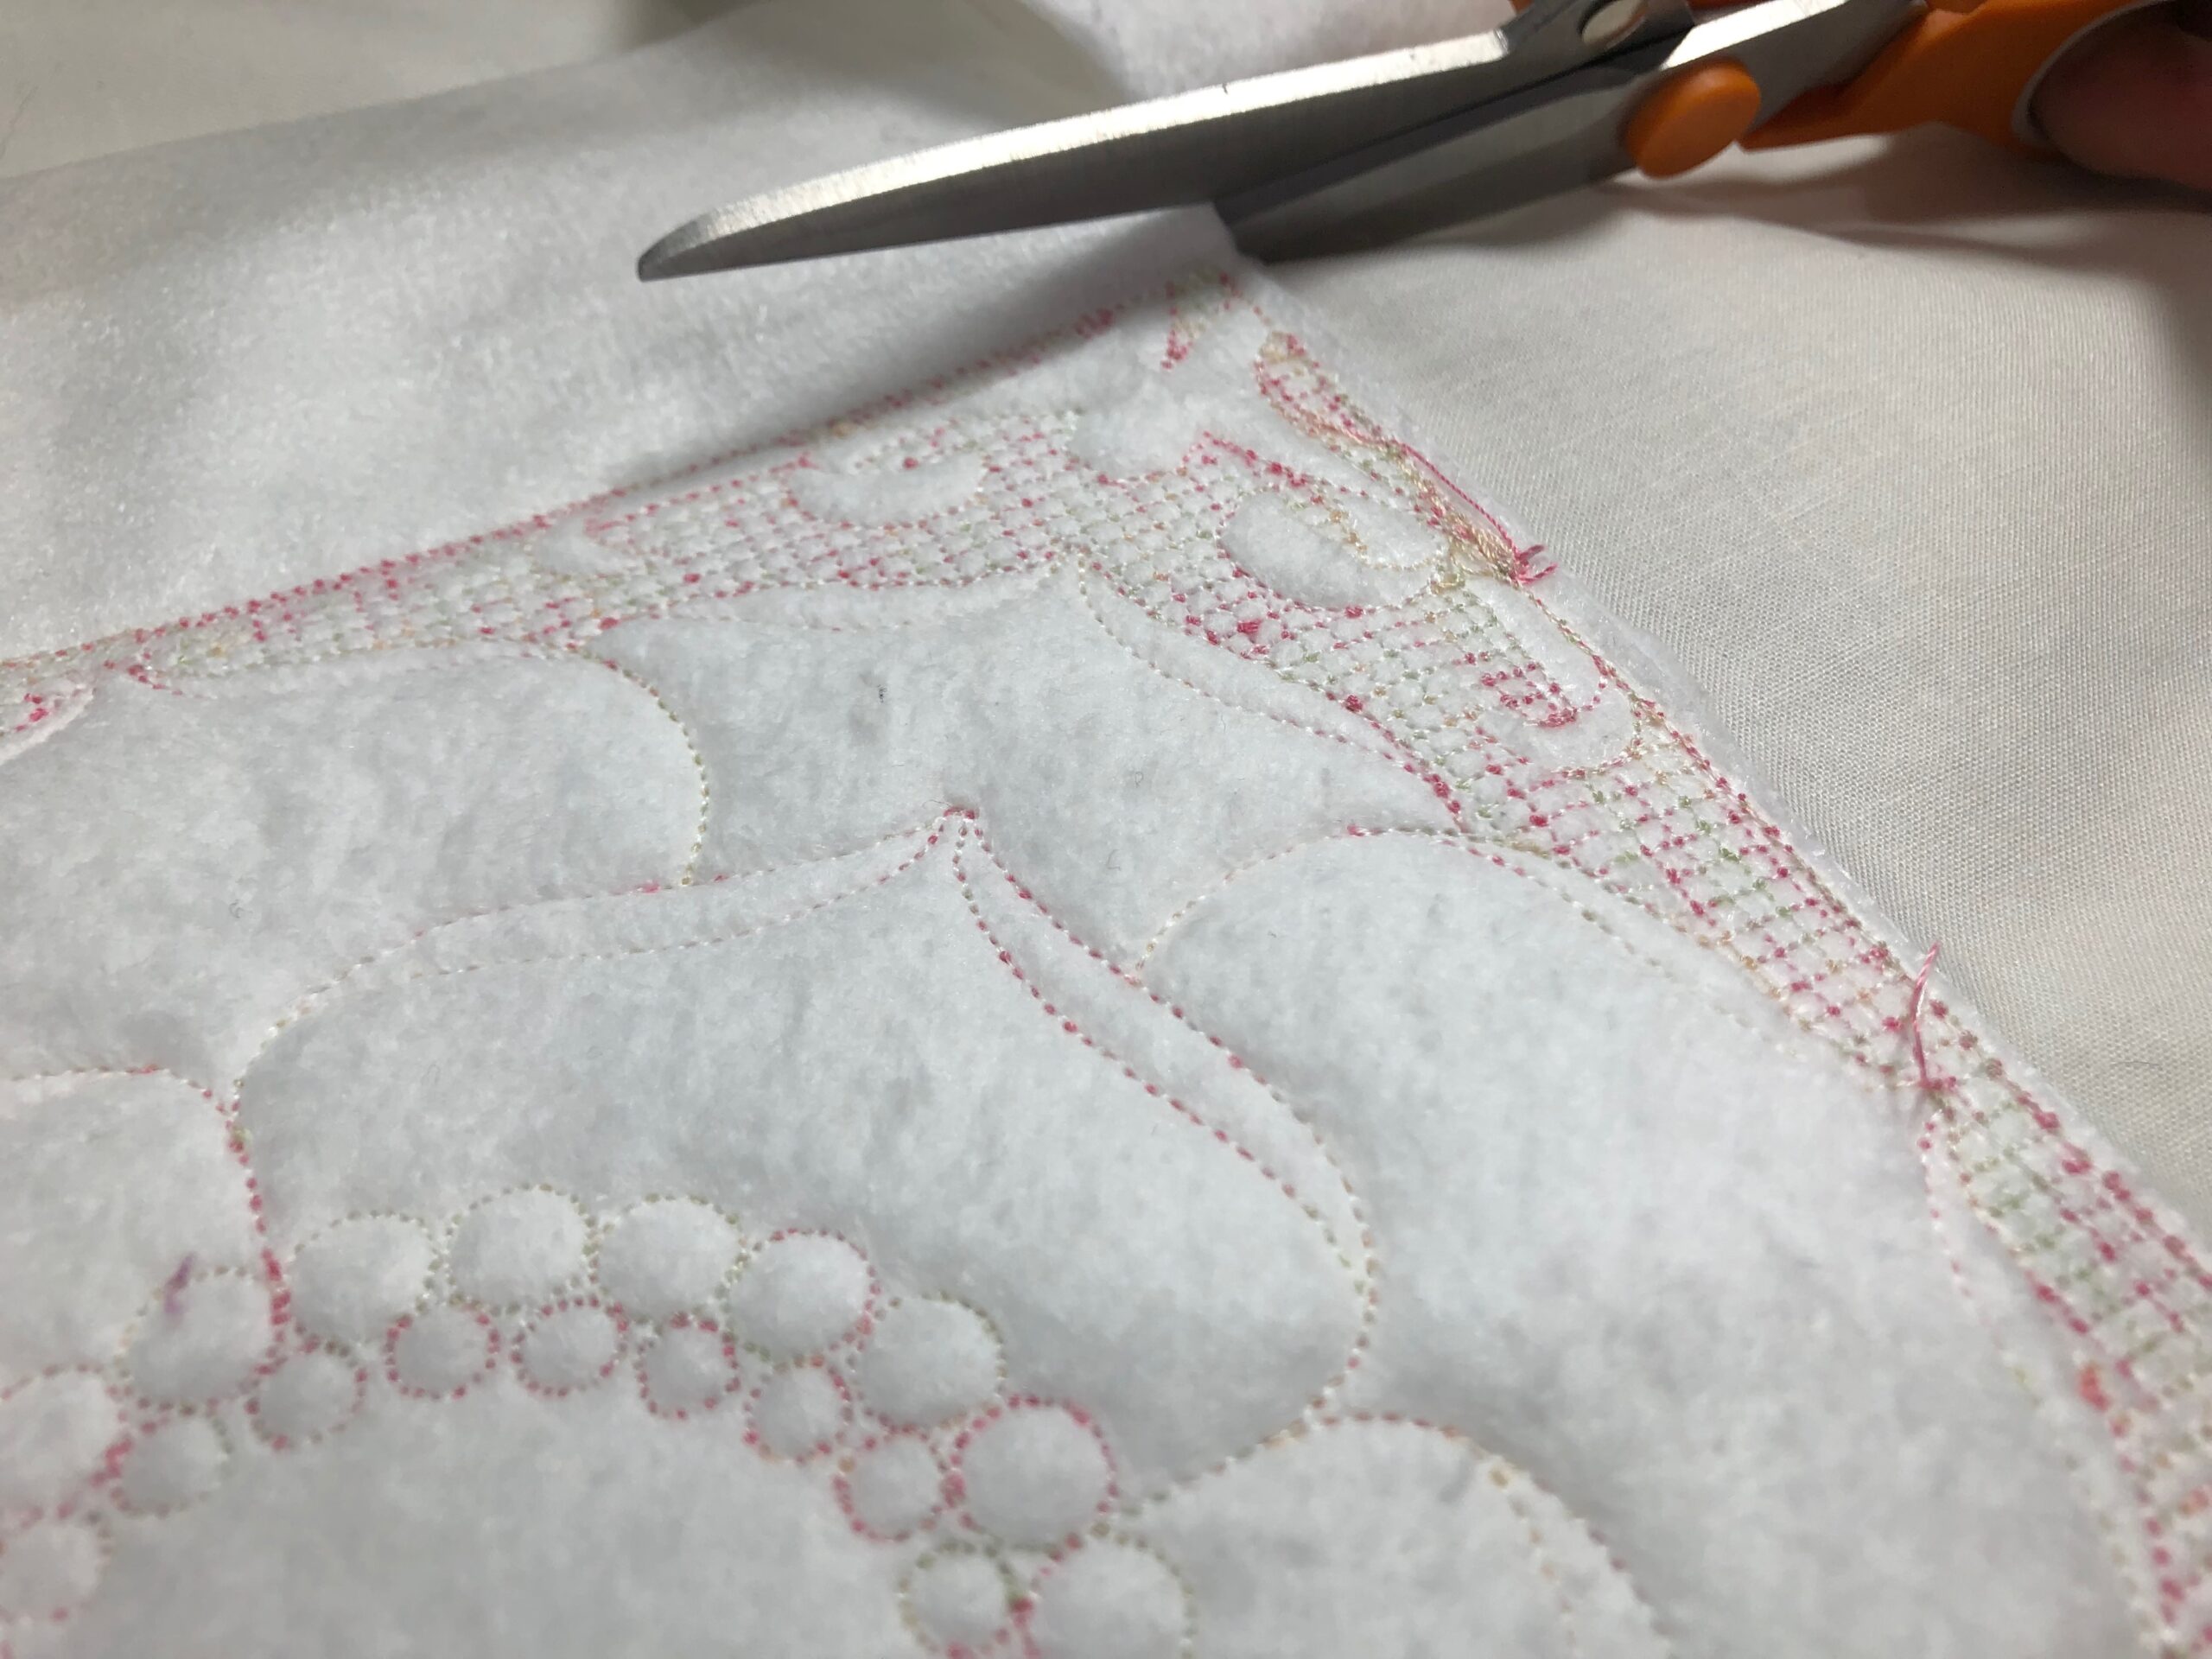
Some designs labeled as “trapunto” are more simple than that, too. Without knockdown stitches, simpler designs are comprised of simple straight stitches. The design chart directs you to trim away the batting beyond the stitching line so the areas designed to “puff” will do so with the remaining loft underneath the fabric. (See the Corner Trapunto Design featured below.)
Is Stabilizer Needed with Trapunto Embroidery?
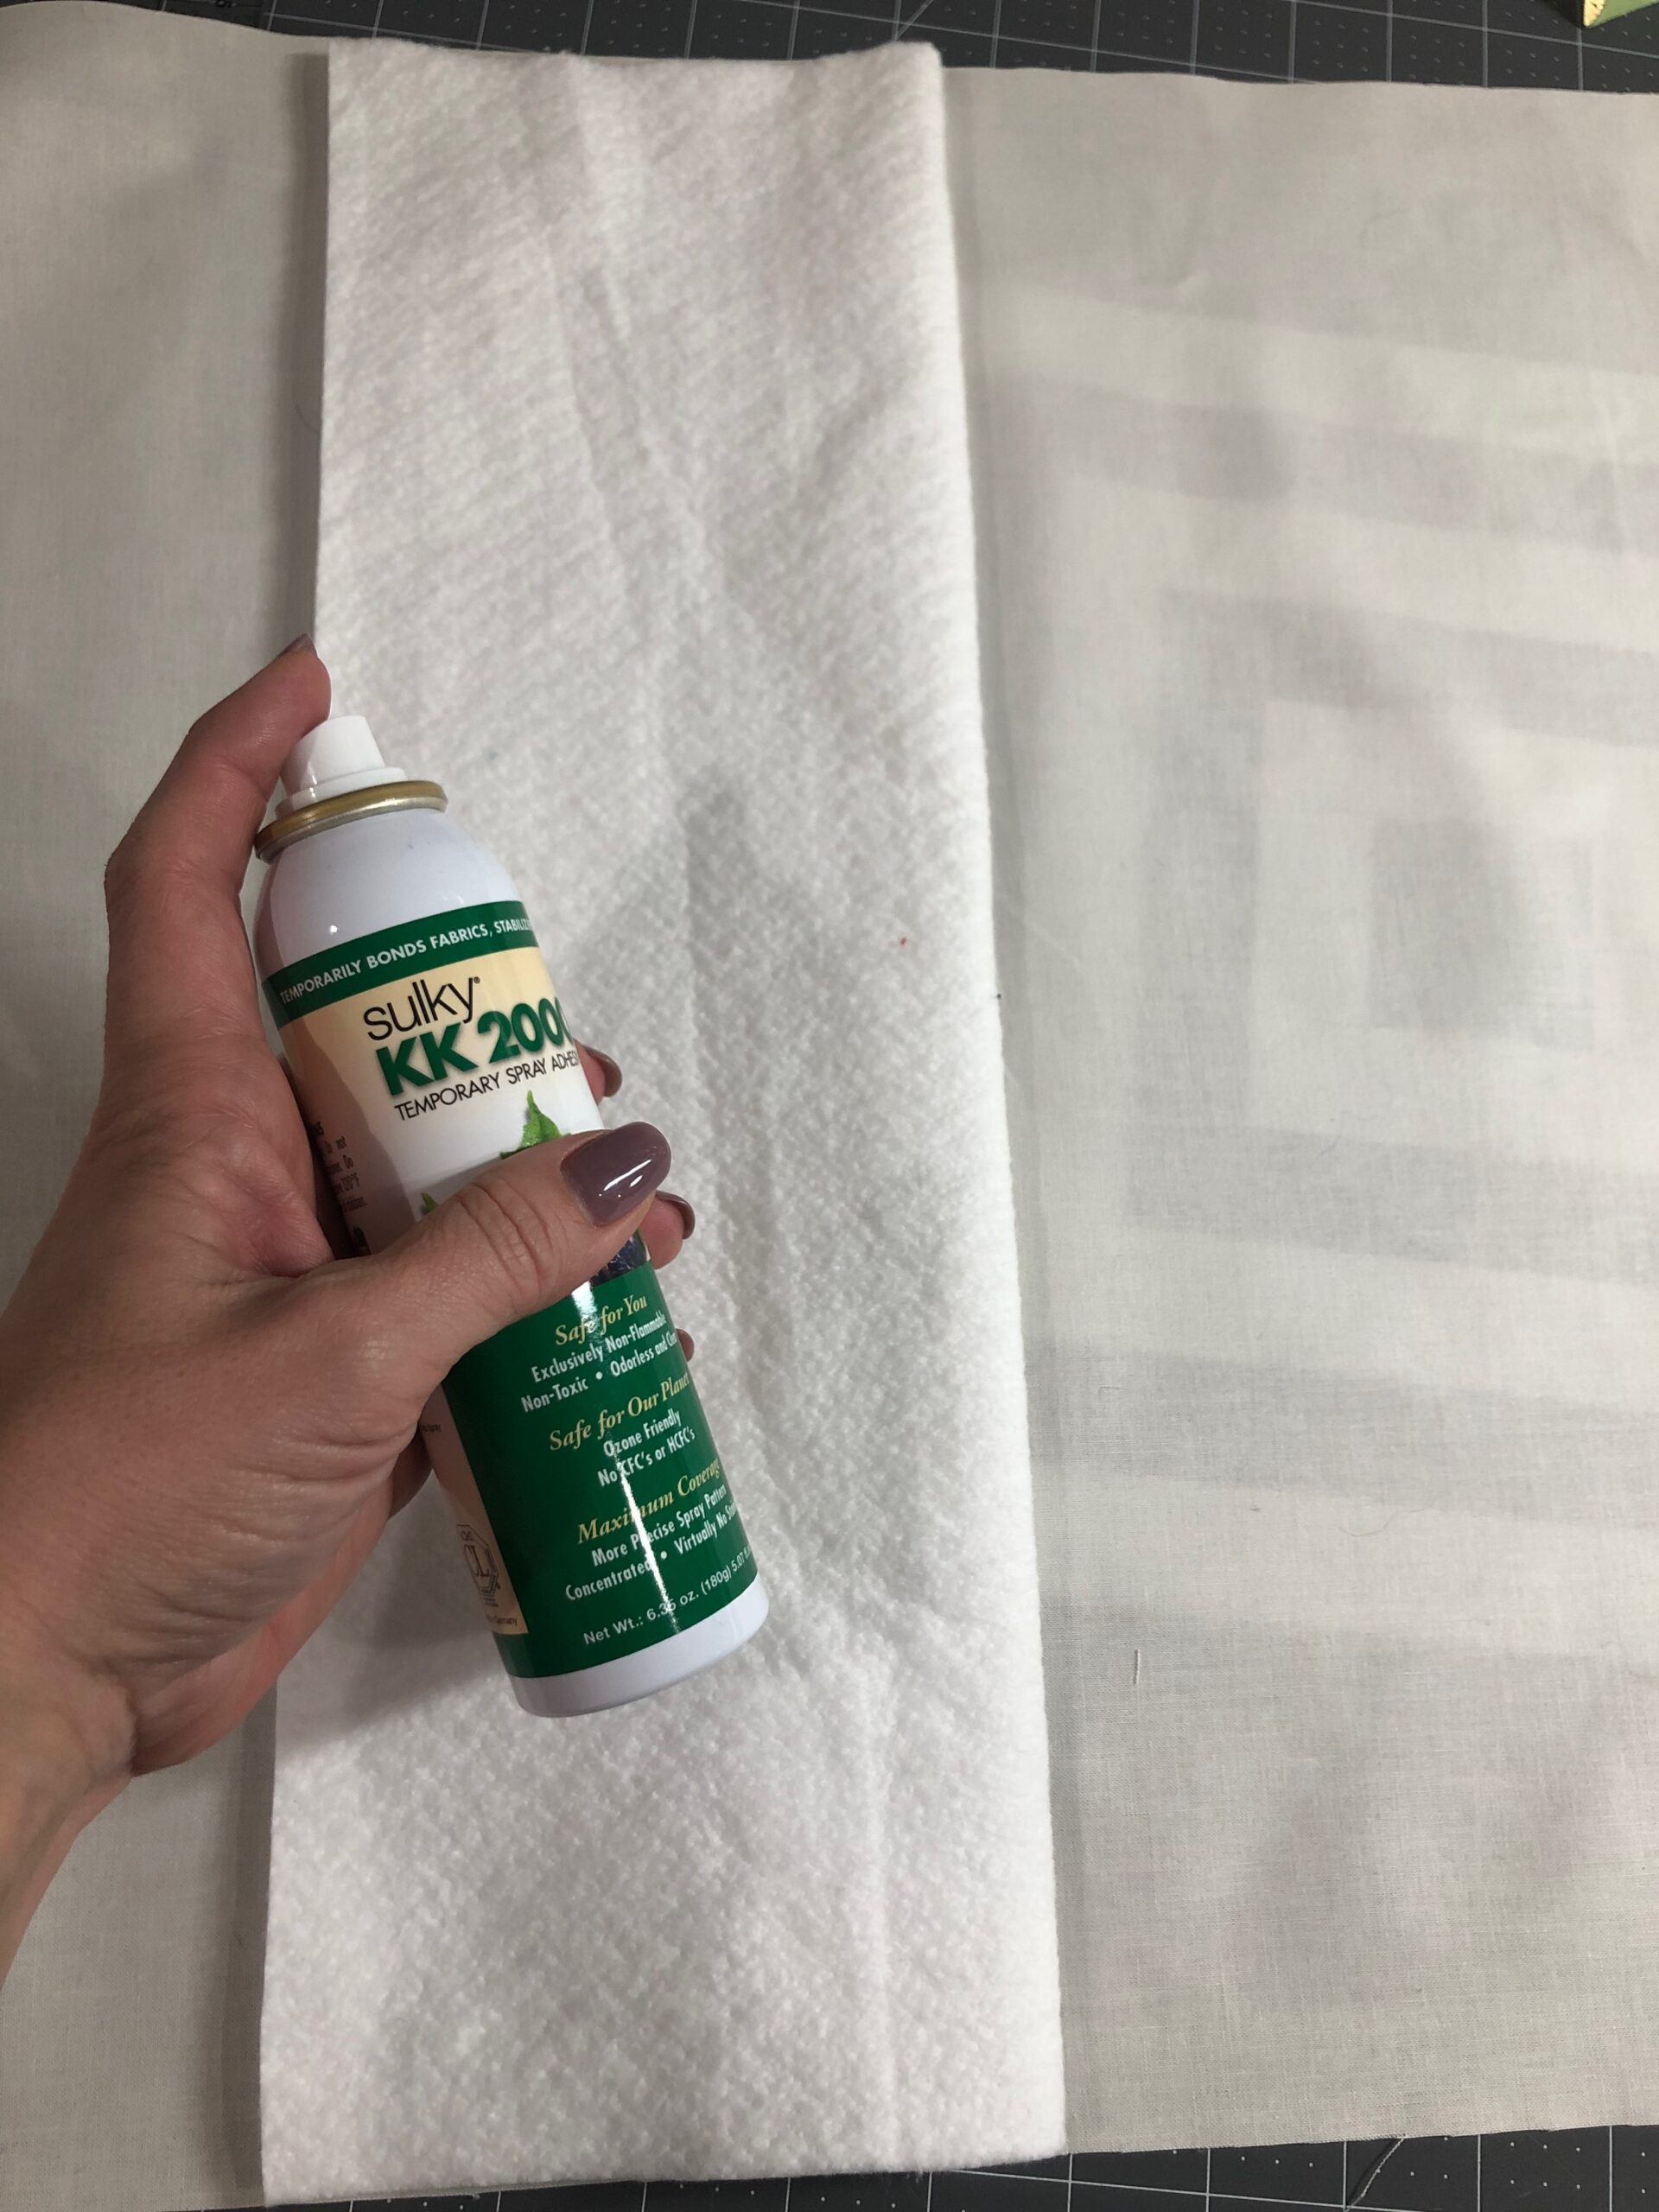
Stabilizer isn’t necessarily required for trapunto embroidery if the batting is tightly compressed so it provides adequate stabilization for the fabric. The batting should be secured to the fabric wrong side using Sulky Kk 2000™ Temporary Spray Adhesive prior to hooping to ensure the layers won’t shift during the stitchout.
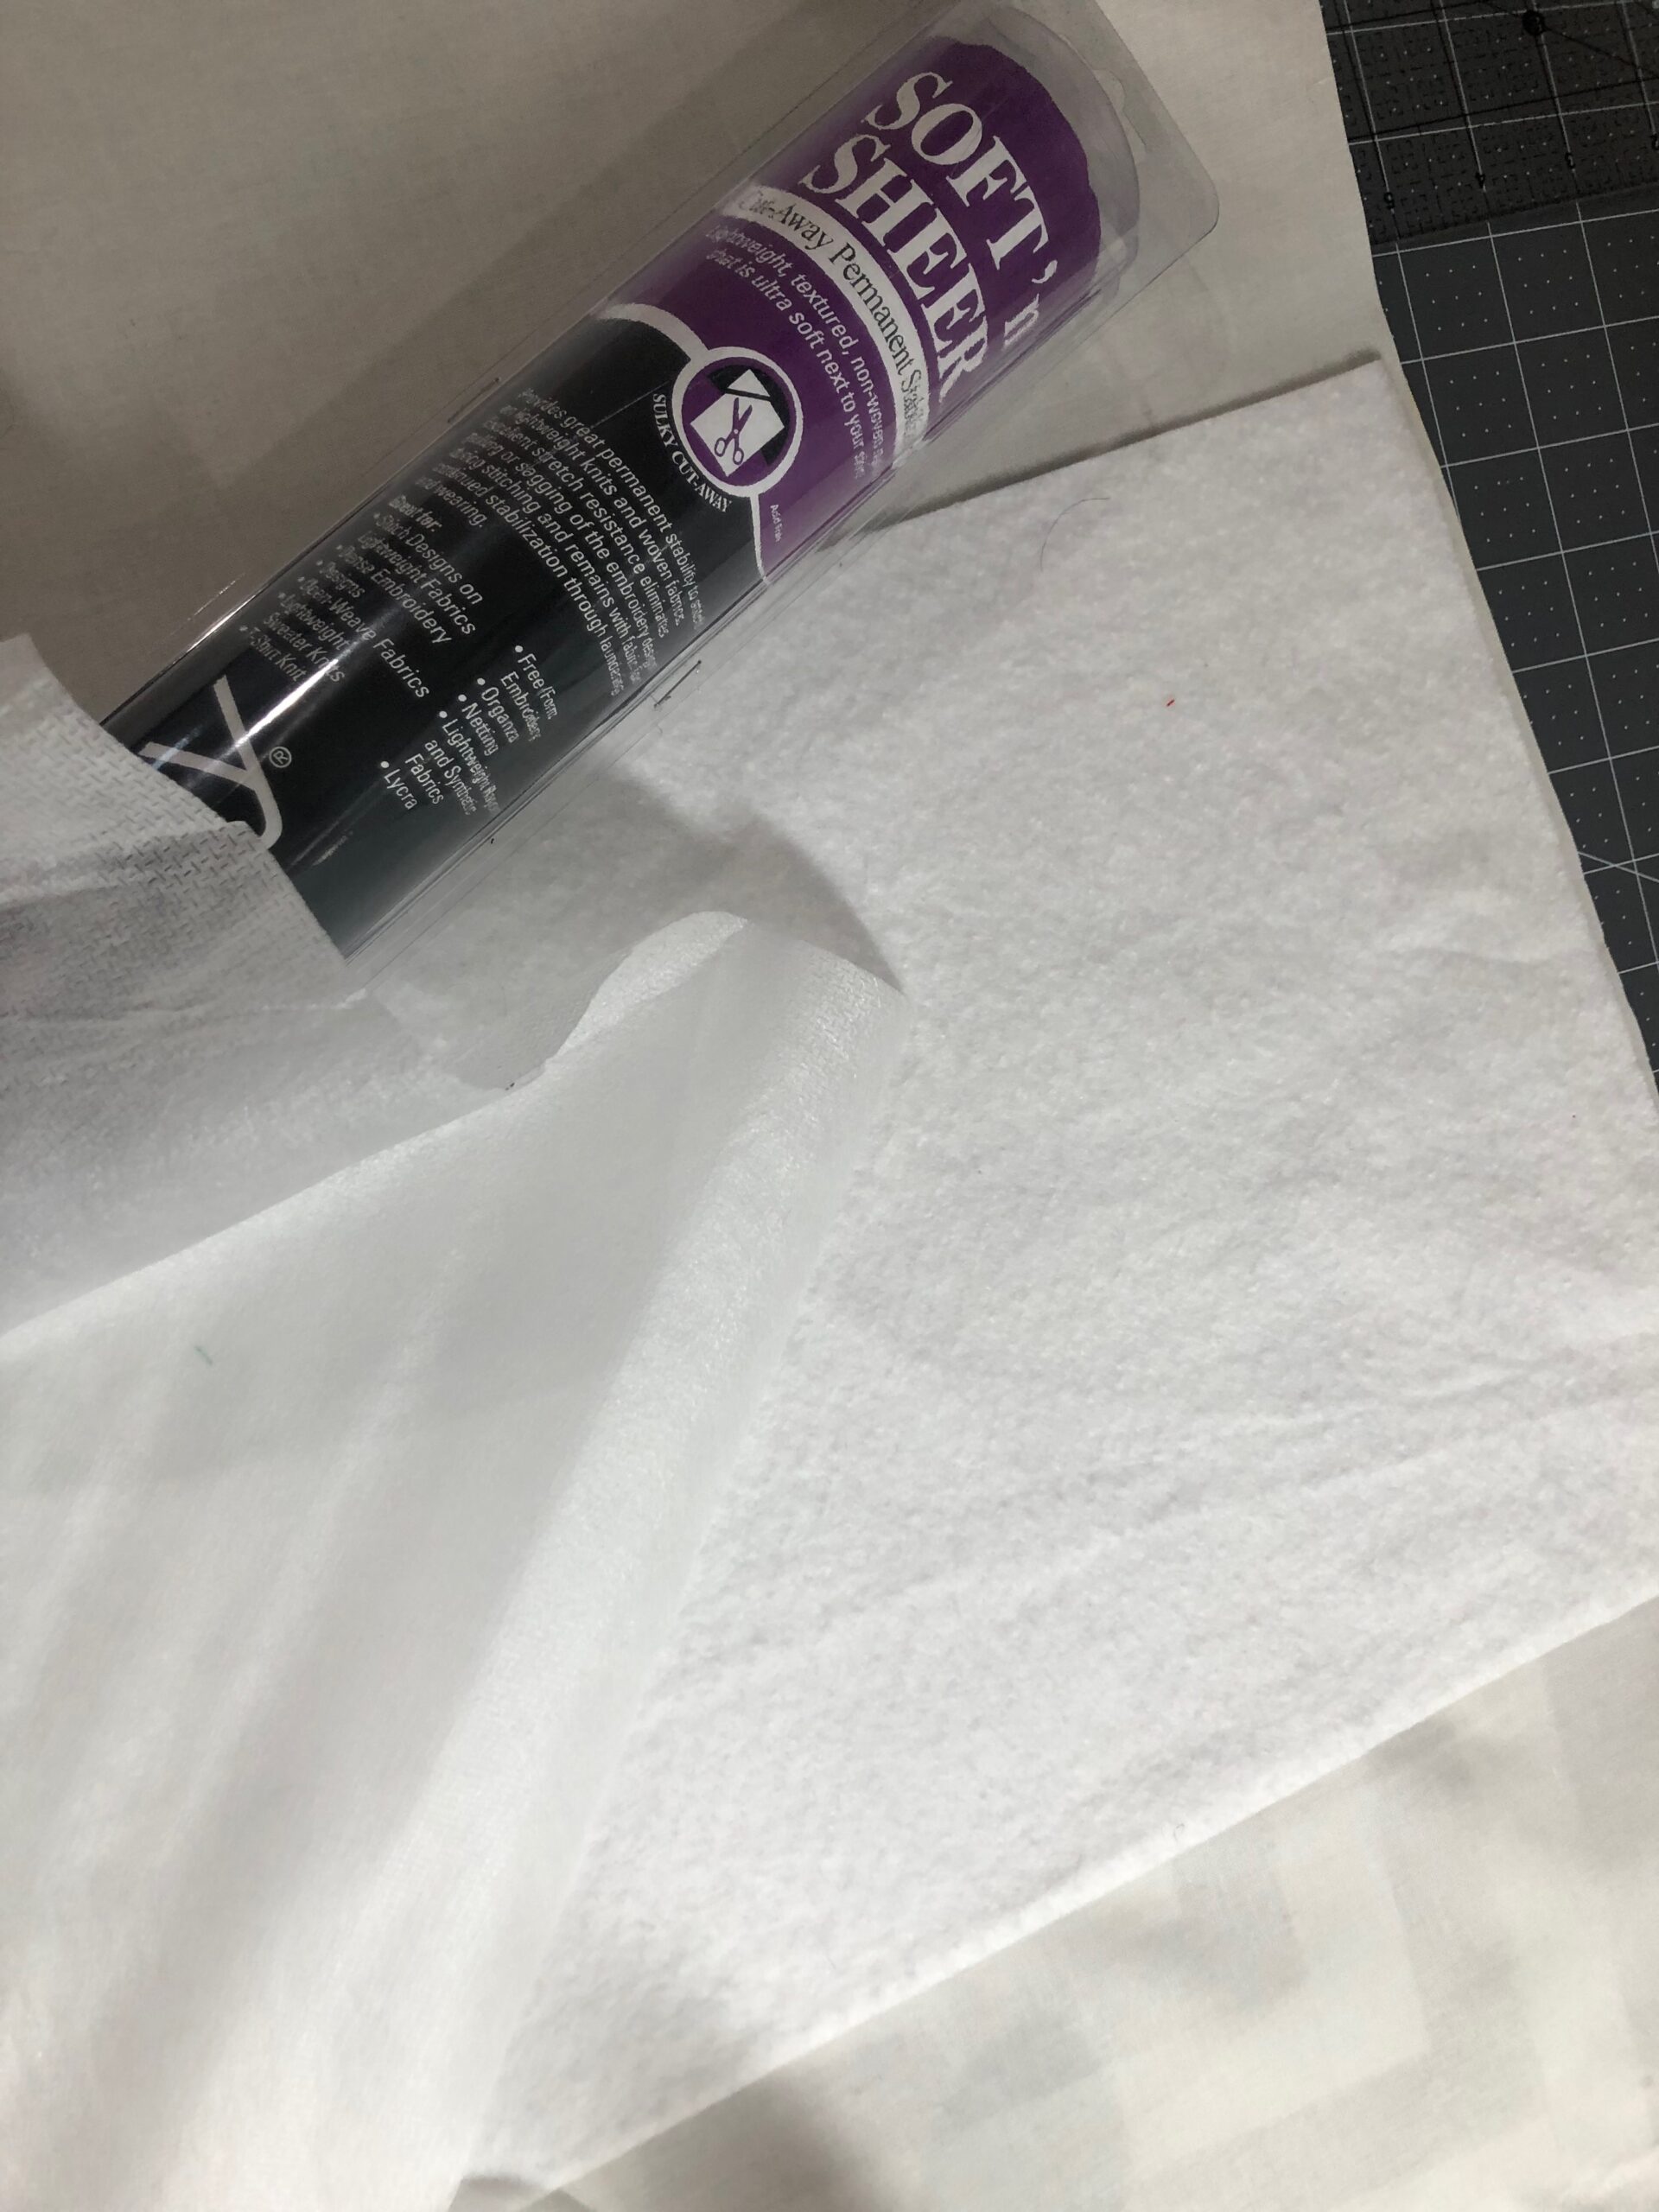
However, adding a layer of Sulky Soft ‘n Sheer™ Stabilizer behind the batting is preferred. This sandwiches the batting and provides a nice surface to glide over the machine bed during embroidery. Plus, the stabilizer adds another, albeit small, layer of interfacing behind the design to protect the wrong side if not lining the finished project.
Soft ‘n Sheer is a cut-away, permanent stabilizer. So if the chosen design is digitized for only certain areas of batting to remain behind the stitches, the stabilizer is also trimmed with that layer for an inconspicuous finished look.
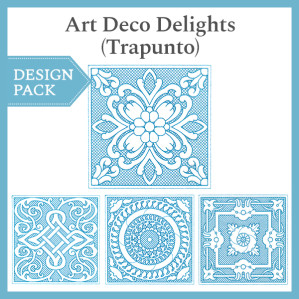
Trapunto Designs
There are loads of Trapunto Embroidery Designs at your fingertips. Many of these designs look like quilt blocks, too. Purchase a design pack to have many coordinating designs and make a quilt comprised of loads of trapunto blocks.
Corner Trapunto designs are great for placemats, table runners and quilts, too.
Pay attention to the available embroidery design sizes to ensure you purchase a design compatible with your available hoops and project requirements.
Thread for Trapunto Embroidery
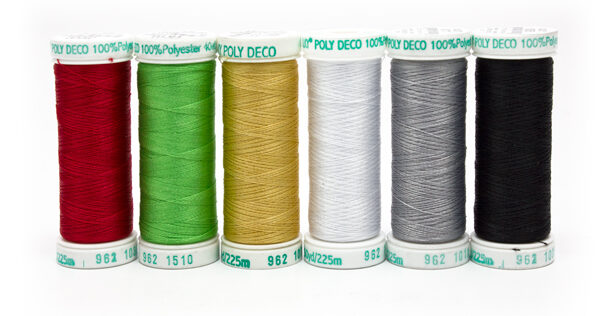
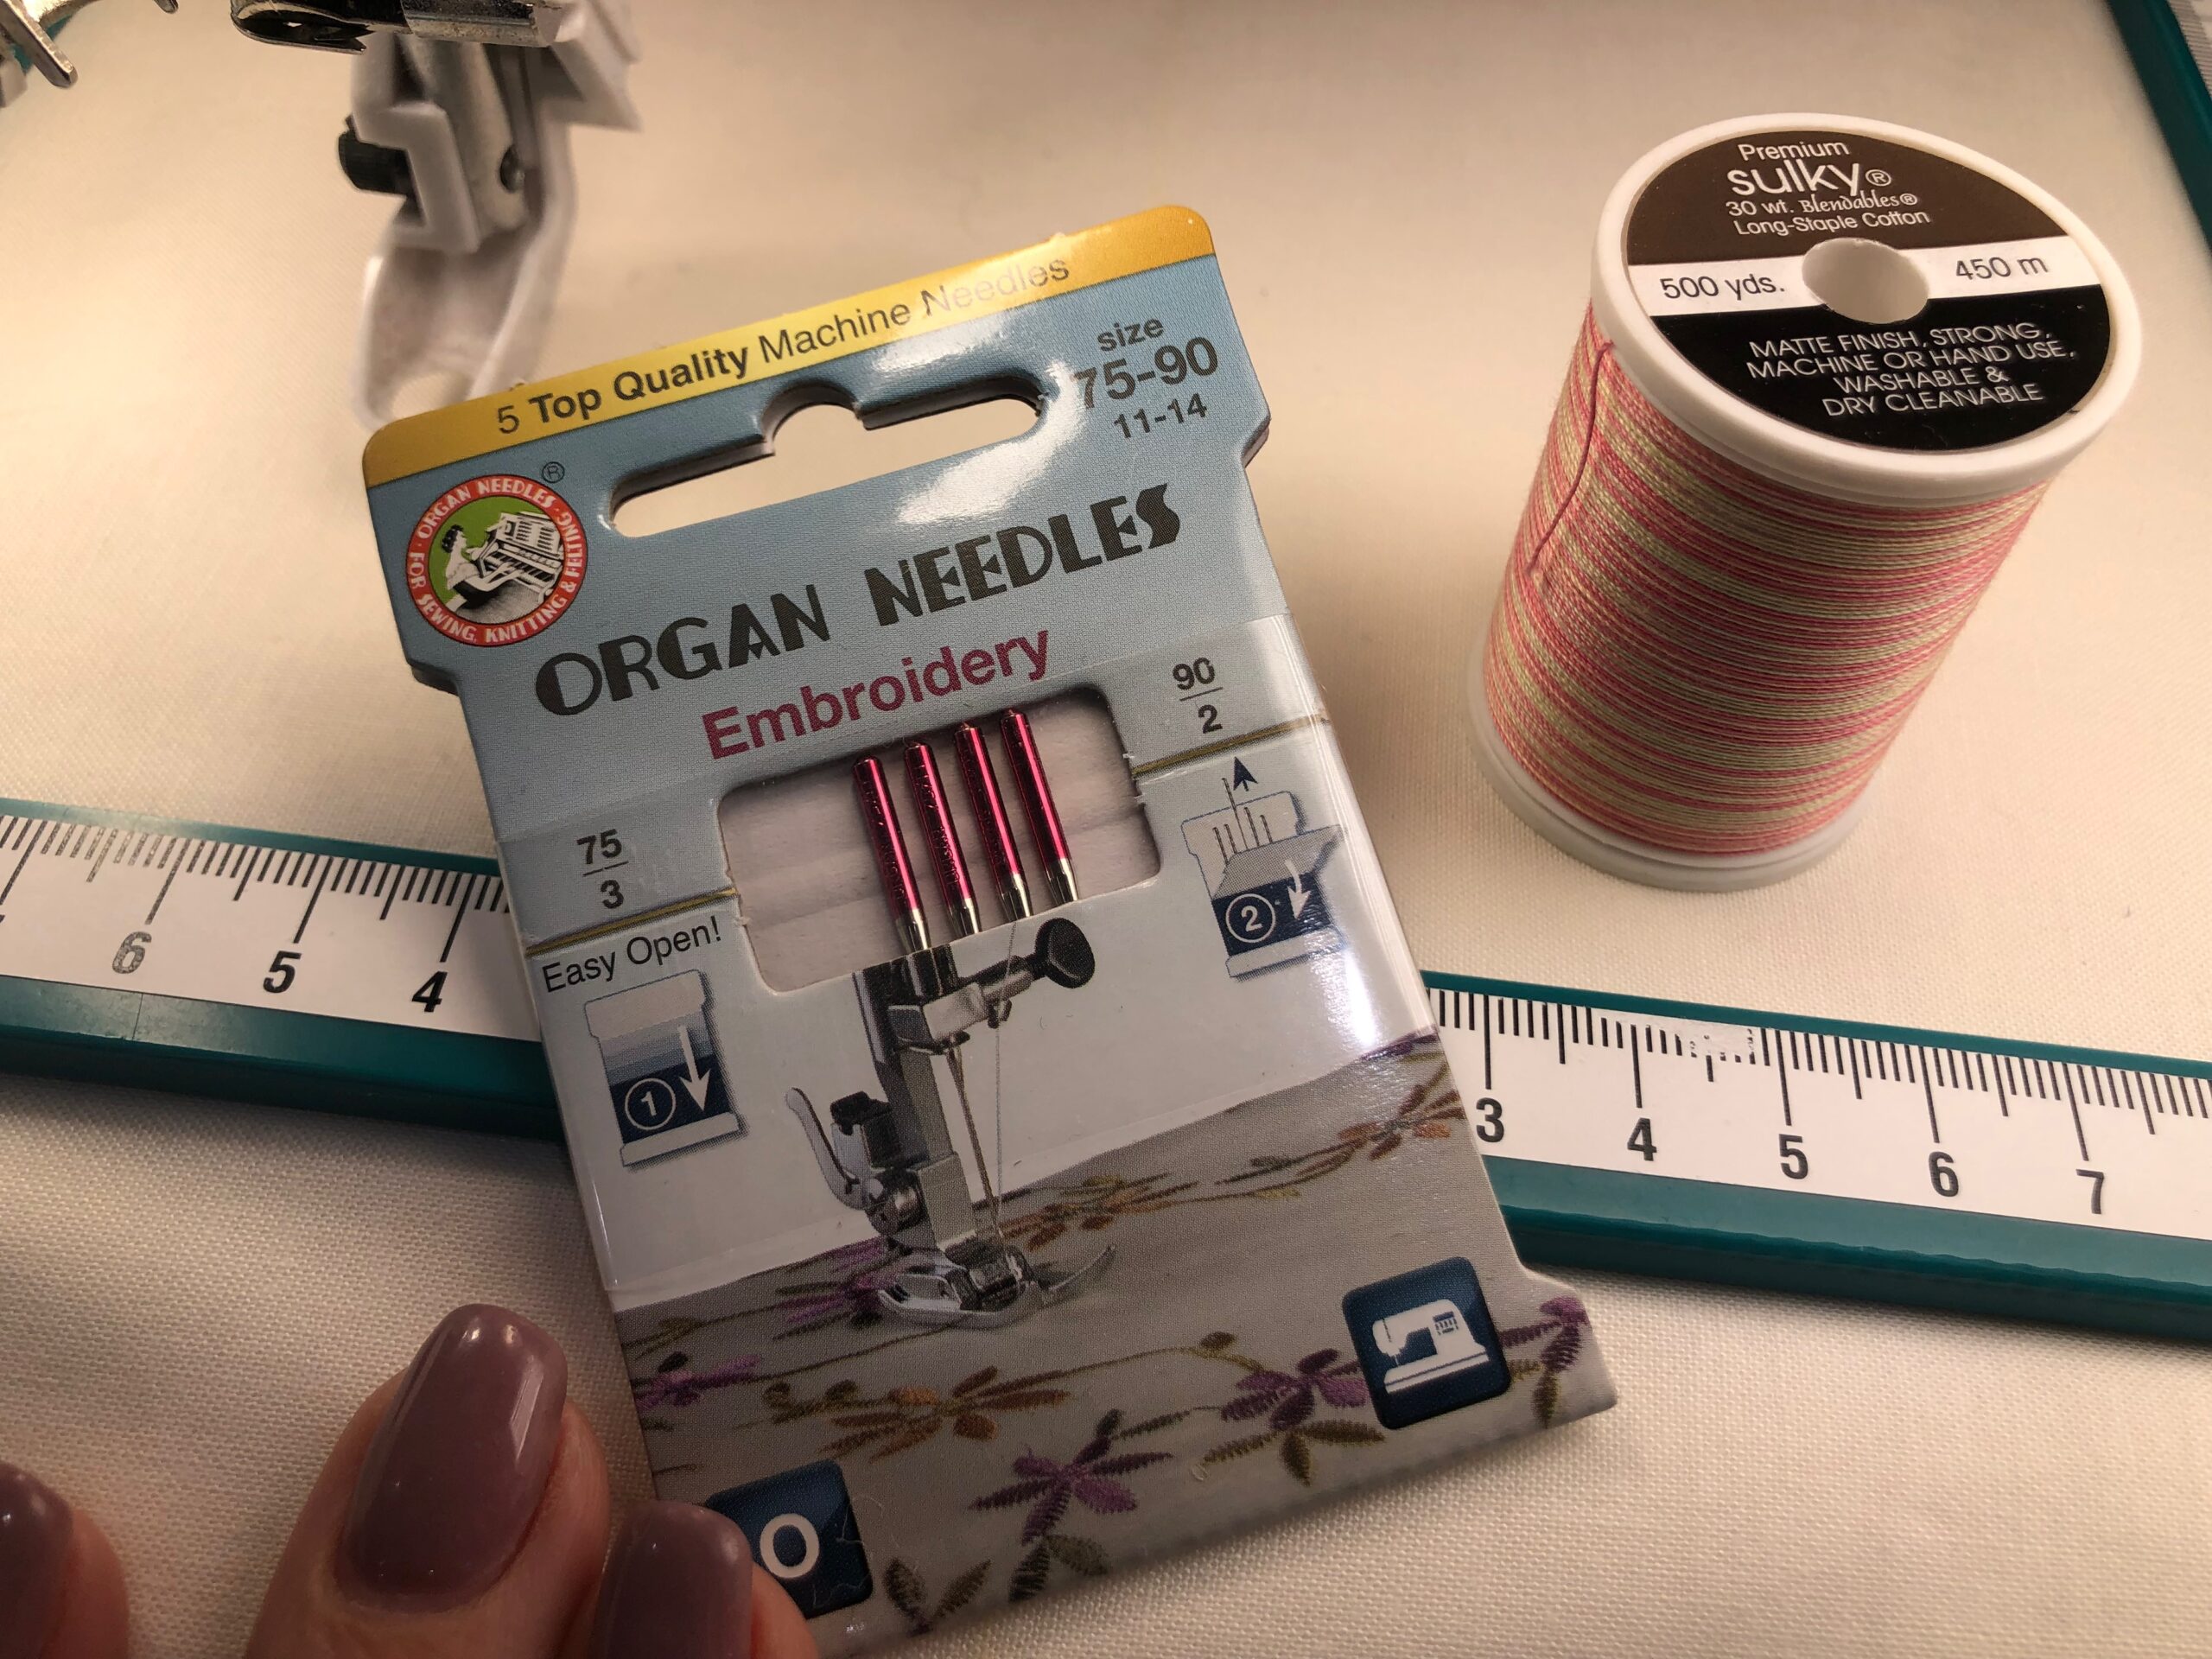
Most Trapunto Embroidery designs consist of one thread color. If your chosen design has more than one, you can always deviate and stitch everything with one thread spool, depending on the desired look. Trapunto designs are generally digitized for a 40 wt. Thread. Sulky Rayon and Poly Deco™ both fit the bill. Use a size 80/12 or 75/11 Embroidery Needle for best results.

However, since most trapunto embroidery designs consist of straight stitches with no fill, aside from knockdown stitches that are open), thread substitutions are suitable.
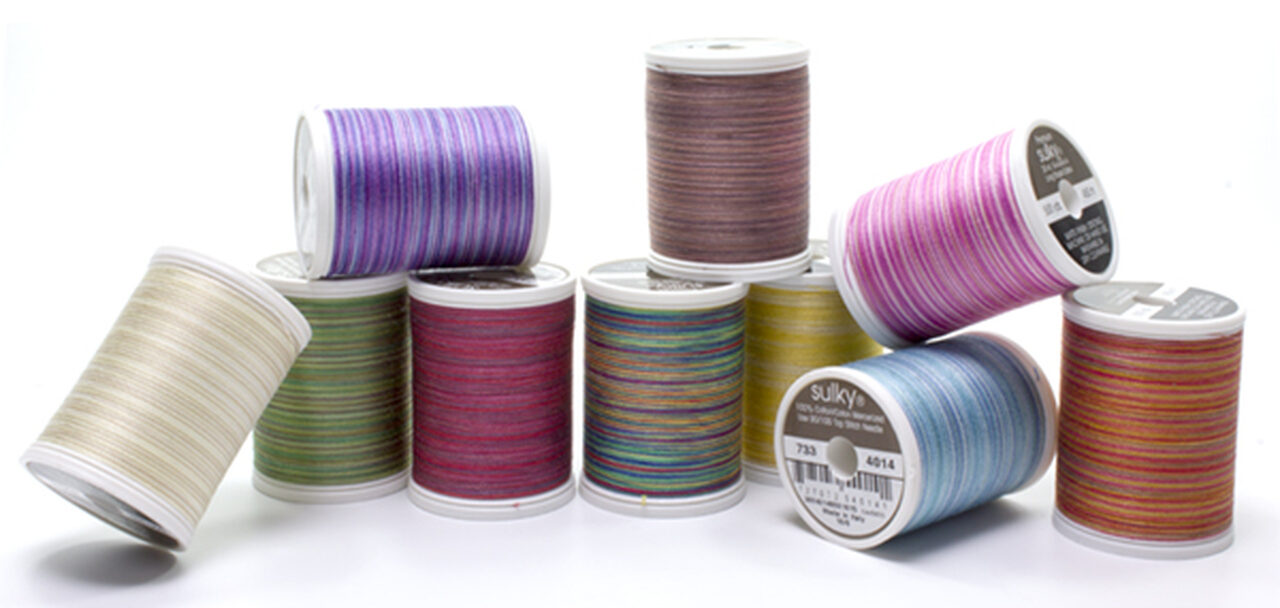
Try a heavier thread, such as Sulky 30 wt. Cotton Blendables, for a multicolor look. These threads are randomly dyed every 2 1/2″ to 5″ across the thread length, resulting in random color variations. Pair this thread with a size 90/14 needle for best results.
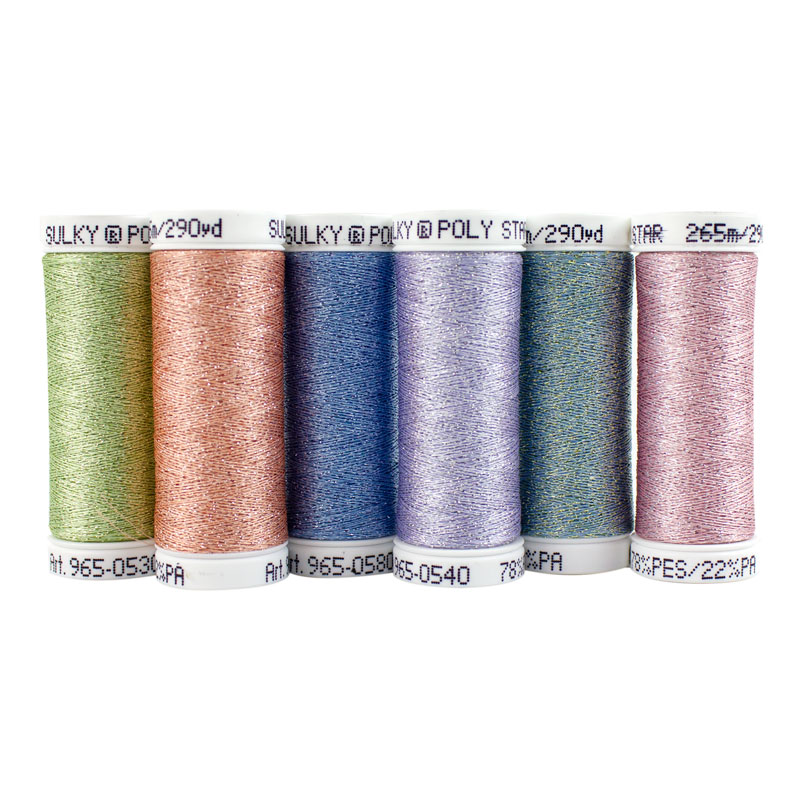
Another option is to use Sulky Poly Sparkle™ Thread. This is also a 30 wt. Thread, but it has flecks of metallic running through it for a subtle sparkle that can’t be beat. Use a size 90/14 needle with this thread, too.
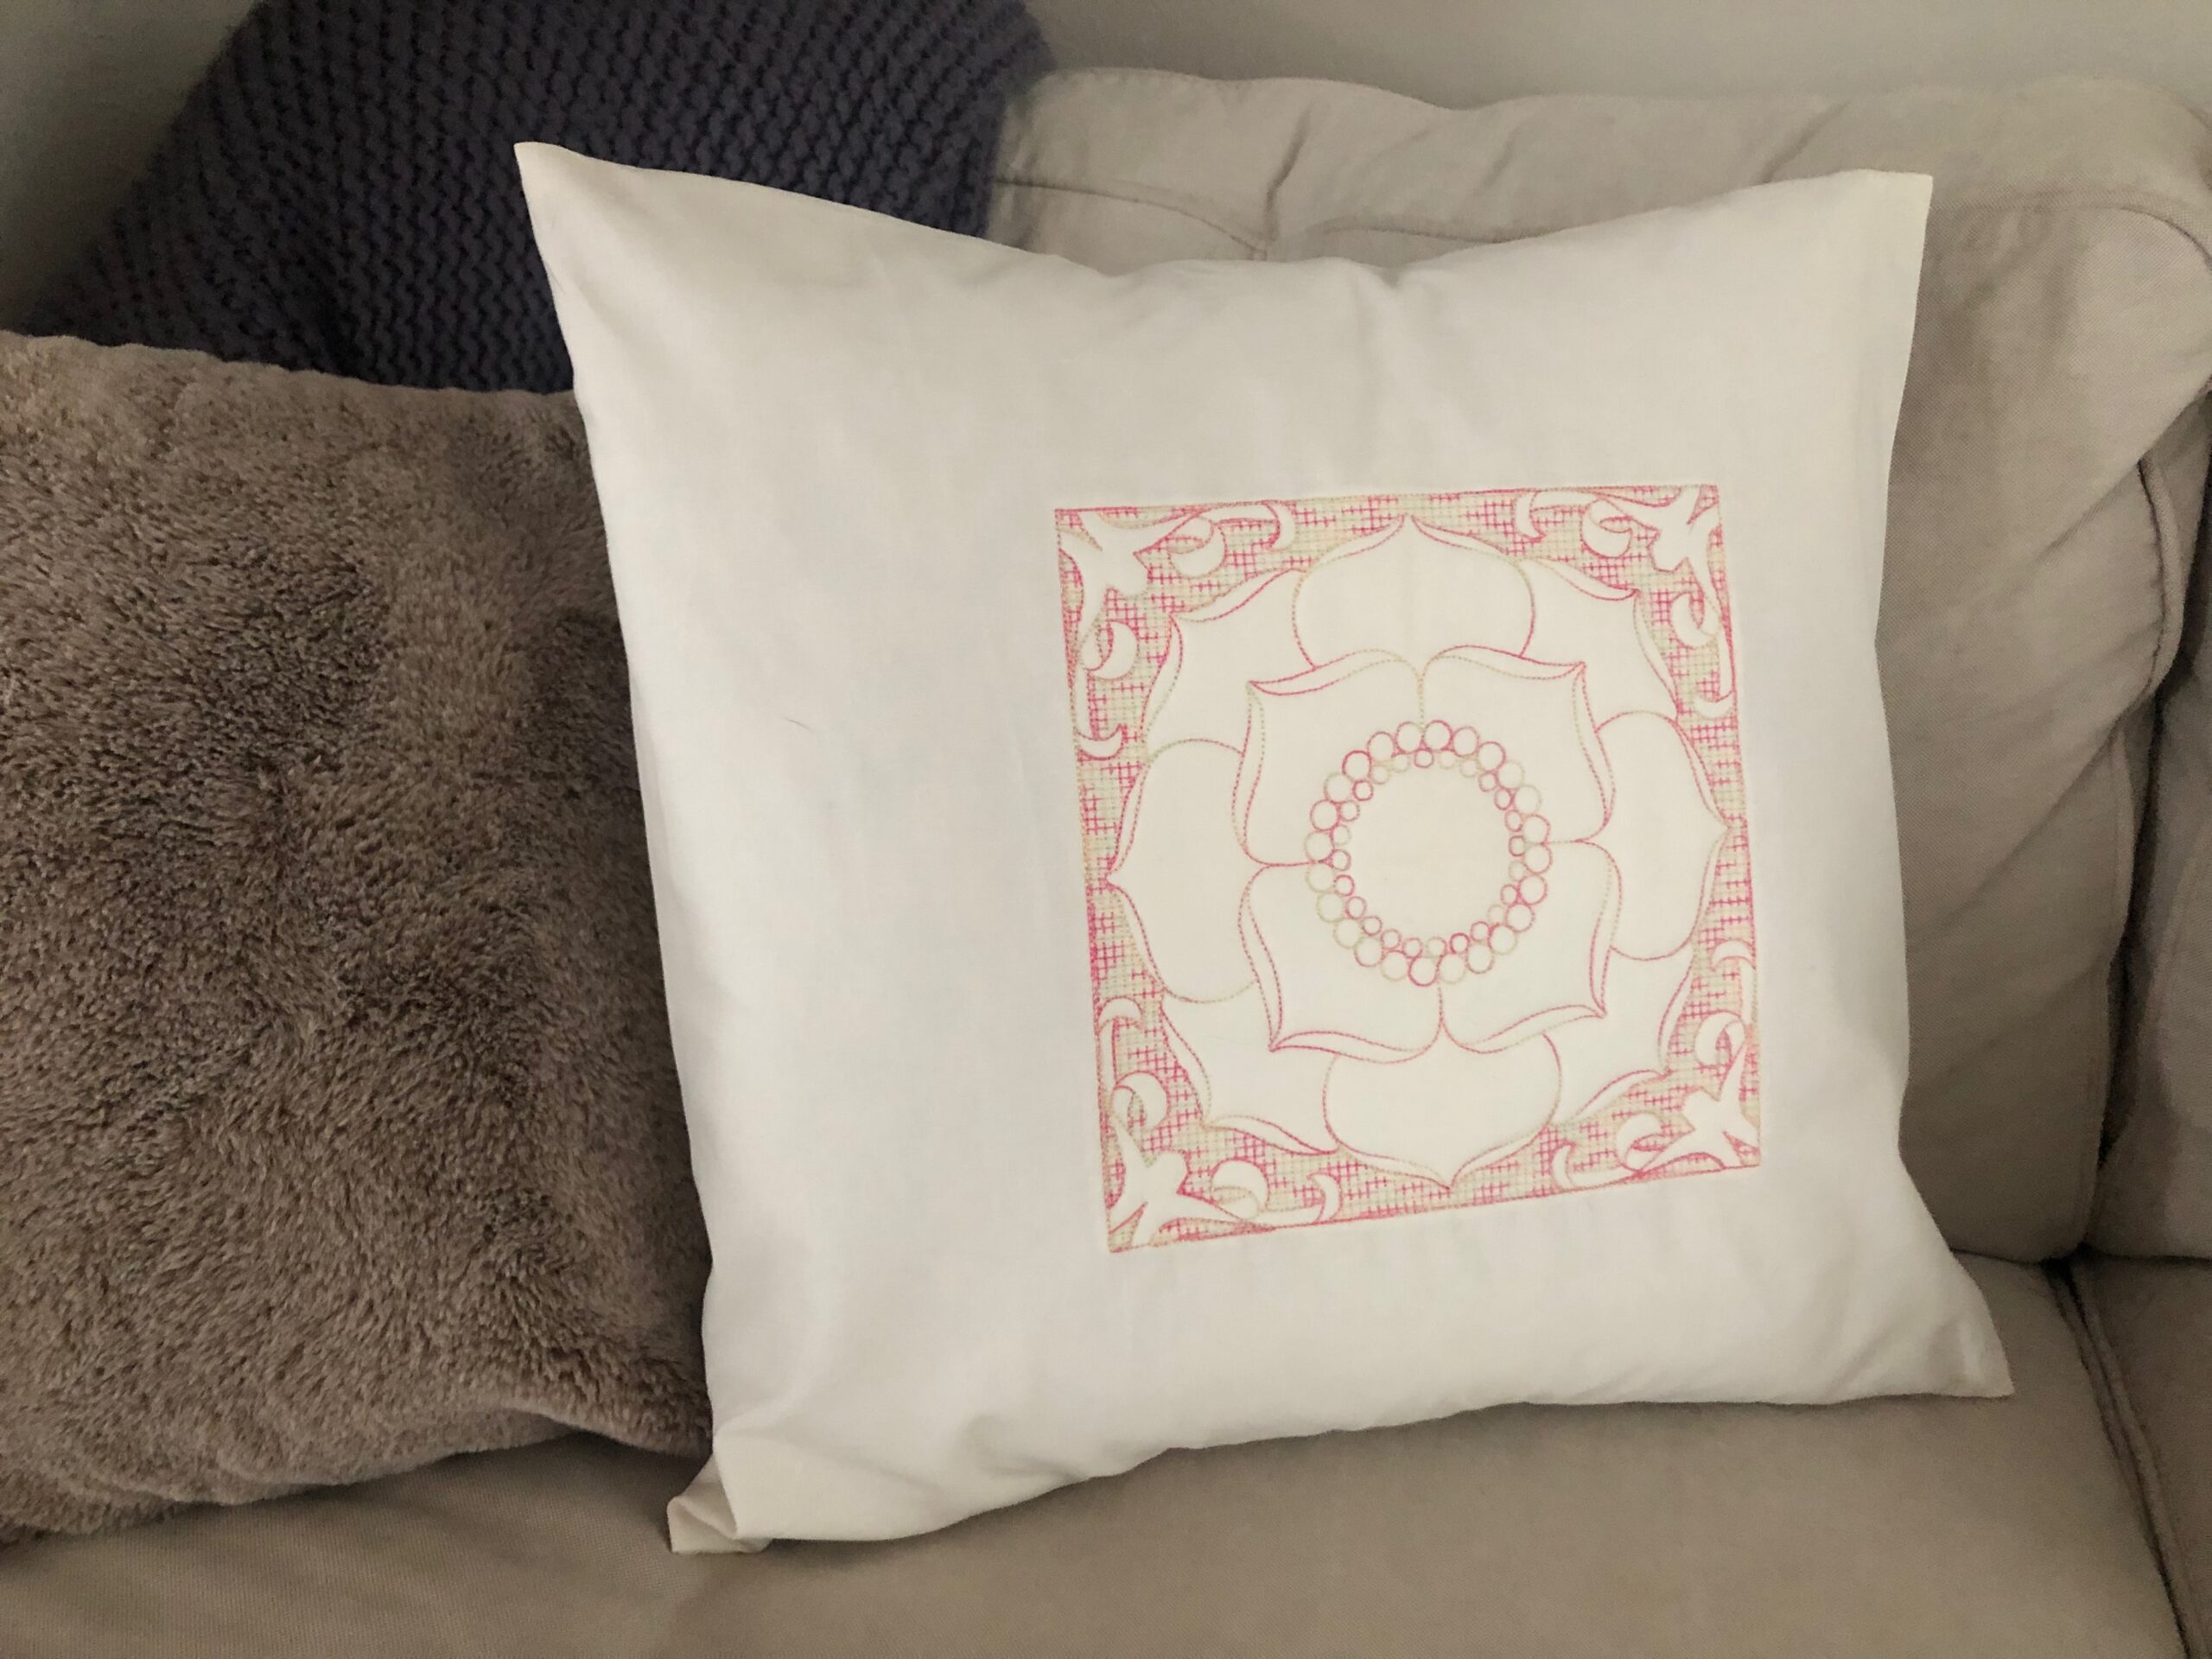
Trapunto Embroidery Pillow
SUPPLIES
Supplies listed are enough to make one 18″-square pillow.
- Trapunto design (measuring at least 6″ square; featured design is Beauty Blooming Magnolia by Embroidery Library in the 7.8″ square size)
- 18 1/2″ of 44″-wide fabric
- 18″-square pillow form
- Sulky 30 wt. Cotton Blendables® Thread
- Organ® size 90/14 Embroidery Needle
- Sulky Soft ‘n Sheer™ Stabilizer
- 18″ square of batting
- KK 2000™ Temporary Spray Adhesive
- Sulky 60 wt. Bobbin Thread
- Removable fabric marker or chalk
FABRIC PREP
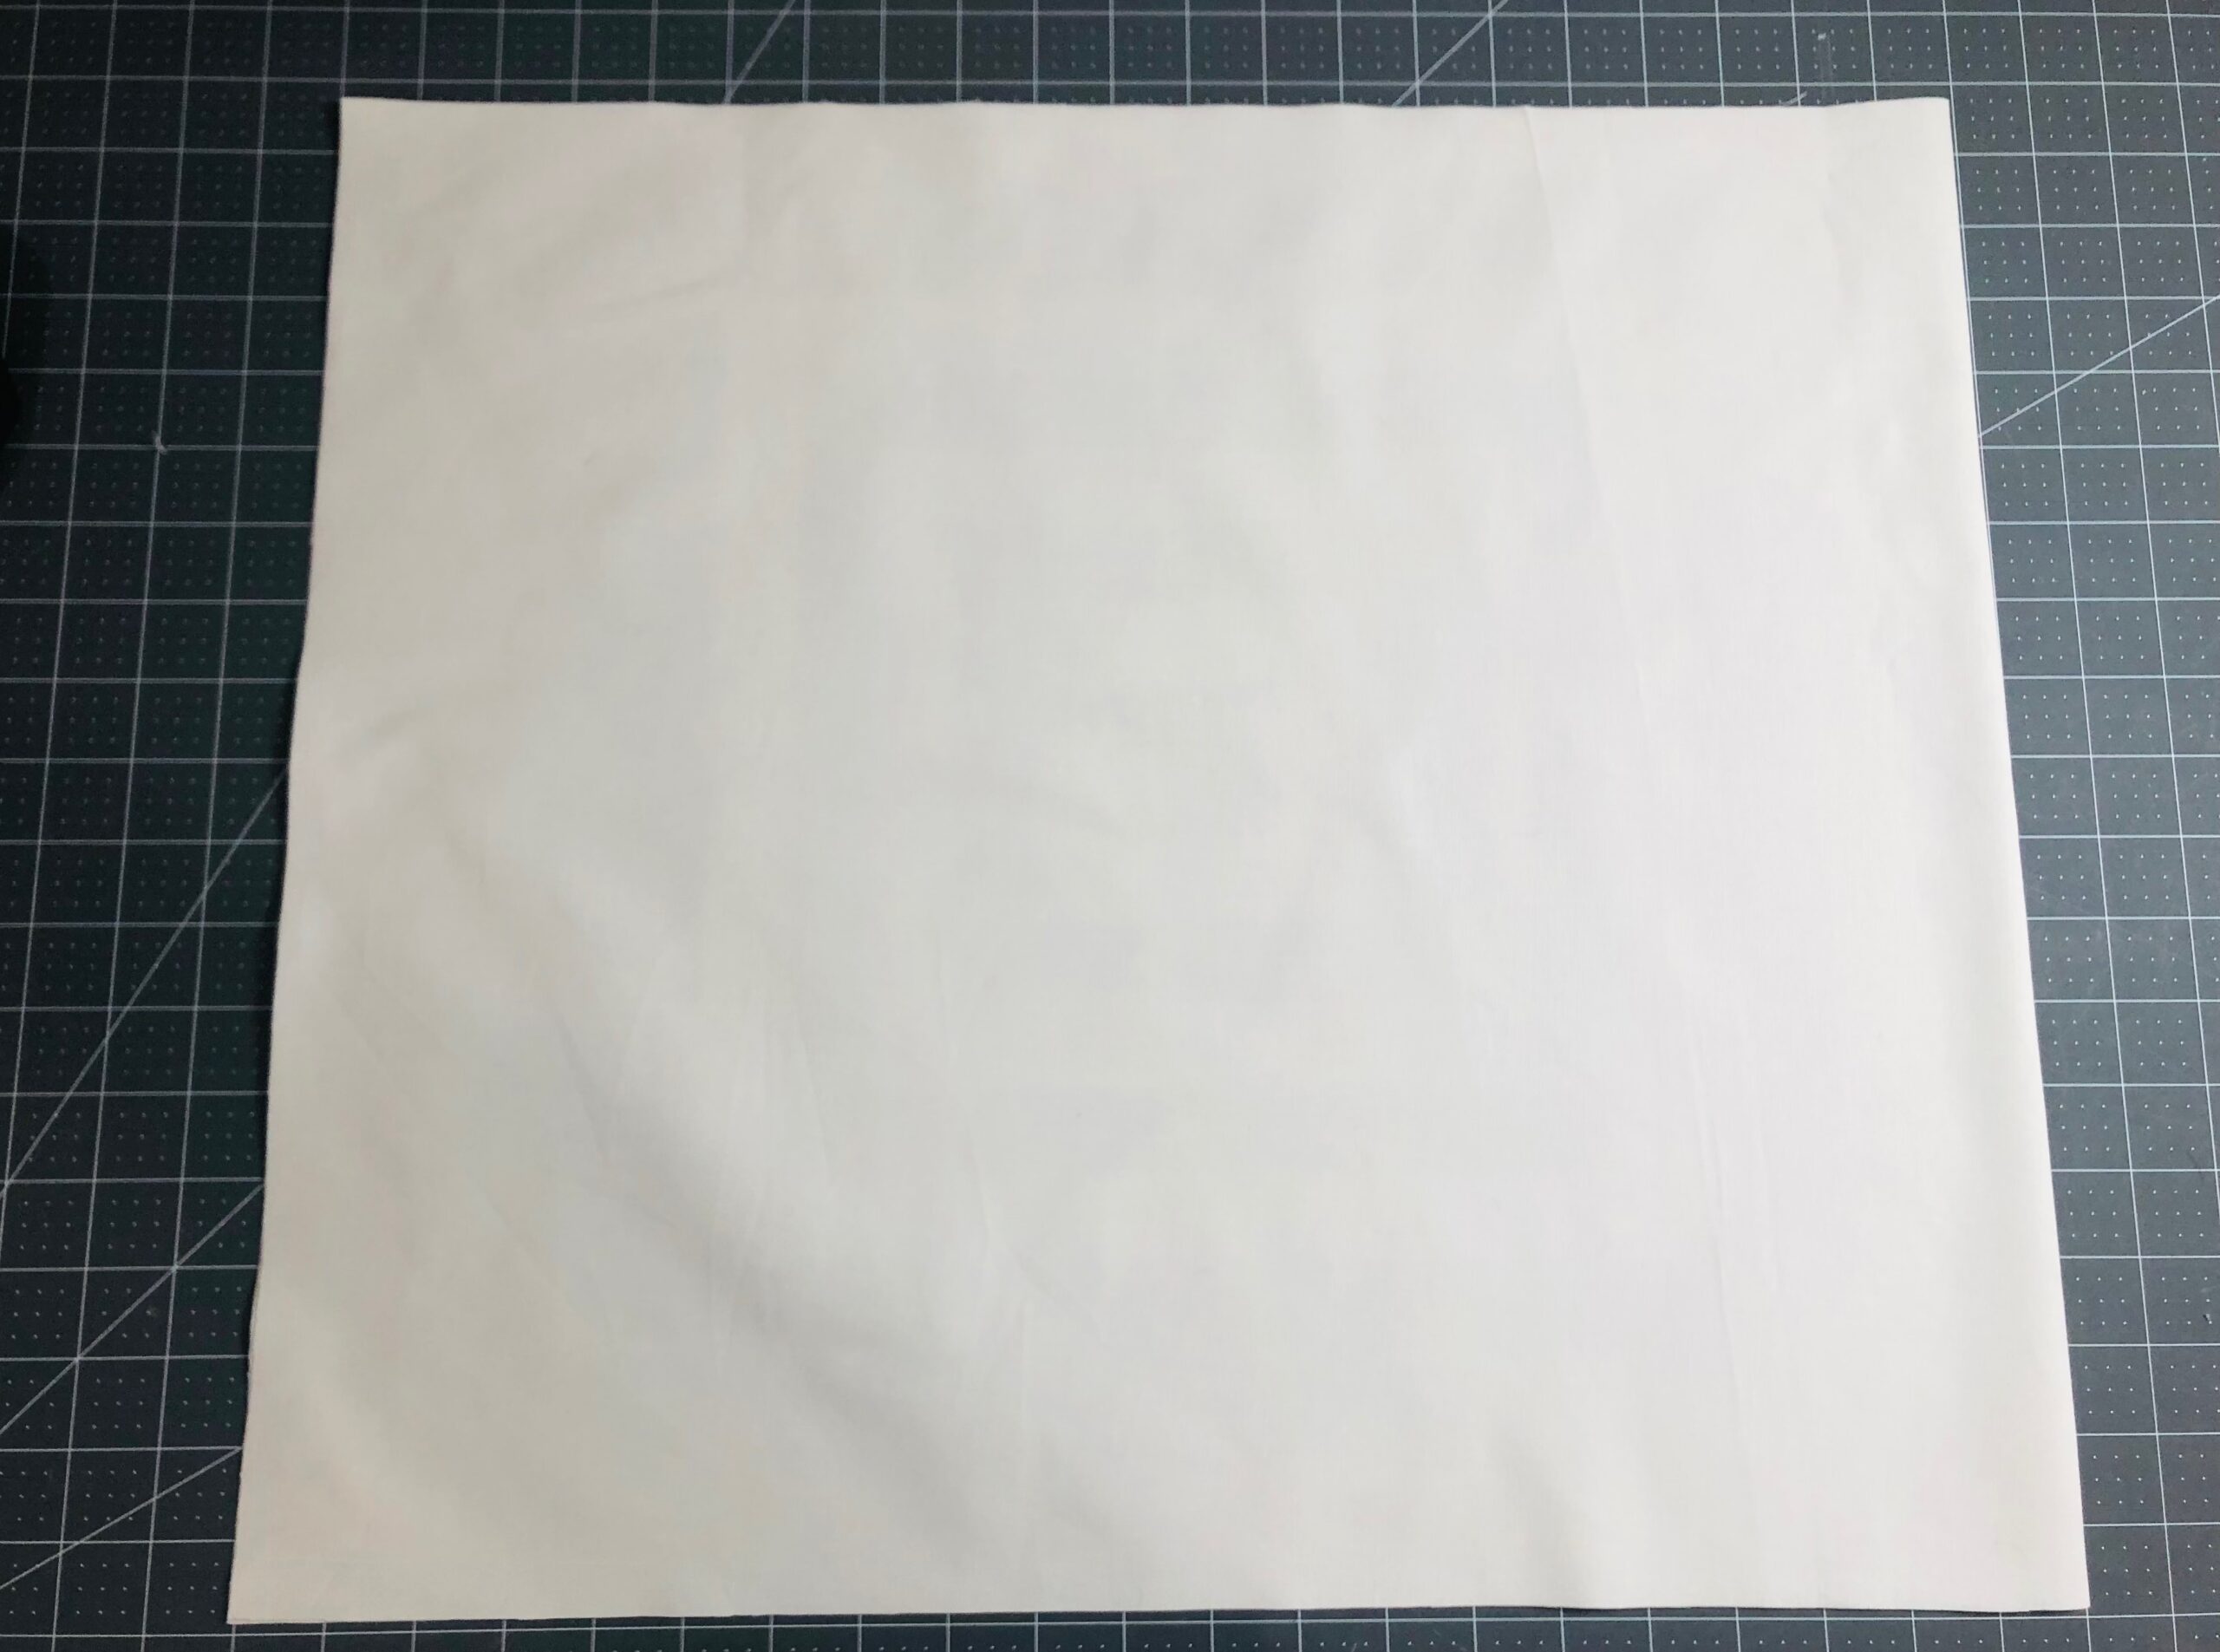
Wash and dry the chosen fabric. If needed, trim the yardage to 18″ x 42″.
Fold the fabric rectangle in half widthwise; finger-press along the fold.
Then, fold the fabric in half lengthwise; finger-press along the fold.

Unfold the fabric. If needed, mark along the foldlines using a removable fabric marker or chalk for a better view.

HOOPING
A magnetic hoop is a great choice for these lofty designs, as the thicker batting isn’t compressed or marred by the hooping process. However, a standard hoop should work fine as well; just be careful to ensure the hoop isn’t too tight.
Cut a piece of stabilizer to 18″ square.
Center the batting square along the fabric center wrong side, using KK 2000 to secure.
Cover the batting with the stabilizer square, matching all corners and edges; use KK 2000 to secure.
Hoop the fabric sandwich. Then, place the hoop onto the machine.
EMBROIDERY
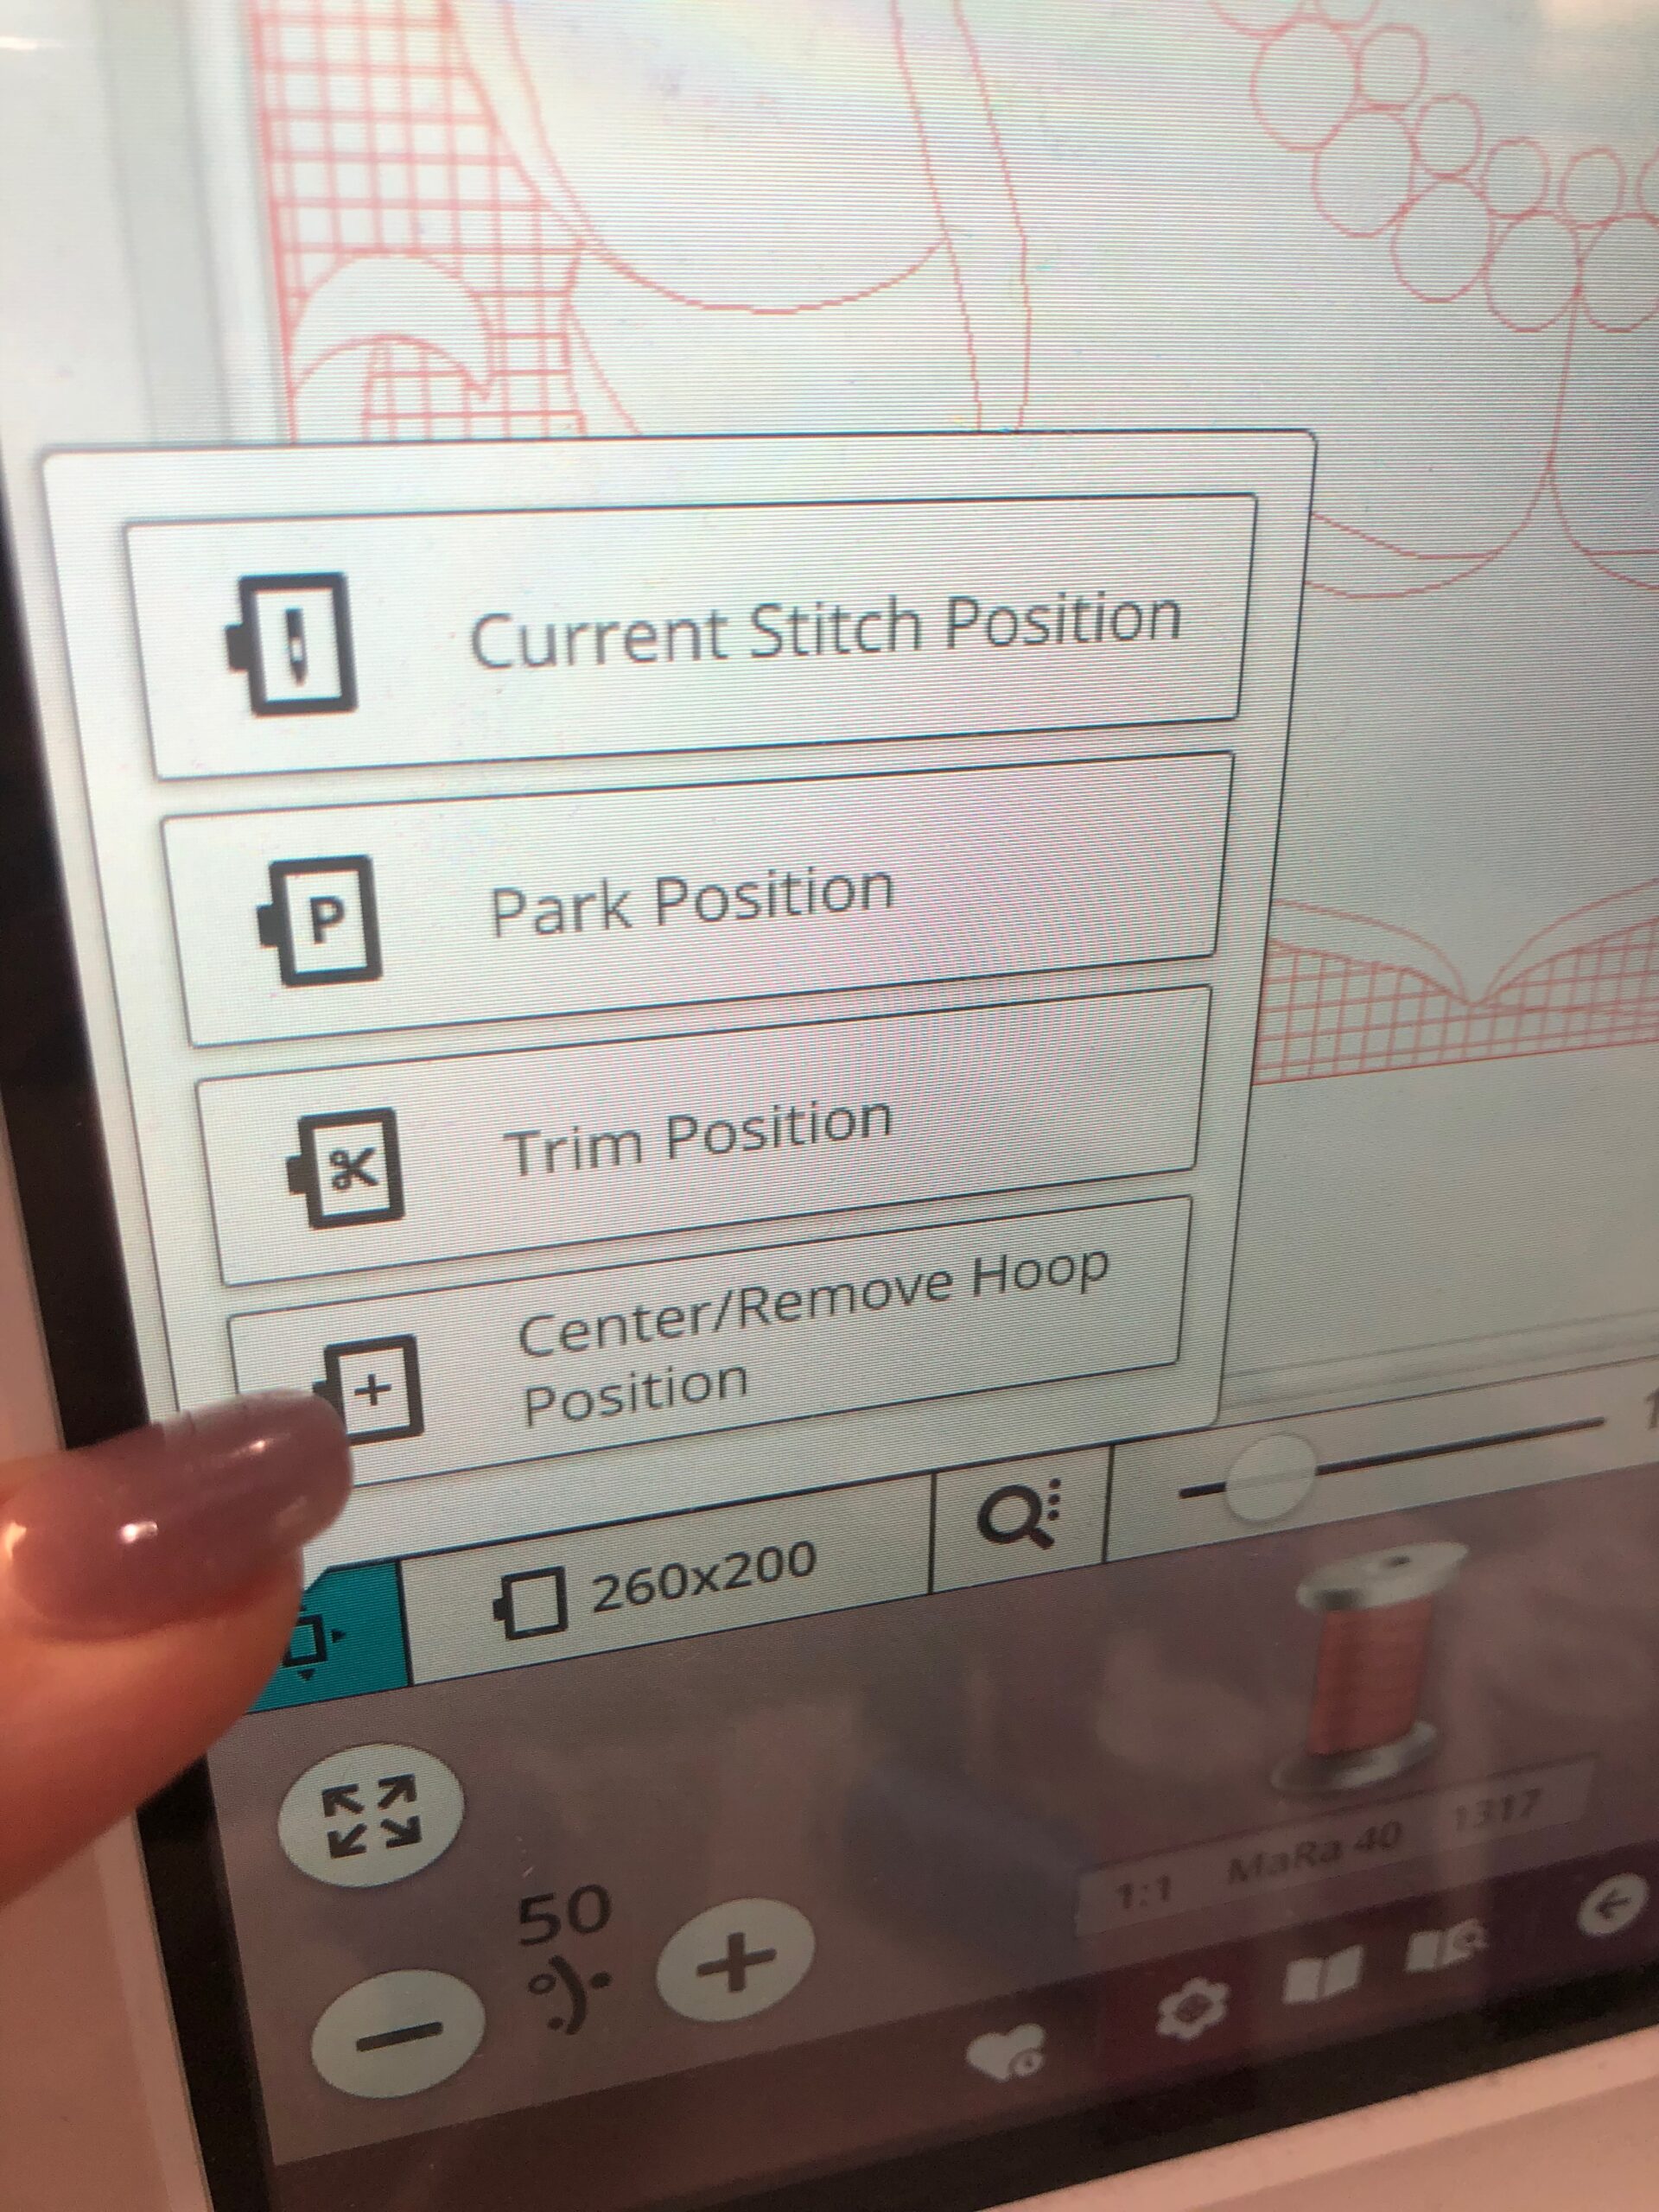
Check to make sure the needle is at the center cross marks on the fabric.
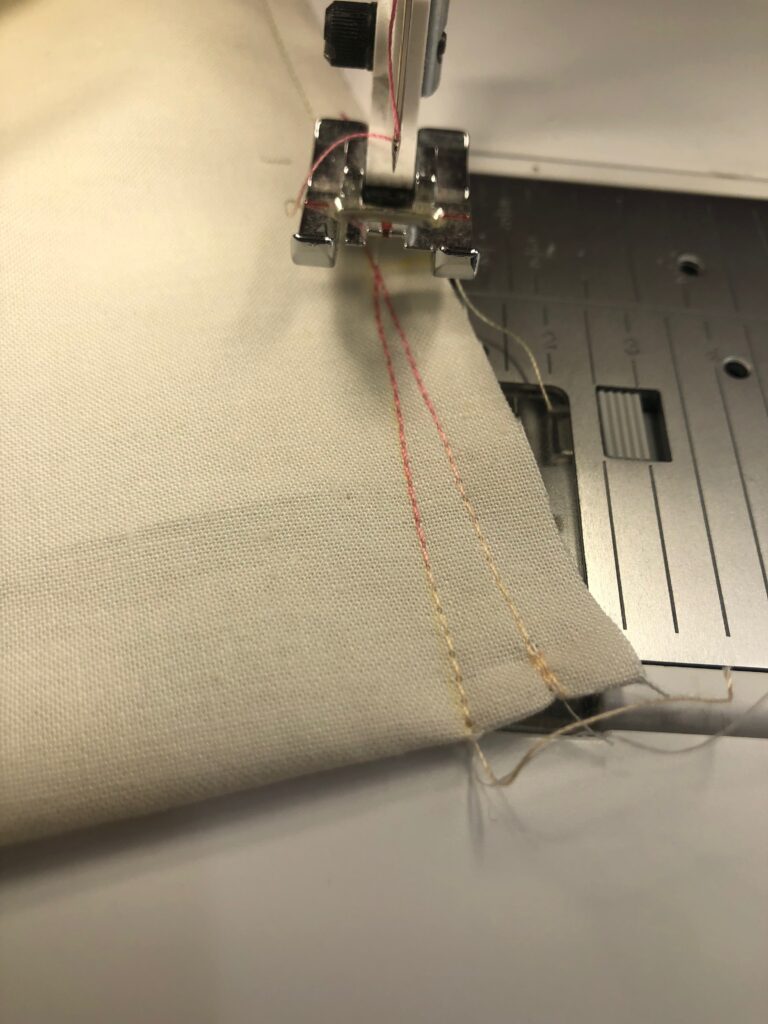
Begin the stitchout with 60 wt. Bobbin Thread in the bobbin and 30 wt. Cotton Blendables Thread in a new 90/14 Needle.
Don’t be afraid to slow down the machine speed a bit to reduce friction, if desired.
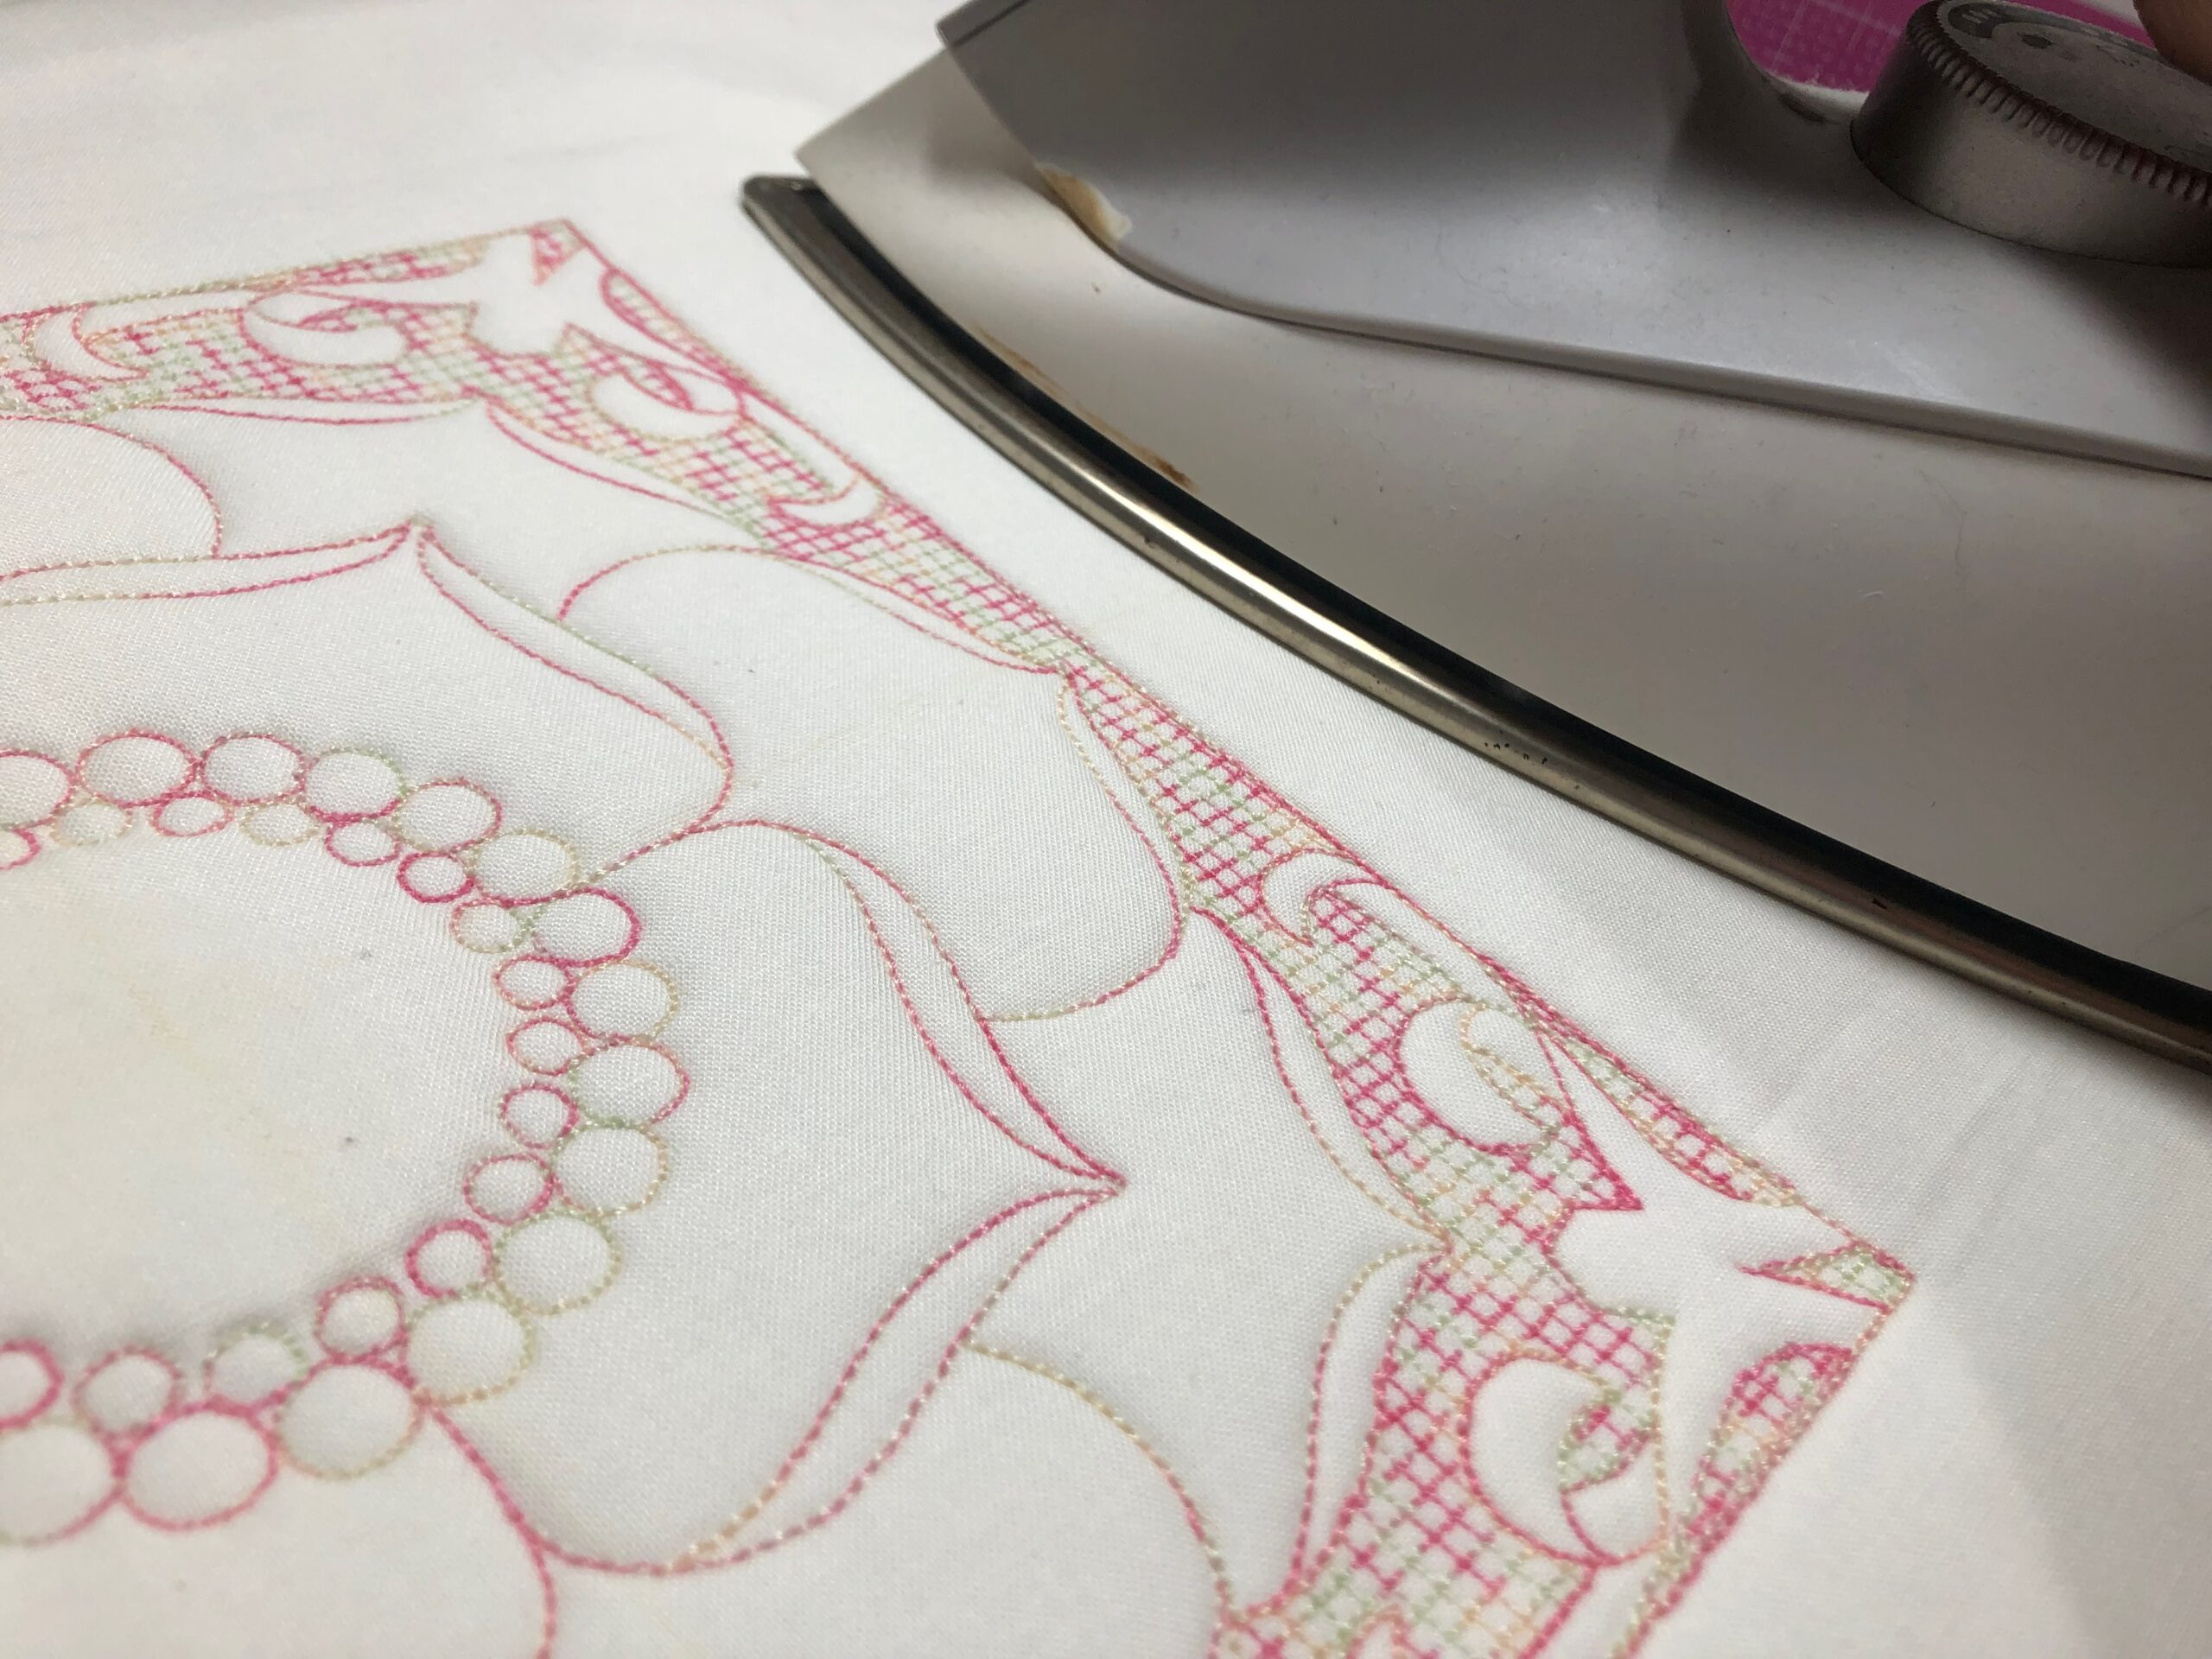
When the embroidery is complete clip any jump threads, if needed. Then, remove the hoop from the machine and the fabric sandwich from the hoop. Press lightly to remove any hoop markings, if needed.
PILLOW CONSTRUCTION
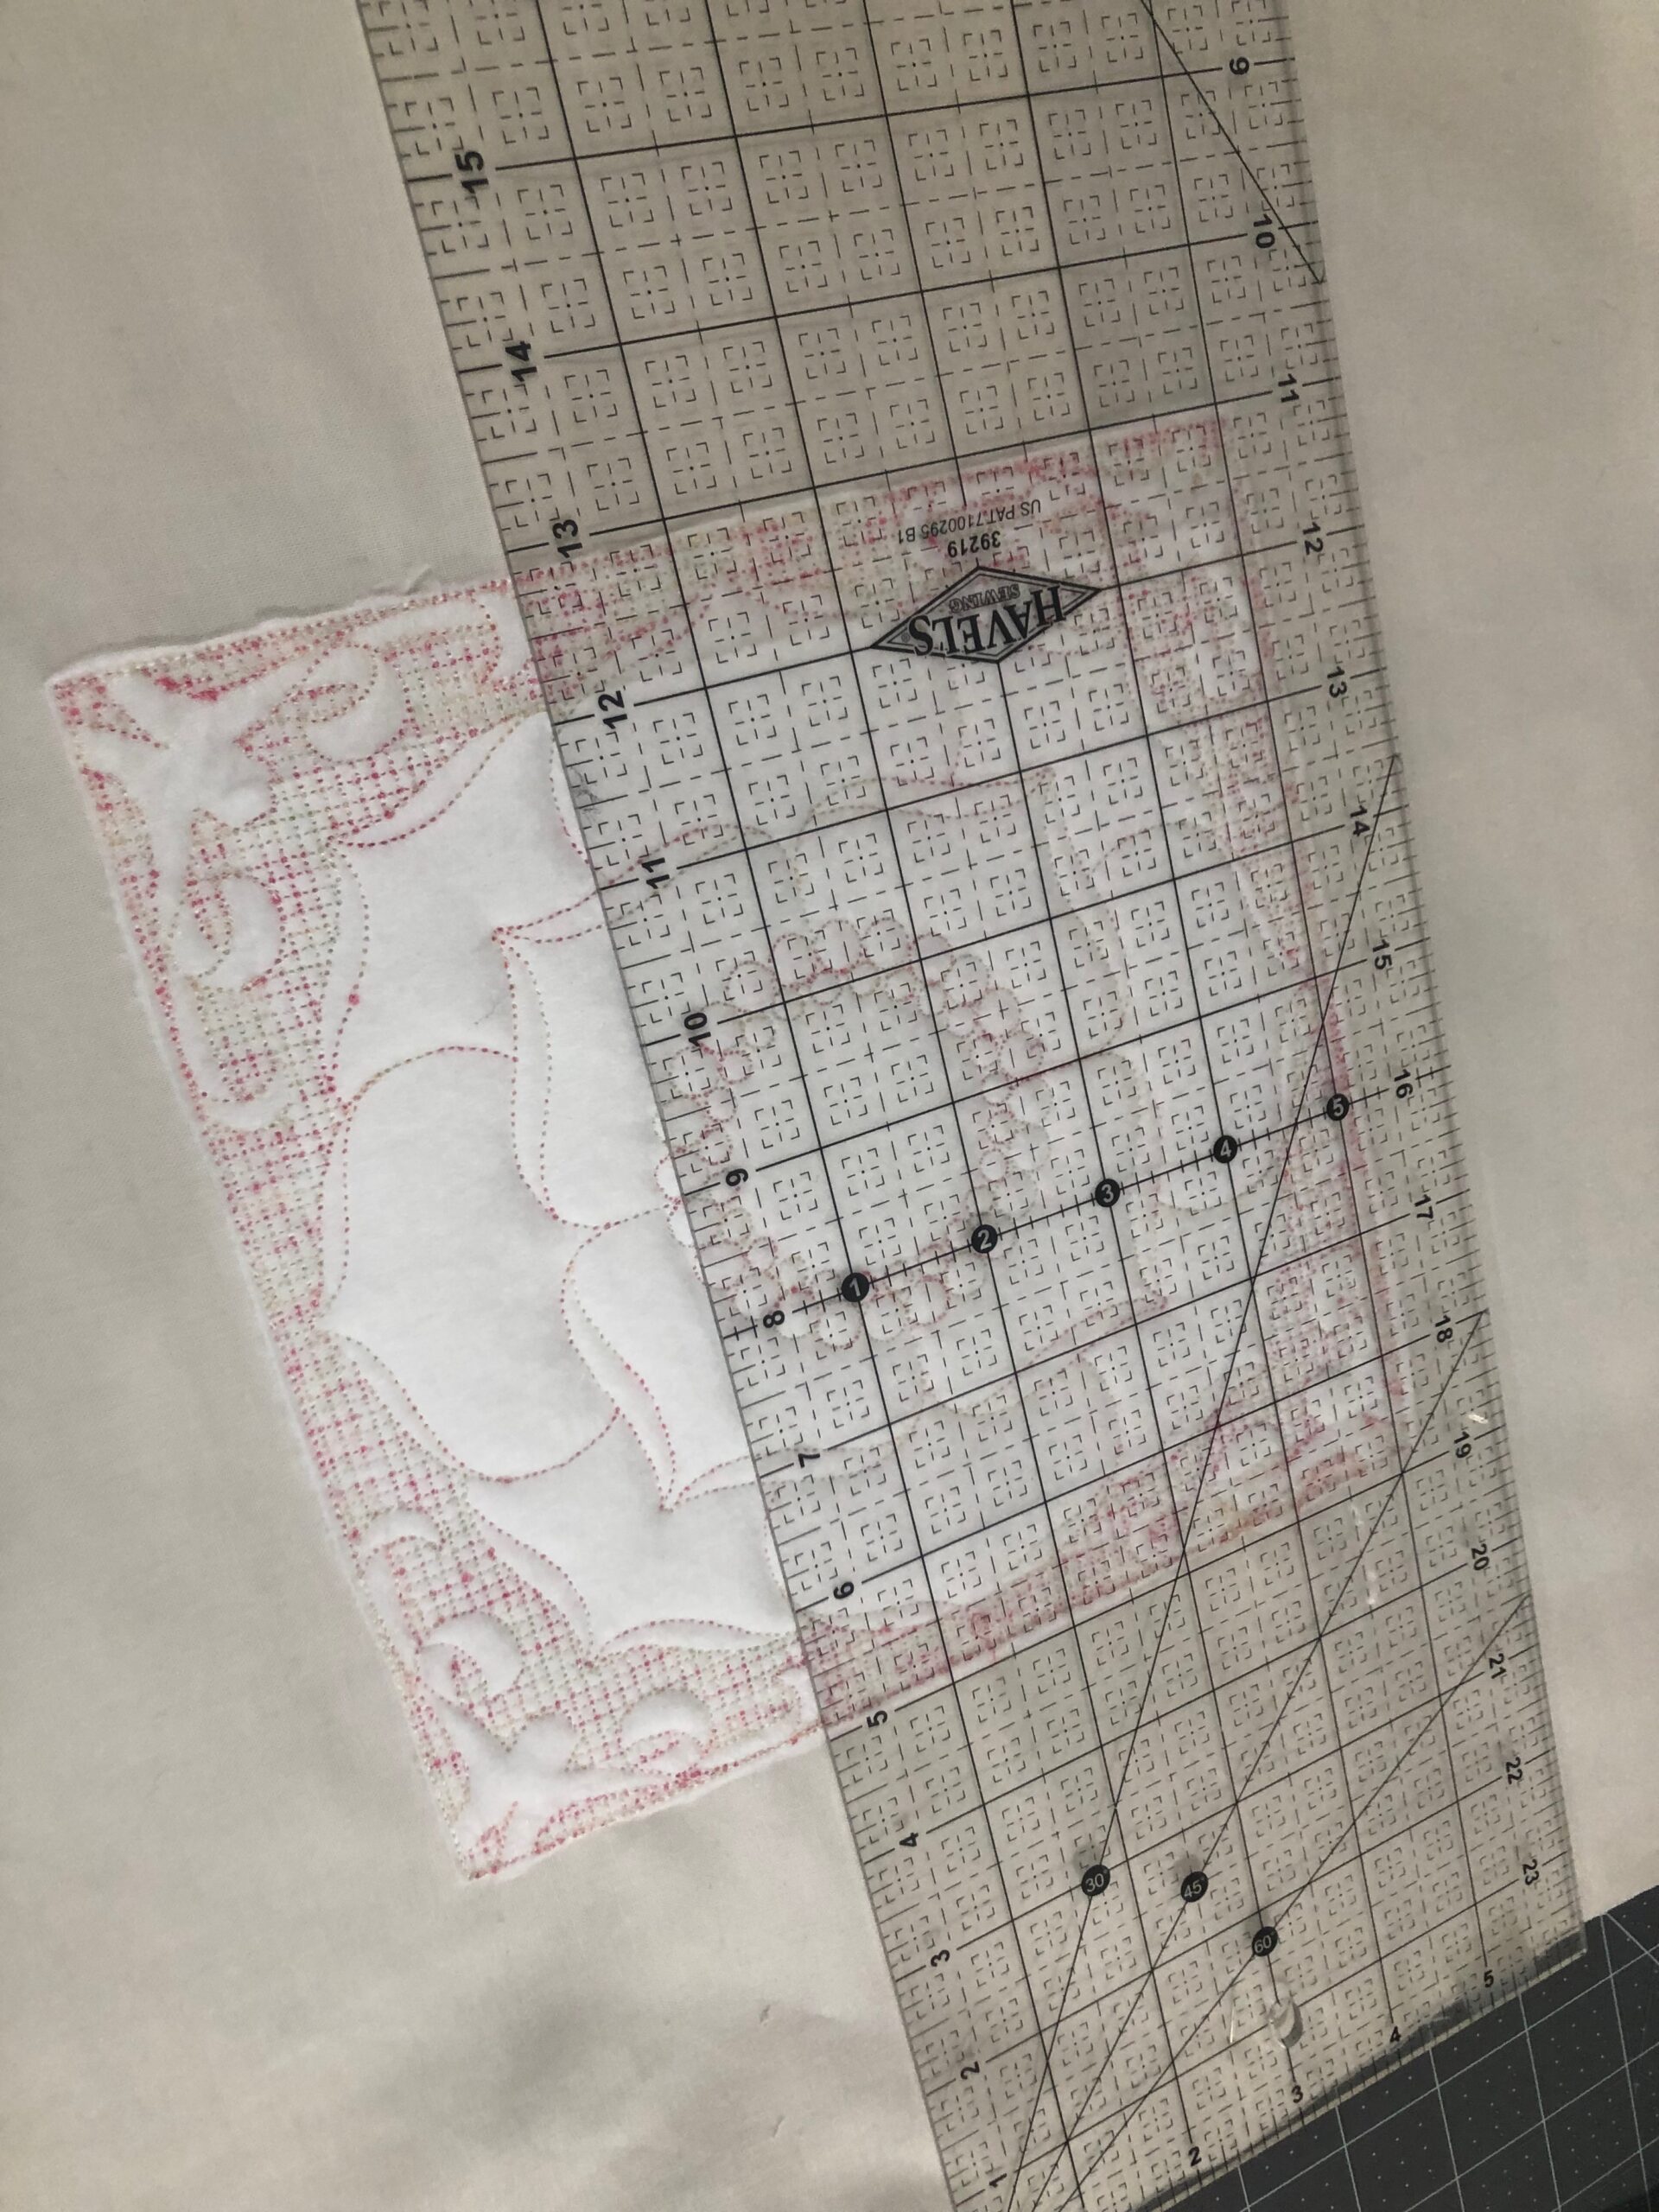
Trim away the stabilizer and batting close to the outer design perimeter.
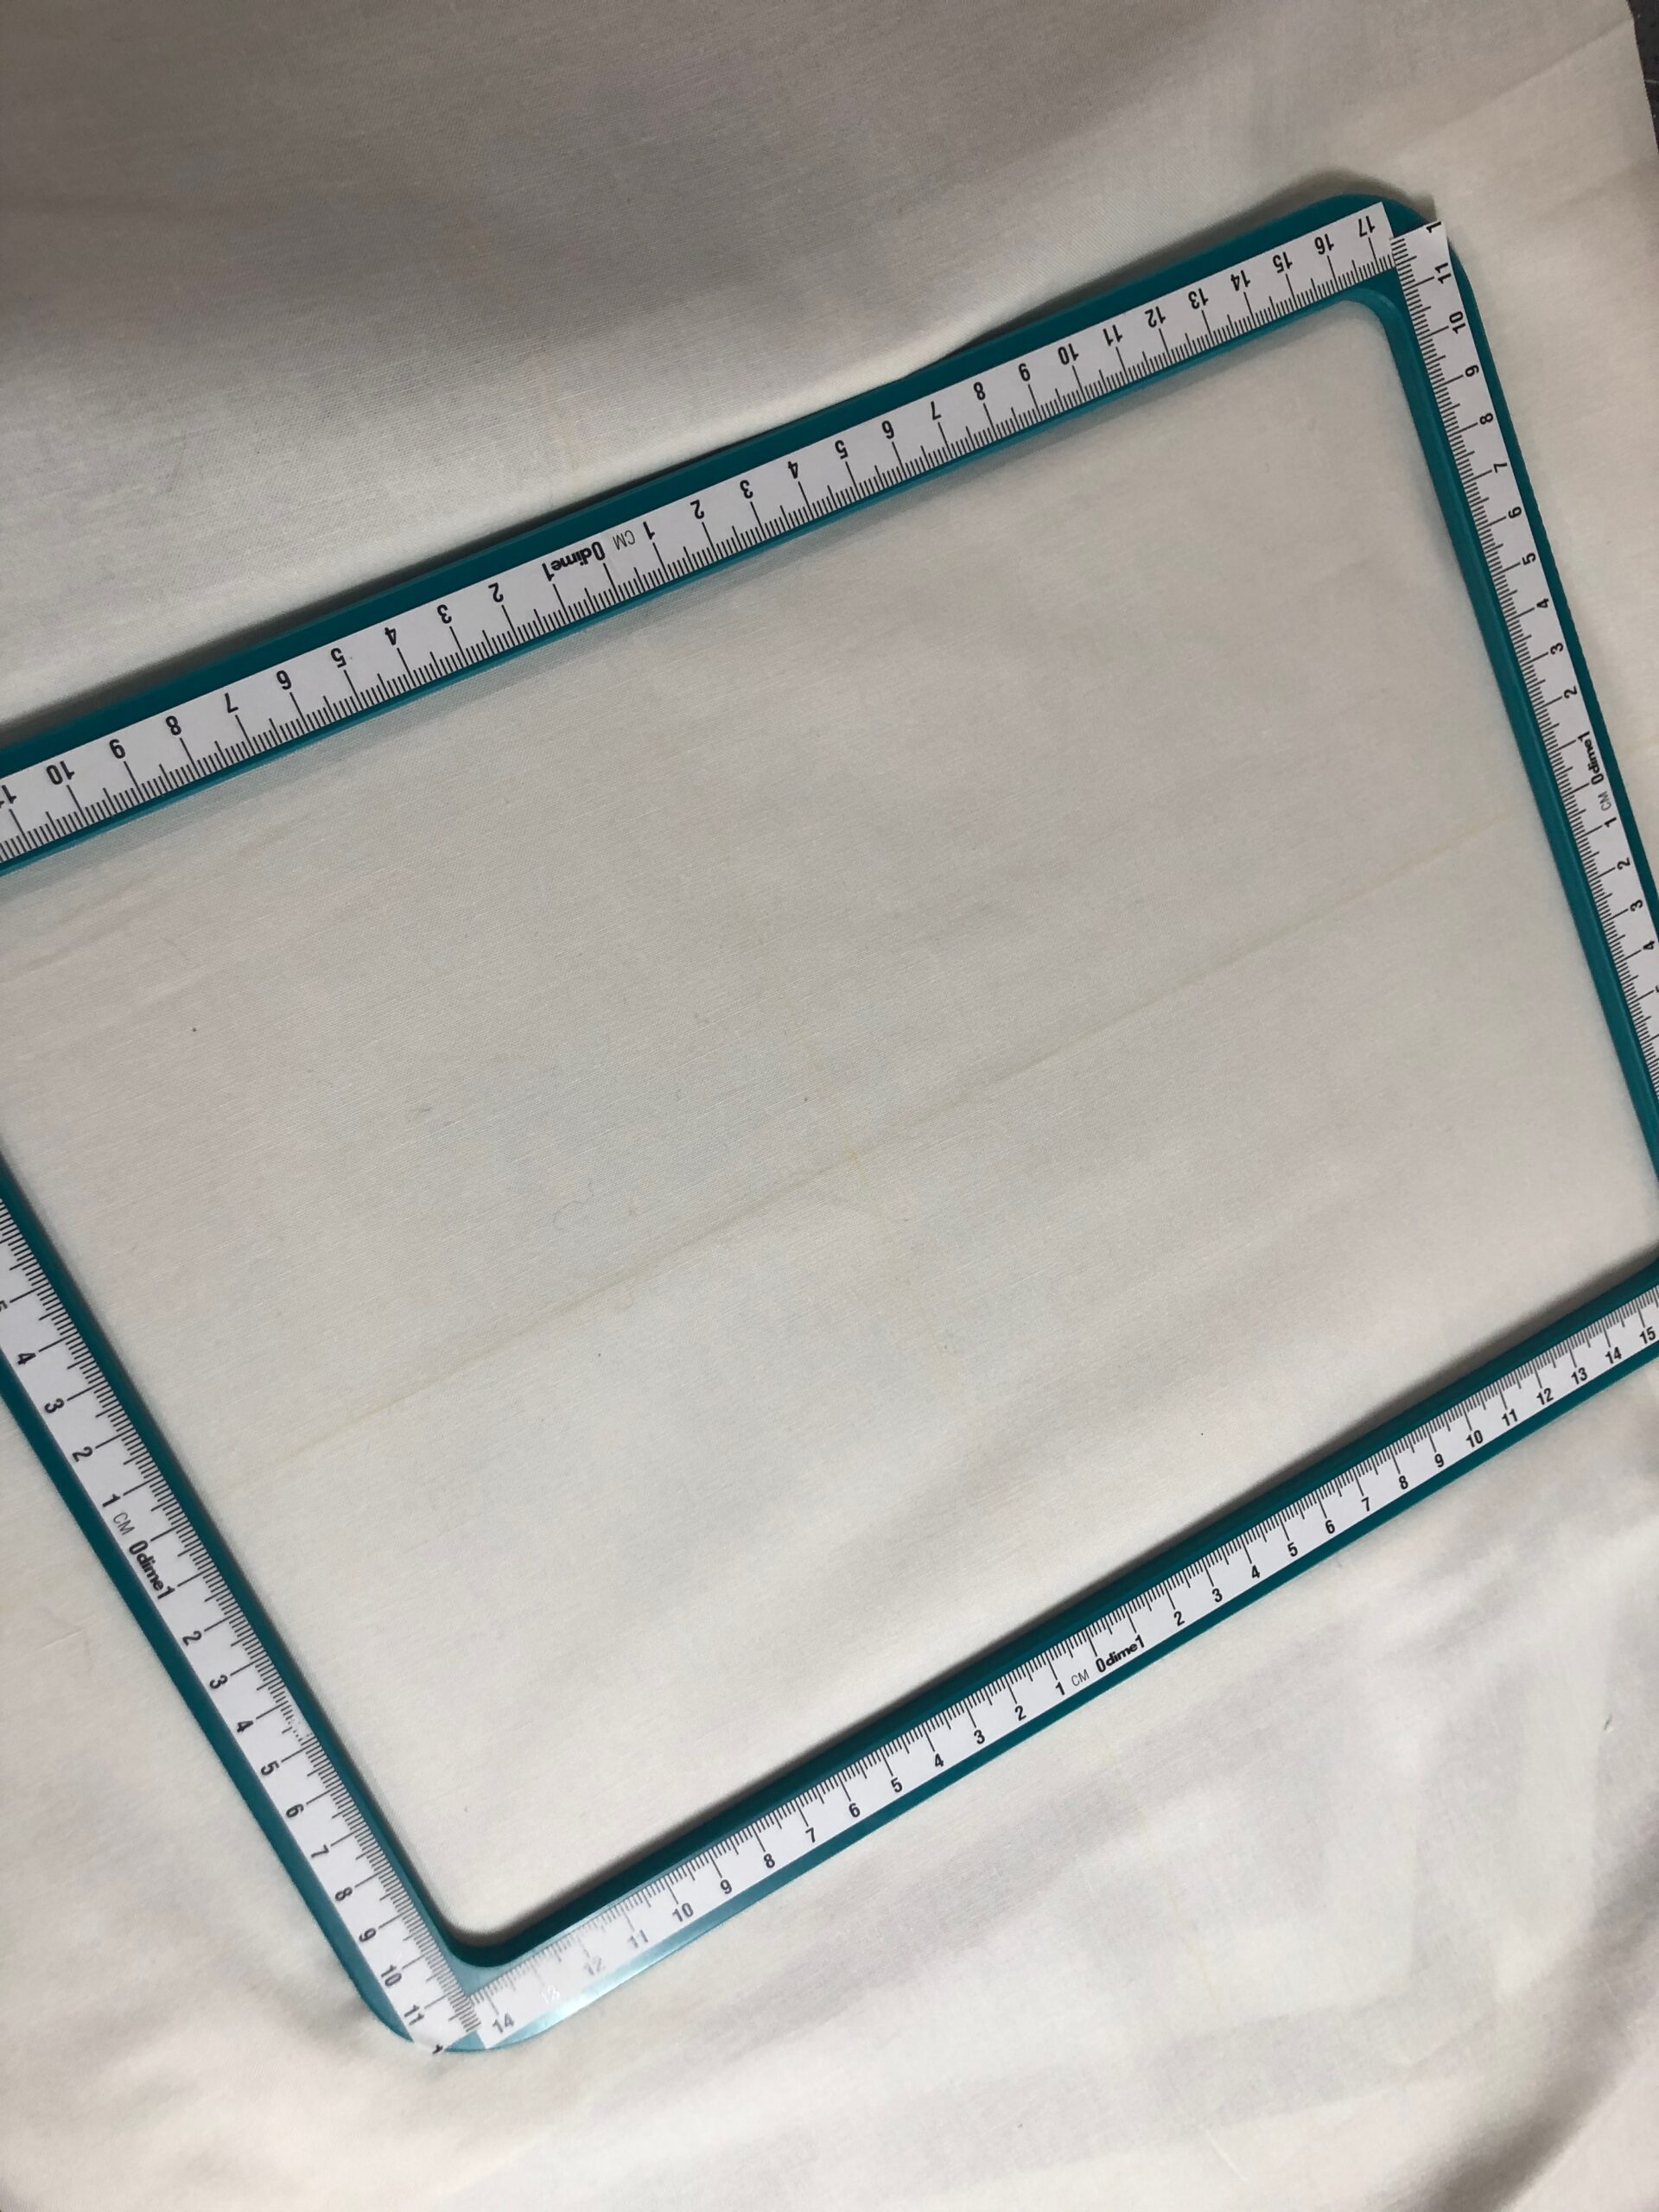
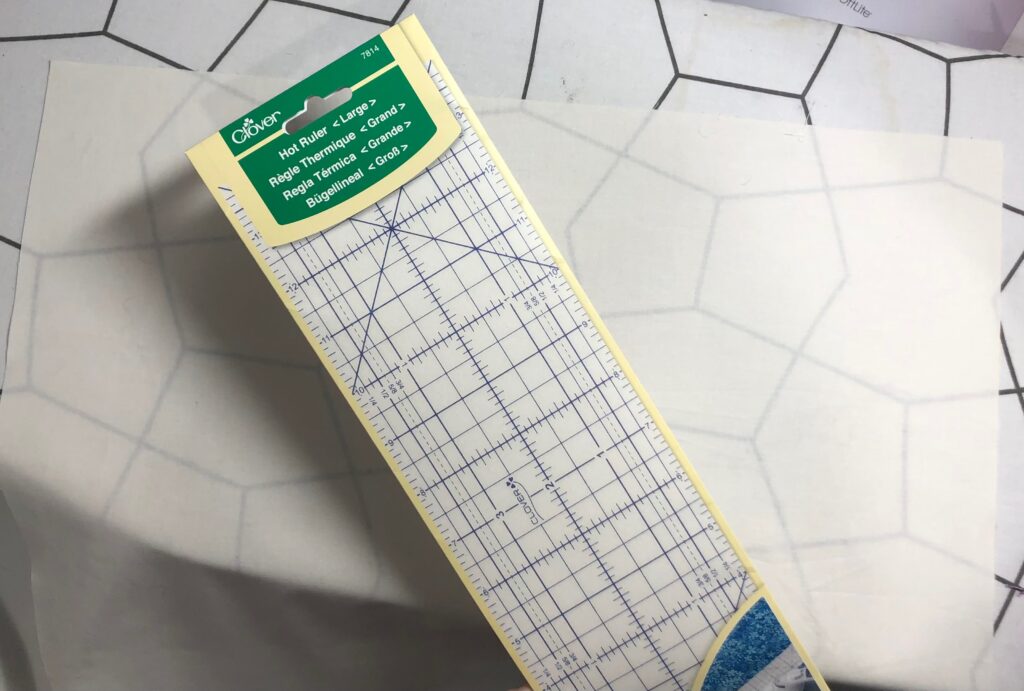
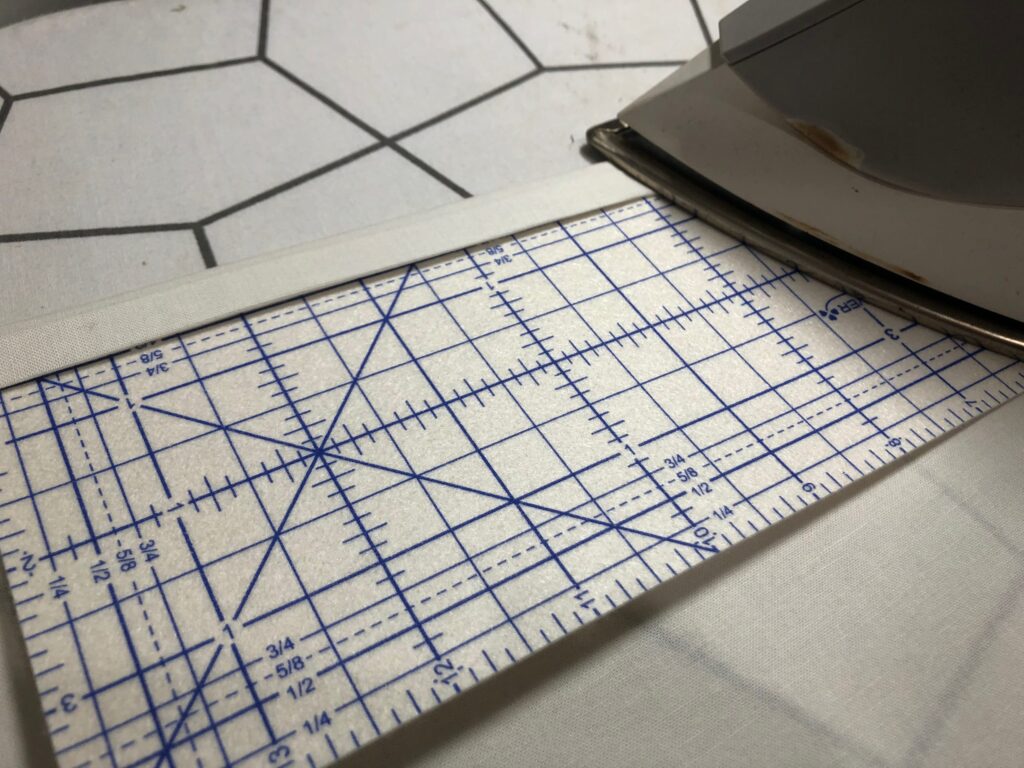
Double-fold each short edge of the pillow fabric 1/2″ toward the wrong side; press. A Clover Hot Ruler makes quick, accurate work of this double fold.
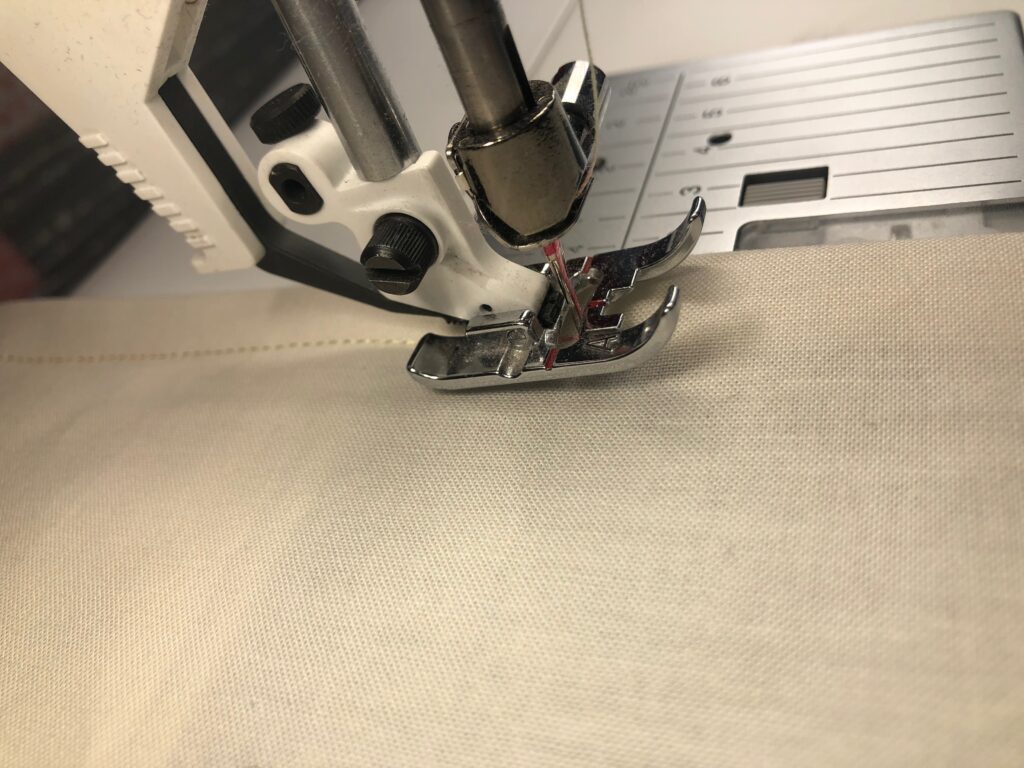
Topstitch along the second foldline using the 30 wt. Blendables Thread. Or switch to a matching 50 wt. Cotton Thread for a more inconspicuous look. (If using, be sure to pair the 50 wt. Thread with a size 70/10 Needle.)
Place the fabric rectangle wrong side up on a flat work surface. Bring one hemmed short edge about 10″ toward the fabric center.
Then overlap the opposite short hemmed edge, about 3″ across the previous edge.
Pin the upper and lower pillow edges.
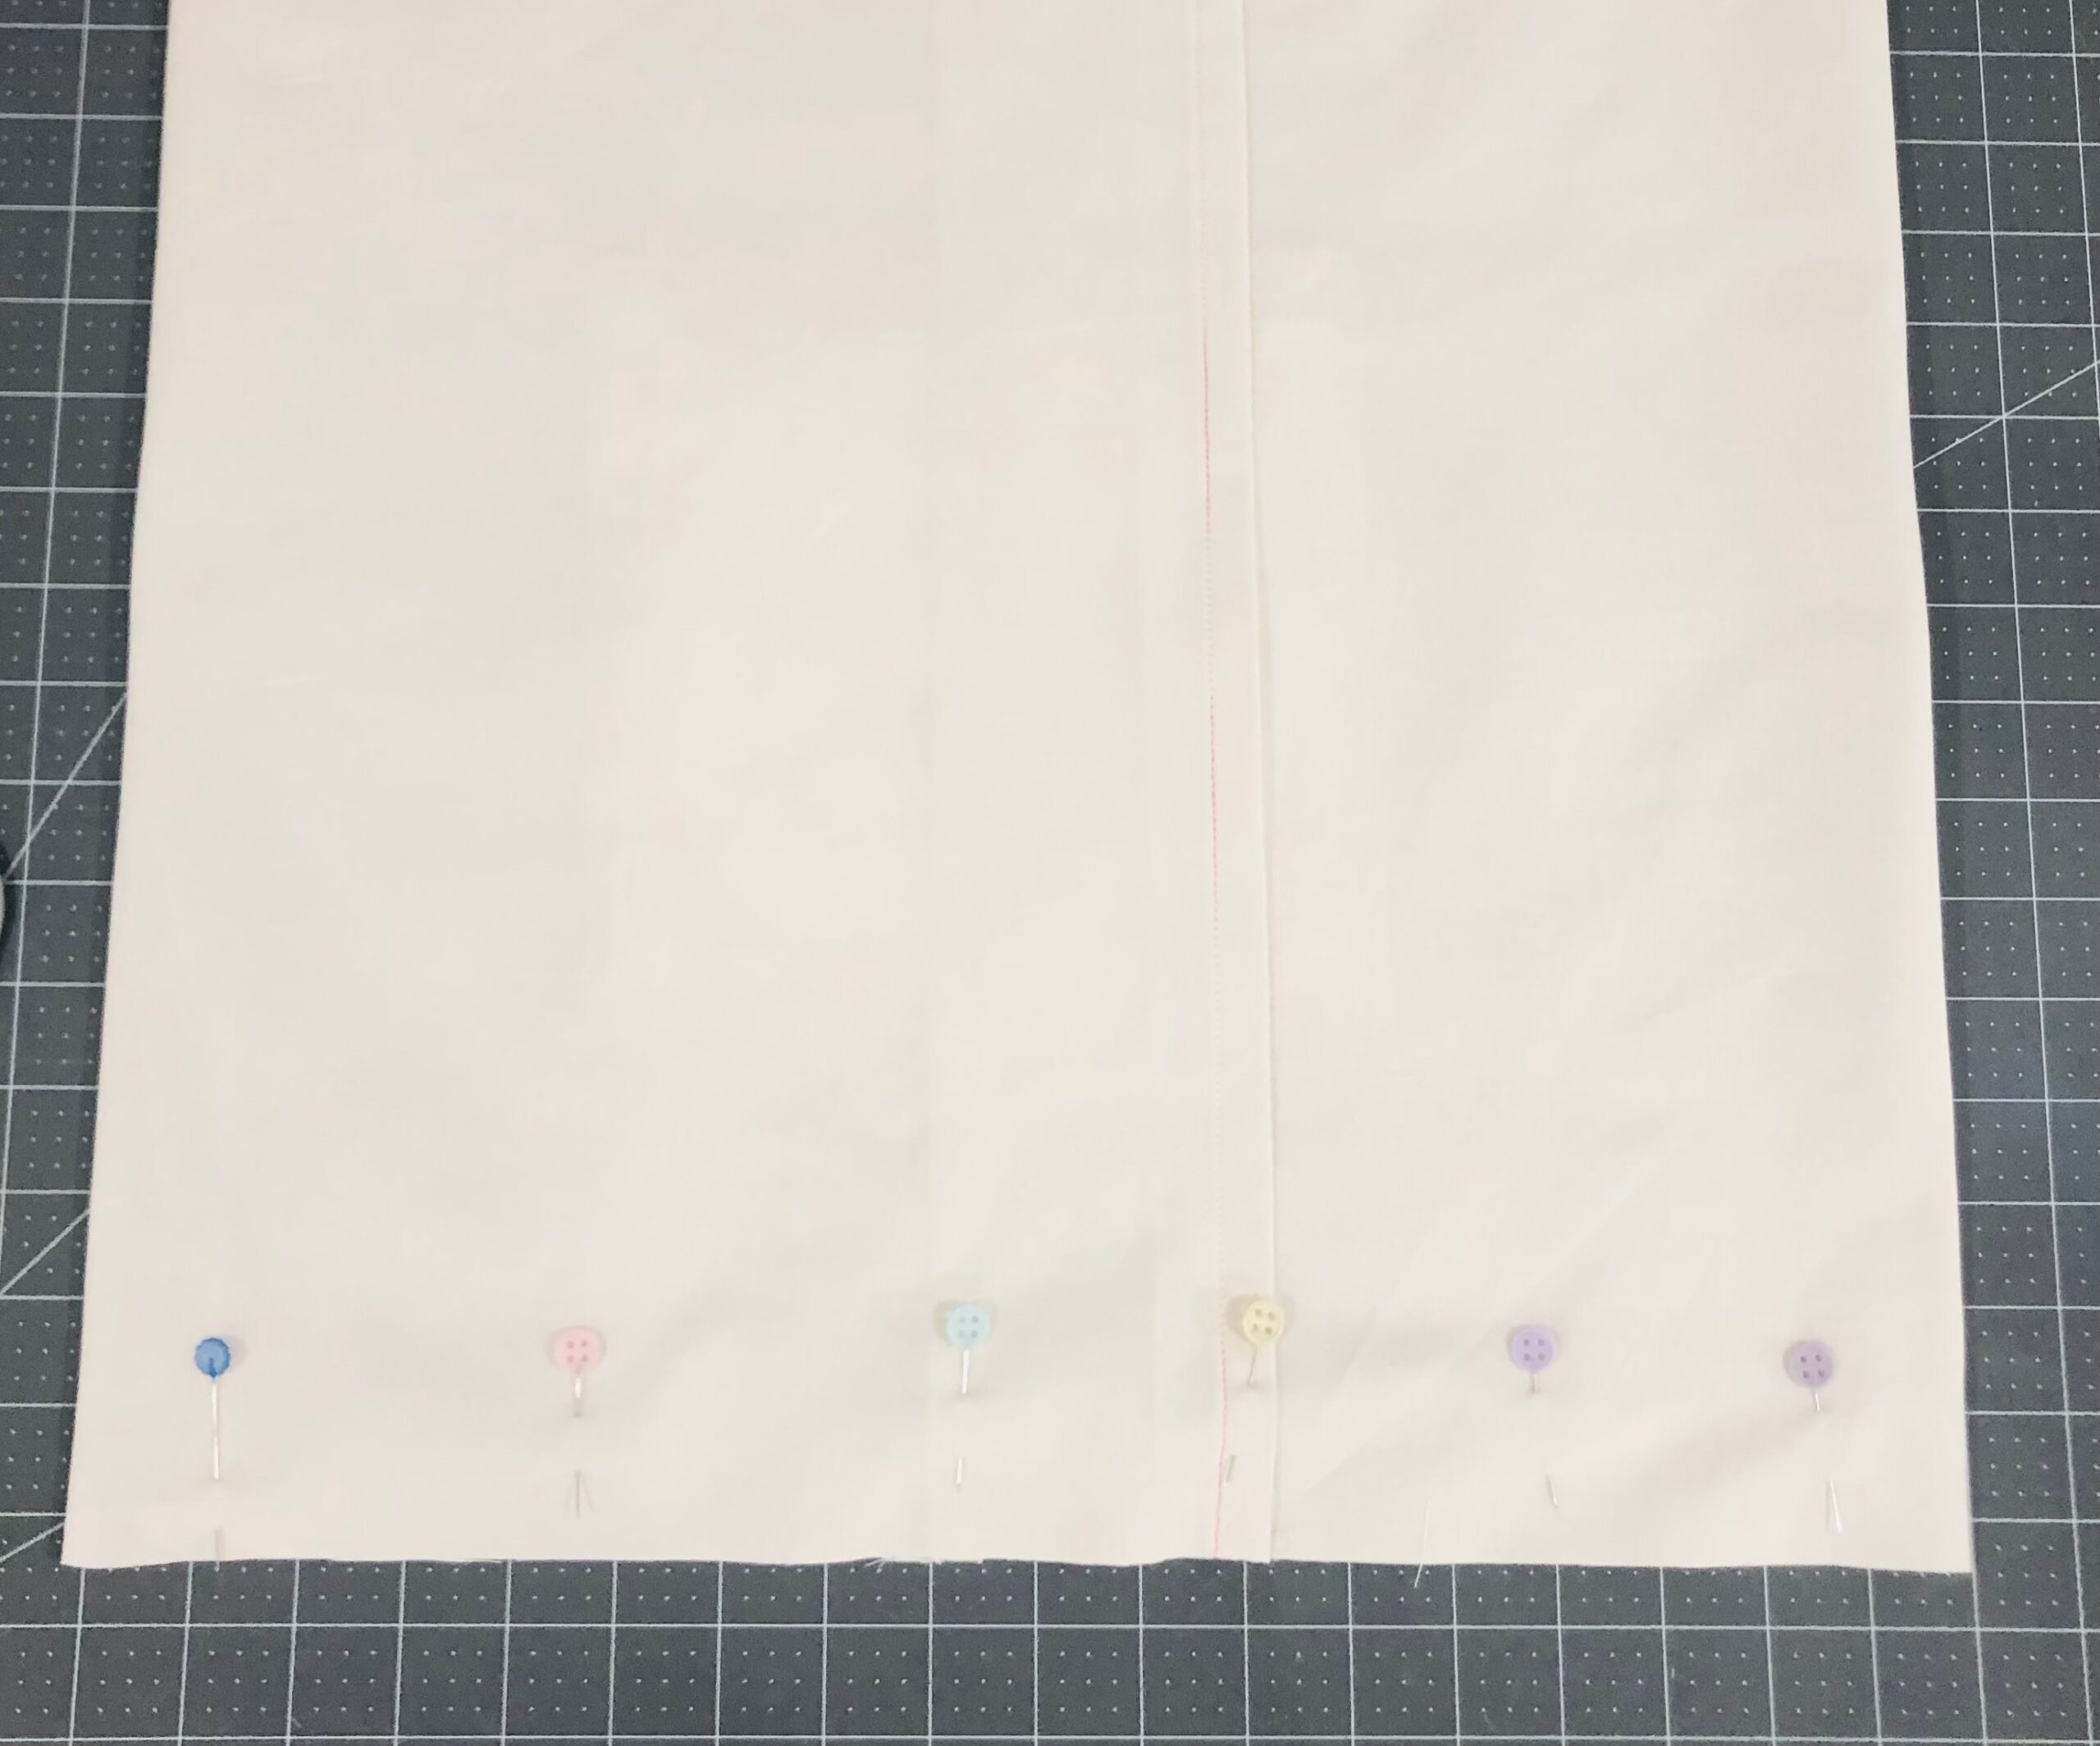
Flip over the fabric to make sure the trapunto embroidery design is exactly centered (you’ll be looking at the design wrong side). Make any adjustments needed to the folded edges.
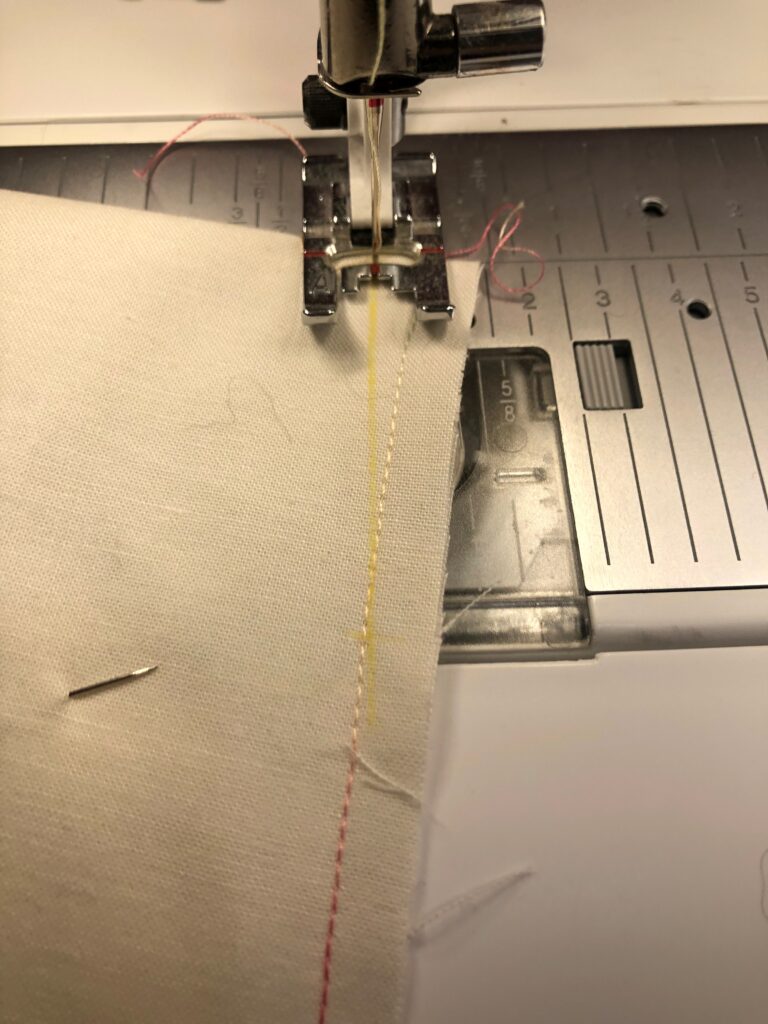
Stitch the pinned edges, using a 1/4″ seam allowance. Remove the pins as you reach them.
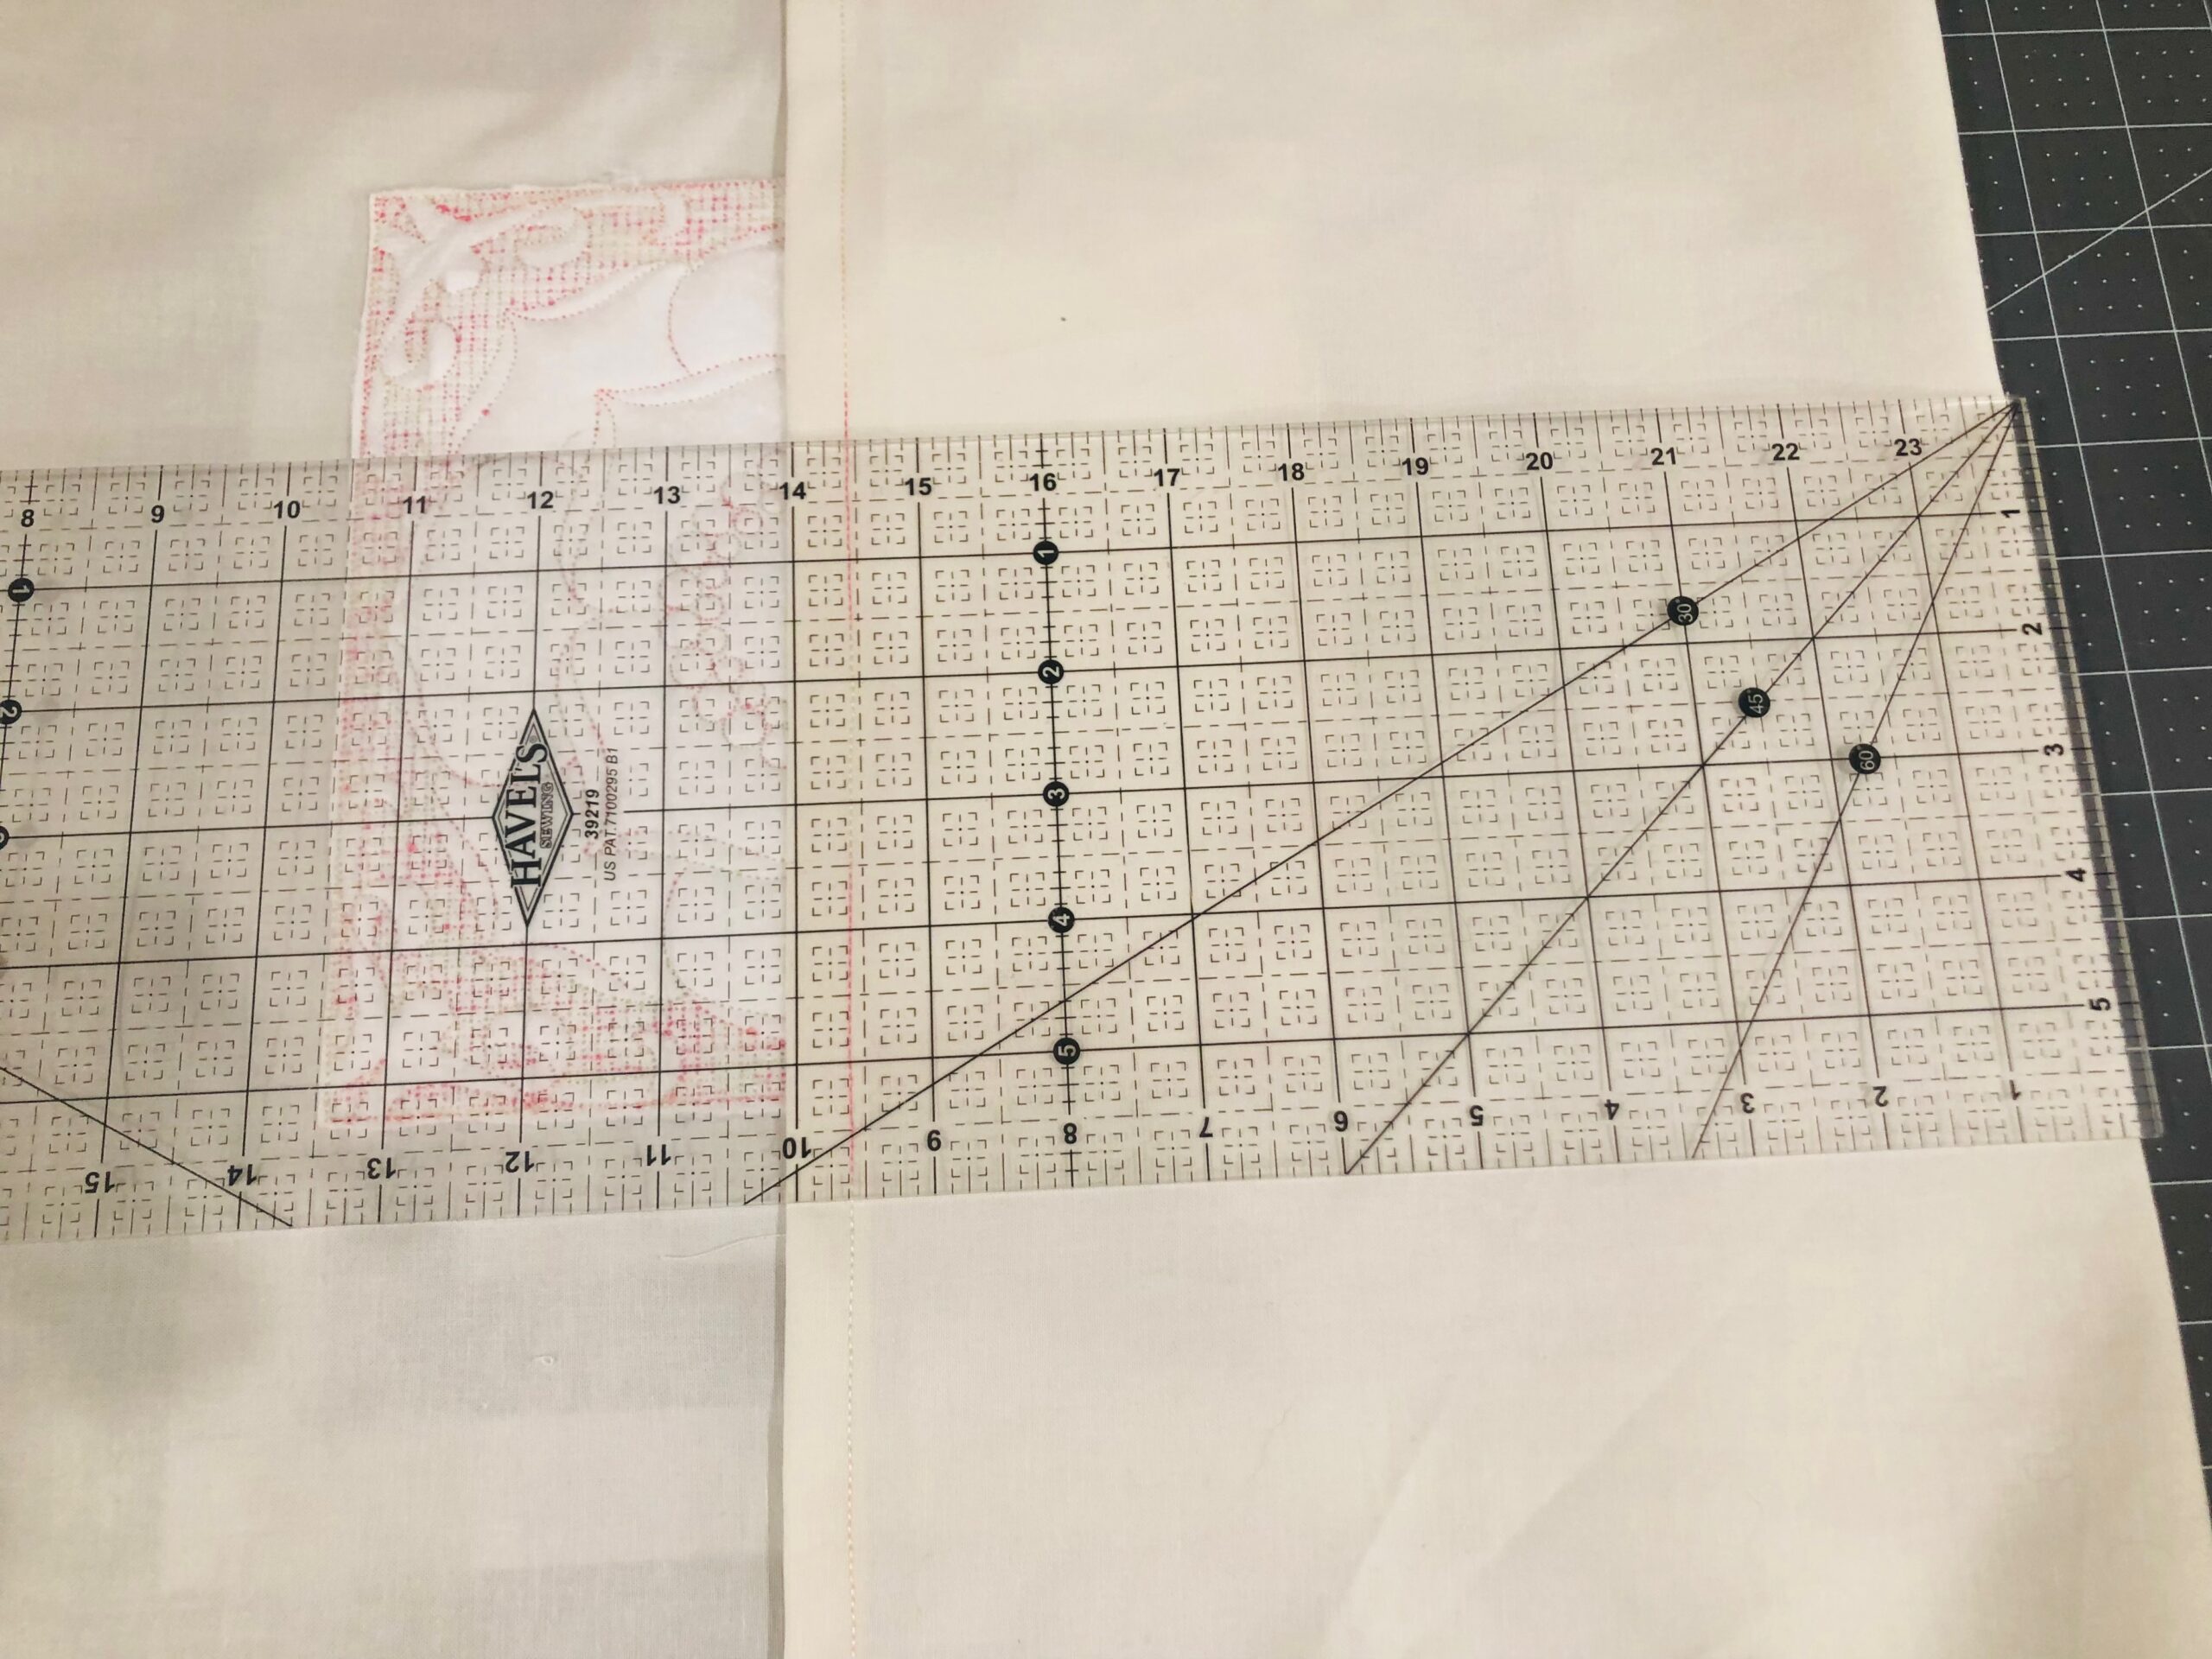
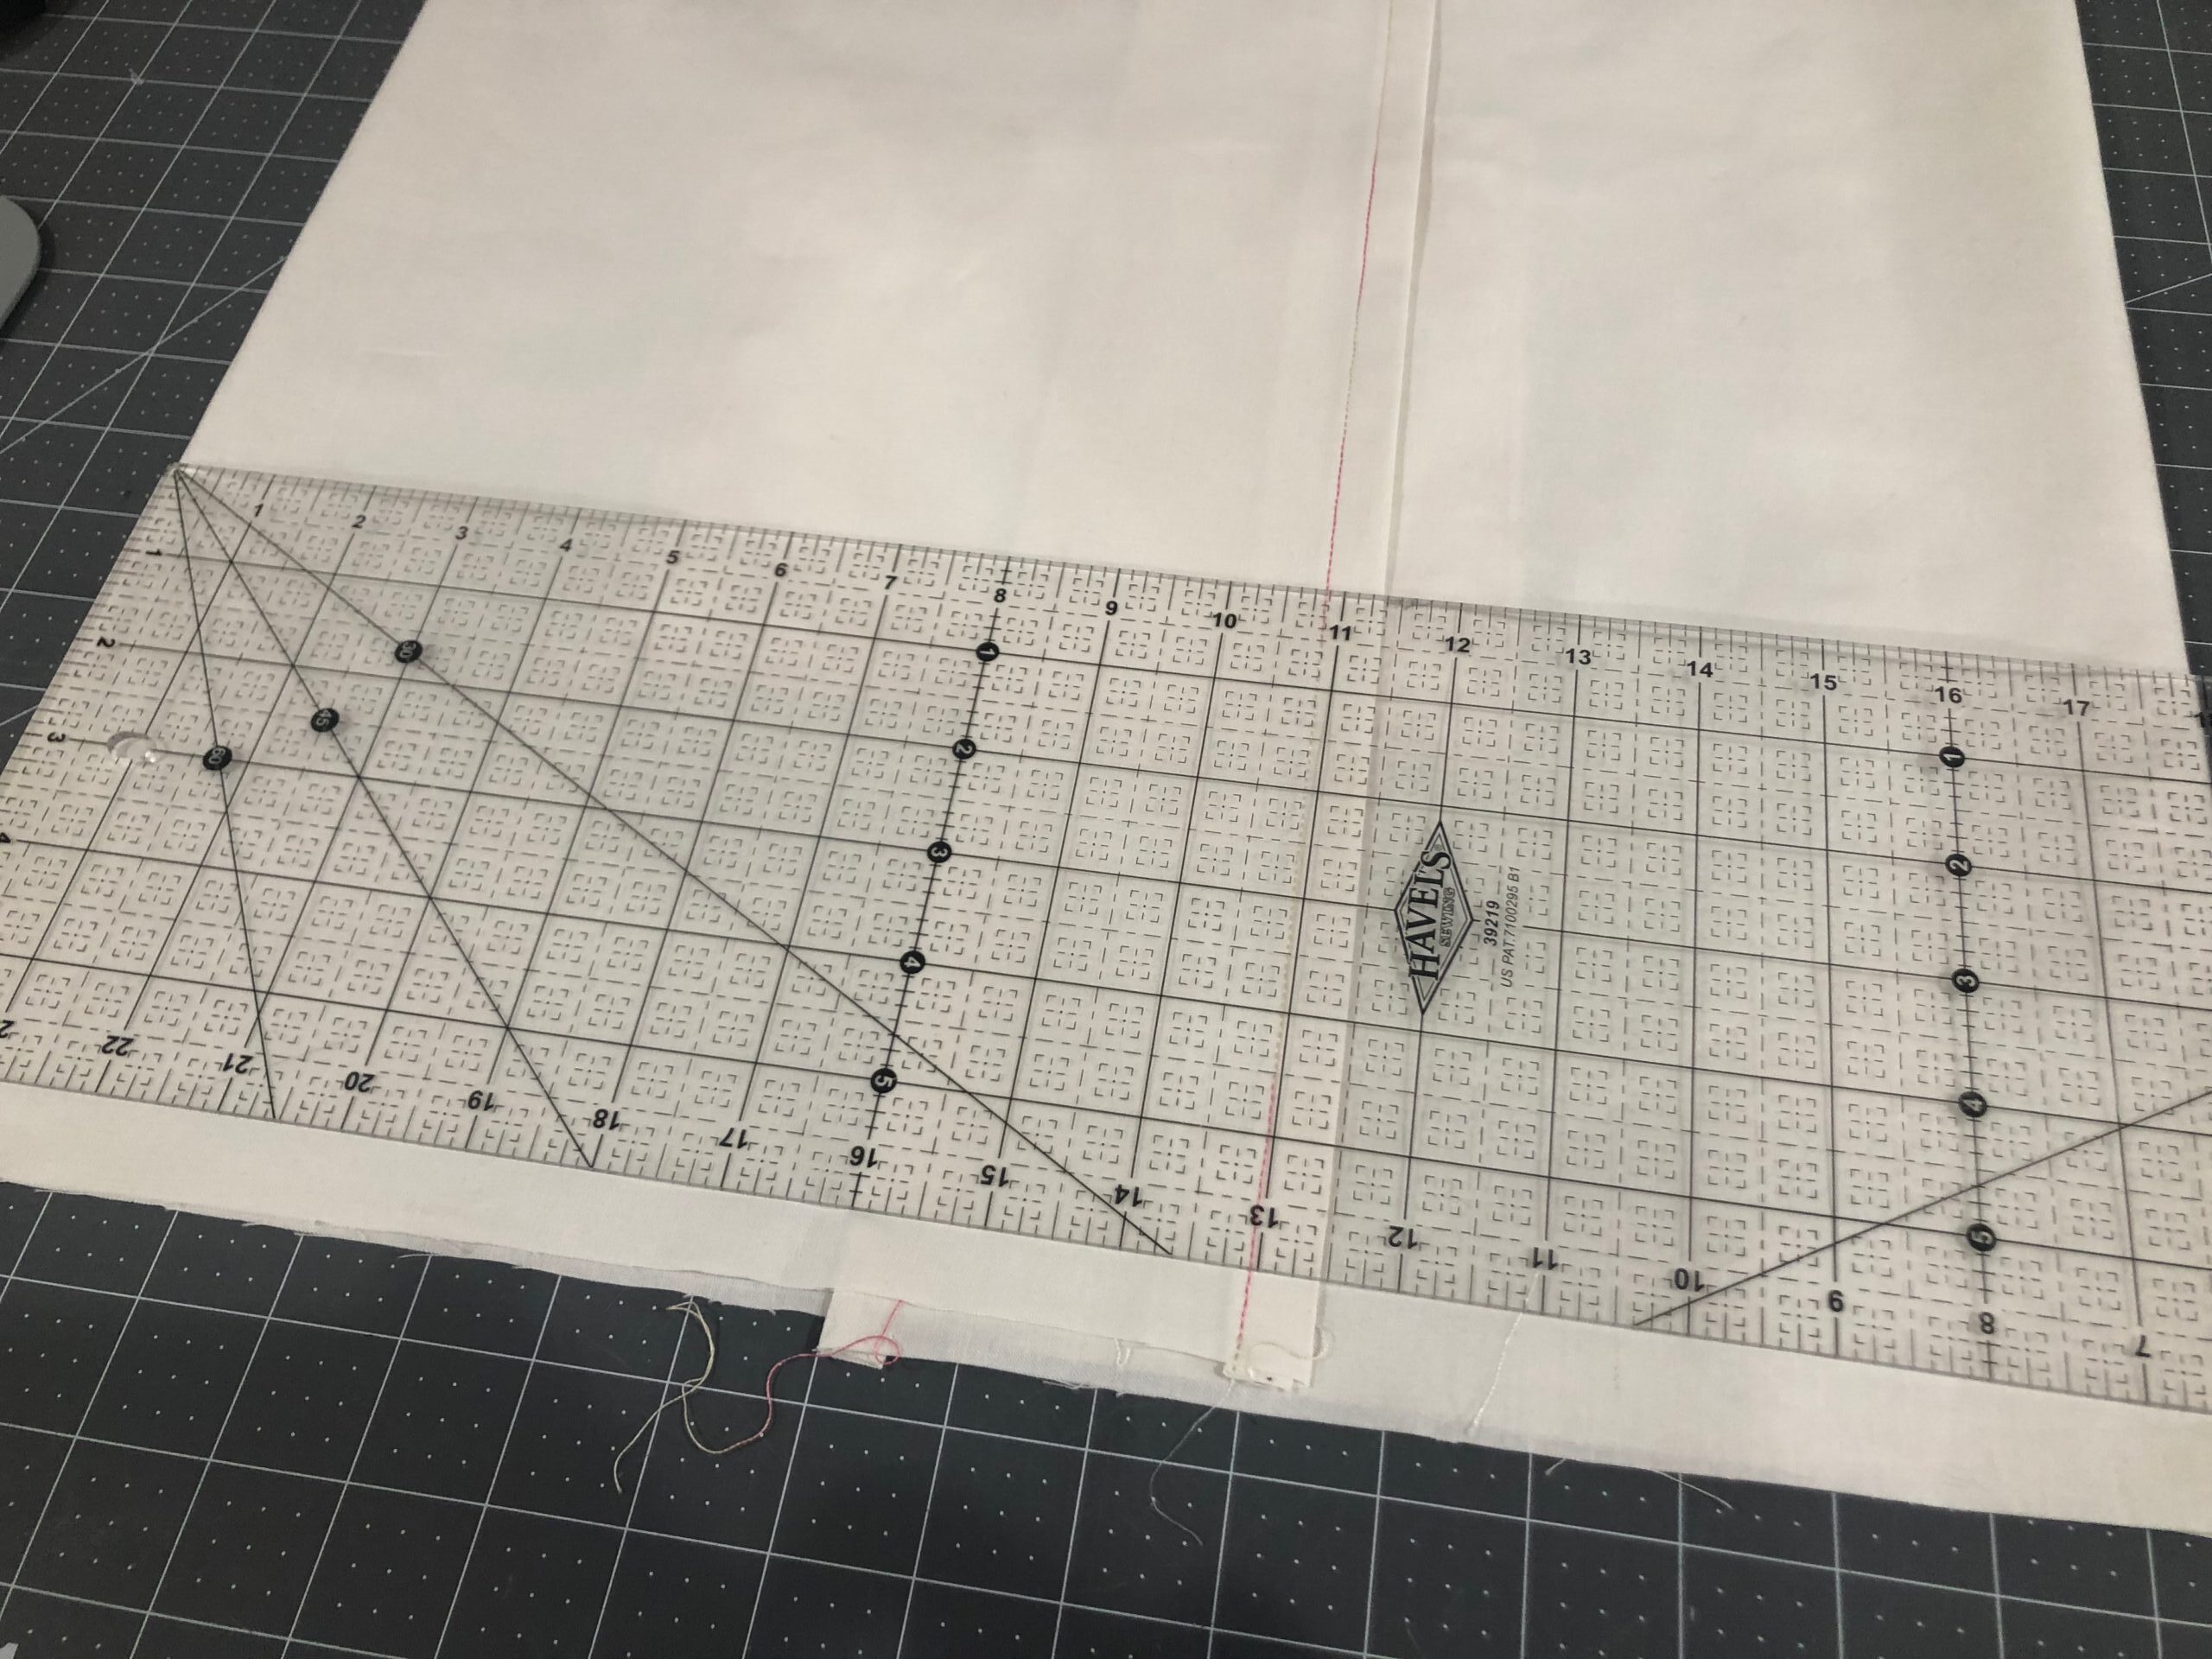
At each corner, stitch tapered ends to avoid “dog ear” pillow corners. Measure 2″ up from the corner along the stitching; mark.

Measure 1/4″ to the left of the stitching; mark.

Then, connect the marks to form the tapered corner.
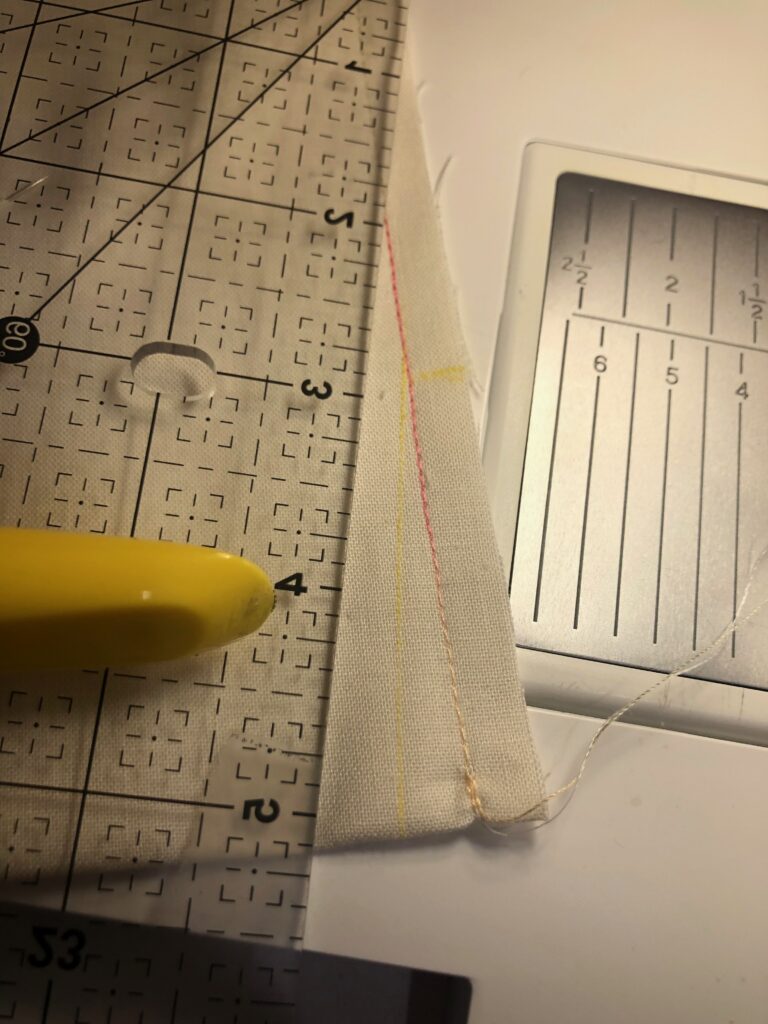
Stitch along the drawn line.
Zigzag- or serge-finish the seam allowances.
To finish, turn the pillow right side out. Poke out the corners using a turning tool.
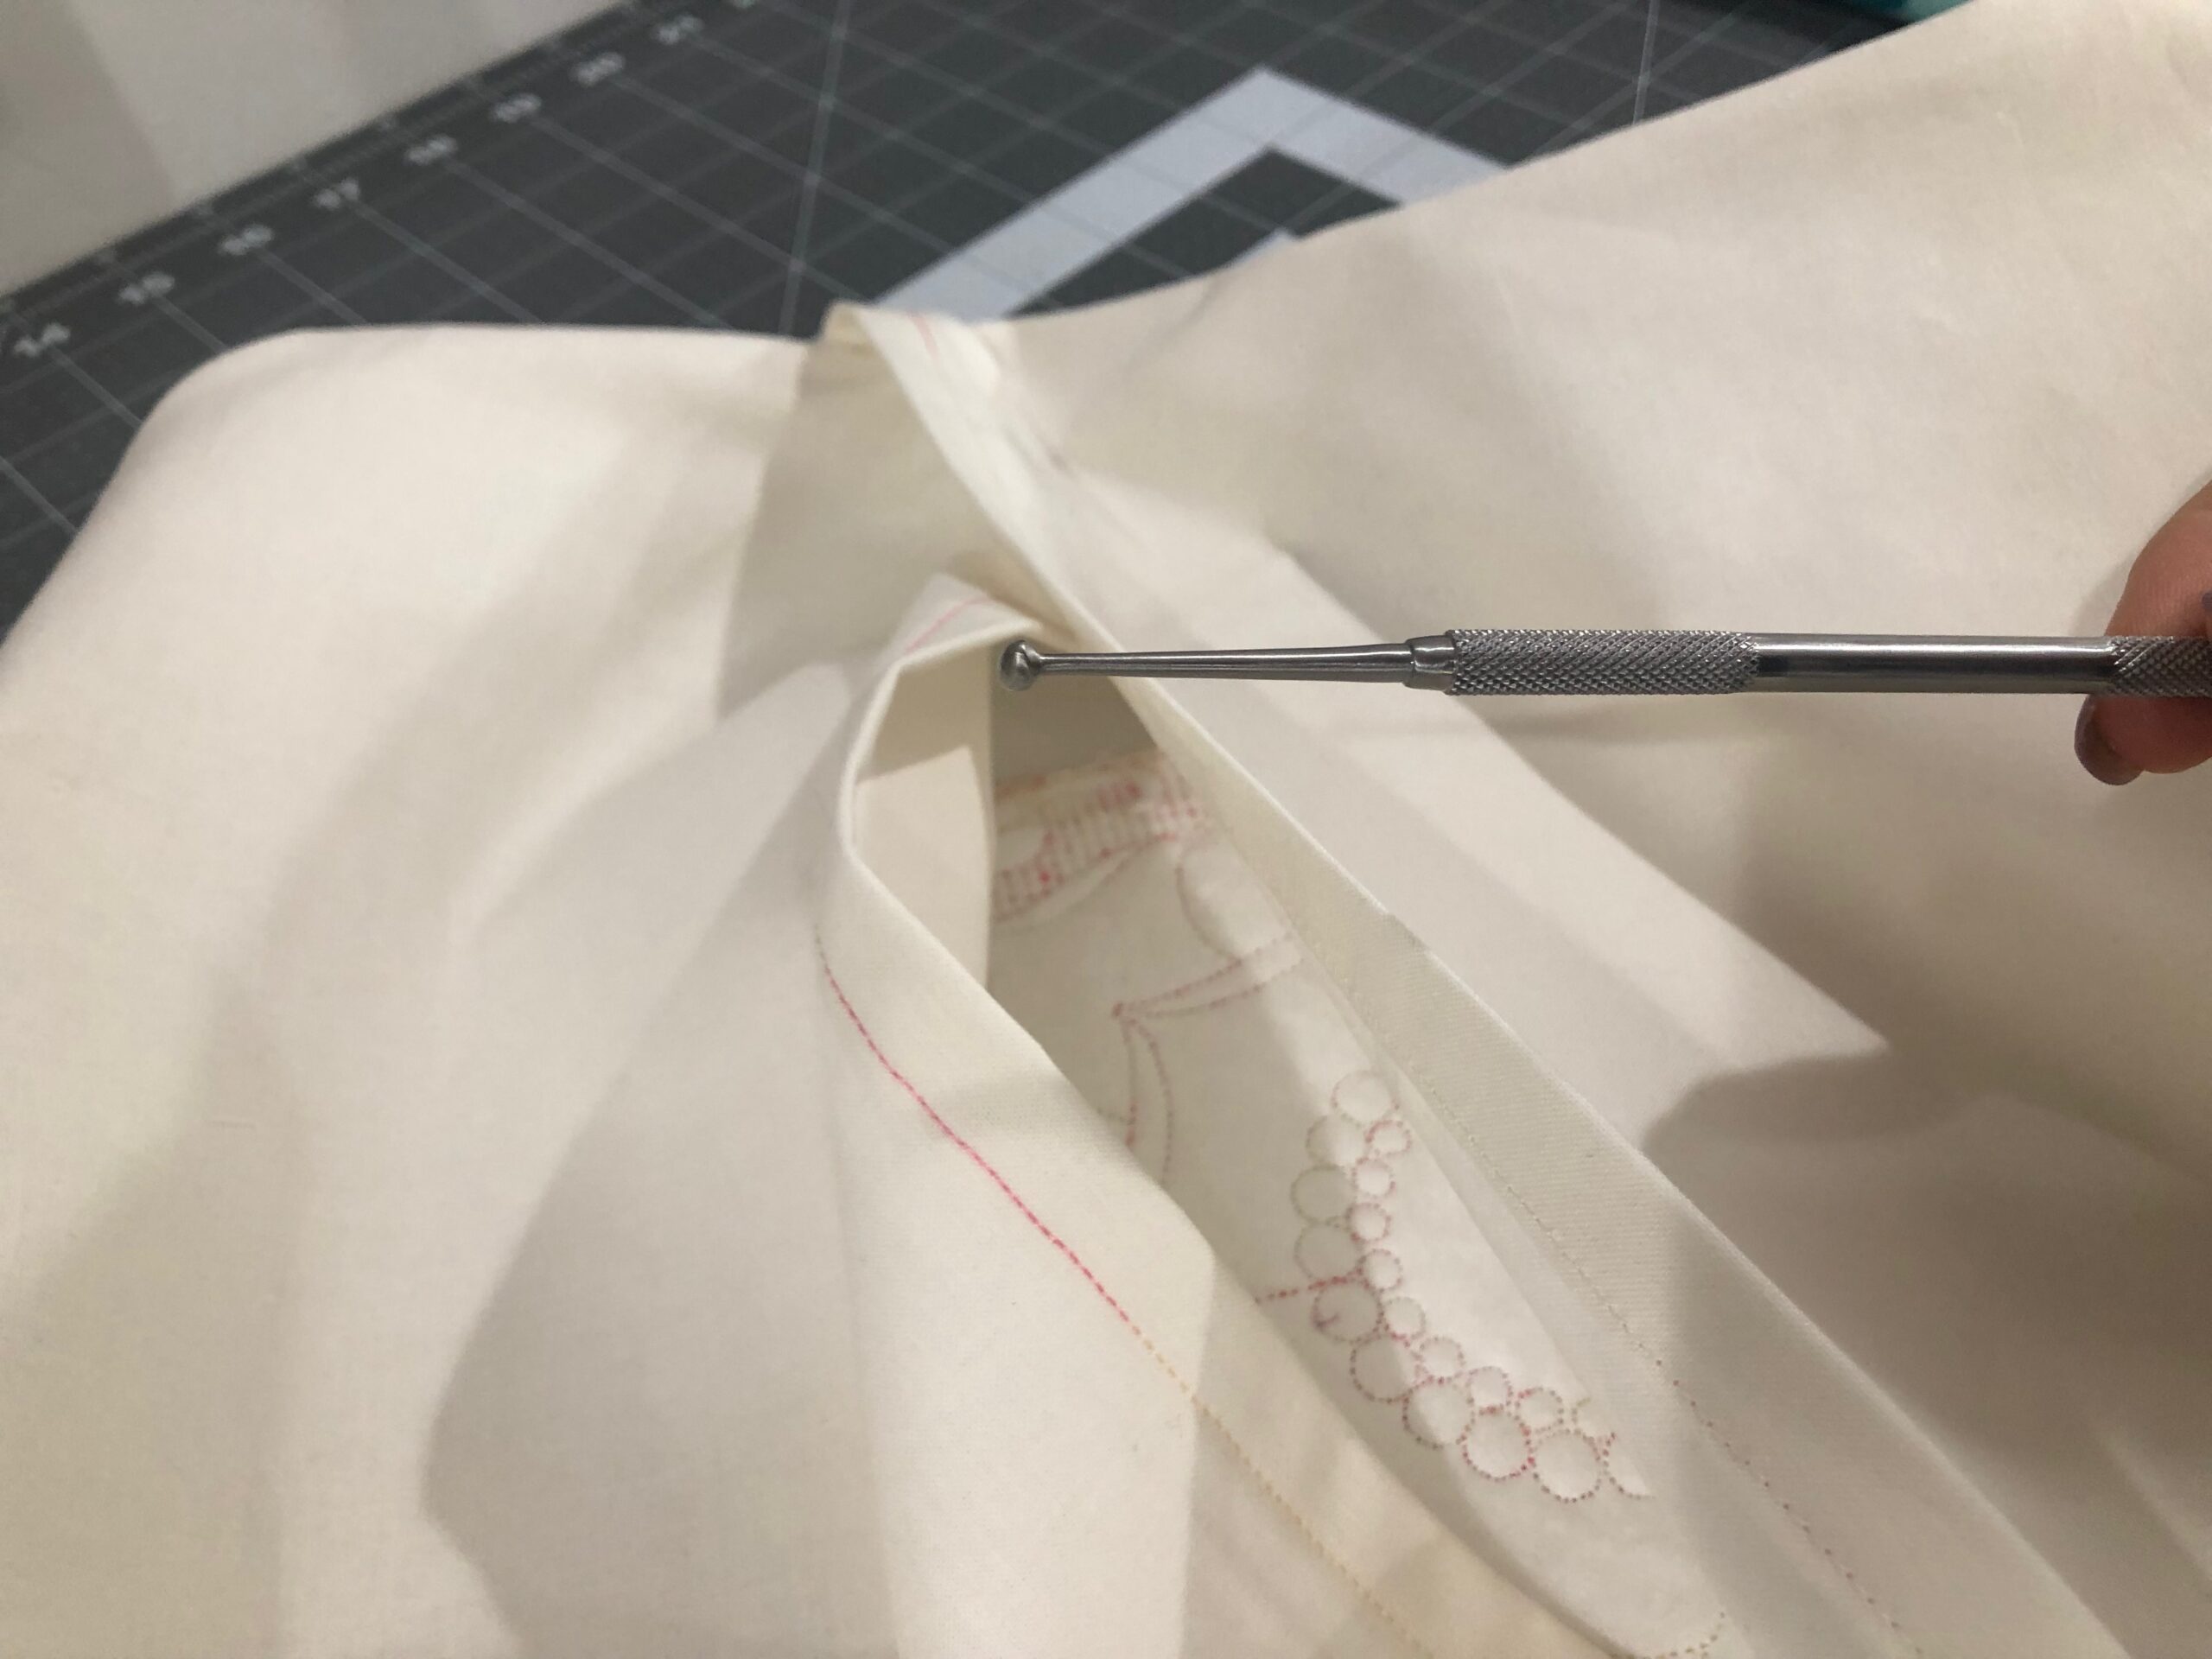
Finally, insert the pillow form.

This is so informative. I would like to purchase the monagram used on the towel. Is that possible? If so where might it be found? Thank you for such a great lesson. Eva Ward
Hi Eva,
That monogram collection is from Designs by Juju. You can find it here
Excellent Program, very easy and informative, Thank You!
Thank you!