Denim Embroidery
Tips for Machine Embroidery on Denim Garments
Denim embroidery is striking, colorful and just plain fun. Denim is a great canvas for embroidery designs because it’s a stable, heavyweight fabric that can take a lot of stitches without puckering, buckling or show-through. Here’s how to prepare your denim, jeans, jean jackets and more for machine embroidery.
DESIGN CHOICE
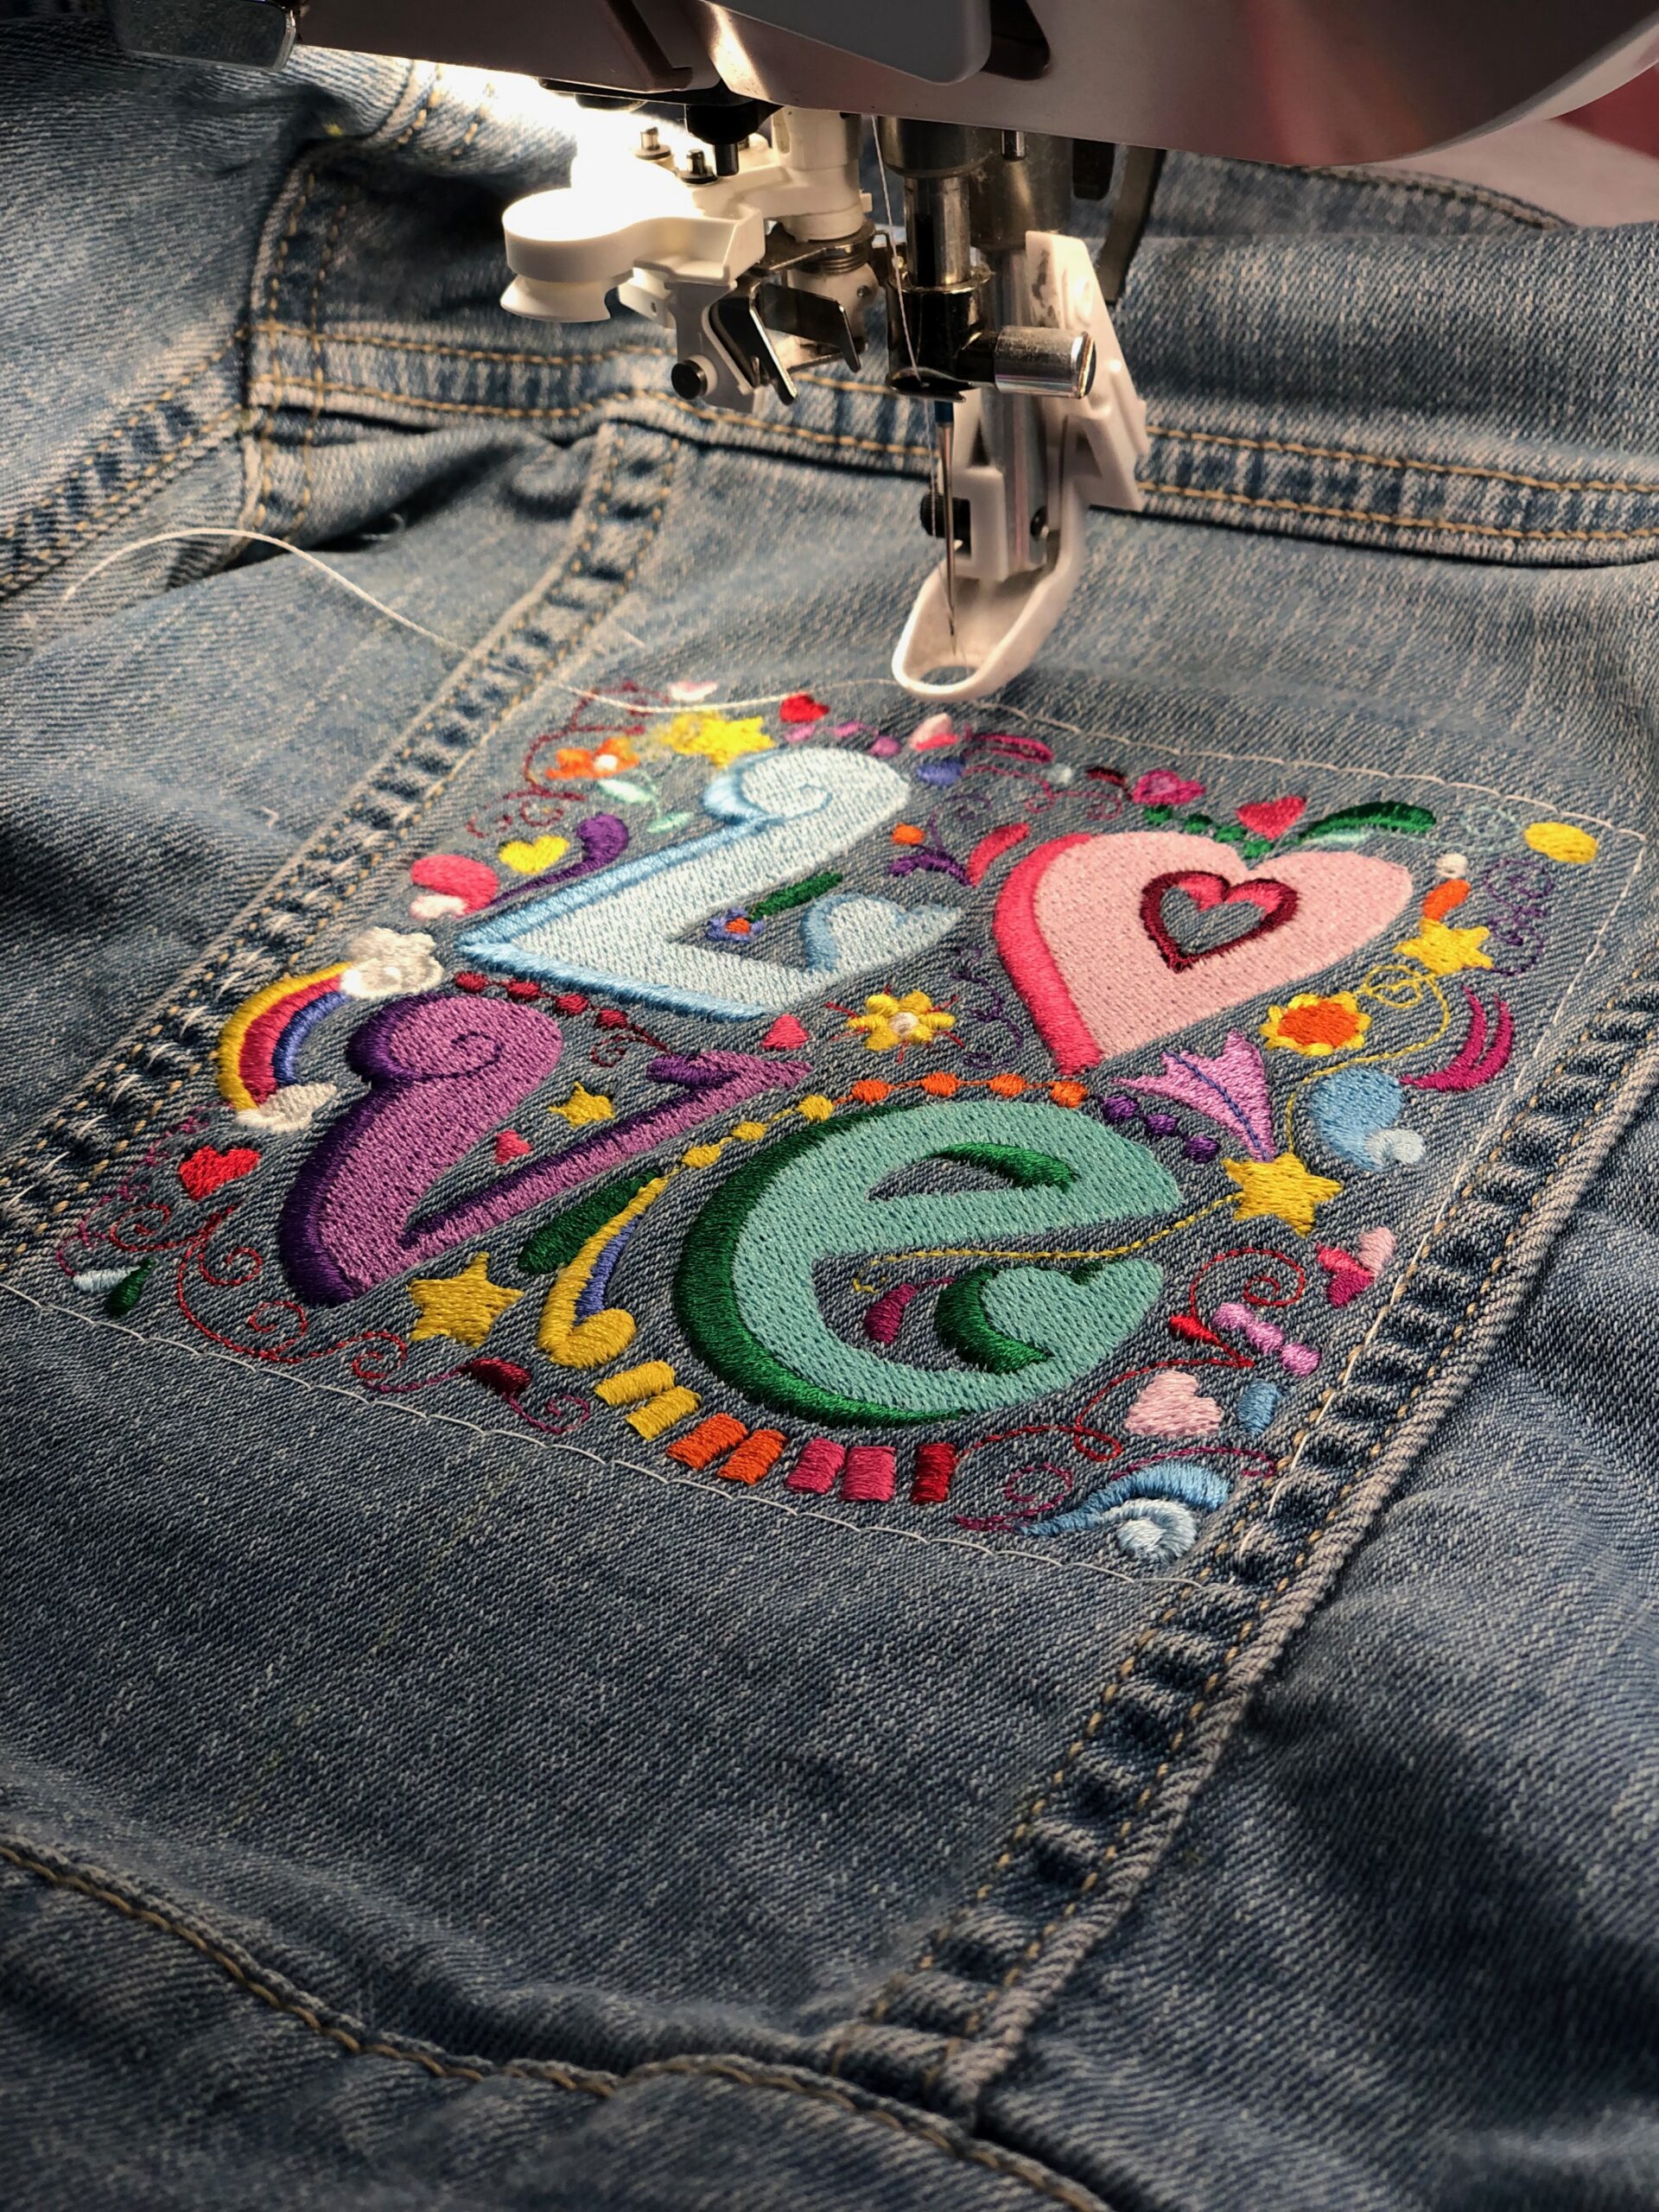
There are loads of great choices for denim embroidery. Choose designs with lots of fill stitches, dense stitching and even appliqué embroidery designs. Steer clear of line-art style designs, unless they’re digitized for heavyweight threads. These designs are easily lost in the heavyweight fabric fibers and you’ll want the embroidery thread to pop to really make a statement.
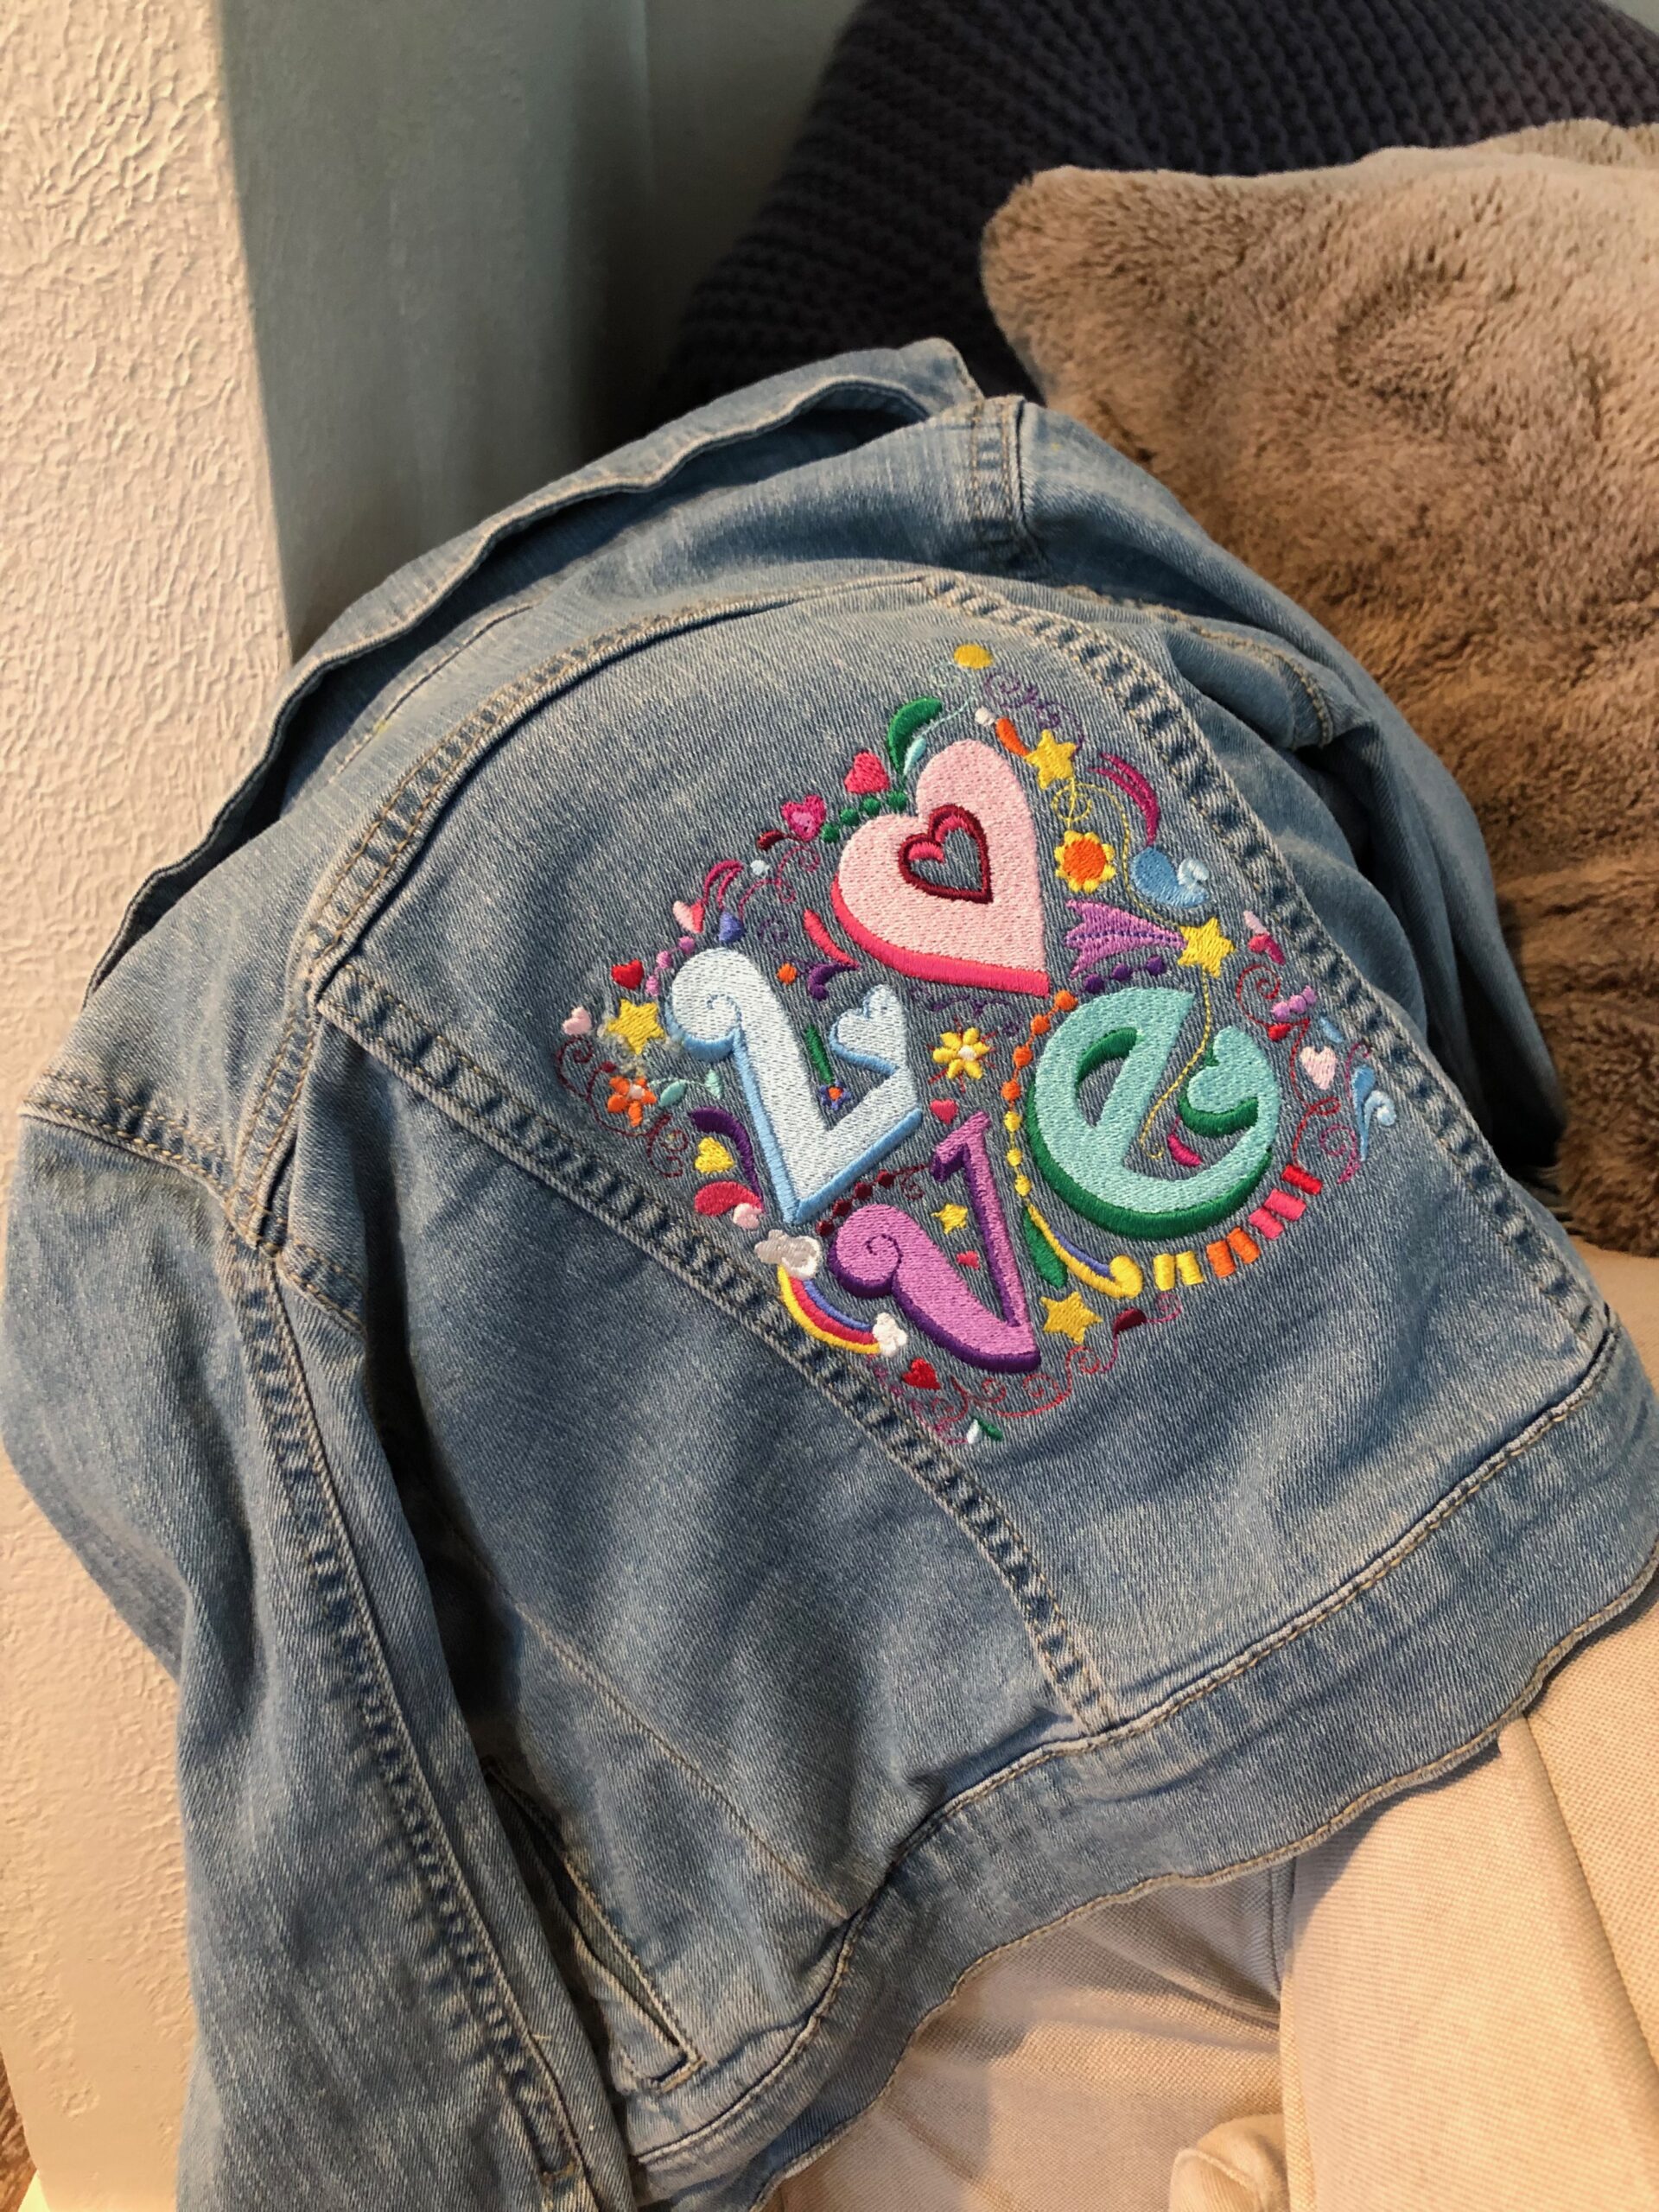
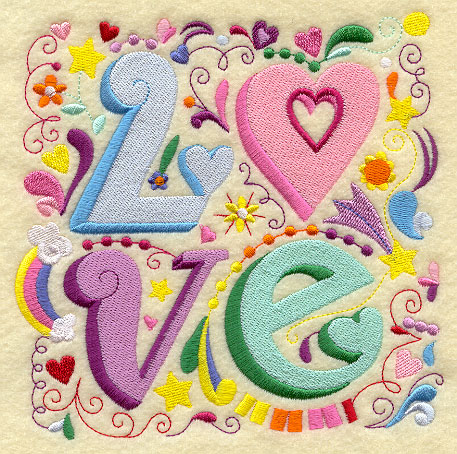
The featured design, Love’s Many Splendors by Embroidery Library, is comprised of bold fill stitches for the main letters and smaller detail stitching. There are a bit of single straight stitches, but they are stitched in a couple layers for impact.
DENIM EMBROIDERY THREAD CHOICE
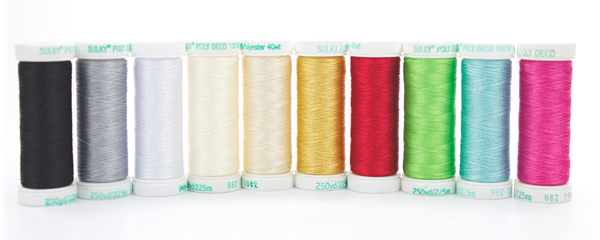
Sulky 40 wt. Poly Deco™ is a great choice for denim embroidery. It’s strong, colorfast and shiny. The 10 Grooviest Assortment works great for this chosen design.
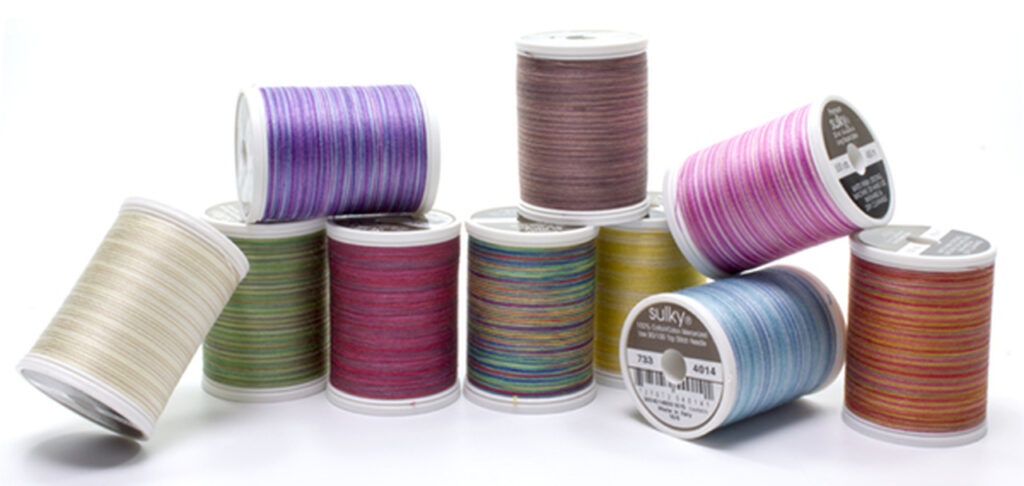
Consult the embroidery color chart to ensure the design is digitized for 40 wt. Thread. If possible, take a look at designs digitized for 30 wt. Thread. This thread is a bit thicker than 40 wt. so can be impactful with line-art designs, such as large-scale quilting designs (which looks really cool on the back of a jean jacket) or even monograms. Sulky 30 wt. Blendables® Thread is a fun choice, as you can use one spool but showcase many colors in the design.
STABILIZER TO USE
Denim fabric weights vary considerably, and so does the degree of stretch. For the purposes of this post, we’ll focus on stable, medium- to heavyweight denim with little to no stretch.
In most cases with readymade garments, denim is not “hoopable.” There are usually thick seams or other notions, such as rivets, that prevent the hoop from getting as tight as needed to properly secure the fabric. Instead, hoop the stabilizer only and then secure the garment to the stabilizer in the hoop.
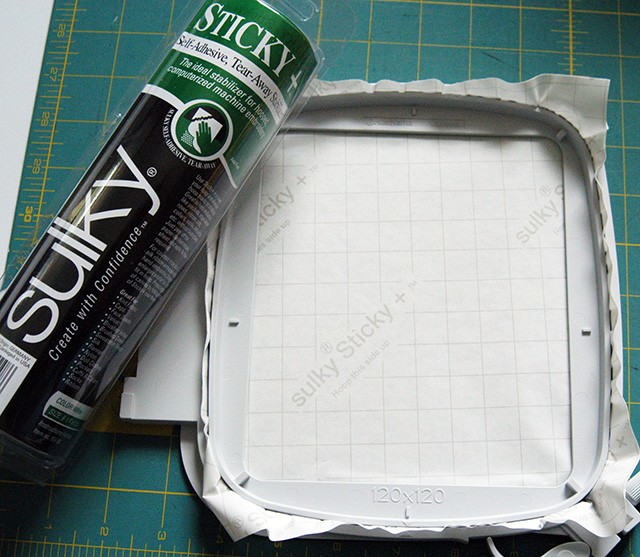
First, hoop Sulky Sticky+™ Stabilizer with the paper side facing up. This is a sticky-backed tear-away variety that tears away cleanly along the stitching lines.
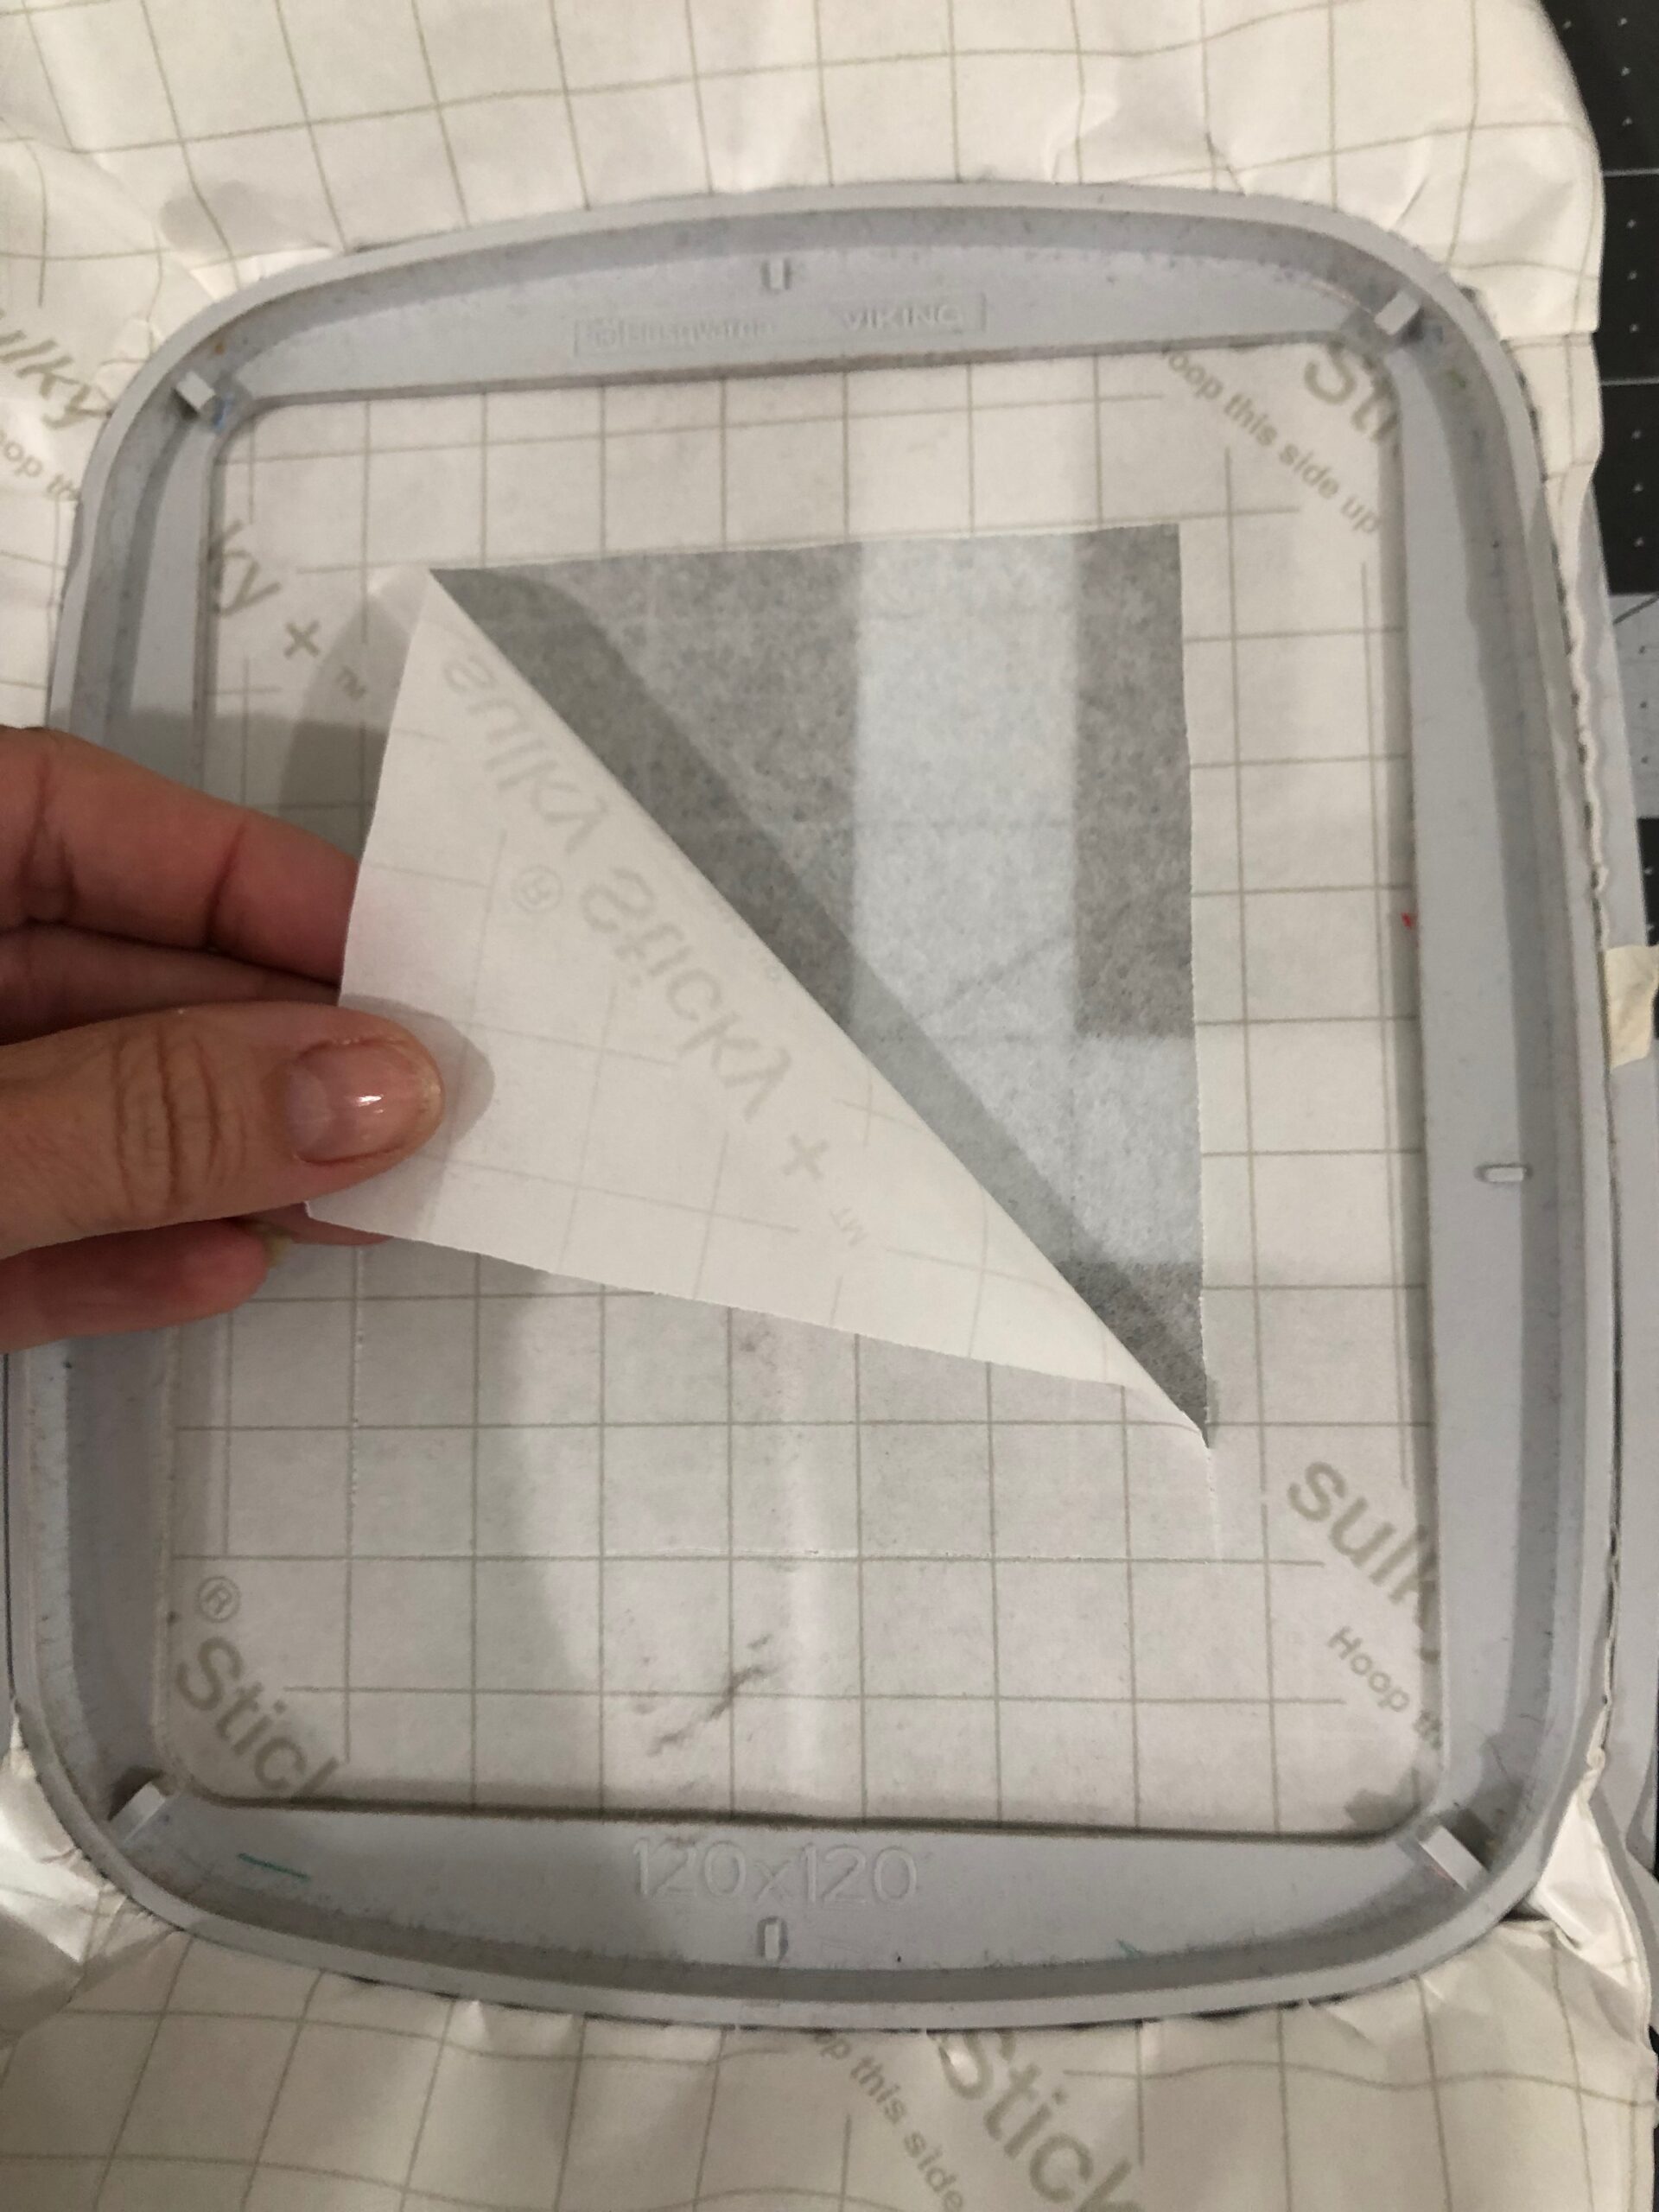
Then, score the paper using a Sulky Sticky+ Slitting Pen. This pen has a very sharp tip that slices through the paper backing without cutting the stabilizer beneath it.
Then, tear away the paper backing within the inner hoop ring, along the scored lines.
Decide on the embroidery design placement and mark the center vertical and horizontal cross lines onto the fabric right side using a removable fabric marker or chalk. Center the garment right side up on the sticky stabilizer, using the hoop markings to align the center cross marks in the hoop.
IF USING A MAGNETIC HOOP
Hoop the garment with a layer of Sulky Stiffy™ Stabilizer. Magnetic hoops allow you to hoop “difficult” fabrics and items that were once considered “un-hoopables.” The magnets are very strong and hold the fabrics/items taught for machine embroidery. So, if using a magnetic hoop for denim embroidery, it’s ok to use a stabilizer that’s not sticky. However, use a tear-away variety still, unless the denim has a greater degree of stretch.
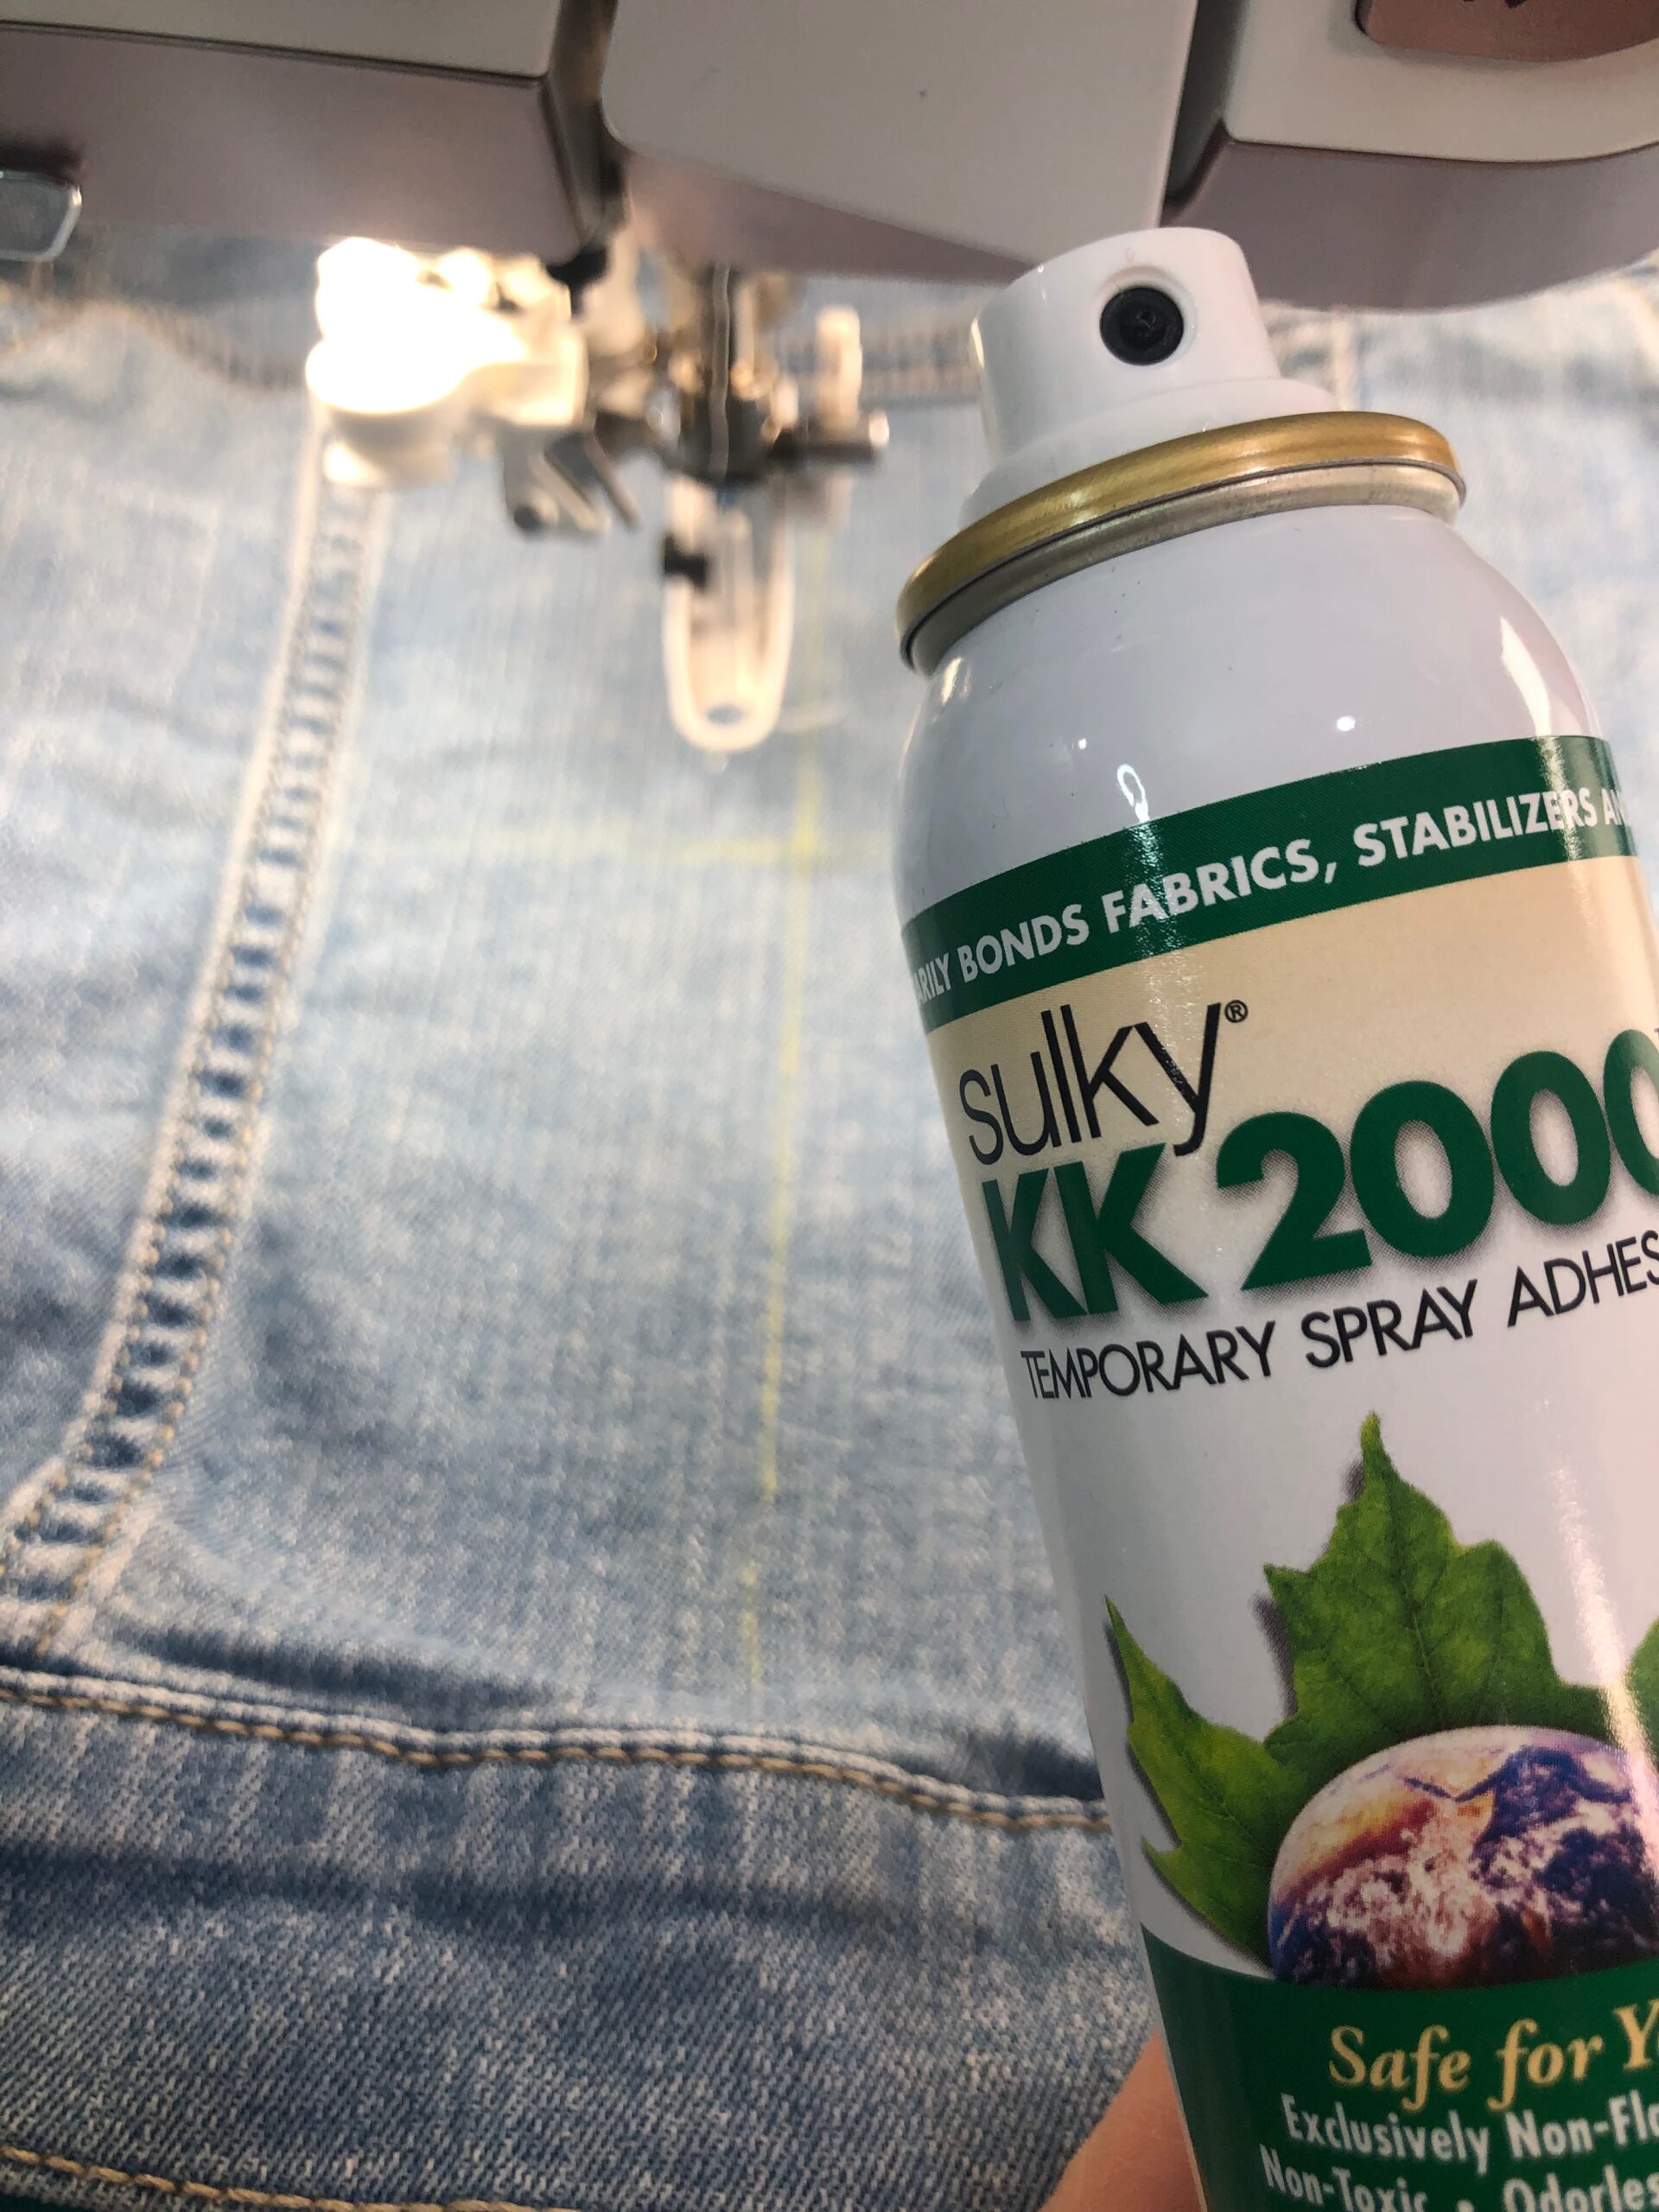
Stiffy Stabilizer is also suitable if using standard embroidery hoops, but the stabilizer does need to be hooped alone. Use Sulky Kk 2000™ Temporary Spray Adhesive to secure the item to the stabilizer once hooped, thus making it sticky.
In this case, also make sure to baste around the design perimeter to secure the fabric to the stabilizer and make sure it won’t shift during embroidery.
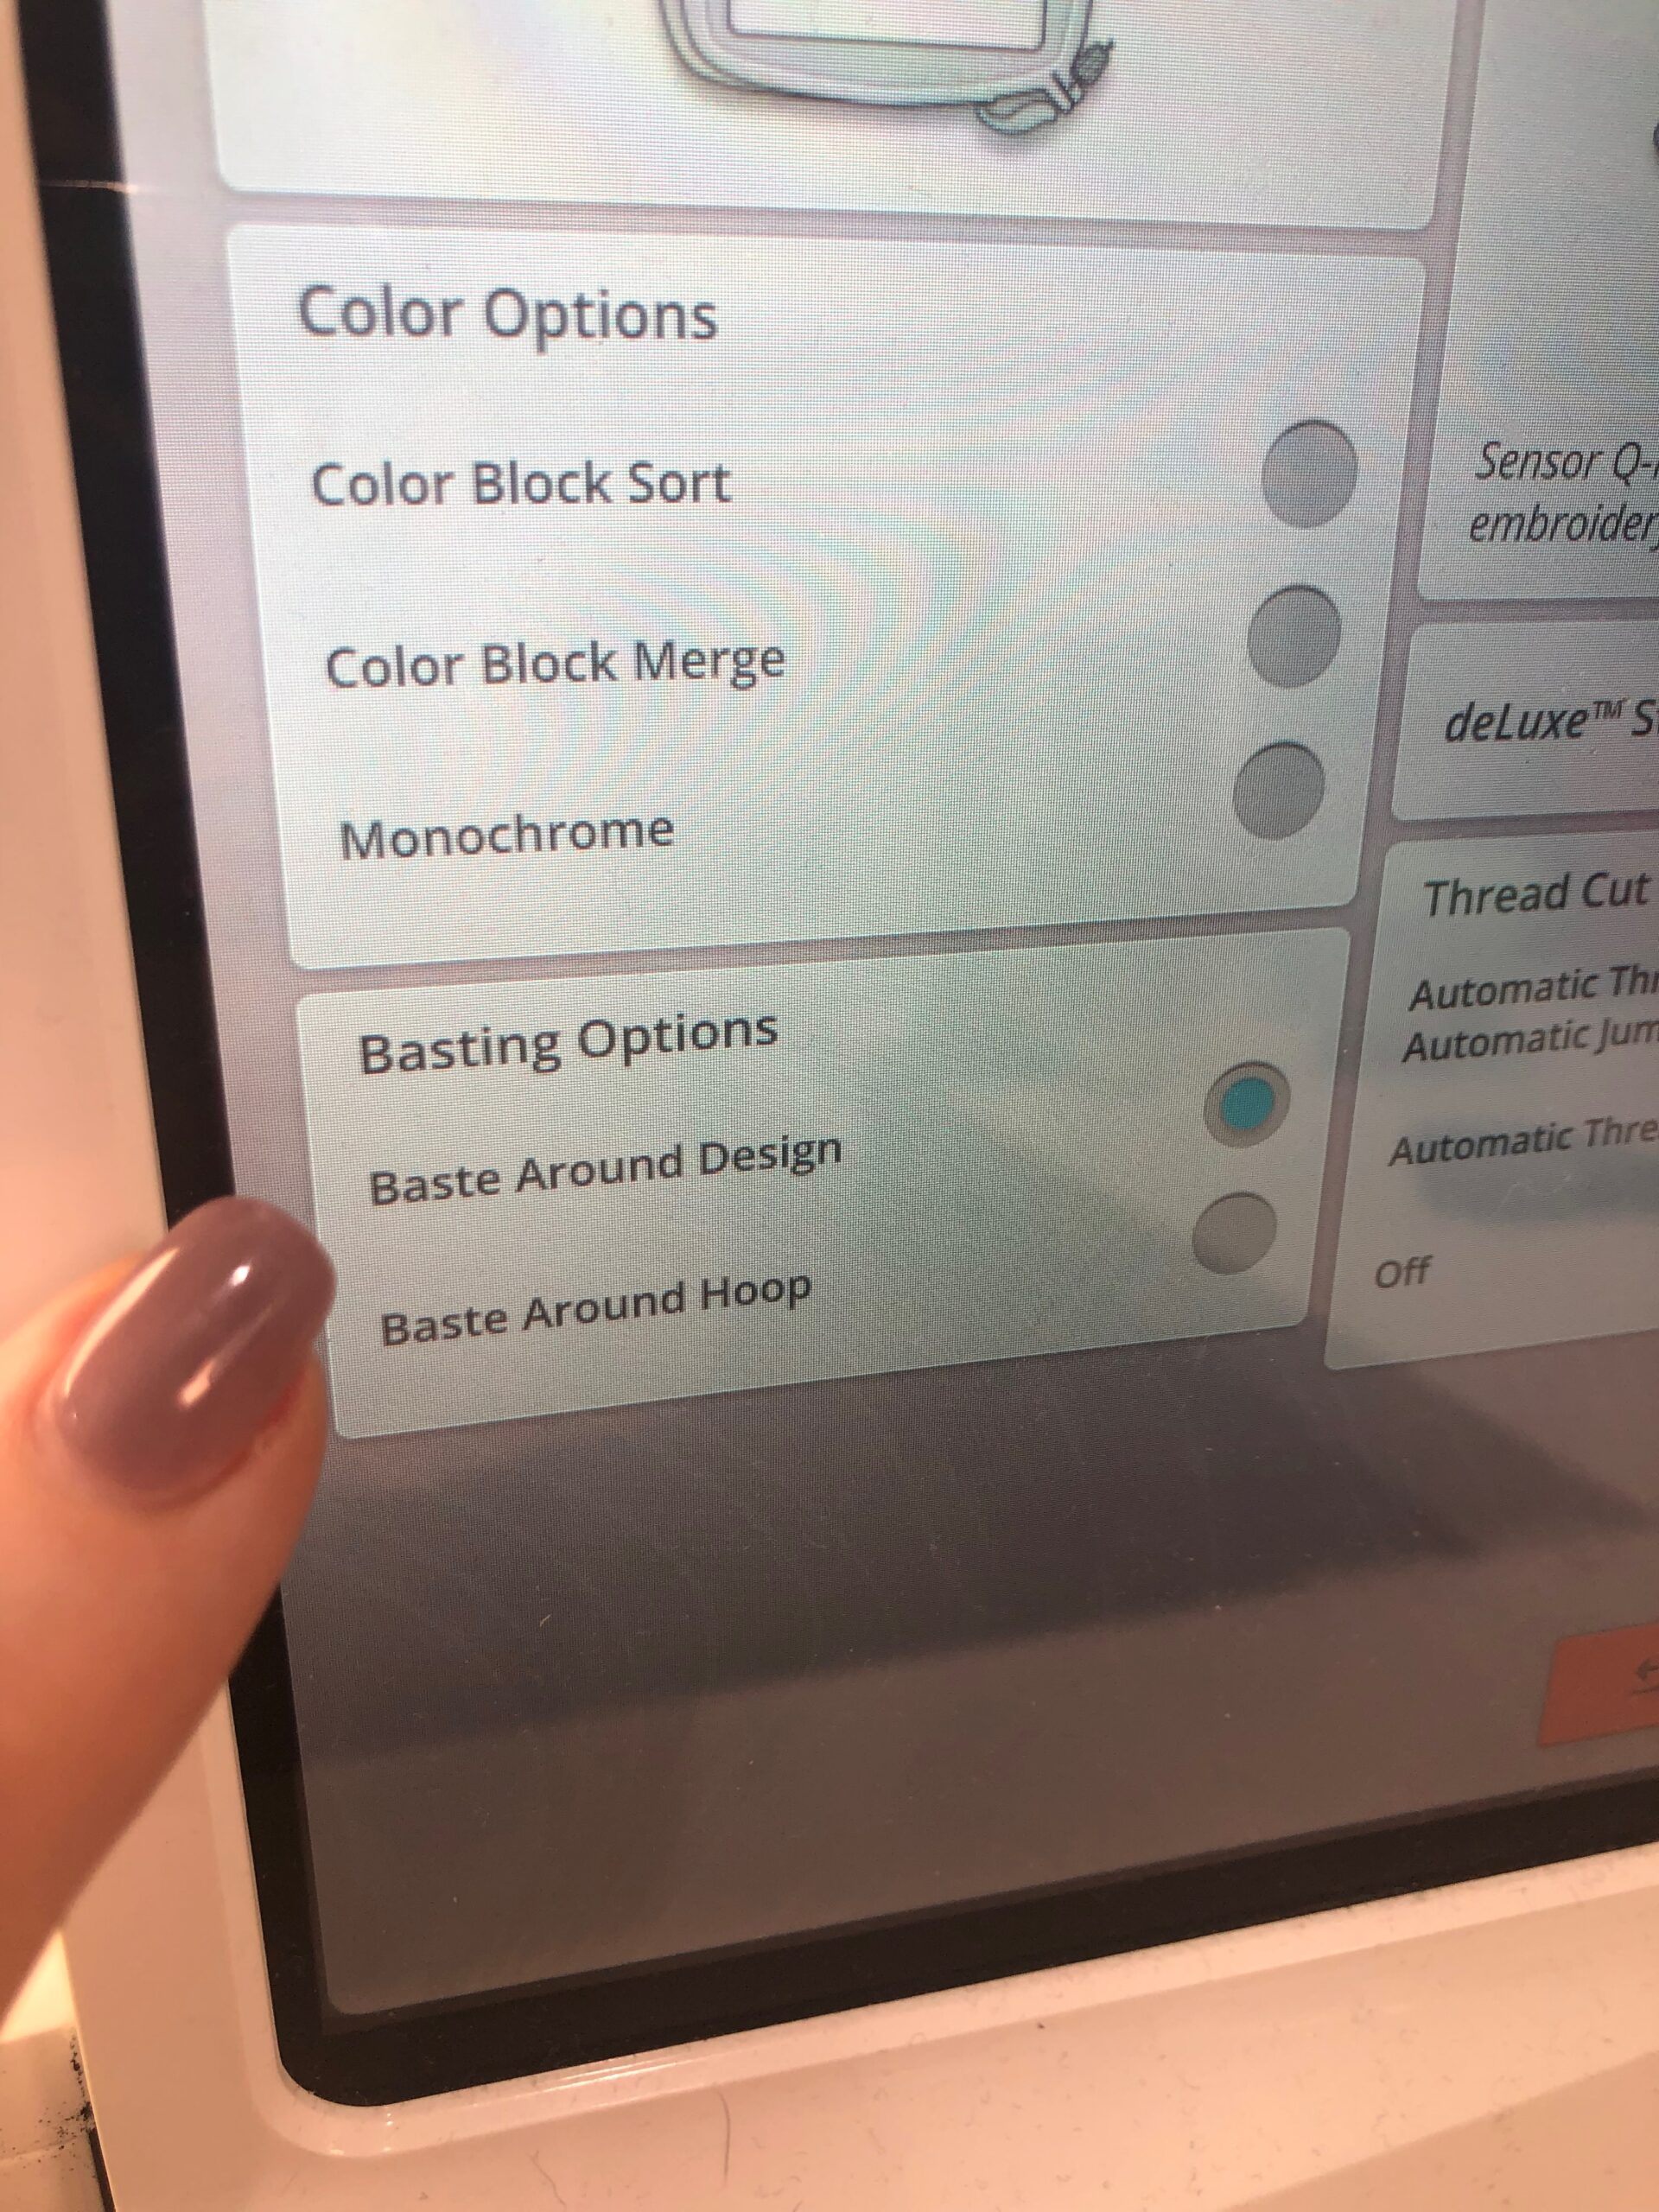
Be sure to mark the center cross marks, using a removable fabric marker or chalk, on the garment right side to denote the design center. Then perform the baste-in-the-hoop function and make sure everything is aligned.
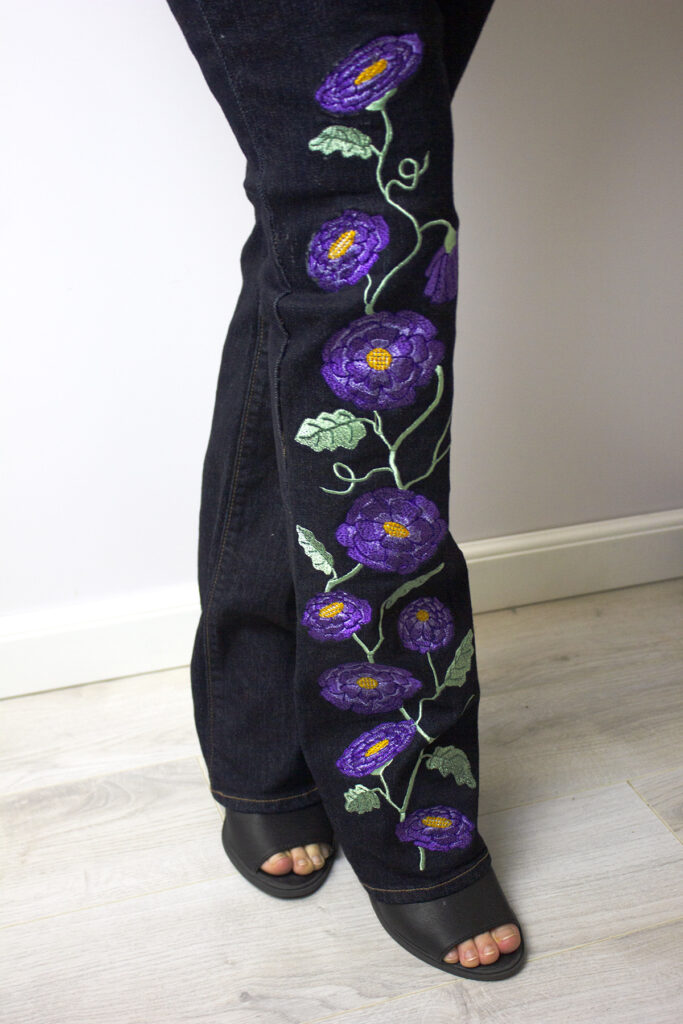
IF EMBROIDERING JEANS
Jeans are a different animal when it comes to machine embroidery, because they often require you to rip seams to access the desired embroidery area. While this is do-able (check out THIS POST), you may prefer to embroider freestanding lace or patches, and then apply them to readymade jeans to avoid this step.
If you’re making your own jeans (first, kudos to you!), try to find a pattern without an outer leg seam if you want to embroider along that area. This way there are no seams to content with during embroidery. Or embroider up a pant leg, making sure to do so before construction.
DENIM EMBROIDERY NEEDLES
When embroidering denim, a Top Stitch Needle is a great choice. It has a light ball point, similar to an Embroidery Needle, and a larger and longer needle eye. Use a size 80/12 for 40 wt. Rayon or Poly Deco Threads. Choose a 90/14 size for 30 wt. Cotton or Poly Sparkle Threads (also a fun thread choice for denim!).
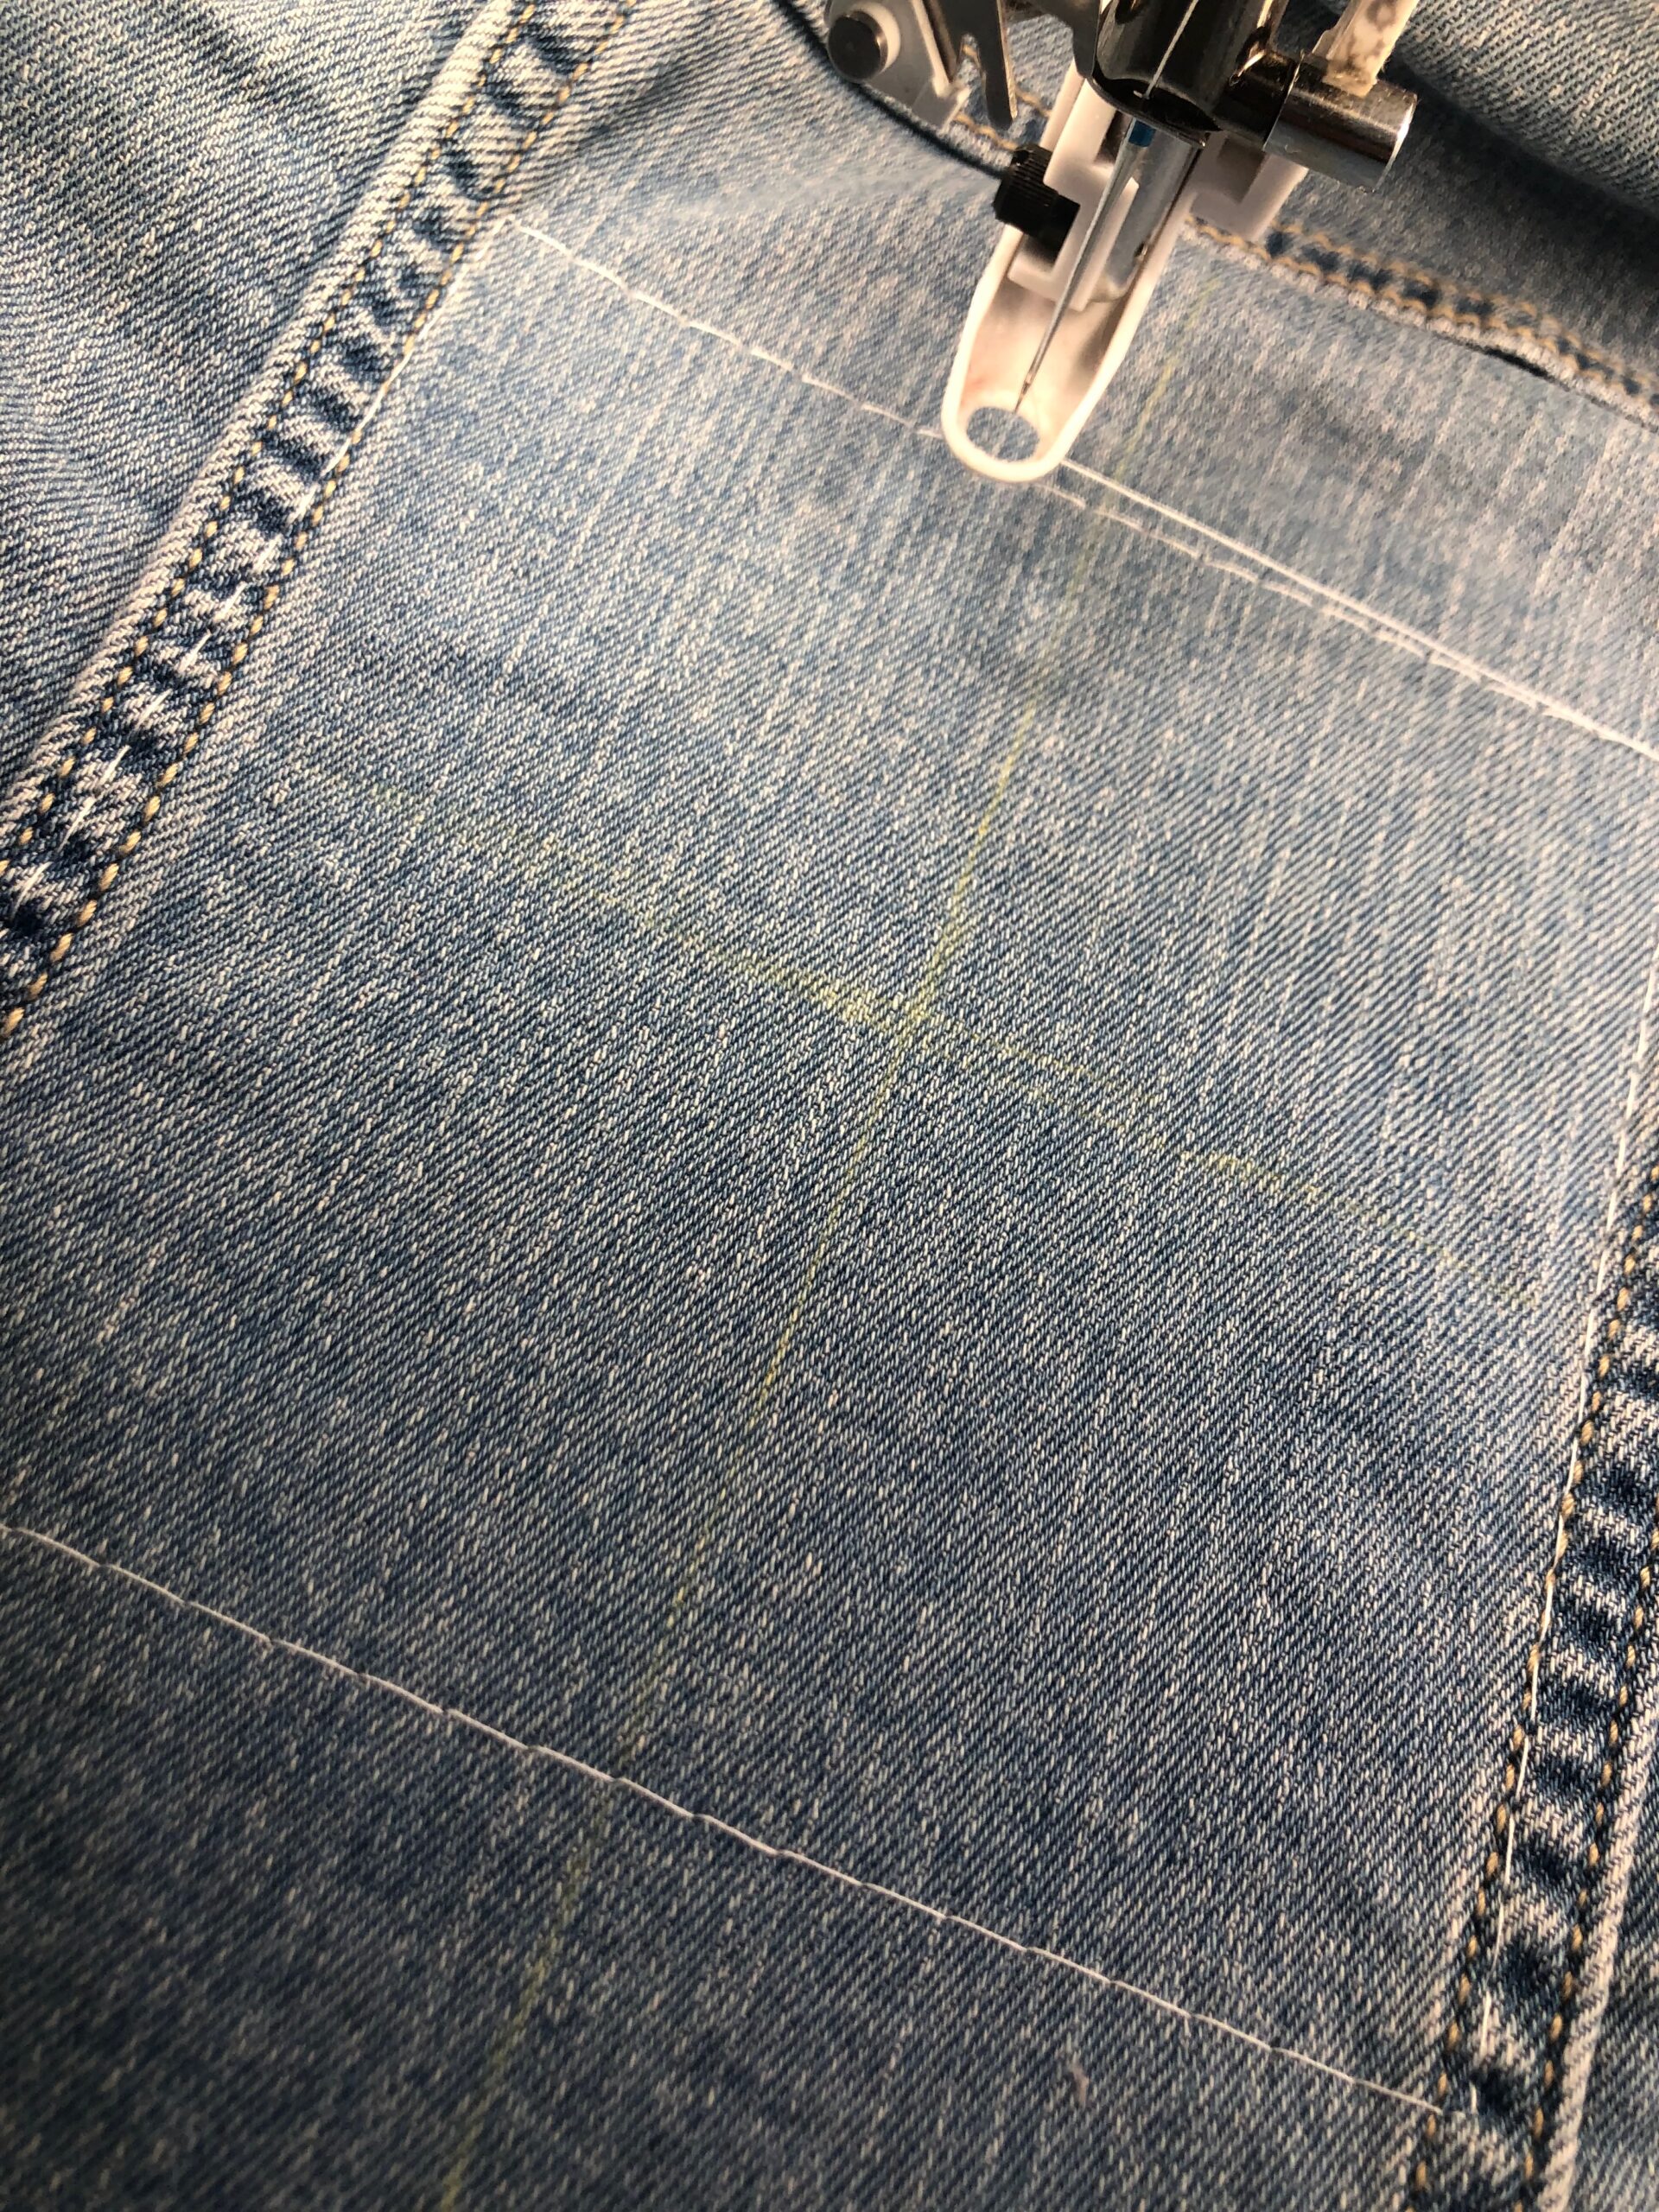
THE STITCHOUT
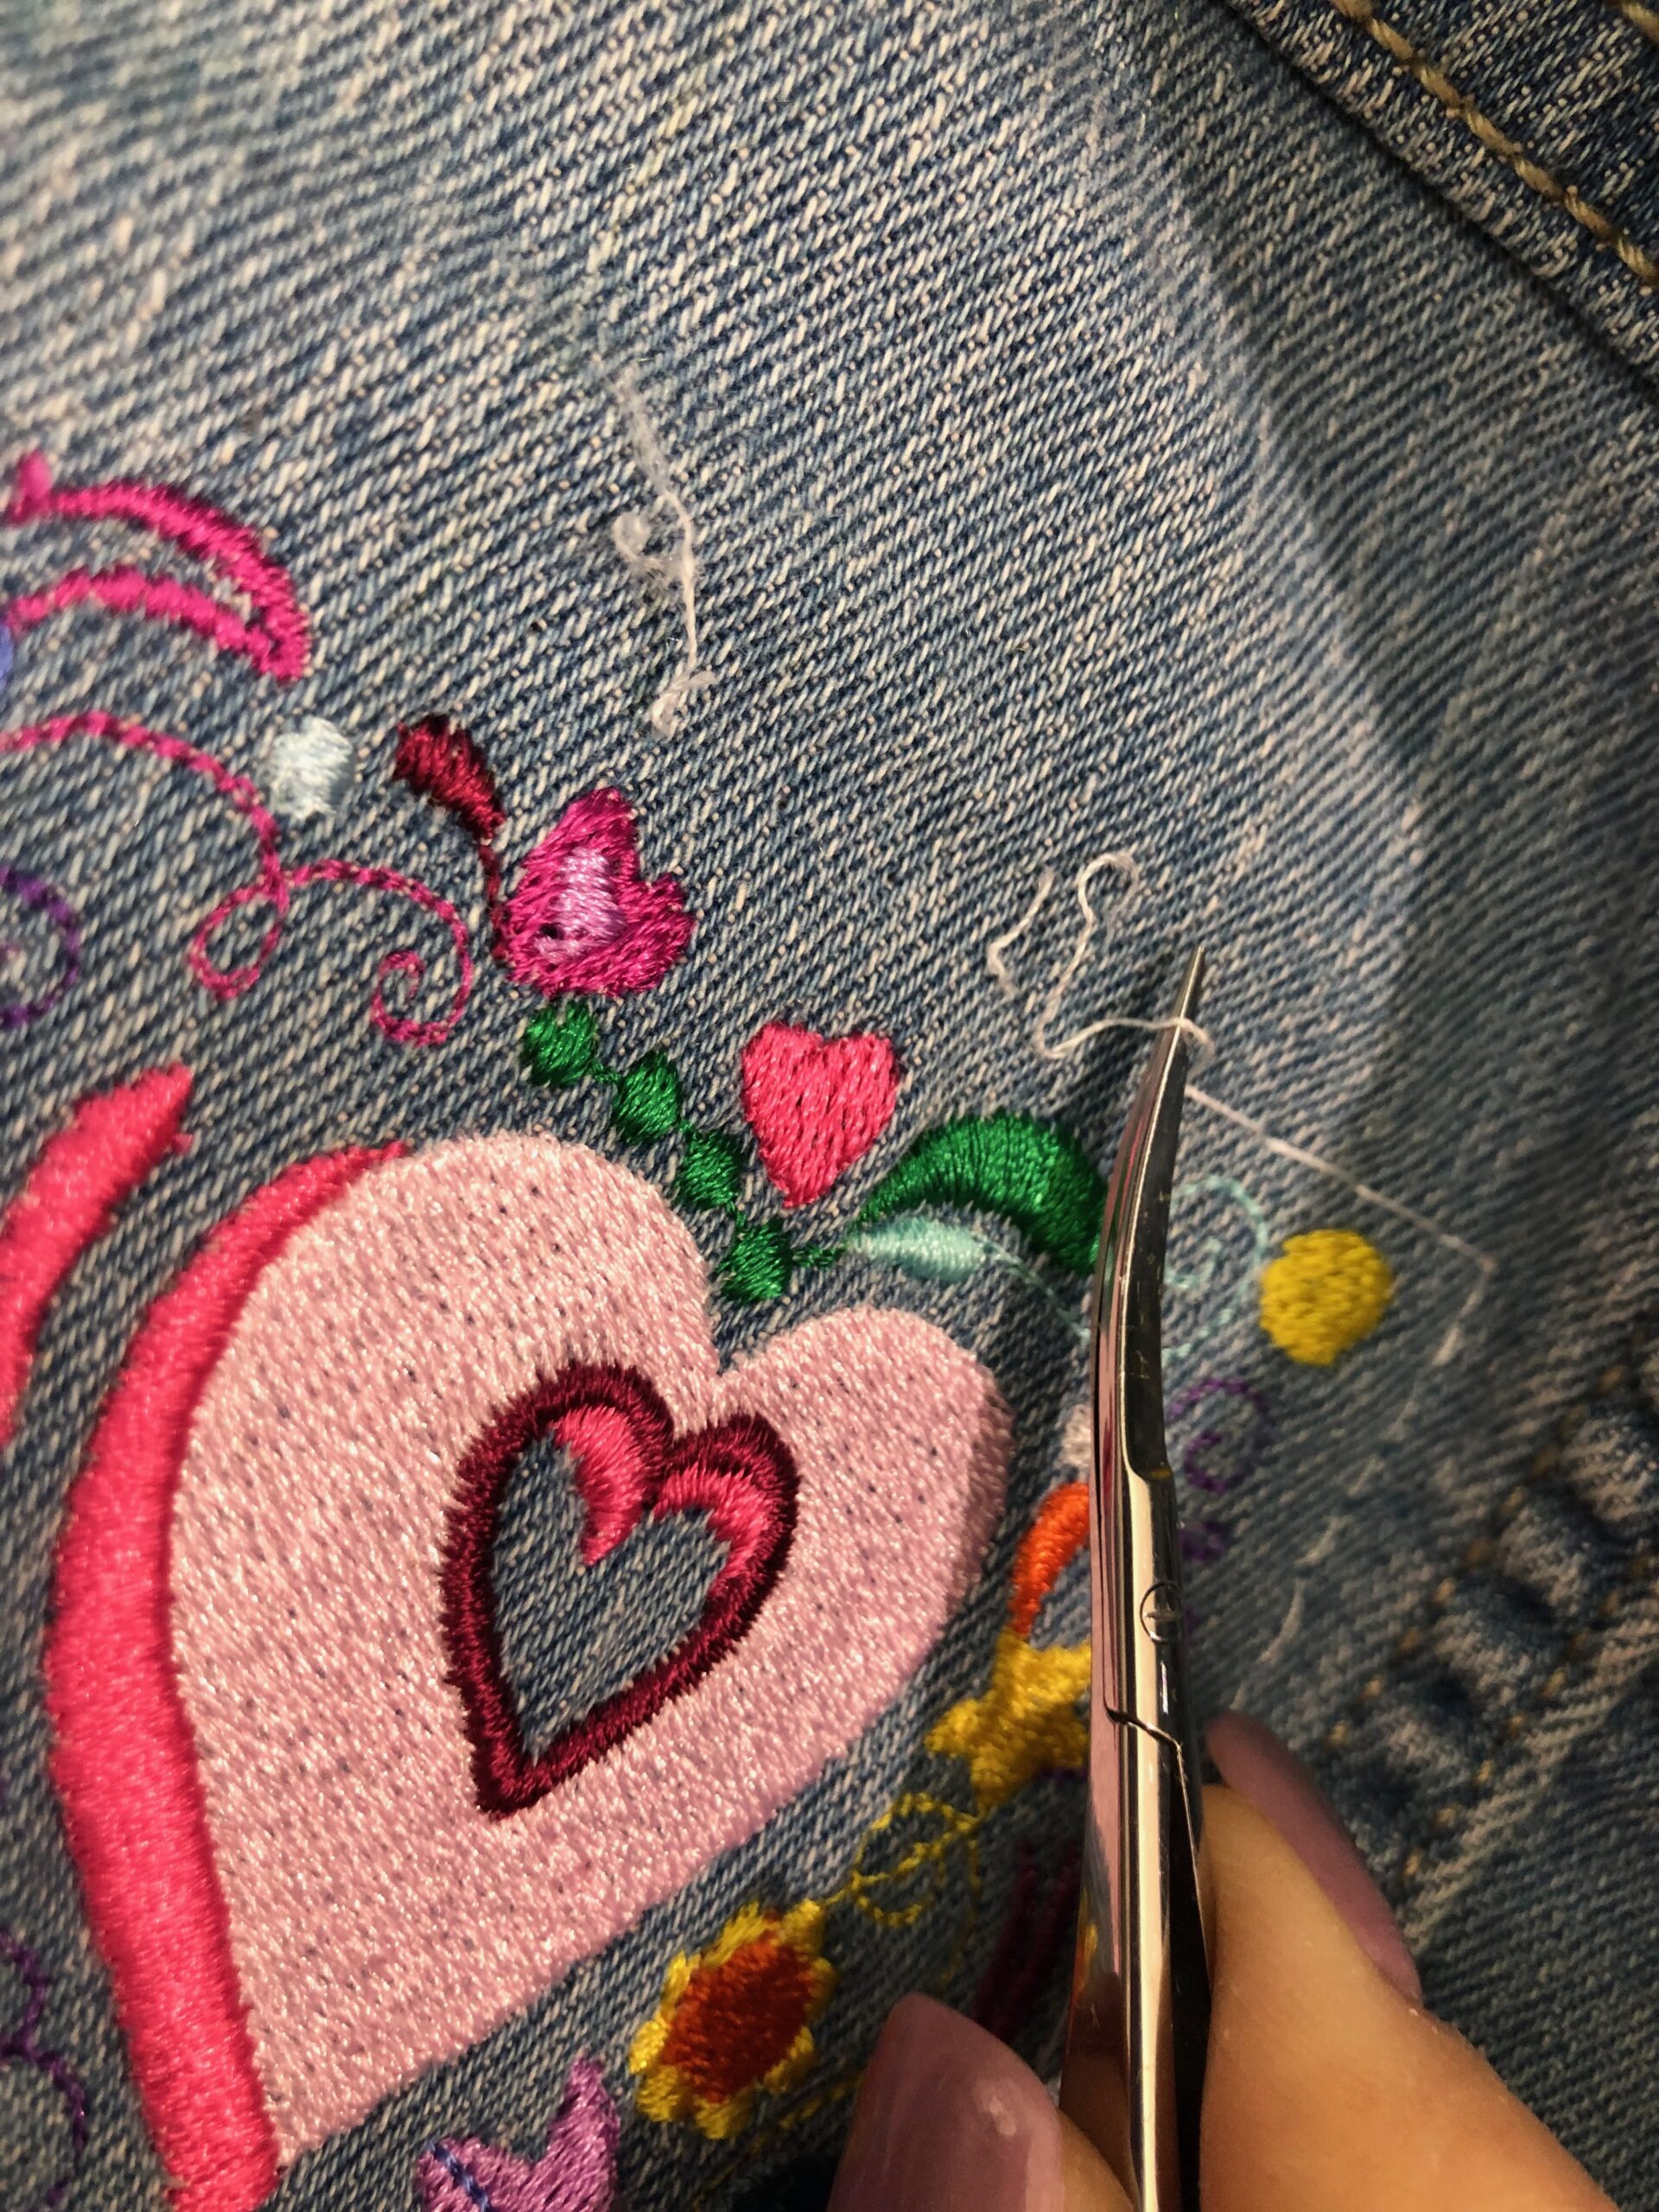
During the stitchout, clip any jump threads with each thread change. Clip jump threads on the right and wrong side of the hoop, to avoid numerous tangles thread on the inside of the garment. To do this, simply remove the hoop without shifting anything inside or on the hoop. Turn the hoop over and clip the jump threads using Curved Tip Squeezers. Then, return the hoop to the machine and continue the stitchout.

When the embroidery is complete, remove the garment from the hoop. Carefully tear away the stabilizer beyond the outer embroidery stitching. Then, remove the basting stitches.
Overall, denim embroidery is quite simple and a beautiful embellishment that lends itself well to loads of colorful threads.

Whar a wonderful article! The technical information was exceptional. From thread options, needle selection, stabilizer selection and tips, hoop options, alternative embroidery design styles, and what to take care of on stitchout this article is a comprehensive embroidering on denim guide. For someone who first sewed a pair of denim bell bottoms with a button clossure fly, in the ’70s, the information was just what I need to enhance the denim jumpsuit just finished for a granddaughter. Wish I knew your needle selection prior!
Great info on embroidering on jeans. Thank you.
This is so Helpful Thank You
Thanks for the great detailed advice on how to embroider on denim. I was having a hard time keeping the back of a jacket in alignment because I completely forgot I had the Sulky sticky stabilizer. Once I used that it was a piece of cake. Well kind of. Love that this takes you through step by step so you have a great end product.ant wait to do more for the grandkids!