Christmas Card Holder – a Quilty Wall Hanging
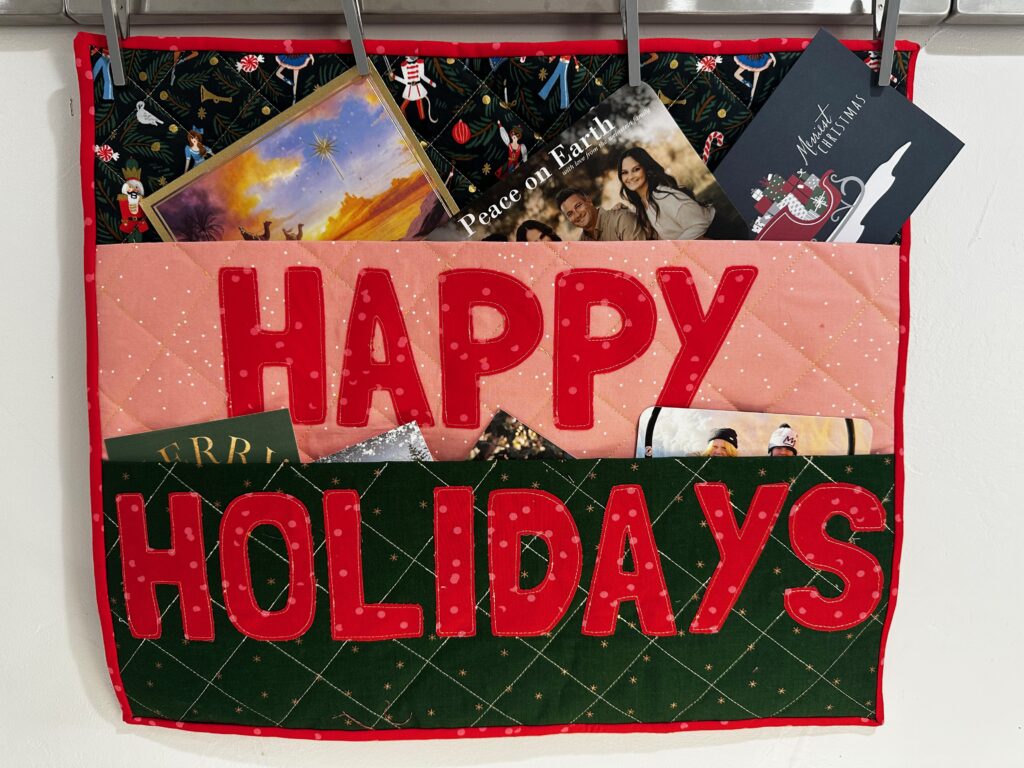
Create a Christmas card holder that’s quilted and appliquéd for festive cheer. This wall hanging has great structure with the help of Sulky stabilizer and foam interlining. It won’t sag or distort over time or while hanging by the chimney with care. Plus, it’s fat quarter friendly!
Finished Size: Approximately 18″ H x 20″ W
CHRISTMAS CARD HOLDER SUPPLIES
- (5) fat quarters of coordinating holiday fabrics
- 4″ x 2o” rectangle of coordinating fabric (hanging sleeve)
- Sulky 50 wt. Cotton Thread (construction & appliqué)
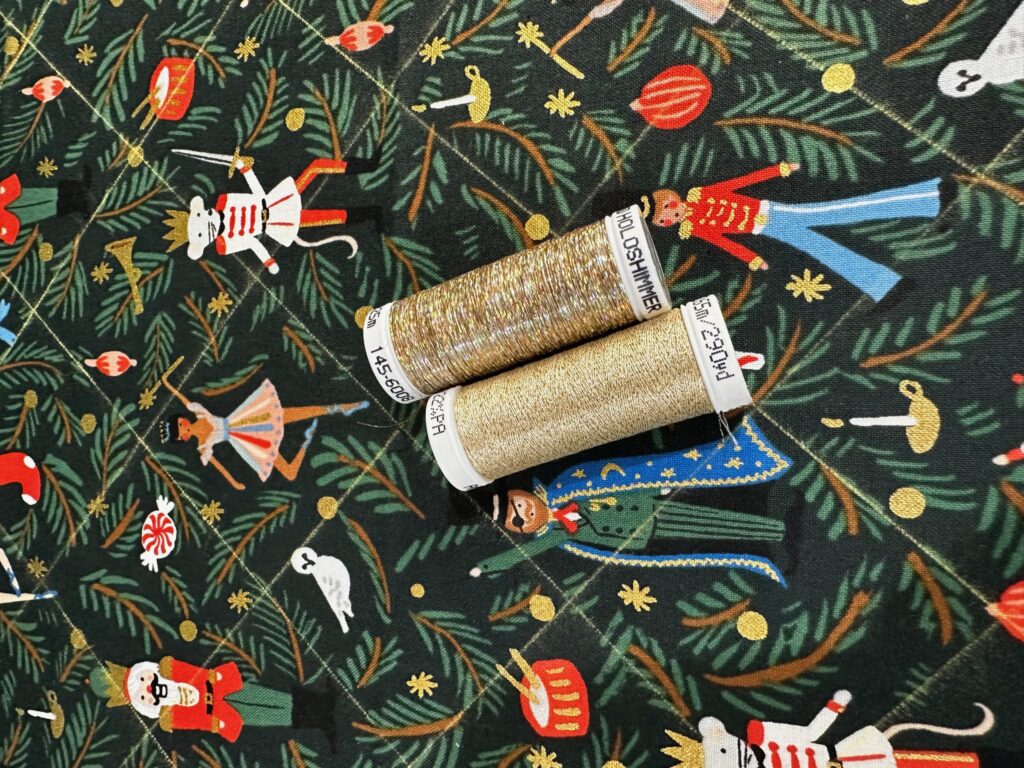
- Sulky Original Metallic or Poly Sparkle™ Thread (quilting)
- Sulky Cut-Away Plus™ Stabilizer
- Low-loft batting
- Foam interlining (such as Soft & Stable)
- Sulky Perfect Appliqué™ Fusible Web
- Christmas Card Holder Letter Templates PDF
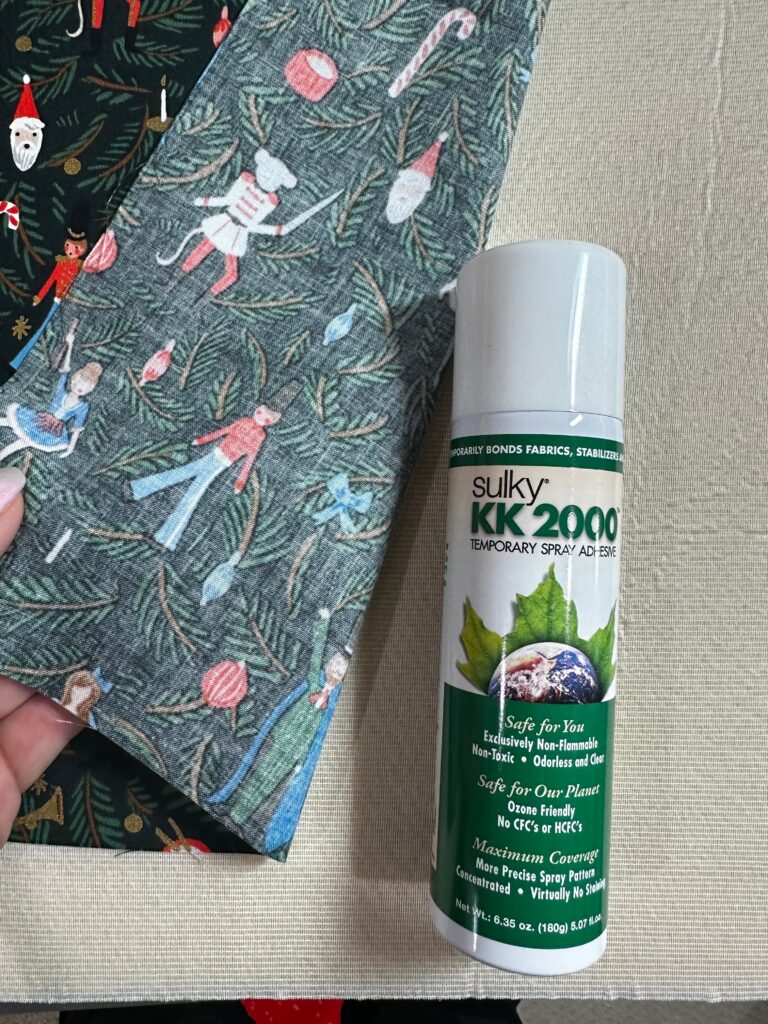
- Sulky KK 2000™ Temporary Spray Adhesive
- Purchased or self-prepared bias or straight-grain binding
- size 70/10 & 90/14 Universal Needle
- Sulky Multipurpose Turning Tool
- 1/8″- to 1/4″-wide ribbon or string (for hanging)
- Matching ribbon or trim (optional)
- Clover® Wonder Clips
- 1/4″-diameter or smaller dowel
PREPARE FABRICS
Wash, dry and press all fabrics prior to beginning.
Choose two fat quarters for the front pockets, one fabric for the front and one fabric for the backing. The remaining fabric is for the appliqué letters.
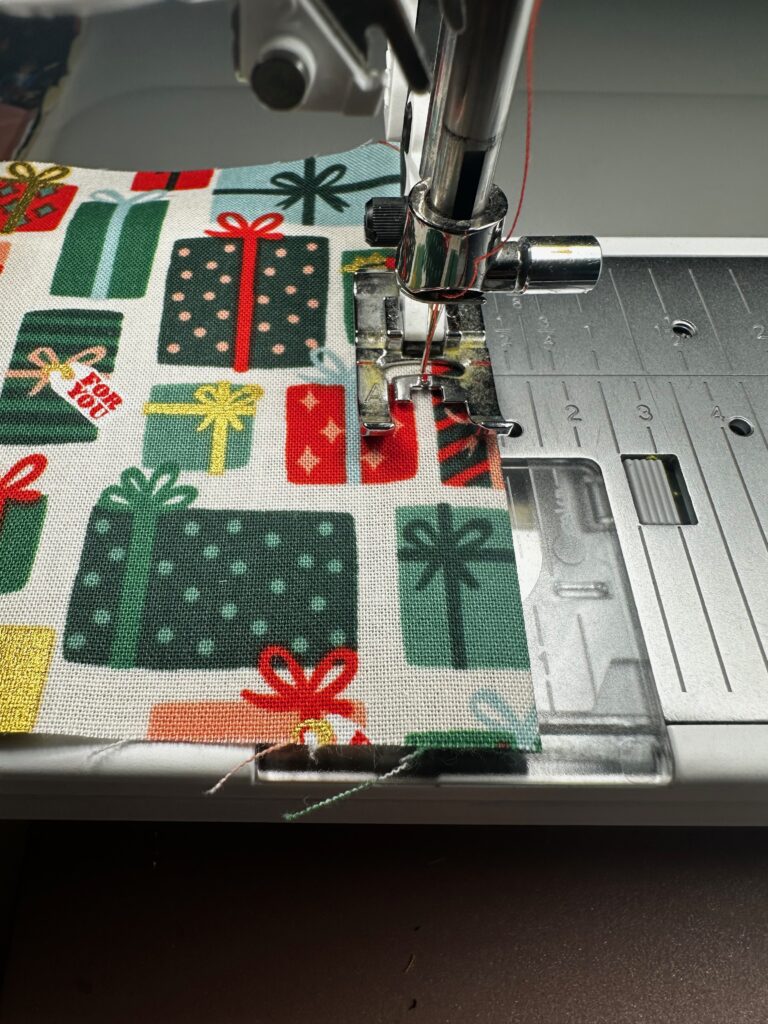
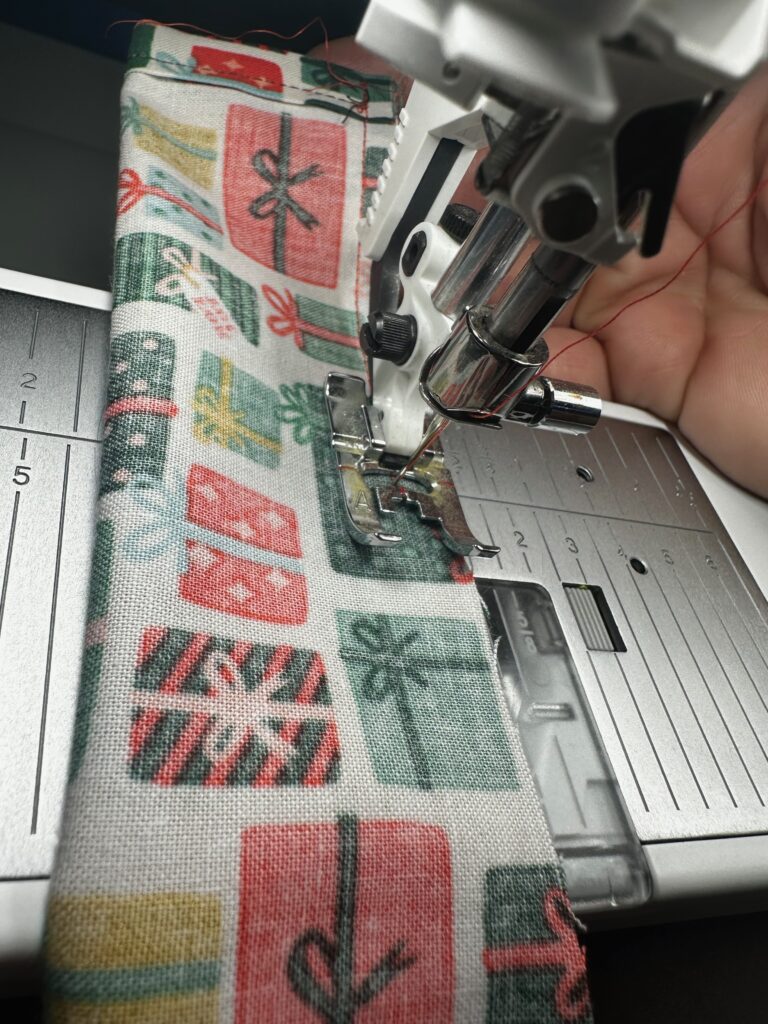
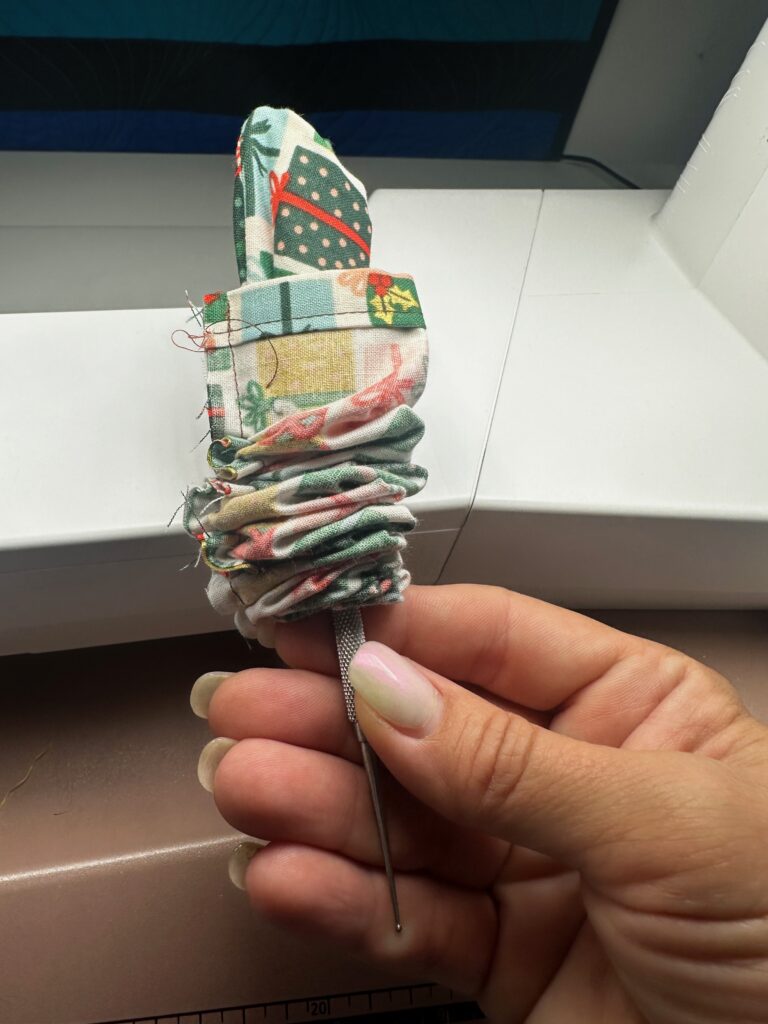
Double-fold the hanging-sleeve rectangle short ends 1/2″ toward the wrong side; press, and then stitch. Then, fold the rectangle in half lengthwise with right sides together; press, and then stitch the long raw edge. Turn right side out using a Sulky Multipurpose Turning Tool. Set aside the hanging sleeve.
Fold each front pocket rectangle in half lengthwise with wrong sides together; press, creating two 9″ x 22″ pockets.
Cut one 18″ x 22″ rectangle of foam interlining. Place the foam rectangle between the front and backing rectangles with wrong sides together. Use KK 2000 to spray-baste the layers.
From the batting and Fuse ‘n Stitch Stabilizer, cut two 9″ x 22″ rectangles each.
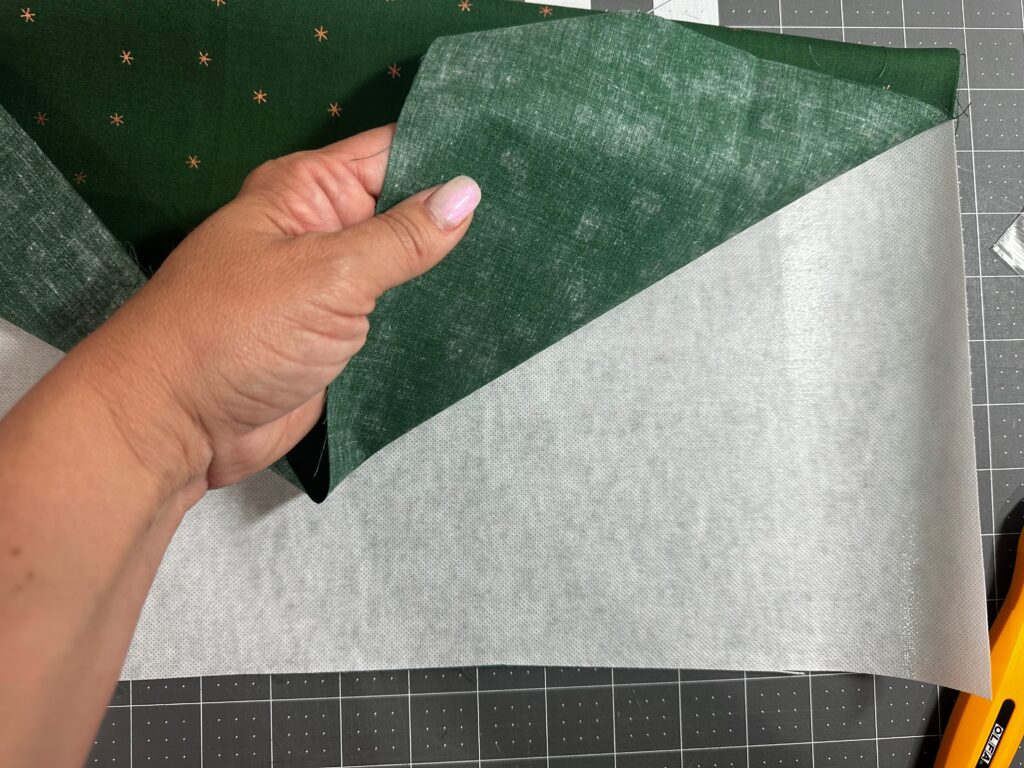
Place each stabilizer rectangle between the pocket fabric layers, with the pocket fold as the upper edge. Fuse the stabilizer in place. Note: the stabilizer is only fusible on one side. The opposite fabric side will be free until construction is complete. Then, unfold the pockets. The side with stabilizer attached is the pocket front.
APPLIQUÉ FOR CARD HOLDER
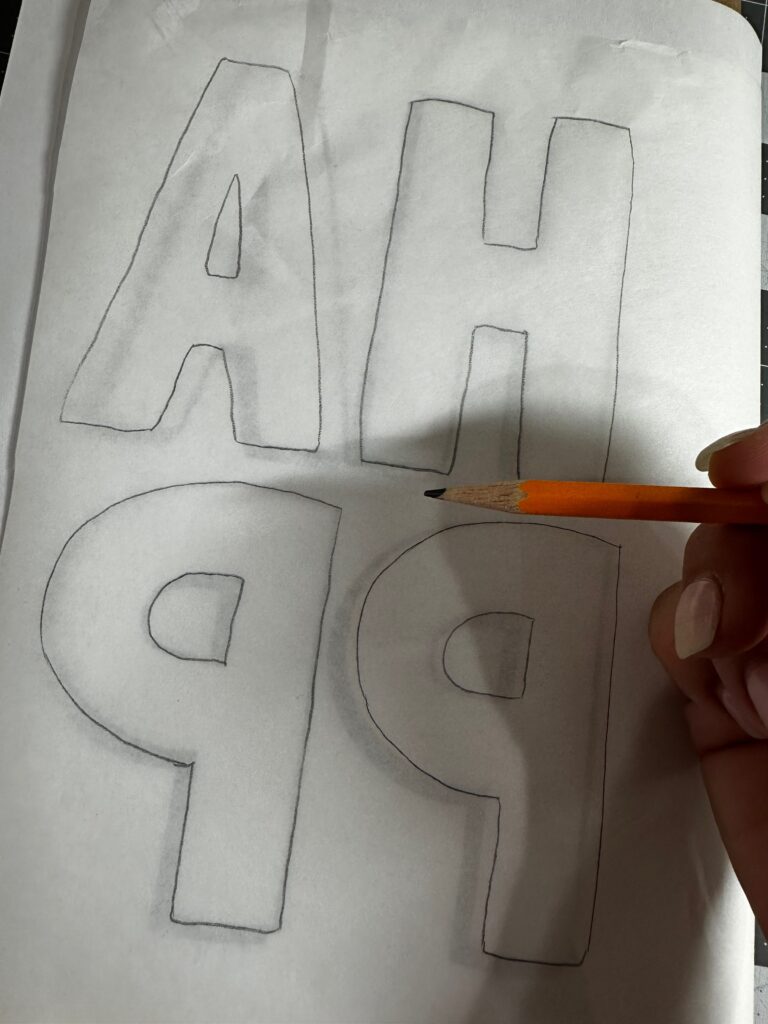
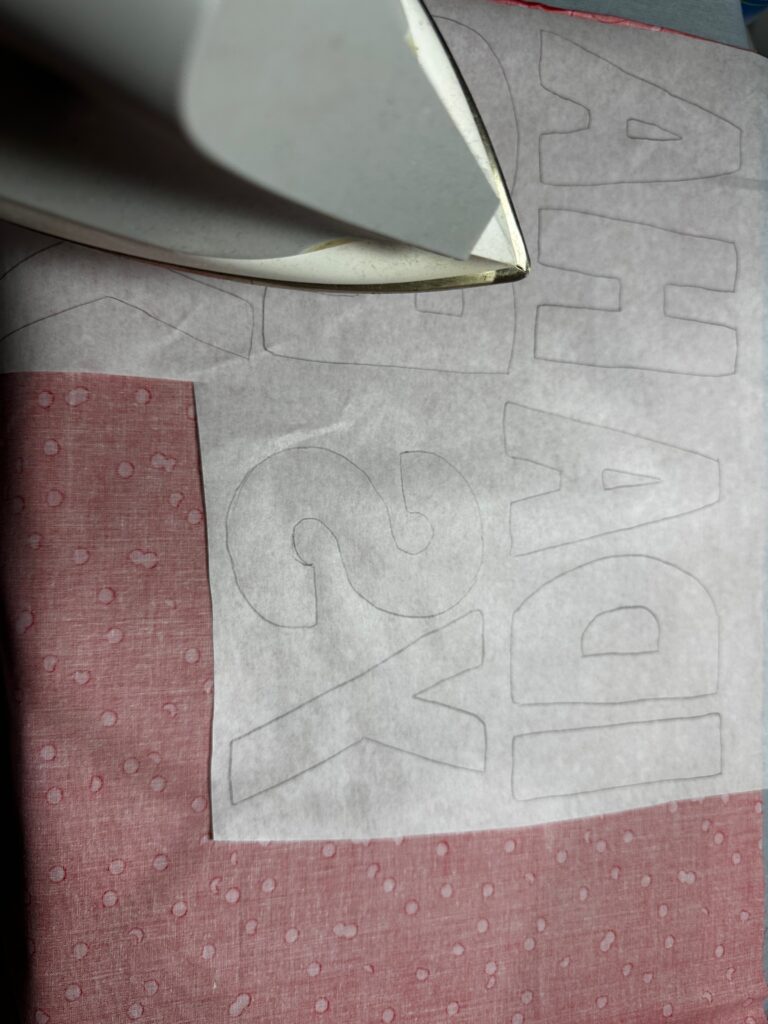
Determine the chosen phrase to appliqué onto the pocket pieces. Included in the Christmas Card Holder Letter Templates PDF is the following: “To Santa,” “Dear Santa,” and “Happy Holidays.” Print the needed pages to compile your desired phrase. Then, transfer the mirror image of each letter onto the paper side of Perfect Appliqué Fusible Web. Next, fuse it to the appliqué fabric wrong side. Cut out each appliqué letter, and then remove the paper backing.
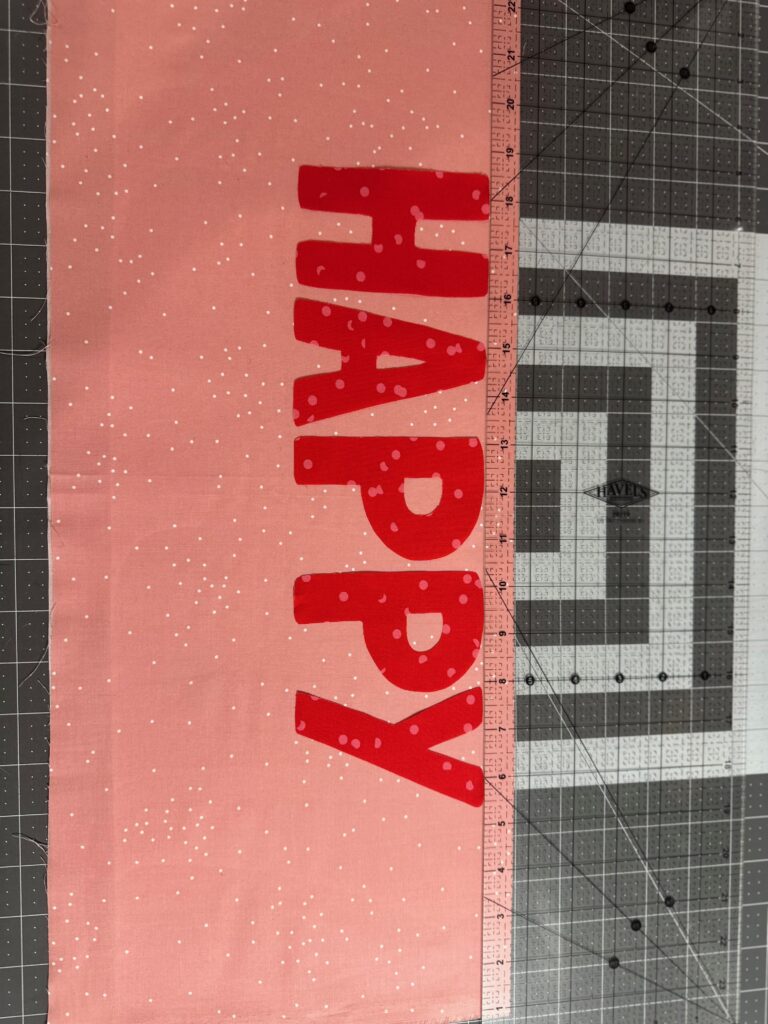
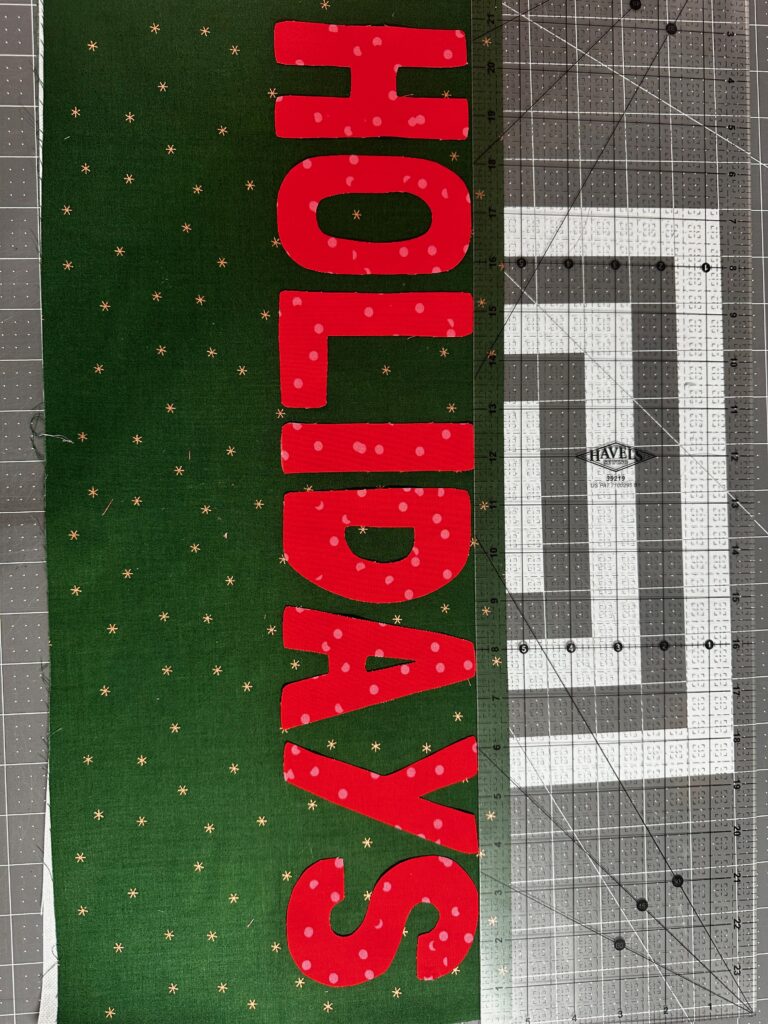
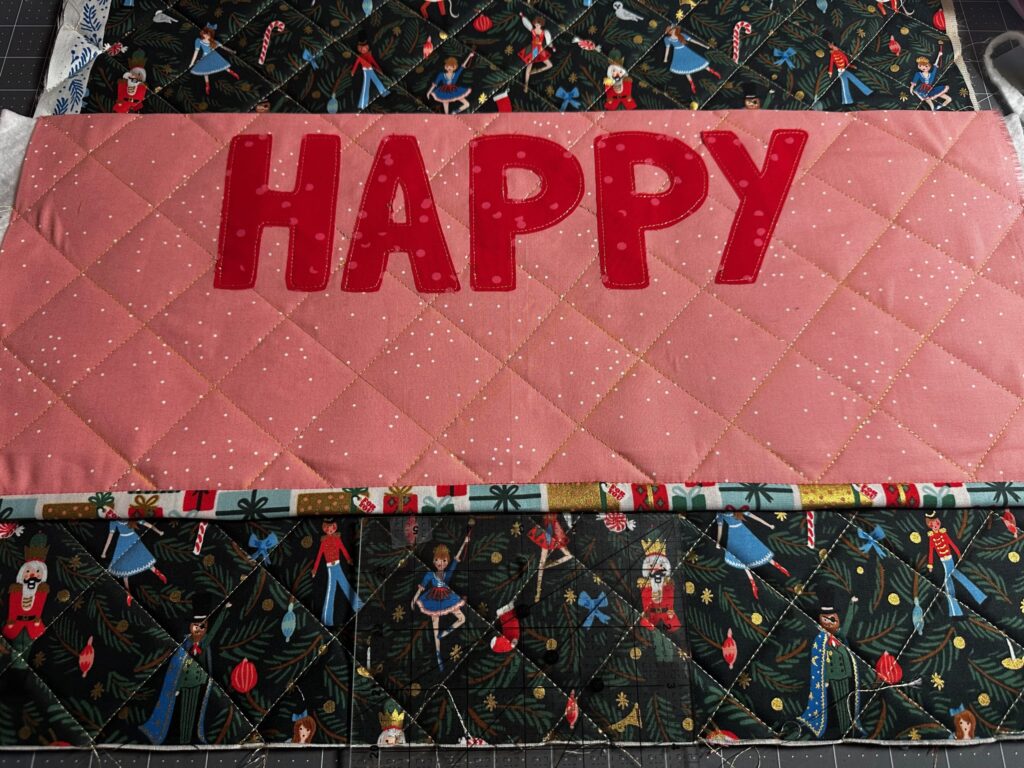
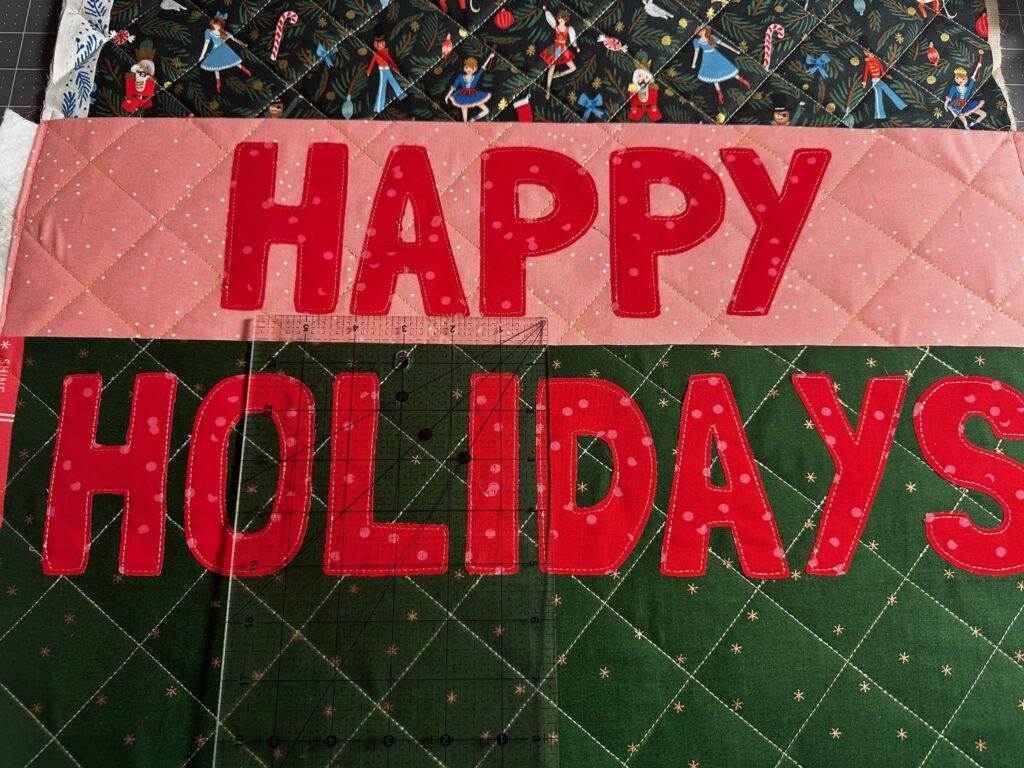
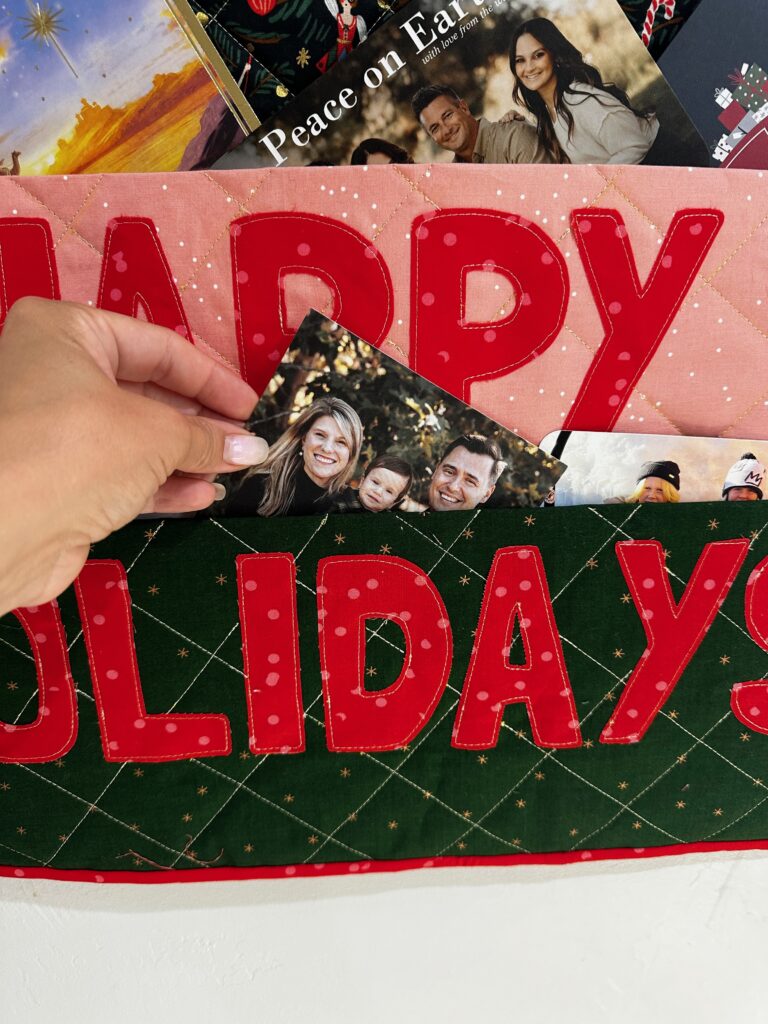
Place the letters on the pocket front(s) as desired. For the featured sample, the word “HAPPY” is centered on the back pocket, with the letter upper edges 5/8″ from the pocket upper edge. The word “Holidays” is centered on the front pocket, with the letter upper edges 5/8″ from the pocket upper edge.
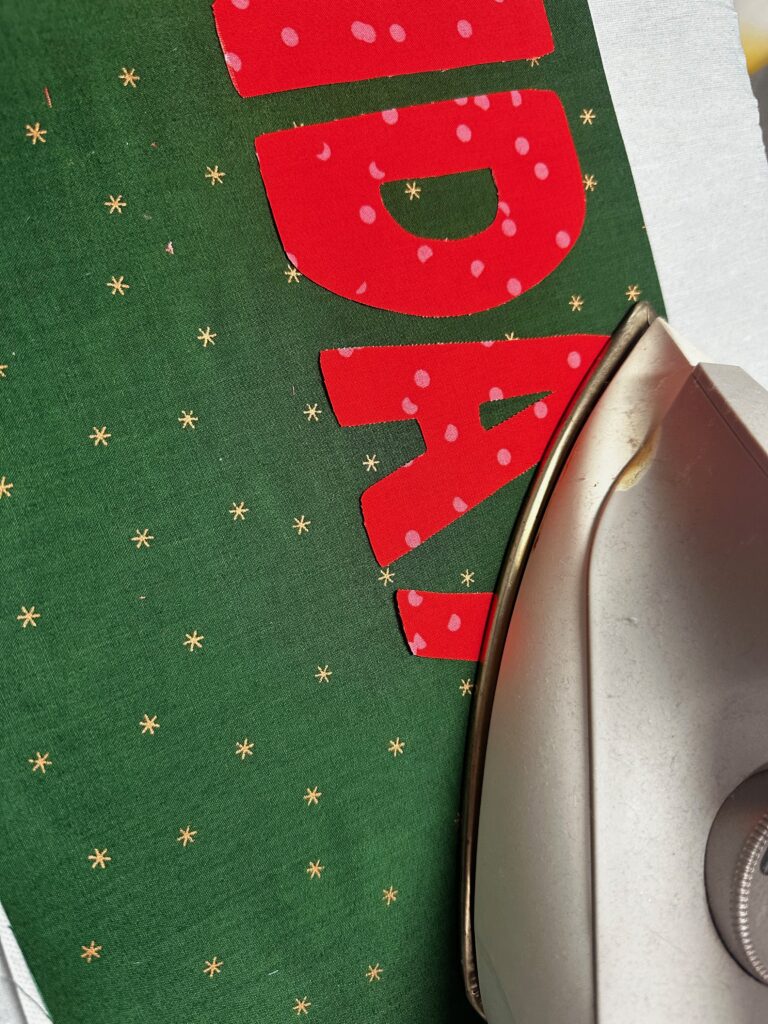
Once happy with the letter placements, fuse each appliqué in place to secure.
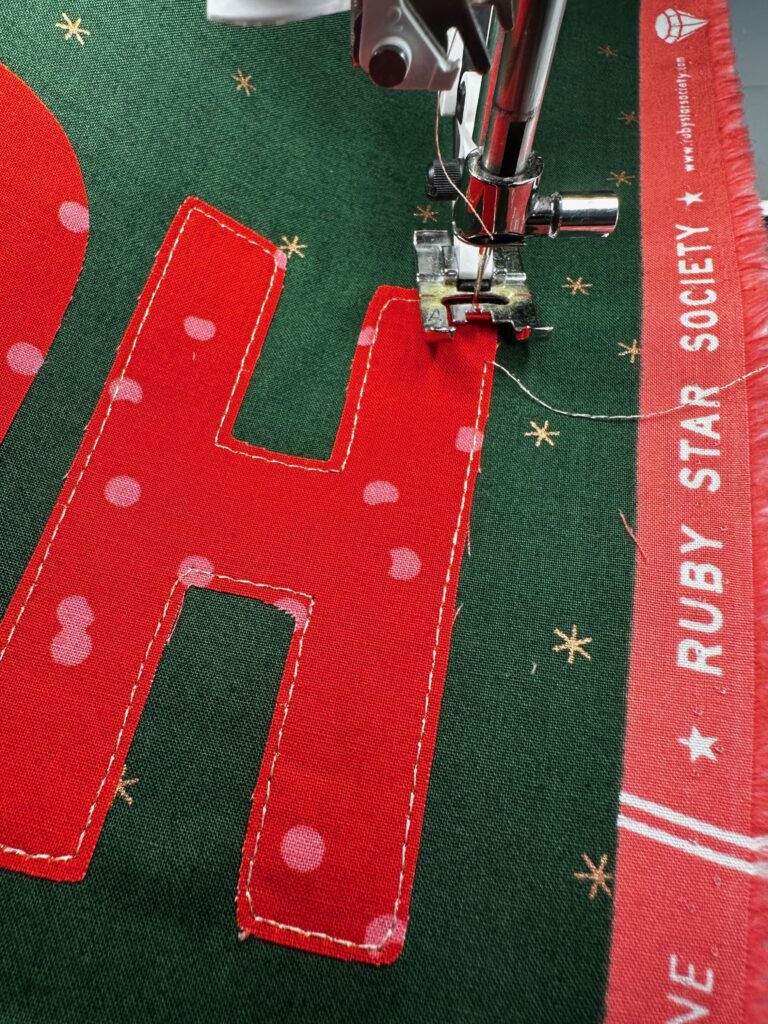
Next, choose a straight or decorative stitch on the sewing machine. Thread the machine with Sulky Original Metallic or Poly Sparkle Thread in a size 90/14 Universal Needle. Use 50 wt. Cotton Thread in the bobbin.
Stitch along each letter appliqué.
Then, fold each pocket along the previous foldline so wrong sides are together. Place a batting rectangle between the pocket fold. If needed, press the pocket again.
QUILTING FOR CARD HOLDER
Wind a bobbin with the Original Metallic or Poly Sparkle Thread.
TIP: When winding a bobbin with metallic thread, wind it as slow as possible and only halfway full. Lengthen the stitch length to 3.5mm.
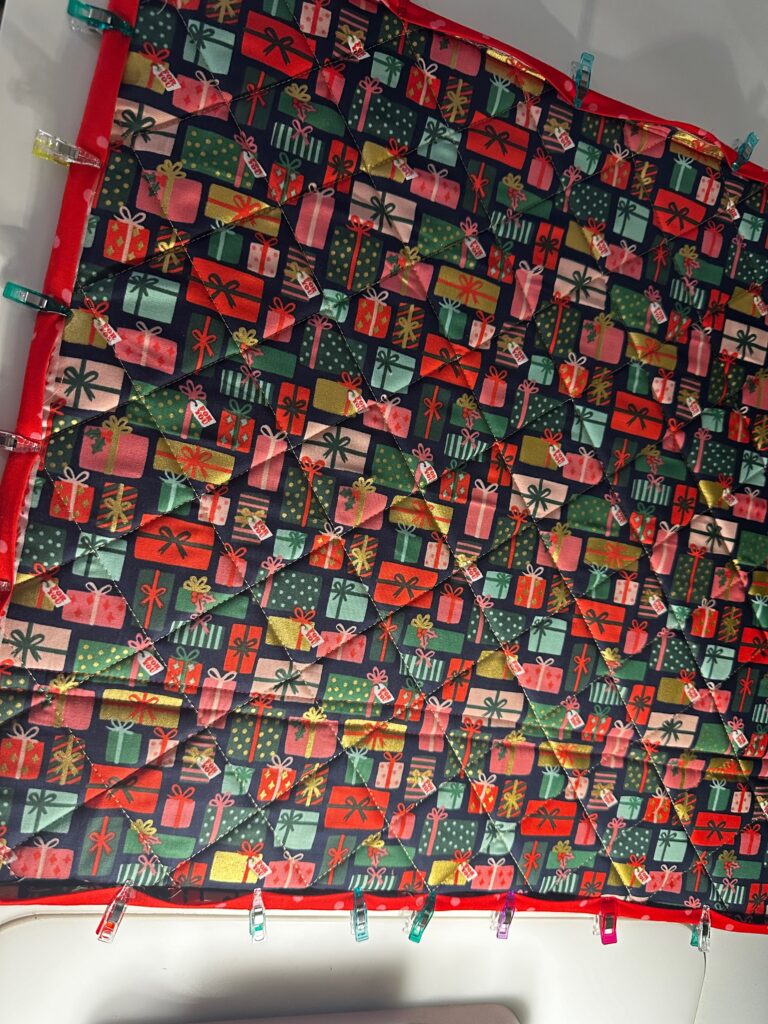
Plot the quilting lines on the front fabric right side as desired. The featured sample is quilted in a cross-hatch design.
Stitch along the plotted lines to quilt the front, foam and backing fabric together.
Repeat to add quilting to each pocket “sandwich,” if desired, keeping the appliqué letters free from stitching.
If desired, topstitch narrow ribbon or trim to each pocket upper edge for a festive accent.
Trim the front rectangle and both pockets so all edges are even.
CARD HOLDER CONSTRUCTION
Thread the machine with 50 wt. Cotton Thread in a size 70/10 Universal Needle. Use the same thread in the bobbin.
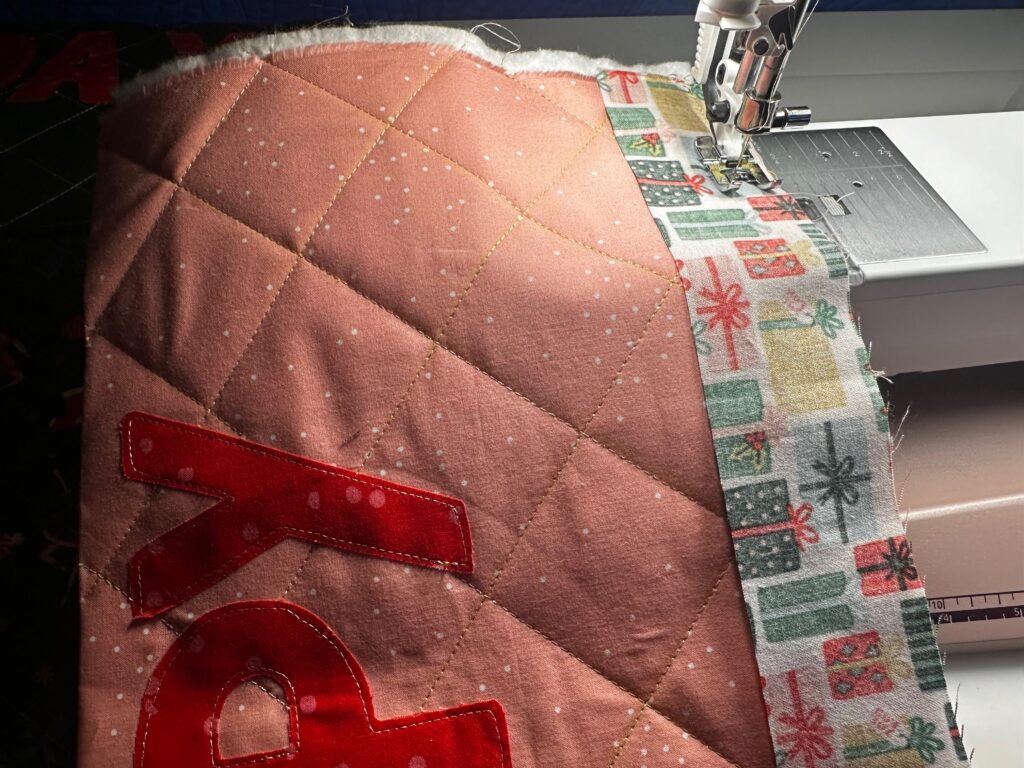
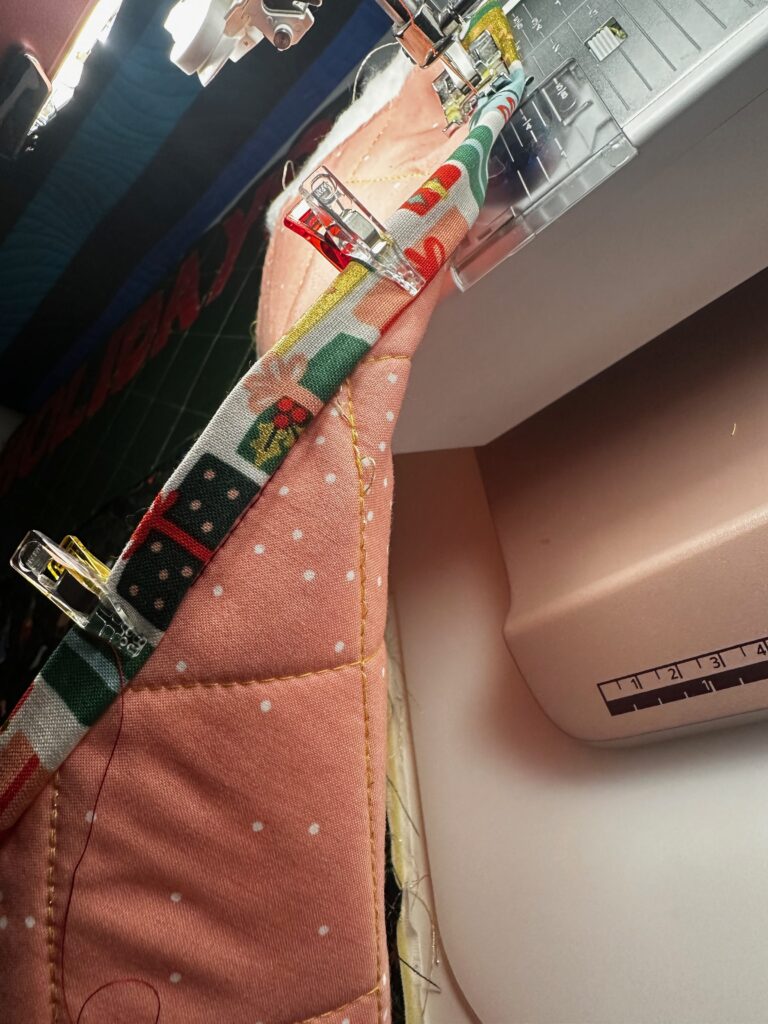
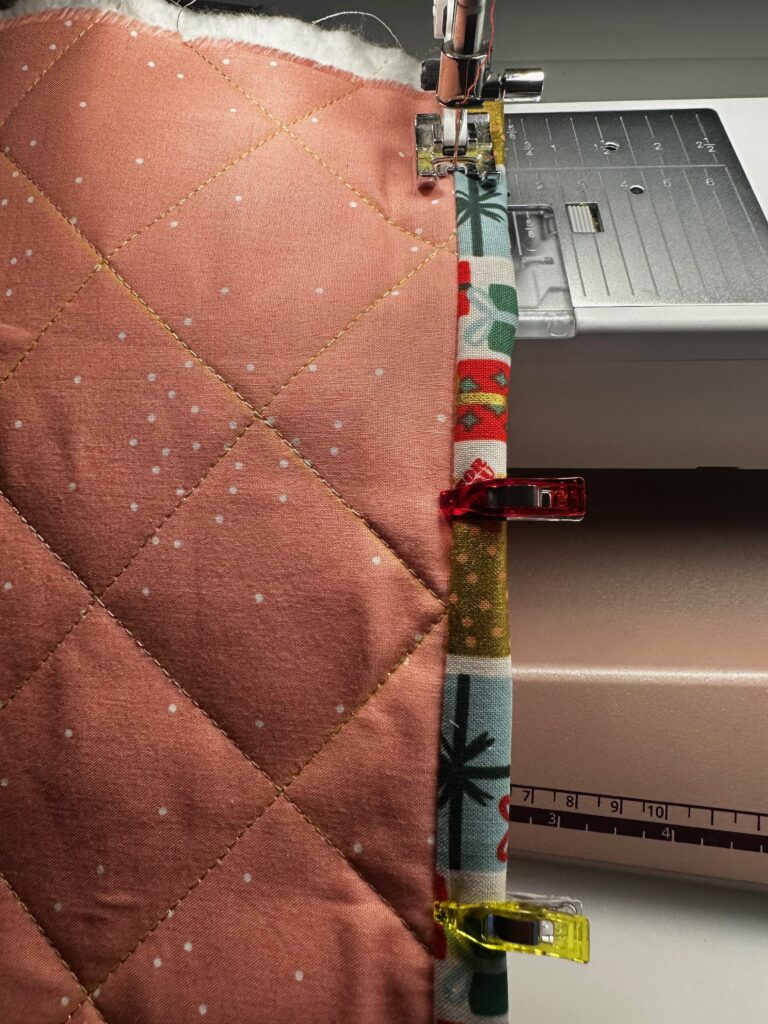
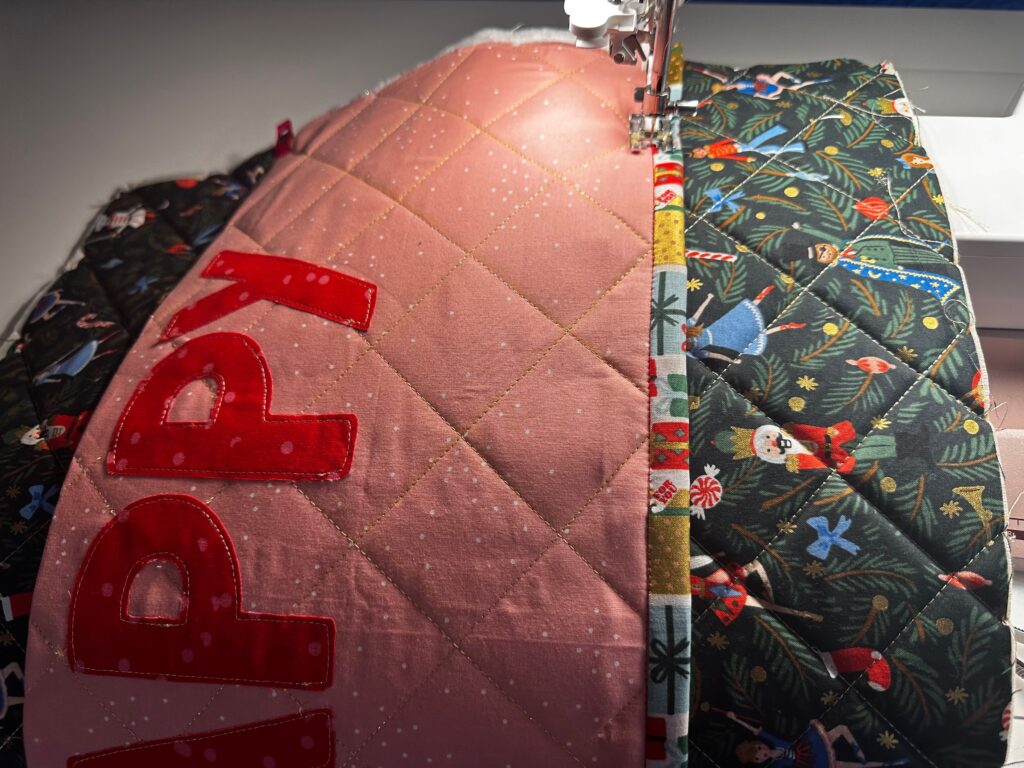
Wrap a strip of binding around the back pocket lower edge; stitch in place. Note: This edge will not be seen, but encloses the raw edges that will be inside the pocket.
Place the quilted front rectangle right side up on a flat work surface, with one long edge as the upper edge.
With both right sides facing up, place the back pocket lower edge 4″ up from the front-rectangle lower edge. Stitch the pocket lower edge, following the binding stitching line. Then, baste each side edge.
With the right side facing up, place the front pocket on the front rectangle with the pocket upper edge 3/4″ from the back-pocket lower appliqué edges. Note: The front pocket lower edge will extend beyond the front rectangle. Once satisfied with the palcement, trim the front-pocket lower edge flush with the front-rectangle lower edge. Then, baste the pocket lower edge and sides and lower edge.
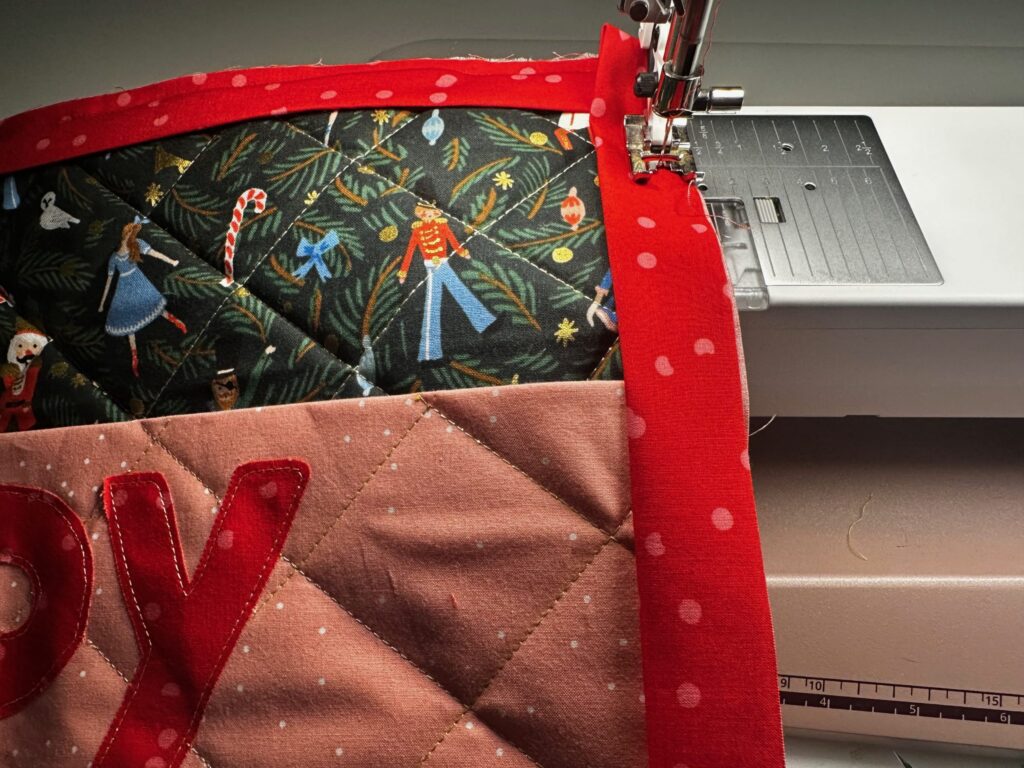
Bind the Christmas Card Holder in the manner of your choice.
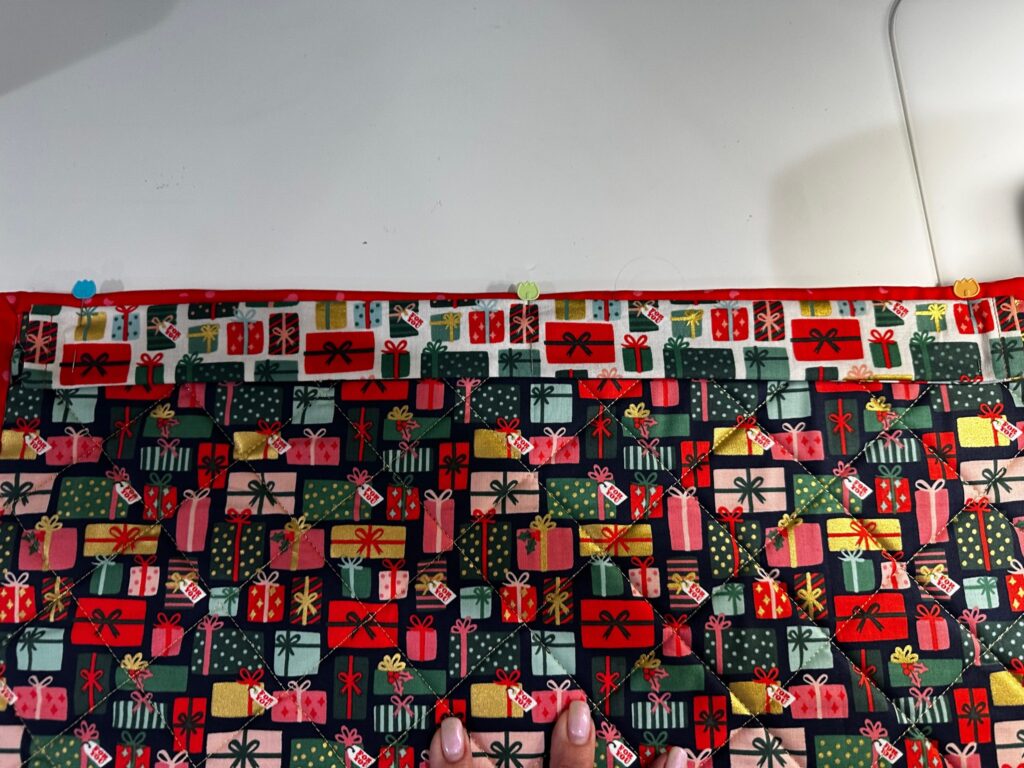
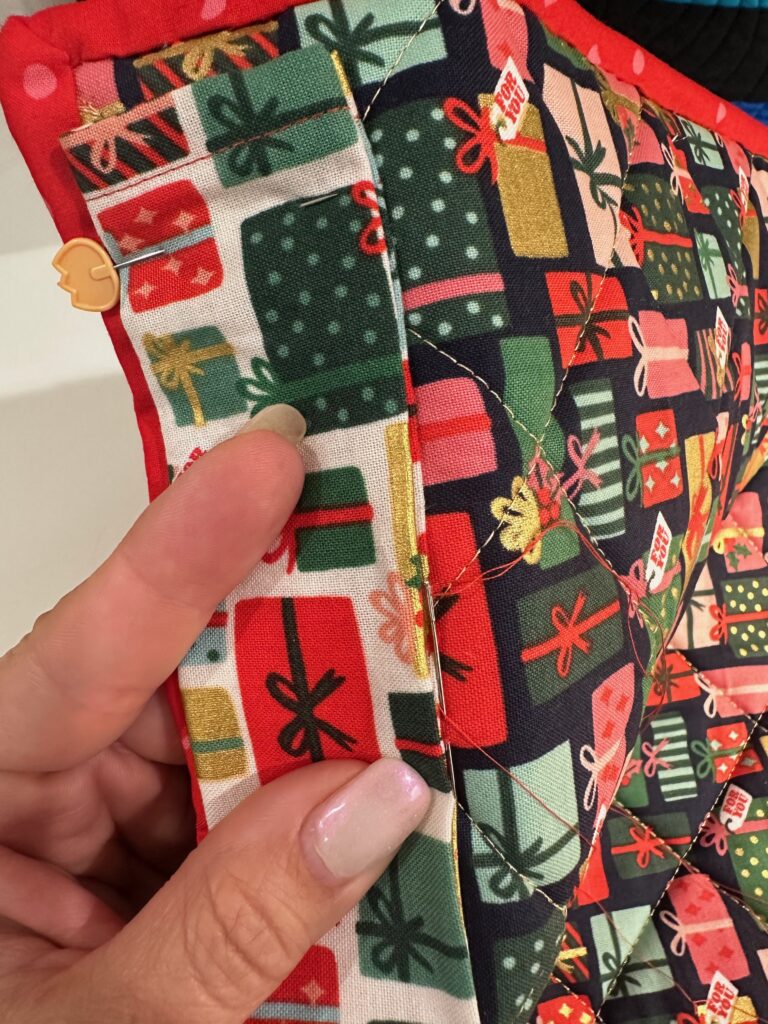
Flip the card holder so the backing side is facing up. Center the hanging sleeve just below the upper-edge binding seam; pin.
Hand stitch the hanging sleeve in place along both long edges, sewing through the backing fabric only.
Insert the dowel into the hanging sleeve. Then tie ribbon or string to each dowel end to hang the Christmas Card Holder. Place cards inside, letters to Santa and more!



Thank You!