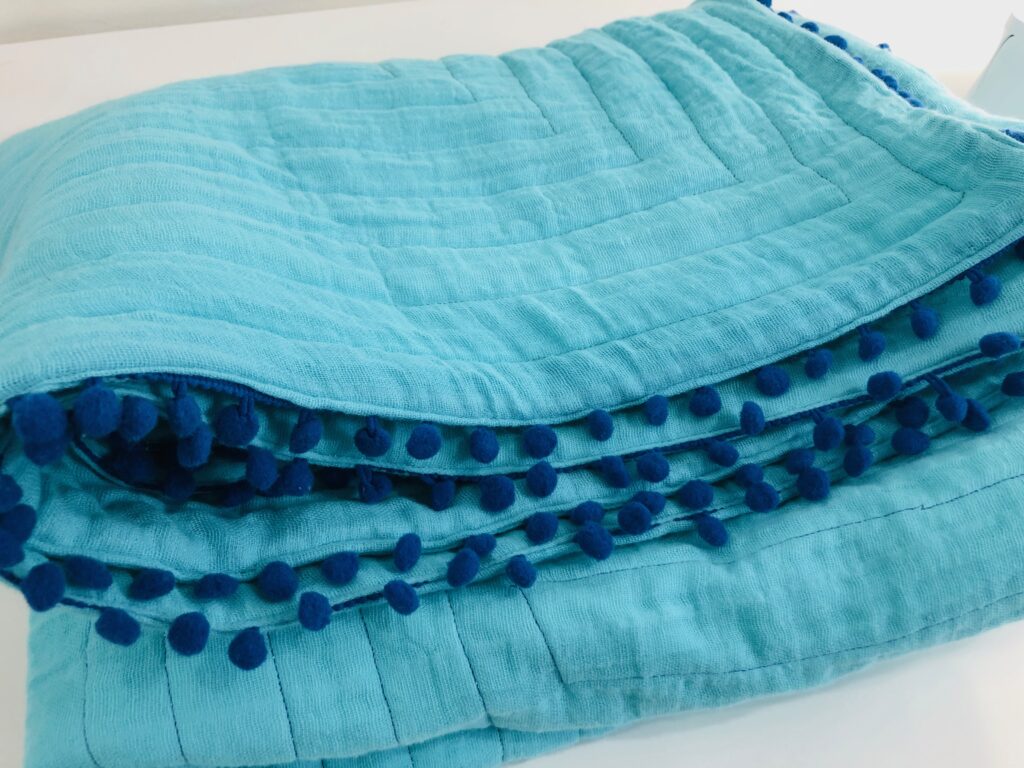
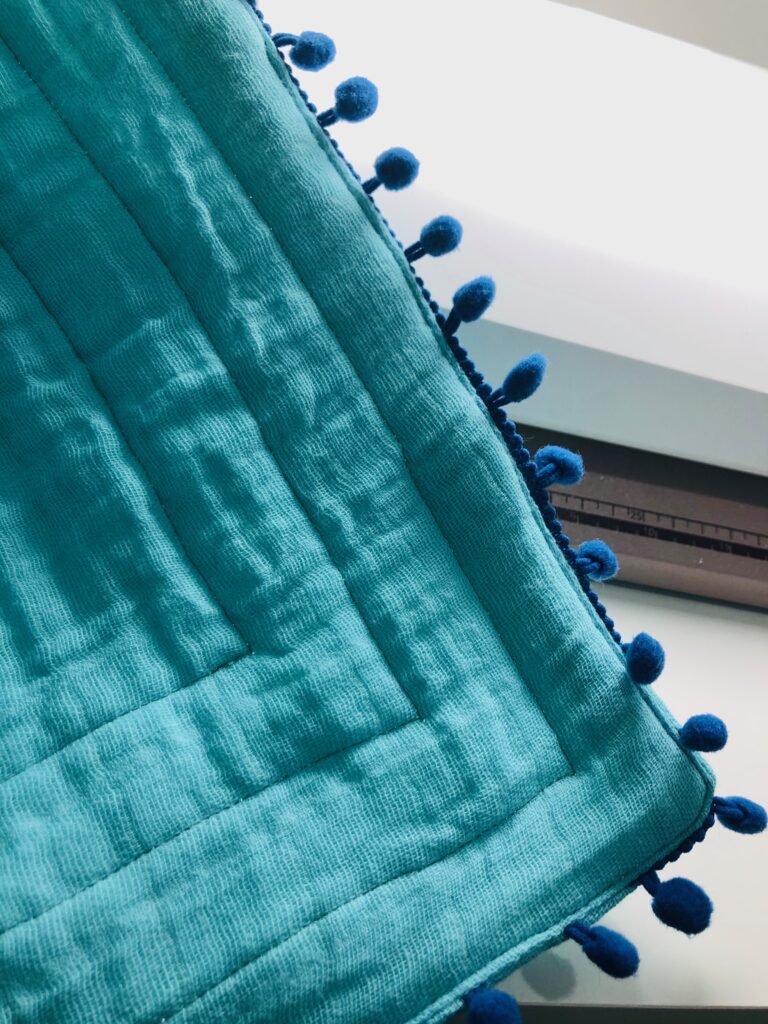
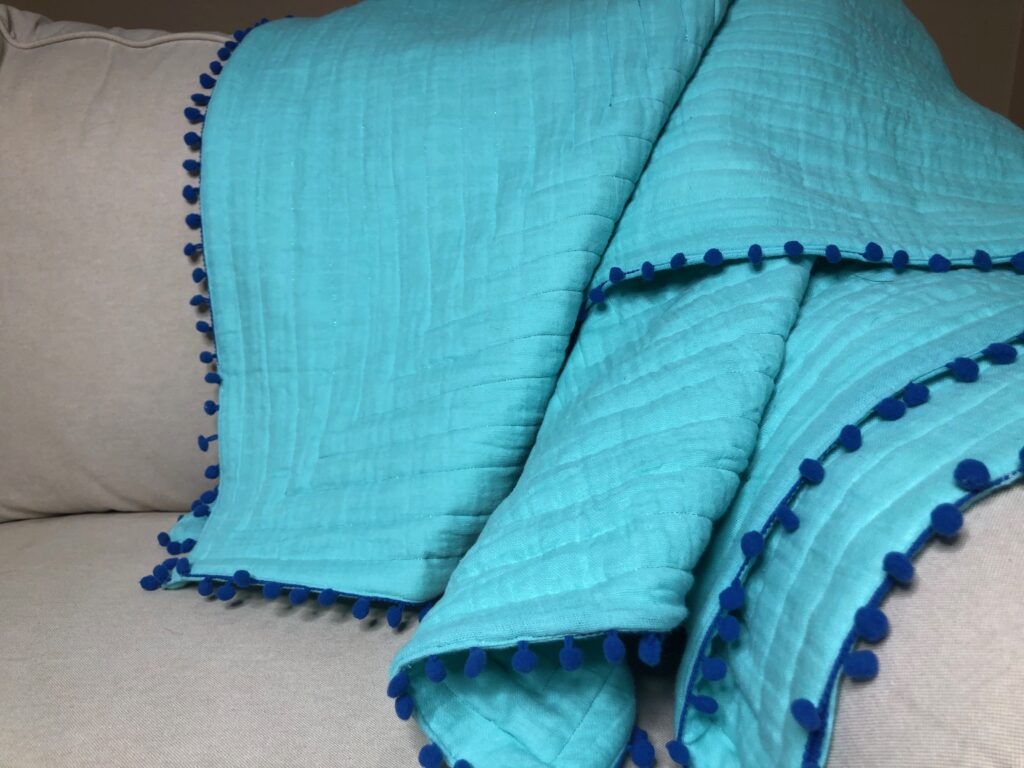
Double Gauze Throw
Create a double gauze throw that’s quilted with Sulky Poly Star and trimmed with pom-pom fringe. The double gauze throw is a great lightweight coverup for chilly days. The thread provides a subtle bling that brings the party to this fun gift idea.
Double gauze is a lightweight fabric with inherent “wrinkles” and texture. It makes a great baby blanket, flowy top and wall hanging. For this throw, a lightweight batting is used between the double gauze layers for added comfort and stability to support the 30 wt. Poly Star quilting.
For more info on Sulky Poly Star thread, watch this!
Double Gauze Throw Size: 45″ x 60″
SUPPLIES
- 50 wt. Cotton+Steel thread by Sulky (for construction; featured: Teal)
- Sulky KK 2000™ Temporary Spray Adhesive
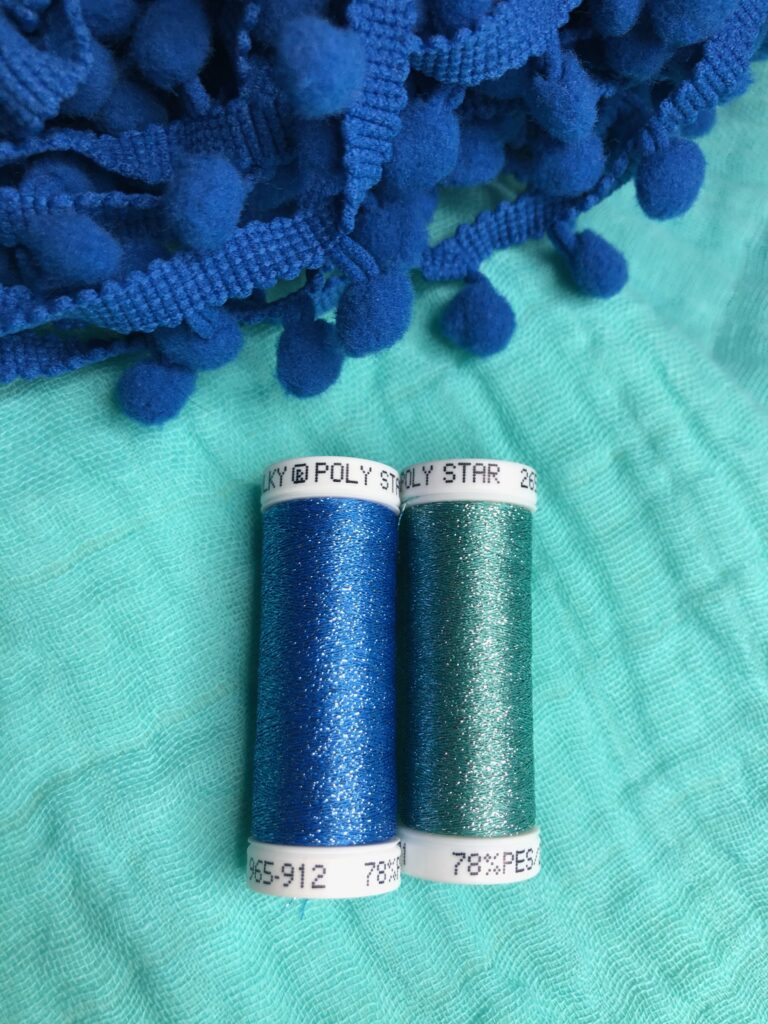
- 2 coordinating spools of Sulky Poly Star™ thread (for quilting; featured: Dark Sapphire with Tone-on-Tone Sparkle & Light Teal with Silver Sparkle)
- Organ needles: Size 70/11 Microtex (for construction) & Size 80/12 Microtex (for quilting)
- 3 1/2 yards of 48″-wide double gauze fabric (featured: Shannon Fabrics Embrace Double Gauze Solid Aruba)
- 6 1/2 yards of coordinating pom-pom fringe trim (featured: 1 1/2″ navy pom fringe)
- Baby/Crib Size cotton batting (featured: Warm & Natural)
NEEDLE TIP: It’s important to swap the needle size when using different weights of thread. The smaller the thread number, the larger the needle size. Typically we recommend a size 90/14 needle when using 30 wt. thread, such as Poly Star. However, when working with double gauze the 80/12 Microtex works best to avoid snags and create a balanced quilting stitch.
PREP THE THROW
Cut the double gauze fabric in half to create two 48″ x 63″ rectangles.
Place one double gauze rectangle wrong side up on a flat work surface. (It’s difficult to decipher the right and wrong side of double gauze fabric. Choose a side and stick with it!)
Install a size 70/10 Microtex needle. Thread the needle and bobbin with 50 wt. Cotton + Steel thread by Sulky.
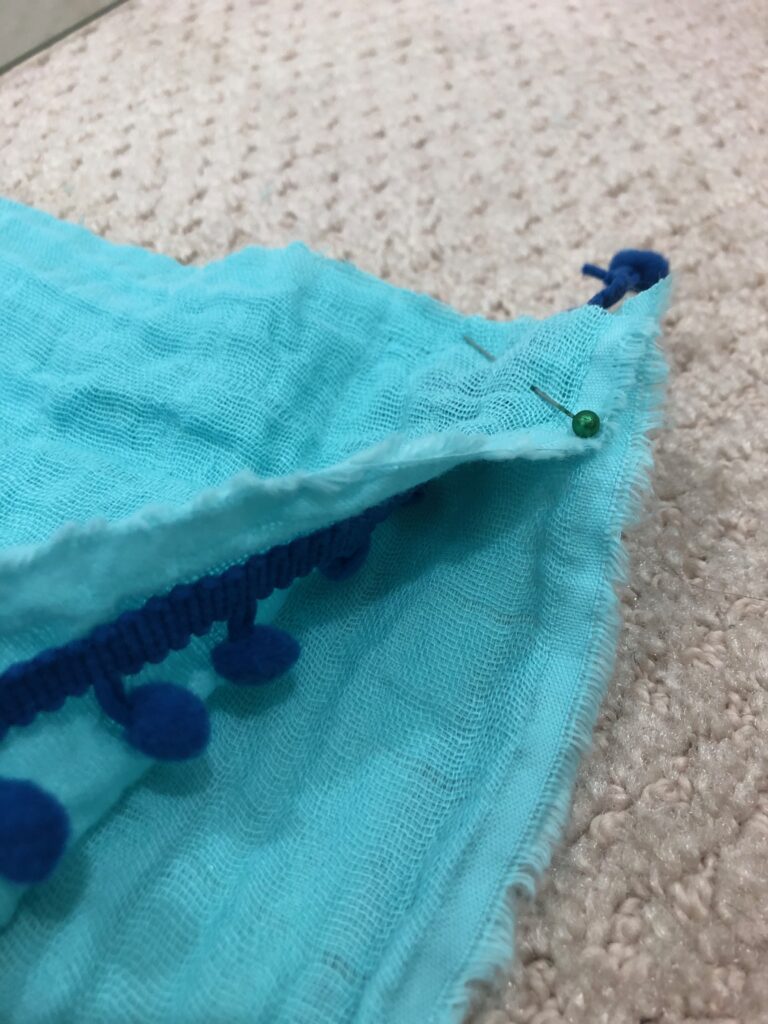
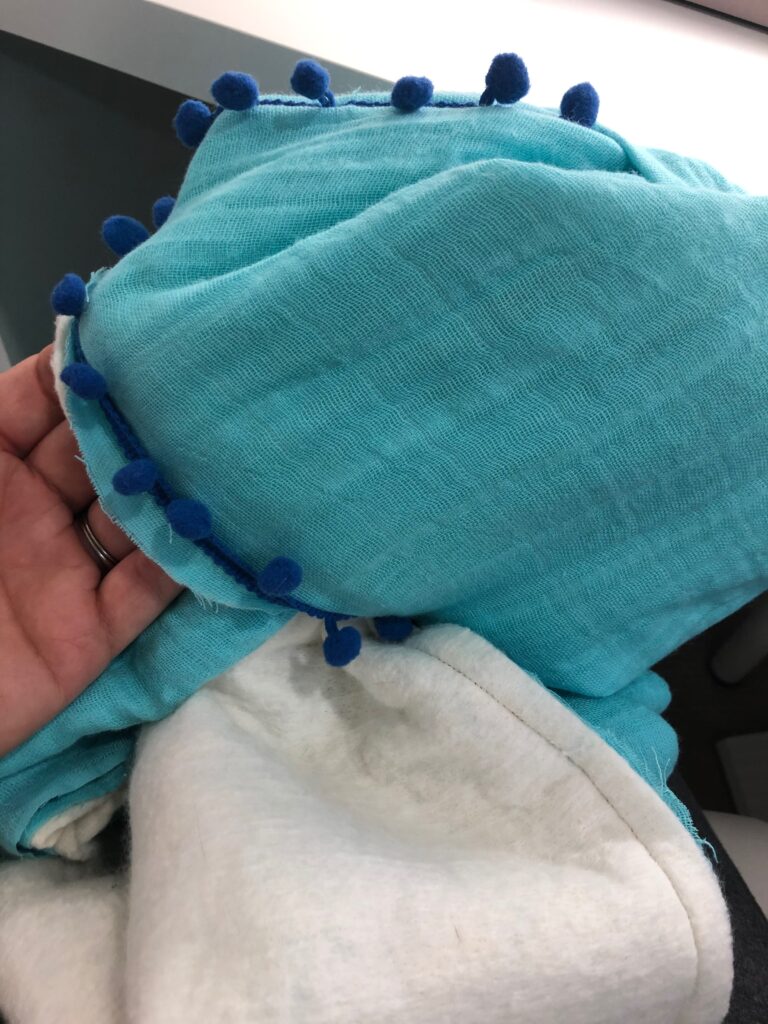
Place the pom-pom trim along one rectangle perimeter, with the poms facing toward the throw. Pin or use quilt clips to secure. Begin and end each pom-pom trim length at the corners. At each corner, extend the pom-pom trim approximately 1″ beyond the fabric edge; trim the excess. Then, overlap the adjacent trim end 1″ beyond the fabric edge; continue pinning.
STITCHING
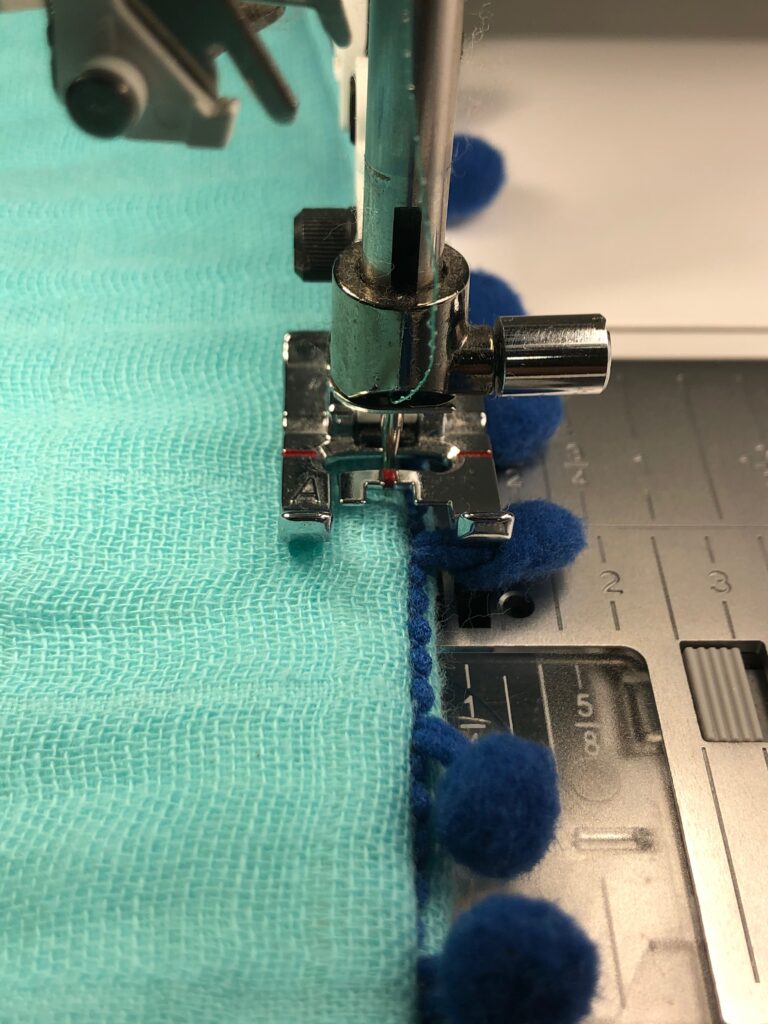
Install a zipper foot. Baste the trim to the rectangle 1/4″ from the fabric edge.
Place the batting on the basted rectangle, using KK 2000 to secure. Make sure to leave the “wrinkles” in the gauze, but not create new ones.
Place the remaining gauze rectangle wrong side up over the batting. Pin along the perimeter.
Stitch the rectangles along all four edges with a 1/2″ seam allowance, leaving an 8″ opening along one short end for turning. Adjust the seam allowance, whether you want to see the pom-pom trim tape edge or only the poms when turned right side out. Feel for the trim while stitching to ensure it’s out of the way of the needle.
Turn the throw right side out through the opening, leaving the batting between the fabric layers.
Smooth the throw along both sides. Spray a bit more KK 2000 through the opening, if able, to spray-baste the throw front.
Fold the opening seam allowances toward the wrong side; pin or use quilt clips to secure.
Pin-baste the quilt through all layers every 6″ to 8″ to further secure.
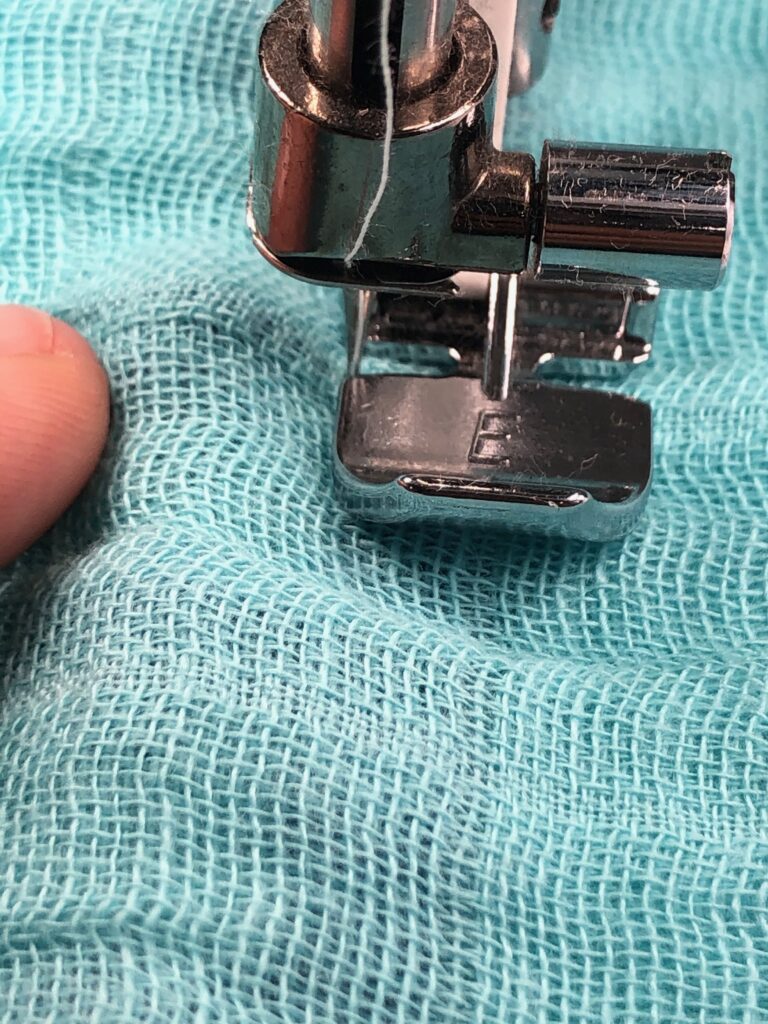
Install a standard presser foot. Edge-stitch the throw, closing the opening with the stitches.
QUILTING THE GAUZE THROW
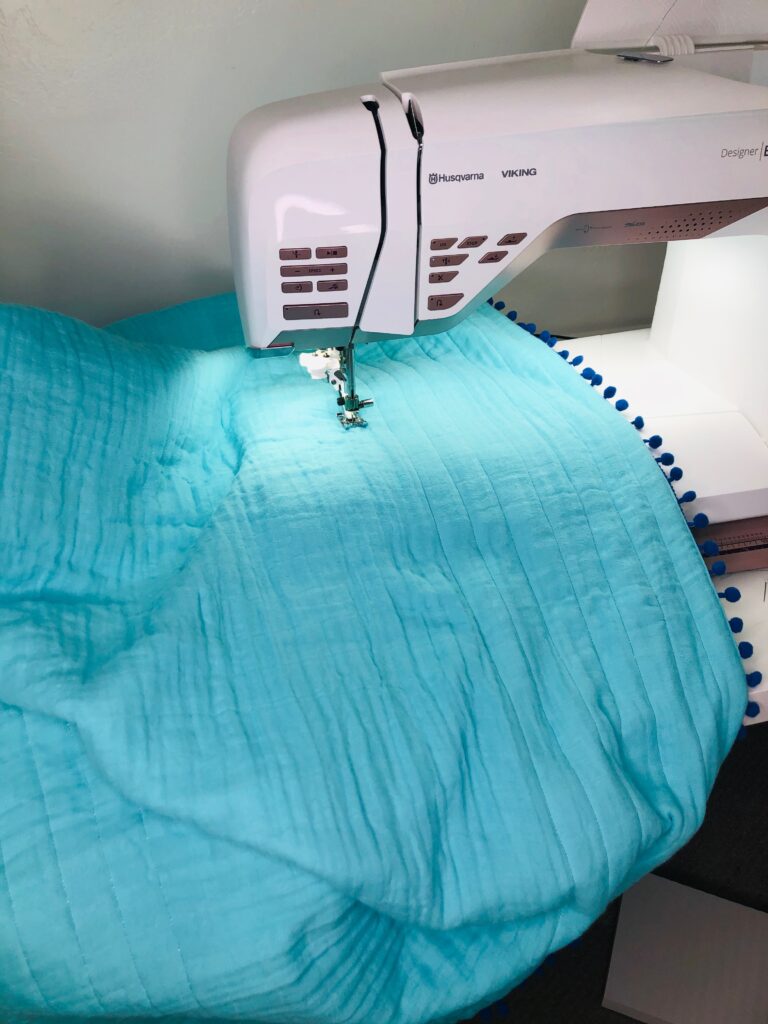
Install a size 80/12 Microtex needle. Thread the machine with Poly Star in the needle and bobbin. Choose the color that matches the throw best. Reduce the presser foot pressure a bit to accommodate the bulk of the throw.
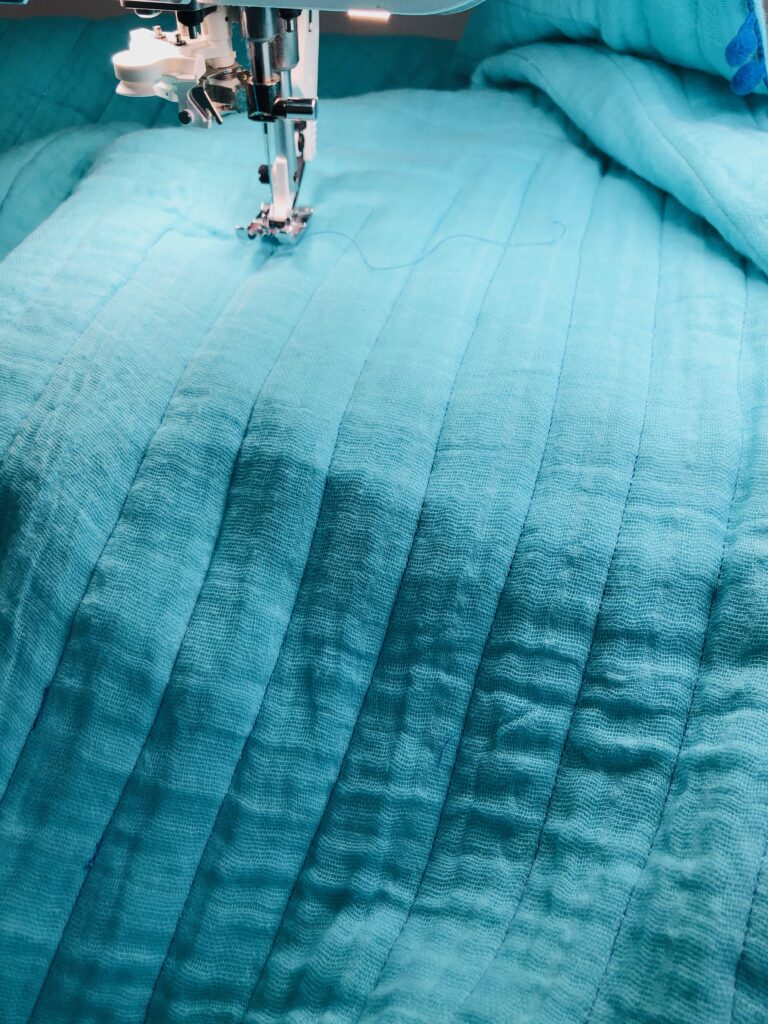
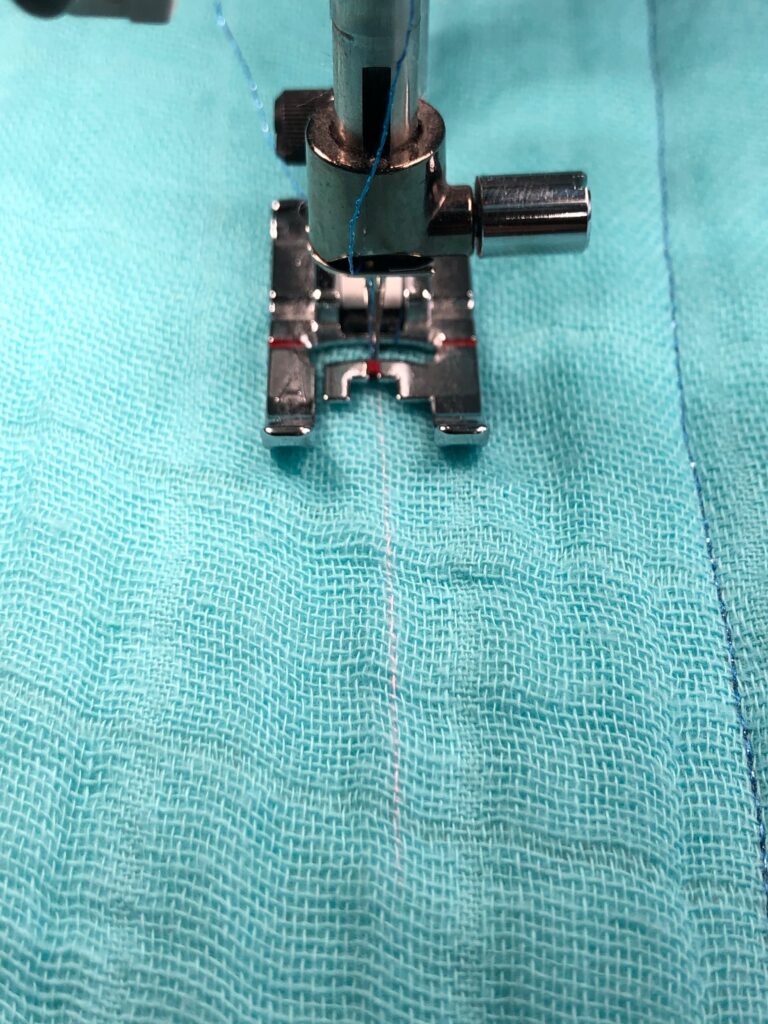
Straight-line quilt the throw, switching thread colors every 10 rows. Space the rows about 1 1/2″ apart.
The stitching doesn’t have to be straight or measured perfectly. The throw texture is actually complemented by stitching that isn’t meticulously measured and straight!
At each corner, end the stitching about 1 1/2″ from the end (or the last stitched row), leave the needle in the fabric and lift the presser foot. Rotate the fabric and continue stitching along the adjacent edge.
At the throw center, you’ll have a small stitched rectangle.
STITCHING TIPS
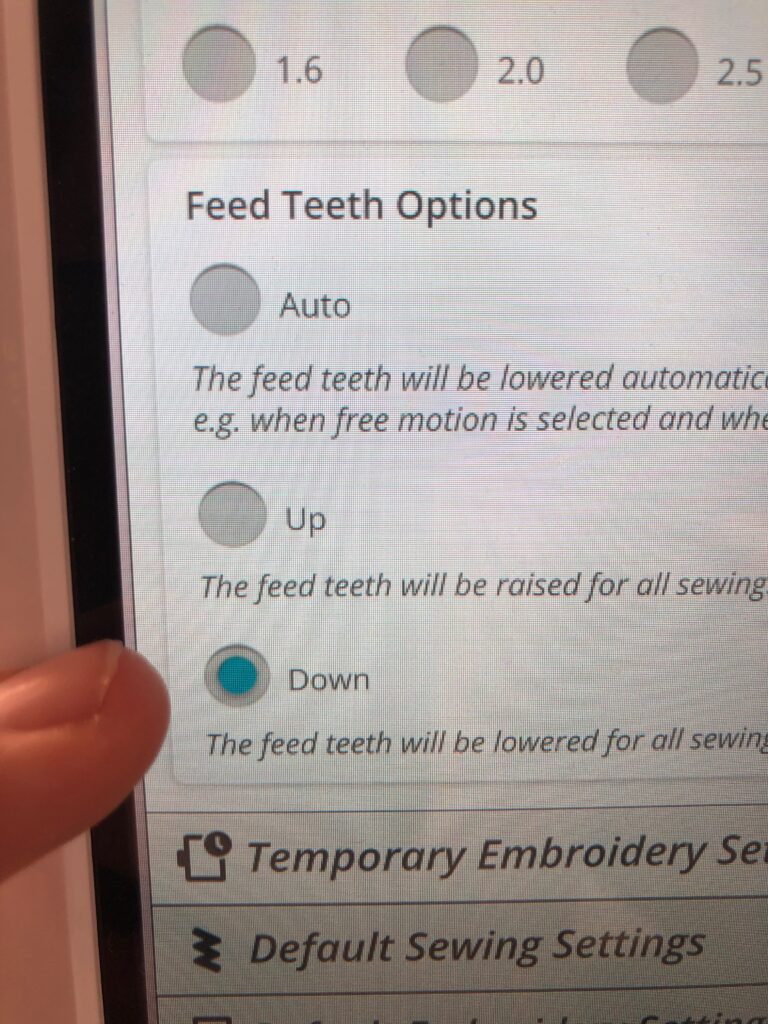
The fabric will snag against the feed dogs, so be careful when pulling the throw out from under the presser foot to quilt another row. To avoid this, at the end of each stitching line lower the feed dogs, and then remove the throw from under the presser foot. Place the needle along the next stitching line, and then raise the feed dogs again to continue stitching.
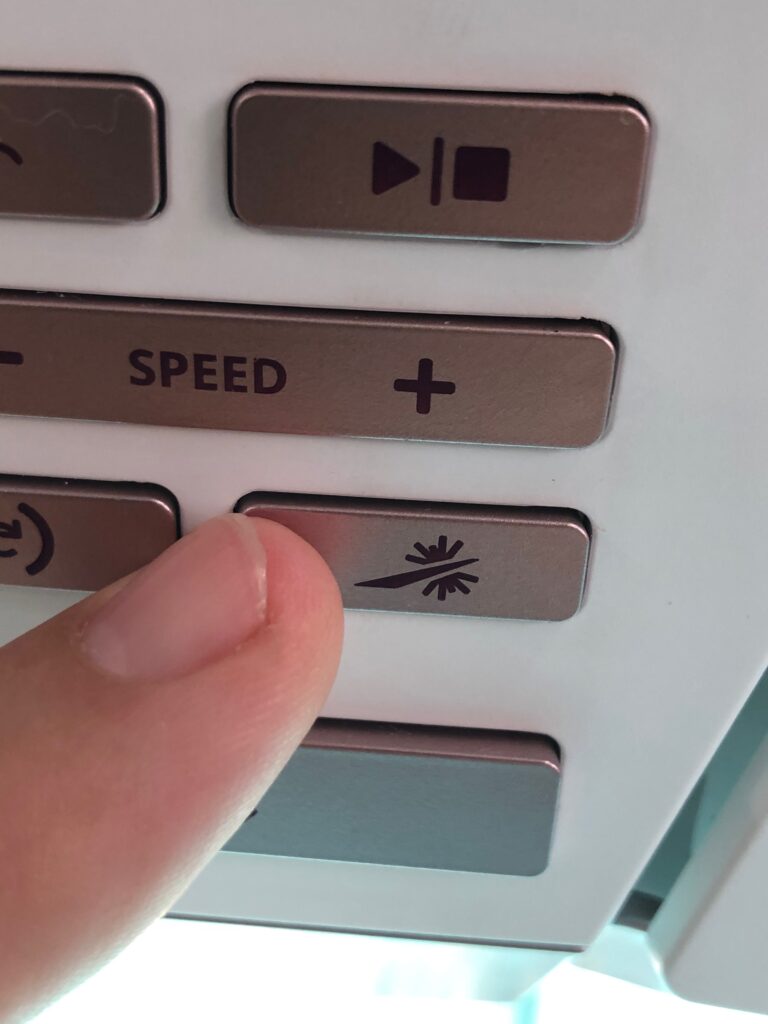
If your machine has a laser light to show the needle path, use it! This allows you to stay on track, quilting the straight(ish) lines across the throw as you move toward the center.
Consider using a walking foot if you don’t have an integrated dual feed system on your machine. A walking foot allows you to feed all layers of the throw under the presser foot at the same rate. This reduces shifting and bunching that results in puckers.
Gift this to an expectant parent as an alternative to a baby blanket or quilt. The soft gauze is nice and comfy and the pom-poms provide a fun sensory experience.
