Easy English Paper Piecing Quilt Block – Andy Knowlton
Easy English Paper Piecing Quilt Block
designed by Andy Knowlton


Learn an easy English paper piecing method to create this pentagon appliqued quilt block. Andy Knowlton shows you how!
About Andy
Andy is a quilter and pattern designer who loves finding shortcuts and new techniques and sharing them with fellow quilters on her blog: A Bright Corner. She’s been quilting since she was about 7 when her grandma handed her a needle and thread and taught her how to hand quilt a little doll quilt. She lives in Utah with her husband and sons where they enjoy camping, hiking, and playing video games together.
from Andy:
If you follow me on Instagram you’ll know that I’m a big fan of English paper piecing (EPP). I know EPP can be intimidating so today I wanted to share an easy block that gives you the chance to try your hand at EPP without committing to a large and complicated project.
Products to Use
Sulky PolyLite™ 60 Wt. Thread is perfect for easy English paper piecing. It comes in a variety of colors, glides beautifully through the fabric and melts right in to help the stitches be less visible.
Supplies
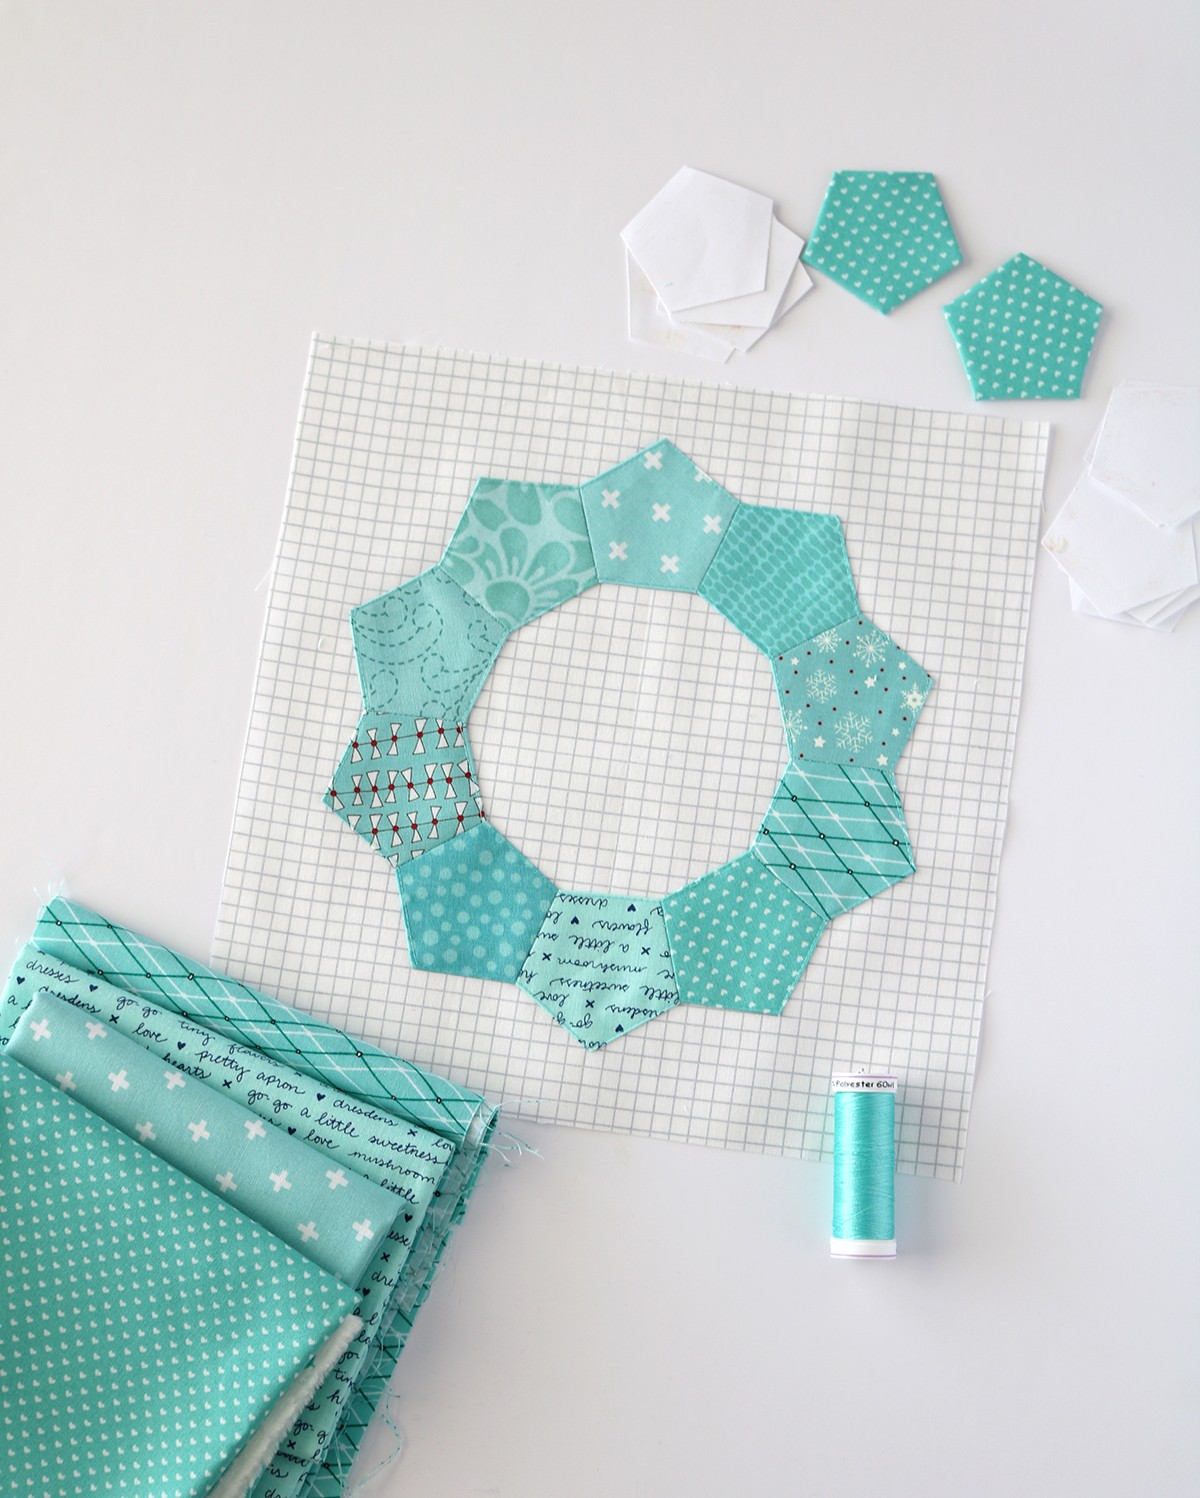
1 1/4″ pentagon shapes (purchase from paperpieces.com or print these Pentagon Ring paper shapes on card stock and cut your own)
Fabric scraps – 10 pieces, each at least 2 1/2″ square
9 1/2″ square of background fabric
Fabric glue pen (Sewline brand or Fons & Porter)
Straw needles – size 10
Small plastic clip (such as Clover Clip)
Scissors

To begin this easy English paper piecing method, first trim each fabric scrap to be about 1/4″ larger than the paper shape.

Place one paper pentagon on the wrong side of a trimmed scrap. Using the glue pen, place a line of glue along one side of the paper.
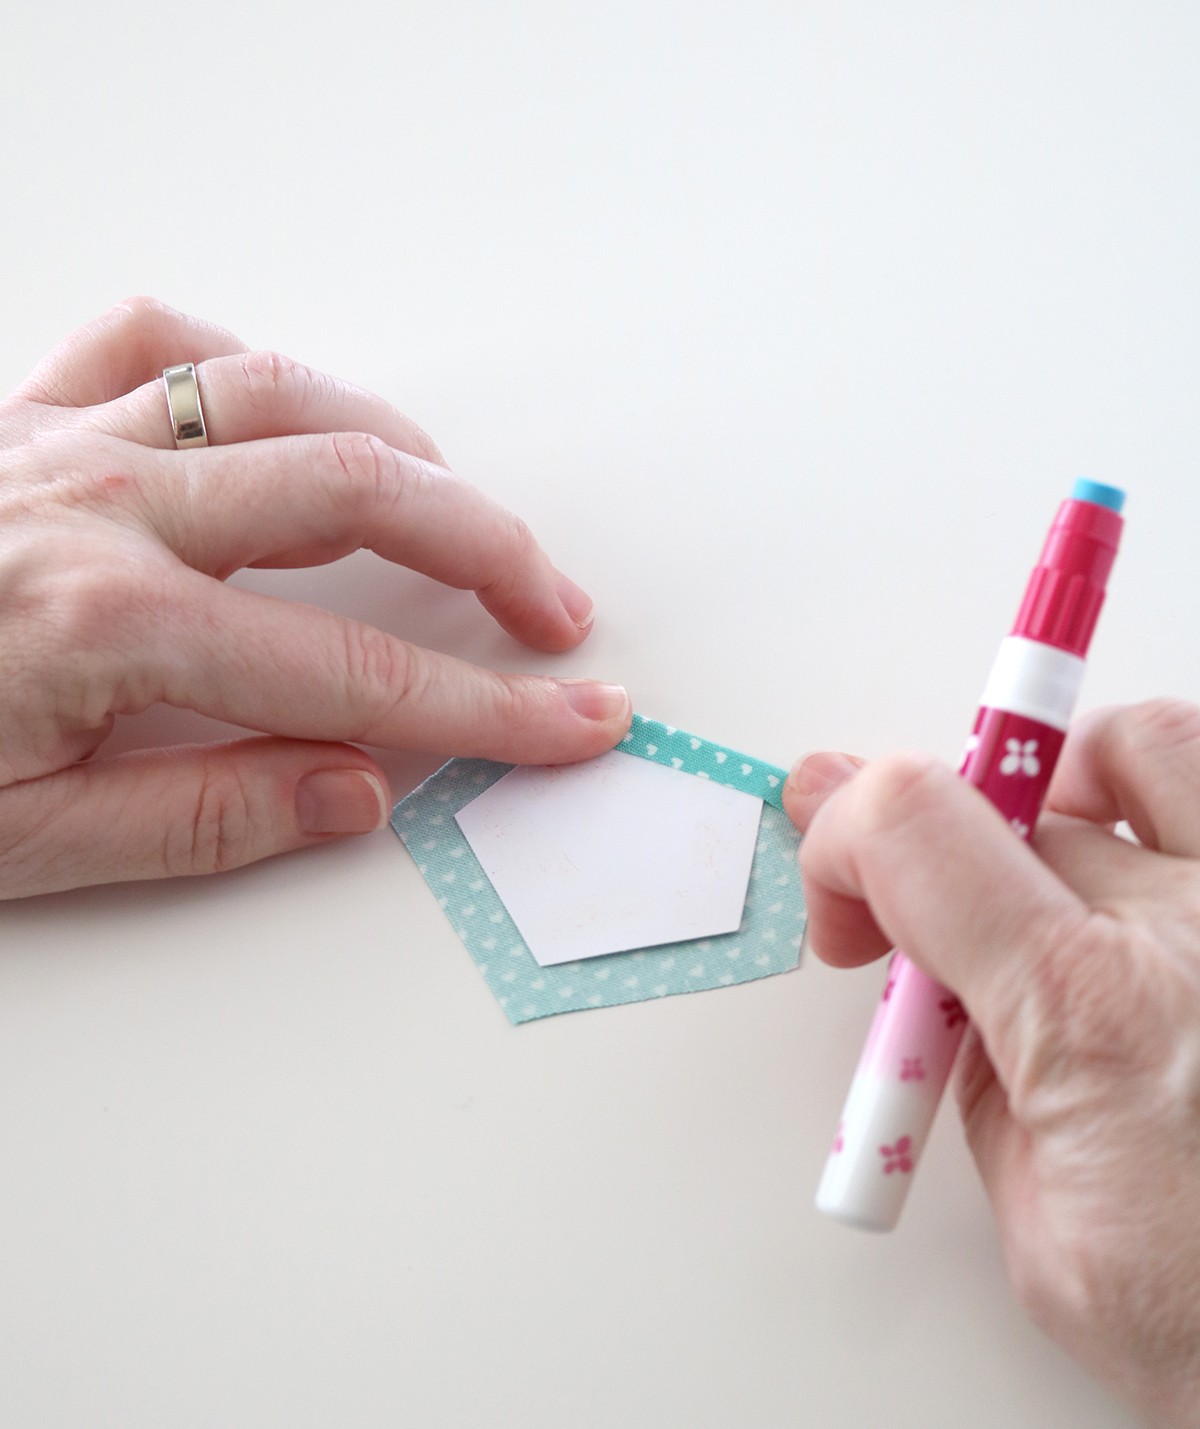
Fold the fabric over and finger press for a second or two to help the glue hold.
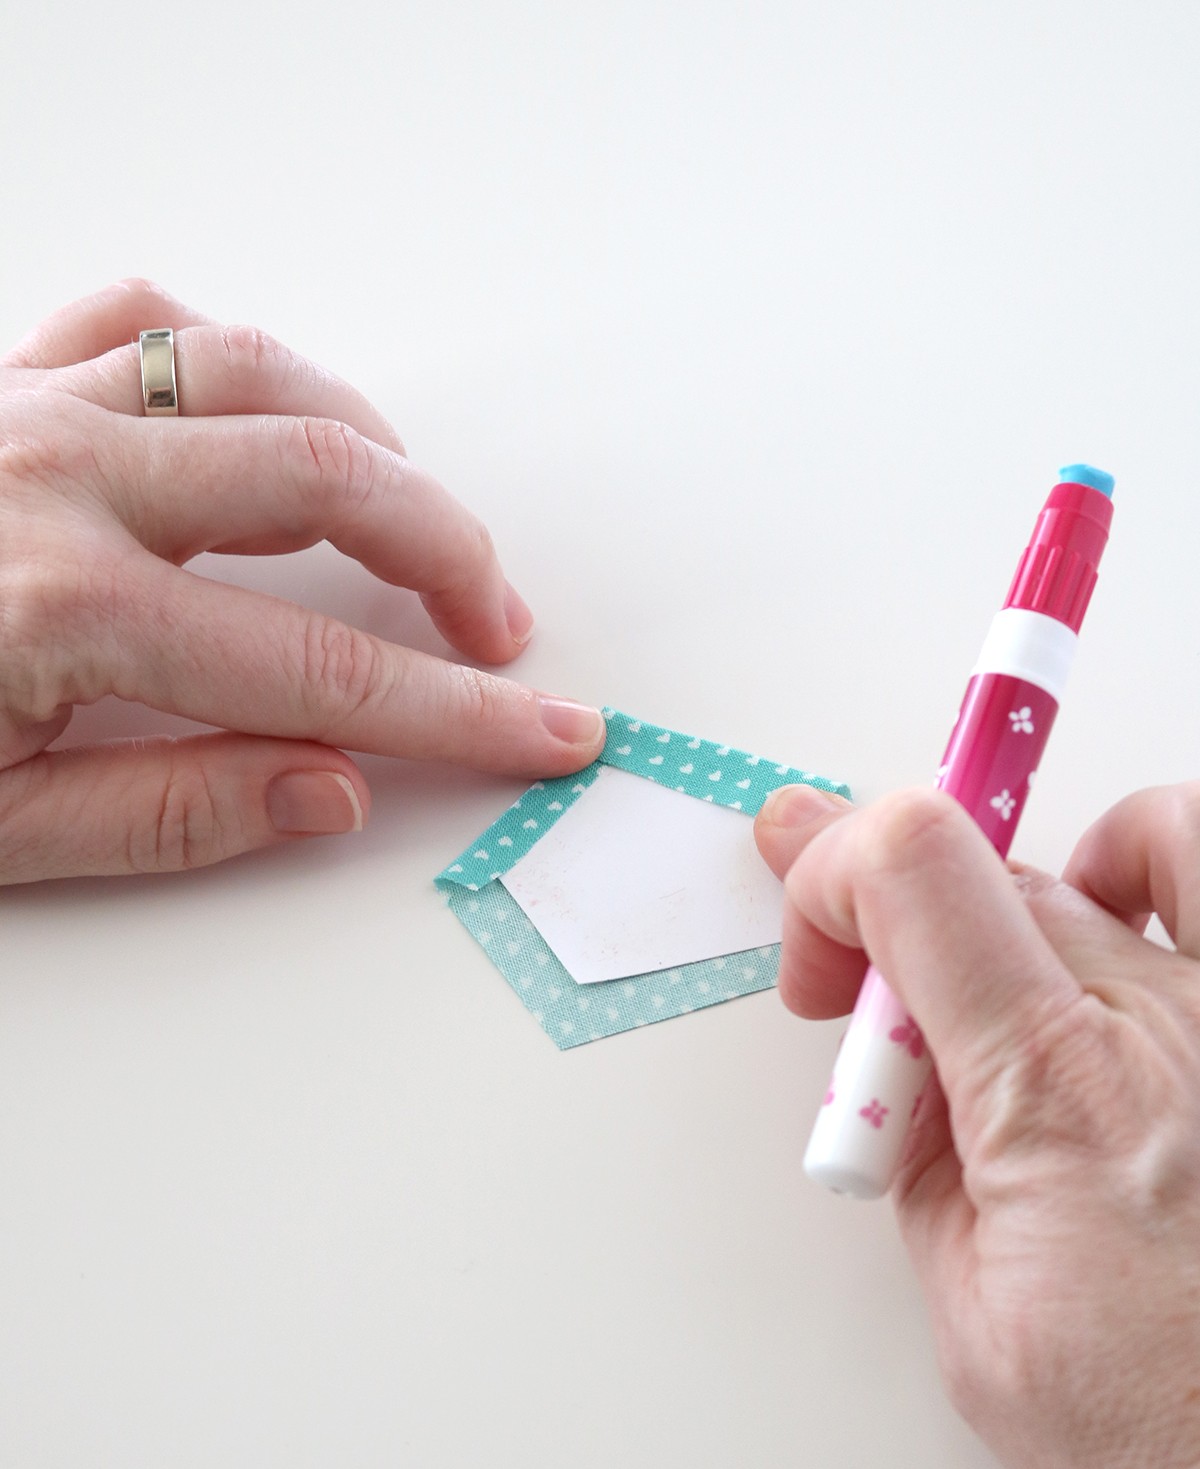
Then turn the shape counter clockwise and draw another line of glue along the next edge, then fold the fabric over as before.

Continue gluing all five sides. Try not to use too much glue – you only need the glue to hold for a short time and then you’ll remove the paper shapes. If the glue is too strong or you use too much of it, it will be difficult to remove the paper shapes later.

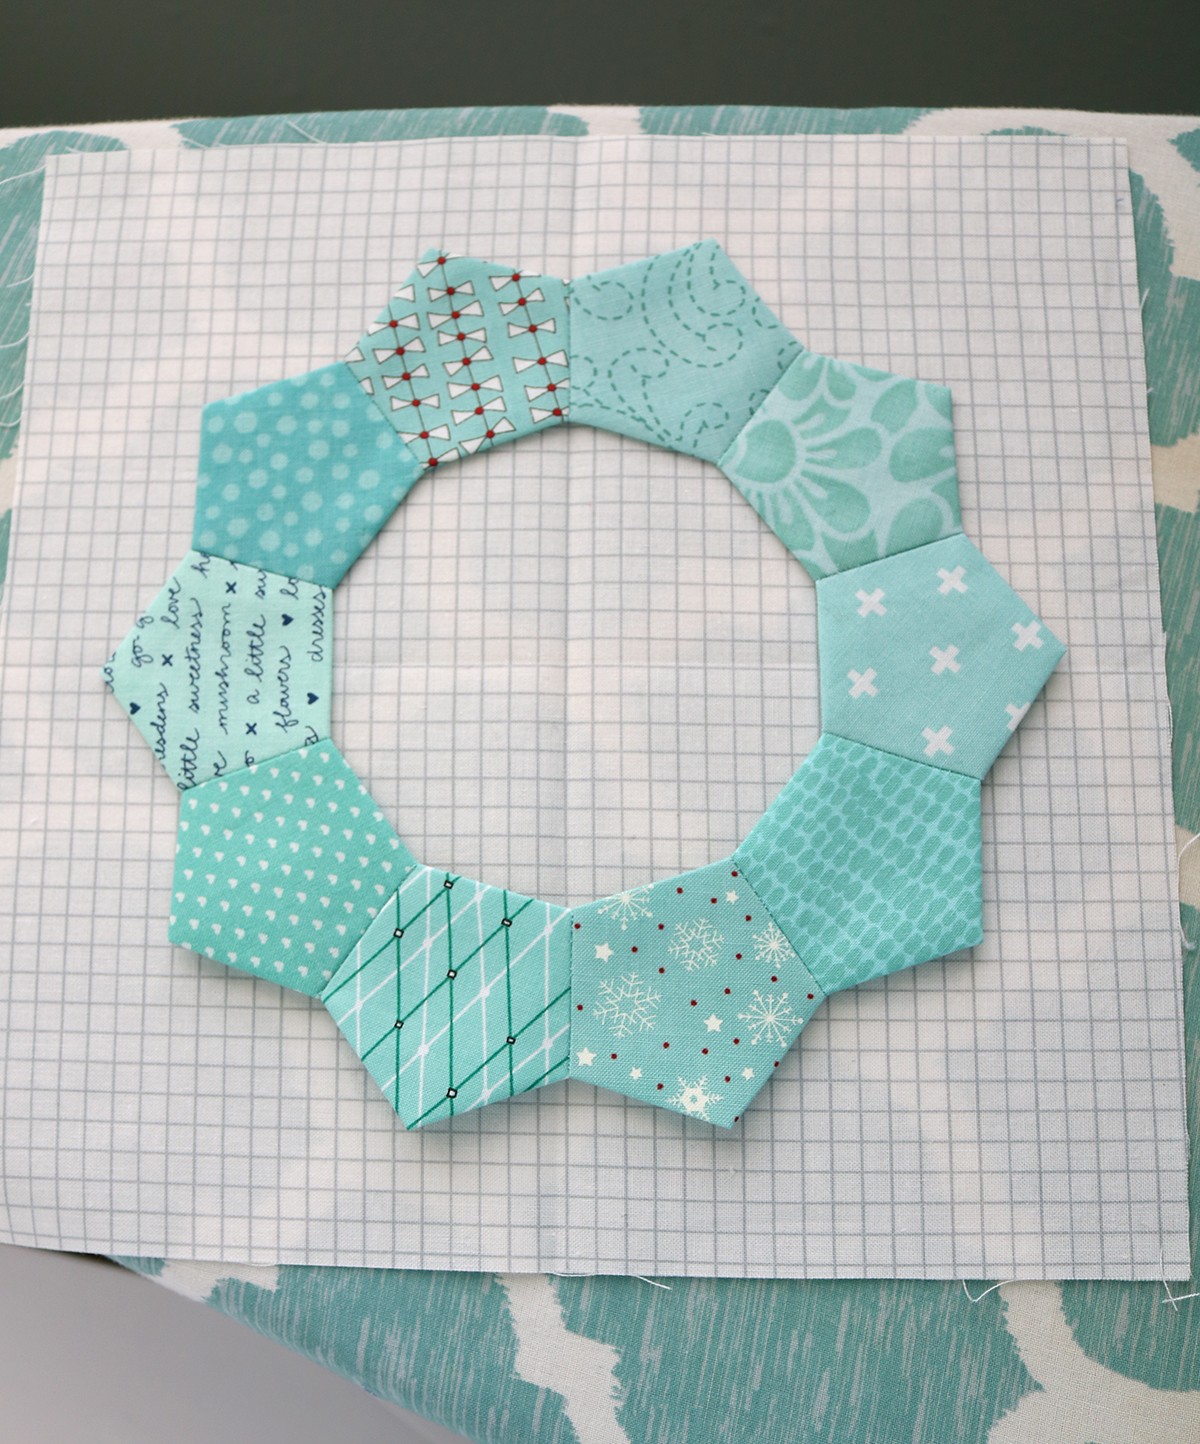
Glue-baste all 10 pentagons in the same way, then arrange them in a ring as shown.

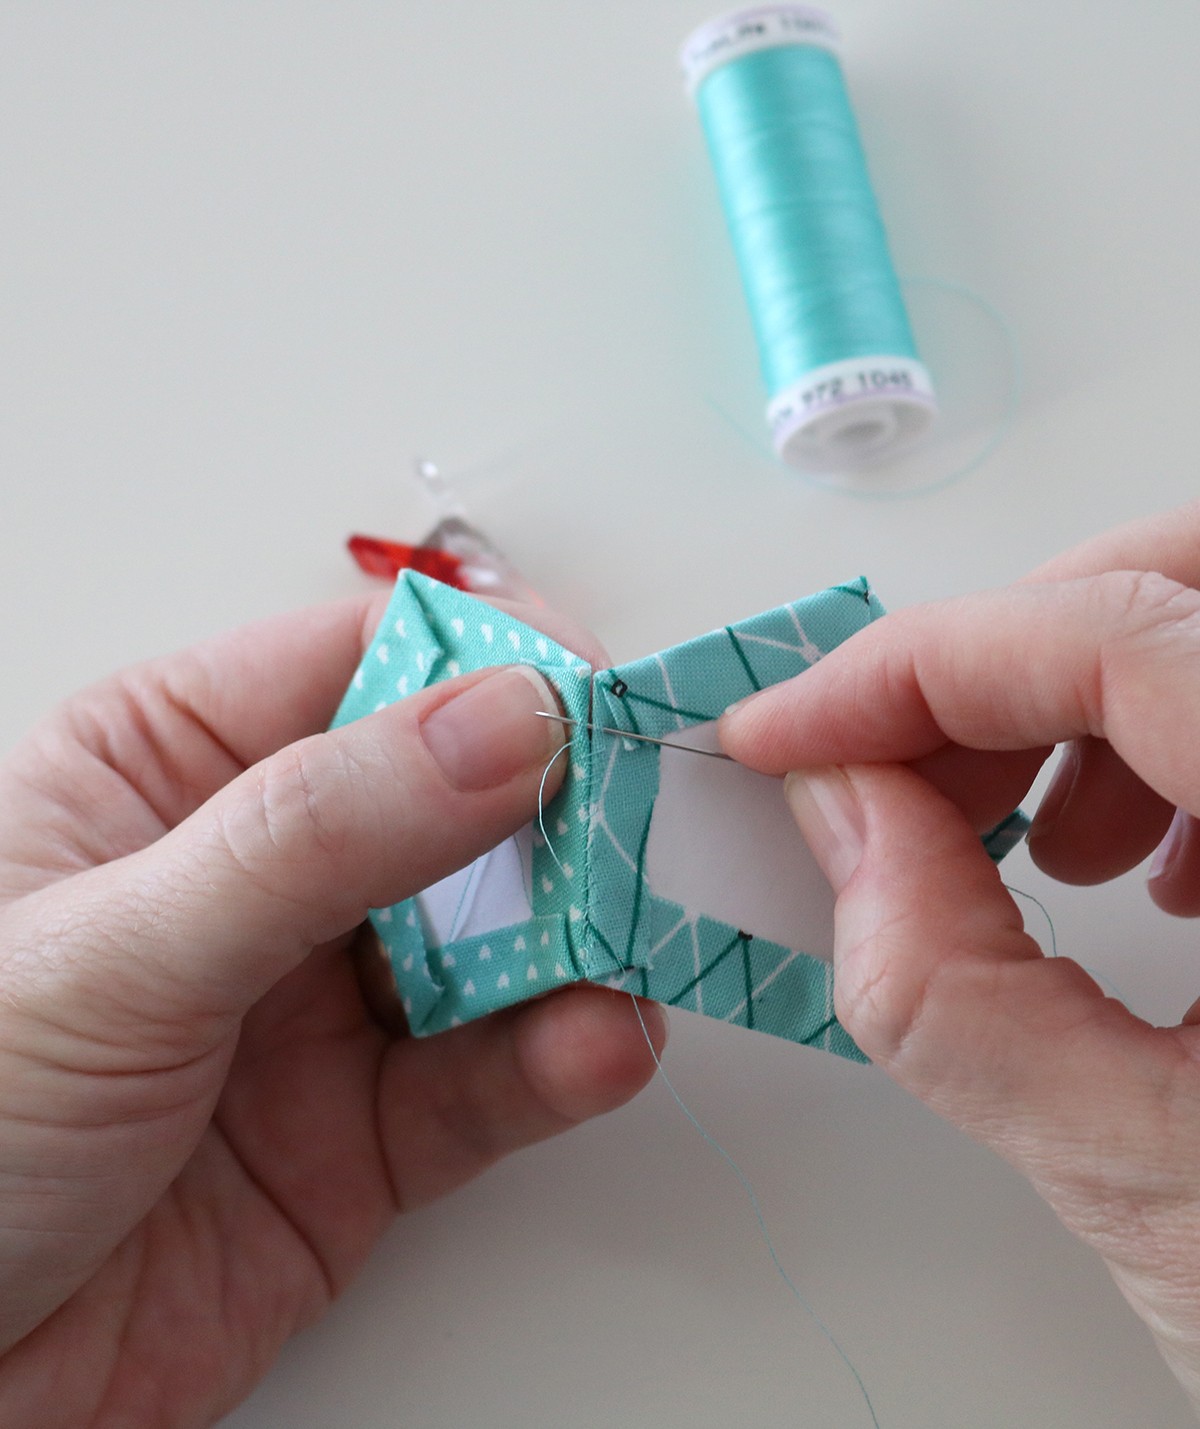
Choose two pentagons and place them right sides together. Use a plastic clip to hold the two pieces in place as you stitch. Using a needle and Sulky PolyLite thread, whip stitch the two pieces together.
Easy English Paper Piecing Tip
I like to start stitching about 1/4″ in from the edge of the shape, then stitch back toward the edge and then stitch the rest of the seam. This will help to hide the starting knot underneath the shape and it won’t be peeking out later.
As you near the top, remove the clip and finish the seam.
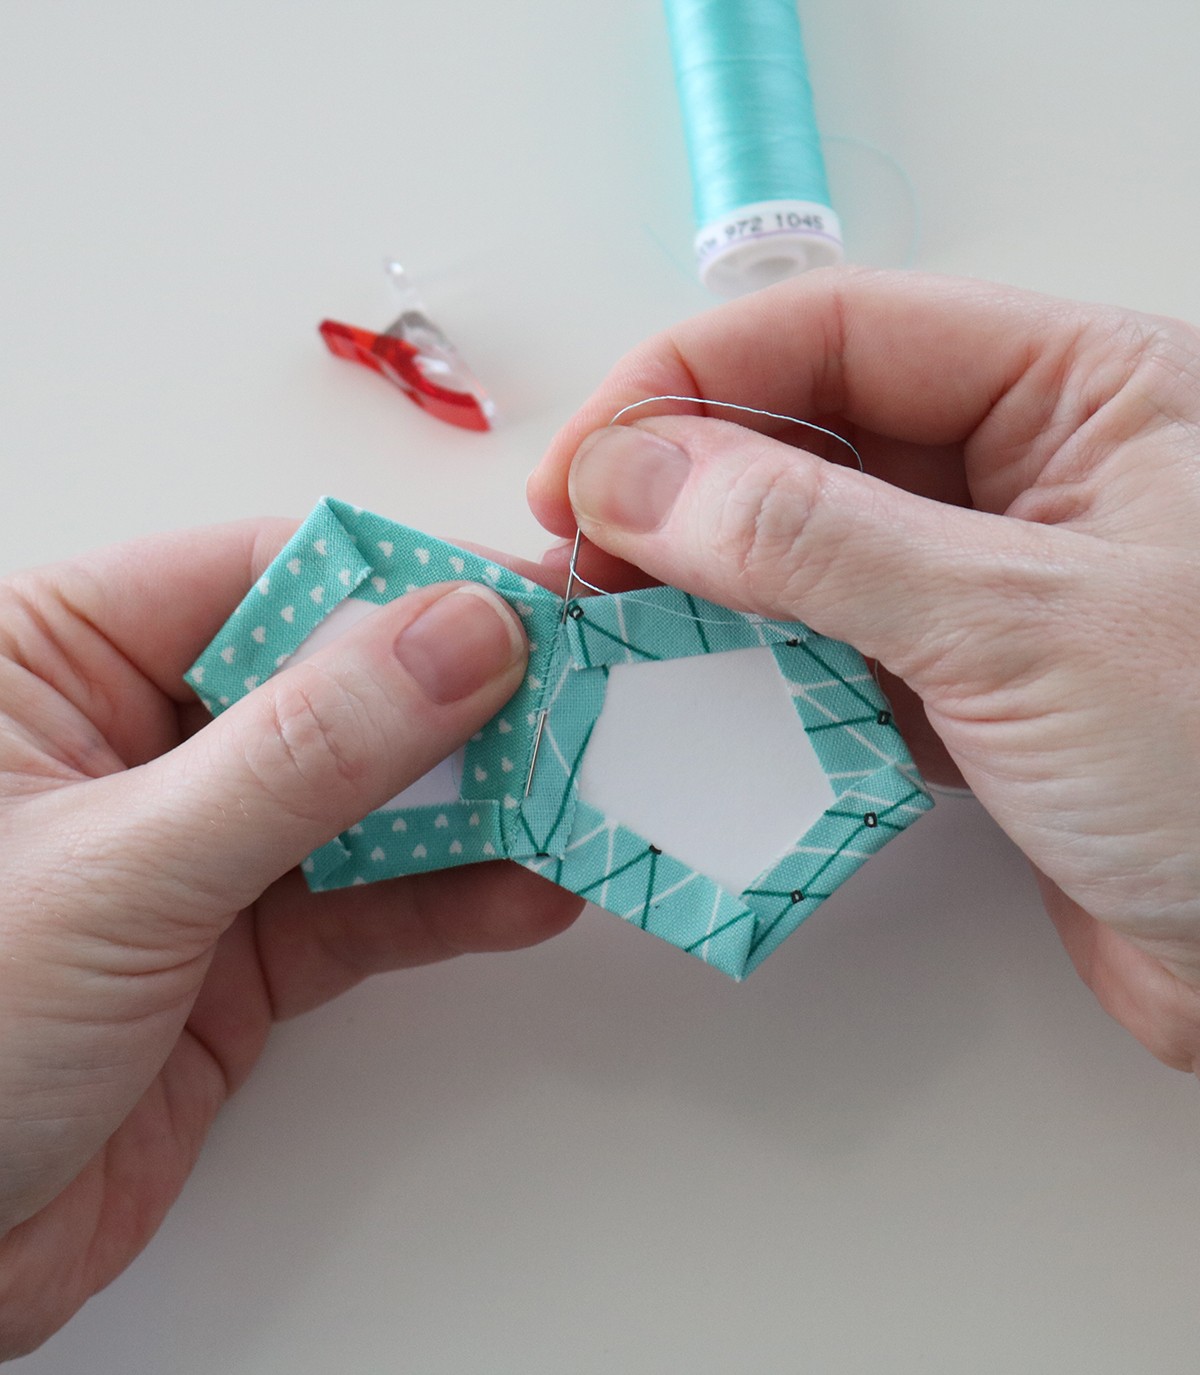
Knot the thread and bury the thread by running the needle back through the fabric along the seam. Pull the needle through and clip thread.
Continue stitching the pentagon shapes together until you have completed a full ring.
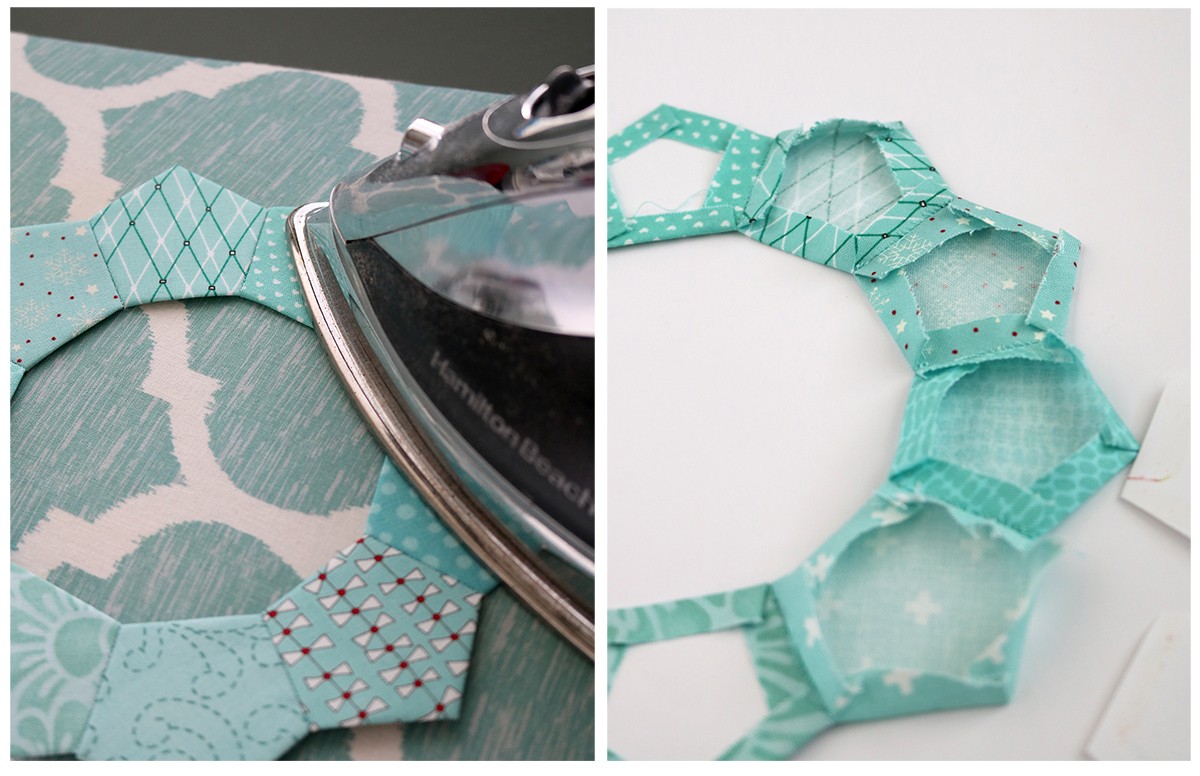
Finishing the Applique
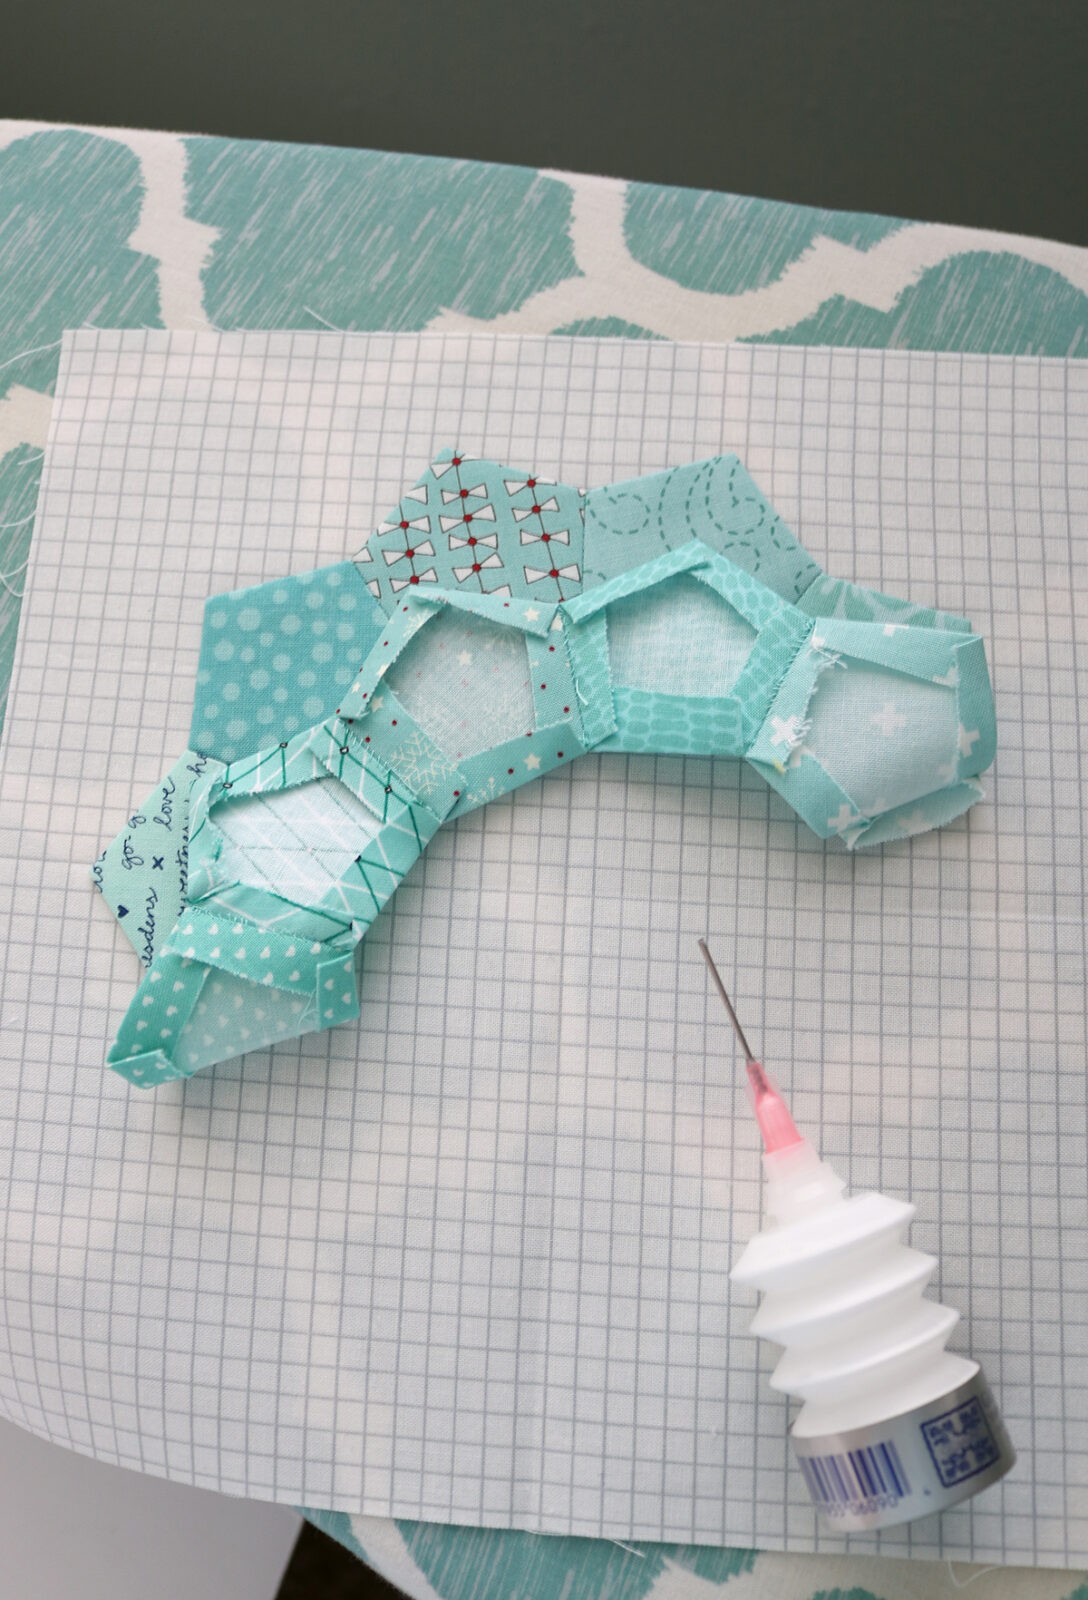
Press the ring with an iron to crease the edges and also to loosen the glue a little. Then remove the papers. Sometimes you may need to peel up the edge of the fabric with your fingernail a little – and that’s okay!
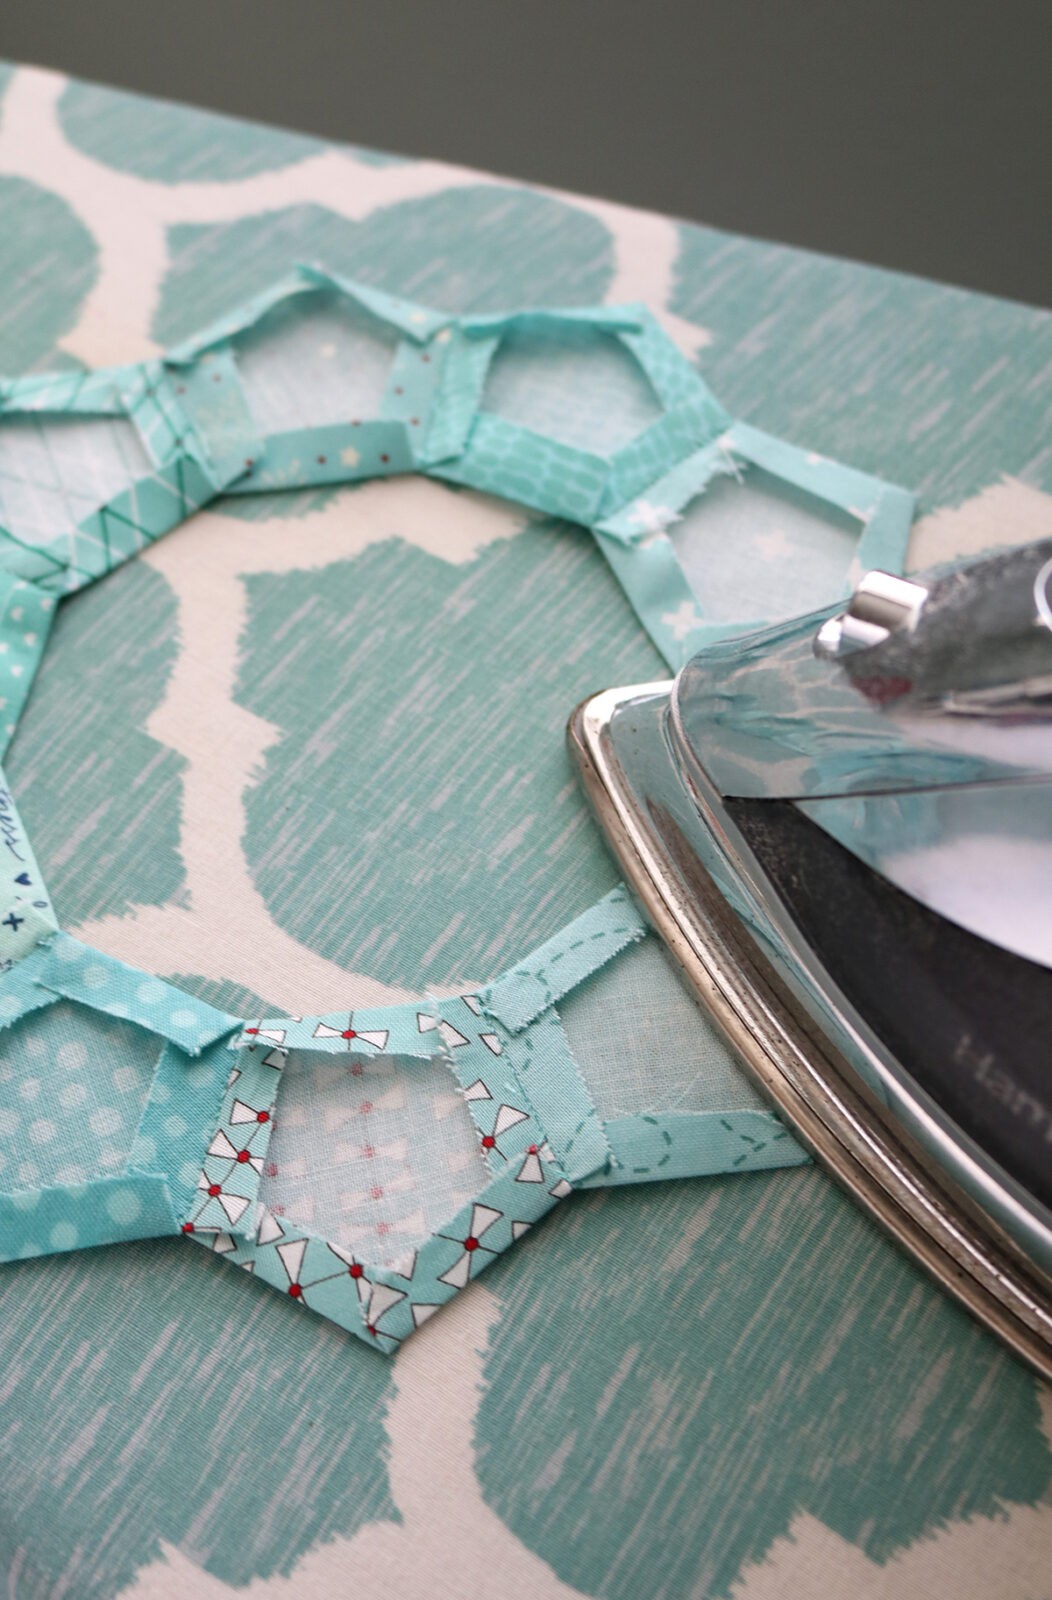
Once all of the papers are removed, give the ring another good press.
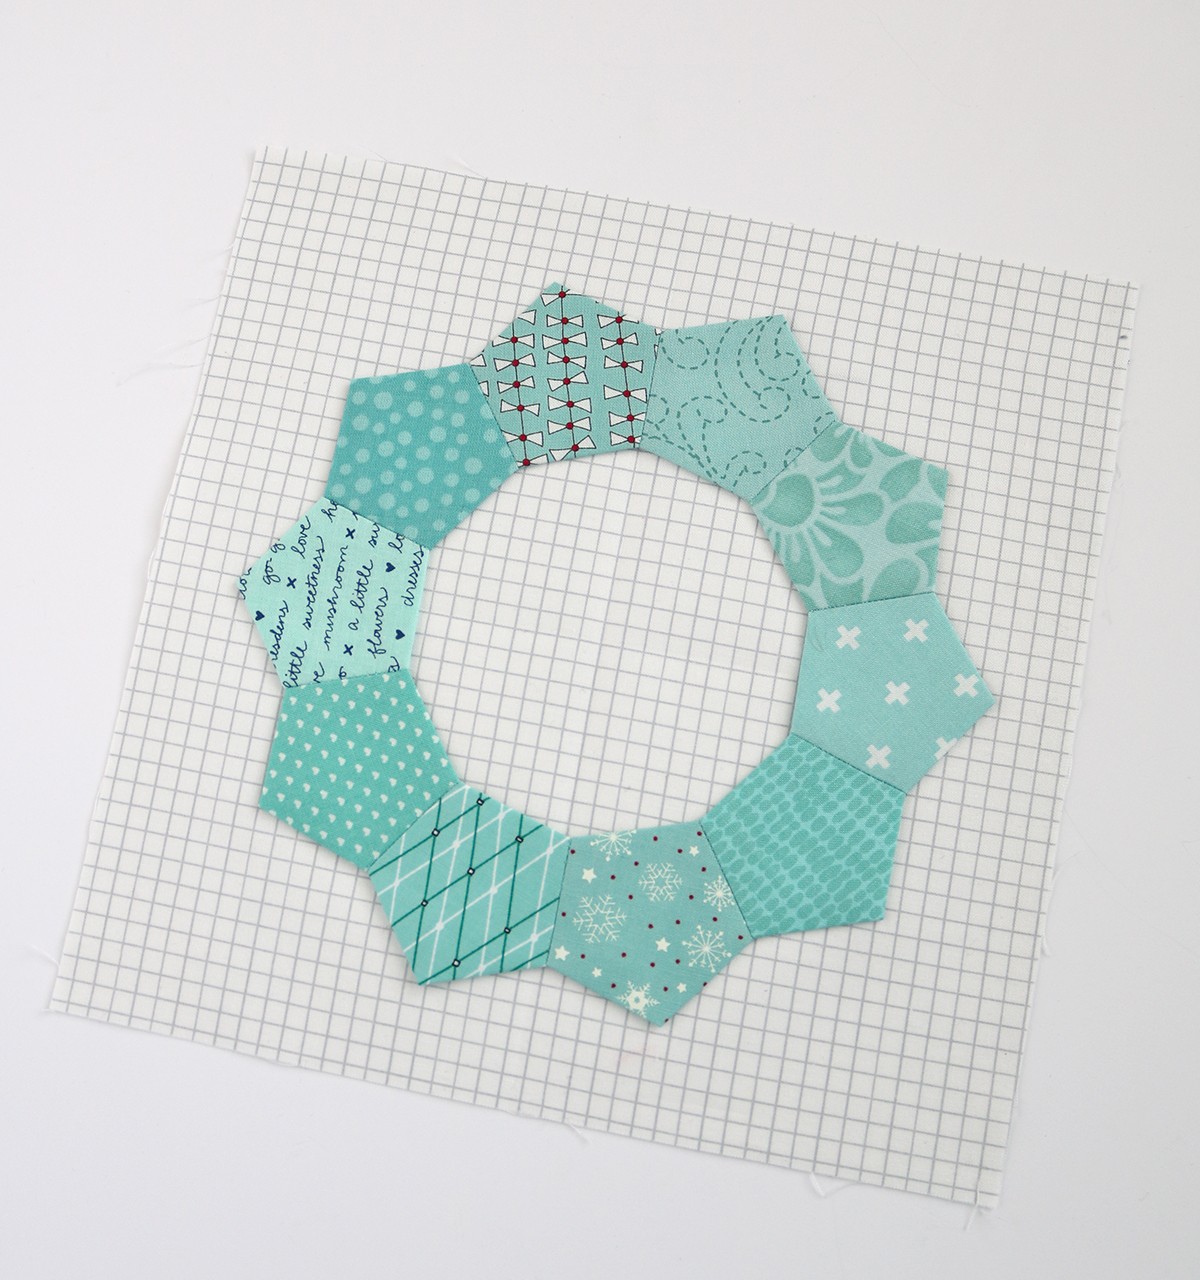
Fold the 9 1/2″ square in half length-wise and finger press, then unfold. Fold in half width-wise and finger press. This creates two creases that will help you center your pentagon ring.
Center the pentagon ring on your block as shown.
Flip up one side of the ring so that the back is showing. Use some fabric glue to add thin lines of glue to the back, then press in place with your hand. This glue will hold the ring in place as you applique it.
Flip up the other side of the ring, glue, and press in place as before.
Your ring is now ready for applique! You can choose to hand stitch it if you’d like, but for this version we will be machine stitching.
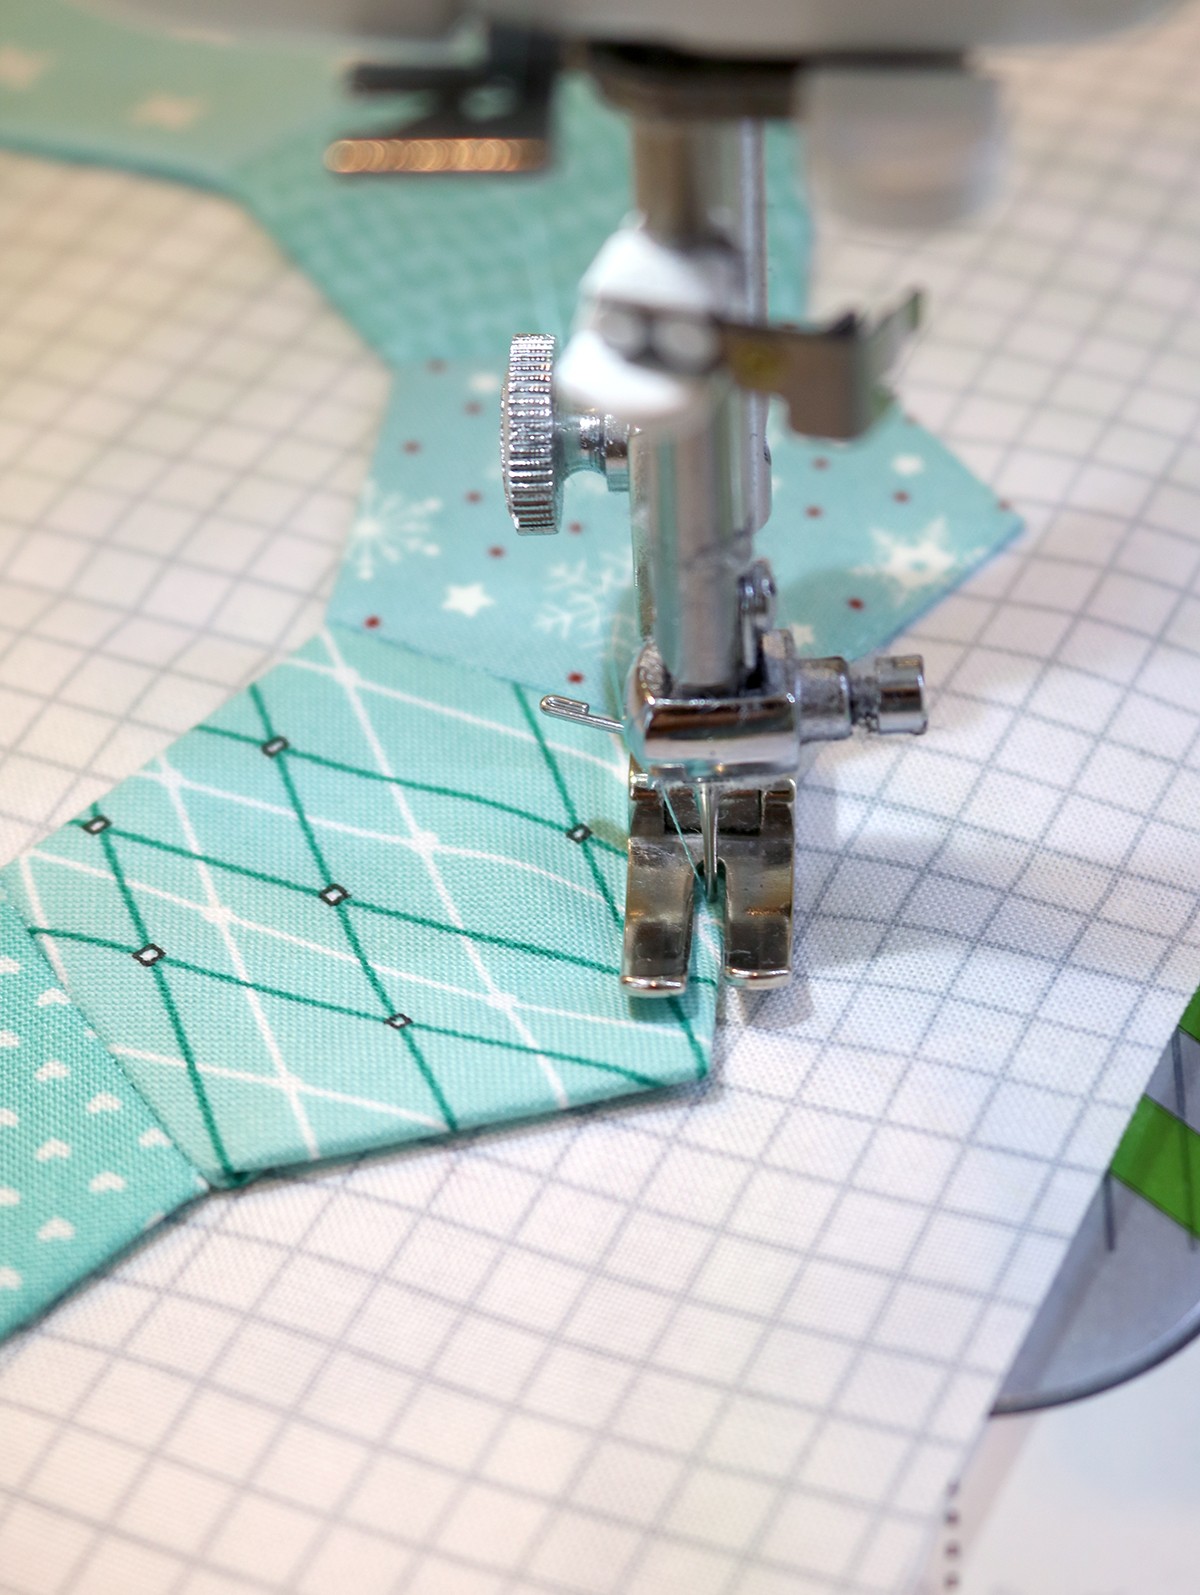
Use a coordinating thread (I used the same PolyLite thread that I did for the hand stitching) and a straight stitch to stitch around the outside of the block, pivoting at the points. I also recommend a slightly shorter stitch length.
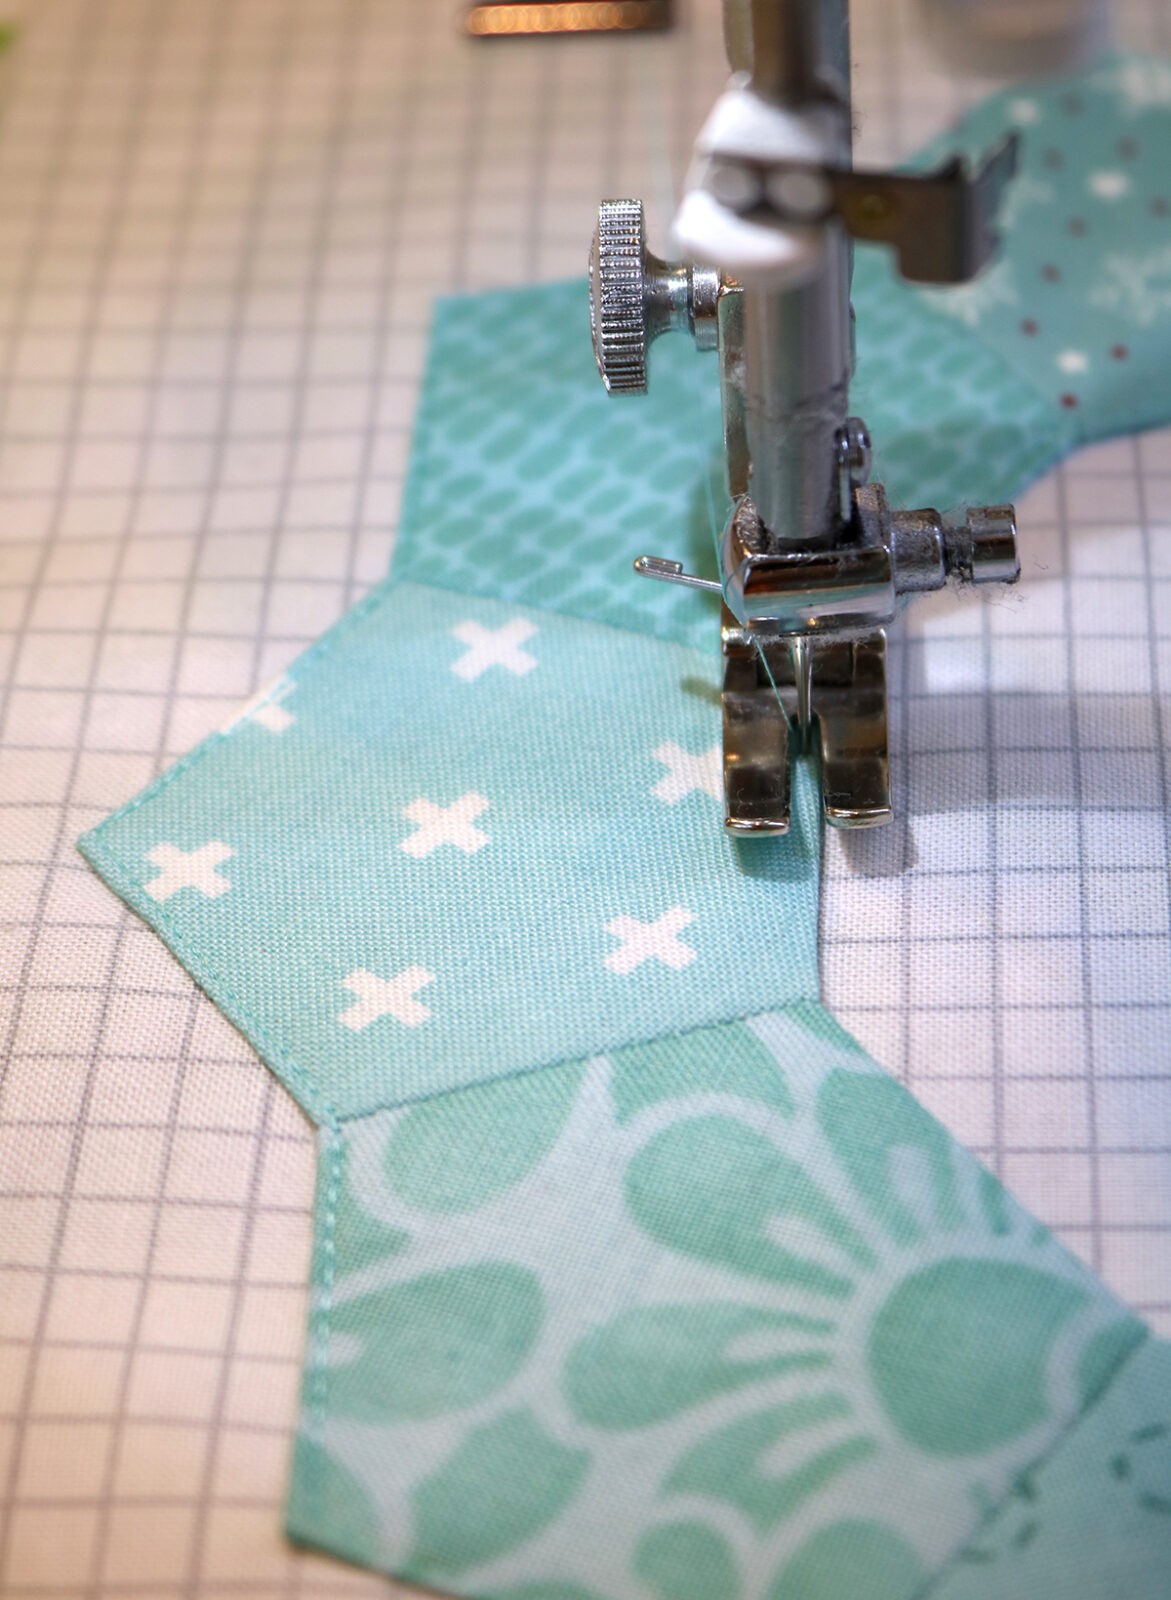
Then stitch around the inside of the ring.
Your block is done!
Find Andy’s work in several books and magazines including Love Patchwork & Quilting and American Patchwork & Quilting.
Website: ABrightCorner.com
Pattern shop: abrightcornershop.com
Instagram: @abrightcorner
Facebook: facebook.com/abrightcorner
Pinterest: pinterest.com/abrightcorner

Ellen March
I am the Director of Content for Sulky of America. The former Editor in Chief of Sew News and Creative Machine Embroidery magazines, I hosted Sew it All TV on PBS for nine seasons. I've appeared on It's Sew Easy on PBS, DIY Network's Uncommon Threads, Hallmark's Marie Osmond Show, MacPhee Workshop and more! Come sew with me!


3 Comments
Maggie Drafts
Andy, you give beautiful, explicit directions! I am no longer able to do ANYTHING by hand, but I surely enjoyed reading your post! Good job!
I’m just sittin’ and wishin’ !
Carolyn Overcash
Some of our church ladies did this in a class but did not use any glue. While I don’t want to do a large quilt, I found learning the process fun and informative. Will use the process in mixed media wall art which I’m just learning how to do.
kaholly
Great tutorial! I just happen to need a quick hand project to work on while I make a quick trip back east. Thanks.