How to Embroider Blanks for Teacher Gifts

Learn how to embroider blanks to create teacher gifts that have a handmade touch. Hand towels, pillows and even T-shirts make great gifts for teachers who have been tirelessly adapting and changing their teaching styles all year long. Show how much you appreciate the teachers in your life and gift them a personalized present. Plus, learn how easy it is to embroider blanks in the process. Embroider the same gift assembly-line style or grab several different types of blanks so everyone gets something different.
WHAT YOU NEED
- Embroidery blank, such as a hand towel, pillow cover, zipper pouch
- Stabilizer: Sulky Sticky+™ or Sulky Sticky Fabri-Solvy™
- Thread: Sulky 40 wt. Poly Deco™ (needle), Sulky PolyLite™ (bobbin)
- Needles: Organ® 90/14 Embroidery
- Sulky Sticky+ Slitting Pen
- Removable Fabric Marker or Chalk Pencil
- Embroidery design, such as one from the Teacher Sayings Collection by Bunnycup Embroidery (size determined by desired design placement; see “How to Embroider Blanks” below)
WHAT ARE BLANKS?
An embroidery blank is a ready-made item that is specially crafted to allow for machine embroidery embellishment. Some blanks have zippers or openings that are placed in such a way to allow for hooping. Others are simply items with no pattern, design or print so nothing interferes with the embroidery you’re going to add.
Blanks are made from all sorts of fabric types. Be sure to understand which fabric type you’re purchasing so you can formulate your embroidery “recipe” of thread, stabilizer and needle appropriately. The following instructions are generalized for the majority of stable/woven blanks.
If you’re embroidering a T-shirt, onesie or a knit/stretch blank, please refer to How to Embroider a T-shirt for more advice on the “recipe” to use.
HOW TO EMBROIDER BLANKS
In general, blanks won’t accommodate a super large design. Decide on the area you’d like for the embroidery and mark the perimeter using a removable fabric marker or chalk pencil. Measure the area and choose a design that fits within your design space.
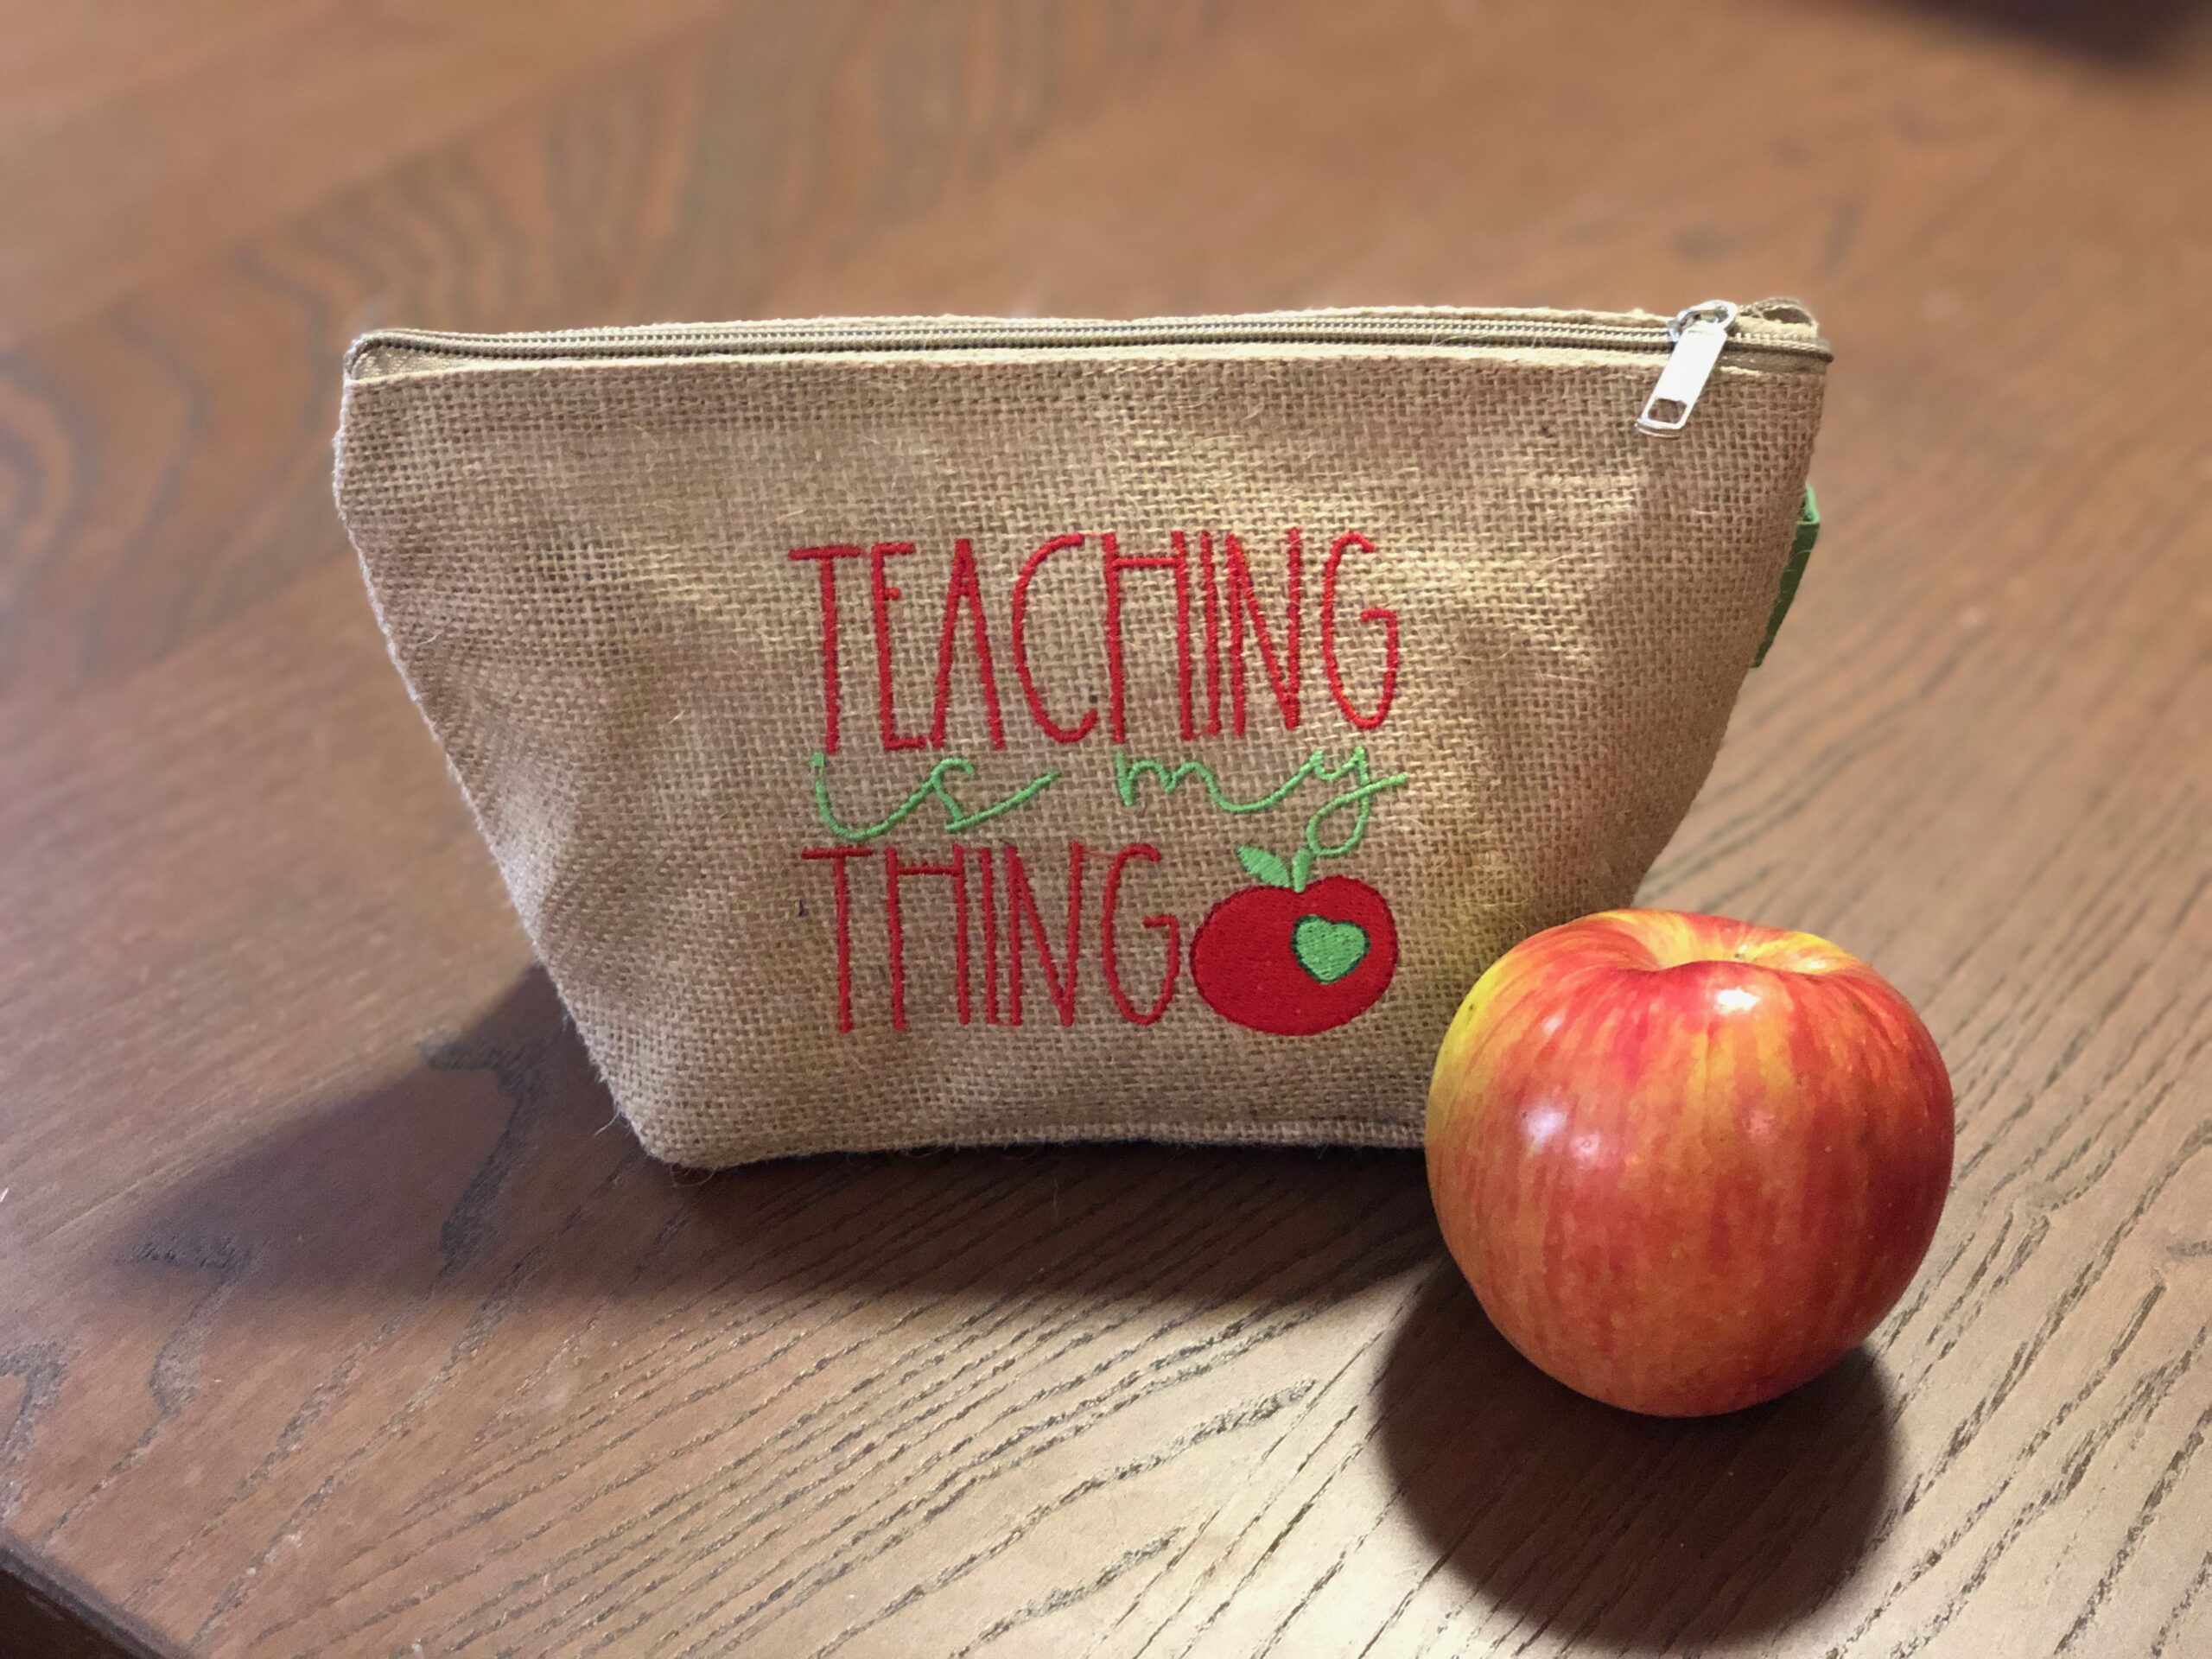
(The featured design is “Teaching is my Thing,” which comes in three sizes. The 4.81mm x 4.81mm size was used for the featured project.)

Teacher Sayings Collection from BunnyCup Embroidery
Most blanks don’t have a lining added that covers the back of the embroidery, so you’ll want to use a stabilizer that’s completely removable. The Sticky+ Stabilizer is a tear-away variety. The Sticky Fabri-Solvy is a wash-away variety. Use the wash-away on lighter weight fabrics. Use the tear-away on heavier weight fabrics. (If embroidering on a fabric that has a nap, such as terry, velvet or corduroy, use a topper on the fabric right side. Float a piece of Sulky Solvy® over the fabric once it’s hooped. Use Sulky KK 2000™ to secure the Solvy, if desired. Or simply hold it there until stitching begins, being careful to avoid the needle, and then let it go once it’s tacked in a few places.)
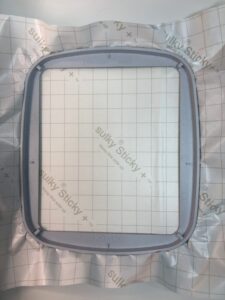
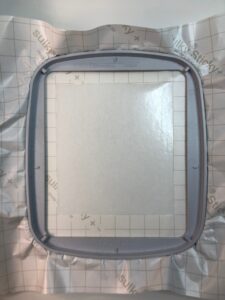
Hoop the stabilizer ONLY in the embroidery hoop. Both recommended stabilizers have an adhesive backing that’s removed within the inner hoop ring to reveal the sticky surface. Most blanks aren’t suited for hooping, as many aren’t large enough to fit into the hoop. Instead, hoop the stabilizer and stick the item right side up onto the stabilizer to secure it in the hoop.
If desired, and for extra security, use the baste-in-the-hoop function to baste the blank to the stabilizer before the design begins. If your machine doesn’t have this function, hand-baste the item to the stabilizer just inside of the inner hoop ring.
EMBROIDER BLANKS STEPS
Thread the needle with Poly Deco Thread and matching Poly Lite Thread in the bobbin. The wrong side of the design will be seen, so choose a matching color so the back looks just as pretty as the front after the stabilizer is removed.
TIP: Poly Deco is colorfast and bleachable, making it a great choice for towels and pillow covers.
Load the design into the embroidery machine.
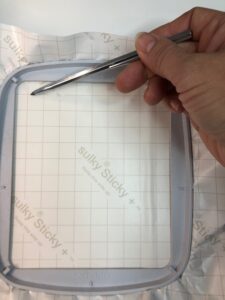
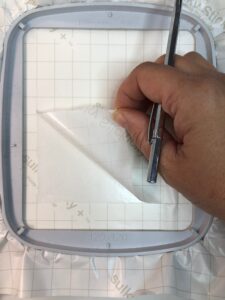
Hoop the stabilizer with the paper side facing up. Score the paper within the inner hoop ring using the Sulky Sticky+ Slitting Pen. Lift the paper from the sticky backing and tear it away to reveal the adhesive.
Position the blank on the stabilizer adhesive, centering the desired design markings within the hoop.
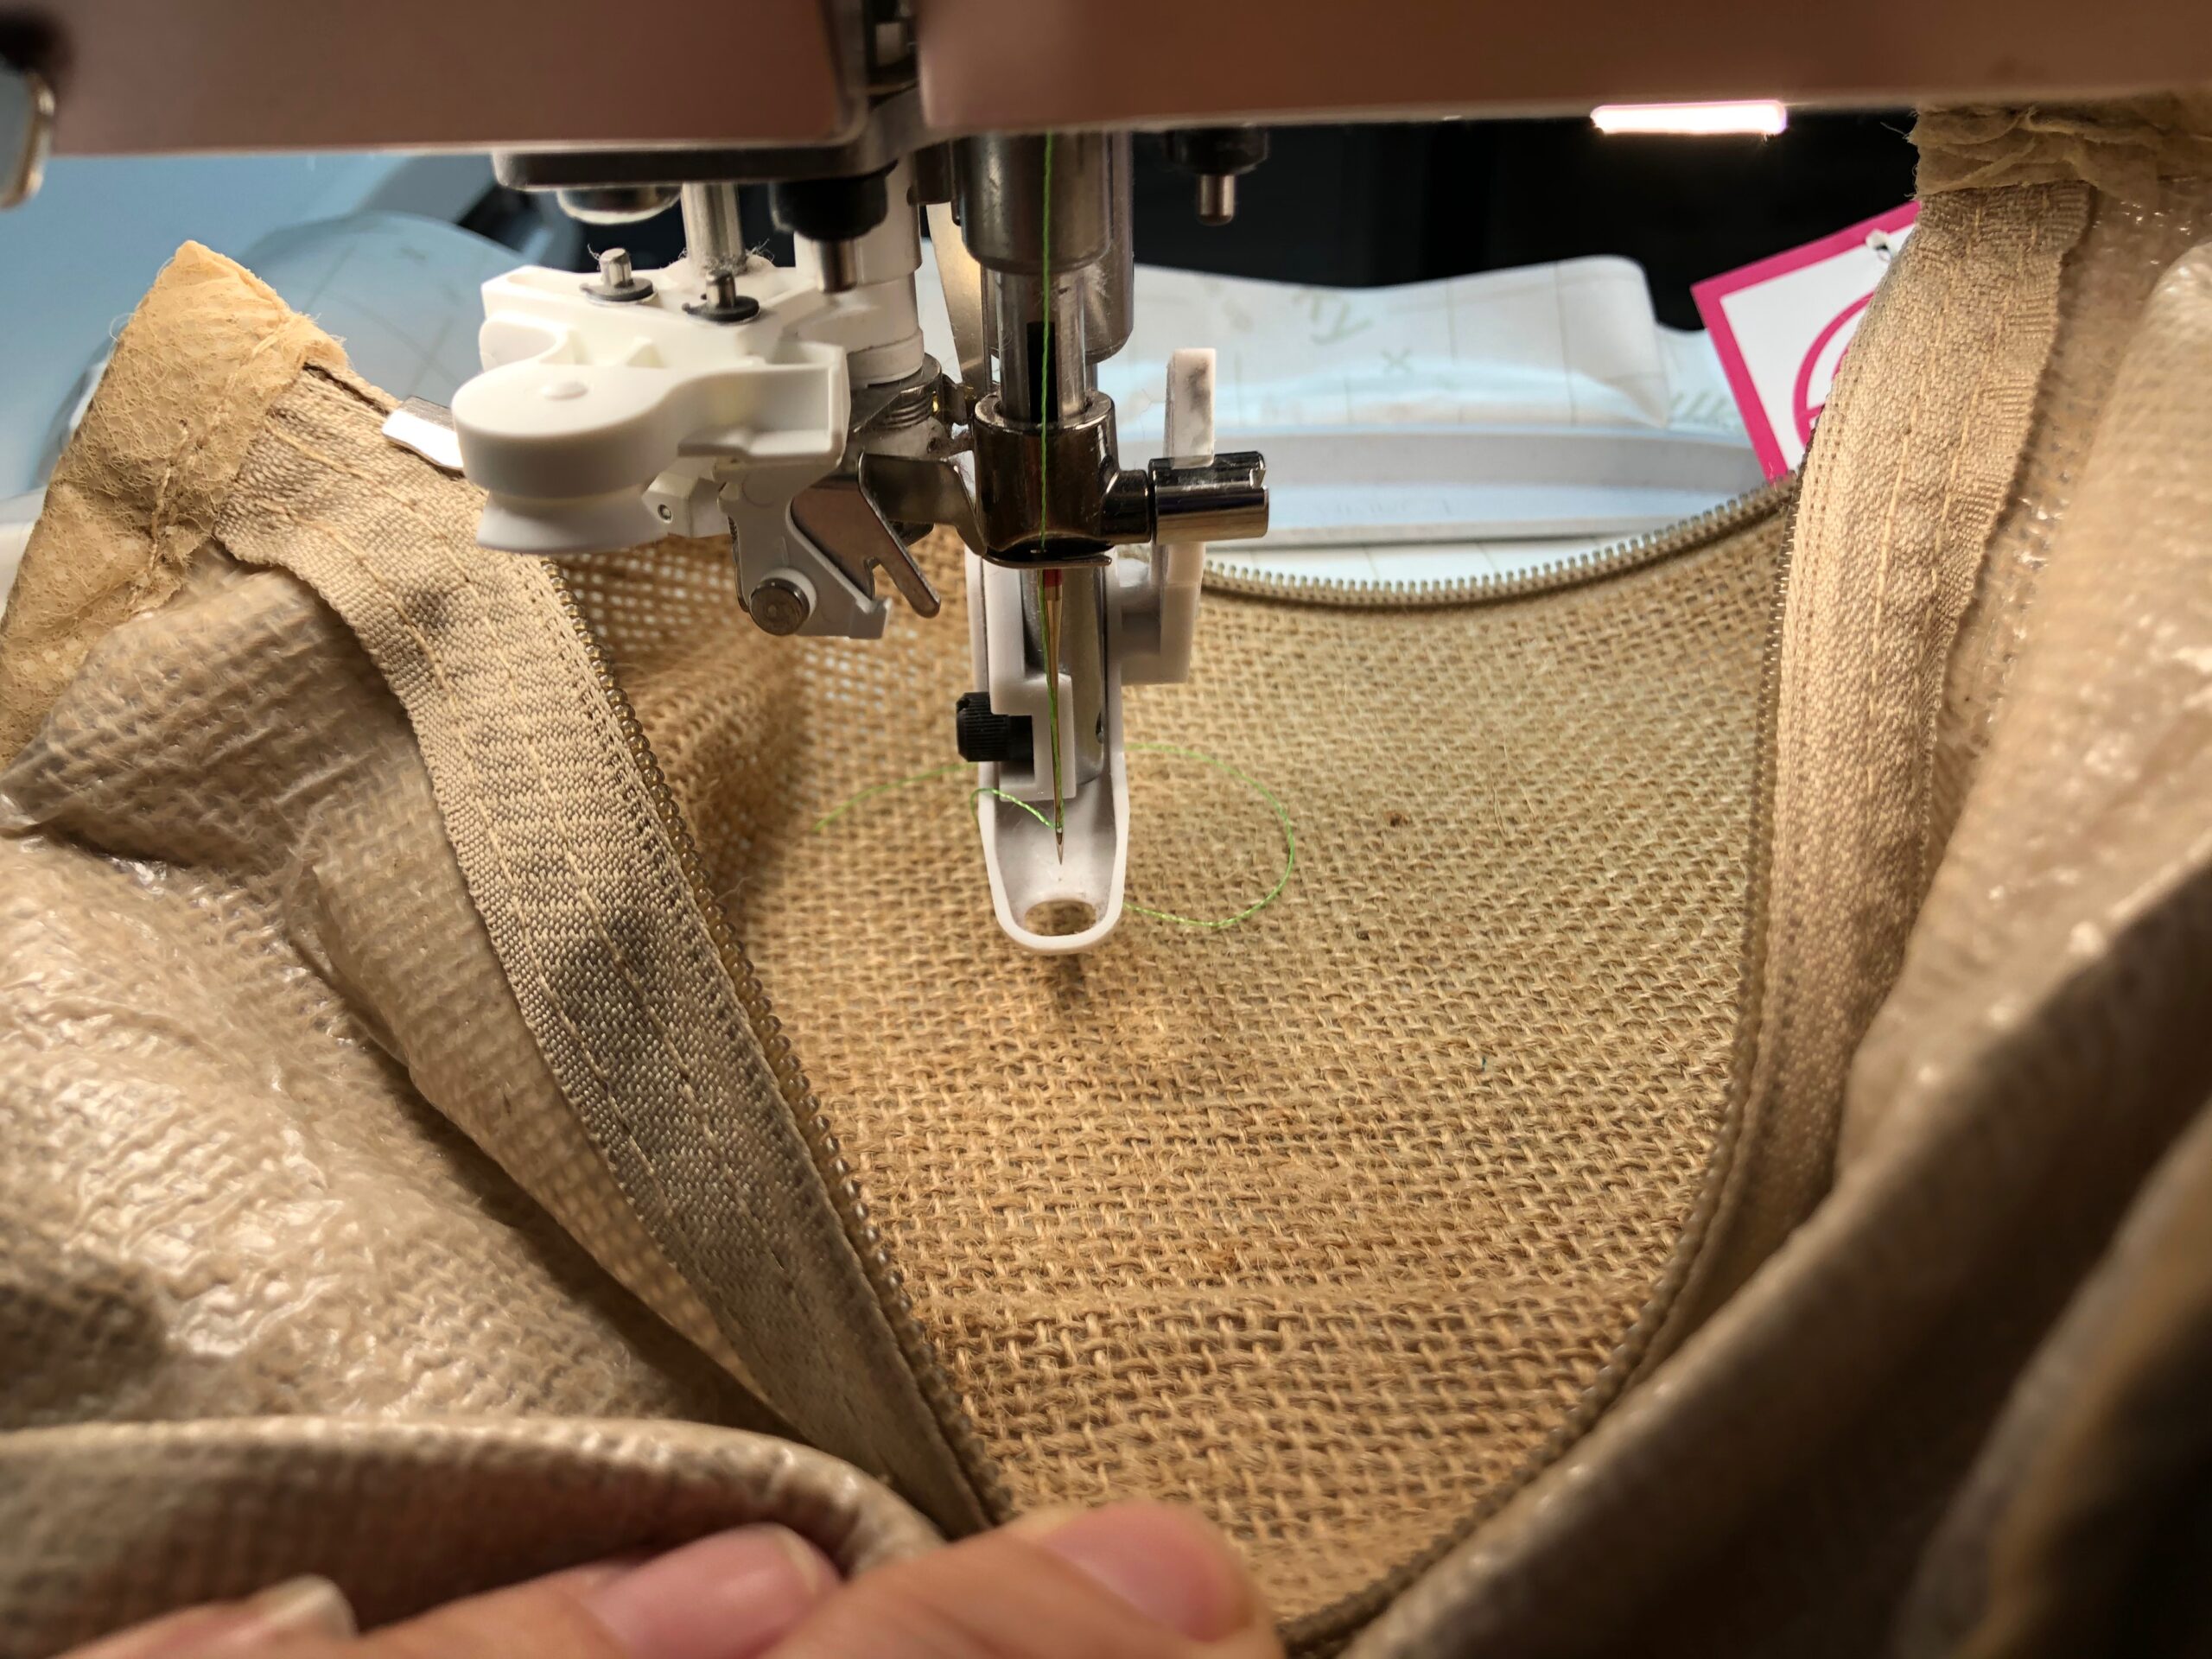
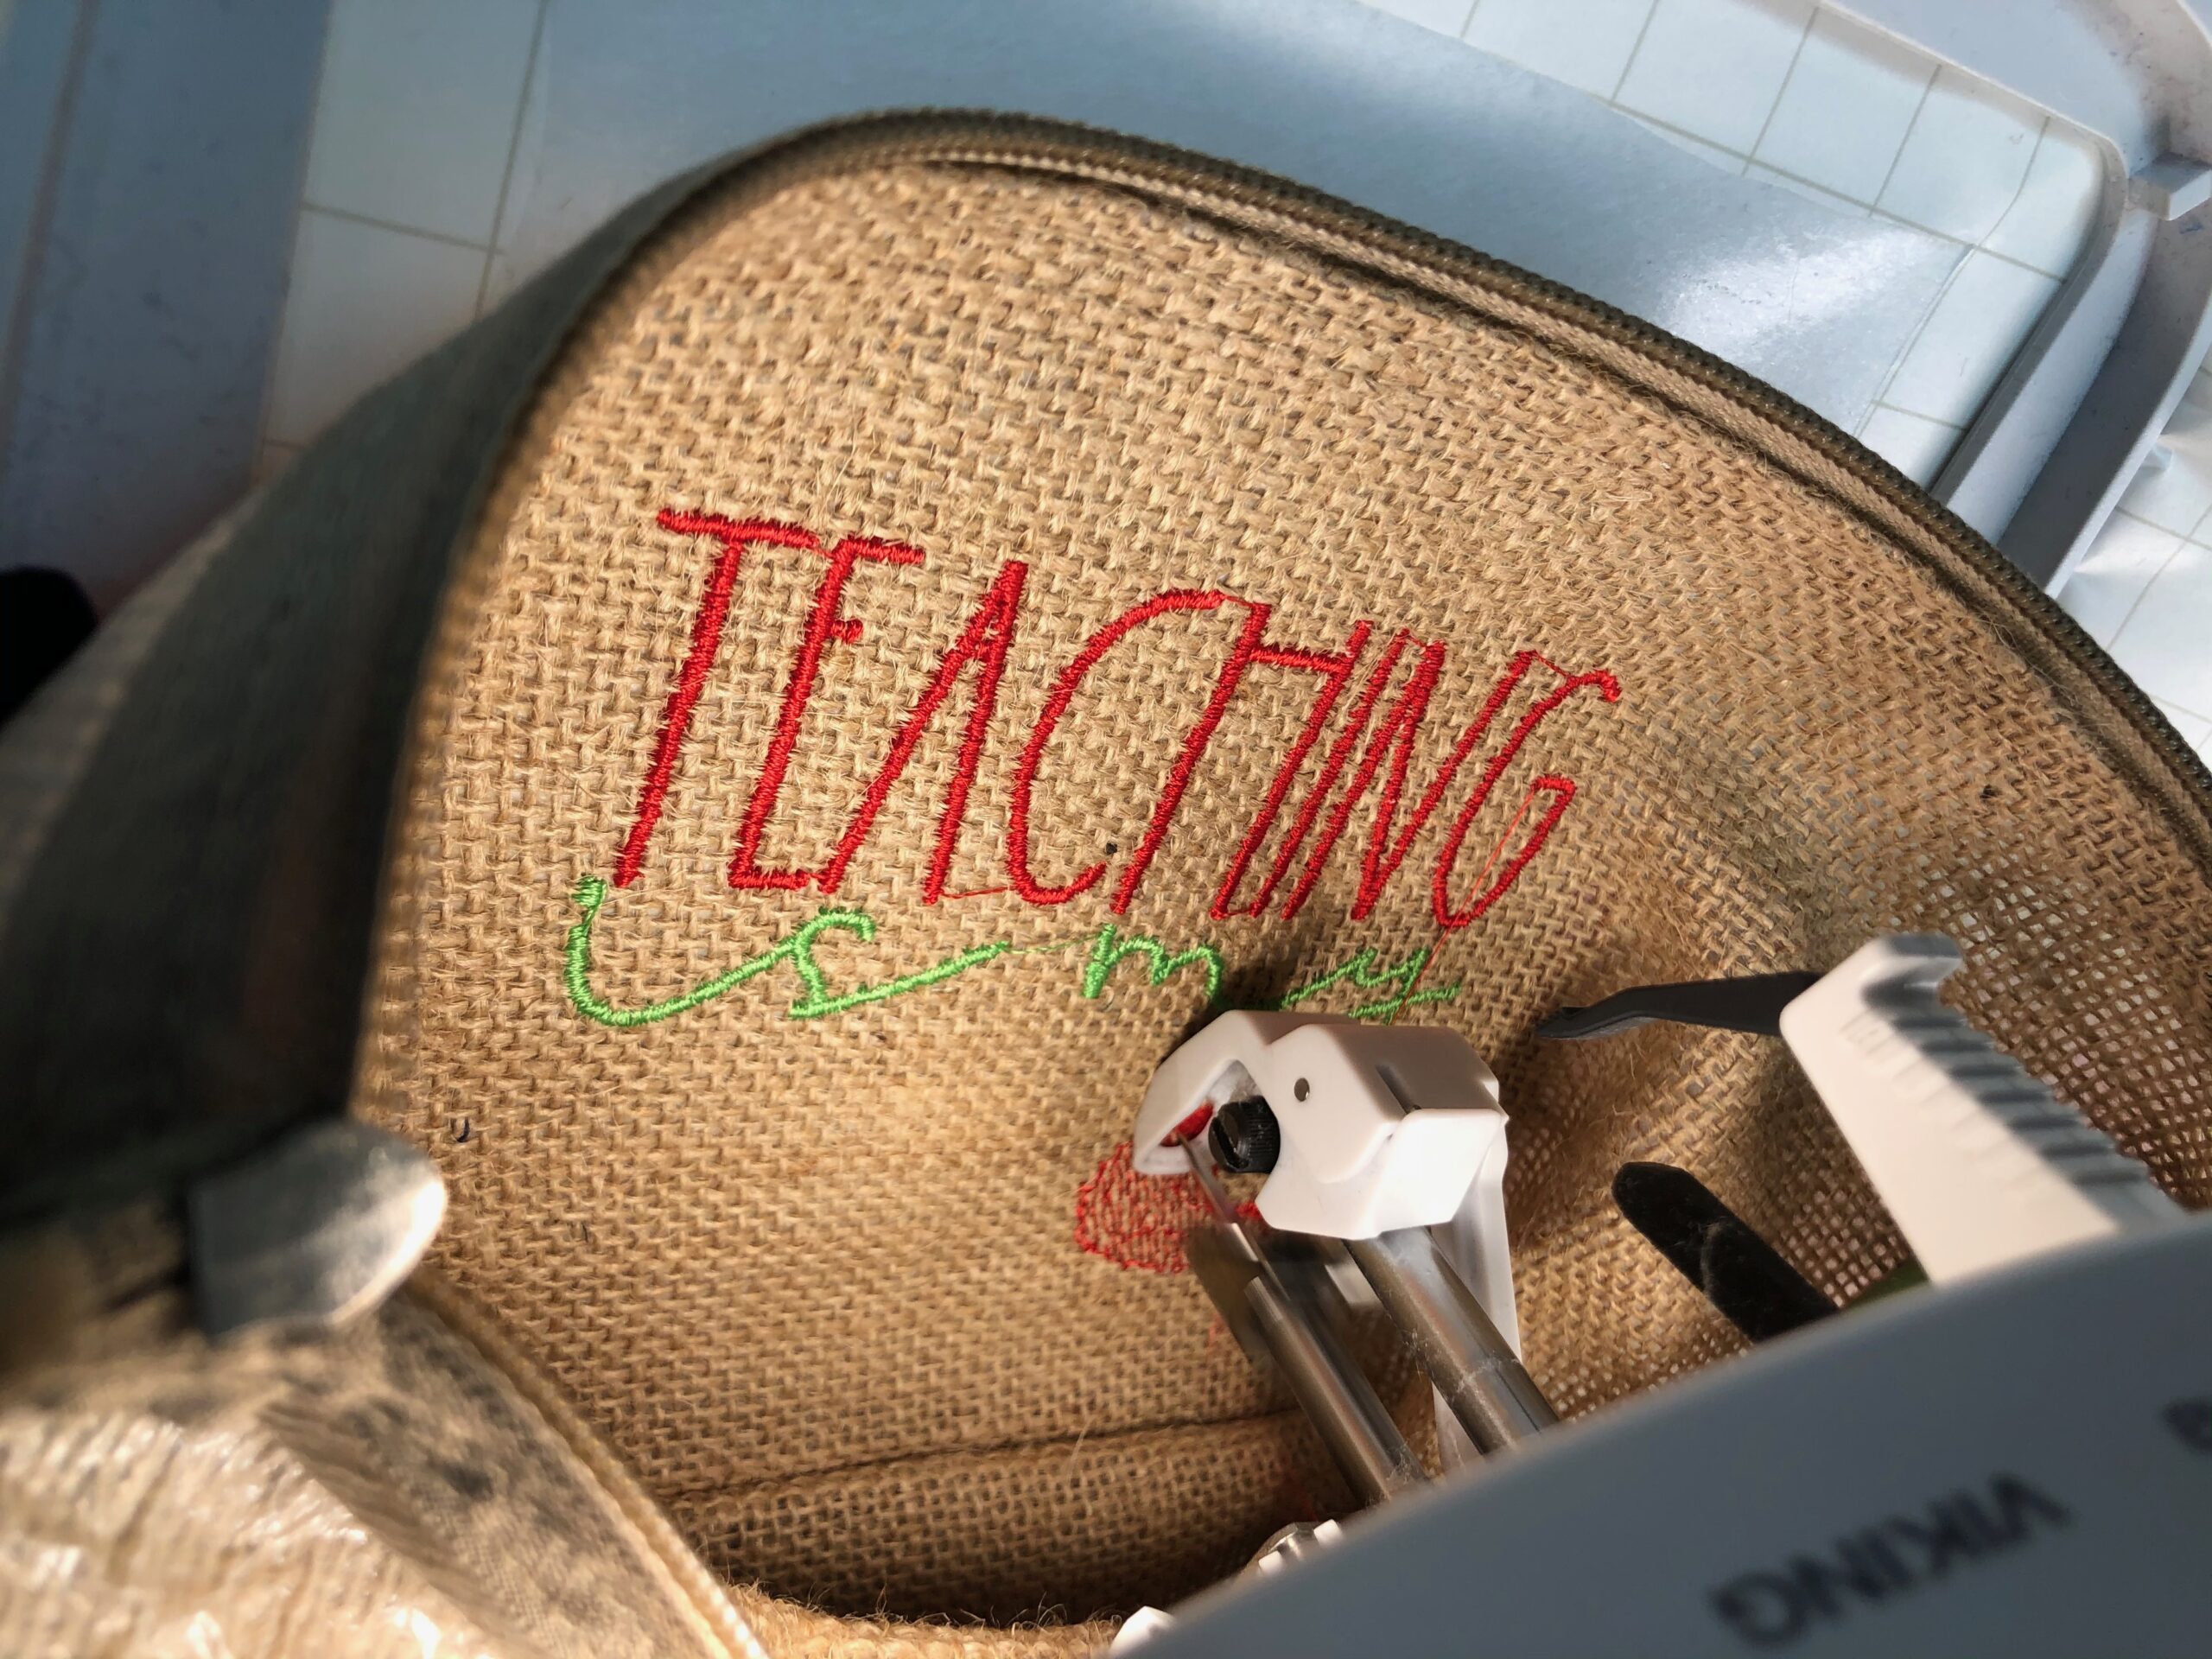
If embroidering a zipper pouch, first turn it wrong side out; then position the right side of the fabric on the sticky stabilizer. It may look like you are going to embroider in a “tunnel.” You will need to stay with the project, holding the excess fabric out of the way of the needle during the stitchout. Some zipper pouch blanks also don’t open all of the way (depending on size and construction) so it’s not possible to pin or clip the excess out of the way of the needle. Be very careful and slow the machine speed if you’re a first-timer.
Embroider the design, clipping jump threads on the front and back with each thread change.
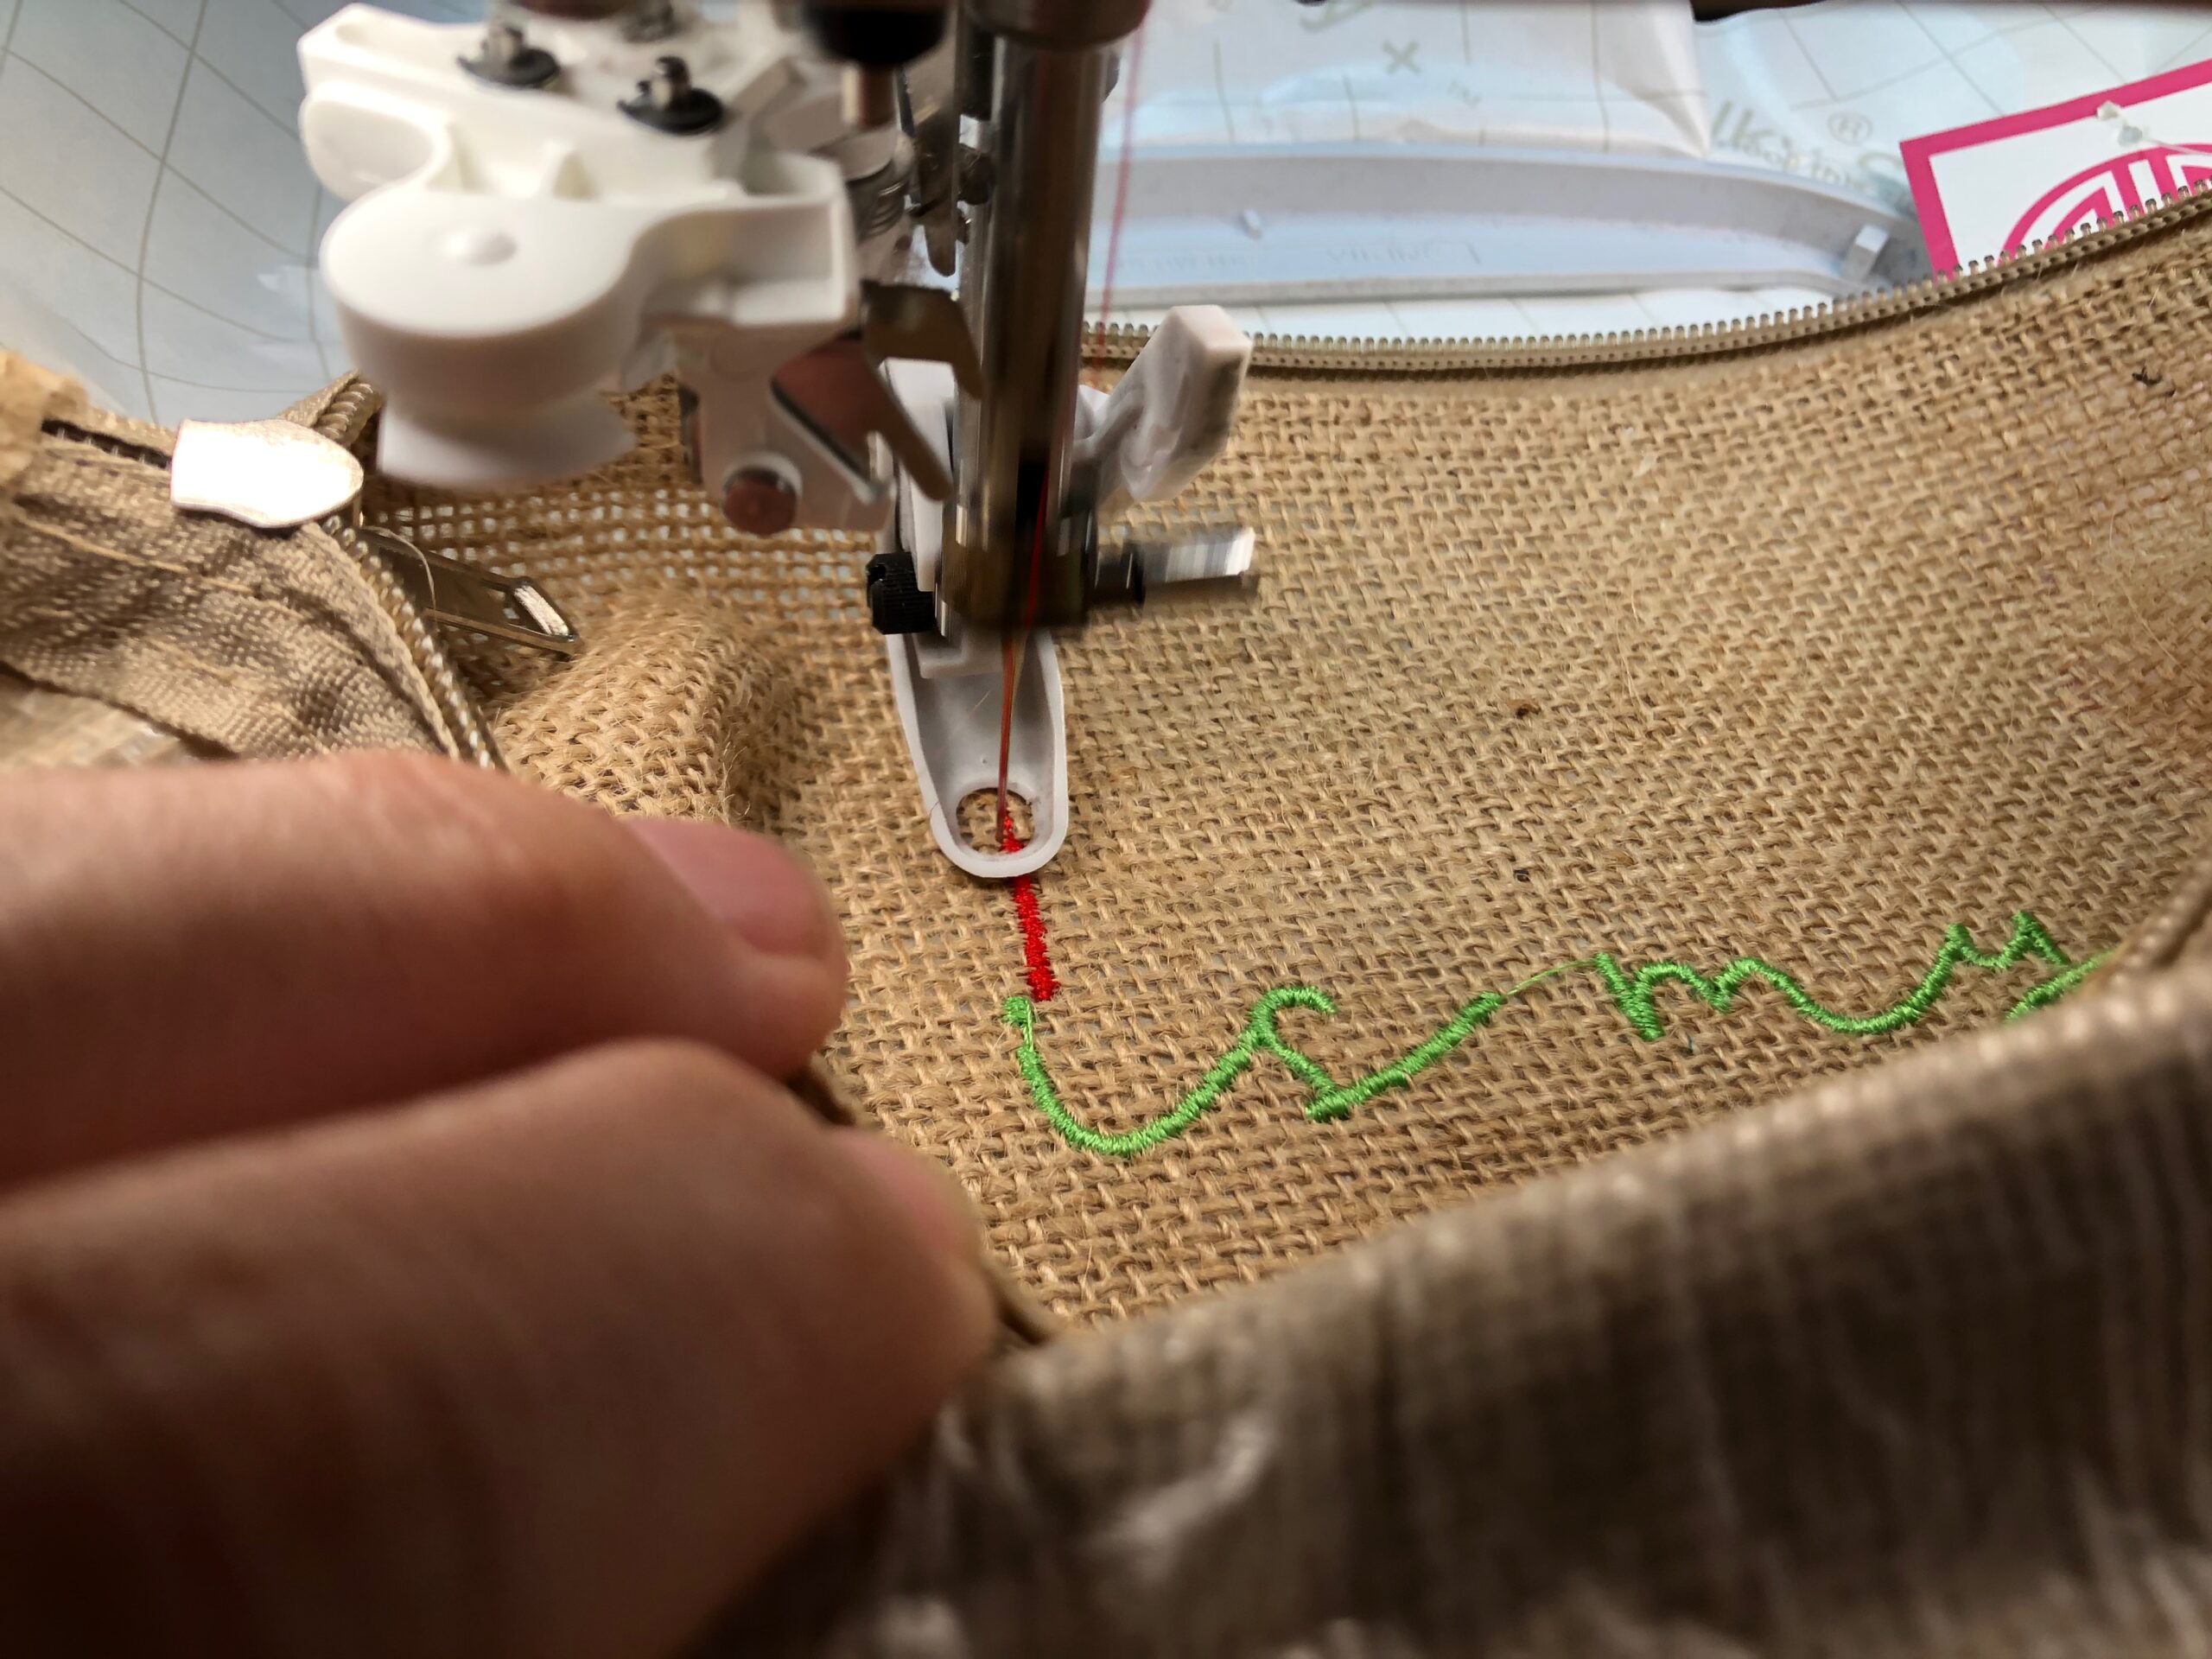
This requires you to remove the hoop from the machine (but NOT the item from the hoop) when switching each thread color. Use a small curved snips to clip jump threads to avoid accidentally snipping the fabric.
For certain portions of the design, you may have to embroider “blindly,” meaning you cannot see the design as it’s stitching because the fabric is hiding your view. Just make sure your fingers are out of the way and the excess fabric is not catching on any part of the machine ankle or foot. If needed, you can probably see the stitchout from the opposite side of the machine to check that it’s embroidering properly.
FINISHING BLANKS
Once embroidery is complete, remove the stabilizer from the hoop. Then, remove the stabilizer from the back of the blank, either by tearing it away gently (Sticky+) or washing it under running water (Sticky Fabri-Solvy). If washing, let the item dry thoroughly.
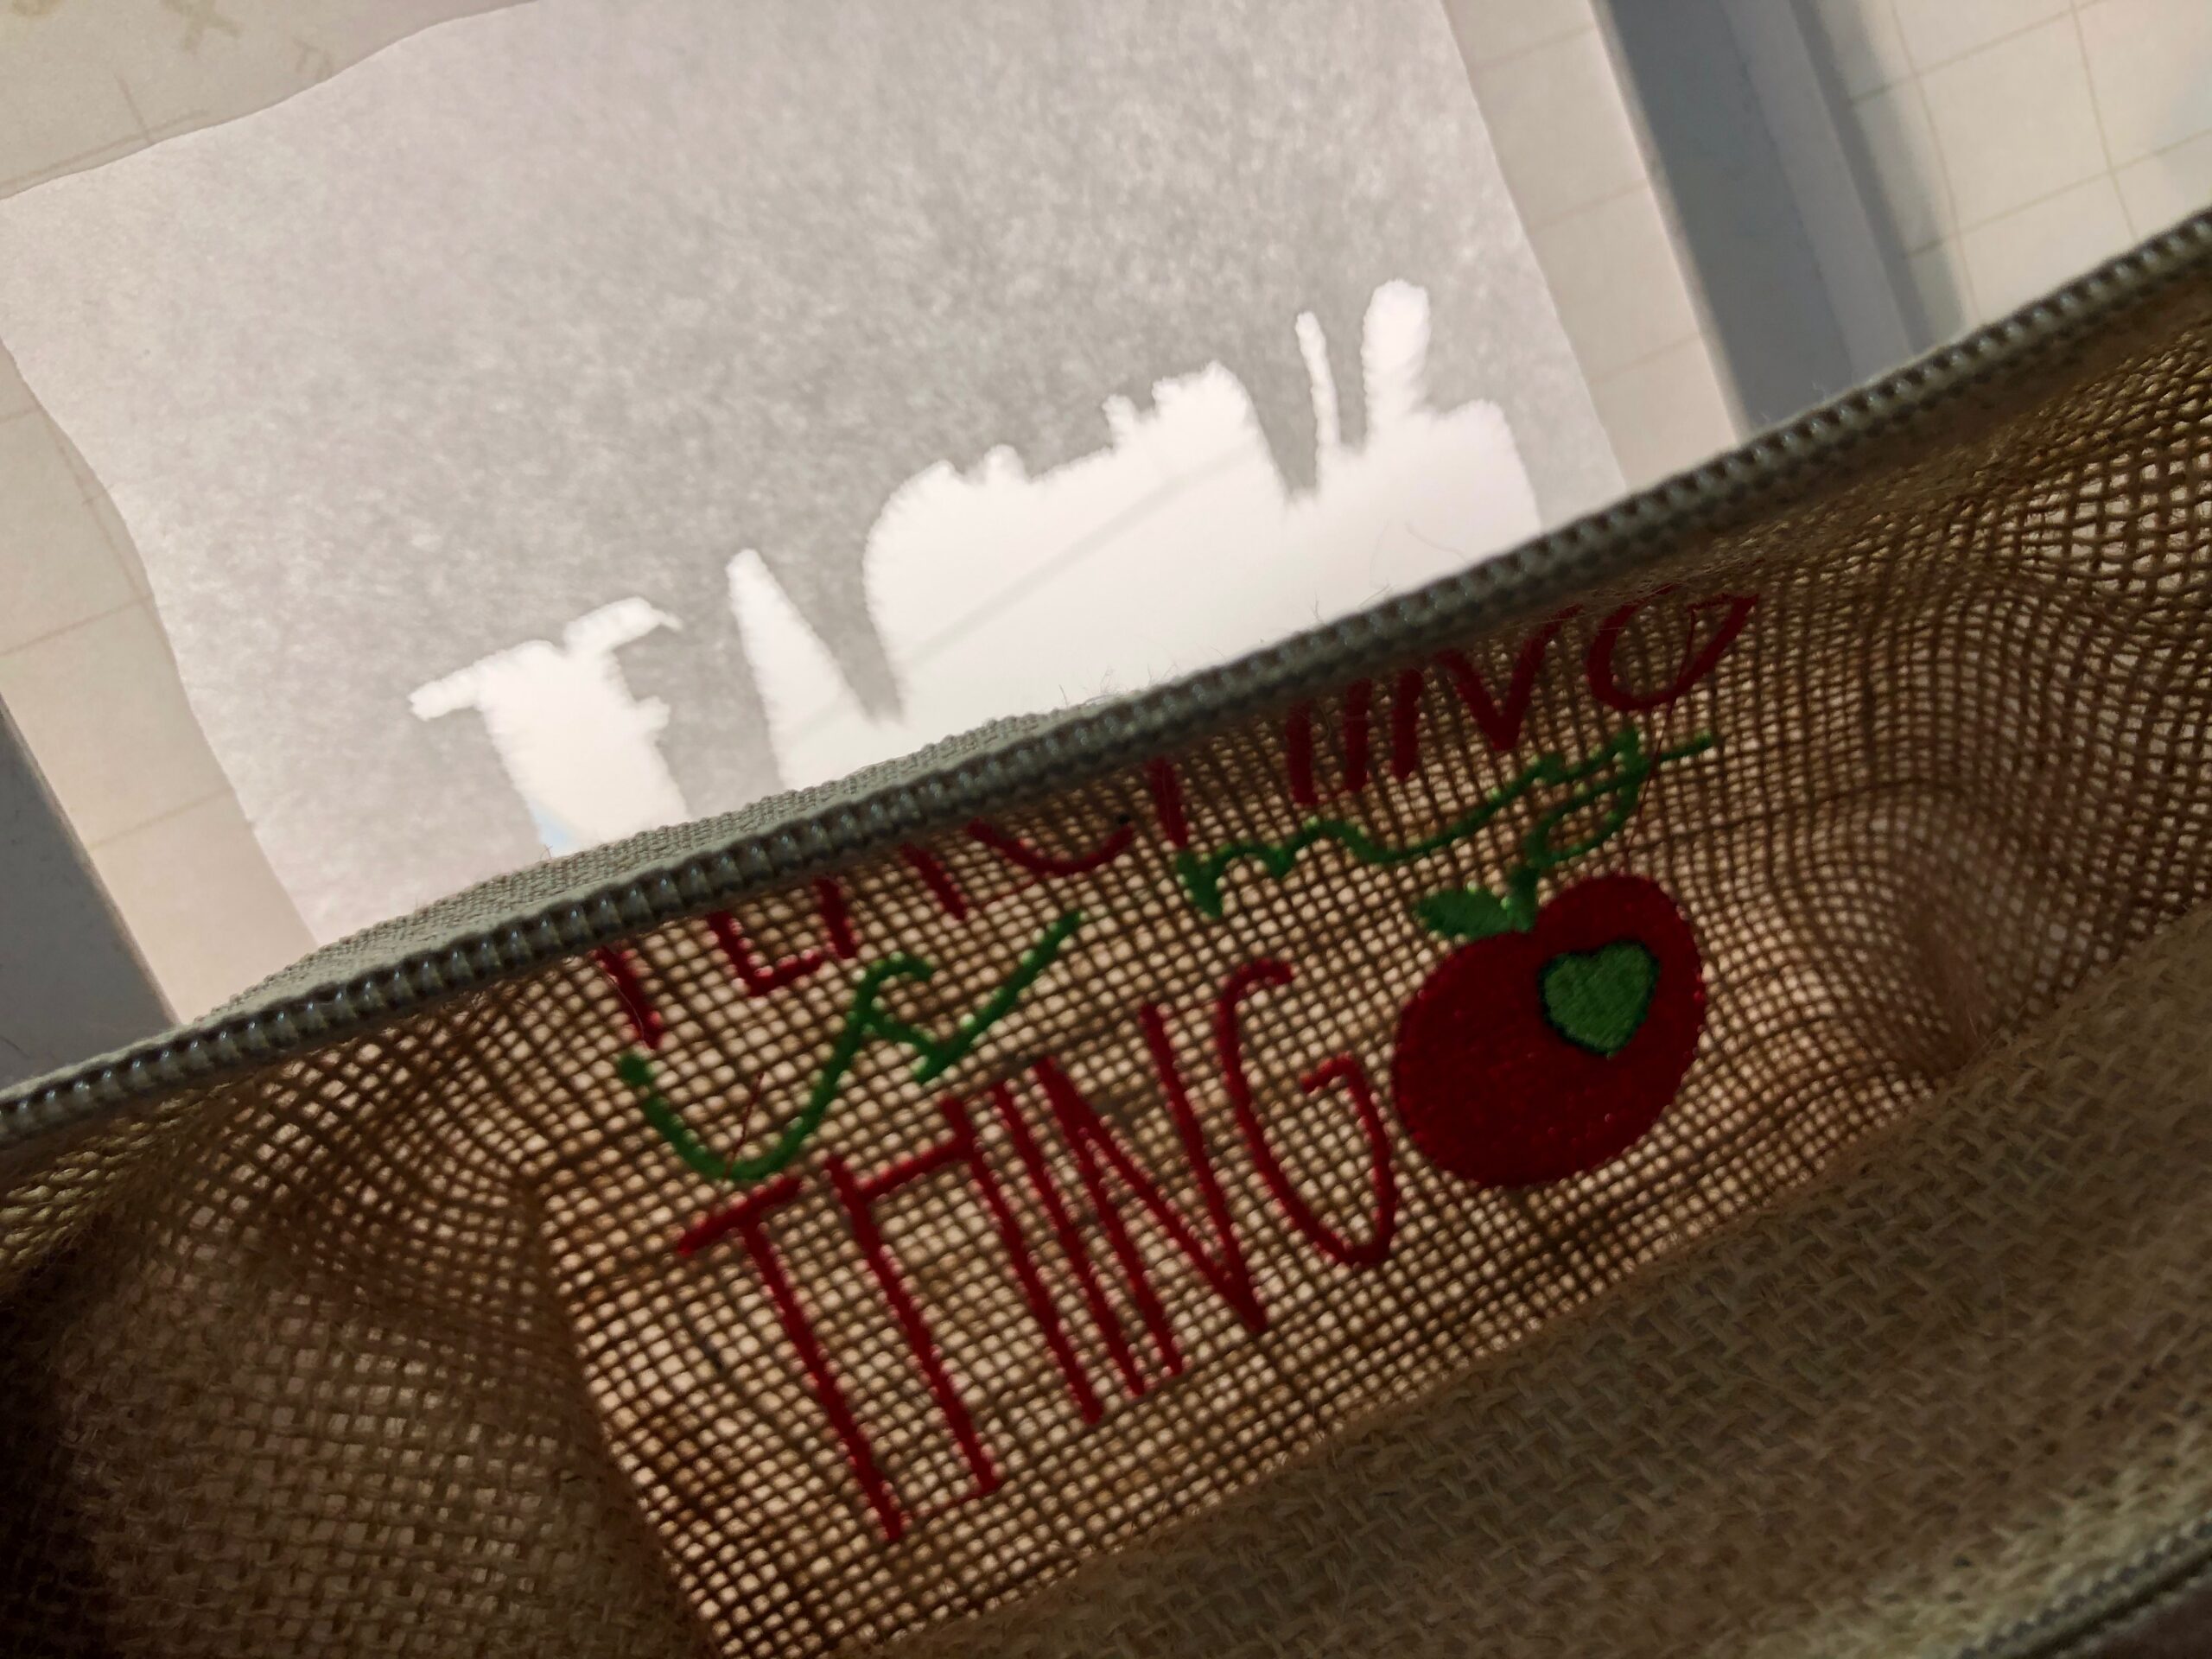
Lastly, press the blank from the wrong side, avoiding the stitching with the iron. Make sure the embroidery blank can withstand heat from the iron prior to pressing! (The featured zipper pouch was NOT ironed.)
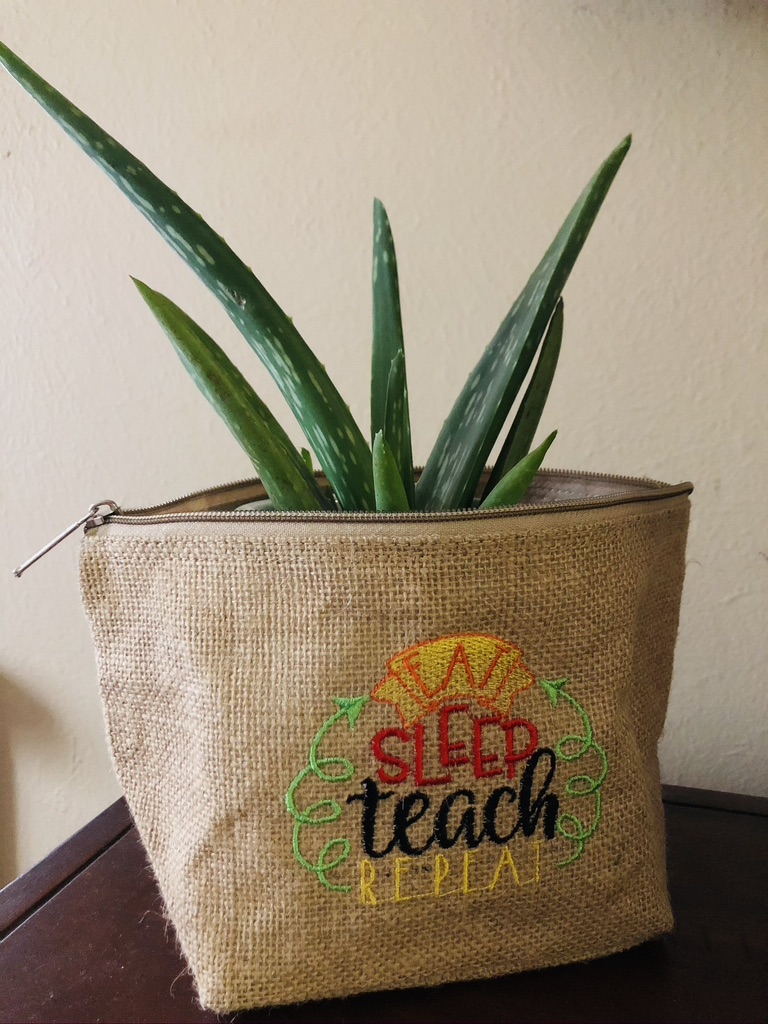
Fold the item nicely, if applicable, and then package it up with some homemade treats, pretty pens & pencils, coffee & tea or a gift card for your favorite teacher. Or, if embroidering the featured zipper pouch, place a plant inside!


where do we buy the blanks?
They are all available here: https://www.sulky.com/products/embroidery-blanks/
Enjoy!