Fall Leaves Embroidery for Fall Wearables
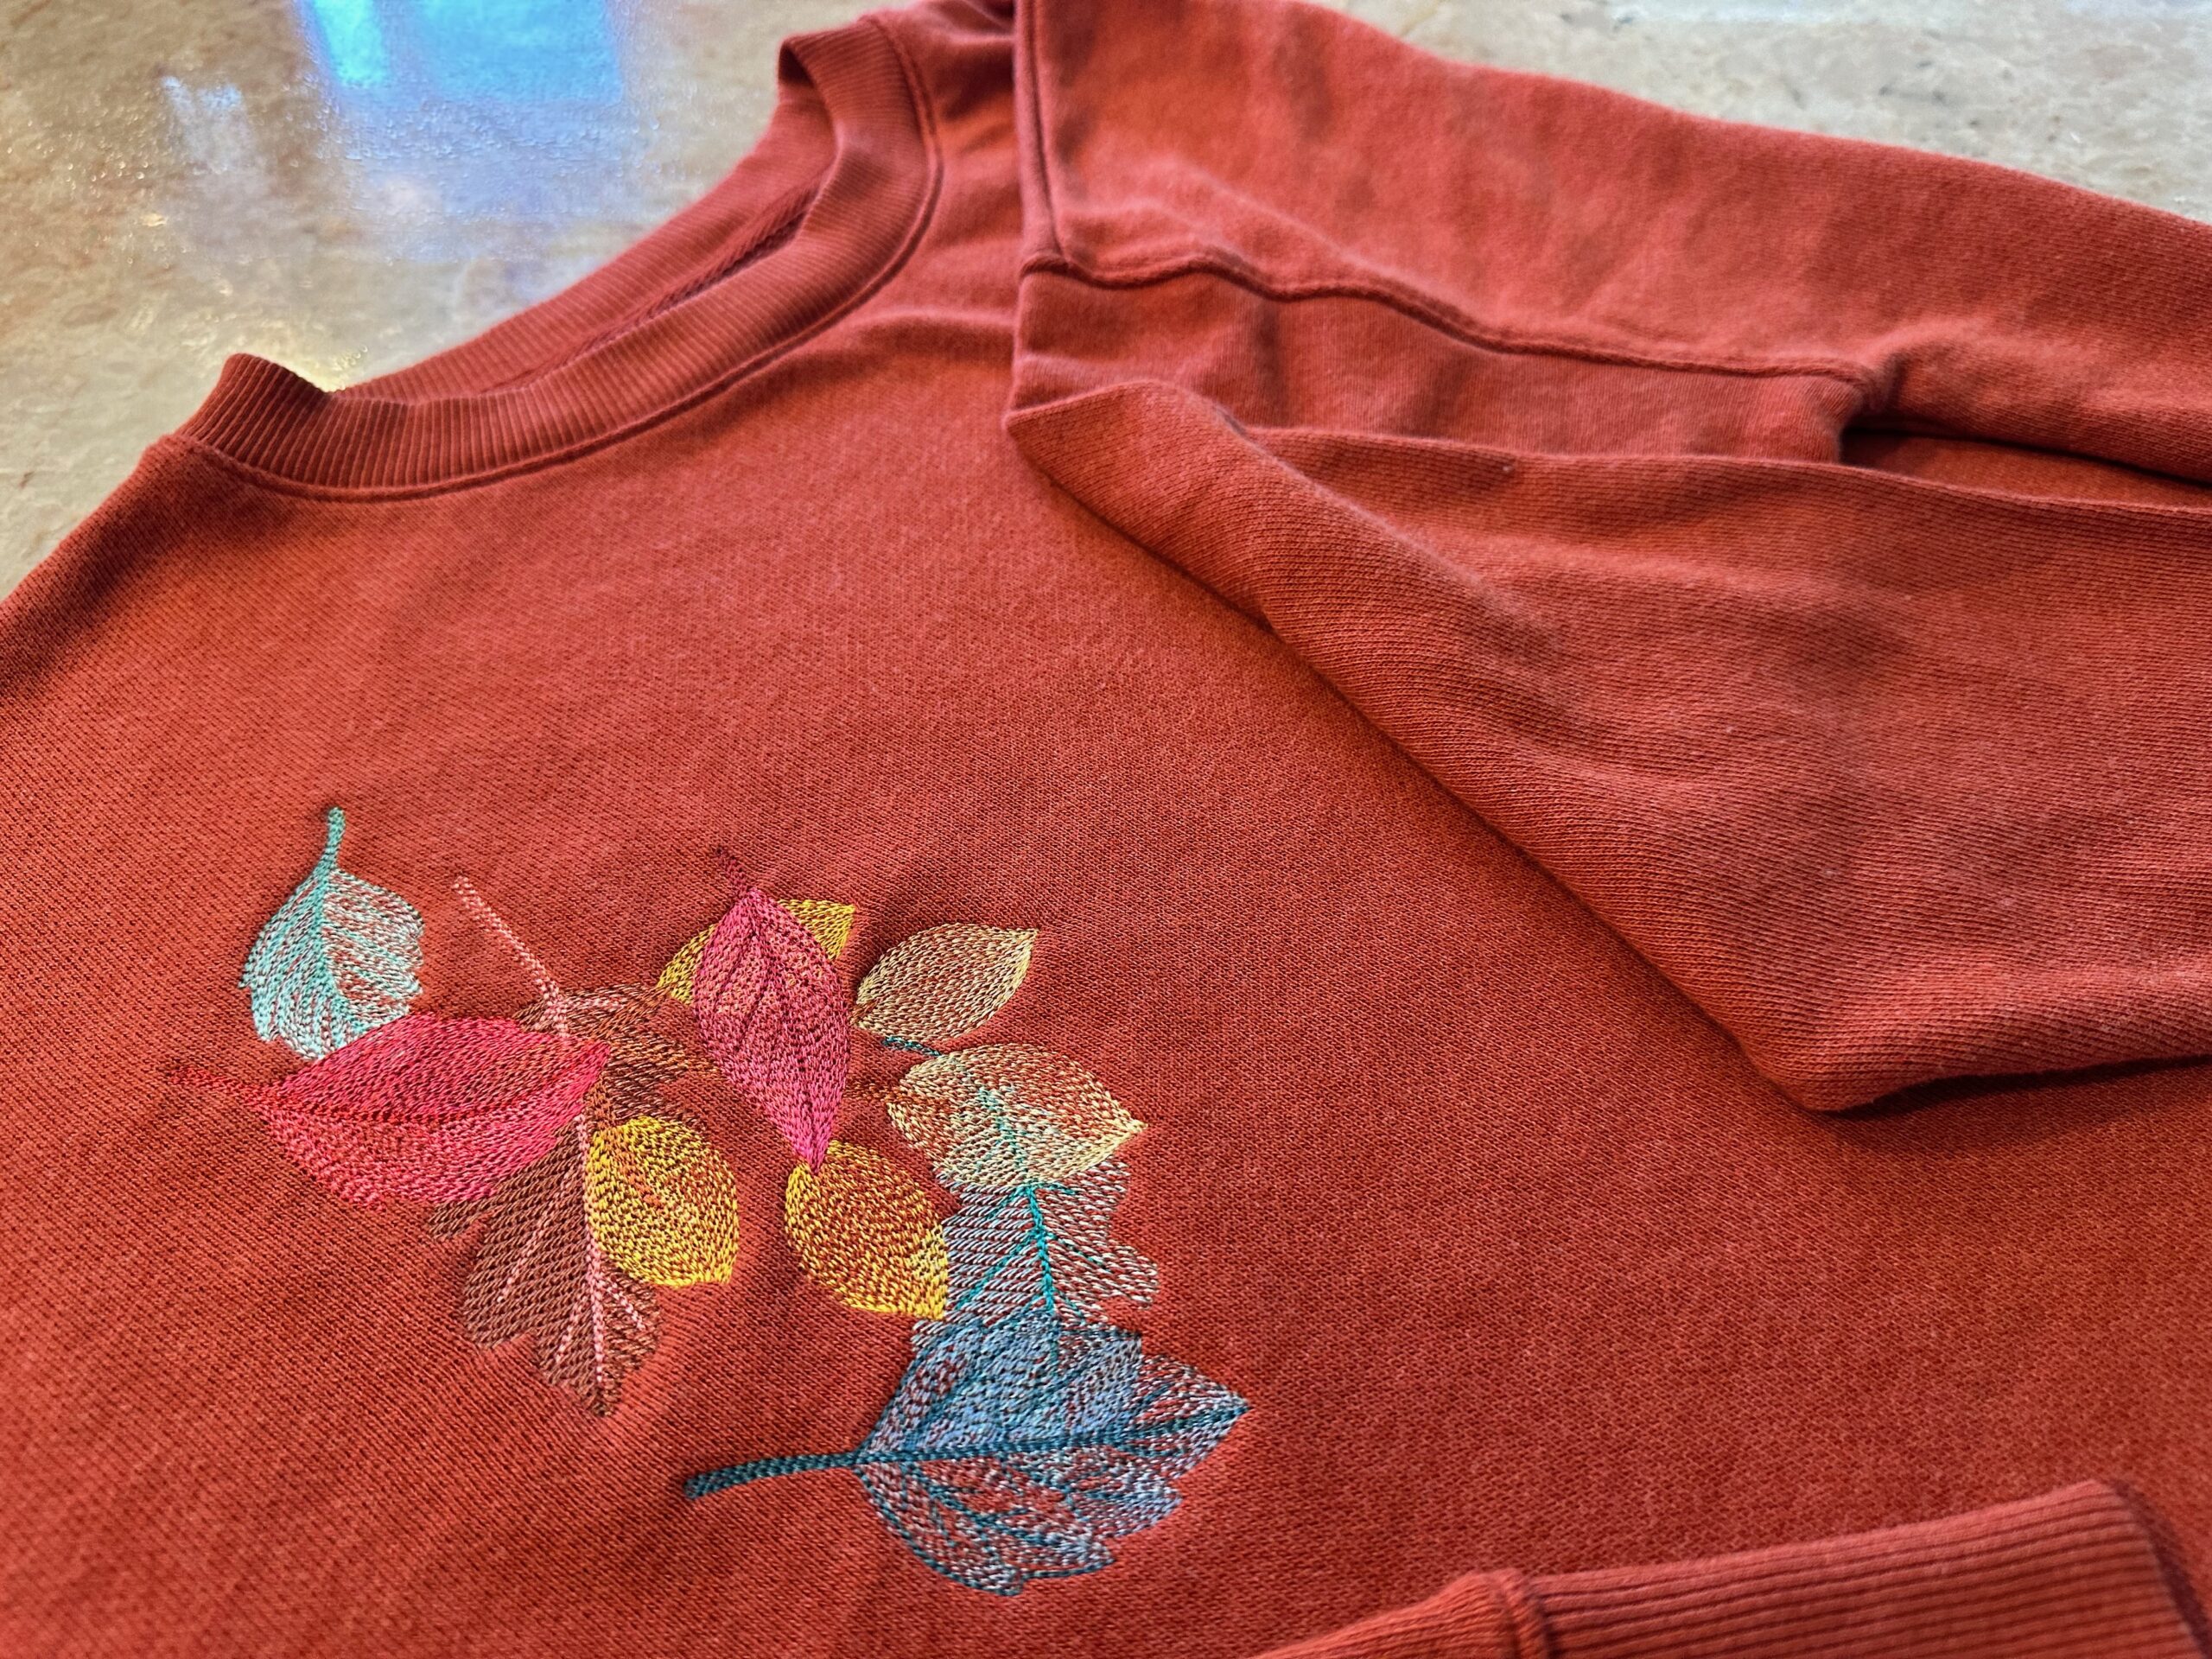
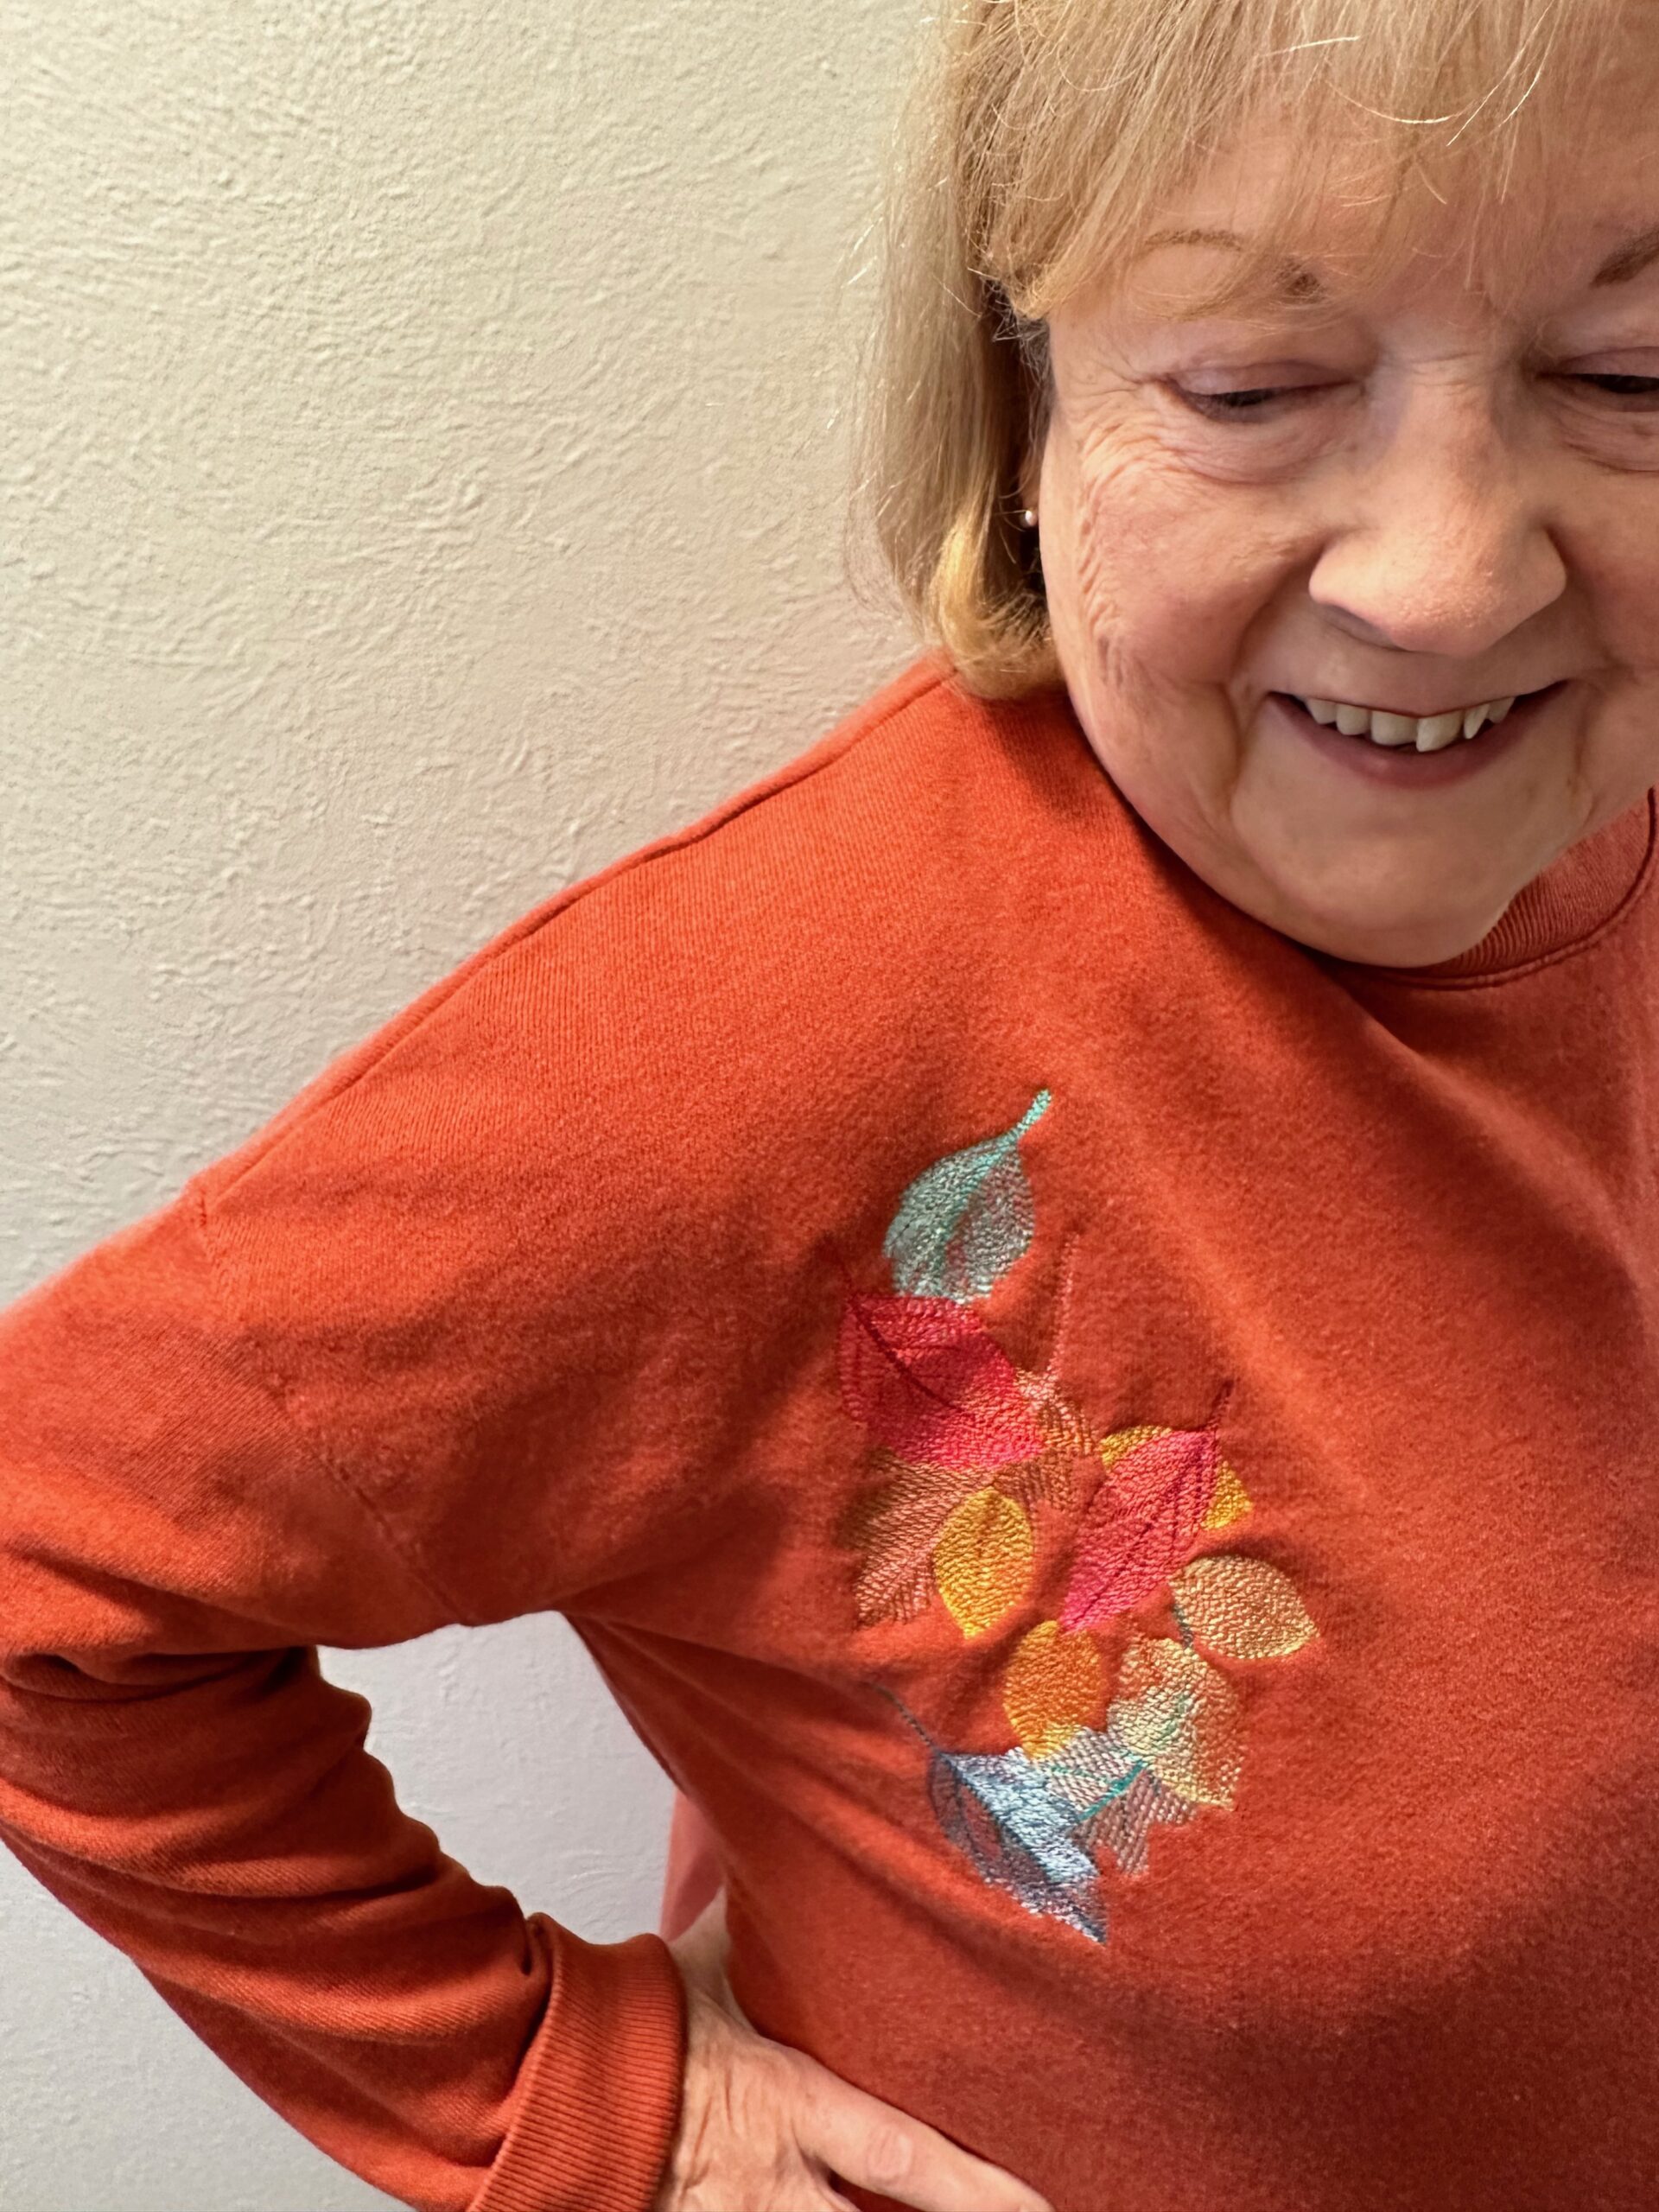
Embroider a sweater knit or sweatshirt with pretty fall leaves as we head into autumn. Grab a pumpkin-spice latte and head to the embroidery machine!
FALL LEAVES EMBROIDERED WEARABLE SUPPLIES
- Sweater knit top or sweatshirt
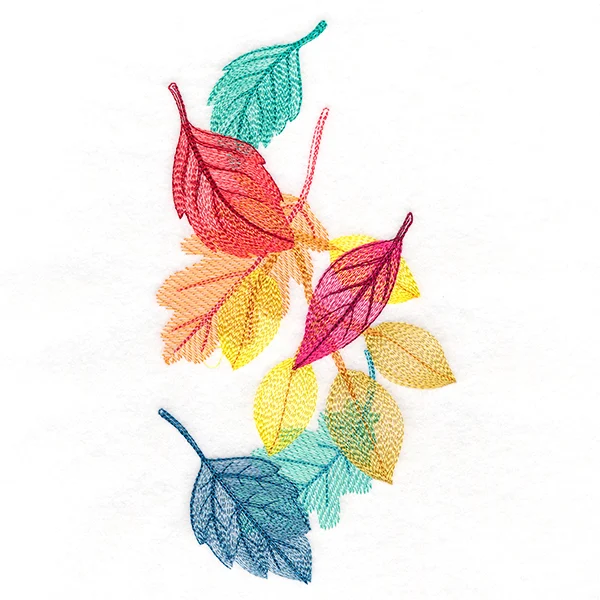
- Fall-themed embroidery design (such as Falling Autumn Leaves from Urban Threads)
- Sulky Poly Deco™ Threads (colors to coordinate with design)
- Sulky 60 wt. Bobbin Thread
- Organ® size 75/11 Embroidery Needle
- Sulky Soft ‘n Sheer™ Stabilizer
- Removable fabric marker or chalk
- Sulky KK 2000™ Temporary Spray Adhesive
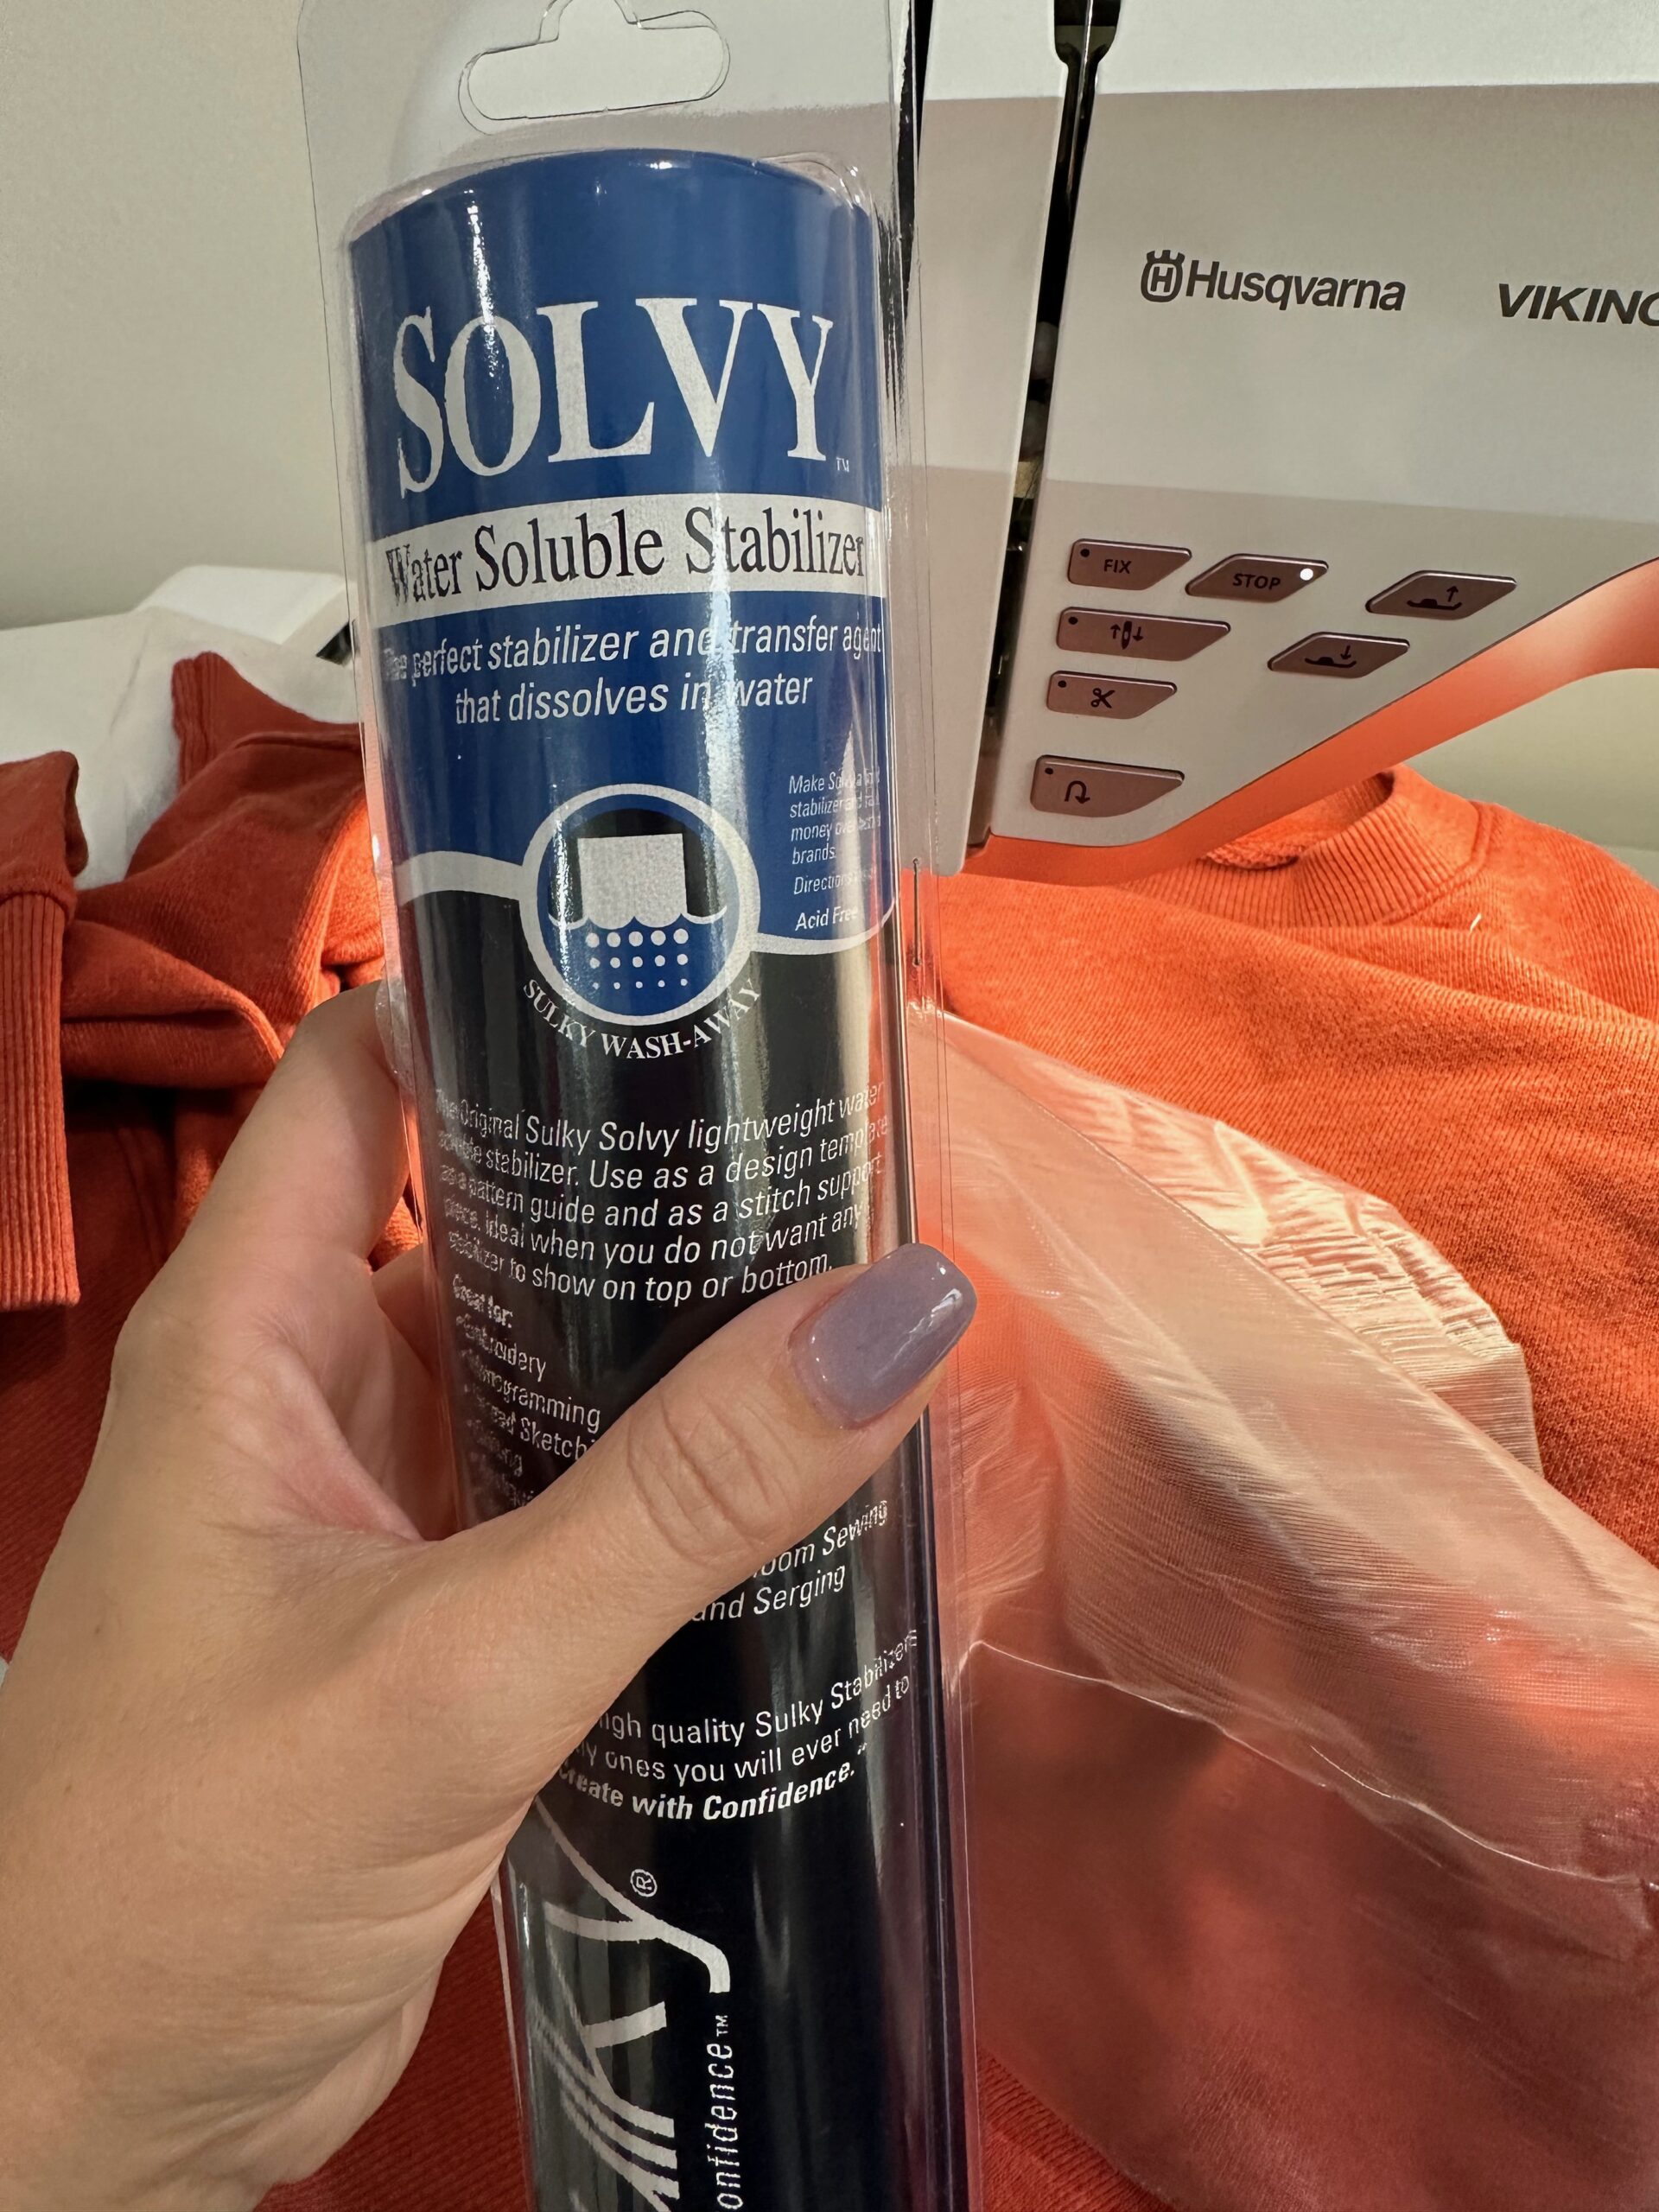
- Sulky Solvy® (optional; depending on fabric structure)
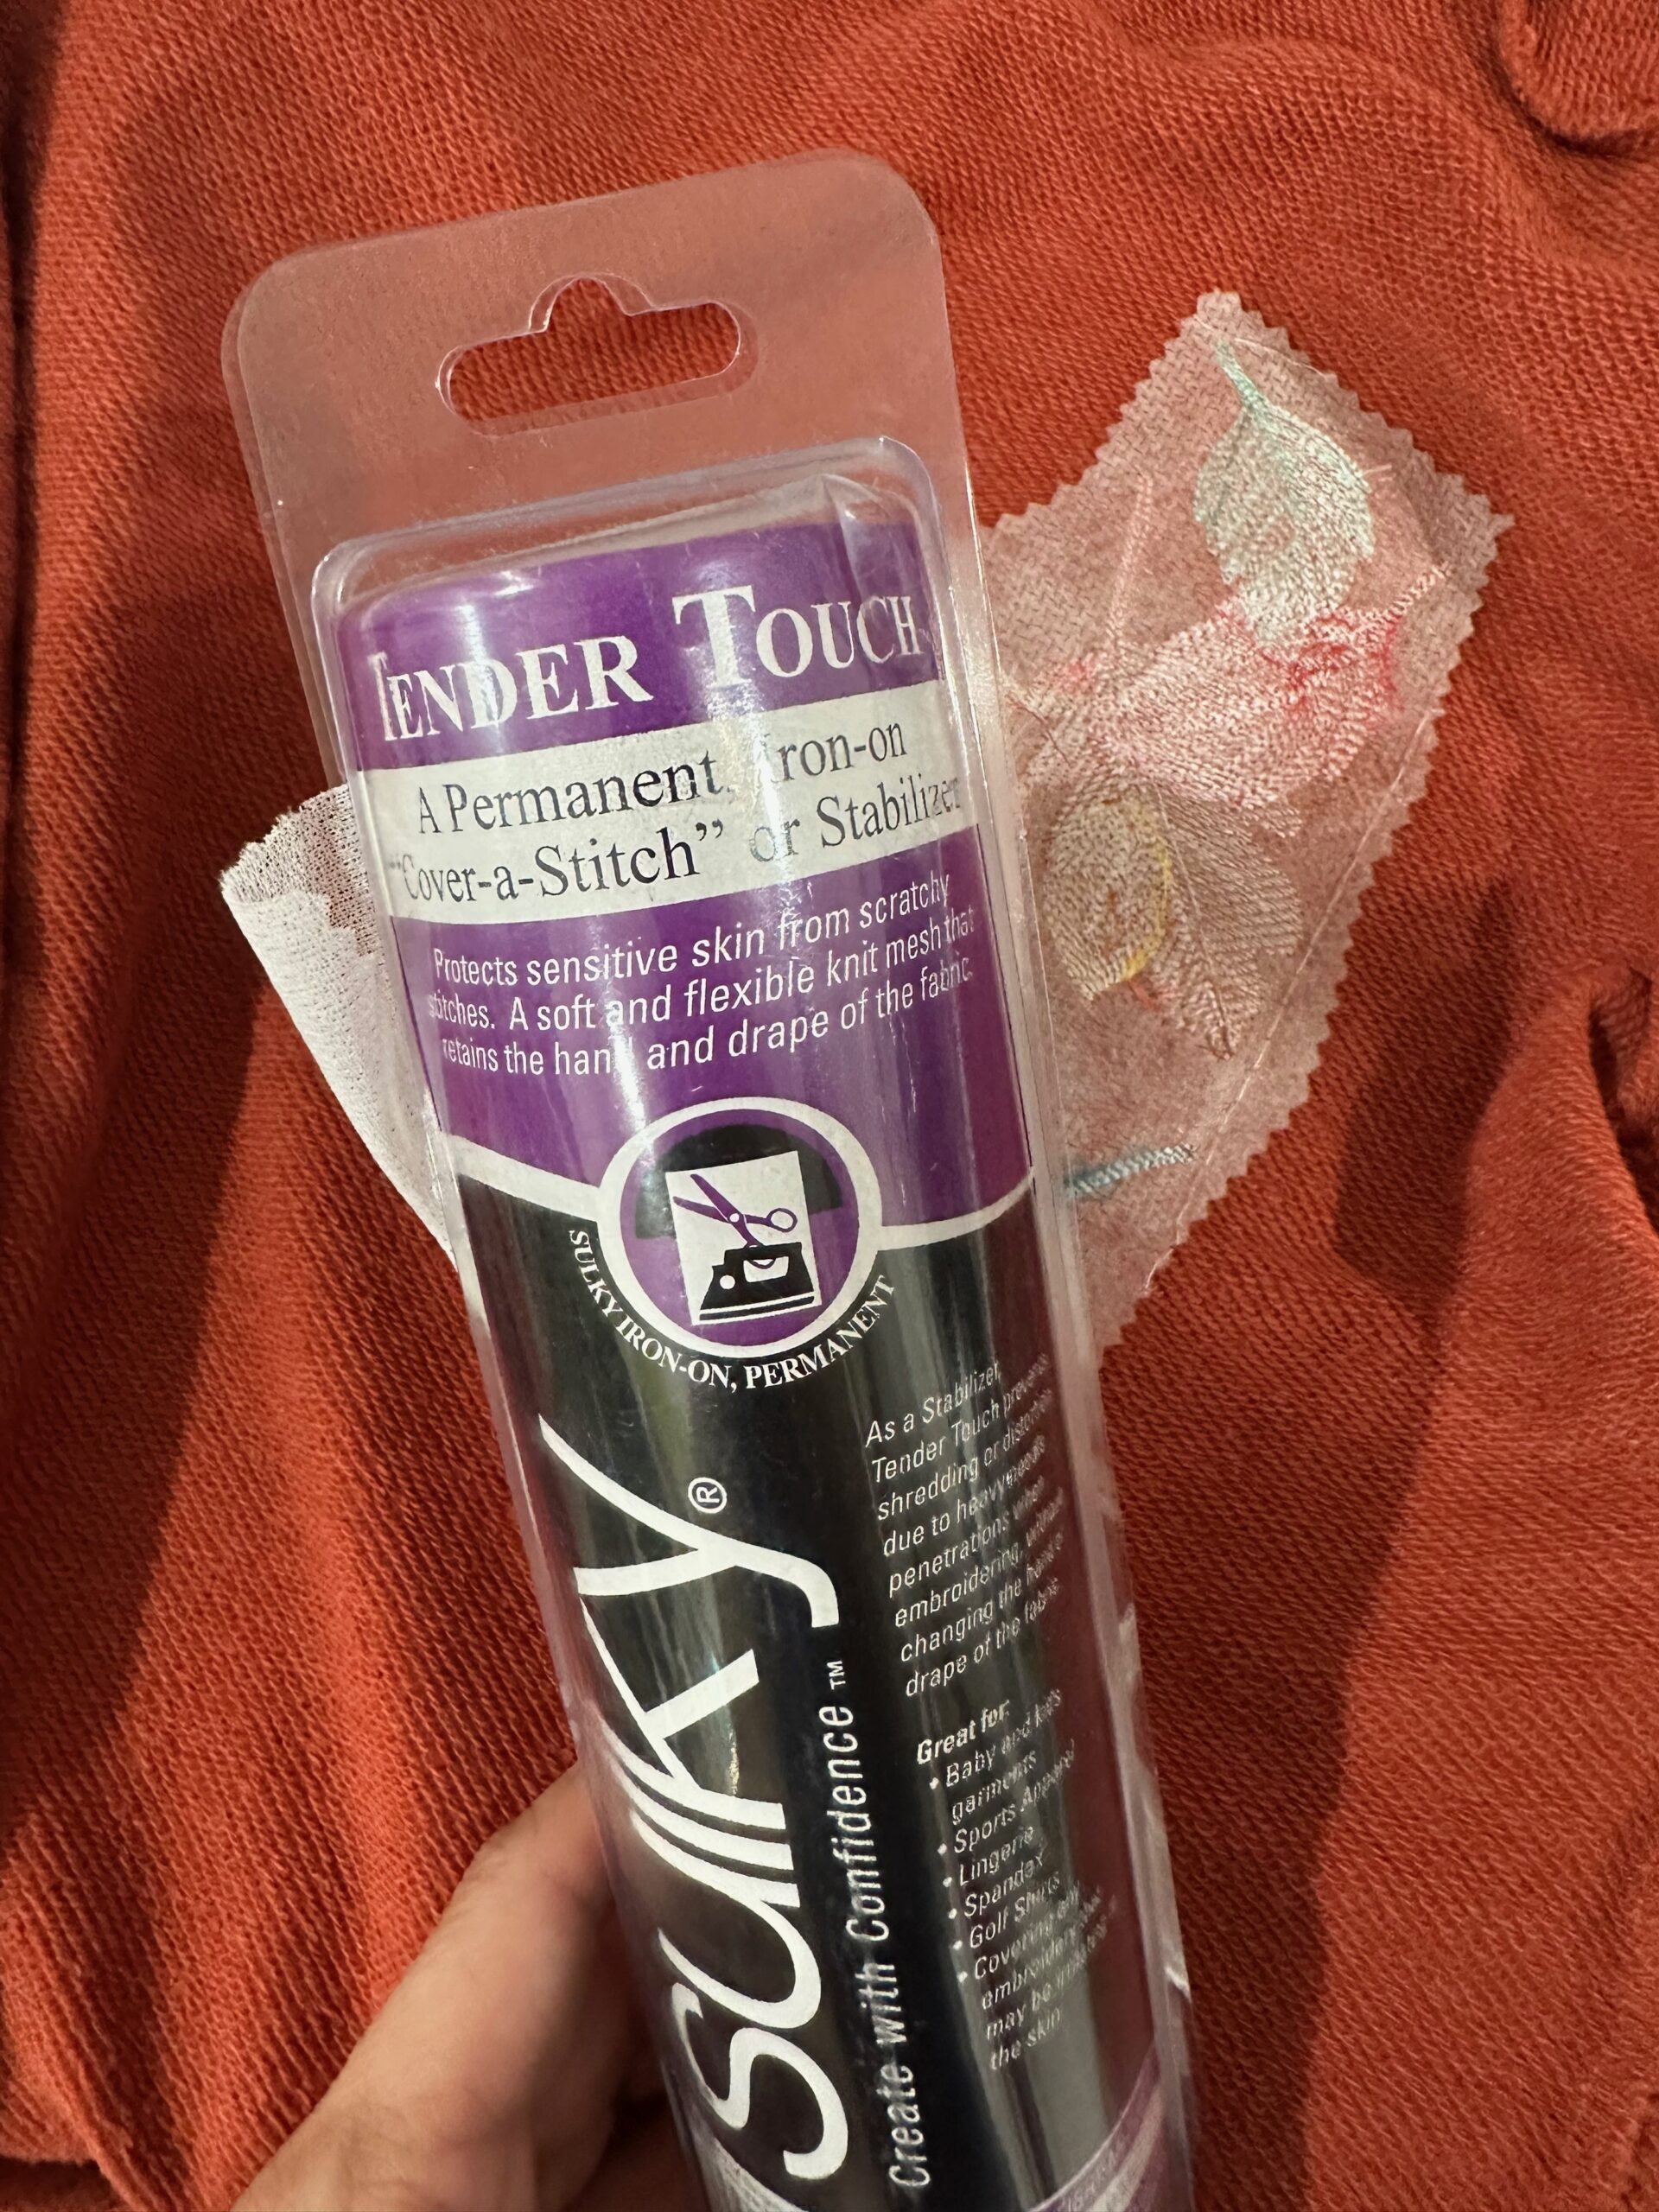
- Sulky Tender Touch™ (optional)
FALL LEAVES PROJECT NOTES
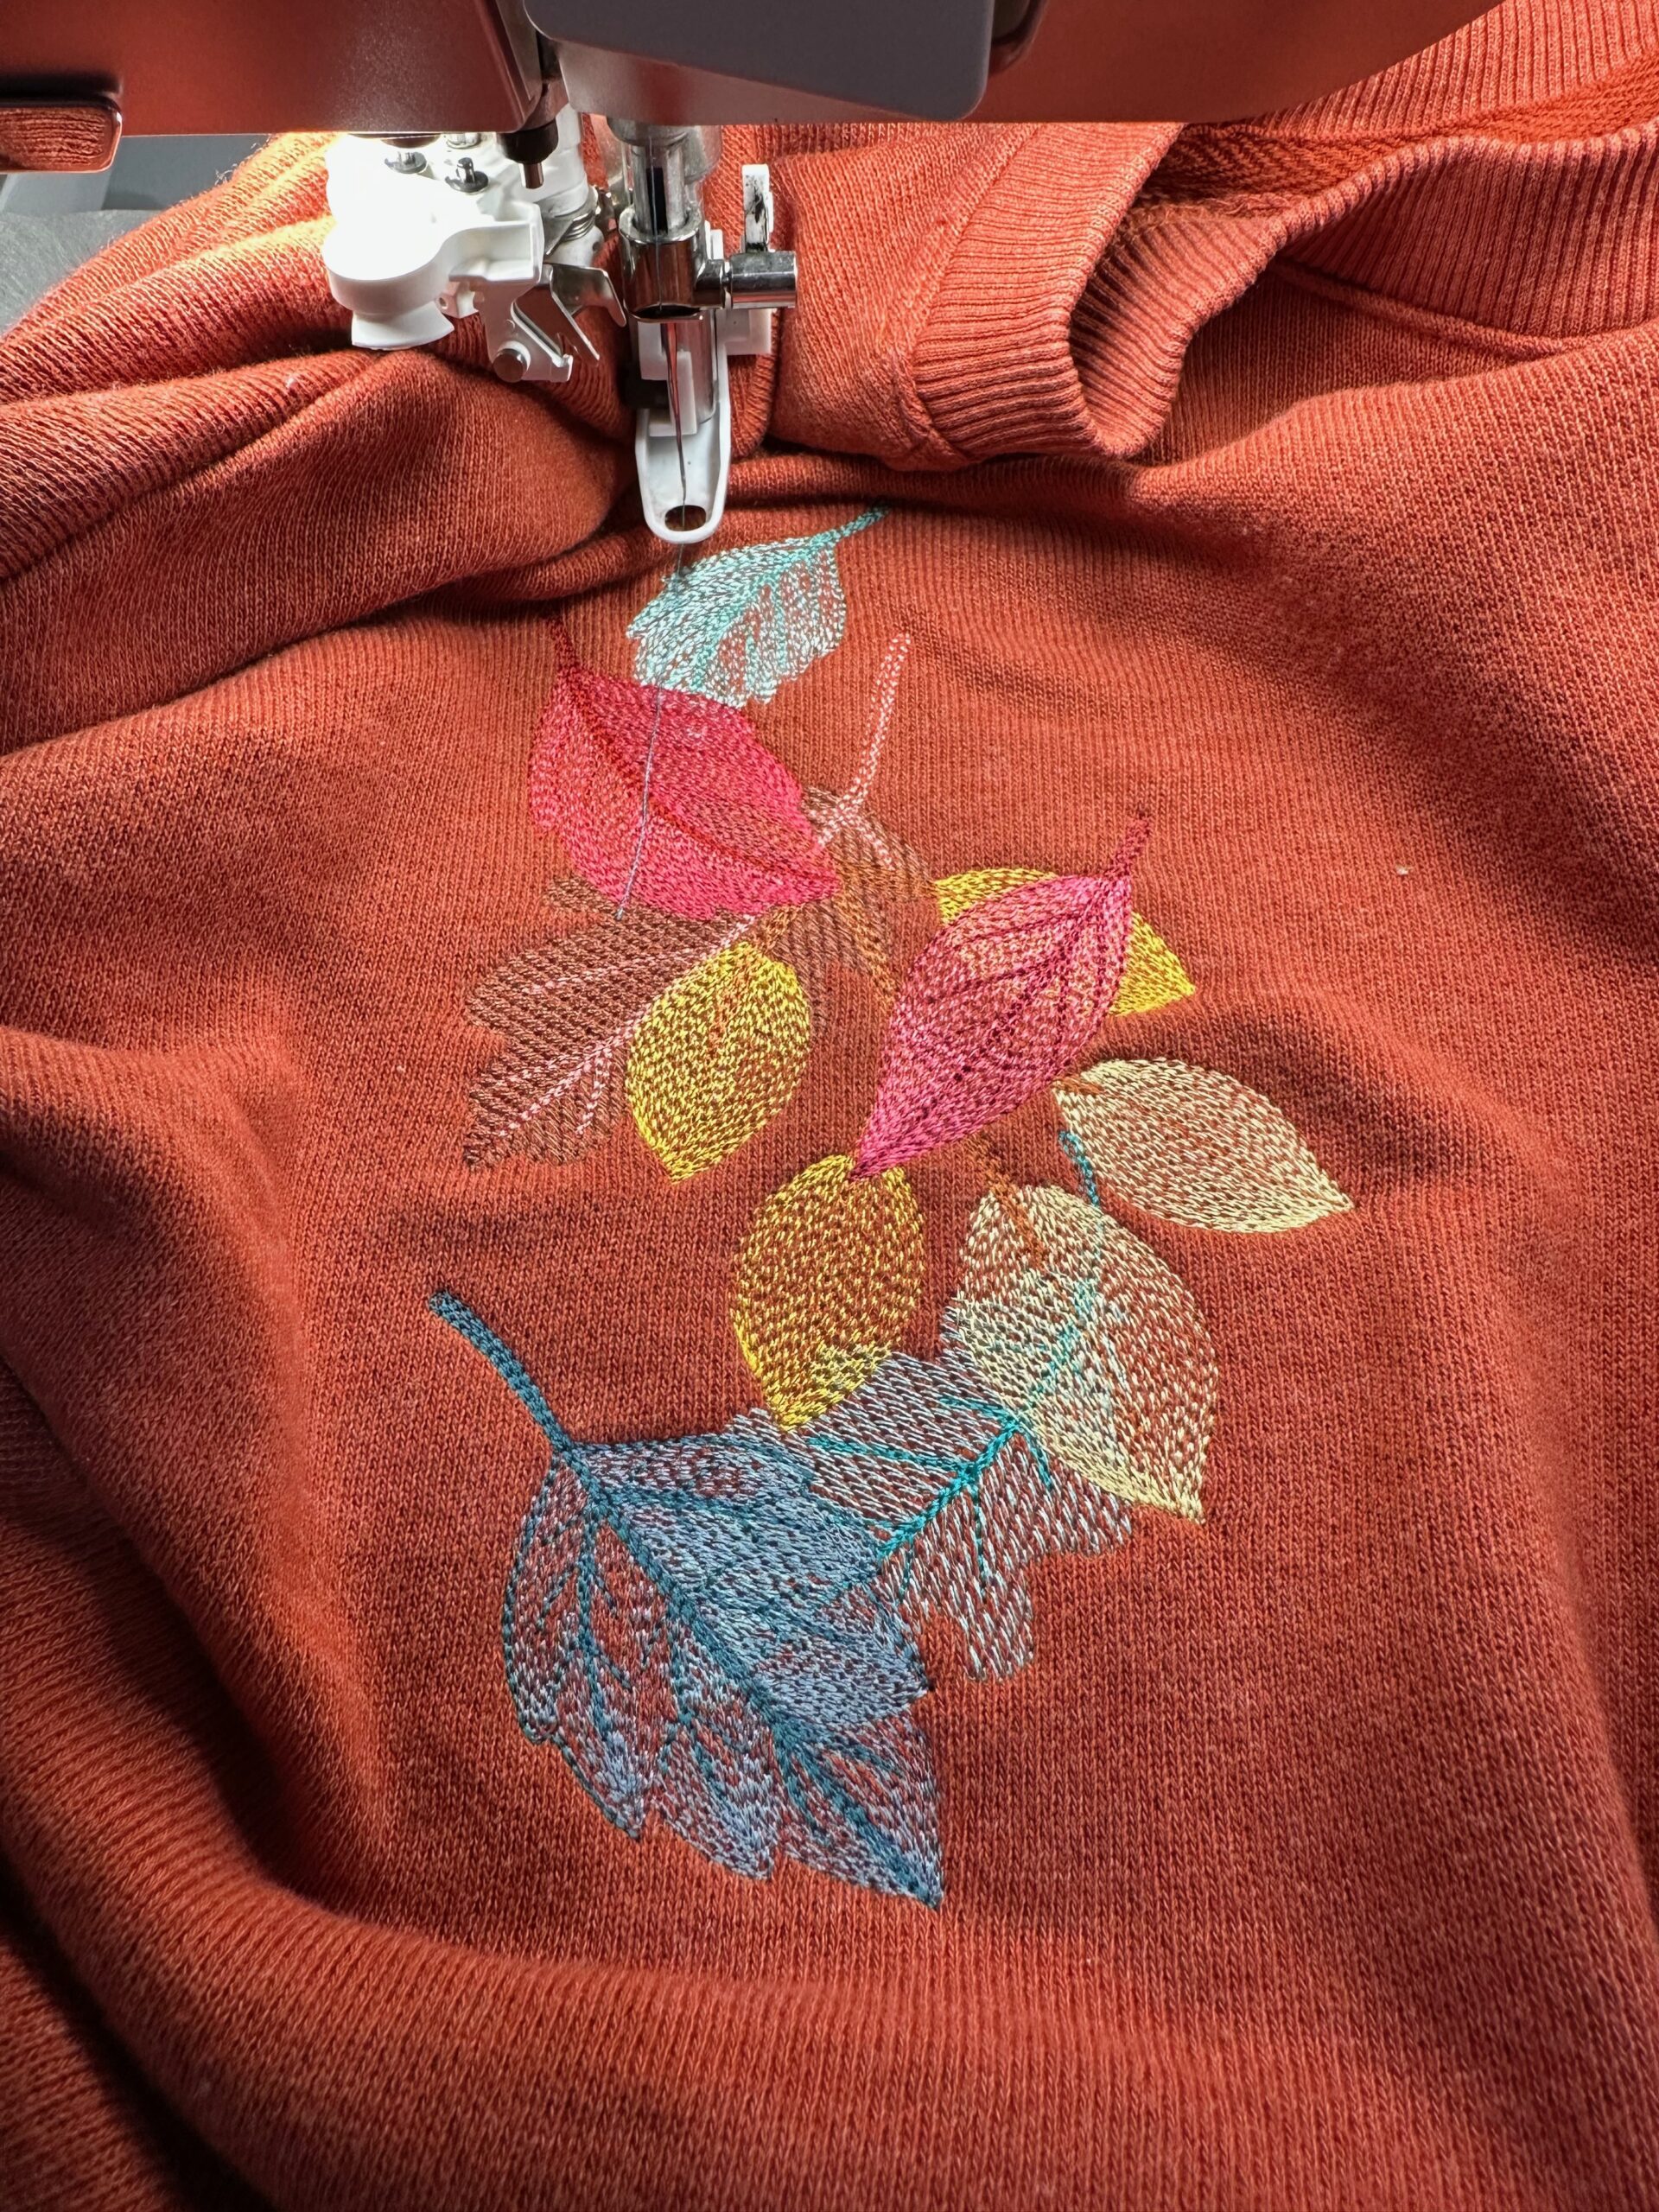
When choosing a design for an open-weave sweater knit, it’s best to work with sketchy, outline designs as opposed to designs with dense fill stitches. The latter tends to produce “bulletproof” areas on the garment, which don’t move well when your body moves or the top stretches.
Poly Deco is the best choice for embroidery on wearables, as it’s colorfast and withstands lots of washing and wearing. Pair this 40 wt. Thread with 60 wt. Thread in the bobbin for best results.
Choose a cut-away stabilizer variety. Sulky Soft ‘n Sheer is a lightweight stabilizer that feels nice against the skin along the garment wrong side. This stabilizer works well with light, open, airy design work.
If working with a design that has a satin stitch edging or any areas of fill, choose a heavier weight cut-away stabilizer, such as Sulky Cut-Away Plus. Keep in mind that this stabilizer will remain in the garment through washings and wearings, so if the garment is light to mediumweight, the stabilizer will likely give the garment structure where you may not desire it. However, this stabiizer works well on heavier sweatshirt fleece and the like.
HOOPING
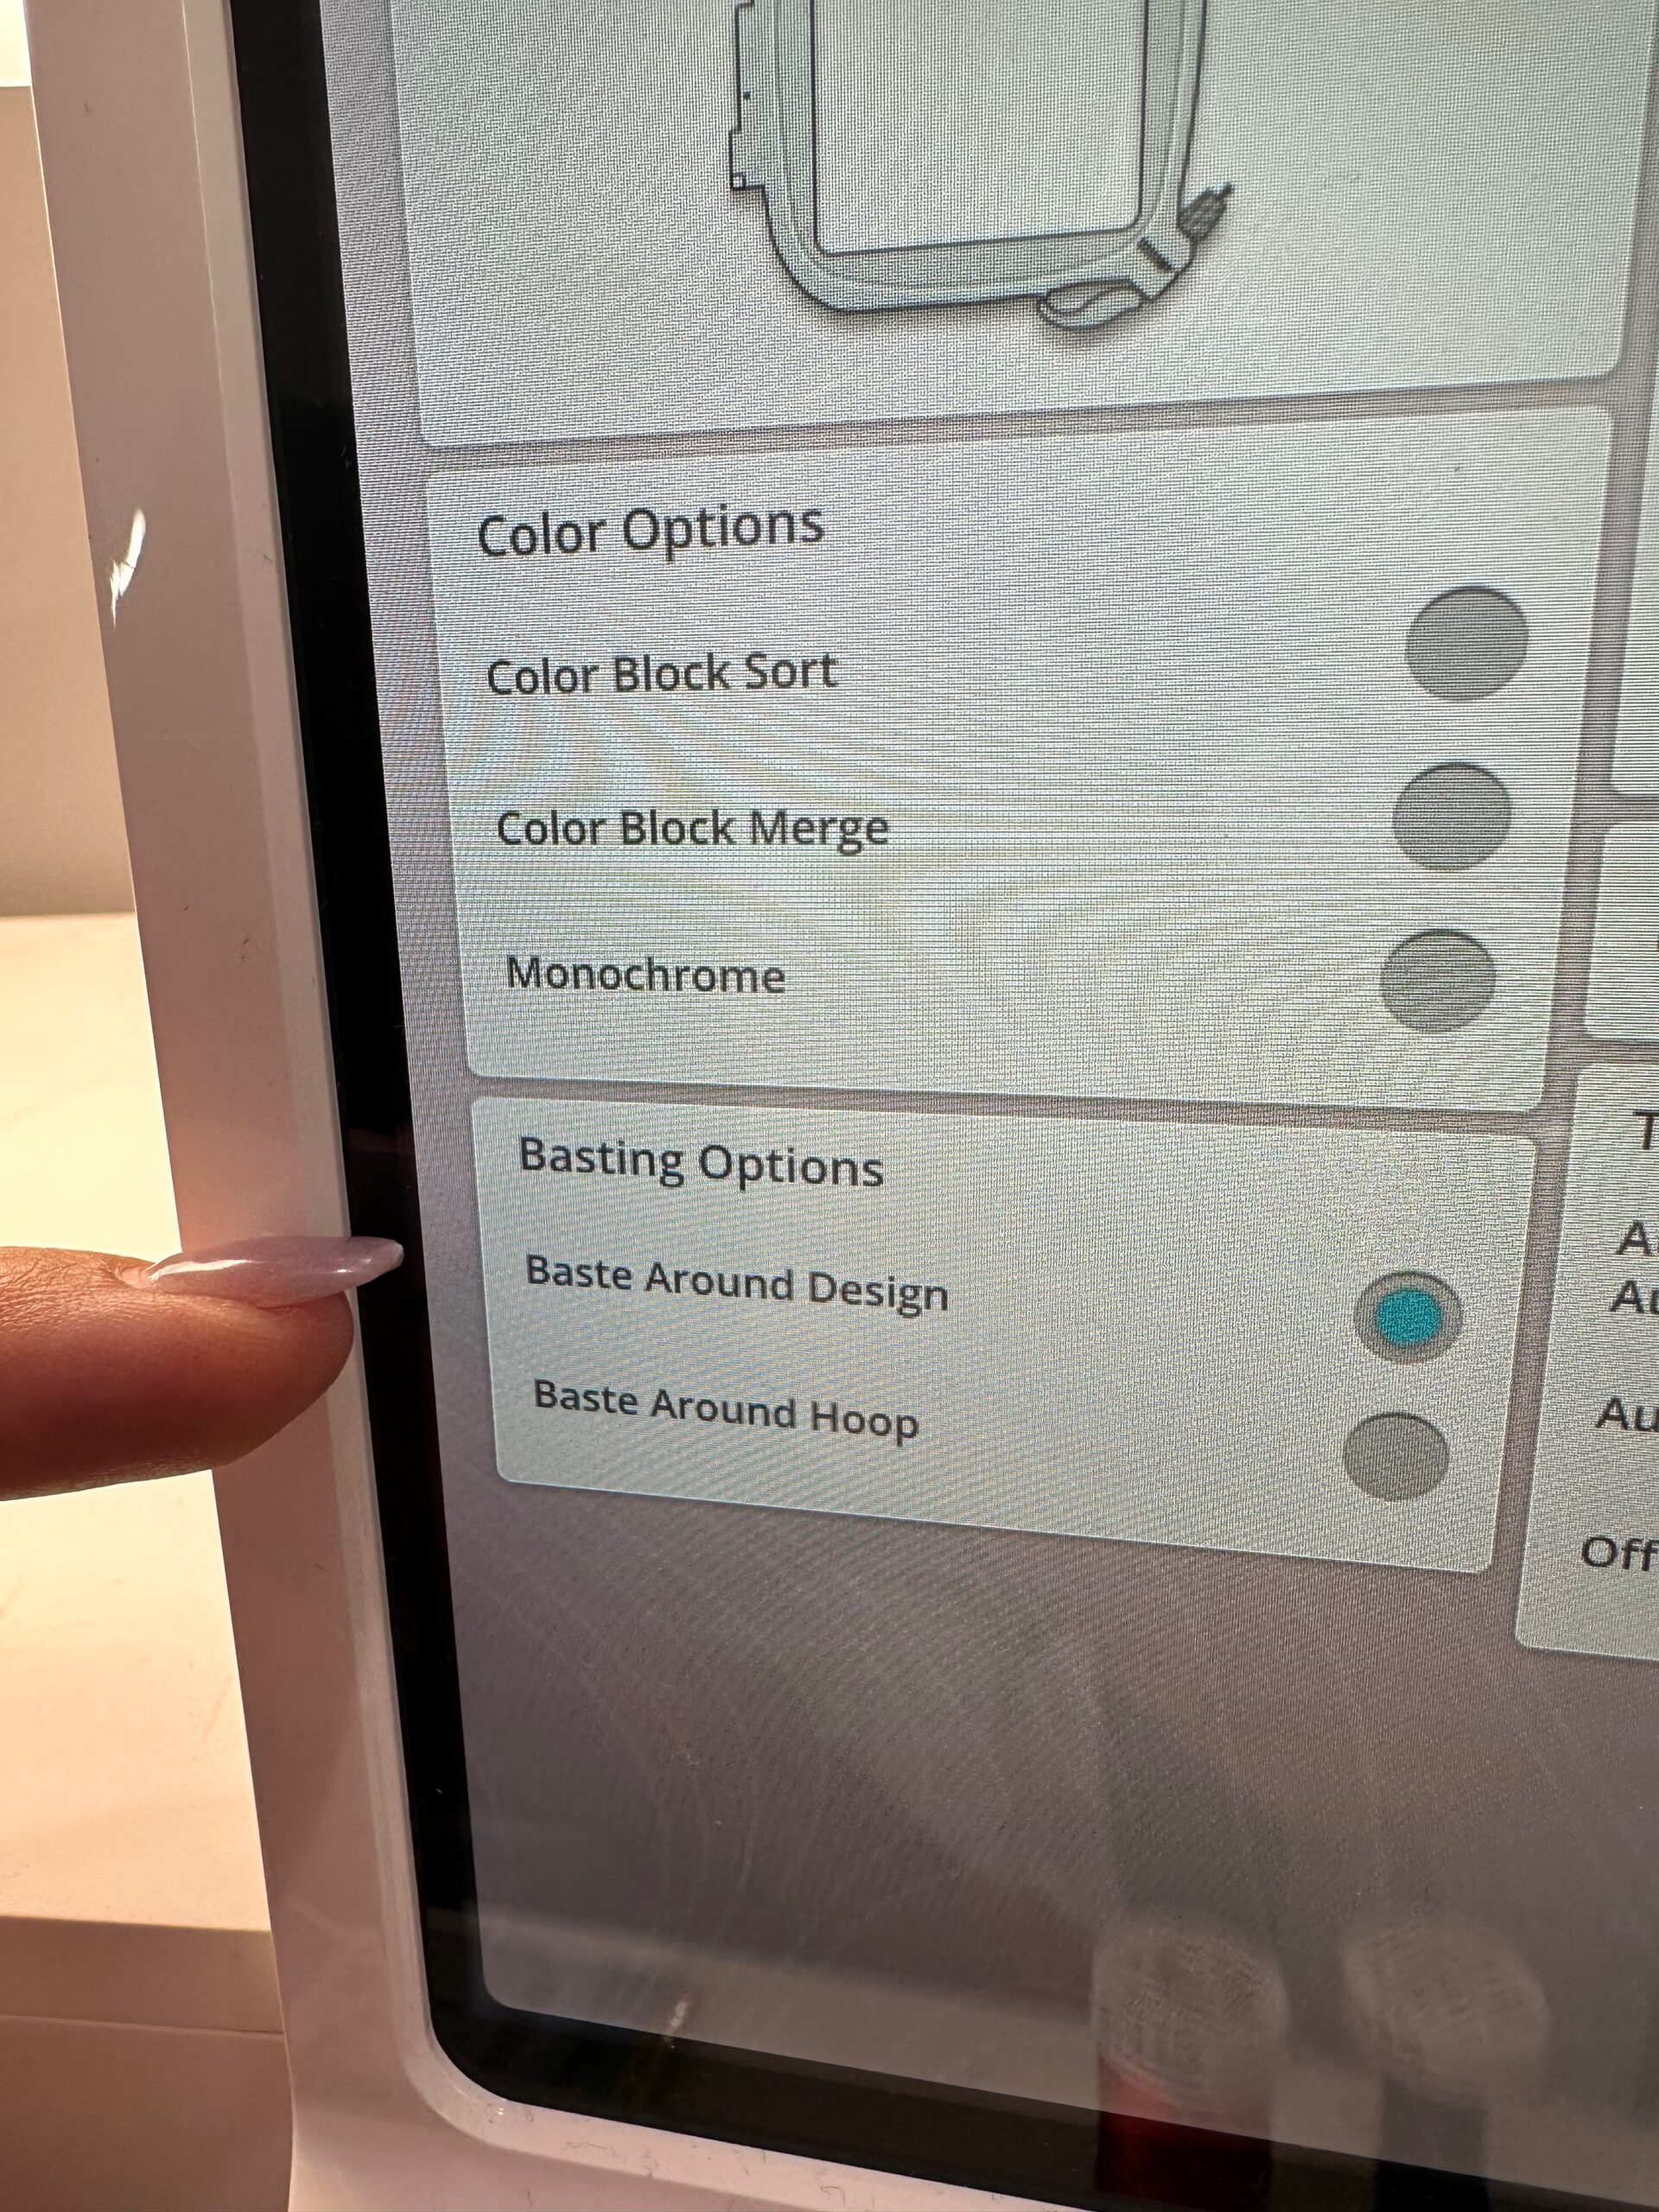
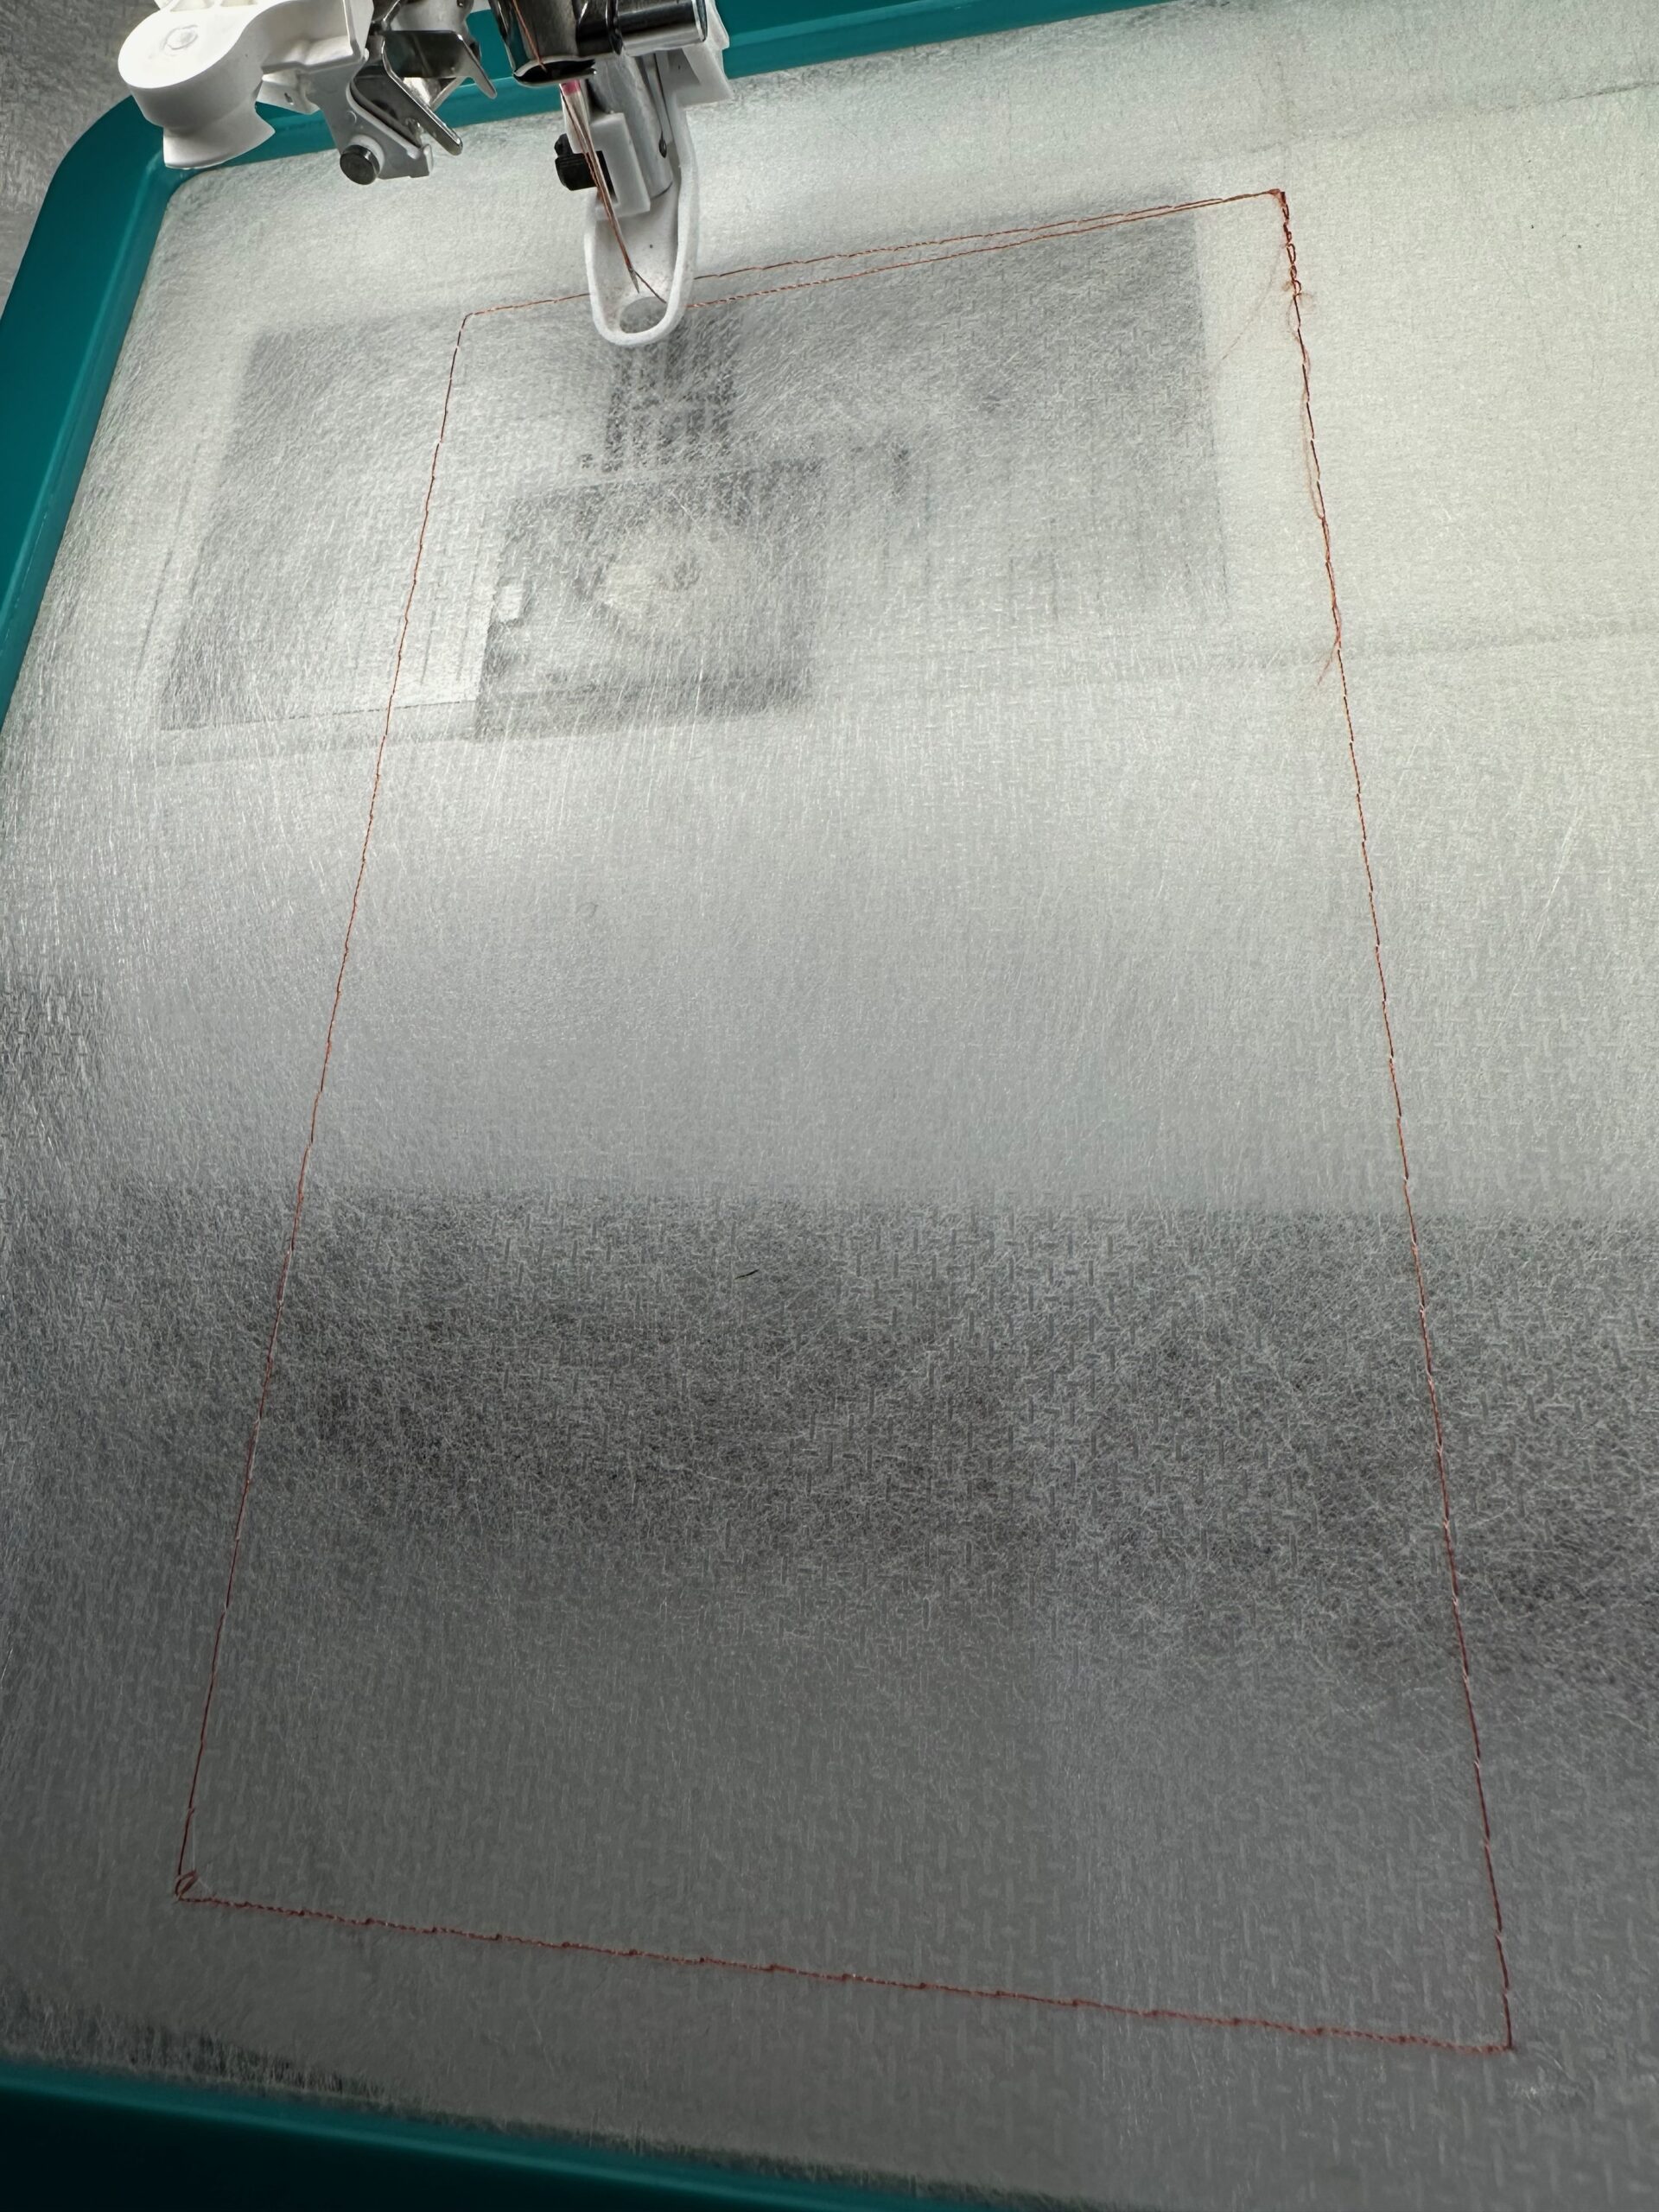
First, hoop only the stabilizer and place the hoop onto the machine. Direct the machine to perform a “baste around design” function, sometimes called “design perimeter baste.”
Stitch the basting step directly onto the stabilizer.
Next, mark the design placement onto the sweater. For the featured project, the design was places below the shoulder so the leaves cascade down the sweater front.
It’s best to wear the sweater and mark the desired design placement using a mirror (or friend). This way, you can take into account any lumps or bumps on your body to ensure the design doesn’t begin/end in an “undesirable” area.
Mark the horizontal and vertical center axis lines on the sweater using chalk or a removable fabric marker. If desired, draw a box around the design to mimic the design perimeter stitching, aiding in perfect placement.
Turn the sweater right side out. Center the axis lines in the hoop, using the basting box as a guide. If visible, you can also use the hoop markings to align the vertical and horizontal marks in the hoop. Make sure the inner hoop is right side up and oriented properly.
Apply KK 2000 to the sweater wrong side and stabilizer in the hoop. Adhere the sweater to the stabilizer, double-checking the design placement.
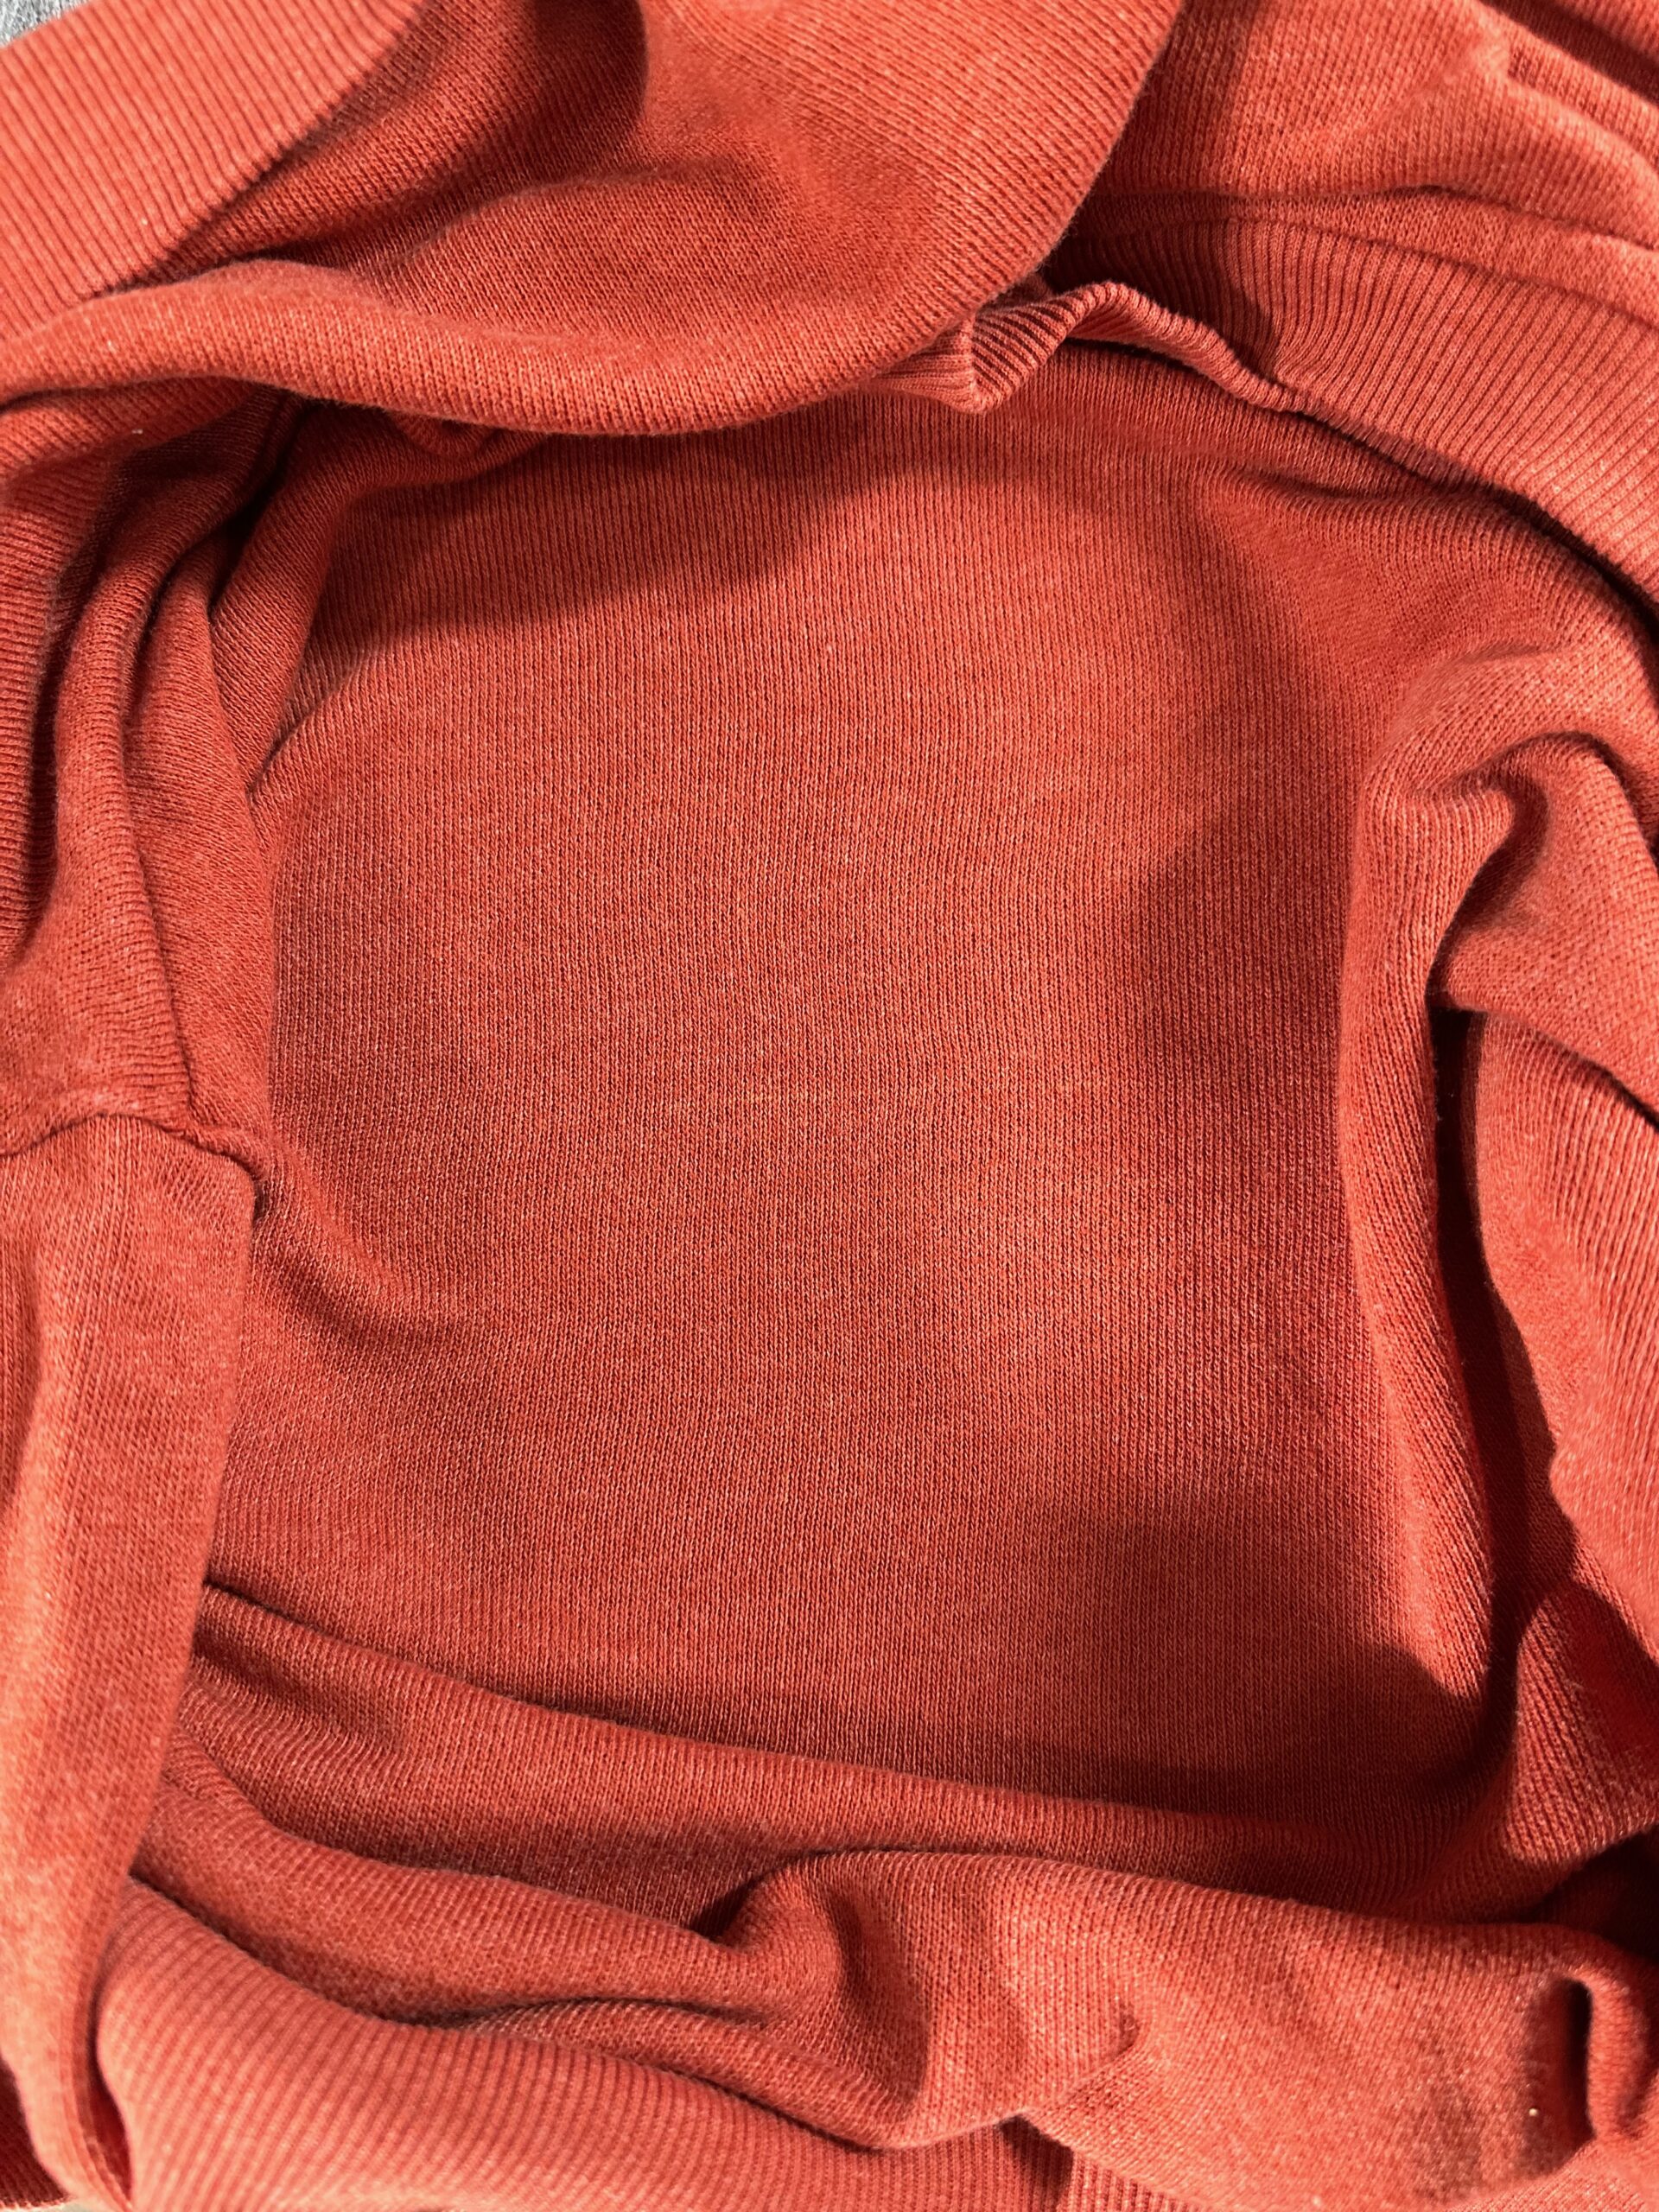
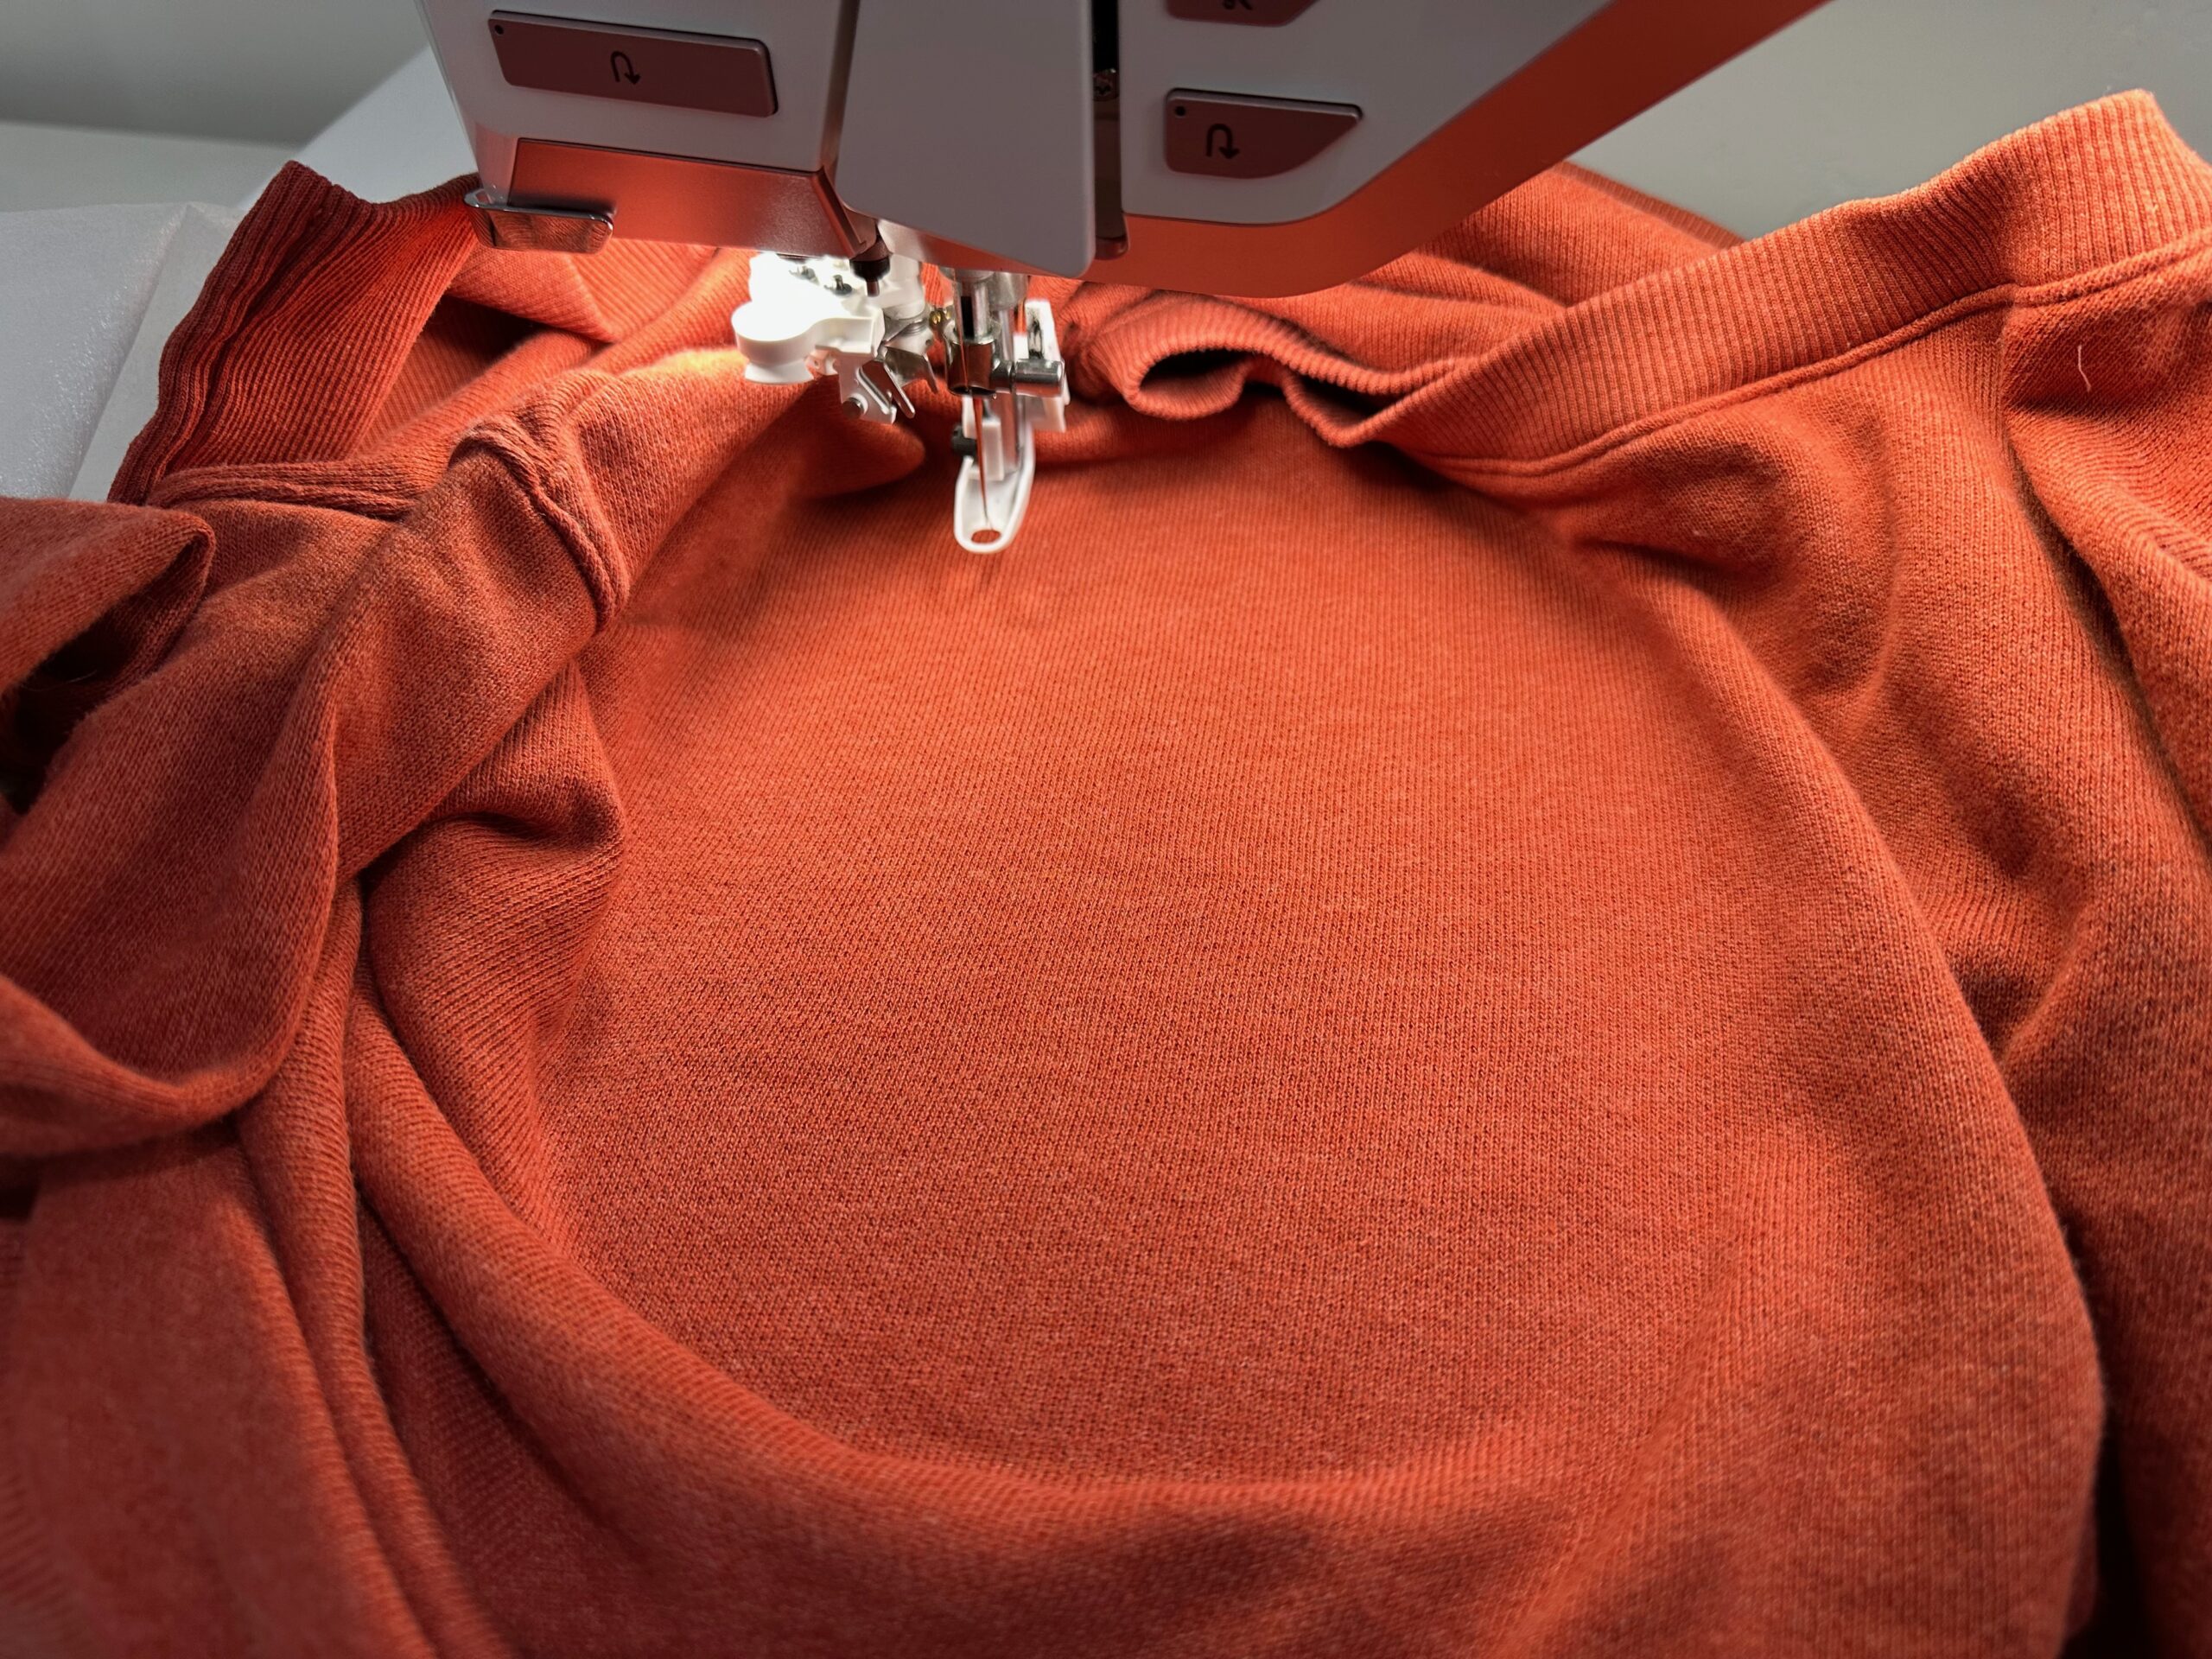
You’ll need to bunch up the excess fabric around the hoop, making sue to NOT stretch the fabric in the process. Essentially, you’re creating a “tube” for the machine arm to fit through for embroidery.
FALL LEAVES EMBROIDERY
Place the hoop onto the machine.
If the sweater has a lofty pile or texture to it, apply Sulky Solvy® as a topper. Float a piece of Solvy over the sweater surface, and use KK 2000 to secure. Perform the design perimeter basting function again to further secure the layers in the hoop.
The featured sweater is lightweight with an open weave structure, so Solvy was not needed to ensure the thread popped off the fabric surface.
Embroider the design, clipping jump threads with each thread change. Be sure to stay with the project during the entire embroidery process, as yu’ll inevitably need to stop the machine to maneuver extra fabric out of the way of the stitching path.
FINISHING
When the embroidery is complete, remove any basting stitches. Then, remove the hoop from the machine and the stabilizer from the hoop. If using Solvy, tear away as much as possible, and plan to remove the remainder after the project is complete by rinsing under warm water.
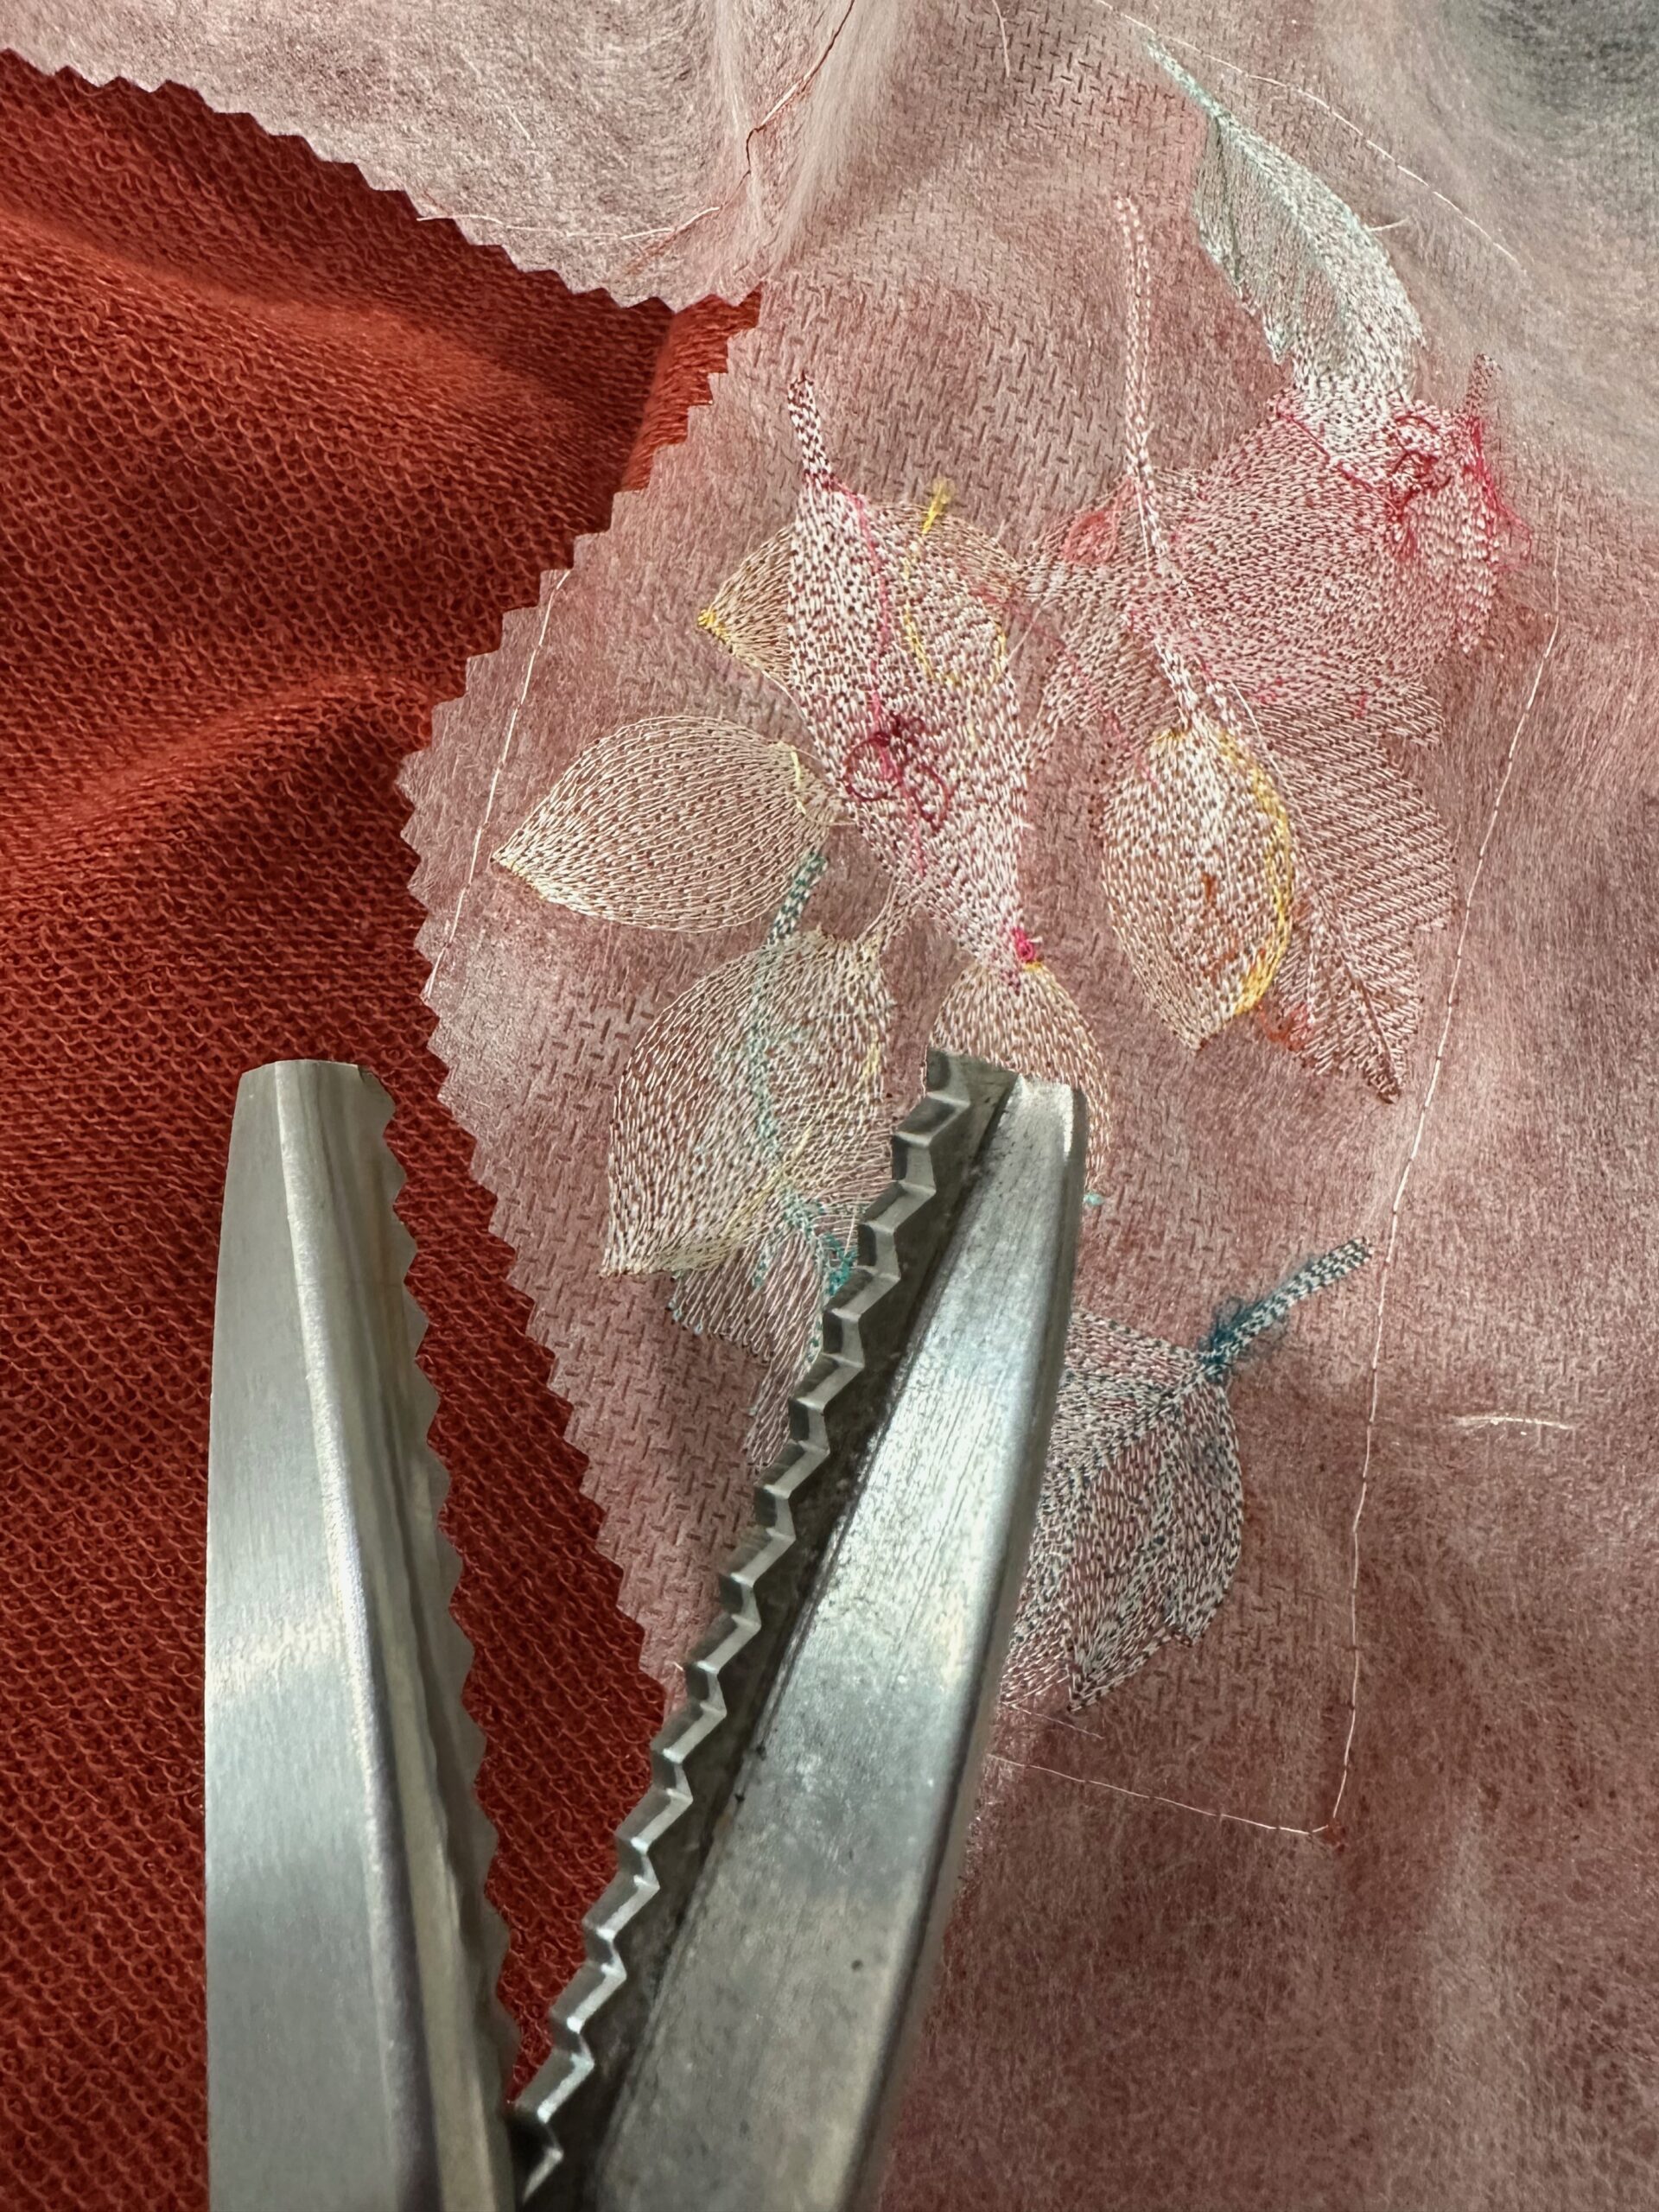
Trim the excess stabilizer beyond the design perimeter. TIP: Use pinking shears to trim the stabilizer to reduce any show-through from the stabilizer edges on the fabric right side.
If the wearer or recipient of the sweater has sensitive skin, consider using Sulky Tender Touch™ as a topper for the finished embroidery wrong side. Tender Touch has a soft, silky feeling to it that protects the wearer from scratchy embroidery stitching. It fuses in places, just beyond the stabilizer edges, so it also seals the stitching on the garment wrong side.
After applying Tender Touch, if using, the garment is ready for wear!

Very informative! Can’t wait to try sewing the leaves!!