Free-Motion Quilting 101
Free-motion quilting is an often intimidating subject for many quilters. Just the thought of lowering the feed dogs of the sewing machine can put people in a panic! Read on to discover some great resources for free-motion quilting and have confidence to create your first free-motion quilt.
WHAT IS FREE-MOTION QUILTING?
Anytime you hear or read the term “free-motion,” this means you are moving the fabric between the presser foot and feed dogs. You are in control of the movement of the fabric, whether that is slow or fast, in any direction. Yes, any direction: side to side, backwards, forwards!
The speed in which you move the fabric affects the stitch length as well. If you move the fabric quickly but don’t adjust the foot pedal speed, the stitch will be longer. If you move the fabric slowly but keep the foot pedal speed at a moderate level, the stitch length will be quite short. In order to achieve an equal stitch length across the entire quilt, you need to find the “happy medium” of both foot pedal control and fabric movement. Once you get a feel for this you can have a lot of fun with free-motion work, including embroidery (or “thread painting”) as well as quilting.
MACHINE SETTINGS FOR FREE-MOTION WORK
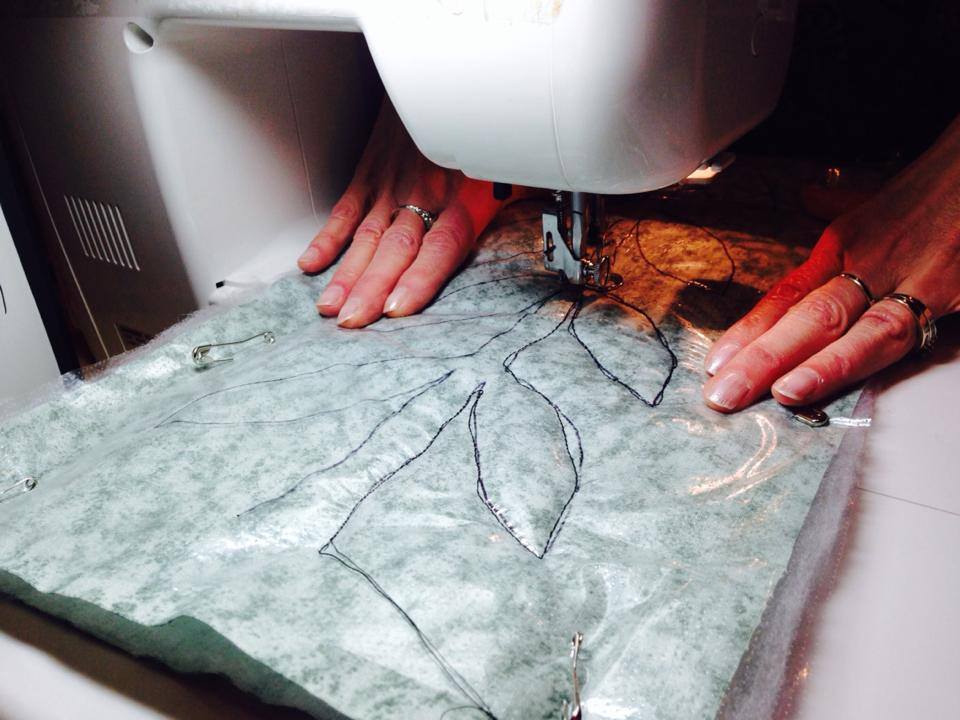
What are feed dogs? These are the jagged little grippers peeking out through the machine throatplate underneath the presser foot. The feed dogs grip the underside of the fabric as it’s fed through the machine. Most all machines have a setting that allows you to “drop” the feed dogs, meaning to put them away and “hide” them. Once this happens, the fabric is stationary unless YOU move it.
Some machine brands have “stitch regulators” that adjust the stitch length no matter how fast or slow you move the fabric, placing more stitches as you move faster and less as you move slower. This is most likely a special addition to the presser foot, plugged into the machine in some way, to sense how fast or slow you’re moving the fabric. Check with your machine manufacturer to see if this accessory exists for your machine brand.
For free-motion quilting, a spring-loaded machine foot is necessary. This foot rests above the fabric surface so you can move the fabric underneath without friction. It also is fairly open (or clear) so you have a great view of your work as you’re quilting. Some machines come with both an embroidery foot and a free-motion foot. Some are used interchangeably. Check your machine manual to see what’s preferred for your brand. And if your machine didn’t come with this foot, it’s likely an add-on purchase that will open up the possibilities for your creations.
SPEED IS NOT YOUR FRIEND
When starting a journey into free-motion quilting, speed is not your friend. Your machine may have a setting to slow down no matter how hard you press on the foot pedal. It’s advisable to use this function so you can learn how to regulate your speed as you move the fabric.
In addition to achieving a more accurate stitch length, stitching slowly also has another benefit: needle integrity. If you move the fabric quickly and the foot pedal doesn’t keep up with your movement, the needle could catch on the quilt and bend or even break. Be careful when moving the fabric to ensure the needle is performing as expected. If you notice skipped stitches or fabric snags (eek!) while quilting, the needle could be bent or burred. Always begin with a new Organ Quilting Needle and have extras on hand in case you bend one accidentally.
USING STABILIZER
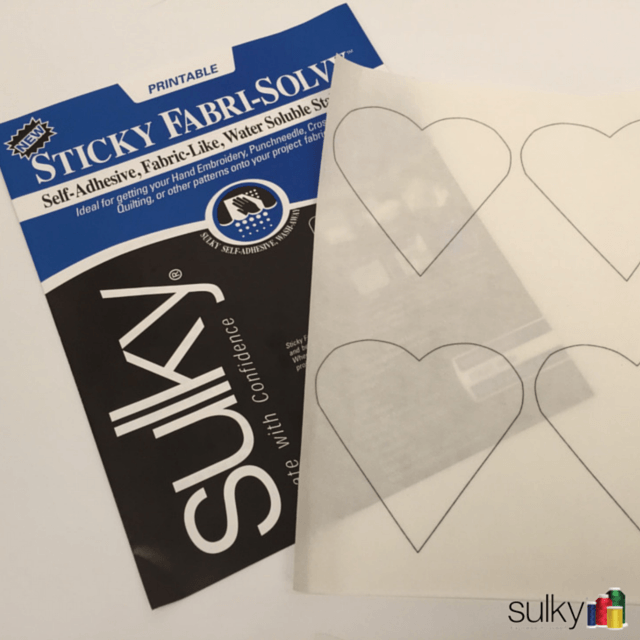
Stabilizer is a friend of free-motion quilting. Not only does it truly stabilize the quilt top but you can also print or draw on it and follow the design with your needle during quilting.
Use Sulky Solvy for a transparent free-motion quilting template. Or use Sulky Sticky Fabri-Solvy, which you can run through the printer, and place it directly on top of the quilt top right side. Stitch through all layers, following the lines as you sew. Then rinse away the stabilizer to completely remove it. Alternatively, wet a cotton swab and run it along the stitching. Then, lift the stabilizer up and away from the top to remove.
THREAD FOR FREE-MOTION QUILTING
Lori Kennedy, free-motion quilter expert, loves using Sulky 40 wt. Rayon for free-motion quilting. She says, “For free motion quilting, I love Sulky Rayon thread. It has a gorgeous sheen. It ‘plumps’ nicely. It is inexpensive and readily available in a huge assortment of colors. Best of all, my sewing machine loves it! I rarely have any problems with thread breaks or tension.” Lori has also used Sulky 12 wt. Cotton in some of her work. You can check that out here.
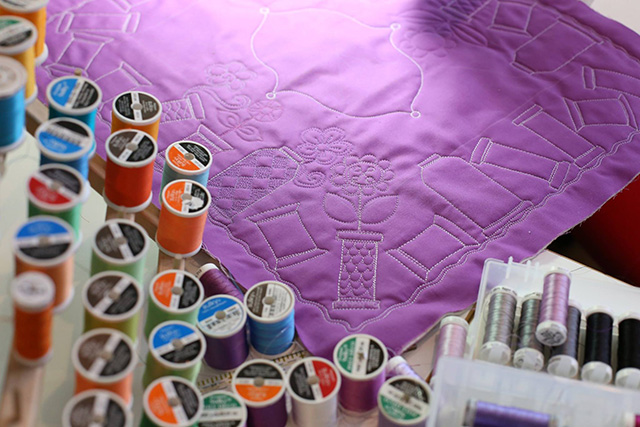
Match the needle size with the thread weight you’re using. The larger the thread weight, the smaller the needle size is needed. For example, for a 40 wt. Rayon, use a size 80/12 needle. For a 12 wt. Cotton, use a size 100/16 needle.
Watch Lori Kennedy in action! And watch her free Legacy Webinar to learn even more.
FREE-MOTION CLASSES
To get over the intimidation factor of free-motion techniques, take one of our virtual classes. This video instruction is all you need to calm those fears and dive into this creative endeavor. Eric Drexler, Sulky National Educator, teaches you through in-depth videos and extras to guide you. And…you can download and keep all the videos and printed material, which removes all the finish-by pressure.
Fearless Free-Motion Stitching for Beginners
In just six 15 to 45 minute segments, learn from Eric Drexler, the Master of Free-Motion, how to easily conquer the basics of Free-Motion so you can enjoy Thread Painting, Quilting, Stippling, Meandering, Print Embellishment, Raw Edge Appliqué, Thread Sketching, Zentangle Quilting and much, much more!
Fearless Free-Motion II: Beyond the Basics
