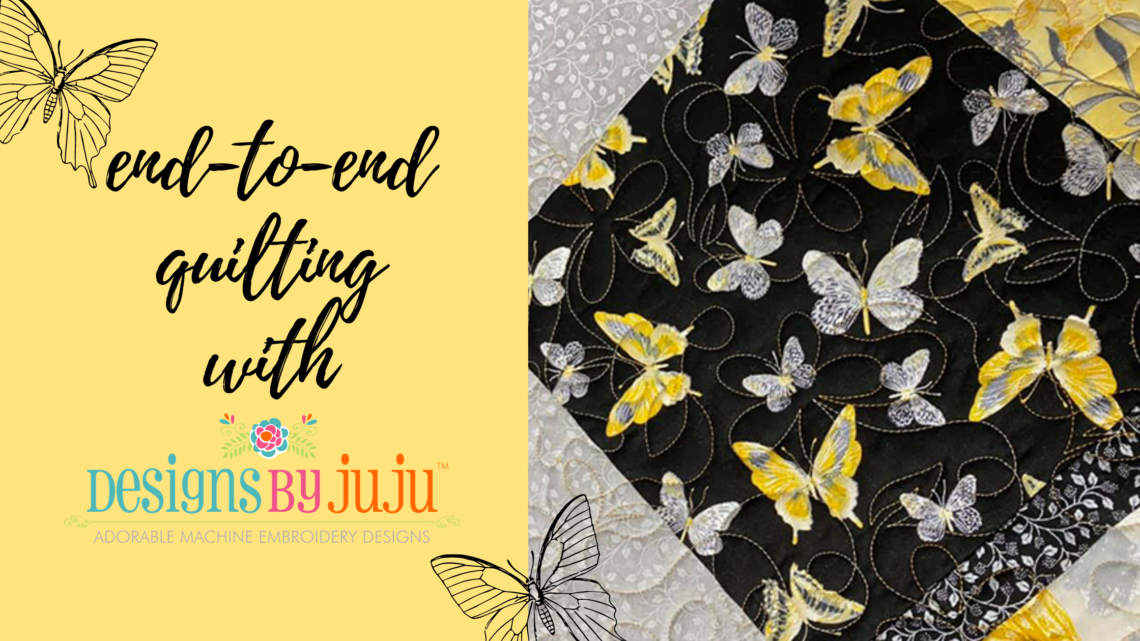
End-to-End Quilting with Designs by Juju + Free Design to Try
End-to-End Quilting Designs
for quilting in-the-hoop of your embroidery machine!
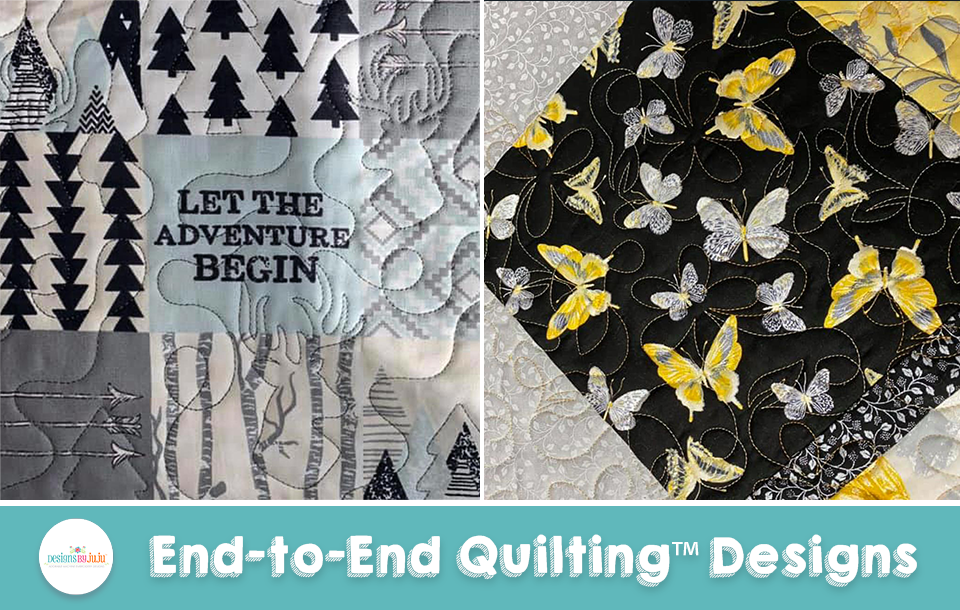
Our friends at Designs by Juju have designed End-to-End Quilting designs so we can quilt-in-the hoop of our embroidery machines, opening up tons of opportunities to personalize our quilts and quilty projects. The designs are sized for different hoop parameters, too! They have graciously provided a FREE end-to-end quilting design JUST FOR SULKY READERS! (Find the download at the end of this post.)
Read on for some tips for working with these designs and thread recommendations for creating beautiful stitches. Then try your hand at the techniques using your design freebie!
ABOUT END-TO-END QUILTING DESIGNS
Each of the End-to-End Quilting™ embroidery designs from Designs by Juju is an originally created design available in a large variety of block sizes. Every block is one continuous single-run line running end-to-end beginning on the left and exiting on the right. There is NO backtracking or double stitching. Each size block has been engineered and manually digitized for EXACT end-to-end precision so that when they are aligned properly in the hoop, you can’t tell where one block ends and the next one begins! Plus, the art has been created for each size so that when the rows are stacked on top of each other, it provides a practically seamless, professional, allover quilting effect that mimics edge-to-edge (E2E) pantograph quilting!
Becky Thompson of Power Tools With Thread has put together an outstanding, comprehensive educational VIDEO with tips and tricks for using our End-to-End Quilting™ embroidery designs. Topics included in her video are: Anatomy of the Designs, Project Preparation, Choosing Design Size, Printing Templates, Creating Your Own Template, Alignment using a Camera System Machine, and Alignment and Hooping for a NON-Camera System Machine. (Generally only the higher end machines have camera systems)
END TO END QUILTING SIZES
Every one of the End-to-End Quilting™ Embroidery Designs from Designs by Juju comes in 13 sizes. There are 7 square block sizes:
Square blocks: 4×4, 5×5, 6×6, 7×7, 8×8, 9×9, 10×10
*10×10 IS NOT AVAILABLE IN JEF FORMAT
**please note that 4×4, 5×5, and 6×6 have fewer motifs than the other sizes due to the smaller size of those hoops. Refer to the Thumbnails PDF included in the download to view each block, as artwork will vary slightly depending upon the size and orientation.
There are 6 rectangle block sizes. For every rectangle block there are TWO orientations included: Example 6×10 block:
Rectangle block sizes (each includes a horizontal orientation file and a vertical orientation file) 5×7, 6×10, 7×12, 8×12, 9×14 and 10×16 (9×14 AND 10×16 are not available in JEF format)
NOTE: View each block size in the Thumbnails PDF that is included in the download, as the art varies slightly depending upon the block size and orientation. They have all been worked separately to ensure a beautiful finished look to your project!
HORIZONTAL & VERTICAL ORIENTATIONS
Both orientations are provided so you have maximum versatility with regard to size when planning your projects. Each block connects end-to-end in ROWS and mimics edge-to-edge pantograph style quilting. Choose which block you will be using after doing a little math to determine the height and width of your project and how many across you’ll need, and how many rows. For denser quilting, use smaller designs.
HOW YOUR MACHINE ROTATES DESIGNS
Single-needle machines have vertical hoops, while multi-needle machines have horizontal hoops. You CAN use both the vertical and horizontal files on either machine, but be advised that IF you are using a horizontal block on your single-needle, it has been already manually rotated and it will START at the TOP and END on the BOTTOM. You will need to know your machine to hoop your project accordingly.
Because the vast majority of sewists have single-needle machines, all of the horizontal files have been manually rotated. If you have a multi-needle machine, it will likely need to be rotated by you for the hoop. This is very easily accomplished right in your embroidery machine. PAY ATTENTION if your machine automatically rotates the design that it didn’t rotate it to UPSIDE DOWN. If this happens, simply manually rotate it right-side up. Remember: the designs enter on the left and exit on the right (or top/bottom if your hoop is rotated correctly).
END-TO-END QUILTING DESIGN TEMPLATE
Aligning the blocks end-to-end is key to obtaining a seamless quilting effect. First, print a design template using your embroidery software program. All embroidery software programs allow you to print out a design template. If you don’t own embroidery editing software, you can use the FREE Embrilliance Express version to accomplish this.
ALTERNATELY, create your own template by stitching the design out onto a piece of Soft ‘n Sheer™ stabilizer. Becky shows you how in her YouTube video.
1) First, hoop a piece of stabilizer (Soft ‘n Sheer is light enough that you can see through it)
2) Then, stitch out the chosen design onto the stabilizer using a nice dark color of thread (see “Thread Choice” below.)
3) Next, remove the hoop from machine but do NOT unhoop the stabilizer yet. Using a pen or marker, draw the cross-hatch marks and mark the exact center of the design.
4) Then, remove the stabilizer from the hoop. Using a ruler, connect the vertical and horizontal centers to make a nice visible cross mark.
5) Lastly, cut out the template. Finally, use the perfect reusable template for your project.
THREAD CHOICE & MORE HELPFUL TIPS
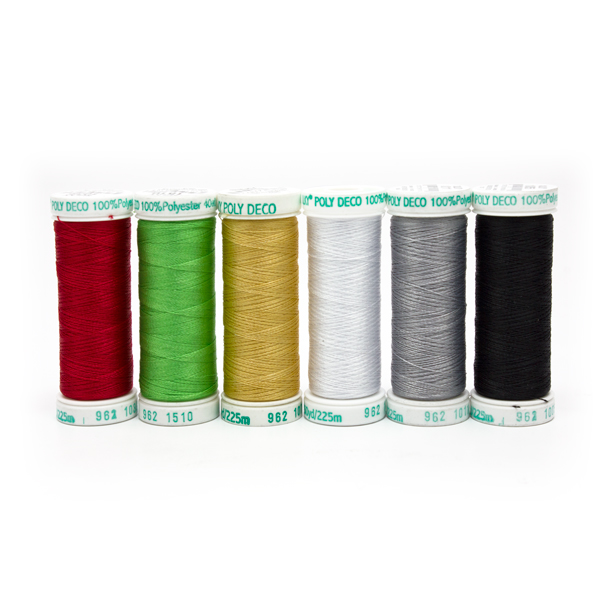
- Use 40 wt. embroidery thread for the quilting. Sulky Poly Deco™ is a nice choice as it’s washable, bleachable, and has a beautiful sheen. Use a coordinating color for the bobbin thread if you are stitching an entire quilt sandwich.
- Choose a Universal Needle size 80/12.
- As these are machine embroidery designs, they will tie in at the beginning of the design and tie off at the end. This is necessary. Pull the bobbin thread up at the first stitch to prevent tails on the back of the project for both multi-needle and single-needle machines.
- All of the End-to-End Quilting™ Embroidery Designs offered at Designs by Juju are a single-run continuous line with no backtracking. You can resize any given block up to 20% up or down without issue. Don’t resize more than that or you may compromise the integrity of the design.
- Always begin by bringing the bobbin thread to the top of the design and trimming the tails after several stitches.
- To create the quilt sandwich and baste the layers together, use Sulky KK 2000™ Temporary Spray Adhesive.
END TO END QUILTING DESIGNS IN ACTION
- Finish pieced quilt tops including wallhangings, lap quilts, baby quilts, placemats and more! You can even finish a bed-size quilt!
- Quilt over embroidery designs and appliqués.
- Finish quilt tops and quilt through the top and batting. Then, add embroidery designs over the quilting. Next, add the backing and stitch in the ditch of the seams.
- Alternate blocks in a quilt with end-to-end quilt blocks.
- Swap out end-to-end quilting designs with the quilting in an existing in-the-hoop project to change the look. (Embroidery editing software is needed for this.) This works great for potholders, notebook covers, zipper bags and more!
- Use the end-to-end quilting blocks in quilt-as-you-go projects.
END TO END QUILTING FREEBIE
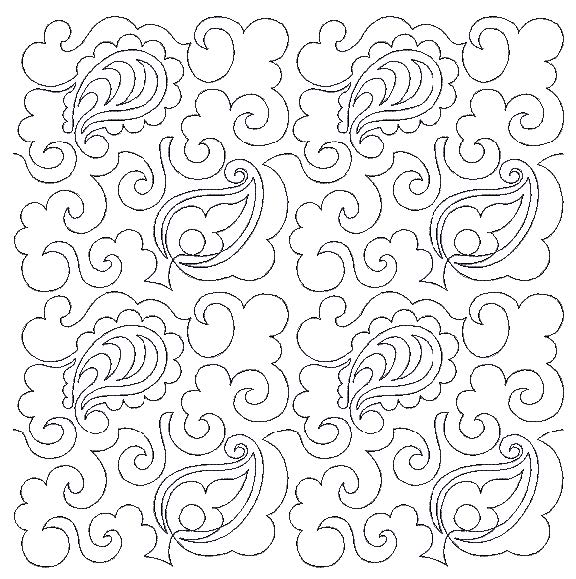
Designs by Juju kindly gifted each and every one of you an exclusive End-to-End Quilting Design, End-to-End Quilting Design – Paisley, to try! Download the design files and load the file type for your machine. Then, get started and create something beautiful!



9 Comments
tsanta516
Great tips
Kathy HIatt
Thank you for introducing me to this designer and her website. Love her designs and will be purchasing more!
Maggie Drafts
Just in the nick of time!!!!! Thank you Ellen!!!!
Janann Margaret Anderson
Thanks for the quilting design pattern. Becky does a fantastic job or demonstrating and showing all of us how to get the designs to line up in the hoop. I am so appreciative of all of her help and follow Power Tools with Thread on You Tube.
Thanks to Sulky of America and Ellen for all of the wonderful virtual classes too.
Judi Jordan
I cannot find the download button for the free paisley design
Ellen March
It is all the way at the bottom of the post, highlighted in blue. Enjoy!
Karen
This is such great information! I have used embroidery to quilt my quilts but the edge to edge should be really fun! Thanks for the free design.
Paula Gardner
I’m new to the sewing and embroidery world! Sorry if the questions seems obvious to any of you! If the article you’re quilting is not the exact size match to the design how do you “cut off” the design (assuming you start in the middle of the project as suggested and have excess stitches on both ends of your piece)? You don’t want stitches running off the edges.
Ellen March
Hi Paula,
Your best bet is to search video tutorials from Designs by Juju. They have very comprehensive how-to videos that instruct you how to use these types of designs. I could try and explain it here, but I think a video would help immensely! Enjoy and have fun!