The question I get asked the very most is how I am able to sew and quilt, especially free-motion, with Sulky Metallic Threads so easily. Since I have learned how to use metallic threads, I use them in almost every project that I do. I have always been a girl who loves bling, so really, this is not a surprise! One of the things I love about Sulky Metallic Thread is it isn’t rough or stiff, so I am able touse it on just about anything and not worry that it will make my project too stiff.
There is a secret to using metallic threads. Do you want to hear it? Are you ready for the silver bullet that will make sewing with metallic threads so easy you won’t think twice about picking it for any project? OK. Here it is: PRACTICE!
I know, you are disappointed. But this truly is the only way to get really good at doing anything and is especially true when sewingwith metallic threads. If you have never used metallic threads, then read this post first. It is filled with some great basic tips to get you started.
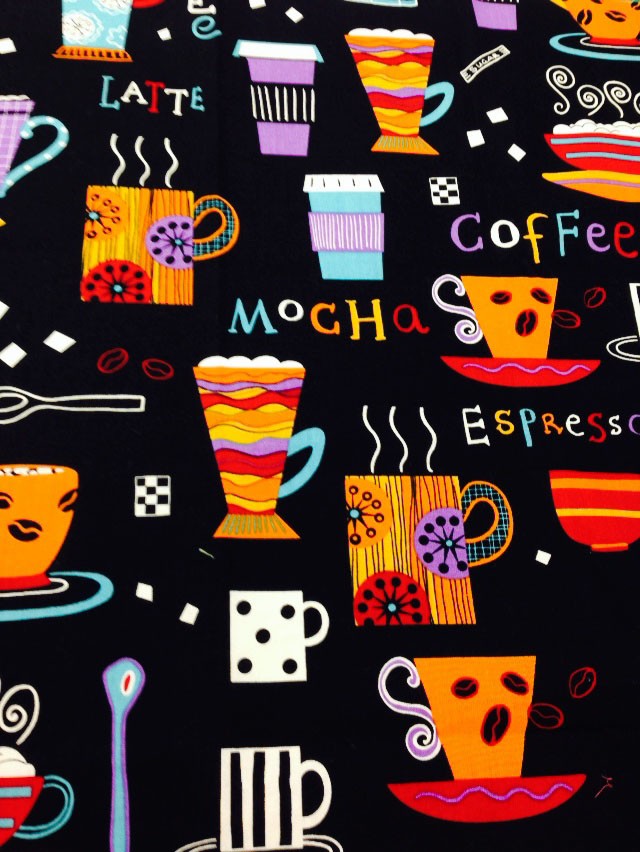
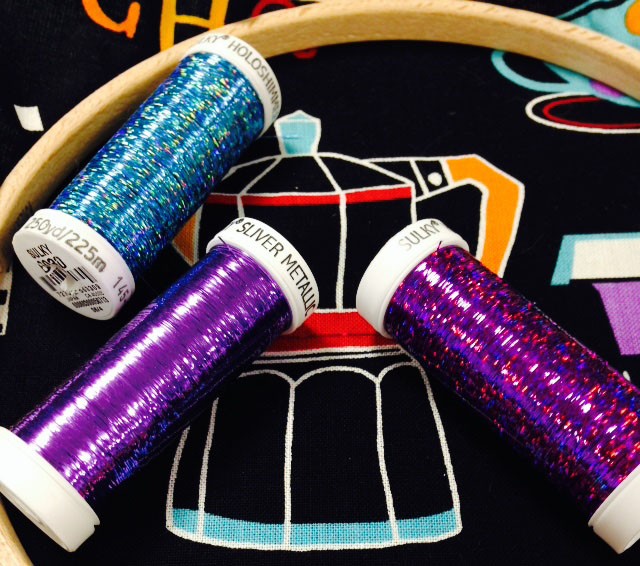
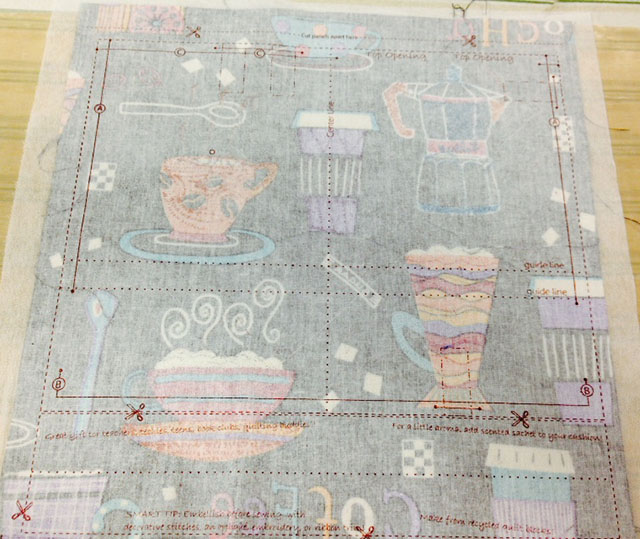
The next step is to practice. A LOT! I recently had a few minutes and so I decided I would practice with Sulky Metallic Threads. I picked out this fabric from my stash:
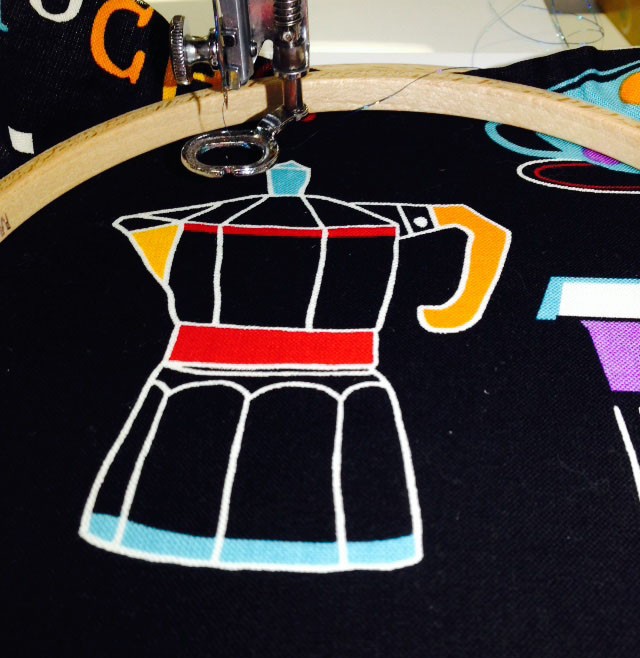
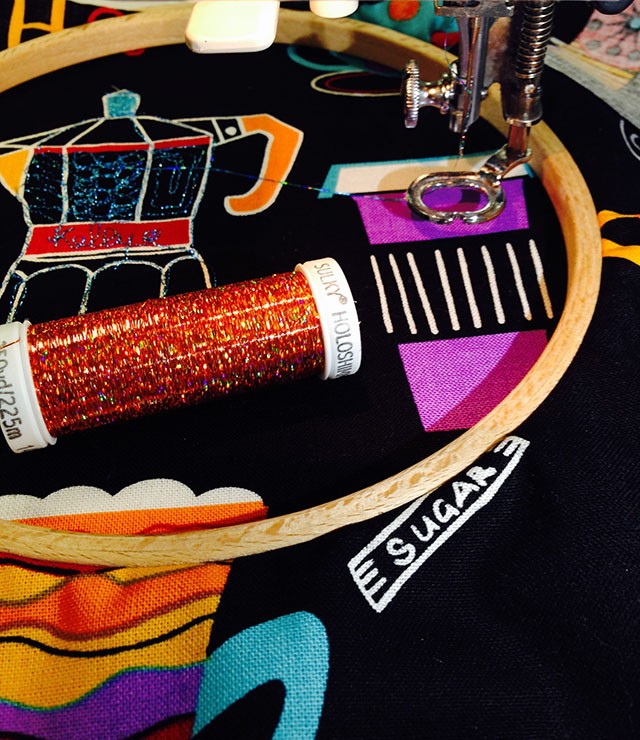
I set up my machine for free-motion (lowered the feed dogs, put on the free-motion foot and loweredmy top tension), then I hooped the fabric and Sulky Tear Easy in a machine embroidery hoop. I use this one, which is a wooden hoop specifically made for doing free- motion sewing, but you can also use this one. Just be aware that the plastic spring loaded hoops have a tendency to distort your fabric more, and they don’t give a “full circle” of support to your fabric.
Next I just started playing! I practiced writing my name:
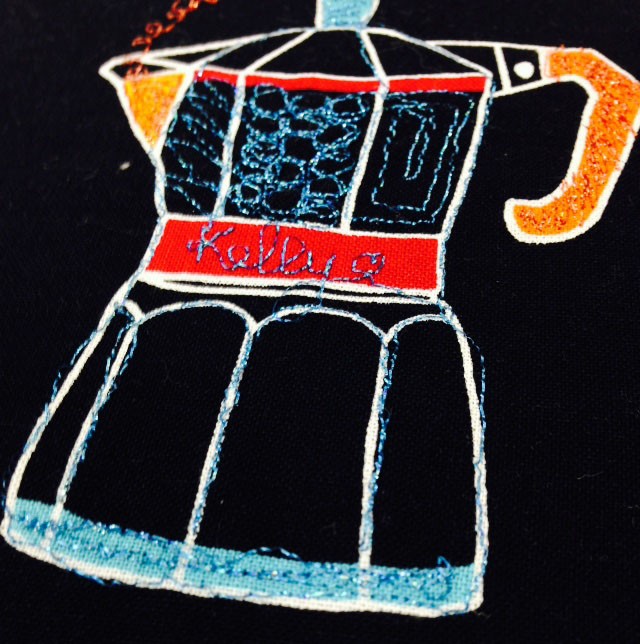
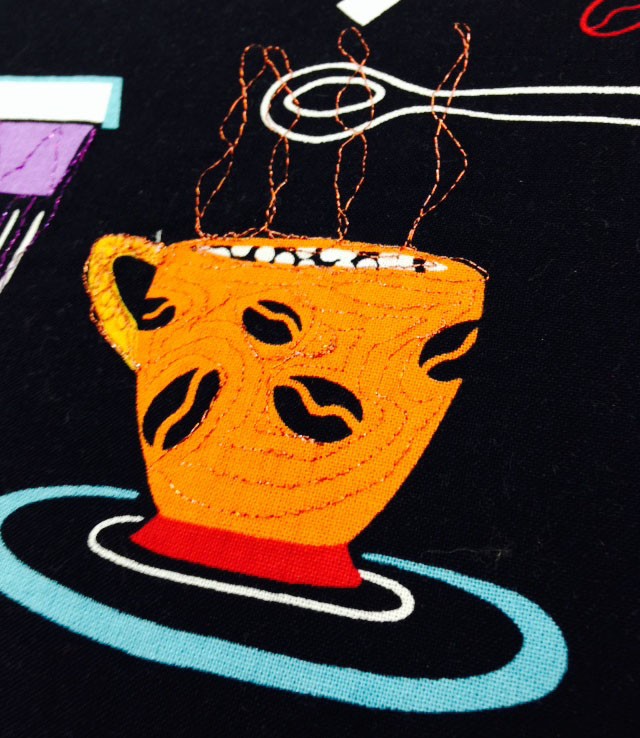
I practiced outlining and adding details to the picture:
I played with several different thread colors:
In this practice session, I learned that when I am doing finer detailed free-motion sewing, that I needed to lengthen my stitch length even longer than I normally do (even though I amthe stitch length) and sew much slower. I only practiced for about20 minutes, but I was able to get a rhythm going and by the end I had a 10″ square that looked pretty cool! But what now? If you are like me, you are not satisfied with a 10″ square that looks cool and having some new knowledge – you want that practice square to become something! You could make it into aMug Rug,or save it to go into a future quilt, placemat or wallhanging; or you could do what I did: make it into a Quiltsmart Gadget Cushion!
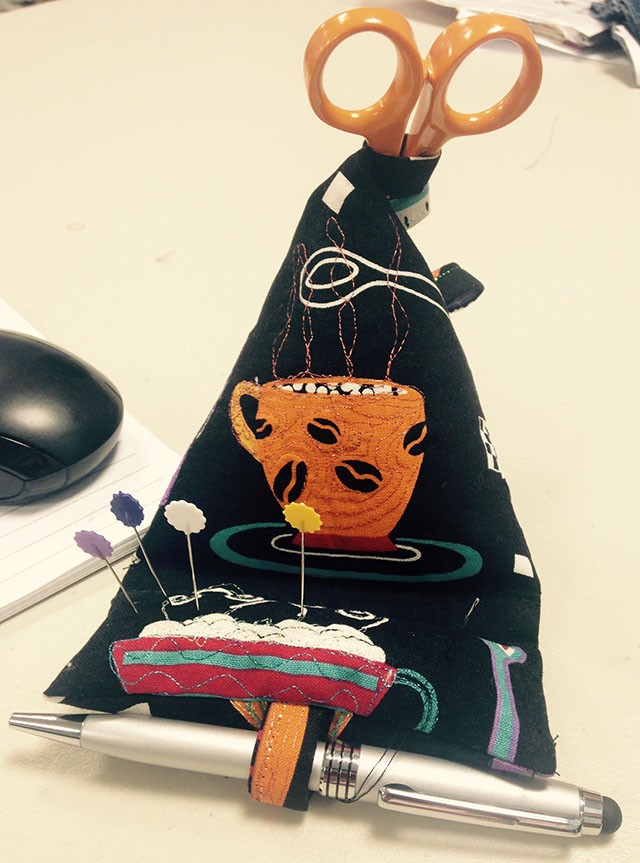
I love this because it makes my practicing feel more productive but I don’t have to do any additional math, which you know I hate. This is from Quiltsmart’s Practical Art line and the whole thing is stepped out for you on the panel. An added bonus is it only took me additional 20 minutes to finish this great project!
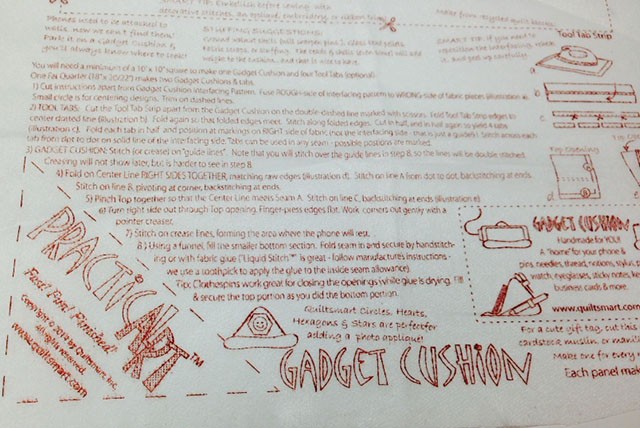
Iron it to the back of your fabric
Then follow the very simple steps, and end up with something great!
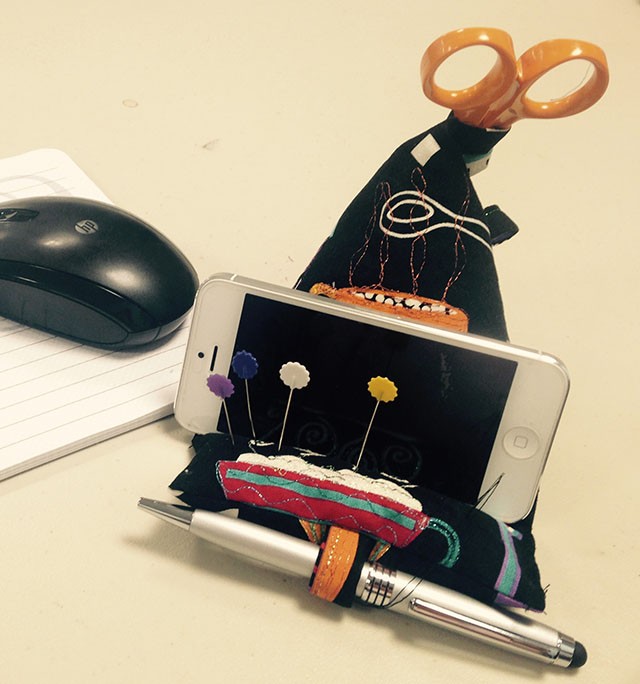
Confession, I was originally going to give this as a gift, but it turned out so cute that Idecided I am keeping it for myself :). Good thing the Quiltsmart® panels can be bought in packs of 5!
The next time you have 20 minutes, use it to practice a technique that you want to master. Then take an additional 20 minutes and make something useful out of your practice piece.
Happy Sewing!
