Free-Standing Lace vs. Lace Effect

This series is written by guest blogger, Pamela Cox. Pamela is an expert embroiderer, designer, digitizer and all around wonderful girl! We are so happy to have her contributing to the Sulky Blog!
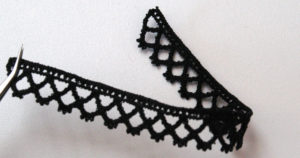
We all know what lace is, but do we understand “lace” in terms of machine embroidery?
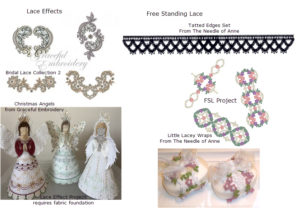
Many design collections include the word lace in their title, and this is especially true for embroidery intended for Bridal or even Heirloom designs. However, lace in a title can be describing a “lace effect”, which requires a fabric foundation, a strip of lace to be used as an accent or even an item made of lace.
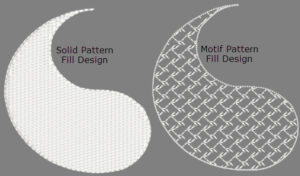
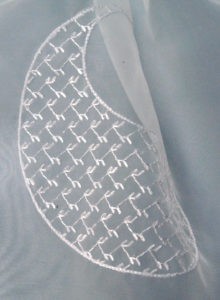
Many motif-filled designs
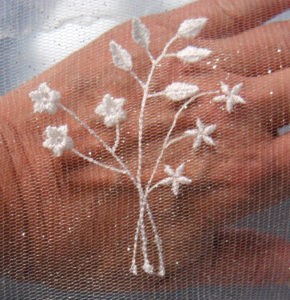
imply “lace”, especially when stitched on sheer fabrics. Often, if the speed of the embroidery machine is slowed down, a sharp, small gauge needle (65/9) can be used to “embroider” the pattern because the reality is simply a decorative stitch.
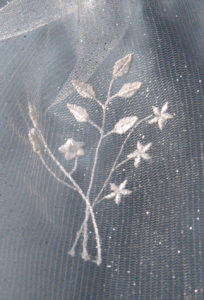
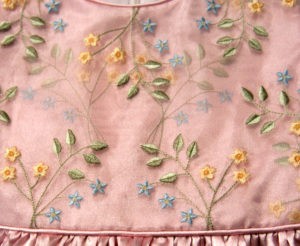
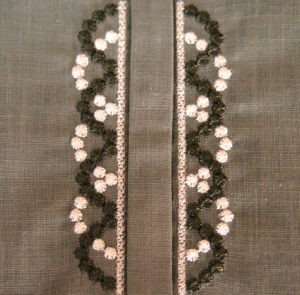
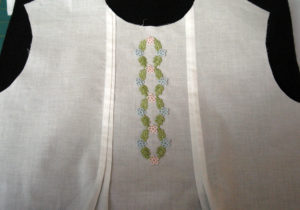
Other lace effects are achieved by embroidering a design on sheer or semi-sheer fabrics. However, designs need to be those that have been precisely digitized for lighter weight fabrics. Once again, consider categories labeled Heirloom or Bridal, but don’t just assume proper stitch density. Examine designs by magnifying them in an editing program or directly on the embroidery machine.
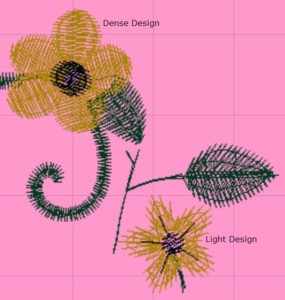
Compare the difference between these two designs noticing how much of the pink background is visible in each. If the full designs were compared, the denser embroidery has all elements very closely place – if not on top of each other – while the heirloom design shows more spacing between stitches as well as more openness between elements. This is not to say that one design is digitized more correctly than the other, but it does point out that one design is more suitable for light-weight fabrics and will more closely imitate lace.
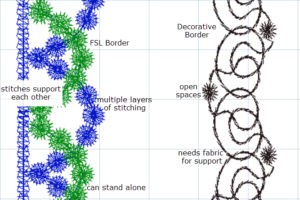
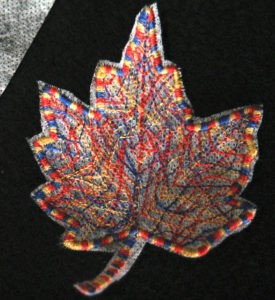
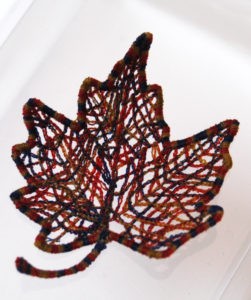
FSL (Free Standing Lace) designs indicate that the embroidery element can hold together in its intended shape without the support of a fabric foundation.
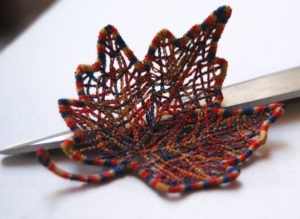
FSL designs are digitized with multiple layers of stitches interlocking with neighboring stitches, creating a strong unit.
While designs labeled FSL
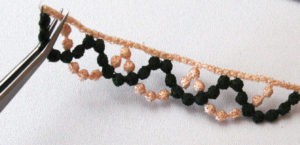
can be stitched directly on fabric, often delivering a completely different look,
do not attempt to stitch a lace-effect design without a fabric foundation because it cannot, and will not, hold itself together.
FSL can be used in traditional methods of insetting or top-stitching to fabric, or it can be appliqued, tacking in specific areas.
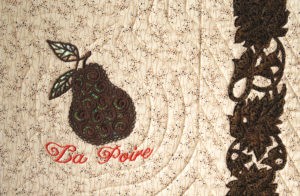
Many FSL elements look very elegant when incorporated into a wall hanging, as seen in this project from Sulky® Magical Thread Art & More Course. Although the pear is free-standing, it was stitched over Mylar. This was one of my most favorite projects…ever!
Stabilizer
Stabilizer plays an extremely important role when embroidering lace. Since most lace effects are stitched on sheer fabrics, it would be best to have the wrong side looking as nice as the right side. This means using the same thread in the bobbin and removing excess jump threads and stabilizer.
FSL designs also benefit from these same standards,
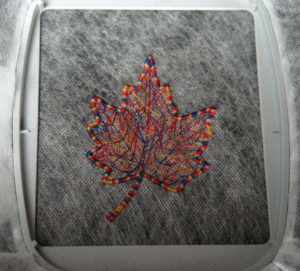
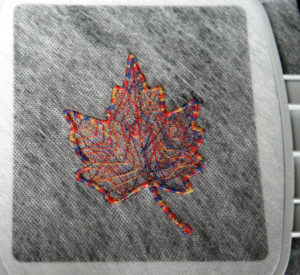
Stitched with Sulky 30 wt. Cotton Blendables®
but it also demand that the stabilizer be strong enough to withstand dense stitching directly on its surface!
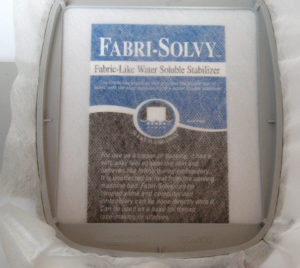
Sulky Fabri-Solvy™ Stabilizer provides the highest quality in meeting these requirements! It is easily hooped and can be tugged “tight as a drum”. It can directly support heavy stitching
and yet, after excess stabilizer is cut away, the remaining is effortlessly rinsed away.
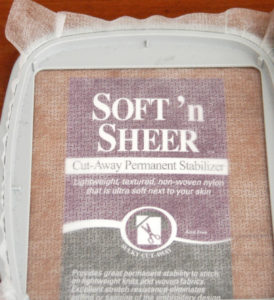
Many sheer fabrics are non-washable, so there goes the lace effect if stitching on one, right? Hold on, not so fast! Sulky Soft ’n Sheer™ Stabilizer to the rescue!
Soft ‘n Sheer is another quality stabilizer from Sulky, which solves the problem of needing a durable foundation for embroidering, while remaining unnoticed in the background.
This sheer stabilizer is easy to cut-away from designs. Yet any stabilizer that might be left allows the fabric to drape and flow while being invisible! Soft ’n Sheer is indispensable when stitching a lace effect on non-washable fabrics!
Successfully Embroidering Lace Step-by-Step:
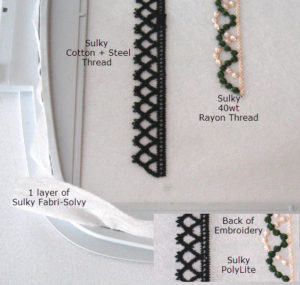
- Tightly secure Sulky Fabri-Solvy Stabilizer directly in hoop. Even though many design directions will state to use two layers of stabilizer, I only hoop one layer of Fabri-Solvy. To date, I have never had a problem. All samples shown were stitched with one layer.
If a fabric foundation is needed for a lace effect design, baste (fix) the fabric to the stabilizer using a sharp, small-gauge needle.
- Turn the speed of the embroidery machine down by at least half.
- Use the same thread color in the bobbin as threaded on top. Lace can be stitched in Sulky 40 wt. Rayon Thread, Cotton + Steel 50 wt. Cotton Thread by Sulky, or Sulky 30 wt. Cotton Thread – using the same thread in the bobbin. Sulky PolyLite™ Thread also makes a great choice for bobbin thread matching colors.
- Use a sharp new needle of appropriate gauge (75/11 for fine threads 90/14 for heavier cotton thread).
- Trim excess stabilizer from around the design. Trim jump threads.
- Following Sulky Fabri-Solvy Stabilizer removal directions, rinse for several minutes in cool to tepid water. Thorough rinsing will remove all traces of stabilizer, leaving the lace soft and supple. Some lace items may benefit from leaving a bit of stabilizer for shaping purposes, adding body to the lace.
Credits:
- Sulky Products – Sulky Website
- Sulky FSL Leaf design – Sulky Embroidery Club
- Embroidery Designs – From The Needle of Anne
- Embroidery Designs – Graceful Embroidery


Great article! I am currently previewing freestanding lace designs for my granddaughter’s competitive skating outfits. This information helps a lot with the embroideries that I want to use. They will contain a ton of Metallic threads as well as shiny rayons.
Great article with lots of valuable information. Thanks so much.
Thank you for your brilliant advice and explanation