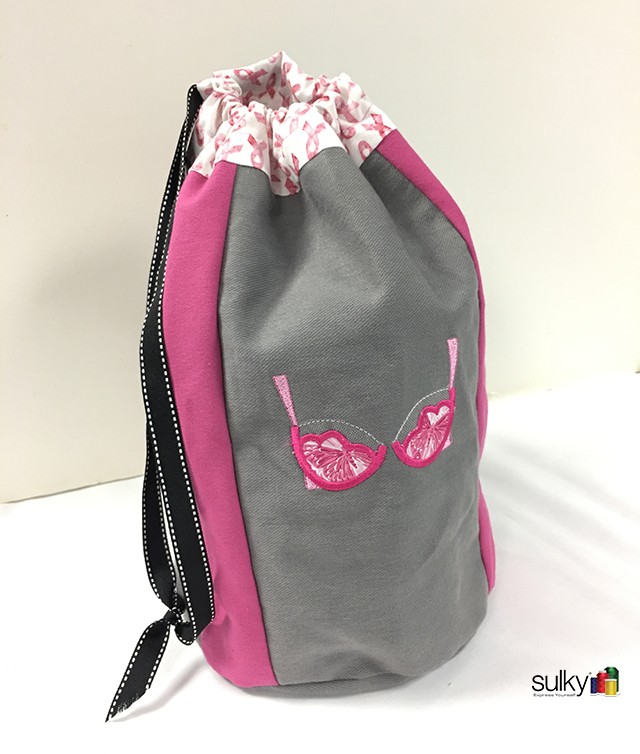
 In honor of Breast Cancer Awareness Month, I decided to make a bag to hold my bras and undies when I travel.
 If you have been reading my blog for a while, then you may remember that one of my best friends is a breast cancer survivor. She fought like a girl and after a long journey through chemo, radiation, several surgeries and recovery, I am happy to report she is cancer free. Ladies, please, get your mammogram. It’s uncomfortable, I know, but after walking through this journey with my friend, I can say with confidence that a squish of your girls is a much better option.
Okay, I am off my soap box and onto the tutorial. Here you go:
Supplies
- Three 12-1/2″ x 7″ pieces of gray fabric (I used Crossroads Denim)
- Three 12-1/2″ x 3″ strips of pink fabric (I used Crossroads Denim)
- One 8-1/2″ circle of gray fabric (Here is a template:circle-template-8)
- One 16-1/2″ x 27-1/2″ pieces of lining fabric
- One 8-1/2″ circle of lining fabric
- Sulky Pink Ribbon Collection – 40 wt. Rayon thread set for machine embroidery designs (10% of the proceeds go to National Breast Cancer Foundation)
- Sulky Tear-Easy™ Stabilizer for machine embroidery
- Sulky 30 wt. Cotton thread for piecing the bag together (I used Sweet Pink 733-1256 from the 30 wt. Cotton Pink Ribbon Thread Set)
- Embroidery Designs
- Scrap fabric and trim for the machine embroidery designs
- 1 yard of ribbon for the drawstring
- Sulky KK 2000™ Temporary Spray Adhesive
Instructions
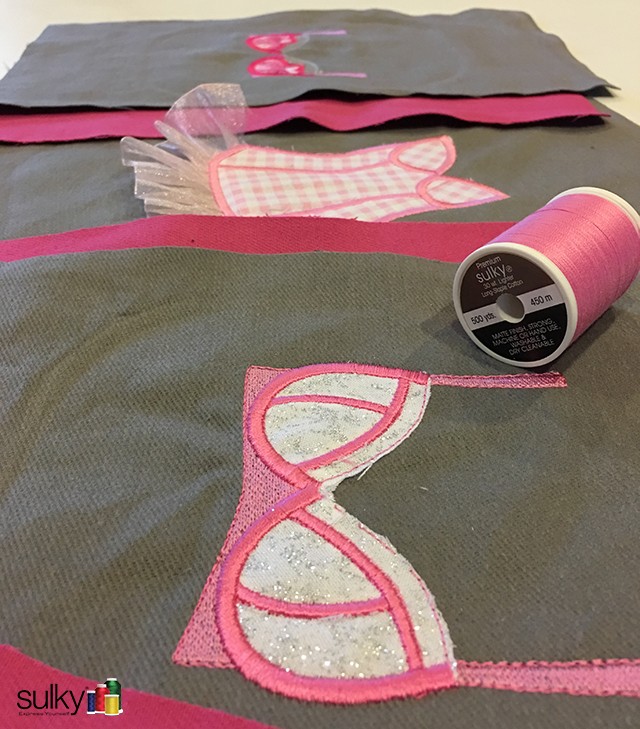
- Embroider the machine embroidery designs on the 12-1/2″ x 7″ pieces of gray fabric (HINT: I did my machine embroidery first and then cut them to the proper size). I didn’t follow the color chart with the design because I wanted my designs to be all pink, but I did follow the chart so I knew when to put down and trim my fabric pieces.
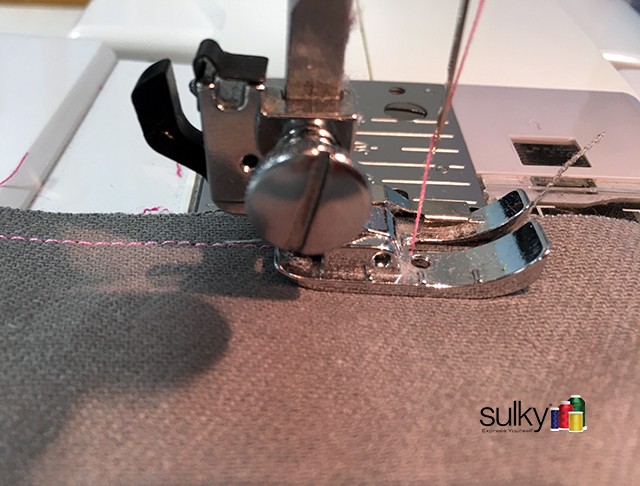
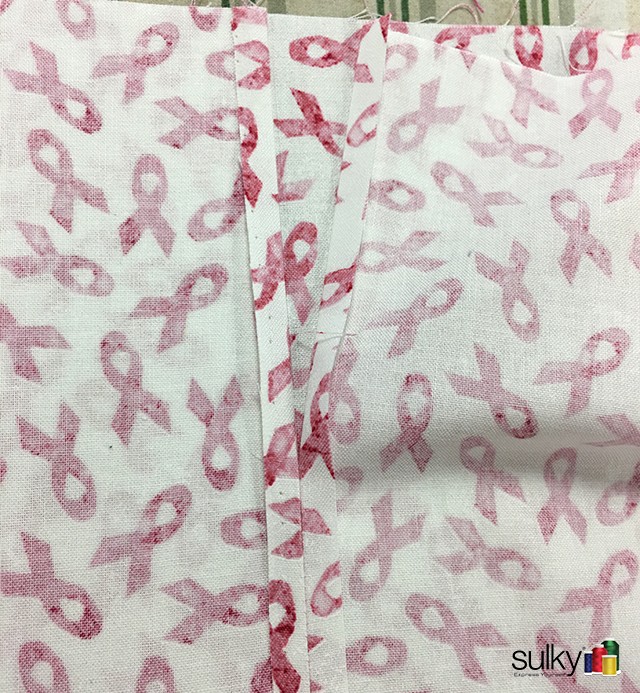
- Use a 1/4″ seam allowance to sew the three grey pieces to the pink pieces in between.
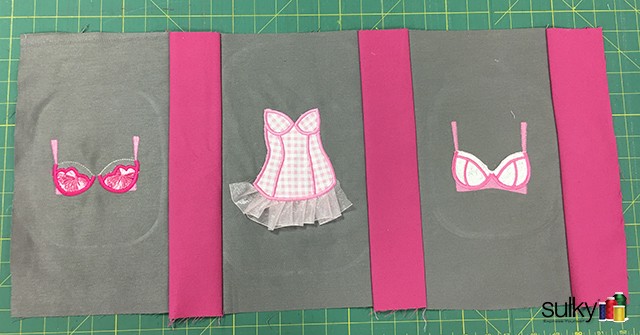 When you have sewn the pink strips all on, match the 12-1/2″ side of the first grey piece to the last pink piece, right sides together, and sew – again using a 1/4″ seam allowance. You can press your seams open if you choose.
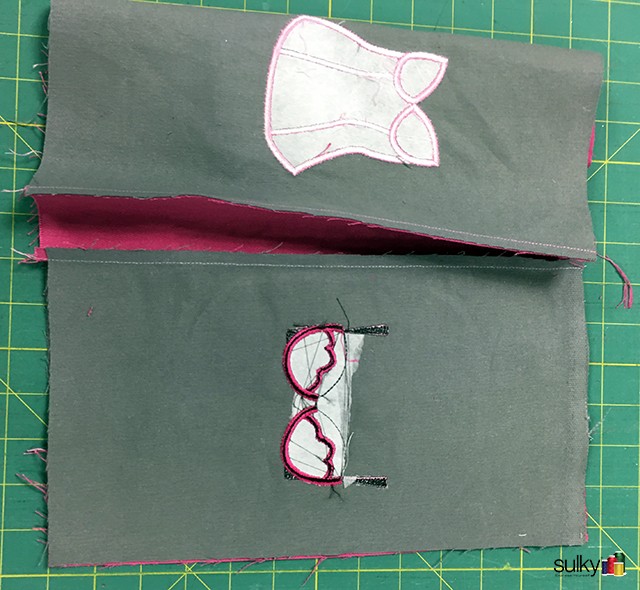
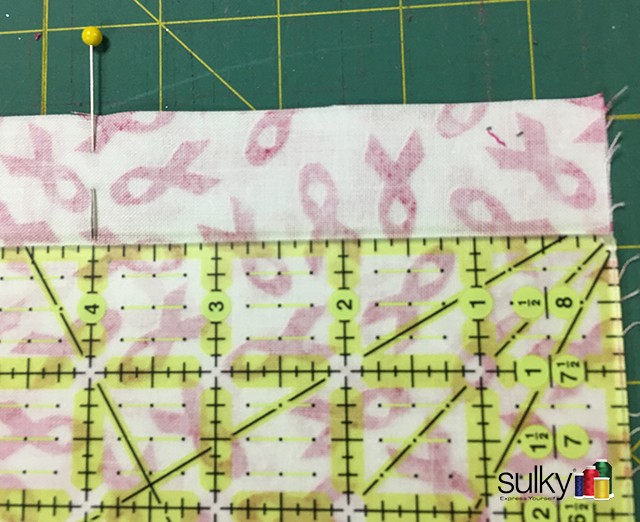
- Download and print out the circle template. You will notice that it is only an 8″ circle. You will need to add a 1/4″ seam allowance when you are cutting it out.
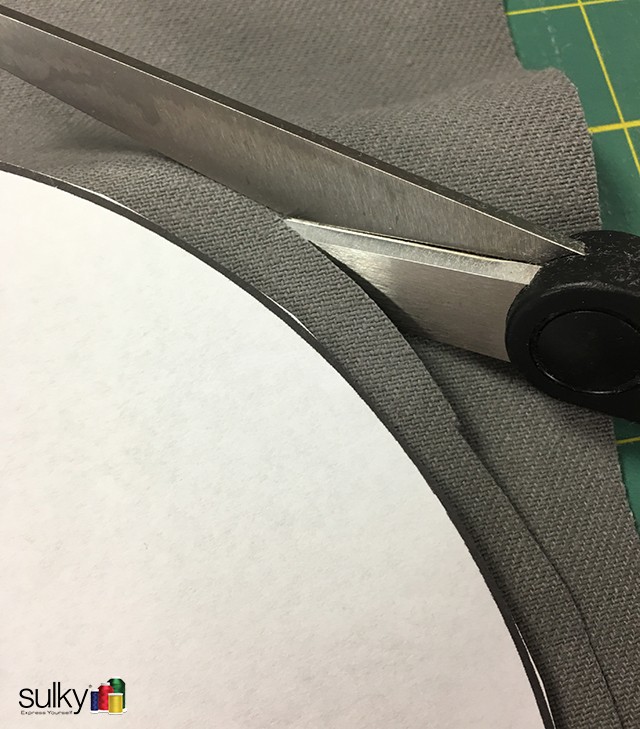 I only did an 8″ template because 8-1/2″ would not have printed on a standard sheet of paper. Use the KK 2000 the secure the circle to your fabric to cut it out.
 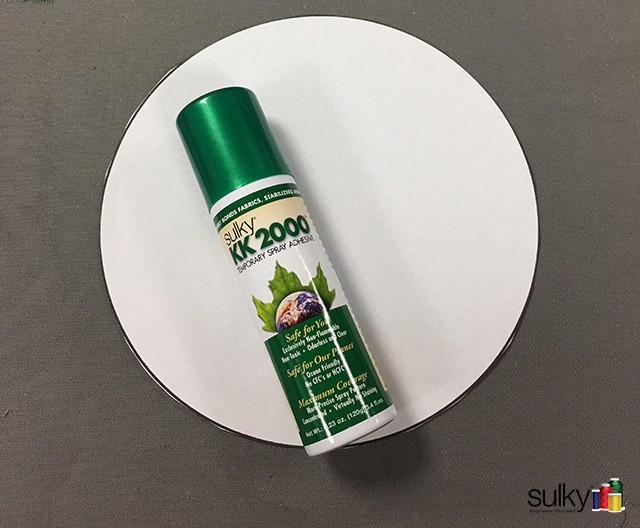 When you are finished, you can iron the template and the heat will dissipate the KK 2000 like magic!
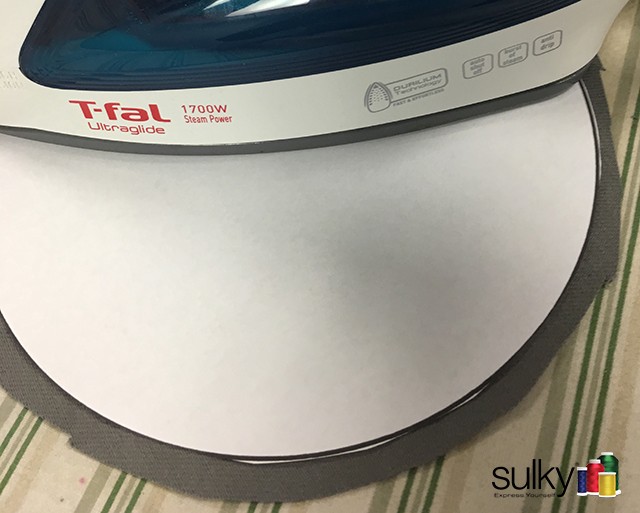
- With right sides together, pin and sew the circle to the bottom of the tube you just made with your other pieces.
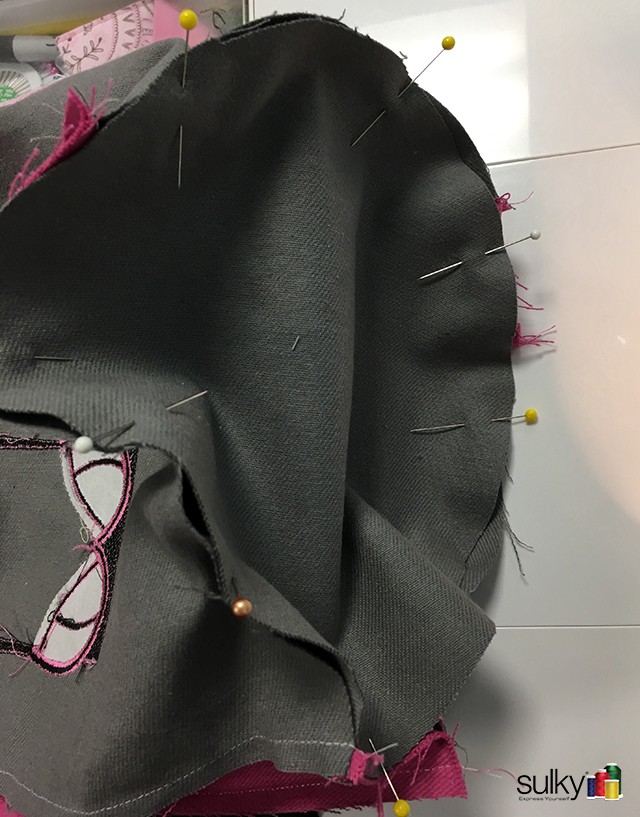
 Set this aside for a minute and do the lining.
 - With right sides together, sew the 16-1/2″ sides of the lining fabric together, using a 1/4″ seam allowance. Leave 4″ of the seam not sewn.
- Press the seam allowance open.
- Using the circle template, cut the 8-1/2″ circle out of the lining fabric, just like you did for the grey fabric.
- With right sides together, pin and sew the circle to the bottom of the tube you just made with your lining fabric, but leave an opening for turning.
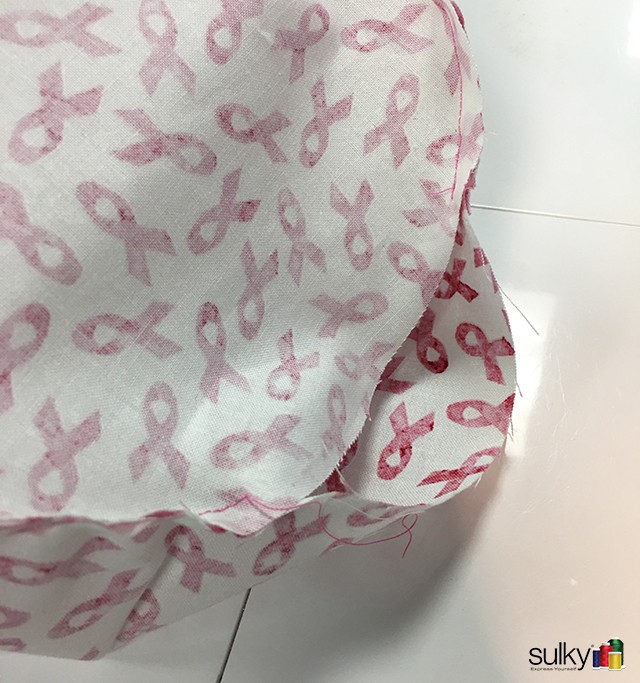
- Take the outside bag and turn it so the right side is facing out. Place it inside the lining with right sides together.
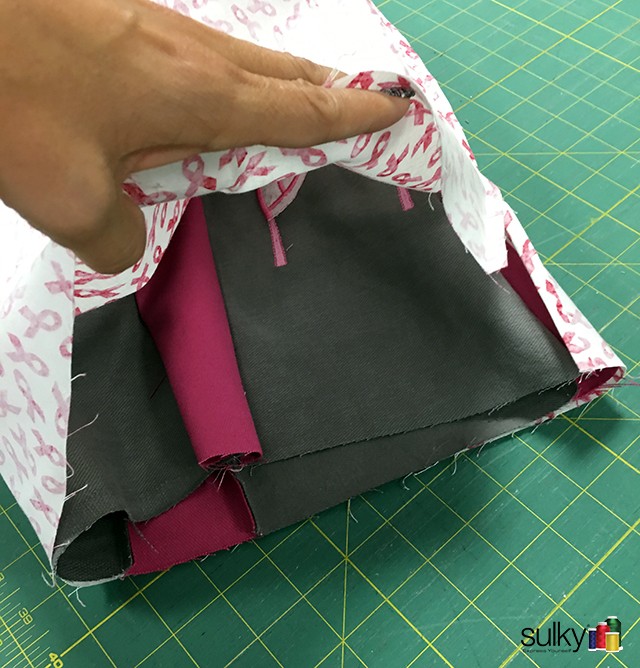
- Pin the top edges together. Be sure to carefully pin the lining where the seam is not sewn.

- Sew with a 3/8″ seam allowance, backstitching over the area where the lining seam is not sewn.
- Using the opening that you left in the bottom of the lining, turn the project right side out.

- Push the lining into the bag.
- Hand sew the opening closed.

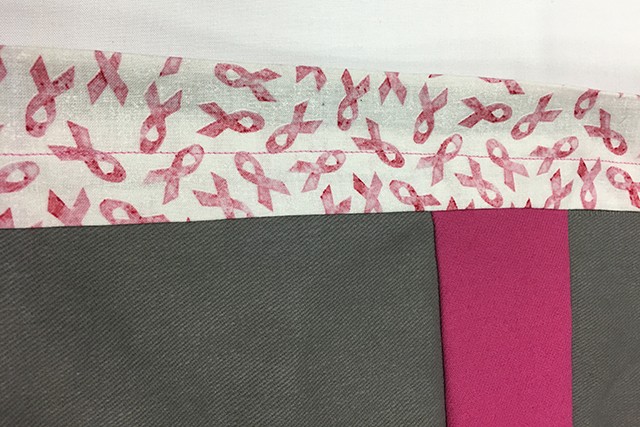
- Iron so that 2″ of the lining is showing at the top.
- Topstitch about 1 1/2″ from the top to form a casing for the ribbon.
- Using a safety pin, thread the ribbon through the top casing.
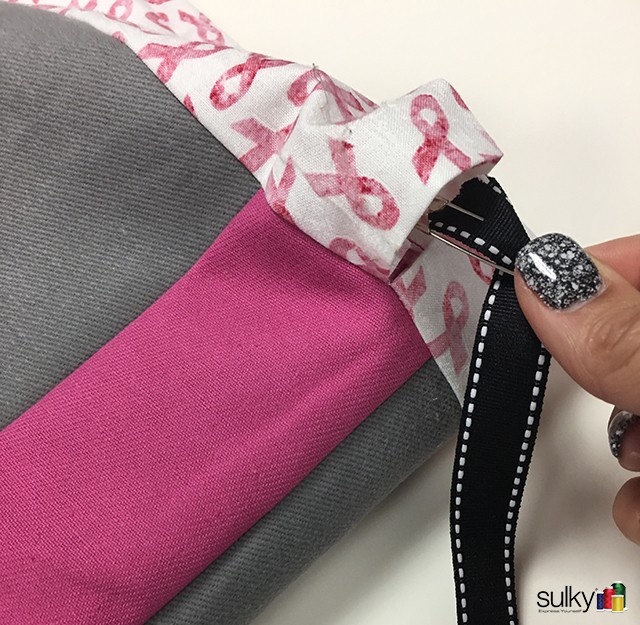
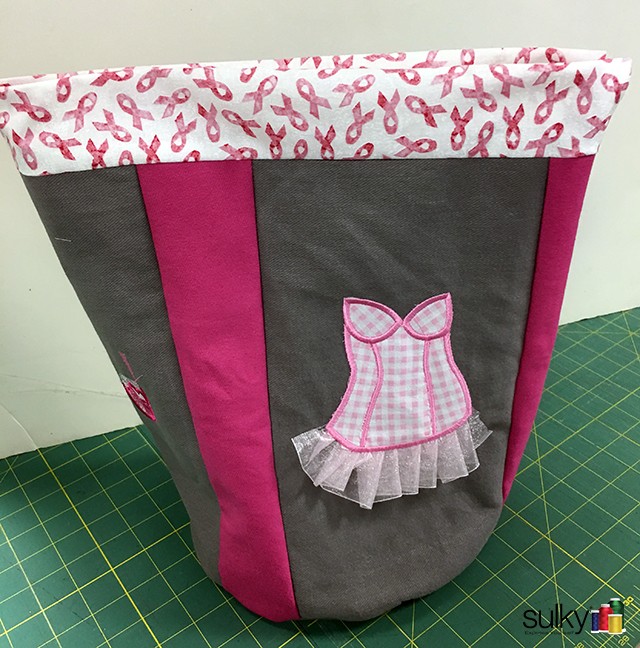
- Tie the ribbons ends to together and viola! Your bag is done!
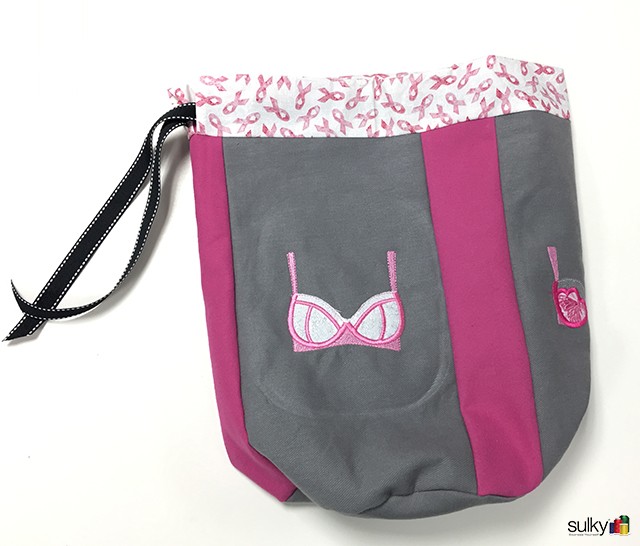
Now just put your bras and undies inside and you are ready for your trip.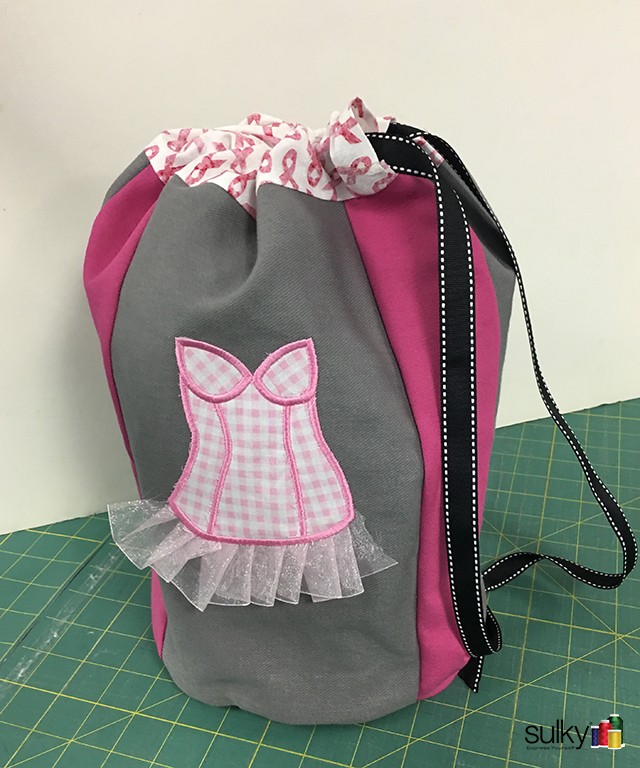
Happy Sewing!

cute, cute, cute…
I love this bag tutorial & plan to make two, one for me & one for my daughter. As a breast cancer survivor it is important for mr to “get the word out” as there continue to be those who think, “it will never happen to me.” Thank you ever so much for the great detail.
My “girls” are chuckling.
That is so darling! Thank you for caring for survivors. It can happen to anyone and the support really helps.
Where do I find the embroidery design to download?
You can get them here, Nadine: http://www.sulkyembclub.com/designs.aspx?cid=6&scid=1053&pt=1
As a survivor I have no problem reminding all the women I know to get their mammograms. I can not stress it enough. My cancer was found from one year test to the next. The sooner found the easier to treat.
Cute pattern