Holiday Onesie How-Tos
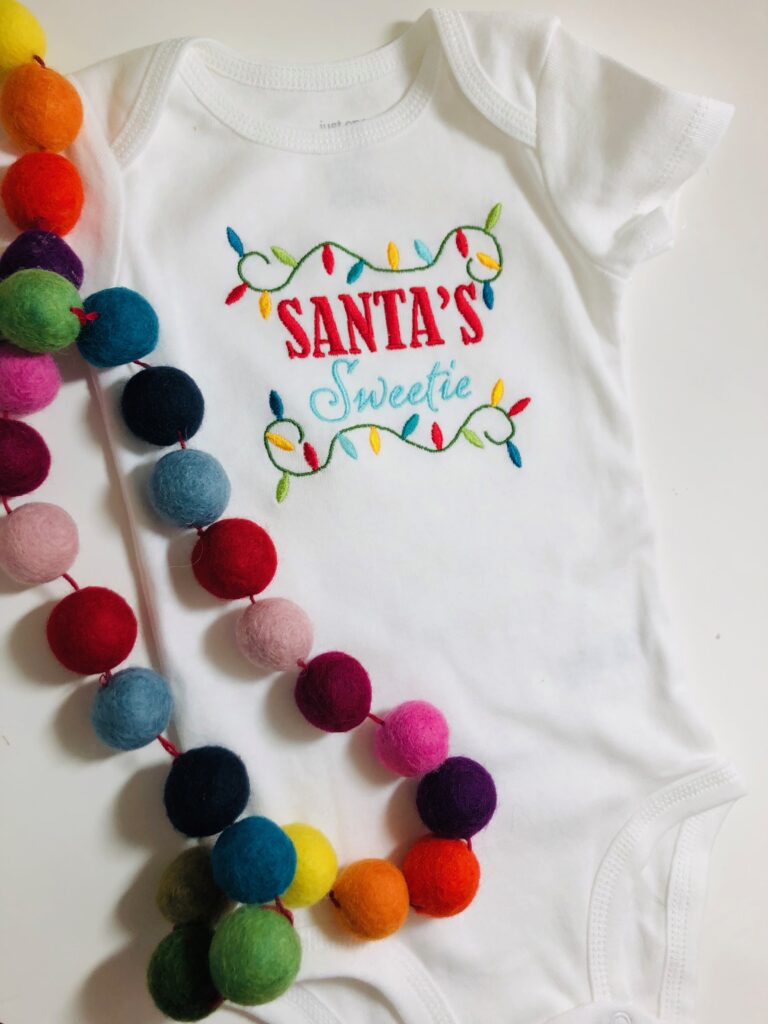
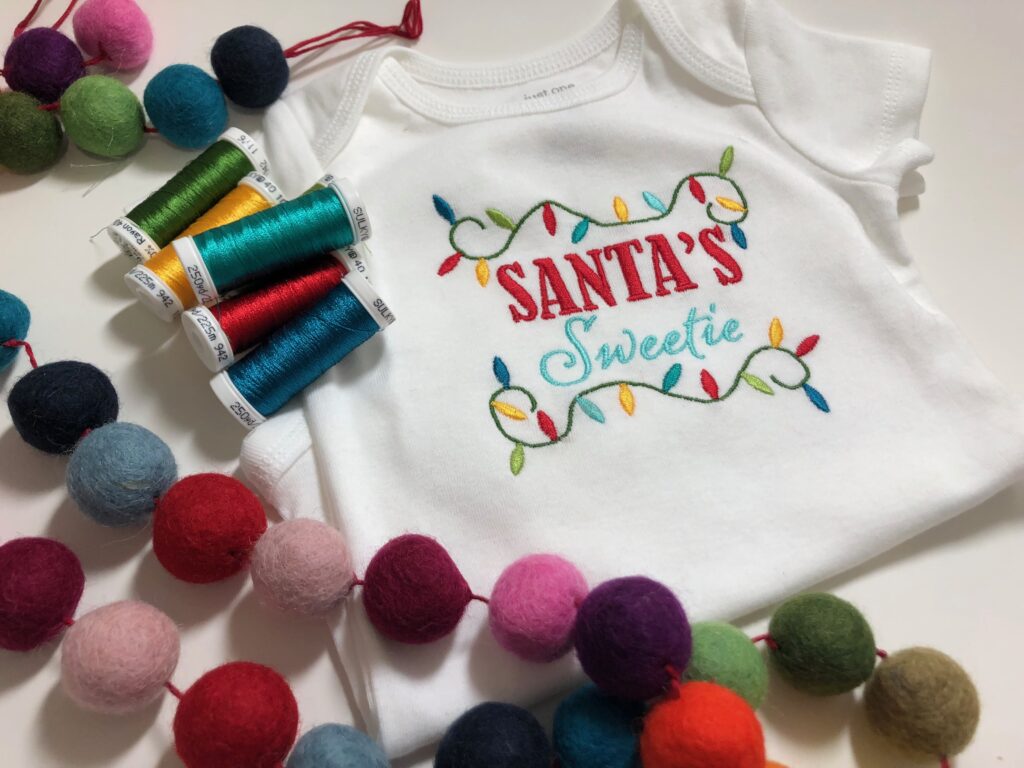
Embroider a holiday onesie for a new baby this Christmas. Choose from one of our cute Santa Sayings machine embroidery designs to make it extra special.
SUPPLIES FOR HOLIDAY ONESIE
- Santa Sayings Machine Embroidery Palette
- Sulky Bobbin Thread (color to match onesie)
- Machine Embroidery Design (featured design from Santa Sayings Machine Embroidery Collection, included with Palette: Santa’s Sweetie), measuring approx. 4.69” x 4.75” or smaller, depending on size of onesie)
- Sulky Sticky+™ Stabilizer
- Sticky+ Slitting Pen
- Sulky Tender Touch™ Stabilizer
- Organ® Needles: 75/11 Embroidery
- Removable Fabric Marker (such as a Frixion highlighter)
- Pinking shears or scalloped scissors
HOOPING ONESIE
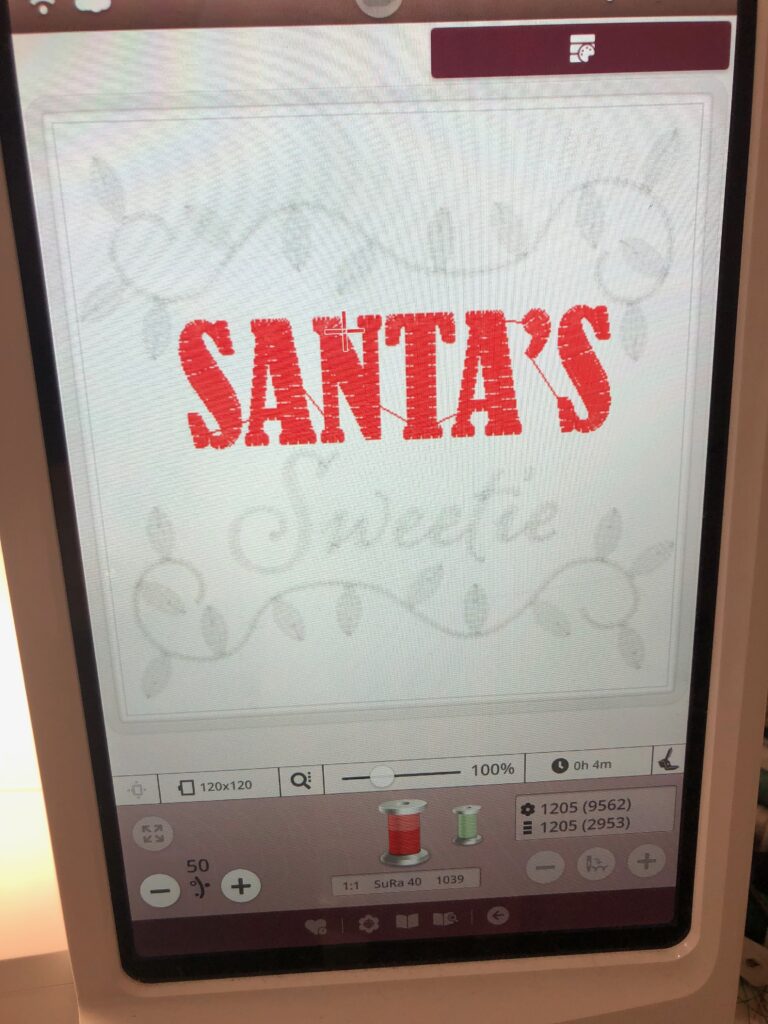
Load the chosen design onto the machine and plan to use the smallest hoop possible to accommodate the design.
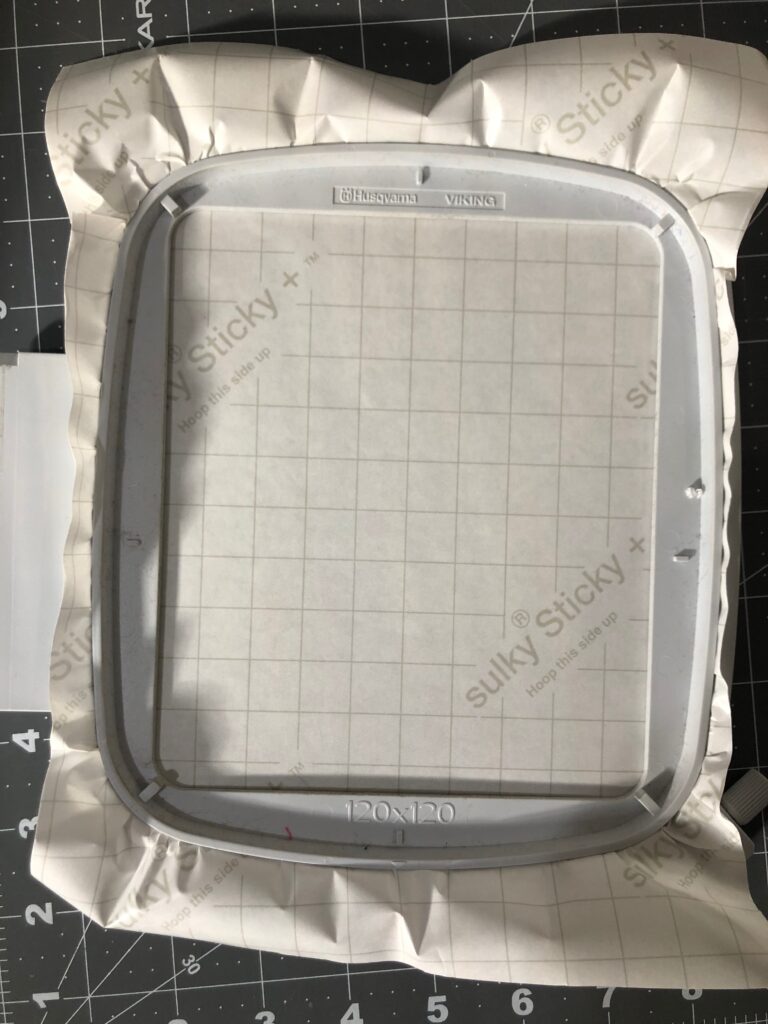
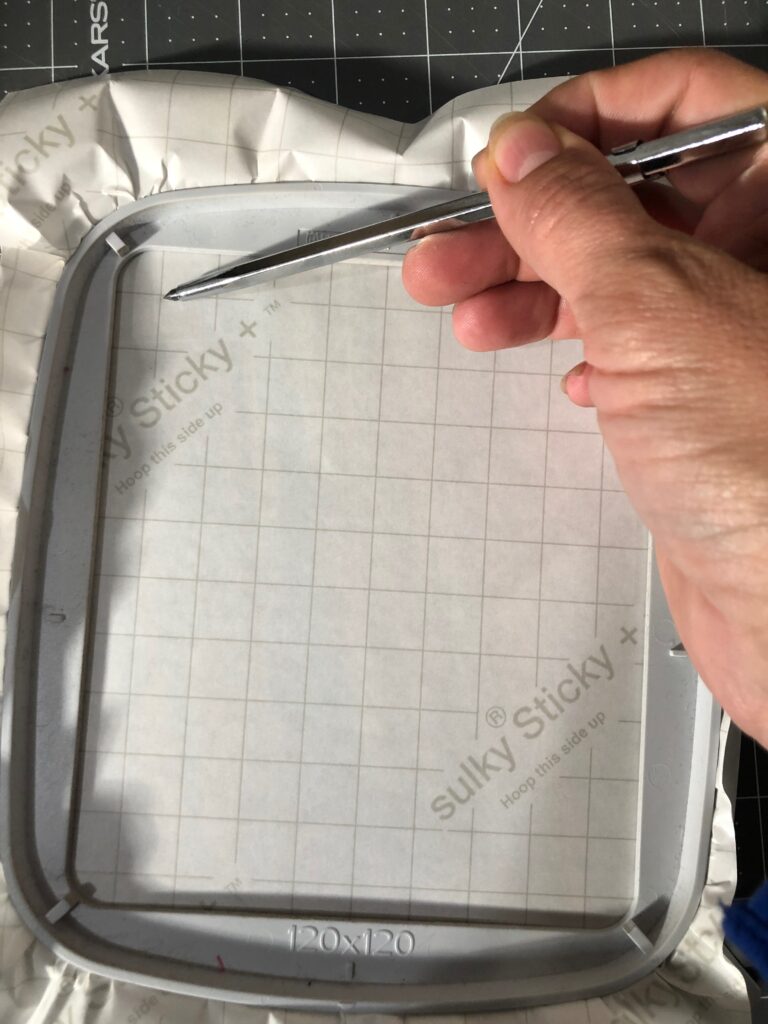
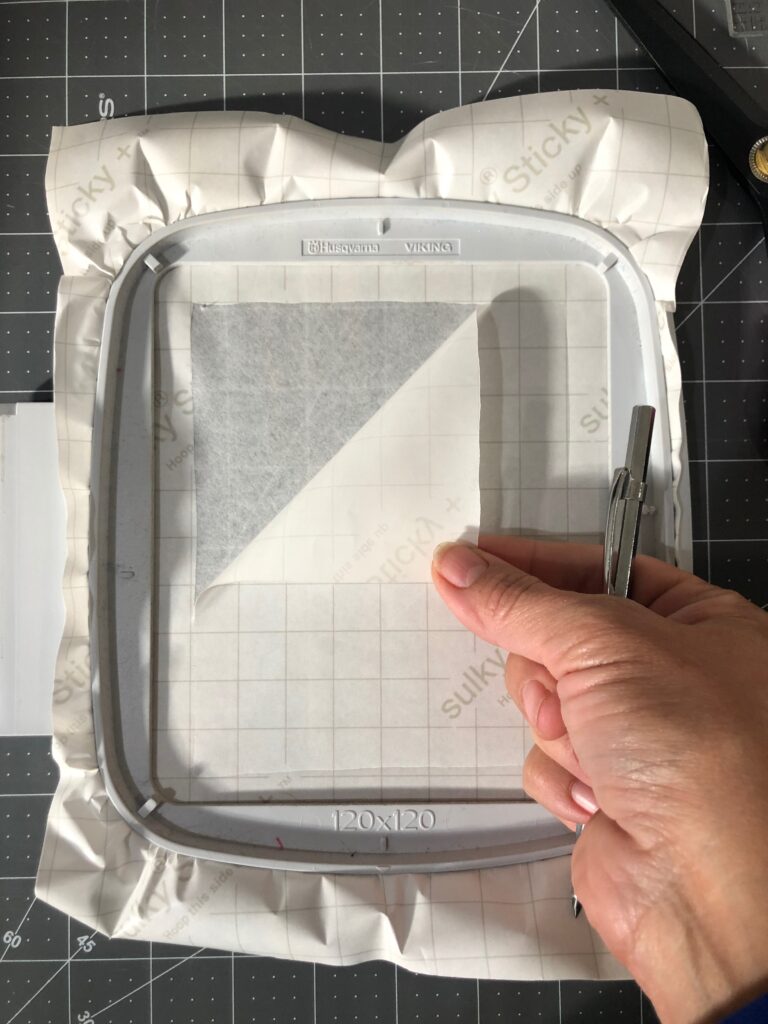
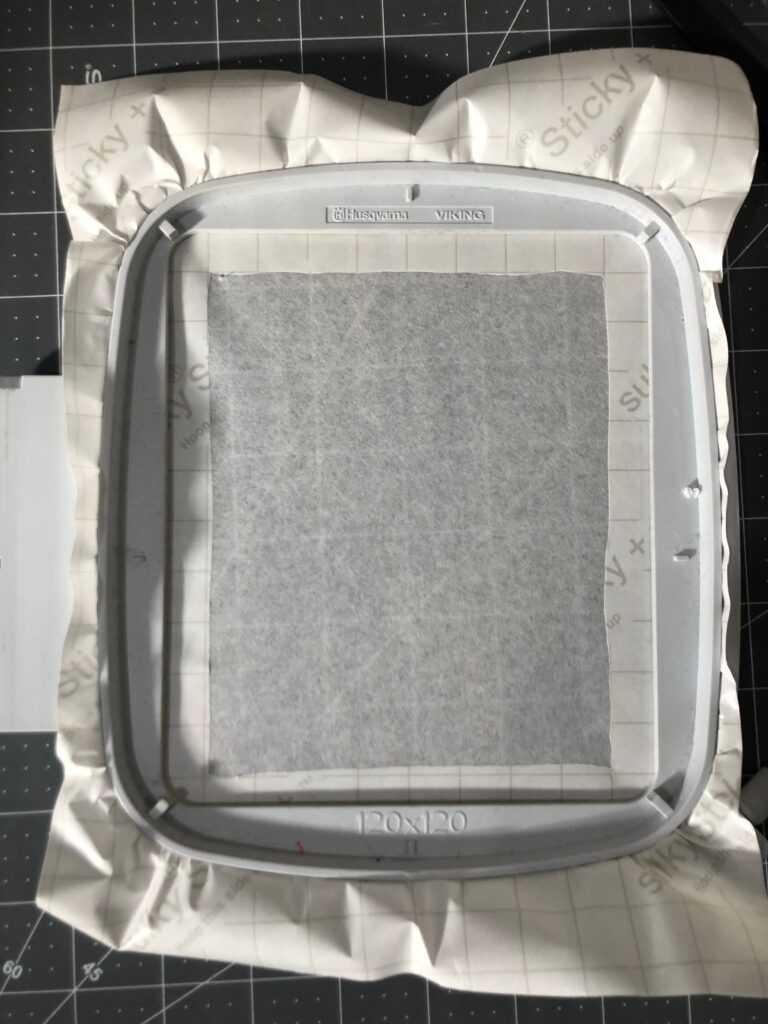
Hoop a piece of Sulky Sticky+ Stabilizer with the paper side facing up. Use the Sticky+ Slitting Pen to score the paper inside the inner hoop ring. Peel back the paper backing to reveal the adhesive.
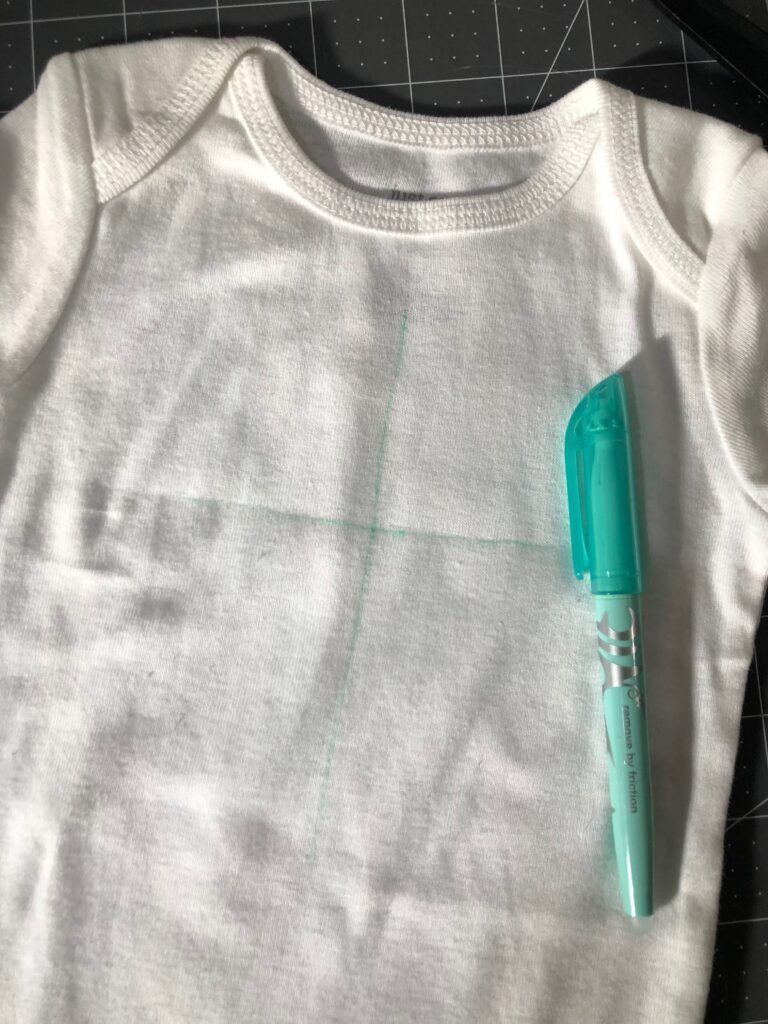
Using a removable fabric marker, mark the center cross marks on the onesie right side at the desired design center.
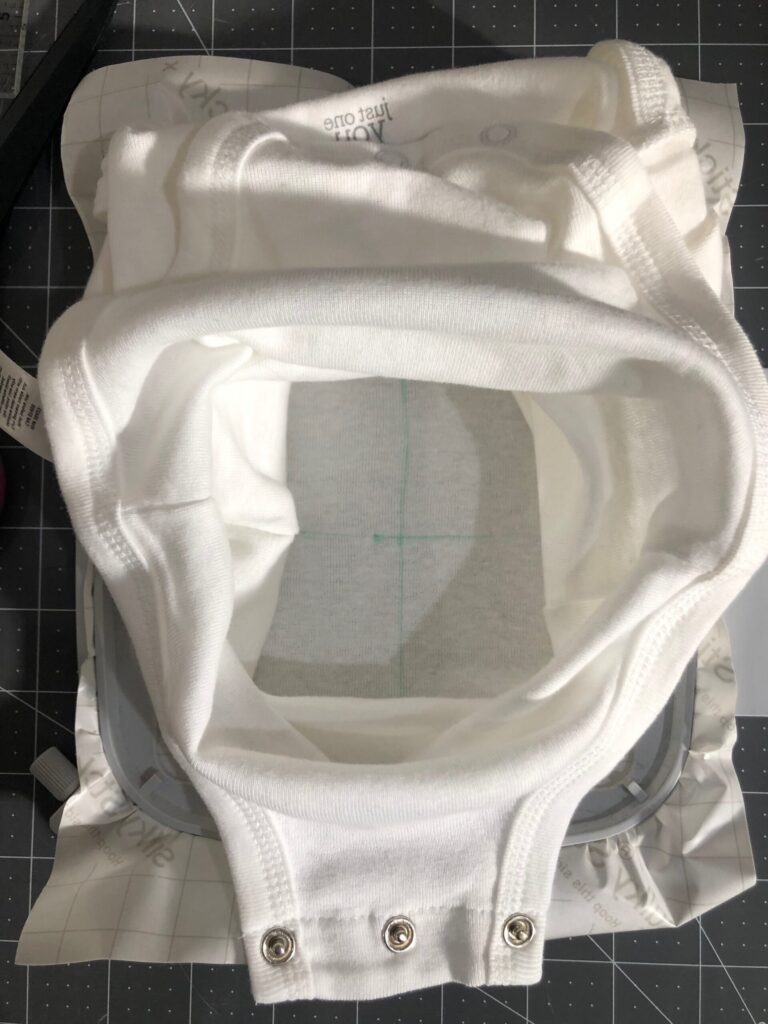
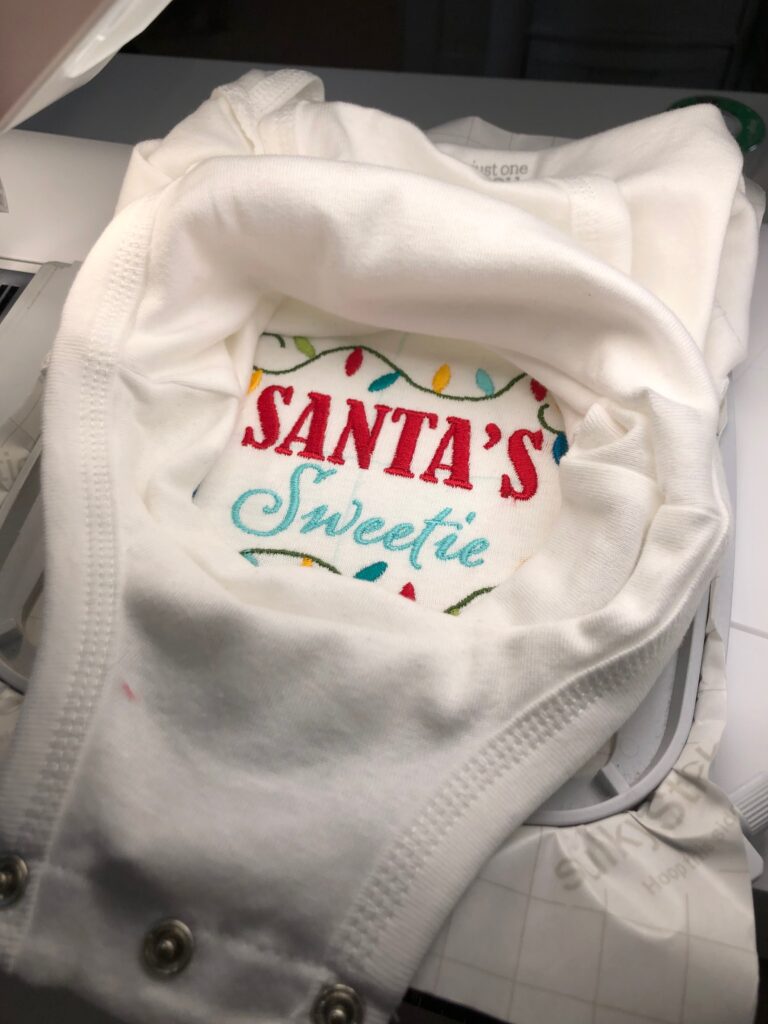
Turn the onesie inside out. Place the onesie onto the sticky stabilizer, aligning the markings with the inner hoop cross hairs.
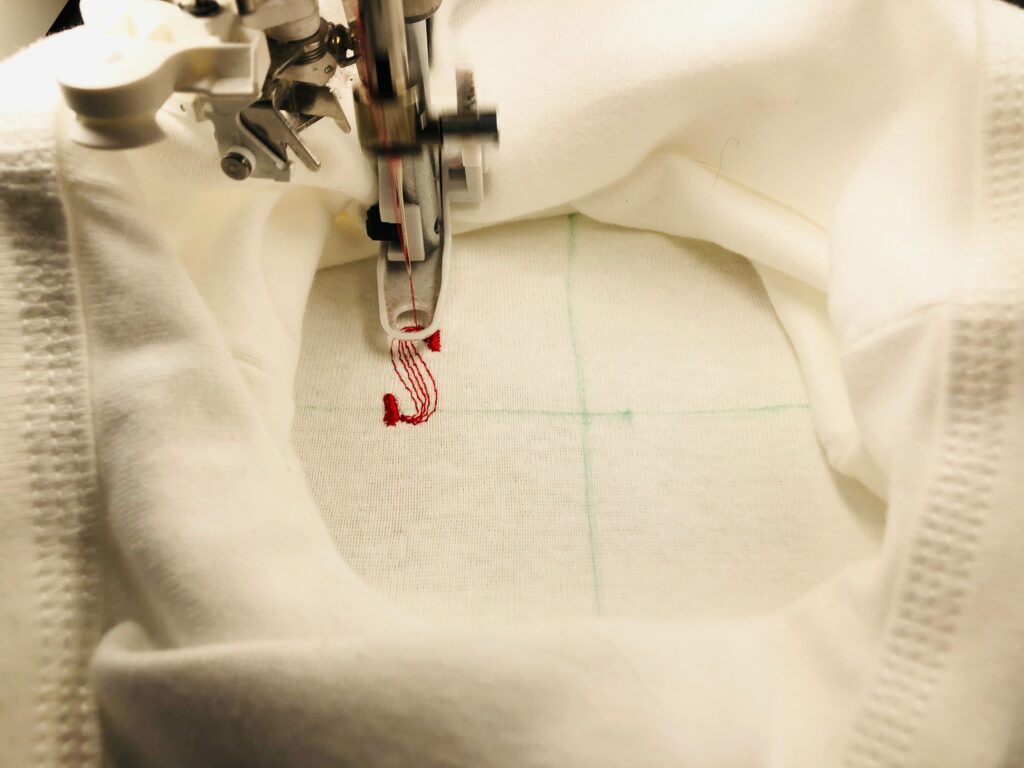
Place the hoop onto the machine. Maneuver the onesie so the embroidery area is at least partially exposed and the rest of the fabric is either in a “tube” or away from the start of the stitching.
Slow the machine speed slightly. Plan to stay with the project for the entire embroidery, ready to stop and start as needed to ensure the needle doesn’t sink into the outer onesie fabric by mistake.
Begin the embroidery. Stop/start the machine as needed, watching where the hoop moves to reposition the excess onesie fabric as needed throughout the stitchout.
Clip jump threads after each thread change, along the right and wrong side of the work.
EMBROIDERY FINISHING
When embroidery is complete, remove the hoop from the machine and the stabilizer from the hoop. Tear away the excess stabilizer beyond the stitching perimeter.
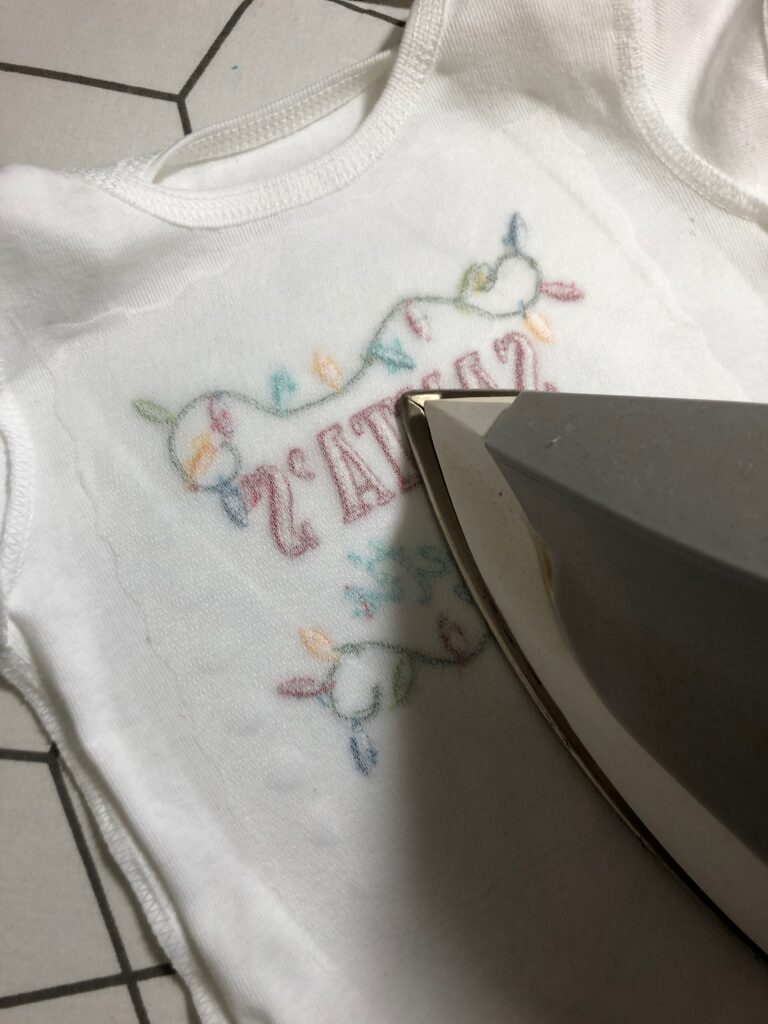
Gently press the onesie from the wrong side, if needed.
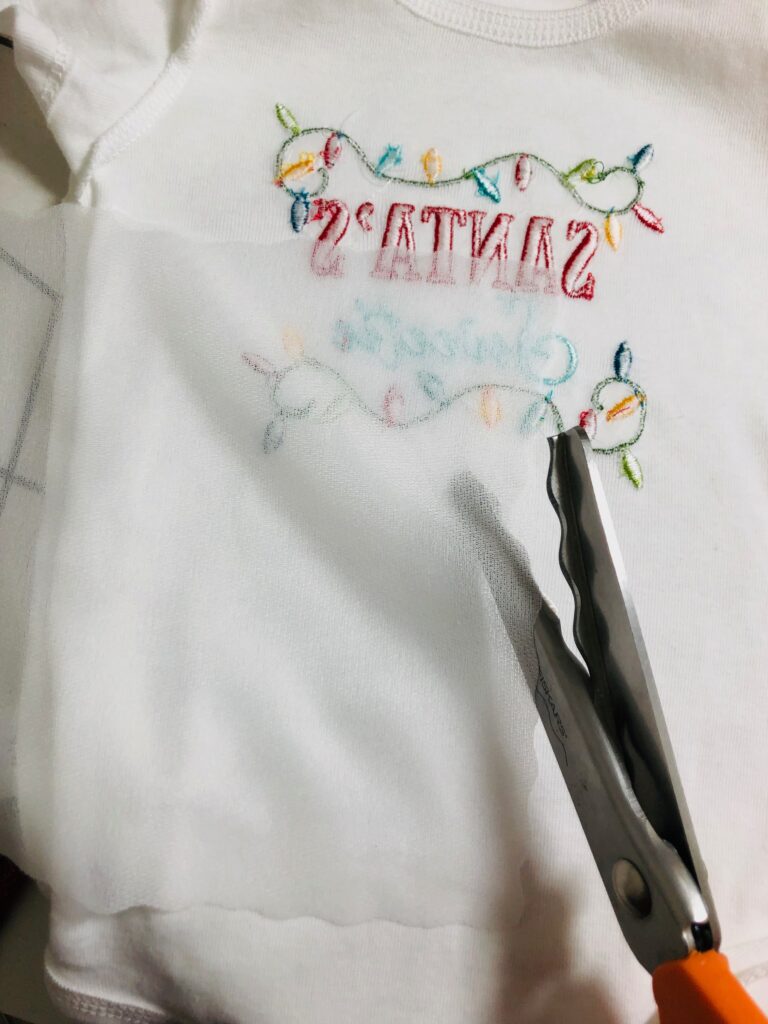
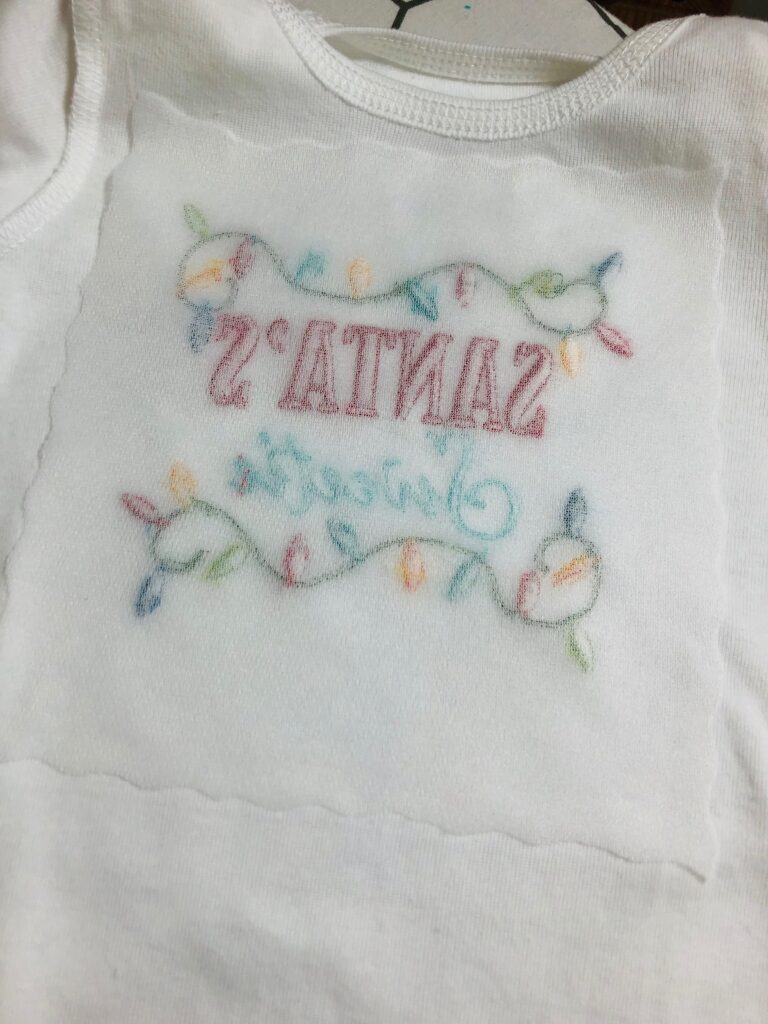
Cut a square or rectangle of Tender Touch slightly larger than the embroidery using pinking shears or scalloped scissors. Place the stabilizer right side up over the embroidery wrong side. Fuse in place, following the manufacturer’s instructions.
TIP: Sulky Tender Touch seals the backside of embroideries and protects the wearer from scratchy stitching.
Turn the onesie right side out and enjoy!
For more tips on embroidering onesies, visit this LINK.


Adorable 🥰 thanks 😊
Glad you enjoyed it! Thanks, Sara.