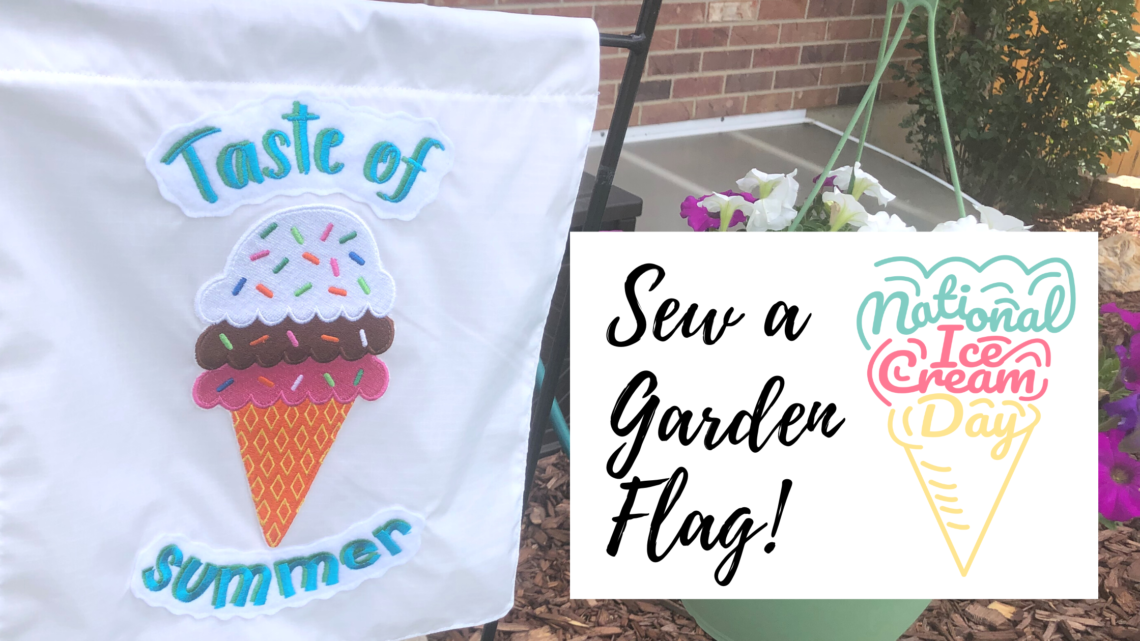
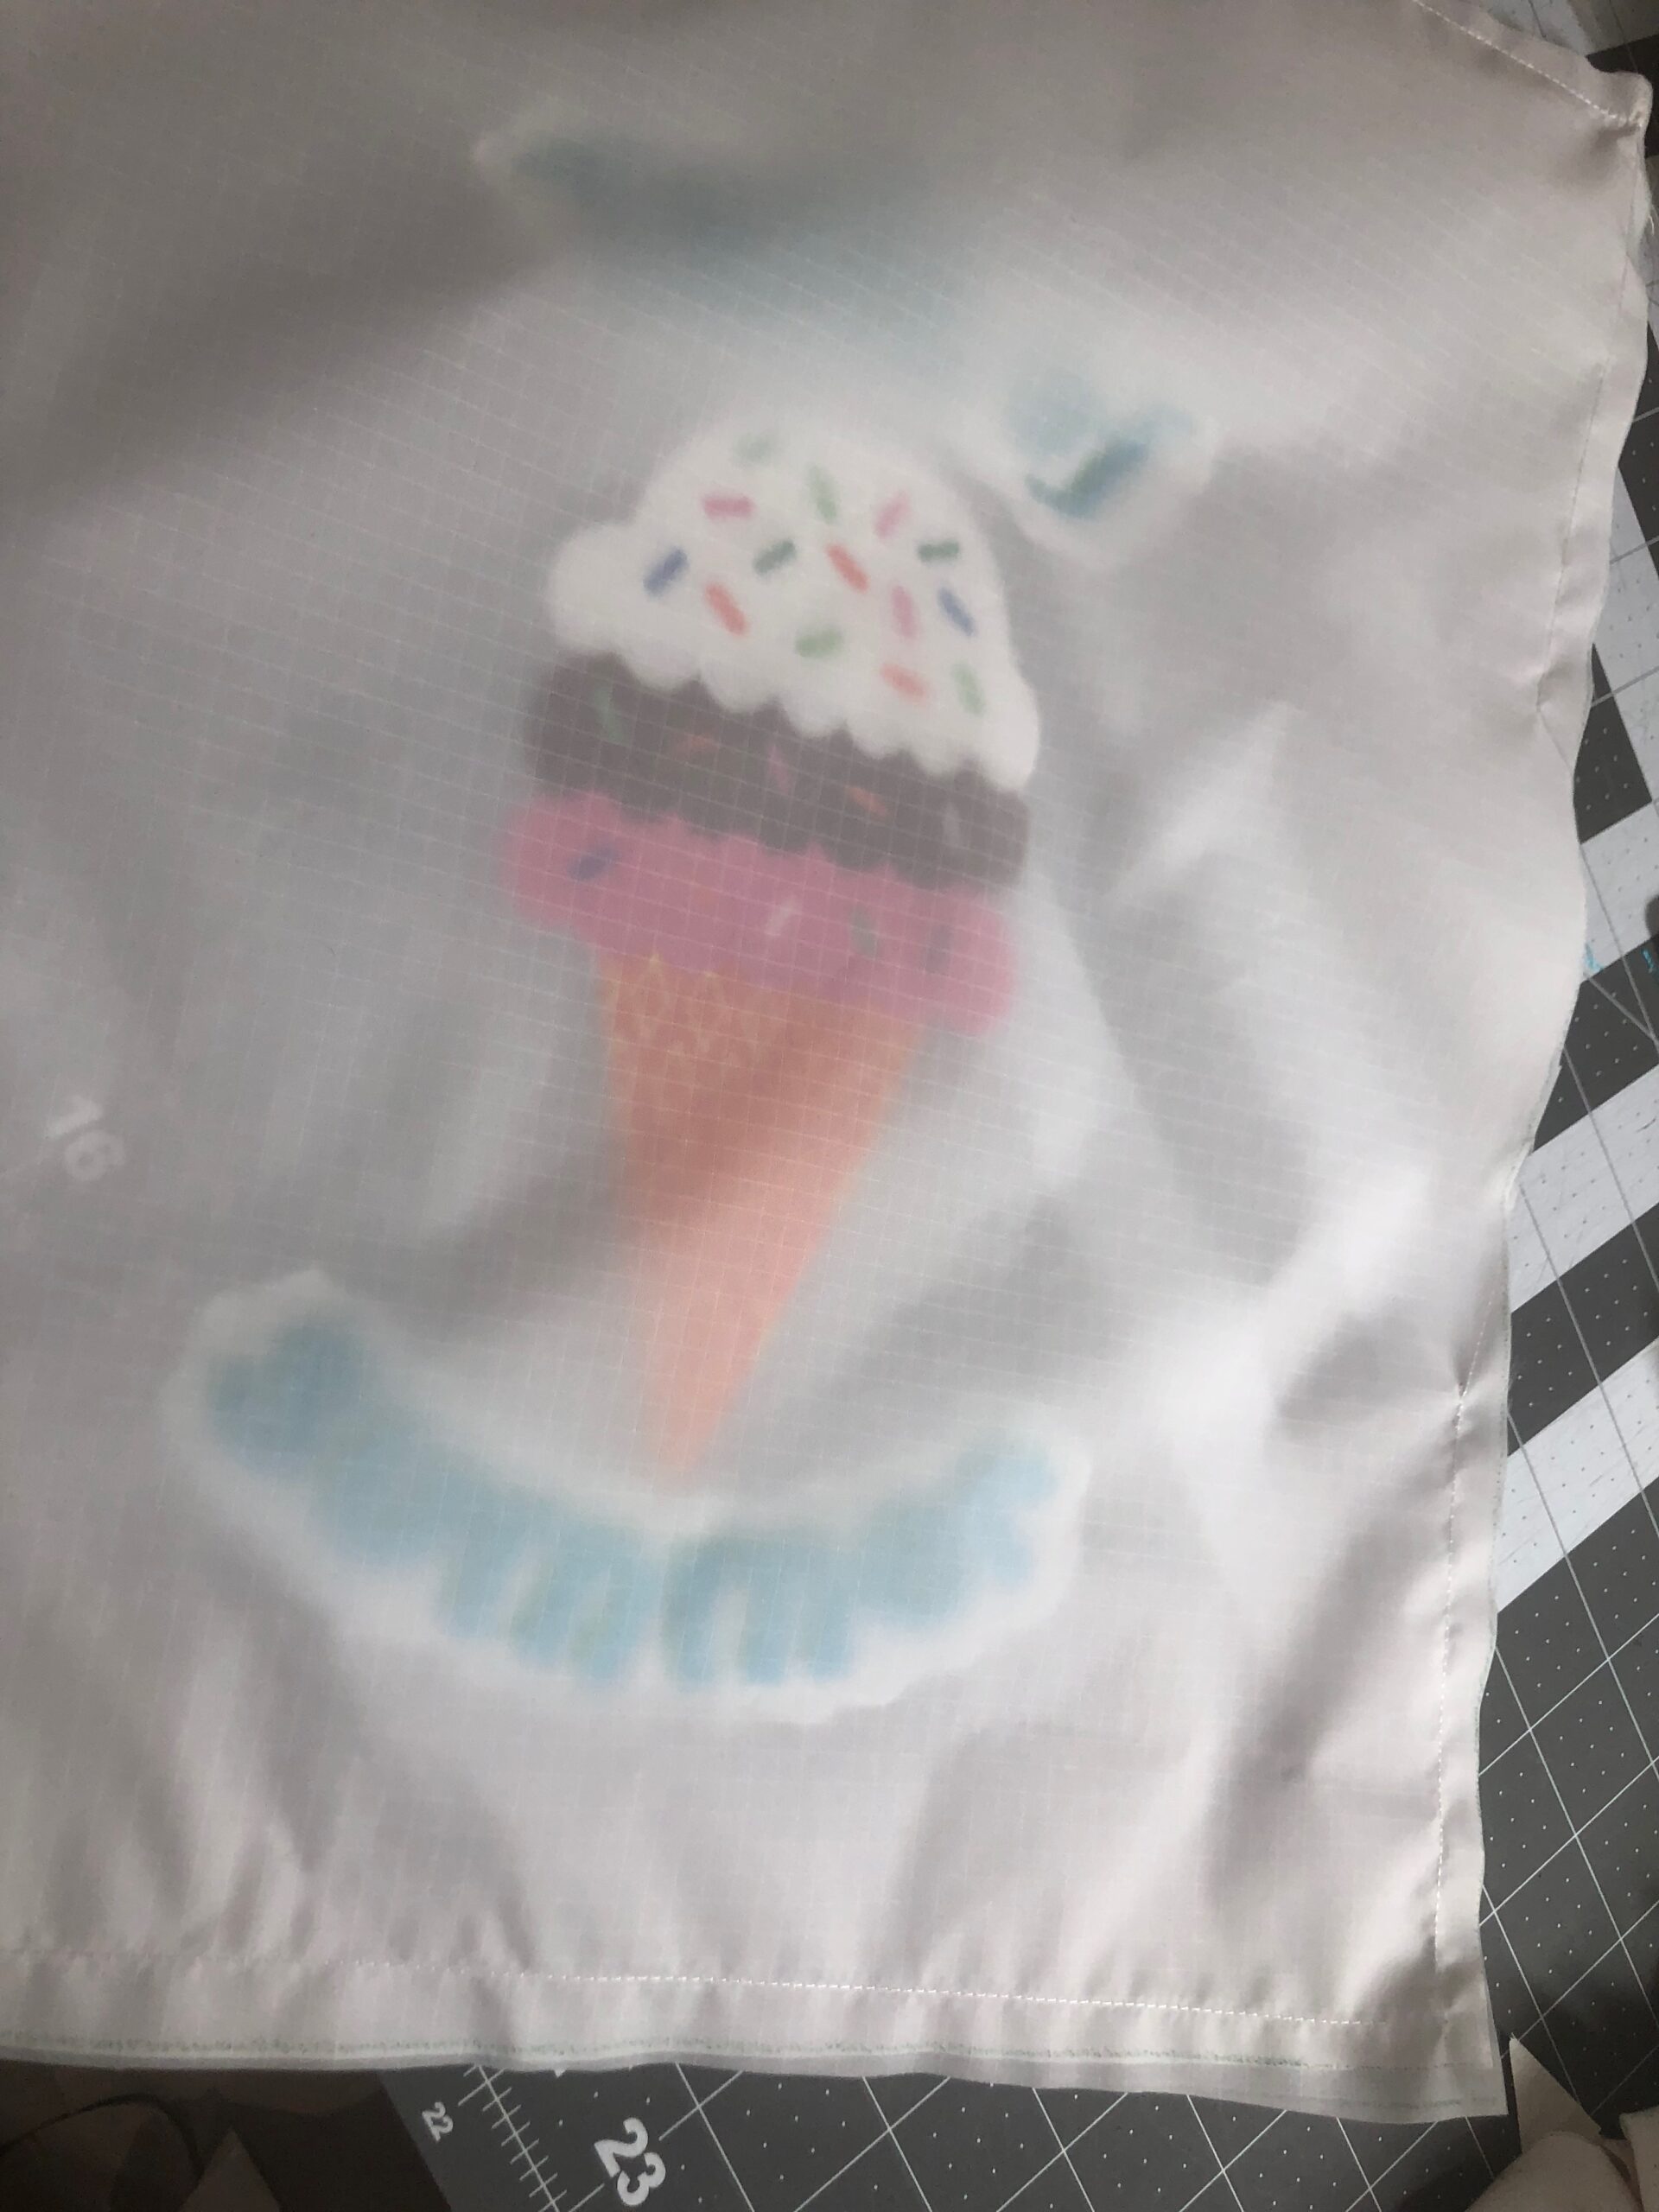
Ice Cream Embroidery on Garden Flag
Ice Cream Embroidery
to celebrate National Ice Cream Day!
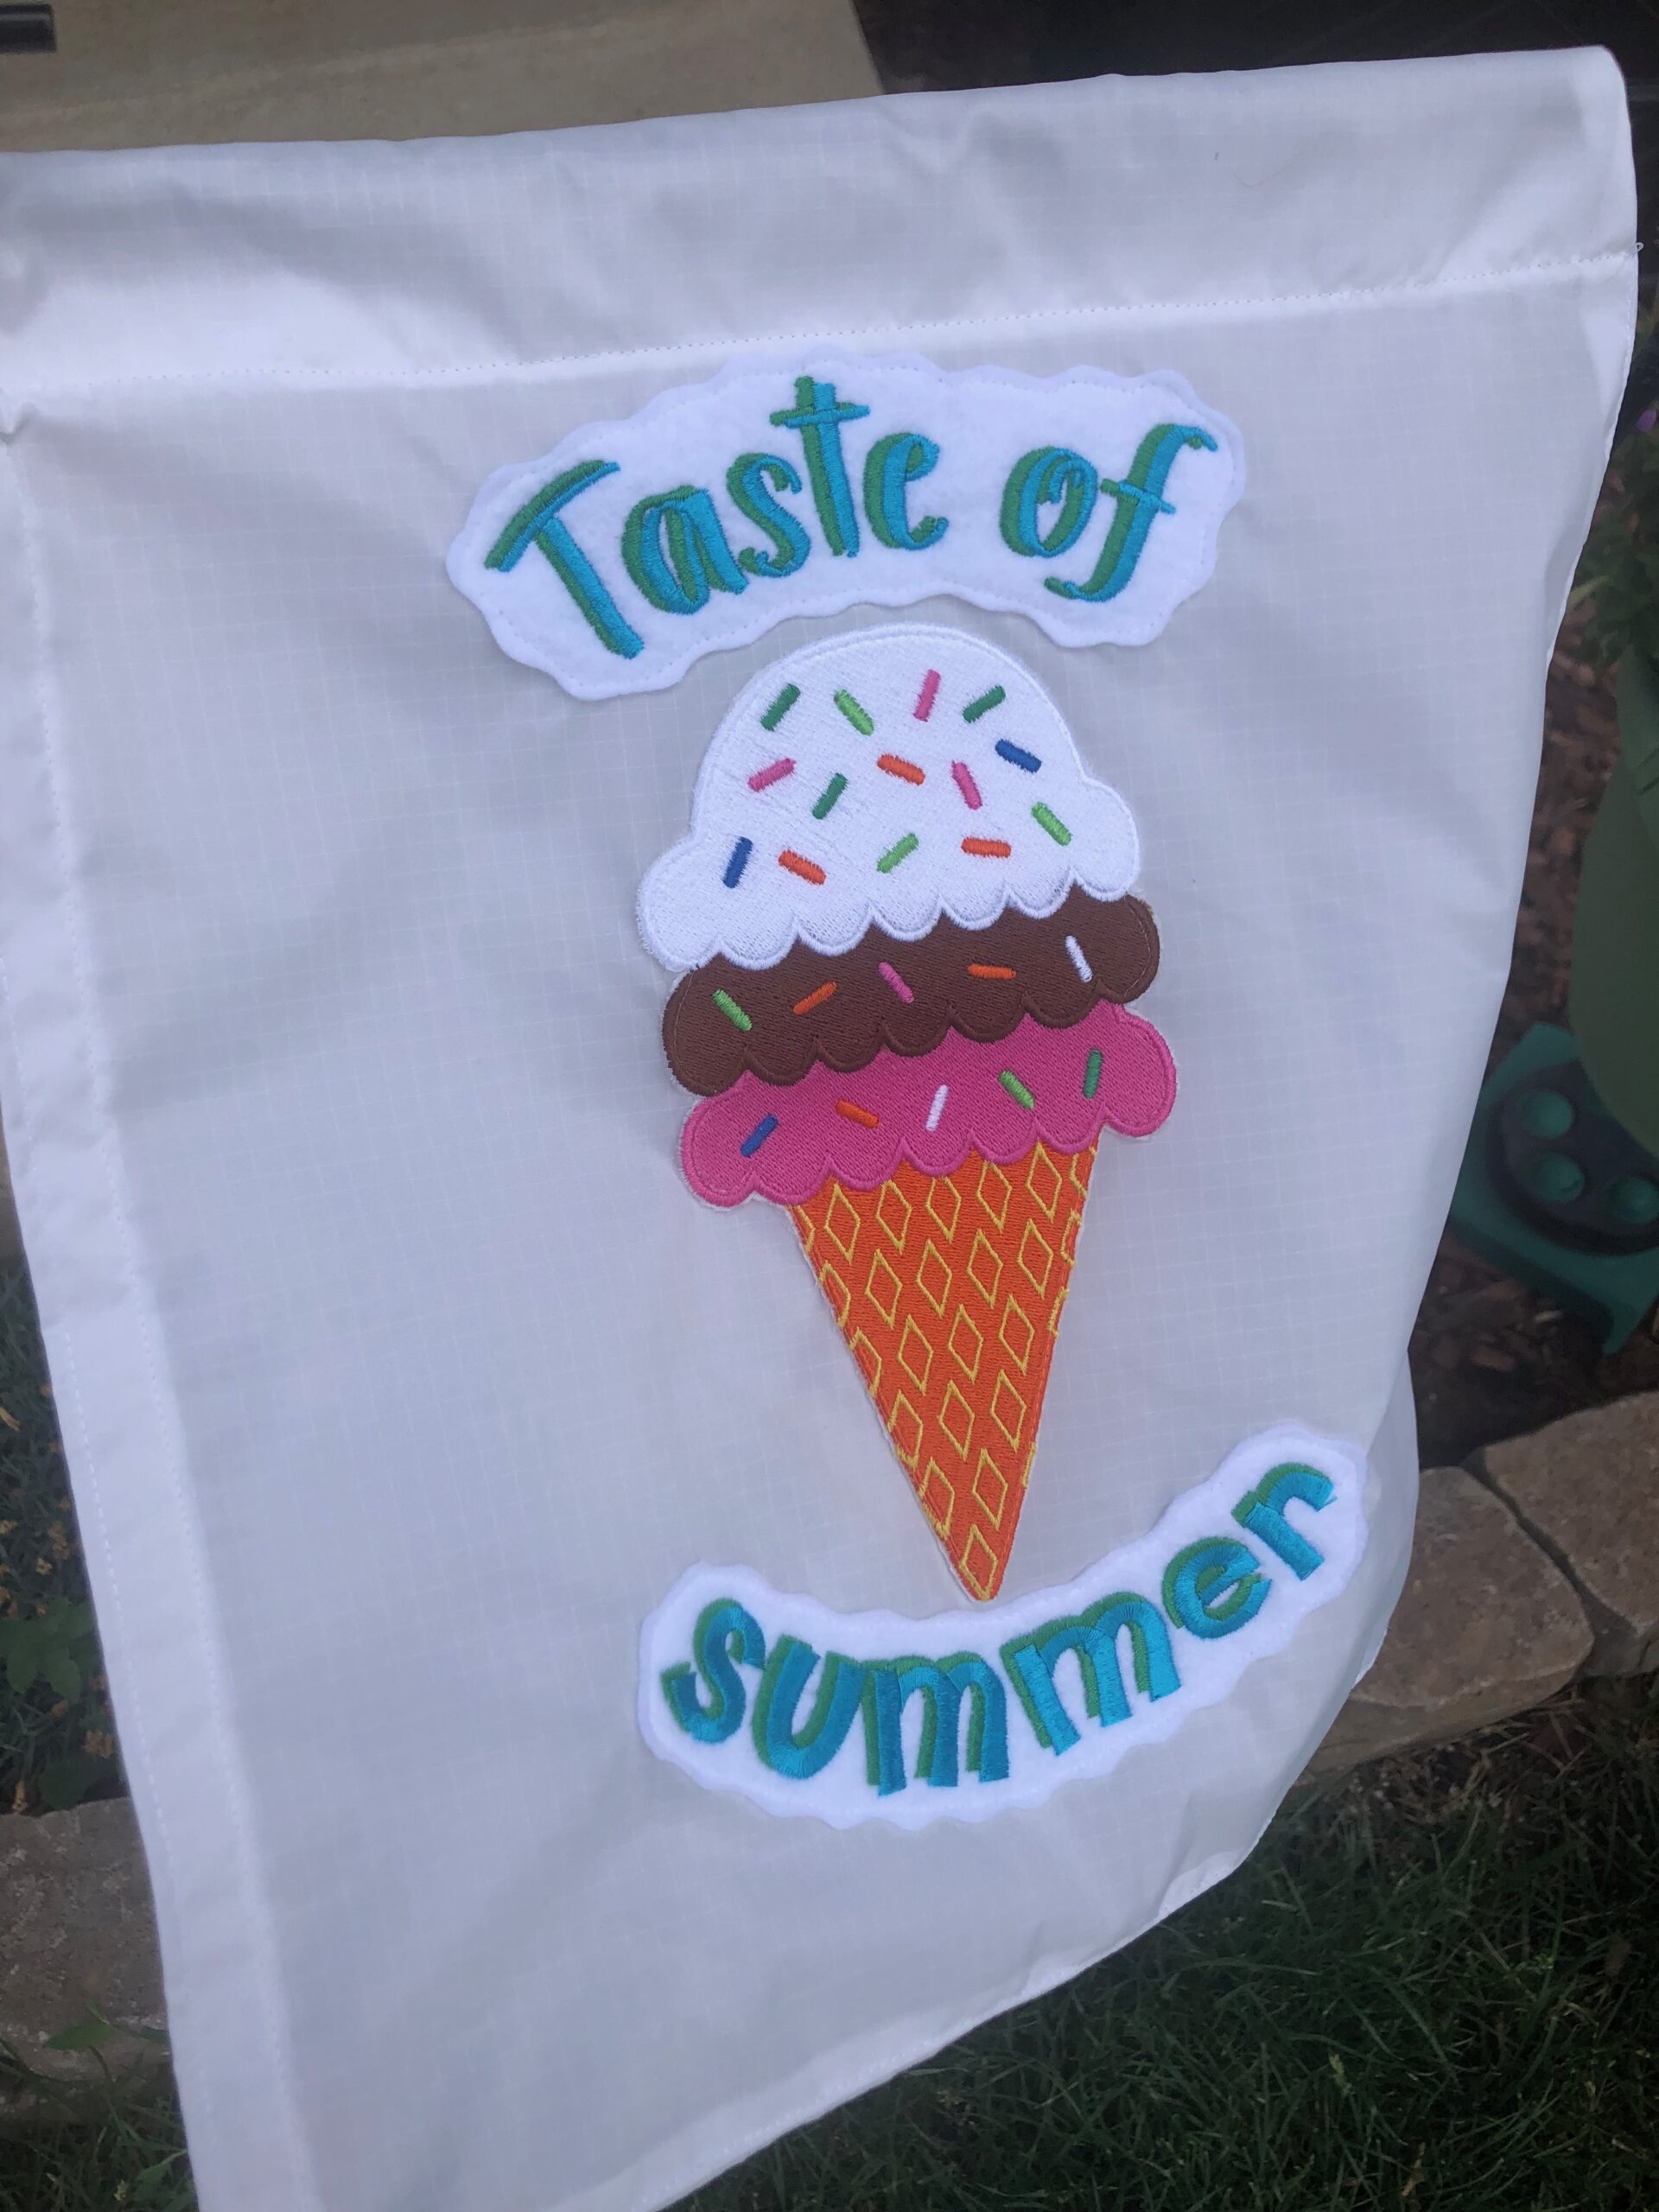
Ice cream embroidery designs are the cherry on the sundae of National Ice Cream Day! We’re celebrating this momentous day with a summery garden flag and a big scoop of chocolate on a sugar cone. How about you?
Finished size: 12″ x 13 1/2″
ICE CREAM FLAG SUPPLIES
- 16 1/2″ x 27″ rectangle of ripstop vinyl
- Sulky Felty™ (colors according to chosen design)
- Sulky Soft ‘n Sheer™ Stabilizer
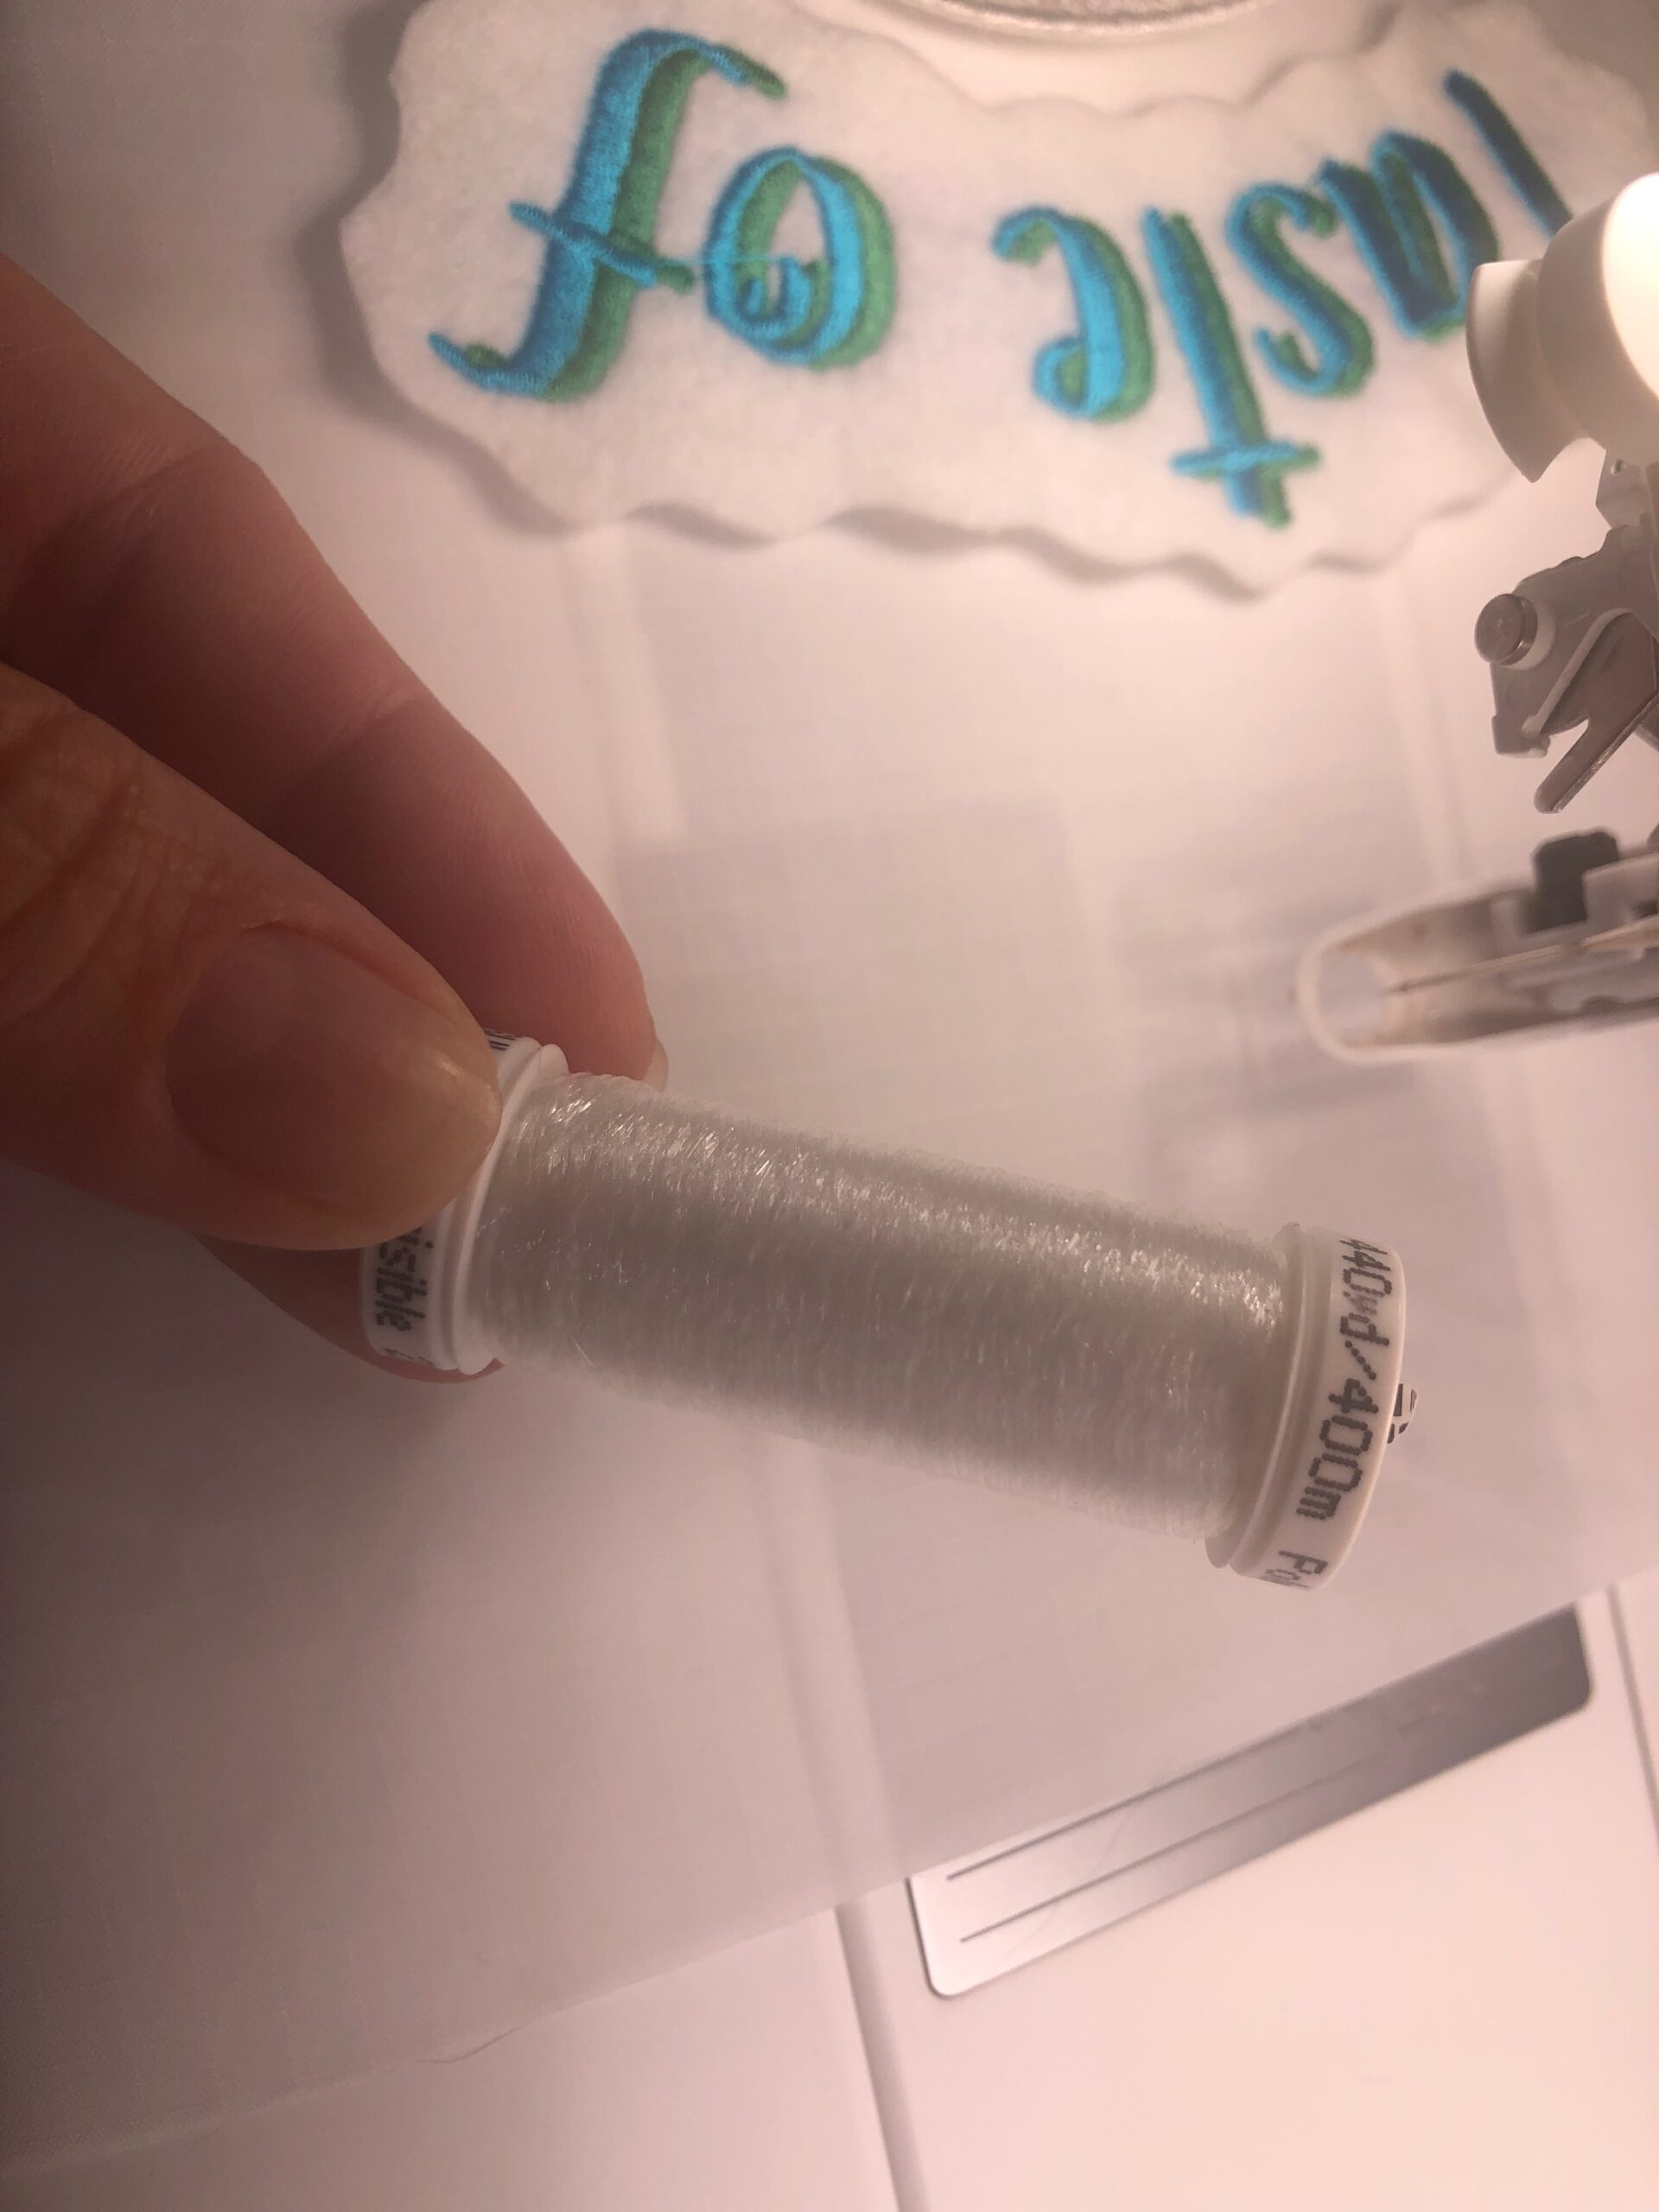
- Hello Summer Machine Embroidery Palette (comes with 6 designs in 3 sizes & 10 spools of Sulky Rayon Thread)
- Additional Thread: 60 wt. Bobbin, Invisible (optional) & Poly Deco™ (construction)
- Organ™ Microtex Needles
- Sulky KK 2000™ Temporary Spray Adhesive
- Clover® Wonder Clips
- Hand sewing needle
ICE CREAM DESIGN NOTES
The featured Hello Summer: Ice Cream machine embroidery design comes in three sizes: for a 4×4 hoop, 5×7 hoop and 9×10 (or larger) hoop. For the featured garden flag, the 9×10 size was used, which measures 5.74″ x 9.69″ and uses seven thread colors in the Hello Summer Machine Embroidery Palette.

The Ice Cream design is not an appliqué design, but Felty™ was used to give the ice cream cone and ice cream scoops more definition and texture. The Felty also provides more of a thread count, so to speak, for the dense stitches to grab onto. Otherwise, the nylon fabric may suffer from too many needle penetrations and pucker. First, the Felty is used to stitch the ice cream embroidery directly onto stabilizer, and then more Felty is used to back the lettering of the design.
ICE CREAM EMBROIDERY
Load the ice cream embroidery design of your choice into the machine.

Hoop a layer of Soft ‘n Sheer Stabilizer, and then place the hoop onto the machine.

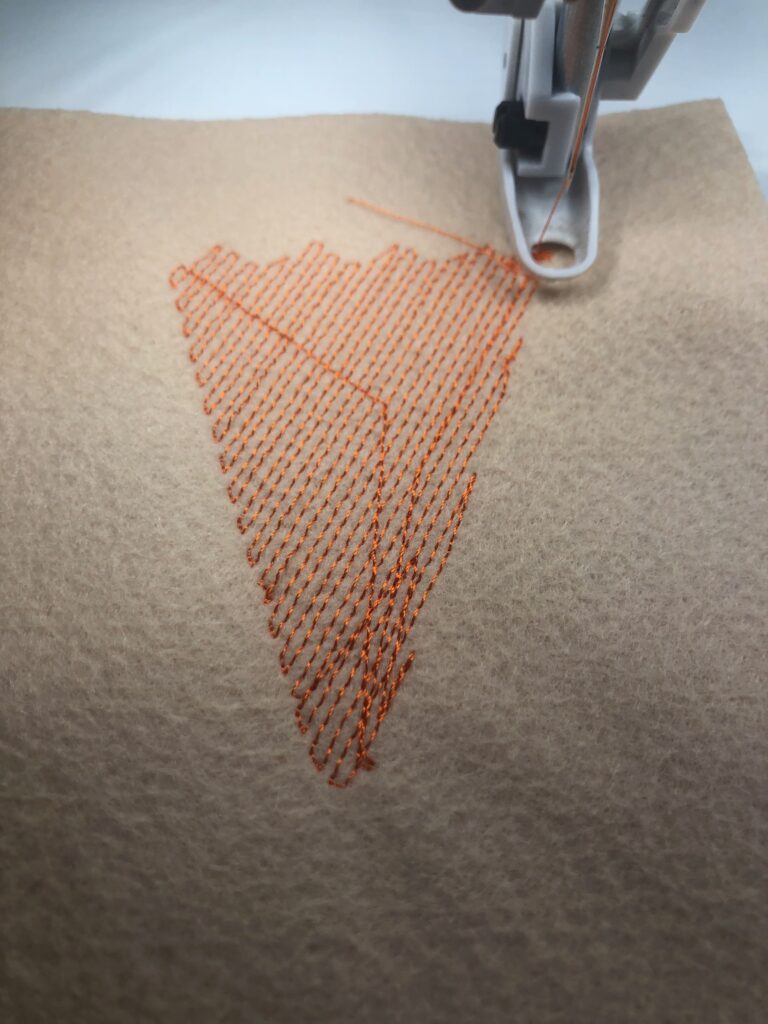
Position a piece of Felty over the stabilizer and walk the needle for quite a few stitches to determine the cone stitching perimeter. Return the design to the first stitch, and then position the Felty on the stabilizer, using KK 2000 to secure.
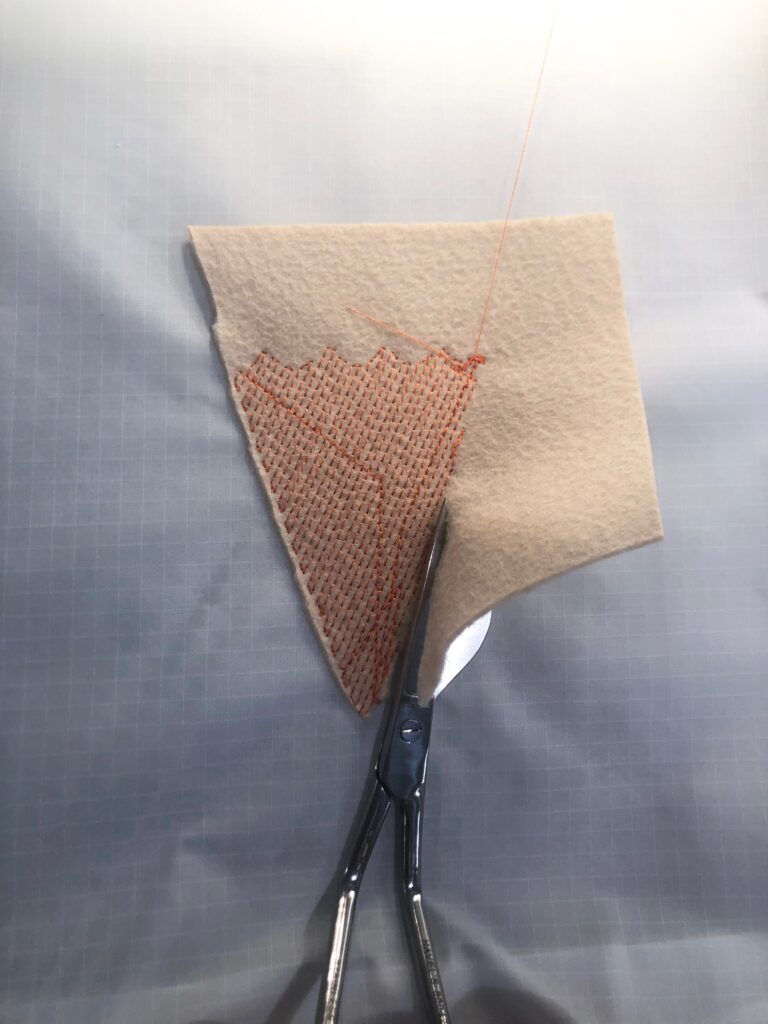
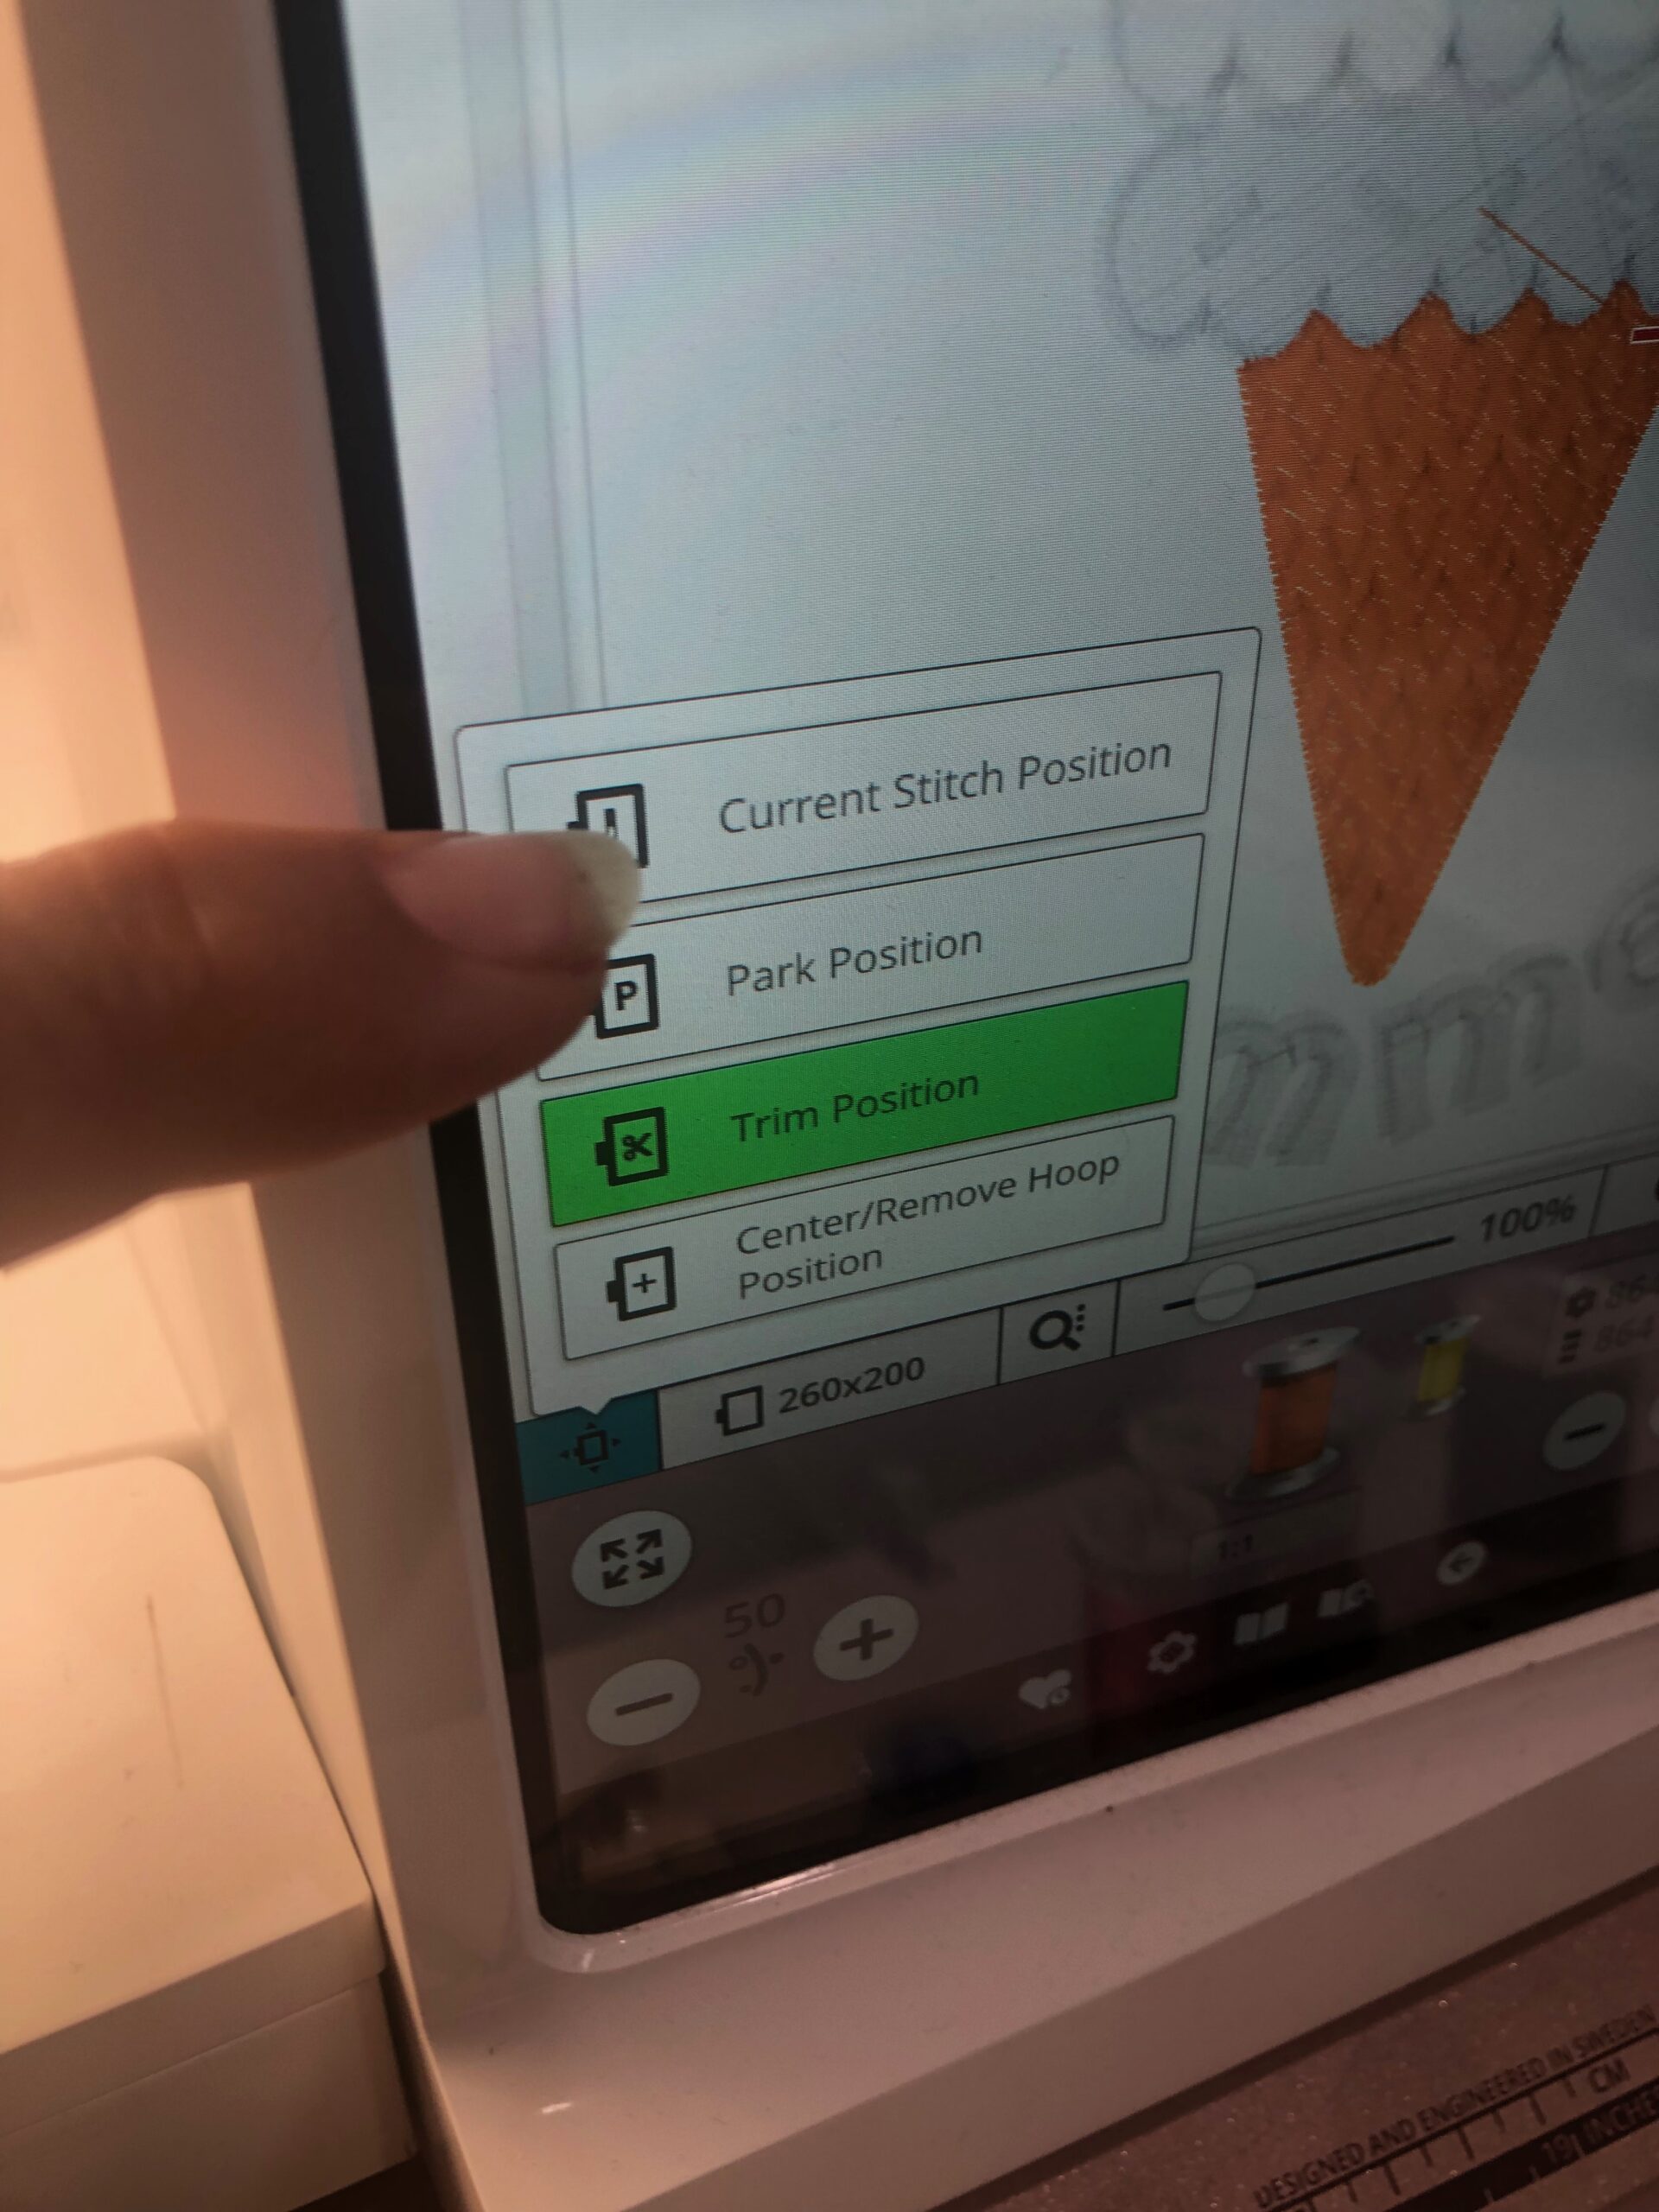
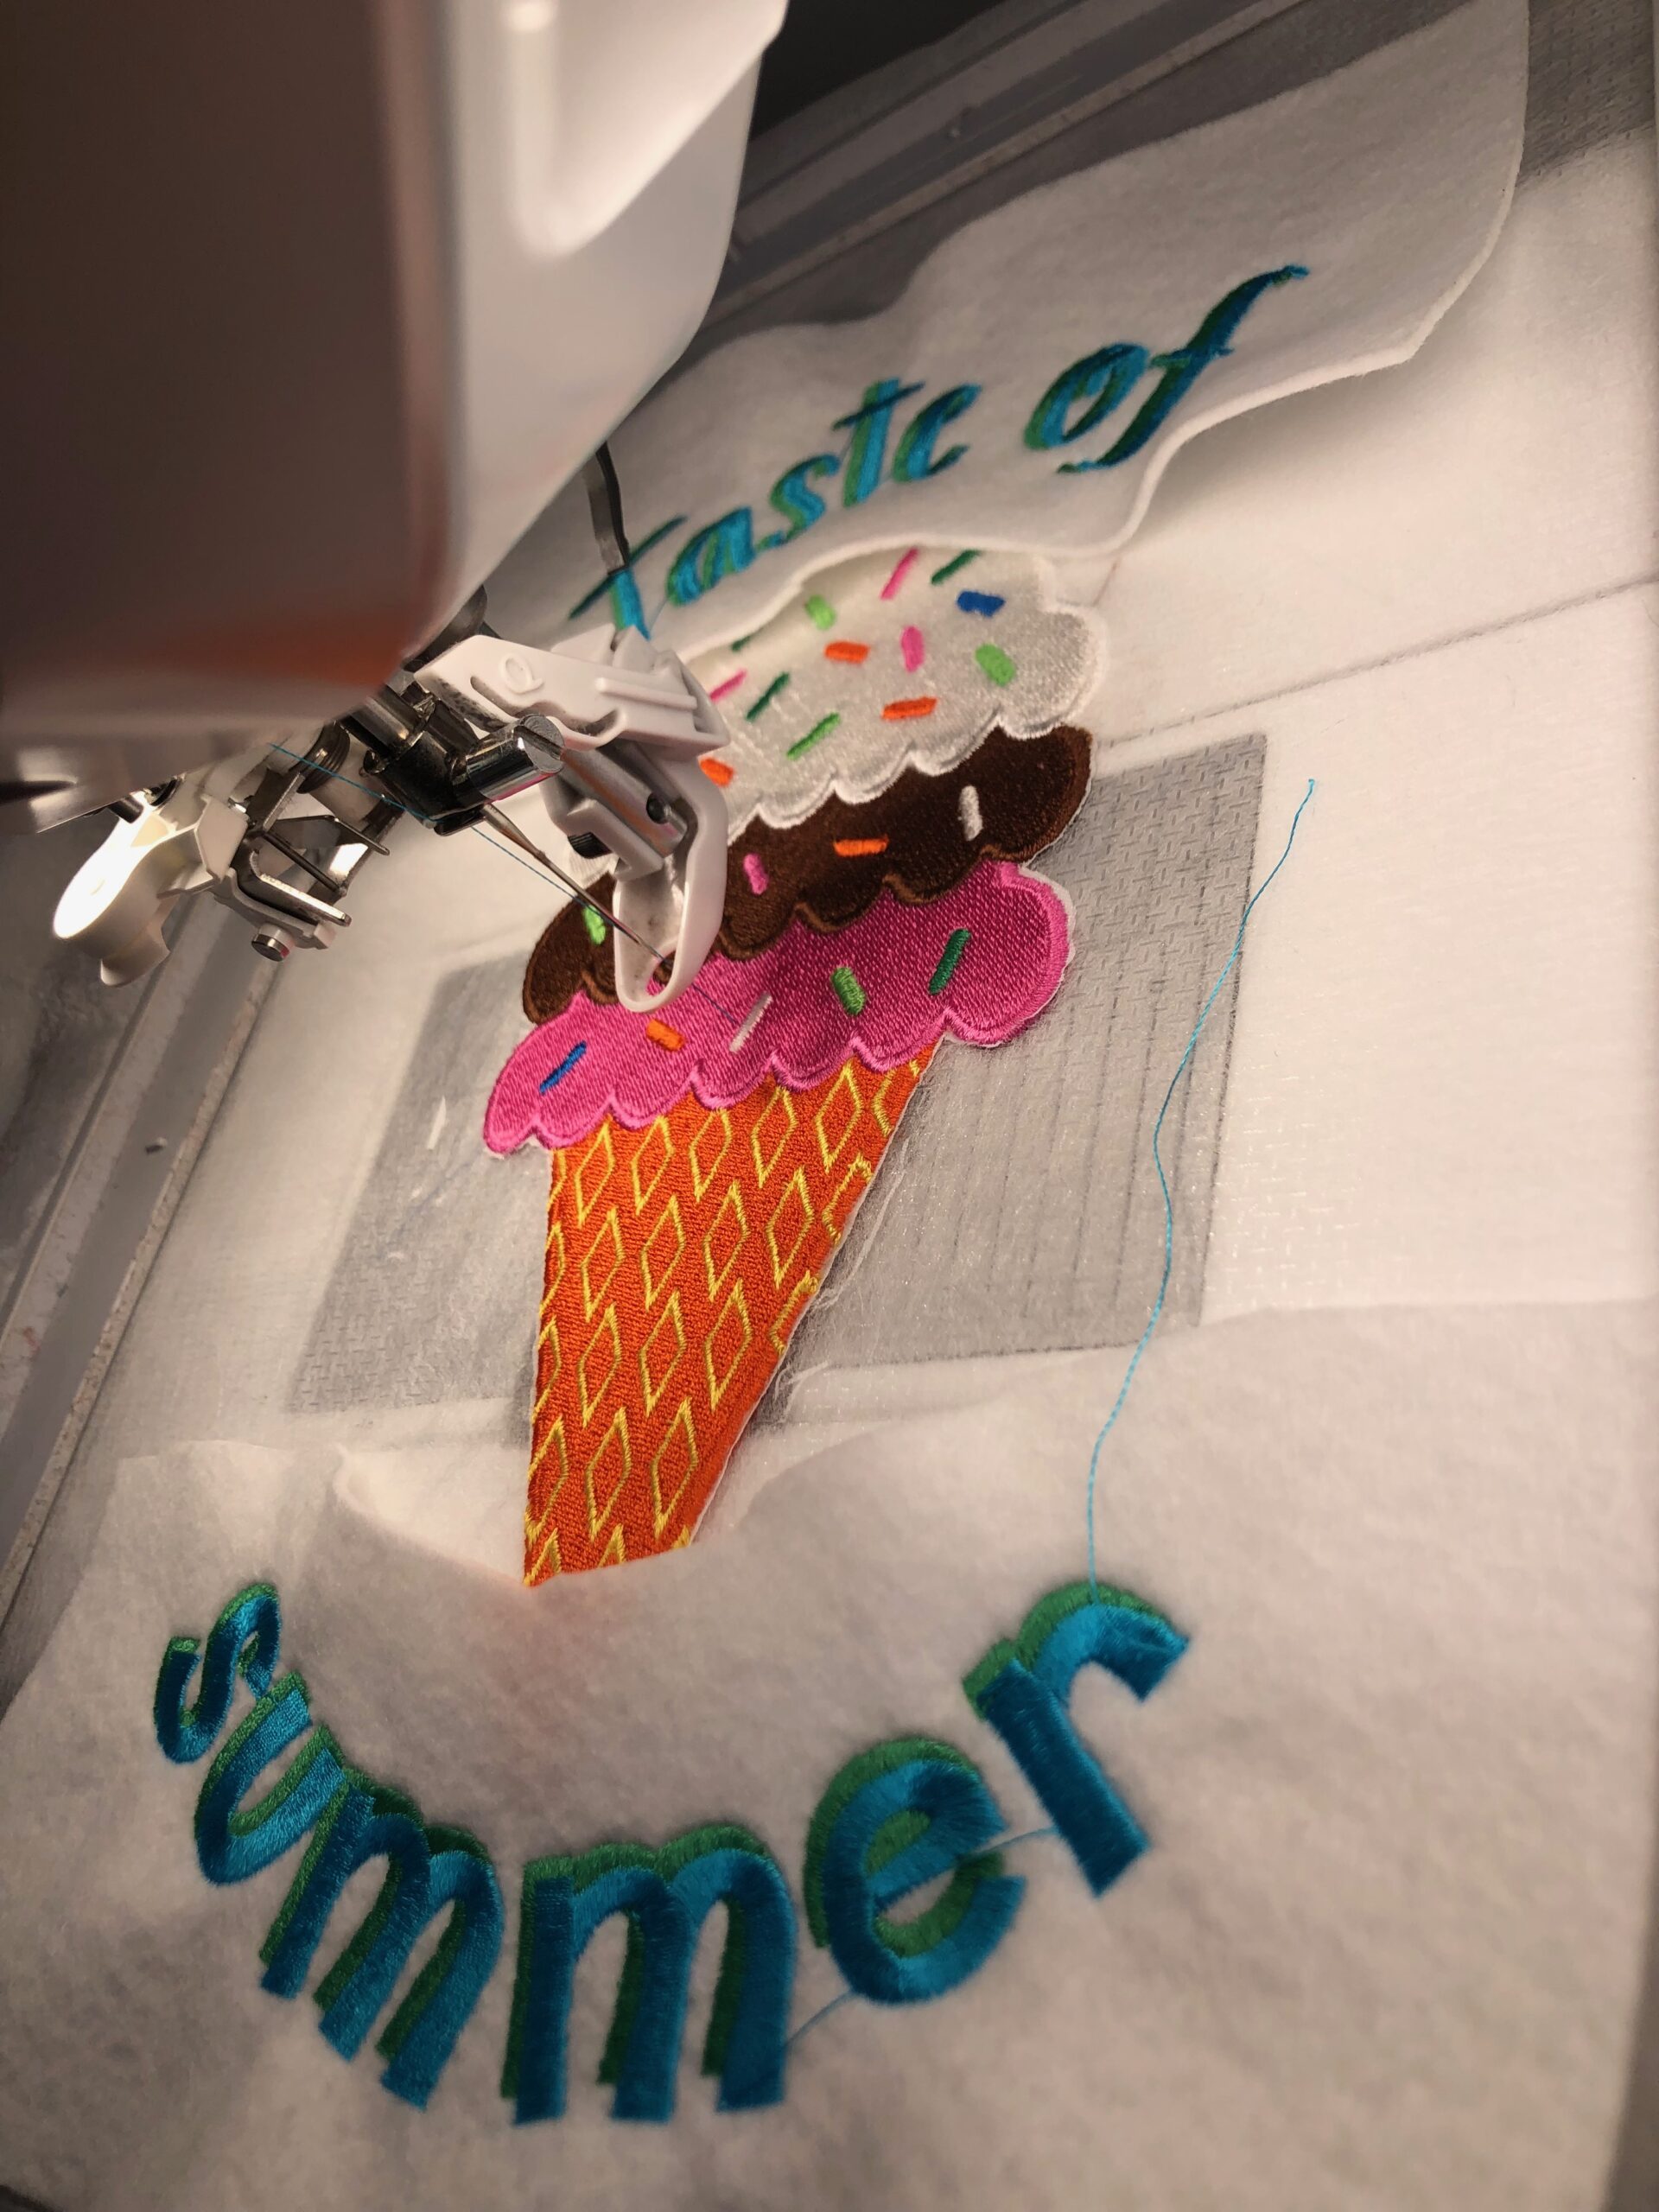
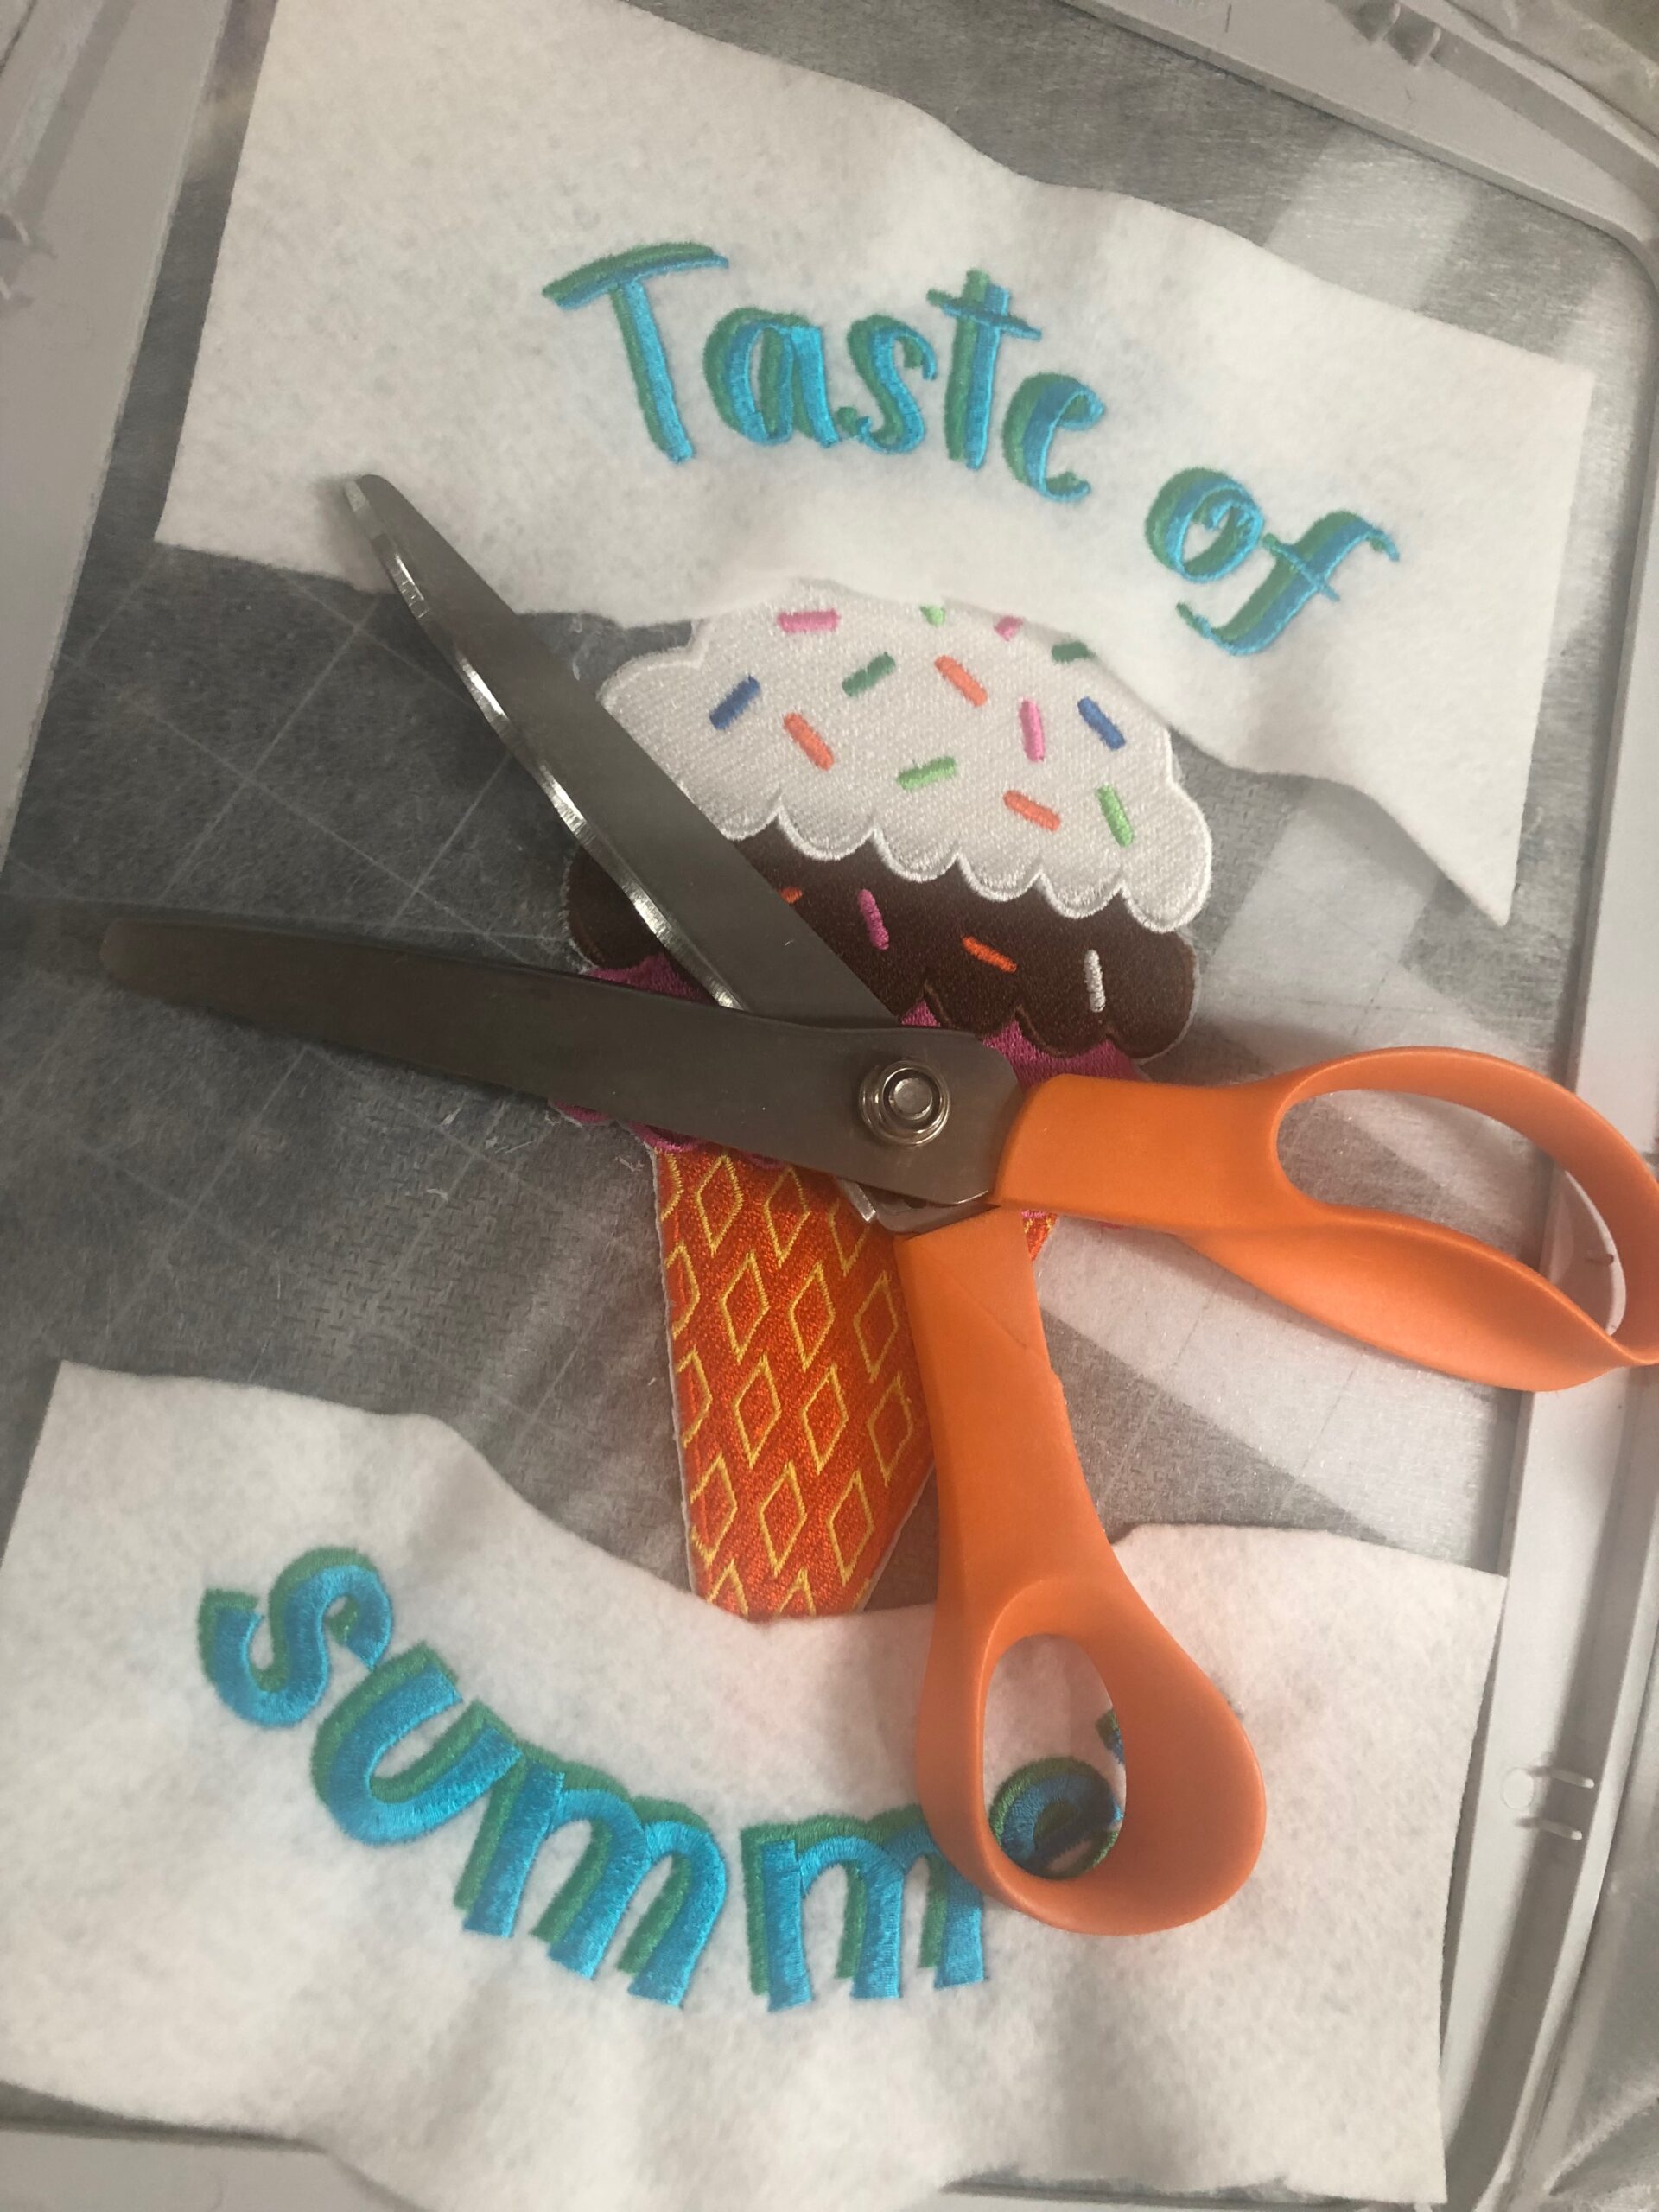
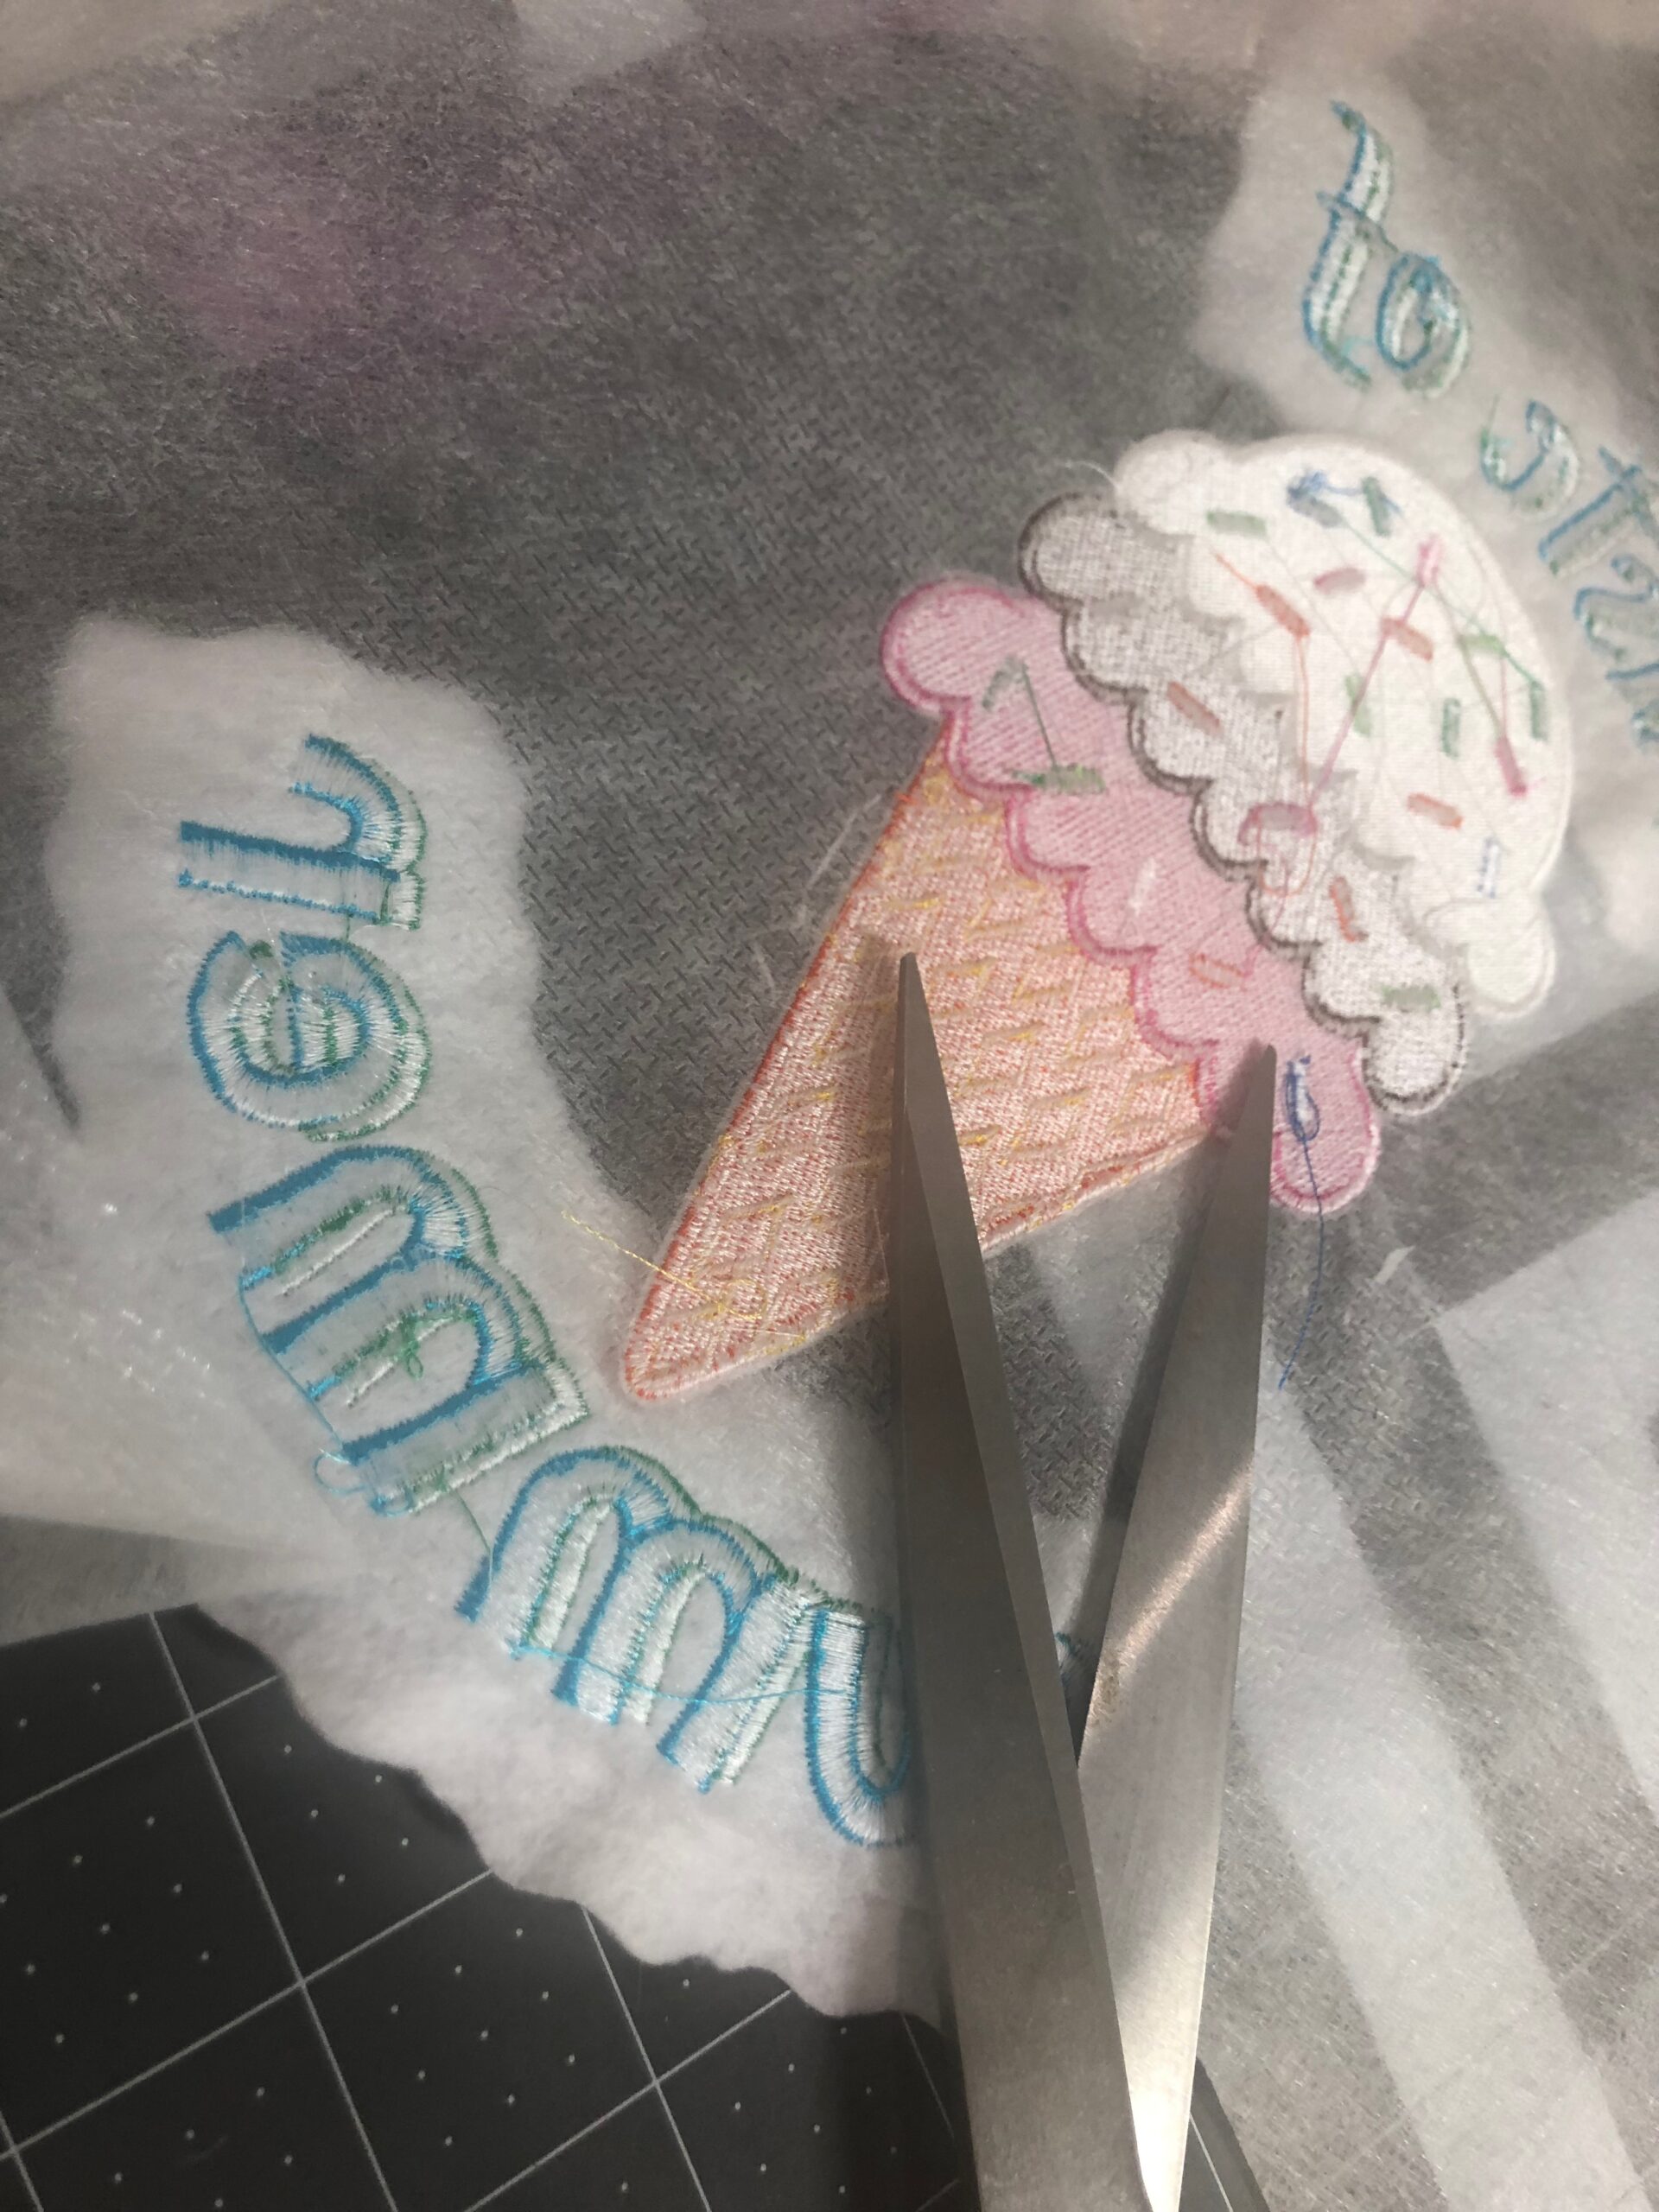
Embroider the first color stop, which are the cone stitches. Stop the machine after the first underlay stitching is complete (this is about stitch 860 for the 9×10 design). Remove the hoop from the machine or use the “Trim” function to bring the hoop closer to you. Using appliqué scissors, trim the Felty close to the underlay stitching perimeter. (Note: Your stitchout WILL NOT look like the below images, as you will be stitching directly onto the stabilizer and NOT onto the nylon fabric yet! But these images illustrate where and when to trim the Felty for your reference.)
Return the hoop to the Current Stitch Position (or place the hoop back onto the machine), and then continue the design to stitch the cone fill stitches.
Repeat to add Felty to the ice cream scoop areas, if desired, watching the machine carefully so as to stop right after the first round of underlay stitching is complete.
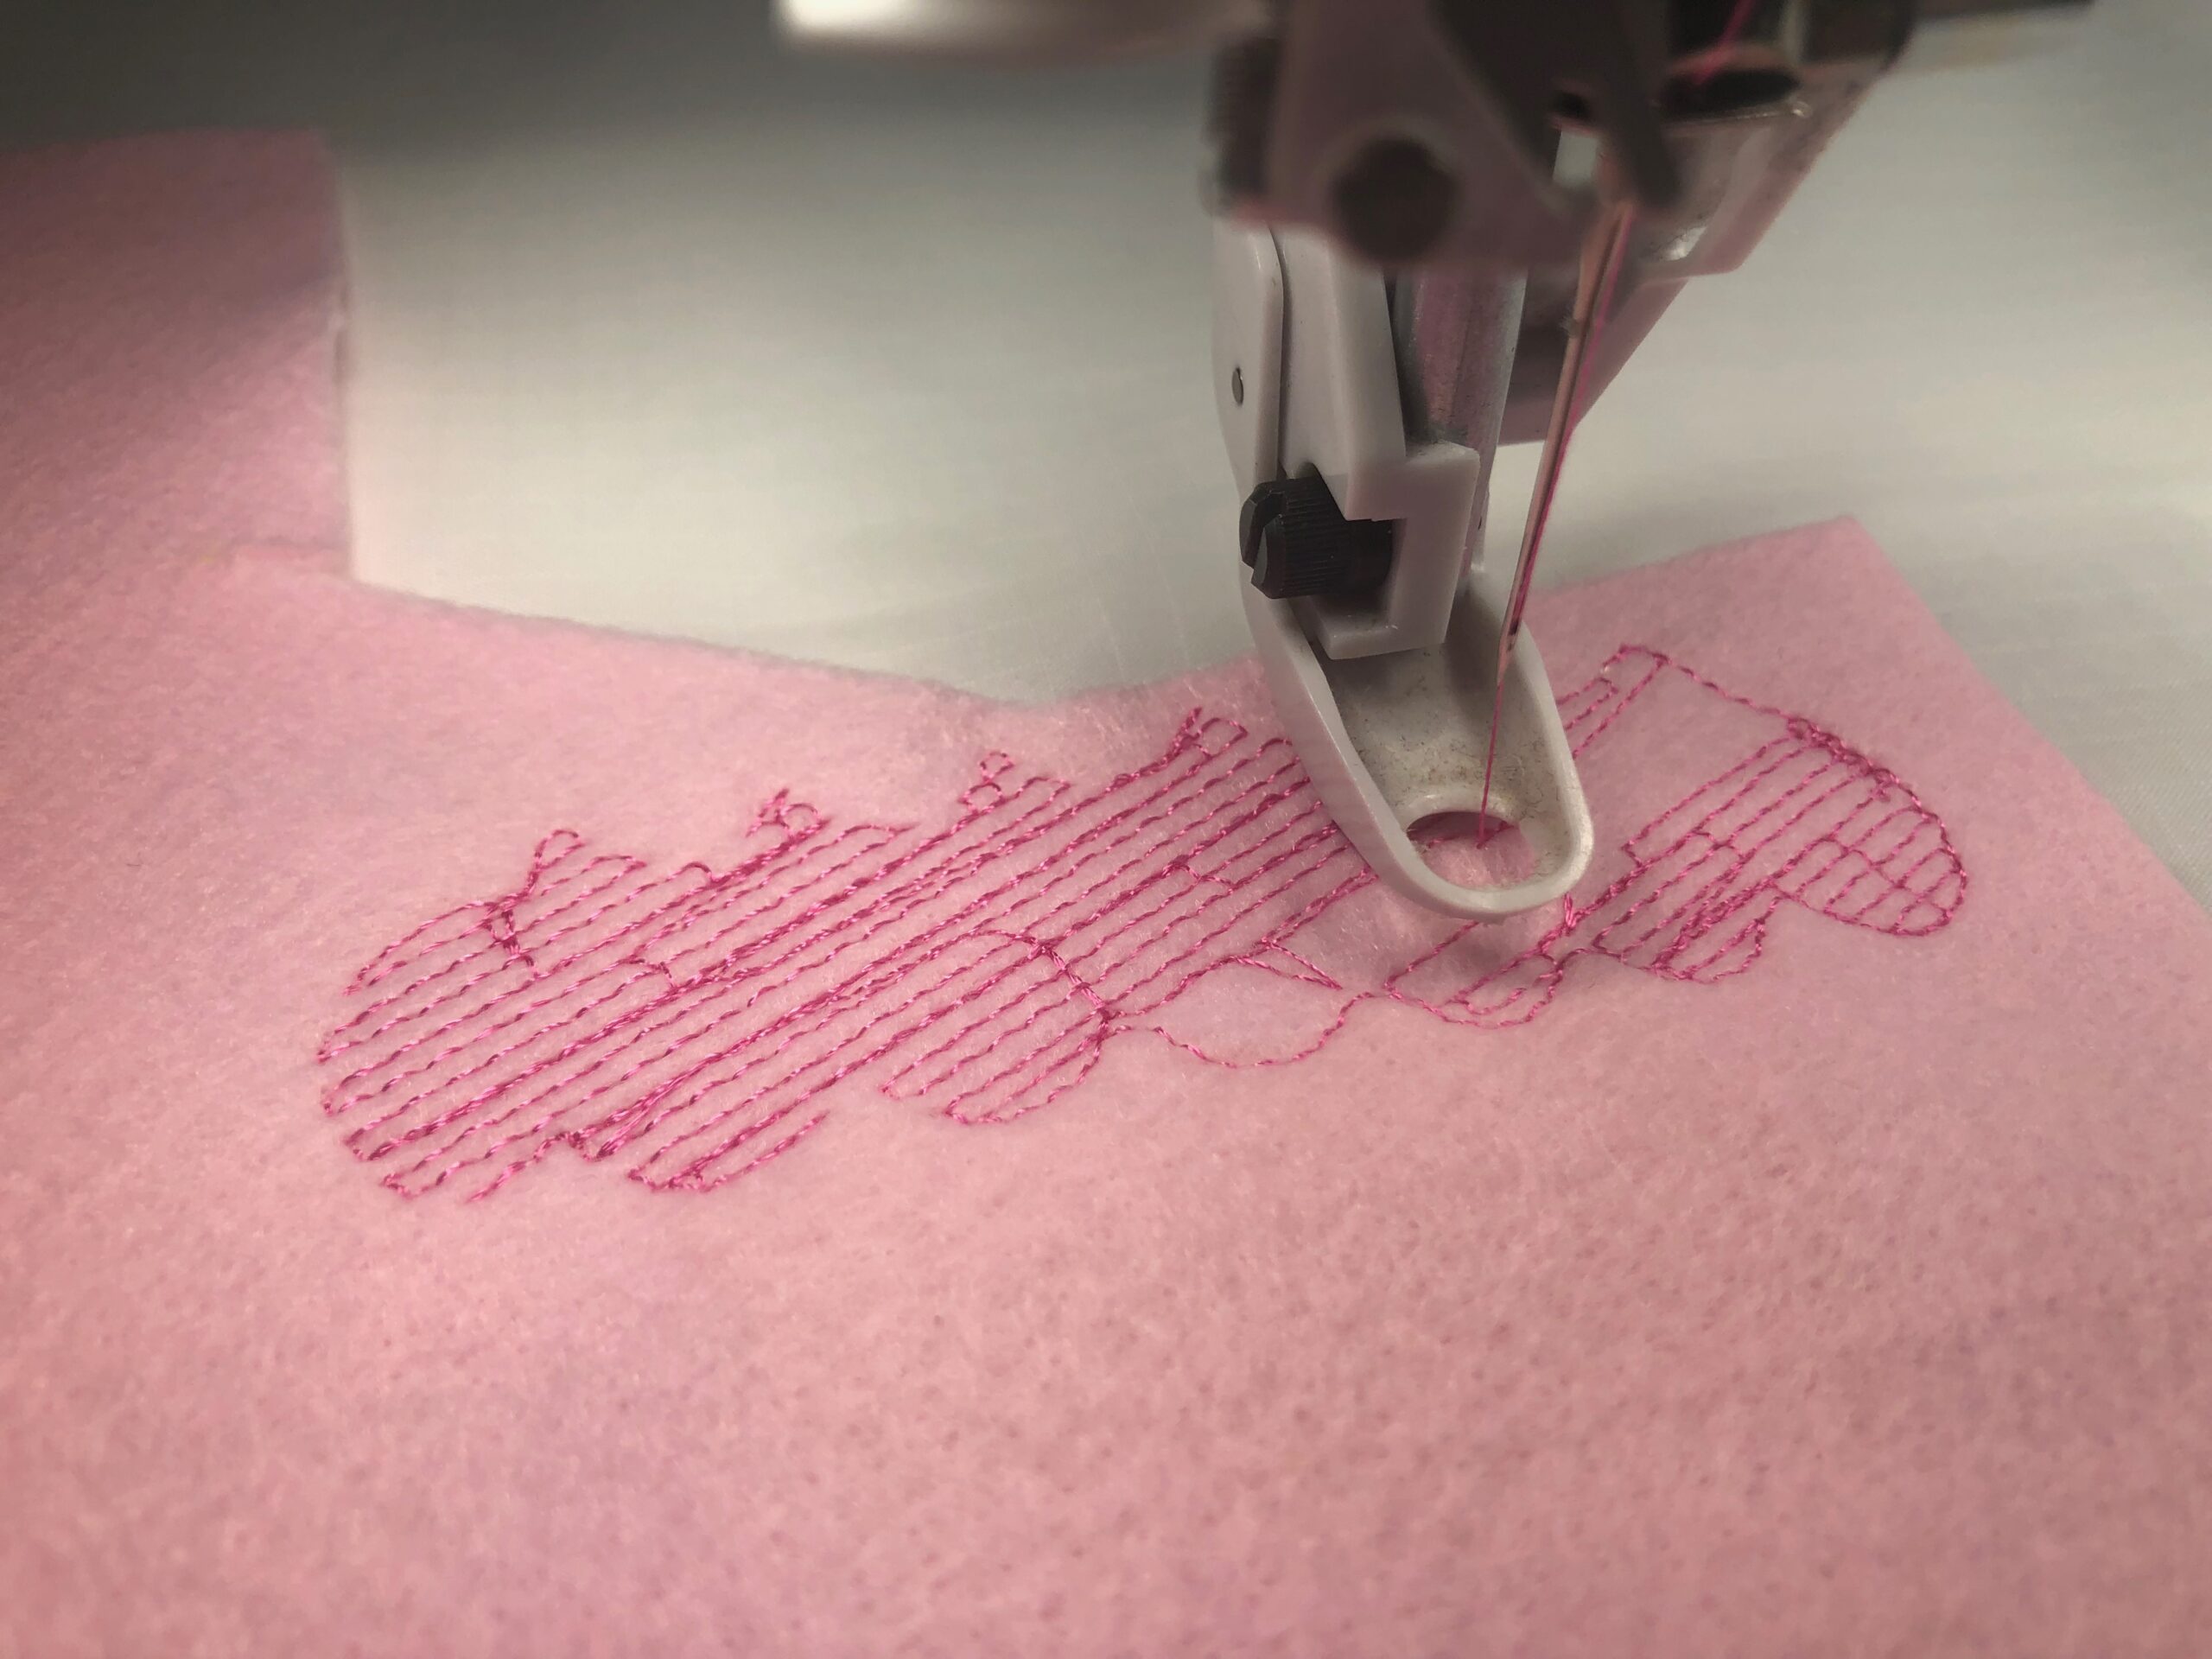
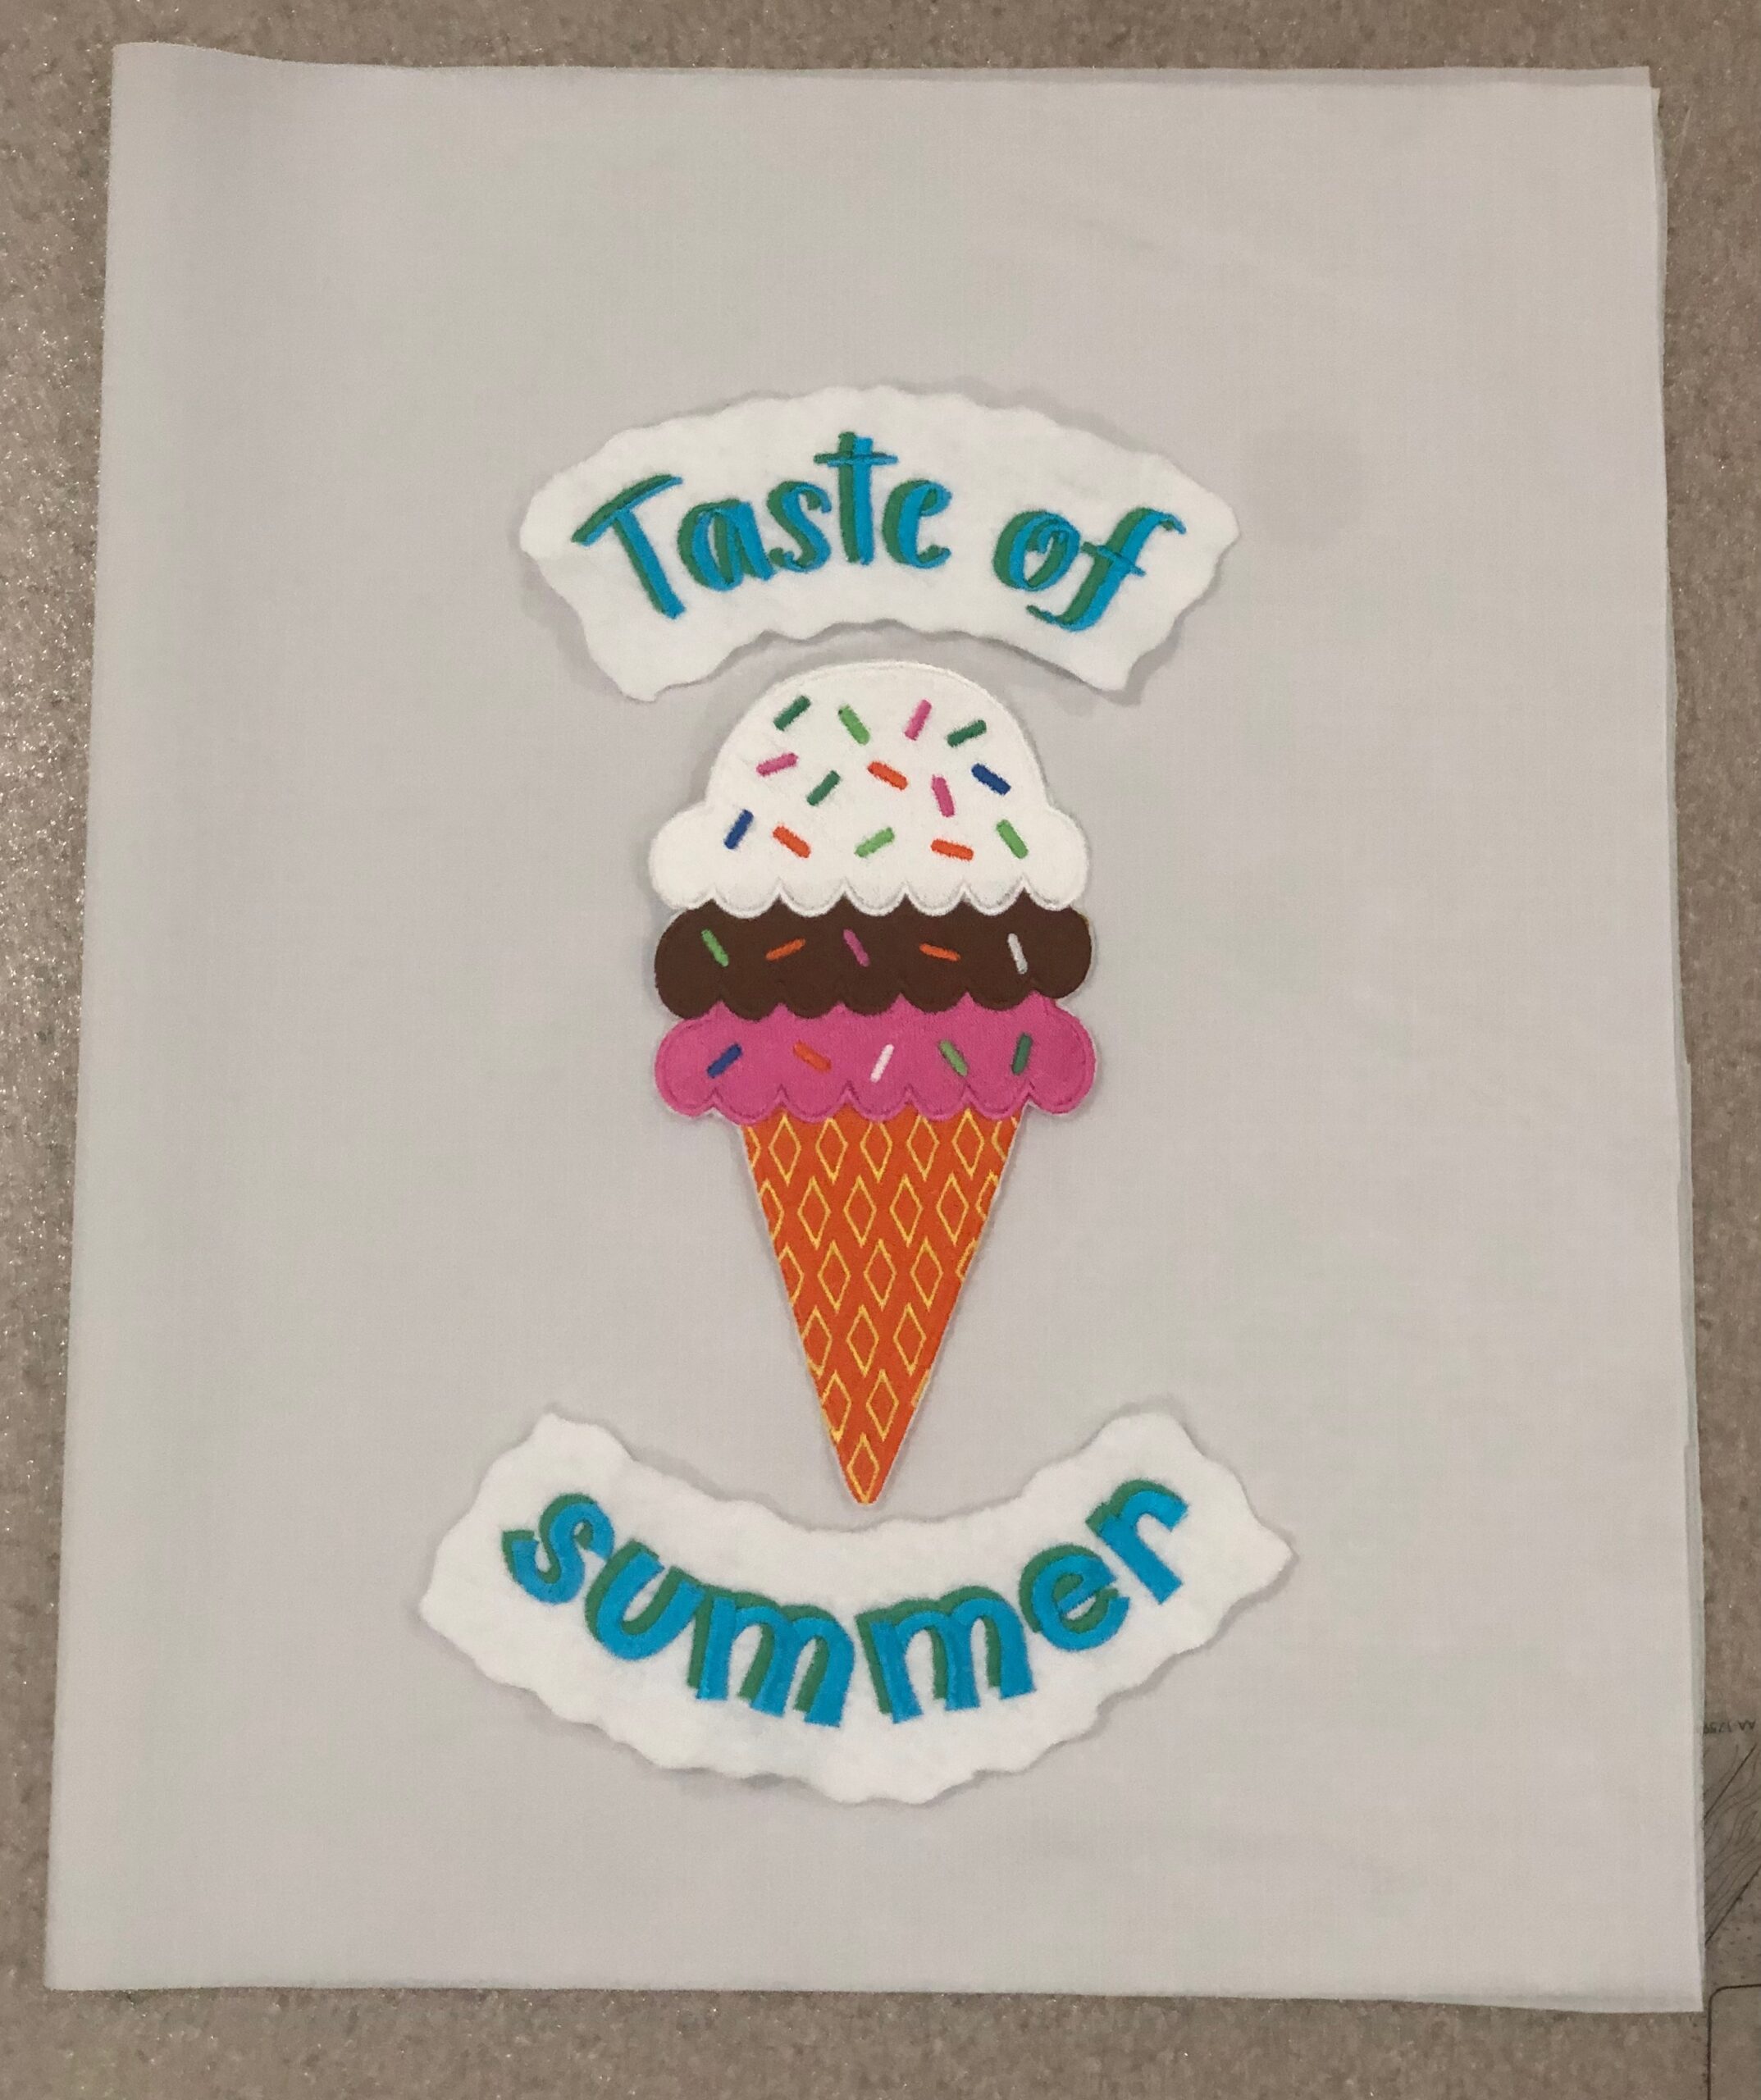
Then, stitch the lettering designs onto two pieces of Felty.
Then, trim the Felty in a curved half-moon shape about 1/4″ beyond the lettering perimeter. (If desired, trim the Felty after removing the stabilizer for maximum maneuverability. If you have a curvy or wavy edge scissors or rotary blade, use it to create a decorative edge around the embroidery.)
Note: for the featured ice cream embroidery, brown Felty and Dk Brown Rayon Thread were used in place of the Bright Peacock blue on the middle ice cream scoop and white Felty and white Rayon Thread were used in place of the Mimosa Yellow ice cream scoop for a Neapolitan flair.
When the embroidery is complete, remove the hoop from the machine and the stabilizer from the hoop.
Trim away the stabilizer on each Felty wrong side, close to the outer stitching lines.
ICE CREAM APPLIQUÉ
Fold the nylon fabric rectangle in half widthwise with the right side facing up.
Position the lettering and ice cream cone design on the fabric right side and place each element where desired to achieve a pleasing arrangement. Place the upper edge of the design element(s) at least 3 3/4″ from the nylon upper edge to account for the casing.
When satisfied with the design placement(s), secure each piece to the nylon fabric right side using KK 2000 to secure. Then, unfold the fabric.

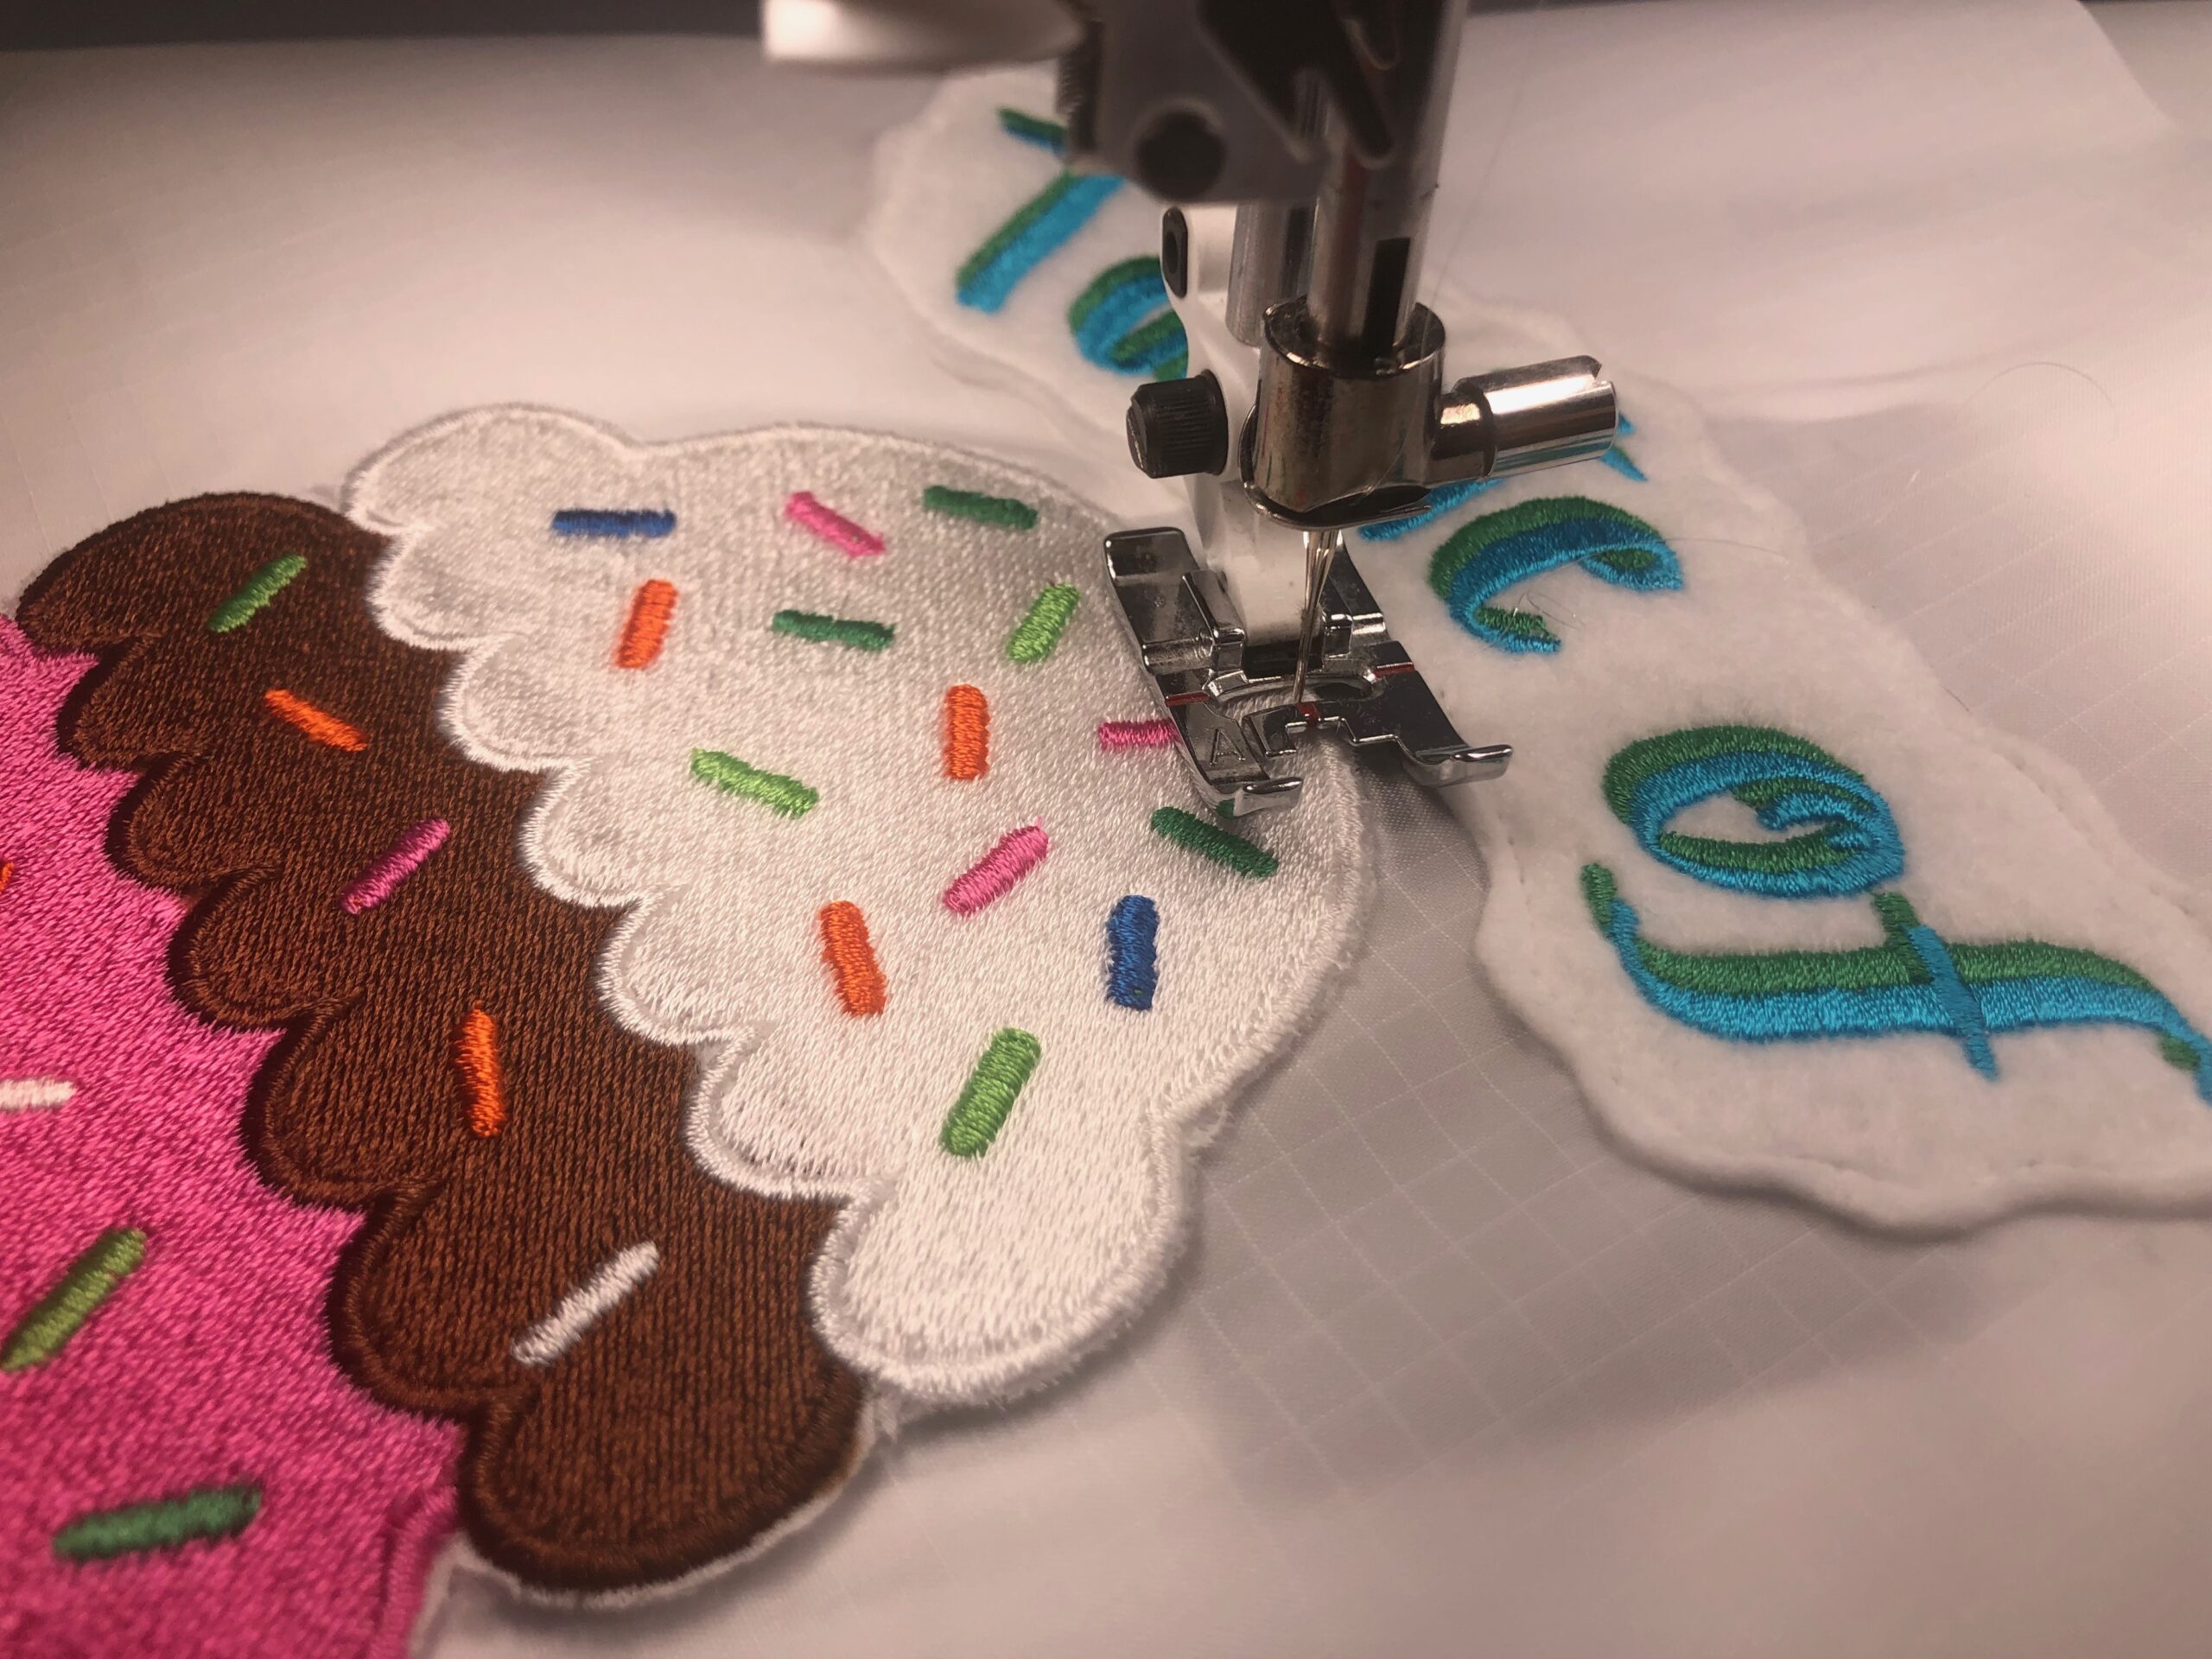
Thread a Microtex Needle with 40 wt. Poly Deco in a color that matches the Felty around the lettering. Edgestitch the lettering pieces in place. Then, thread the machine with a neutral color that coordinates with the ice cream cone design. Next, edgestitch the ice cream cone in place to secure.
If desired, use Sulky Invisible Thread to secure the Felty appliqués for a transparent solution.
FLAG CONSTRUCTION
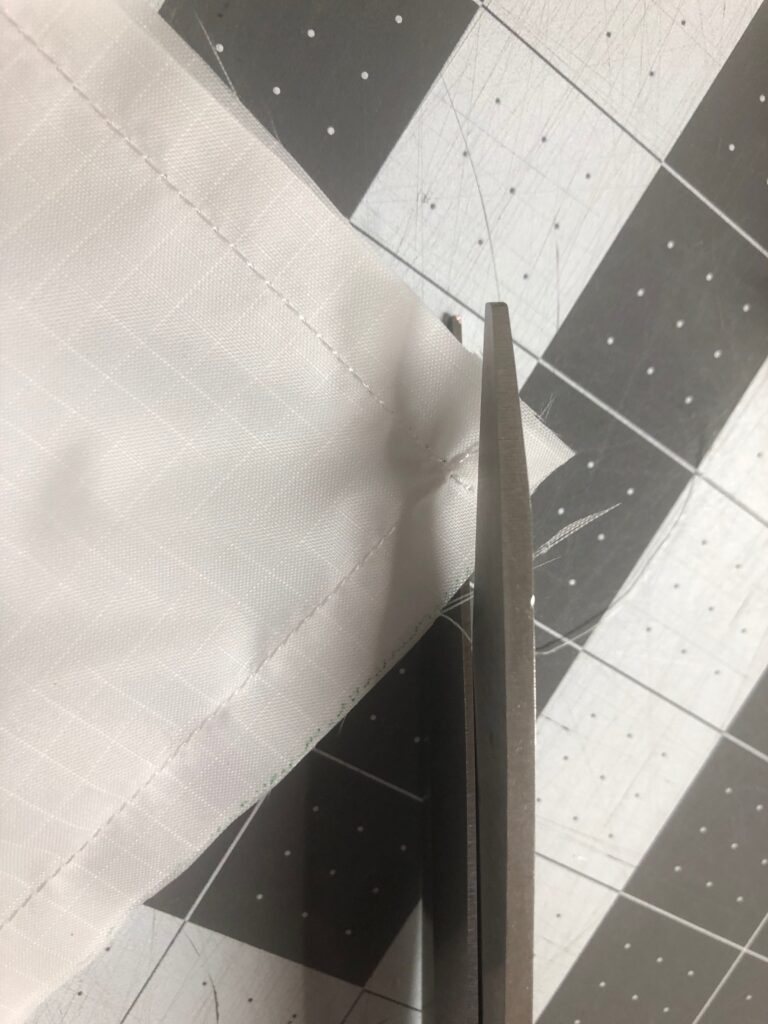
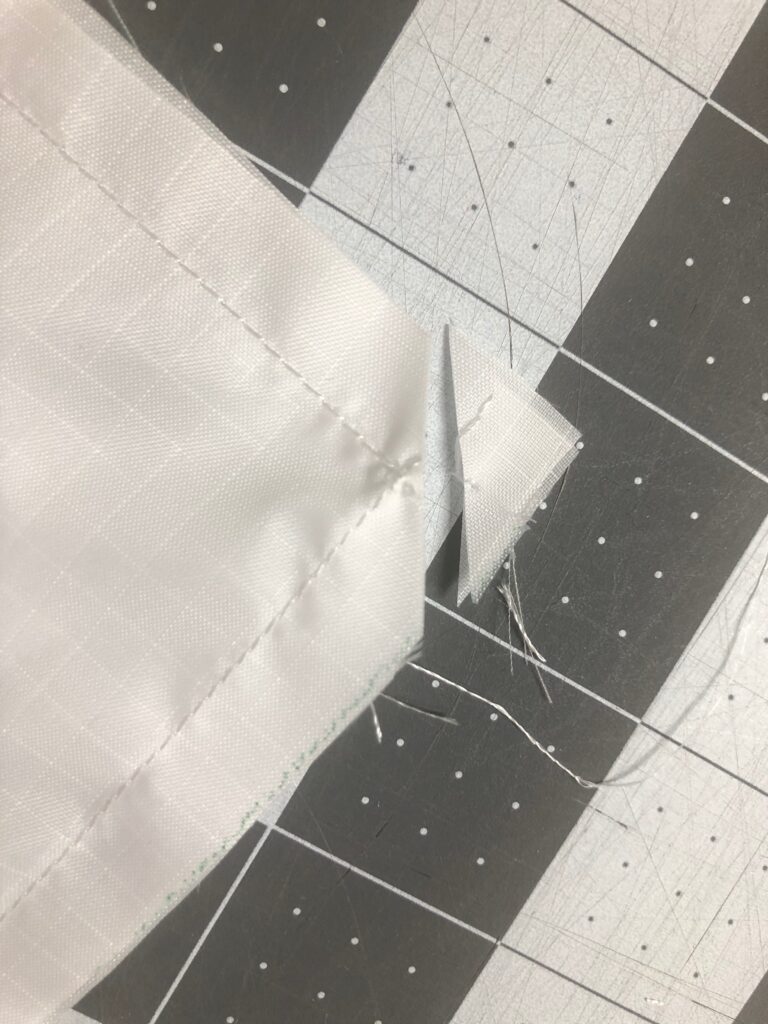
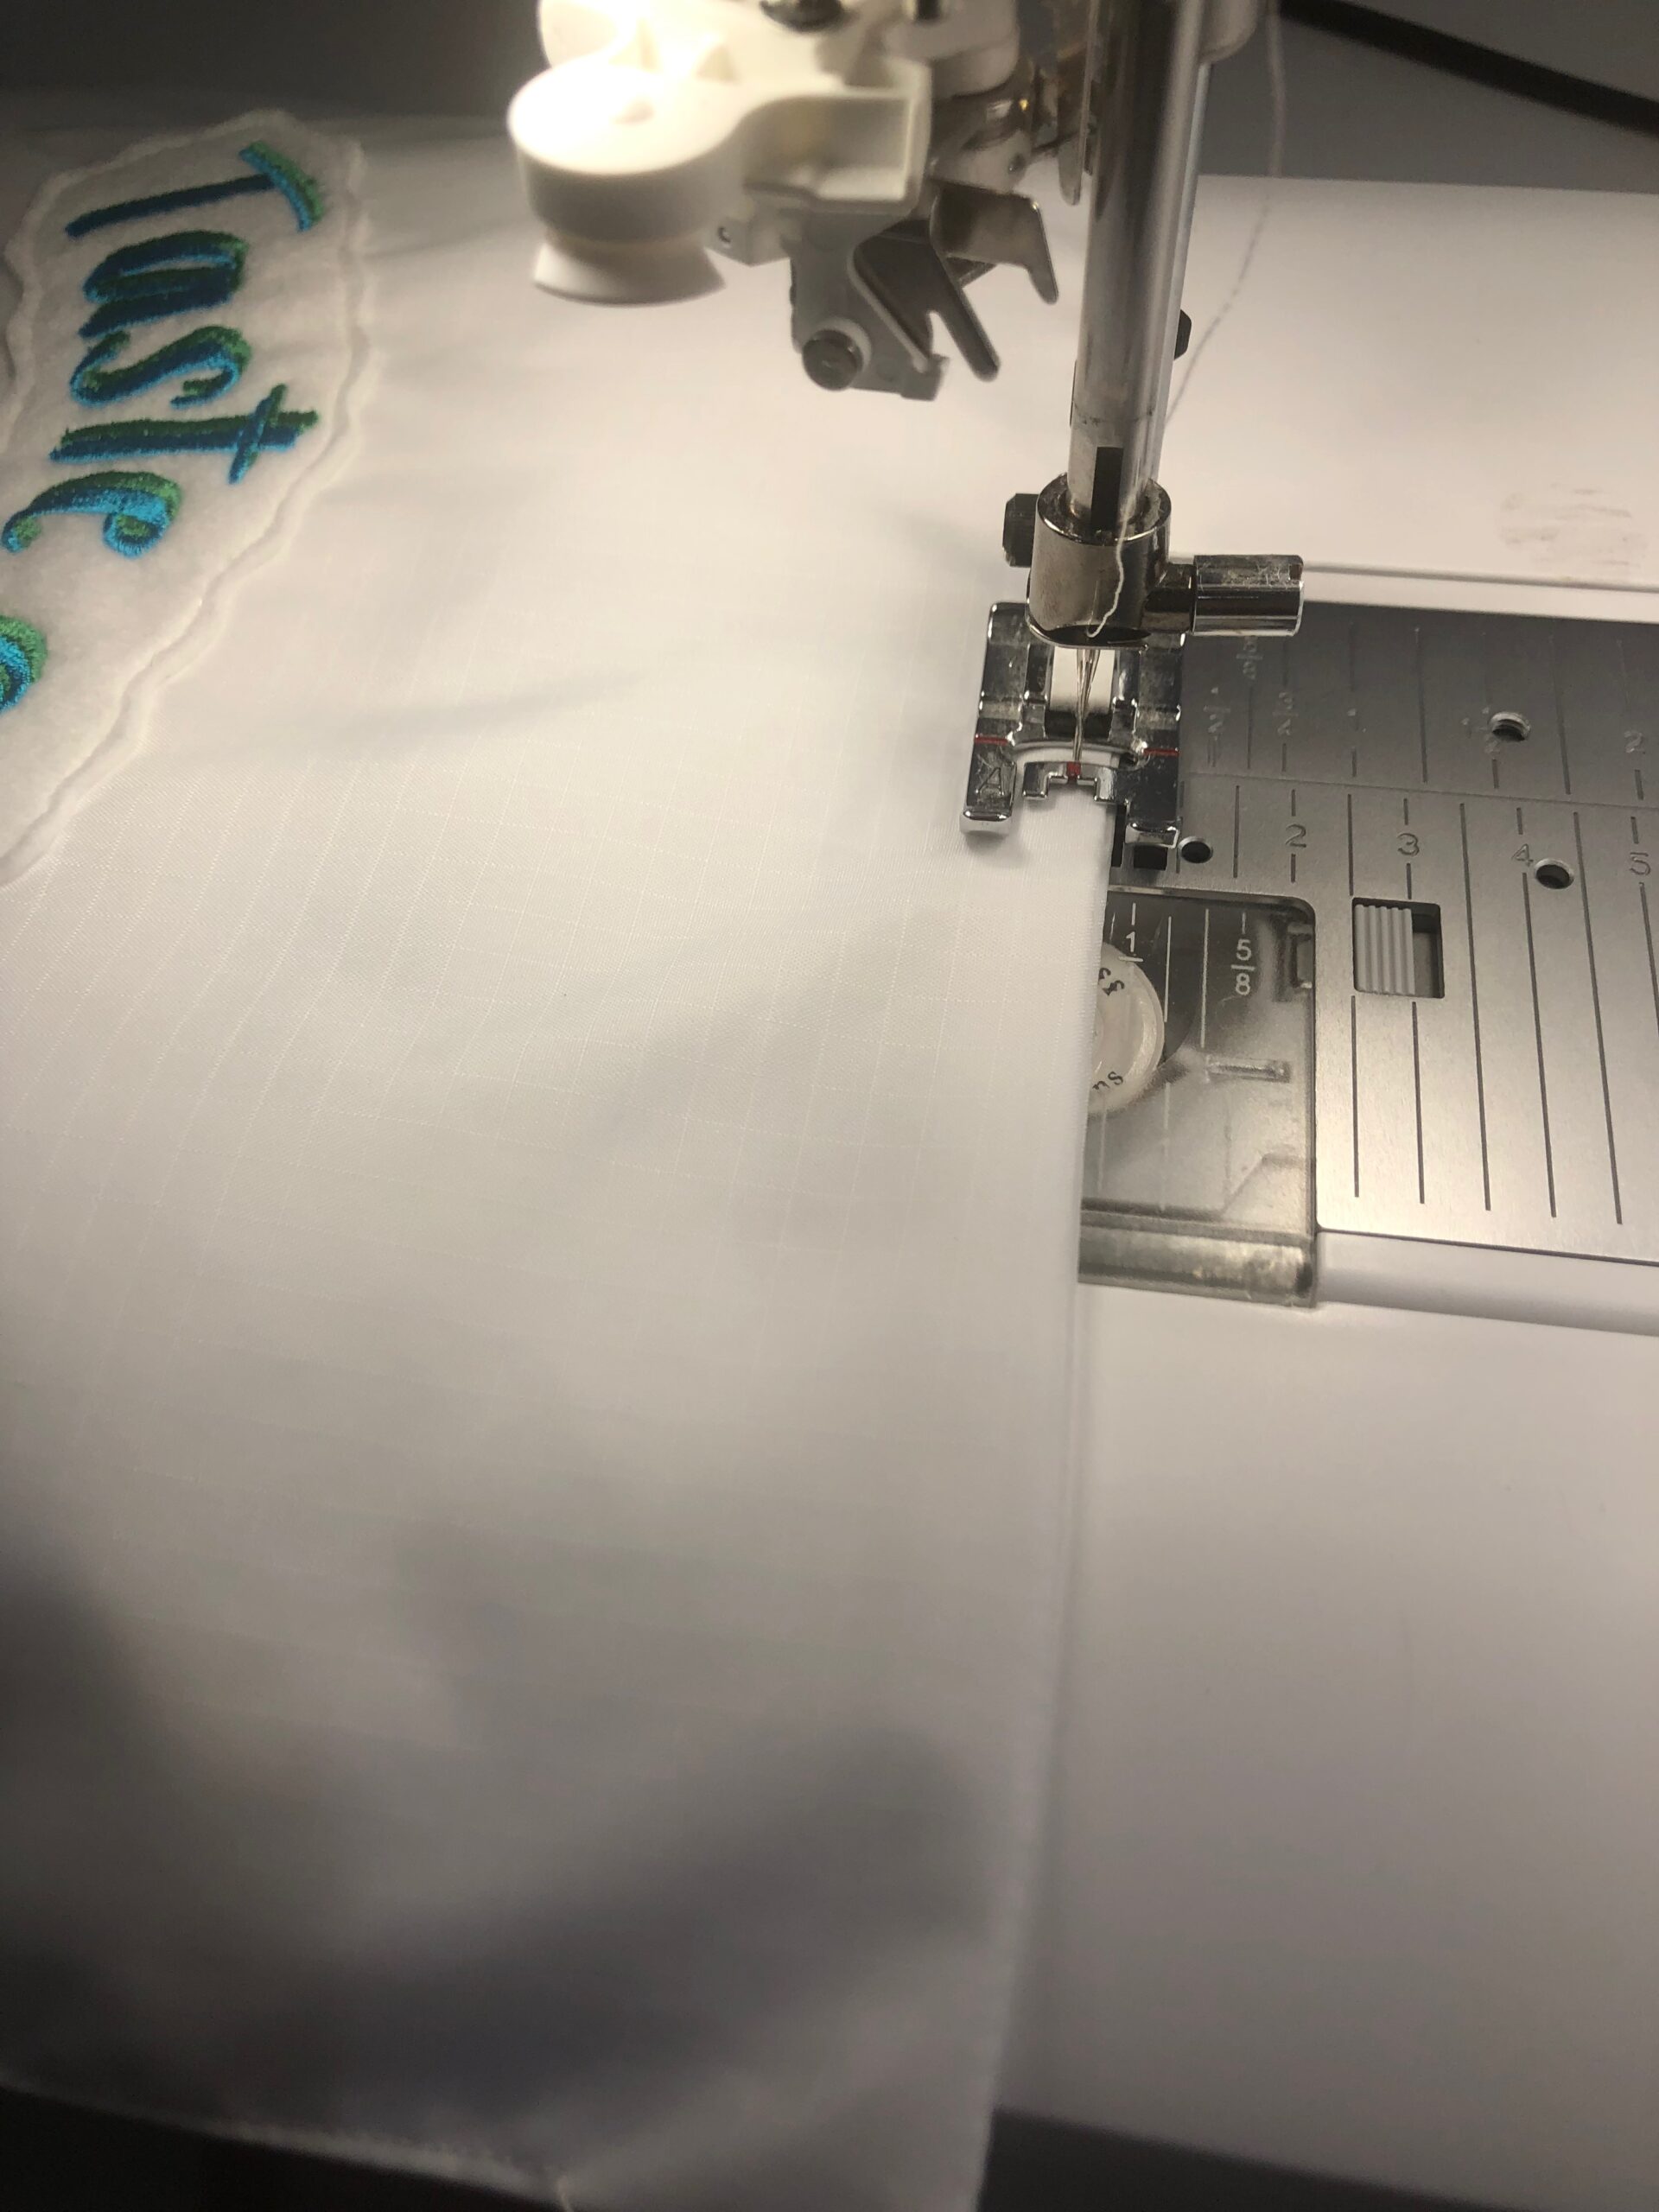
Fold the appliquéd nylon fabric in half widthwise with right sides together. Stitch the long raw edge, leaving a 5″ centered opening for turning. Then, stitch the upper and lower edges.
Clip the corners, being careful to not slice through the stitching.
Turn the flag right side out through the opening. Use a point turner or blunt chopstick to push out and flatten the seamlines.
Fold the opening raw edges toward the wrong side; clip to secure.
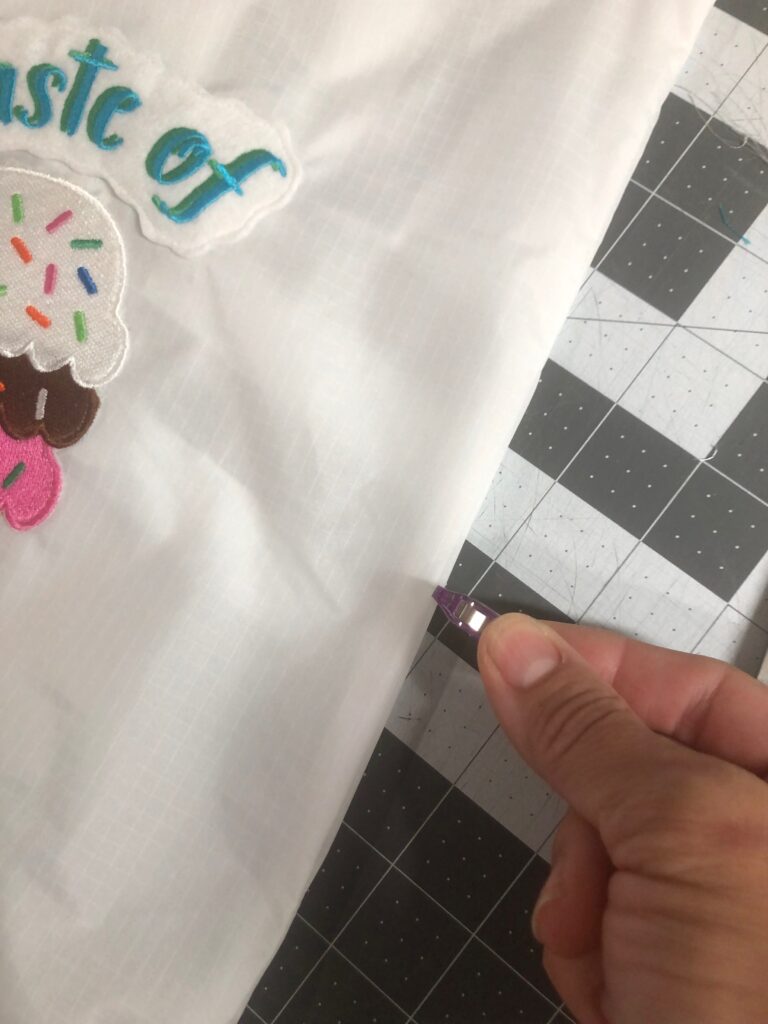

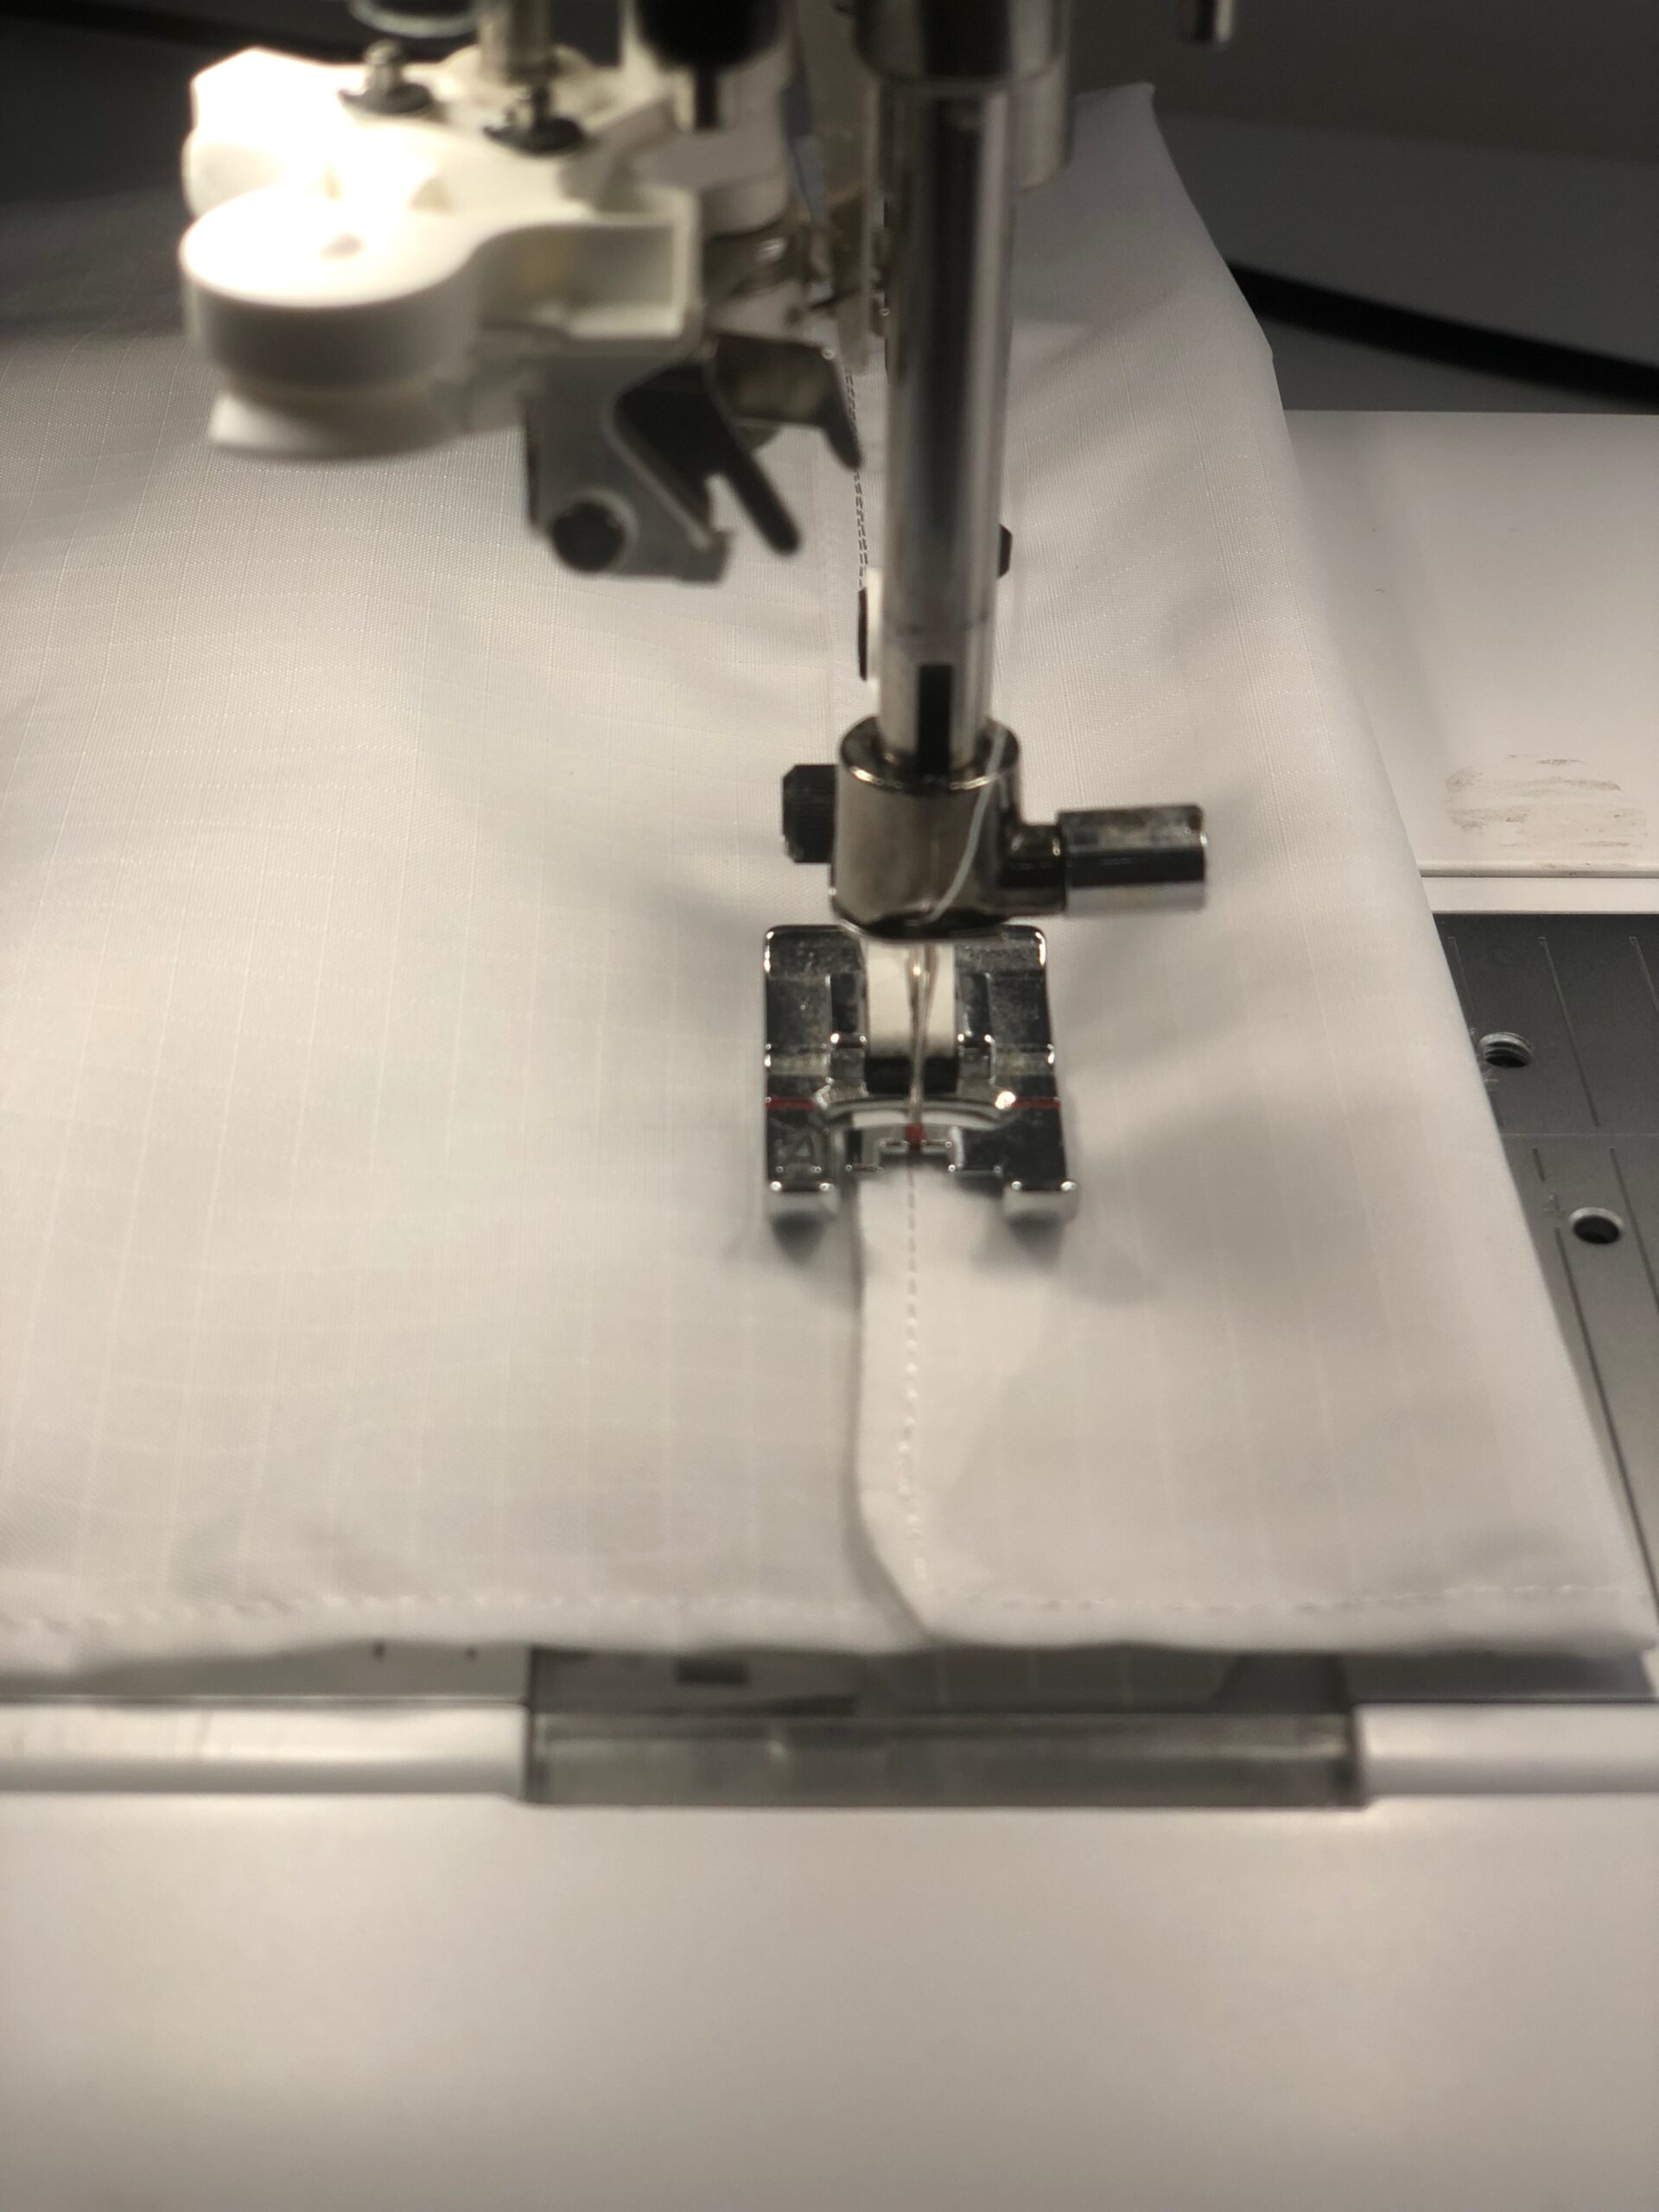
Topstitch the flag perimeter.
Fold the flag upper edge 1 3/4″ toward the wrong side; clip to secure. Stitch close to the previous upper-edge seamline to create a casing. (Note: Depending on the flag stake you’re using, the casing may need to be wider or more narrow.)
Hang the ice cream embroidery garden flag on a flag stake and hang proudly!


Ellen March
I am the Director of Content for Sulky of America. The former Editor in Chief of Sew News and Creative Machine Embroidery magazines, I hosted Sew it All TV on PBS for nine seasons. I've appeared on It's Sew Easy on PBS, DIY Network's Uncommon Threads, Hallmark's Marie Osmond Show, MacPhee Workshop and more! Come sew with me!


2 Comments
Mary Delude
Where can I find the embroidery design for the summer ice cream flag? Thank you
Ellen March
Hi Mary,
You can find the design here: https://sulky.com/hello-summer-ice-cream-machine-embroidery-design
Enjoy!