How to Embroider on Satin

This series is written by guest blogger, Pamela Cox. Pamela is an expert embroiderer, designer, digitizer and all around wonderful girl! We are so happy to have her contributing to the Sulky Blog!
Embroider on Satin
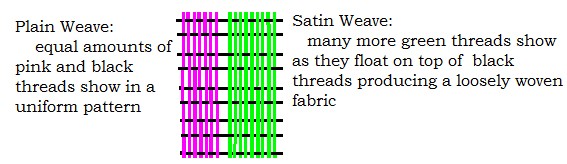
The fabric we call “satin”, actually refers to its weaving pattern which produces a shiny, slippery, easy to fray fabric. Read on for tips and techniques to embroider on satin with ease.
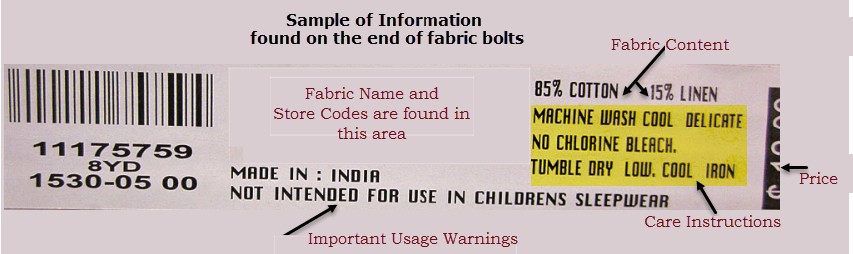
The “fabric” can be manufactured from silk fibers, or synthetic threads, both sold under the “satin” label, although with much different price points! “Satin” fabrics produced by weaving cotton or polyester threads often are found under the name “Sateen”. Make sure to check the bolt label to know the fiber content and care instructions before you embroider on satin.
The family name “Satin” includes many fabrics: Brocade, Charmeuse, Antique Satin, Slipper Satin, Velvet Satin, Sateen and others. Some have specific uses such as Antique Satin, which has a nubby texture, is normally used for drapes while Charmeuse, which is a delicate, lighter weight satin is used for lingerie. Satin is often used for formal wear;
but it is also applicable for neckties, ribbon, sheets and pillow cases, athletic clothing, linings, and even quilts or throw pillows.
Embroidering on satin does not come without a few challenges; however, none that cannot be successfully overcome.
“To Hoop, or not To Hoop”, that is the question!
Satin can be directly hooped along with its stabilizer. Although hoop marks will show, they can normally be removed. Use a pressing cloth to prevent direct contact between fabric and iron, since many satins will stain from water/steam marks.
Although successful machine embroidery is largely dependent upon the proper combination of quality stabilizer with correct hooping techniques, complete success is a series of small steps.
Stitch a Sample to Embroider on Satin
No one wants to waste time or materials when embroidering on satin, but a “quick stitch” sample will prove itself so valuable in confirming color choices, making sure the design is not too dense or confirming tension of chosen thread to fabric – especially when using specialty threads to embroider on satin.
Samples are easy to do!
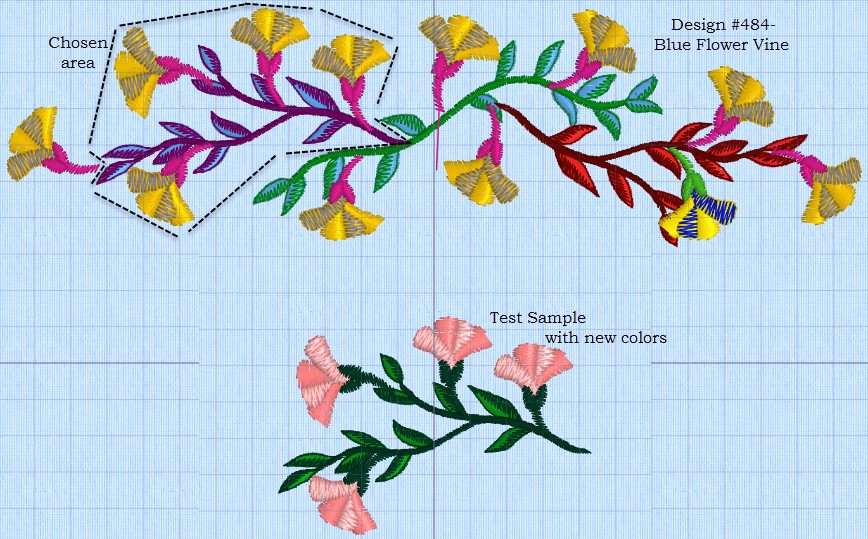
Featured is Design #484-Blue Flower Design available from the Sulky Embroidery Club. In an editing software, “free-hand select” a section which features all the various element types. Copy and paste it, saving it under a new file name. Do not worry about extra stitches or ties, this is simply a test! (If you don’t have software, you can simply stitch part of the design.)
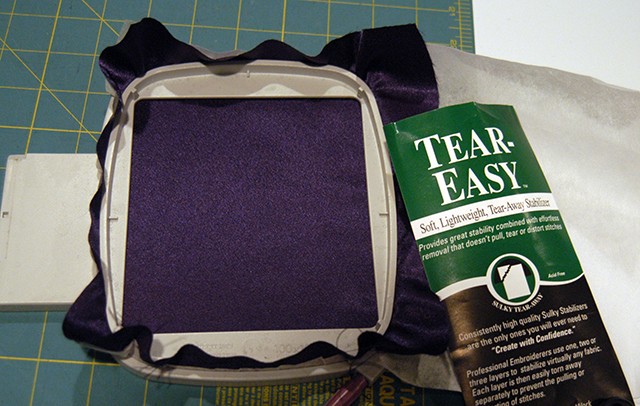
Stitch it out! Both fabric and Sulky® Tear-Easy™ Stabilizer are secured directly in the hoop.
Begin with a new sharp, needle and use the smallest gauge possible in relationship to the density of the design. Once the stitching is completed, remove the back jump stitches. I cut the jump stitches from the right side as the design stitches. This does require monitoring the stitching process as well as stopping and starting the machine, but I find the extra effort on “special projects” well worth it. Then, cut the jump stitches from the wrong side, and gently remove the excess stabilizer…
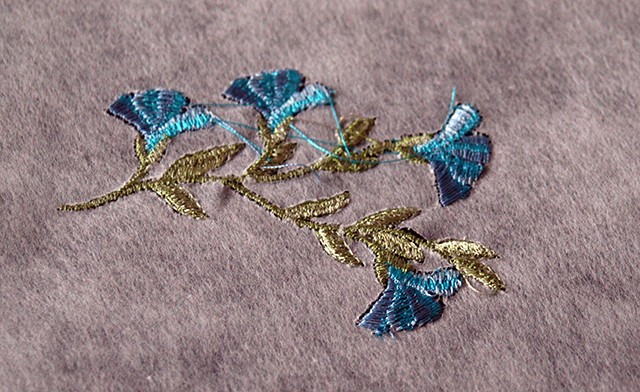
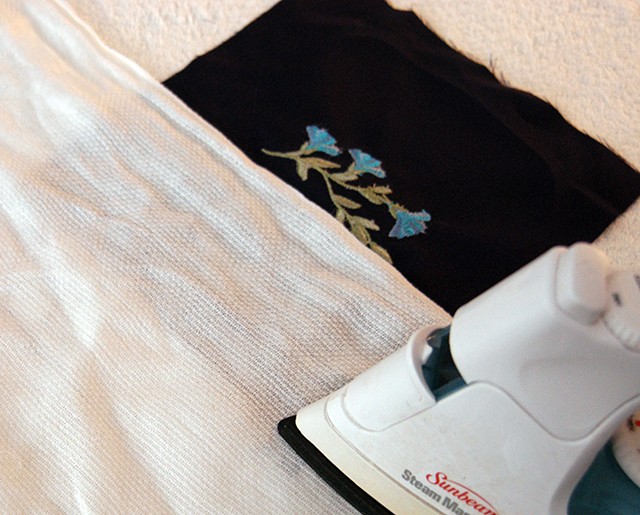
which, as the photo shows, is already thinning around the outlines of the denser edges.
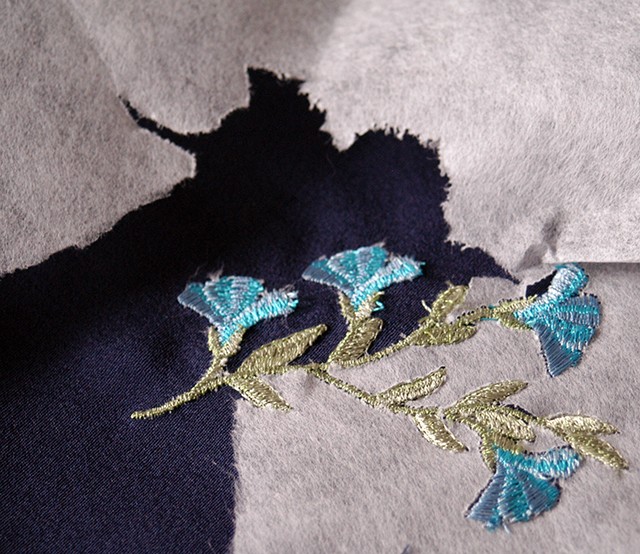
The design stitched perfectly, but the fabric does display marks from being secured in the hoop.
Please note that this photo is the wrong side of the embroidered design. Another step, which takes time but is well worth the effort, is to use the same color thread in the bobbin as the top thread. After steaming, the hoop marks are gone – another benefit of testing to ensure that the marks can be removed without leaving any water stains. The upperclassmen edge has been finished with a serger overlock stitch to prevent seams from fraying.
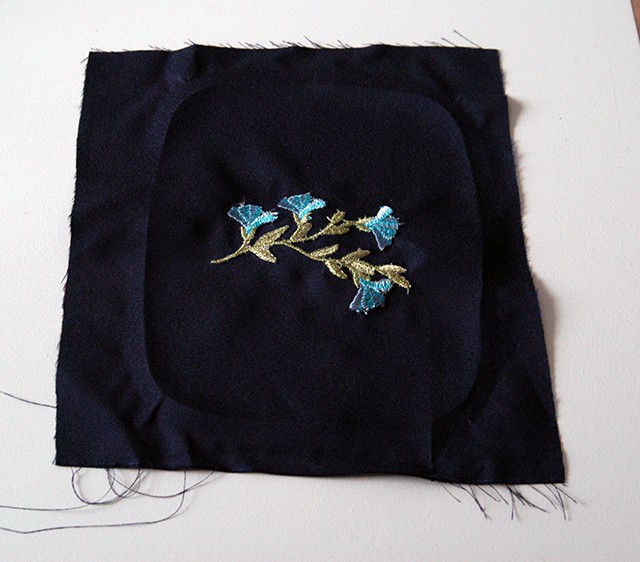
The case “To Hoop” has been made, and it is most effective for projects in which a piece of satin fabric is first embroidered and then later cut to size/shape. It also helps if you hoop the fabric/stabilizer “sandwich” tightly and wrinkle free. However, most of us, myself included, tend to be “almost there” and cannot resist a tug or two to make the foundation “perfect”. Wrong!!! Tugging, in an effort to smooth or to tighten, is actually counter-productive, because this action disproportionally tugs on the woven fibers. A “puckered design” is often the end result….not pretty.
or not TO Hoop!
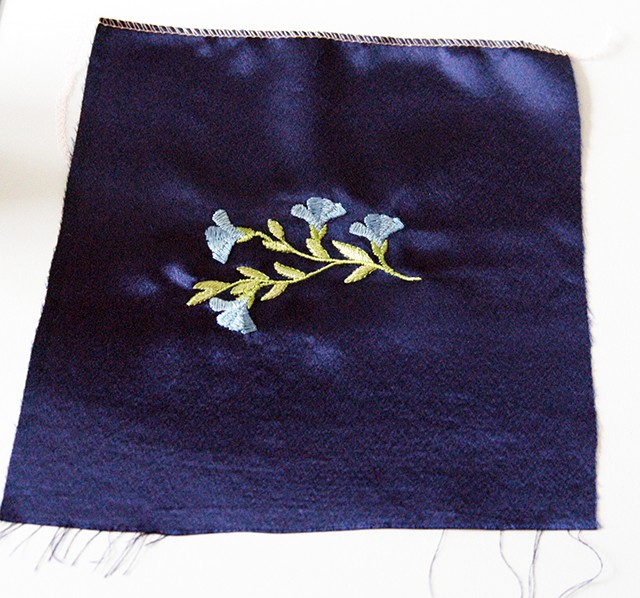
My preference is always to securely hoop the stabilizer and, yes, tug to your heart’s content to make it “as tight as a drum” as possible. The fabric is then secured to this completely stable foundation by one of several methods. Machine baste or “fix” the fabric to the stabilizer which is a feature found on many embroidery machines. However, when machine basting on satin fabrics, use a very small gauge needle (60/8) and a very fine thread (60 wt).
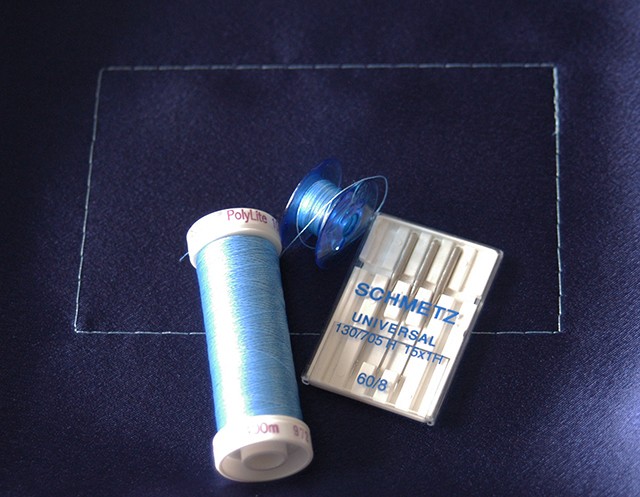
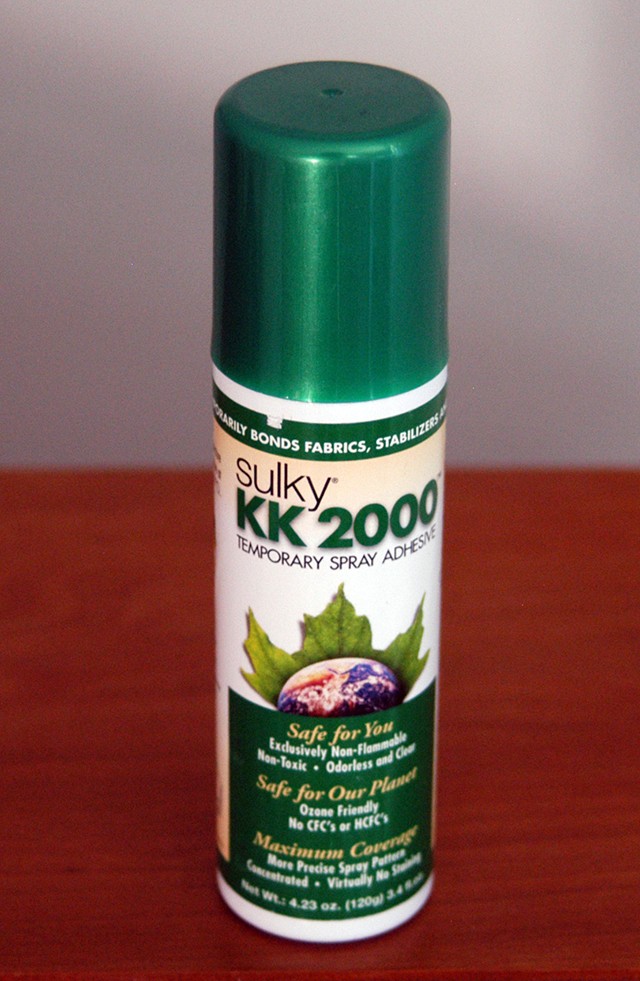
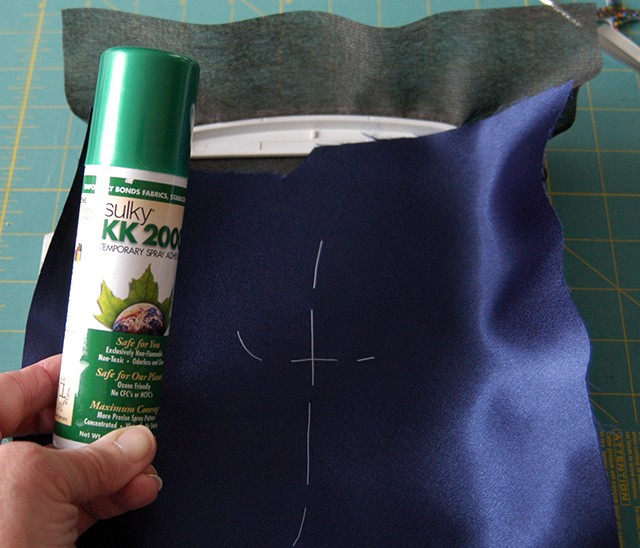
This will require changing needles from basting to embroidery stages, but the extra step will eliminate any unnecessarily large holes from showing around the design. Lightly spray the wrong-side of the fabric with Sulky KK 2000™ Temporary Spray Adhesive pressing it firmly in place onto the stabilizer. (Test this on your scrap stitch-out. Satin can be a “funny” fabric, like silks, and other exotic fabrics; and can sometimes spot from KK 2000, especially if you spray too closely. Better yet, spray the stabilizer to be extra safe.)
Using Super-Fine (20) sharp pins, securely pin the fabric placing pins close to the inside frame keeping them out of the stitching path Sulky® Soft ’n Sheer™ Stabilizer, which is available in either white or black, is another wonderful choice when you embroider on satin fabrics. Just as its name implies, this is a light-weight, sheer, but very durable foundation.
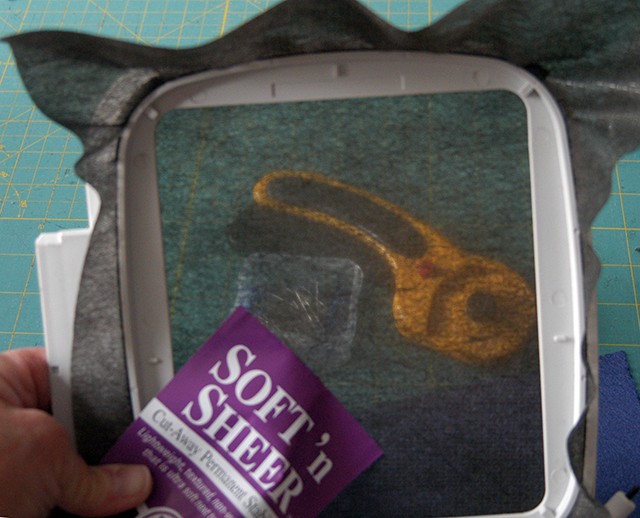
This stabilizer must be cut-away from the design, however, because Soft ’n Sheer™ is so light-weight, any stabilizer remaining does not affect the feel or drape of the original fabric.
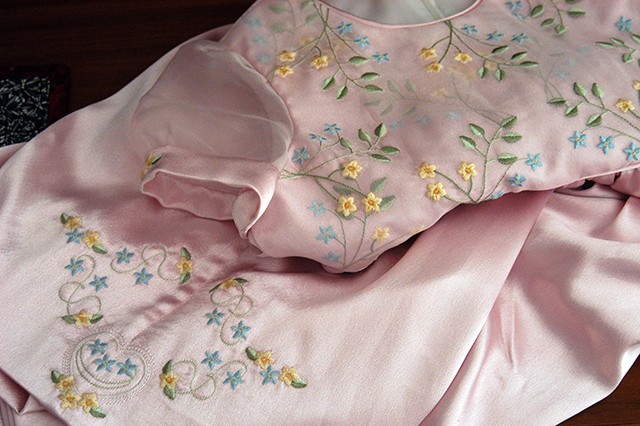
Below is the design #262-Sweet Nothing Roses Corner Roses from the Sulky Embroidery Club, personalized with a special name.
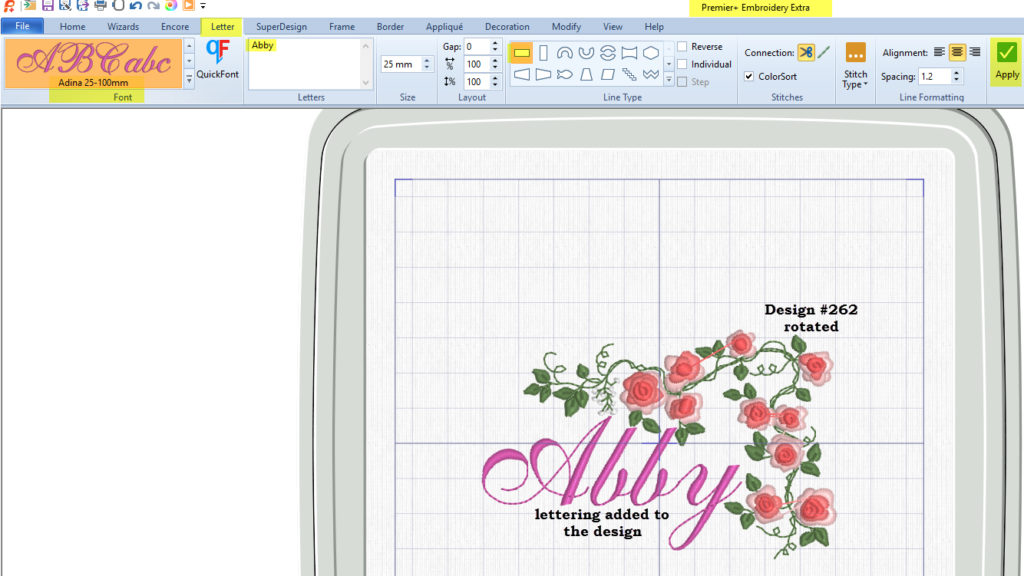
Adding a name can either be done in a lettering program, as shown from Husqvarna-Viking’s Premier+ software or, directly on the embroidery machine-depending on your machine’s sophistication. Soft ’n Sheer was securely hooped making it as taut as possible. Design placement was indicated on the satin fabric by hand-basting lines with a fine, sharp needle, and the fabric was lightly sprayed with adhesive and placed in position on top of the stabilizer. (Again, you can spray the stabilizer instead if you are unsure of how the fabric will react to KK 2000.)
A basting box was stitched around the design for added security and the design was embroidered using a 75/11 embroidery needle, slowing the machine down by half. Reducing the speed of the machine, reduces friction often allowing a smaller gauge needle to be used. (Hint, if your machine does not like the 11/75 needle for the 40 wt. Rayon, even slowing it down, you can use a 12/80.)
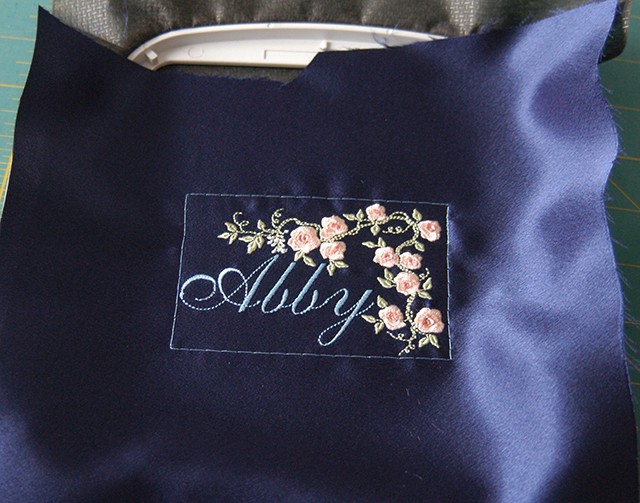
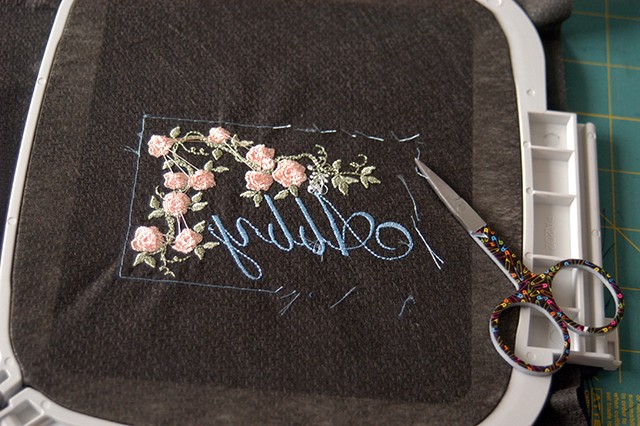
The floral design was stitched in Sulky® 40wt rayon thread, but “Abby” was stitched in Sulky® PolyLite™, a finer, 60 wt. thread. Visually there is no difference between the shiny rayon or polyester thread, but the lighter thread stitches crisp script-lettering. The basting box is released from the back side of the embroidery to avoid snagging the silky fabric with excess jump stitches and stabilizer carefully cut from the design edges.
Just as the Sulky family of stabilizers offer choices not only for various fabrics, and even choices for the given fabric, Sulky also offers a wide variety of thread types, all bringing their own uniqueness to each design.
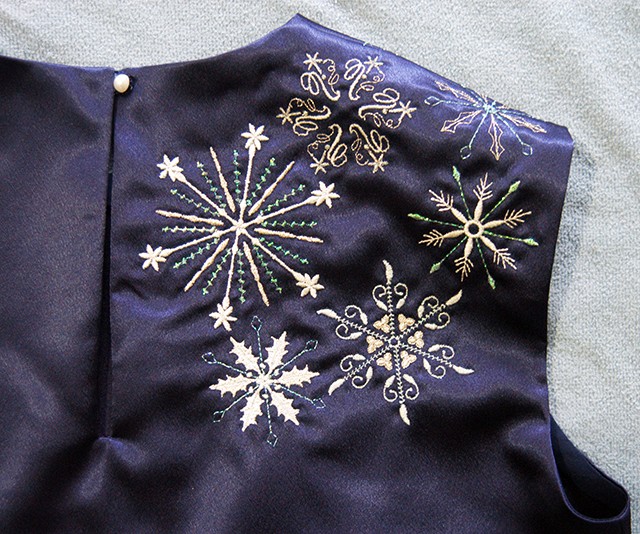
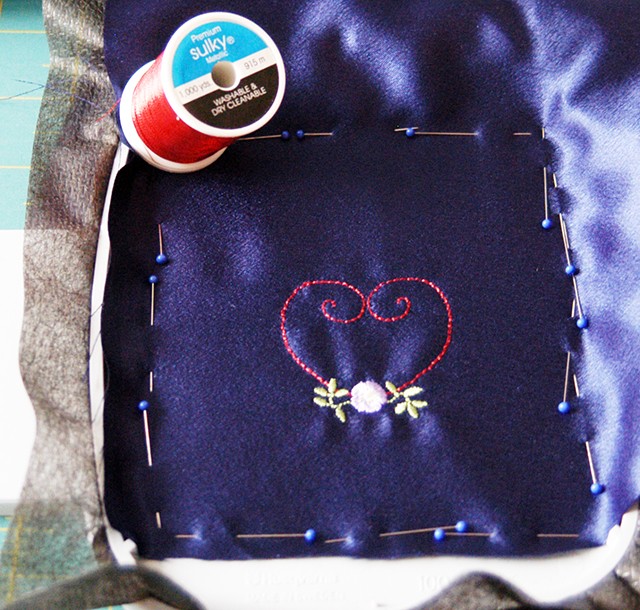
Snowflakes stitched in threads from the Sulky family of Metallic Threads which include Original Metallic, Holoshimmer™ Metallic and Sliver™ Metallic Thread, add a wintery delight to this party garment. Soft ’n Sheer was securely hooped, the satin lightly sprayed with KK 2000™ Temporary Adhesive, and pins were added for additional security. The original design is stitched in Sulky® Original Metallic using a 75/11 embroidery needle. The machine was slowed down to its slowest speed, but the heart is really nothing more than regular straight stitching. It just happens to be in the shape of a heart and done in a hoop. No thread breakage and a beautiful red heart is accented with a flower stitched in Sulky 40 wt. rayon thread. (Again, if your machine is not happy with the smaller needle even slowing it down, you can upsize to a 12/80 topstitch needle.)
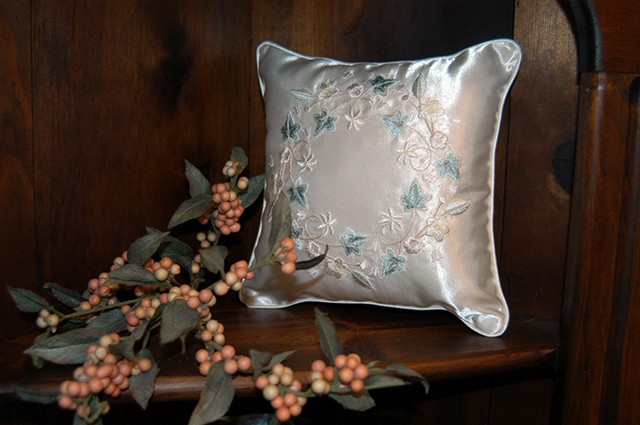
Credit: Embroidery designs featured on finished projects, dress, pillow and shell top are from various Graceful Embroidery collections available on www.gracefulembroidery.com

Loved this article. Look forward to MORE!
I have been struggling with metallic thead on satin fabric. I have a Bernina 730 embroidery machine. The thread constantly breaks. I’ve tried things such as: using a metallic needle and many others. I’m going to try the Sulky stabilizer as my last attempt. I’ve had my machine serviced . I will try all of your suggestions. Thank you for taking the time to write this article. I really appreciate it.
Great article!! Thank you.