Quilted Garden Flag
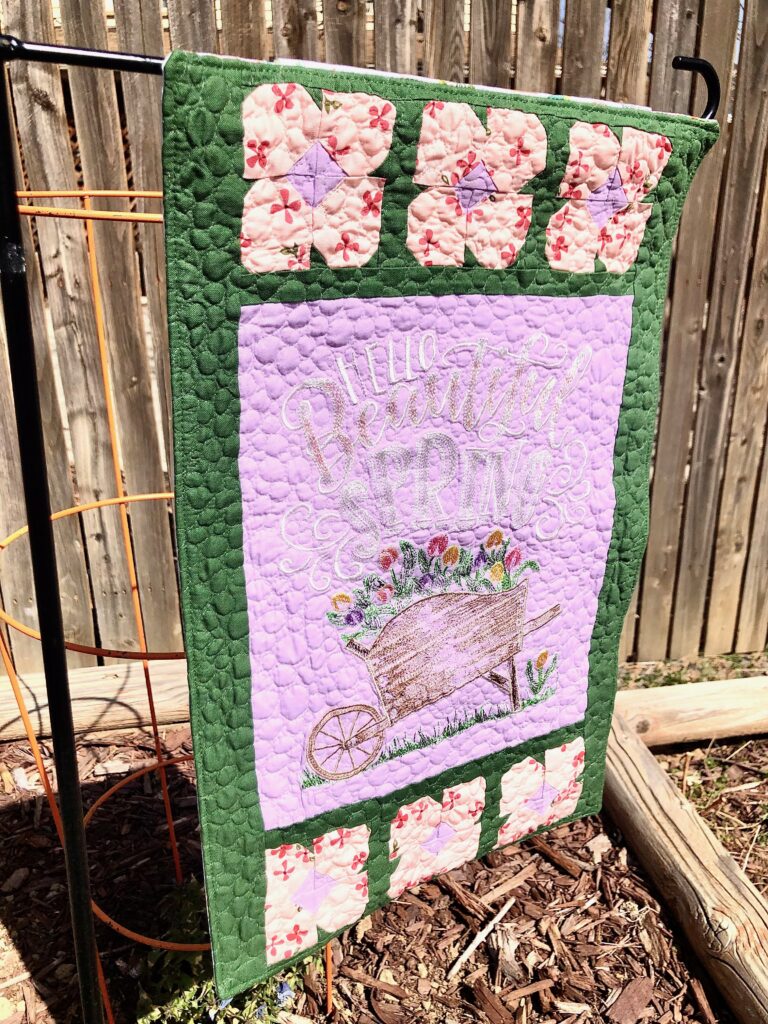
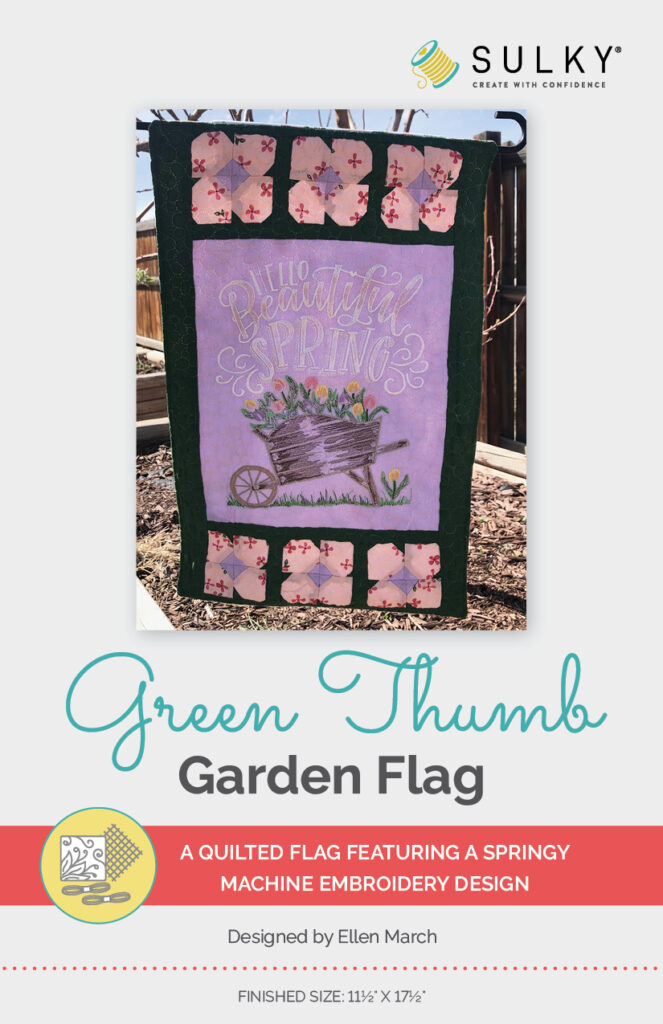
Stitch a springy quilted garden flag to display with your emerging flowers and veggies. This festive flag features machine embroidery, tiny piecing and quilting. If you don’t have a flag stake, the project easily converts to a wall hanging.
Finished size: 11 1/2″ x 17 1/2″
GARDEN FLAG SUPPLIES
- Spring Garden Flag Pattern (it’s free!)
- Sulky Soft ‘n Sheerâ„¢ Extra Stabilizer
- Sulky Soft ‘n Sheerâ„¢ Stabilizer
- Low-loft cotton or polyester batting
- Fabric
- 1 fat quarter of solid cotton fabric (such as Kona® Cotton)
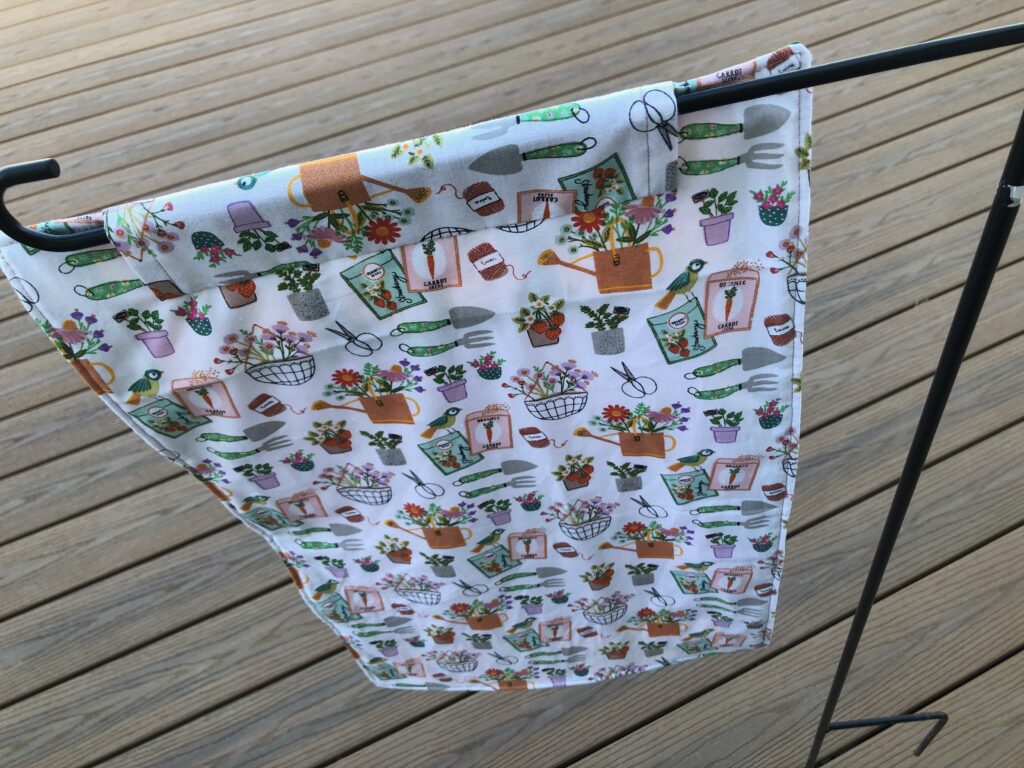
- 12″ x 24″ rectangle of print cotton fabric (backing)
- (2) 2″ x 24″ rectangles of floral print cotton fabric (petal piecing)
- ¼ yard of solid or print cotton fabric (borders & piecing)
- Sulky Thread
- Rayon (machine embroidery; colors determined by chosen embroidery design)
- 50 wt. Cotton (piecing & construction)
- 60 wt. Bobbin (machine embroidery)
- Invisible (quilting)
- Machine embroidery design (approx. 8″ x 10″; featured design is Hello Beautiful Spring Large designed by Shannon Roberts for Embroidery Online by OESD)
- Organâ„¢ Needles
- Sulky KK 2000â„¢ Temporary Spray Adhesive
- Removable fabric marker or chalk
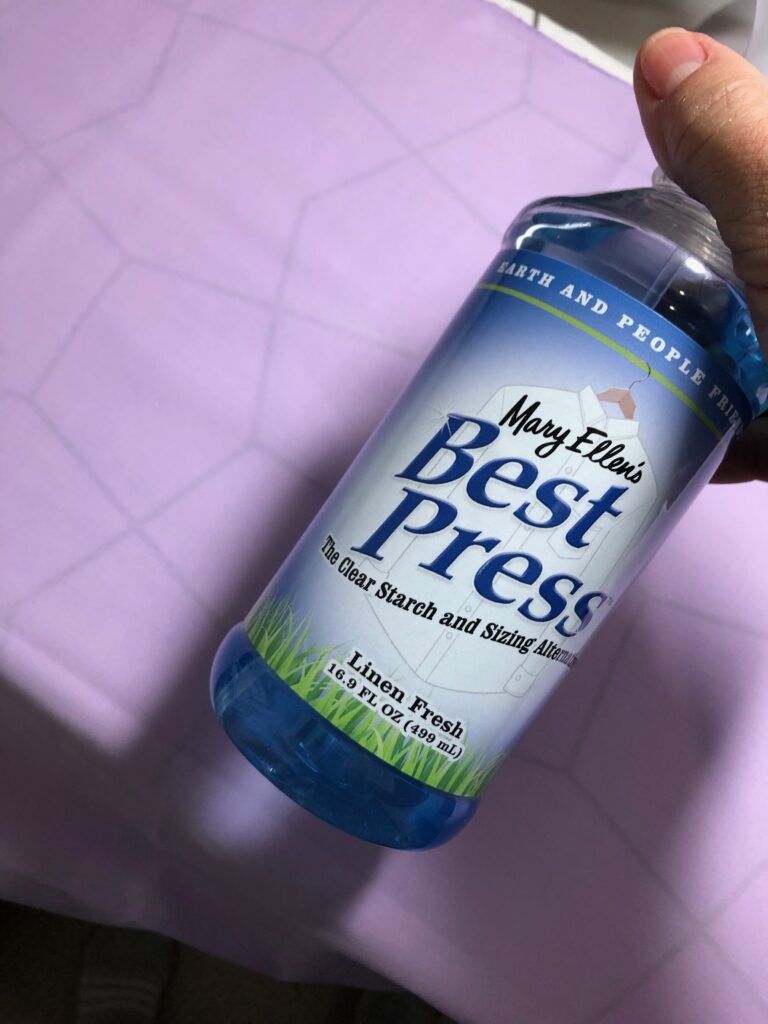
- Spray starch, such as Mary Ellen’s Best Press (optional)
- Clover Hot Ruler (optional)
- Flag stake (for hanging)
*We may earn an affiliate commission from items purchased through the above links.
FABRIC CHOICE
Quilting cotton fabric is the best choice for this project. If using a lightweight cotton, cotton voile or the like, apply spray starch before stabilizing the fabric for embroidery to keep things nice and flat and reduce the chance of puckering.
Use a fusible cut-away stabilizer, such as Sulky Soft n’ Sheer Extra, and keep it intact on the entire fabric piece after embroidery is complete. This acts as an interfacing as well as a stabilizer, keeping the backing fabric from showing through on a light-colored fabric. It also prevents the garden flag from sagging over extended hanging and use.
PATTERN MODIFICATIONS
This spring garden flag is easily customizable for any season, depending on the embroidery design you choose.
Swap the design for a holiday-themed design, such as Santa Please Stop Here. Either omit the quilt blocks along the upper or lower edge or use holiday-print fabrics to turn the flower blocks into poinsettia blocks.
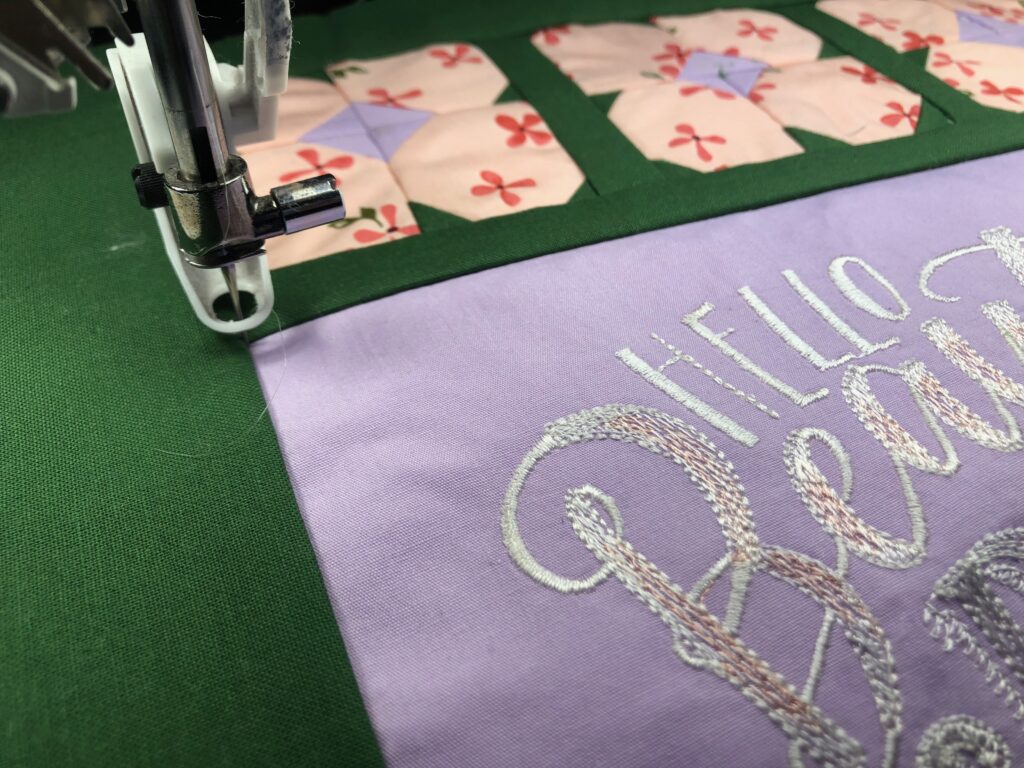
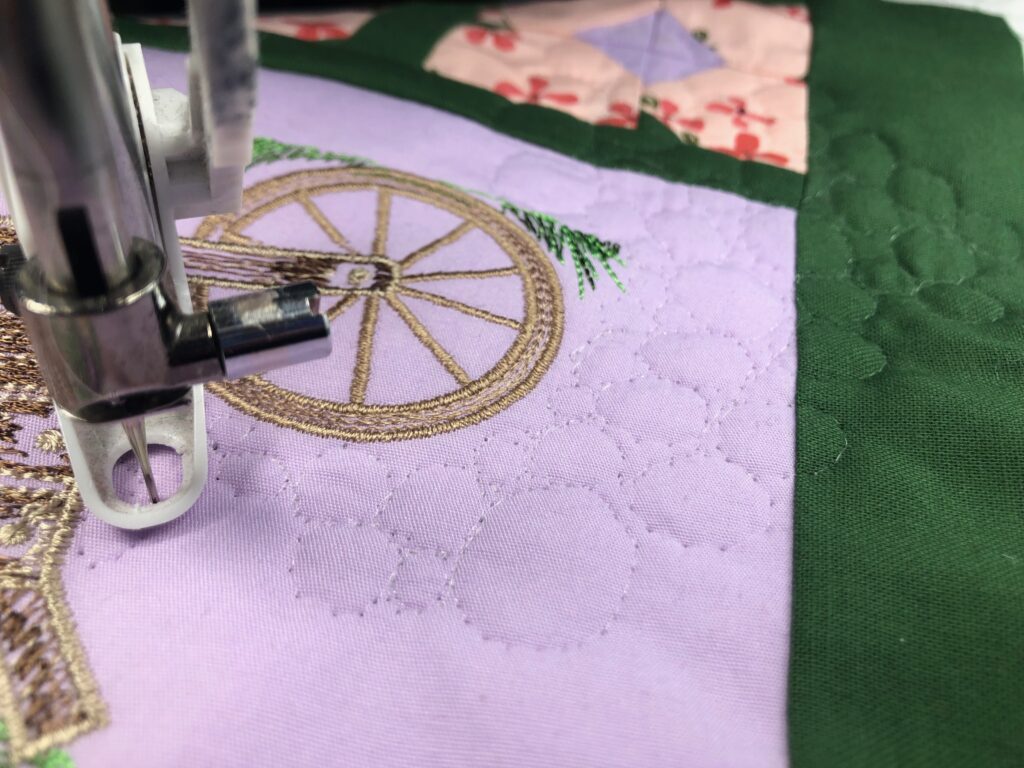
Do as much or as little quilting as you like for your spring garden flag. The featured flag was free-motion quilted all over using Sulky Invisible Thread and an improvised “bubble” pattern.
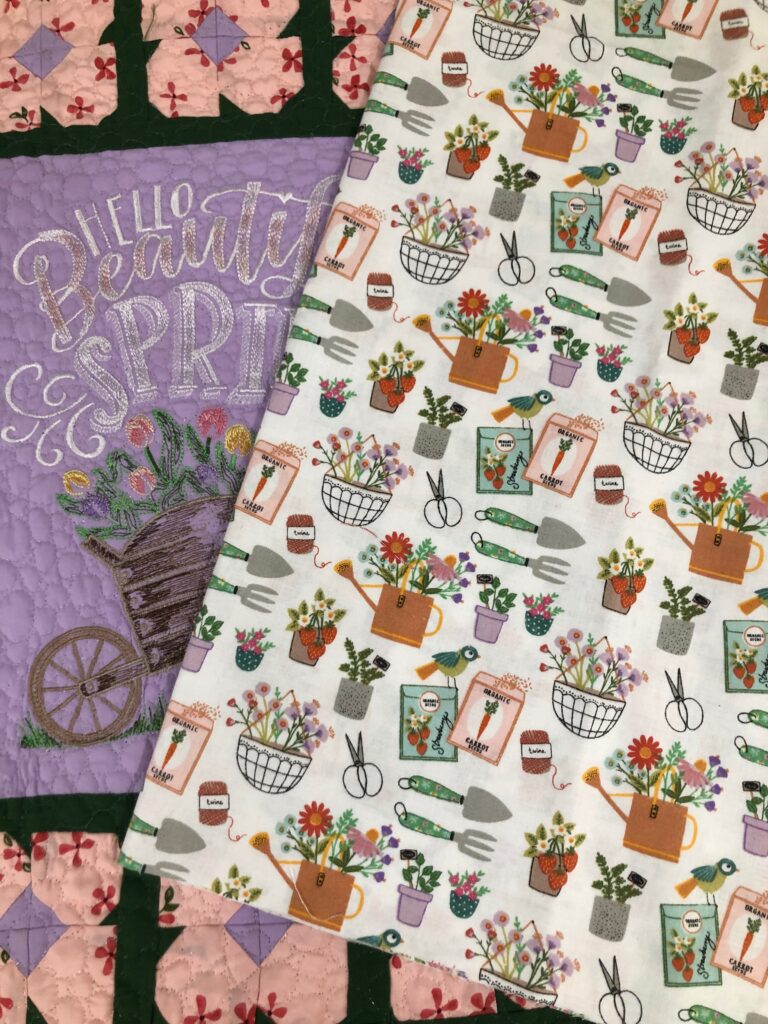
You may prefer to stitch in the ditch, using the same 50 wt. Cotton Thread recommended for piecing. Or you may prefer to quilt through all layers (backing included) and bind the edges to use this as a wall hanging instead. Either way, choose a fun garden-themed print to make a springy wall hanging, as shown.
HANGING SLEEVE
The free pattern comes with instructions for creating a hanging sleeve. Either extend the hanging sleeve abobe the garden flag upper edge, or tack down the long “free” sleeve edge to conceal it. The choice is yours.
Whether you’re creating a garden flag or turning this into a wall hanging, the hanging sleeve is a rather nice touch.
Grab the free pattern today and create a garden flag to add color and fun to your spring planting beds. GET THE PATTERN NOW>



had expected the wheelbarrow embroidery to be included should be explained
If this is to be truly a garden flag, rayon thread is not a good choice, nor is cotton fabric.
Thank you for the feedback, Joan. You could easily create this and use it as a wall hanging indoors, too. And/or swap the thread for Poly Deco. I plan to remove it from the garden in times of inclement weather.
Thank you for the feedback. This project is meant to display the embroidery design of your choice. This way you can create it for any season or occasion you wish.