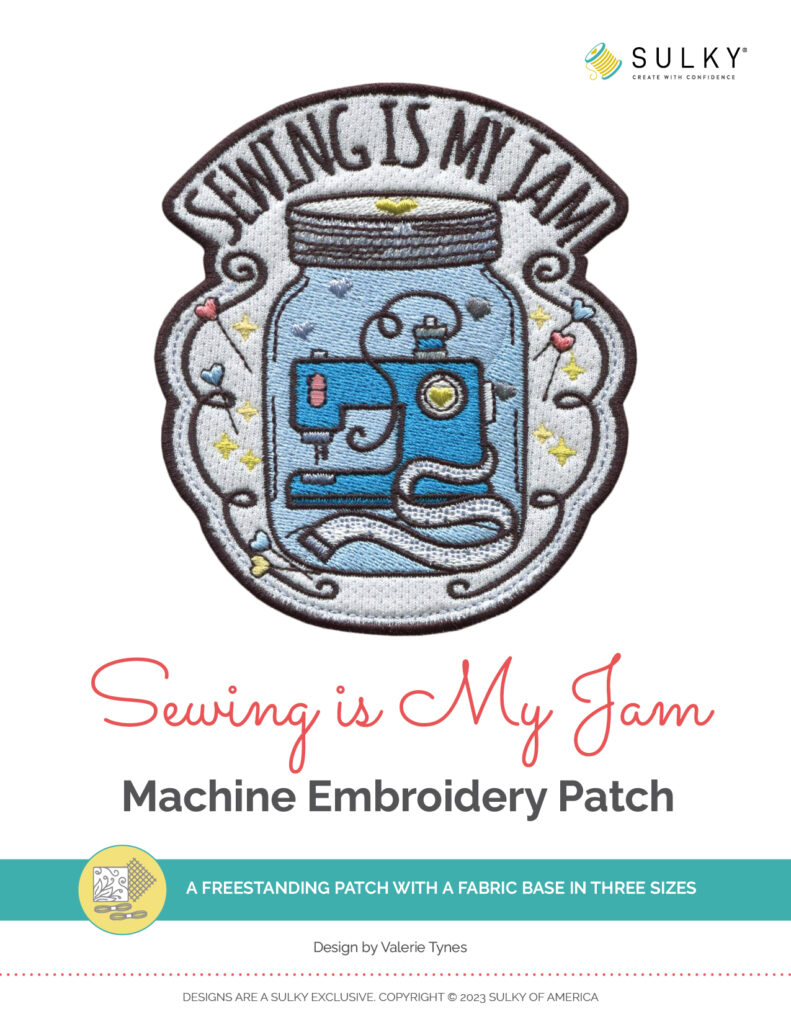
Sewing Patch – Sewing is My Jam

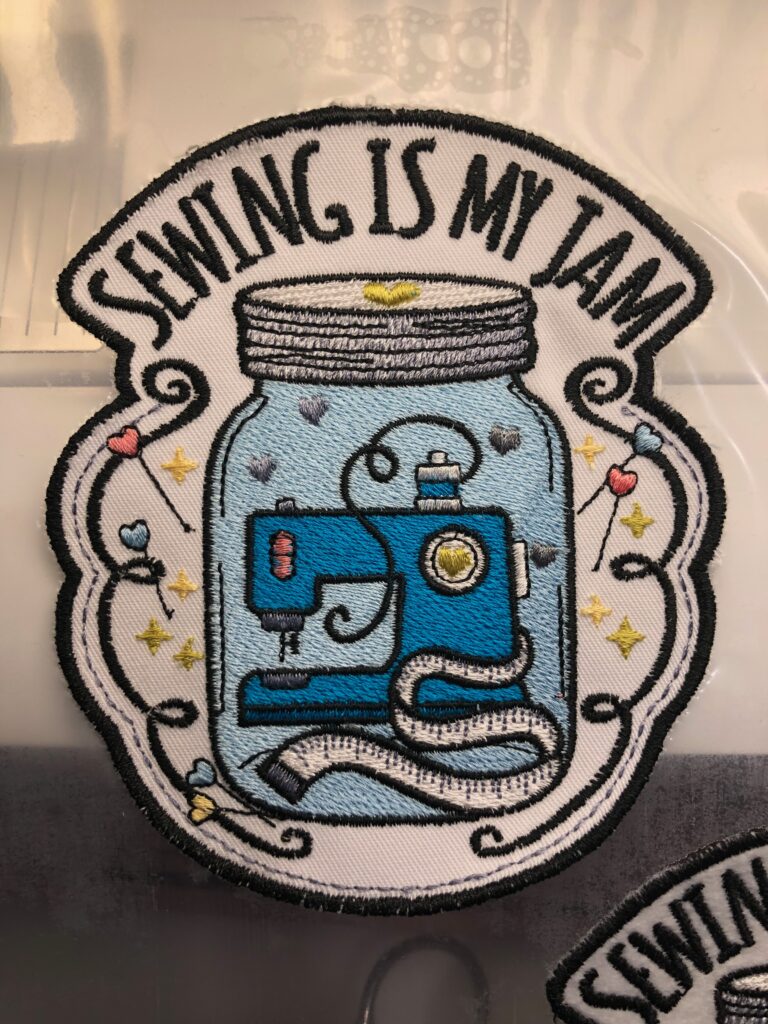
Yes, a sewing patch! We’ve reinvented our Sewing is My Jam sticker and digitized it for machine embroidery! Some of you received the sticker in one of our Mystery Boxes, and asked for the design. Now you can create your own patches and adorn everything from totes to jackets to sewing machine covers all in stitches.
The featured design comes in three sizes: 3″, 4″ and 5″ tall. The smallest size benefits from using Sulky PolyLite Thread for the lettering, to ensure the letters are crisp and readable. The larger designs look great in all Poly Deco or Rayon Thread. Use Sulky Bobbin Thread in the bobbin, in black for the letters and satin stitching and white for the remaining design elements. Or use PolyLite in the bobbin, matching all the colors shown on the patch right side.
The sewing patch is stitched onto a background fabric. Choose Sulky Twilly for a nice, stable fabric that already has a layer of stabilizer applied to the wrong side. Or choose Sulky Felty, which gives the patch a bit of texture and loft.
HOW TO CREATE THE SEWING PATCH
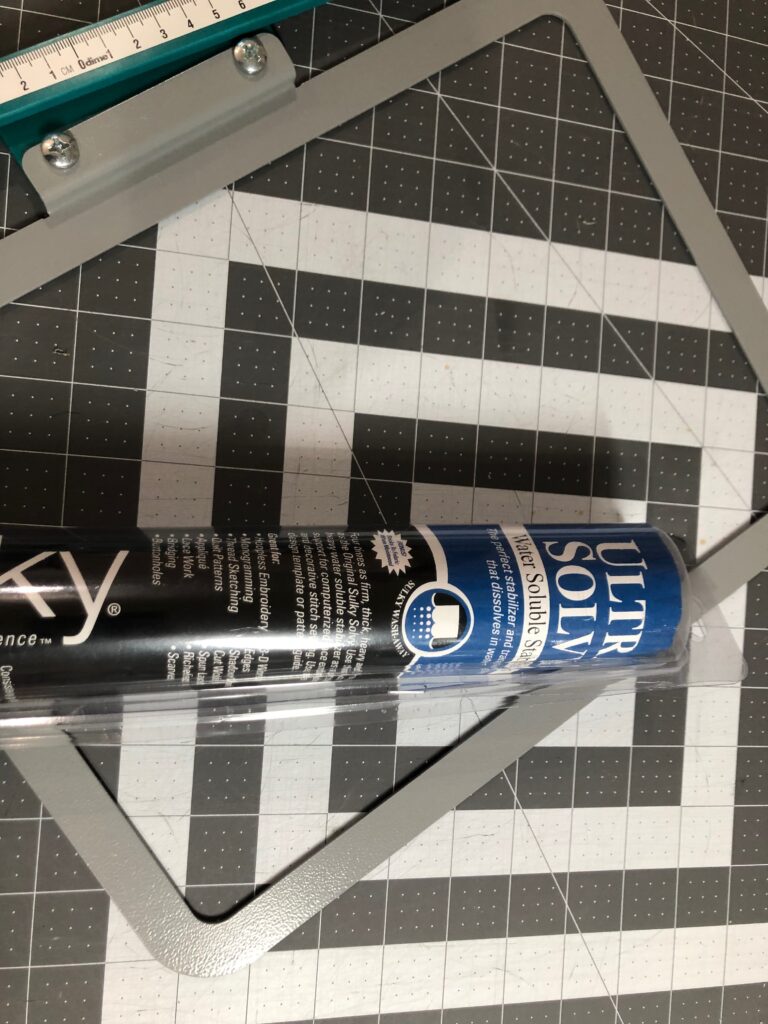
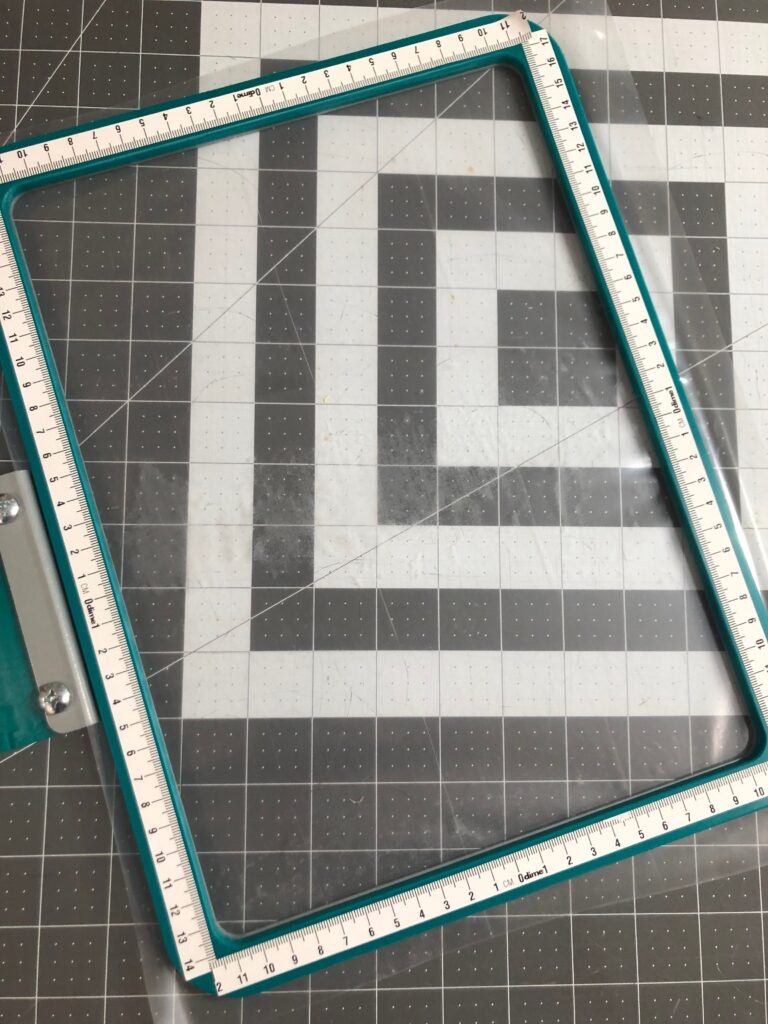
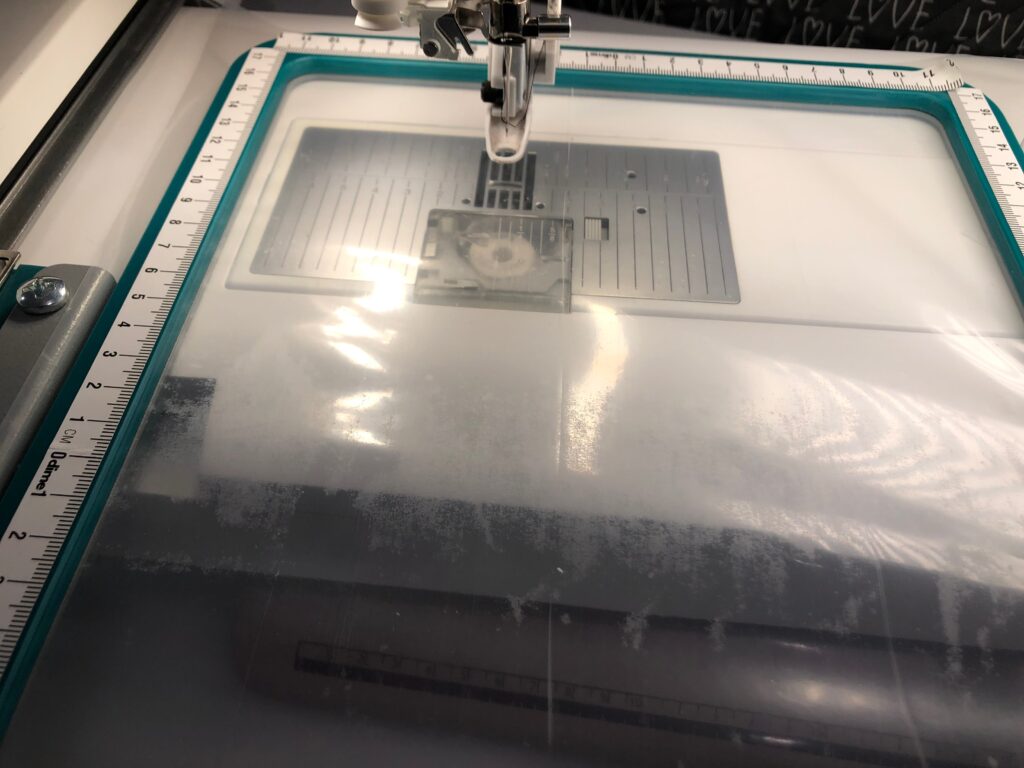
First, hoop a piece of Sulky Ultra Solvy Stabilizer. For this project, a magnetic hoop was used. If you don’t have a magnetic hoop, a standard hoop is fine.
Use a size 80/12 Top Stitch or Embroidery Needle.
Embroider color stop 1, which is the placement stitch for the appliqué fabric.
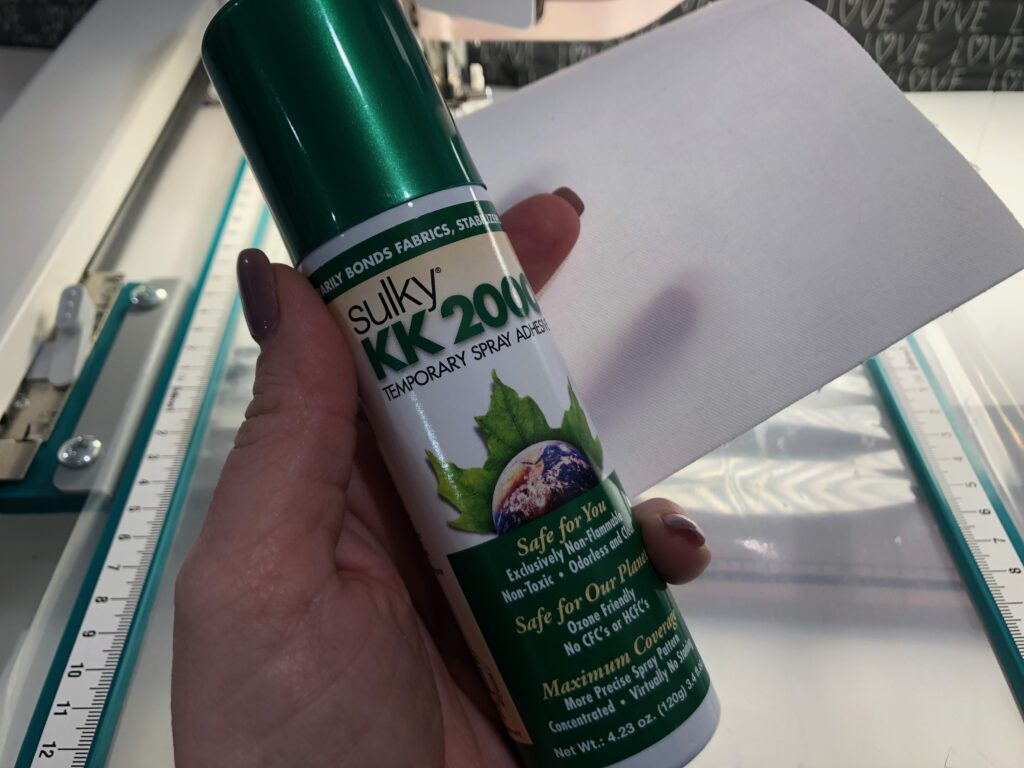
Spray the back of the background fabric, Twilly or Felty, with Sulky KK 2000 Temporary Spray Adhesive.
Position the fabric over the placement stitches, completely covering them.
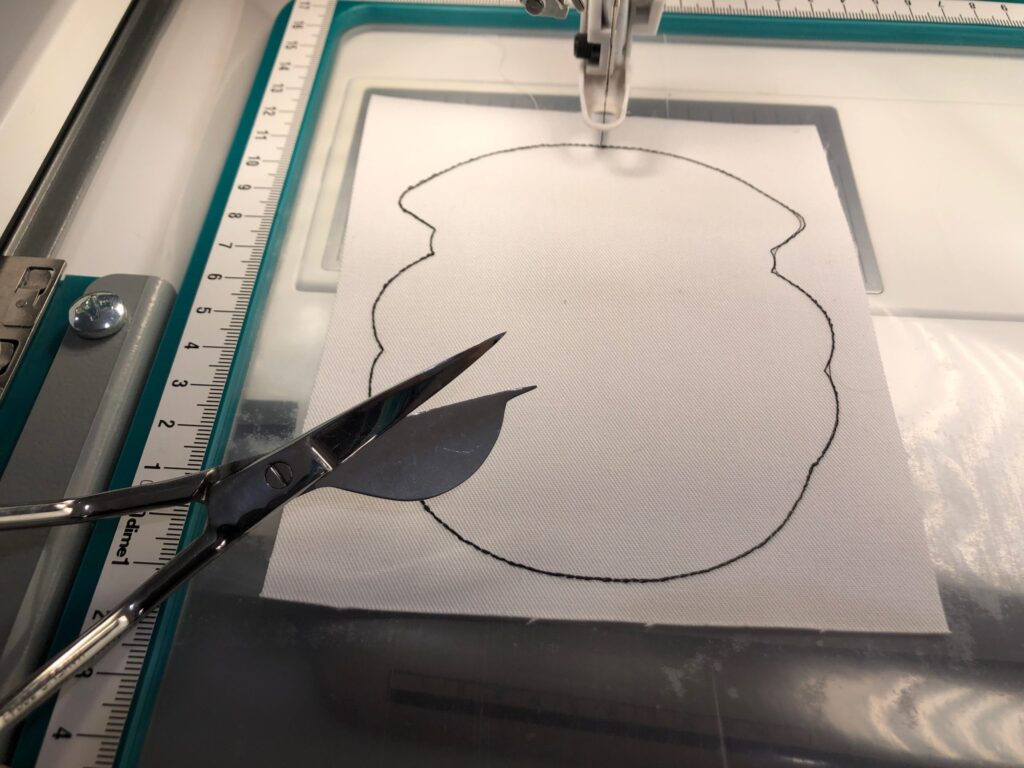
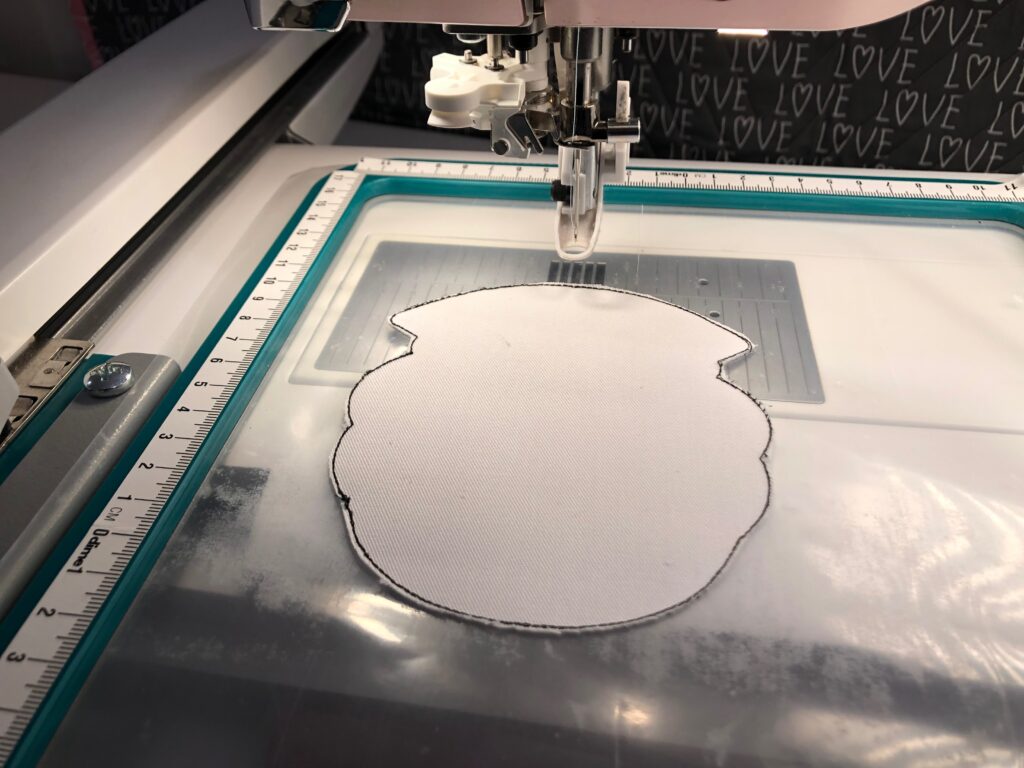
Embroider color stop 2, which are the tacking stitches for the background fabric. When the stitching is complete, remove the hoop from the machine or place it in “trim” position. Using appliqué scissors, carefully trim the background fabric close to the tacking stitches.
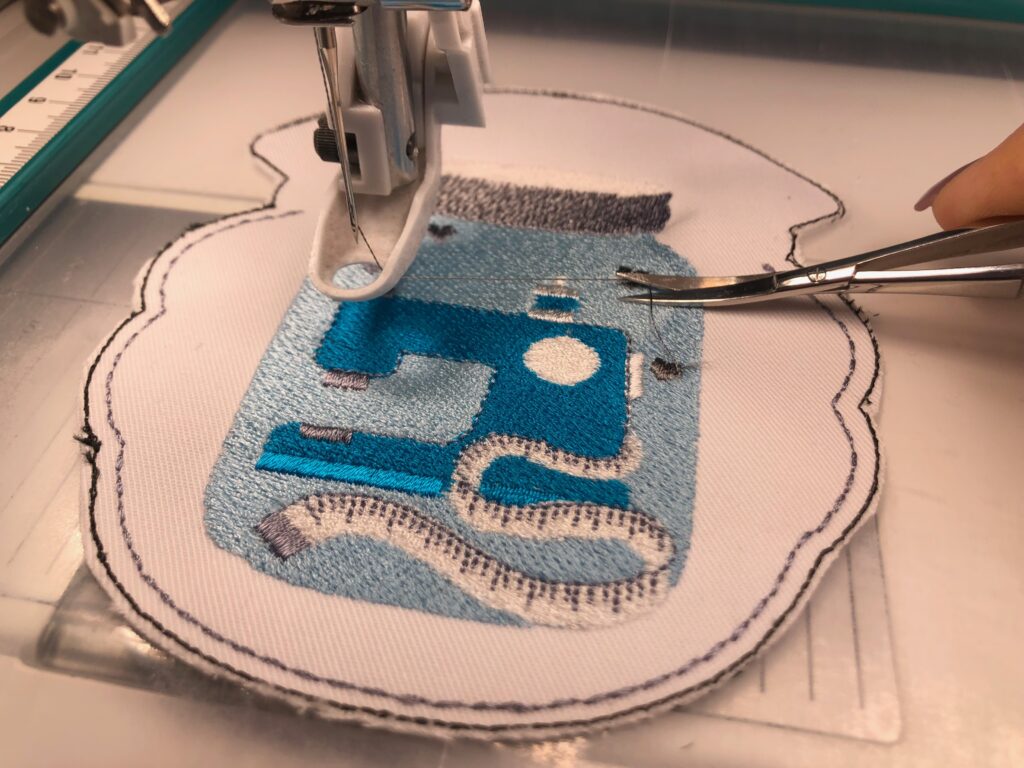
Embroider the next color stop, which are the remaining design elements. Clip jump threads with each color change, using Curved Tip Squeezers.
The final color stop is the satin stitch edging around the patch. This is convenient if you want to place a readymade item or another fabric beneath the hoop before the final step; this way the satin stitches are sewn through all layers to attach the patch. However, only do this is you’re able to maneuver the item away from the hoop so the design doesn’t stitch through all layers of the item. (The featured tote bag featured below could NOT be embroidered this way using a large hoop.)
Or, finish the design on the stabilizer only. Then, remove the patch from the hoop. It should perforate a bit along the outer satin edging for easy removal.
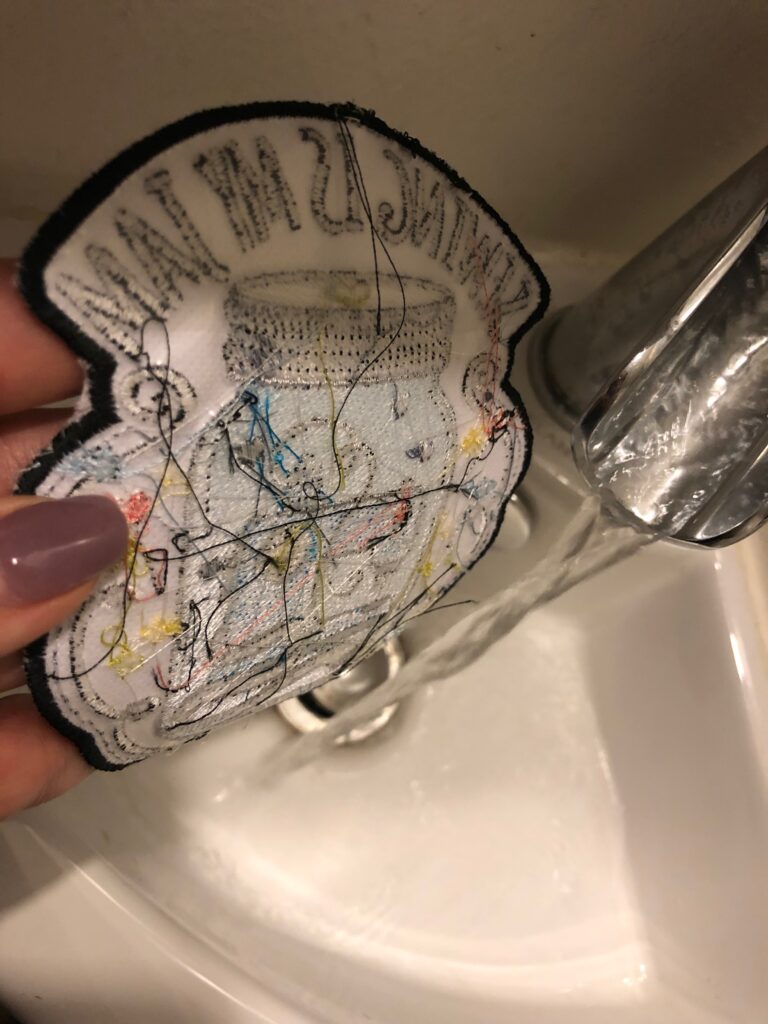
For a freestanding patch, rinse the entire patch to remove the stabilizer. Let dry flat on a towel.
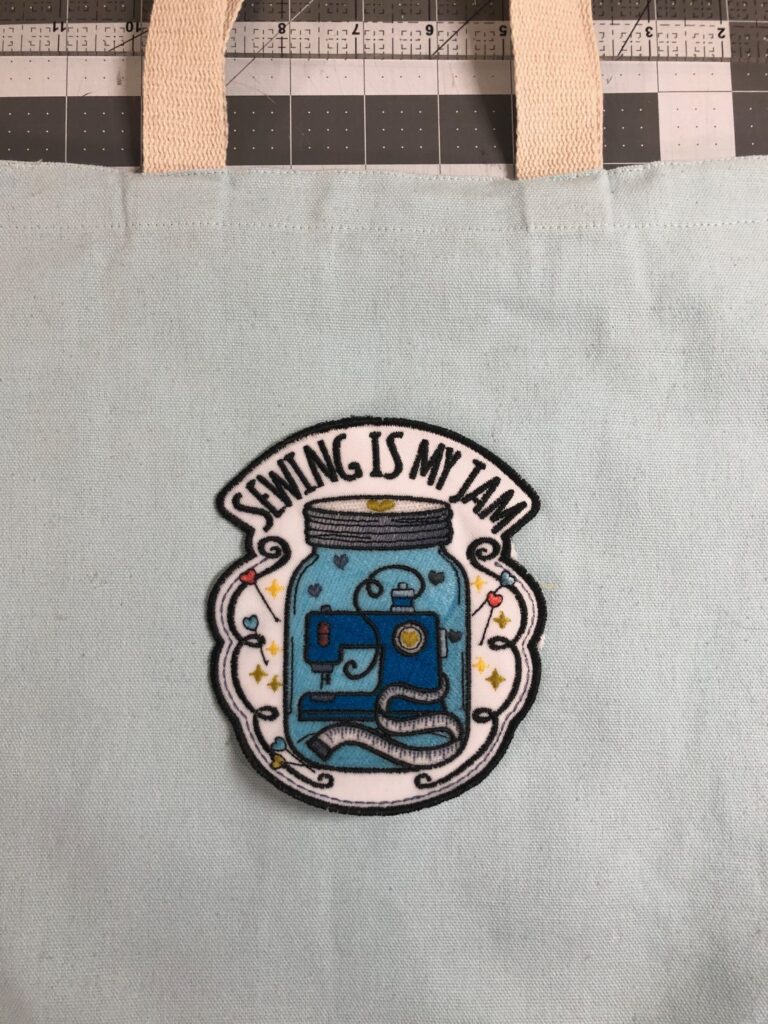
SEWING PATCH TOTE BAG
To attach the patch on a tote bag, for example, don’t remove all the stabilizer from the patch wrong side.
Spray the back of the patch lightly with water. This “activates” the water-soluble stabilizer and allows you to stick it to another item. The Ultra Solvy is super strong, and no pins are needed to attach the patch.
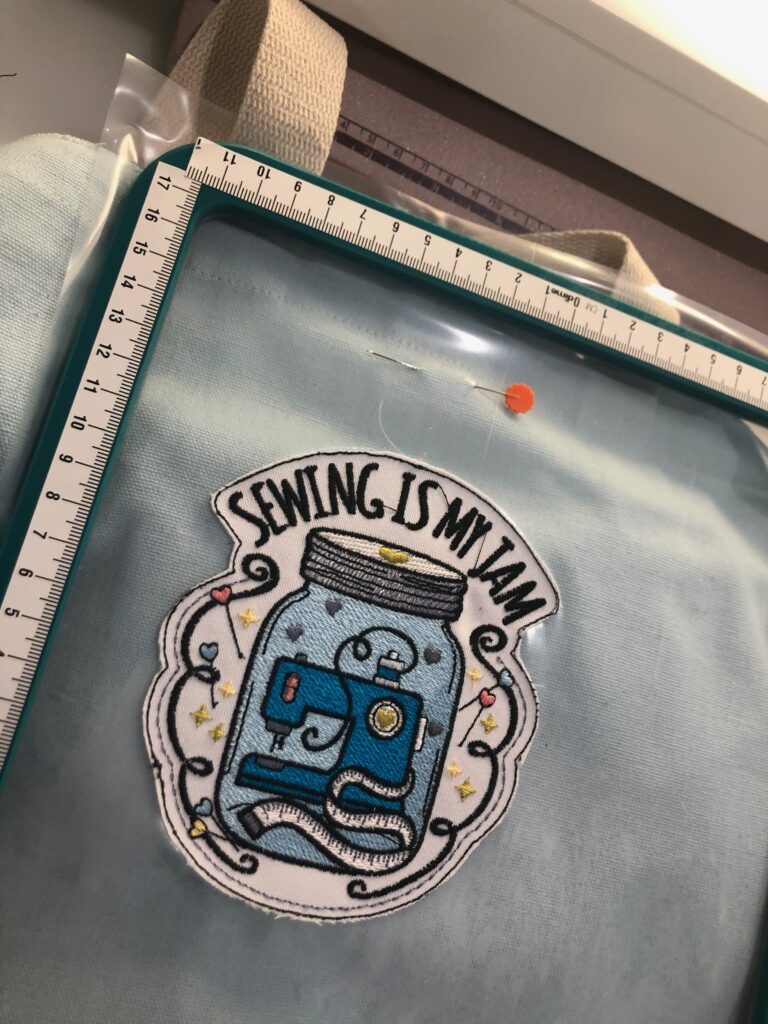
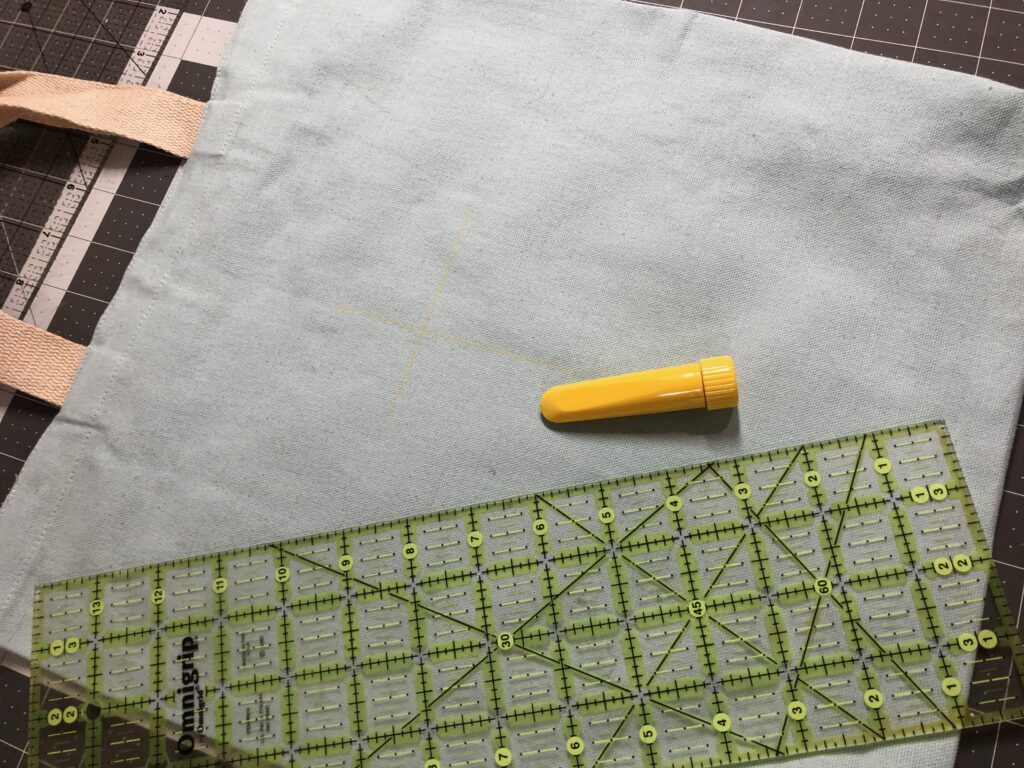
Mark the tote front, where you want the patch. Draw a short 2″ long line horizontally and vertically to denote the patch center.
Place the patch right side up on the tote, using the markings as a placement guide.
Bring the tote to the machine. Thread the needle with Sulky Invisible Thread. Use a coordinating bobbin thread.
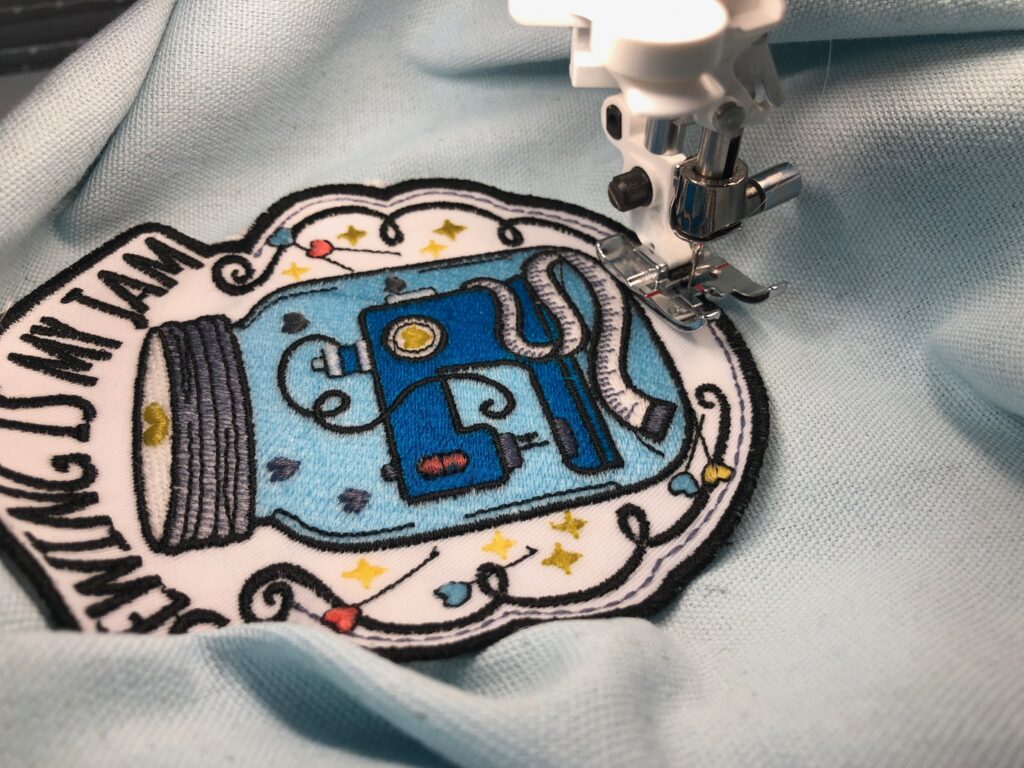
Set the machine for a narrow zigzag stitch, about the width of the patch satin stitch edging.
Zigzag stitch the patch to the tote, following the satin stitches.
Trim any threads from the tote wrong side.
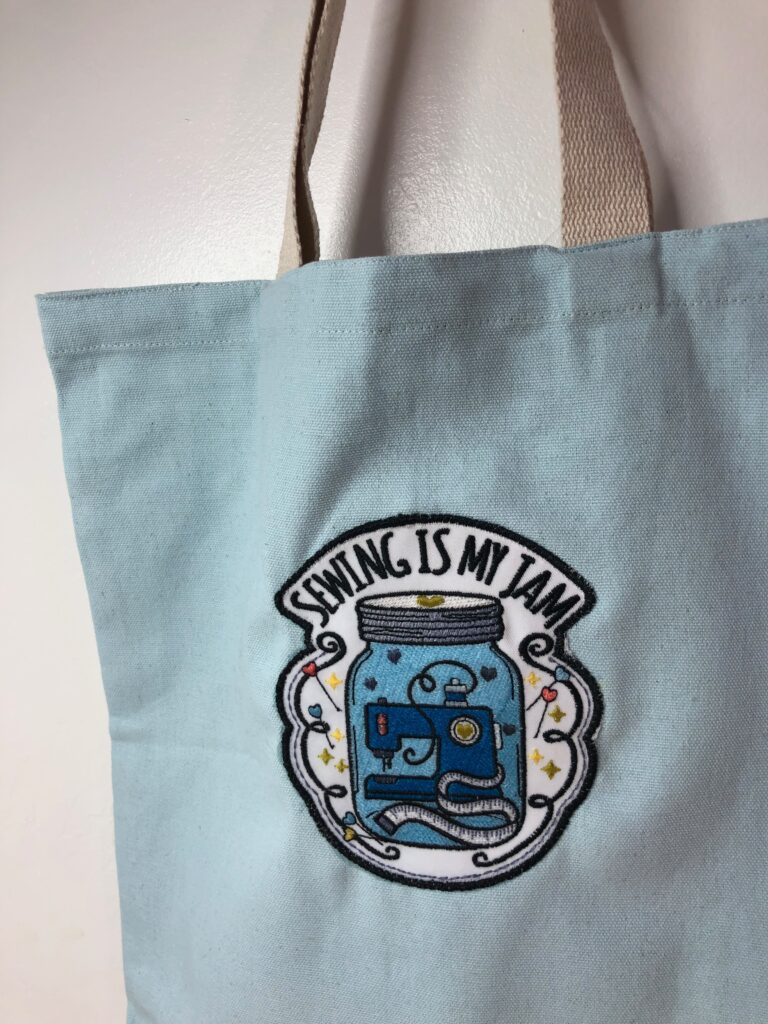
The featured tote was embellished with the sewing patch done in Sulky Twilly. Here is a side-by-side comparison of Sulky Felty (left) and Sulky Twilly (right) to see the difference.
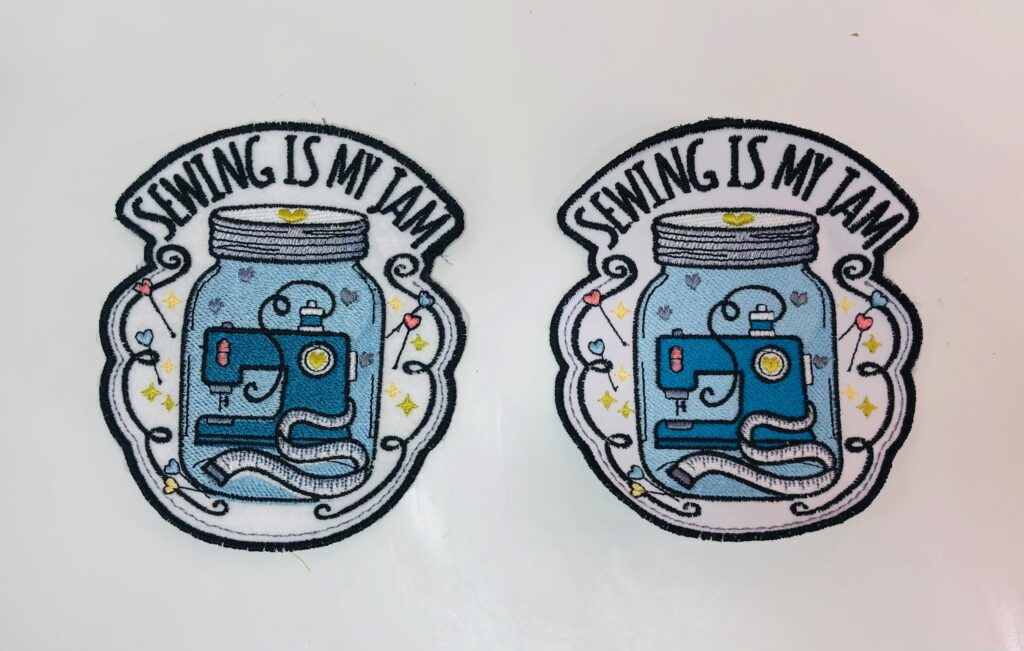
The lettering and detail stitching looks slightly crisper on the Twilly base. But the Felty patch is softer. Whichever background fabric you choose, the end result is awesome!

I just love the “ sewing is my jam”. I still am not clear how we can get the pattern. I can get the written instructions.
You can find the design file here: https://sulky.com/sewing-is-my-jam-machine-embroidery-patch-design
Enjoy!