The other night I decided I wanted St. Patrick’s Day place mats. I had found this cute fabric and had an idea in my head so I just went for it. They turned out so cute that I thought I should do a tutorial. These took me about 4 hours to do, start to finish, so you could make them this weekend and have them for your St. Patty’s Day feast.
Supplies
1 yard of green fabric
1-1/2 yards of white fabric
Batting (I used Warm and White™)
Sulky® Soft n Sheer Extra™
Sulky PolyLite™ in Ecru or White
1/2″ Bias tape maker
1/2″ Steam a Seam tape
Ruler with a 60° line on it
Sulky 40 wt. Rayon #1049 Grass Green Thread or in a green to match fabric
Sulky Prewound Bobbins in white
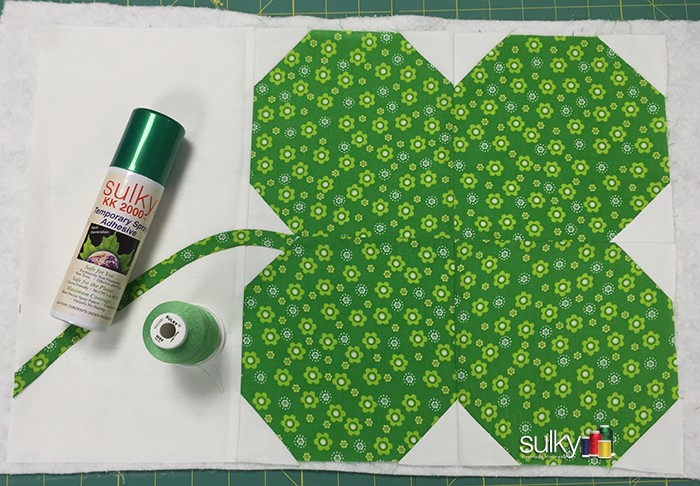
Sulky KK 2000™ Temporary Spray Adhesive
6-1/2″ Square ruler (I love the EZ™ Square Ruler)
Rotary Cutter
Cutting Mat
Cutting
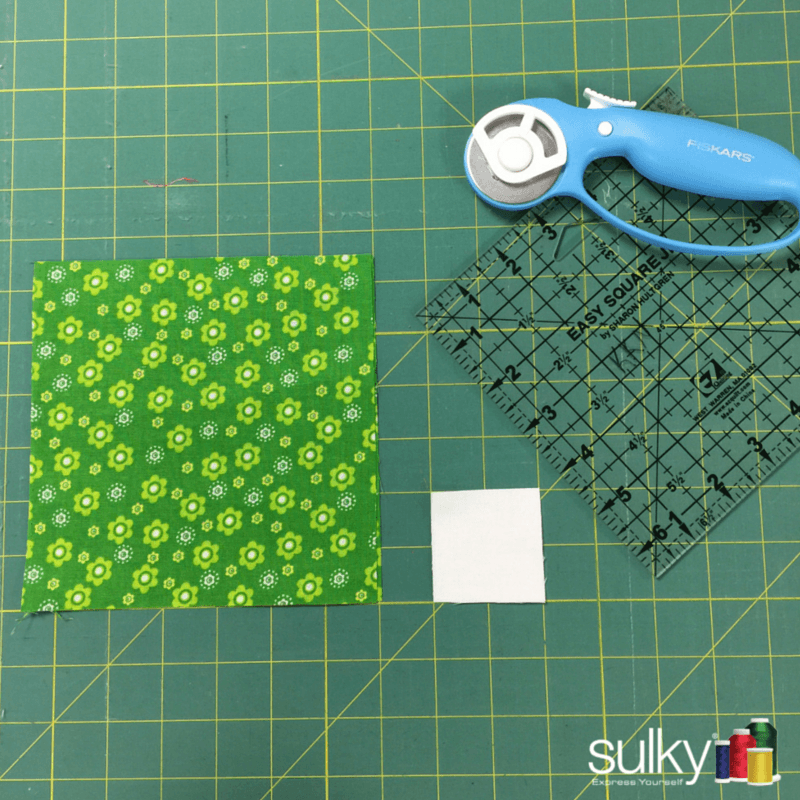
(16) 6-1/2″ green squares
(2) 1″ strips of green cut on the 60° bias
(48) 2″ white squares
(4) 6-1/2″ x 12-1/2″ white rectangles
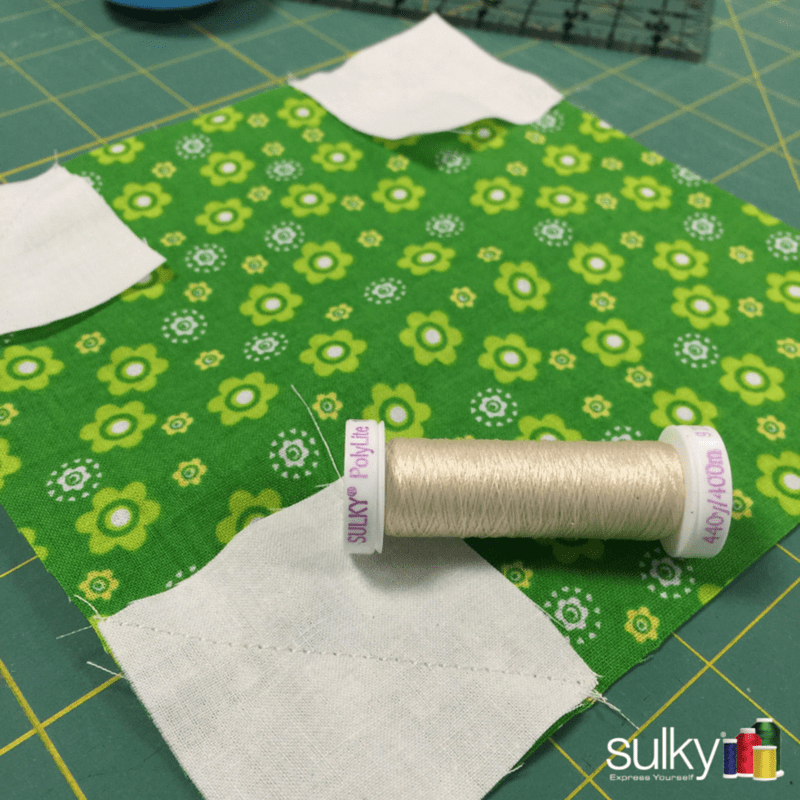
With PolyLite on the top and a Sulky Pre-wound in the bobbin, sew a white 2″ square to 3 of the corners of all of the green squares from corner to corner. This will go really quickly if you chain piece. You are basically making a snowball block with only 3 corners.
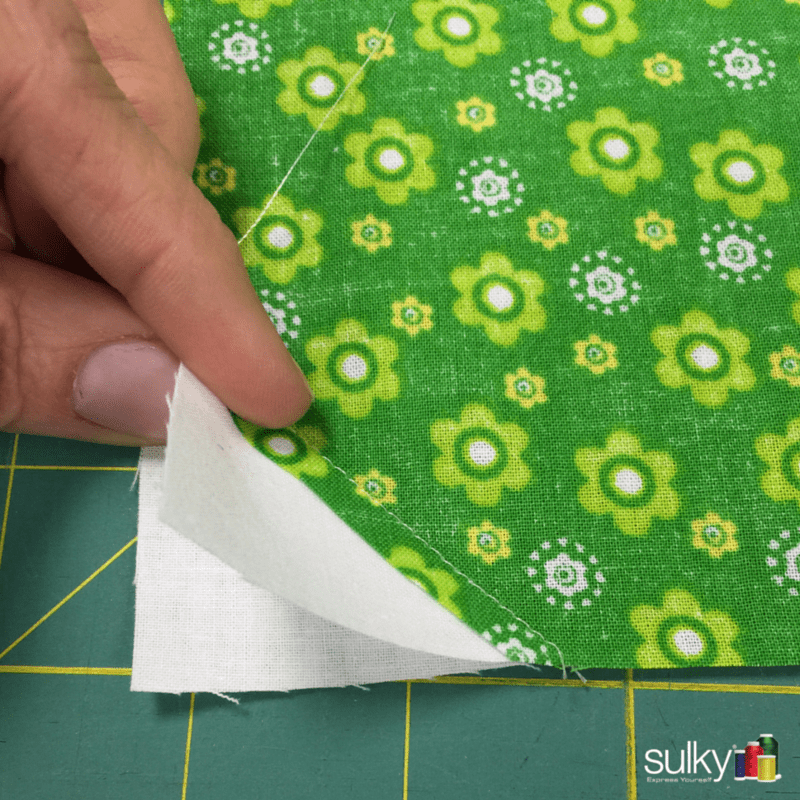
Press the white squares so they make triangles in the corners of the green square. Note: I only cut the green fabric back. By having 2 layers of the white fabric, I don’t have to worry about the seam of the green fabric shadowing through.
Sew 4 green blocks together with the white corners all on the outside and the 4 green corners meeting in the center.
Sew the white rectangle on the left side.
Cut (2) 1″ strips of green fabric on the 60° bias. I do 60° because I can get a longer strip out of a smaller amount of fabric. I then used the bias tape maker to fold the two edges over to make a 1/2″ strip. For this project, I just made a gentle curve and fused the stem down with the 1/2″ wide Steam-a-Seam® fusible web tape.
Once you have the placemat tops together, fuse a piece of Sulky Soft ‘n Sheer Extra™ to the back of each placemat. This will give the placemat a little more stability for the free-motion quilting and to stand up to washing. I don’t know about you, but I have learned that the placemats in my house must be washable!
Use Sulky KK 2000™ Temporary Spray Adhesive to adhere the top and the batting together.
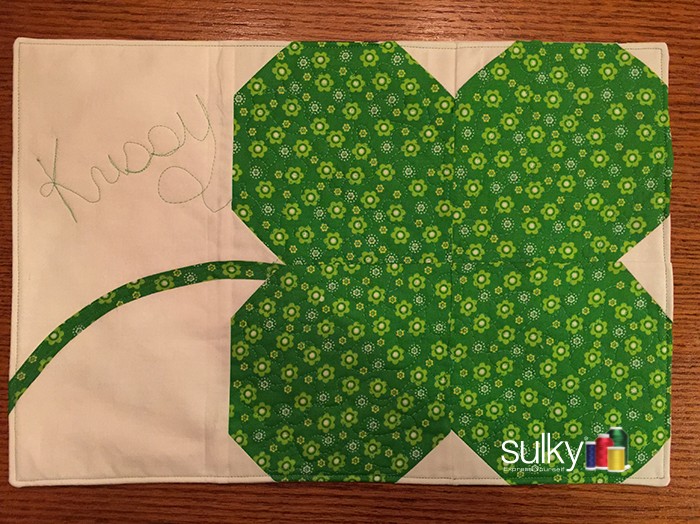
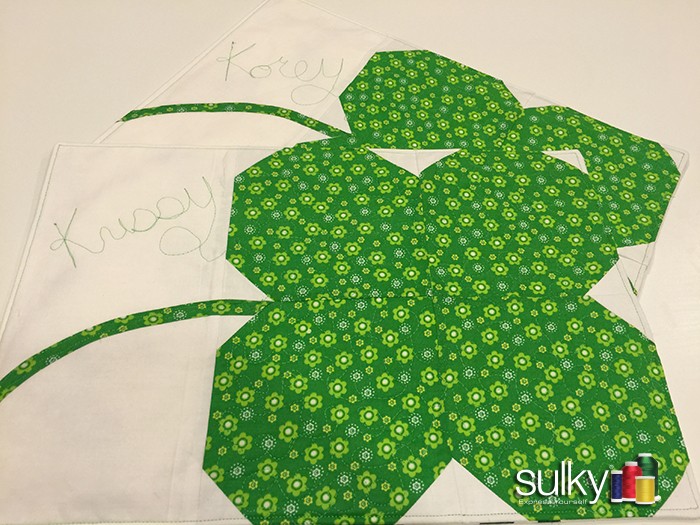
I used Sulky 40 wt. Rayon in Grass Green #1049 to do my free-motion quilting. I just did loop-de-loops in the green area and then wrote the girls’ names in the white of the place mat. I love the added touch that a little thing like a name can give. I can’t wait to see the smile on their faces when they see they each have there very own mat.
To finish it off, I did the pillowcase-turn method using the white fabric as the backing. Topstitch around the edge of the place mats in the Grass Green Rayon.
You’re done! Enjoy!
Happy Sewing!

I’ll make these next year for my great nieces who live in another State, it’s too late for this year. I like them very much. Carol
This is way cool. I could see making this in purple or lavender and adding a yellow snowball to the last corners and making it into a pansy with some extra stitching in the center to give it the flower feel. Thanks for the inspiration.
What a great idea! I’d love to see pictures when you make them.