Star Wars® Sewing & Embroidery
May the Fourth Be with You™!
There’s nothing better than specialty threads for Star Wars® sewing! Stitching a design using Sulky Neon, Metallic, CRY® and Glowy™ just elevates any Star Wars® sewing design to greatness!
The Brother LB5000S sewing/embroidery combo machine is a great starter embroidery machine for any newbie. Plus, it comes with removable face plates all in Star Wars® themes! And as an added bonus with purchase, you get a slew of Star Wars® embroidery designs to use for your Star Wars®sewing projects, like Princess Leia™, Star Wars® and the Resistance Badge designs featured above.
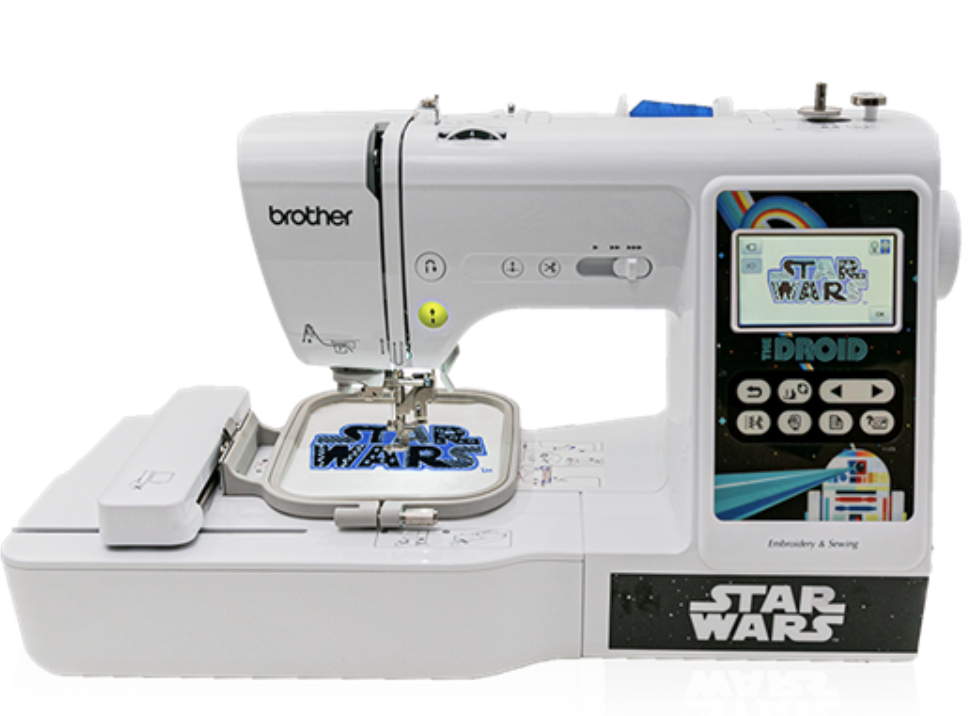
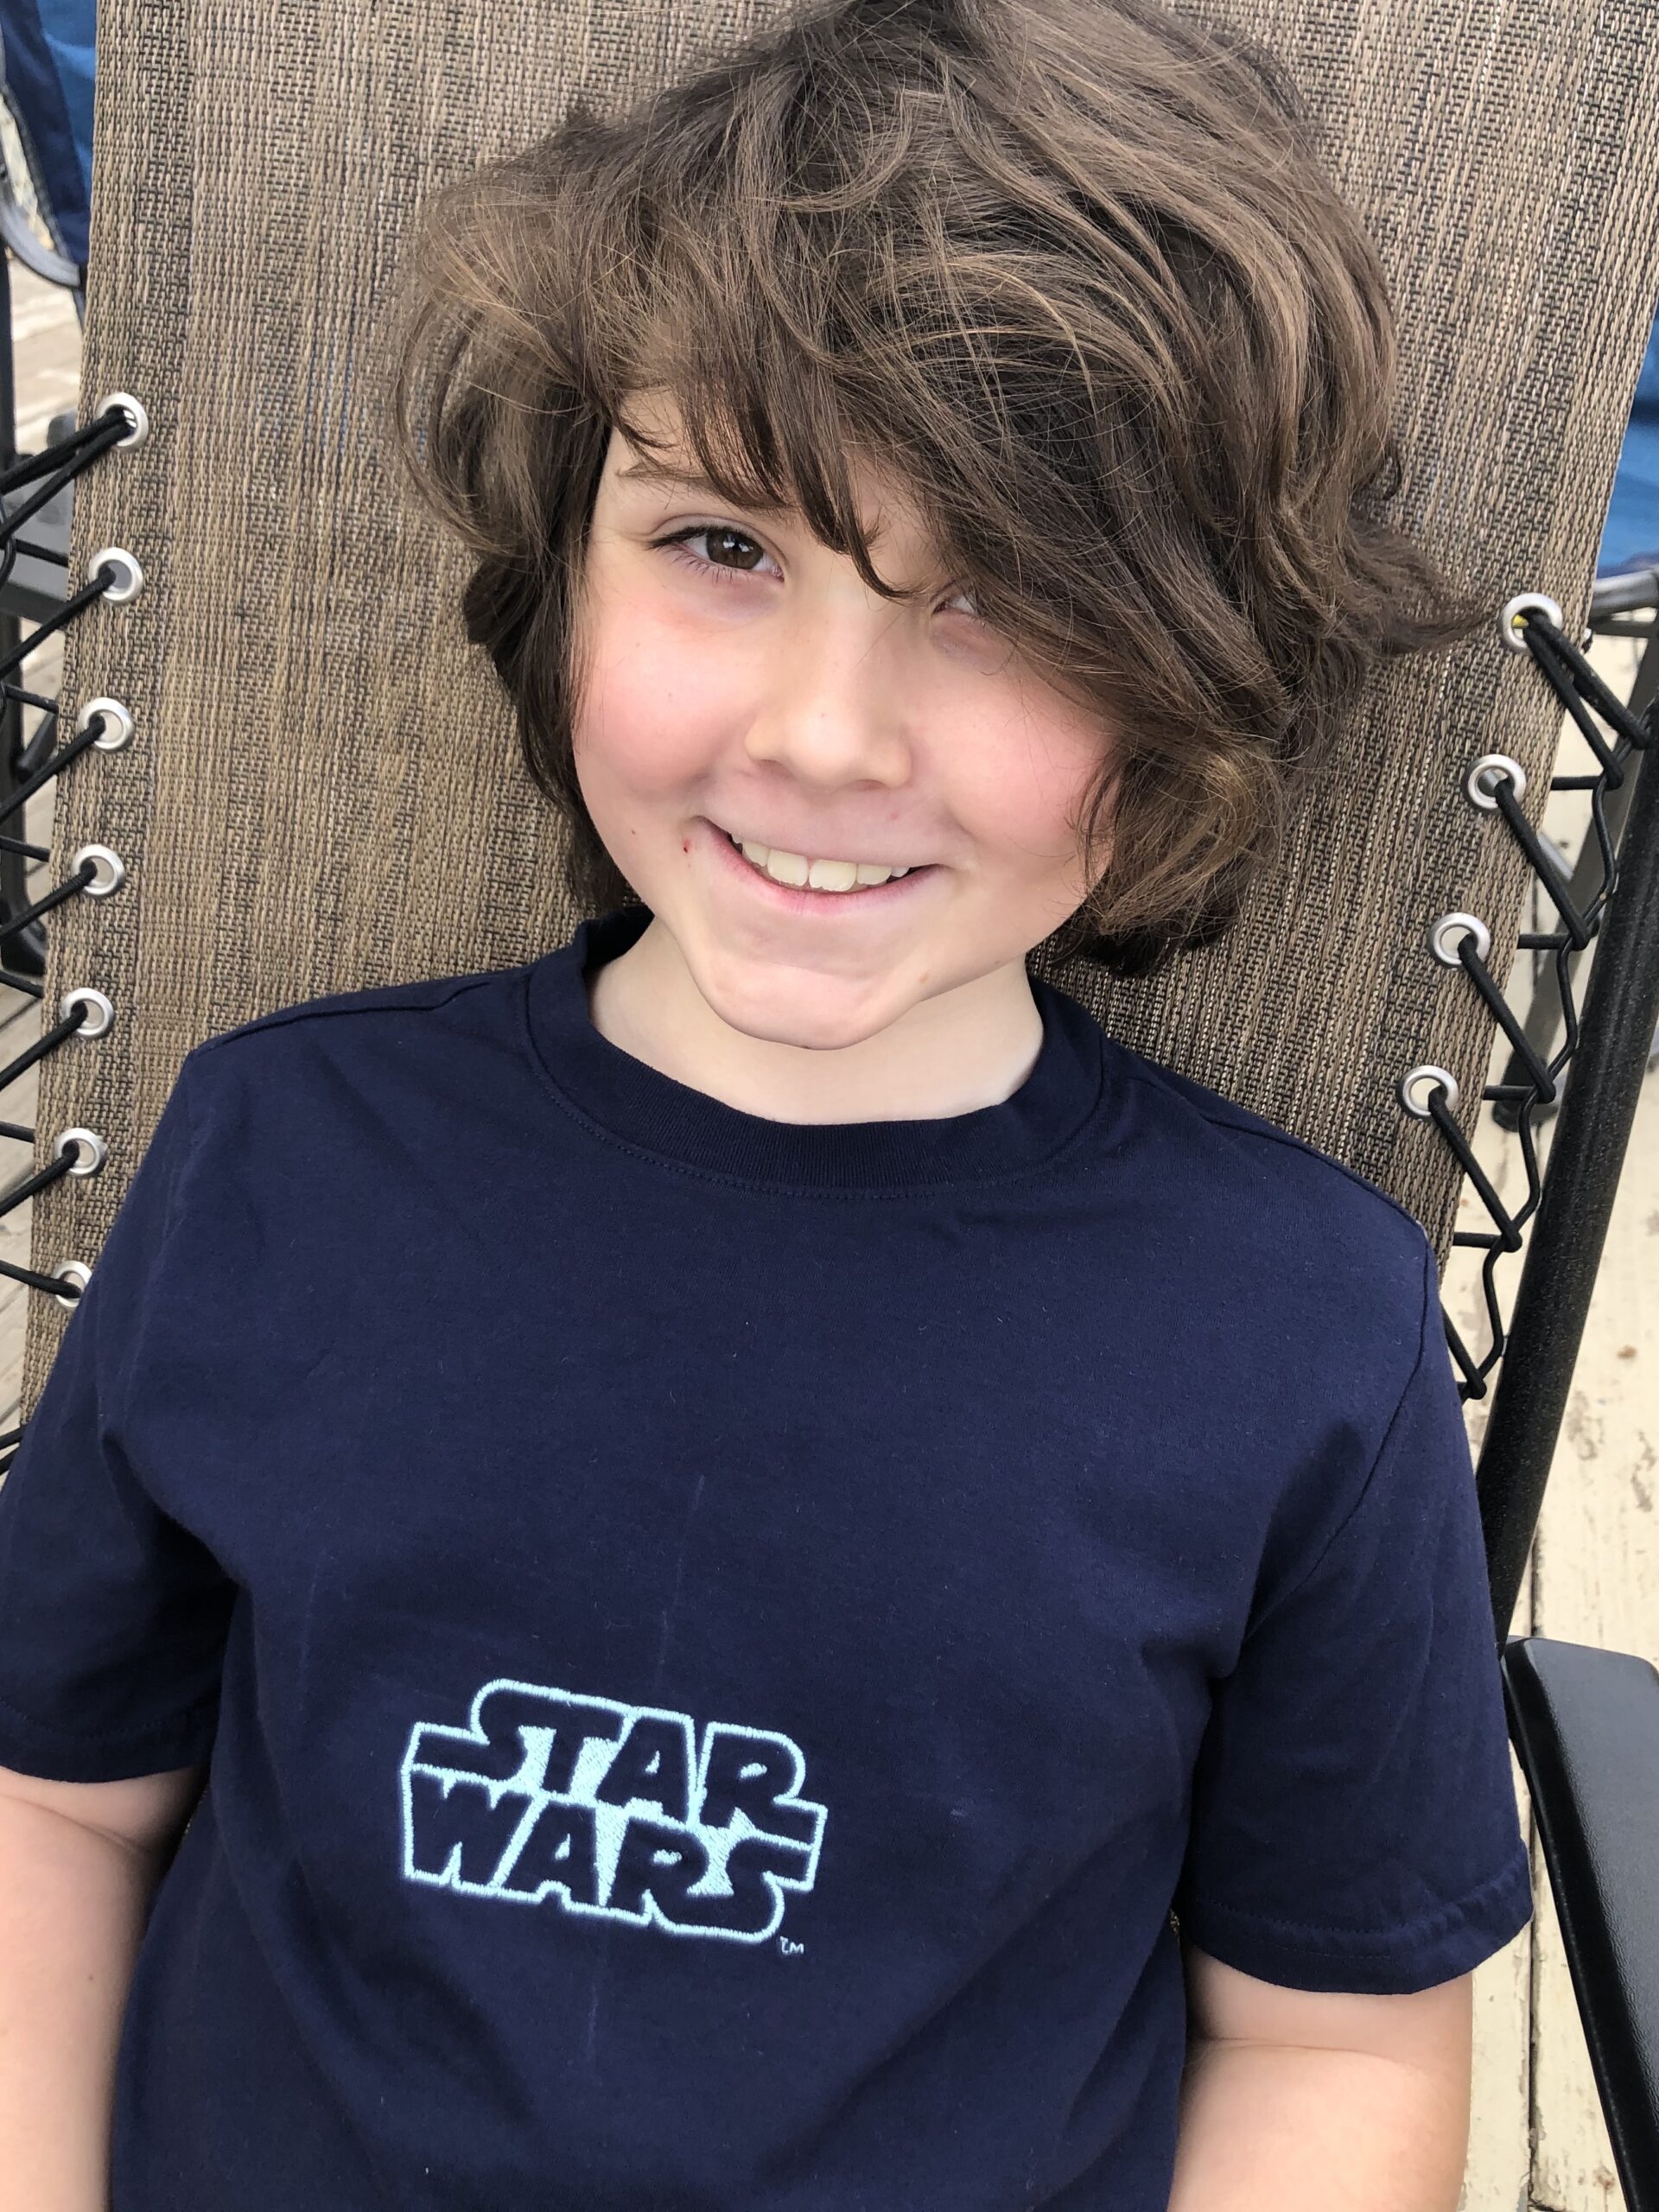
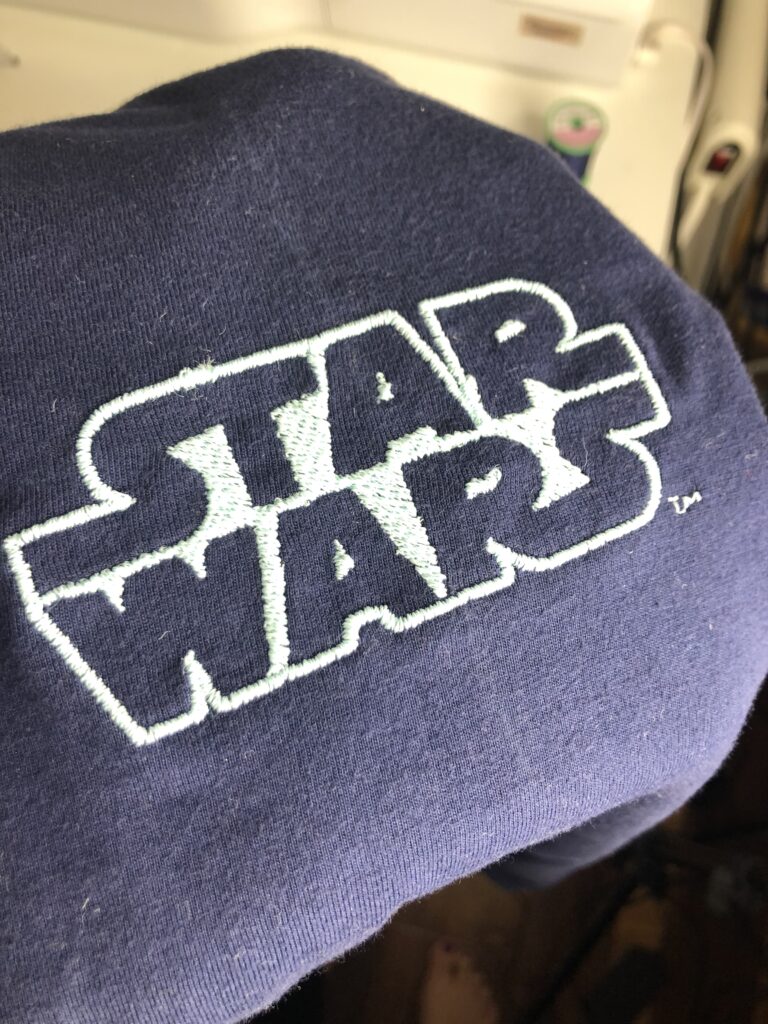
If you’re a Star Wars® fan or know some out there in the universe, you MUST wear or gift a simple embroidered Star Wars® T-shirt on May the Fourth! And it surely must be embellished with the added bonus of thread effects.
GLOWY THREAD FOR STAR WARS® SEWING
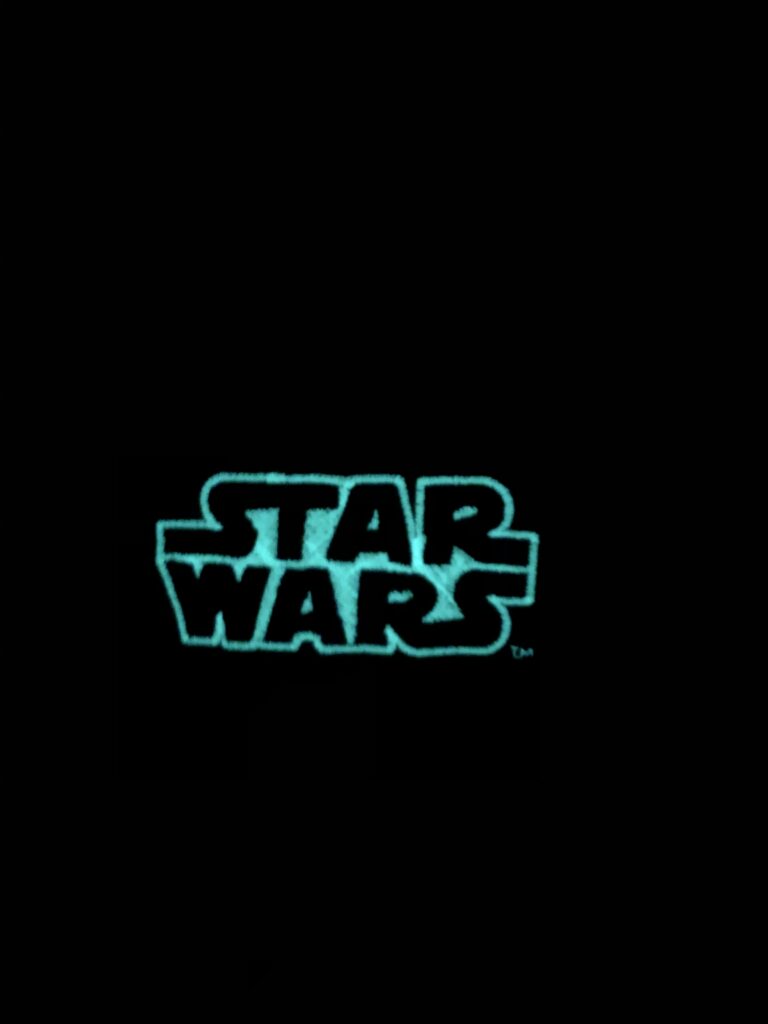
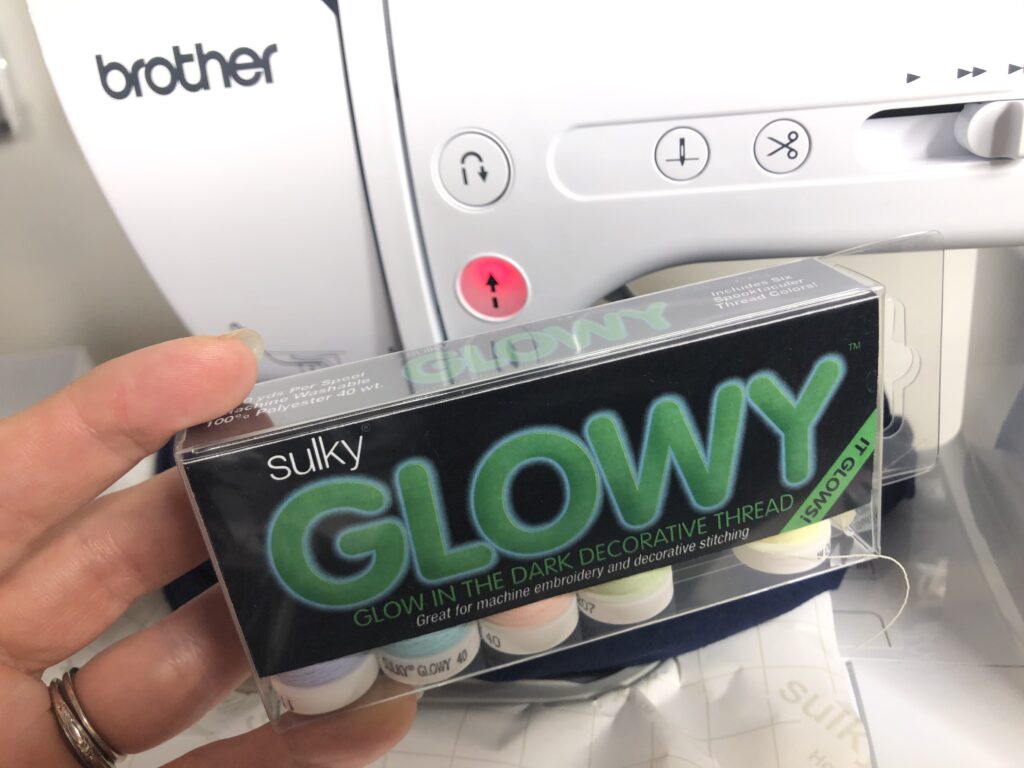
Sulky Glowy is the coolest thread for special effects. It glows for about 15-20 minutes in the dark, depending on the length of time it’s exposed to light, and comes in seven colors (the glow is the same regardless of thread color). Glowy is a 40 wt. polyester thread, so it sews just as well as 40 wt. rayon for embroidery designs. Pair it with lightweight 60 wt. bobbin thread for embroidery and use a size 90/14 topstitch needle.
STAR WARS® T-SHIRT
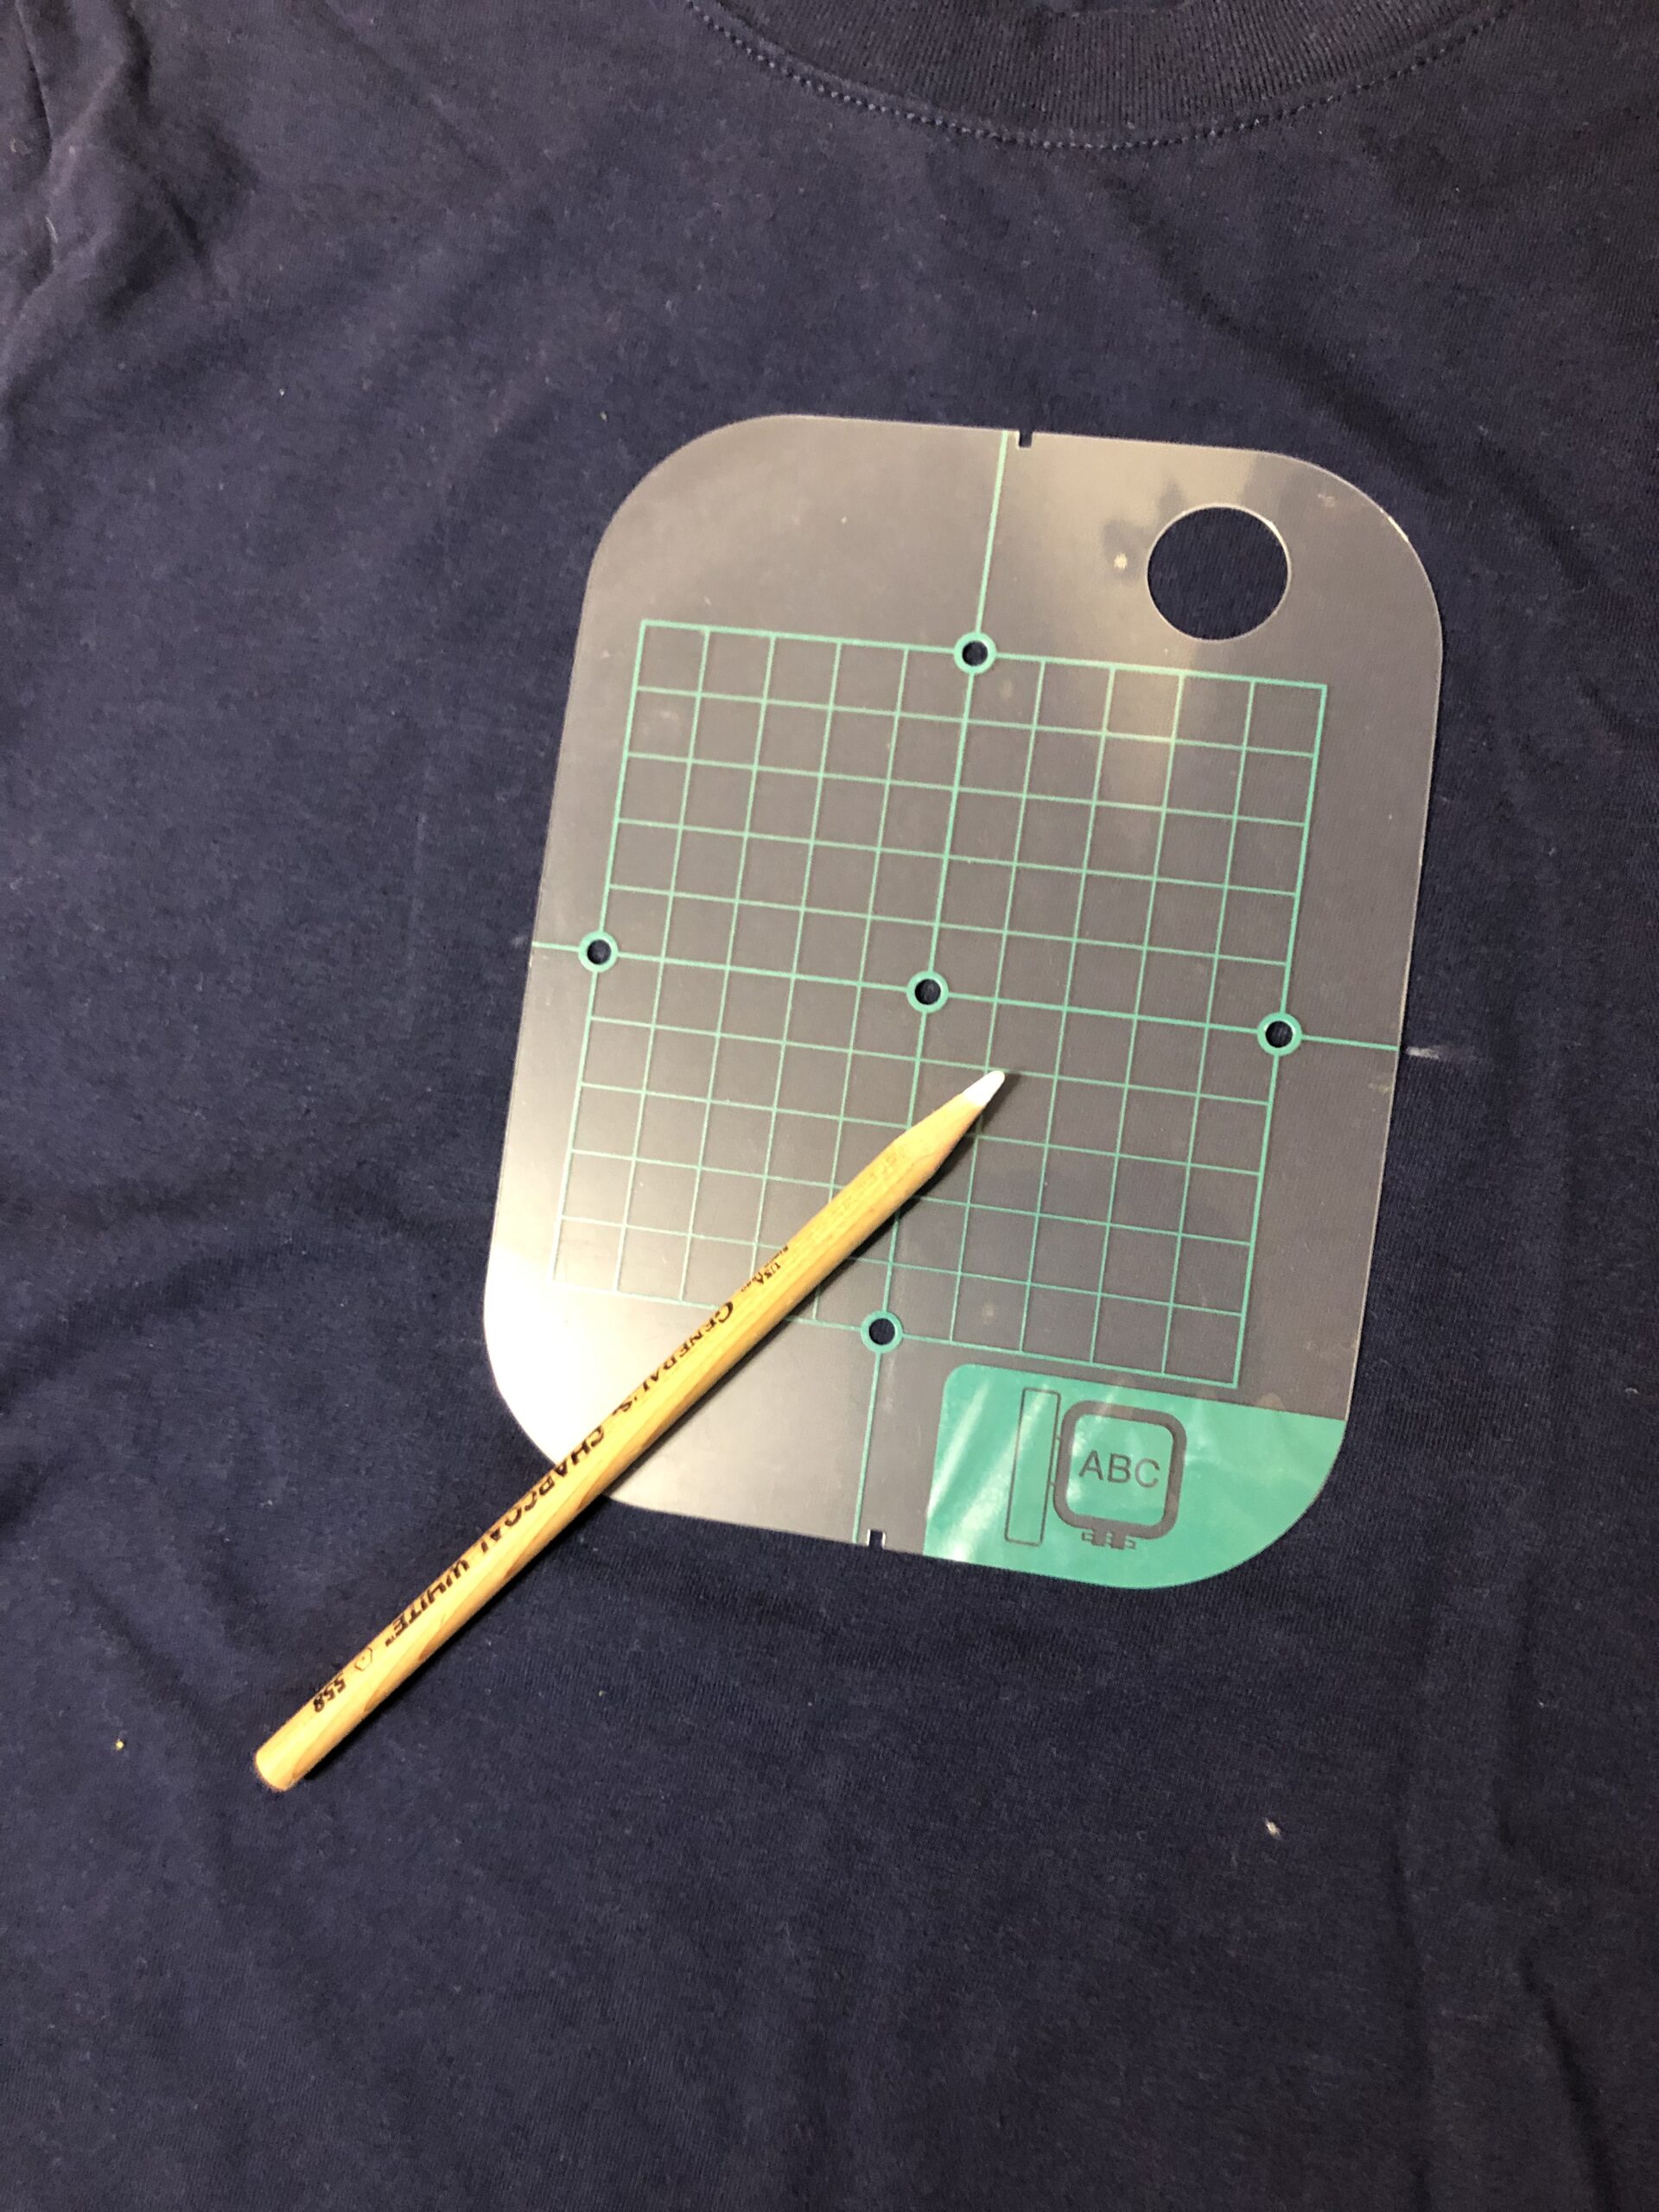
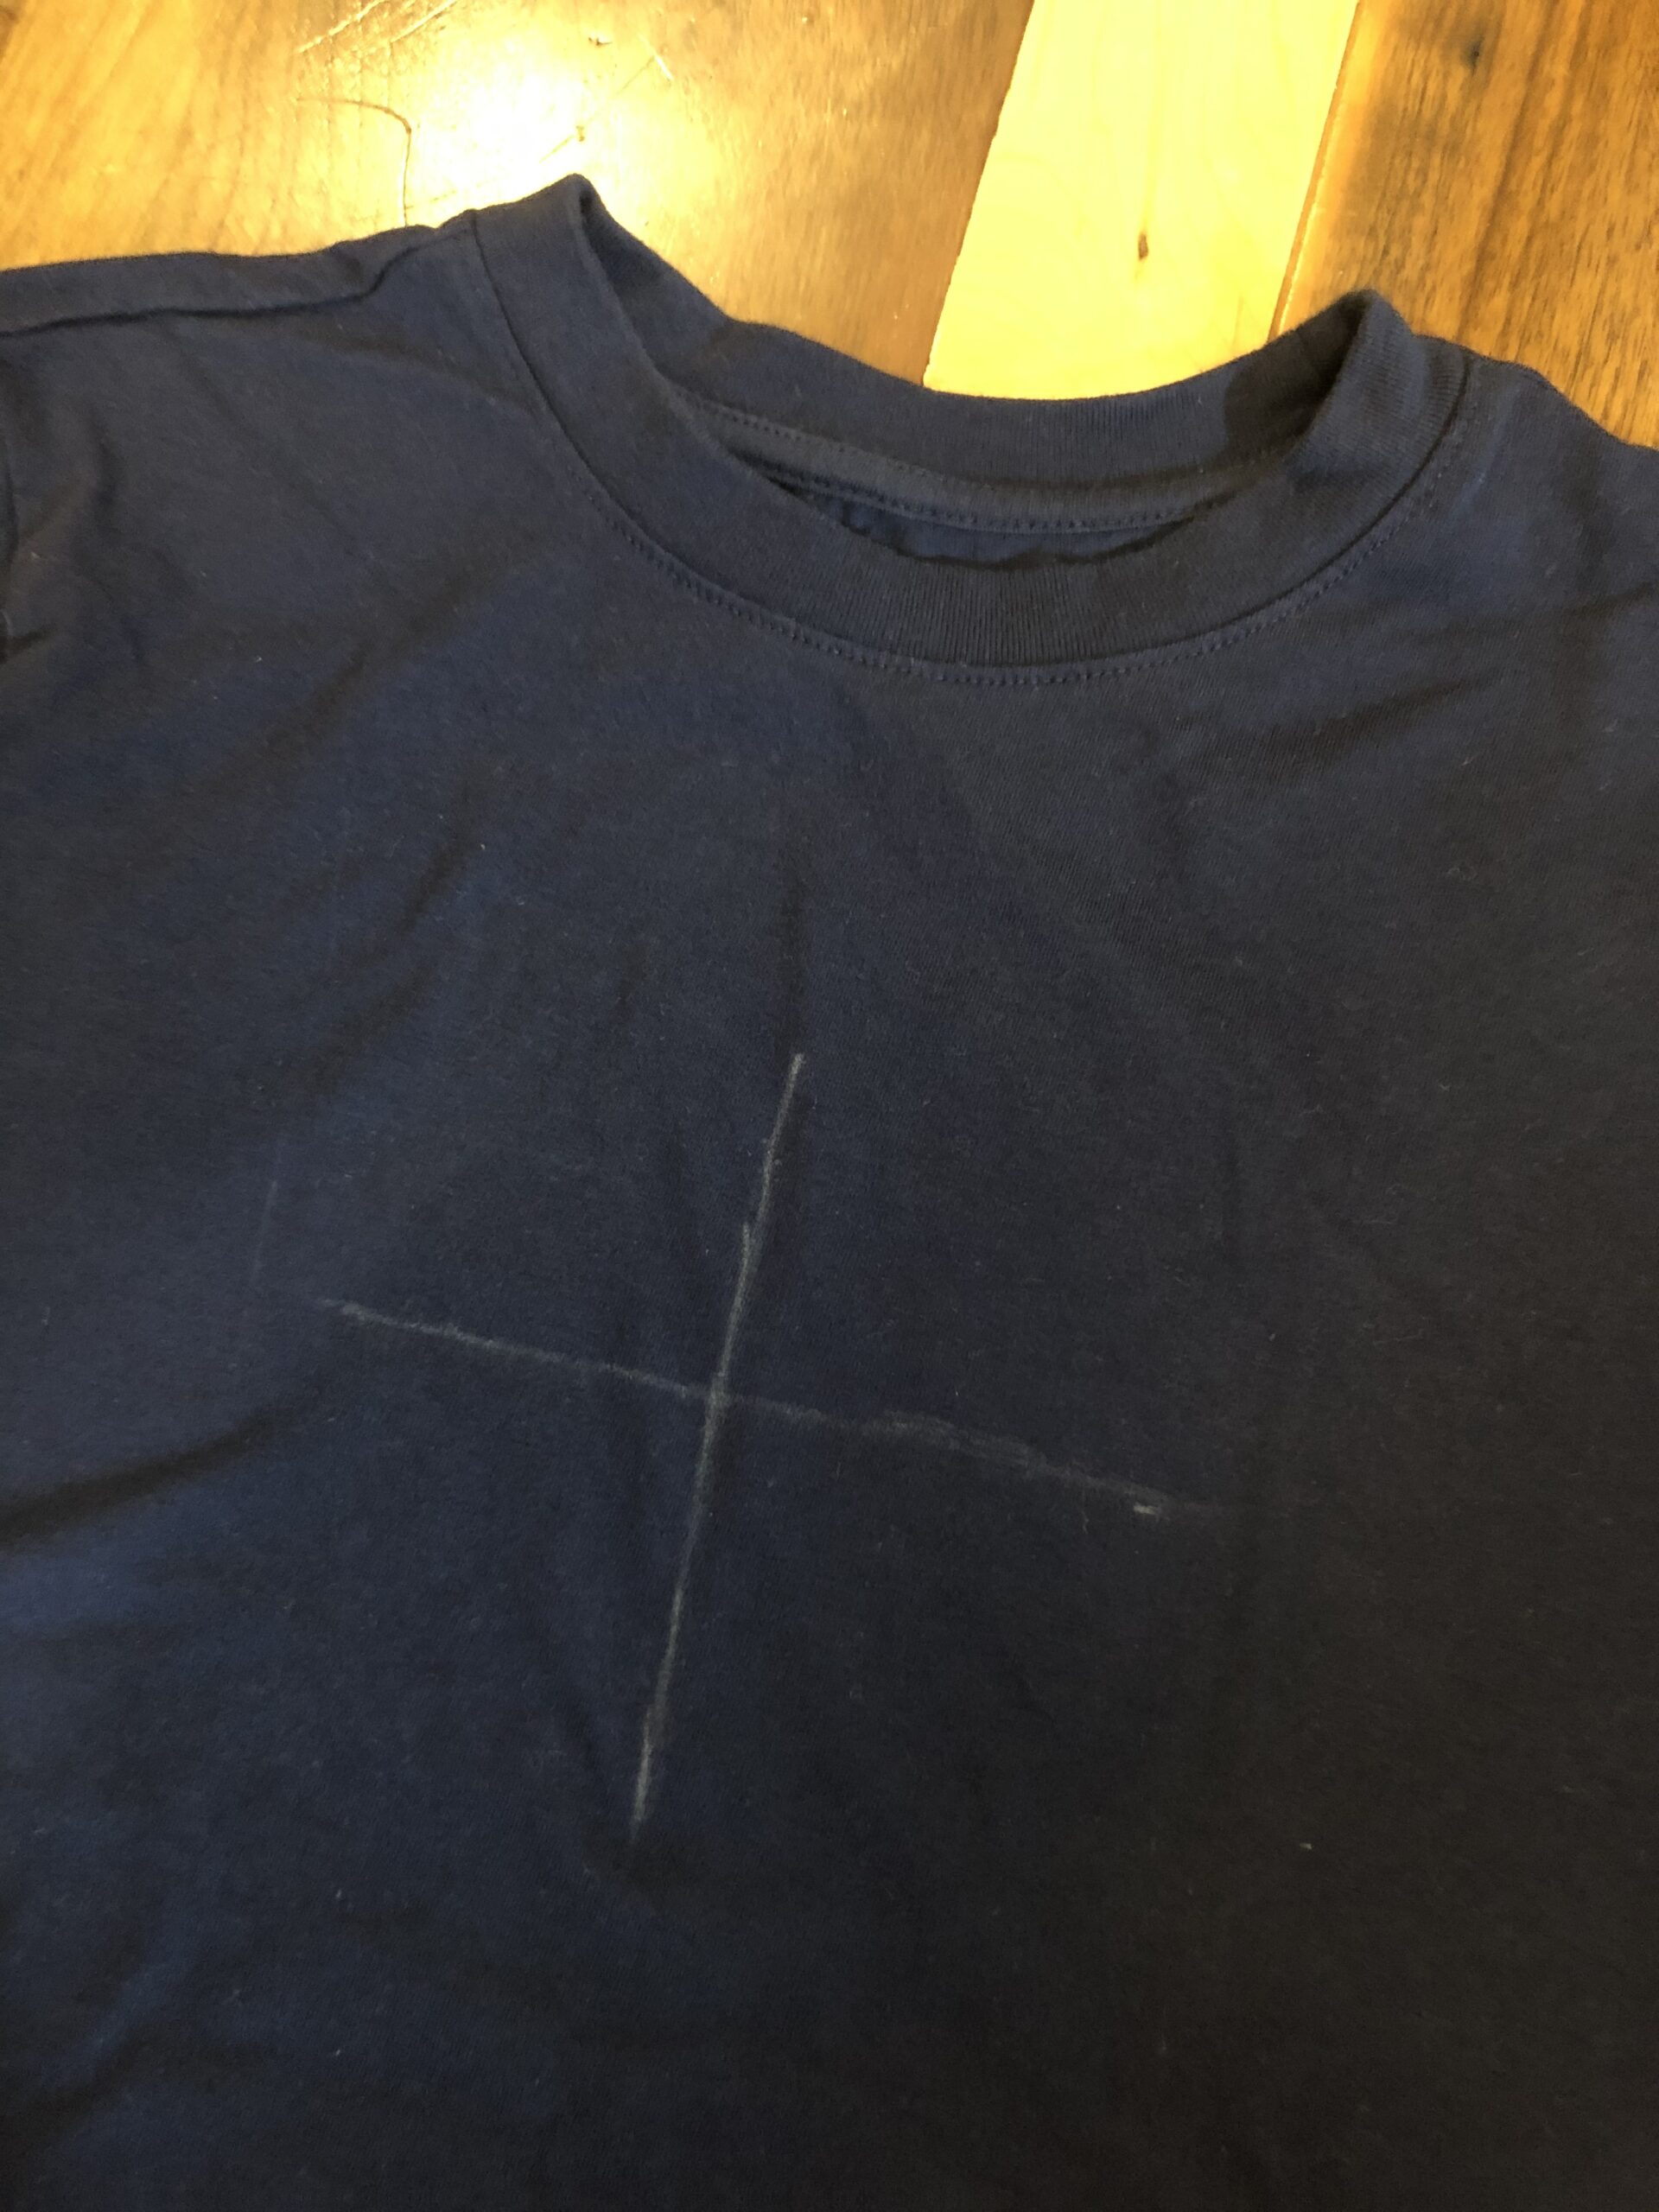
First, use an embroidery template to draw the horizontal and vertical center placement line for the chosen design. The template usually comes with the hoops that are included with your machine. If you don’t have a template, mark the center lines using painter’s tape or strips of Sulky Sticky Fabri-Solvy™.
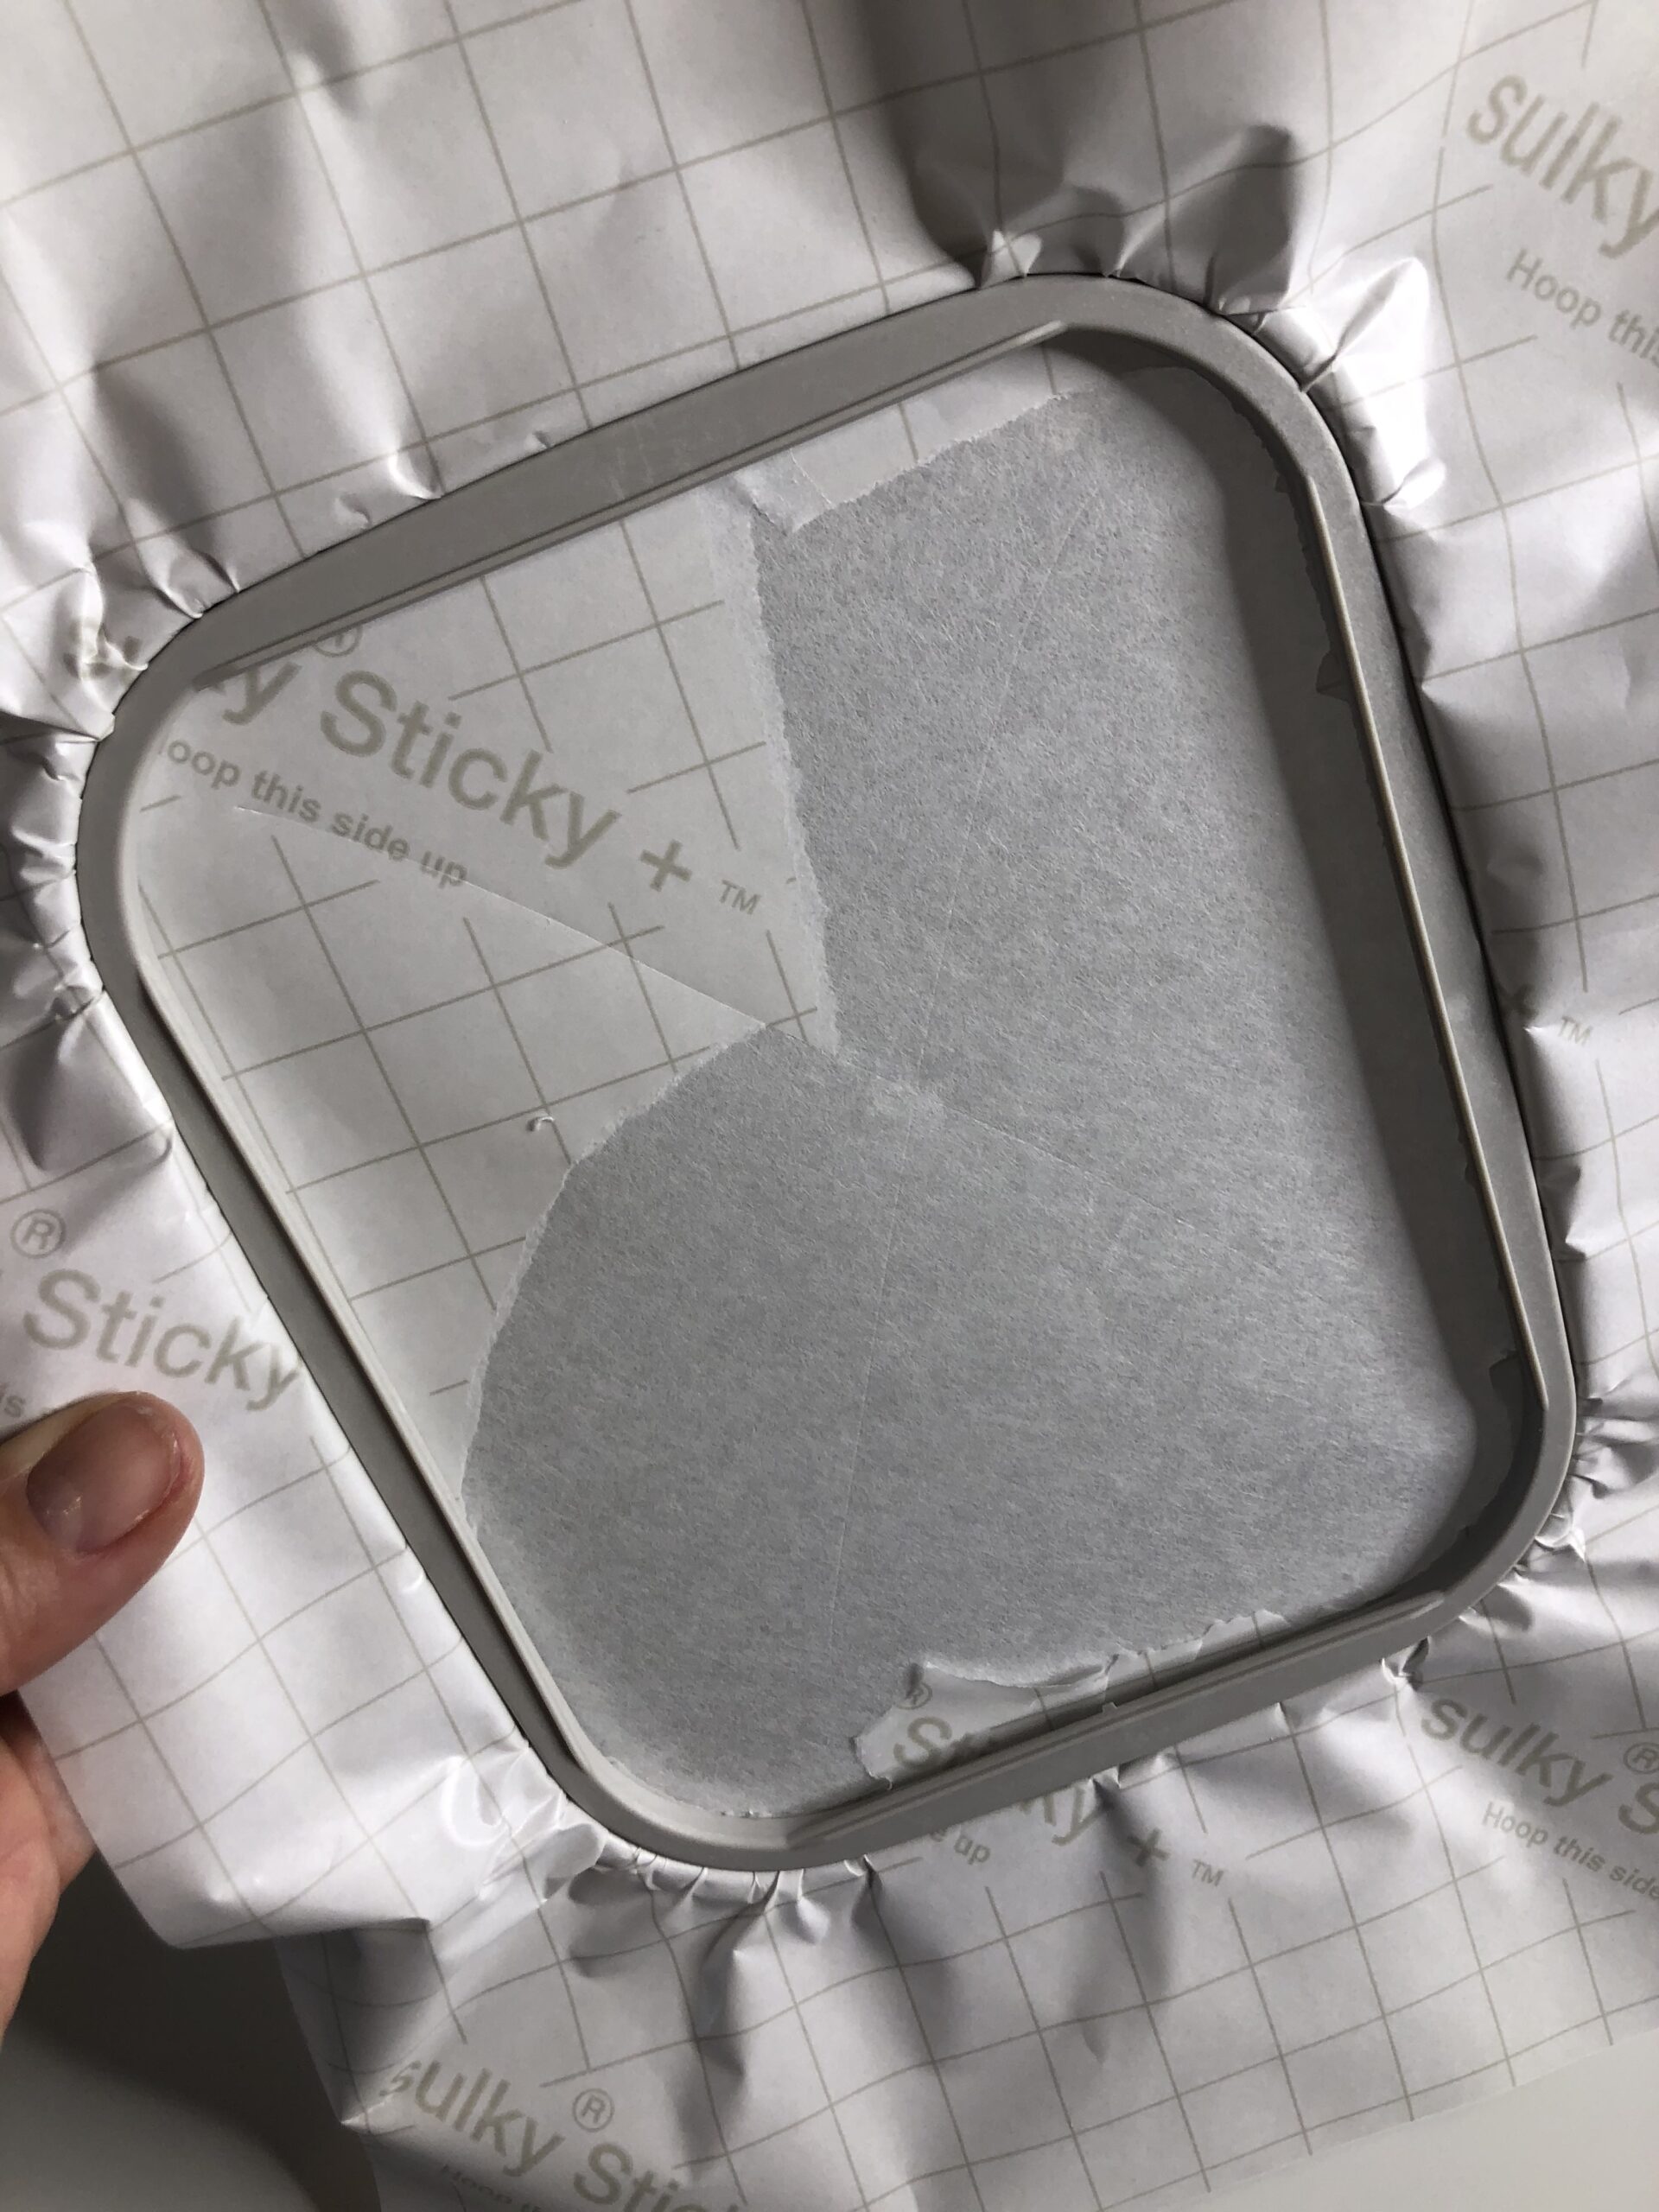
Hoop a rectangle of Sulky Sticky+™ stabilizer with the paper side facing up. Score the paper inside the inner hoop ring, and then tear away the paper backing to reveal the adhesive. Center the embroidery placement marks within the hoop ring, using the hoop marks as a guide to align all four marks. Keep in mind it may not look centered in the hoop, but if the marks are aligned with the hoop markings it really is centered!
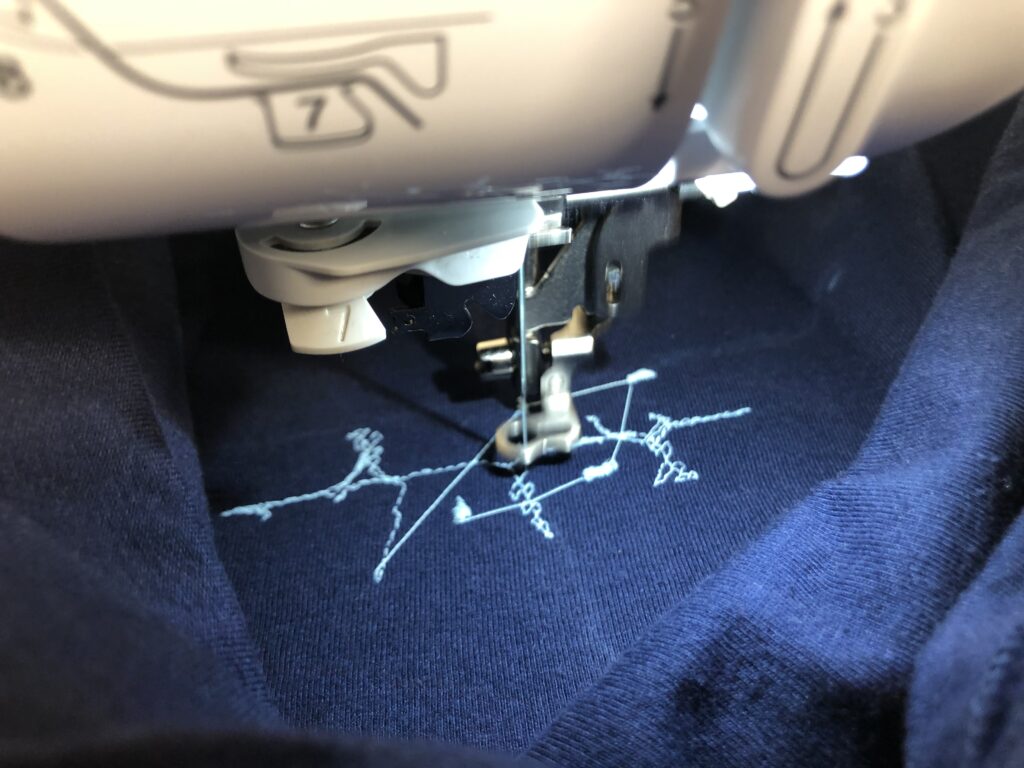
Maneuver the T-shirt so the back isn’t covering the hoop. Use your hand to ensure the shirt front is stuck in place on the stabilizer and lower the needle to ensure the design will begin where intended.
Embroider the design with Sulky Glowy thread in the needle and bobbin thread in the bobbin.
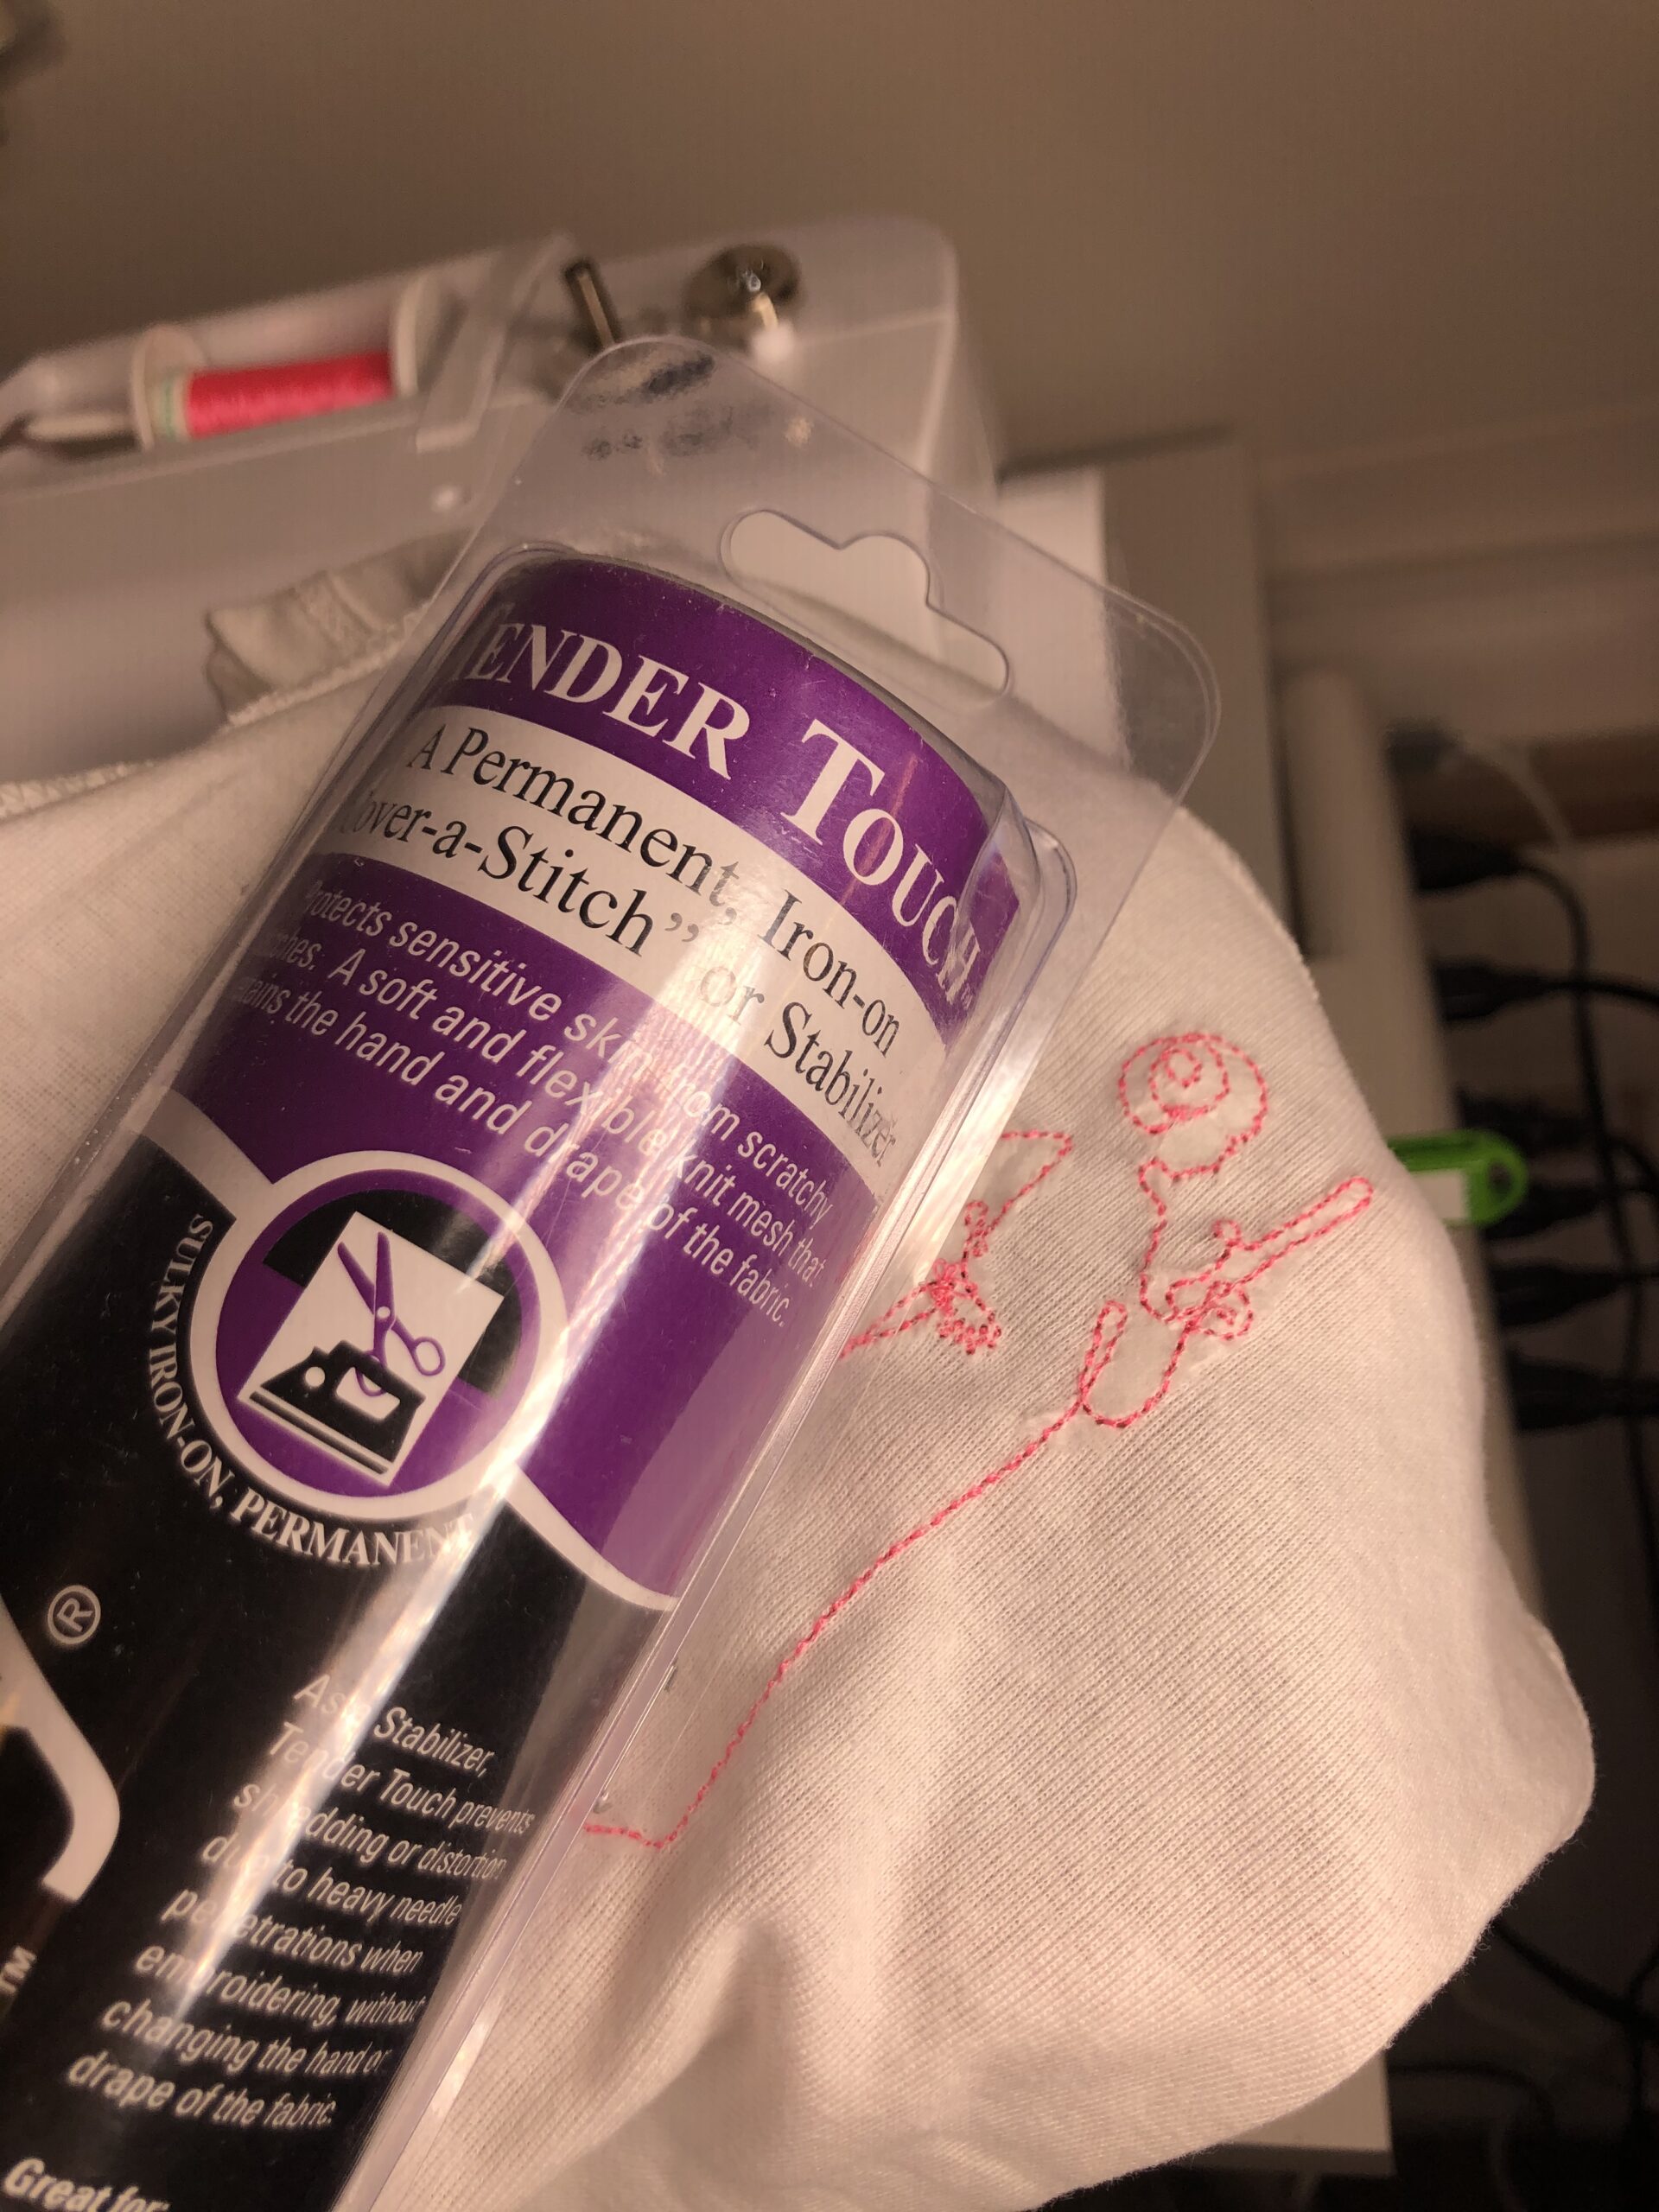
After embroidery, remove the hoop from the machine, Remove the stabilizer from the hoop. Gently tear away the excess stabilizer beyond the design edges on the T-shirt wrong side. Apply a piece of Sulky Tender Touch™ to the embroidery wrong side to ensure the stitches won’t scratch the wearer. Note: For better adhesion on a knit – round the corners of the Tender Touch piece, or use a pinking shears or wavy blade.
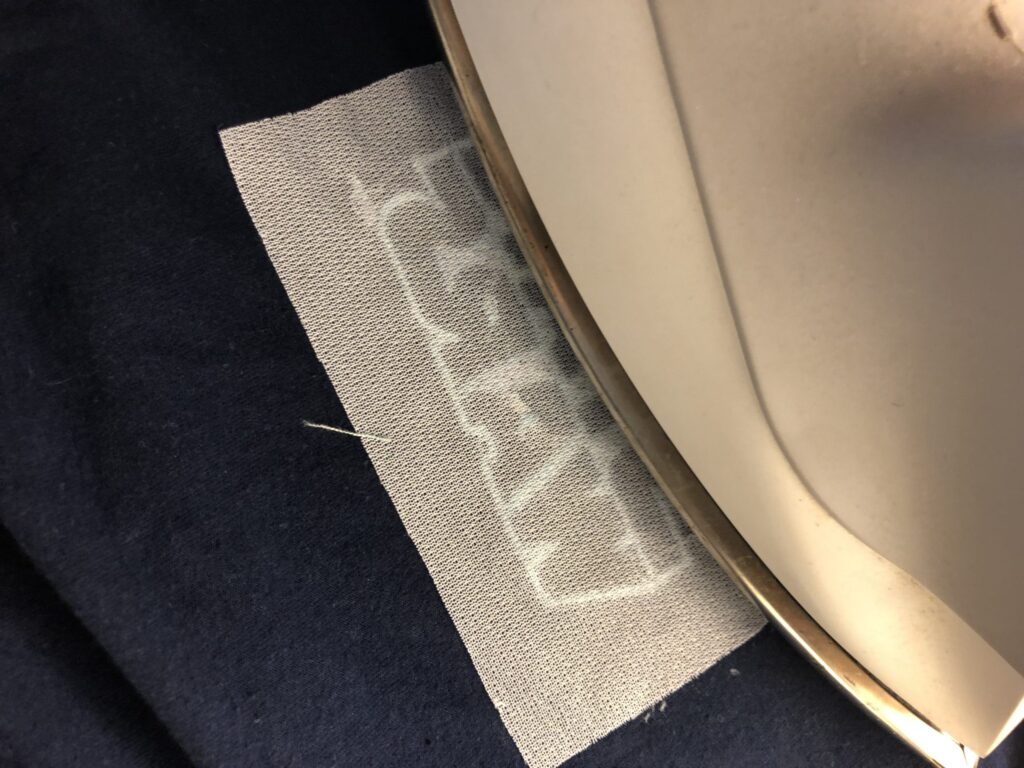
Do NOT touch the iron to the Glowy thread. Press AROUND the thread, only from the wrong side.
Note: The featured design was modified to include only one thread color.
NEON THREAD FOR STAR WARS® SEWING
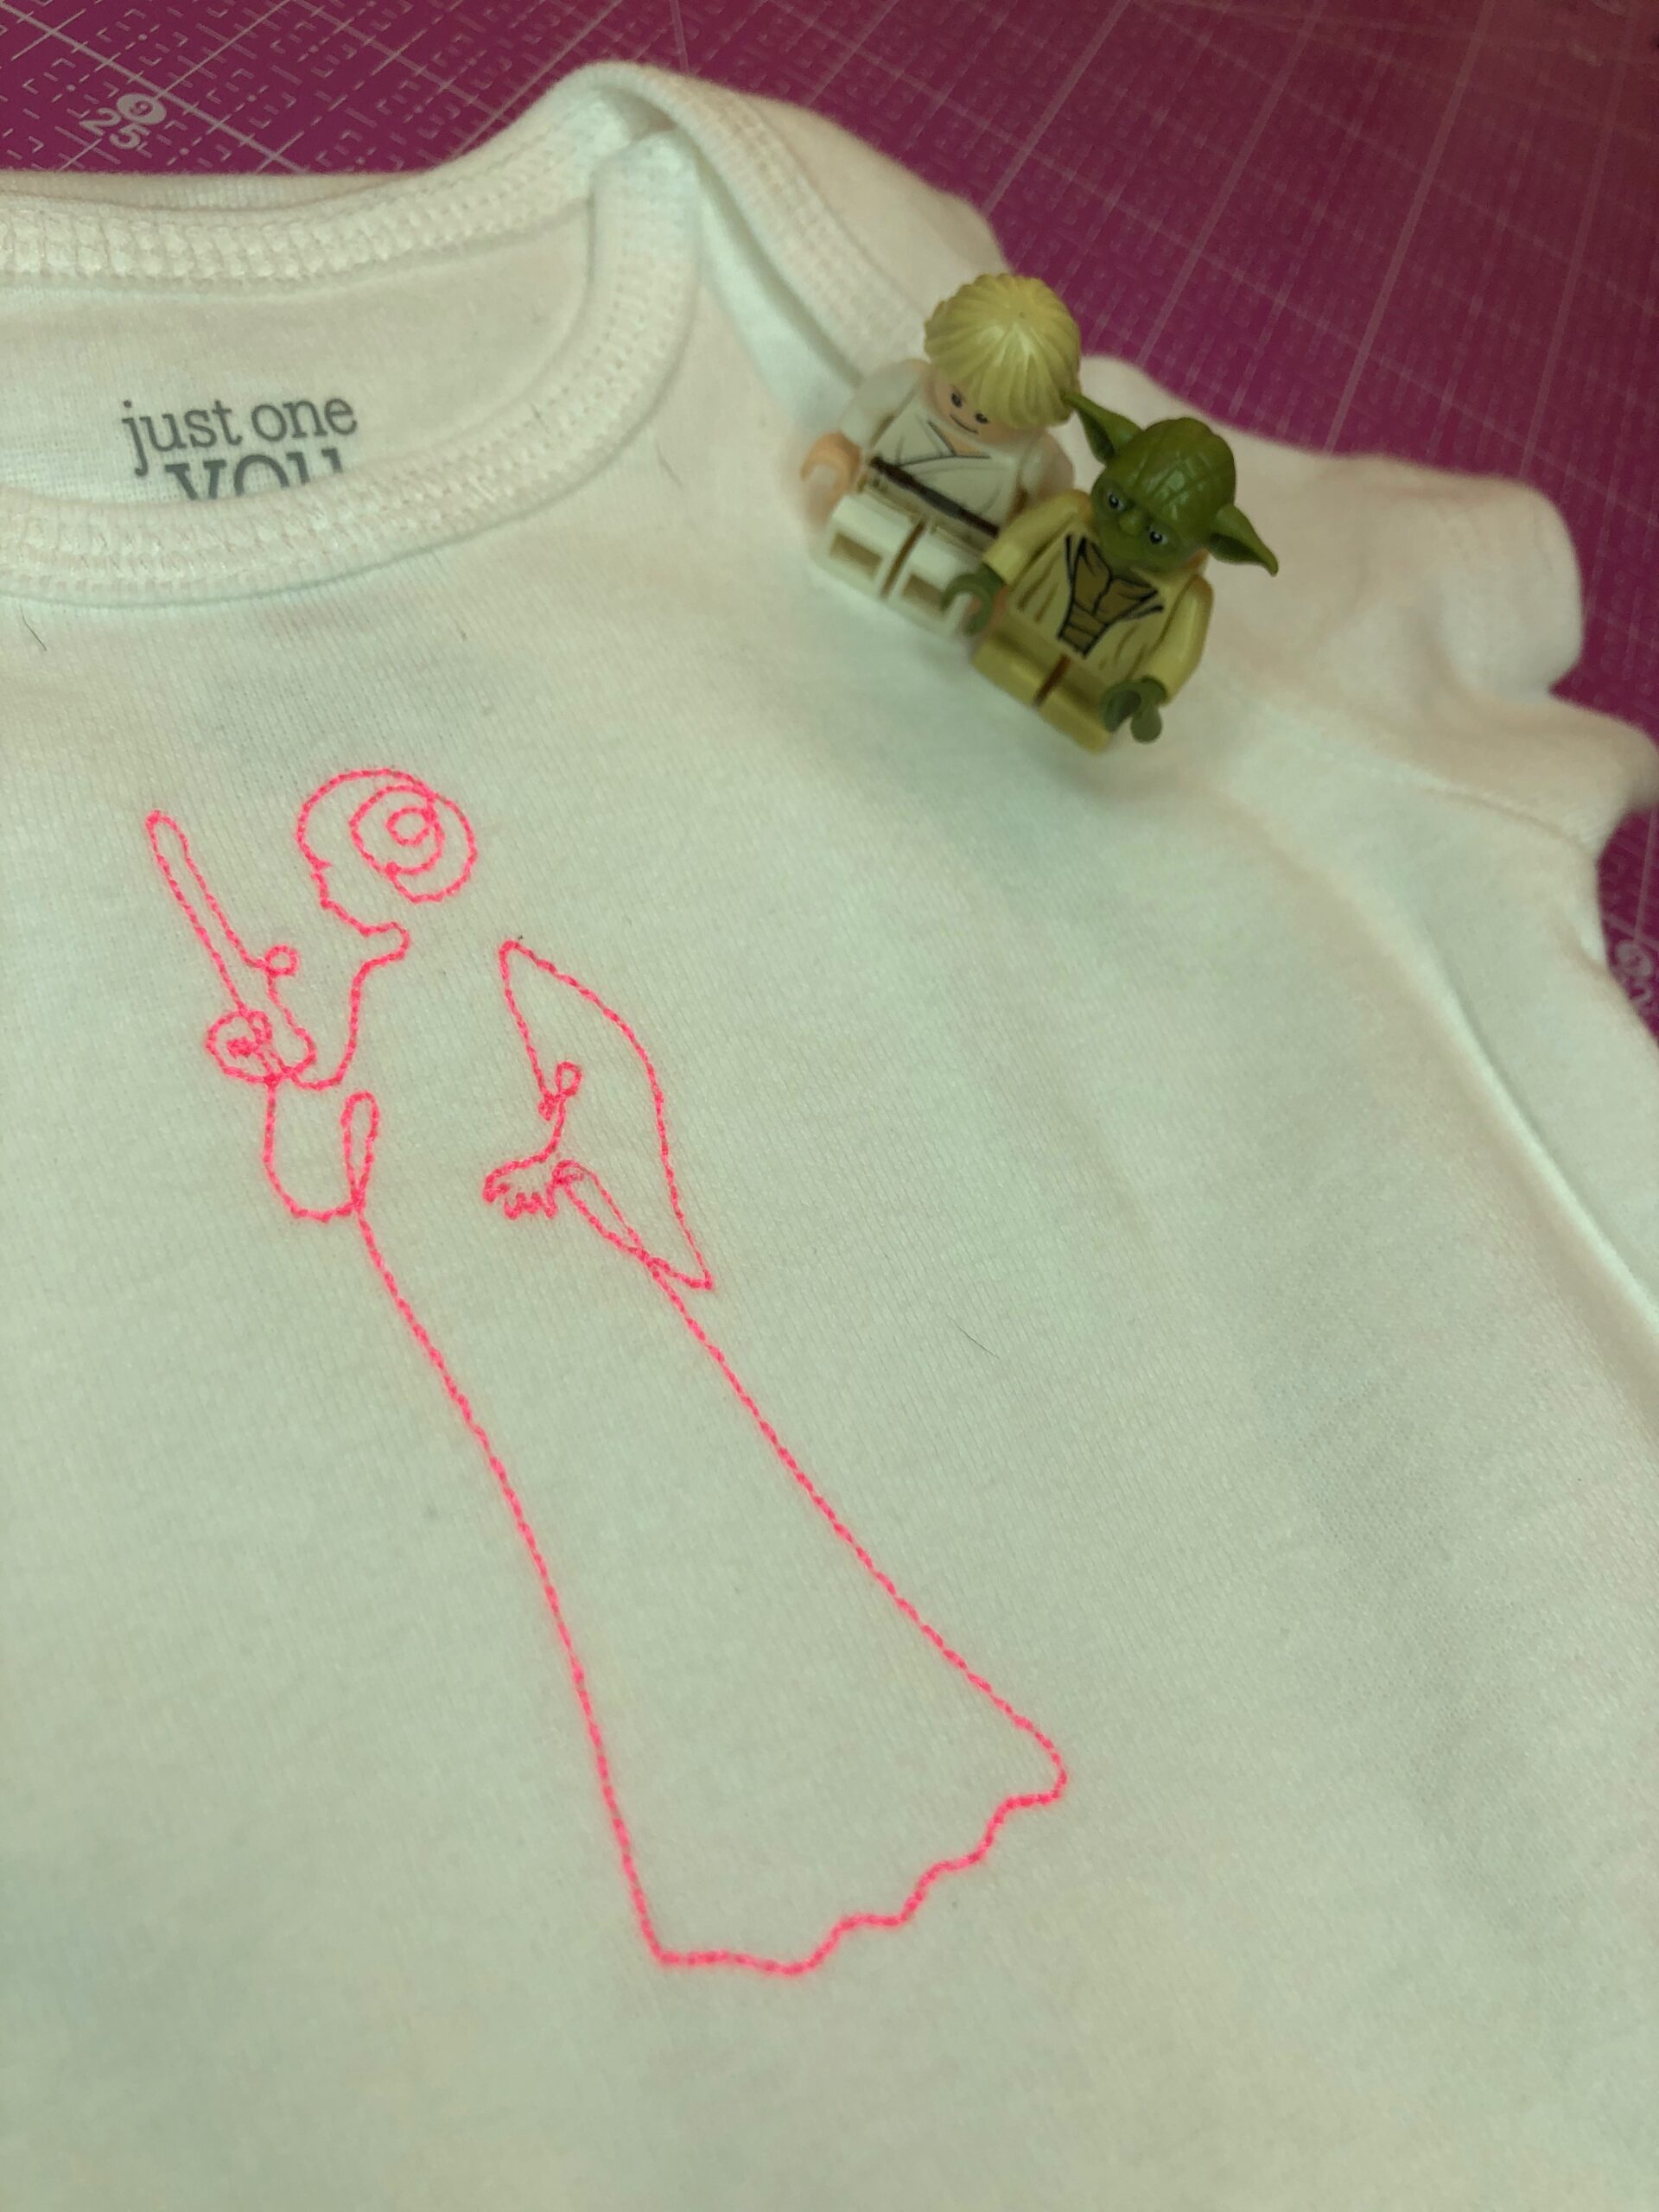
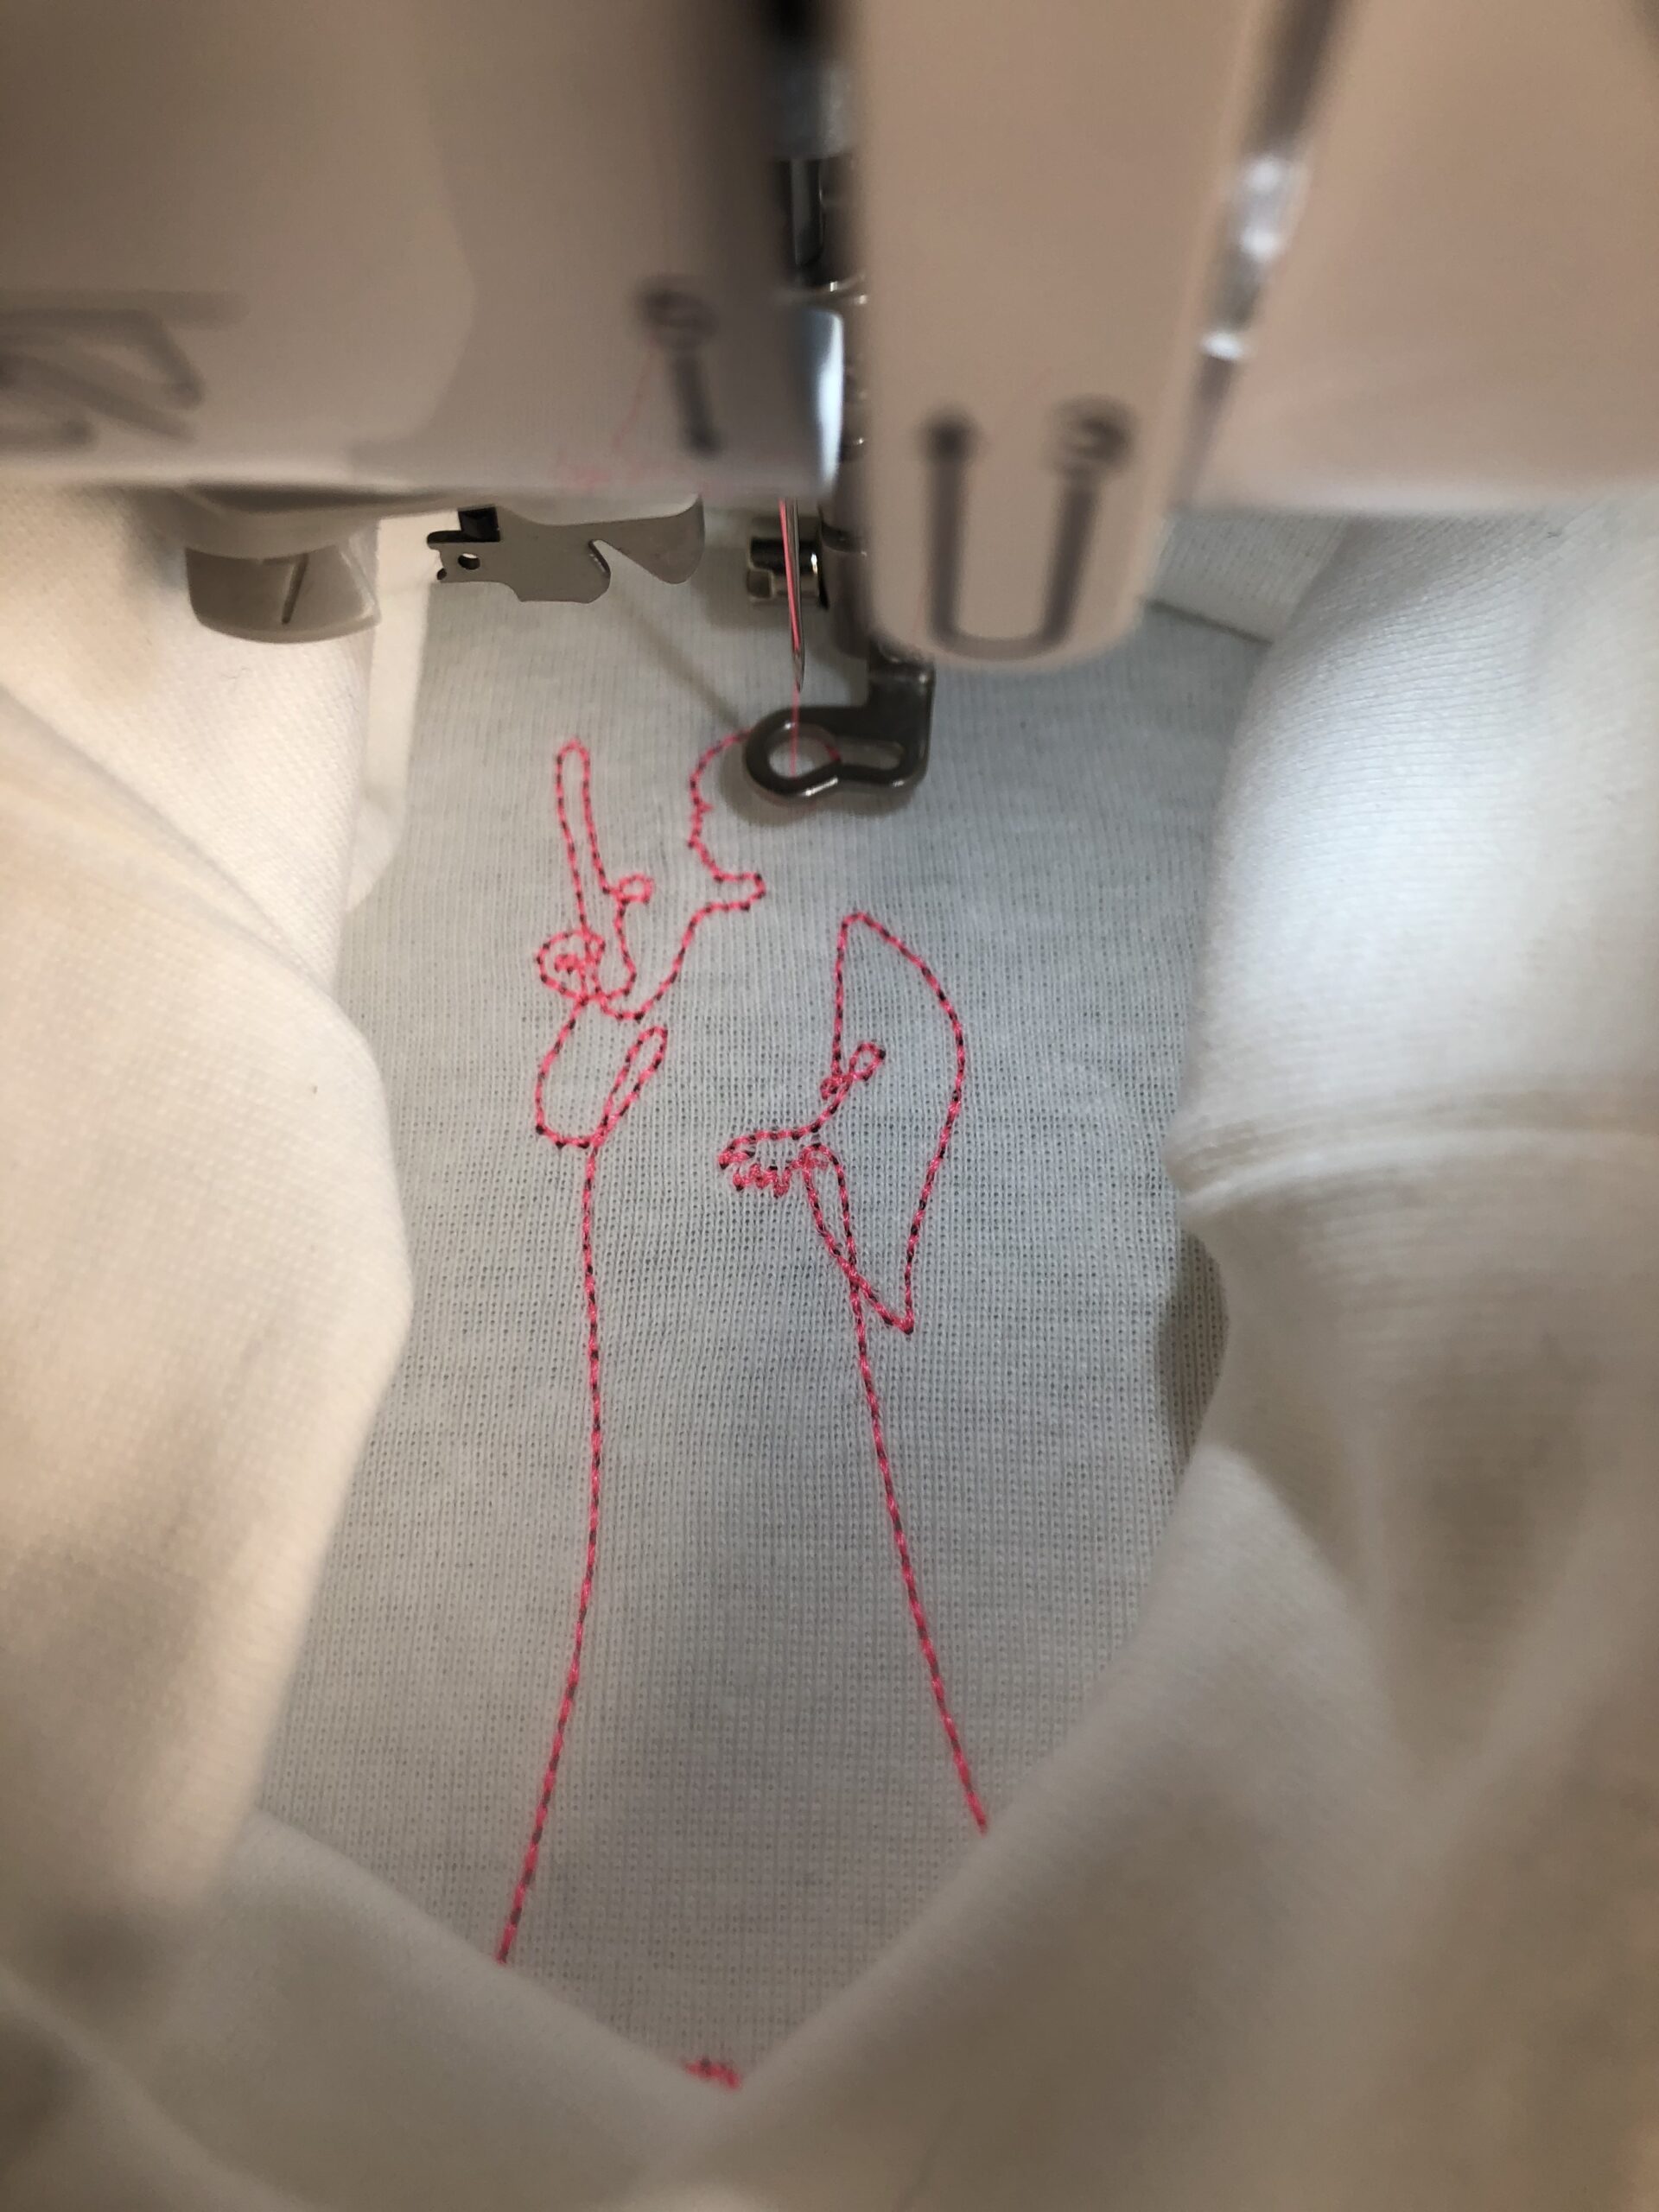
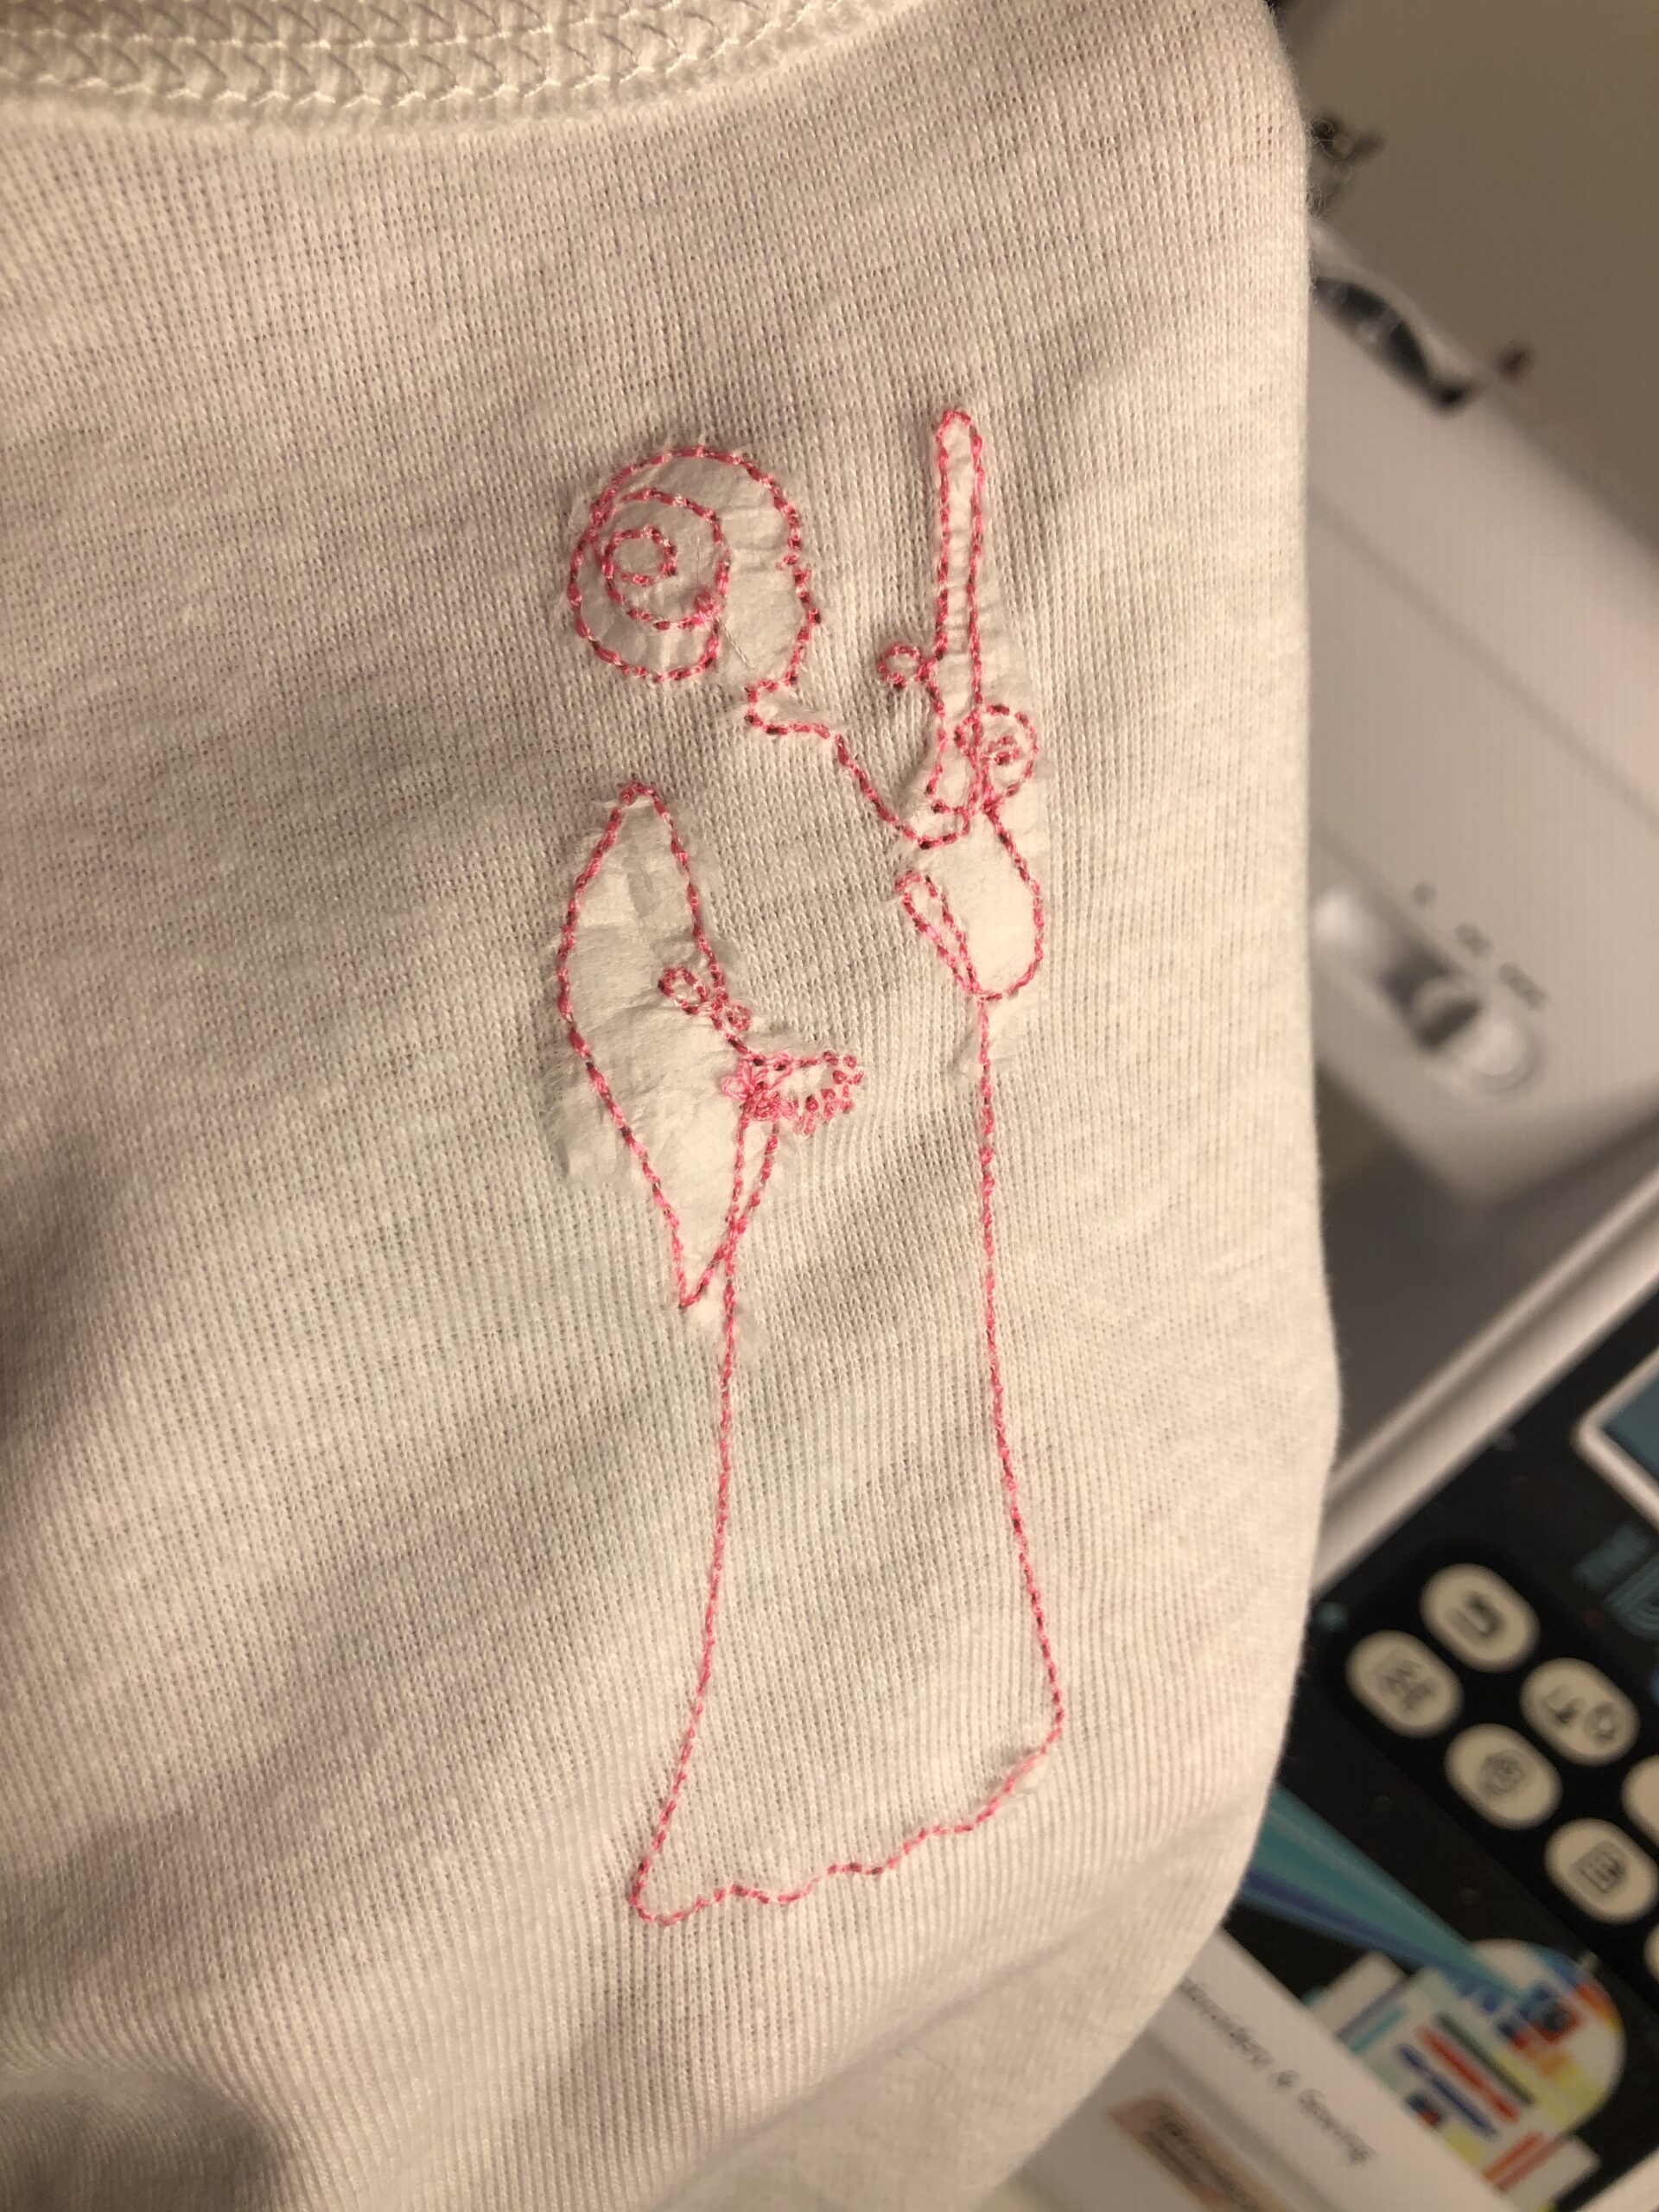
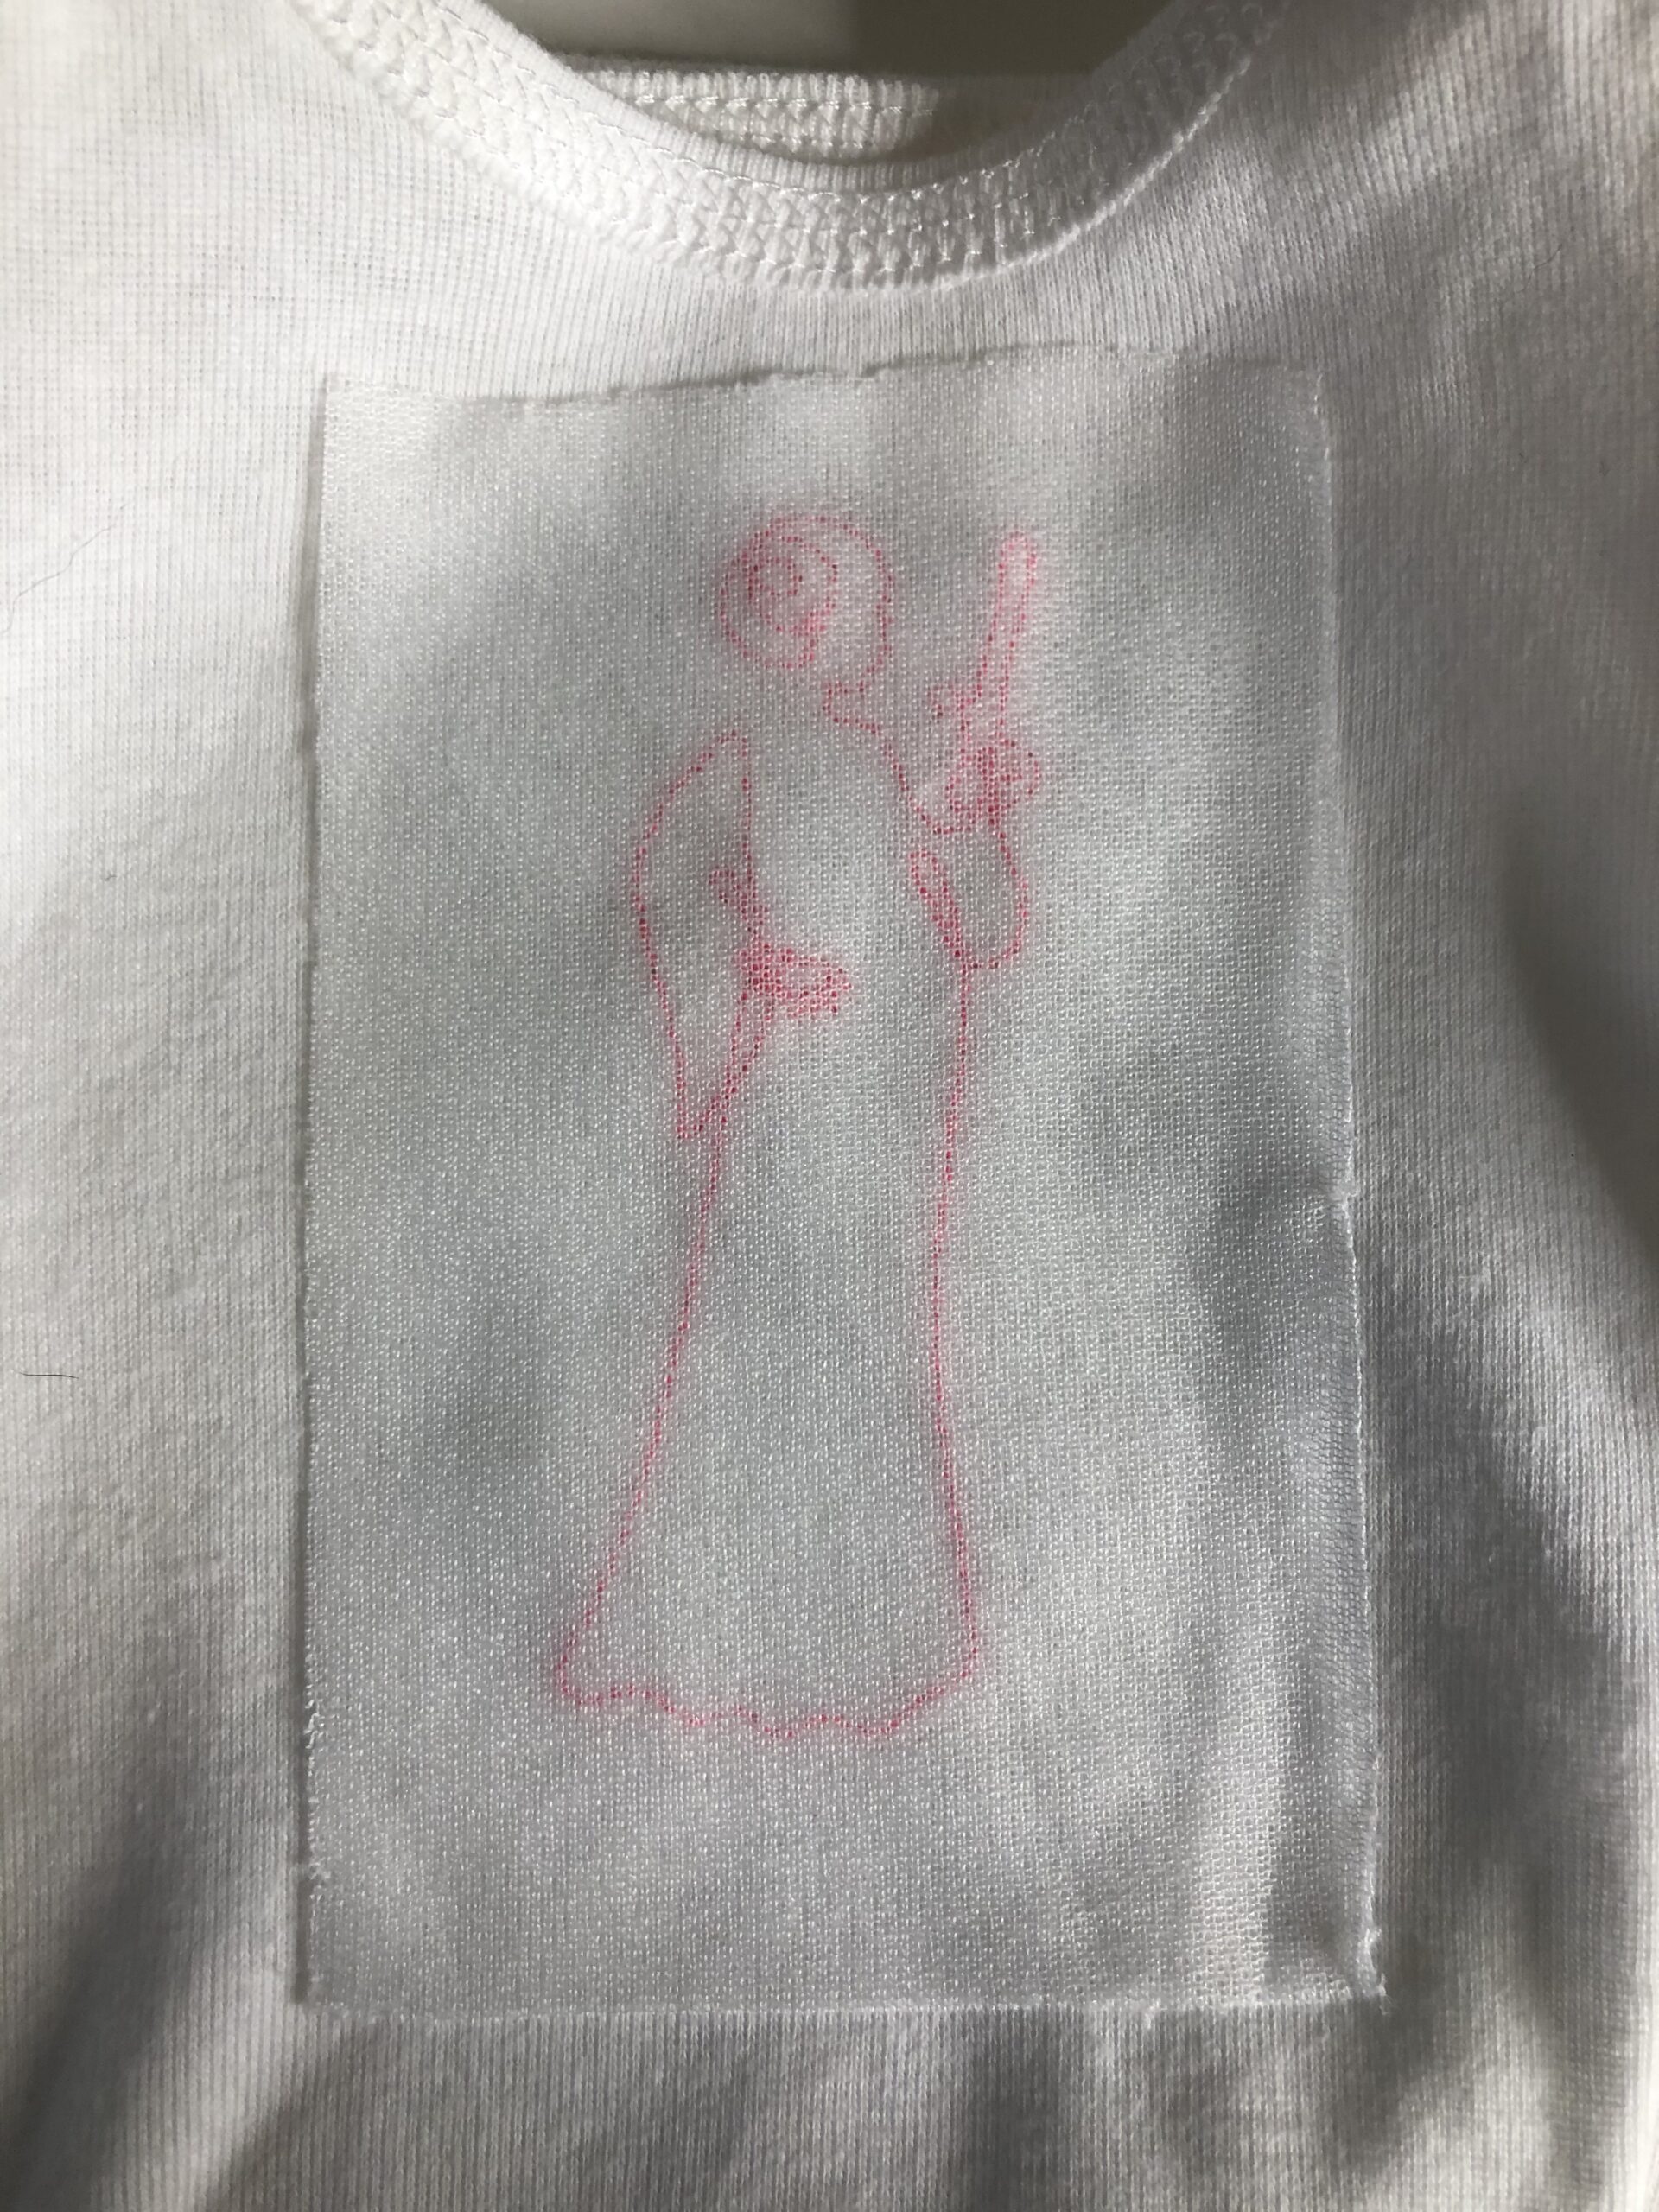
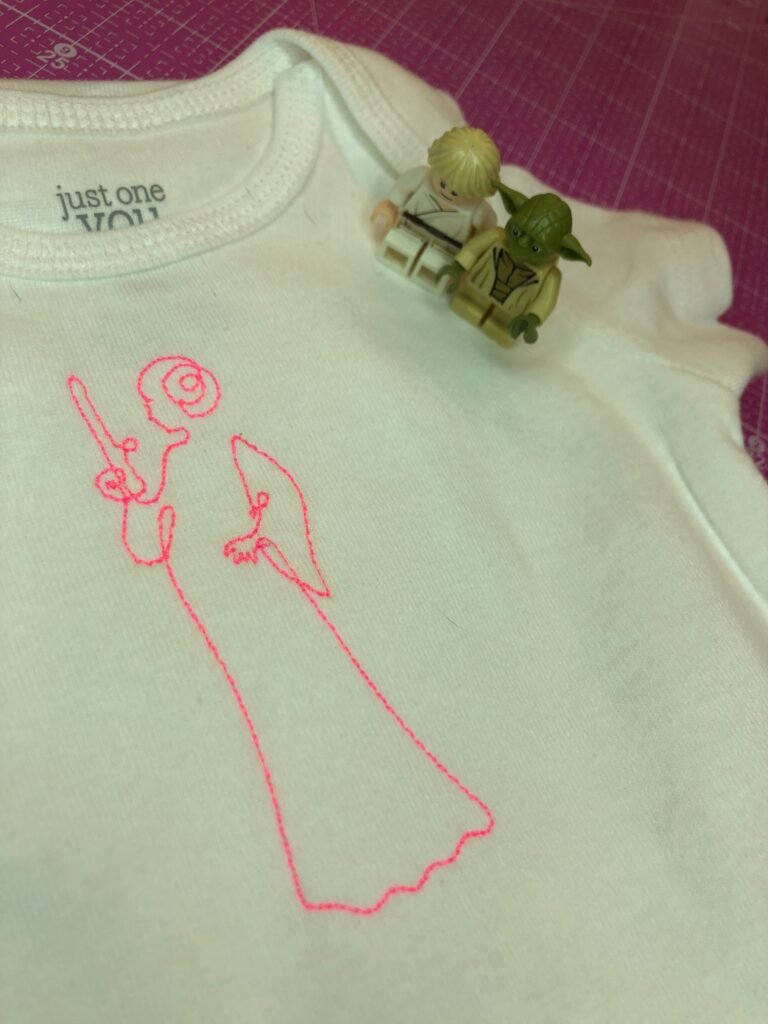
Sulky Neon thread is just as cool as Glowy…it just doesn’t glow in the dark. I chose a Neon Pink for this baby onesie to really draw attention to the Princess Leia™ design.
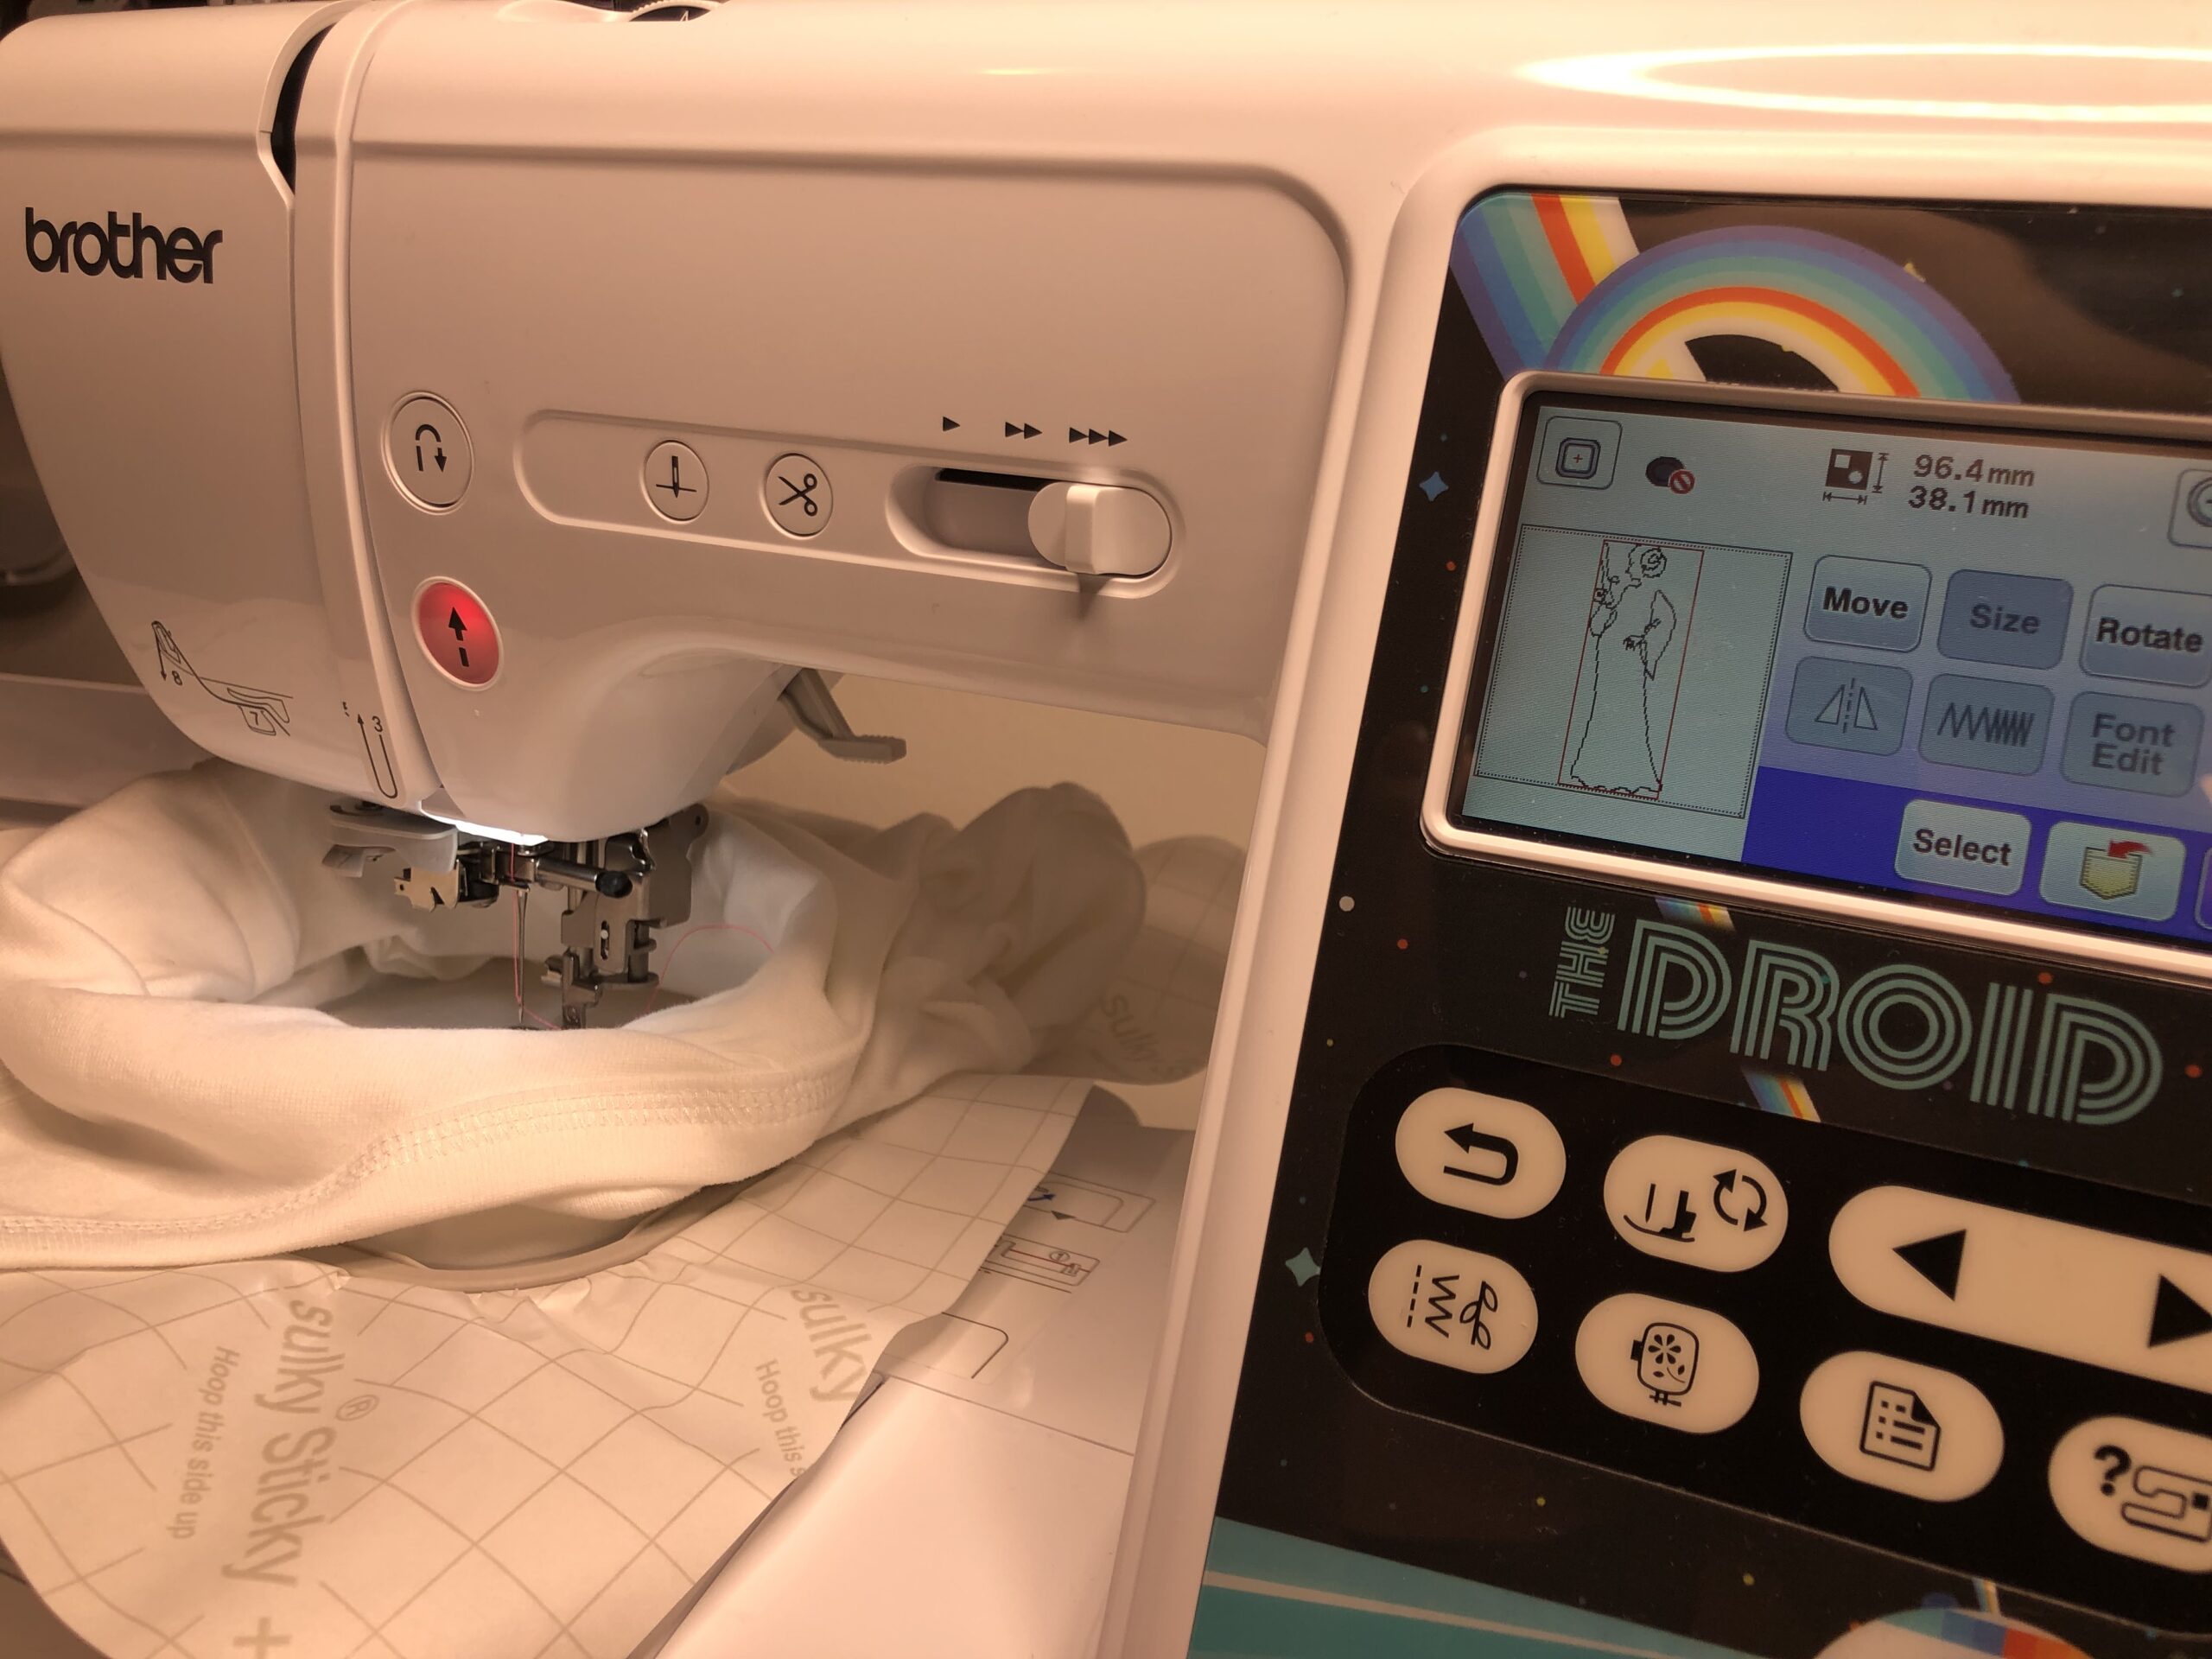
Follow the same steps above to embroider the onesie. Thread the needle with Neon thread and use 60 wt bobbin thread.
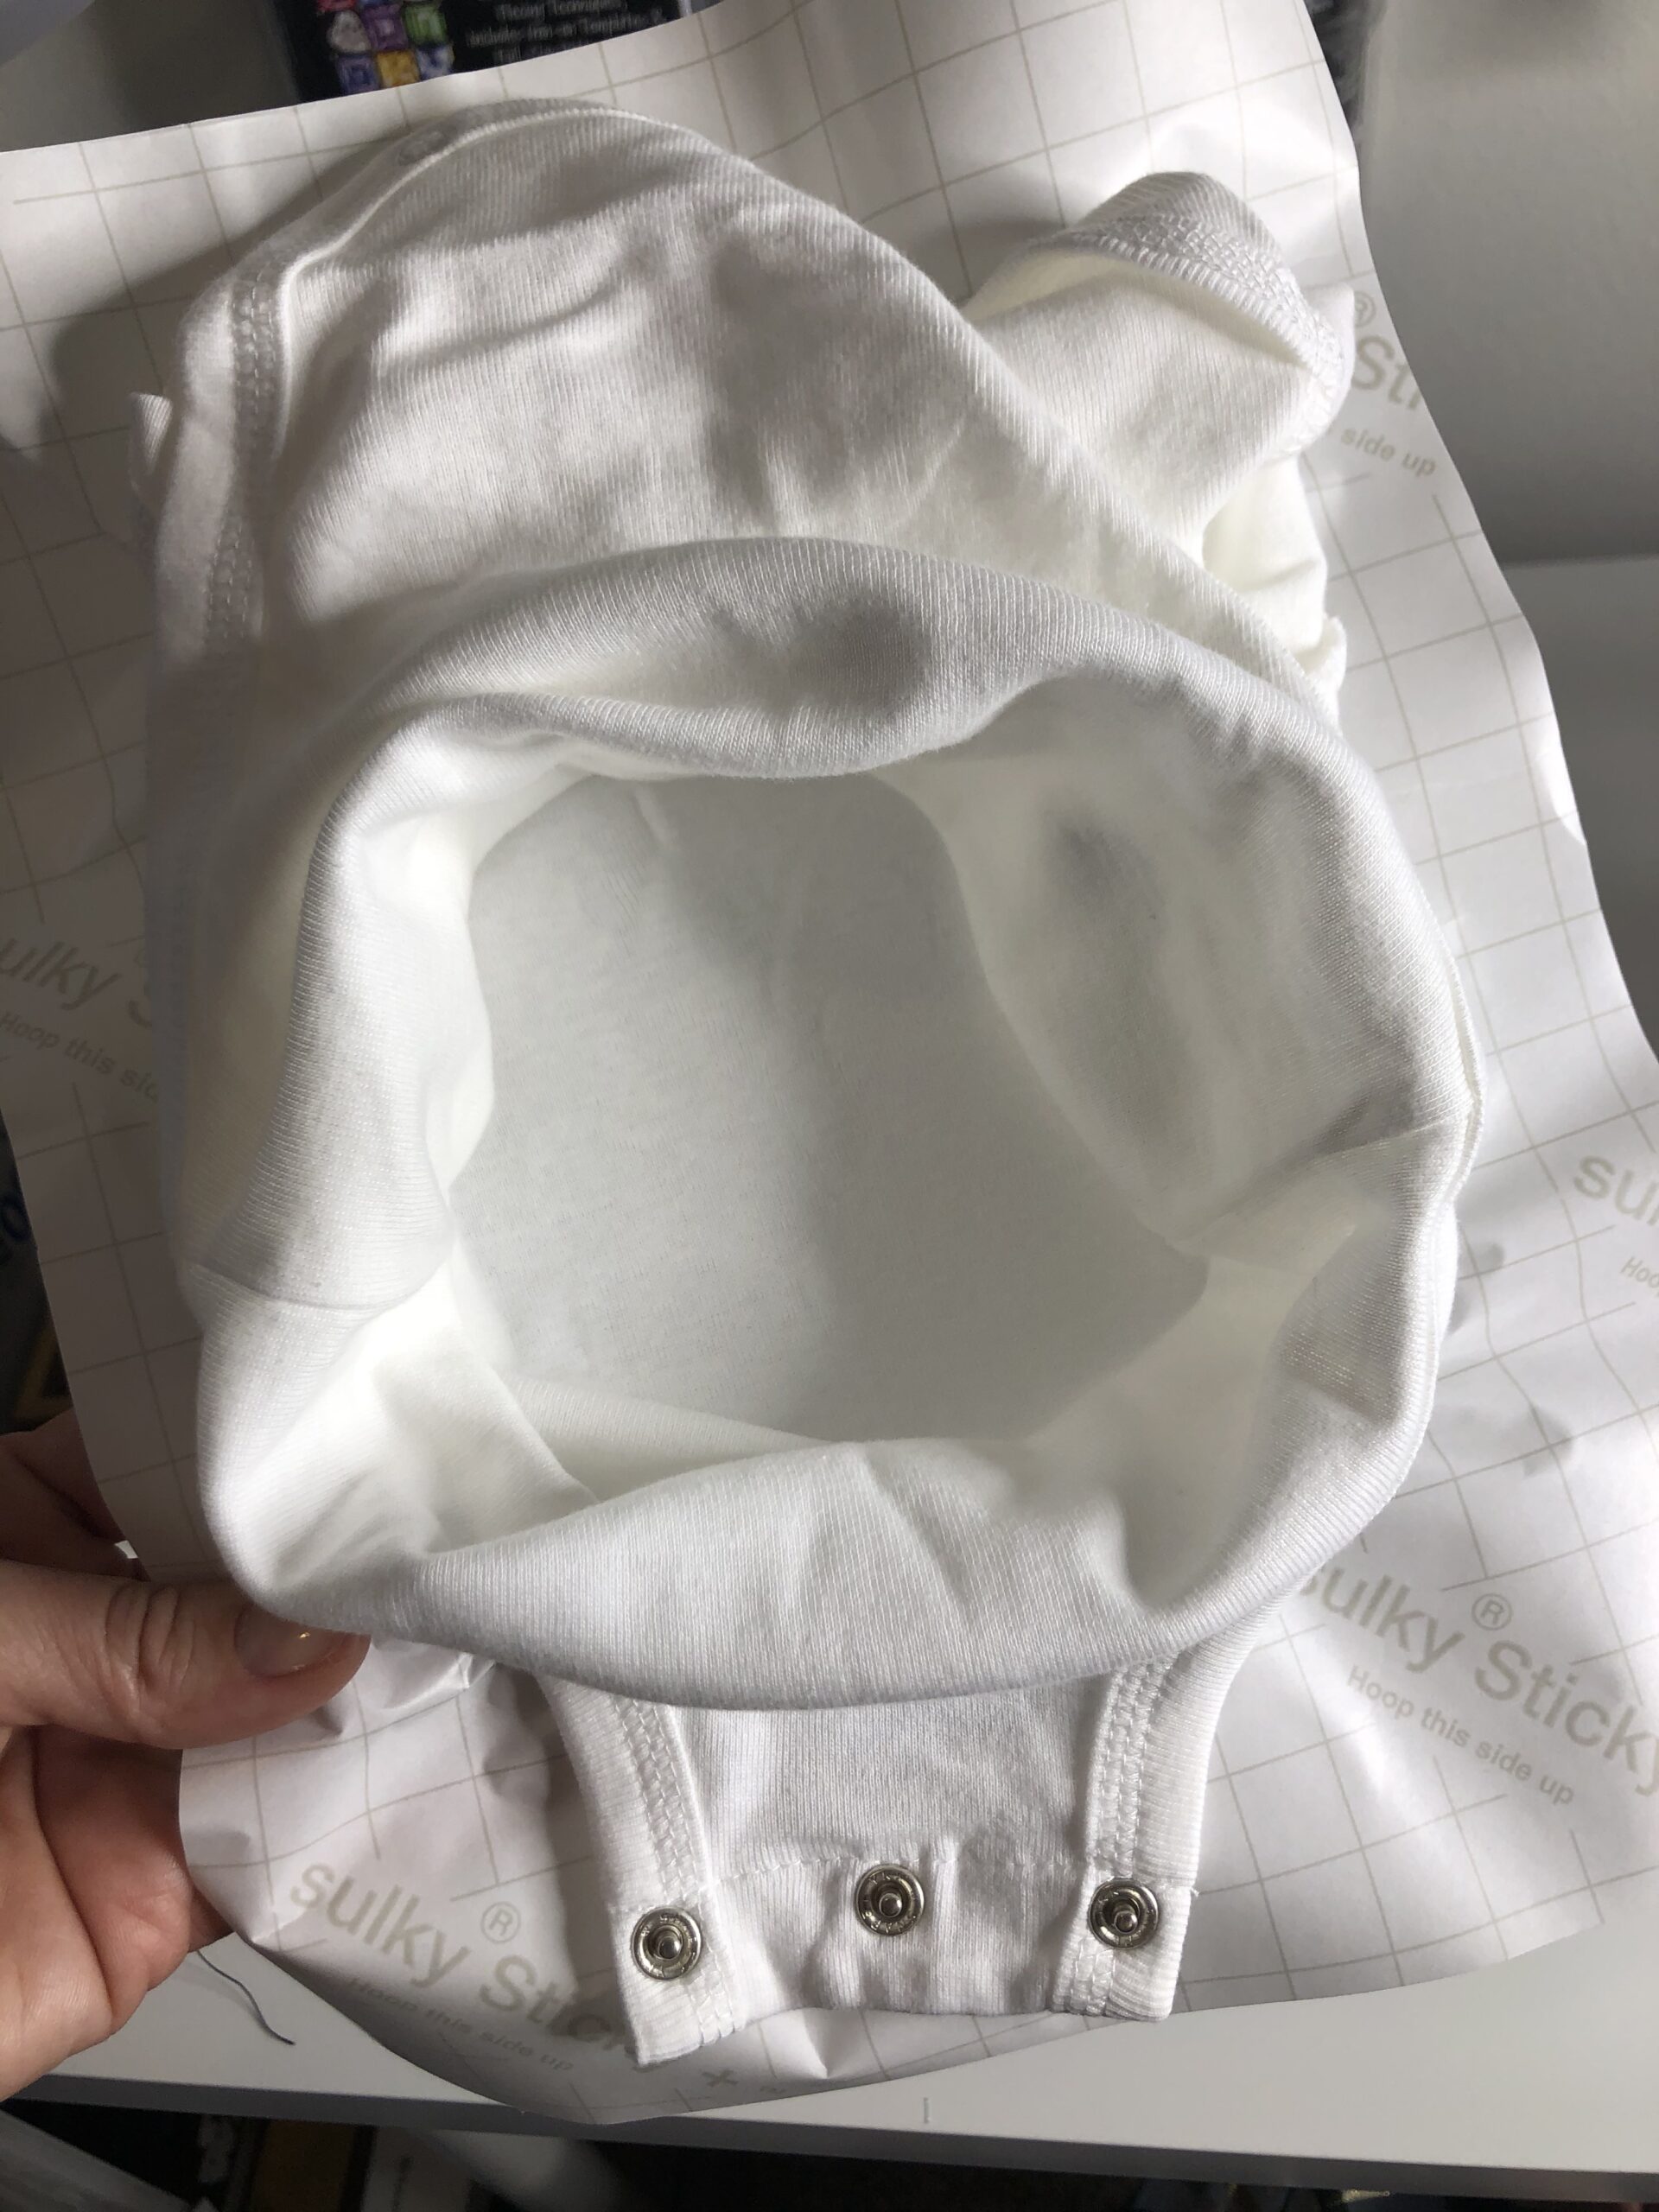
You will have to do some extra maneuvering to get the onesie fabric away from the hoop during embroidery. It will look like you’re embroidering through a little tunnel. Stay with the machine to ensure none of the excess fabric gets in the way of the needle and you’ll be just fine.
Apply Tender Touch to the embroidery wrong side per the previous instructions.
METALLIC THREAD FOR STAR WARS® SEWING
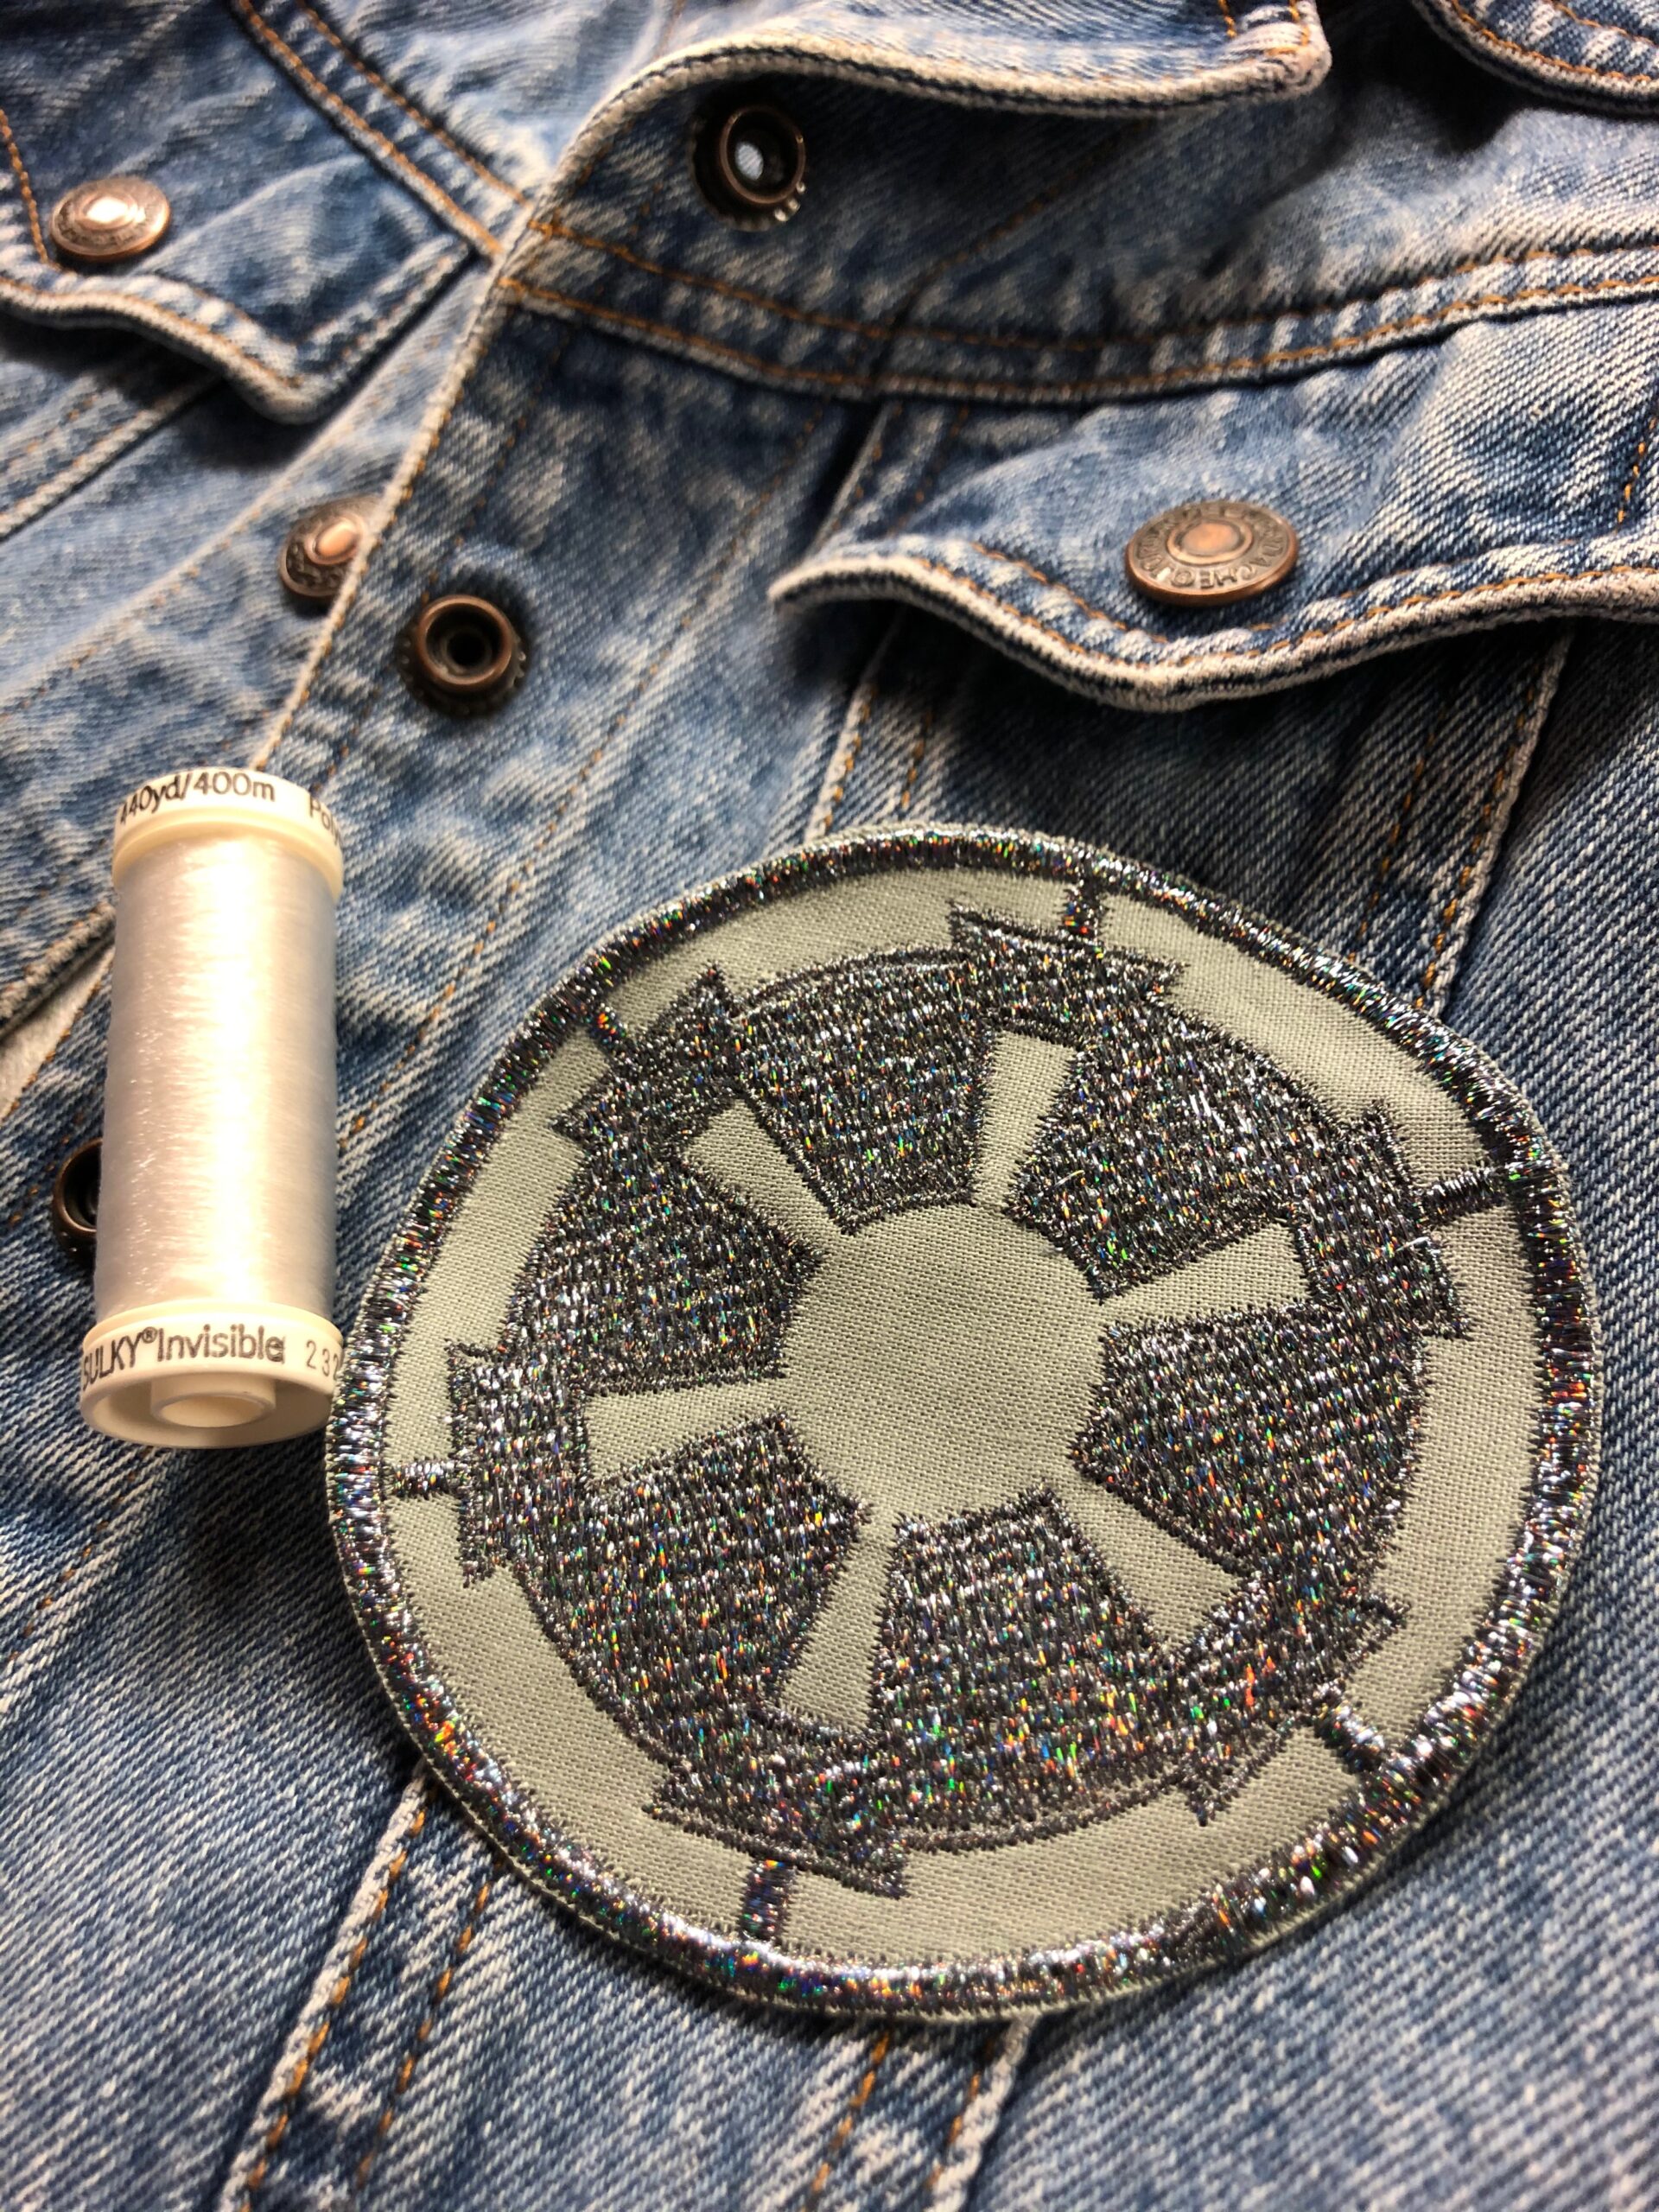
Metallic is an obvious choice for Star Wars® sewing and embroidery, “amirite”? Choose from Original Metallic, Sliver™ or Holoshimmer™. You may need a Thread Director for the latter two if your machine doesn’t offer a horizontal spool pin. For more info on embroidering with different metallic threads, click here.
When embroidering with metallic thread, be sure to slow your bobbin winder and machine speed for the stitchout. Choose Sulky Invisible Thread or the same metallic thread in the bobbin.
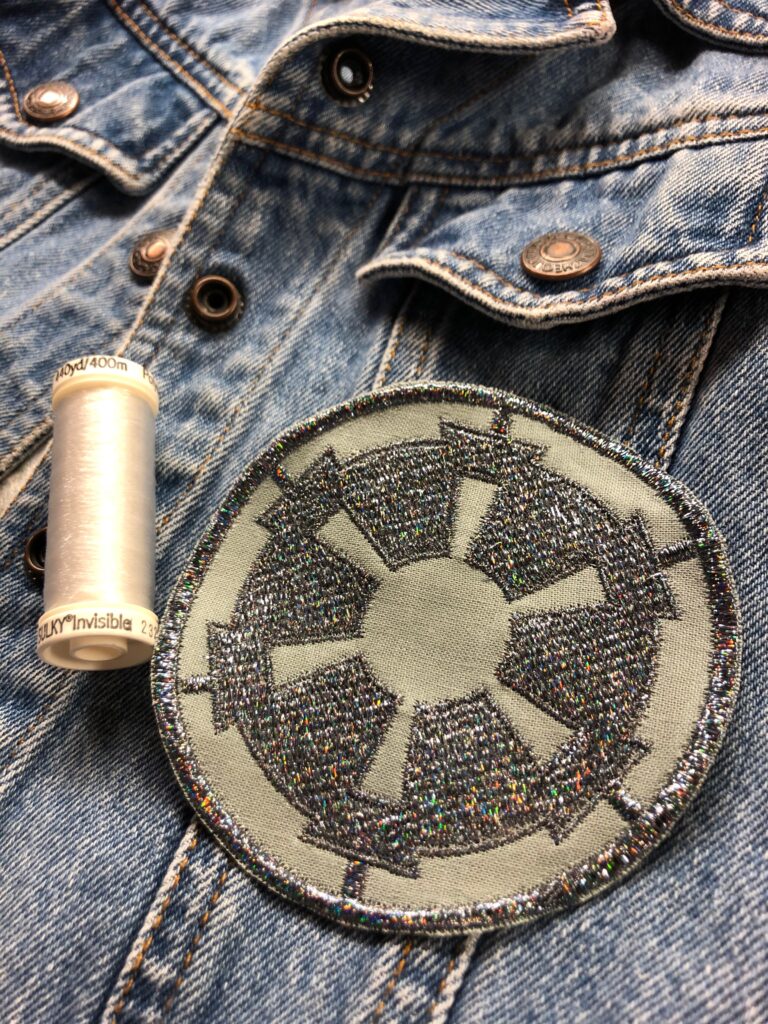
Patch designs, or designs that resemble patches (circles with a satin edge, for example, like the Resistance Badge shown below), are super fun in metallic threads. Plus they can be made freestanding to apply to a jean jacket, backpack or lunch bag. Simply embroider them as you would an appliqué design, using software to include an extra placement stitch for the appliqué.
Hoop Sulky Ultra Solvy™ in the hoop by itself. Stitch the placement stitch for the appliqué (the outermost straight stitch, in this case the circle). Place a piece of fabric right side up over the placement stitching line, making sure it extends at least 1/4″ beyond the stitching line. Stitch the placement line again to tack down the fabric piece. Remove the hoop from the machine. Trim the fabric close to the stitching line.
Continue to embroider the design as intended, with the final satin stitched outline finishing the patch.
Trim away the excess stabilizer. Rinse away the excess stabilizer and let dry on a flat towel.
Once the patch is dry, stitch it to the desired project using Invisible thread.
CRY® – COATED REFLECTIVE YARN – THREAD FOR STAR WARS® SEWING
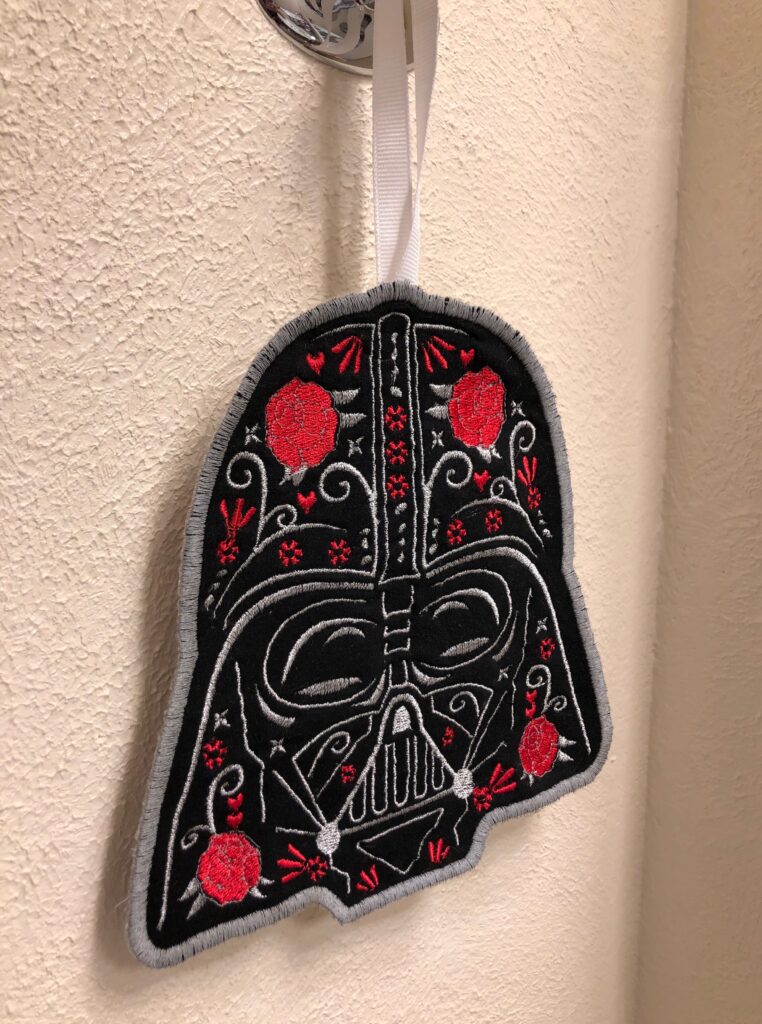
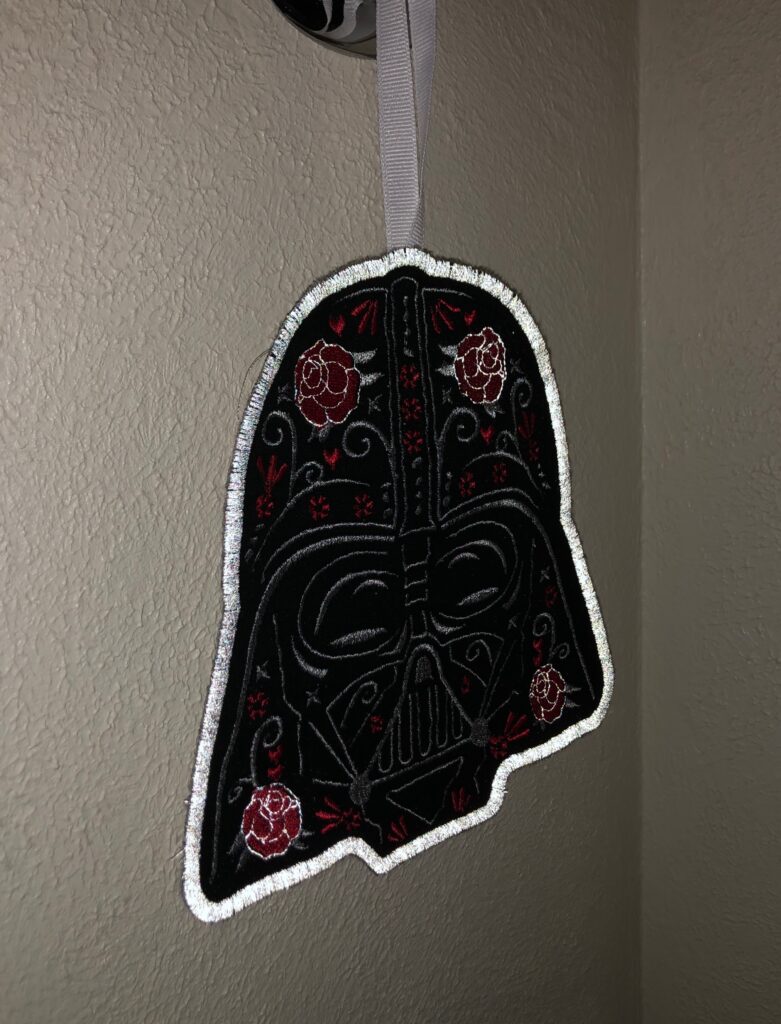
Sulky CRY® Thread is reflective, meaning it catches light from external sources. It’s super cool when you’re out and about in the dark, on a walk or bicycling. Choose a fun design, like this one from KateQuickNeedle on Etsy called: Darth Vader™ Applique Embroidery Design, and stitch only some elements using the CRY thread. A little goes a long way! Don’t use it in the bobbin, as you don’t want to waste its effect on the wrong side of the project.
For the full tutorial on this door-hanging, click here.
Have fun dressing up your little Ewoks™ and Wookiees™ and watching some Star Wars® marathons! May the Fourth be with You™!

