Get Crafty with Simple Stocking Stuffers
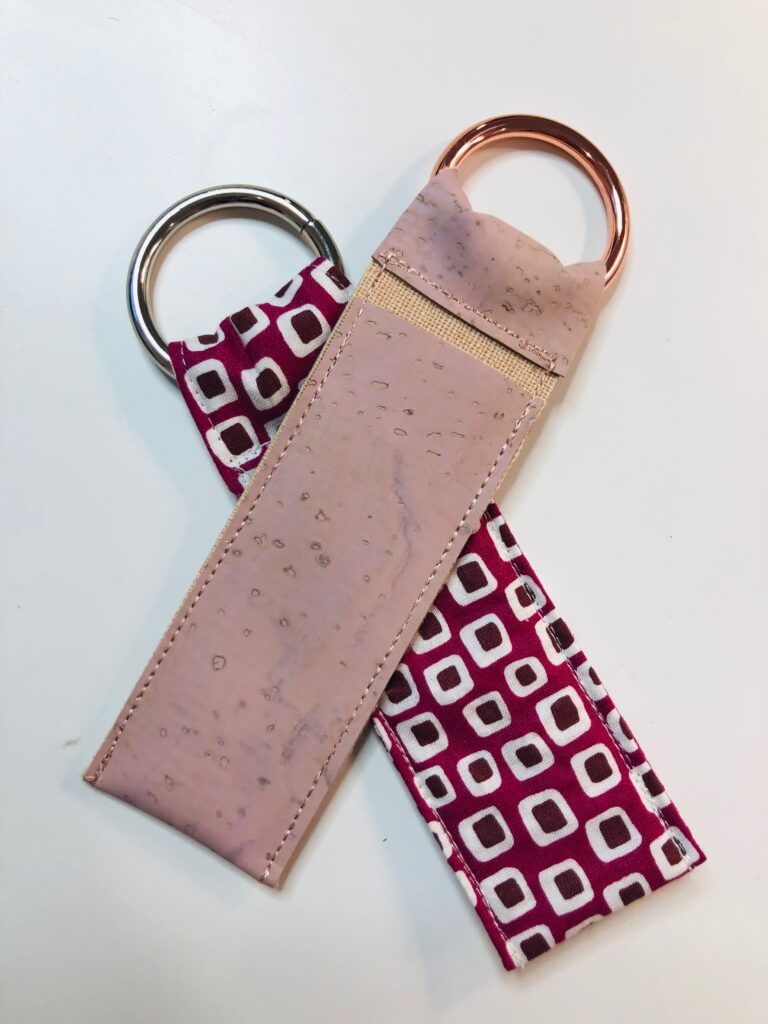
Small projects make great stocking stuffers for Santa’s elves, and these little sleeves are no exception. They also make great gifts for co-workers, family and friends. Make one of these sleeves for each person on your gift list and tie it to a package. Choose cork fabric for an upscale version or quilting cottons, depending on the recipient. This project is easy enough for kids to complete, too (read on for my daughter’s version!).
CORK FABRIC STOCKING STUFFER VERSION
Cork fabric is a fun alternative to leather or faux leather. If you have leftover cork fabric from a bag or tote project, use it to create these stocking stuffer sleeves. Only one 1 1/2″ x 9″ strip is needed. Add some glam with Poly Sparkle Thread to add to the gift.
SUPPLIES
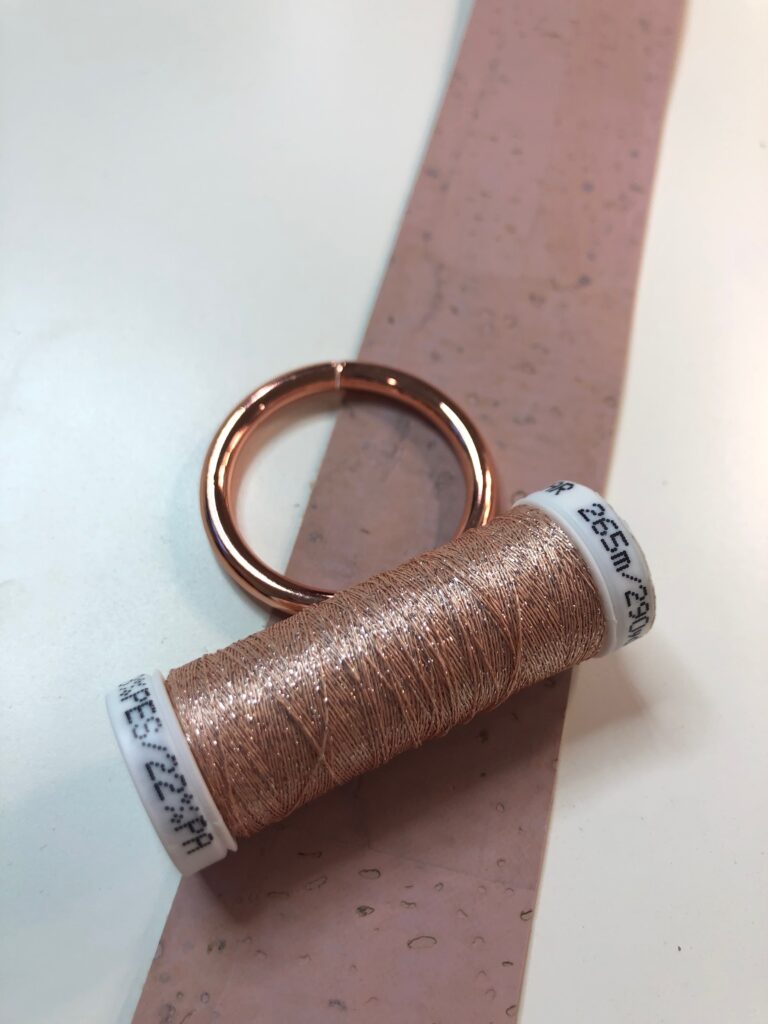
- 1 1/2″ x 9″ rectangle of cork fabric
- 30 wt. Poly Sparkle Thread
- 1 1/2″-diameter Gate Ring
- Organ® size 90/14 Top Stitch Needle
- Wonder Clips
CORK VERSION CONSTRUCTION
Install a size 90/14 Top Stitch Needle. Thread the machine with 30 wt. Poly Sparkle Thread in the needle and bobbin.
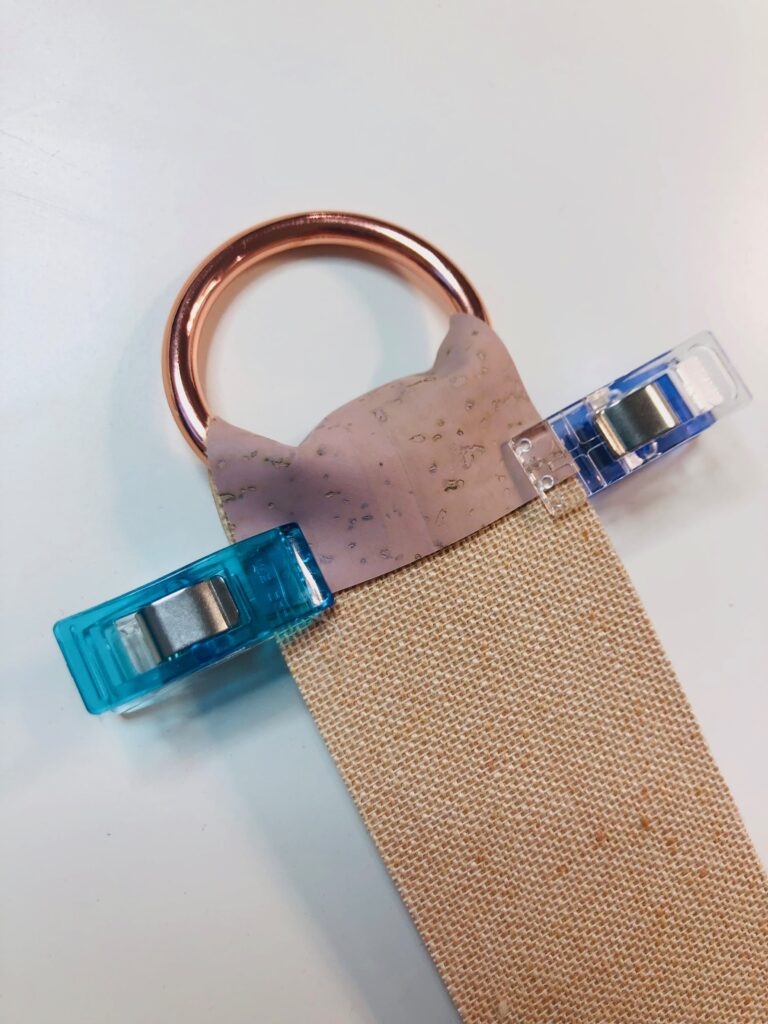
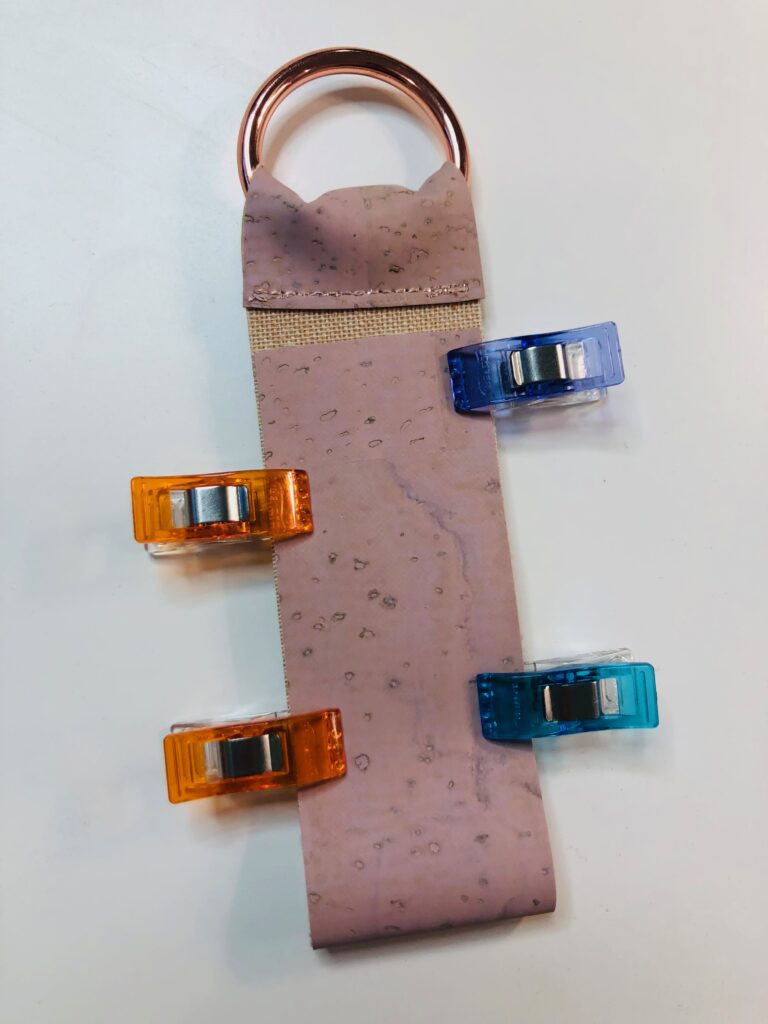
Fold one rectangle short end around the Gate Ring, extending the end end about 1/2″ beyond the Gate Ring edge. Use Wonder Clips to secure.
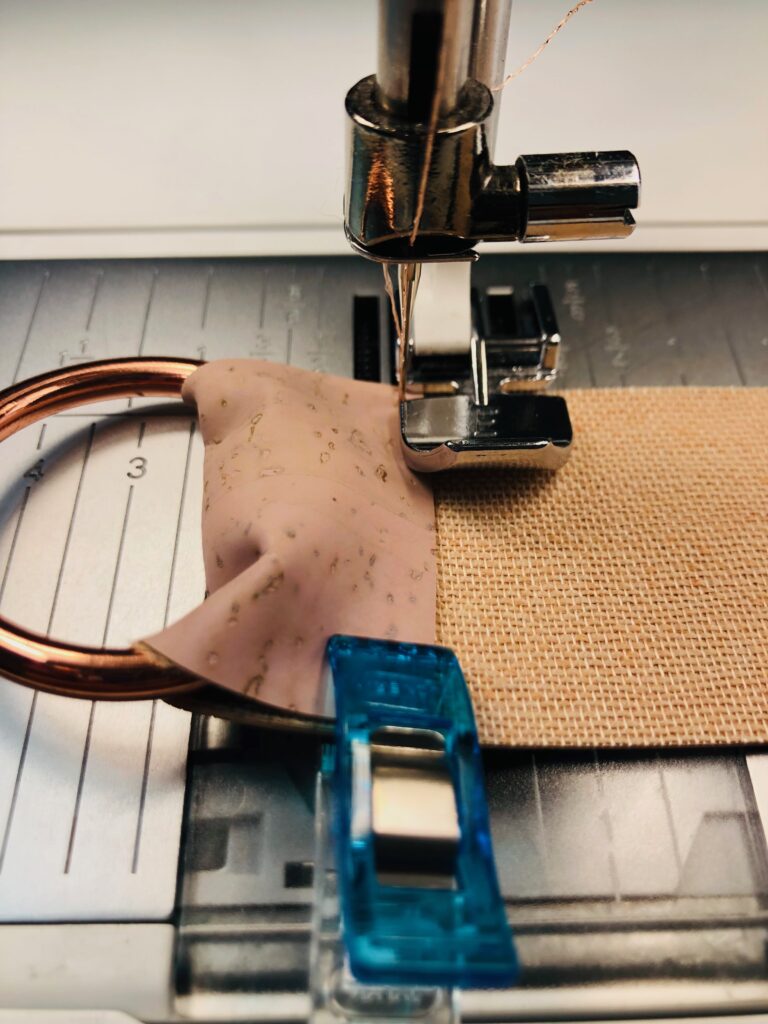
Install a zipper foot. Stitch the rectangle end, securing the Gate Ring.
Fold the rectangle opposite end toward the O-Ring, positioning the raw short end 1/4″ from the opposite stitched end. Use pins or Wonder Clips to secure.
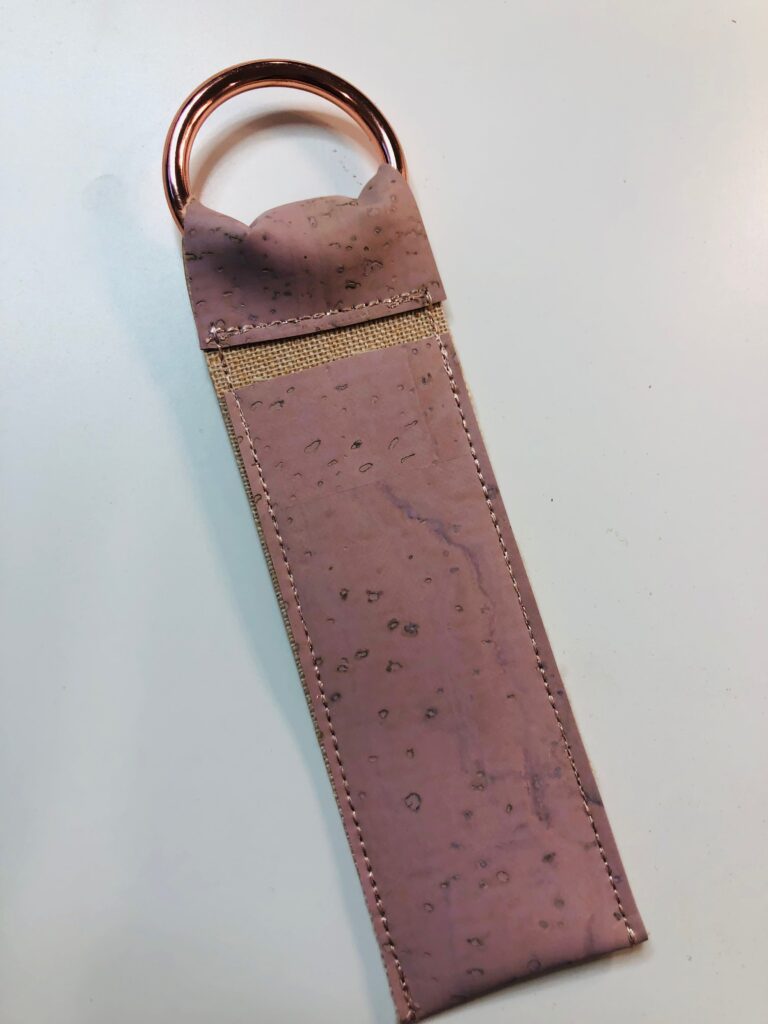
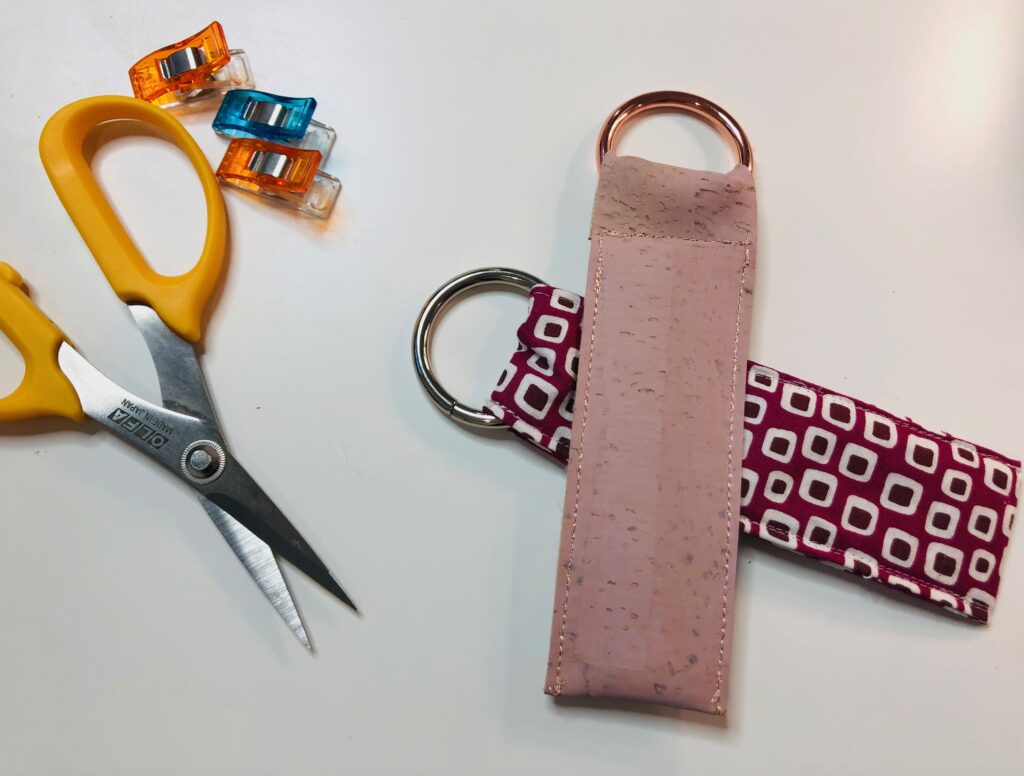
Stitch the long sides to create the sleeve pocket.
QUILTING COTTON STOCKING STUFFER VERSION
Dive into your scrap bin to find the perfect fabric print for each recipient. You only need two 2″ x 9″ strips, either matching or contrasting. The sleeves are so easy, you’ll have plenty of time to have fun with sparkly decorative thread for the topstitching. My 8-year-old daughter made this version – that’s how easy it is!
SUPPLIES
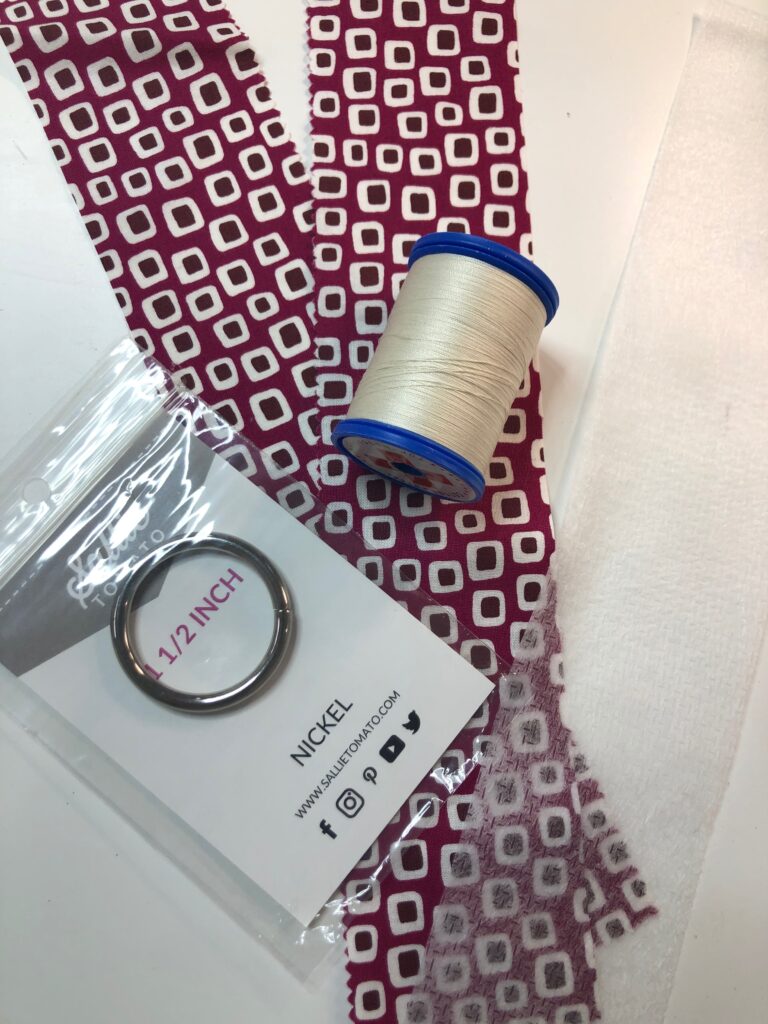
- 50 wt. Cotton Thread (to match fabric)
- (2) 2″ x 10″ quilting cotton fabric rectangles (either matching or contrasting)
- 2″ x 10″ rectangle of Sulky Soft ‘n Sheer
- 1 1/2″-diameter O-Ring or Gate Ring
- Organ® size 70/10 Universal Needle
- Wonder Clips or pins
STOCKING STUFFERS CONSTRUCTION
Install a size 70/10 Universal Needle. Thread the machine with 50 wt. Cotton Thread in the needle and bobbin.
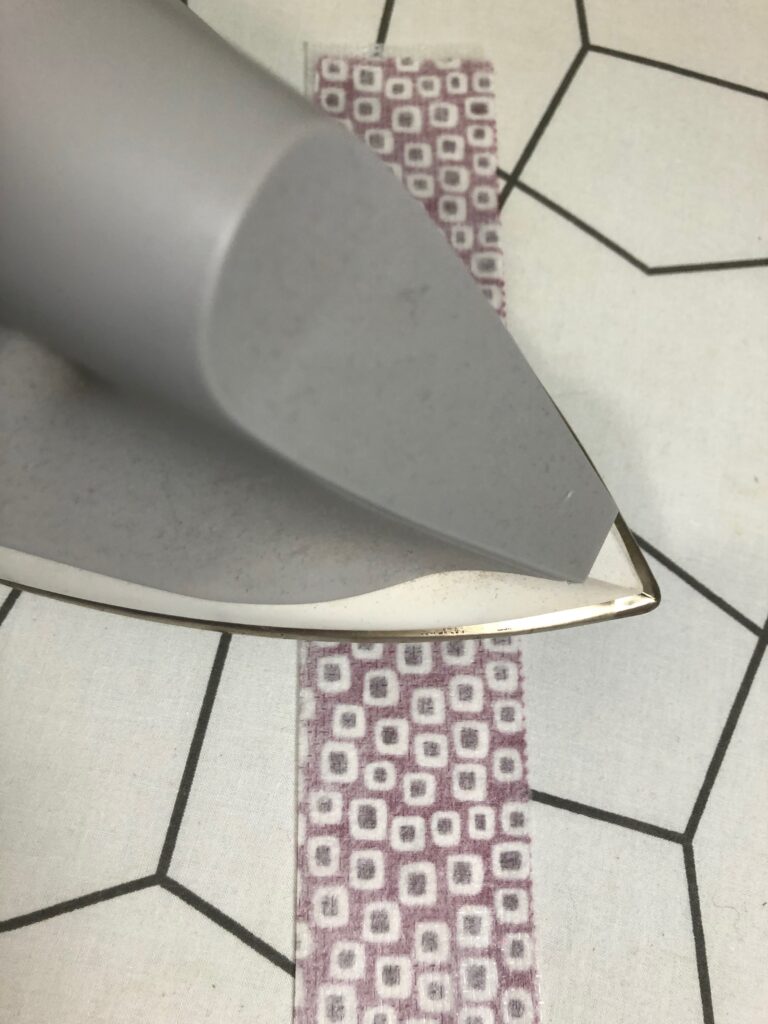
Fuse the rectangle of Soft ‘n Sheer to one fabric rectangle wrong side. Use a low- to medium-temp iron and press in an up-and-down motion, rather than moving the iron across the stabilizer surface.
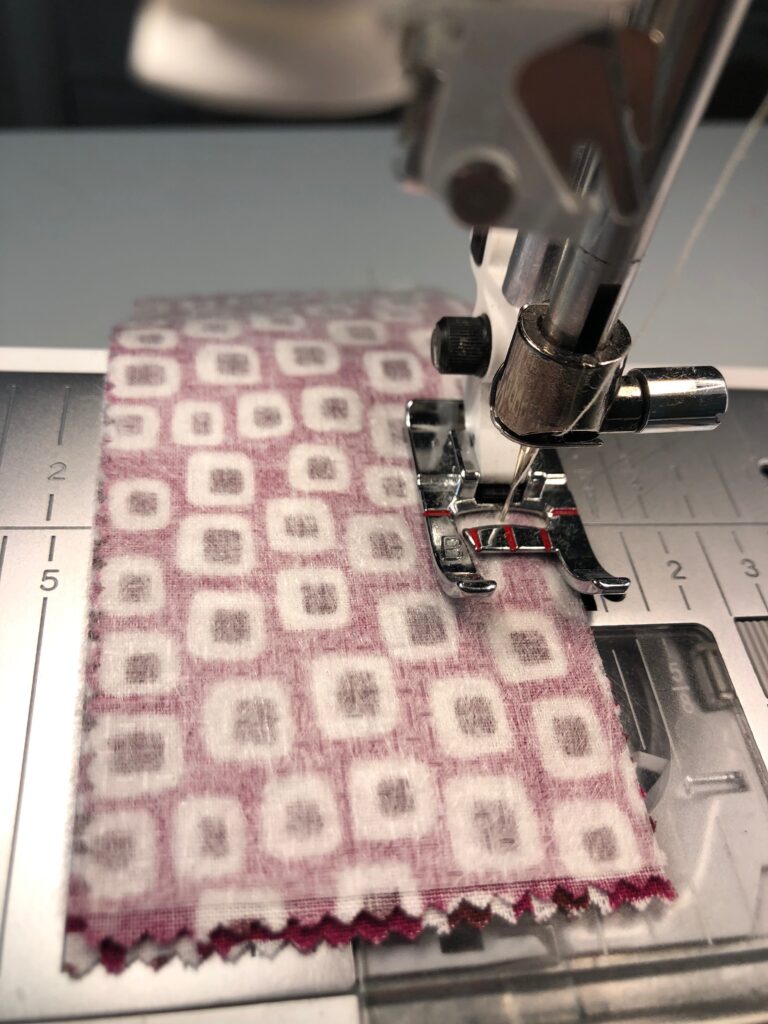
Place the rectangles right sides together, matching all edges and corners; pin. Stitch the perimeter using a 1/4″ seam allowance and leaving a 3″ opening along one long edge for turning.
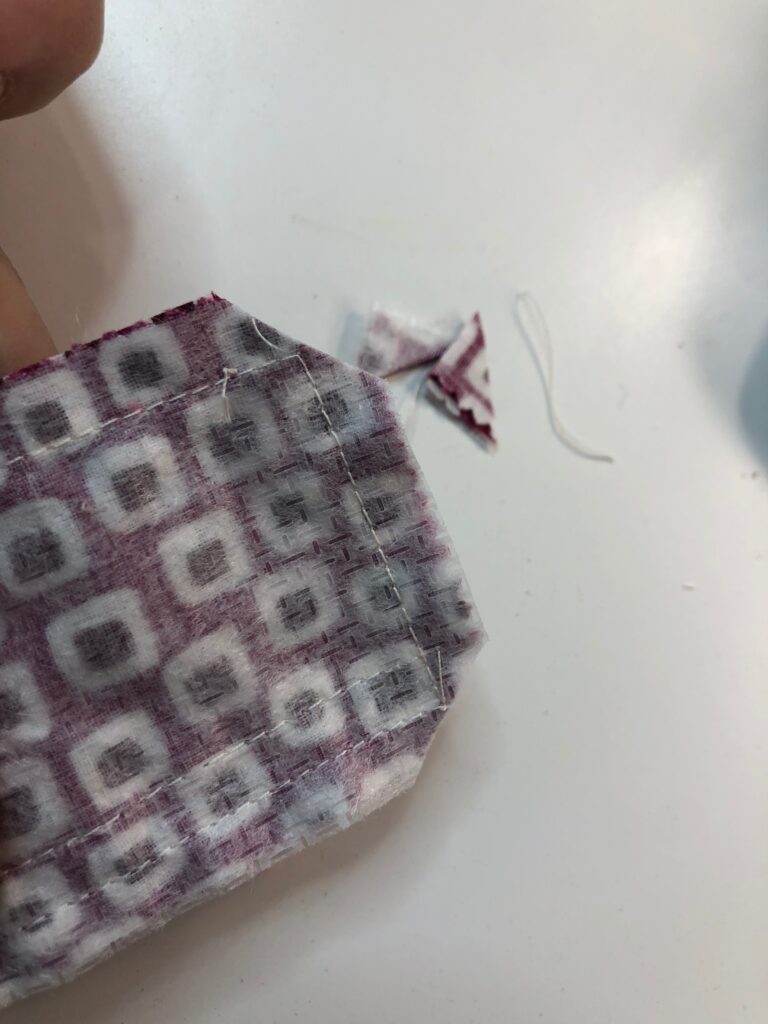
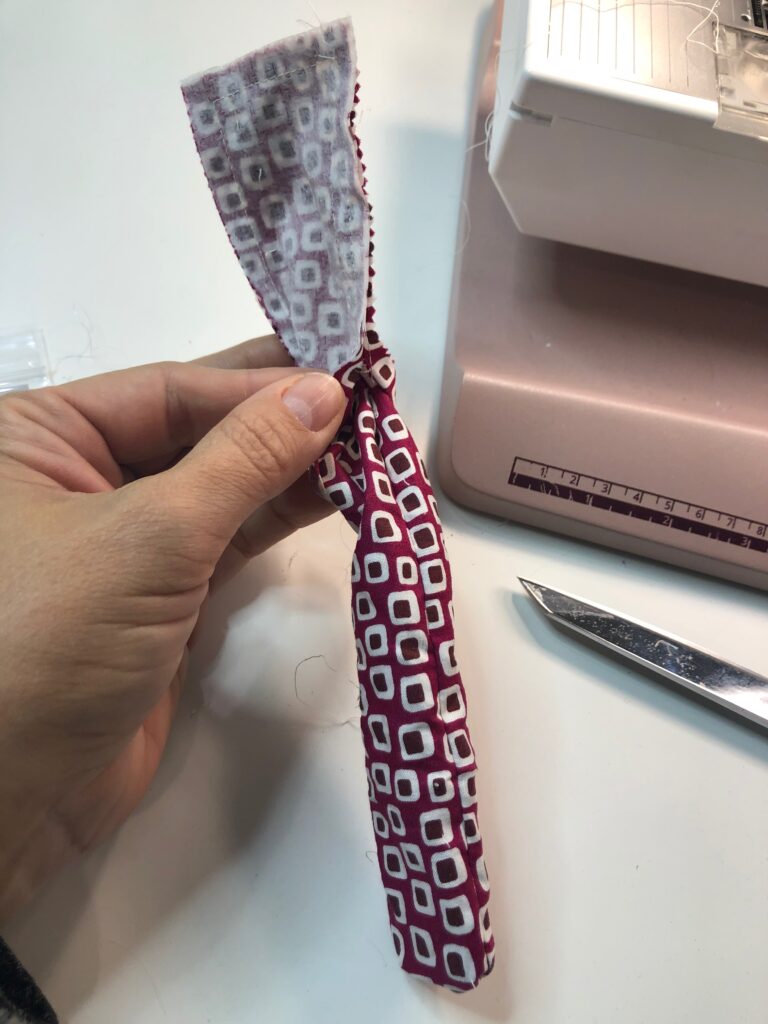
Clip the corners, and then turn the rectangle right side out; press. (My daughter got a little crazy with her seam allowance on one edge, but we fixed it easily!)
Turn the opening raw edges toward the wrong side; pin or use Wonder Clips to secure.
Topstitch the rectangle, closing the opening with the stitching.
FINISHING THE STOCKING STUFFERS
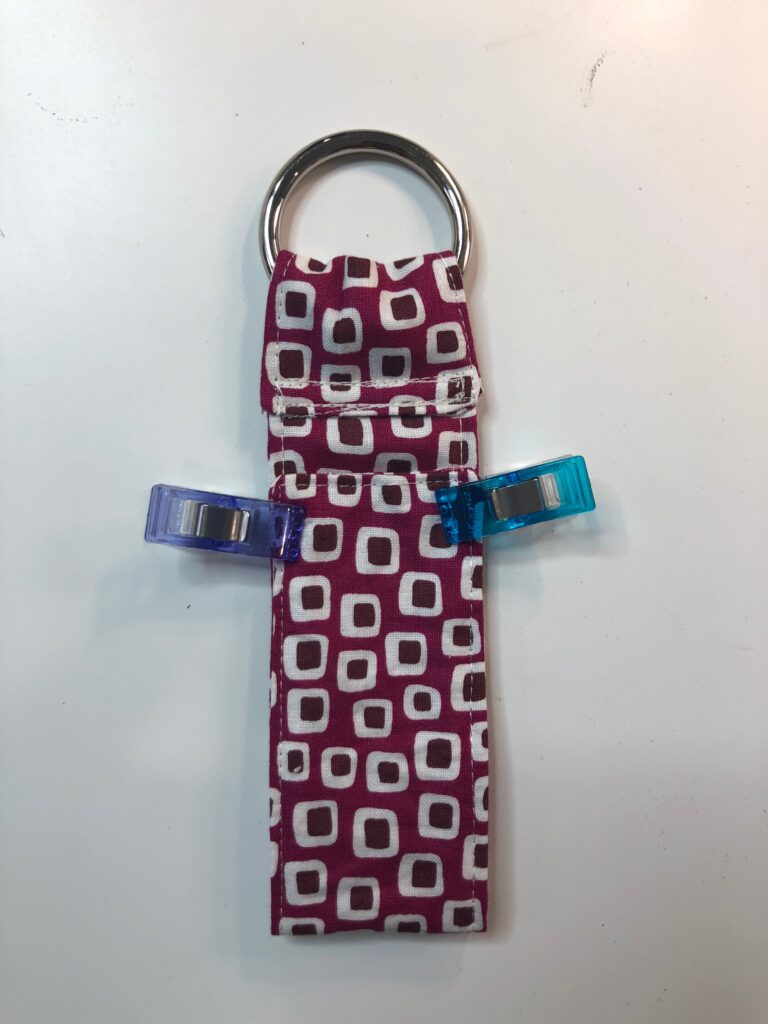
Wrap one rectangle short end around the O-Ring, extending the rectangle end about 1″ beyond the Gate Ring edge. Pin or use Wonder Clips to secure.
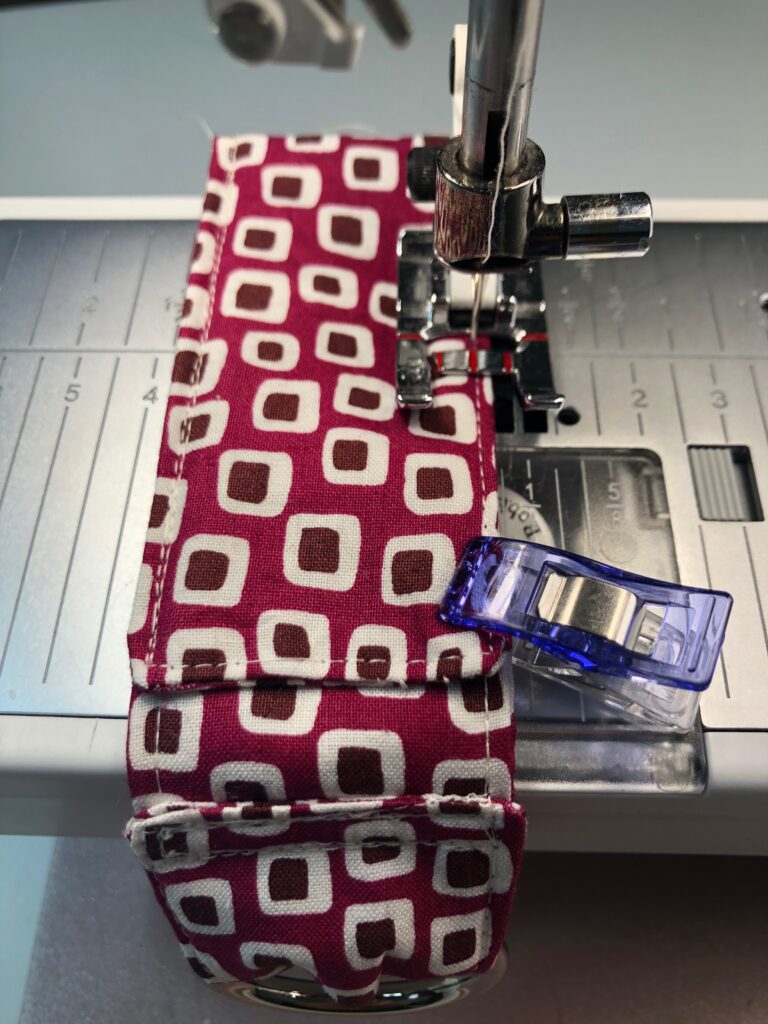
Install a zipper foot. Stitch the rectangle end, securing the O-Ring between the fabric folds. Stitch two rows of stitching: one along the previous stitching line and one 1/4″ above.
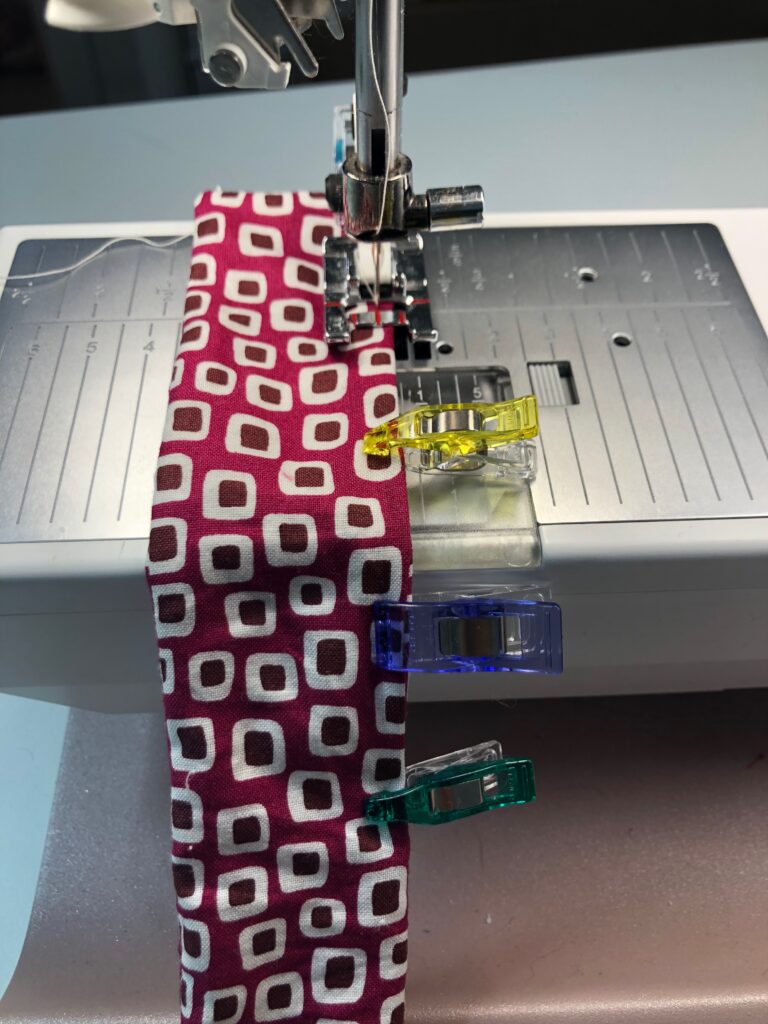
Fold the rectangle opposite end 3″ up toward the O-Ring. Use pins or Wonder Clips to secure.
Stitch the 3″ sides, following the previous stitching lines.
SAME GIFT, DIFFERENT CONTENTS
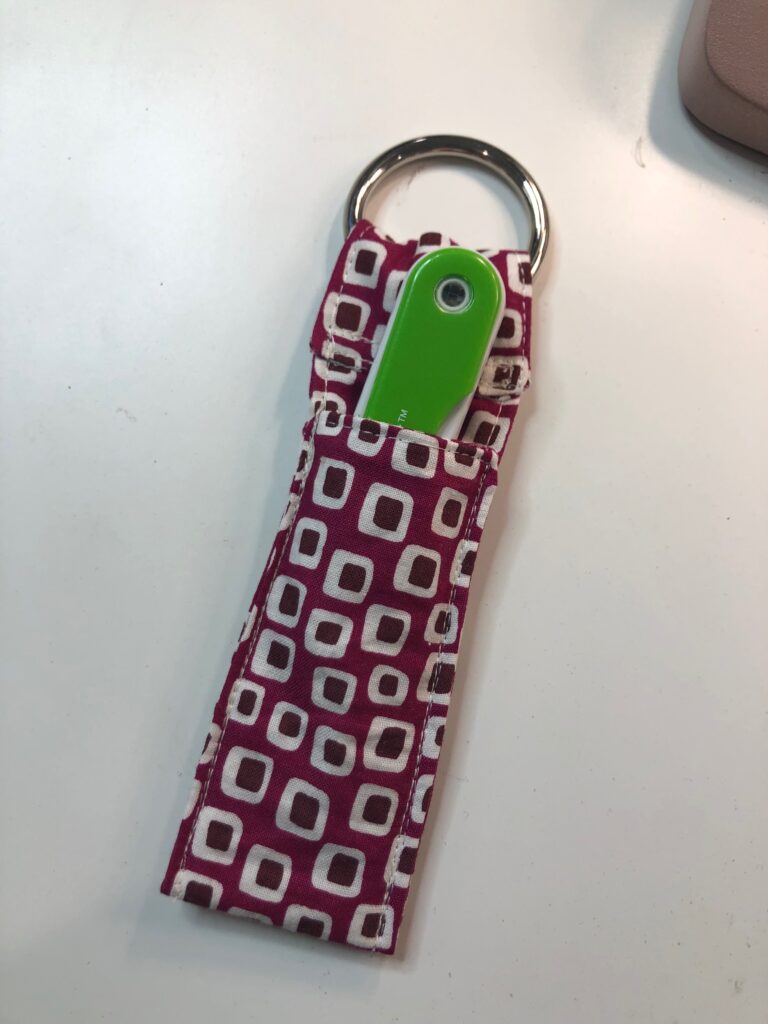
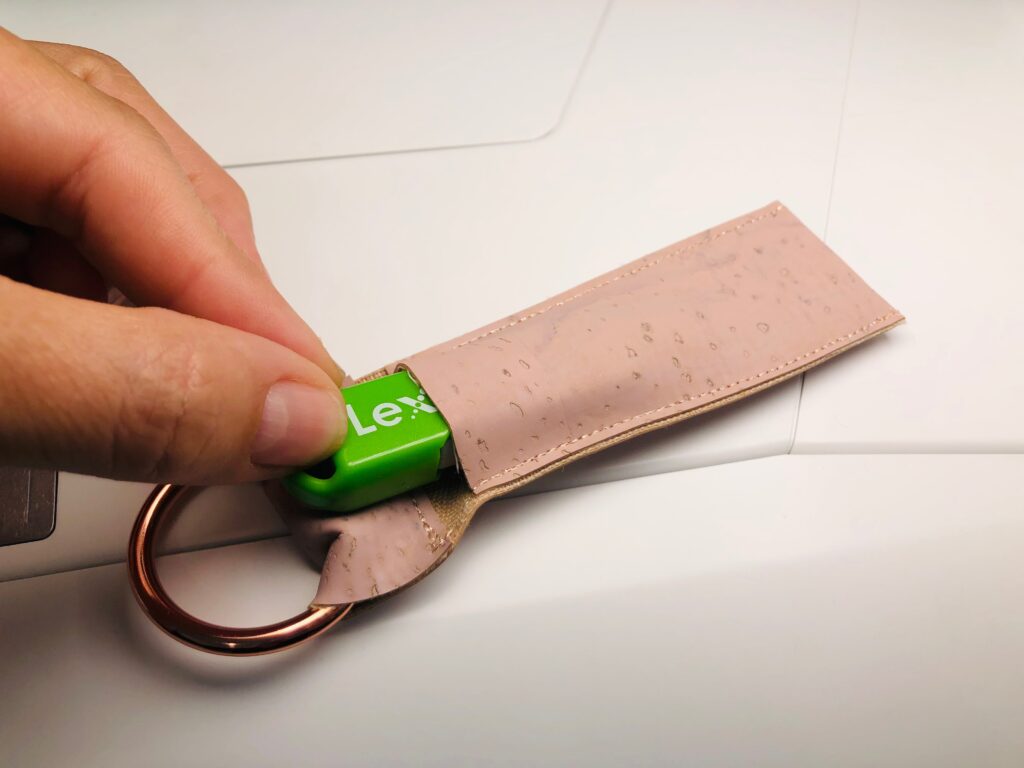
Insert a thumb drive into the stocking stuffer sleeve and gift it to a student.
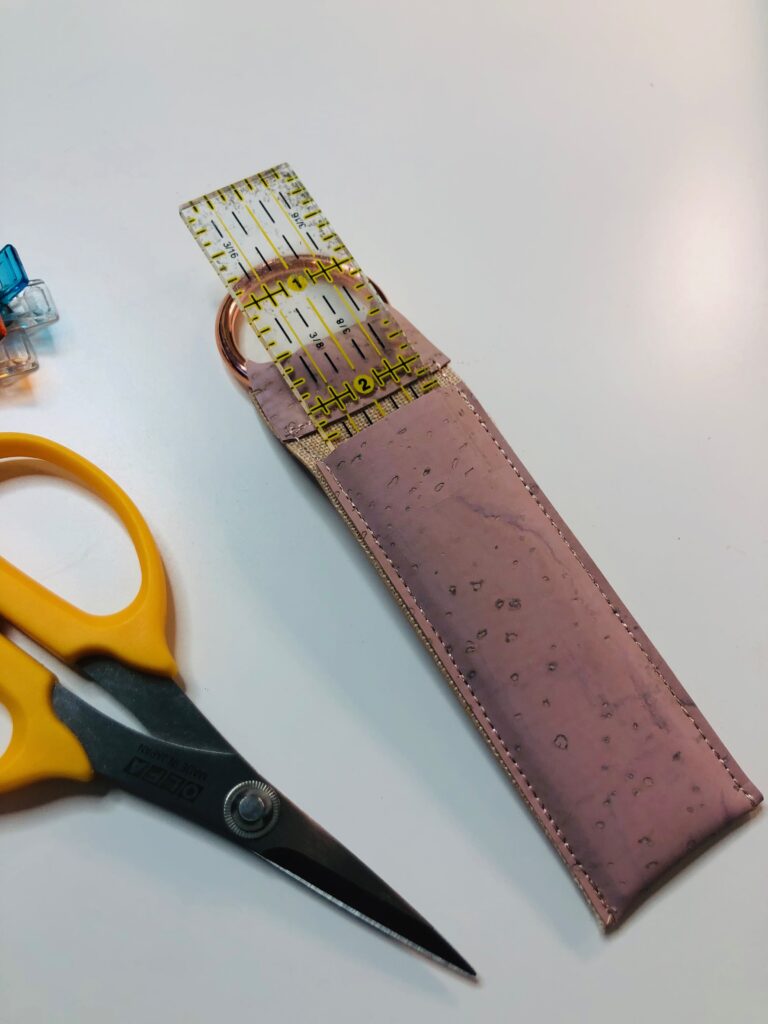
Or fill the thumb drive with fun embroidery designs or a 1″ x 6″ clear ruler and gift it to a sewing friend.
Insert a scented chapstick into the stocking stuffer sleeve and hook the Gate Ring to a new backpack or pouch.


I love this idea