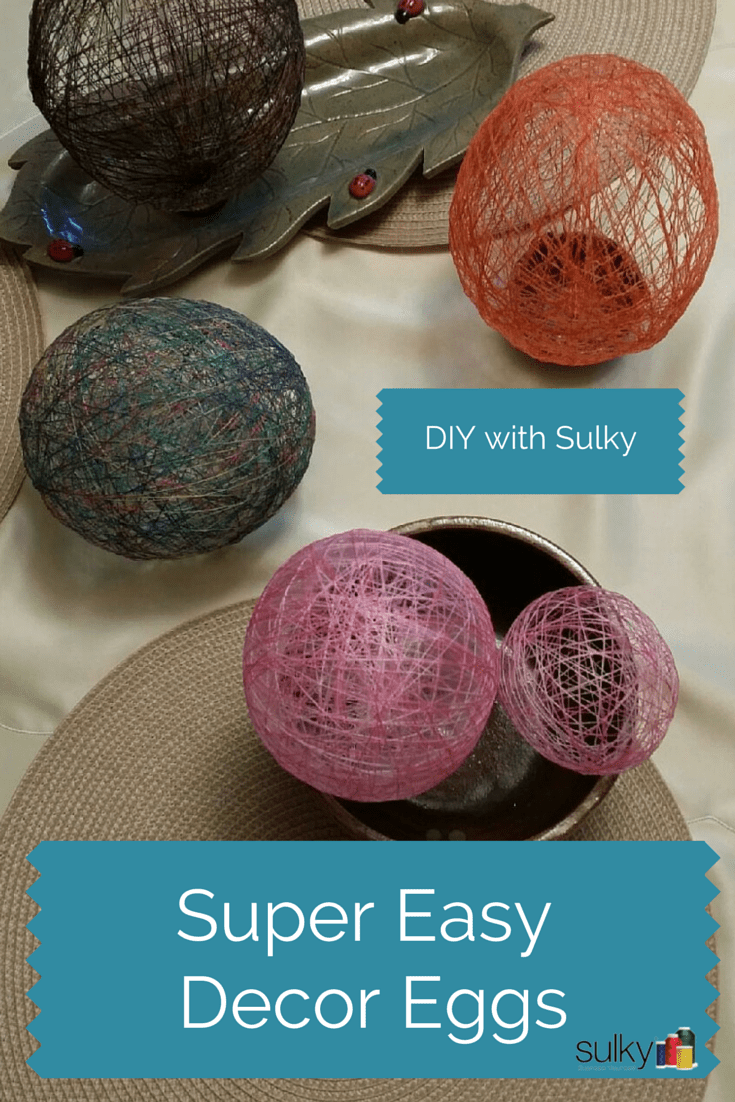
I love these eggs because they are pretty, easy and a great way to use your Sulky® Solvy™ Scraps. The directions below also give you an option to make it with 1 yard of Sulky Fabri-Solvy™ in case you haven’t been saving scraps but must have these eggs done for your home!
Sulky Cotton Thread & Solvy Easter Eggs
By Eric Drexler,
Sulky National Educator
Making Liquid Solvy
For every 1 cup of water, microwave 30 seconds. Slowly add 1 yard of Fabri-Solvy. If you are like me, and you save scraps, you can add dry Solvy scraps to the heated water and mix until a thin, almost watery, paste is formed. Let the mixture sit until you are ready to apply, then stir to work out all of the clumps.
Making the Eggs
Inflate a balloon, but not all the way. Tape down the “belly button” of the balloon so it is flat.
Wrap Sulky 12 wt Cotton (solid color or Blendables®) around the balloon starting at the top or bottom. Turn the balloon on it’s axis as it is being wrapped so that a star burst pattern is formed. Be careful to stay in the center of the balloon as you wrap so it doesn’t slide off the side. This is easy to do since you are wrapping and turning at the same time. Turn, wrap, turn, wrap (you get the picture) to gain more control.
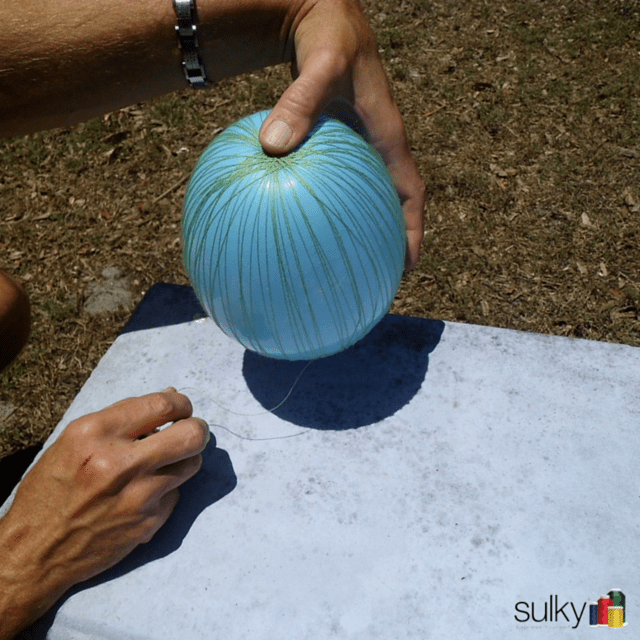
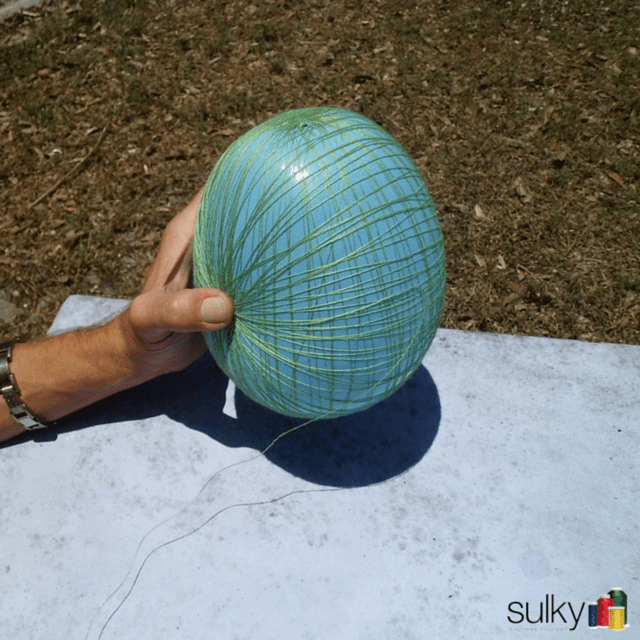
Turn on its side, and start wrapping from the center and repeat the turning motion until another star is formed. Keep wrapping to fill in all the empty spaces. Find any other open areas and make another star burst there until you are happy with the thickness. (Light and Lacy is nice but more fragile. If wrapped thicker it will absorb more liquid Solvy)
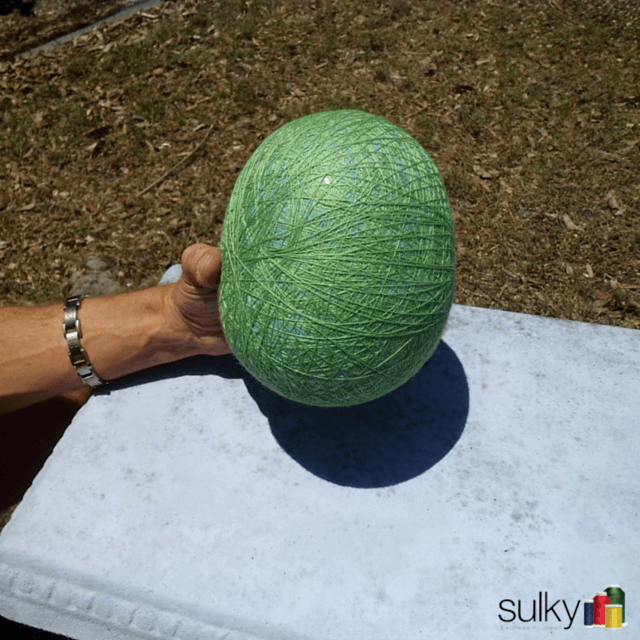
For a jaw dropping look, add a coordinating Sulky Holoshimmer with the Sulky Cotton or Blendables Thread.
Use a wider paint brush (like ½” bristles or bigger) to apply the liquid Solvy over the outside of the wrapped balloon. Let it soak in and make sure to cover every inch. If too much liquid Solvy is applied it will drip.
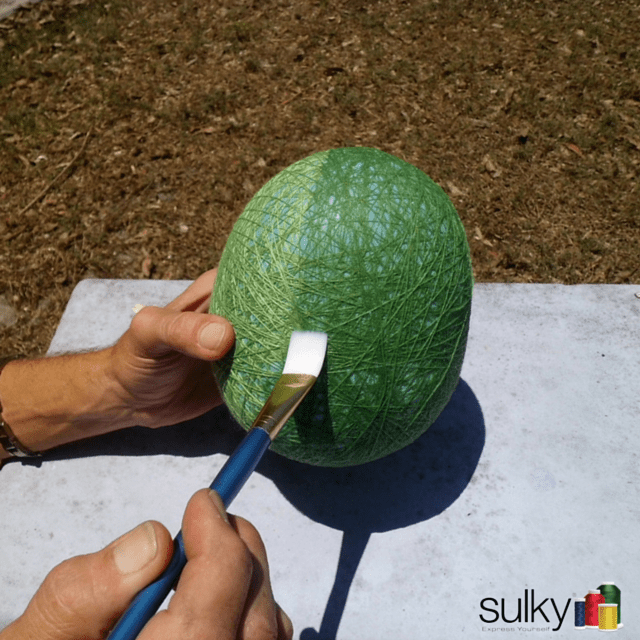
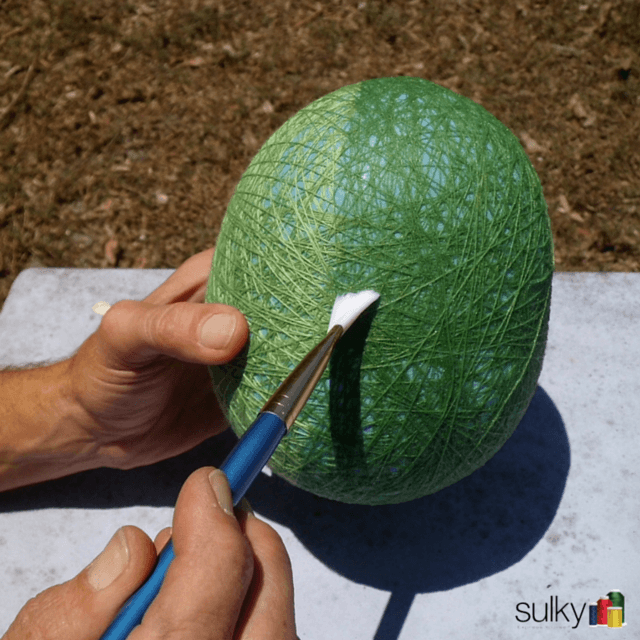
Use a small plastic or glass bowl to set the egg in for drying. You can use a fan or put them in the sun so they will dry more quickly. Make sure to turn them over from side to side and top to bottom to avoid the liquid Solvy migrating to the lowest point. Every 15 to 20 min should be sufficient. When the egg is dry, apply another layer of Liquid Solvy. Repeat a third time for a super strong egg.
When the egg is COMPLETELY dry, pop the balloon. Remove the balloon with a dental pick or tweezers through one of the holes.
Spray with clear acrylic to seal and strengthen you egg. Enjoy!
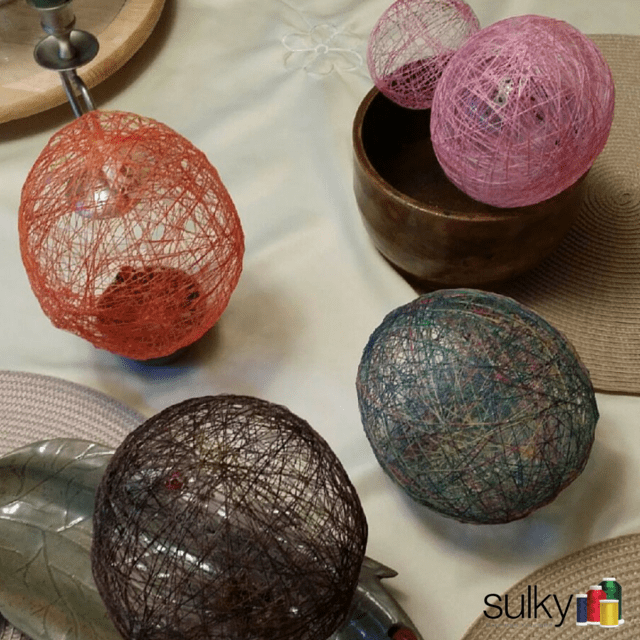


If you drop a small item into the balloon before inflating, then proceed as directed, when you pop the balloon at the end, the item will be inside. Just be sure what you put inside doesn’t have sharp edges to tear the balloon.
Great tip, Carolyn! Thanks!
Now that’s a low calorie treat if ever I saw one! Hmmmm…..
I love this idea! So pretty, and everyone will wonder how you did it!
Wonderful to see these come around again. We made them more than 40 years ago.
I am glad that I found this, I had seen something similar to this but the directions left a lot to be desired. These directions are very easy to follow and they turn out beautiful.
What a great project to share with grandchildren. When they were small, or young we always thought of little fun projects to make and I wouldn’t trade those wonderful memories for anything. Something to pass on should they have grandchildren. Thank you, Rosalie
If I have super solvy- which lists at 4 times the thickness- should the proportions for the mixture be one forth yard to 1 cup water- what do you suggest- thank you J
Yes, I would start with that and you can always add more Solvy if it’s not thick enough.
love, love, love
We love these–thank you.