Thanksgiving Placemats using Poly Star Thread
by Ellen March
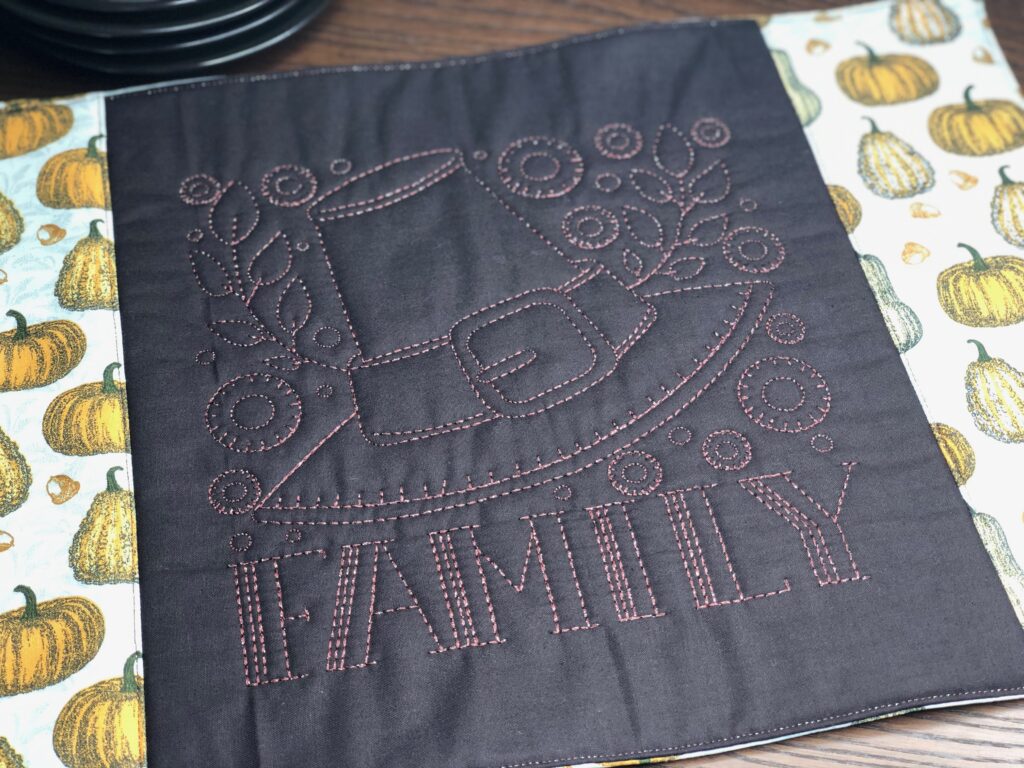
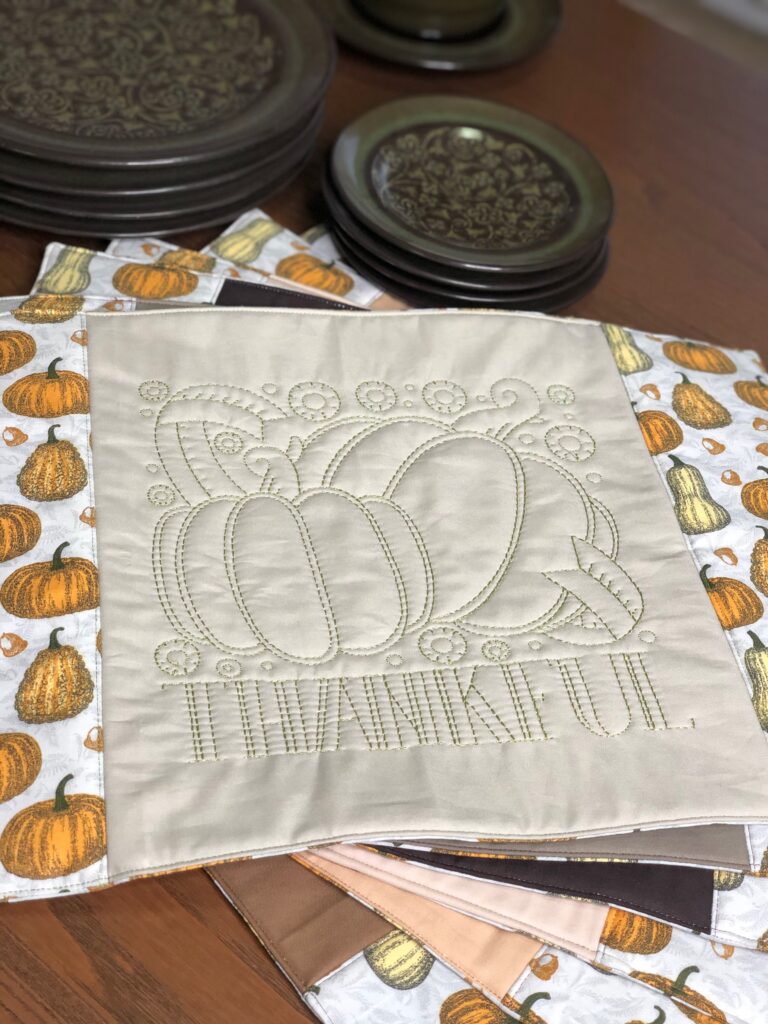
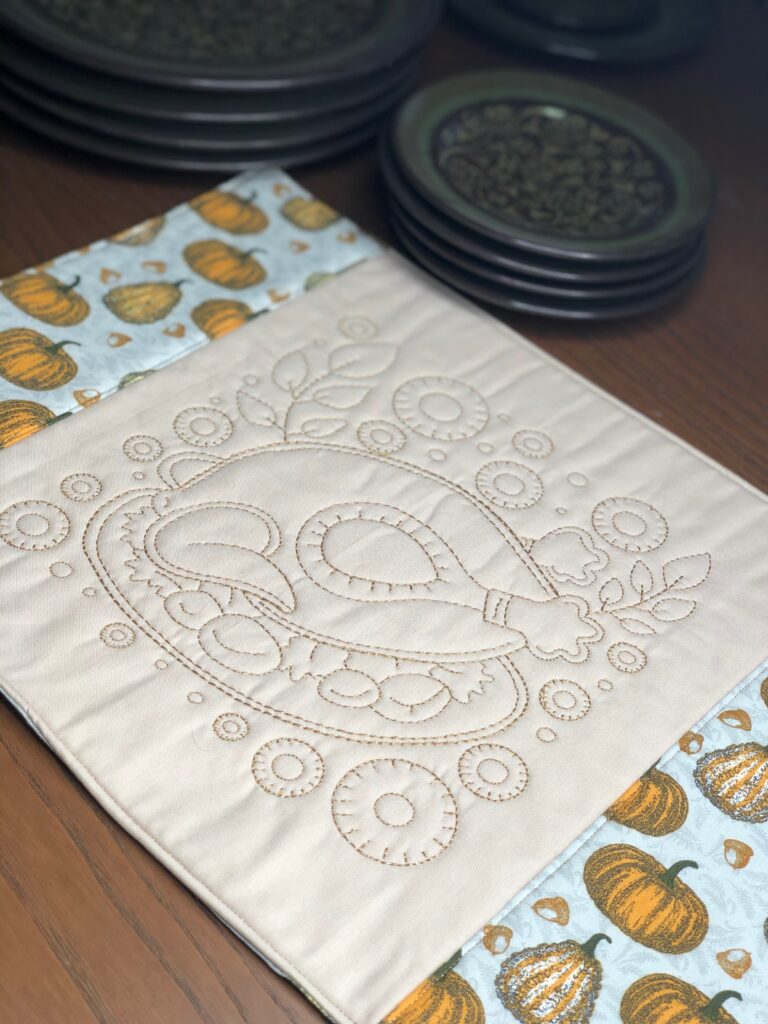
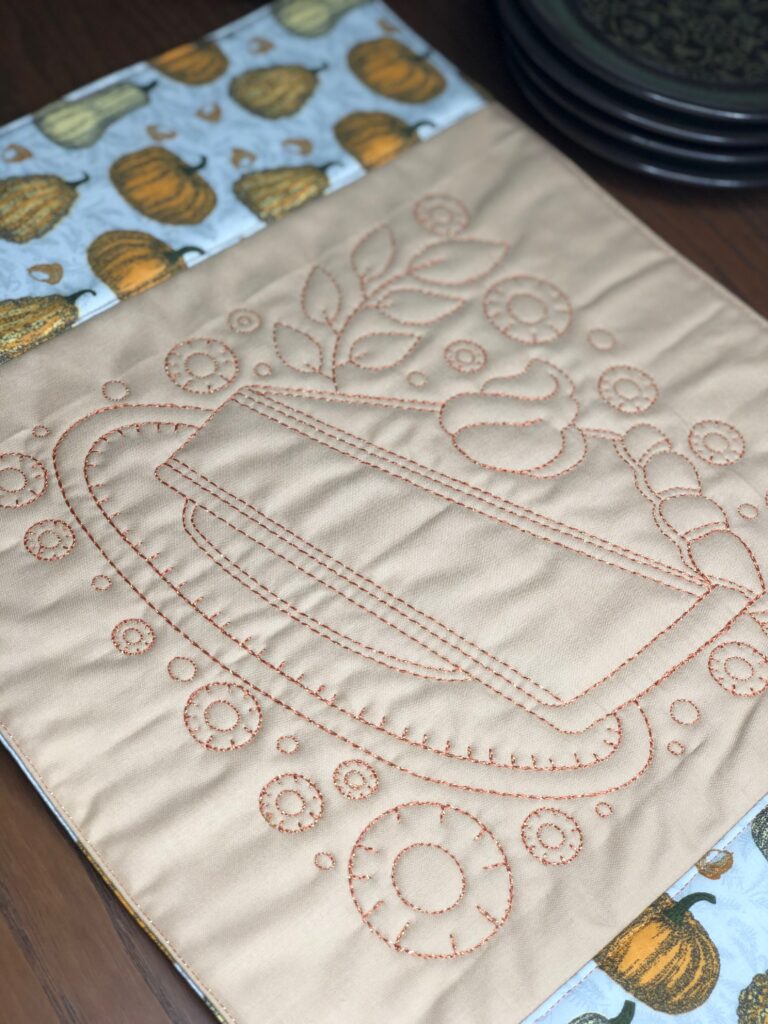
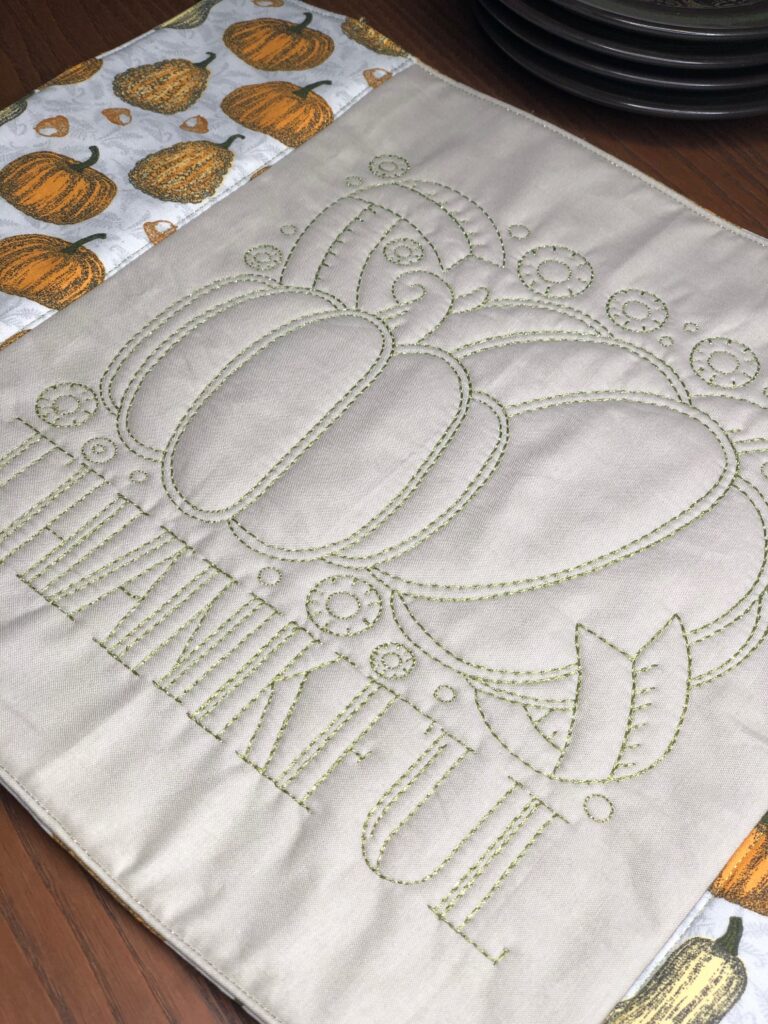
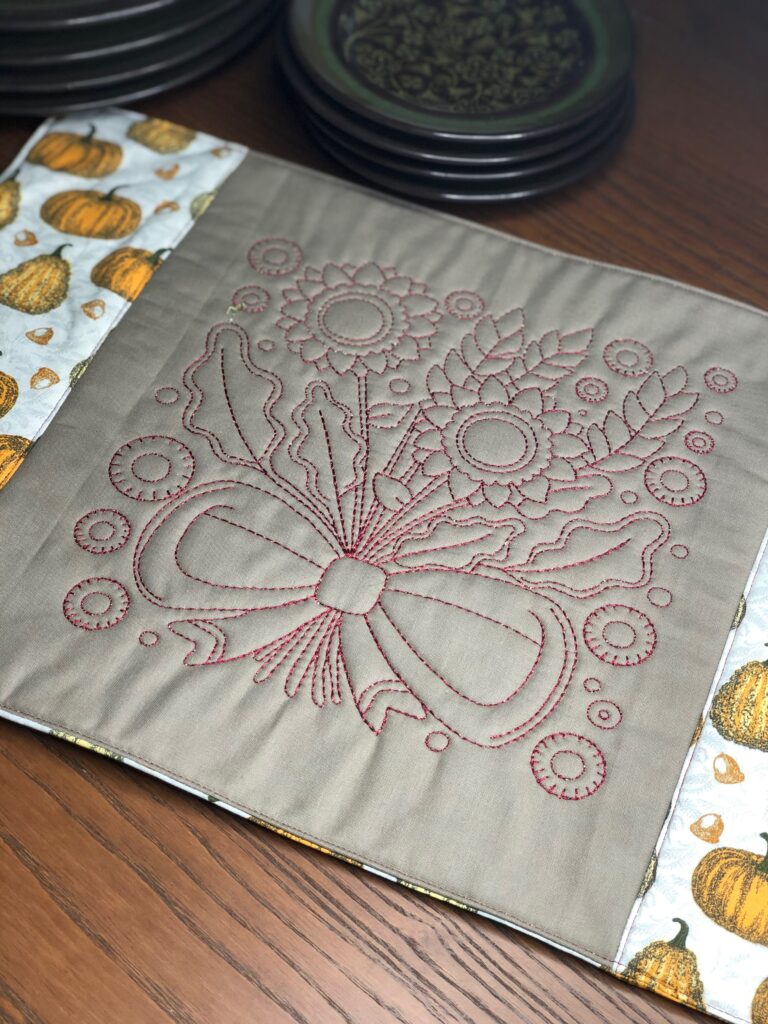
Create a set of Thanksgiving placemats that showcase sparkly Poly Star™ thread embroideries. The large-scale line-art designs are easy to embroider with the 30 wt. thread, offering a touch of glitter and a pronounced texture to the placemats.
Supplies listed are enough to make six Thanksgiving placemats measuring approximately 14” x 20”.
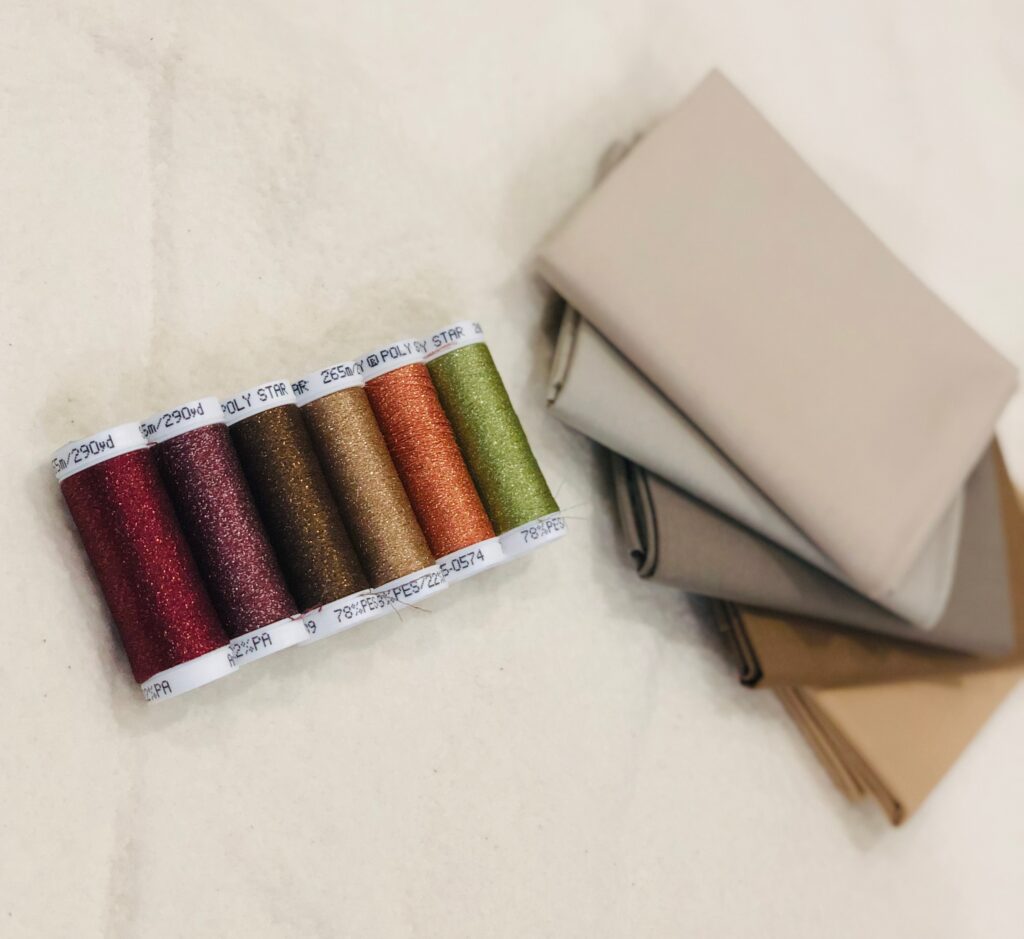
THANKSGIVING PLACEMATS SUPPLIES
- Sulky Fall Poly Star™ 6-pack
- Sulky Soft ’n Sheer™ stabilizer
- KK 2000™ Temporary Spray Adhesive
- Sulky Bobbin Thread
- Designs by Juju Thanksgiving Folk Blocks machine embroidery collection (choose six 9” designs from the collection)
- 6 coordinating fat quarters of solid fabric
- 2 yards of pumpkin-print cotton fabric
- Low-loft batting (crib size or larger)
PREPARE THE PLACEMATS
From the print fabric, cut two 5” x 14” rectangles and one 14” x 20” rectangle for each placemat. Be mindful of the fabric direction, if applicable.
From the batting, cut two 5” x 14” rectangles and one 18” x 22” rectangle for each placemat.
Note: If you’re able to use a smaller hoop, you’ll be able to use less solid fabric. For the featured designs, a 360 x 260 hoop was used. (Use a hoop that measures at least 260 x 260 to embroider the 9” design size as shown.)
EMBROIDER THE THANKSGIVING PLACEMATS DESIGNS
Load the first embroidery design into the machine.
To set up the machine, insert a size 90/14 Embroidery or Titanium Top Stitch needle. Then, thread the machine with Poly Star in the needle and Sulky Bobbin Thread in the bobbin. Choose the color of your choice from the Fall Poly Star 6-pack.
Stack the following fabrics on a flat work surface in this order: Sulky Soft ‘n Sheer, batting, solid fabric right side up. Use KK 2000 to secure the layers.
Hoop the fabric sandwich. Then, place the hoop onto the machine.
Embroider the design.
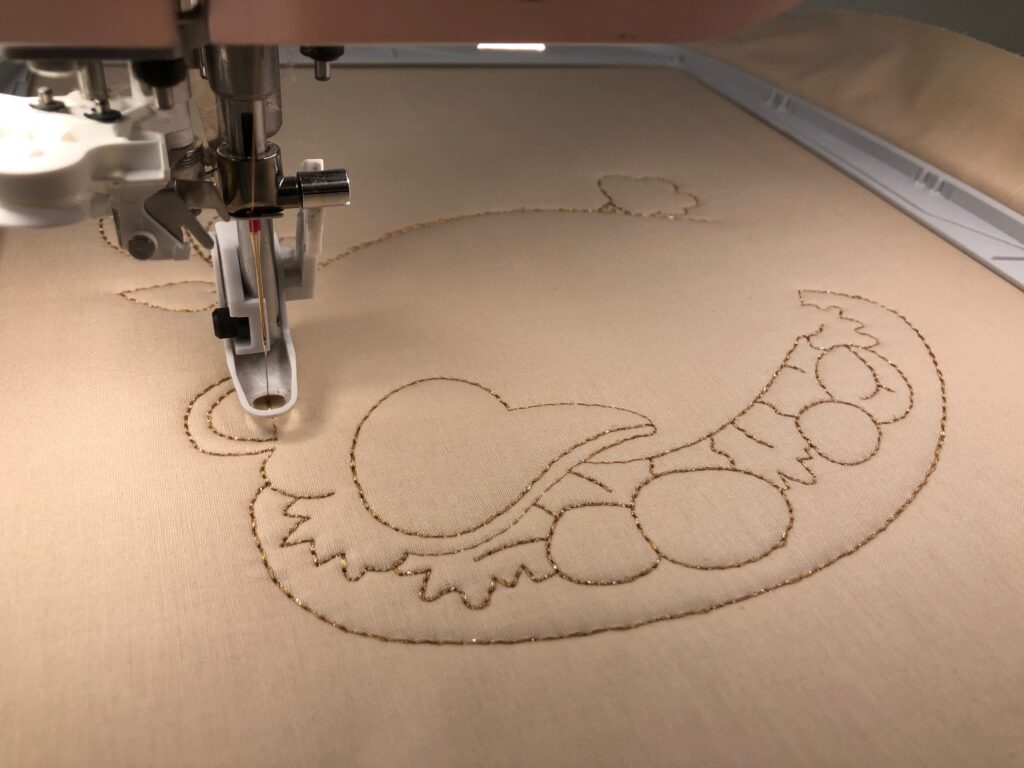
Next, remove the hoop from the machine and clip any jump threads from the right and wrong side.
CONSTRUCTING THE PLACEMATS
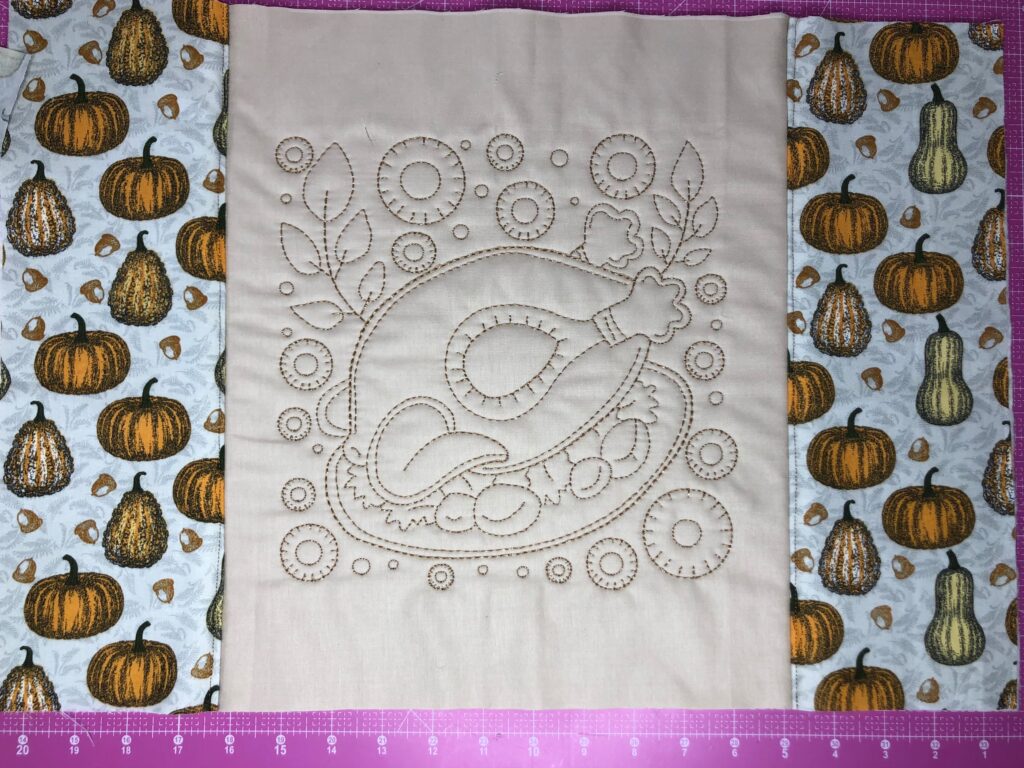
Remove the embroidered fabric sandwich from the hoop. Then, trim the rectangle to 12 1/4” x 14”, centering the design.
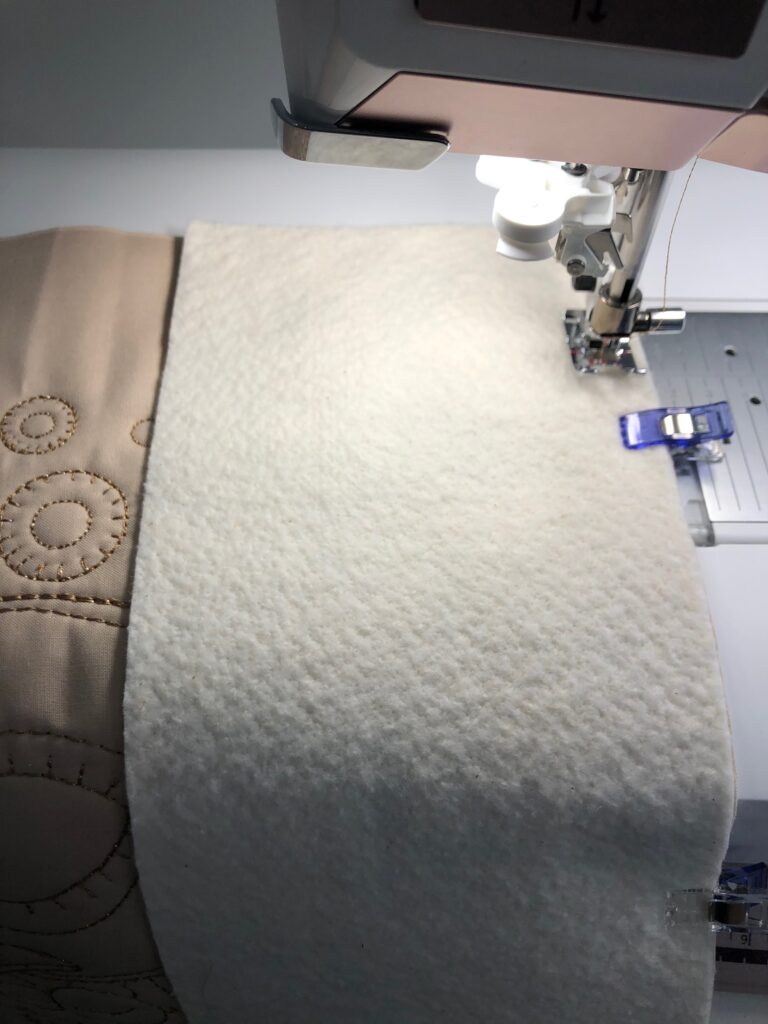
Stack one small print fabric rectangle on top of one small batting rectangle. For a secure hold, use KK 2000 between the layers and smooth the fabric flat.
Stitch the long rectangle edge to the embroidered rectangle right edge.
Then, press the seam allowance toward the print fabric. Topstitch 1/8” from the seam along the print fabric.
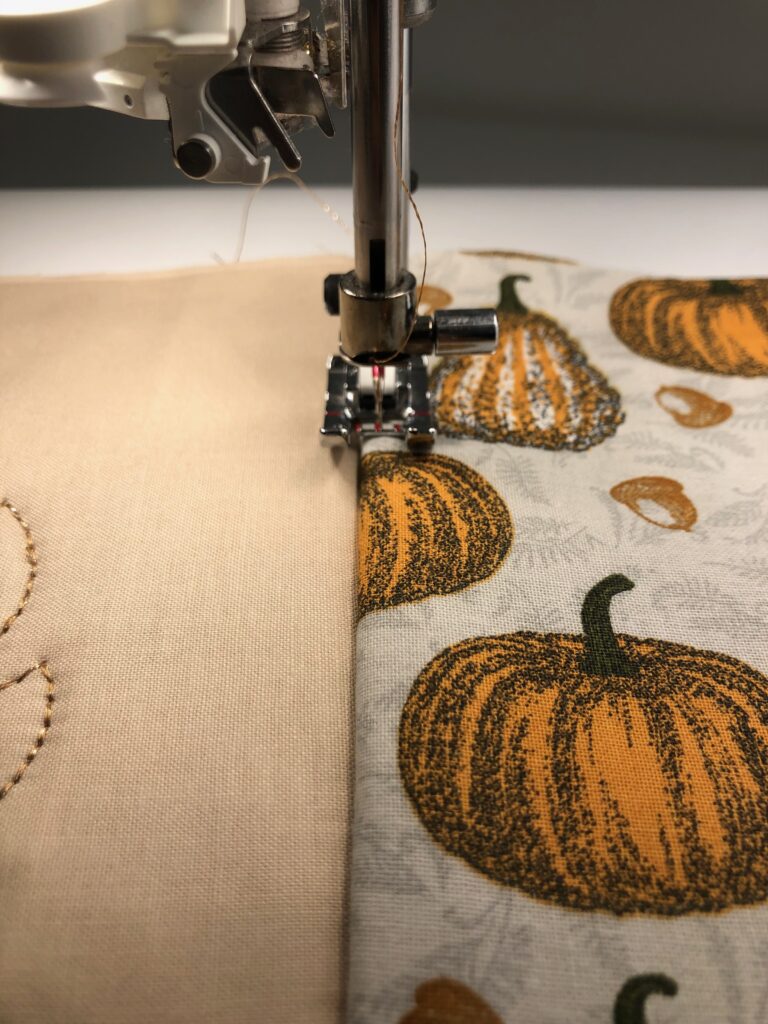
Repeat to stitch the remaining small print fabric rectangle to the left edge of the embroidered rectangle.
If needed, trim the placemat so all edges are even.
FINISHING THE THANKSGIVING PLACEMATS
Place the large print rectangle over the embroidered rectangle, with right sides facing.
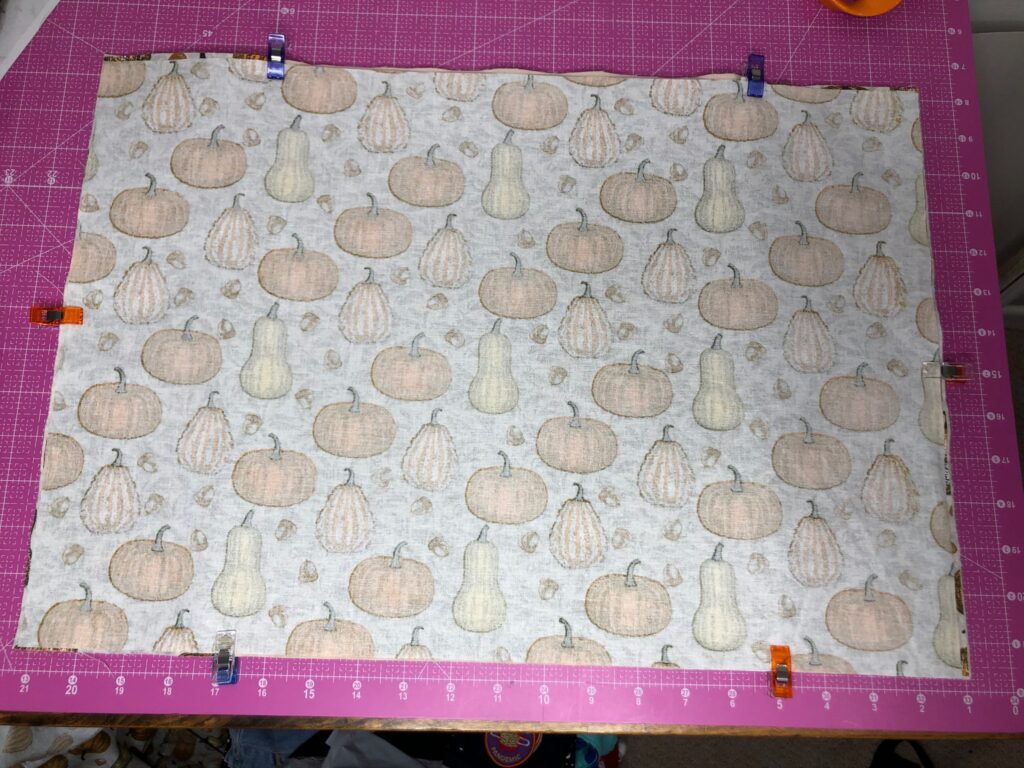
Stitch the placemat perimeter with a ½” seam allowance, leaving a 4” opening along one side edge for turning.
Trim the seam allowance to ¼”. Then, clip the corners.
Turn the Thanksgiving placemat right side out. Use a chopstick or point turner to ensure crisp corners.
Turn the opening seam allowances toward the wrong side; clip shut. Press the placemat gently using a low to medium temperature iron.
Topstitch the placemat 1/8” from the perimeter, closing the opening with the stitches.
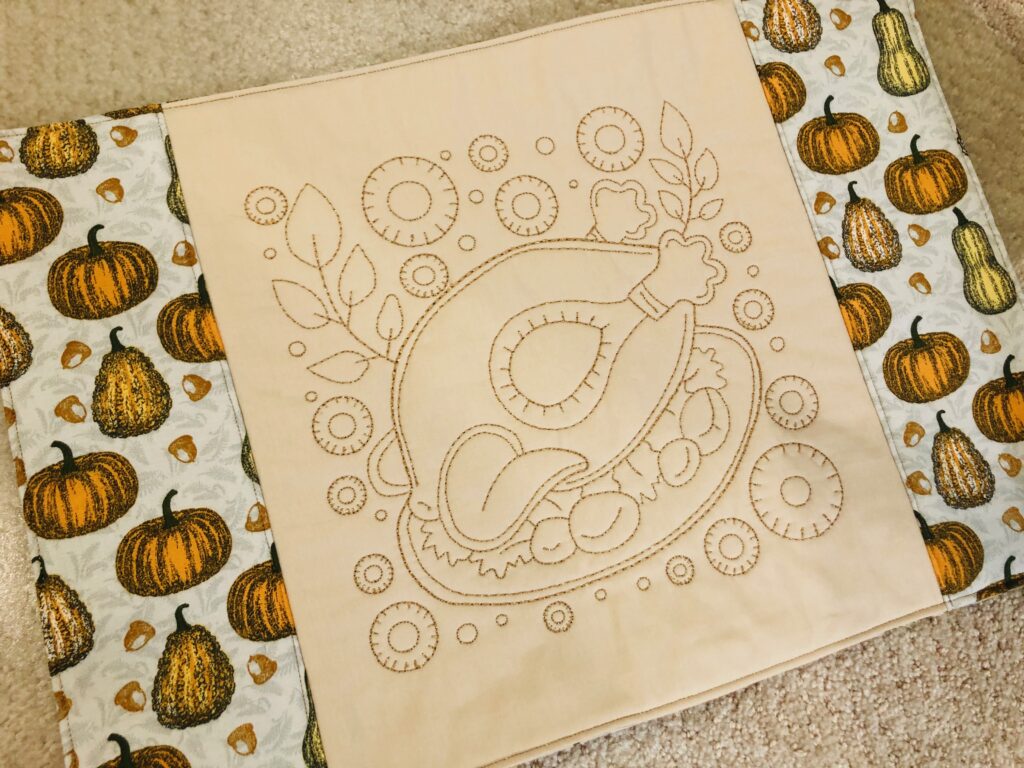
If desired, stitch additional quilting along the print rectangle edges and/or above and below the embroidery design.
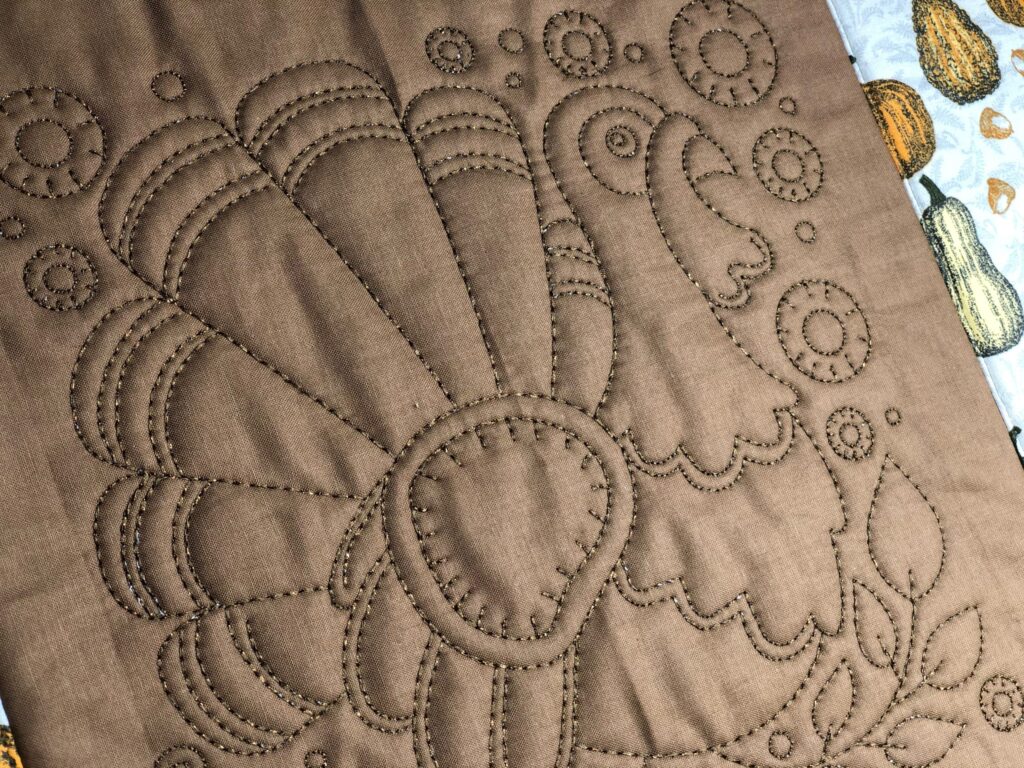
Repeat to make five more placemats, using different designs from the collection and swapping thread colors from the Fall Poly Star 6-pack.


Thanks! I like the ideas! jlo