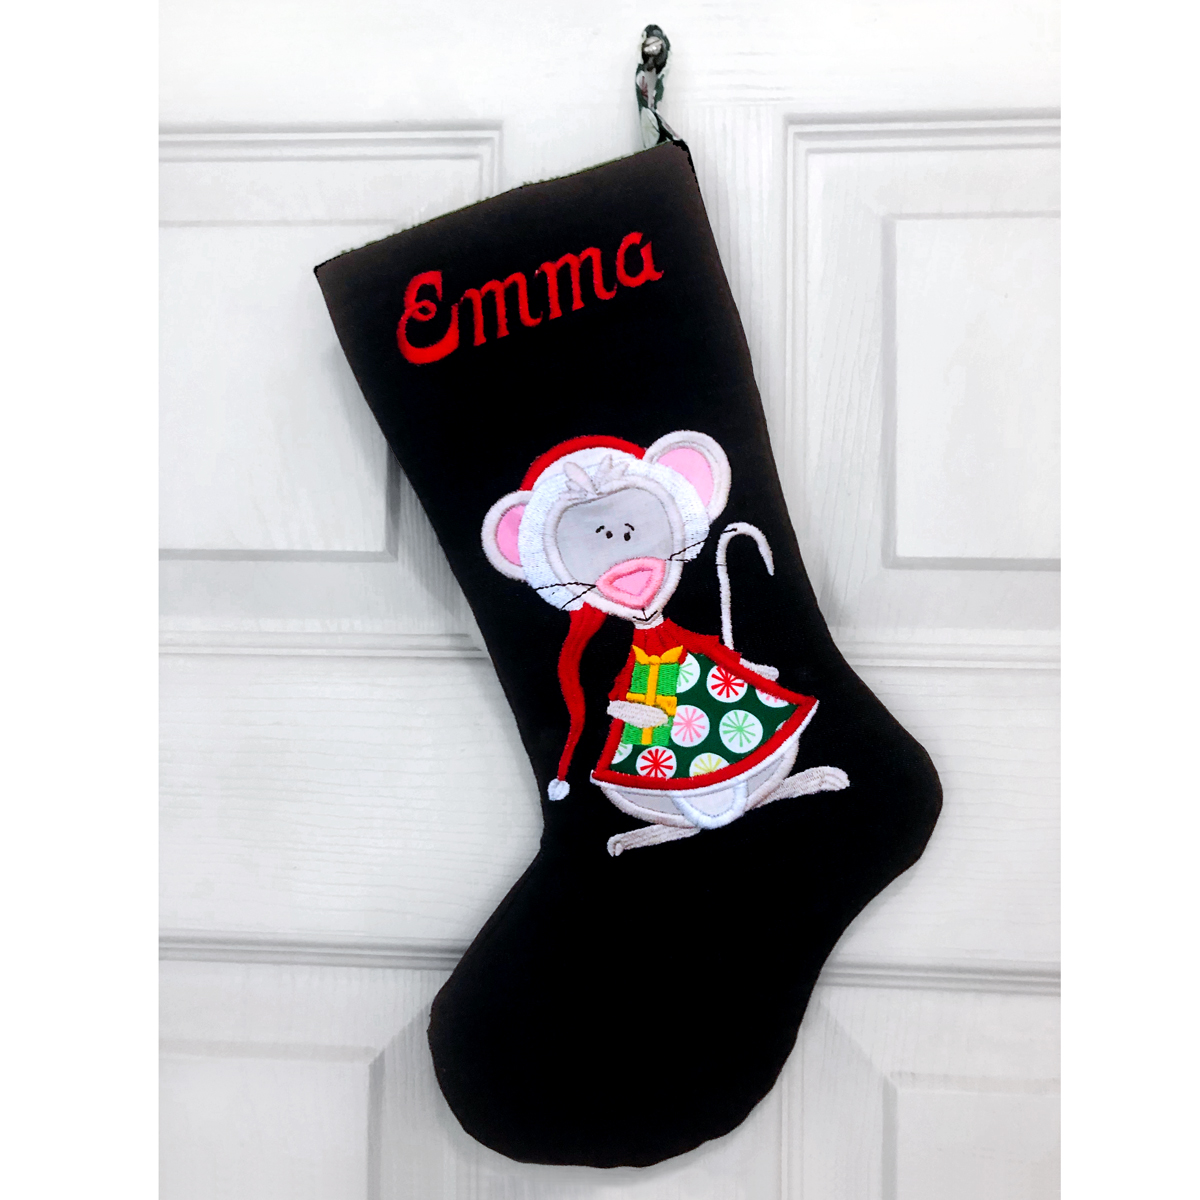
Embroidered Christmas Stocking
Add a machine embroidery design to an in-the-hoop stocking project to personalize it and add a touch of whimsy. The featured stocking design is FREE and ready to load into your machine. You don’t even need software to add a fun design and name.
SUPPLIES
- 1/4 yard of outer fabric (canvas, denim or wool felt)
- 1/4 yard of festive lining fabric
- Assorted fabrics for appliqué pieces & hanging loop
- 80/12 Top Stitch Organ Needle
- Appliqué scissors
Sulky Stabilizers
Thread
- Sulky Merry Kris-Mouse Machine Embroidery Palette (includes 10 spools of Sulky Rayon thread & 10 machine embroidery design files designed by Zandra Shaw of Embroider Shoppe)
- Bobbin thread (for embroidery)
- 50 wt. Cotton+Steel Thread by Sulky (for construction)
- KK 2000™ Temporary Spray Adhesive
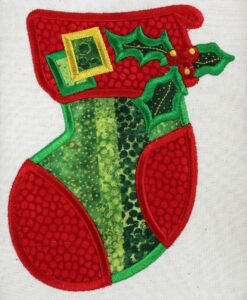
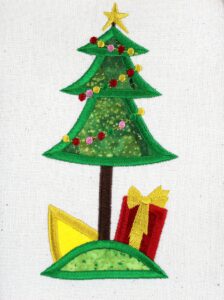
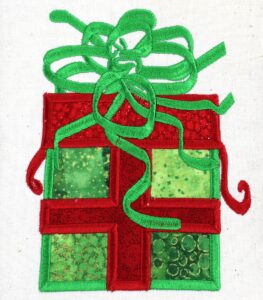
Stocking Embroidery Designs
DESIGN PLACEMENT CONSIDERATIONS
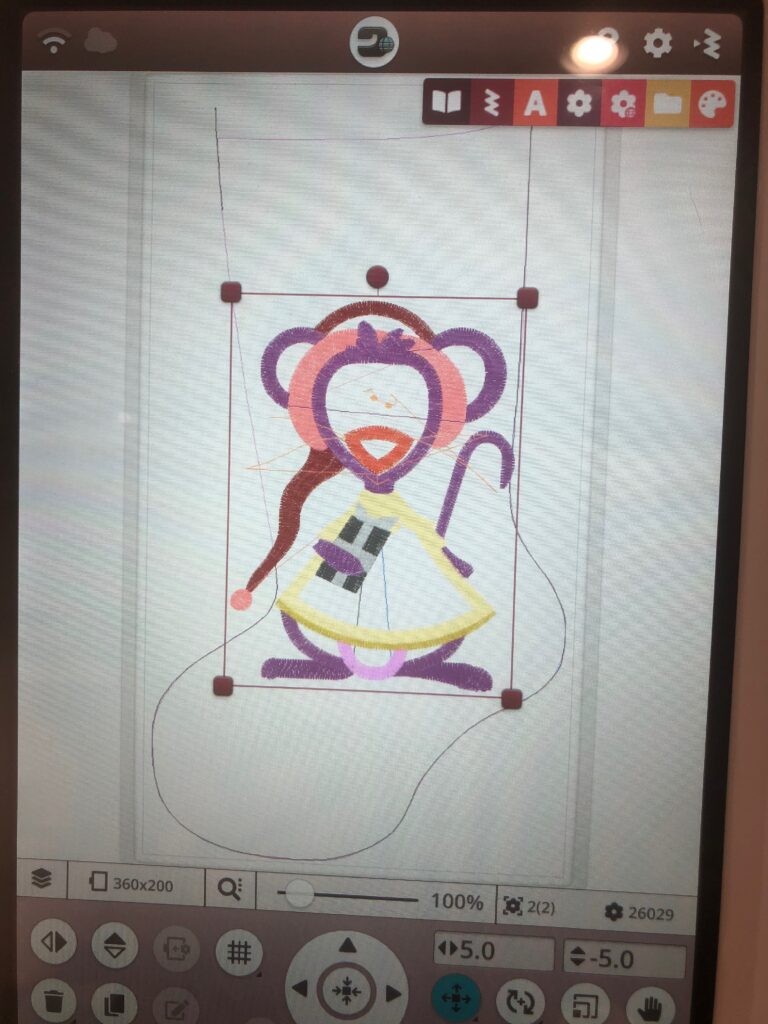
For the featured stocking, only the Lining Design is used from the In-the-Hoop Stocking by Pamela Cox. This provides the stocking outline to position more designs within.
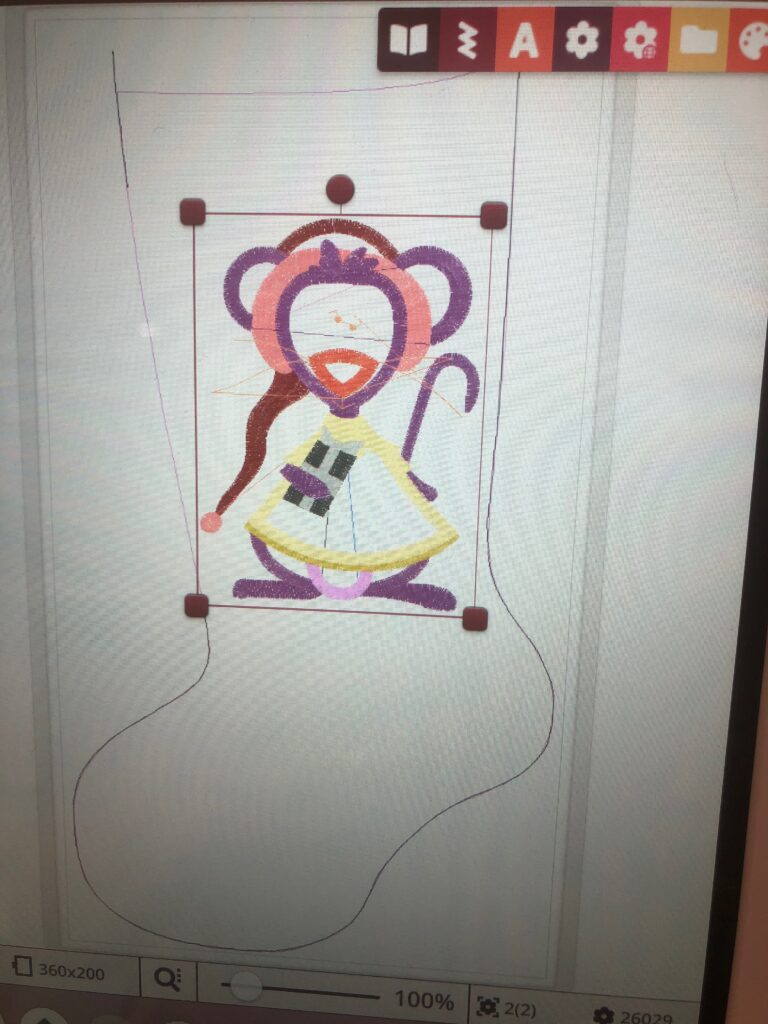
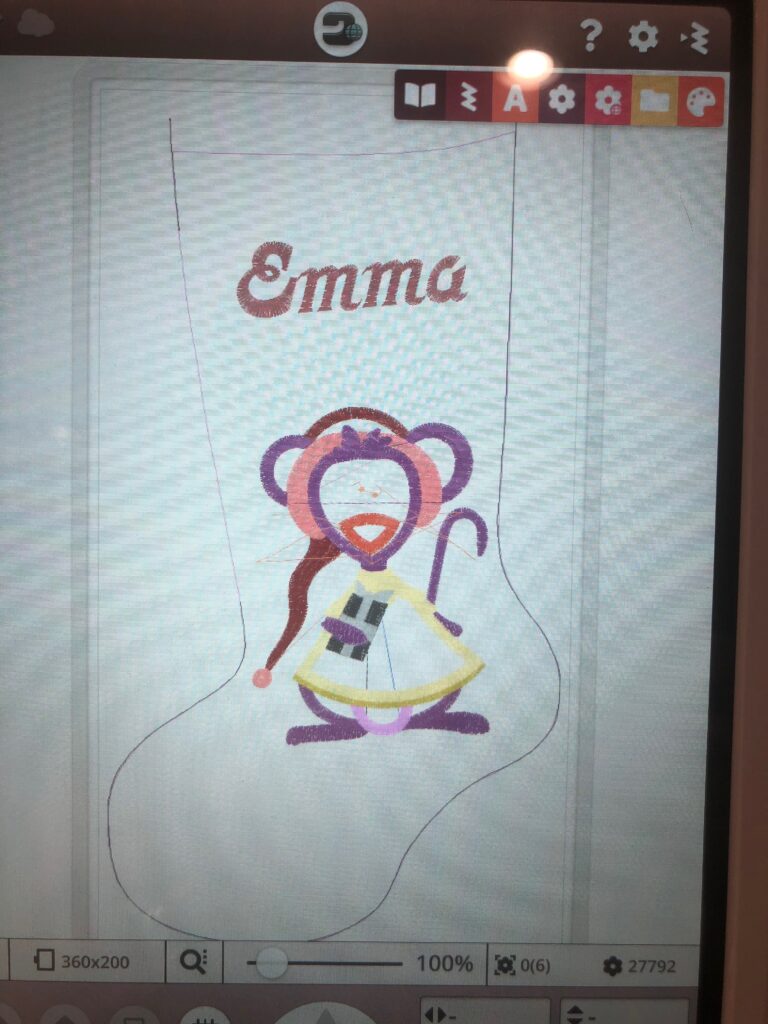
Load the Lining Design onto the embroidery machine. Then, load one of the Mouse designs from the Merry Kris-Mouse machine embroidery collection. Position the mouse in the stocking outline on the machine screen. Experiment with placement until the desired position is achieved. The stocking outline is the seamline, so there will be additional seam allowance beyond this line; however, the mouse needs adequate clearance on all sides to avoid being too close to the seams.
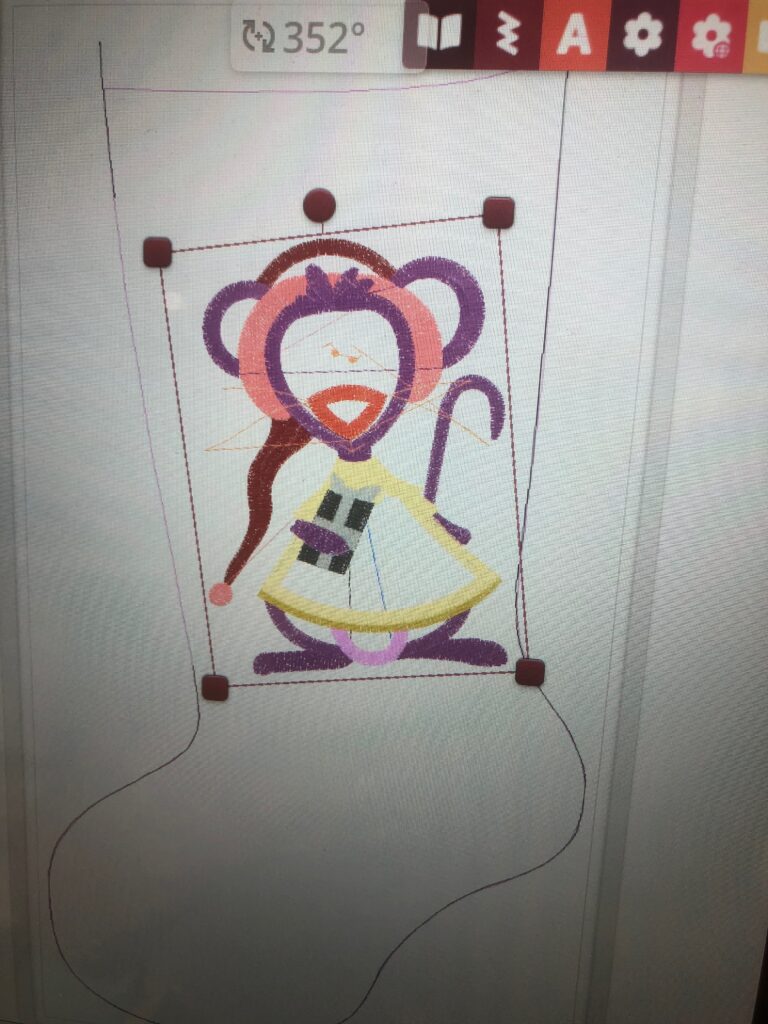
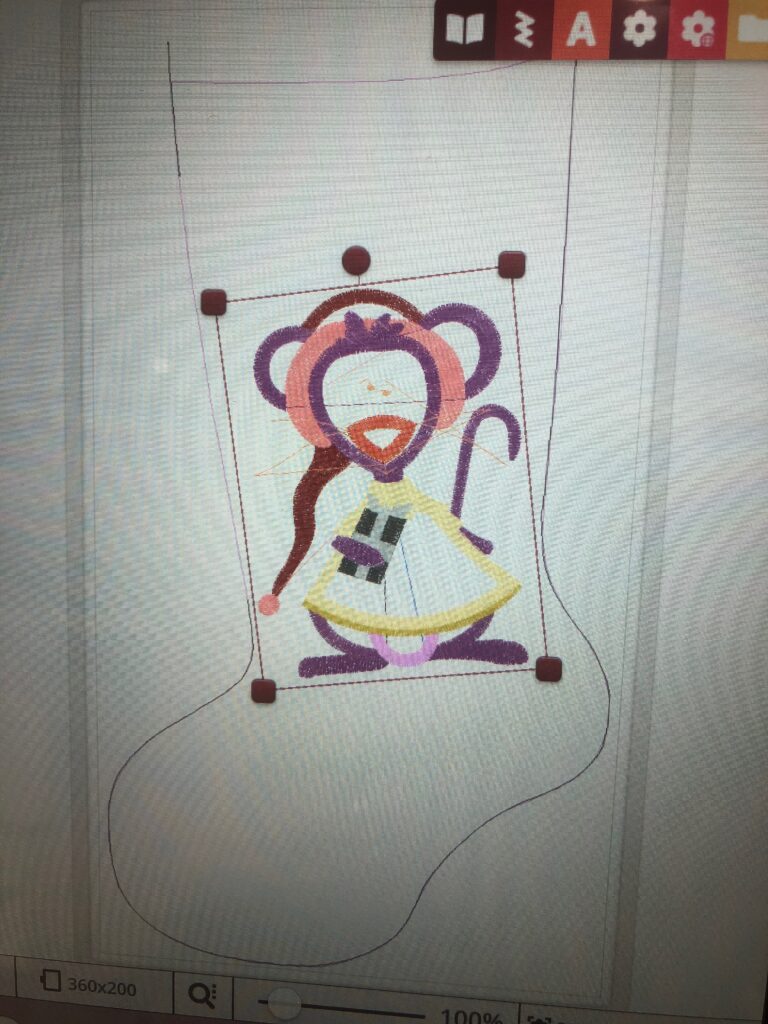
By rotating the mouse, it fits better within the stocking. Plus, it then follows the line of the stocking edge.
ADD A NAME TO CHRISTMAS STOCKING
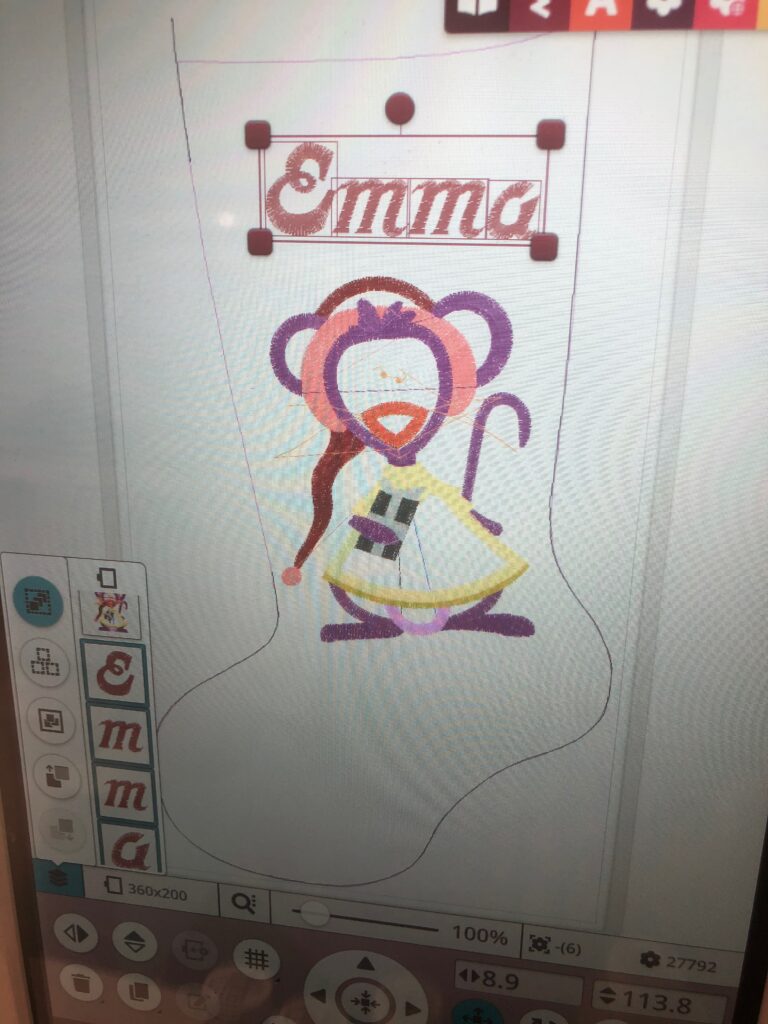
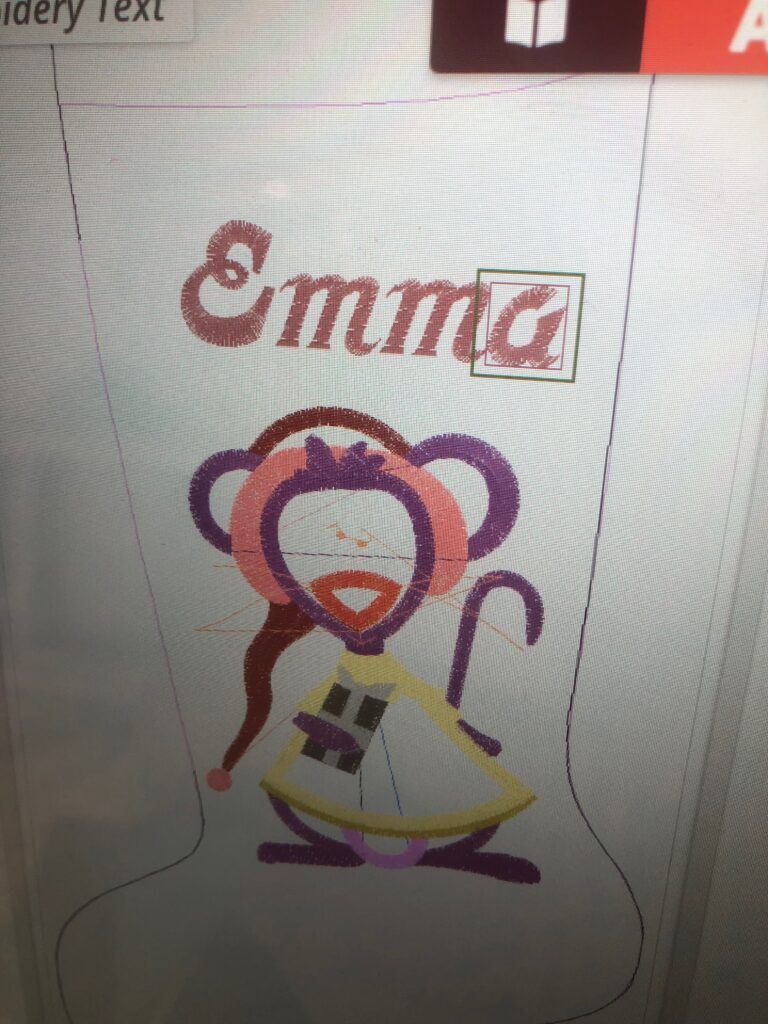
If desired, add a name to the stocking upper edge, using a built-in font of your choice. Once the name is spelled, combine the letters to make the name stitch out as one design. Reposition the name as desired, to fit above or below the mouse motif. Lastly, select each letter and combine them as one design.

EMBROIDERED CHRISTMAS STOCKING
Hoop the Sticky+ with the paper side facing up. Score the paper within the hoop with a straight pin and tear it away to reveal the adhesive.
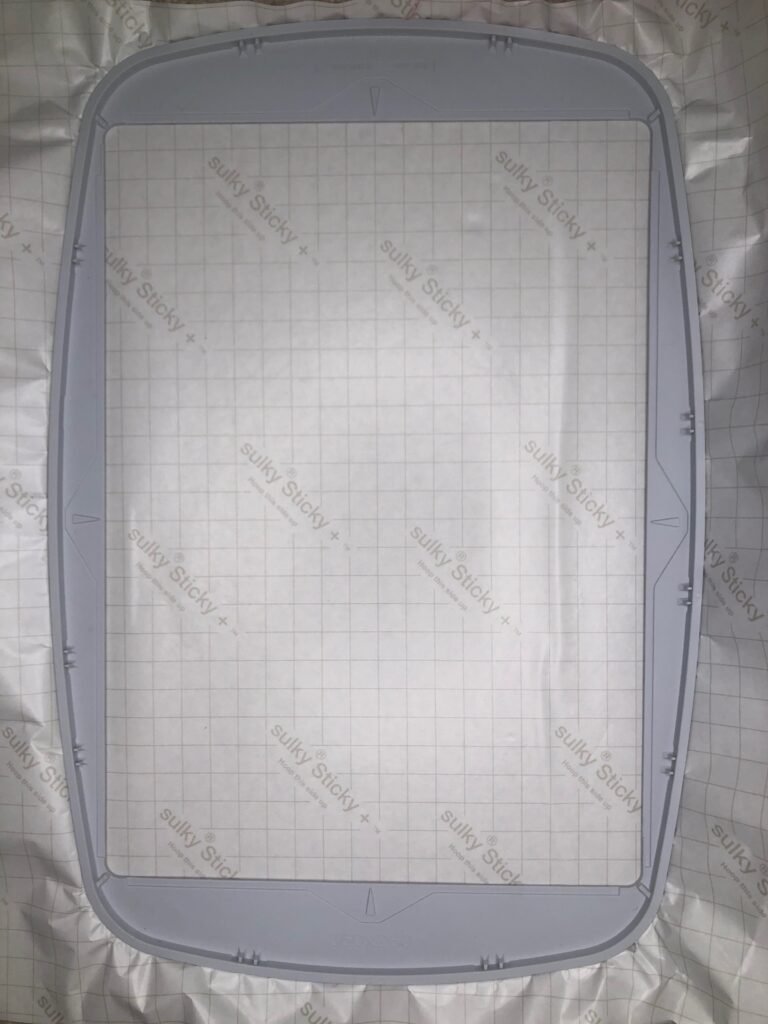
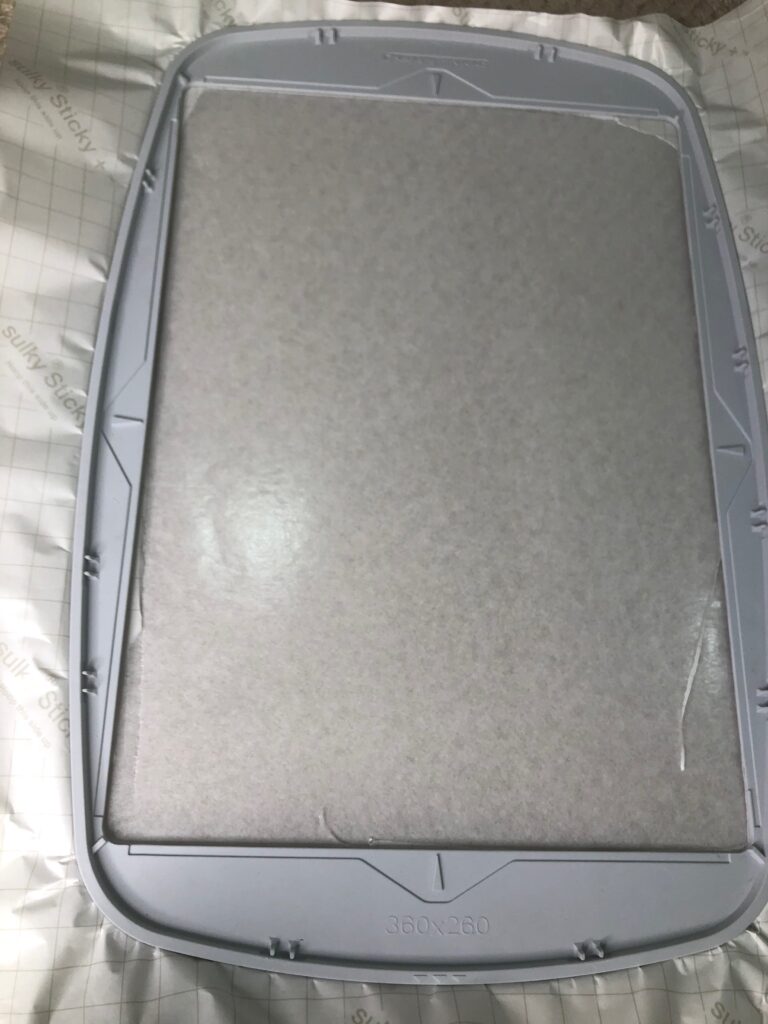
A rather large hoop is needed to stitch out the stocking outline, which serves as a pattern template moving forward. Make sure the machine arm can move freely during embroidery when using such a large hoop. (The hoop featured above is 360×260).
Cut a rectangle of the outer fabric, whether choosing canvas, denim or wool felt. (Note: The fabric is cut after embroidery.)
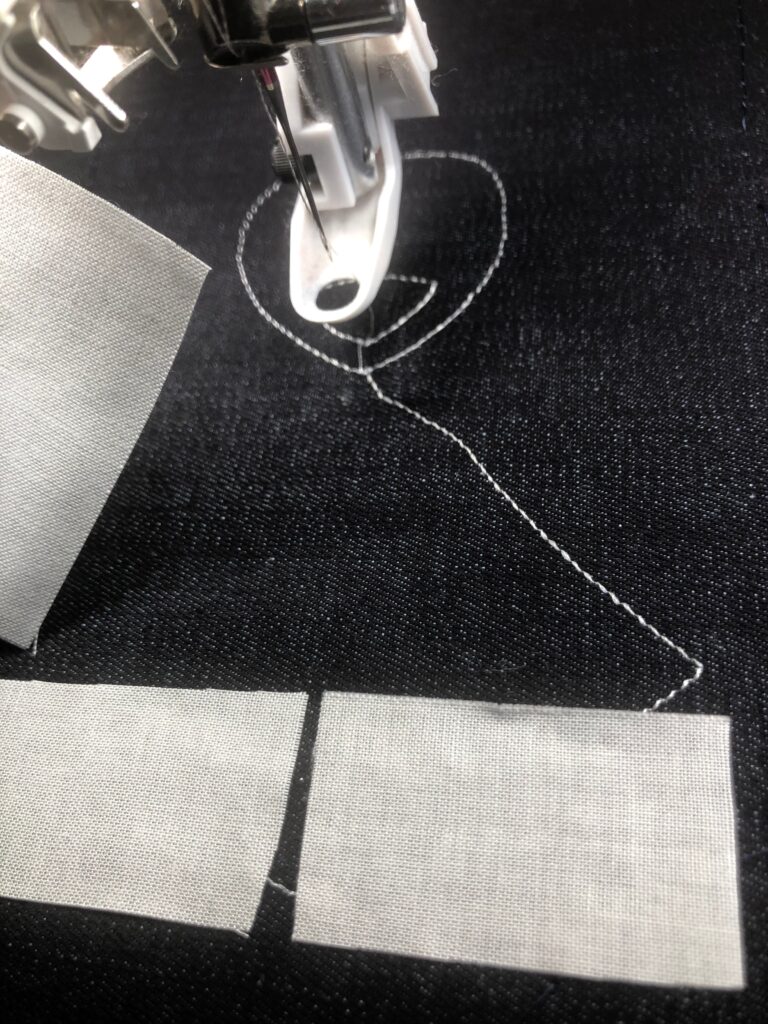
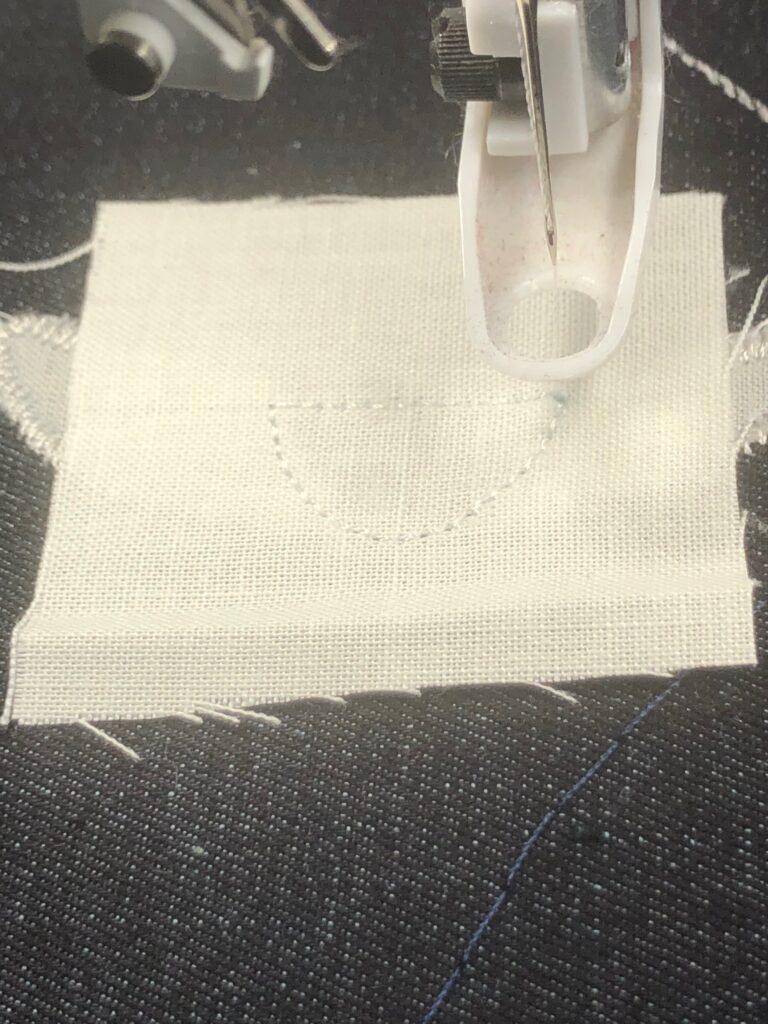
Begin the embroidery design. The stocking outline will stitch first, which provides a stitching line to follow when constructing the stocking, as well as a pattern template for cutting out the stocking back and lining pieces.
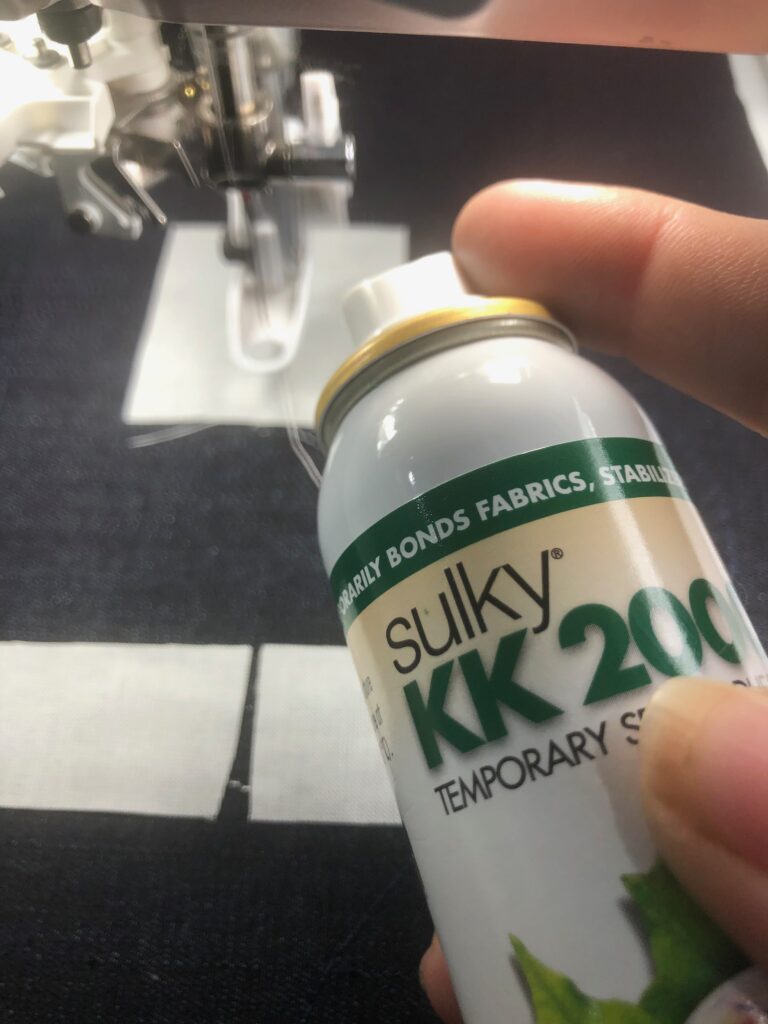
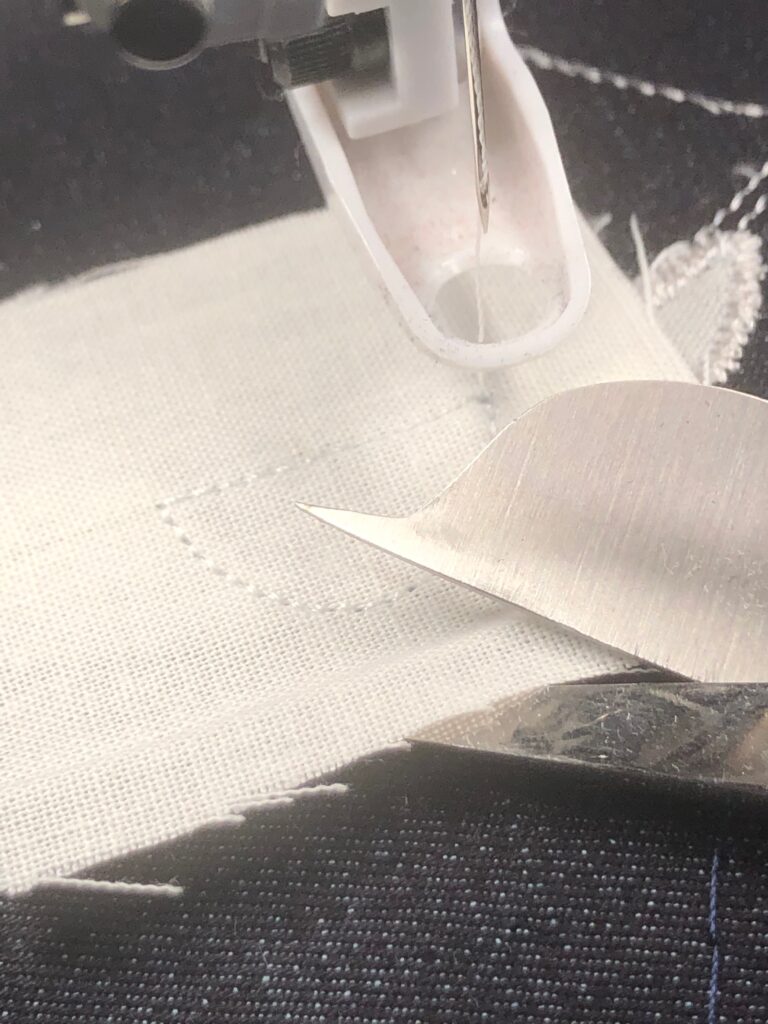
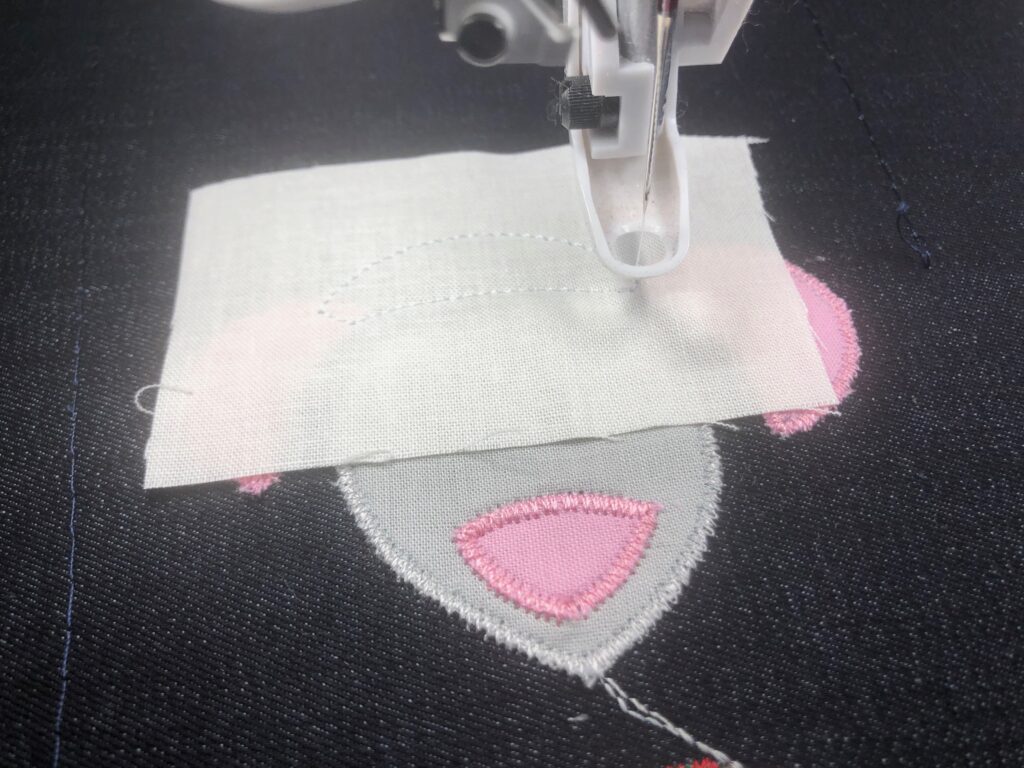
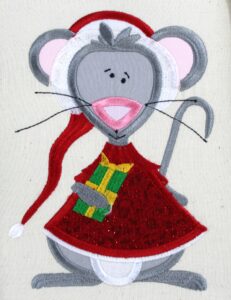
Continue with the chosen Mouse motif, following the directions in the color sequence chart for the appliqué steps. Use Sulky KK 2000 Temporary Spray Adhesive to help secure the appliqué fabrics for embroidery. A lint roller is also helpful between steps to remove any frayed fabric edges after trimming. Make sure to use appliqué scissors when trimming appliqués in order to get as close as possible to the stitching line without accidentally cutting through it.
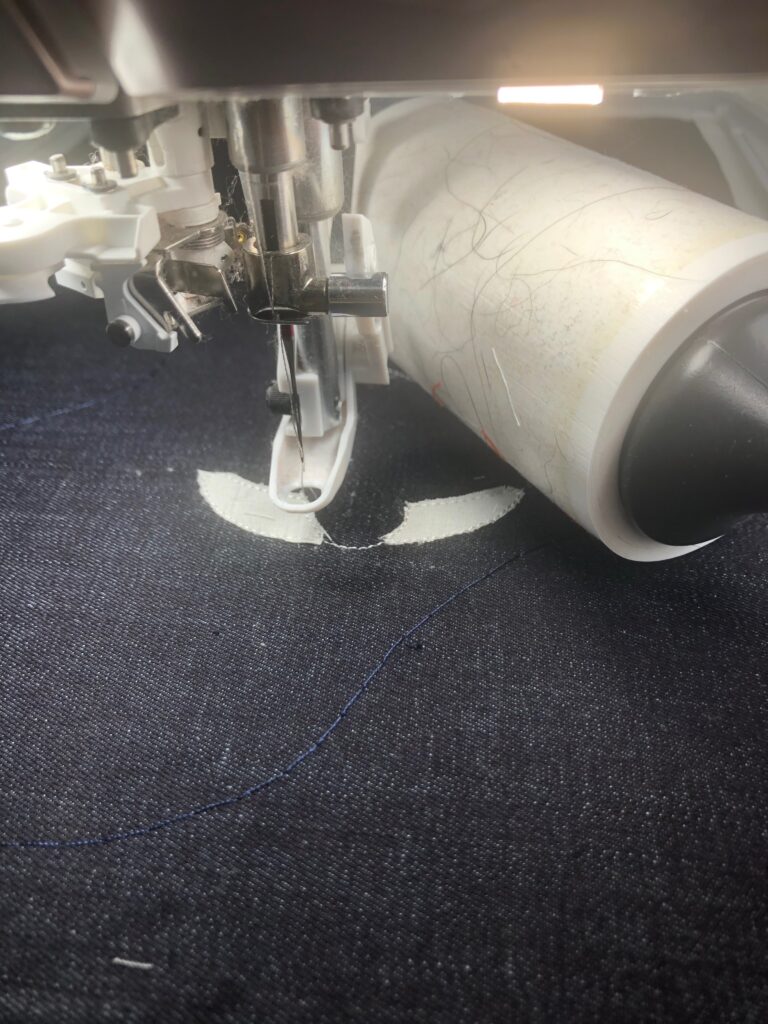
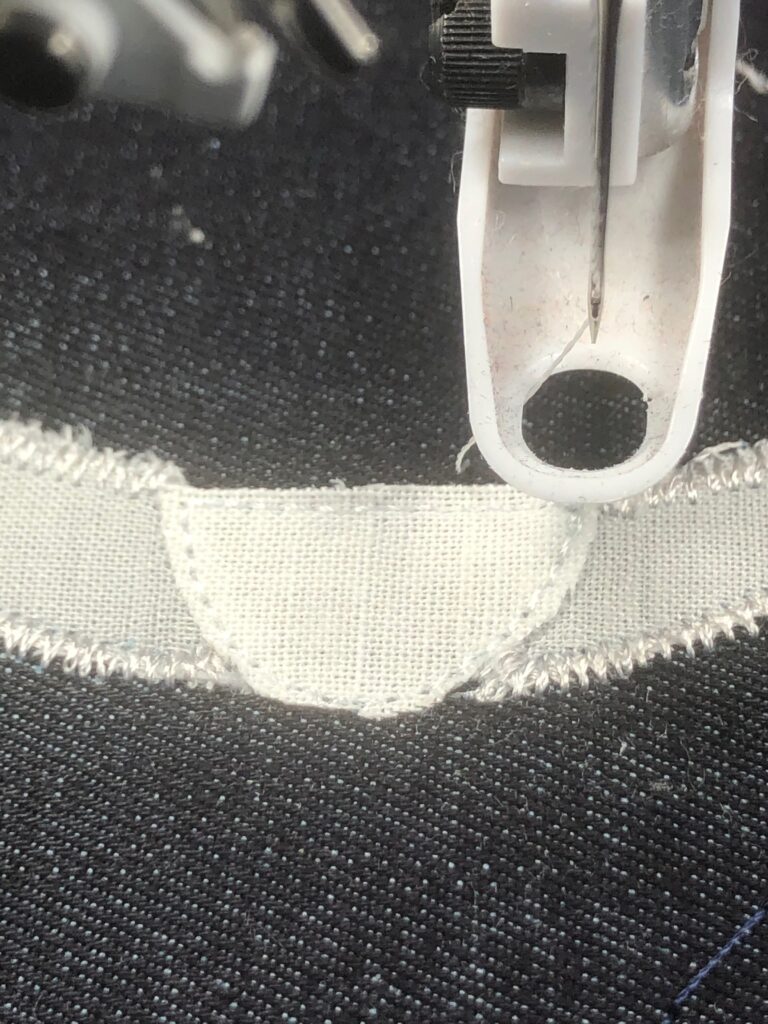
Continue with the design, placing appliqué fabrics as directed.
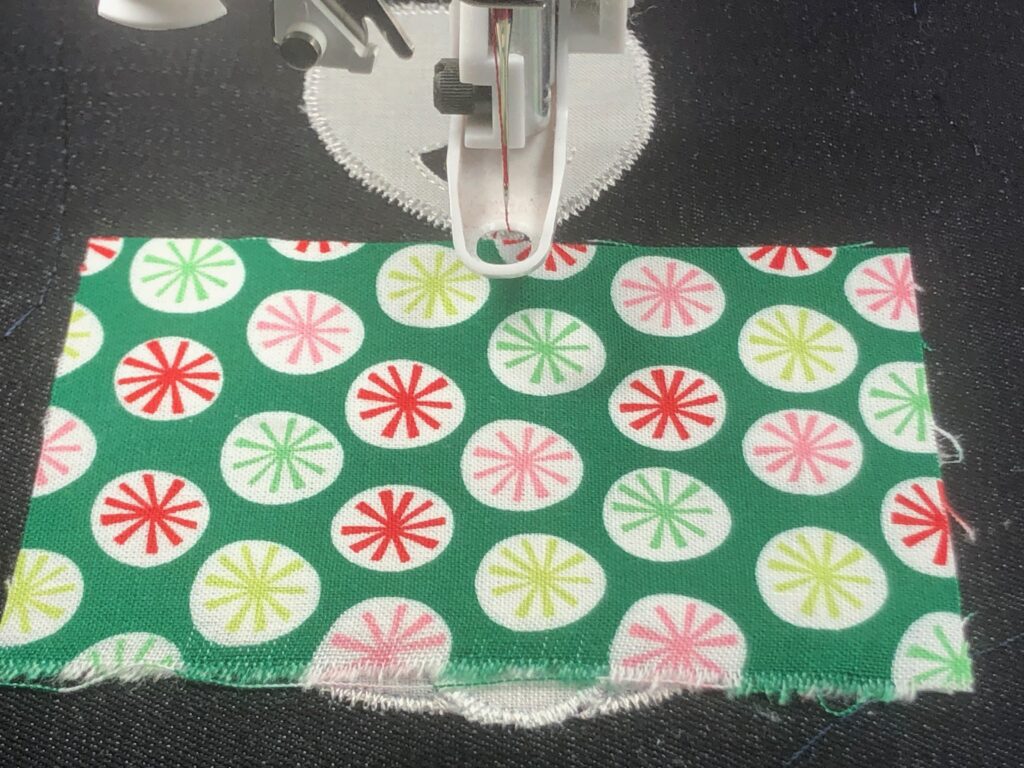
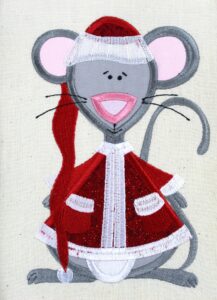
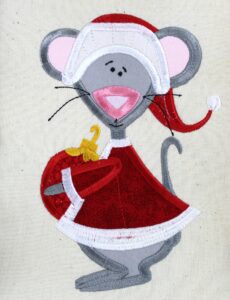
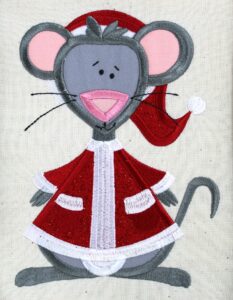
Choose a fun print for the Mouse clothing, and solid grays and pinks for the mouse body parts.
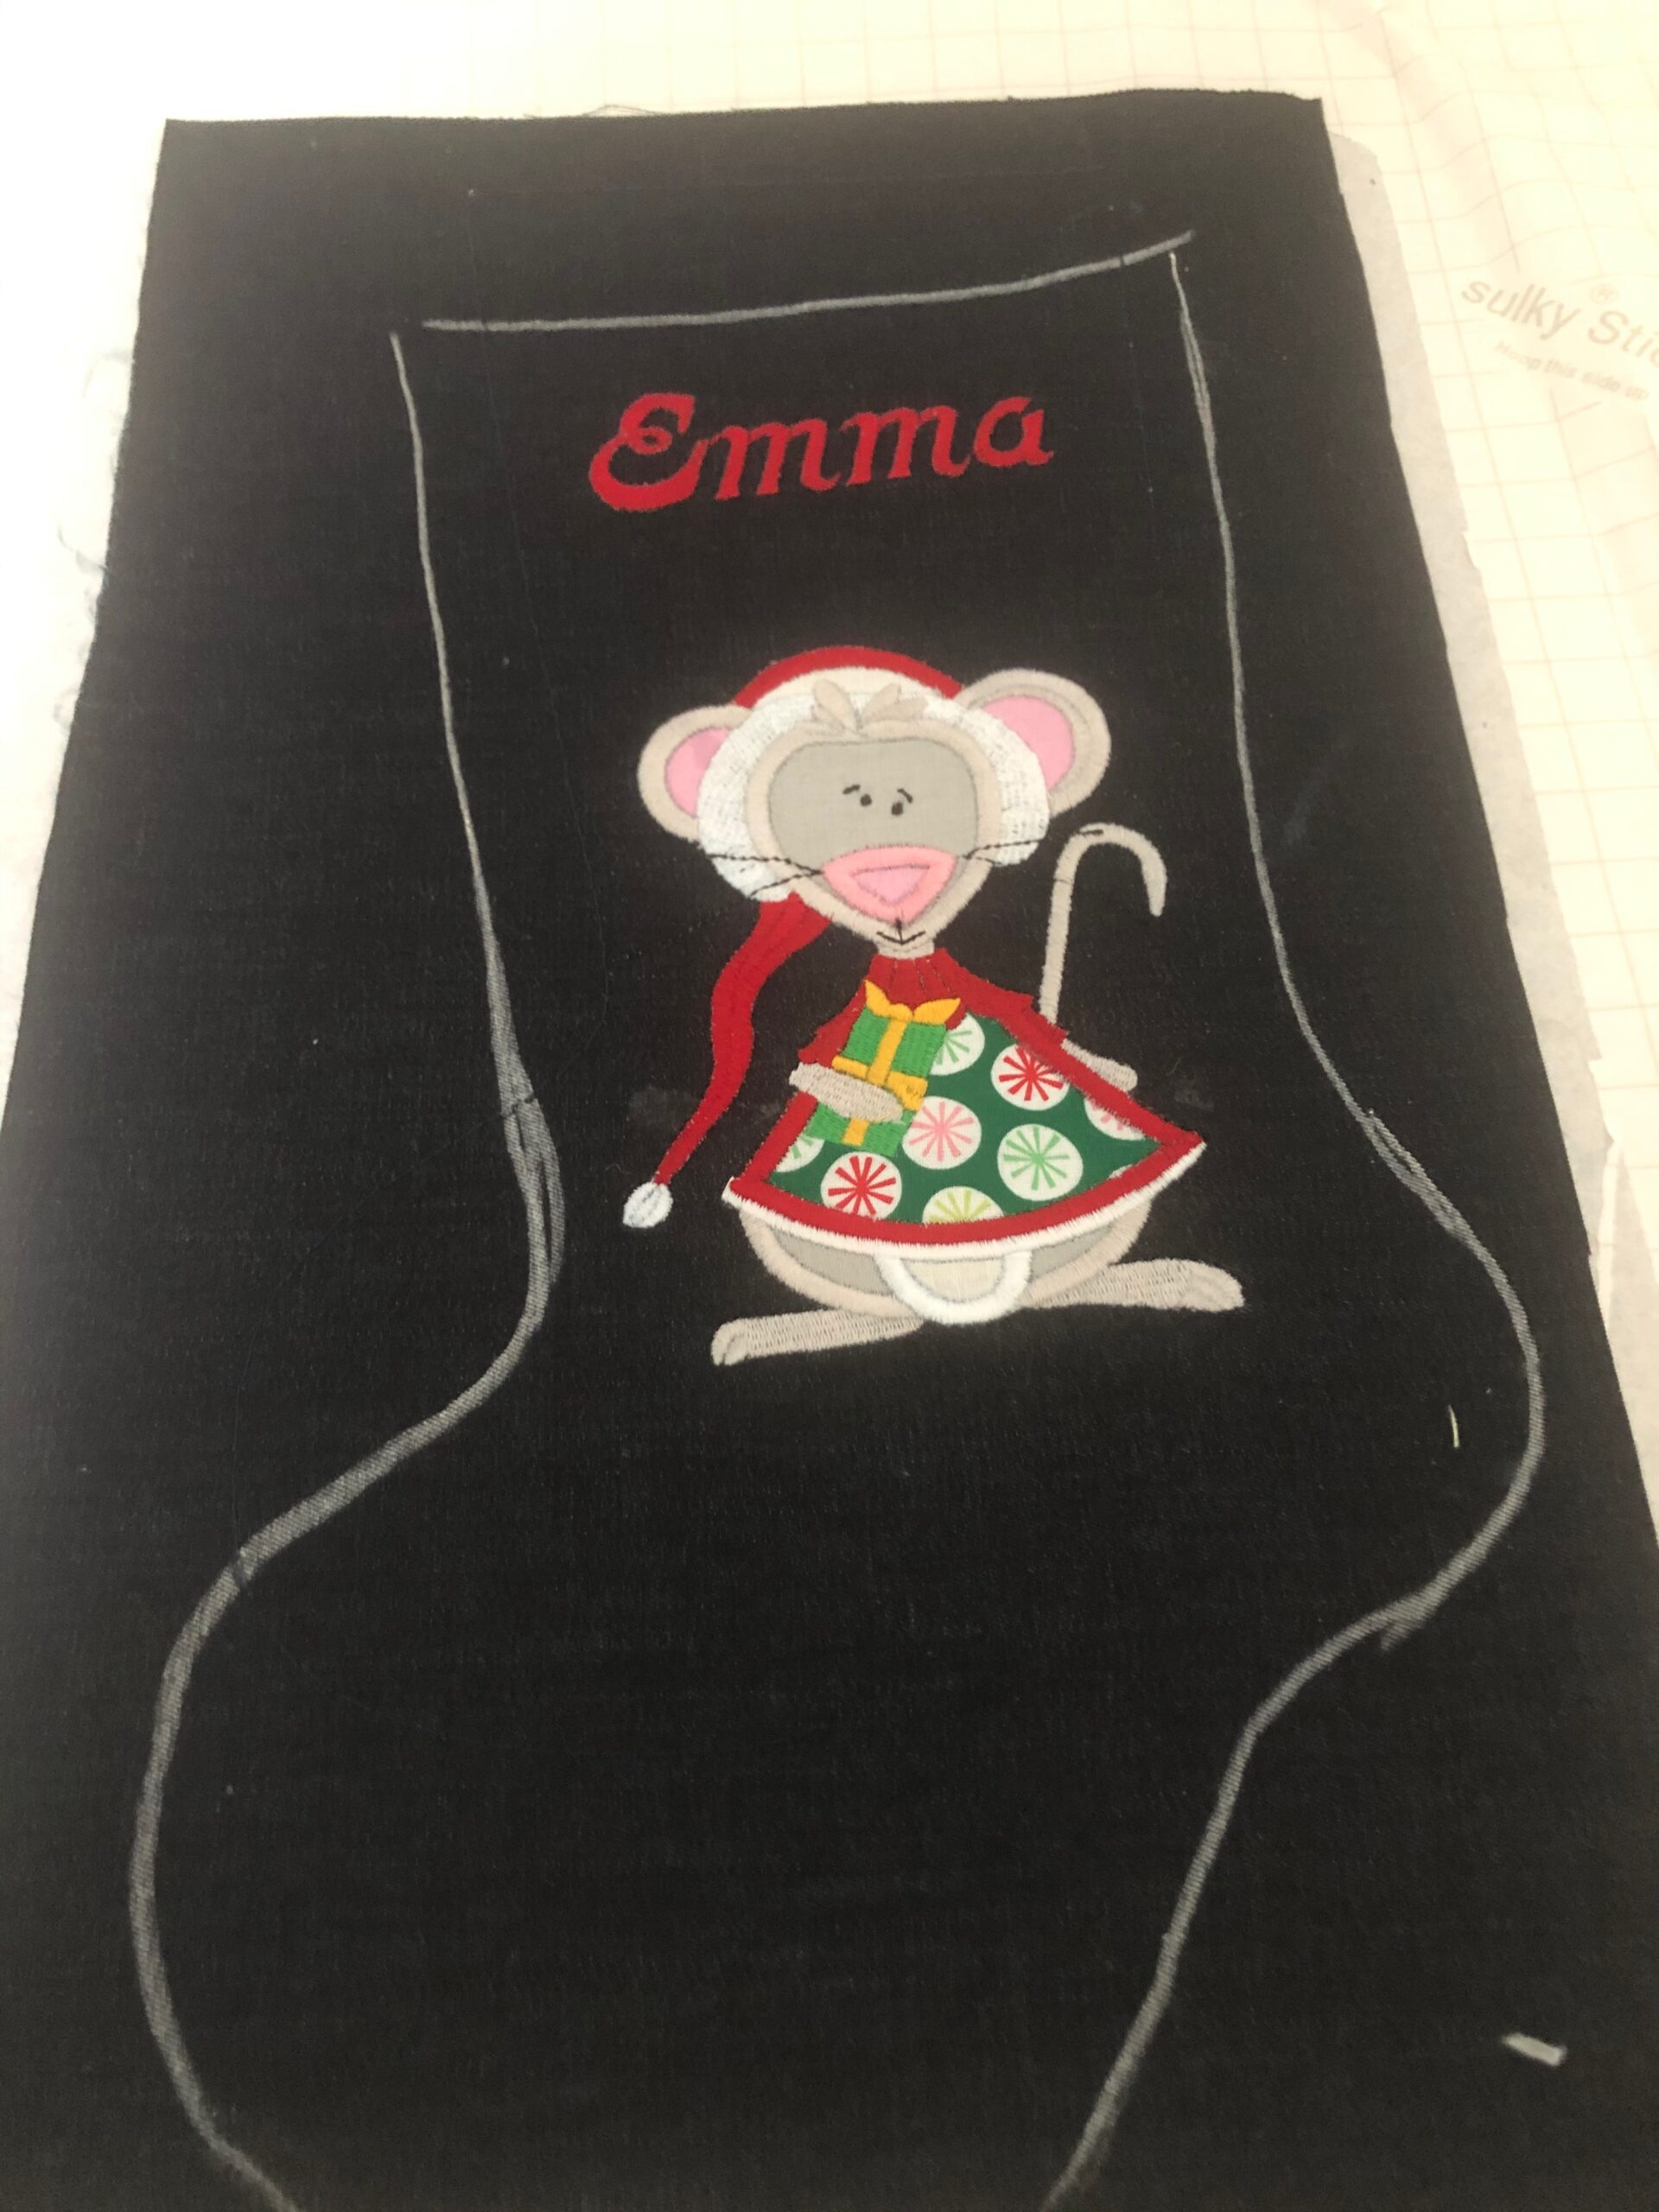
When embroidery is complete, remove the hoop from the machine and the stabilizer from the hoop. Using chalk, draw 1/2″ beyond the stocking stitching lines for the seam allowance.
CONSTRUCTING THE EMBROIDERED STOCKING
Thread the machine with Sulky 50 wt. Cotton+Steel thread in the needle and bobbin.
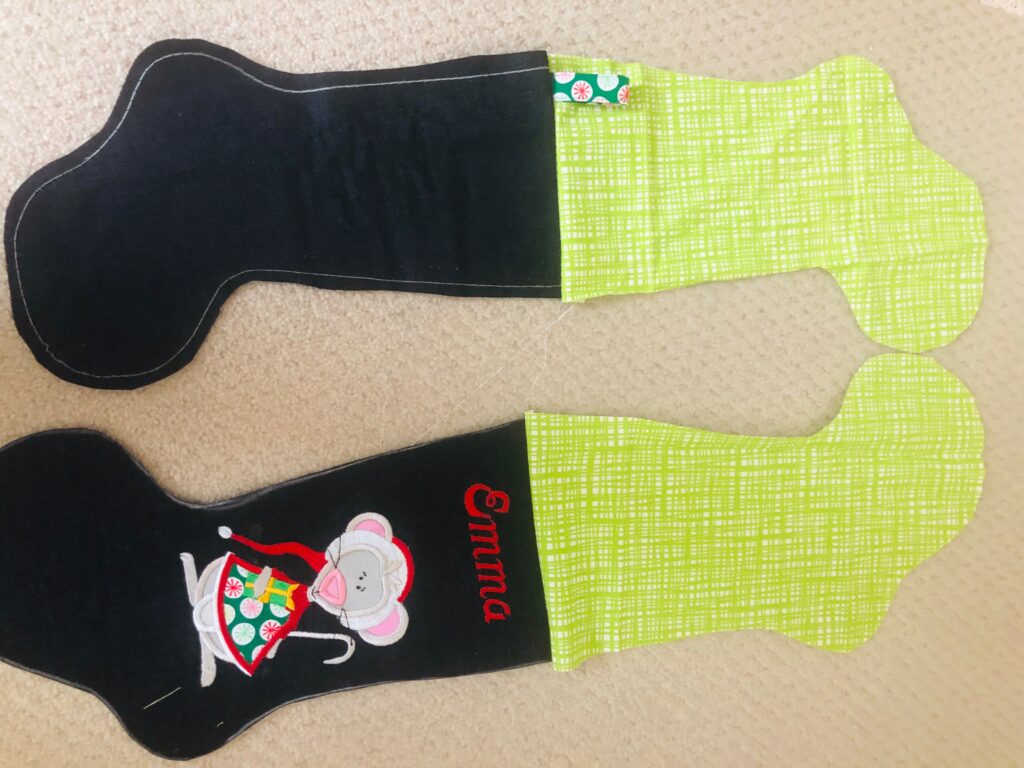
Cut out the stocking front, and then use that piece to cut a stocking back and two stocking lining pieces, flipping the pattern to make sure to have right and left stockings.
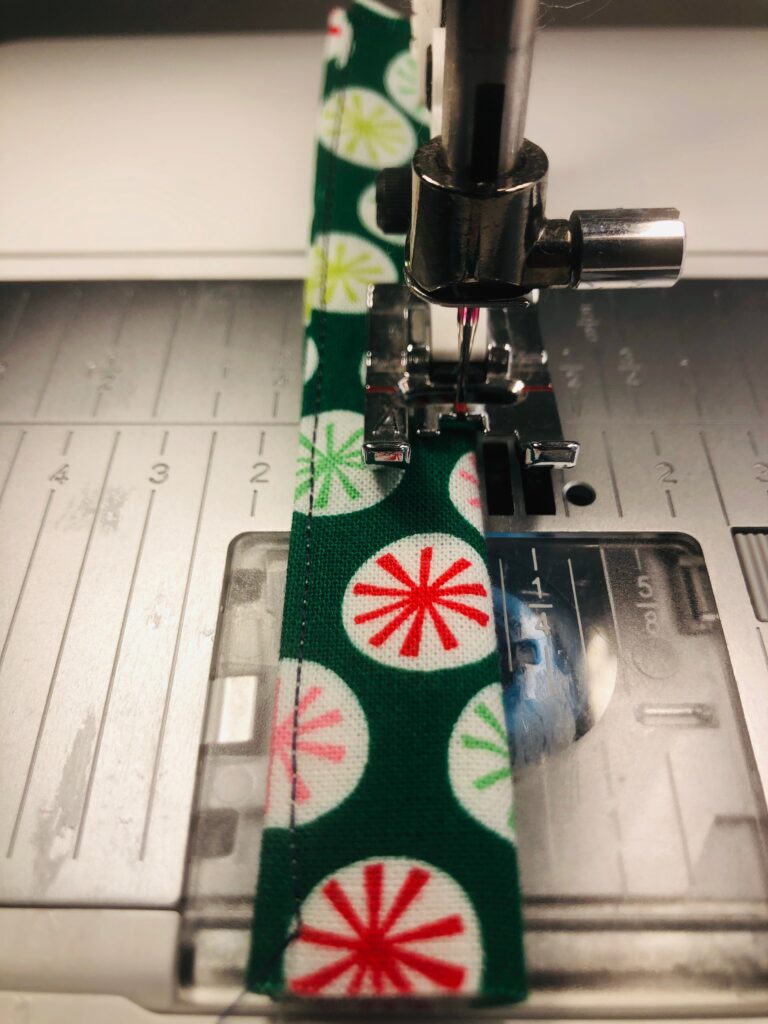
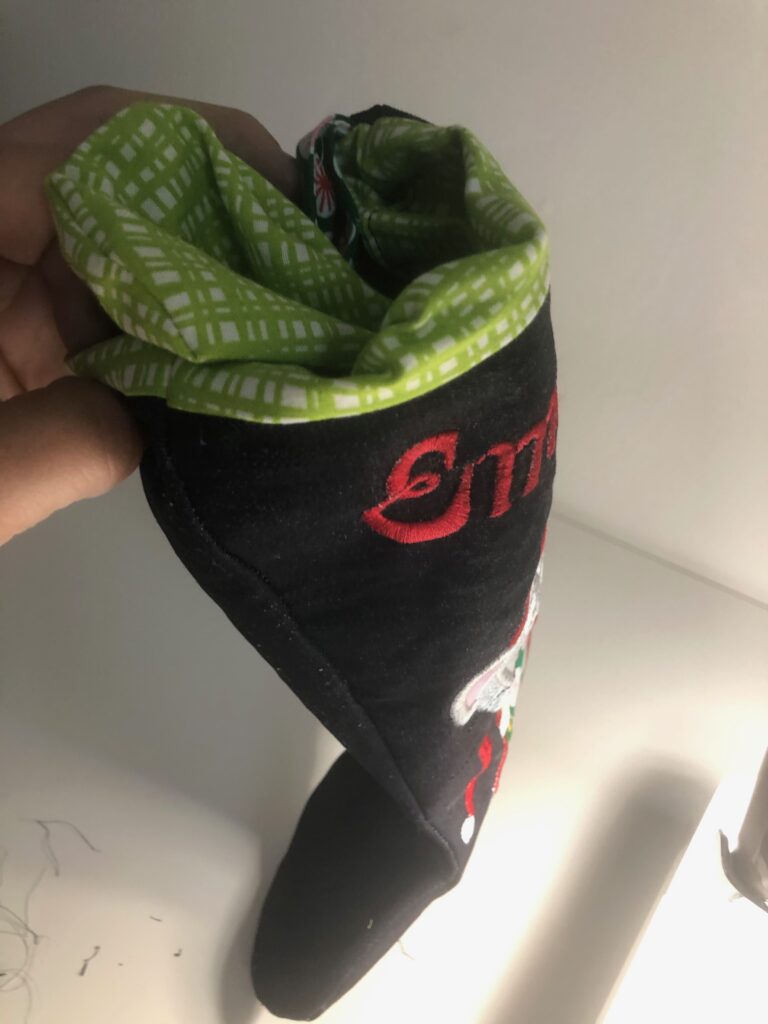
Cut a rectangle from coordinating fabric measuring 3″ x 4″. Fold the long edges to meet in the center, and then fold the strip in half lengthwise; press. Topstitch along both long edges.
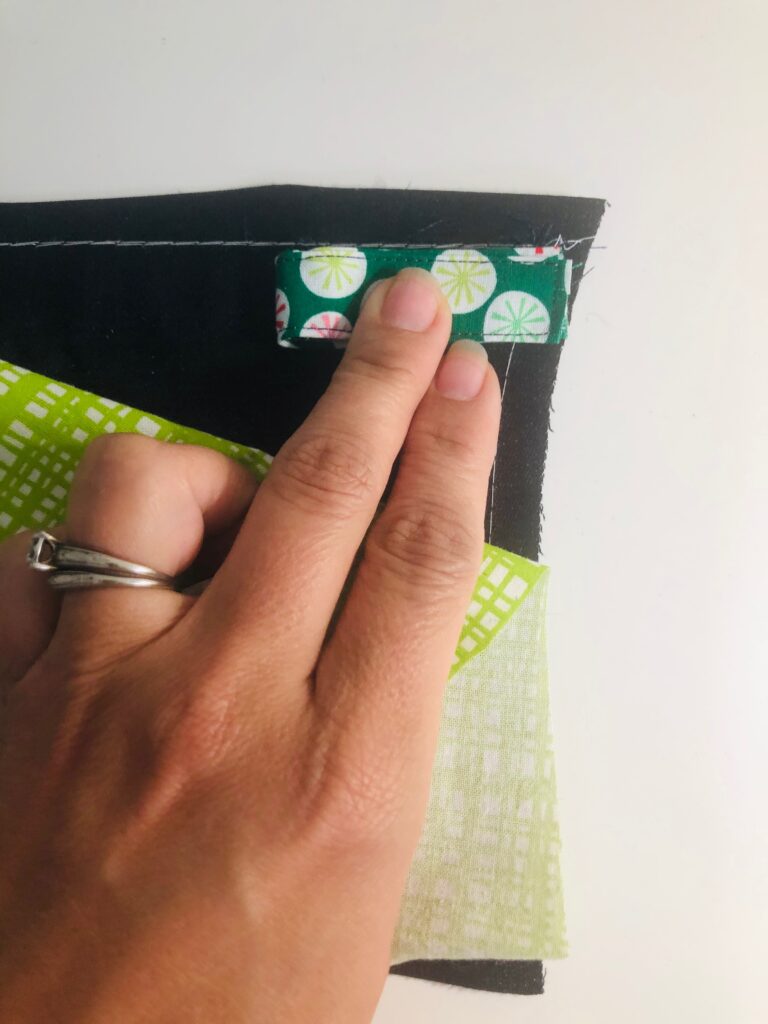
Fold the hanging loop in half widthwise; pin or clip the ends. Place the ends along the outer-front stocking upper edge, against the seamline stitching. Baste the hanging-loop ends in place.
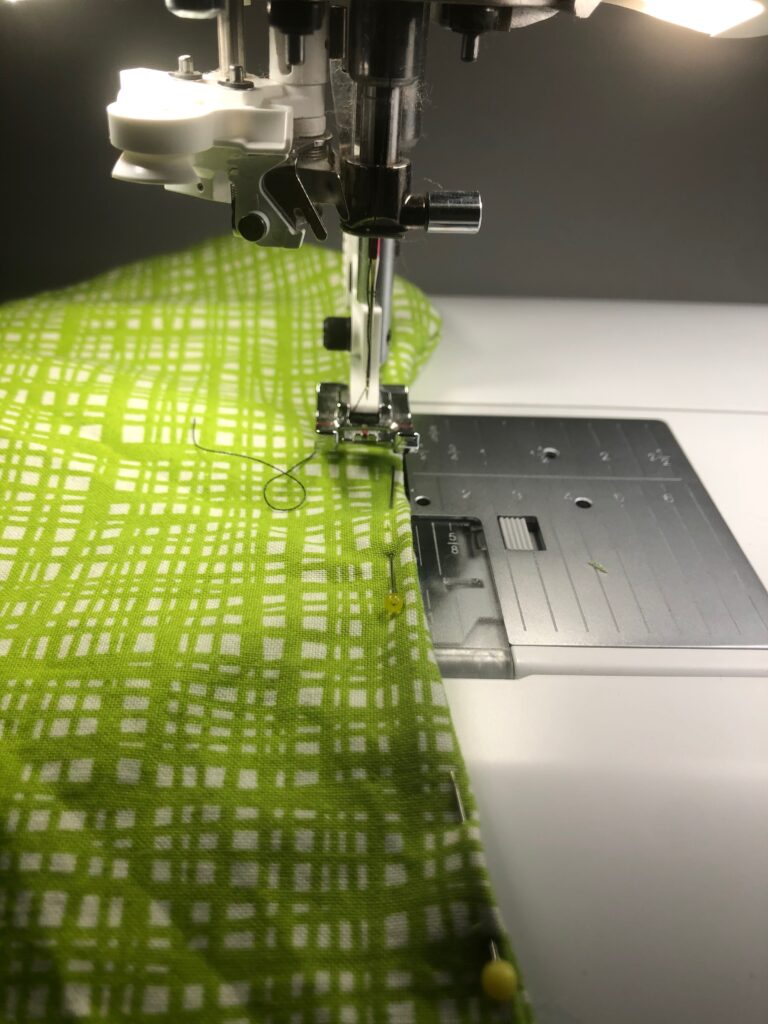
Stitch one lining stocking to one outer stocking along the upper edge, using a 1/2″ seam allowance. Press the seam toward the lining.
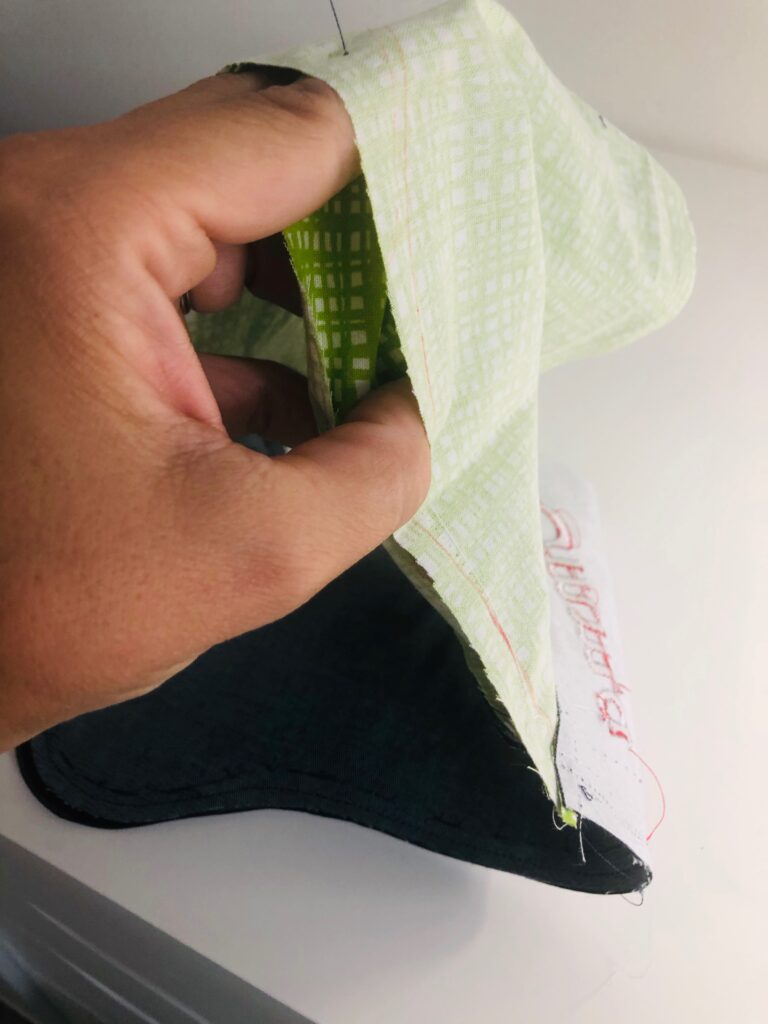
(Press the lining fabric so it’s not wrinkled!) Place the stockings right sides together, aligning all curves; pin or clip generously.
Stitch the perimeter, leaving an opening along the lining straight outer edge for turning.
Turn the stocking right side out.
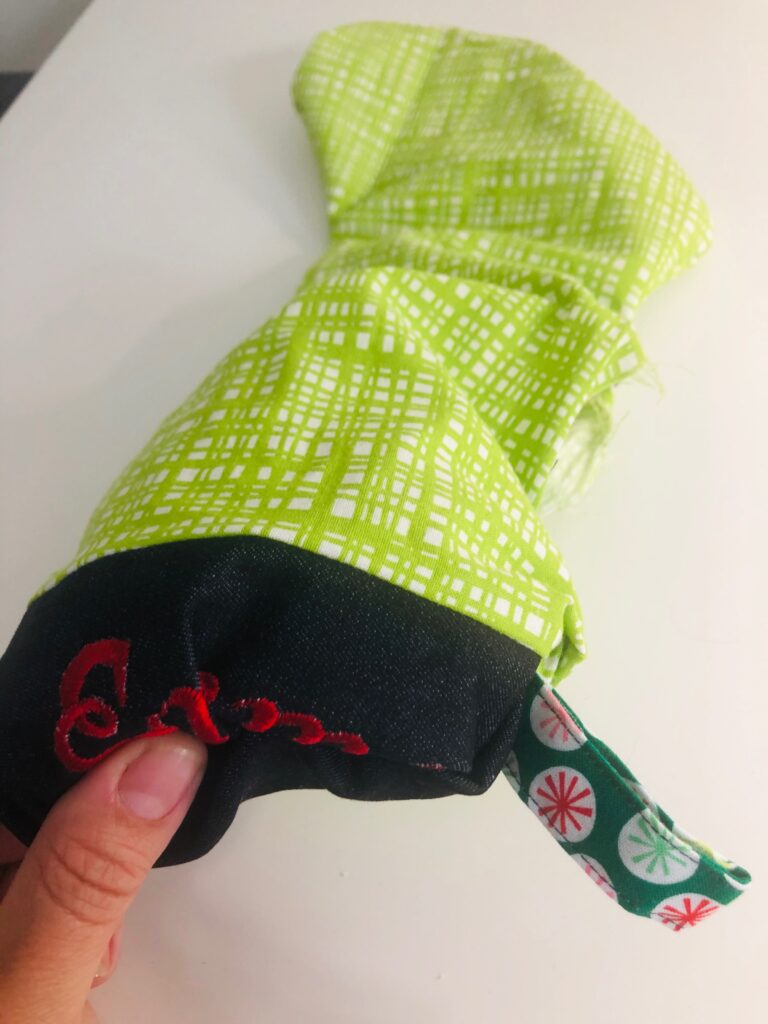
Fold the opening seam allowances toward the wrong side; pin. Hand or machine sew the lining opening shut.
Stuff the lining into the outer stocking.
Press the stocking from the back. Press the front using a press cloth and low-temp iron. If desired, topstitch the stocking upper edge.
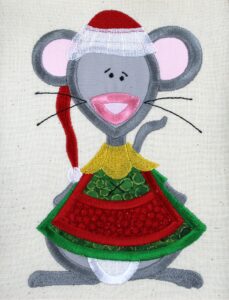
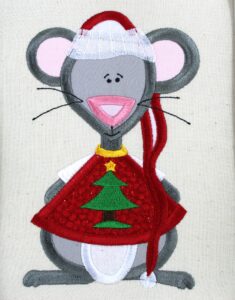
MERRY KRIS-MOUSE EMBROIDERY DESIGNS
Create lots of embroidered Christmas stockings, choosing different designs included in the Merry Kris-Mouse Machine Embroidery Palette.


The Stocking Design will not download, I need vp3. Thank you
Hi there! I just checked the zip file and the vp3 format is included. If you have further issues locating it, please email us at info@sulky.com and we’d be happy to walk you through it. You only need the lining design file for this particular project.
Thanks for reading!
I can’t get the stocking lining to download on my IPad.
It is a machine embroidery design, so it will only open if you have software installed in your device.