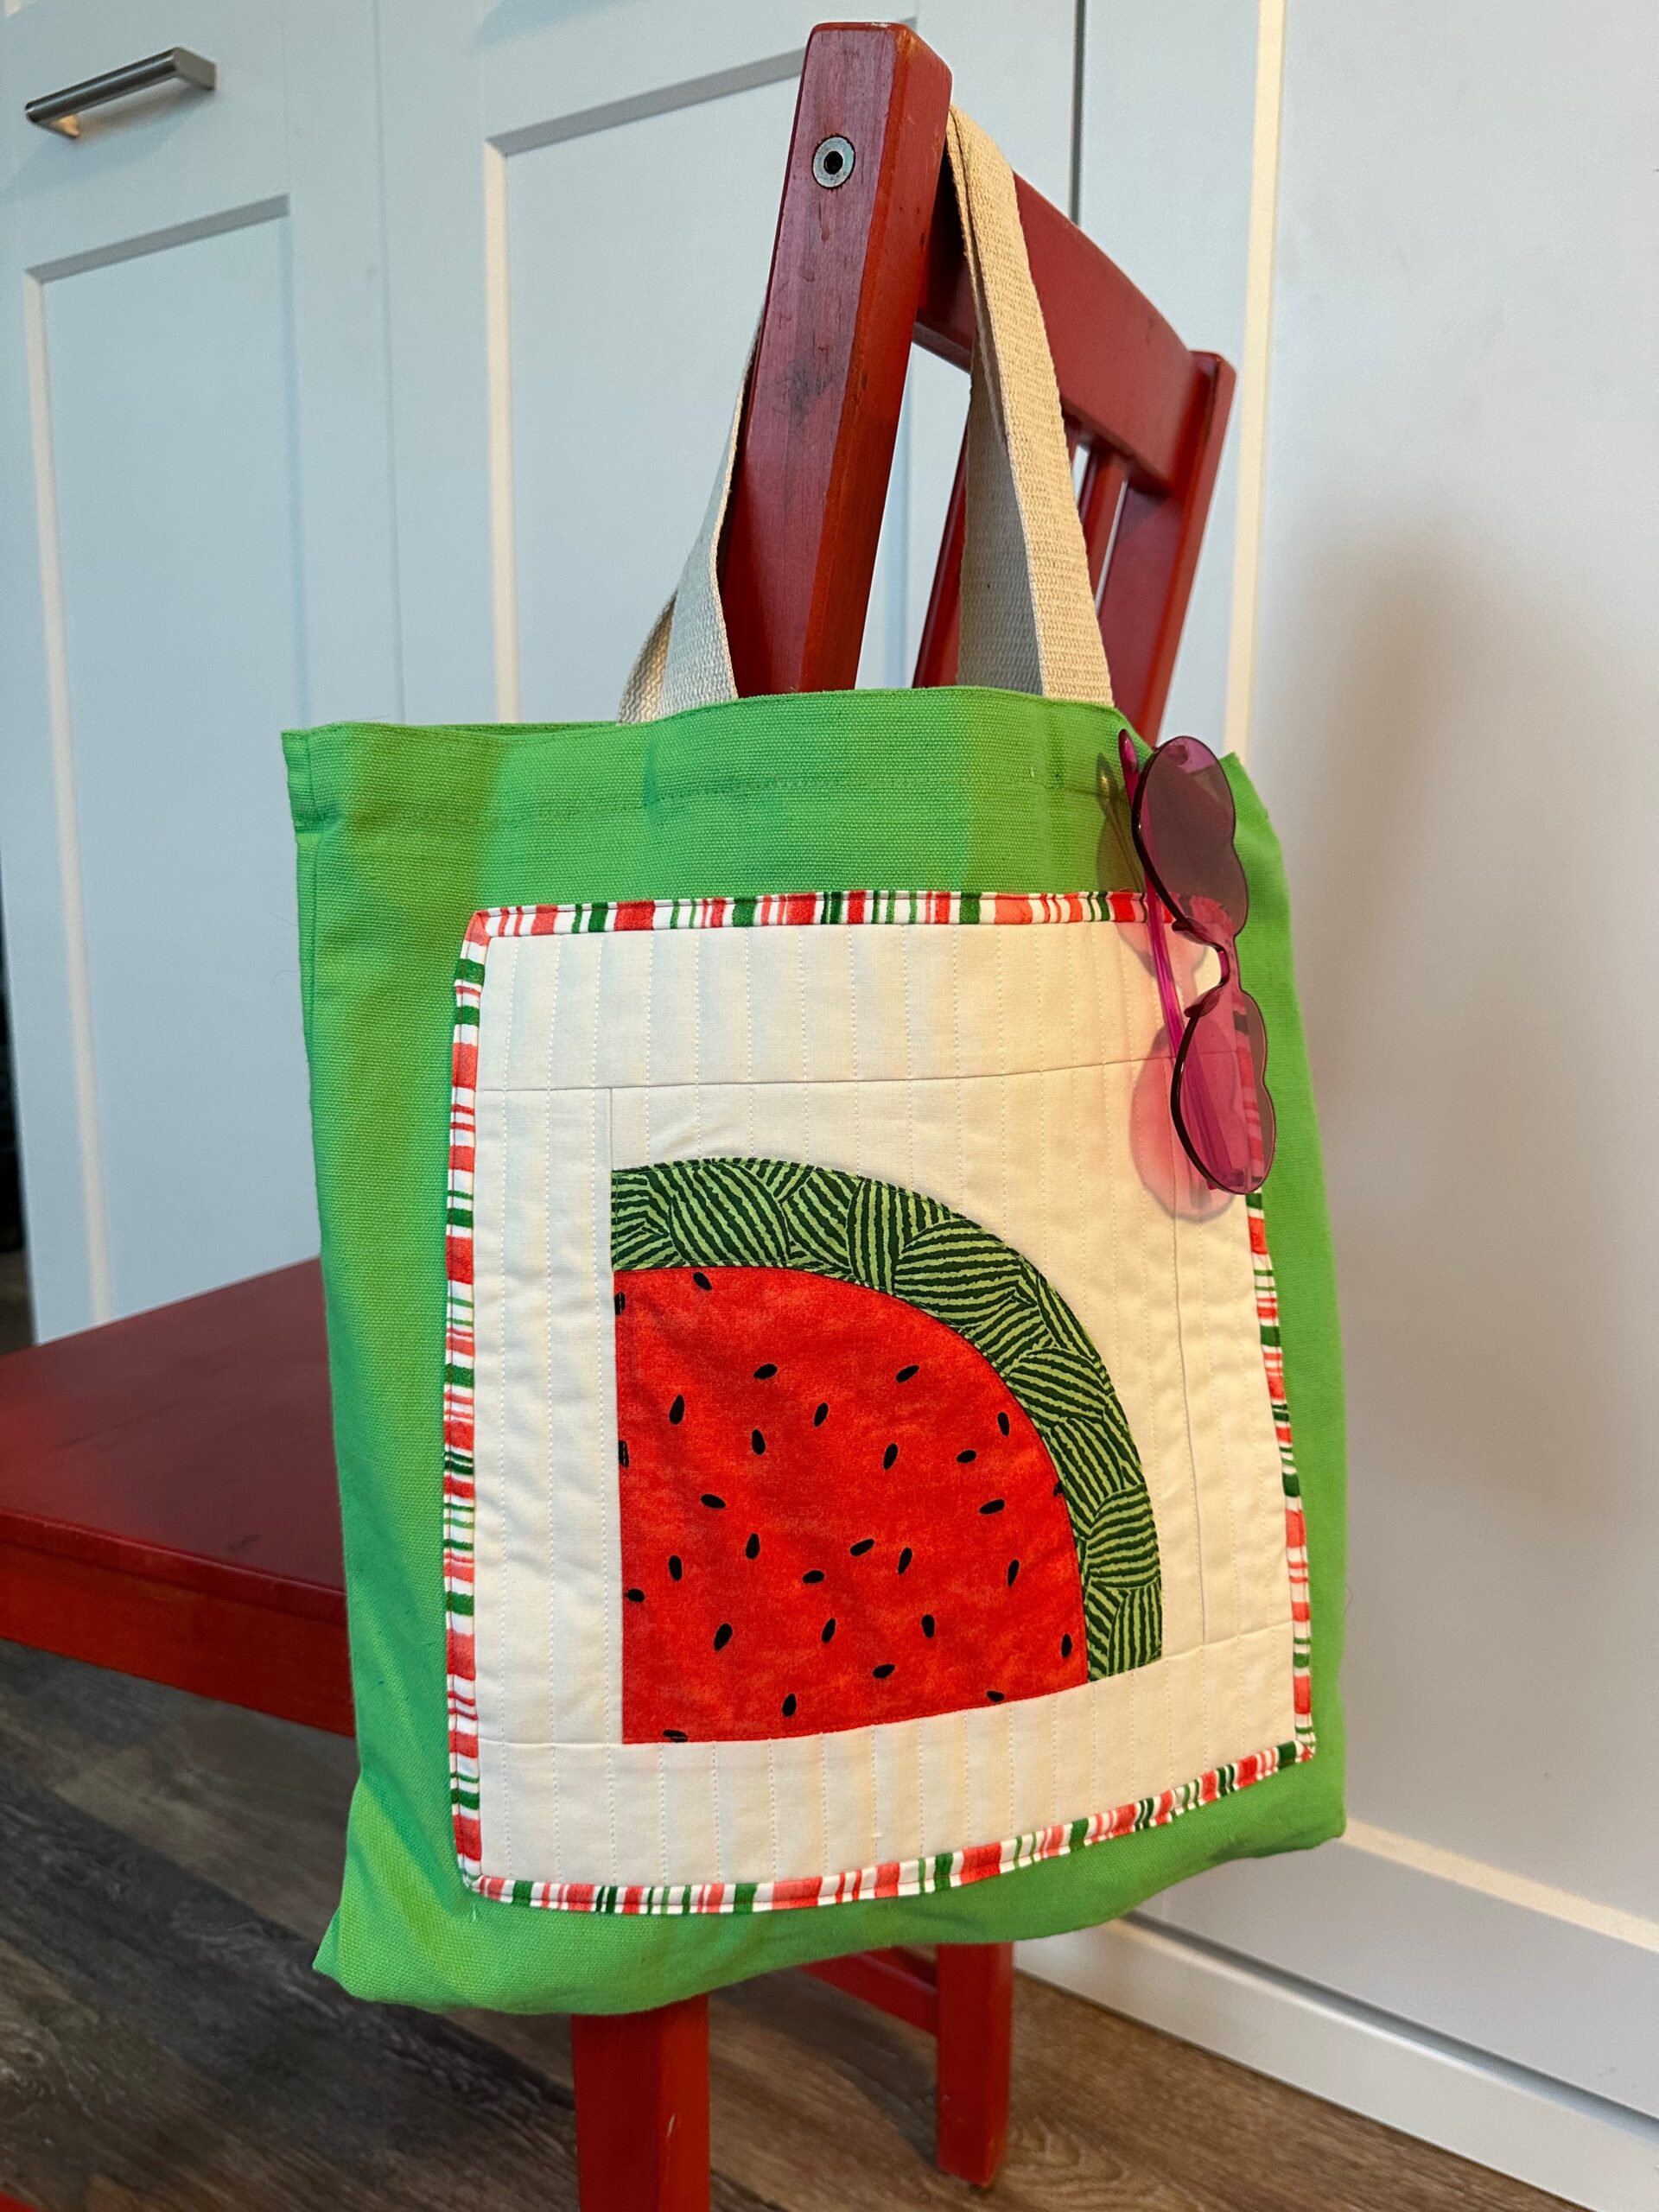
Watermelon Block Tote with Quilting & Appliqué
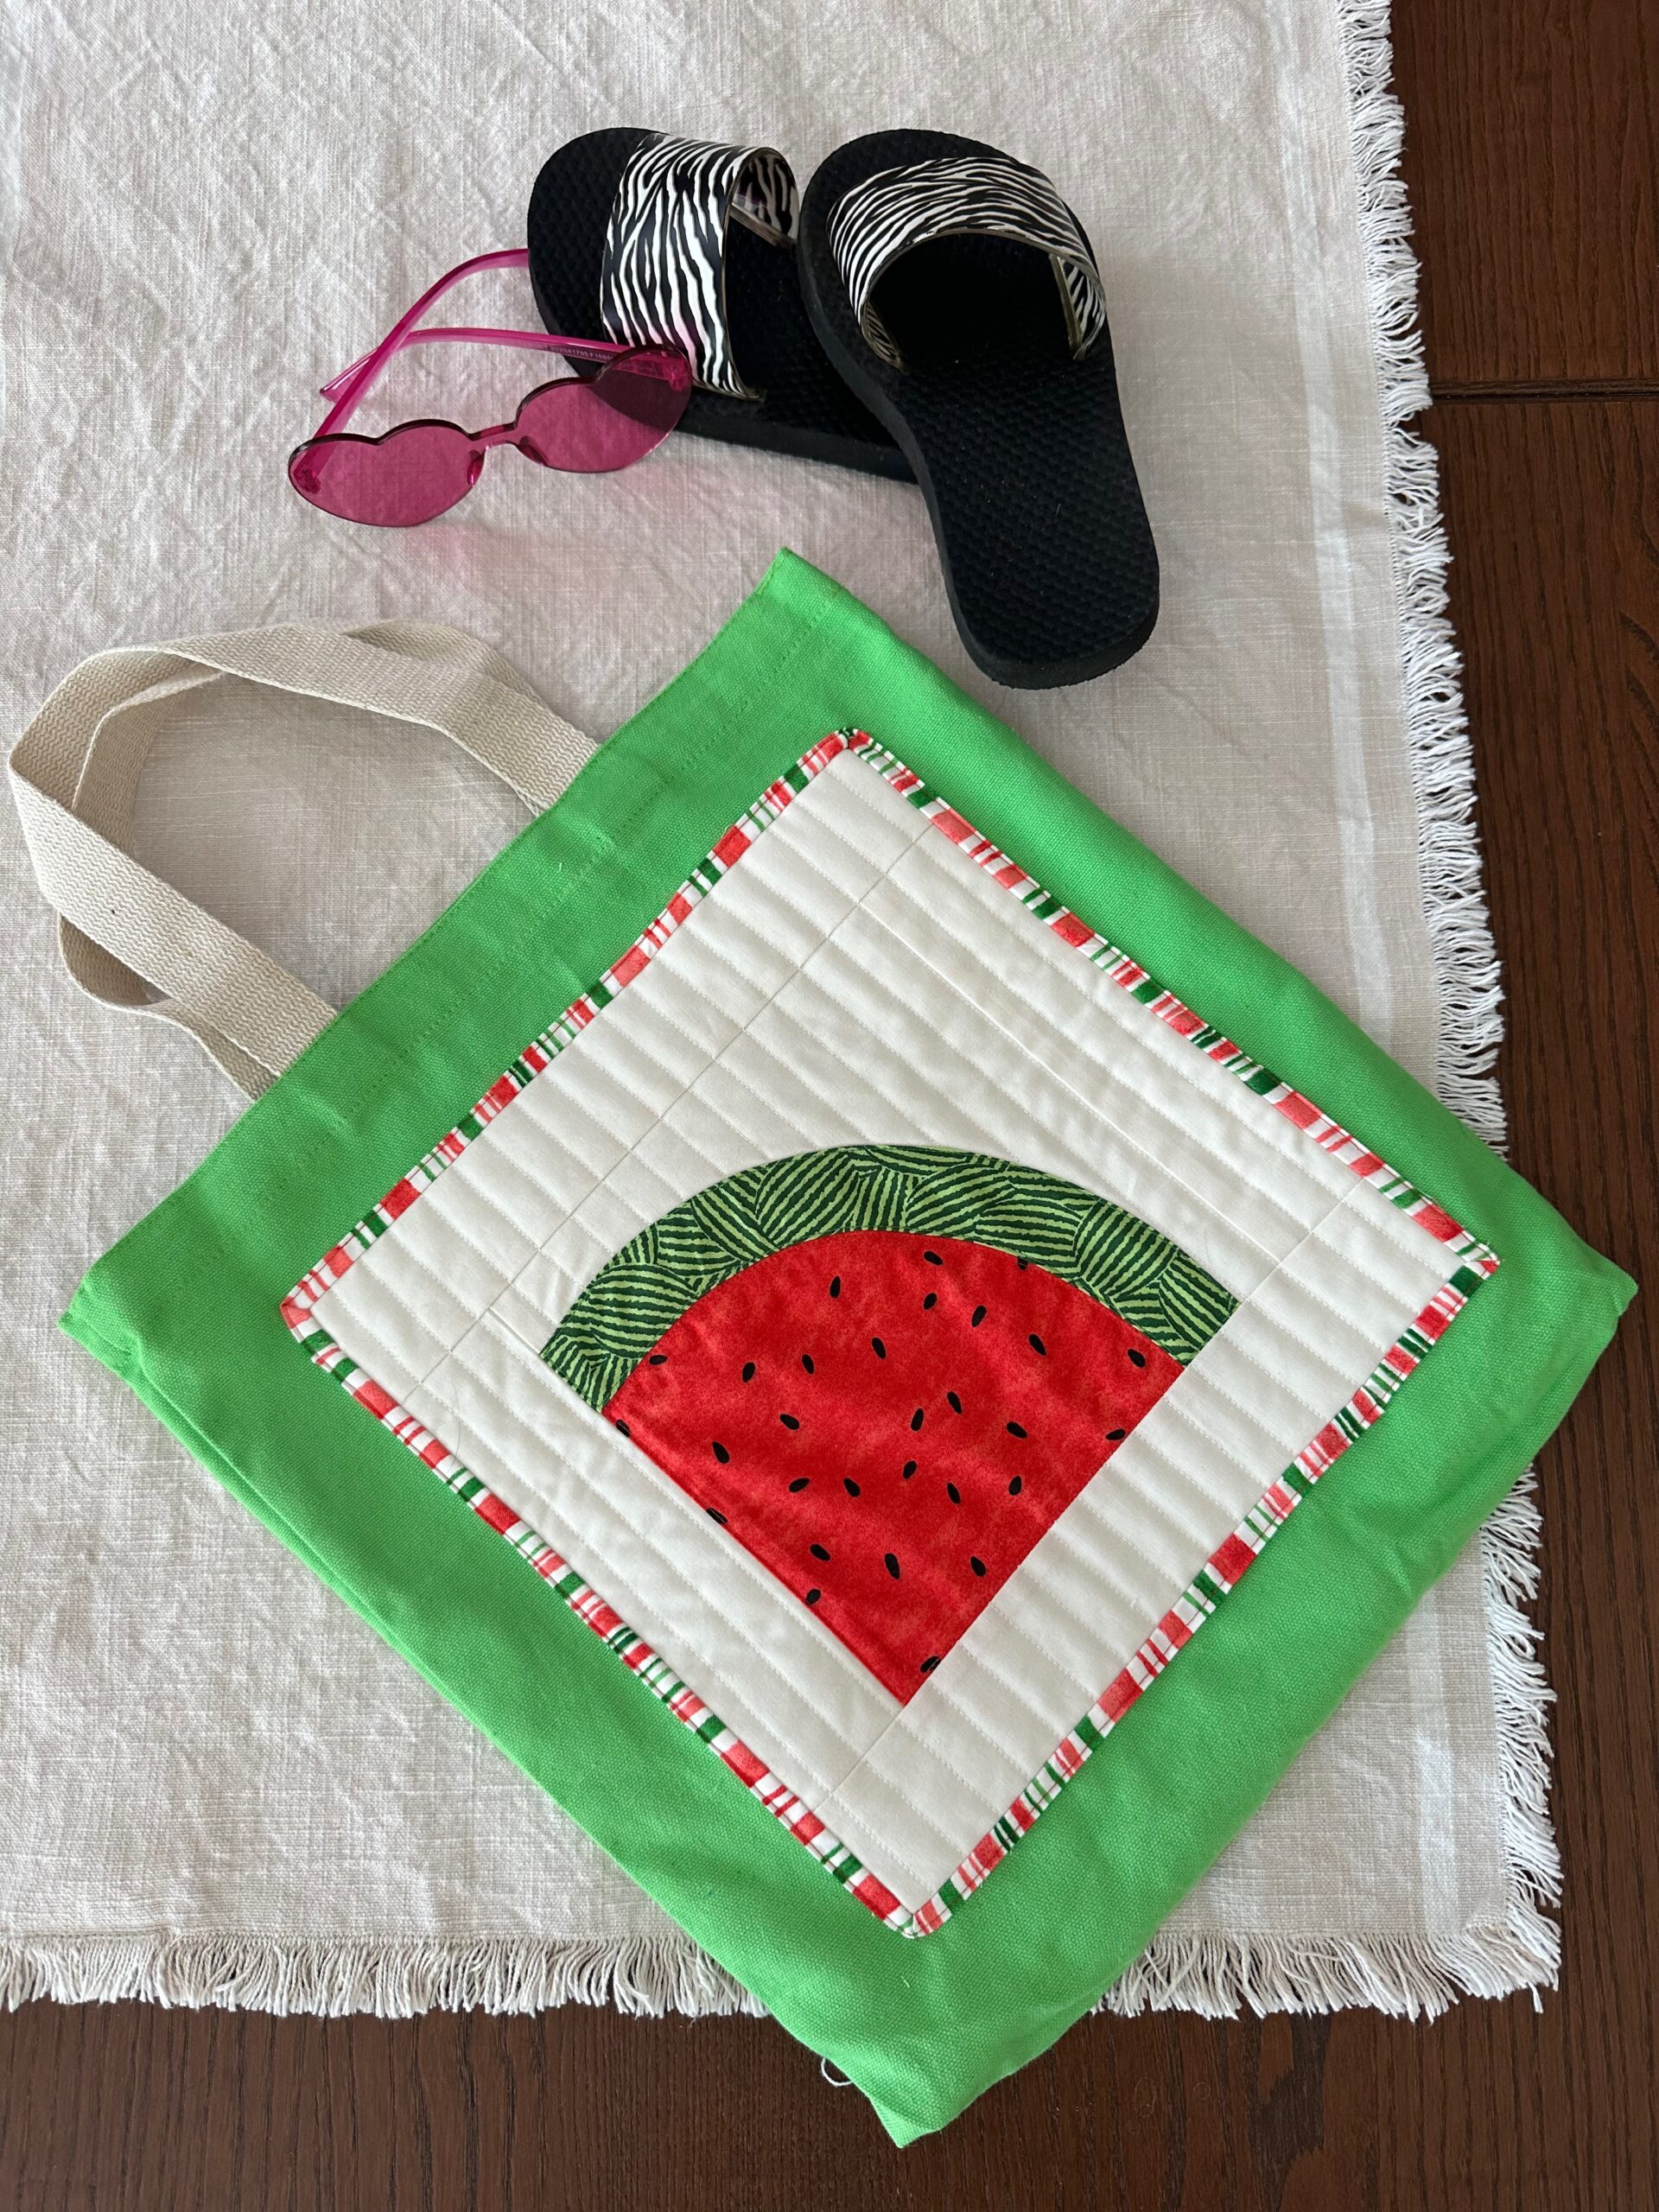
A Watermelon Block Tote is a take on the ever-popular “quilt block on a denim jacket” trend that’s taking the crafting world by storm. This trend is awesome because it allows you to make a super intricate block (and ONLY one!) and display it for all to see. But sometimes a simpler block is also just as fun to create and display, and a readymade tote bag does the trick. Plus, it’s National Watermelon Day! So we’re making a Watermelon Block Tote to show our love for this sticky sweet treat.
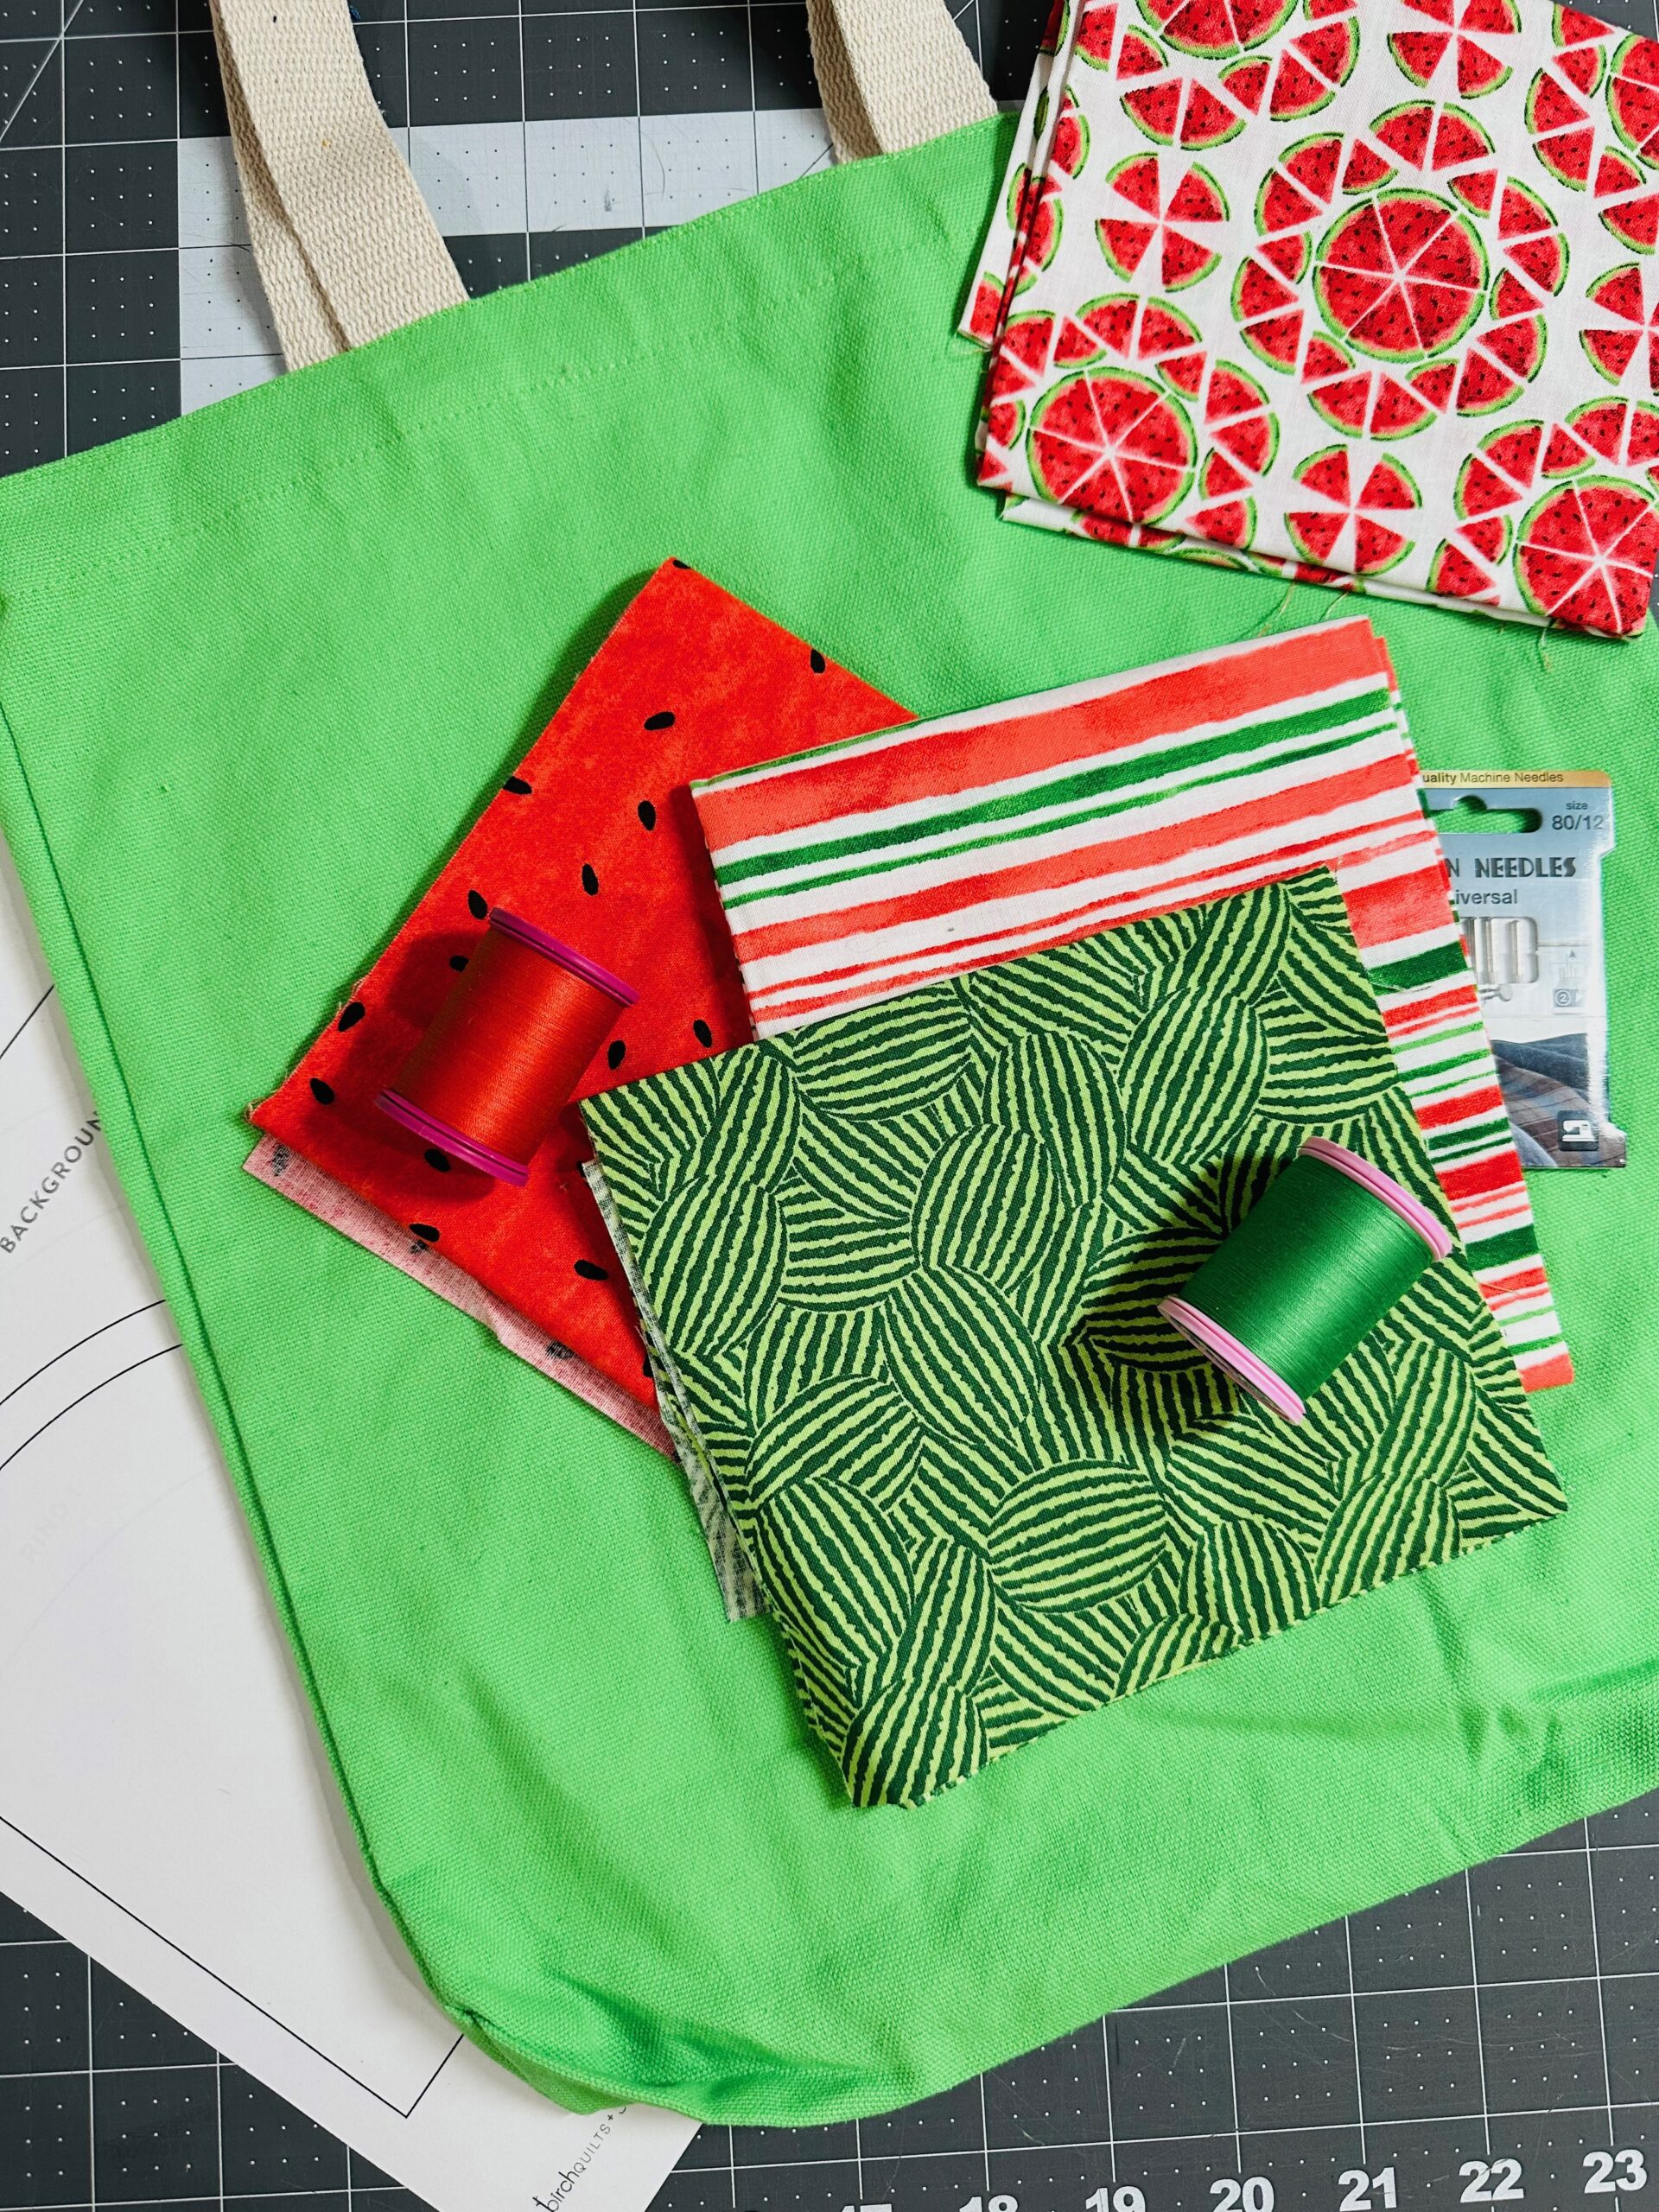
WATERMELON BLOCK TOTE SUPPLIES
- Watermelon Quilt Block Pattern (this one, Mod Melons from Suzy Quilts, is FREE; featured finished block size is 10″ square with borders & binding added)
- Readymade tote bag (approximately 13″ x 15″; like this)
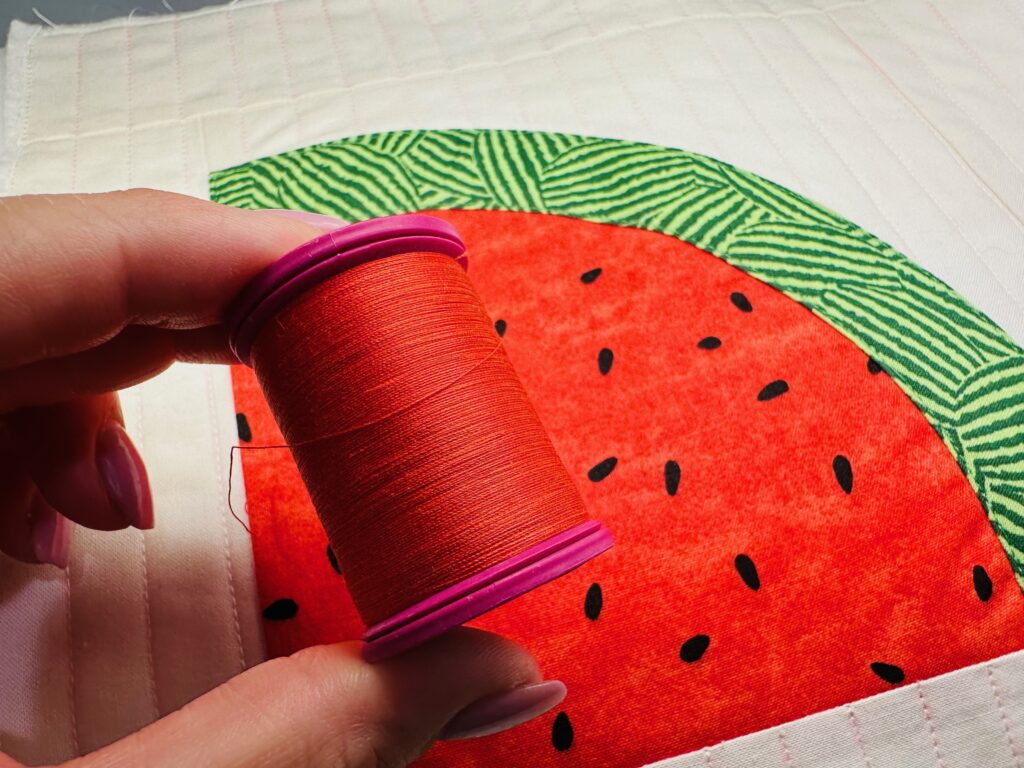
- Sulky 50 wt. Cotton Thread (colors to match the tote, the background fabric and the watermelon block pieces)
- Fabrics (enough for one block, borders and faux binding)
- Low-loft batting
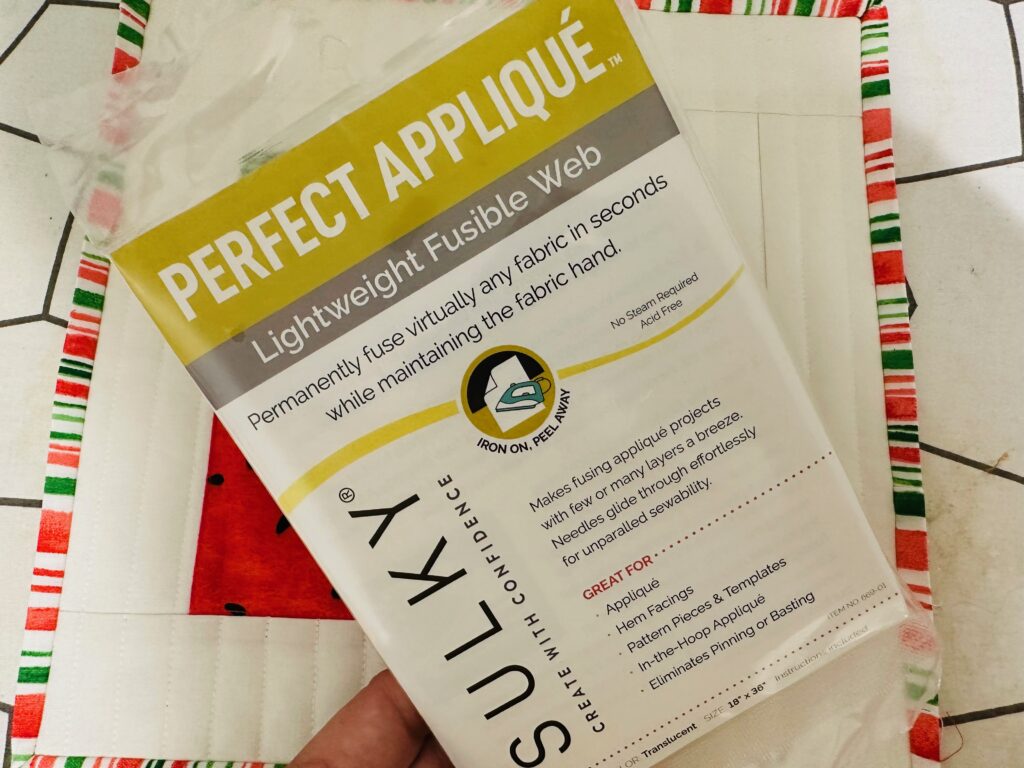
- Sulky Perfect Appliqué Fusible Web
- Organ® size 80/12 Universal Needle
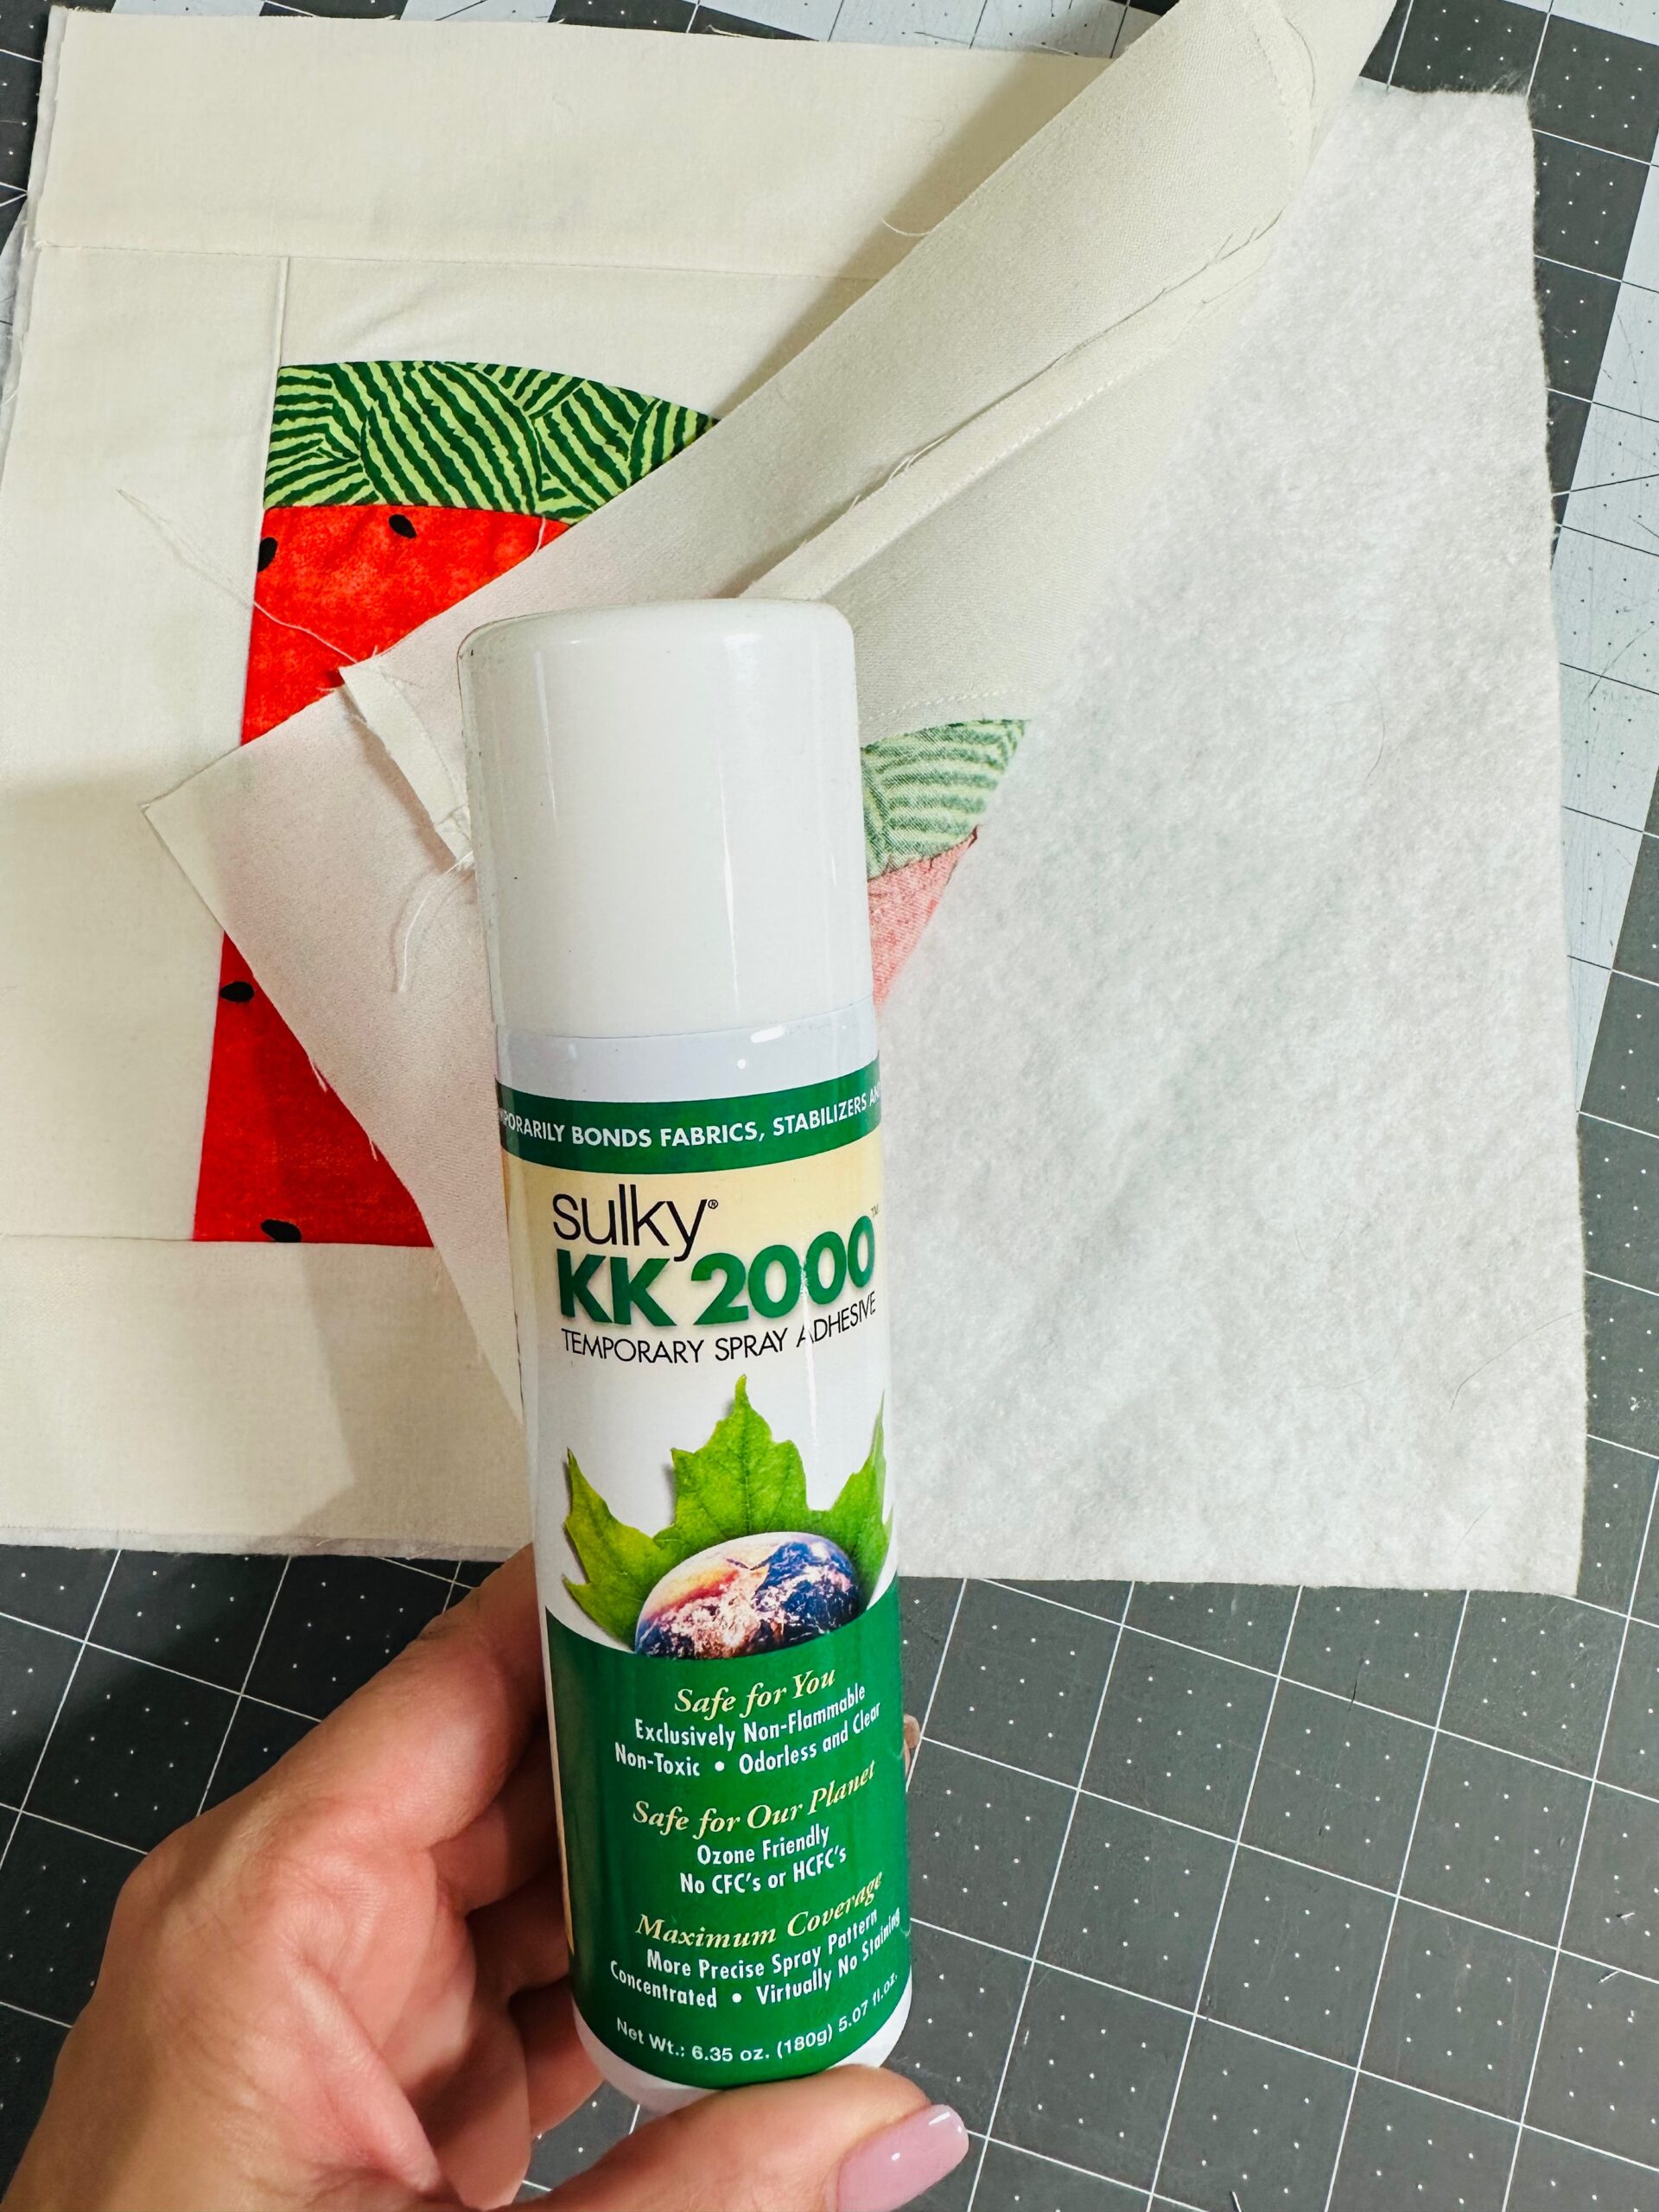
- Sulky KK 2000™ Temporary Spray Adhesive
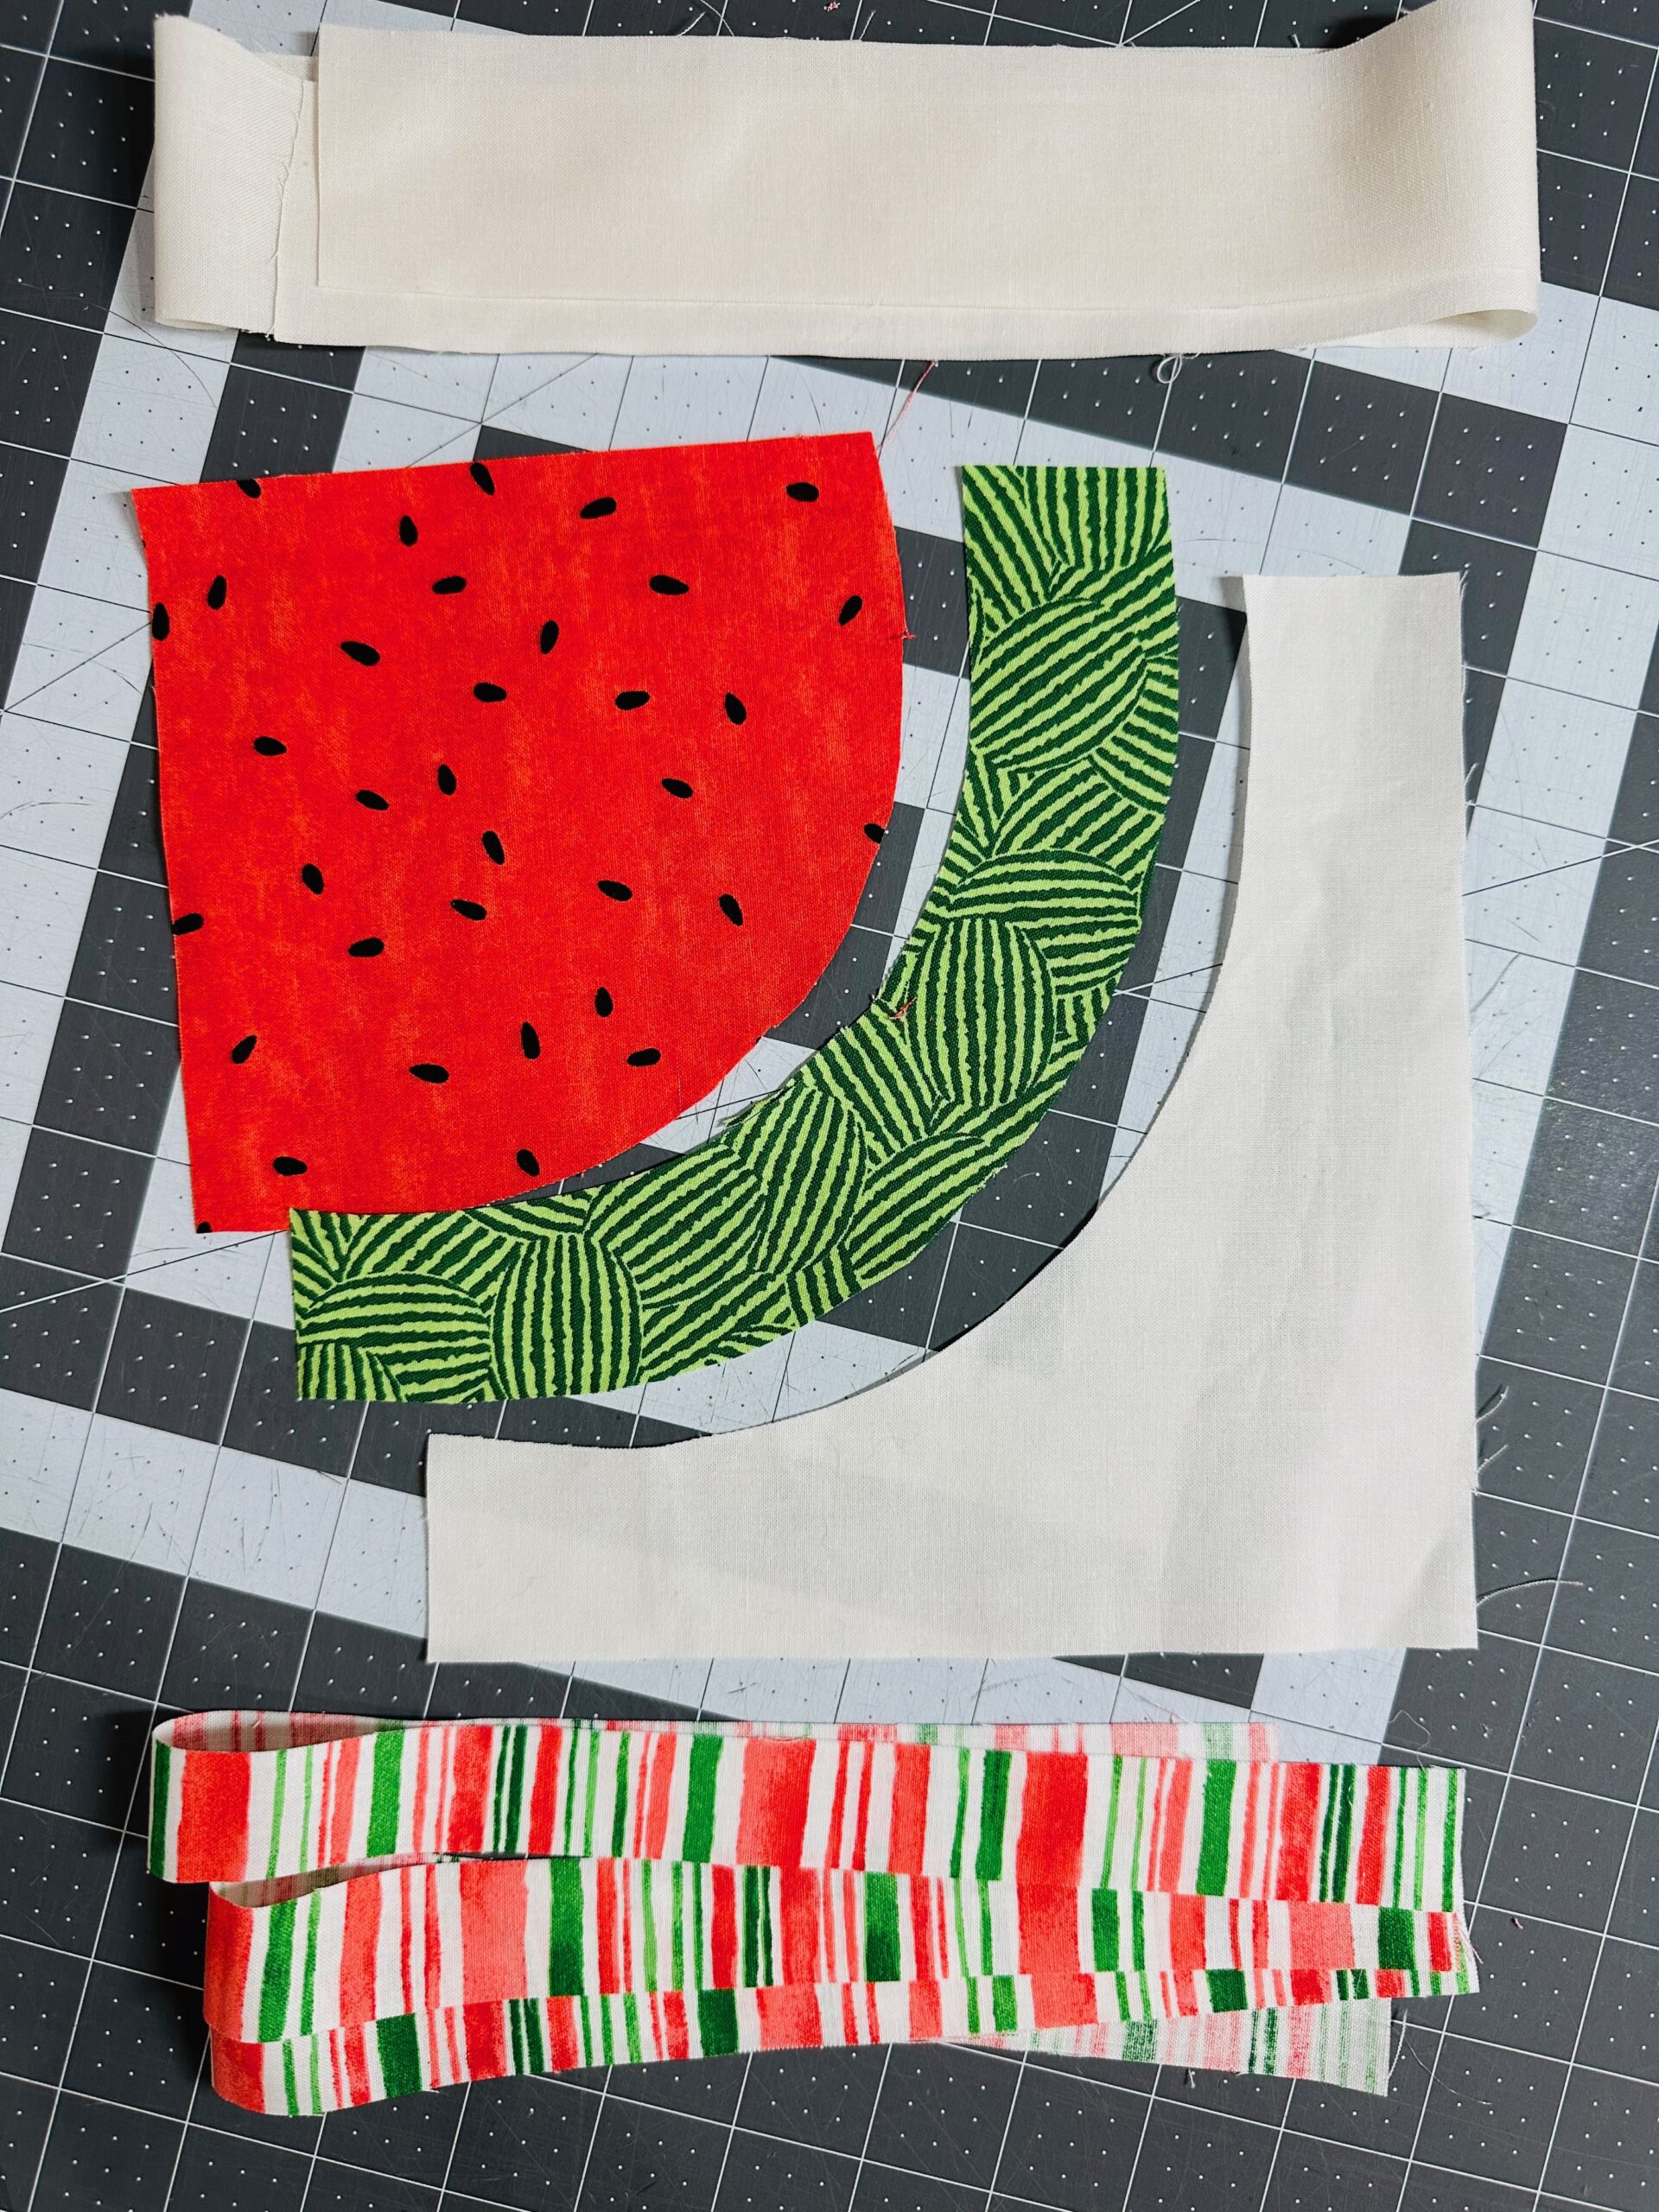
BLOCK CONSTRUCTION
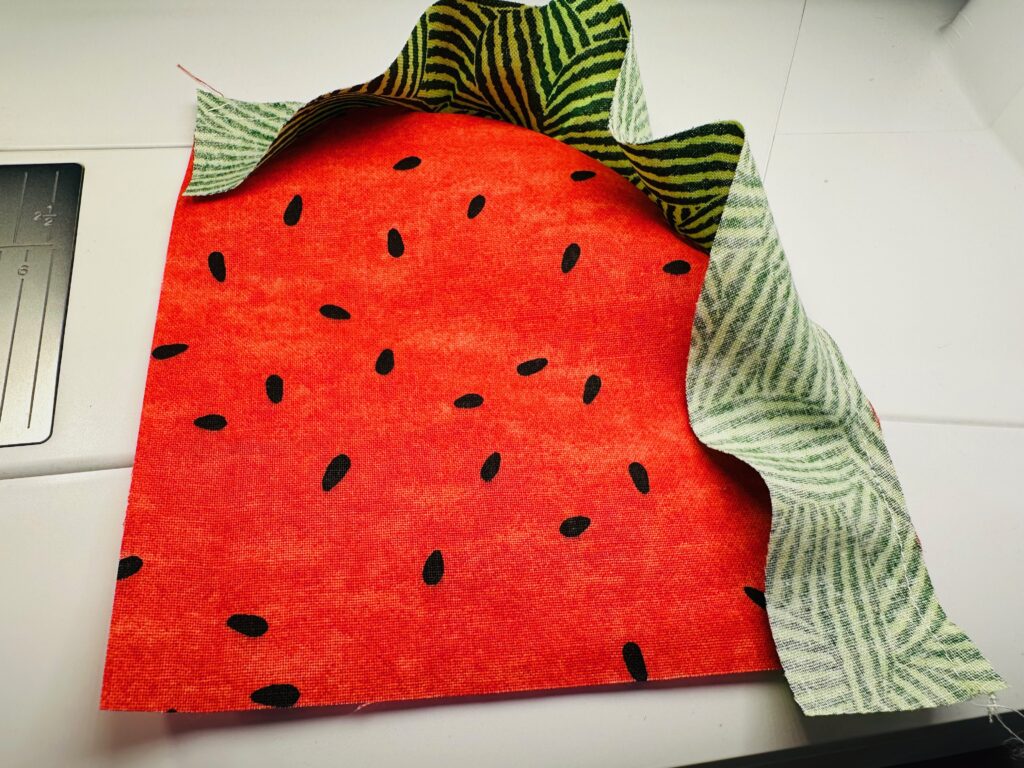
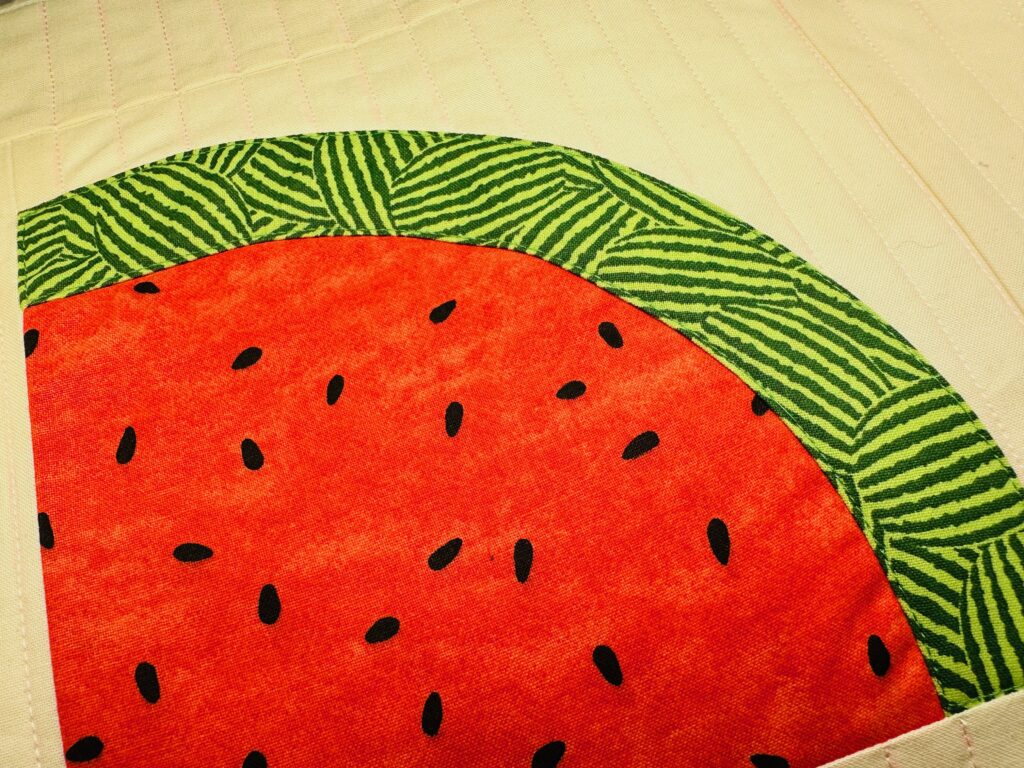
Cut the pieces needed for one Watermelon Block, according to the pattern. If using the featured pattern by SuzyQuilts, there are two block styles to choose from. One Watermelon Block has two rind pieces and one has one rind piece (featured in this tutorial).
TIP: Learn more about SuzyQuilts on our Podcast, Why I Sew!
Also, cut enough 2″-wide border strips for the Block measurements.
From the binding print, cut 1″-wide strips. (This is a VERY narrow binding when folded in half. If you’re a beginner, cut 2″-wide binding strips to make things easier to manage (and miter).
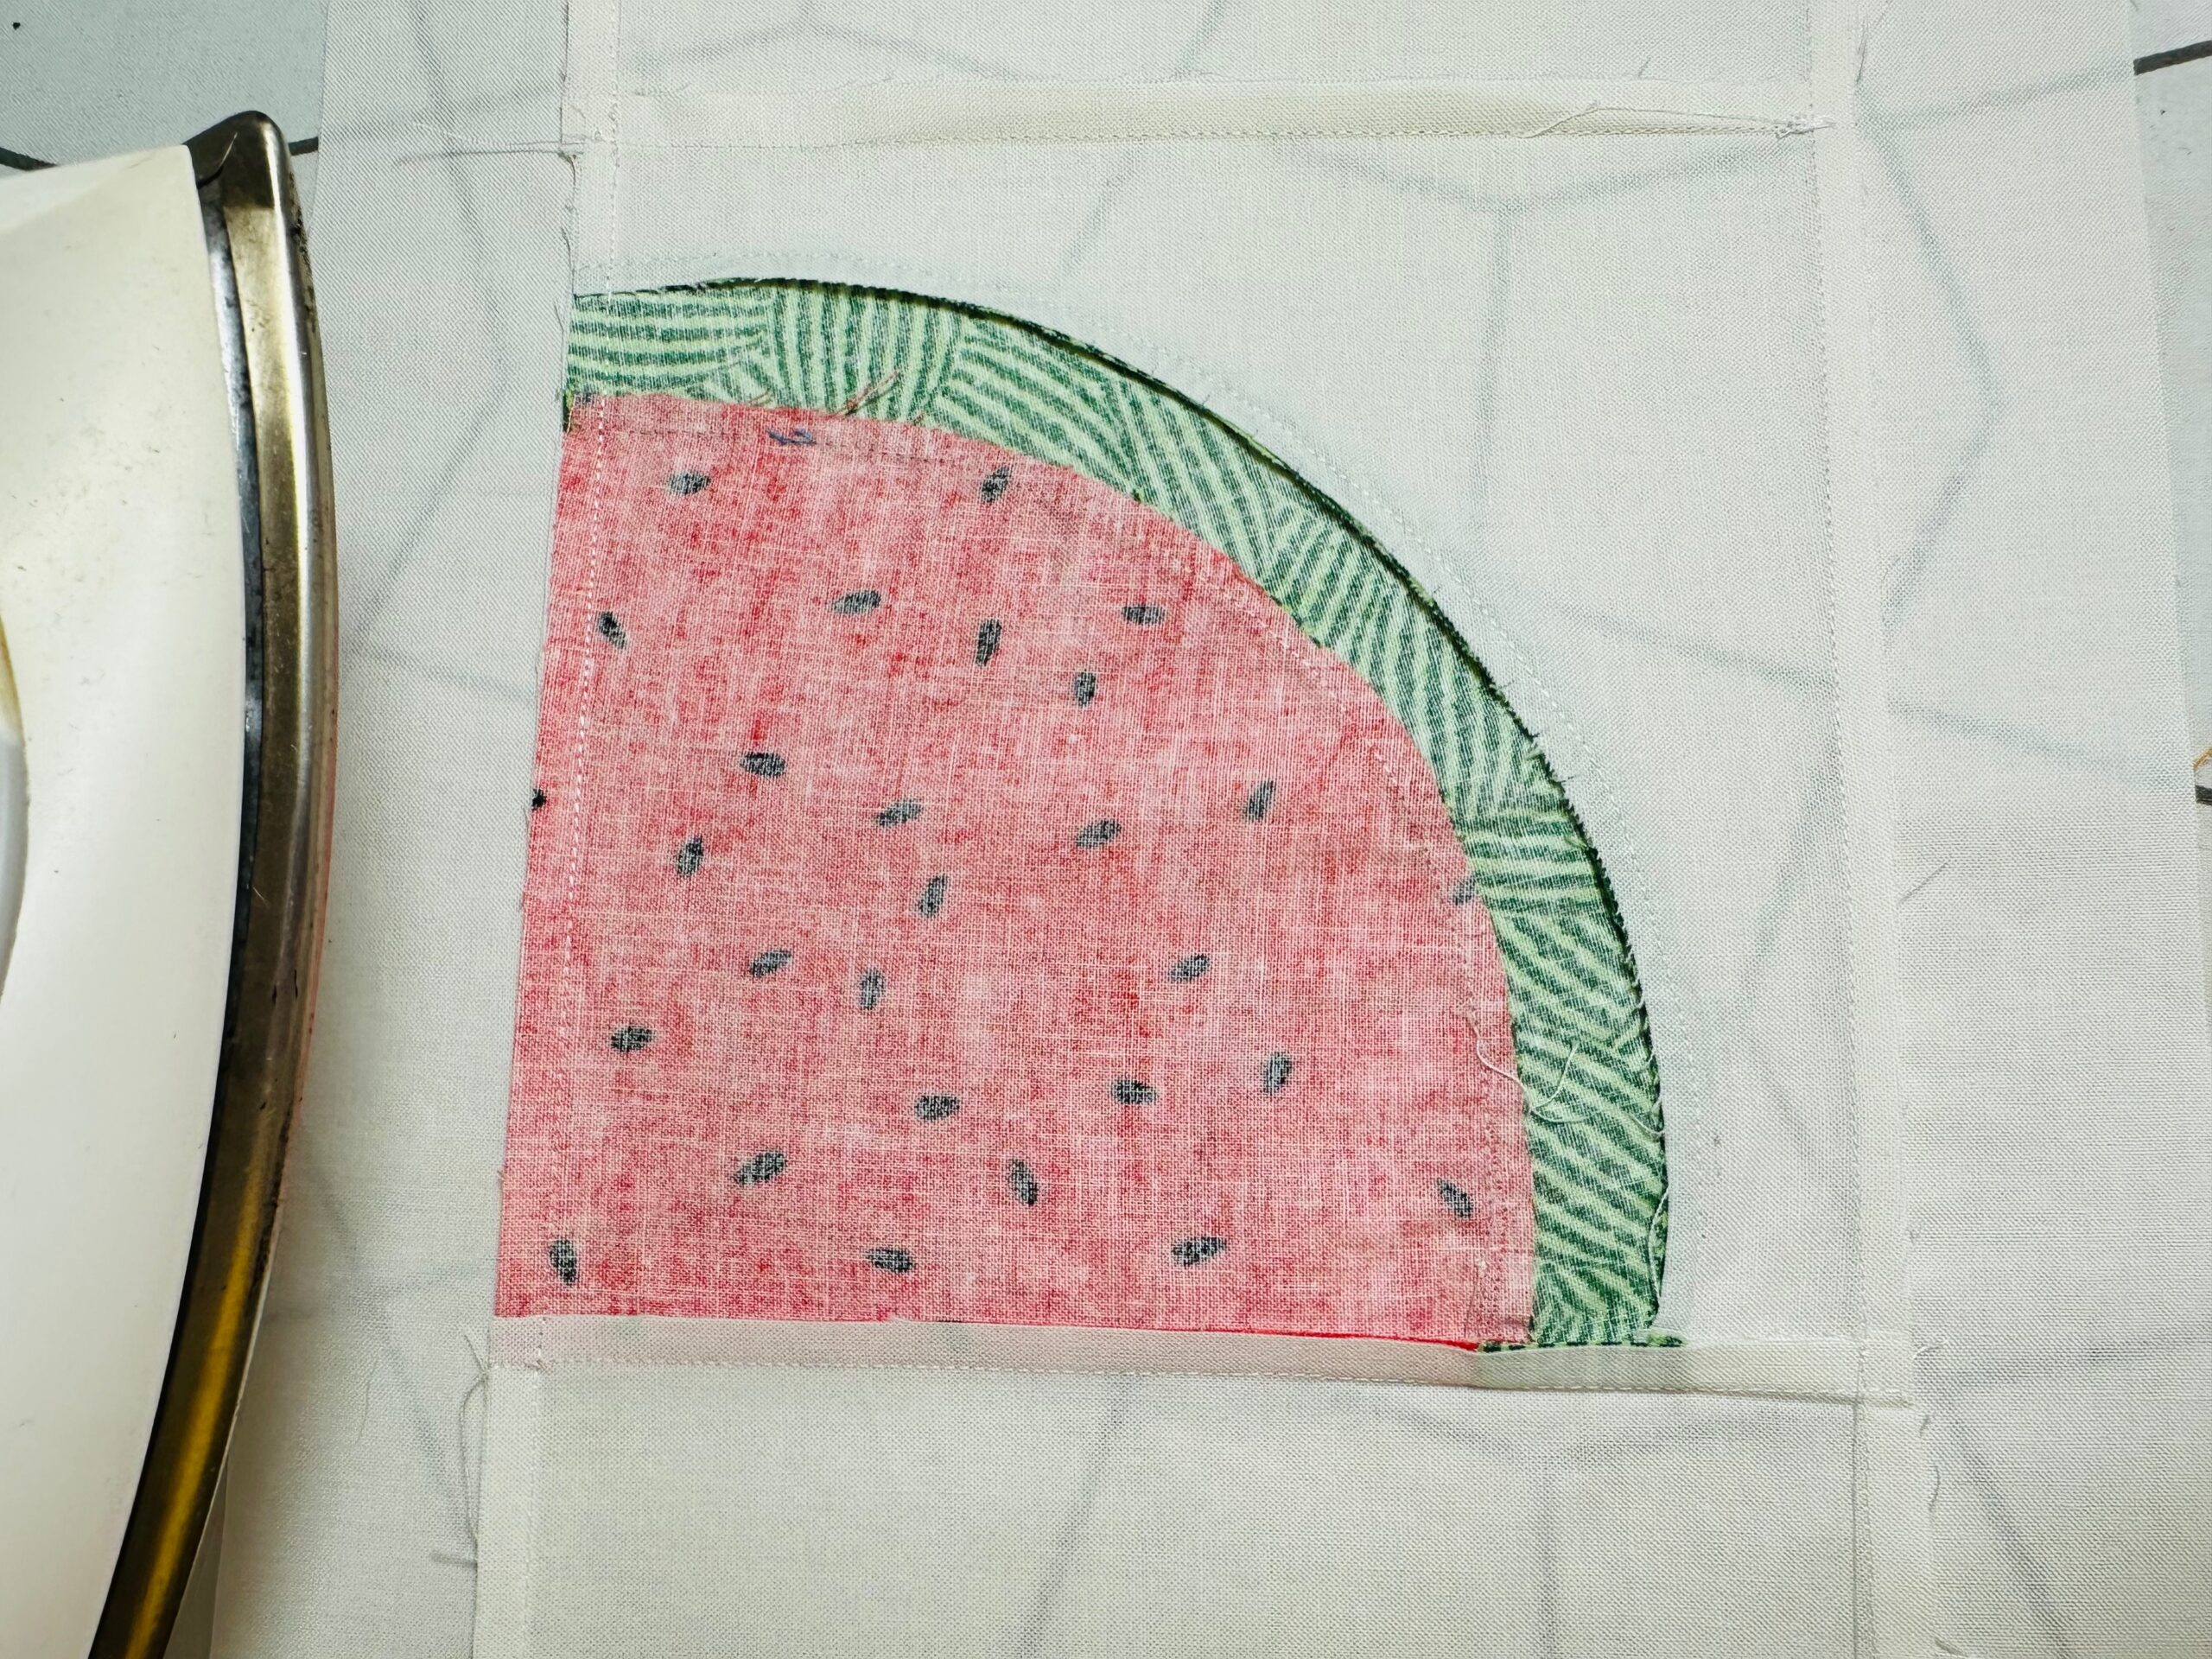
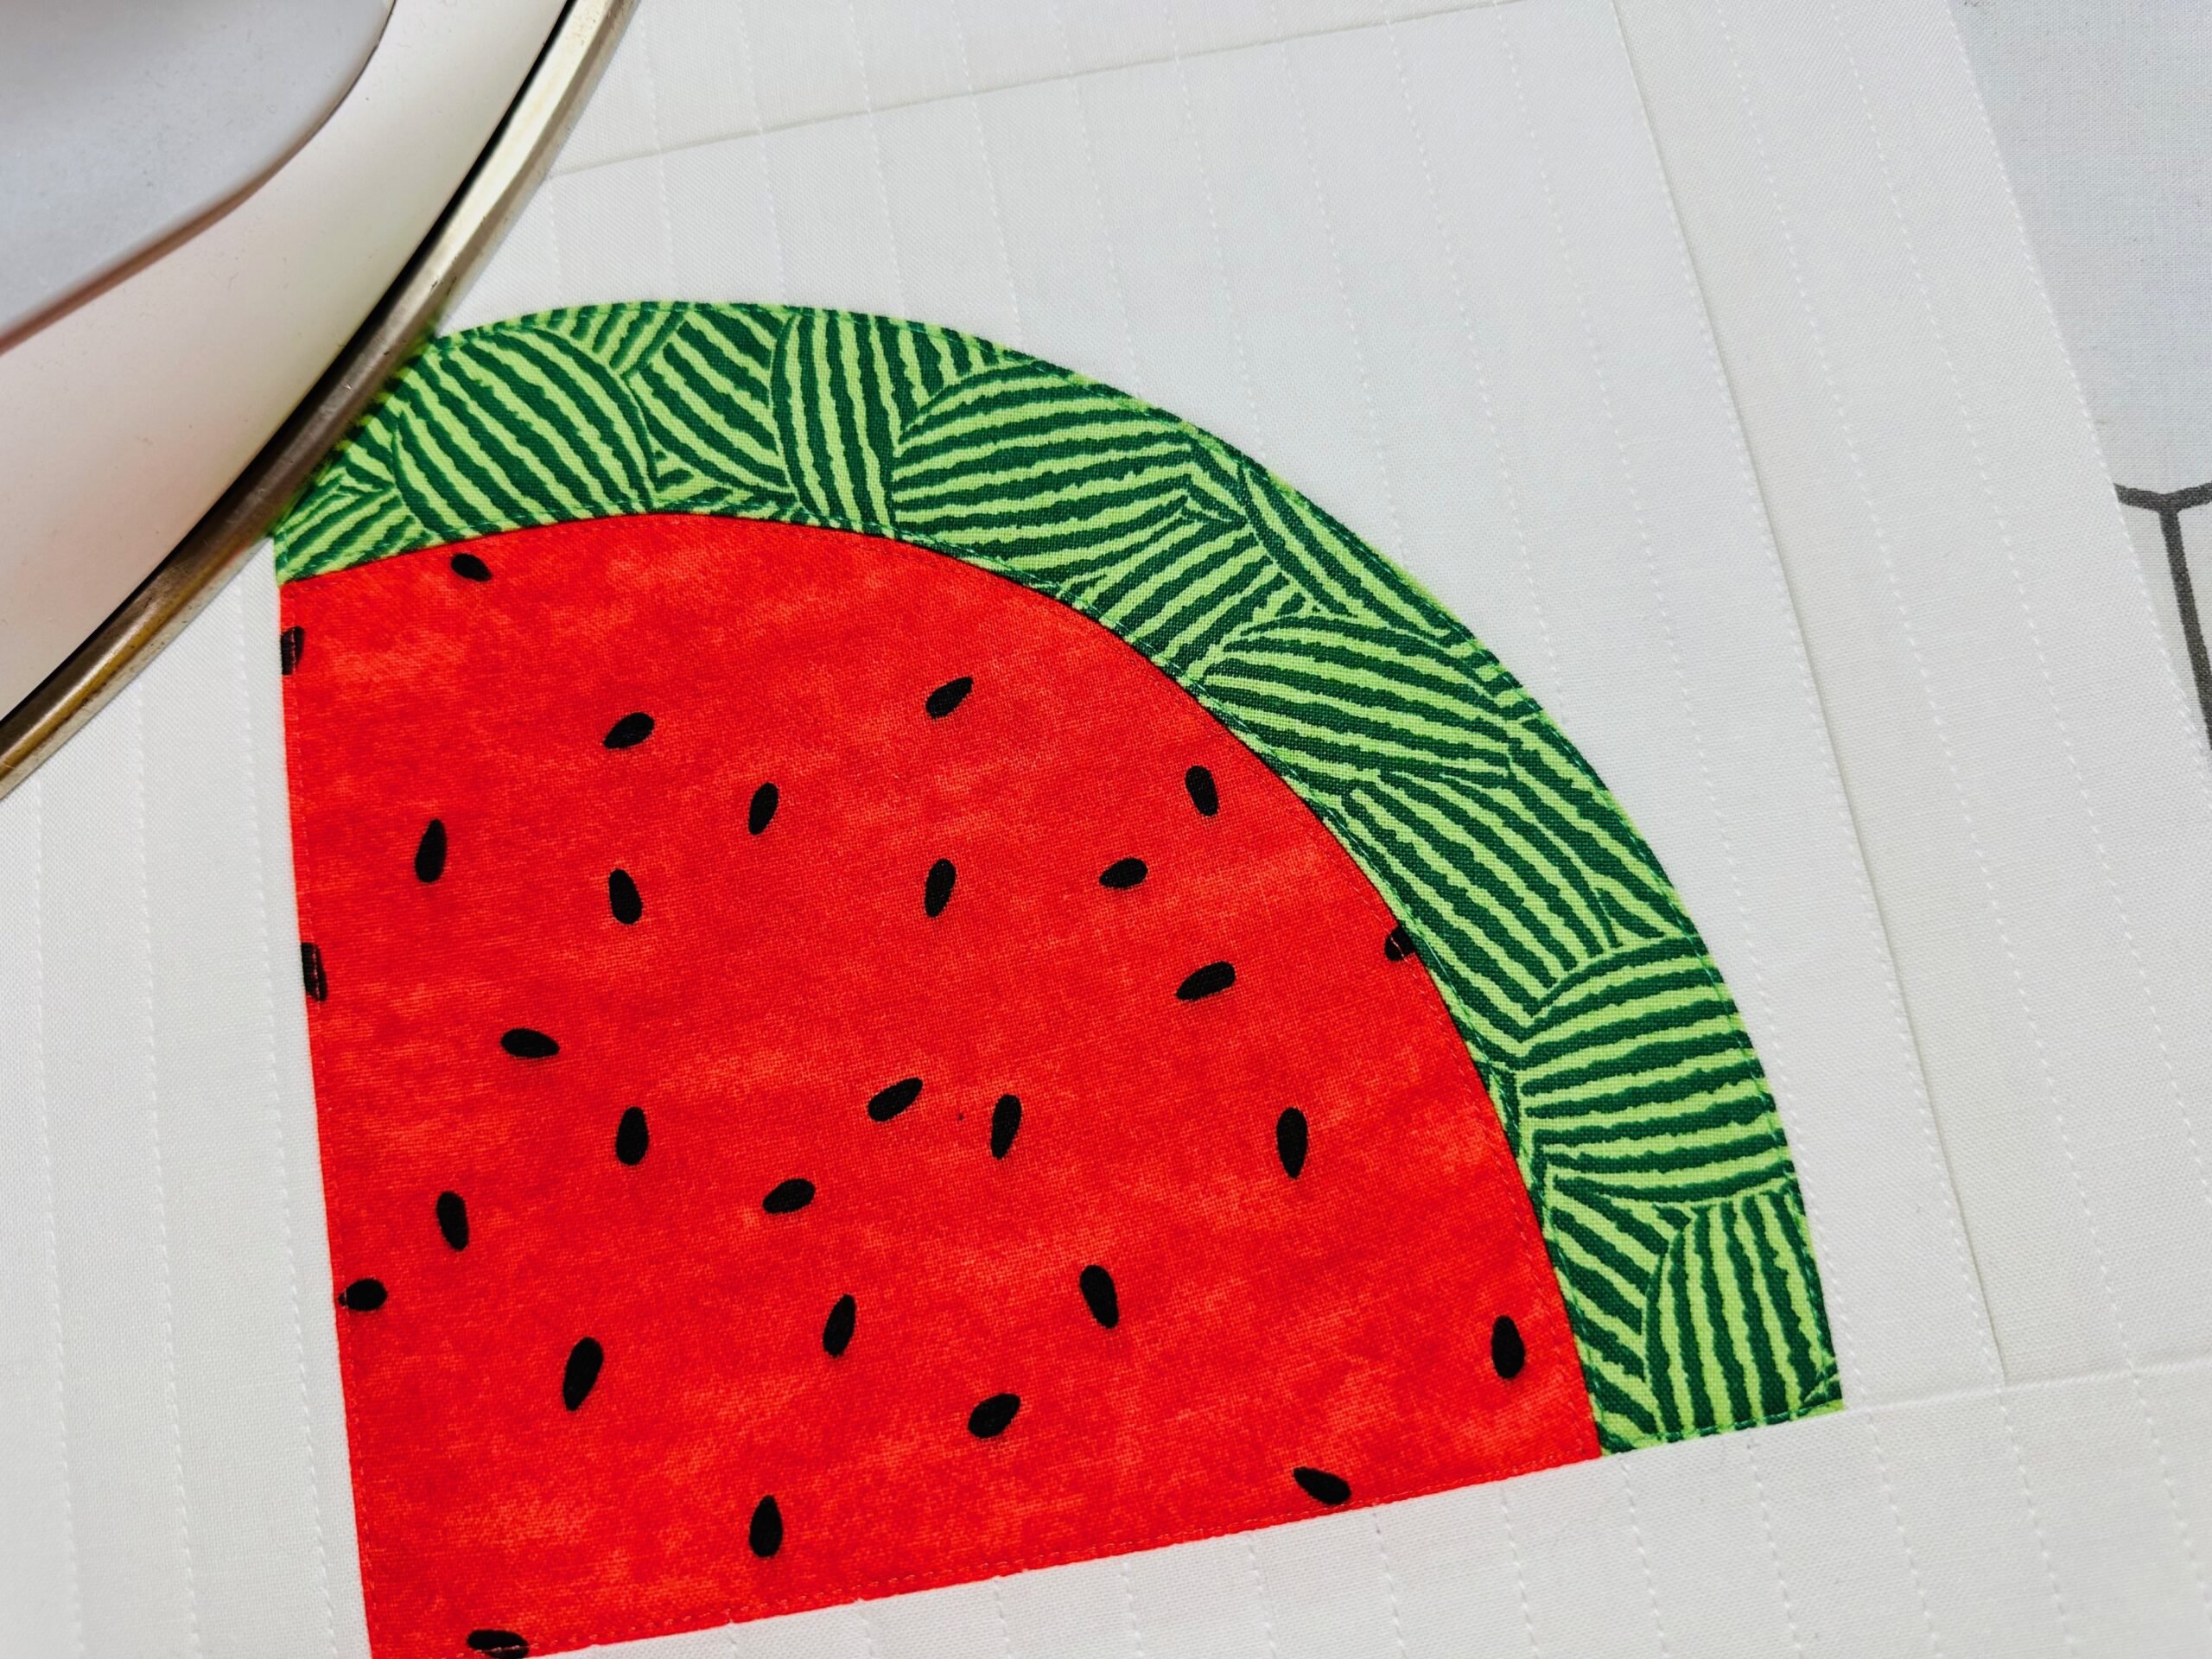
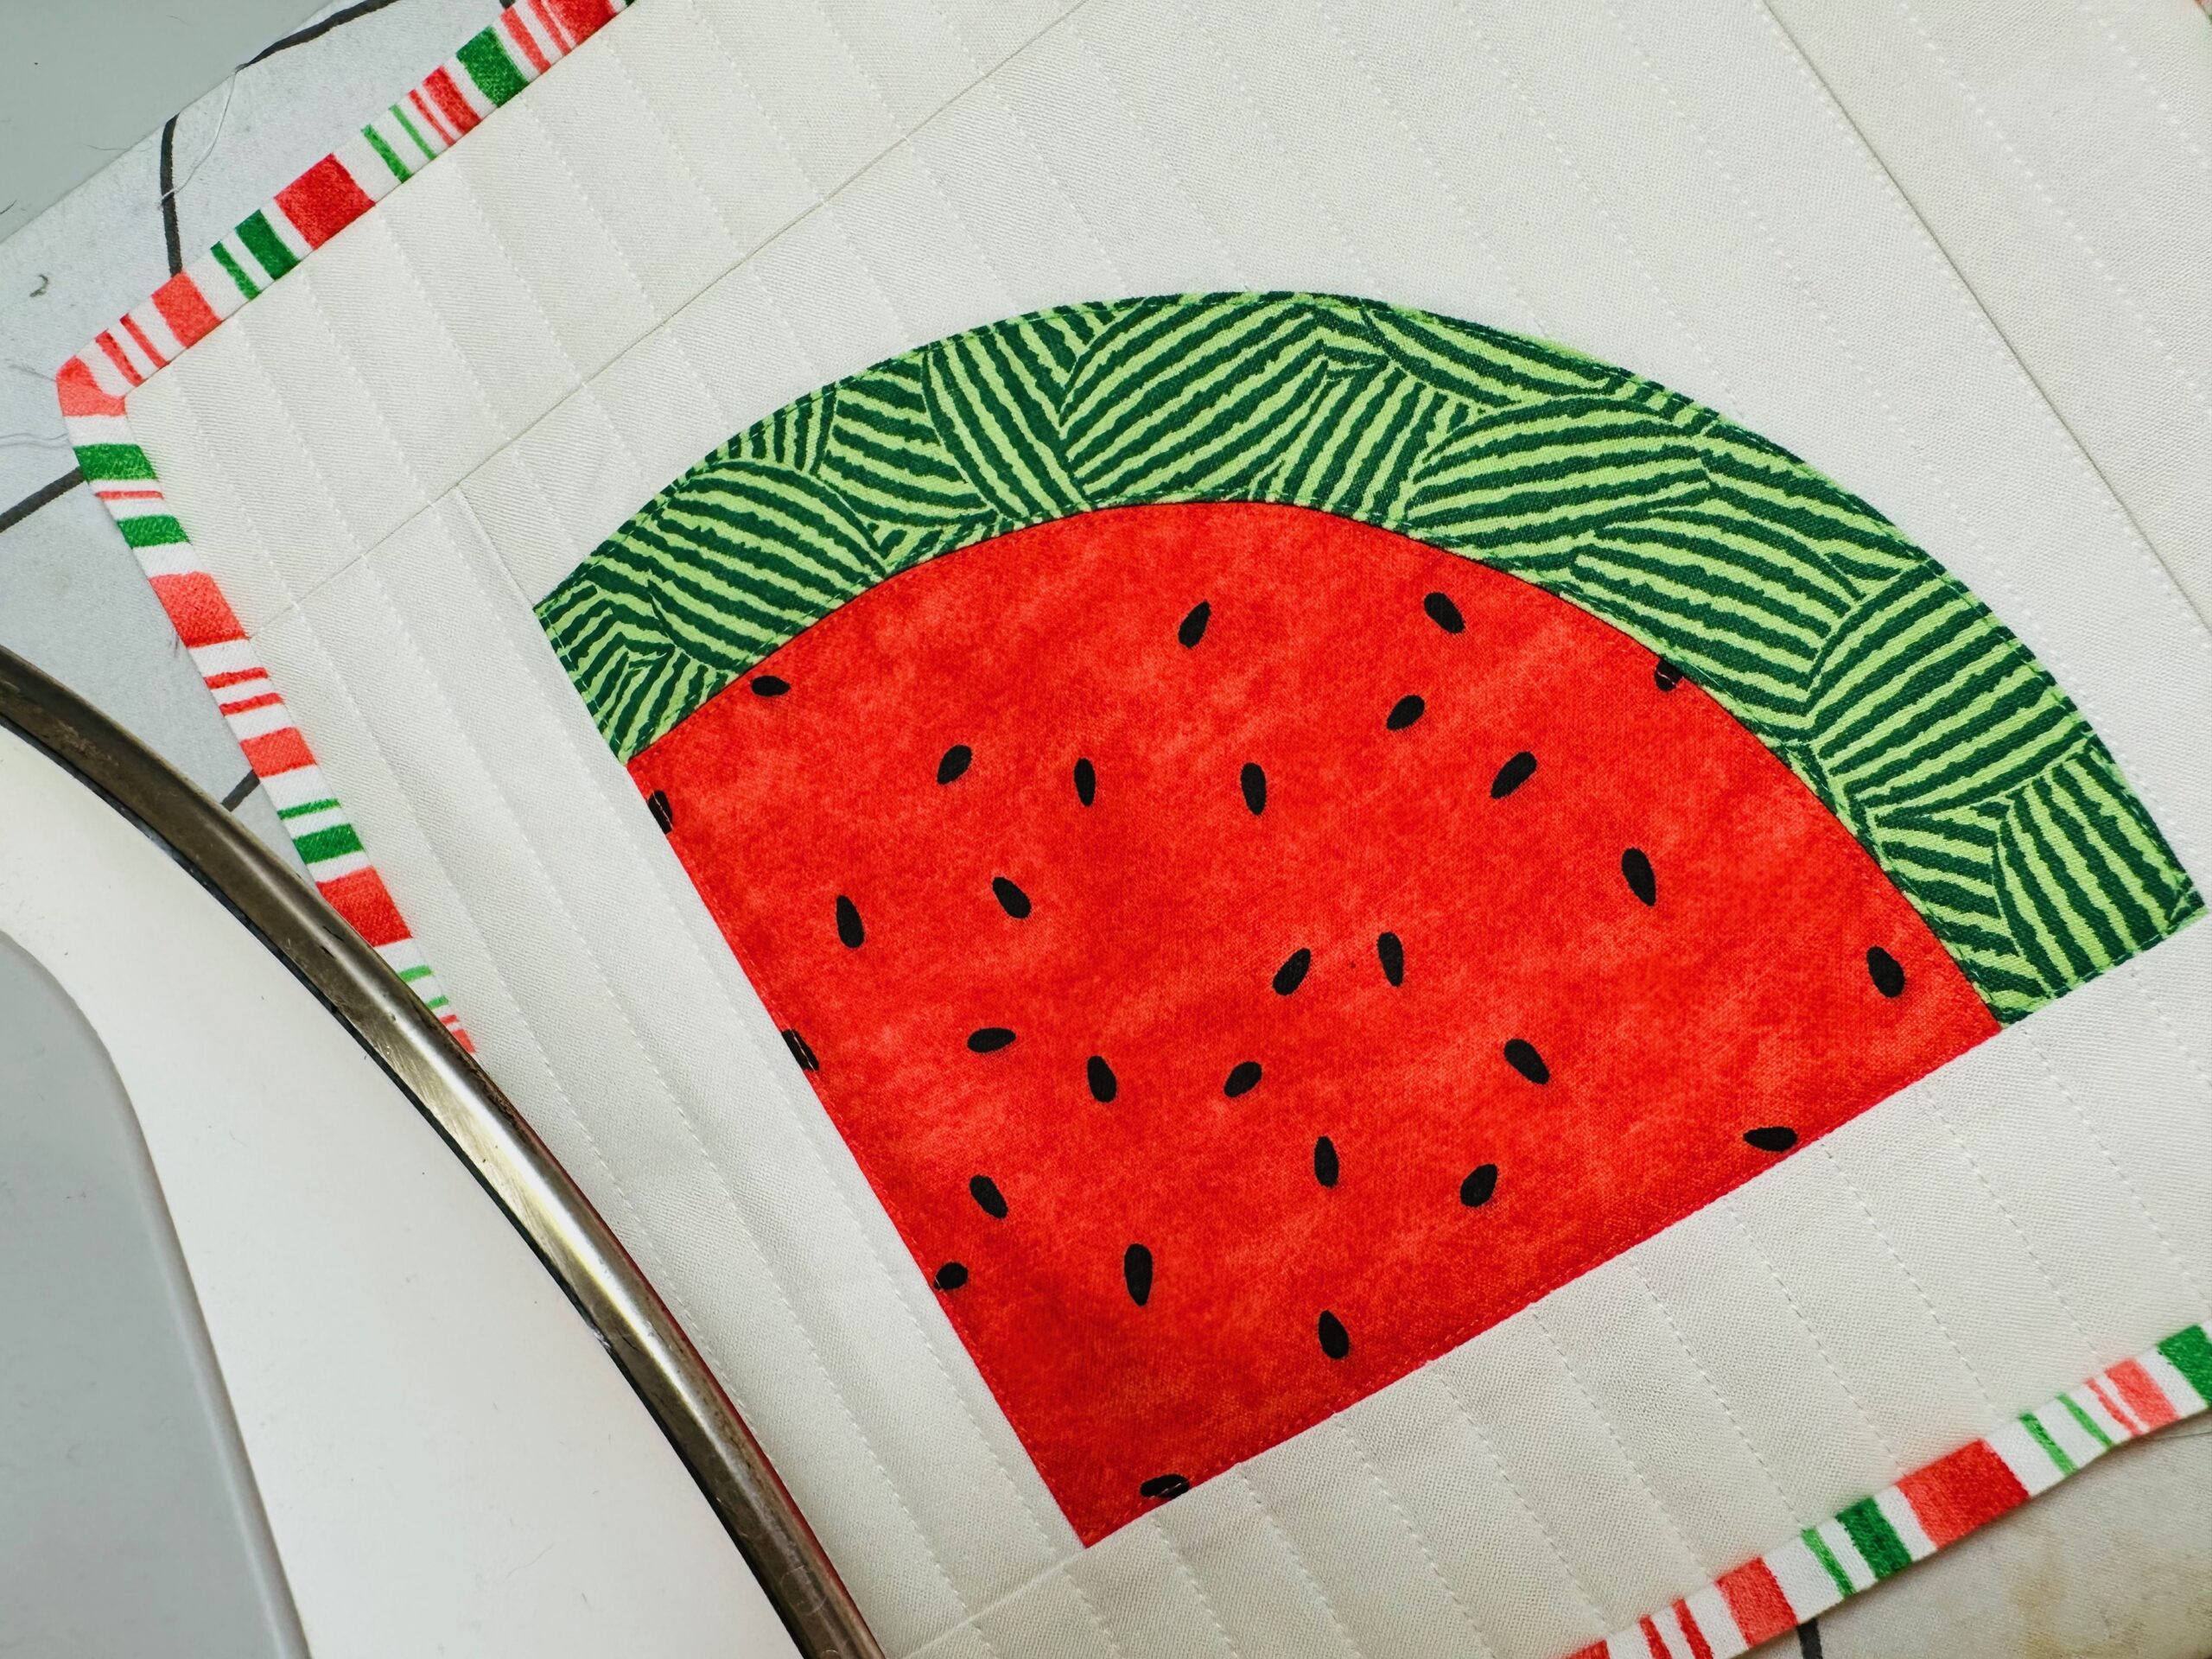
Construct one Watermelon Block according to the pattern directions. Don’t be afraid of the curved seams! The instructions within the featured pattern make it very easy to follow. Remember – you only have to make ONE of these!
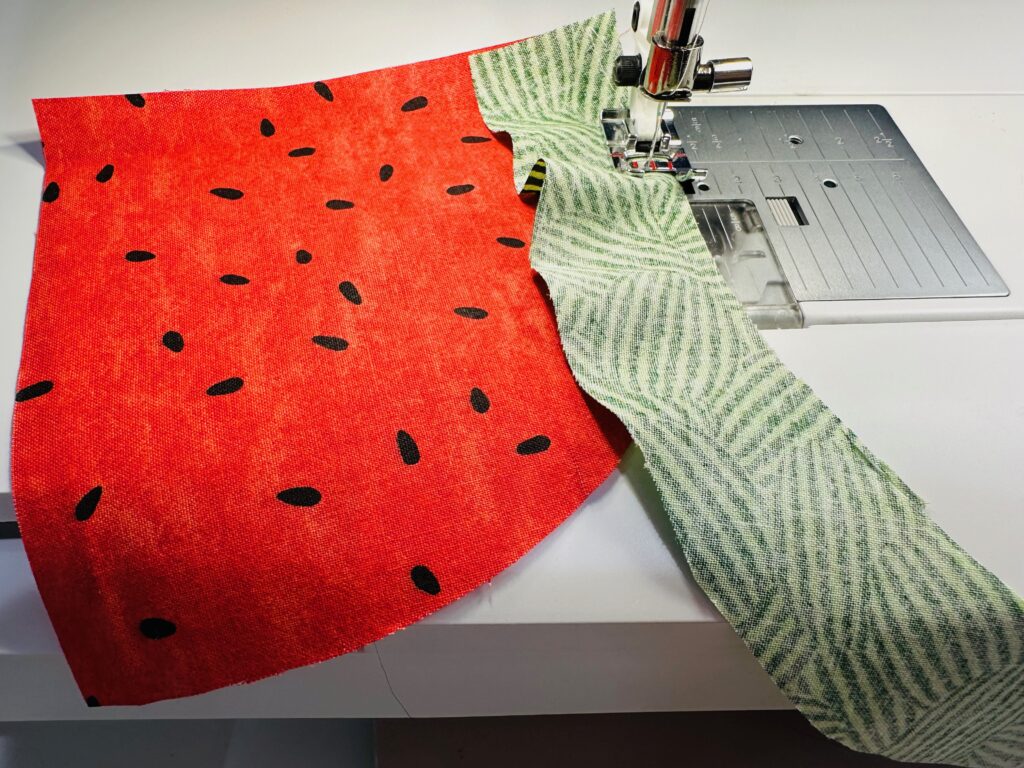
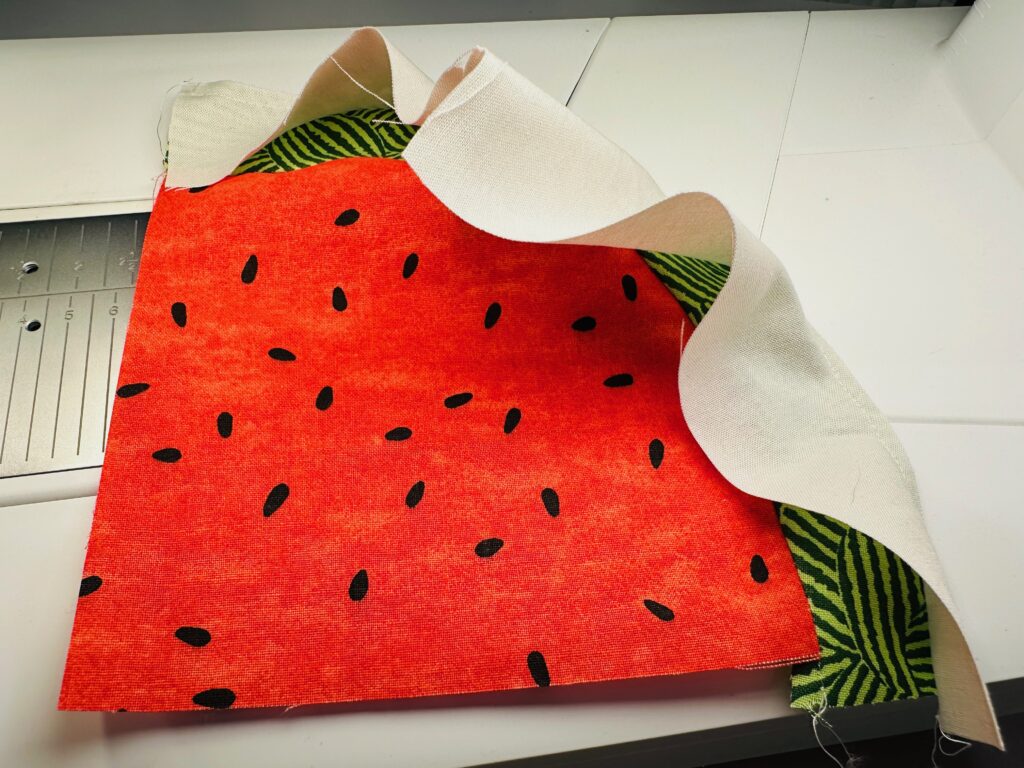
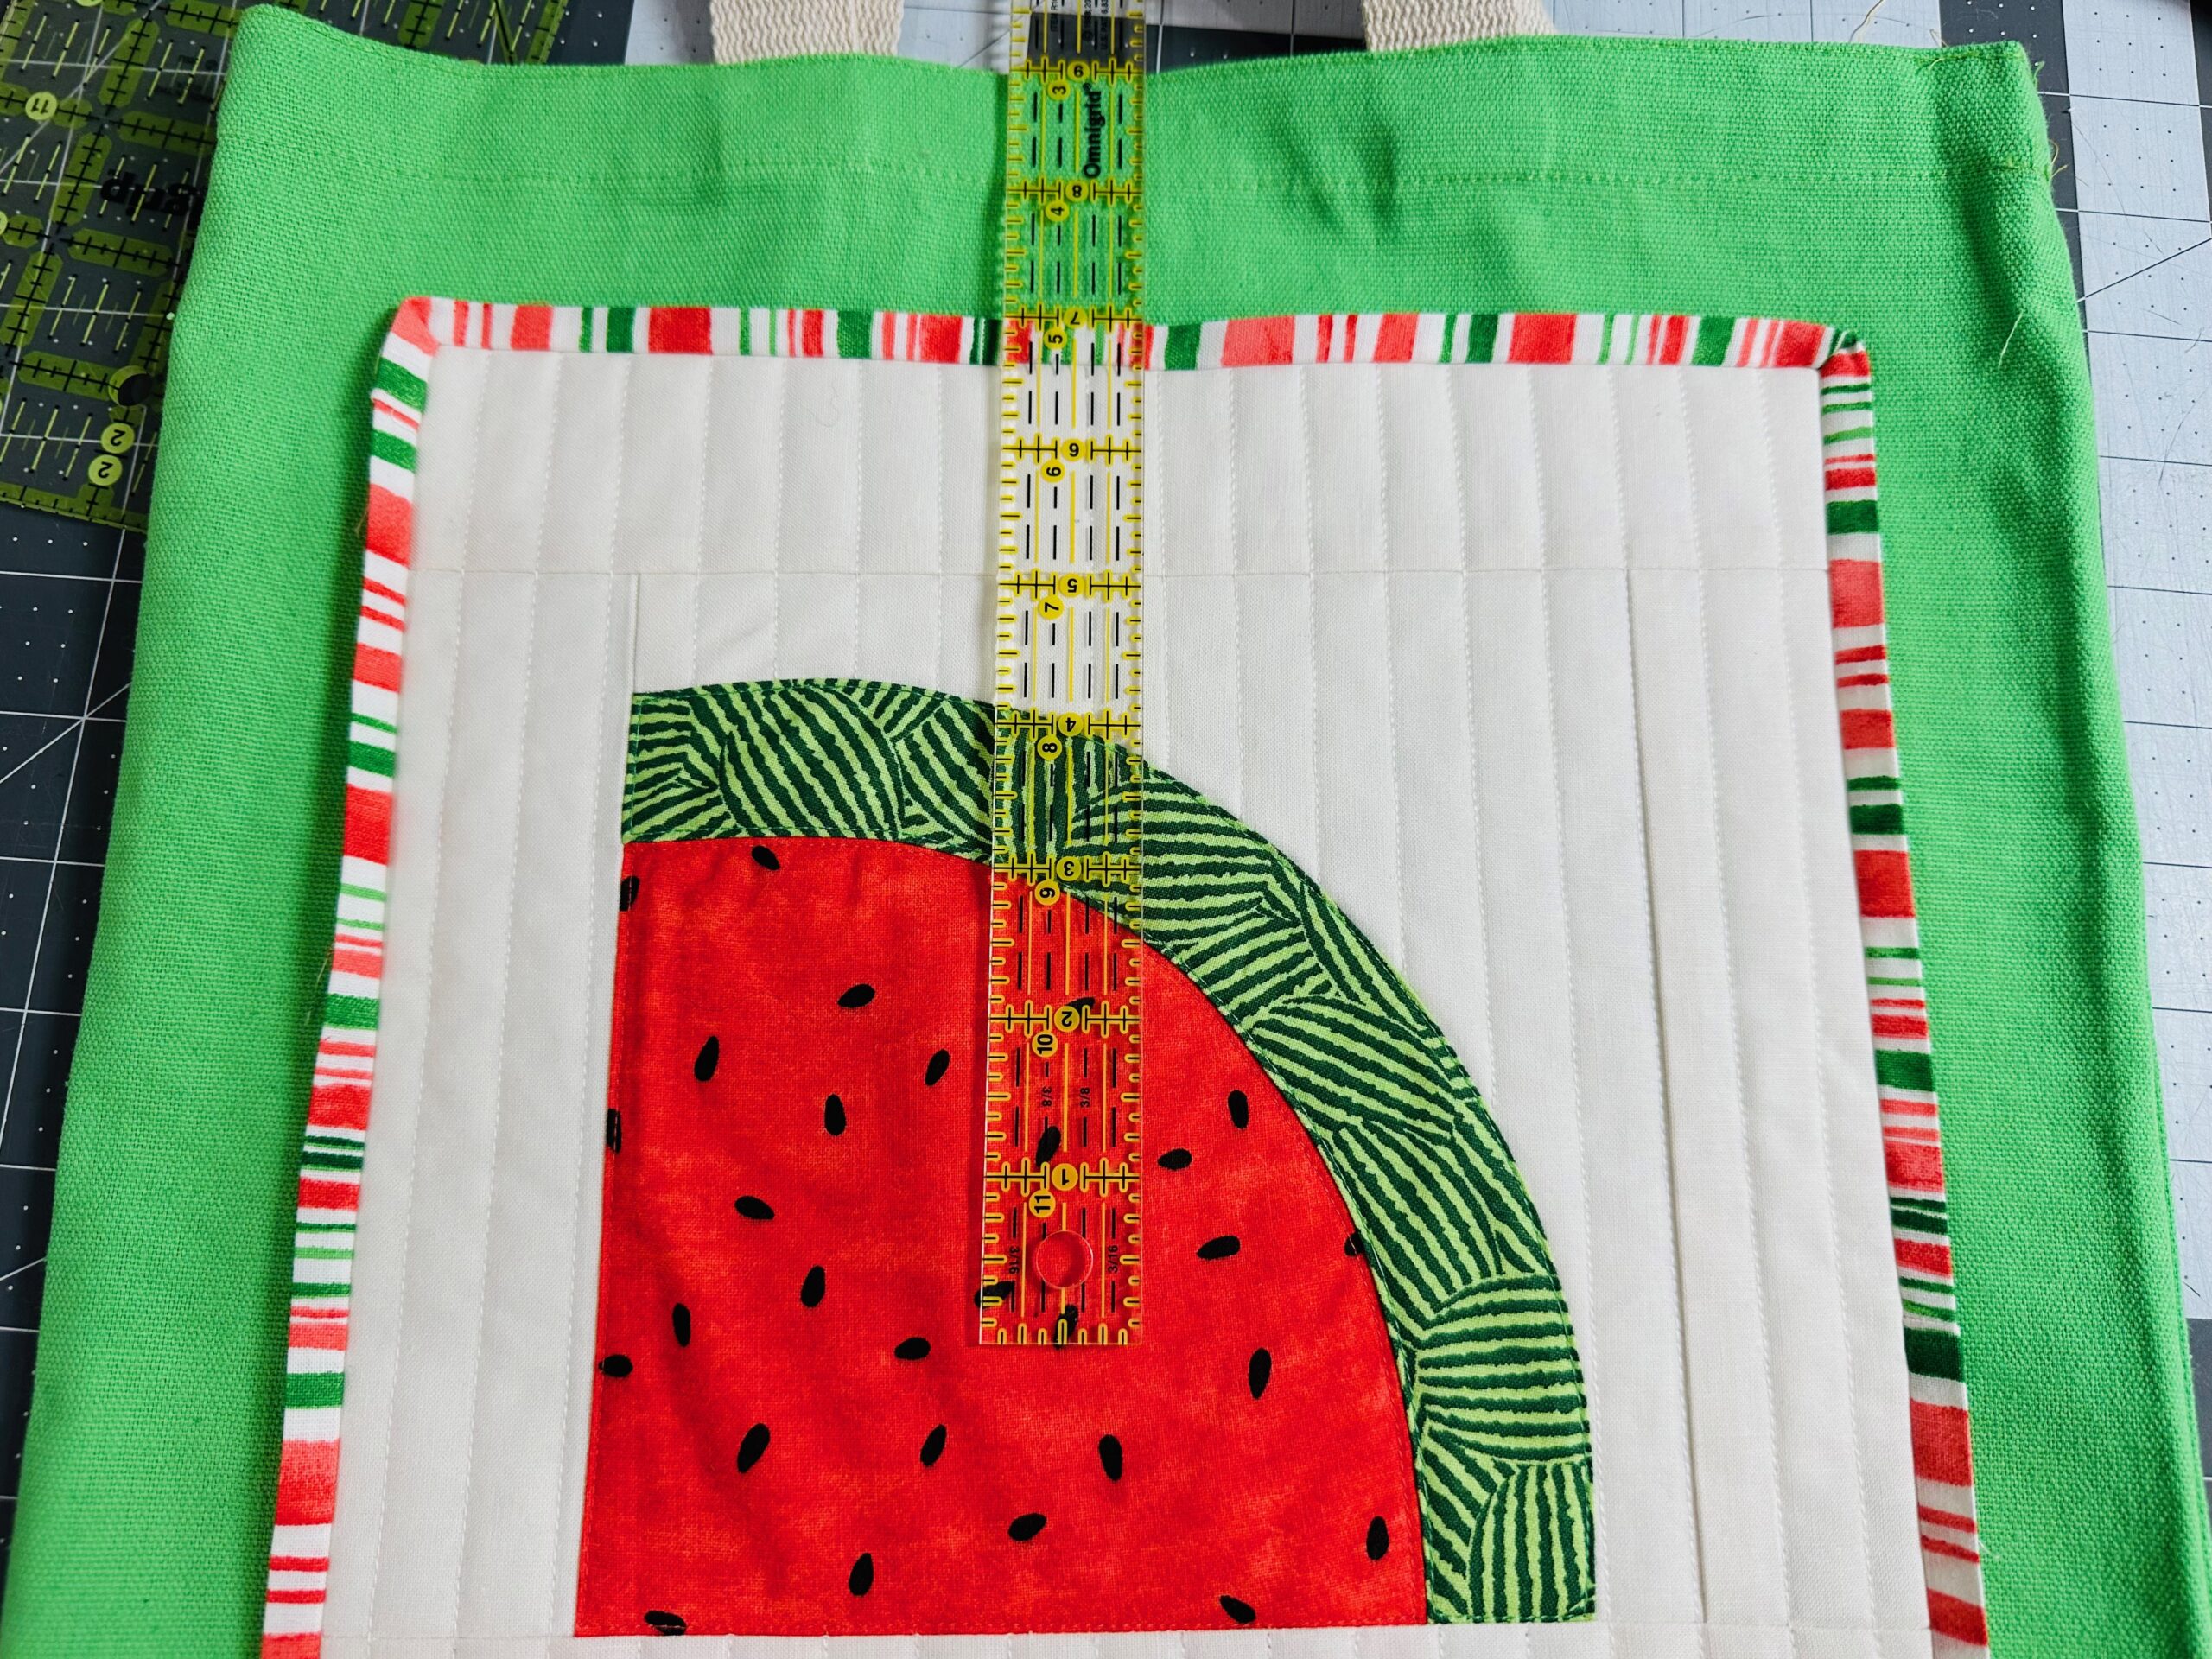
After piecing is complete, press the Watermelon Block flat; trim to 7 ½” square.
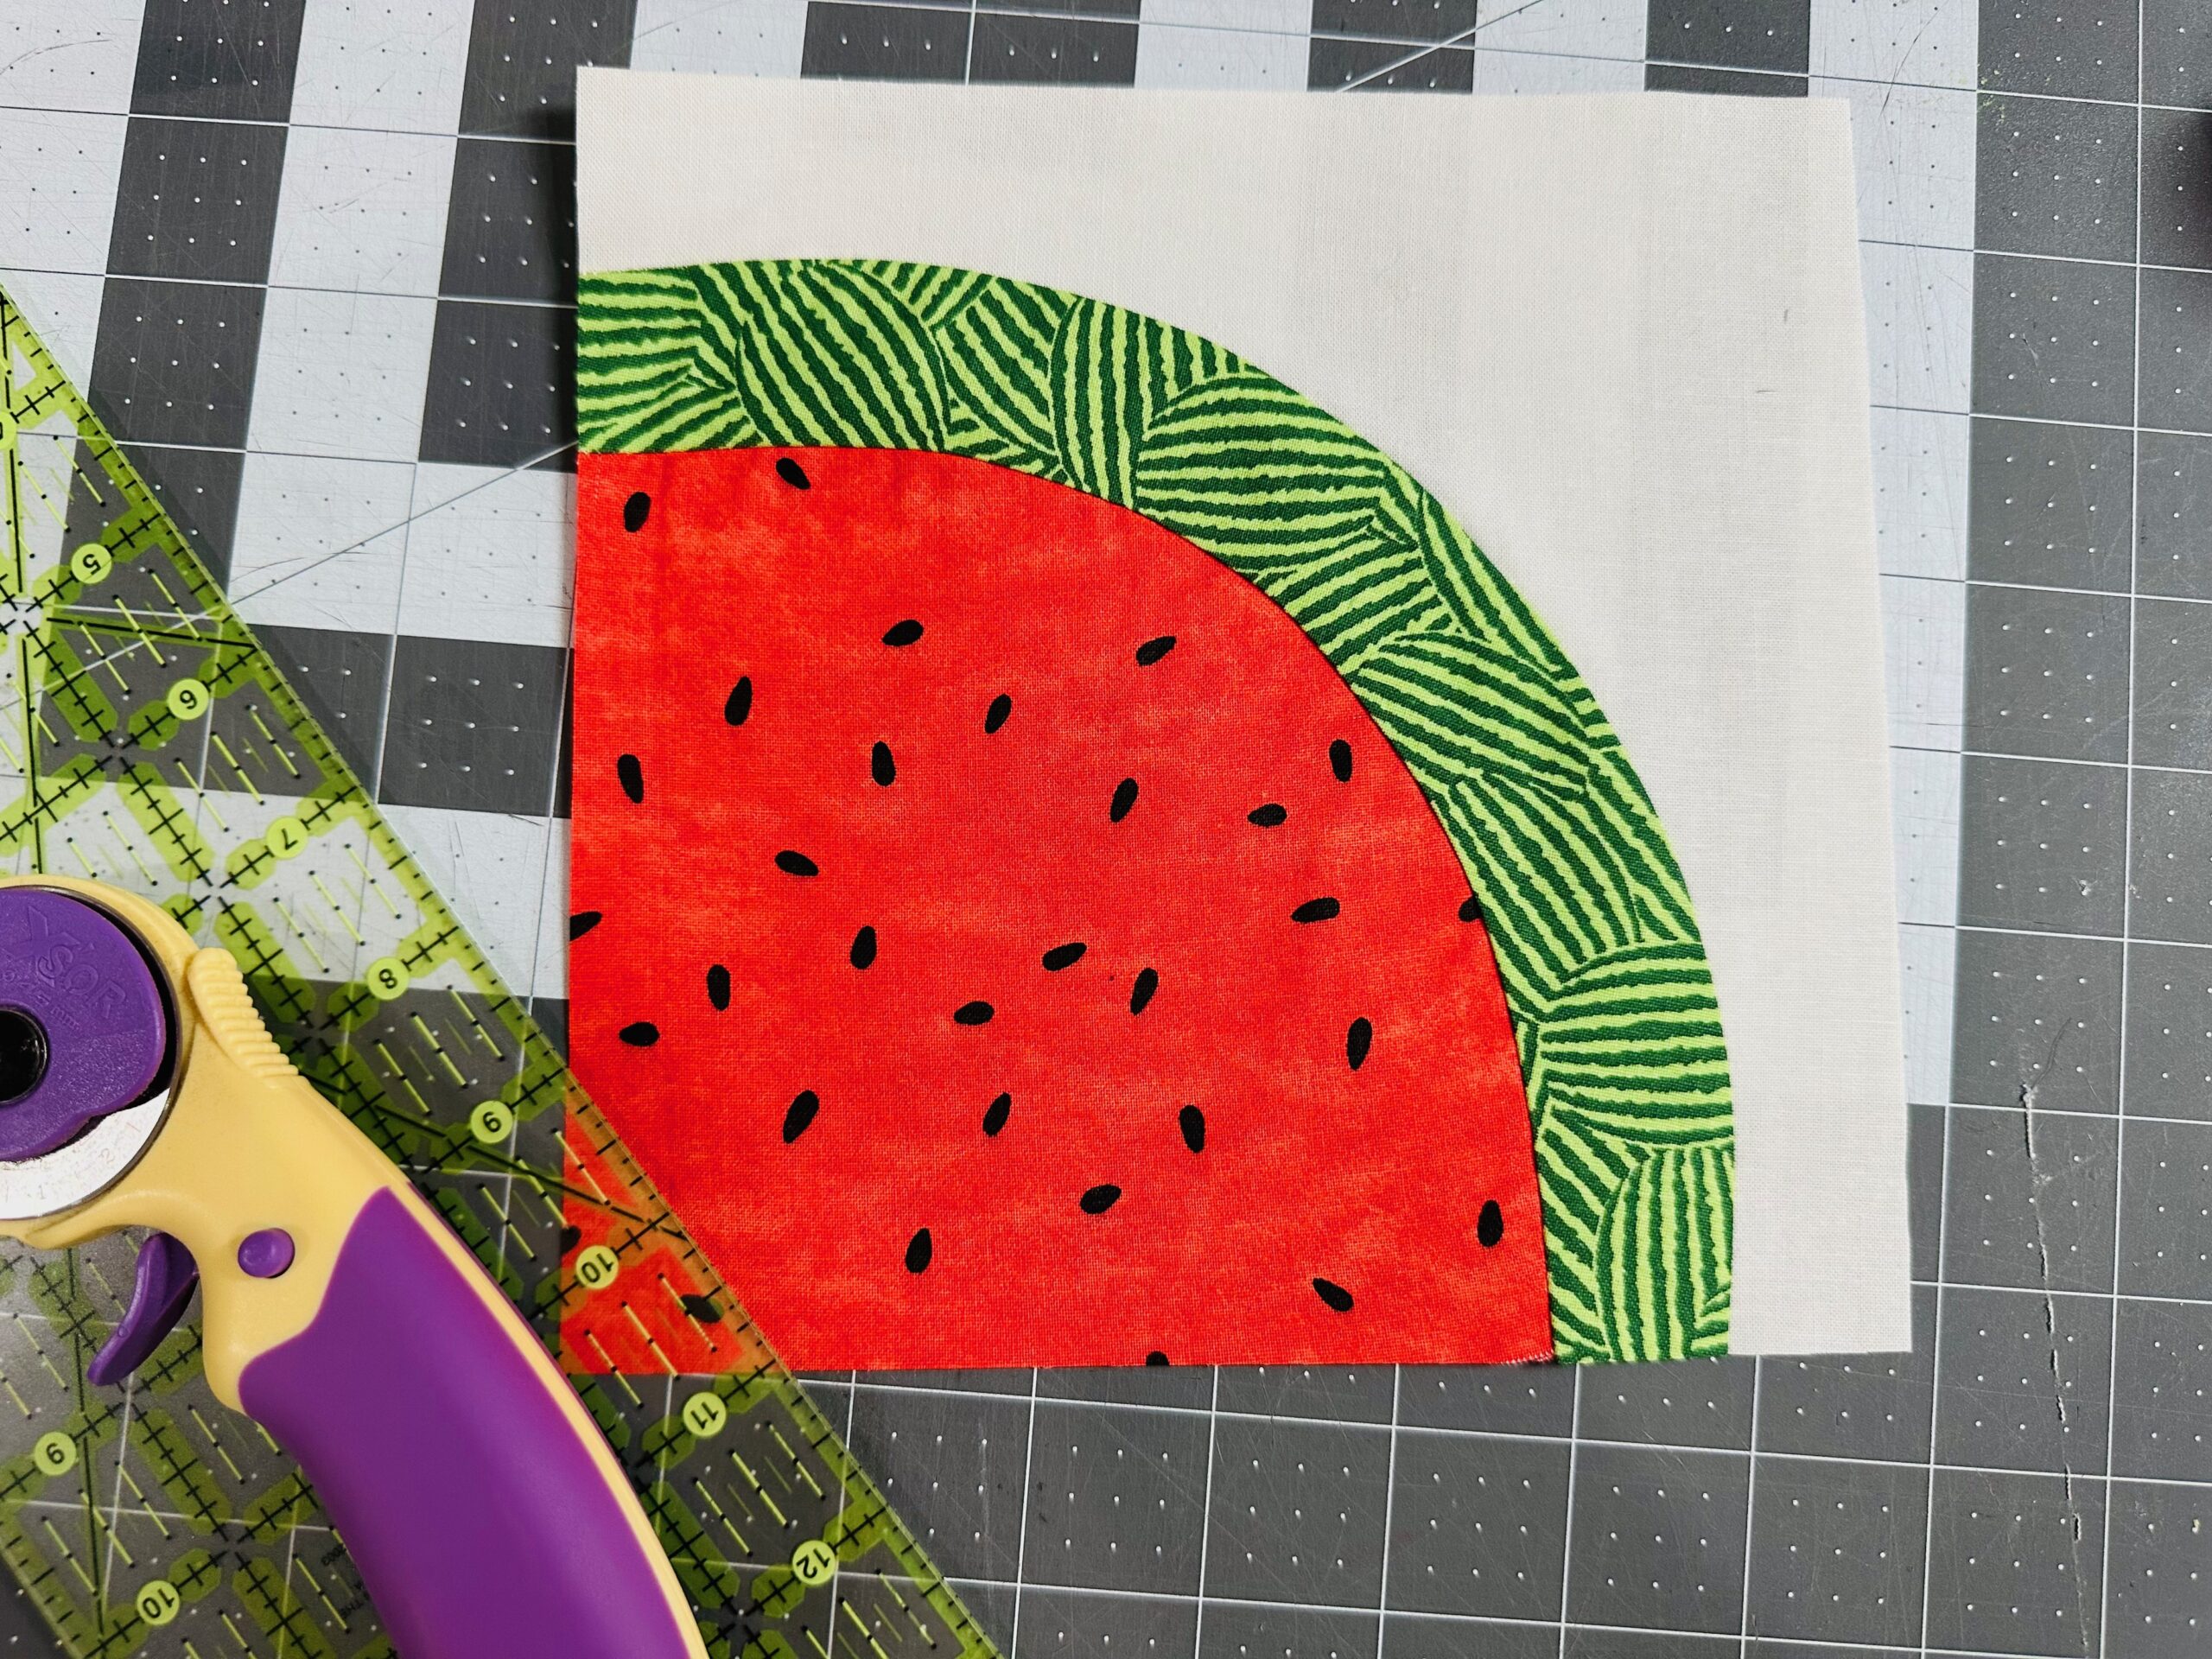
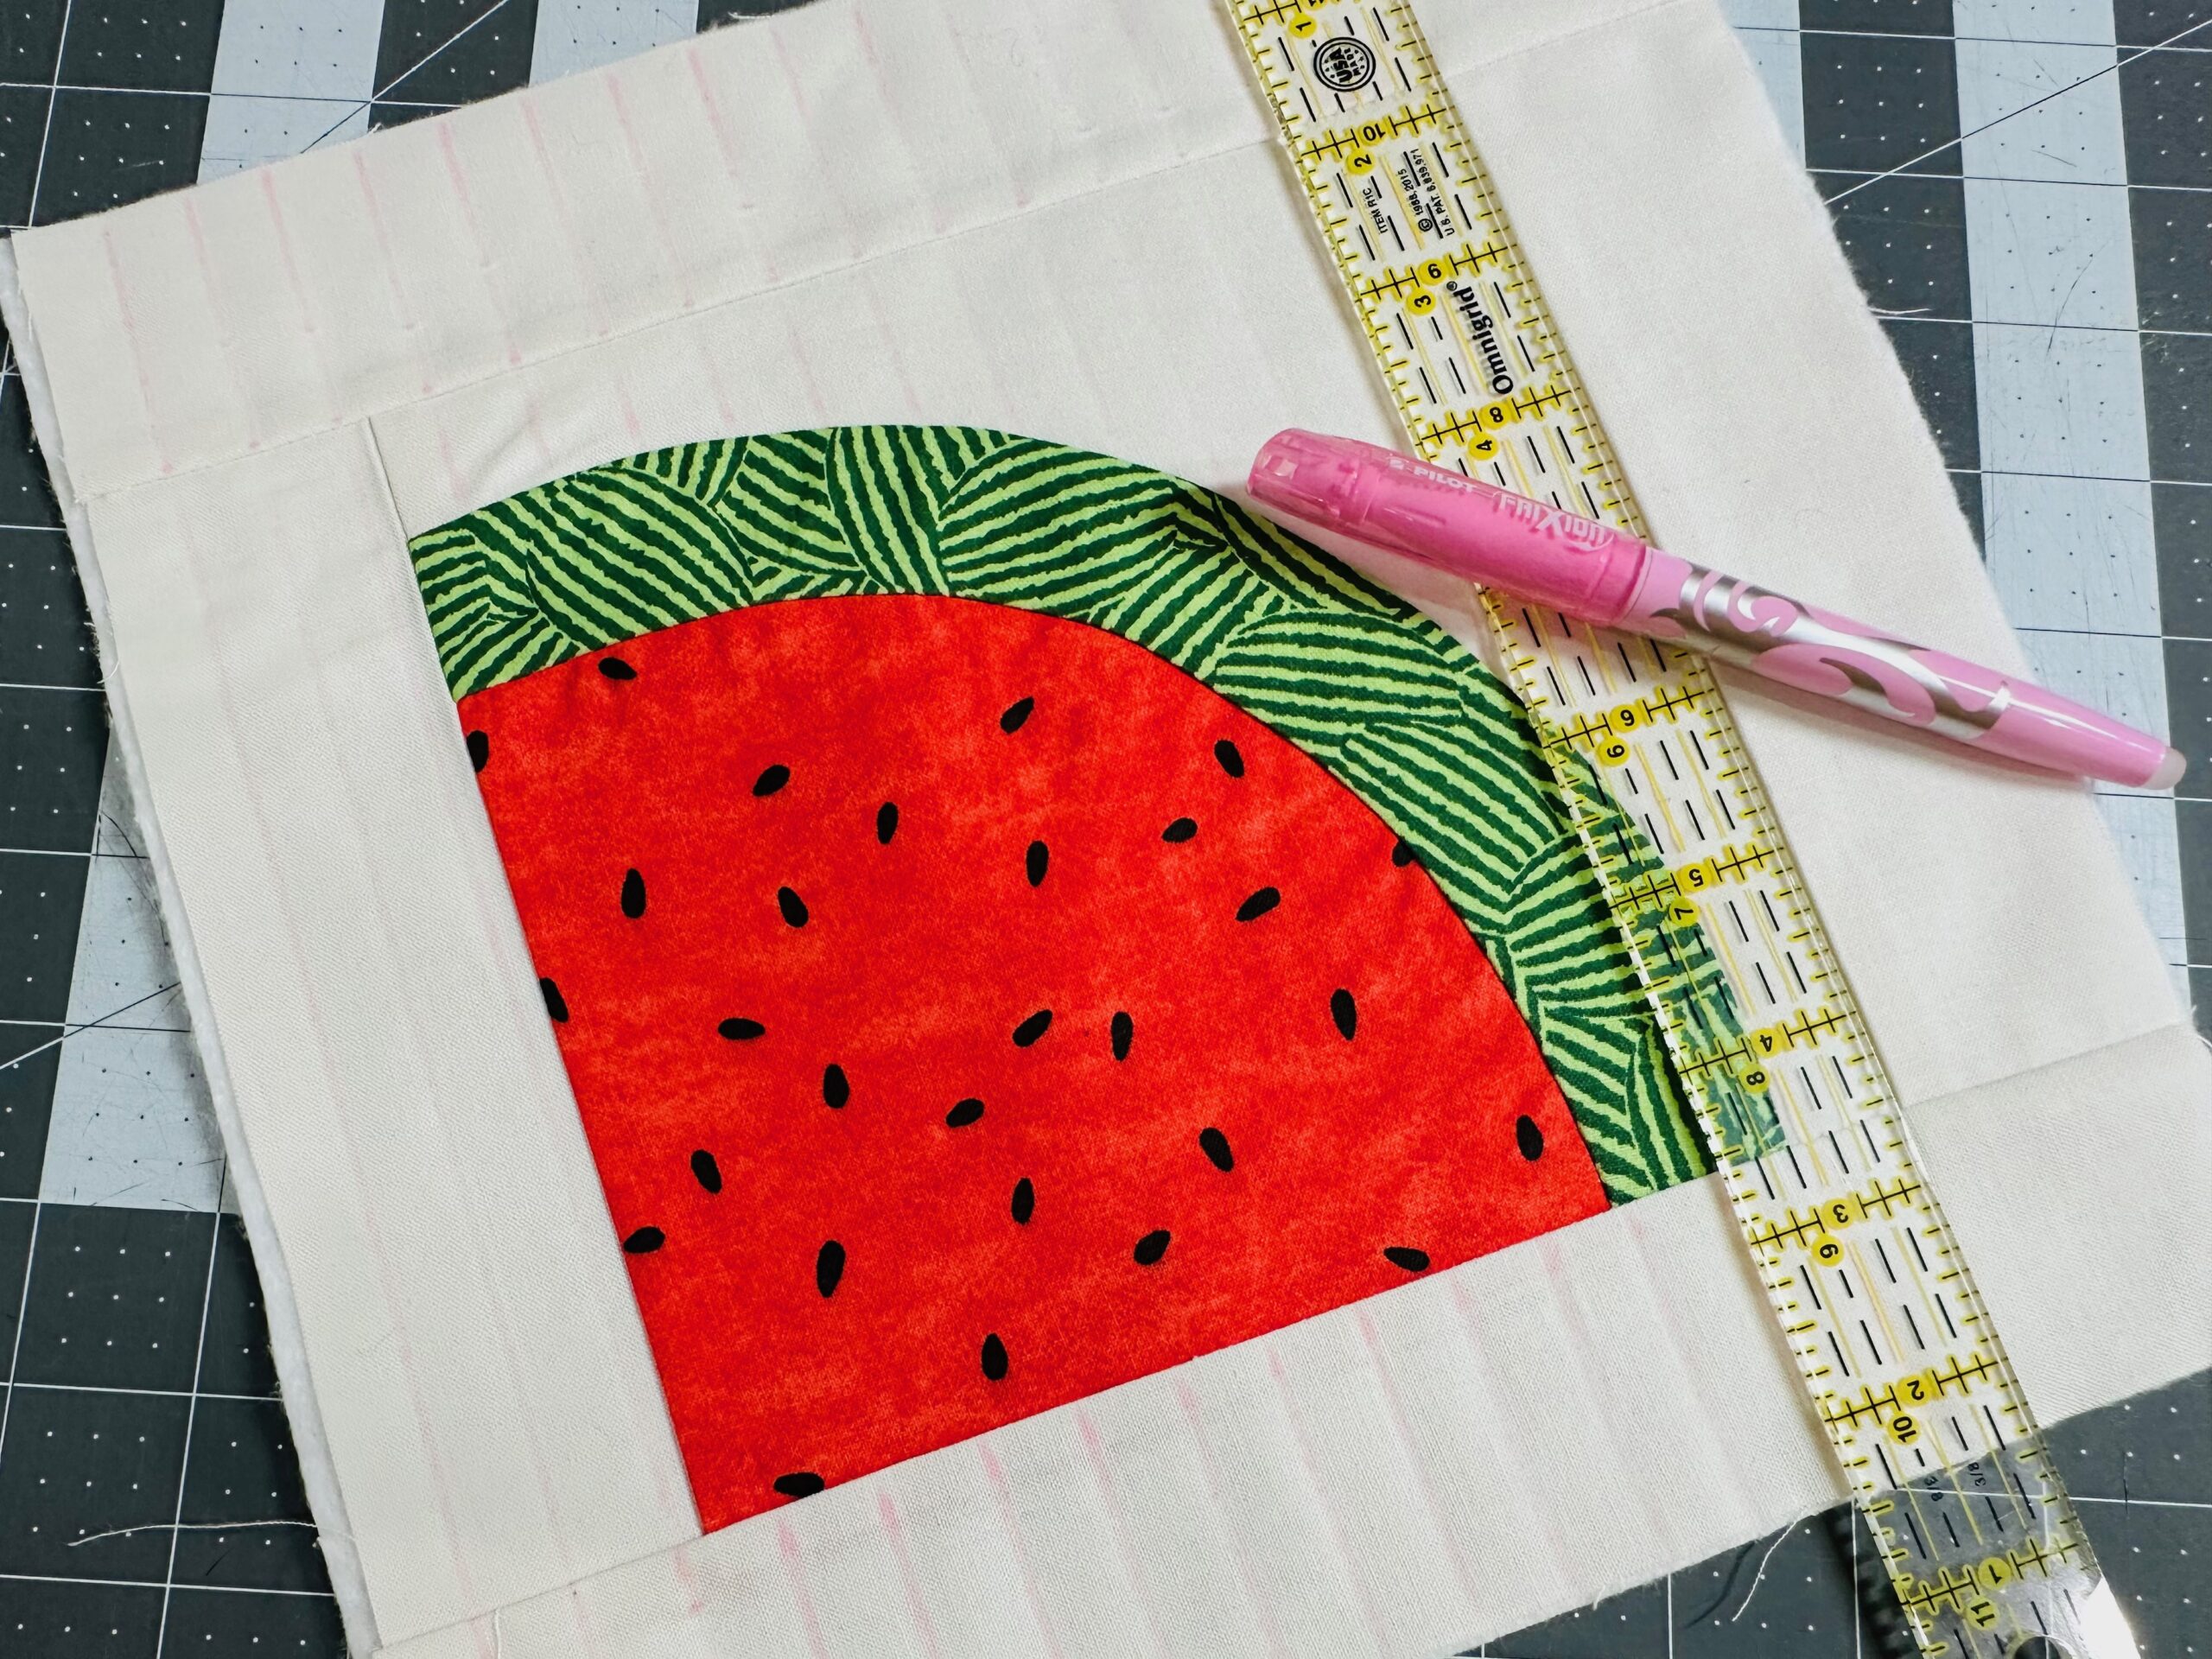
Add the borders, beginning along the side edges and then the upper and lower edges.
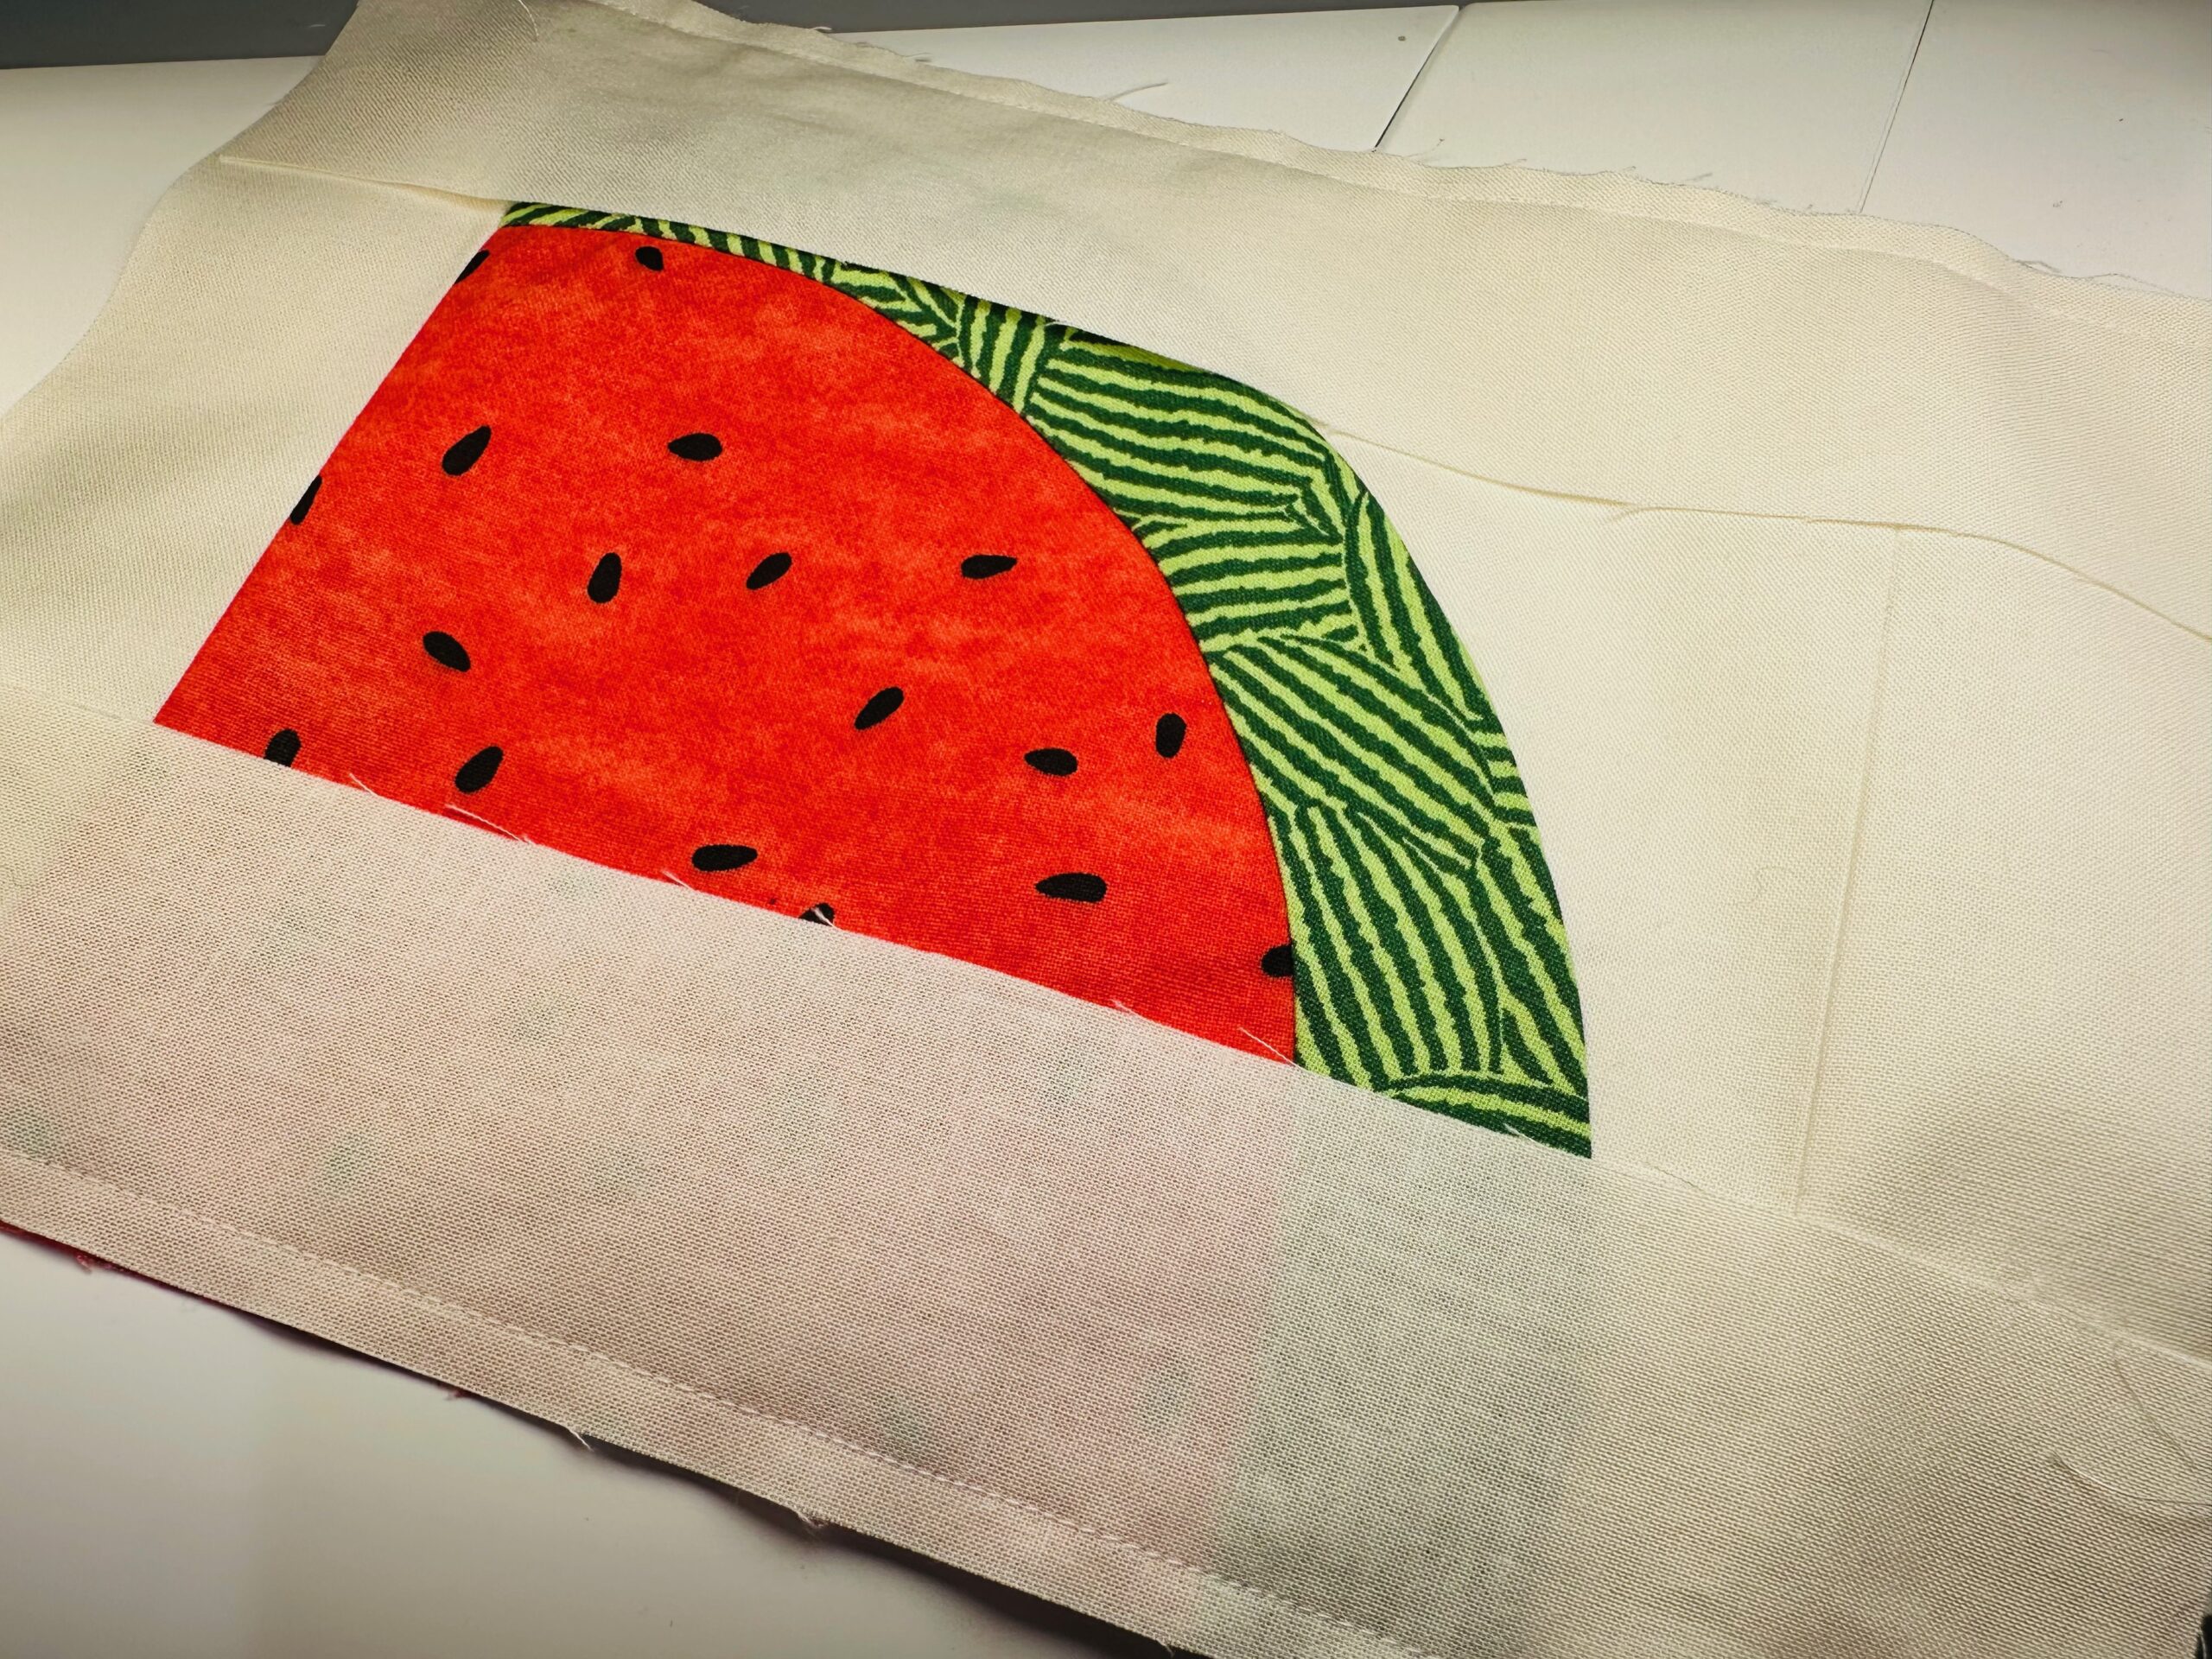
Press the seams flat.
QUILTING THE BLOCK
Cut a piece of batting to match the Watermelon Block dimensions.
Place the Watermelon Block right side up over the batting, using Sulky KK 2000™ Temporary Spray Adhesive to secure.
Plot the quilting lines. For the featured block, draw 1/2″-wide straight vertical lines across the block, using a removable fabric marker. Only mark on the border fabrics; leave the Watermelon motif free of quilting.
Quilt along the lines, using thread that matches the border fabric.

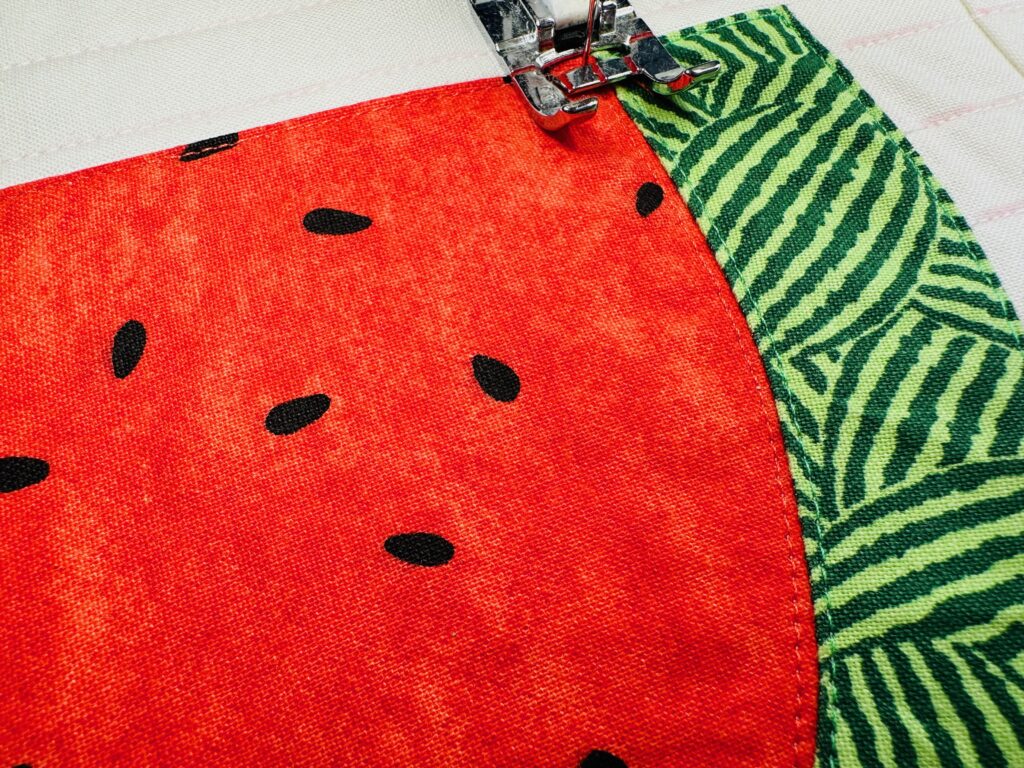
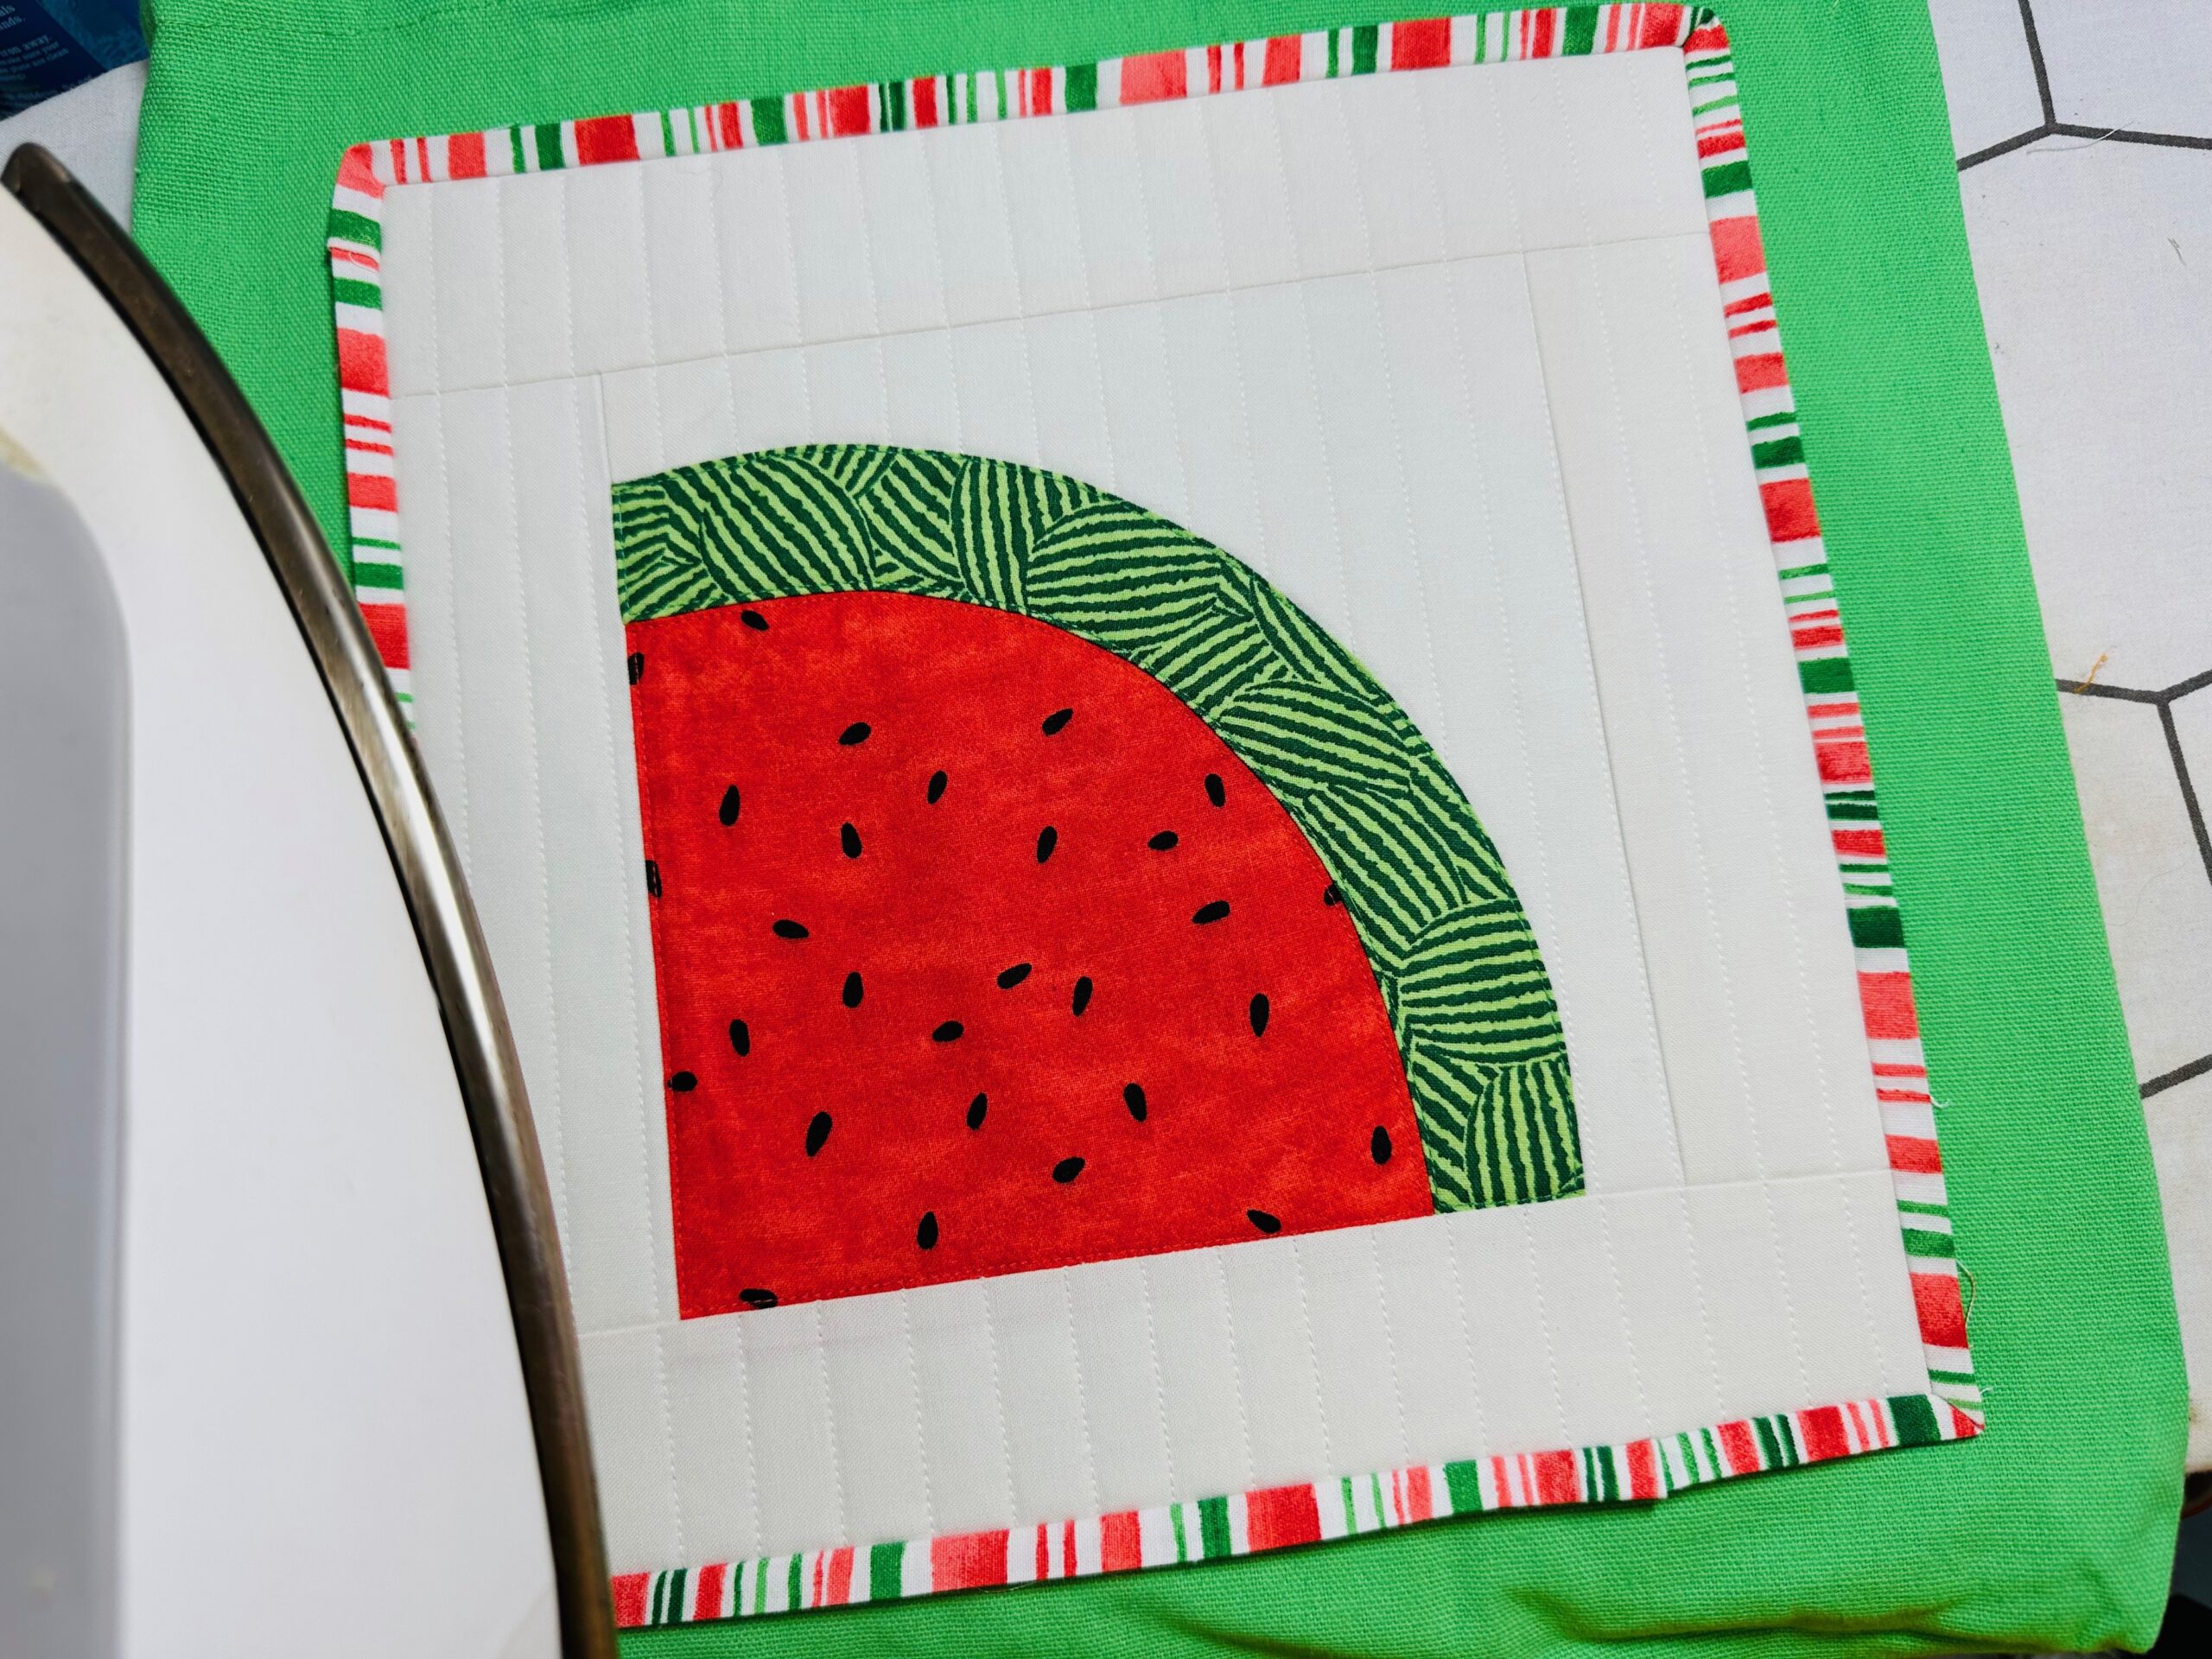
Thread the needle with thread that matches the rind(s) section. Stitch just inside the rind perimeter.
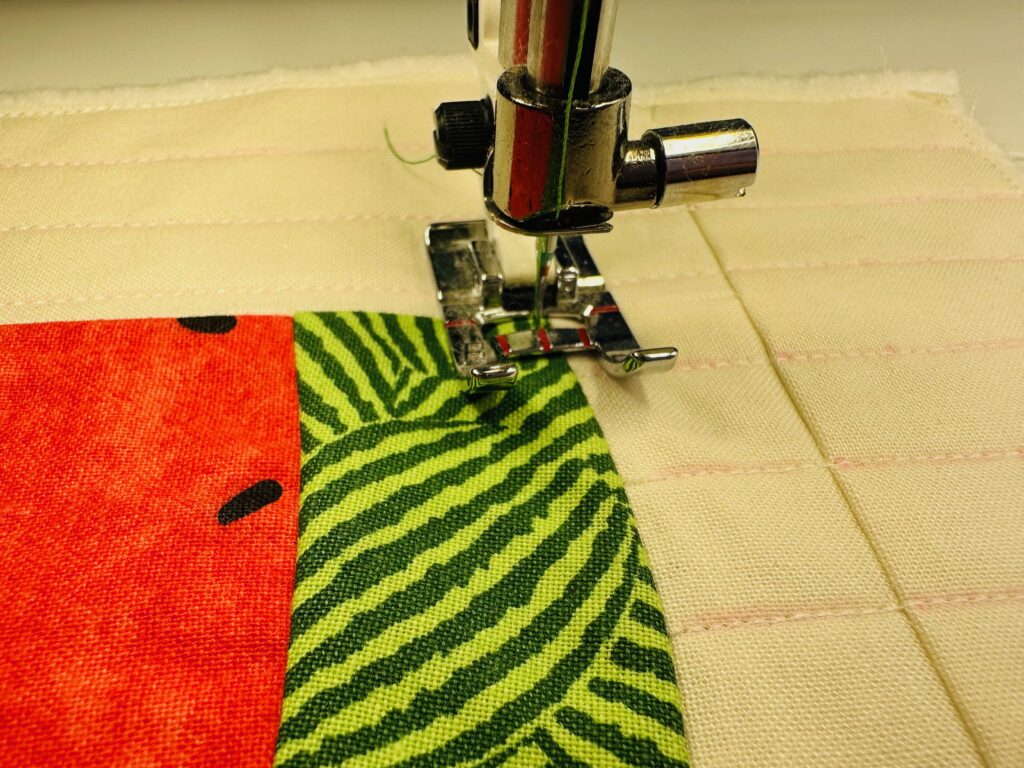
Then, thread the needle with thread that matches the watermelon fabric. Stitch just inside the watermelon section.
When the quilting is complete, trim the Watermelon Block so all edges are even.
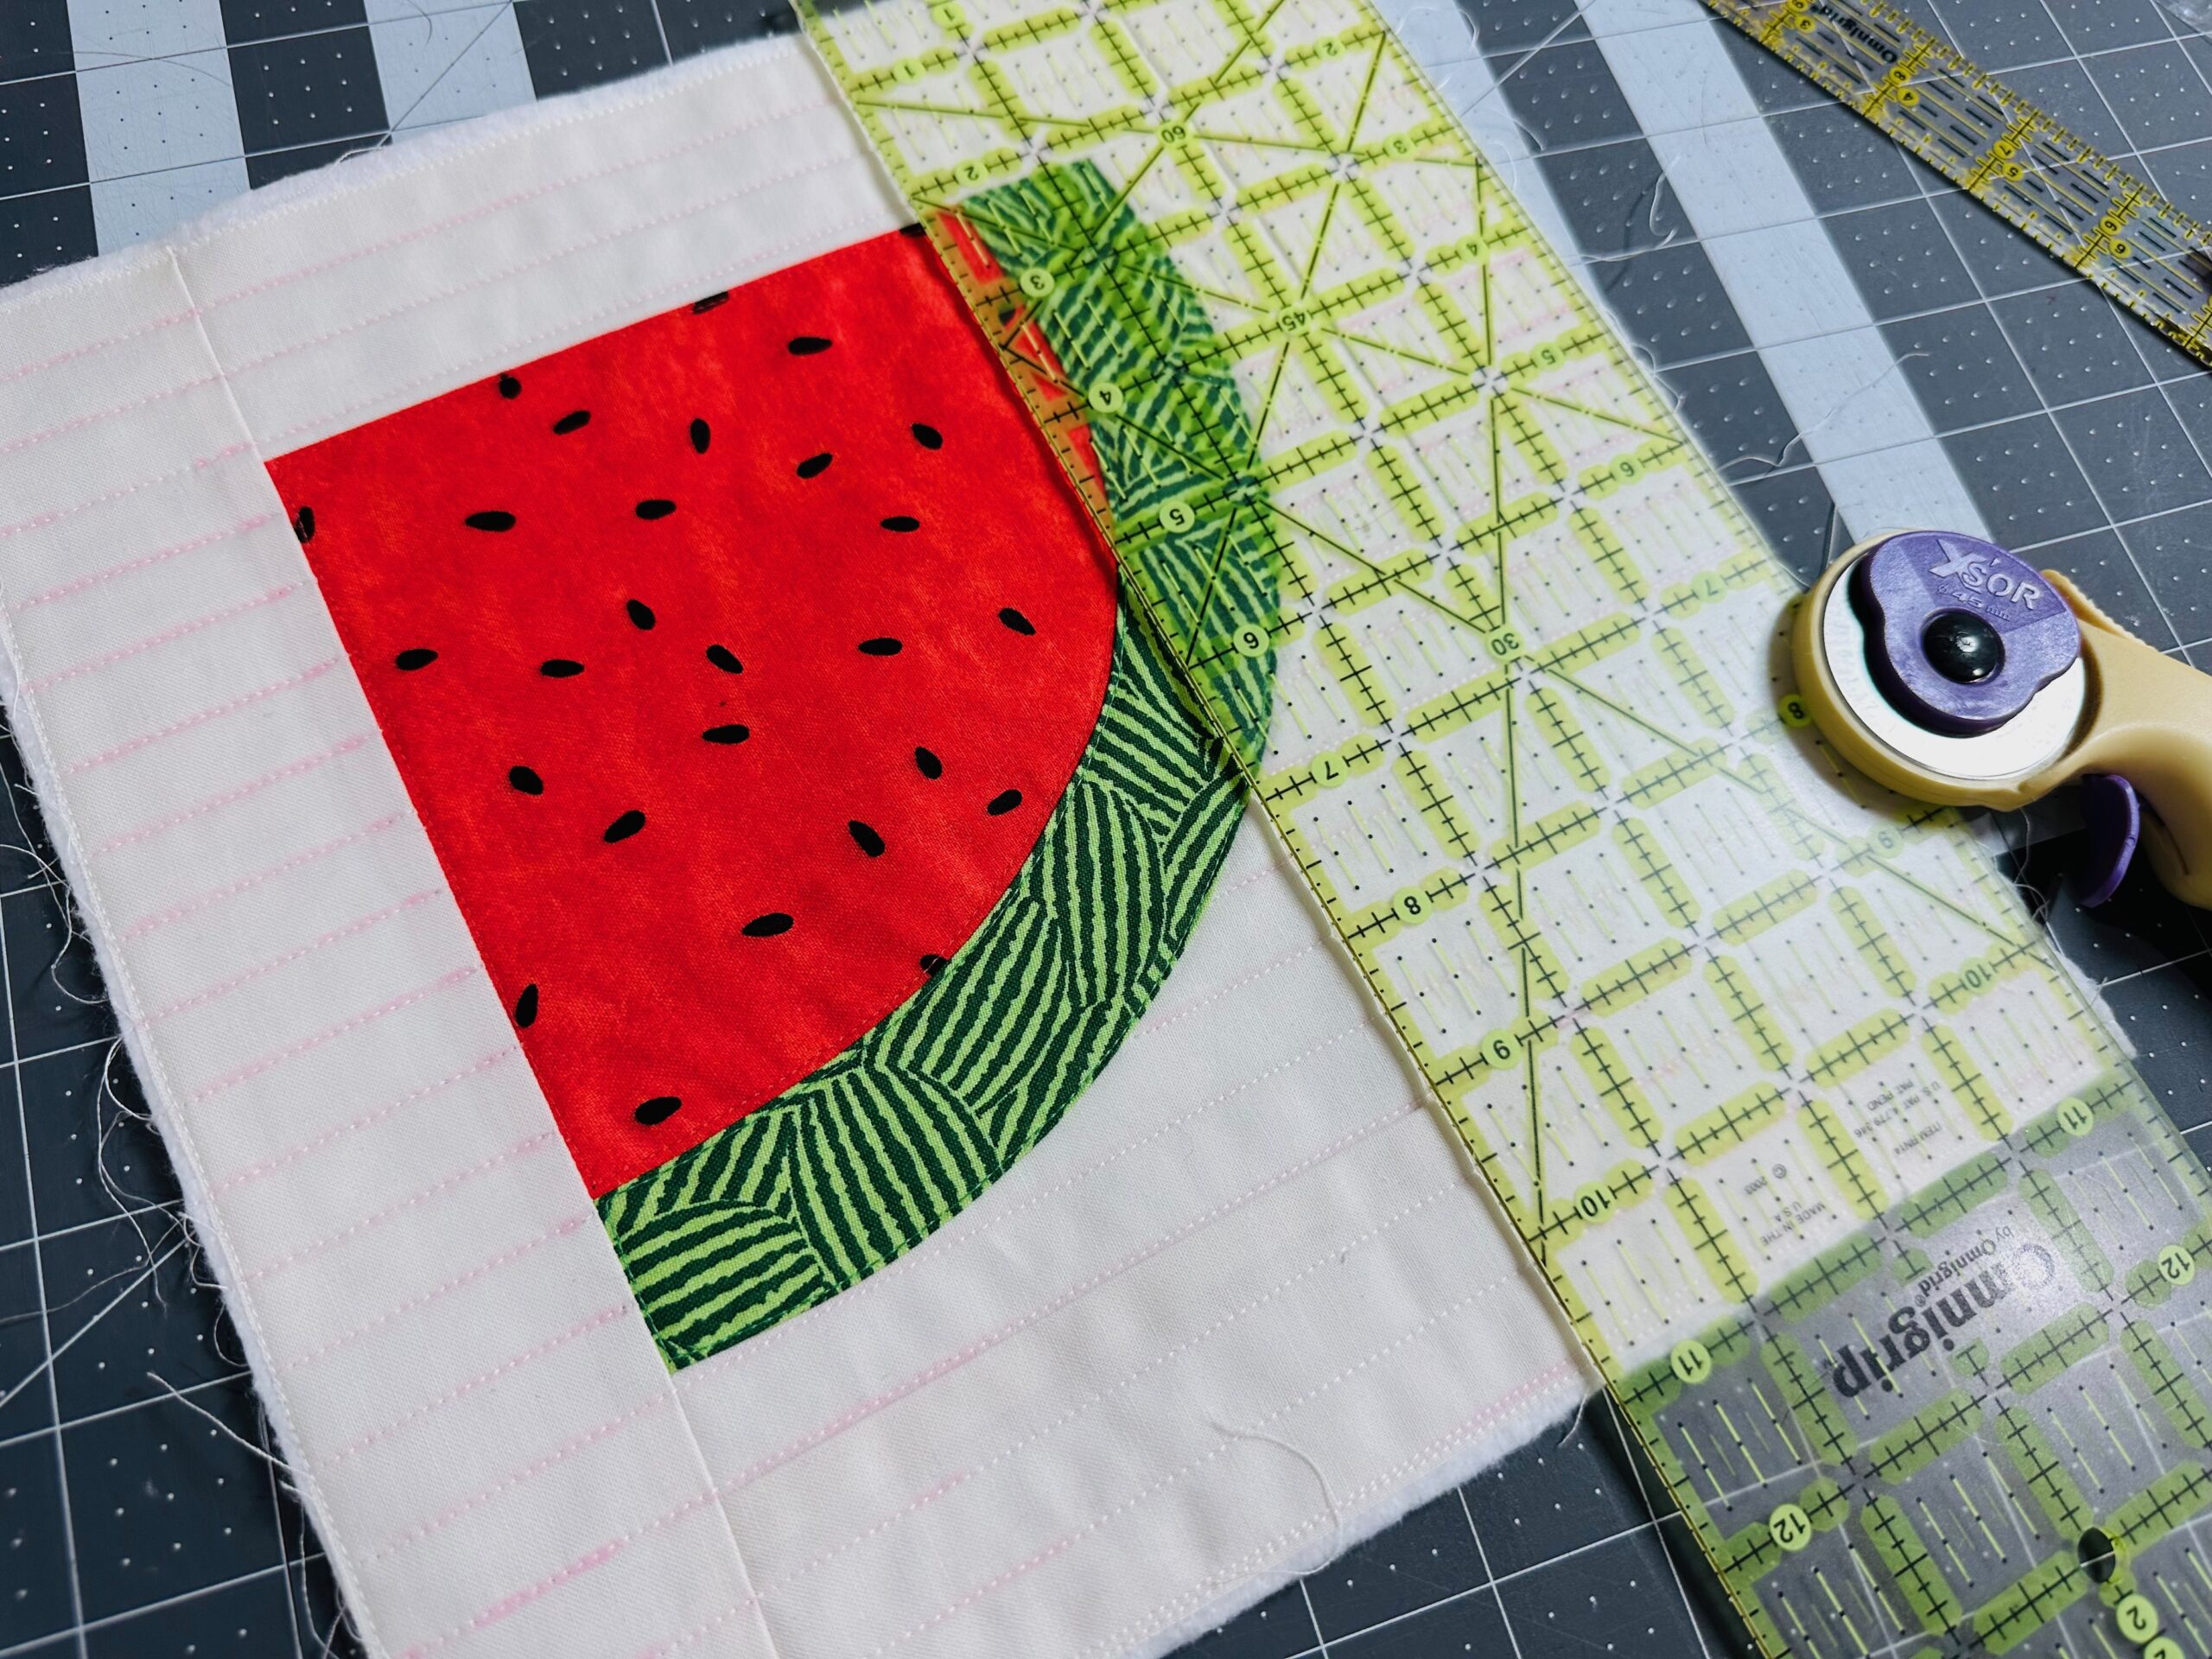
Then, remove the fabric marker, following the manufacturer’s instructions.
FINISHING THE BLOCK
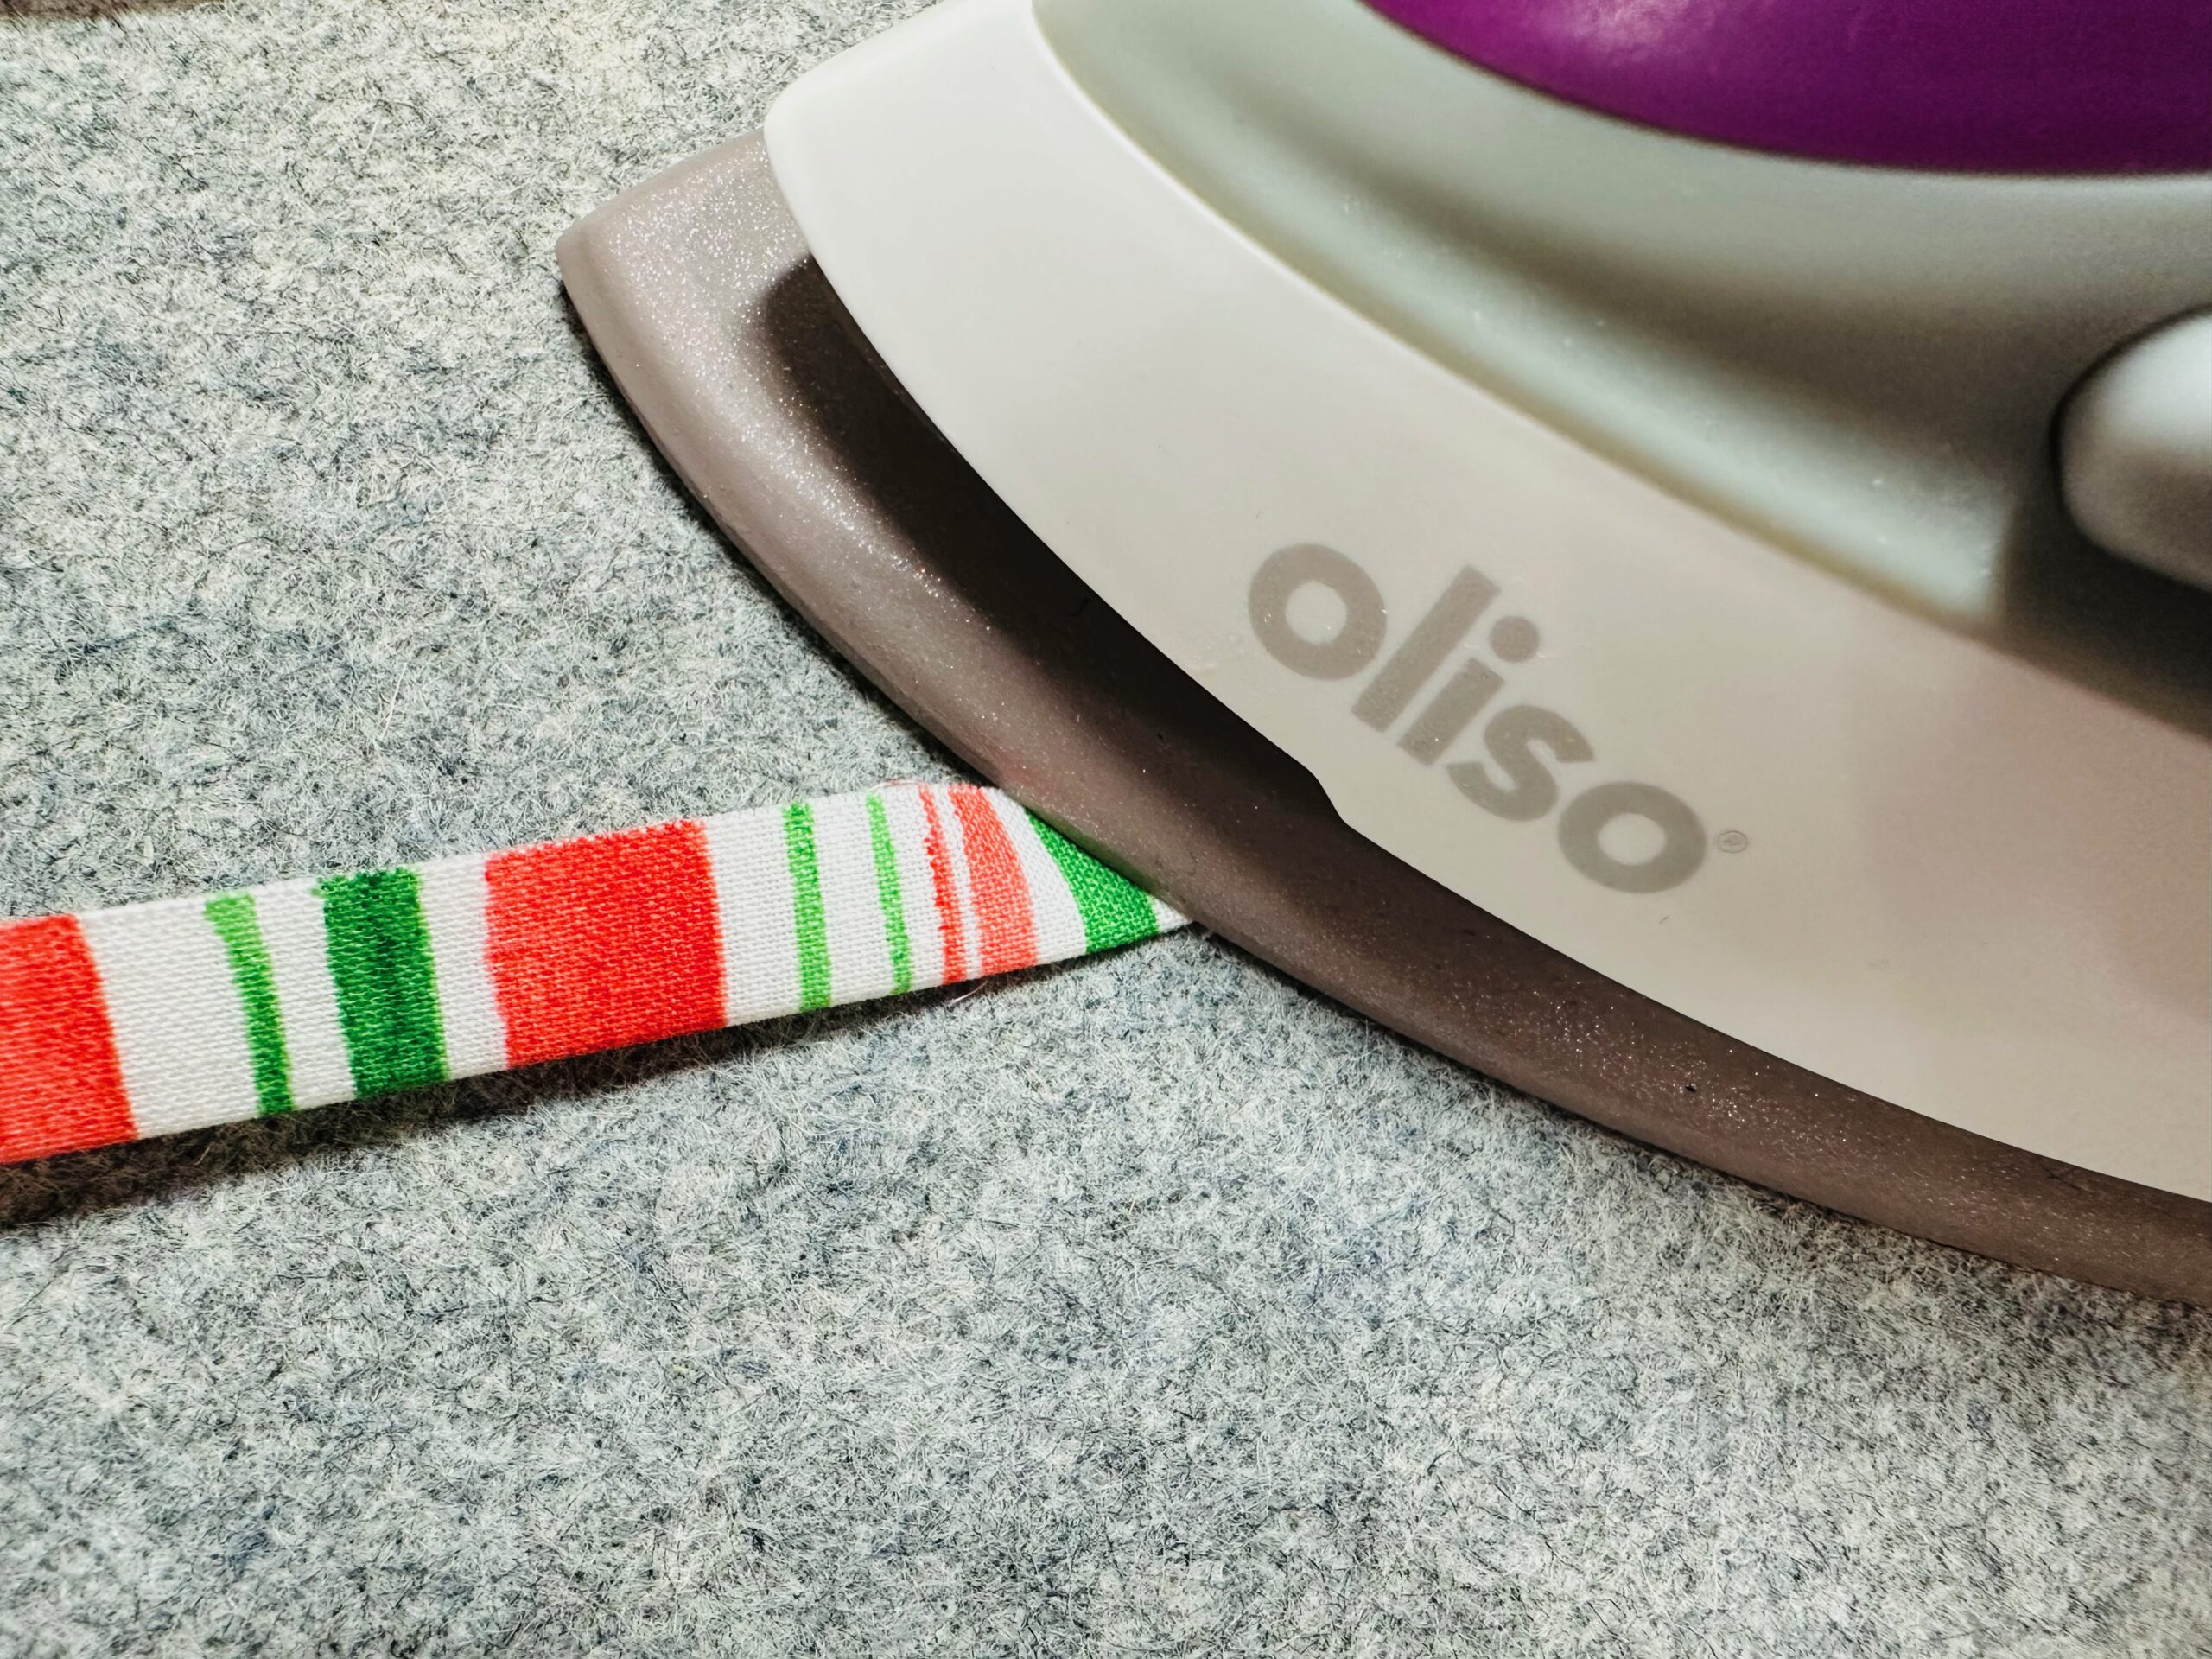
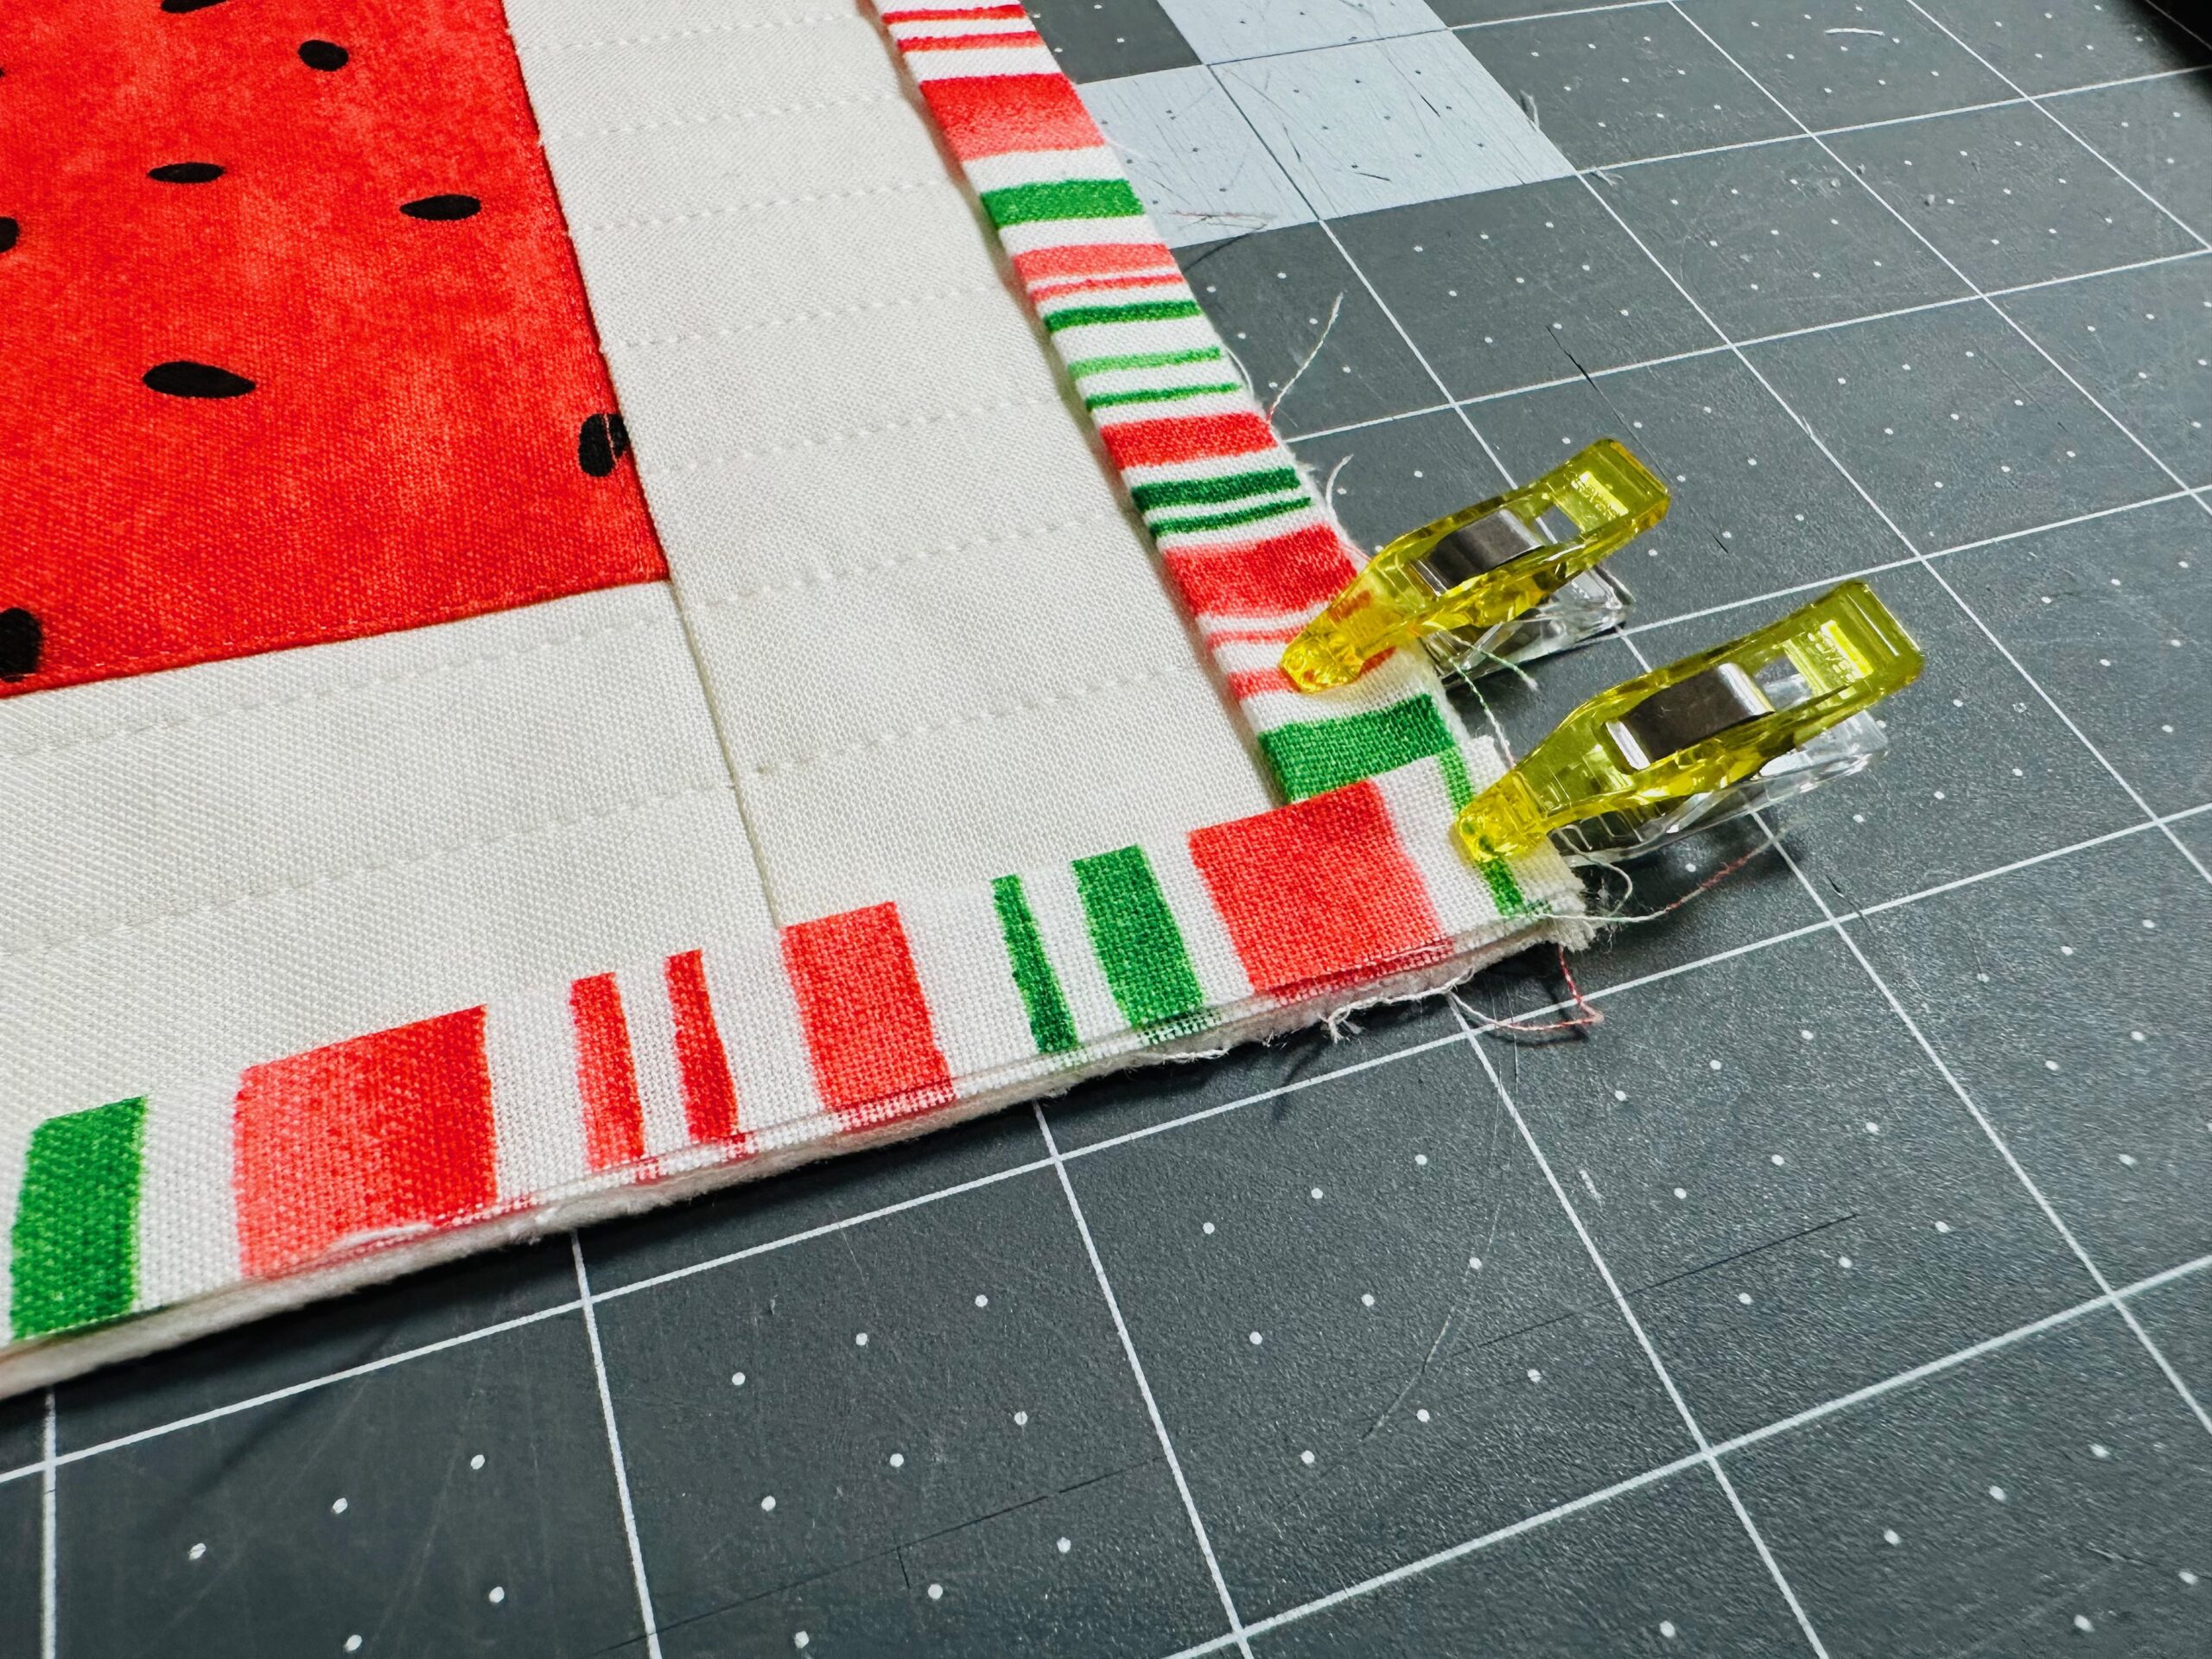
If needed, piece together the binding strip short ends to have one long strip. Fold one short end of the binding strip 1/2″ toward the wrong side; press. Then, press the binding strip in half lengthwise with wrong sides together. (I like using a wool pressing mat and mini Oliso iron for projects like this.)
Place the folded binding end along the Block lower edge; clip in place.
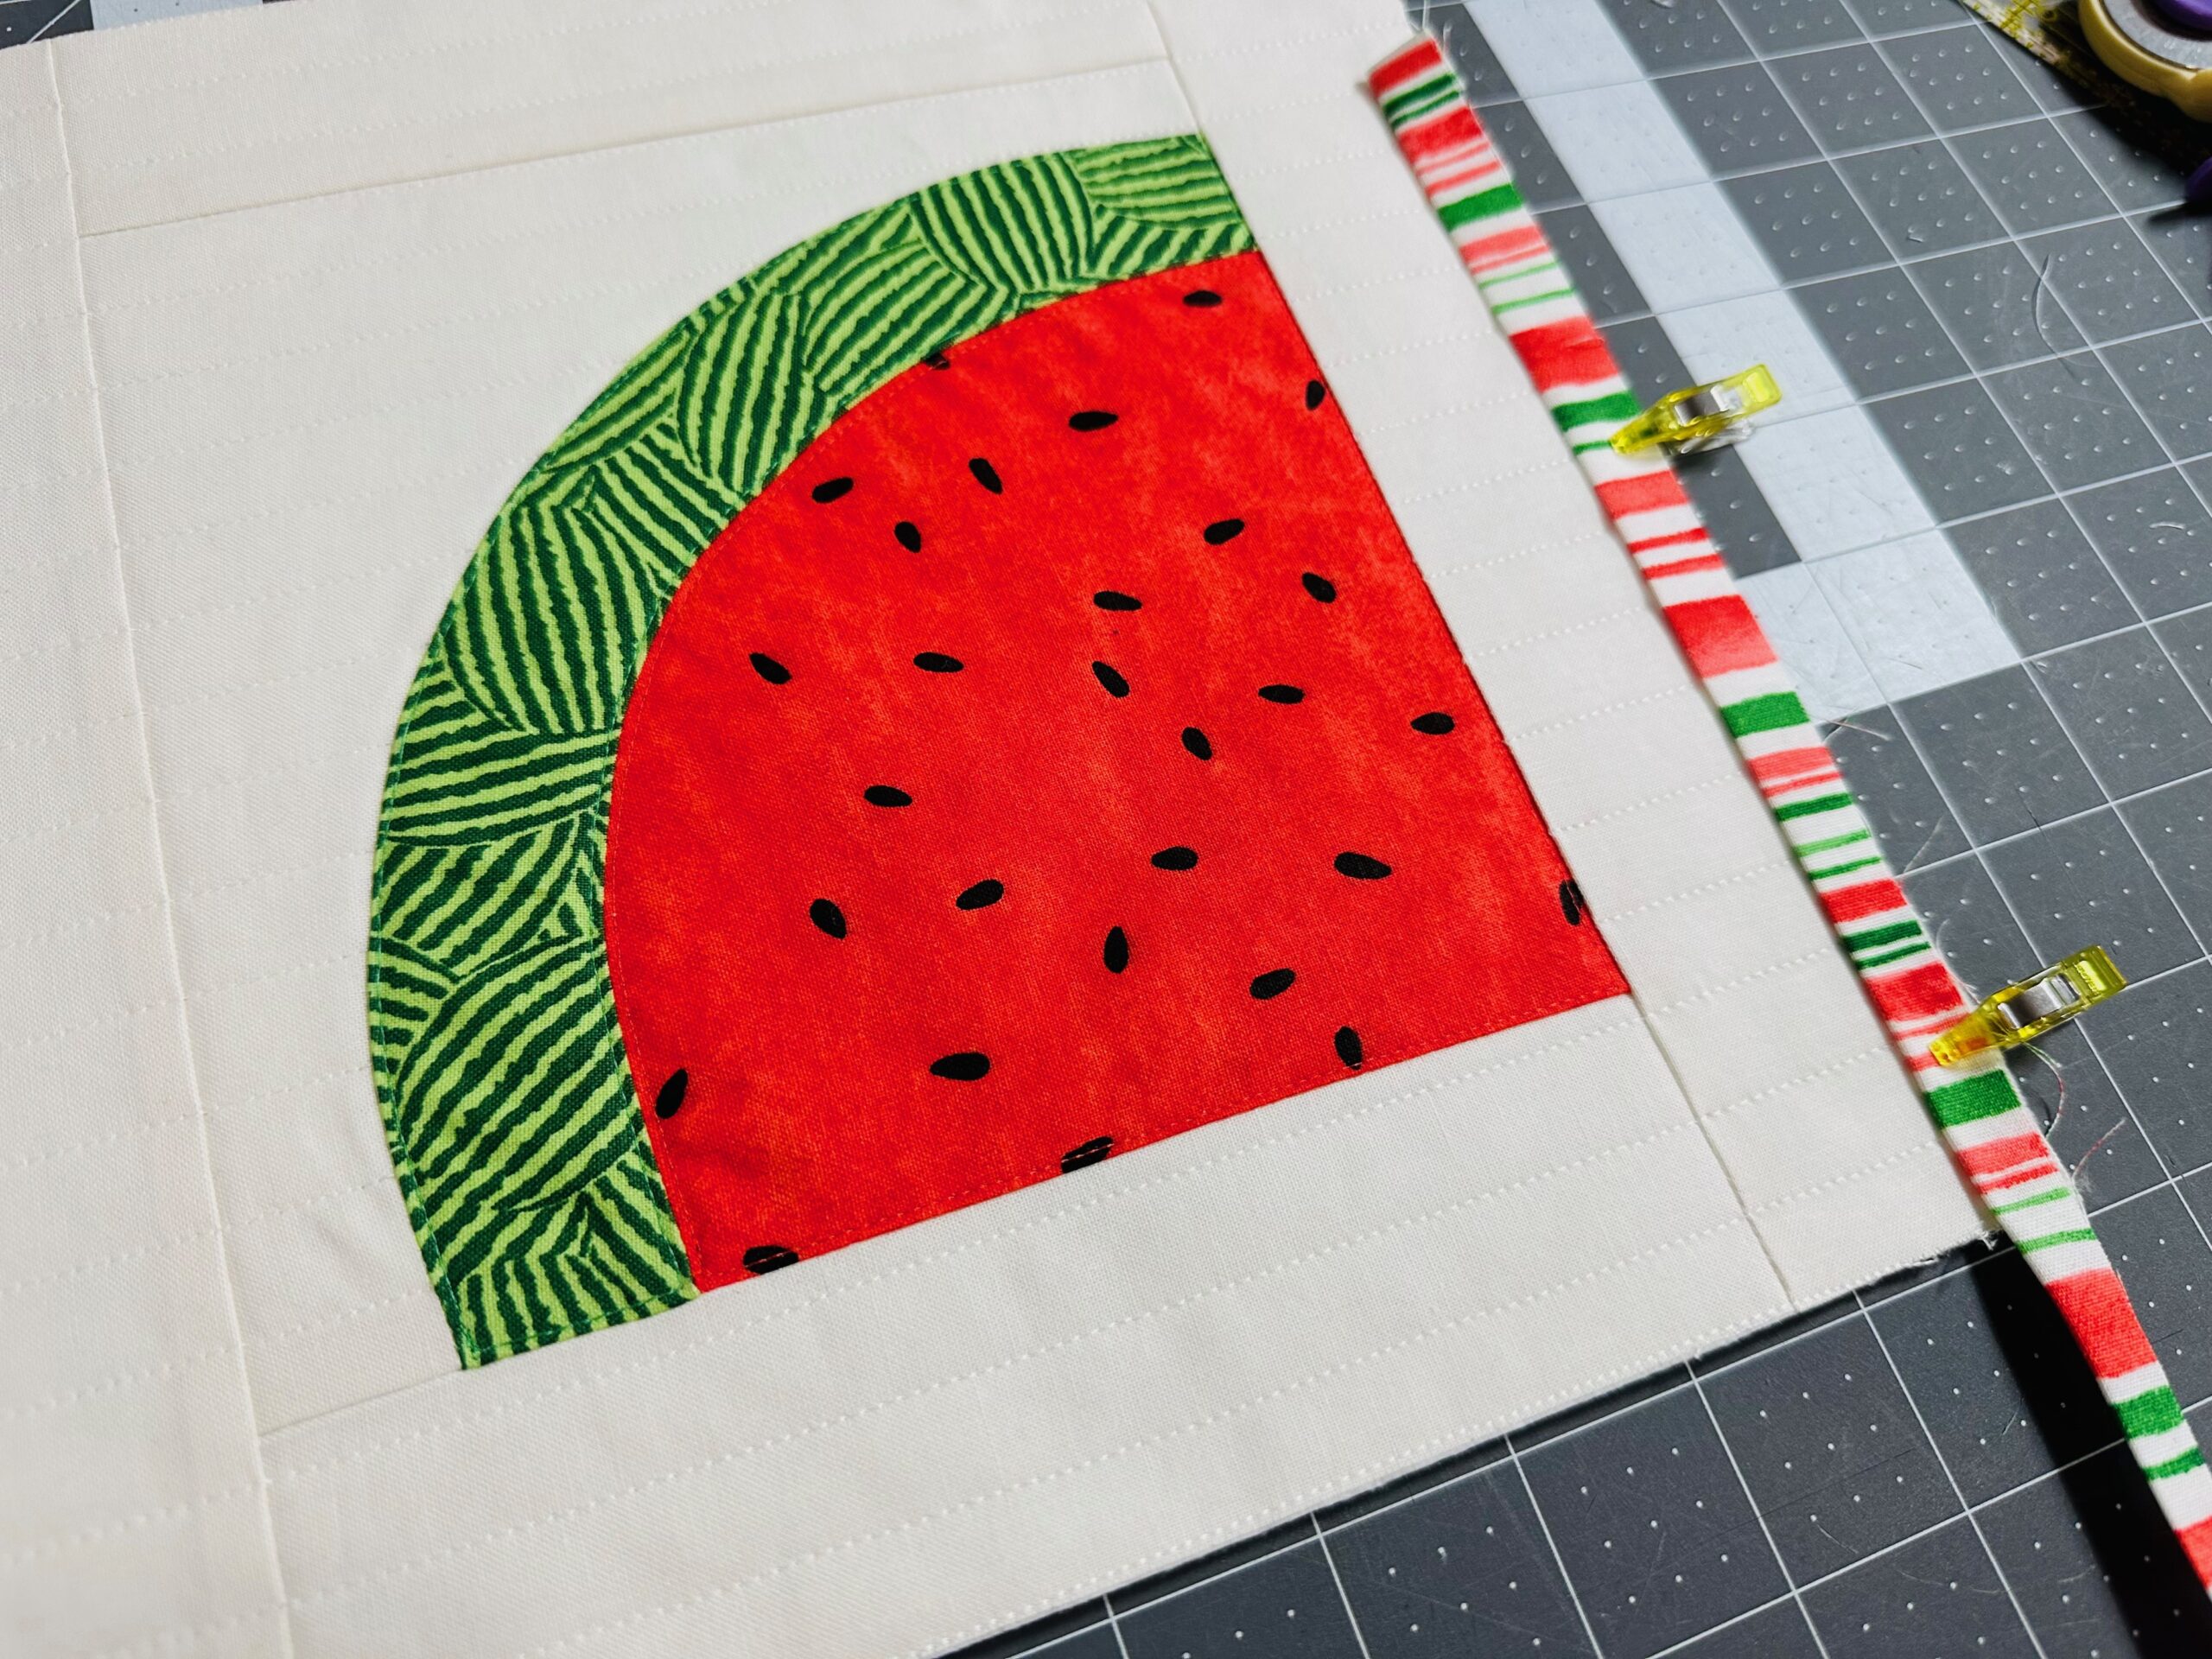
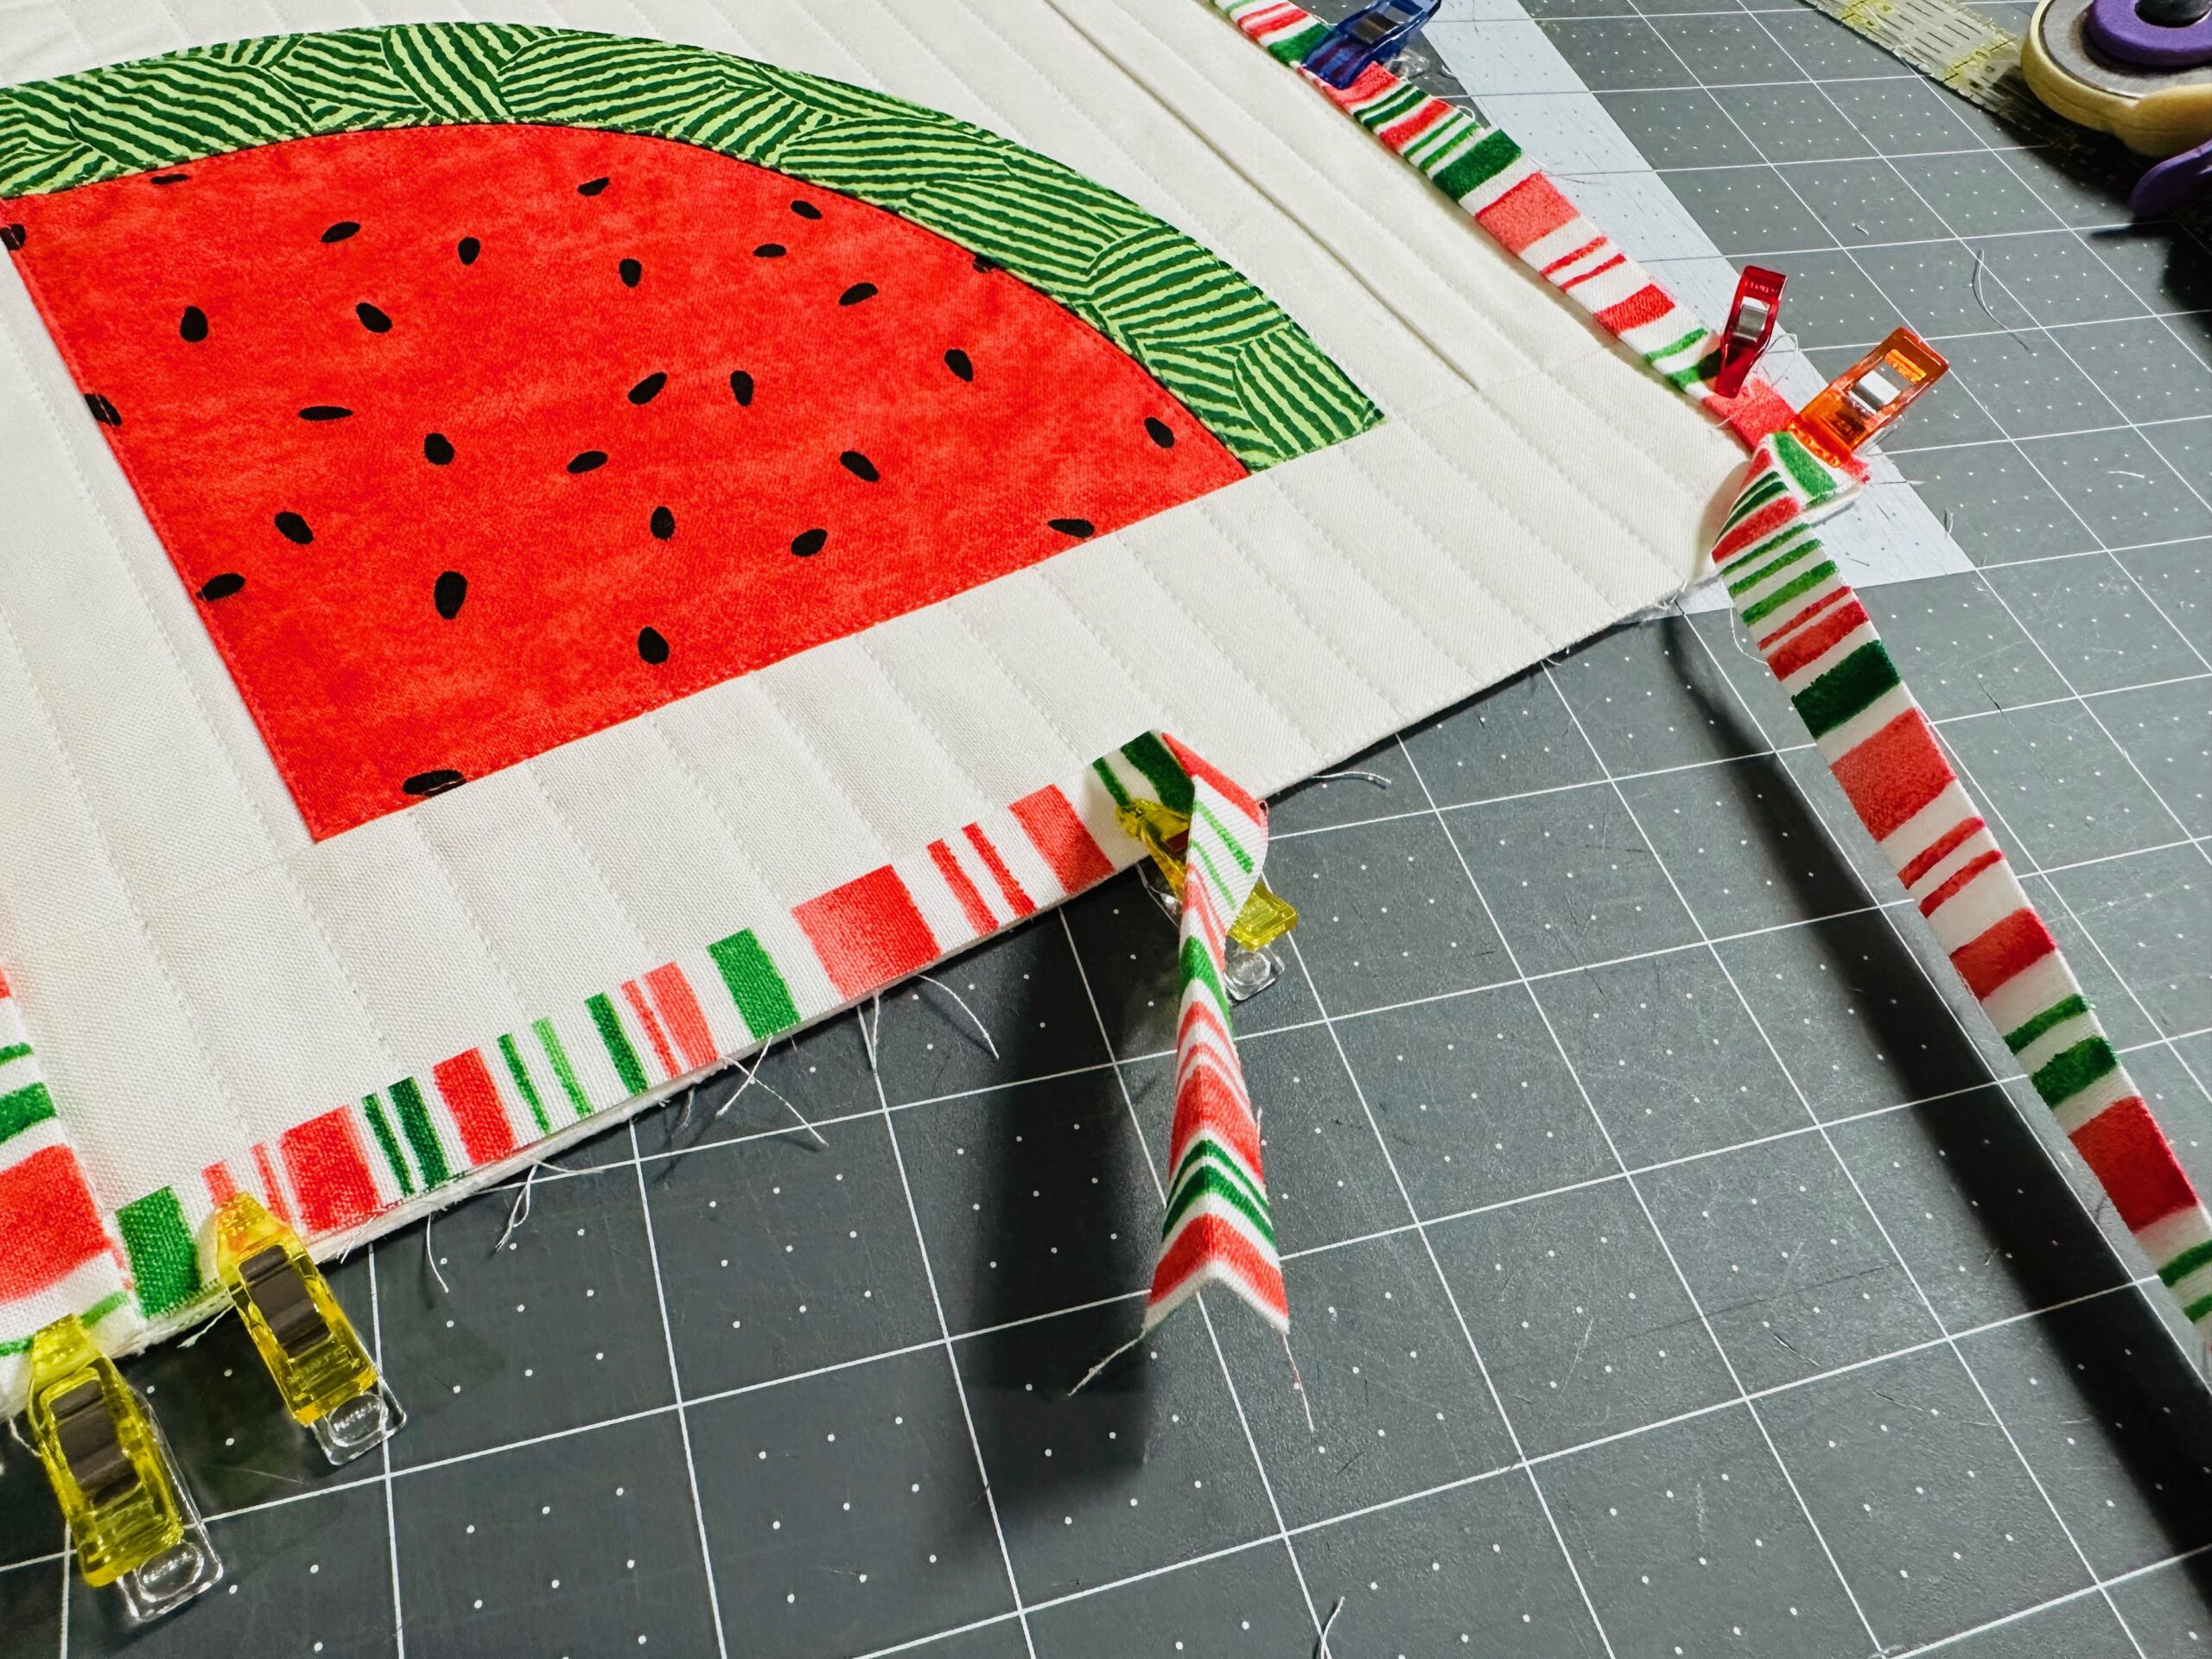
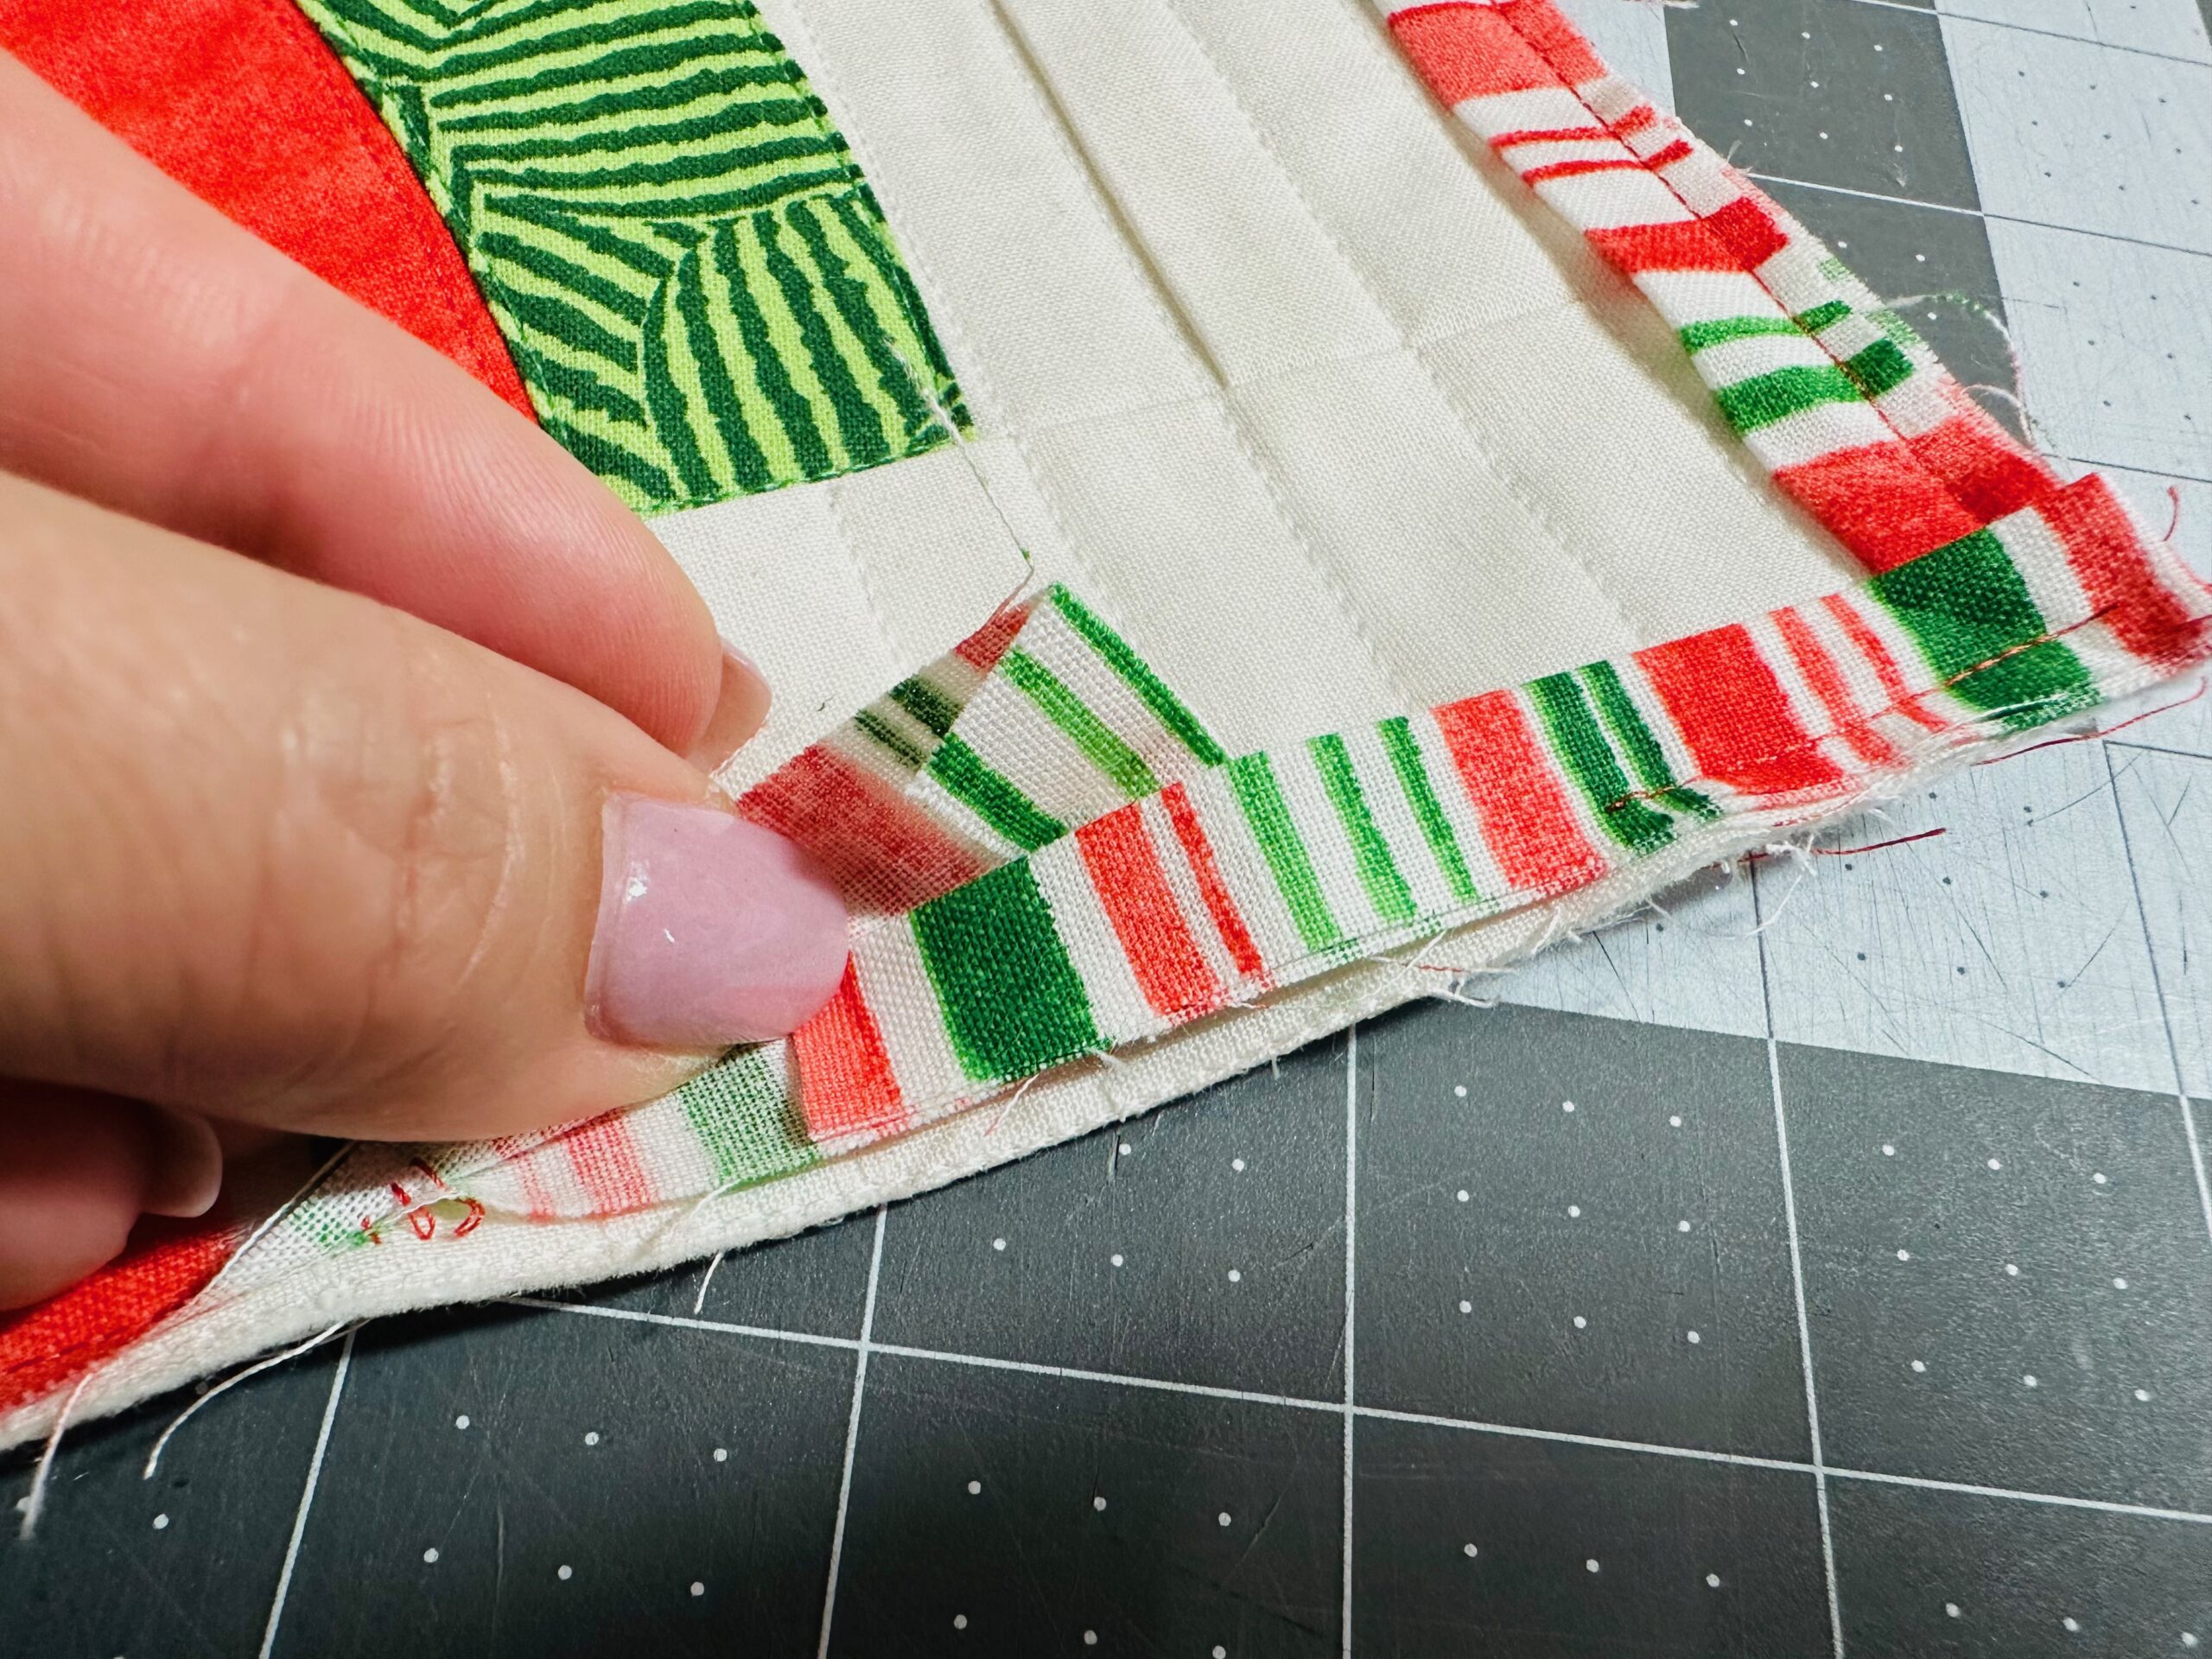
Miter the corners by folding the strip at an angle, up over itself.
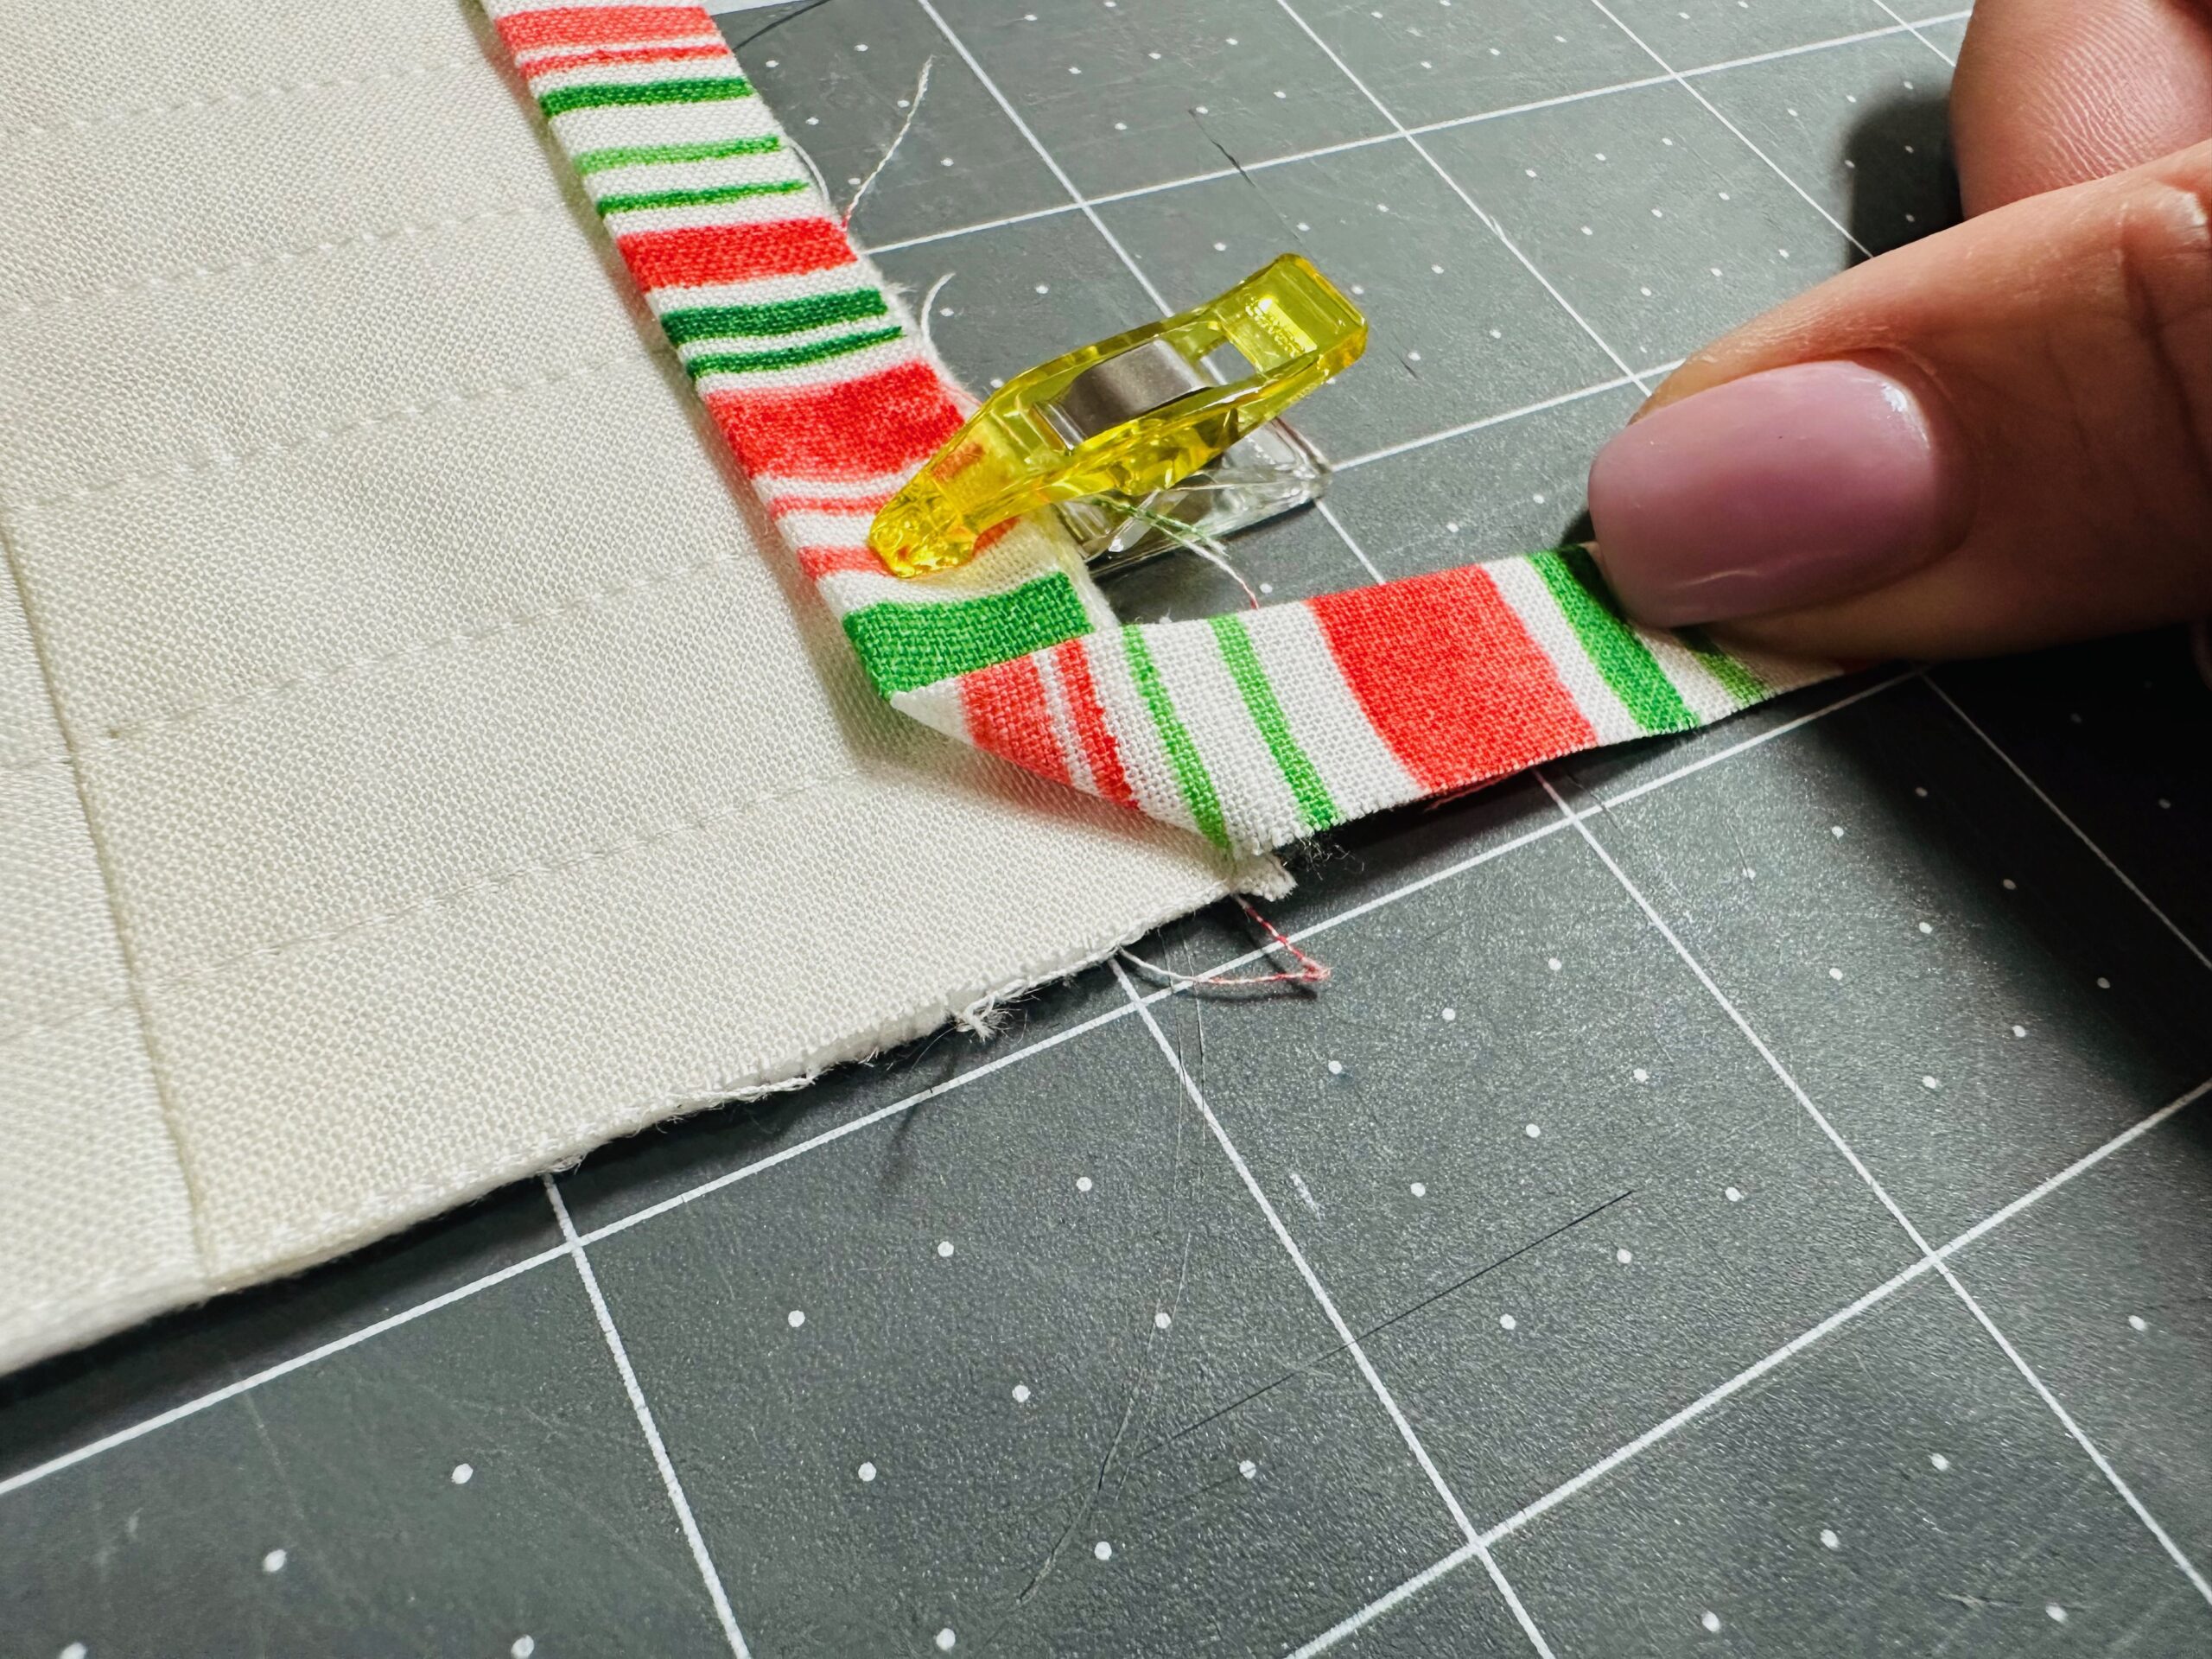
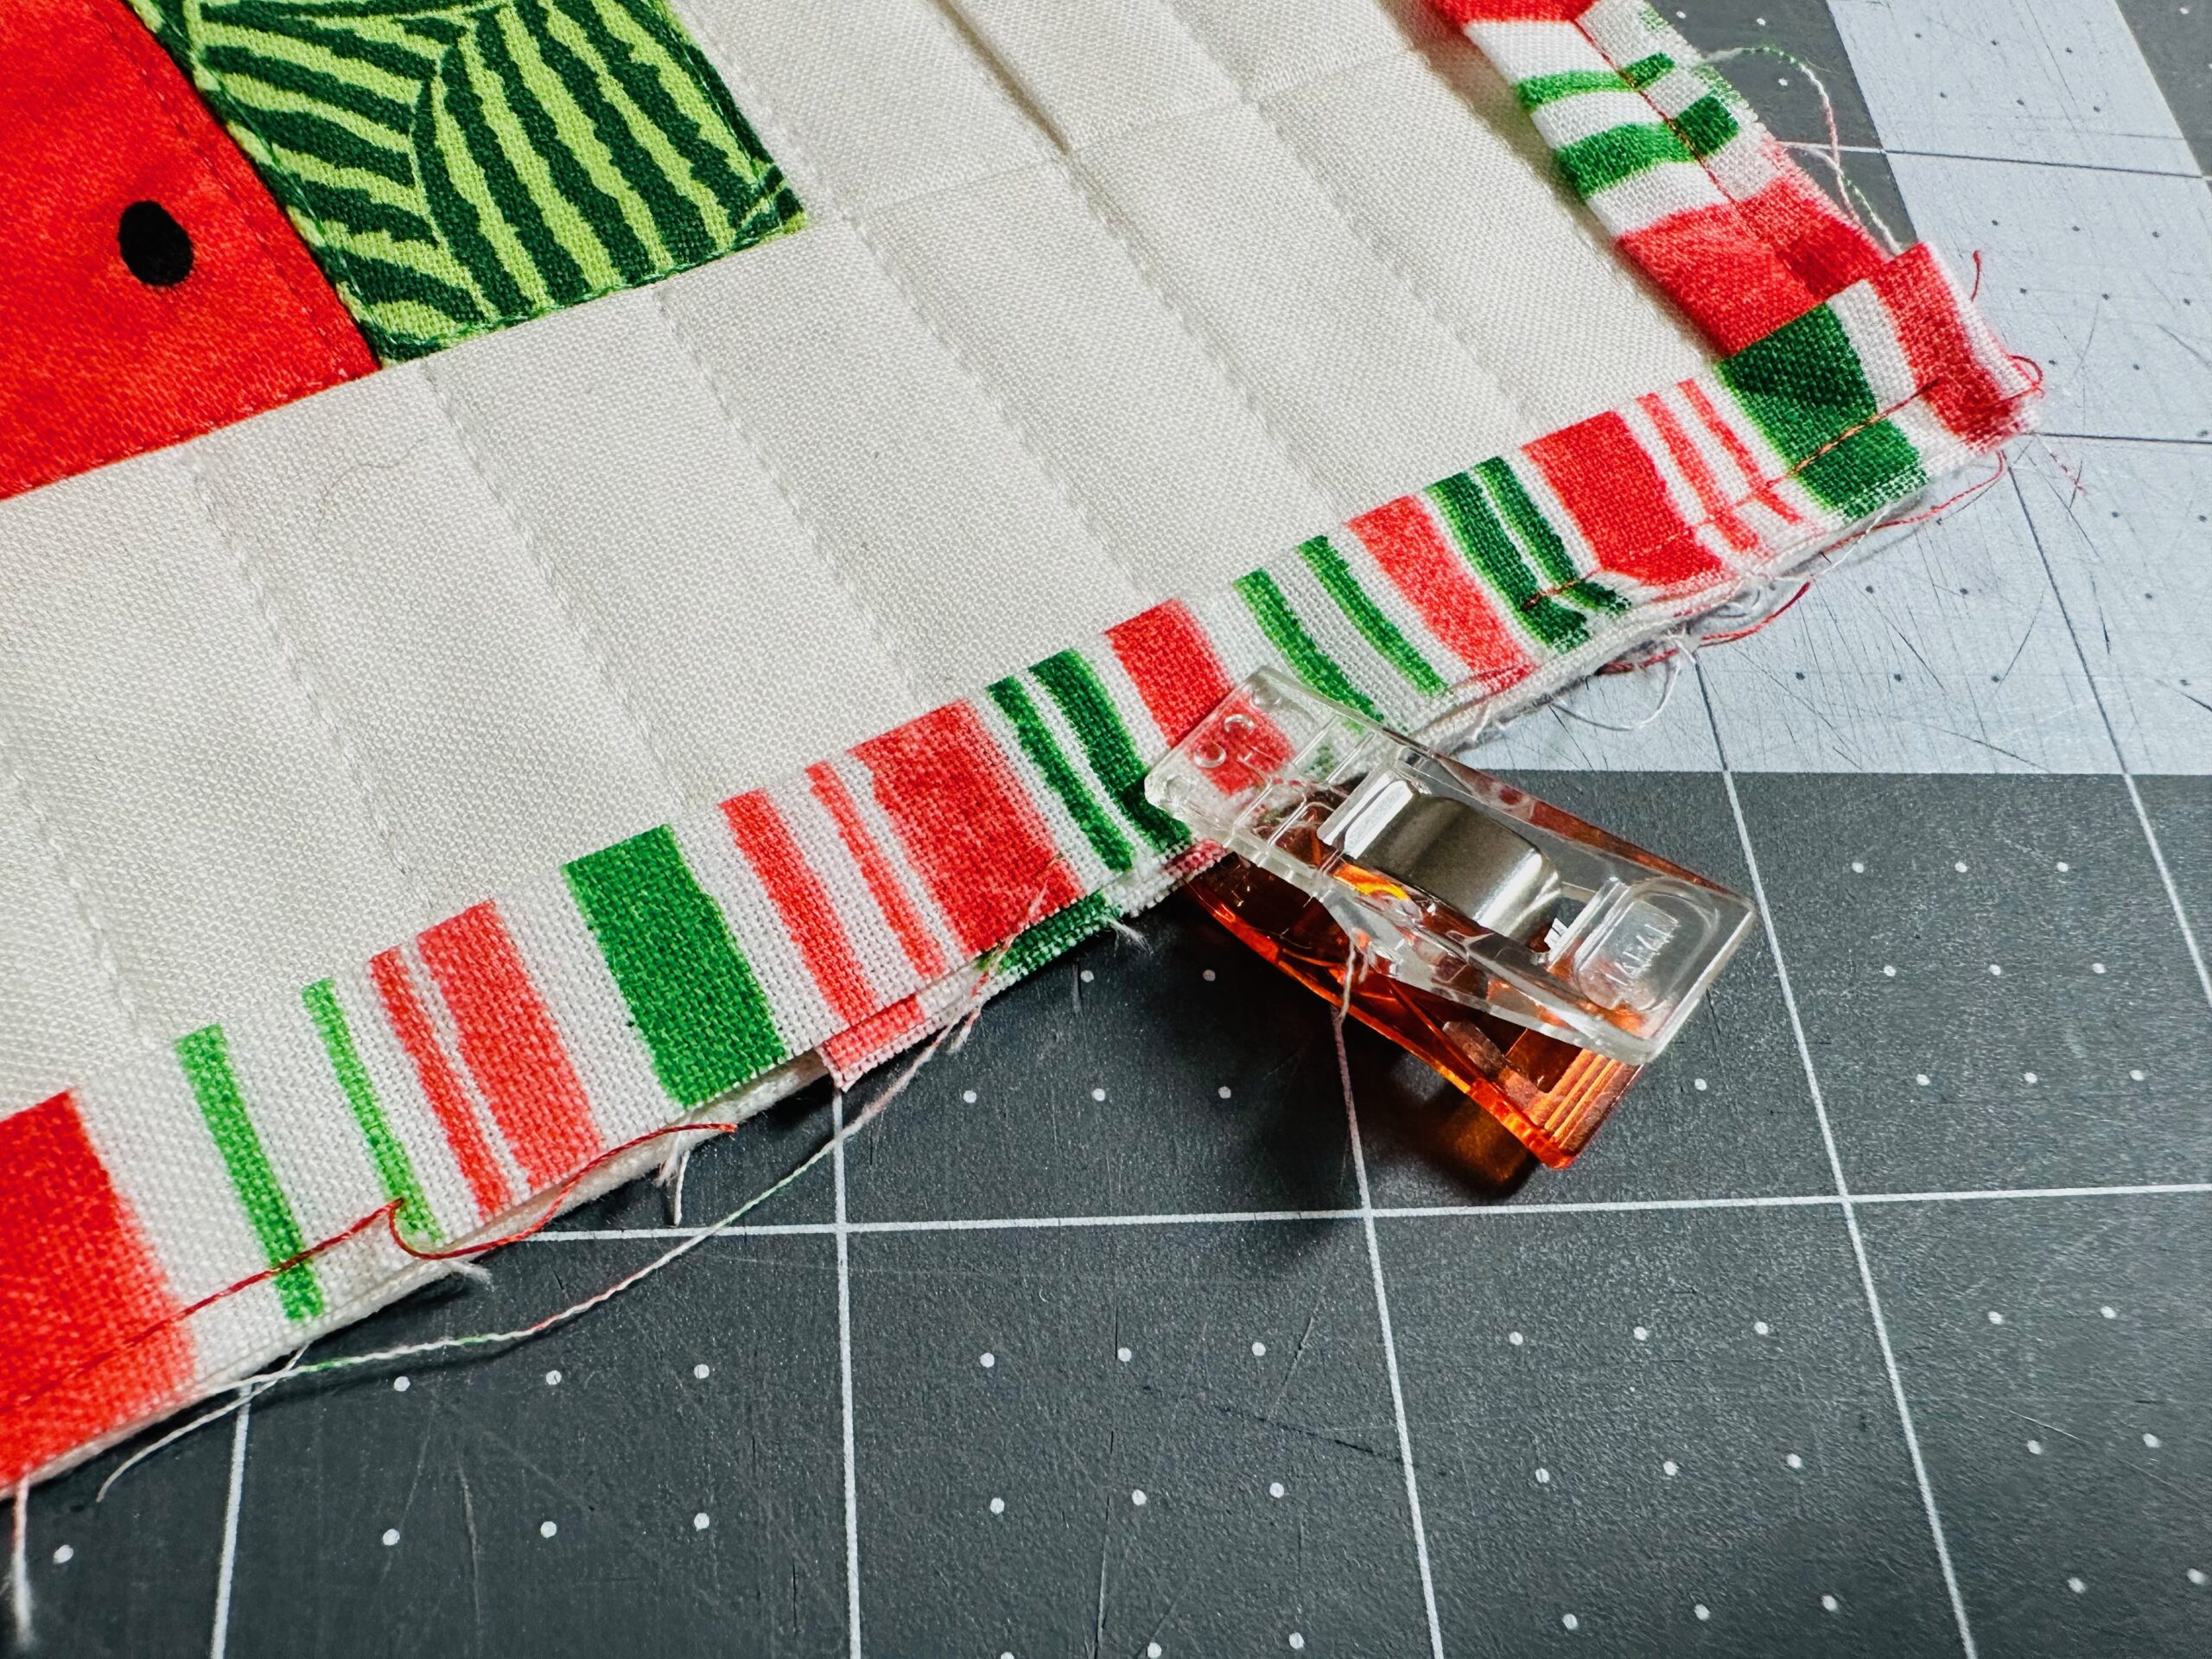
Then, fold the binding over the diagonal foldline to align the raw edge with the adjacent block edge; clip.
Continue clipping the binding in place. At the binding end, leave at least 5″ unsewn.
STITCHING BINDING
Stitch the binding to the Watermelon Block edge, beginning and ending about 3″ from the binding ends.
Insert the binding end inside the binding beginning fold. Trim the binding end so it extends beyond the binding beginning (folded end) at least 1″.
Then, finish clipping the binding to secure.
Finish stitching the binding.
Then, press the binding toward the right side, making sure the corners and edges are flat.
APPLIQUÉ
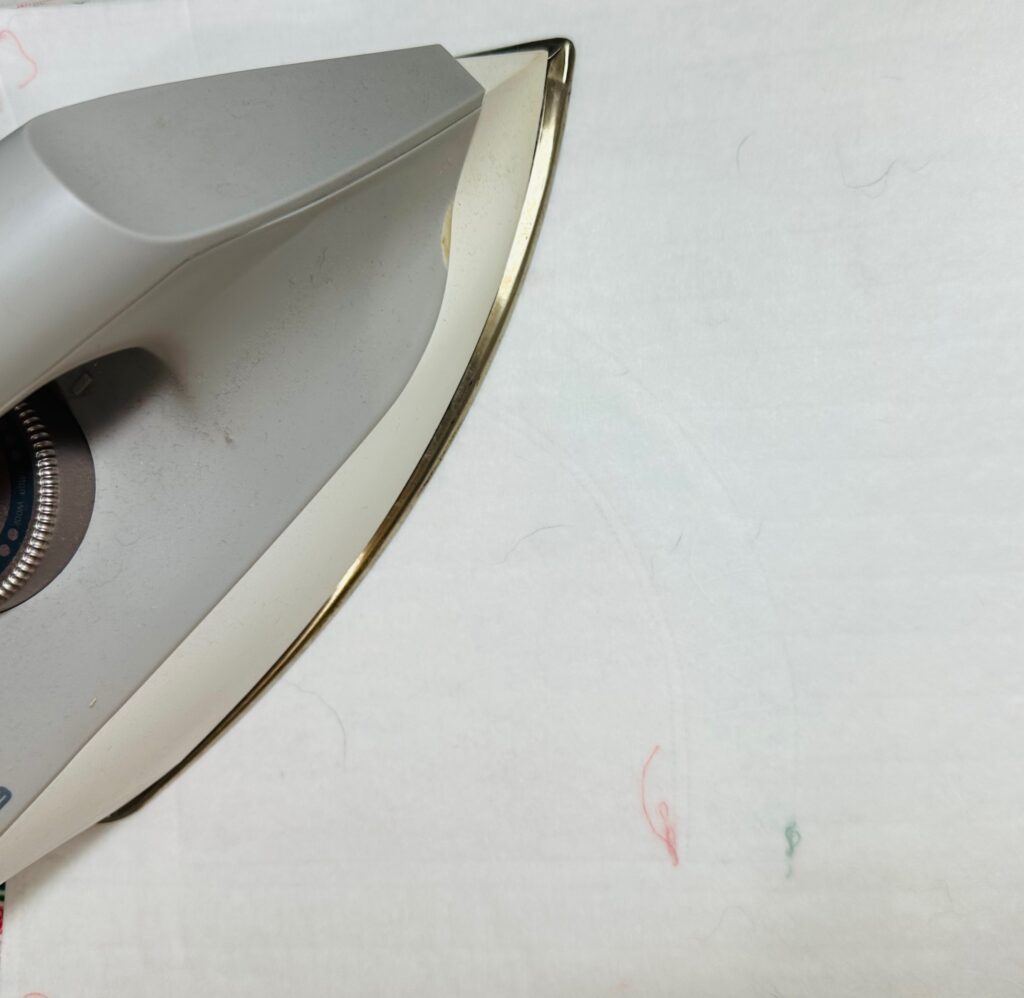
Cut a piece of Sulky Perfect Appliqué Fusible Web to the final Watermelon Block dimensions. Fuse the Perfect Appliqué to the Block wrong side, following the manufacturer’s instructions.
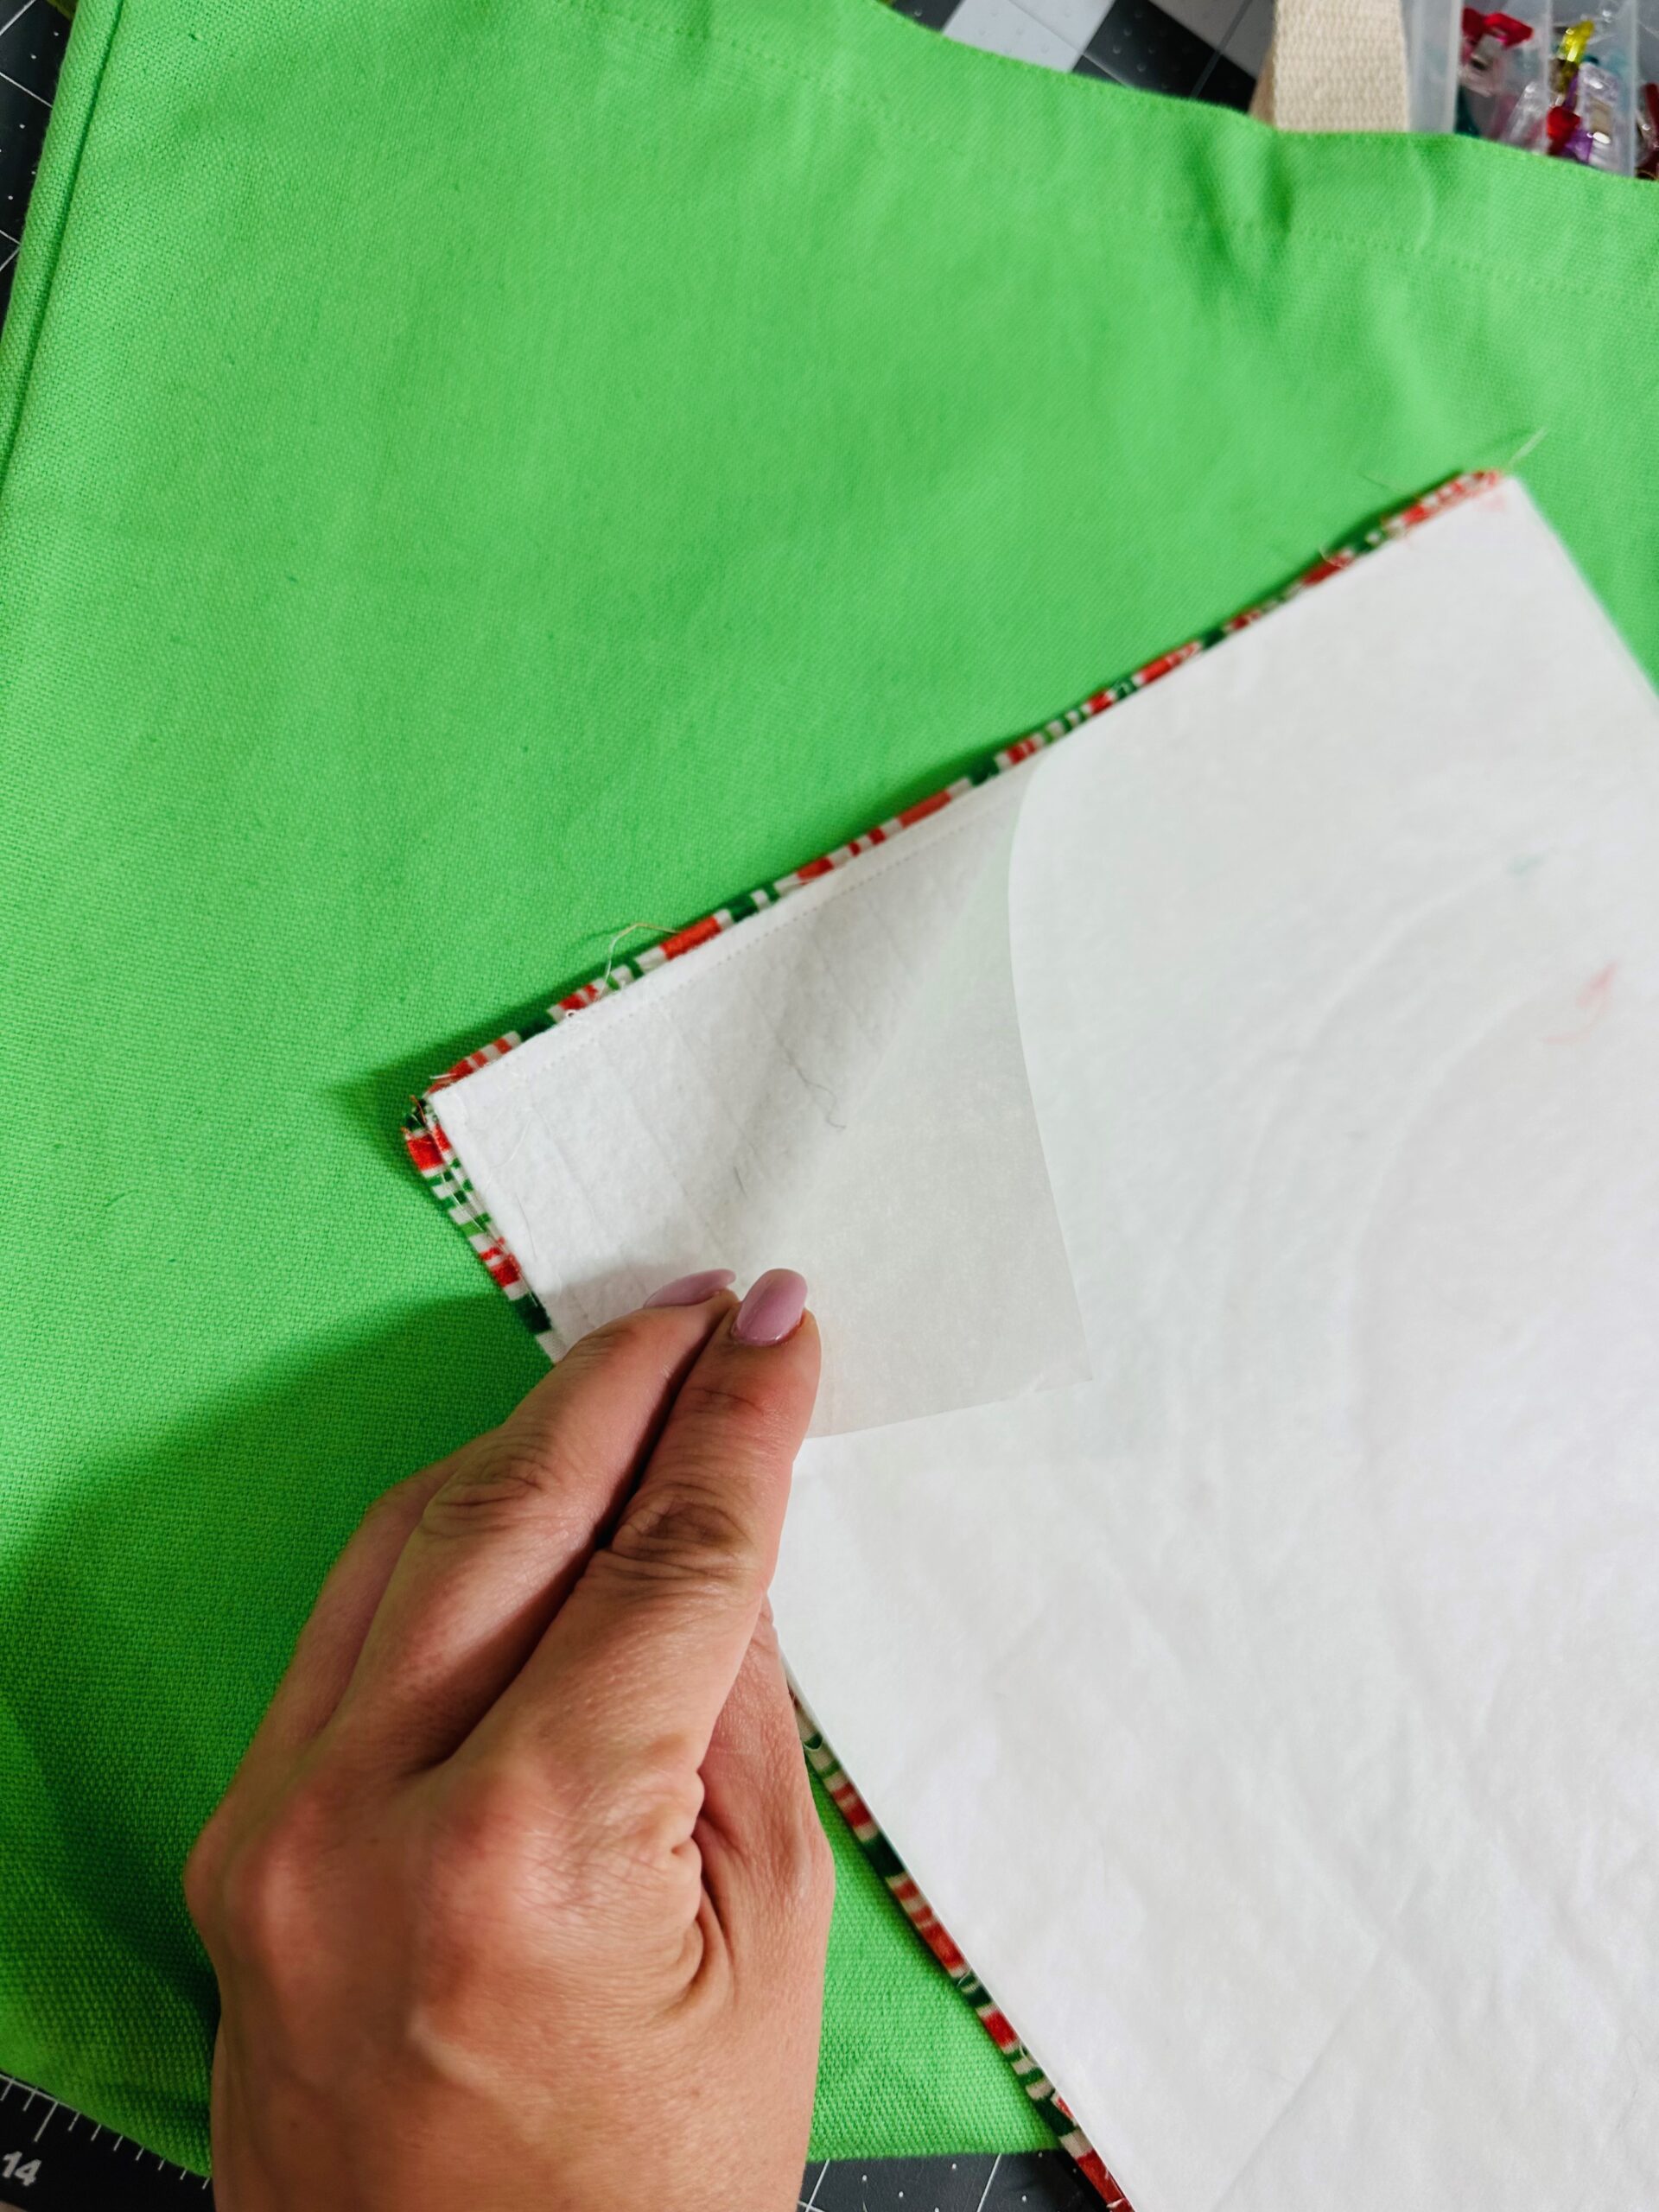
Next, remove the paper backing from the fusible web.
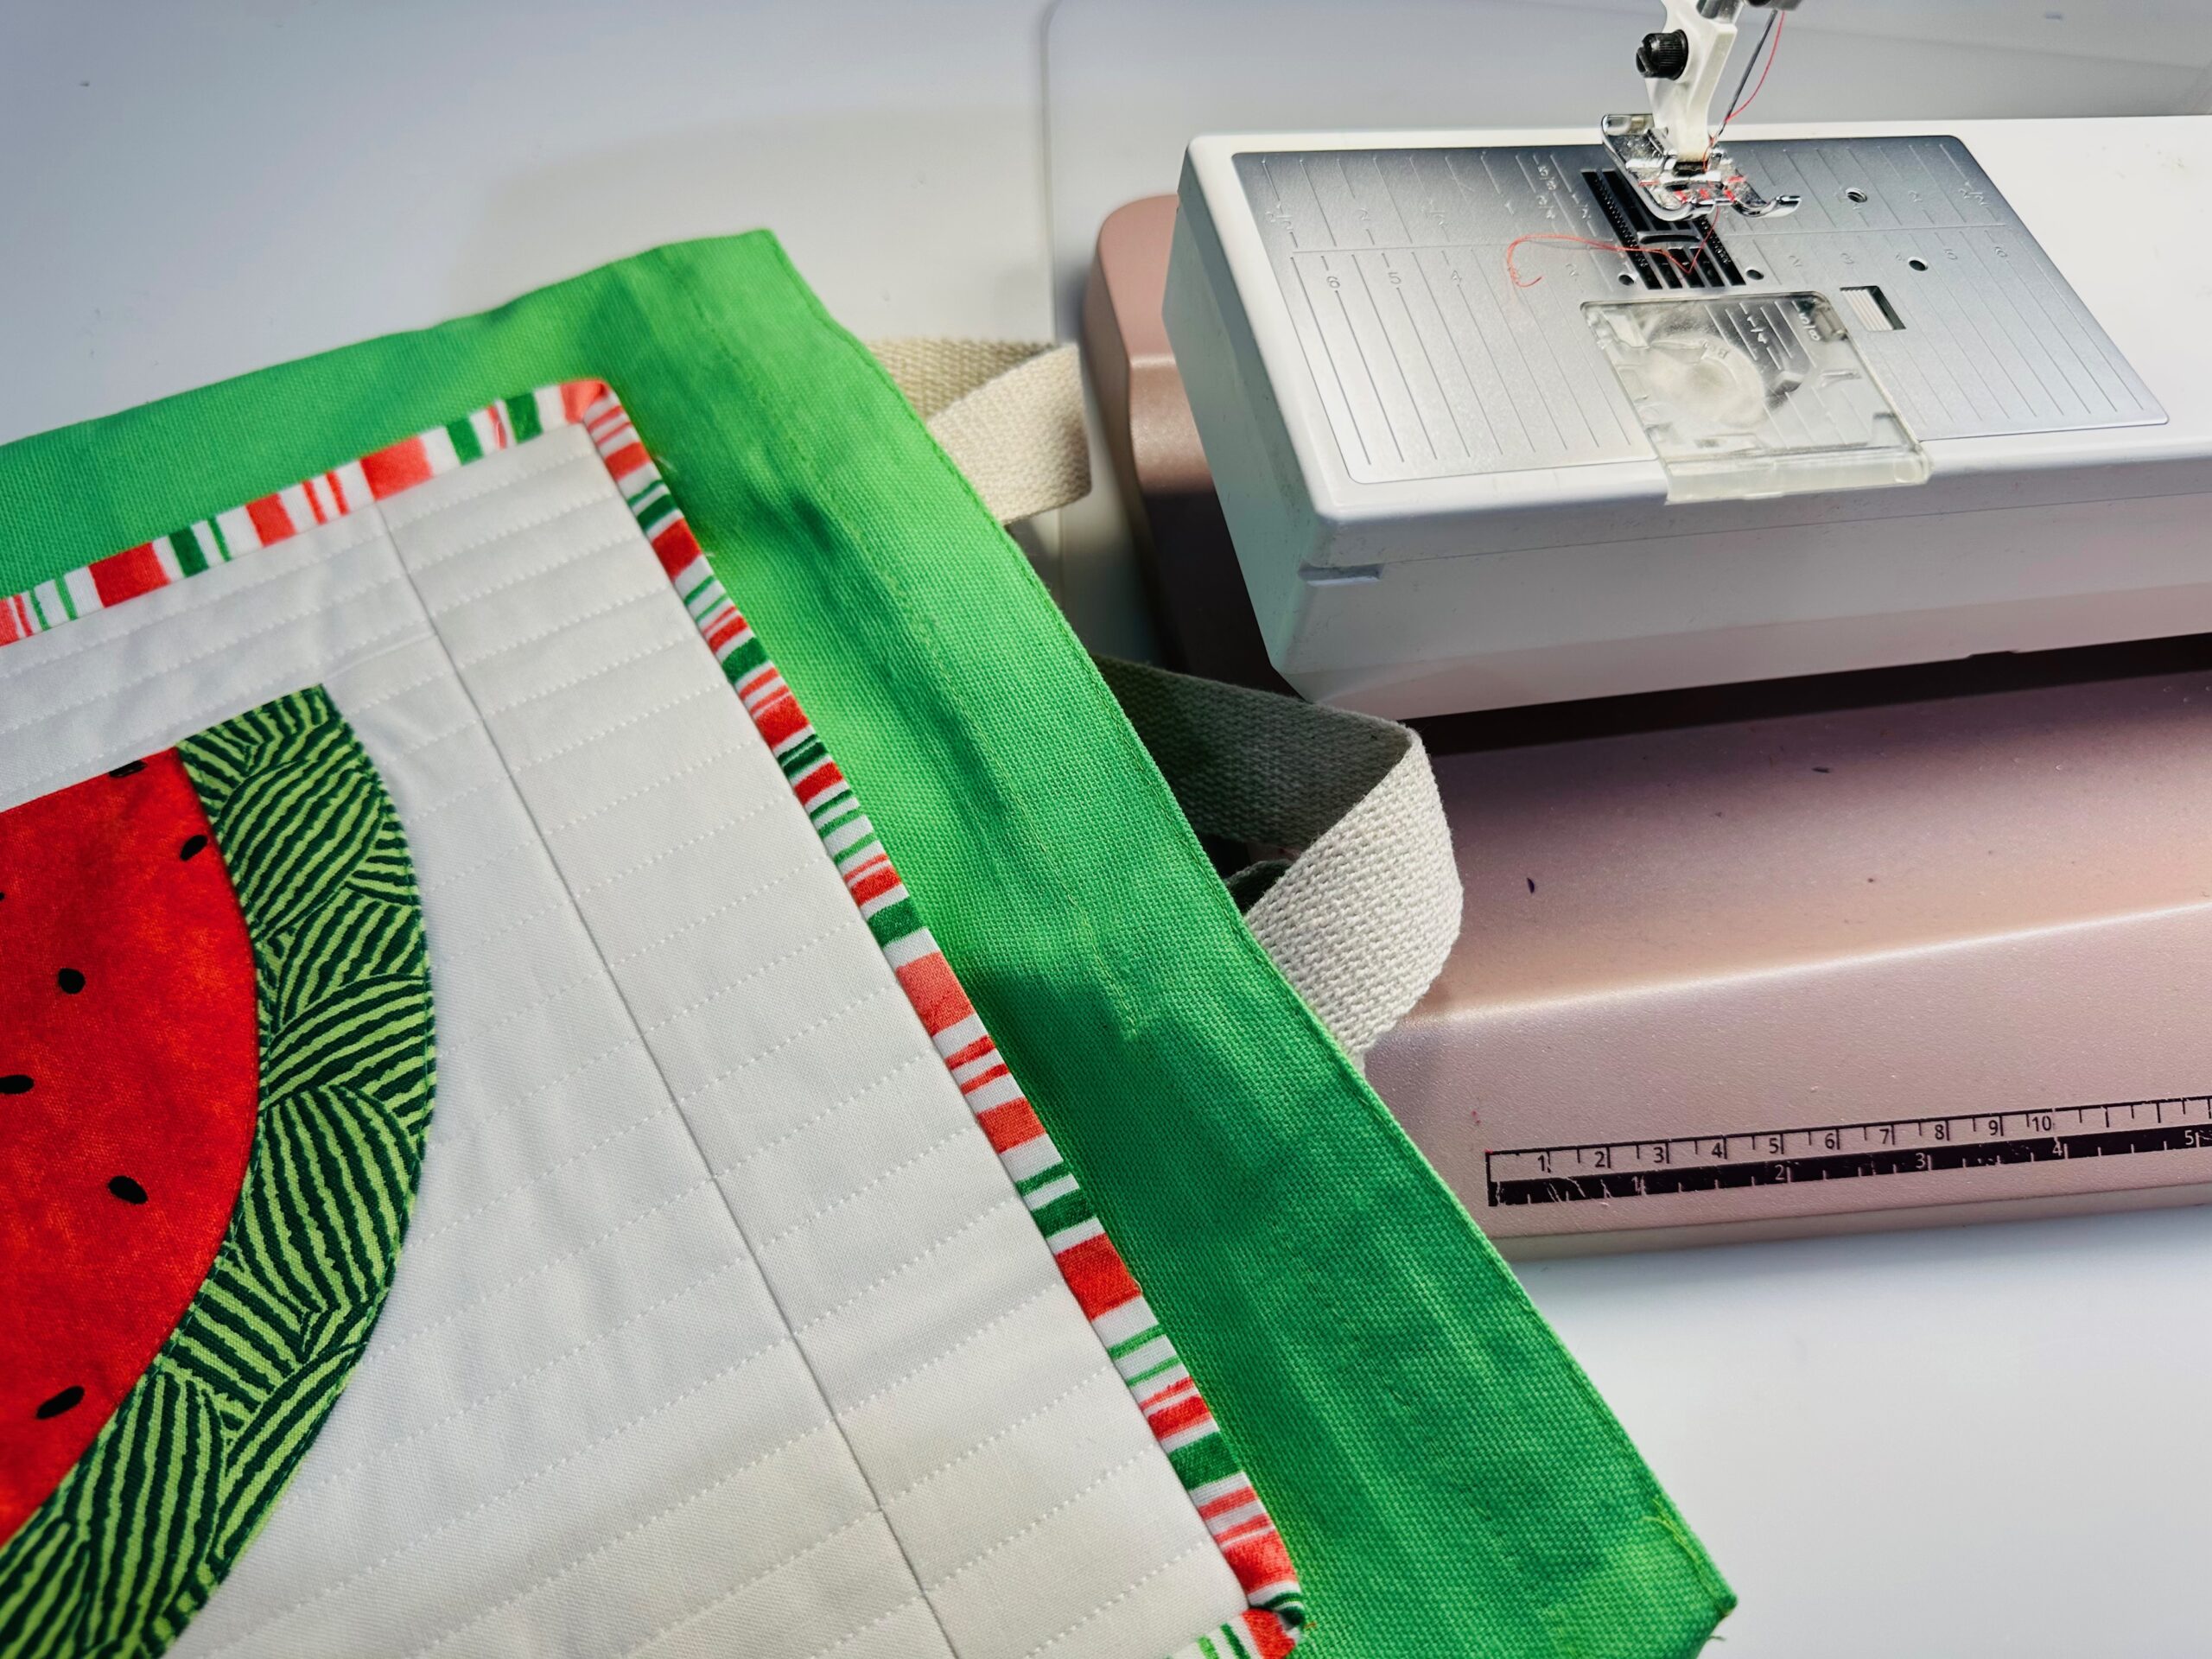
Center the Watermelon Block right side up on the tote front, where desired.
When satisfied with the placement, fuse the Block in place.
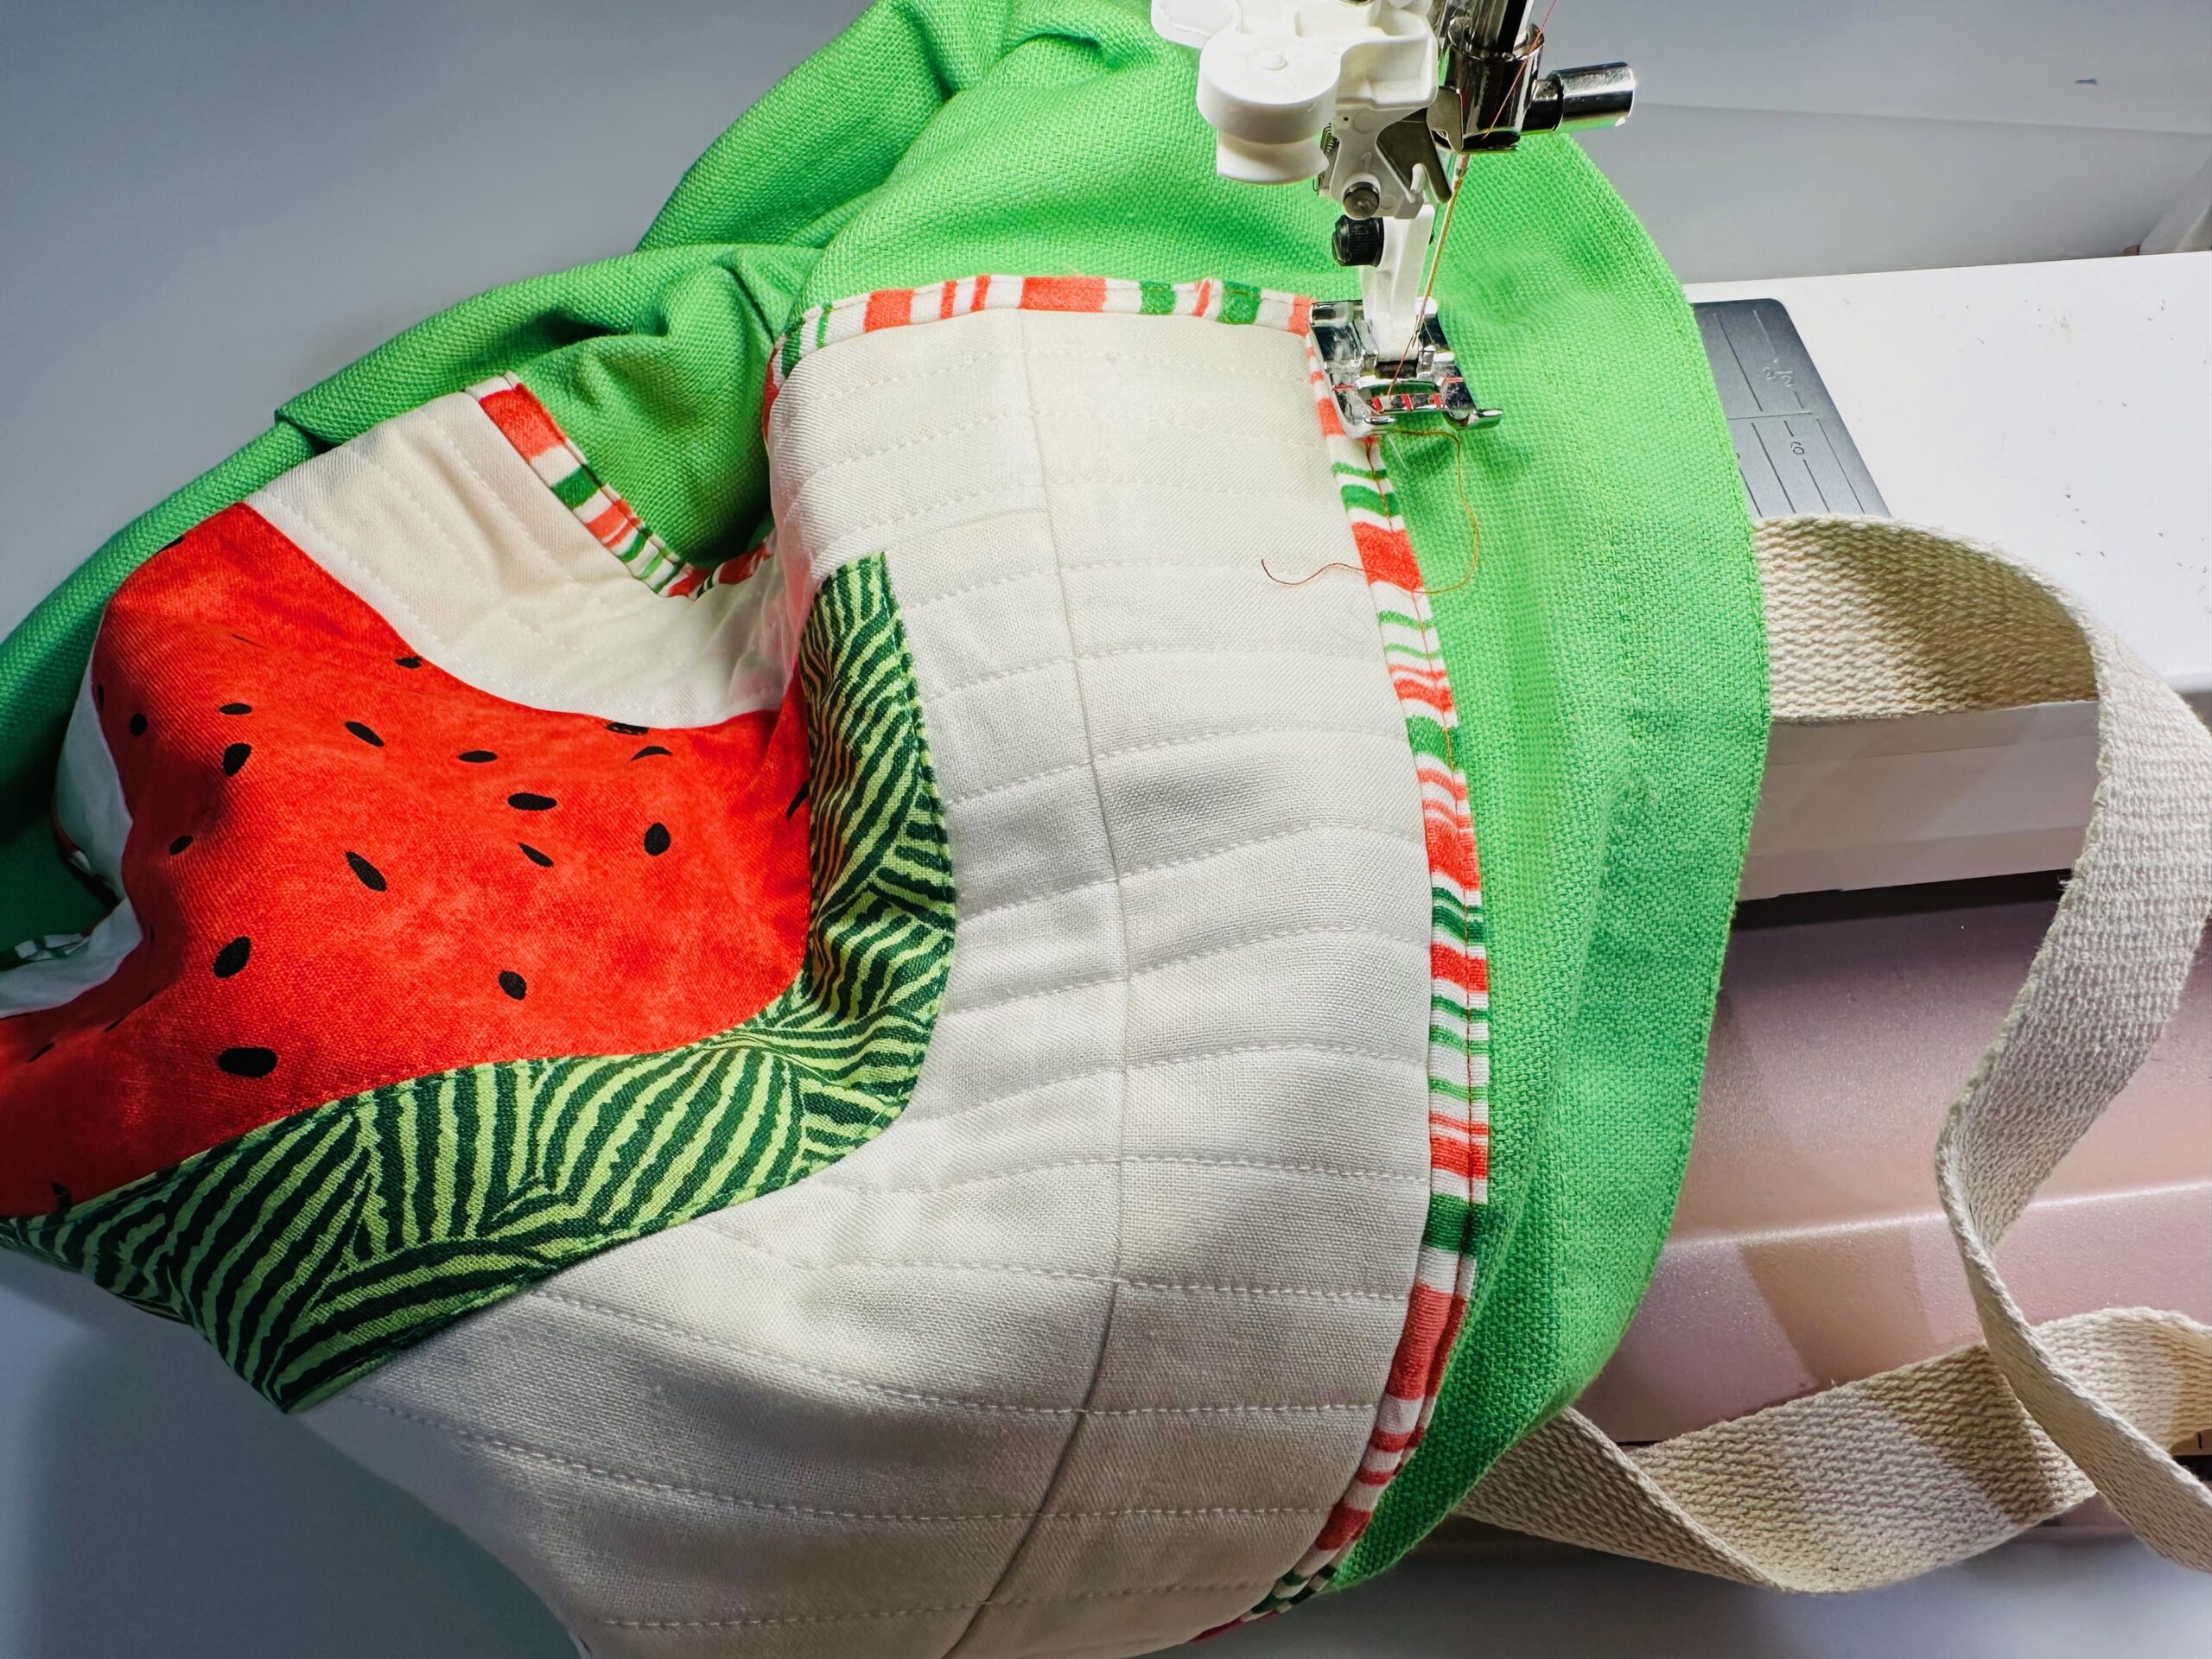
Then, remove the accessory tray from the machine to engage the free-arm. This makes it easier to access the tote for stitching.
Thread the needle with a thread color that matches or coordinates with the binding fabric.
Edgestitch the binding to the tote.
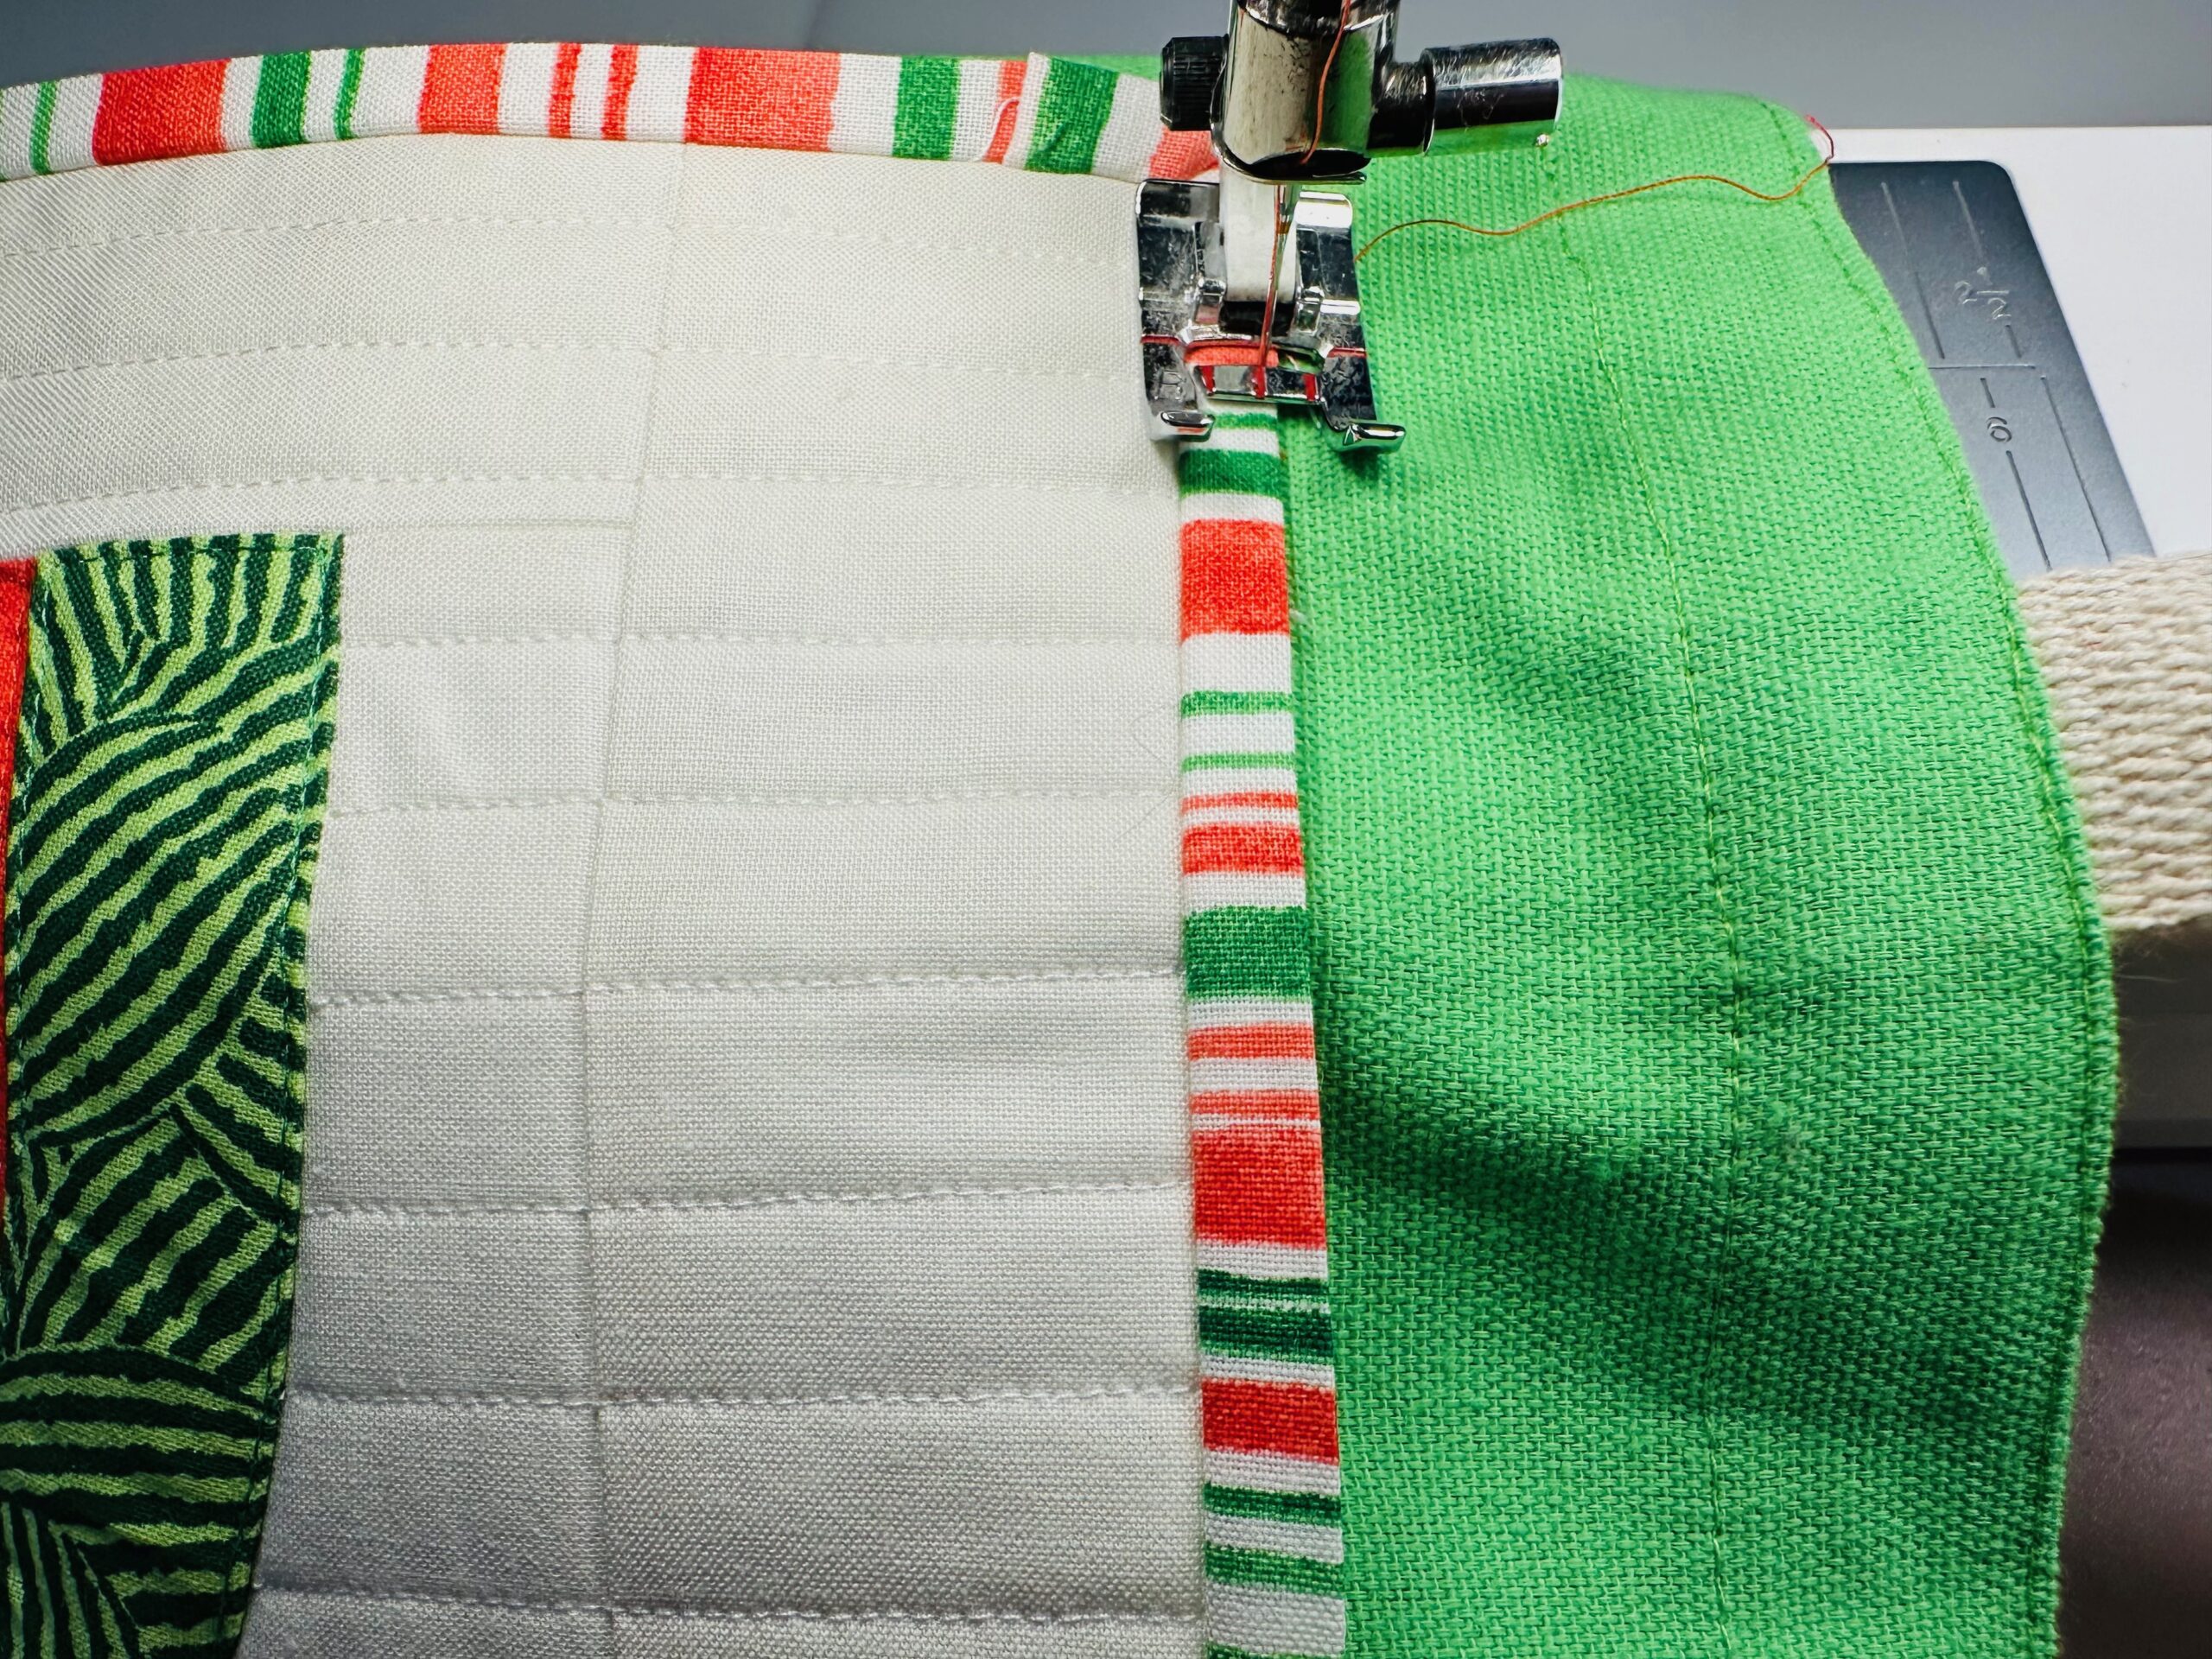
To access the tote lower edge, you may need to turn the tote wrong side out a bit. This is why there is fusible web holding the entire block in place while you sew.
Trim any thread tails, and then press the tote if needed to remove any wrinkles.

You can add a backing to the quilt block before sewing on the binding. Sew the finished block to the tote, leaving the top edge unsewn and you would have an outside pocket for your tote.