How to Embroider a Sunhat
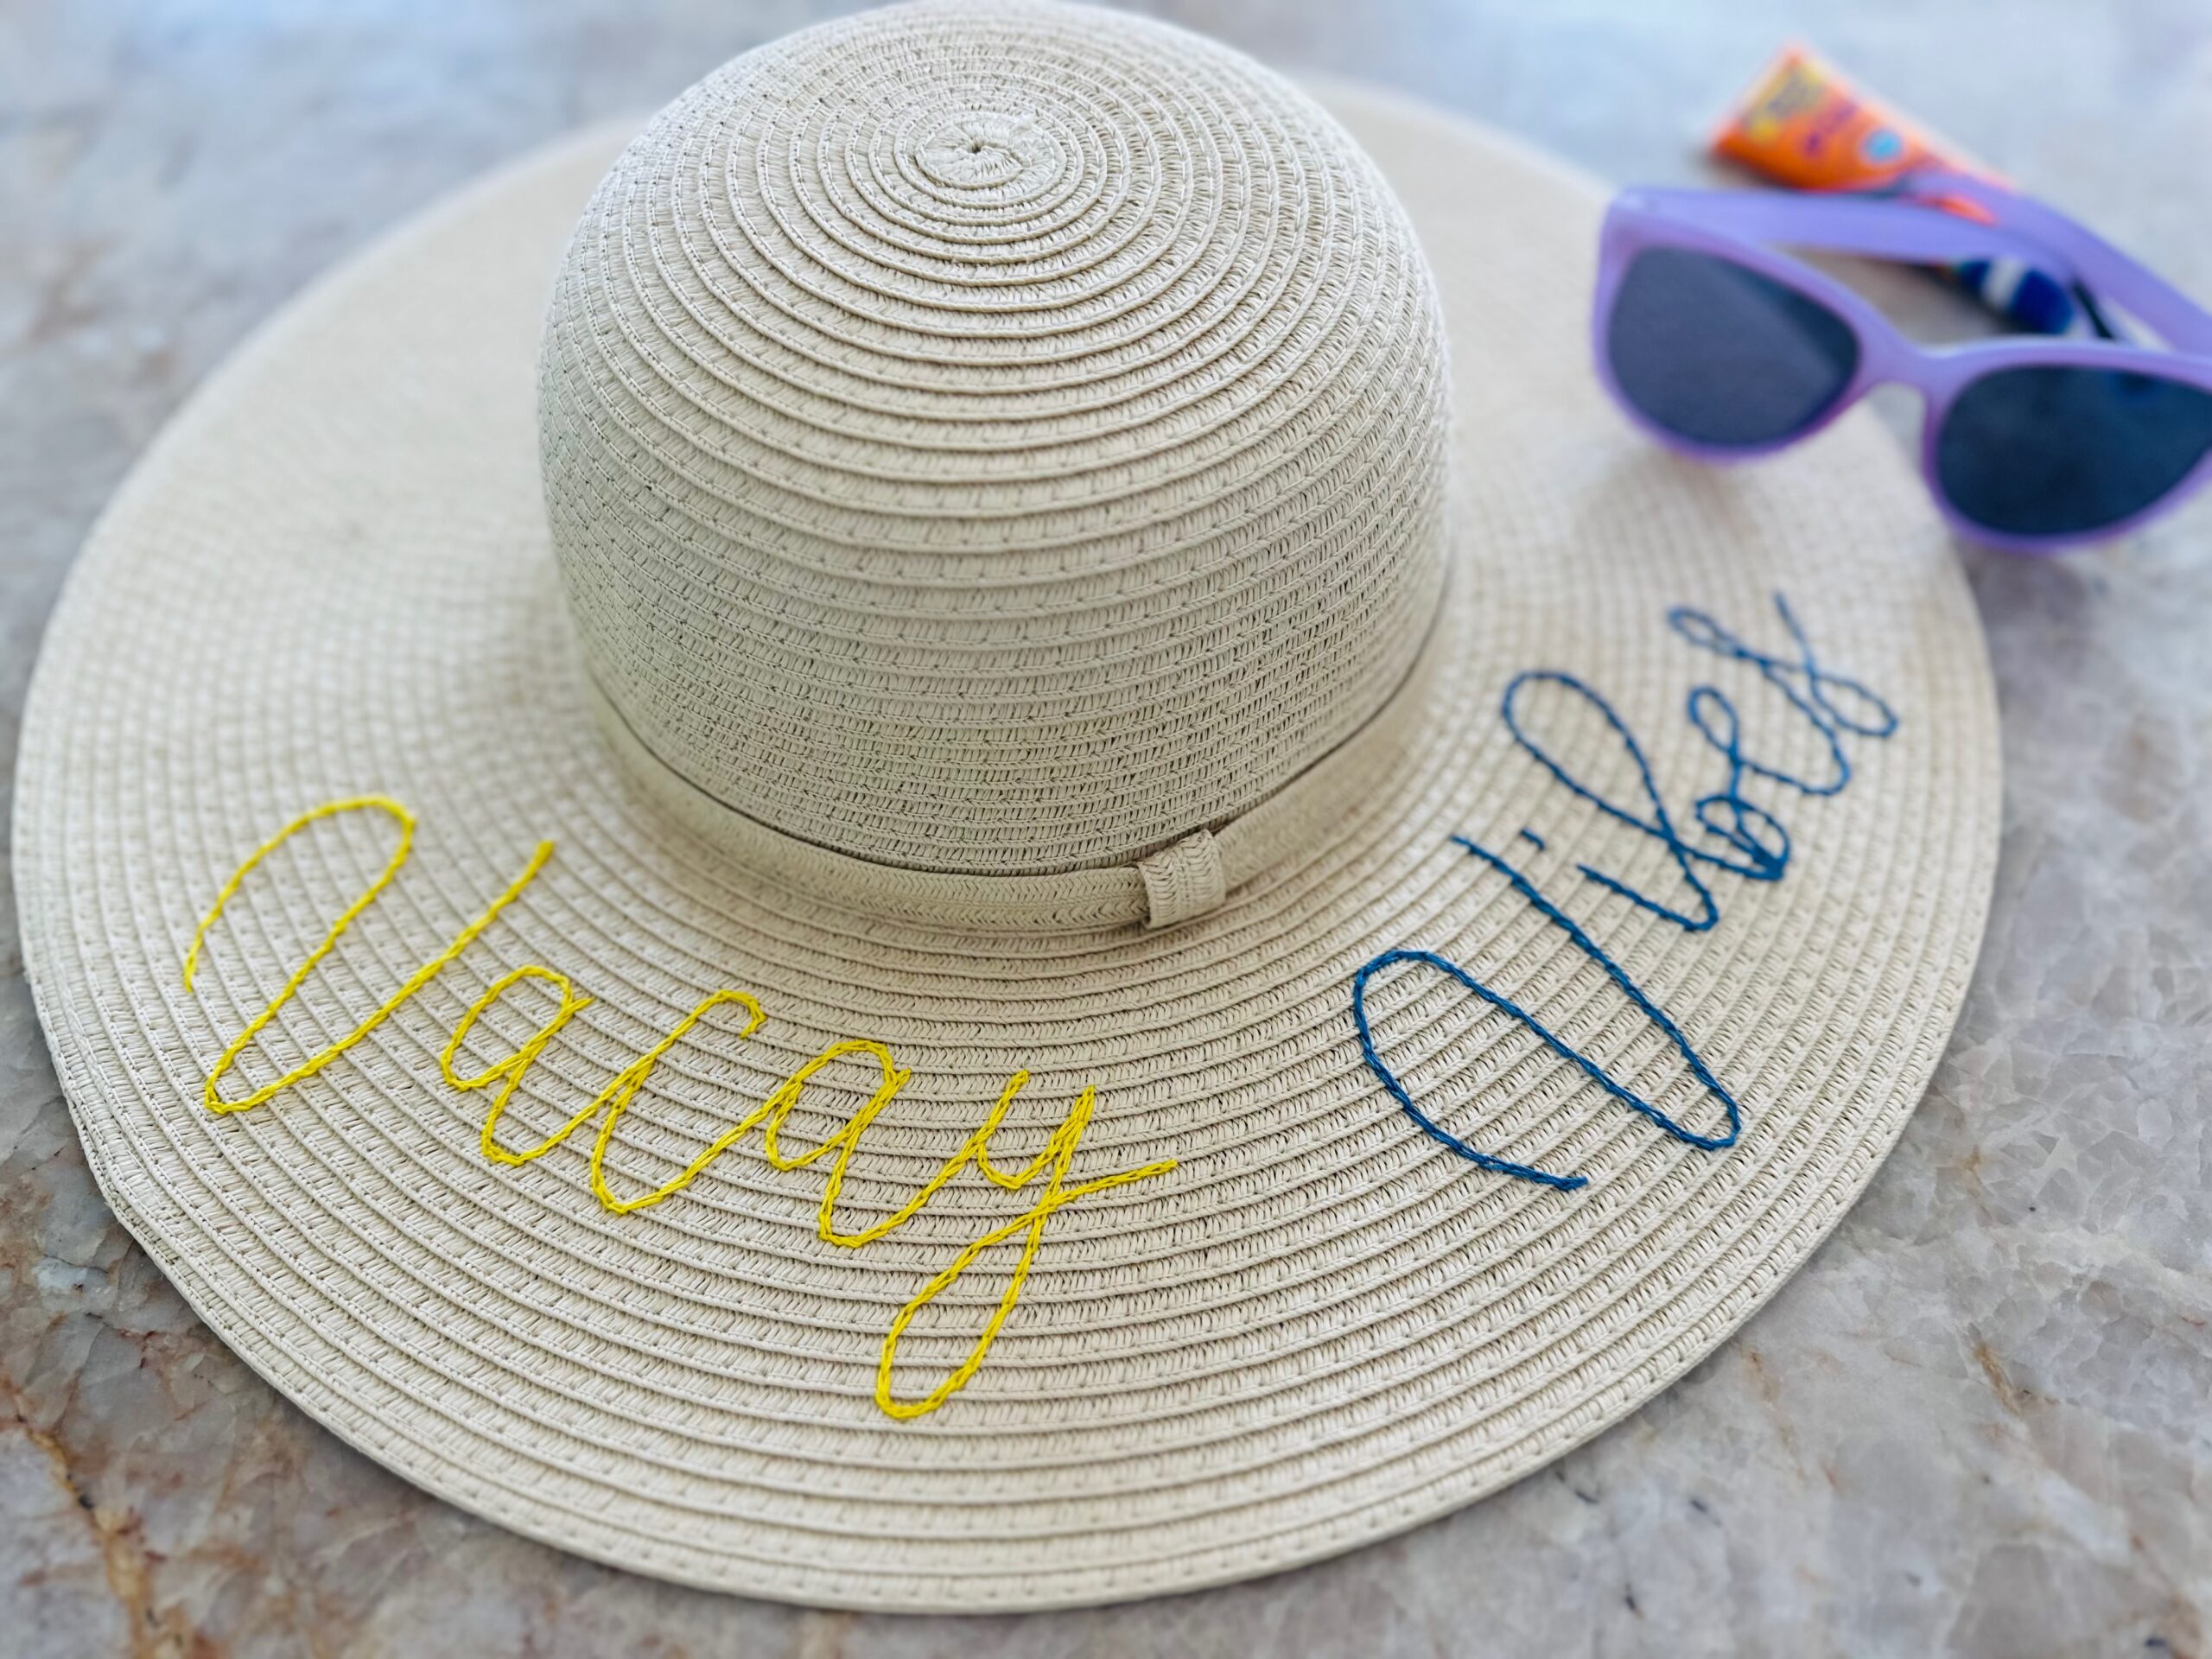
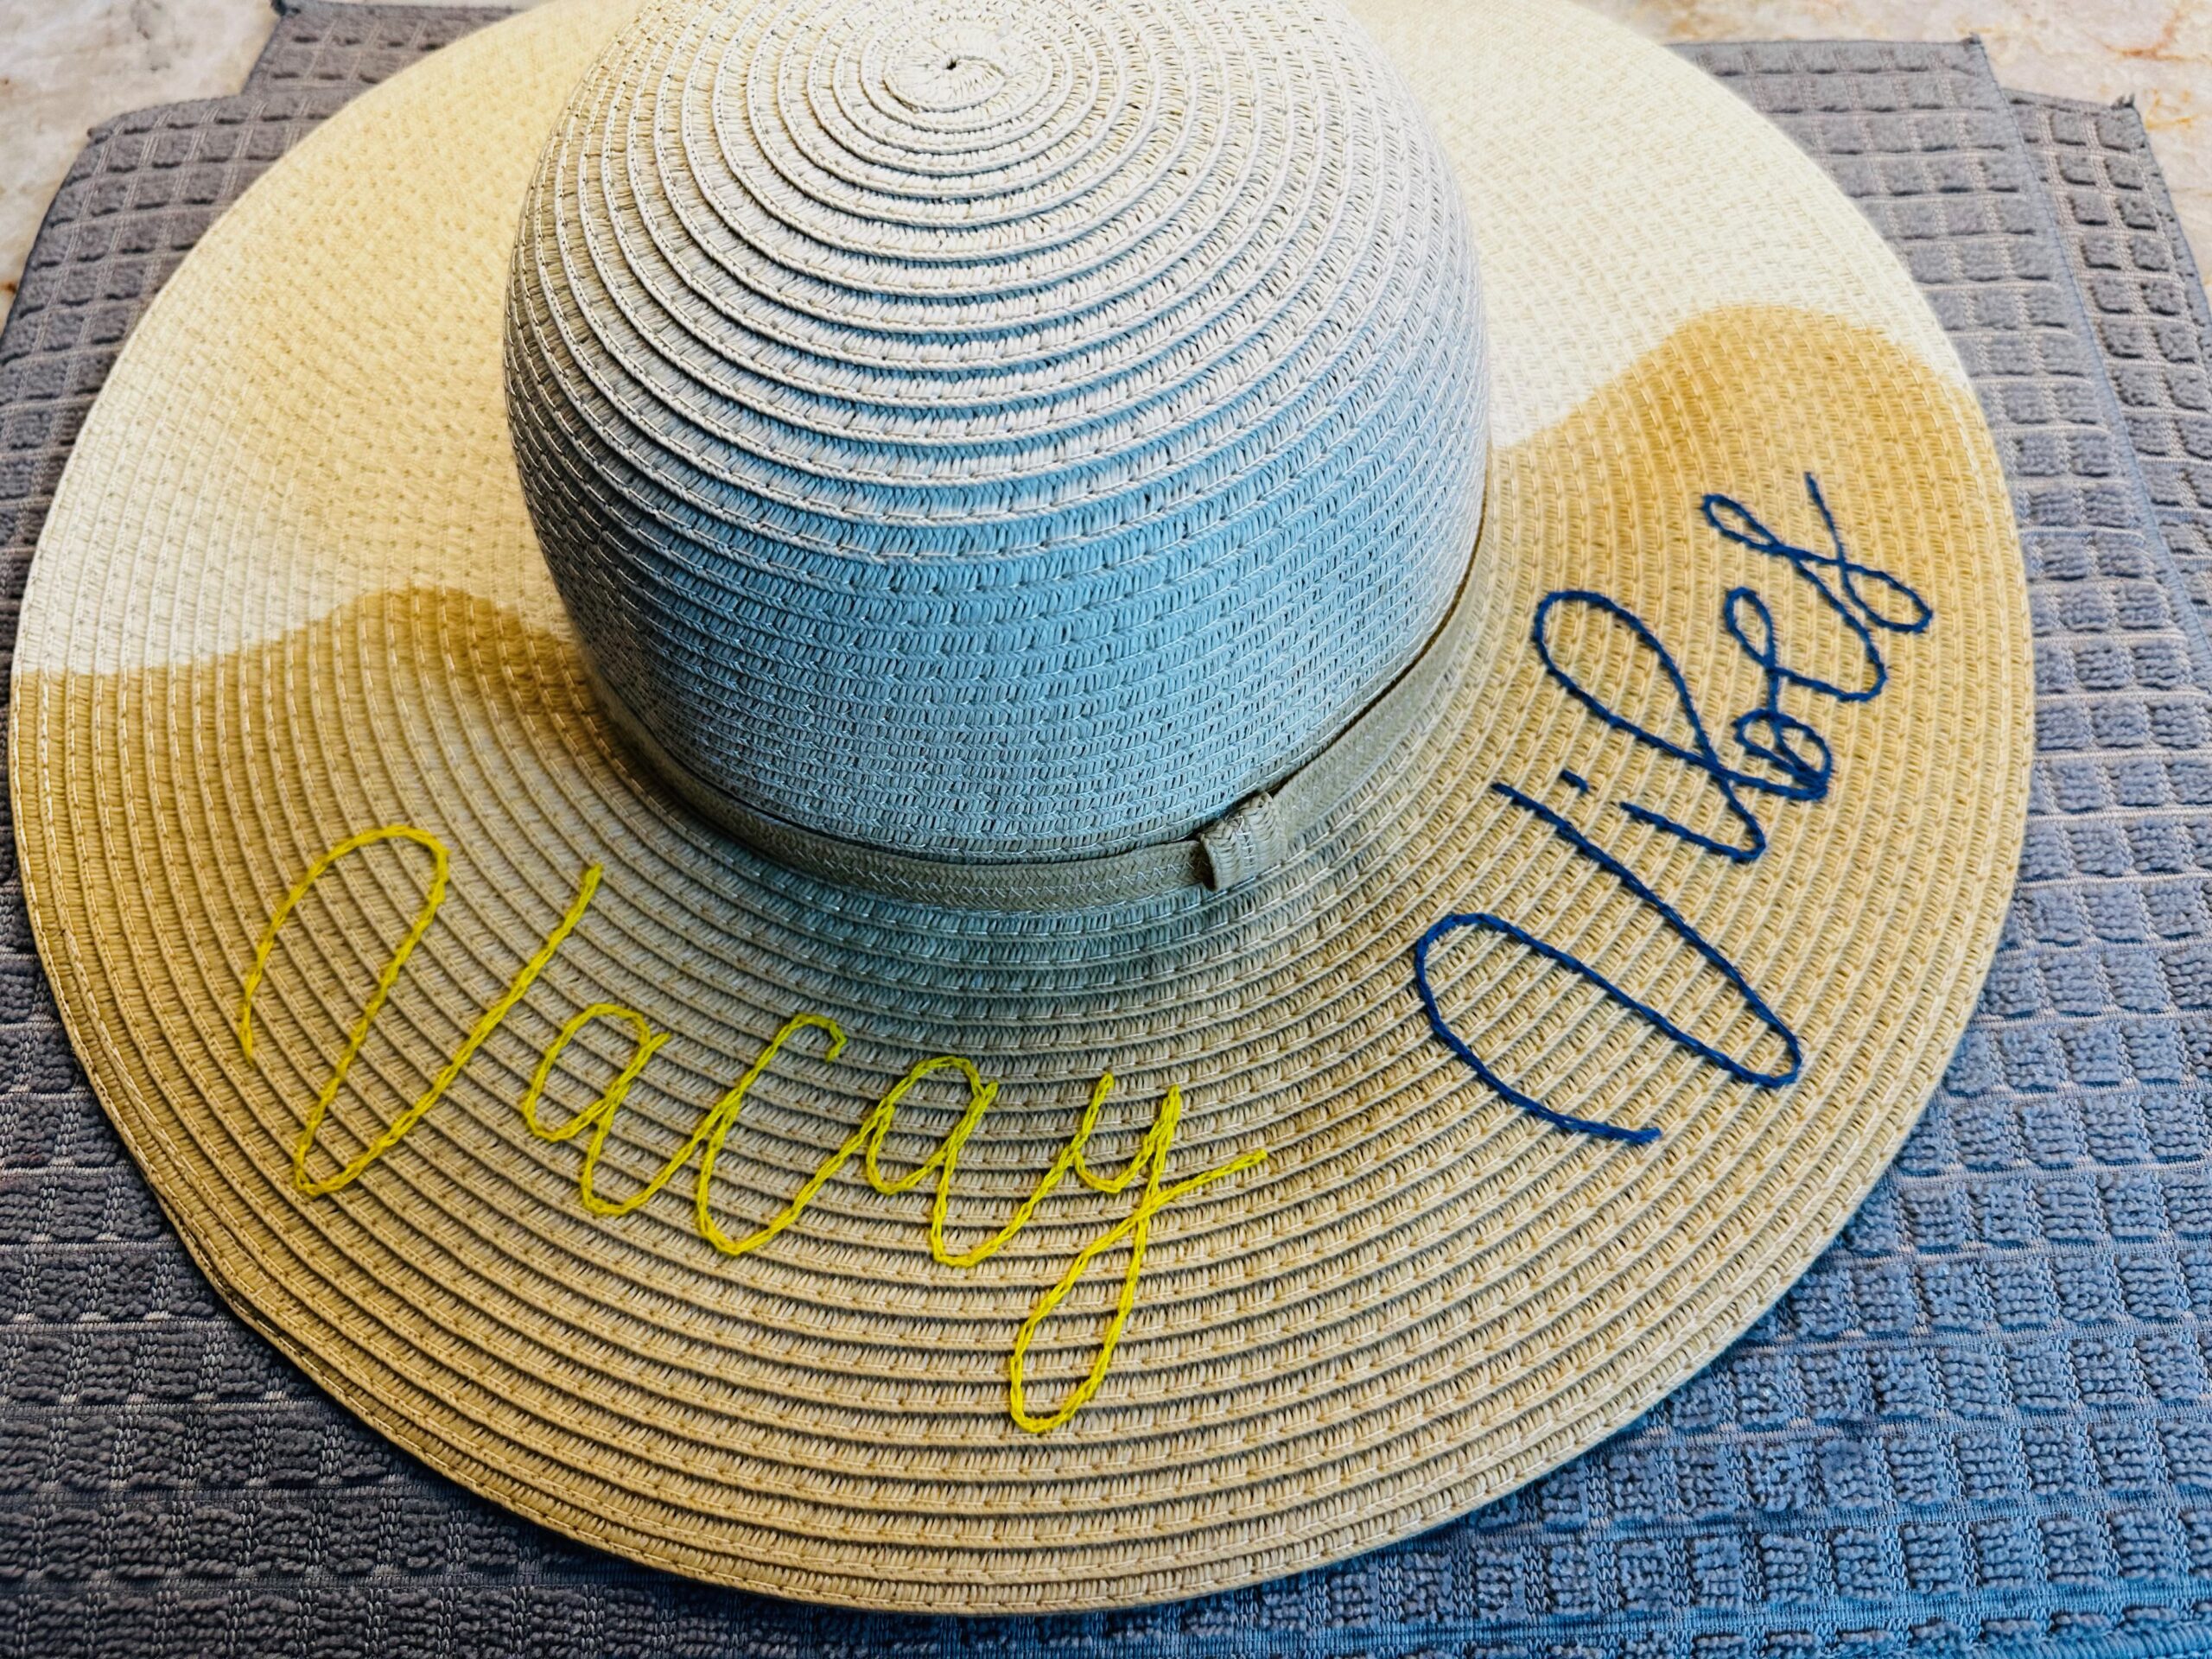
Embroider a sunhat for wearing on summer days, taking on vacation and gifting to a bride-to-be, bachelorette party, friend group. The hat brim is easily personalized with a name or phrase, such as “Miss to Mrs,” “Beach, Please,” or the featured “Vacay Vibes.” Read on to learn how to embroider a sunhat easily using Sulky Cotton Petites Thread and Stick ‘n Stitch Stabilizer.
If you’re headed to Bali with us this October, make yourself an embroidered sunhat and bring it along! (DEADLINE FOR REGISTERING FOR THIS FABULOUS BALI SULKY TRIP IS QUICKLY APPROACHING! FIND OUT MORE HERE>.)
SUNHAT SUPPLIES
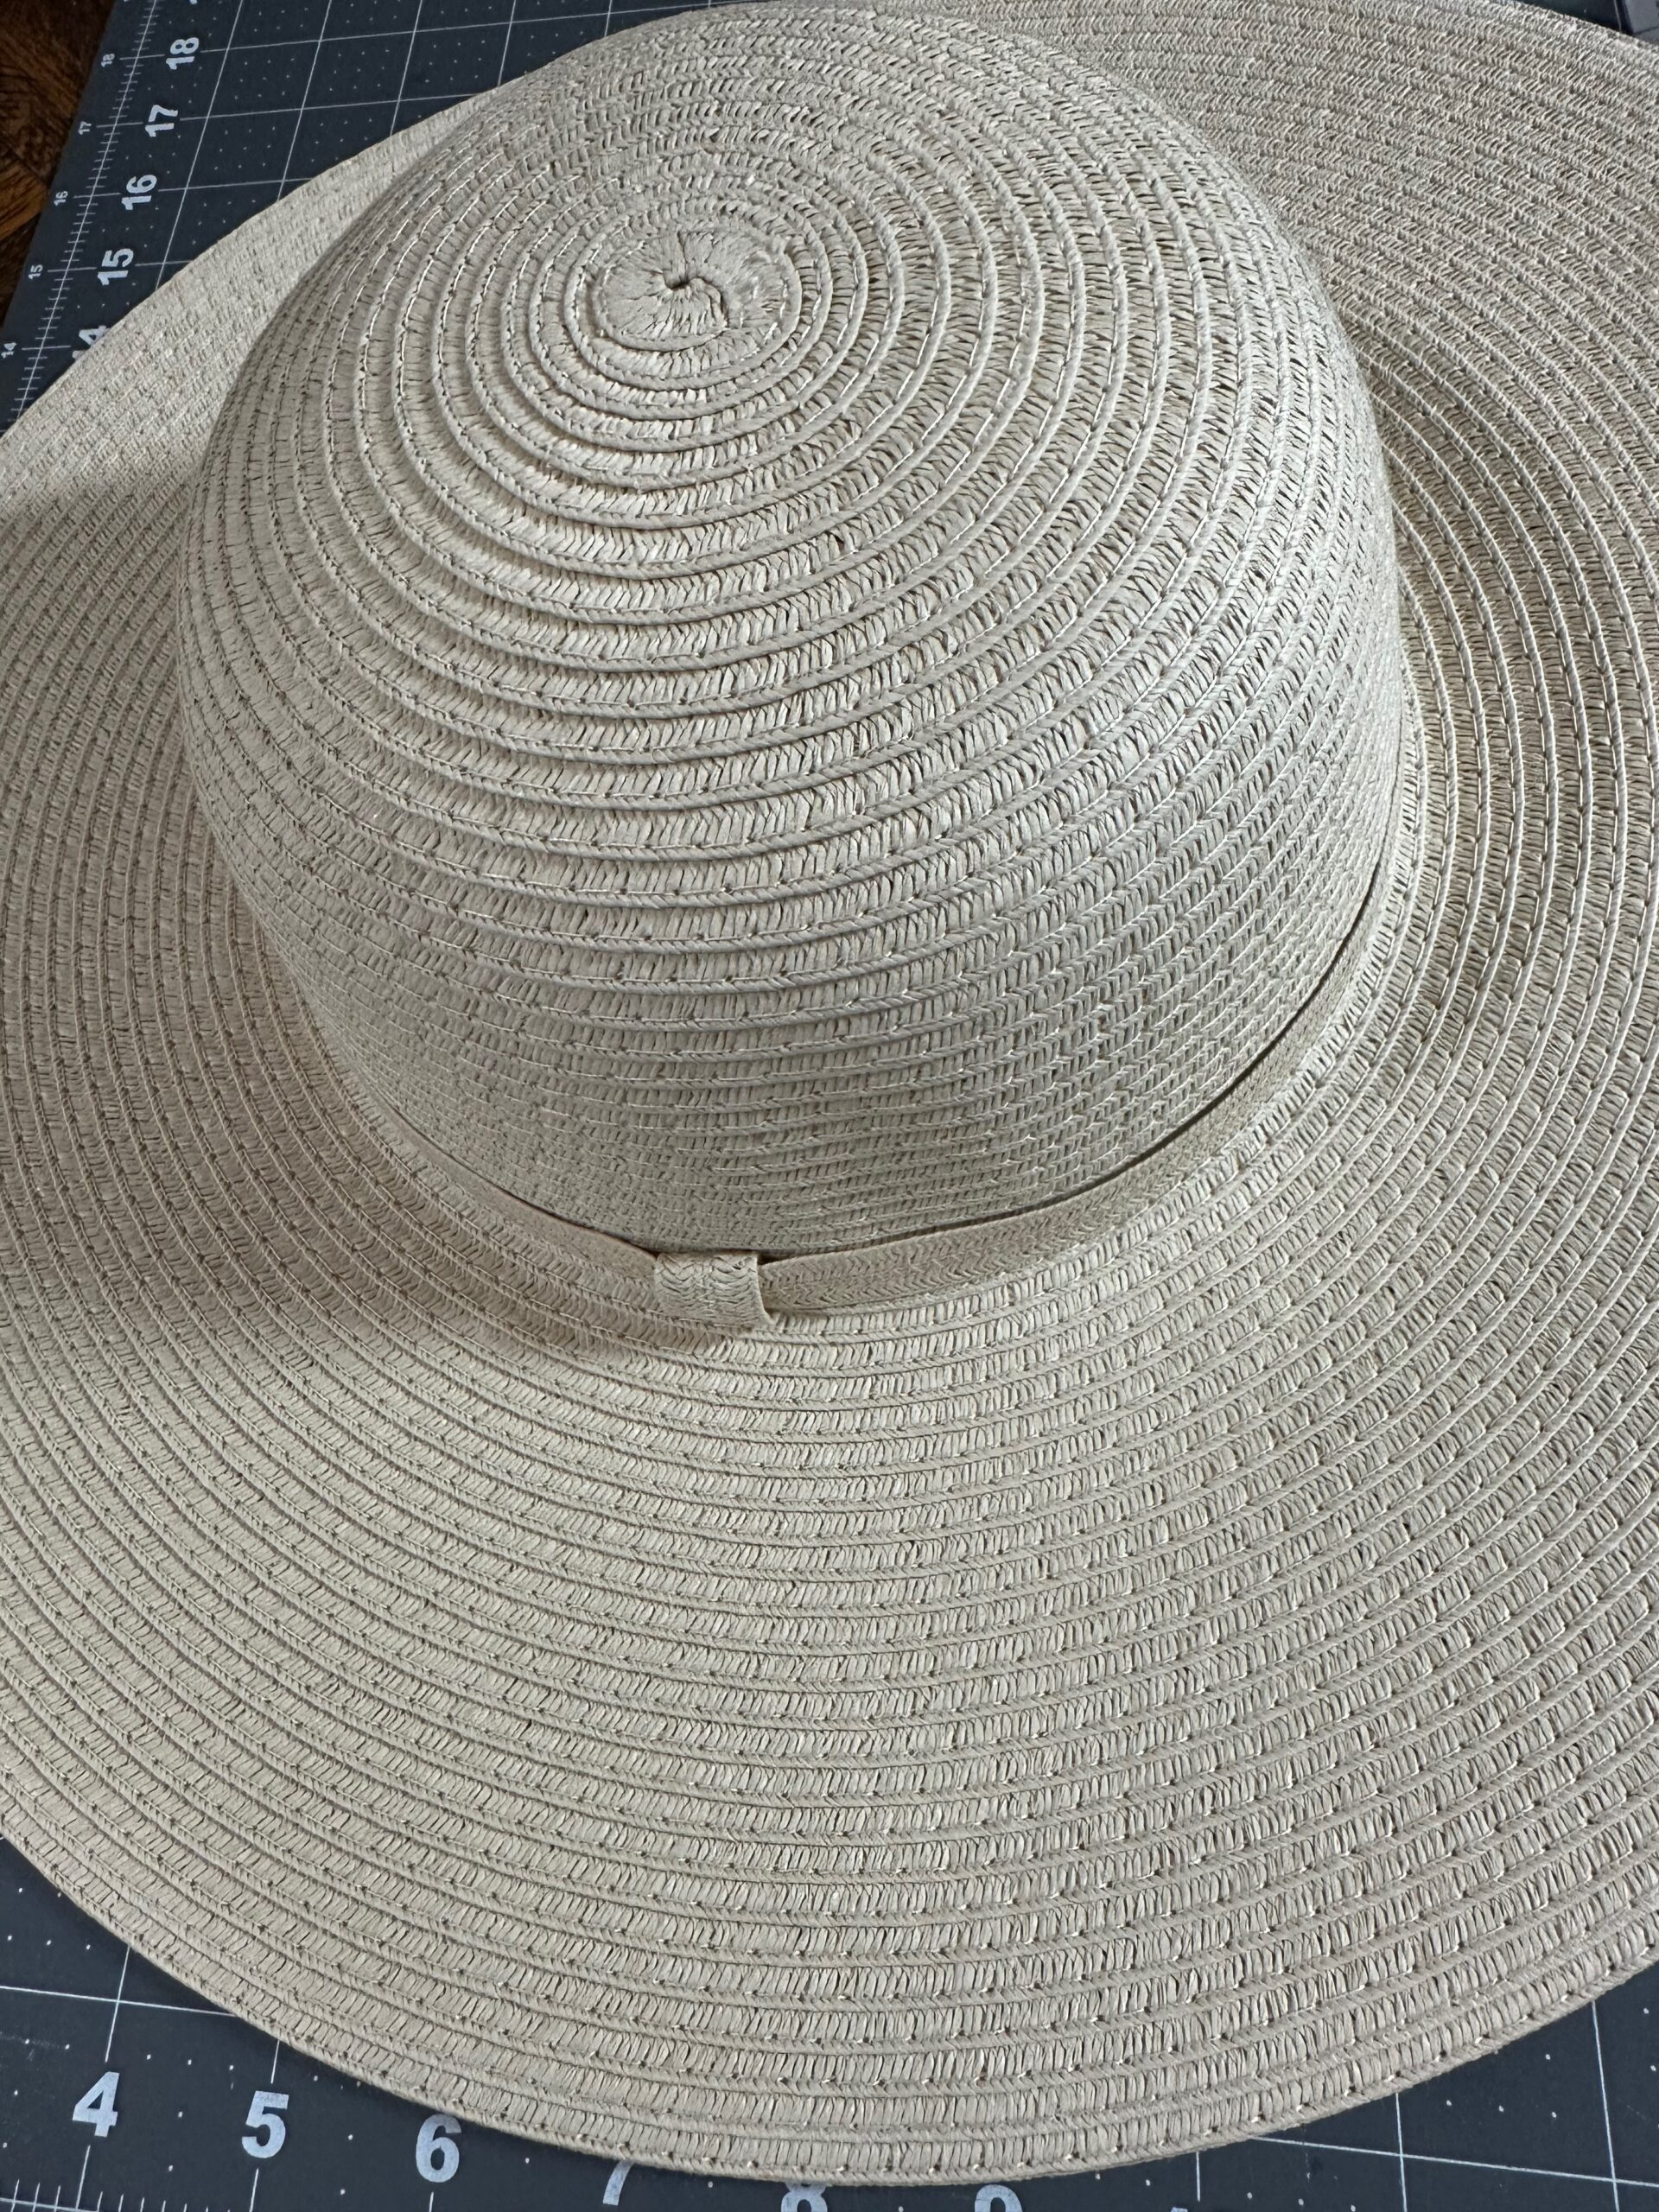
- Wide-brim sunhat (like this, this or this)
- Sulky Stick ‘n Stitch™ Stabilizer Sheets
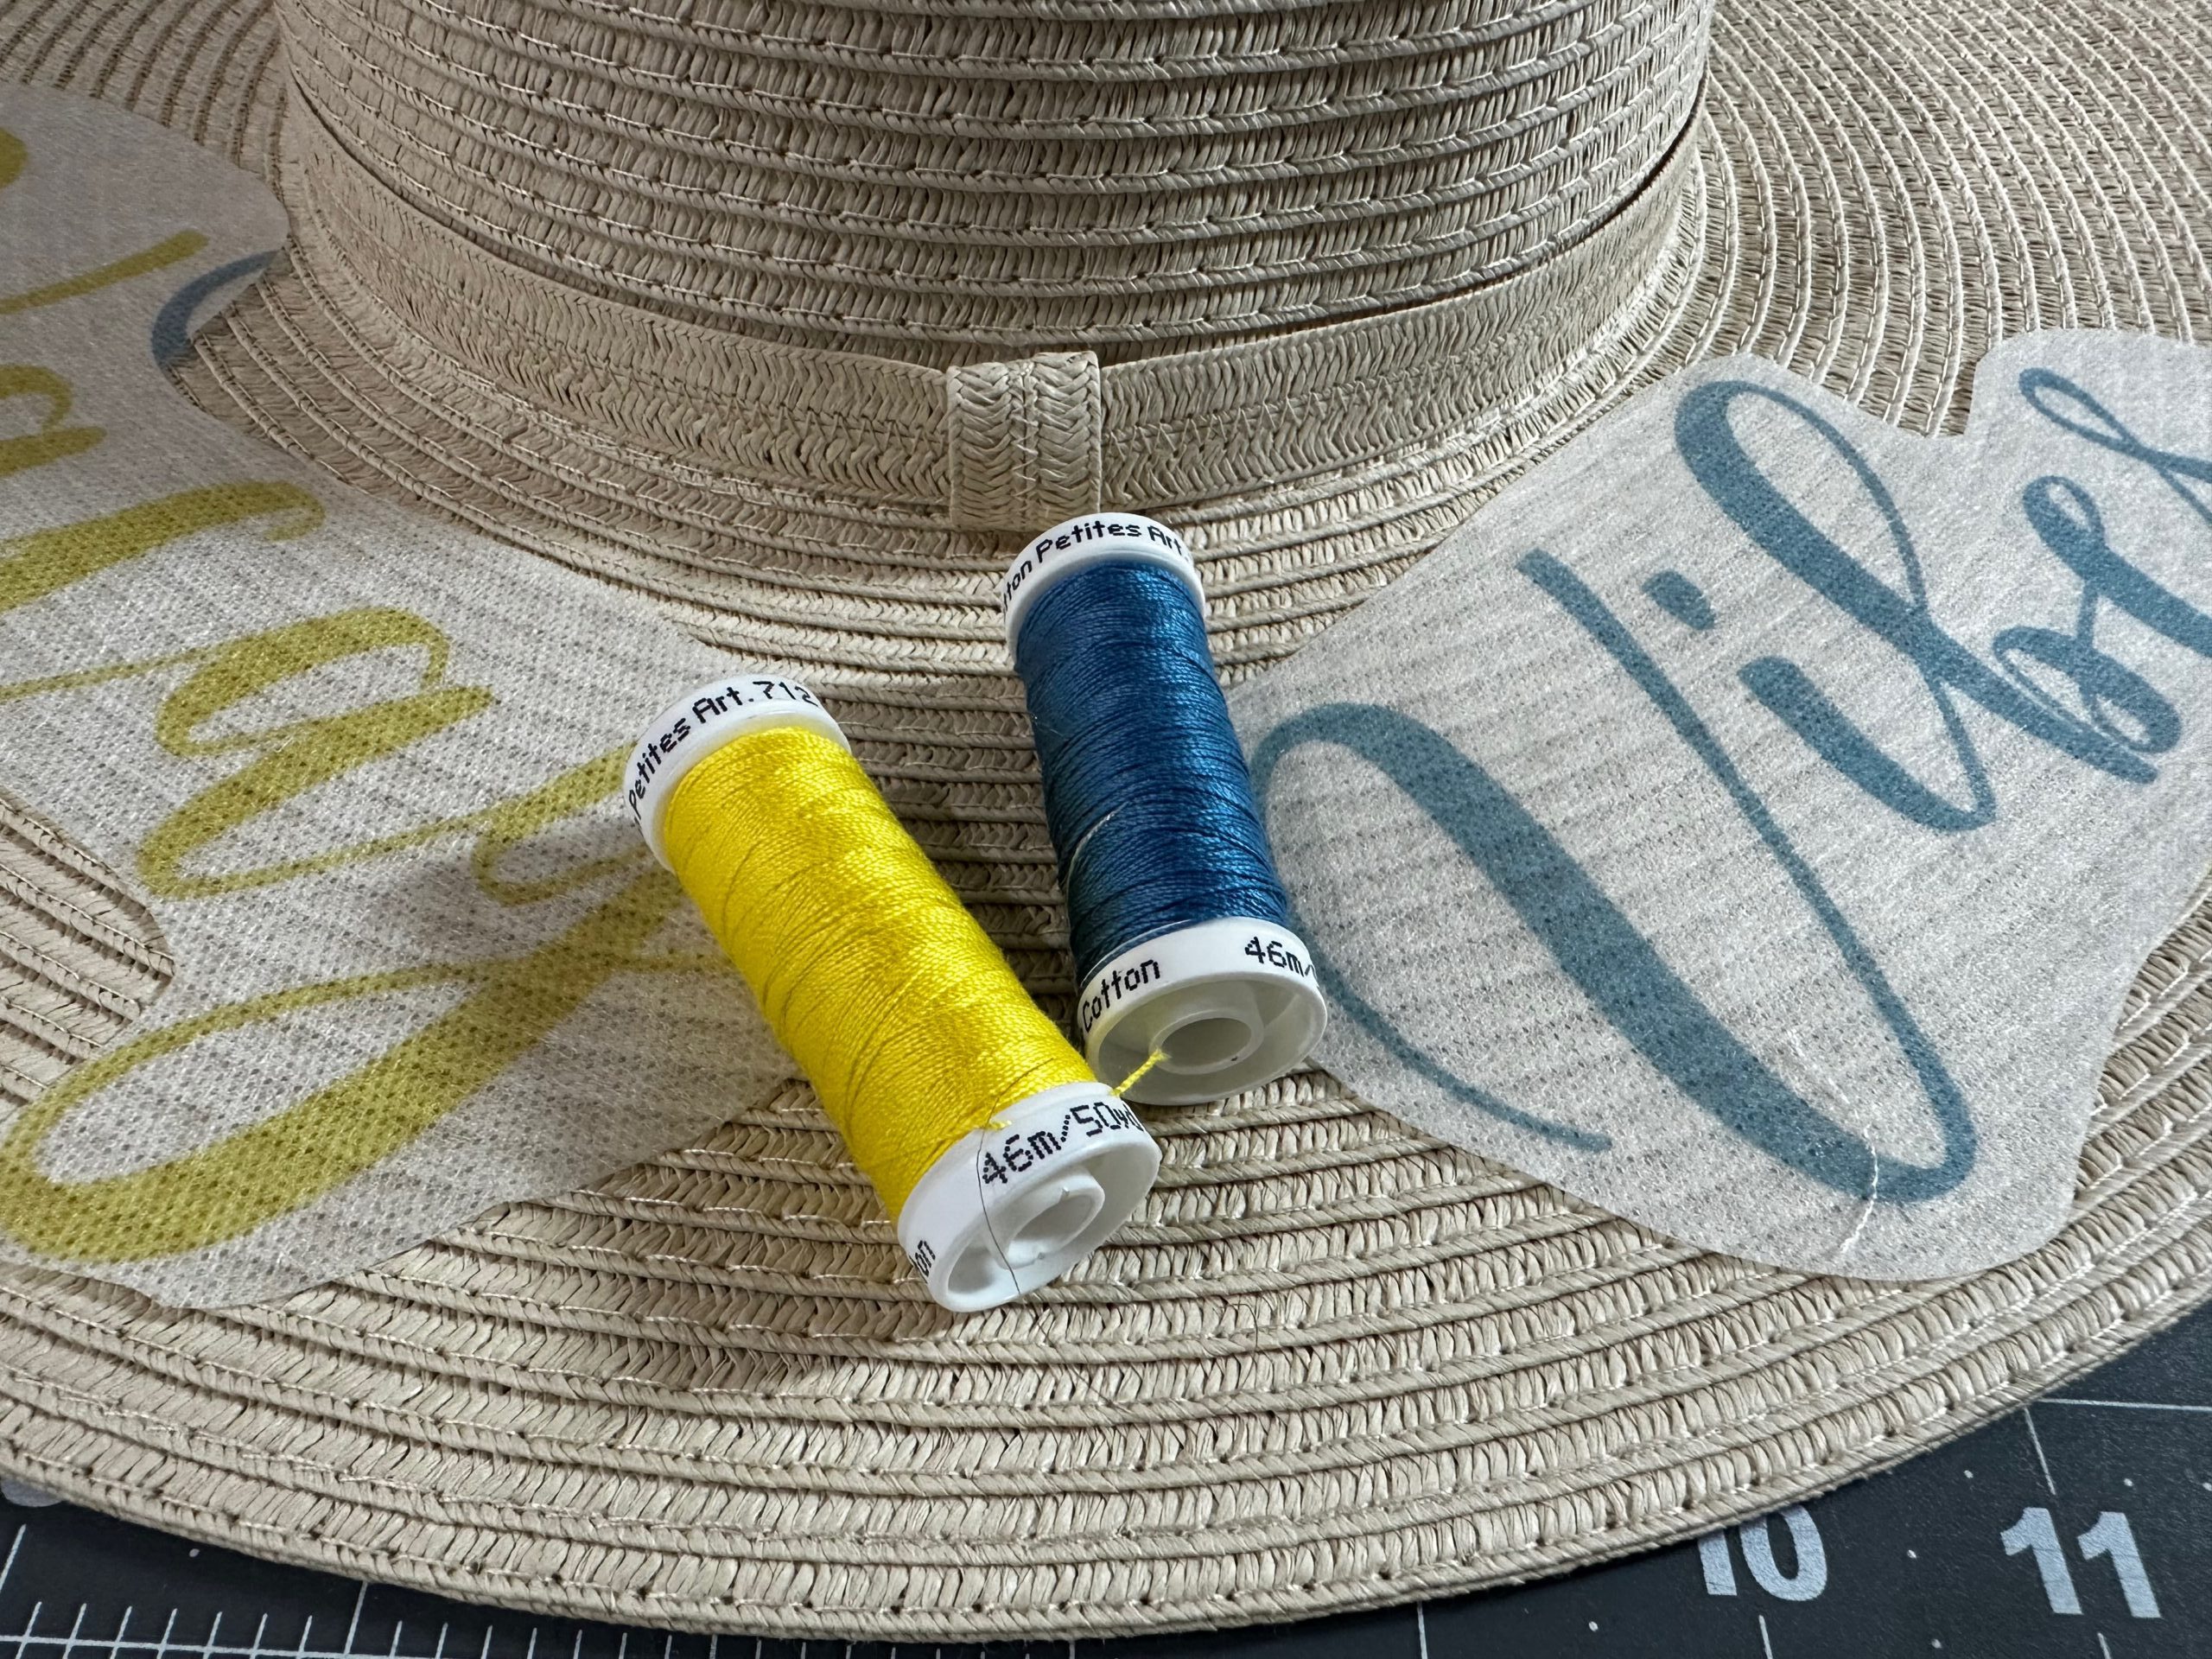
- 12 wt. Cotton Petites® Thread
- Hand sewing needle
SUNHAT DESIGN CHOICE
An embroidered sunhat makes a wonderful gift and comes together rather quickly, depending on the word/phrase length. Think about the recipient and the occasion when choosing what to embroider. If embroidering several for multiple friends, consider using last names or nicknames for the design. If making one for each family member going on a cruise, perhaps choose the year or date to embroider on the sunhat. To make one for a recent grad taking an international trip, embroider a word in the language of the country he/she is visiting, such as “Slainte” for Ireland or “Bonjour” for France.
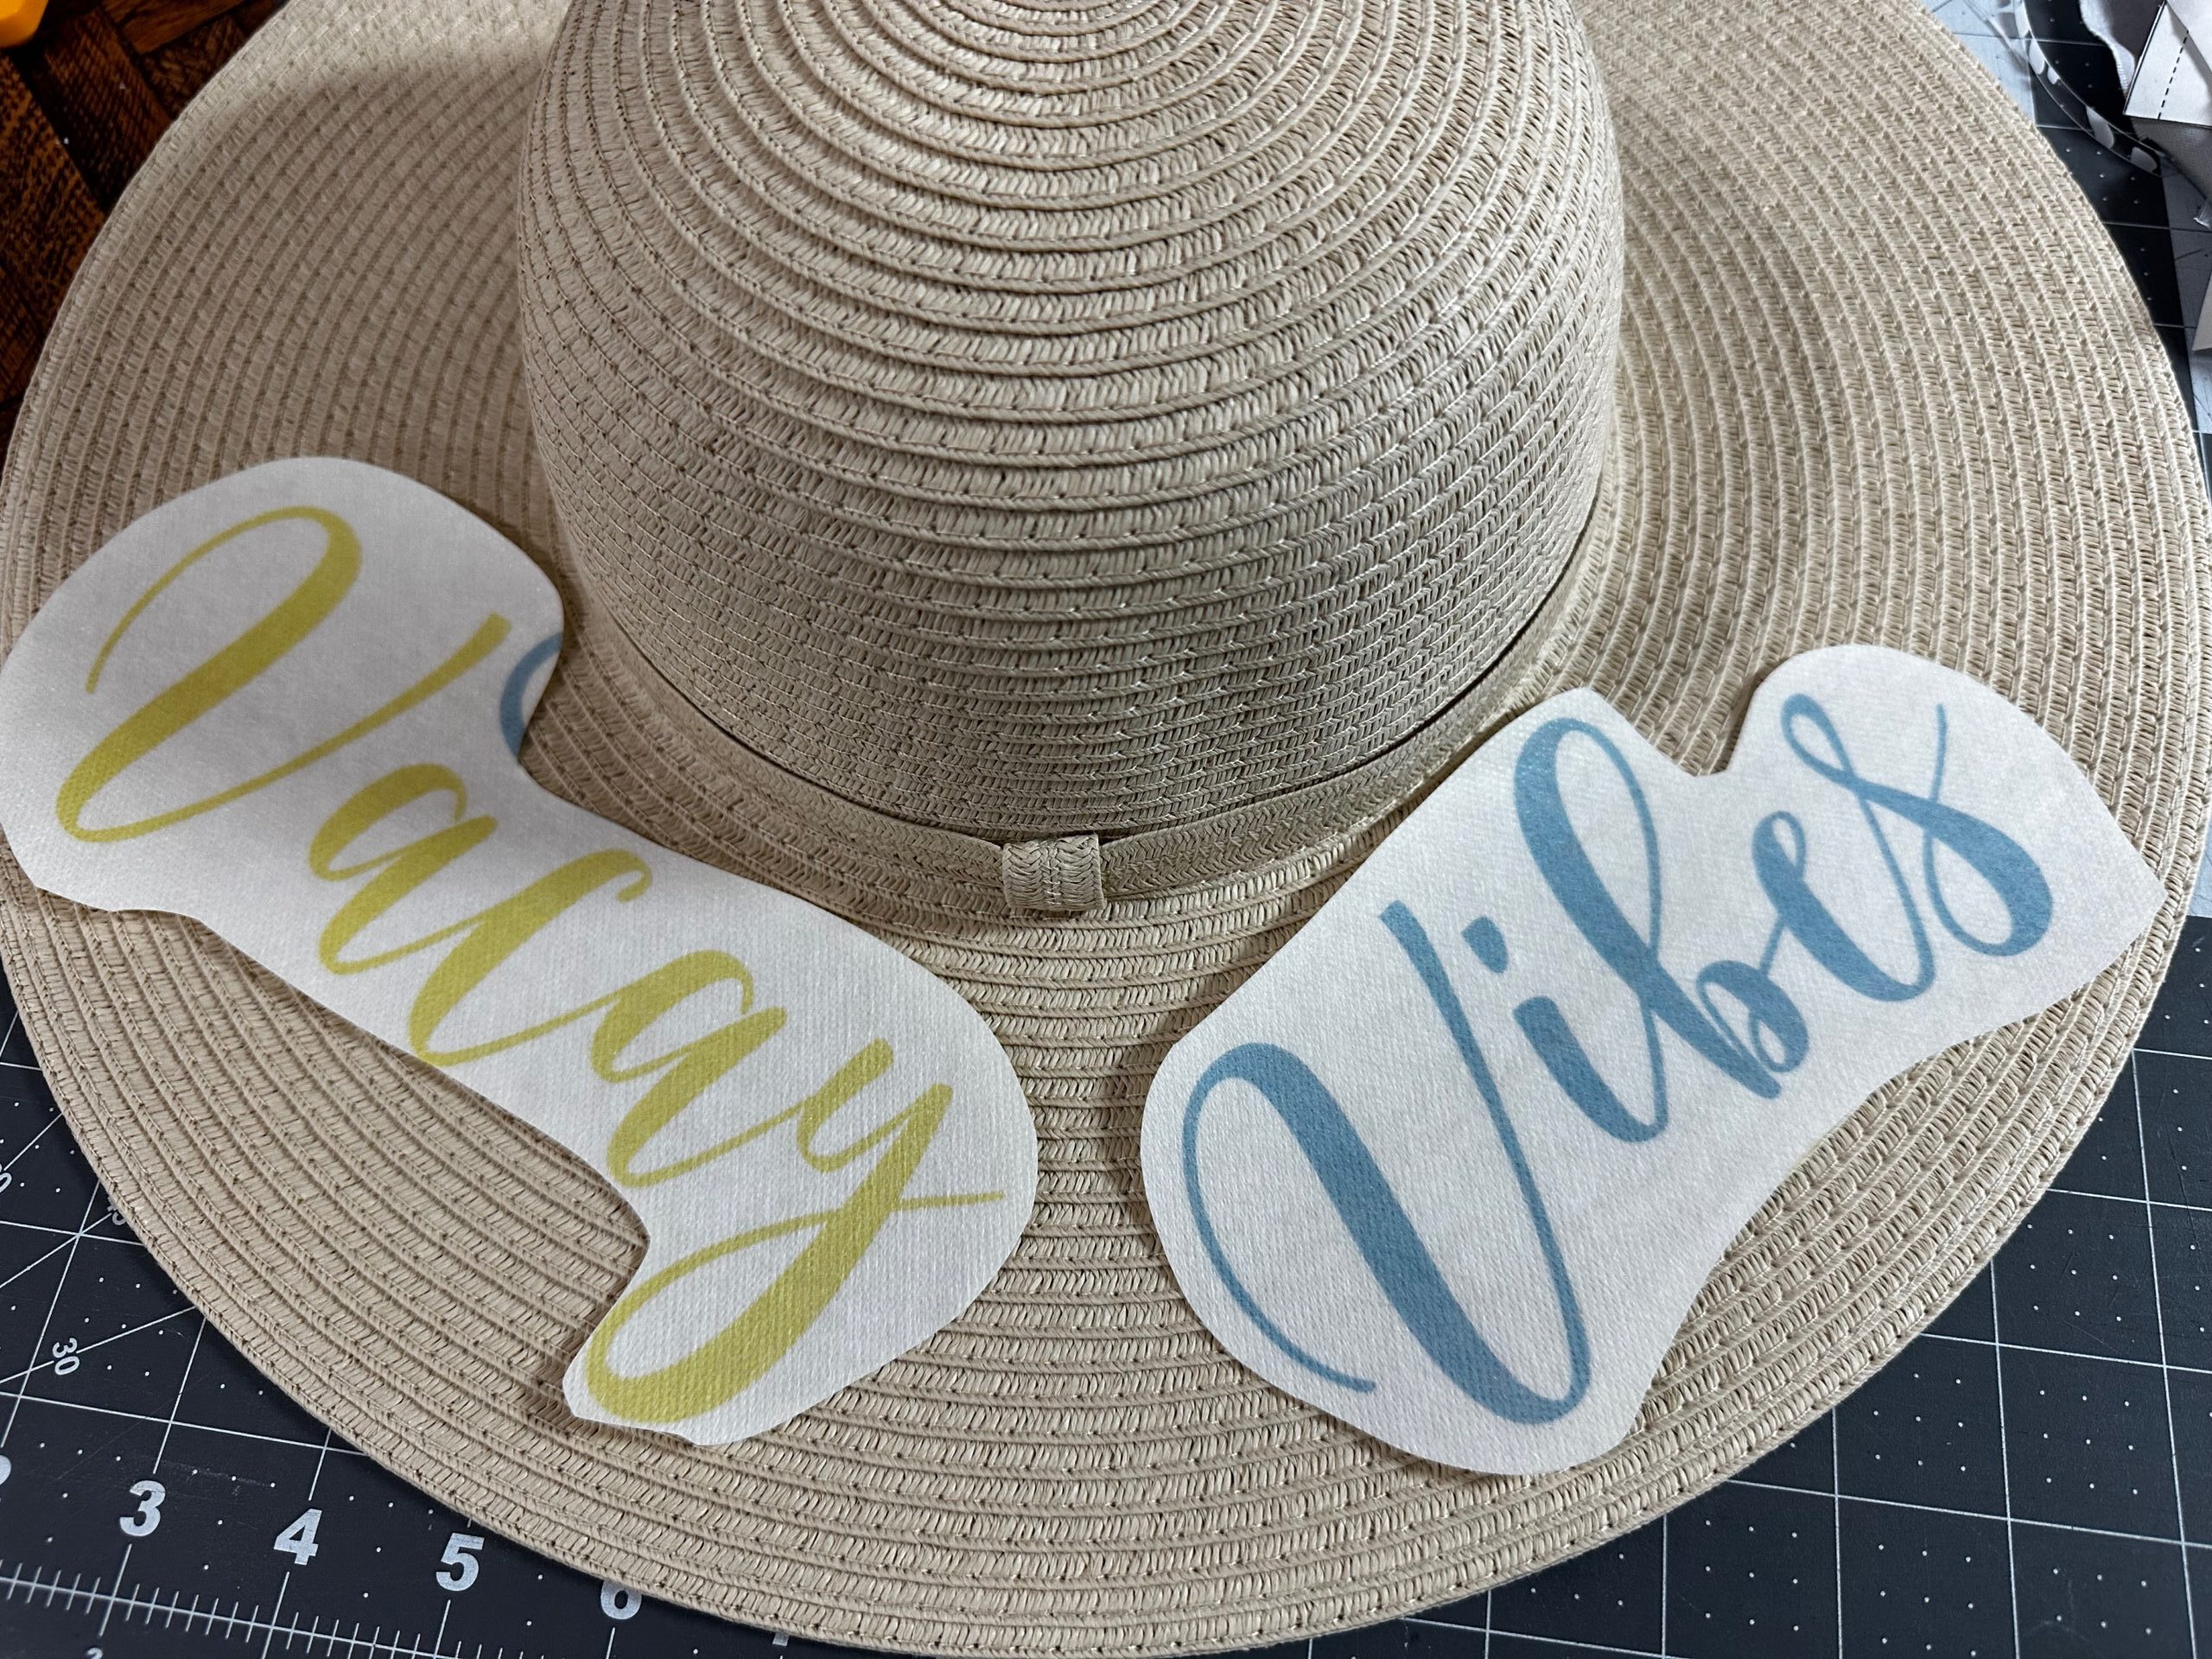
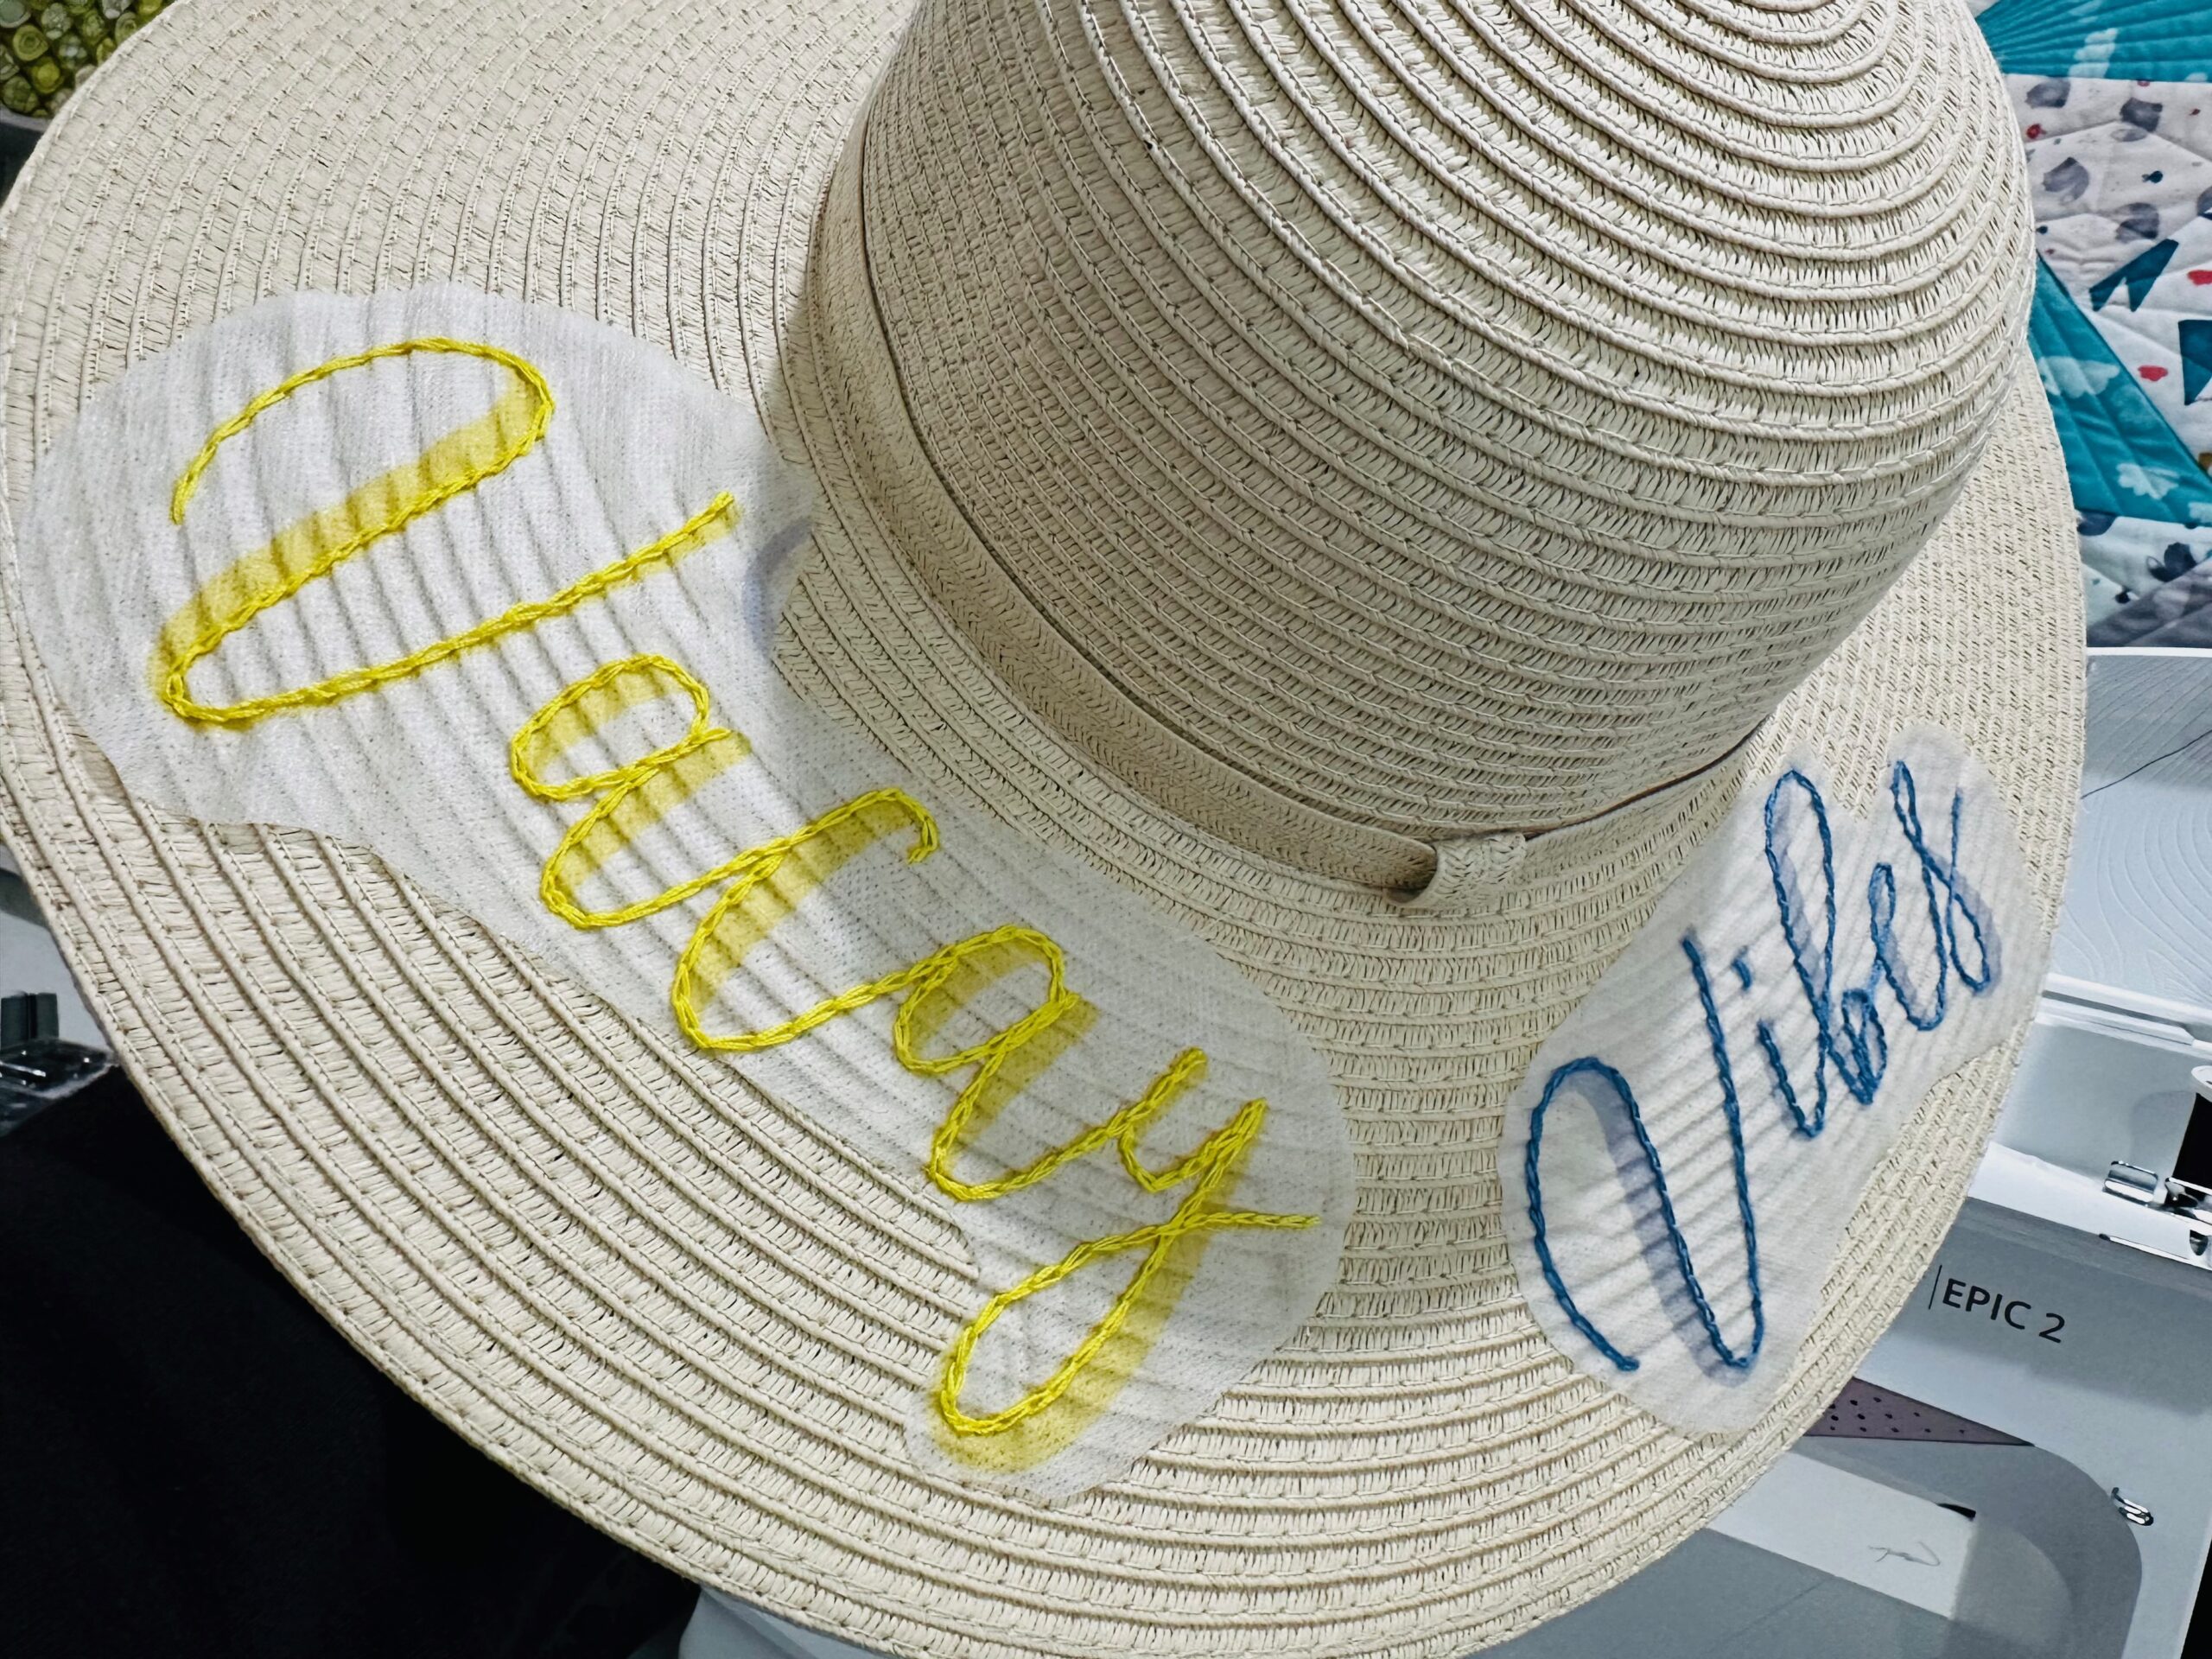
For the featured sunhat, the phrase “Vacay Vibes” is used. Search the web for clipart in unique text treatments to find the font you love for your hat(s). Or write the name/phrase in a Word document, and then play around with available fonts and font sizes to find the one that you like best. This design below was found in Canva and only the words were used for the sunhat embroidery.

Size the font/design appropriately so it fits along the hat brim. First, measure the brim width and subtract about 1″ so there’s a nice border beyond both the upper and lower edges of the lettering design(s).
SUNHAT DESIGN TRANSFER
After deciding on the design, it’s time to transfer it to the hat. Sulky Stick ‘n Stitch is the best choice for creating the design transfer because yoo don’t need to draw on the hat directly. The transfer washes away completely in warm, running water after the embroidery is complete, leaving no trace.
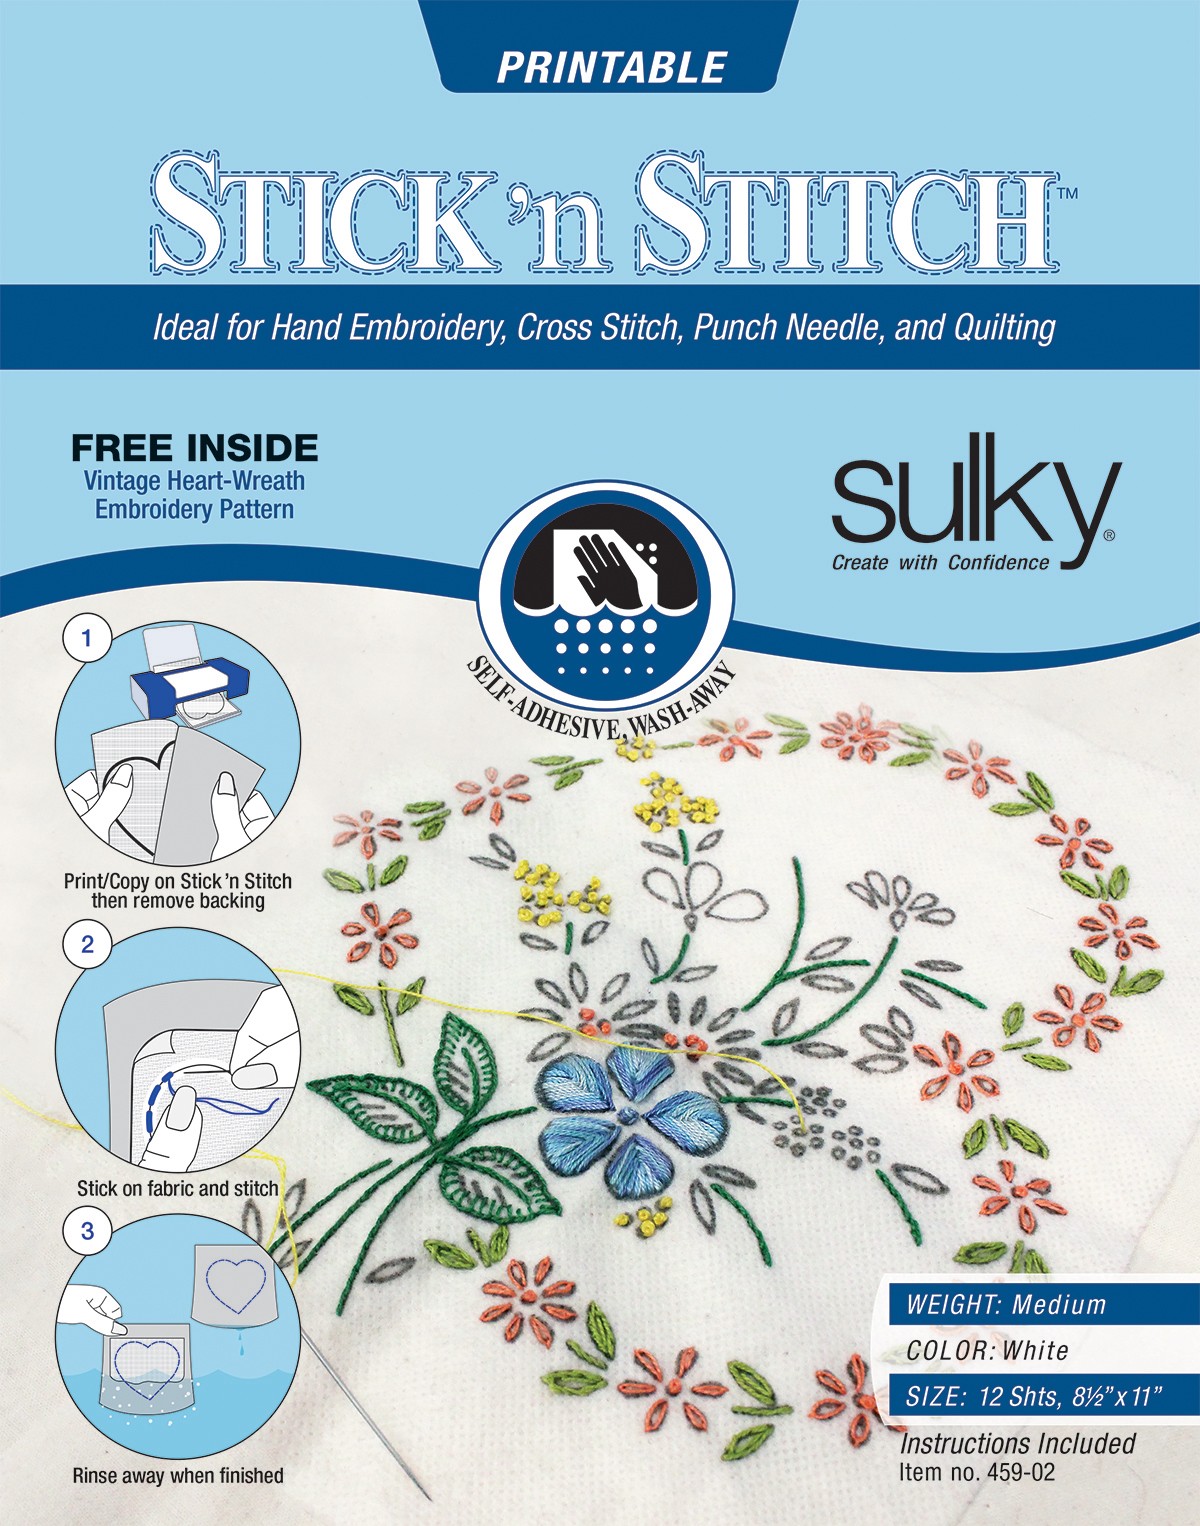
Print the chosen design onto a sheet of Stick ‘n Stitch. Make sure to print on the fabric-like side and set the printer to “draft” or the lowest ink setting. You may need to print the phrase on multiple sheets, depending on the lettering/word length and size. If desired, print the design in black-and-white, instead of color. Or print in color to give yourself a visual clue for when/where to change thread colors during embroidery.
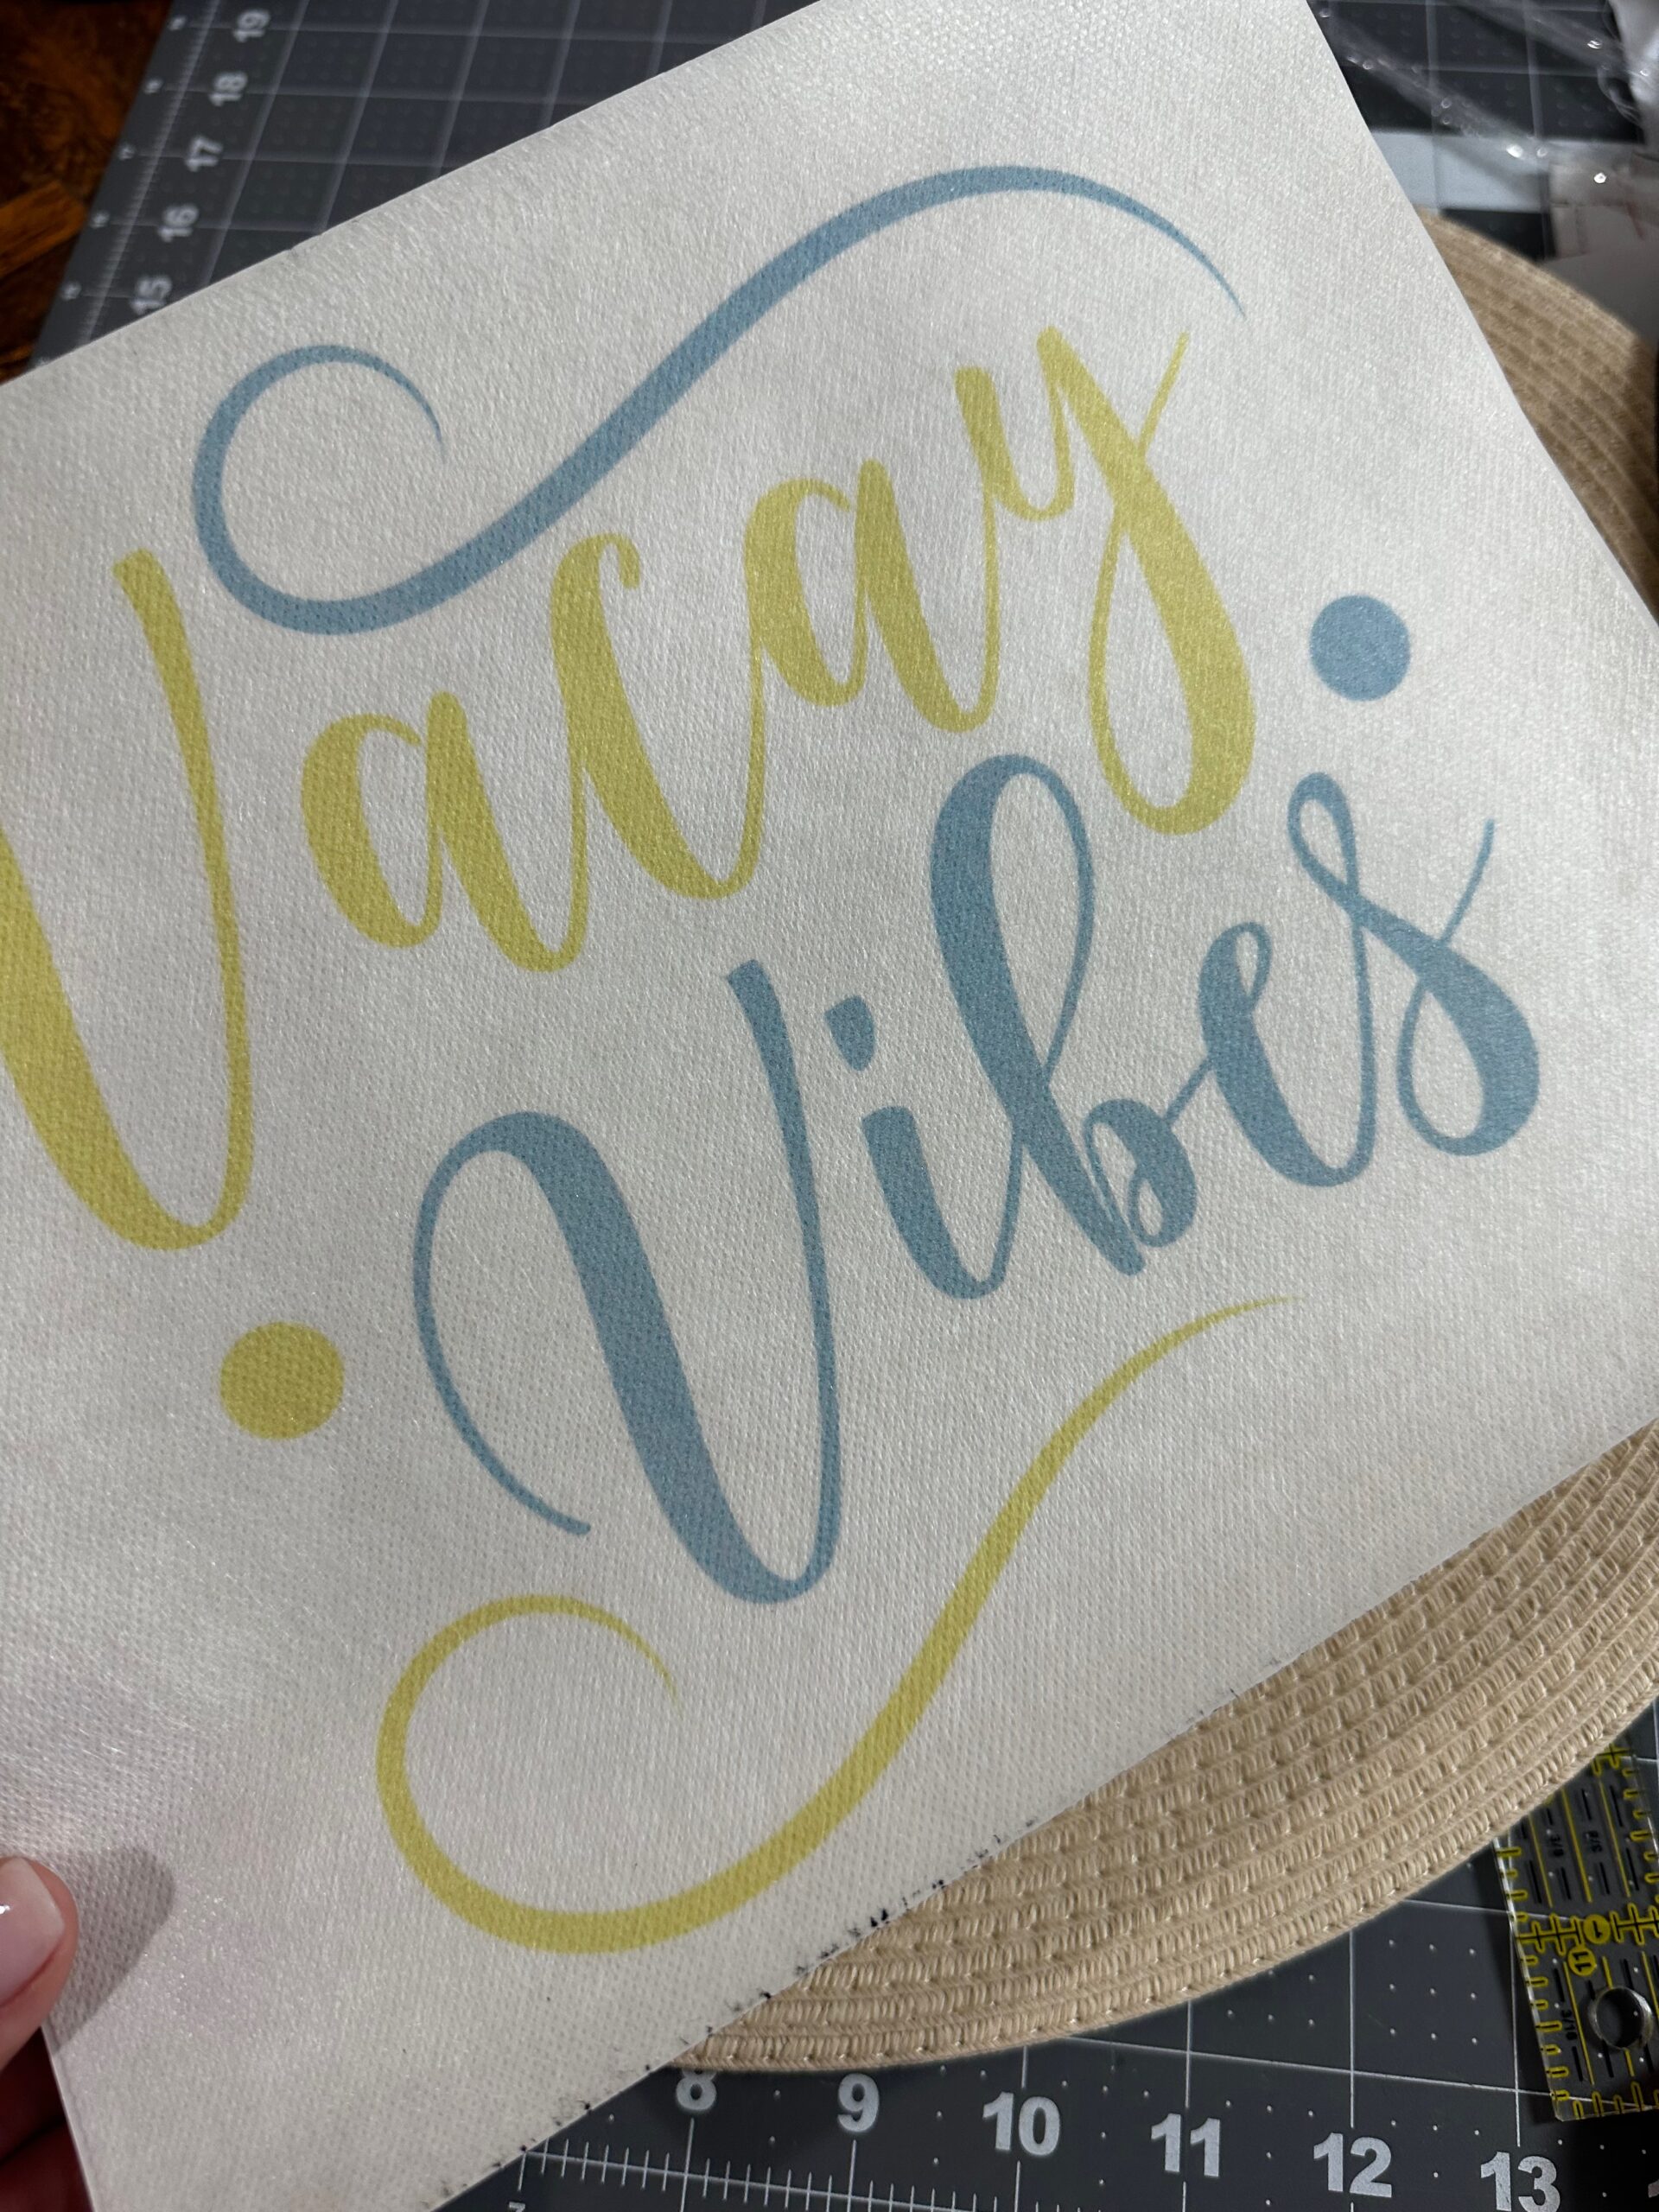
Trim the lettering design slightly beyond the word perimeter. If using multiple words, cut them out as separate transfers to easily position them nicely on the sunhat brim. Audition the design transfers onto the sunhat until the desired placement is achieved.
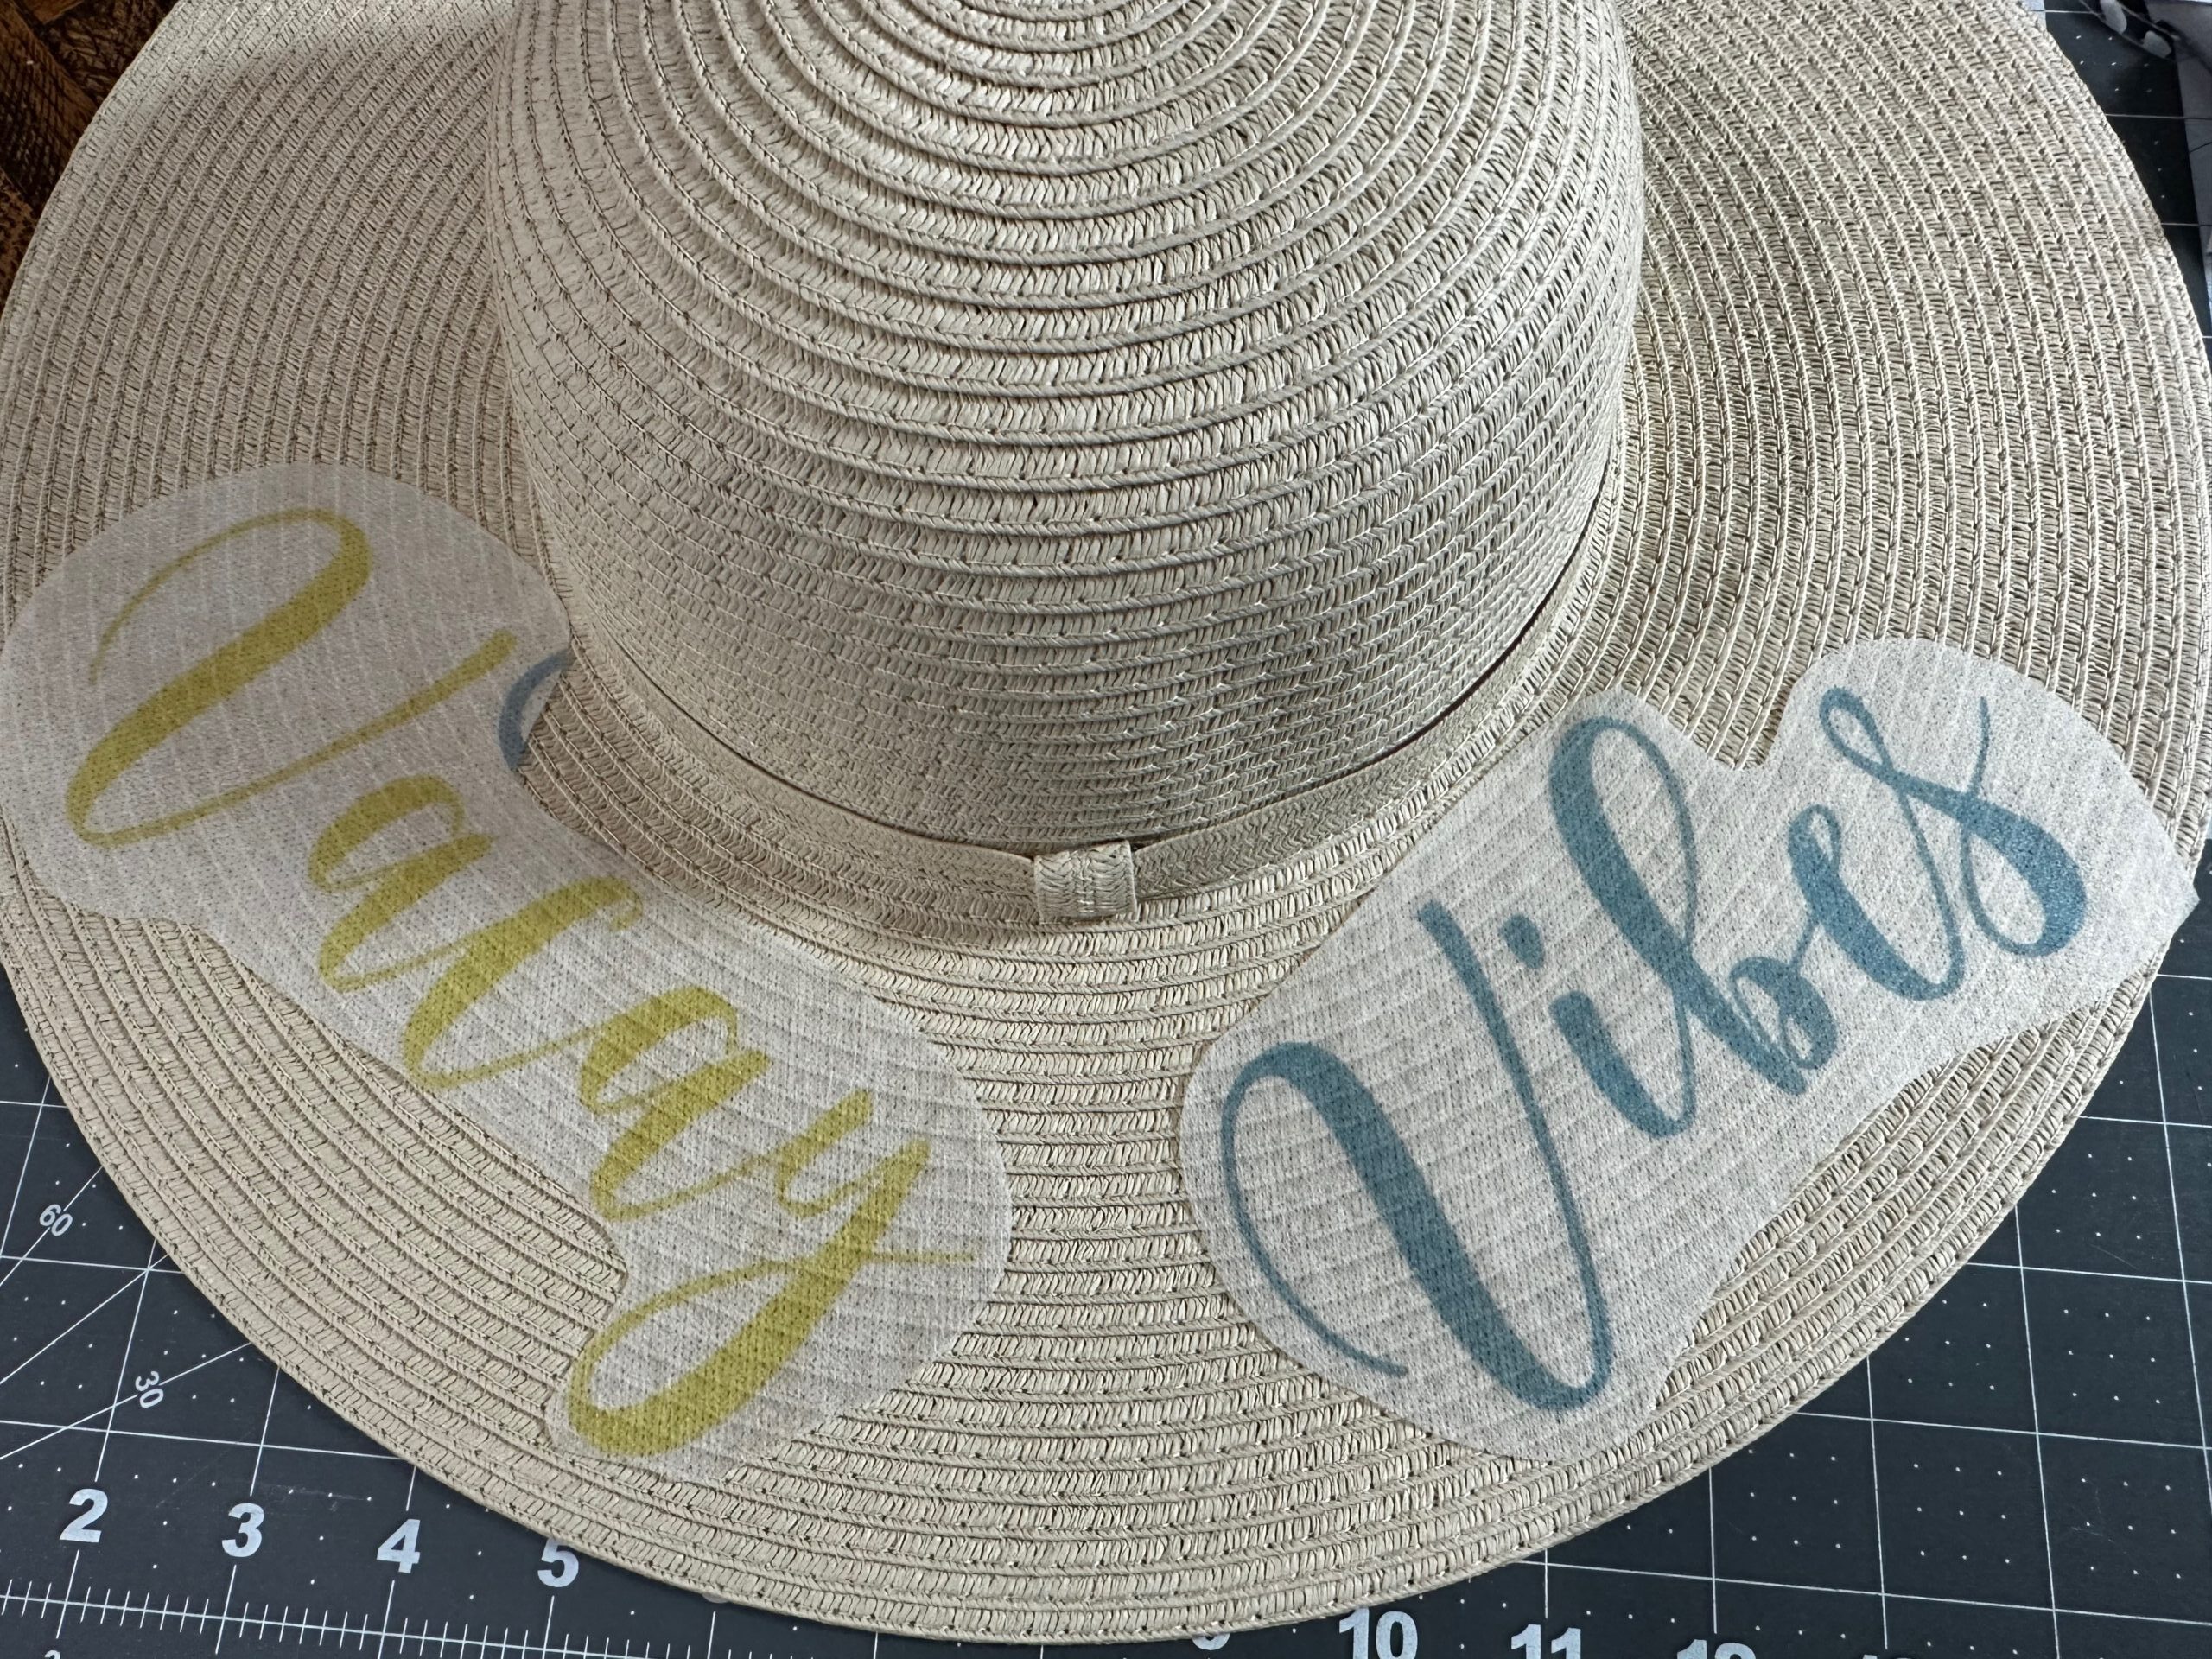
Then, remove the paper backing from the transfer(s).

Next, stick the transfers to the sunhat brim where desired.
EMBROIDER THE SUNHAT
Choose the desired colors of Sulky 12 wt. Cotton Petites Thread for the design.
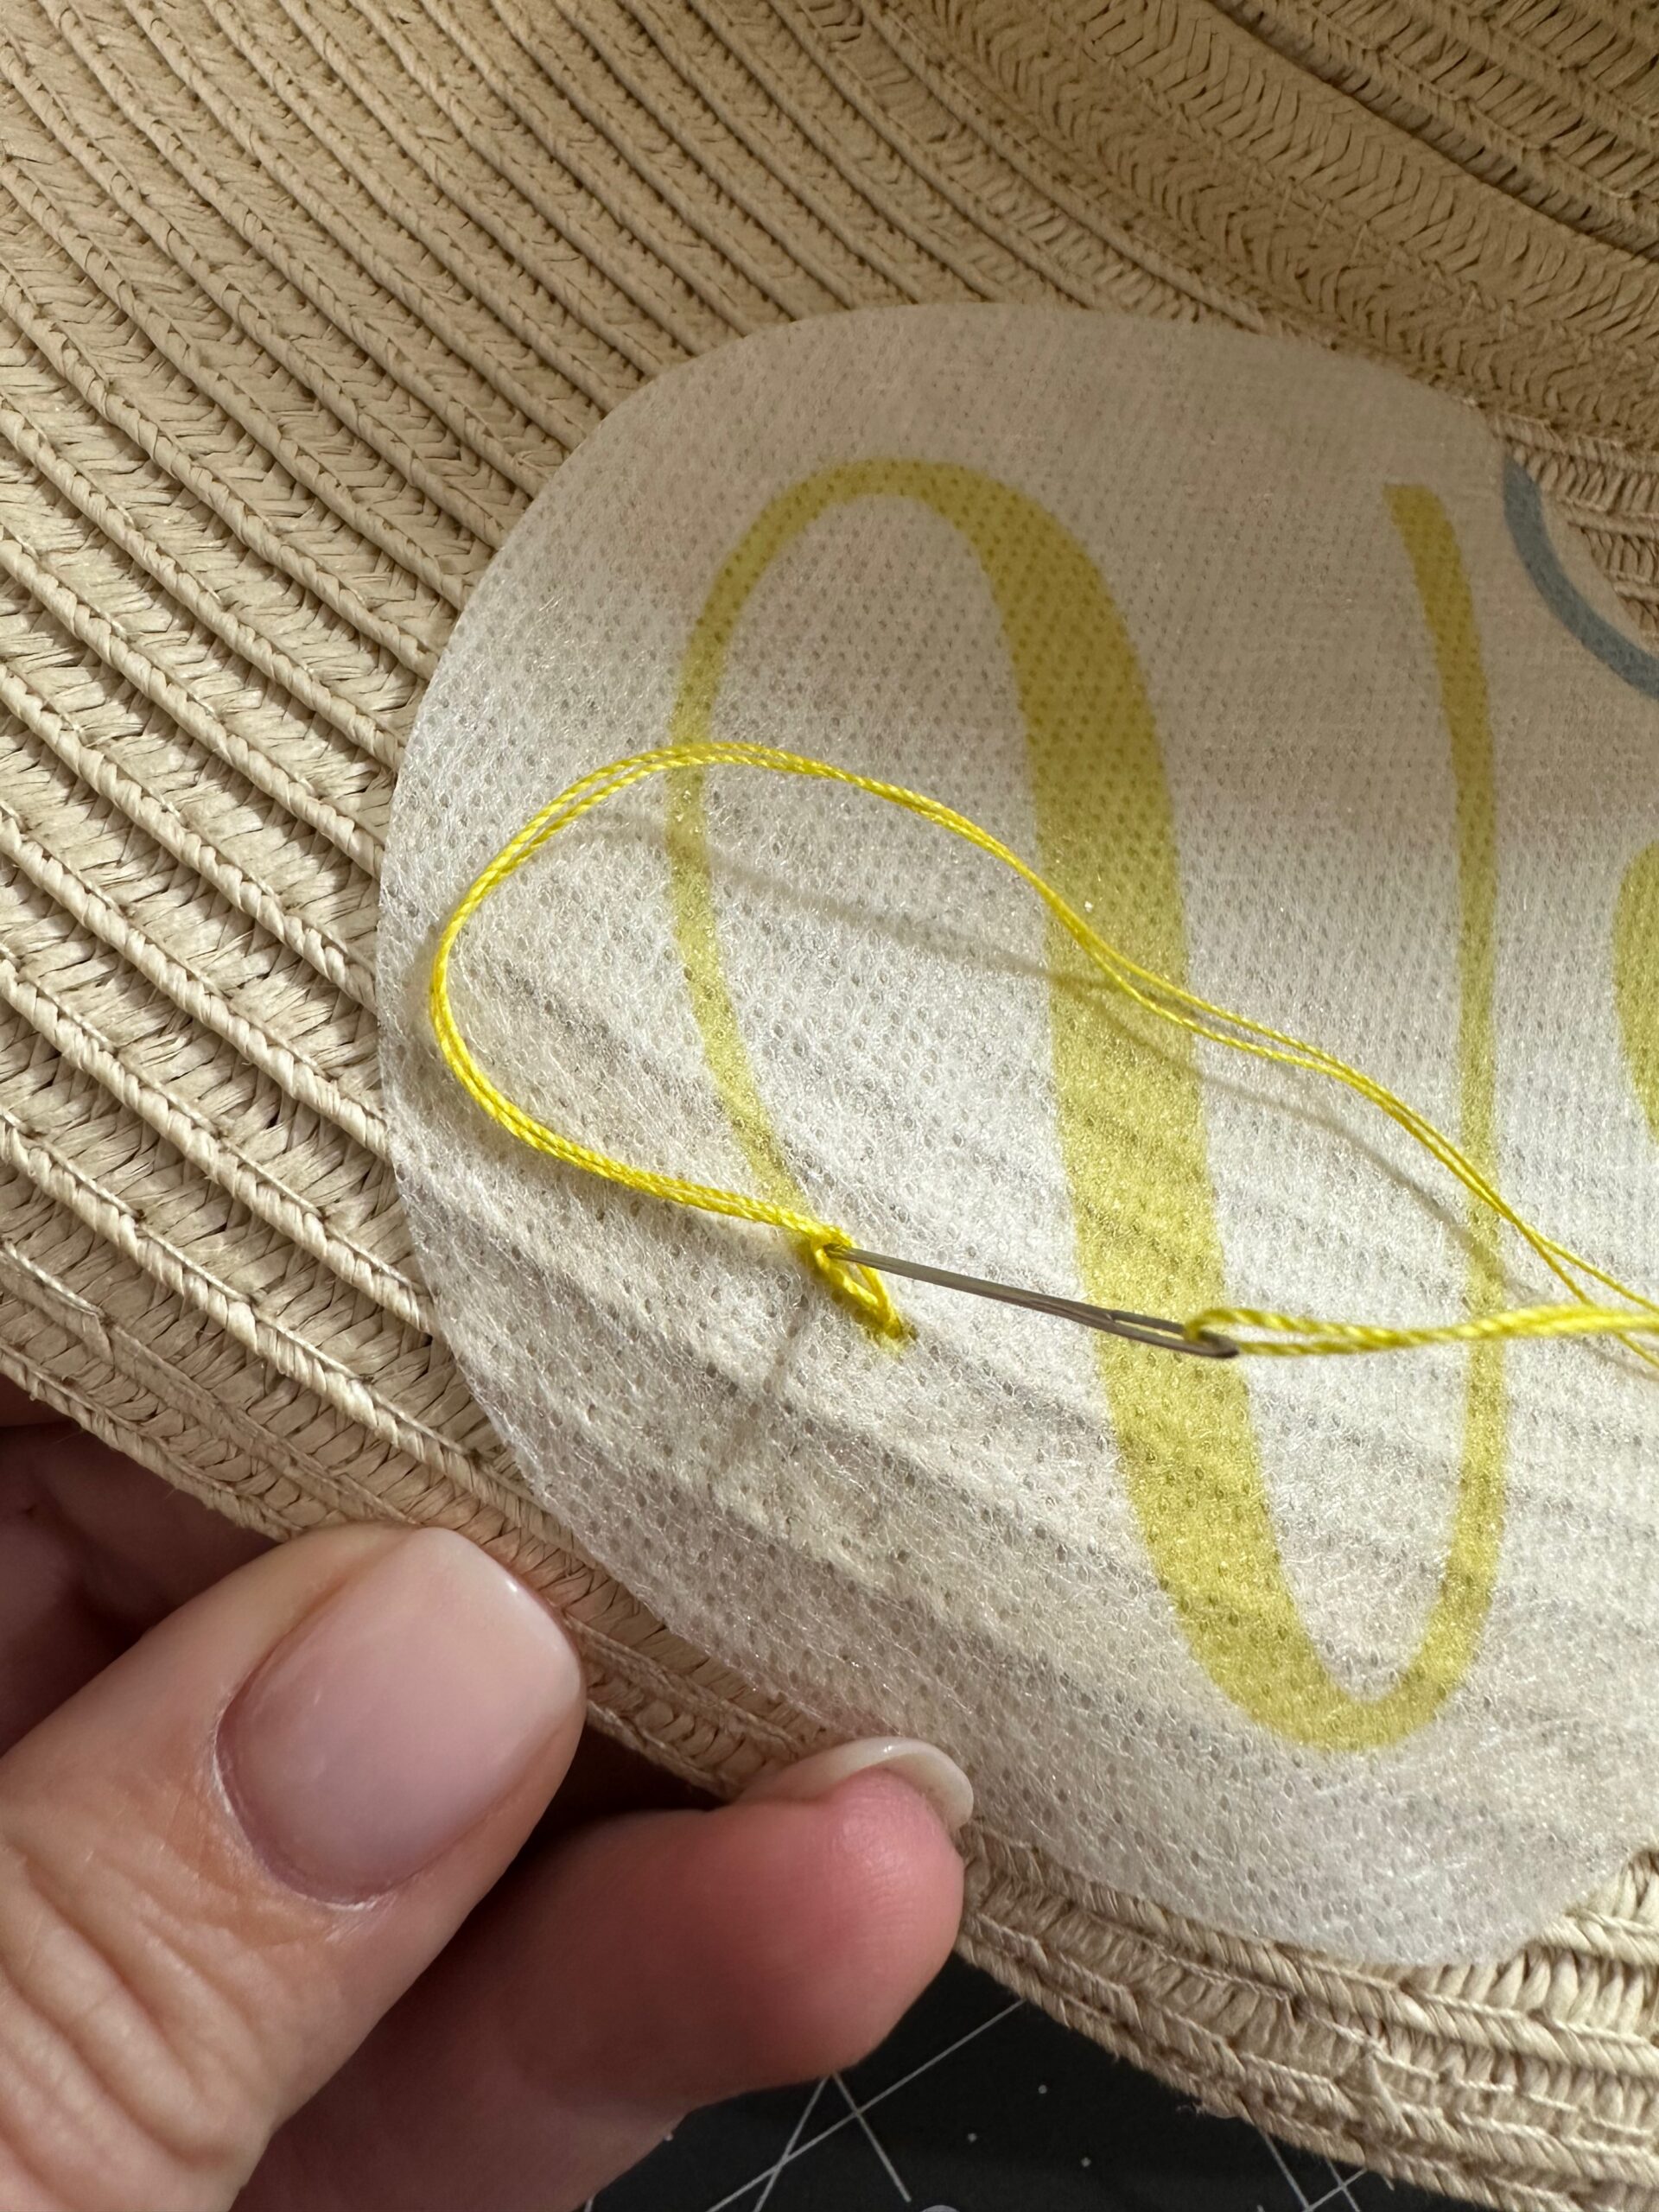
One strand of this thread is equal to two strands of traditional embroidery floss. So, you get great coverage with just one strand. For the featured design, two strands are used for the chain stitching for even thicker coverage. To begin the embroidery, thread a hand sewing needle with as many strands of thread as you like. Either knot the thread end or plan to weave the thread tail in through the stitching on the sunhat wrong side after the embroidery is complete.
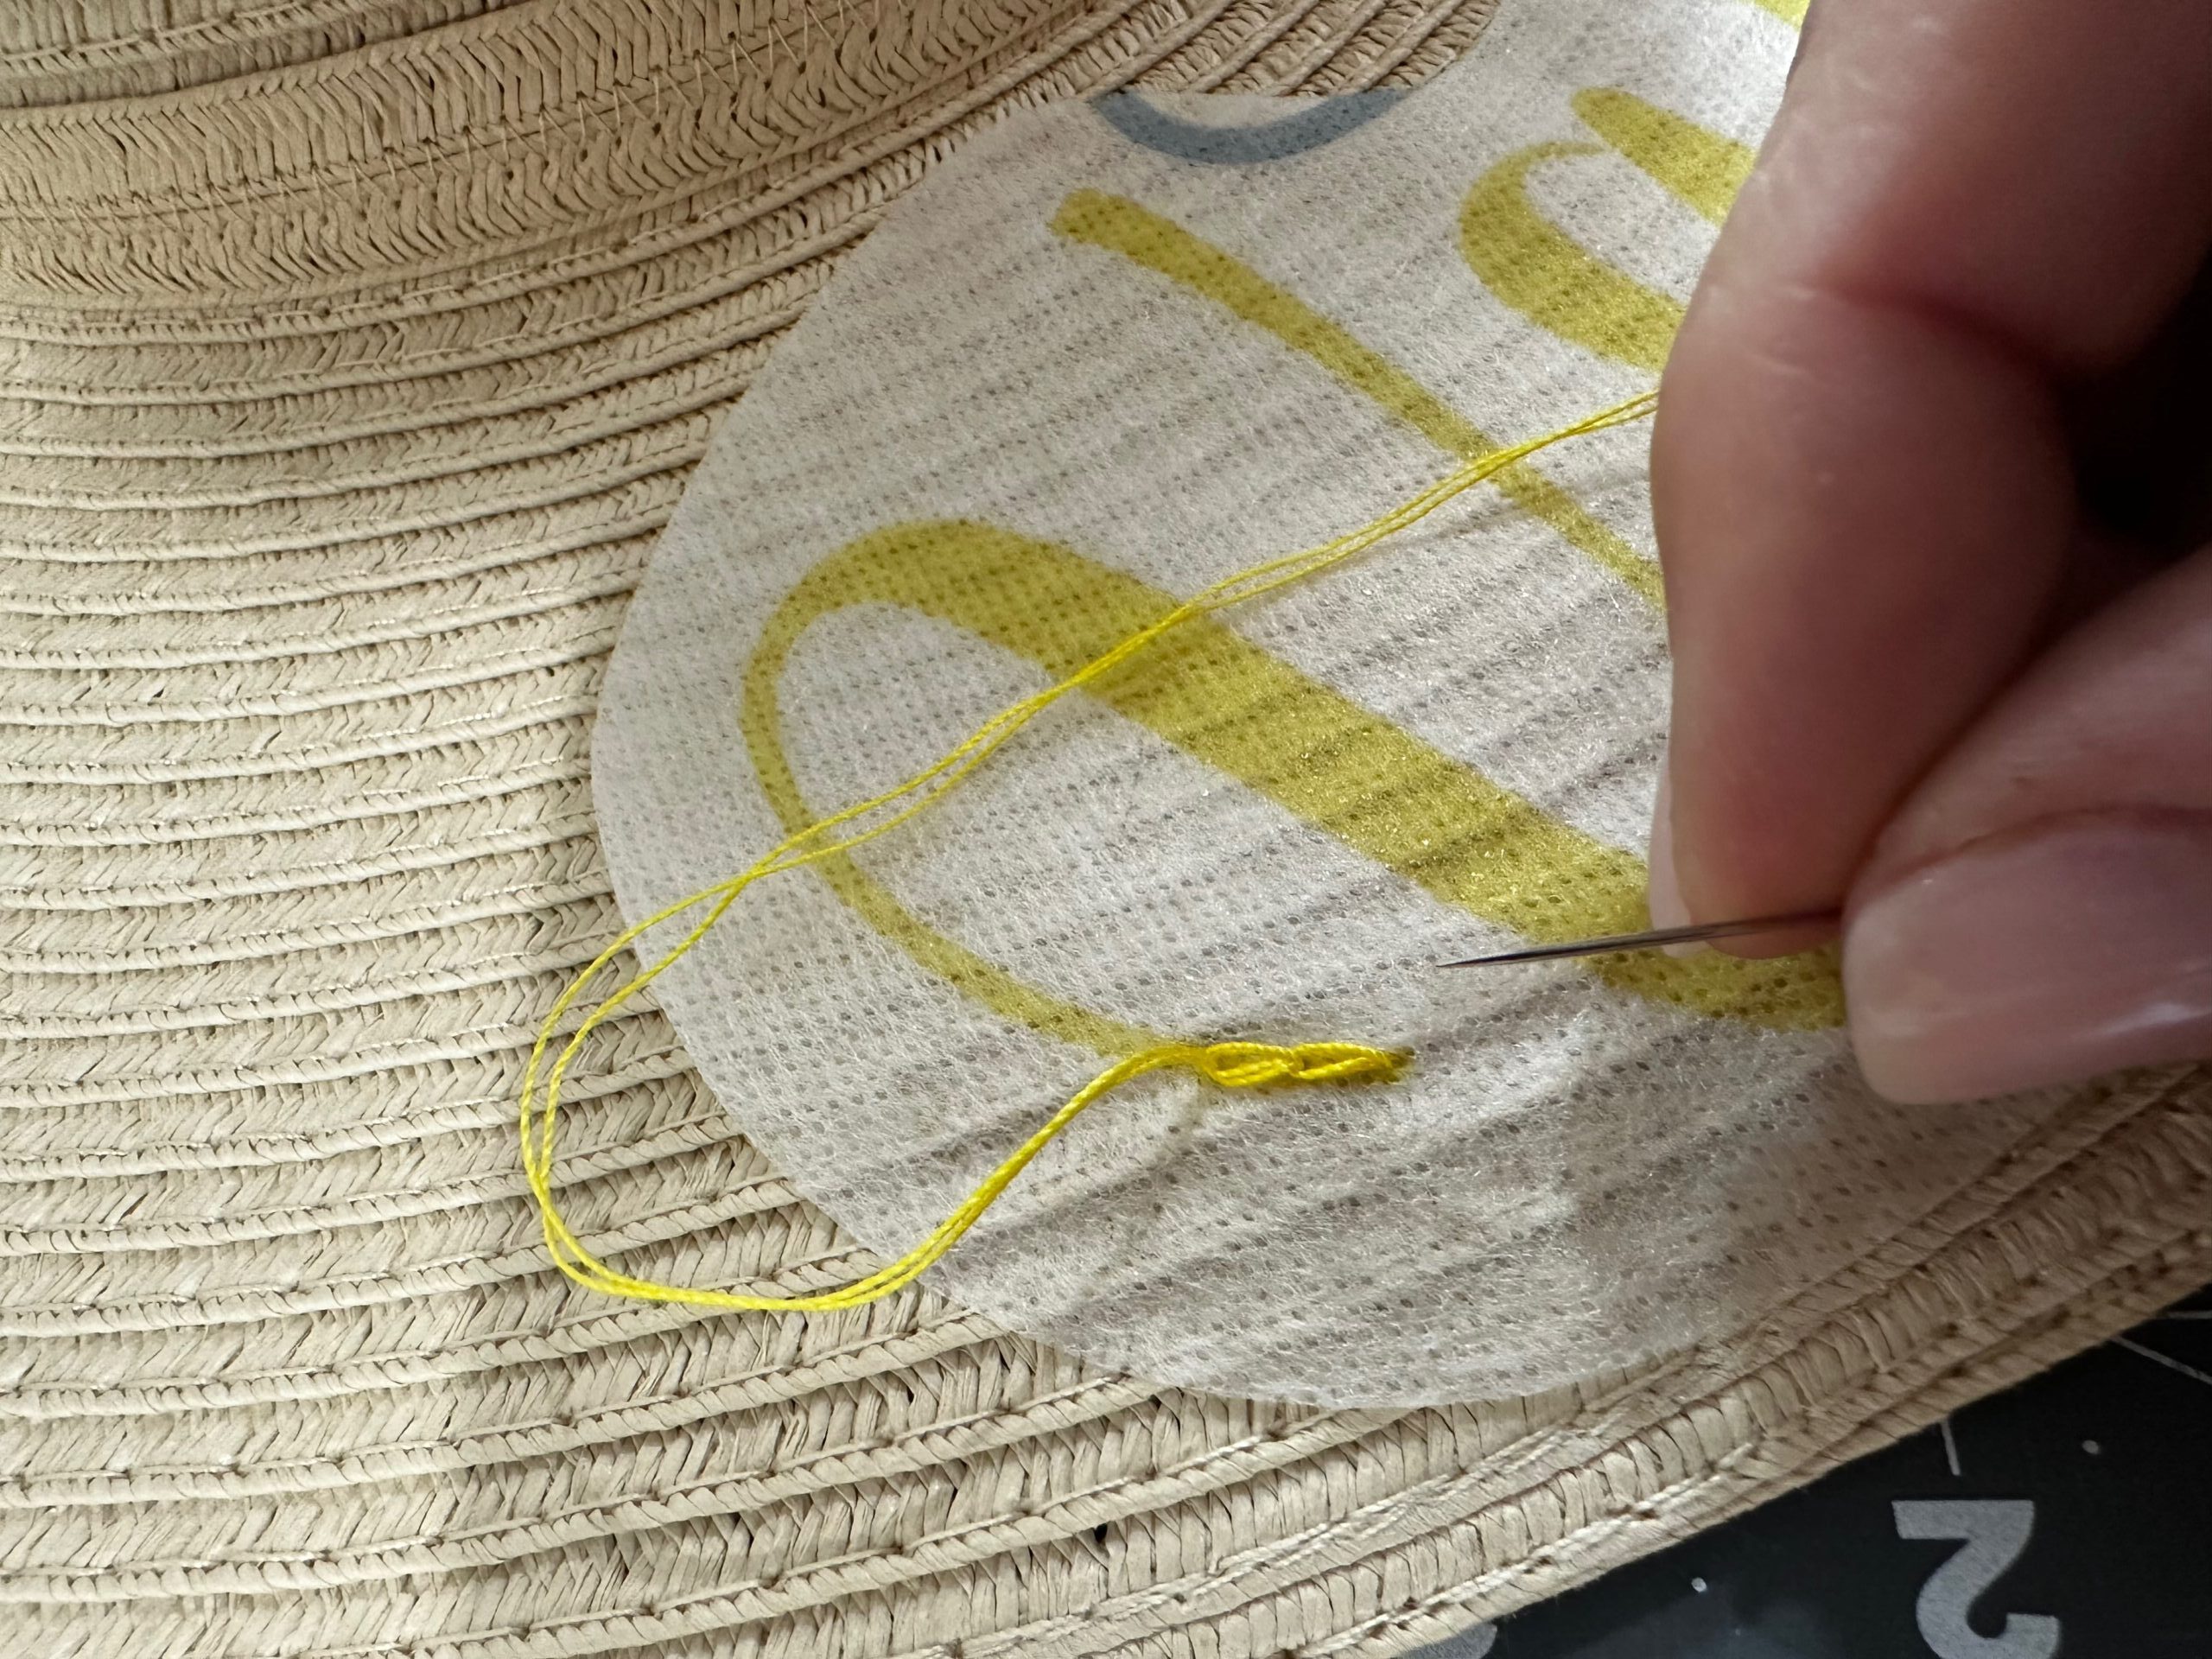
To stitch a chain stitch, first bring the needle up through the hat from the wrong side. Create a loop, and then push the needle back through the hat right next to where it just came out. Hold the loop with your non-dominant finger while bringing the needle up through the sunhat brim about ¼” away from where you began. Insert the needle through the loop. You may need to wiggle the needle through the sunhat fibers, finding a “hole” or open area for the needle to fit through. Don’t force it or you may create a permanent hole/tear in the hat.
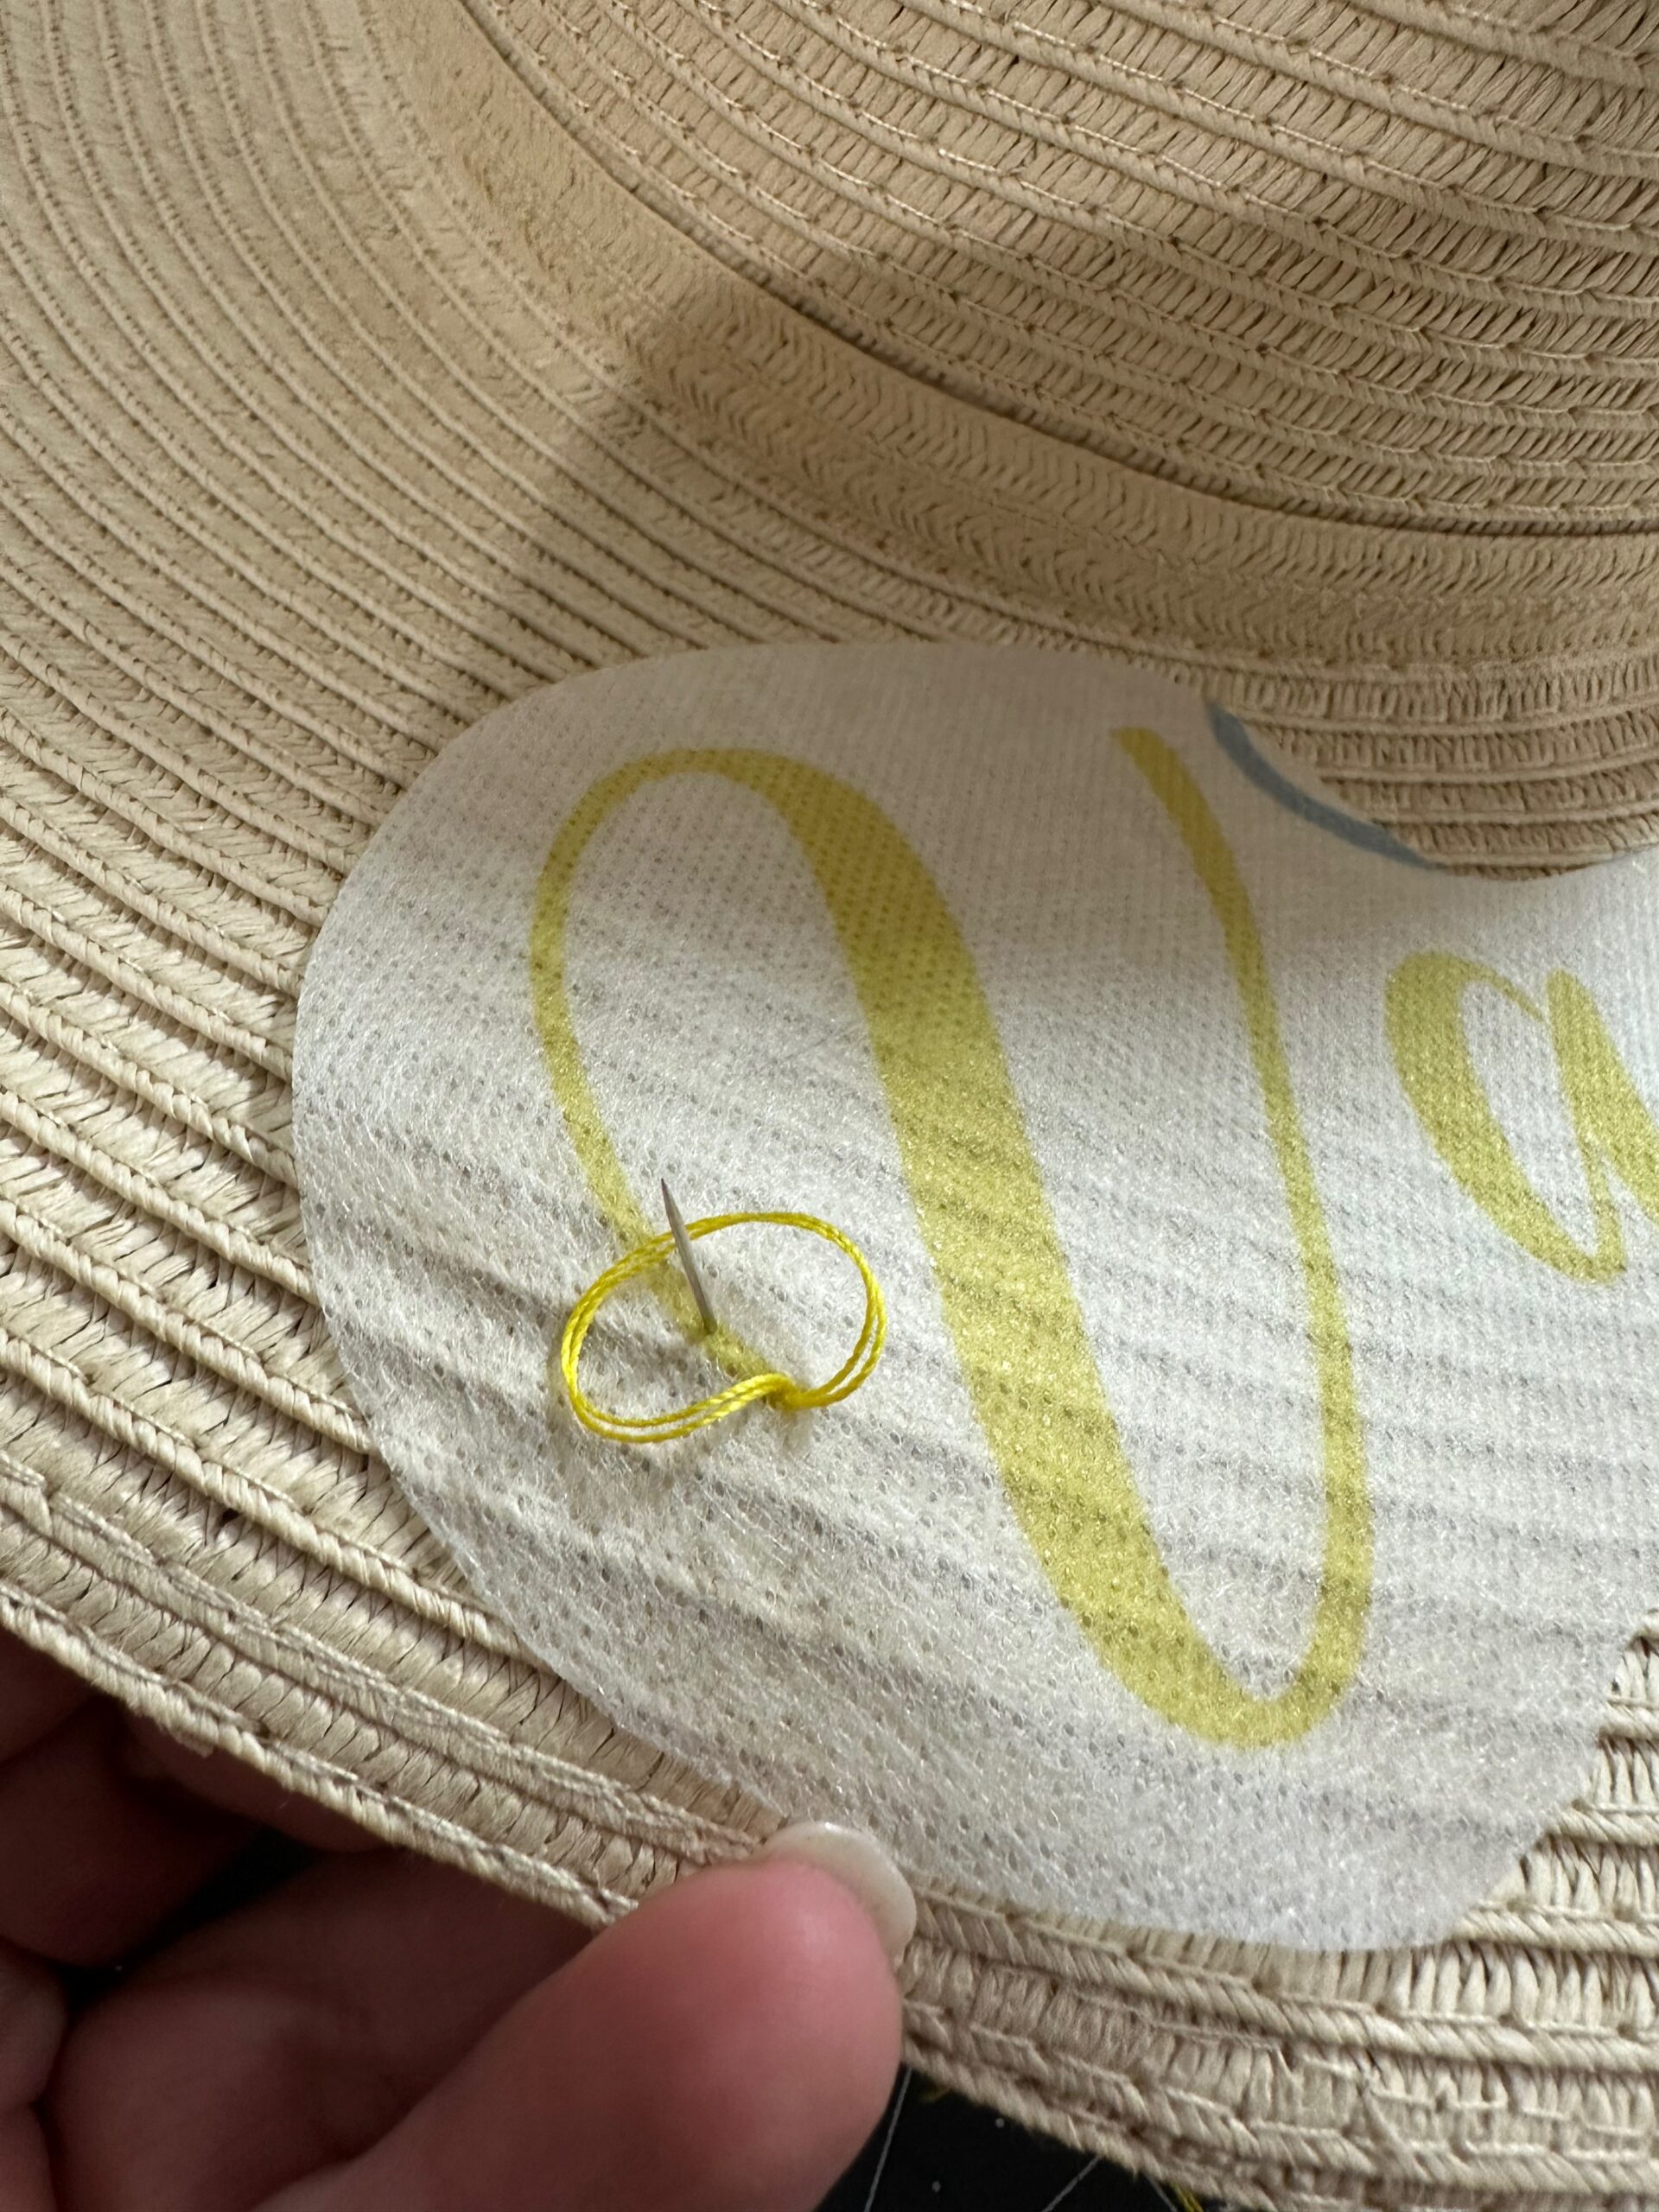
Next, pull the needle through and tighten the thread against the loop. Continue to create another thread chain, placing the needle back through the sunhat next to where you just came up.
Continue stitching, following the design.
STITCHING TIPS
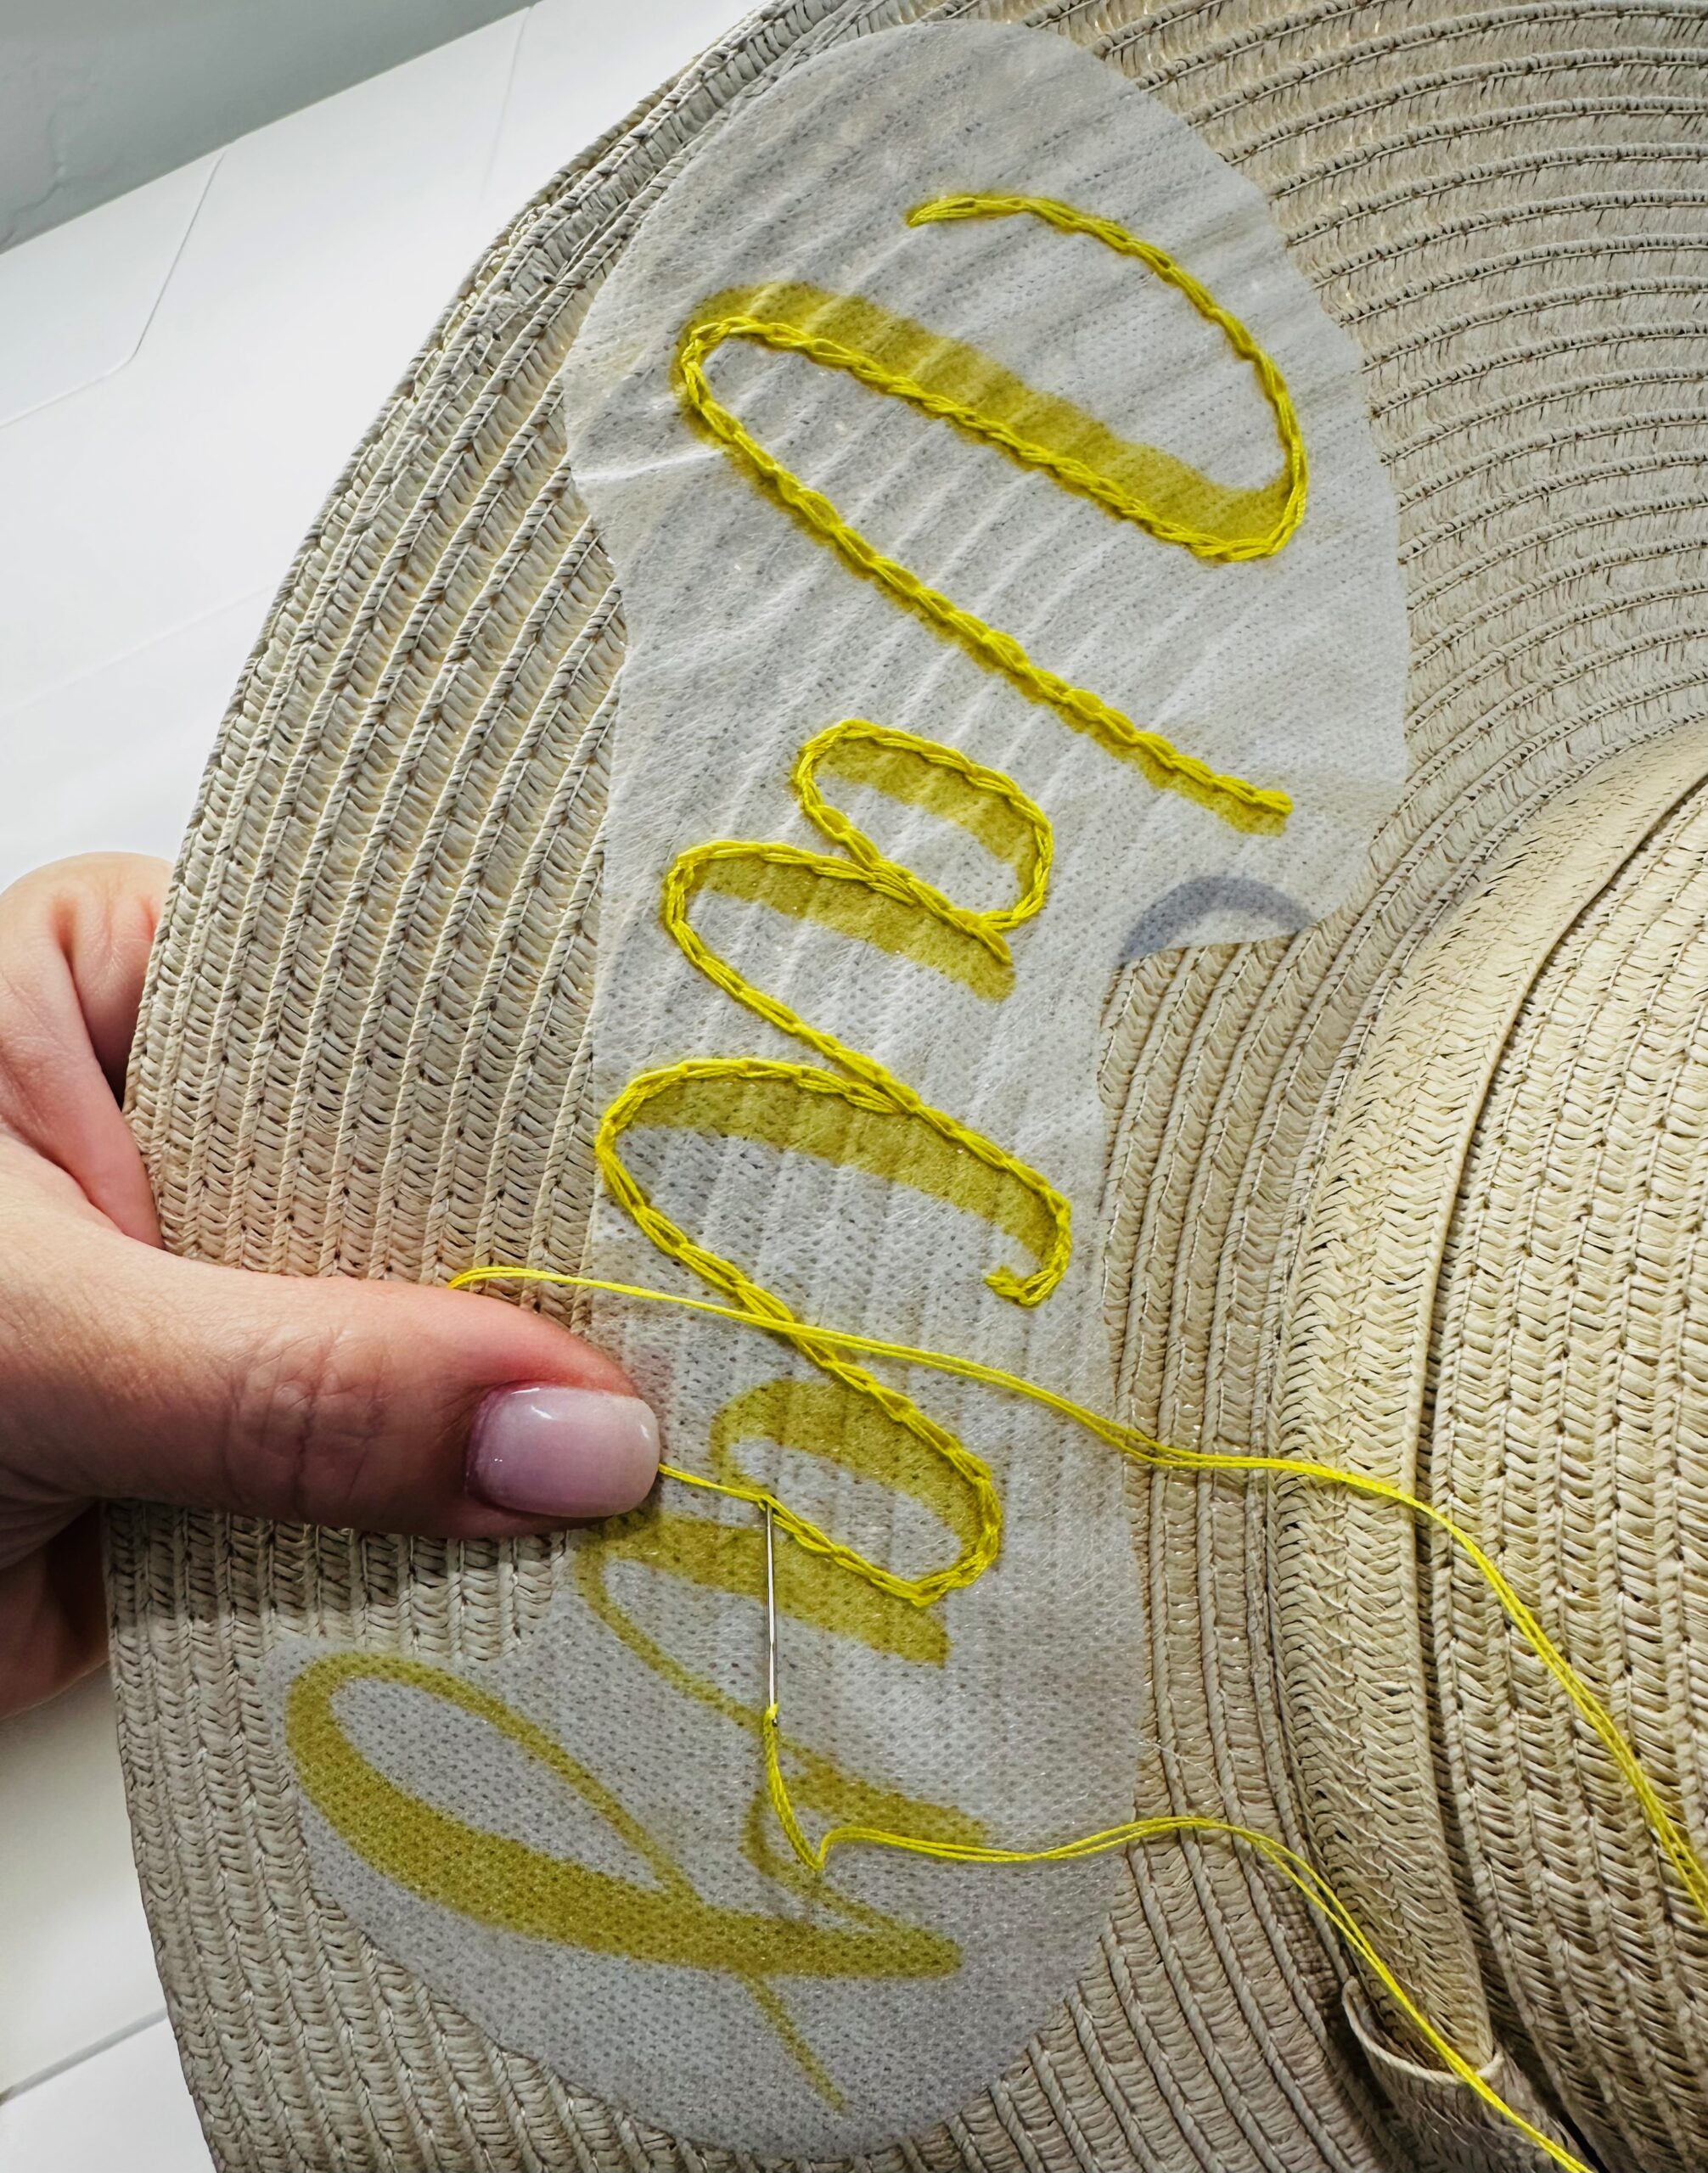
If using a thicker lettering weight than the chain stitch covers, either keep stitching along one side of the letter (as shown below) or fill in the entire letter using a different stitch, such as a satin stitch. Warning: the sunhat may be difficult to sew through in certain areas, depending on how it’s woven/manufactured. So you may want to steer clear of satin stitches!
After embroidering the design with one color, switch to another to add interest. Or keep the design monochromatic, depending on the desired finished look. You may want to add little flowers using a Lazy Daisy stitch or French knots around the lettering for more embellishment.
SUNHAT FINISHING
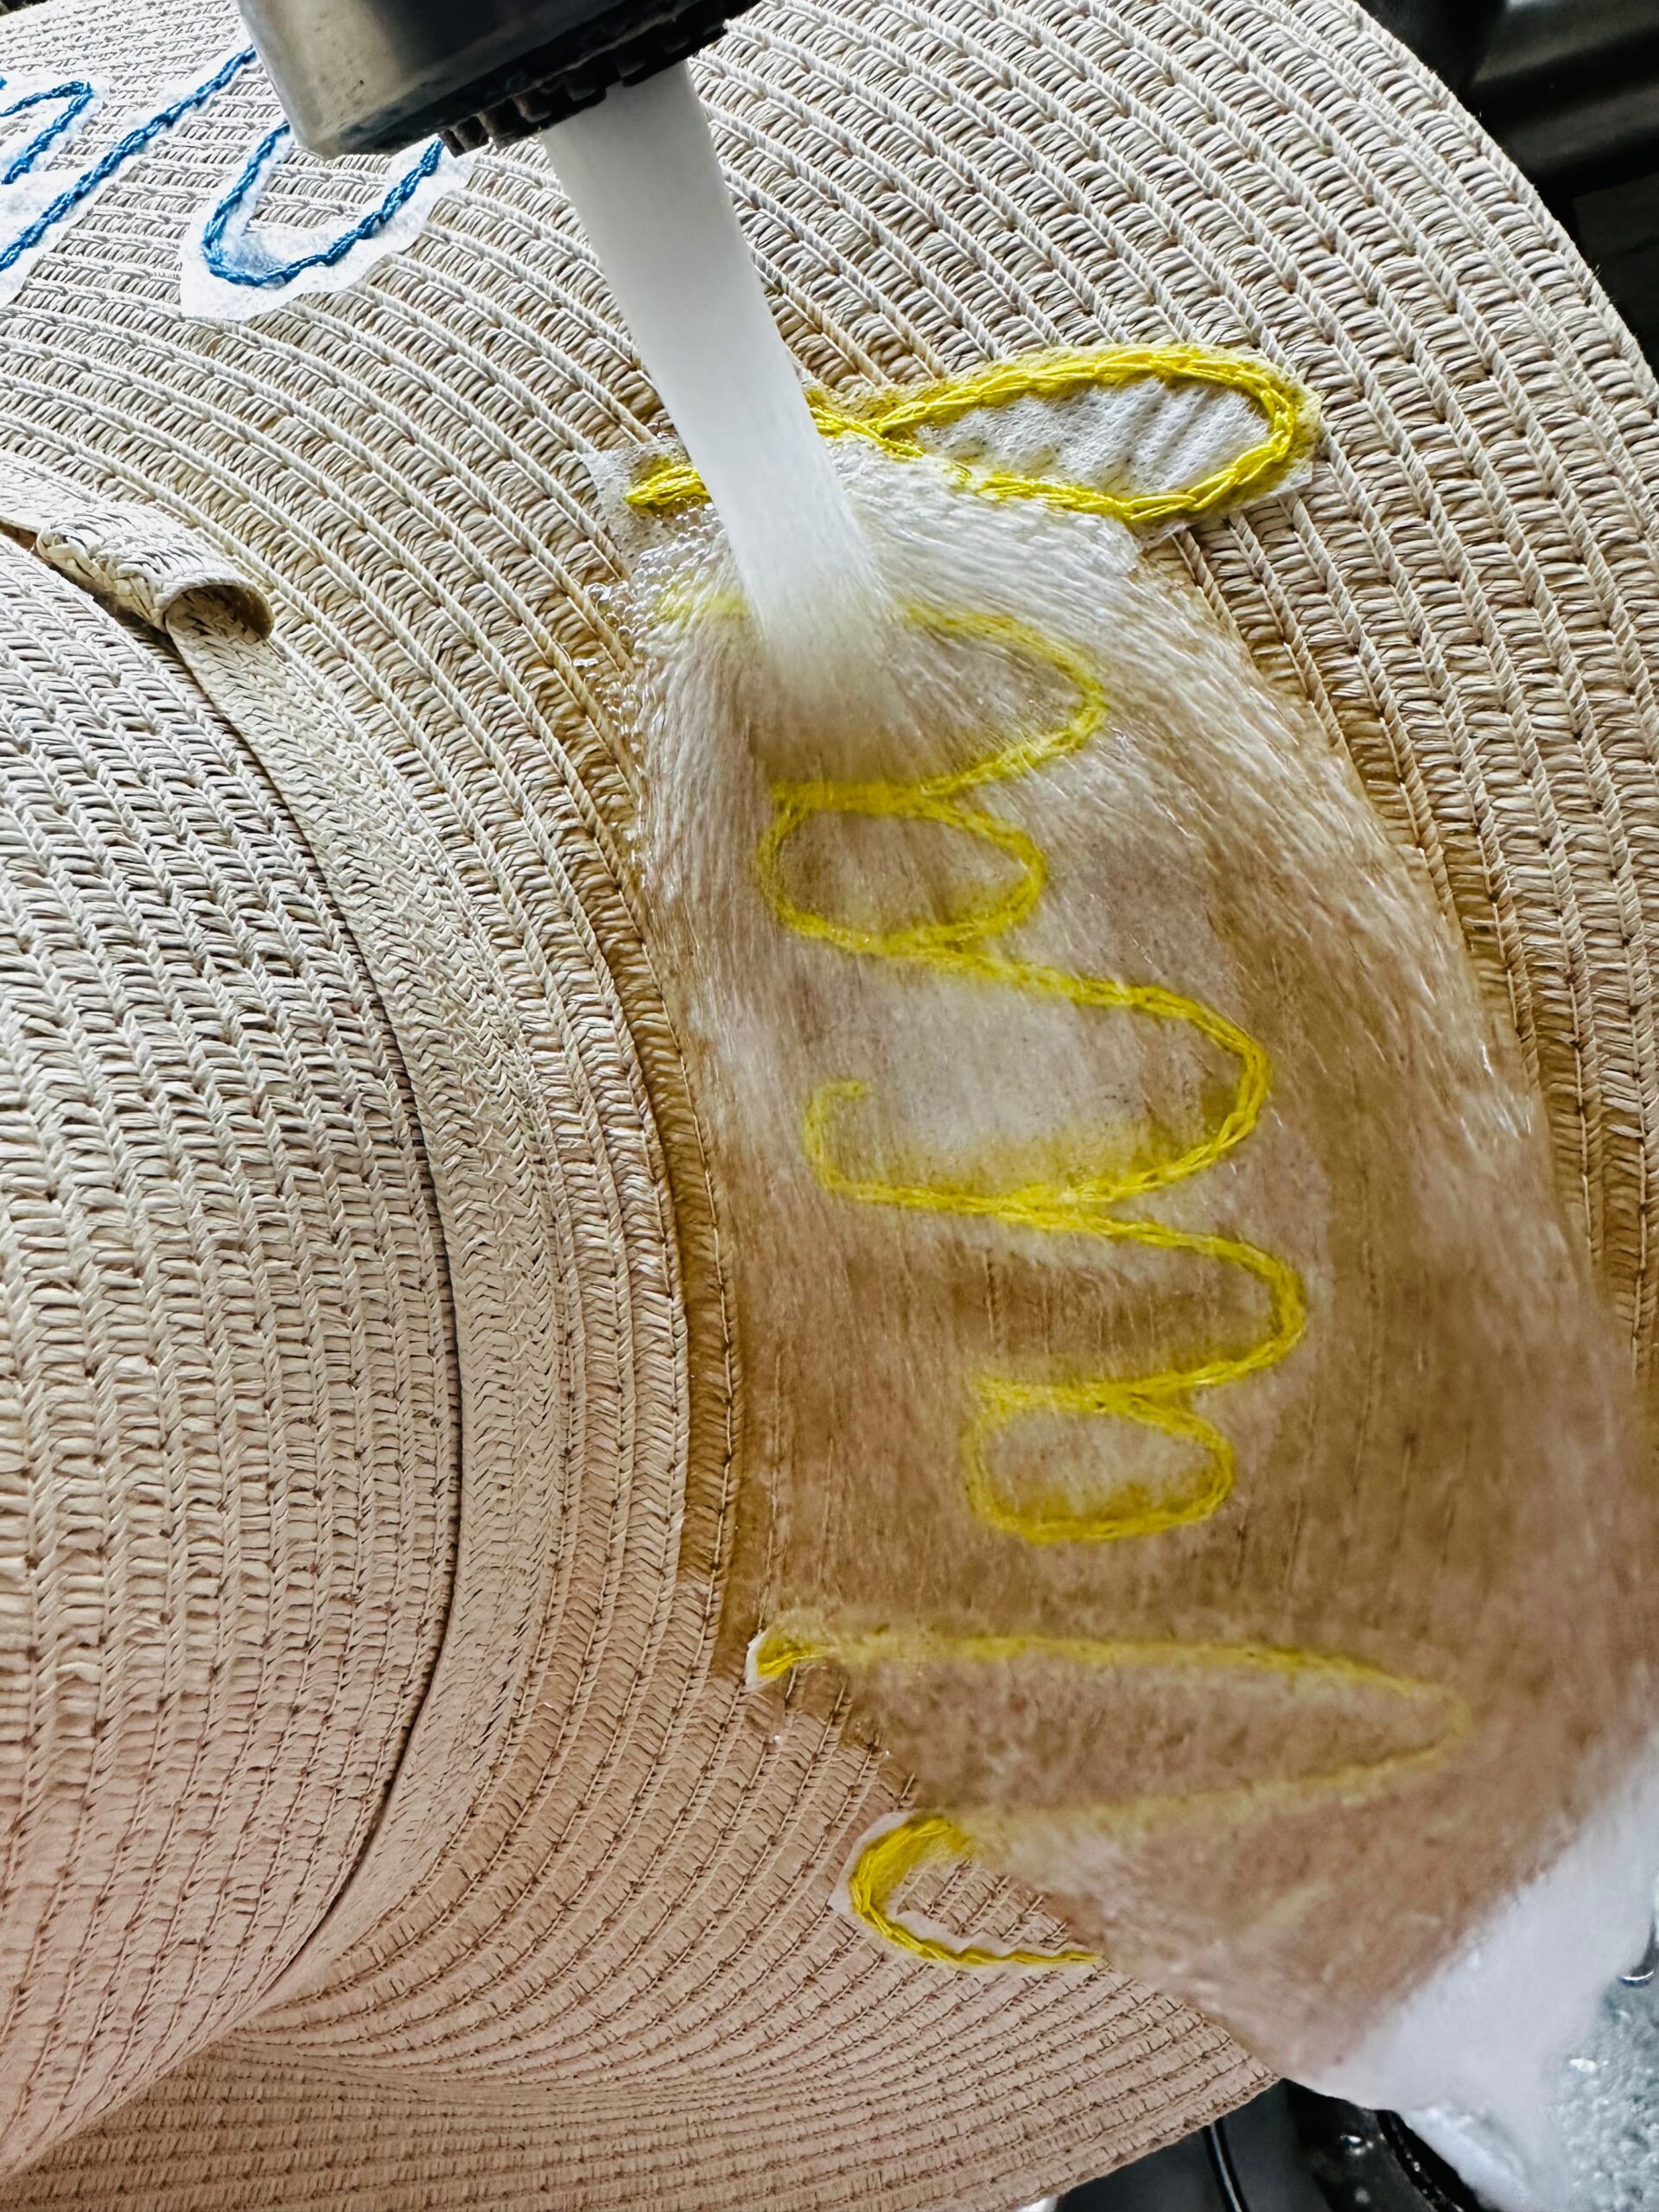
When the embroidery is complete, it’s time to remove the stabilizer. First, trim away as much of the stabilizer as you can or as you want. Gently peel it up beyond the stitching, without disturbing the stitching, and then trim. Be sure to not contact the thread with the scissors! To avoid this, it’s fine to keep the stabilizer totally intact and remove it all using water.
Place the sunhat brim under warm, running water until the stabilizer begins to dissolve. You may need to agitate the stabilizer a bit using your fingers. A kitchen faucet sprayer works well to work the product out of the thread.
After the stabilizer is removed, let the hat dry completely on a towel.
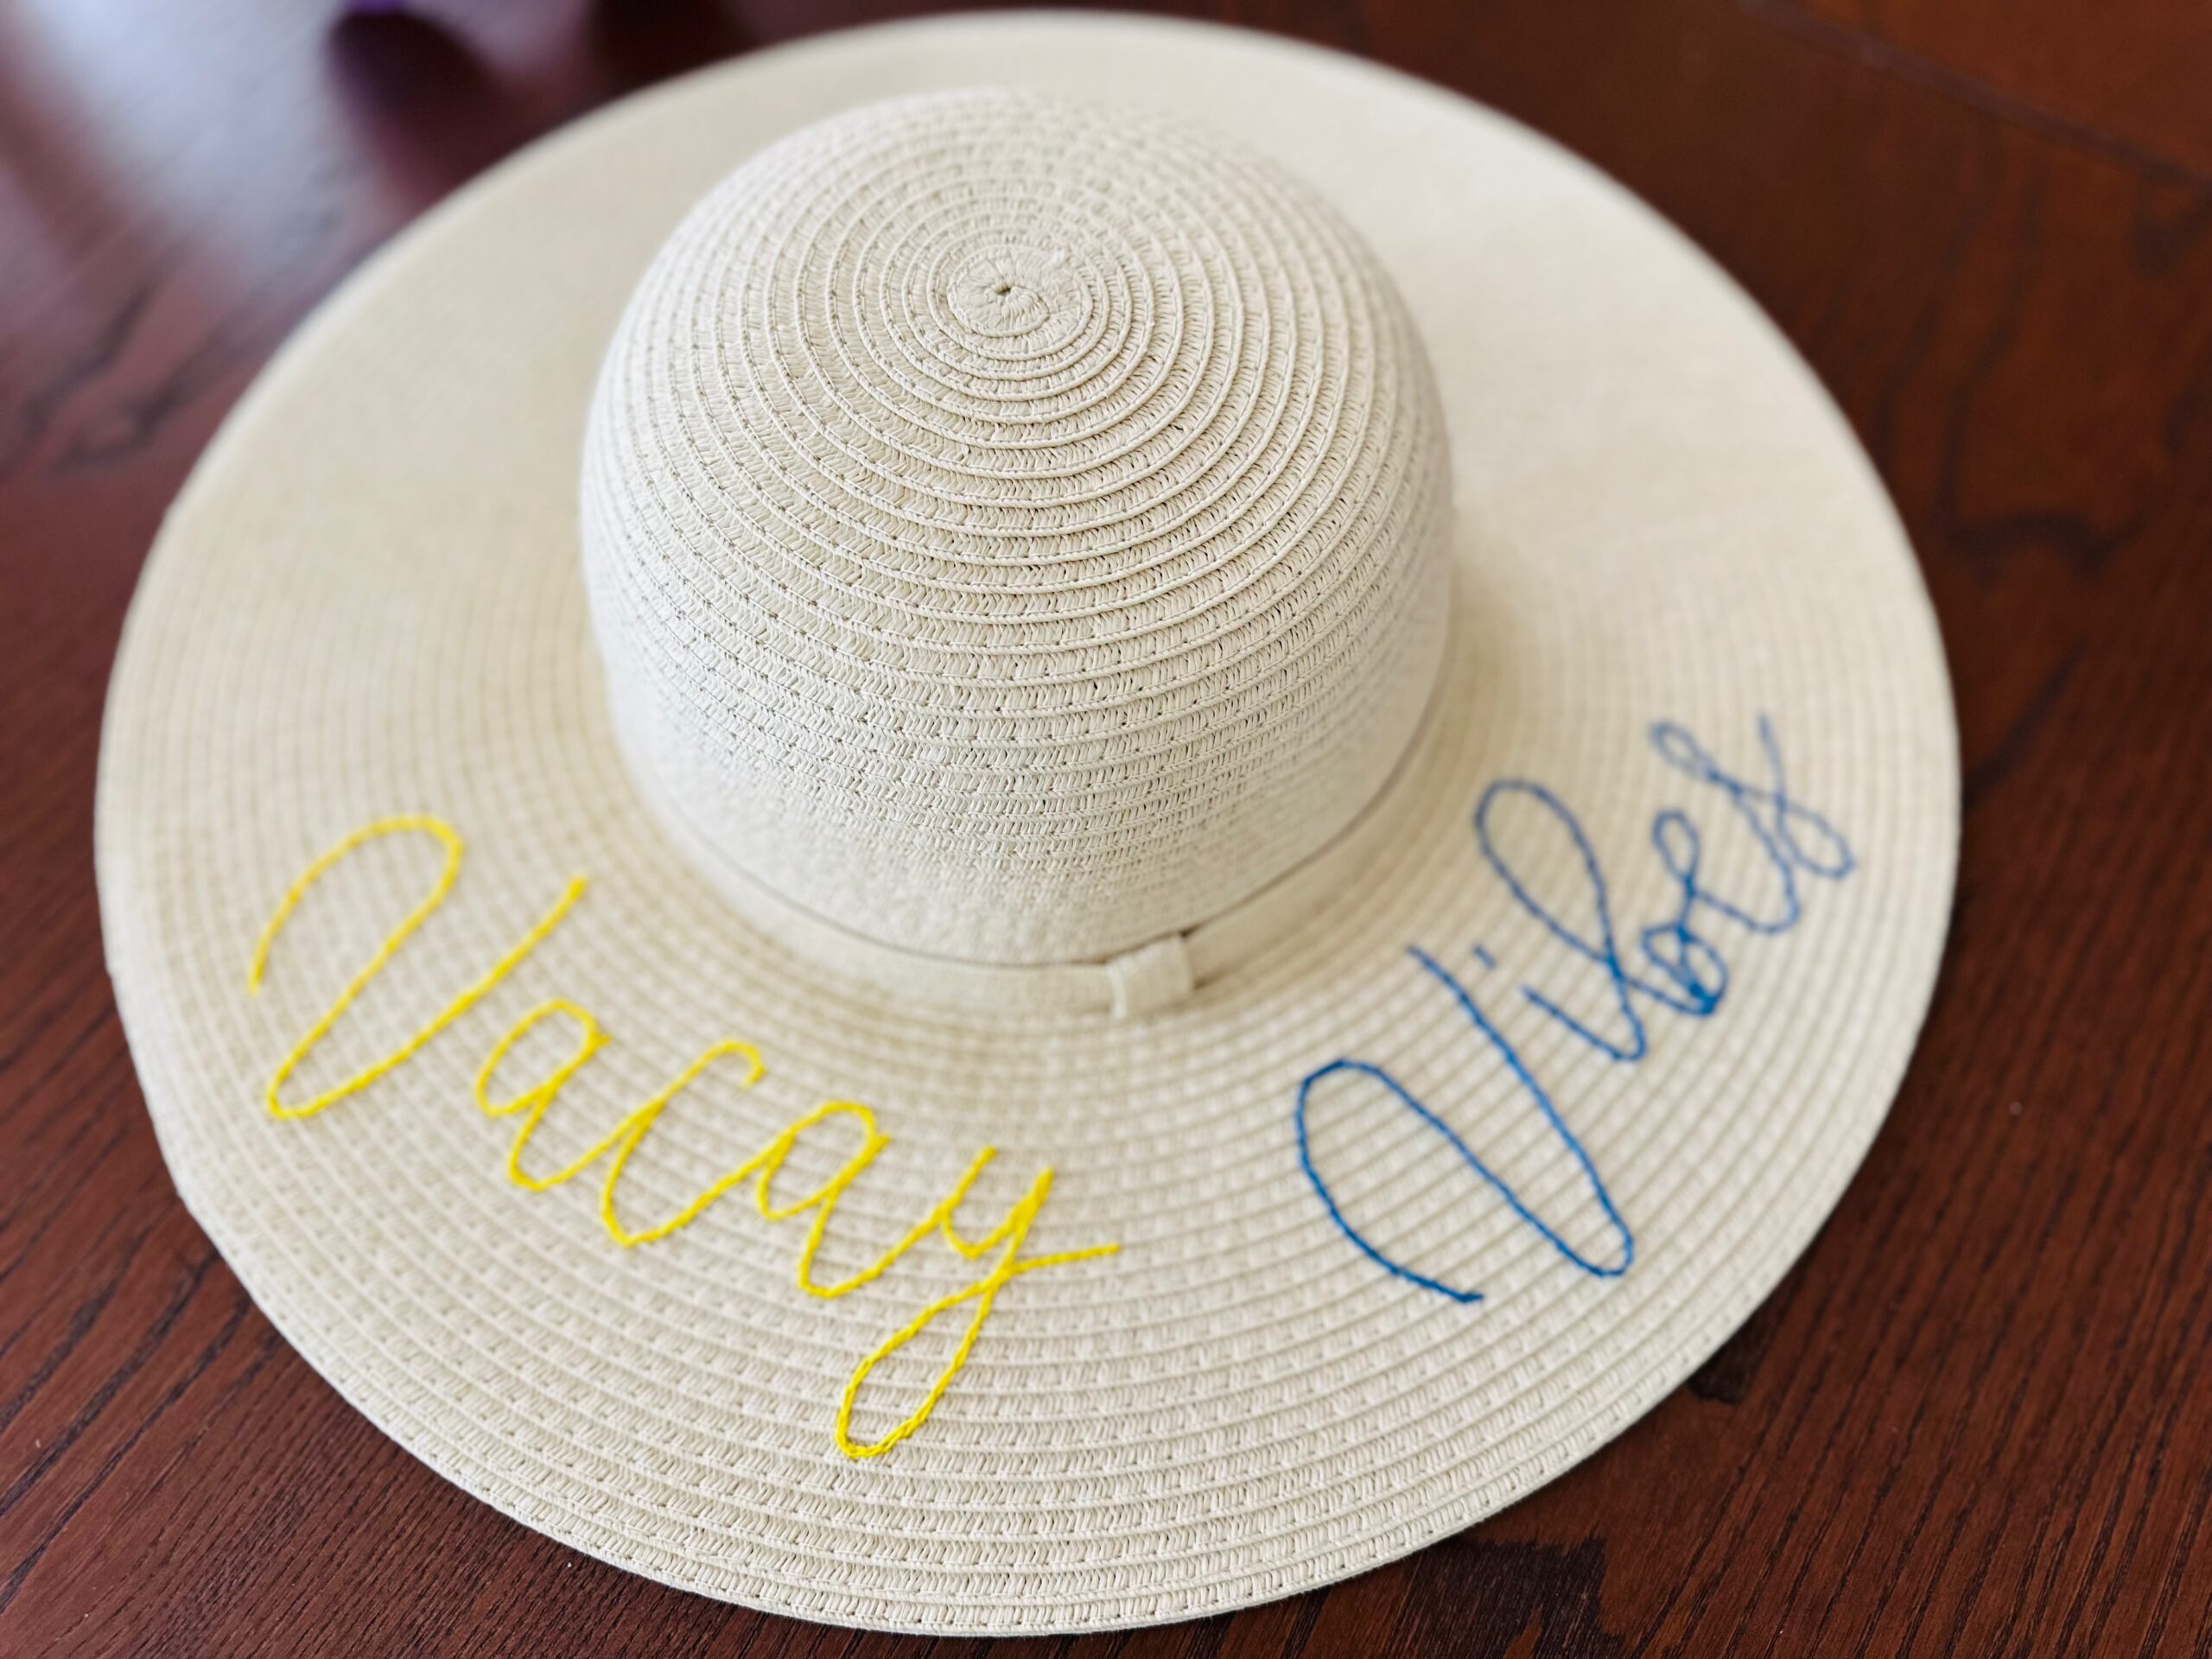
Once dry, wear the embroidered sunhat with pride! Or make more to gift to friends.
BE SURE TO BRING YOUR HAT TO BALI! Join us on this trip of a lifetime with Craftours! CLICK FOR MORE INFO>