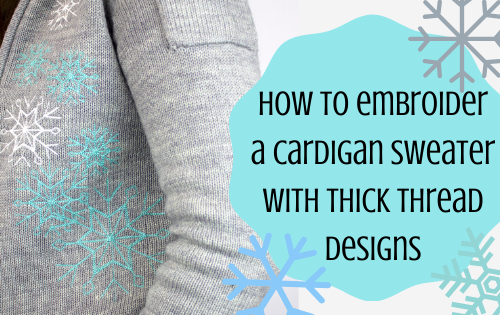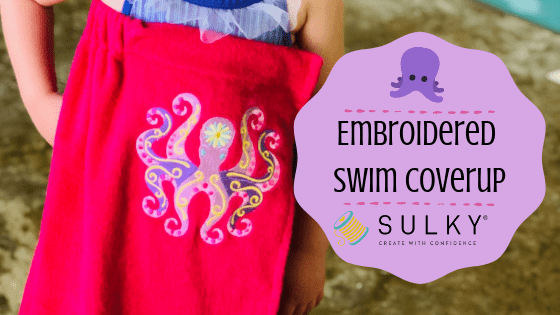
Embroidered Swim Coverup for Kids & Adults
An embroidered swim coverup is great for beach or swim days. This one has dual uses–it’s your towel and your coverup all in one. Using terry cloth and a cute embroidery design, this project is easily achievable in two hours or less (depending on how large the chosen design is).


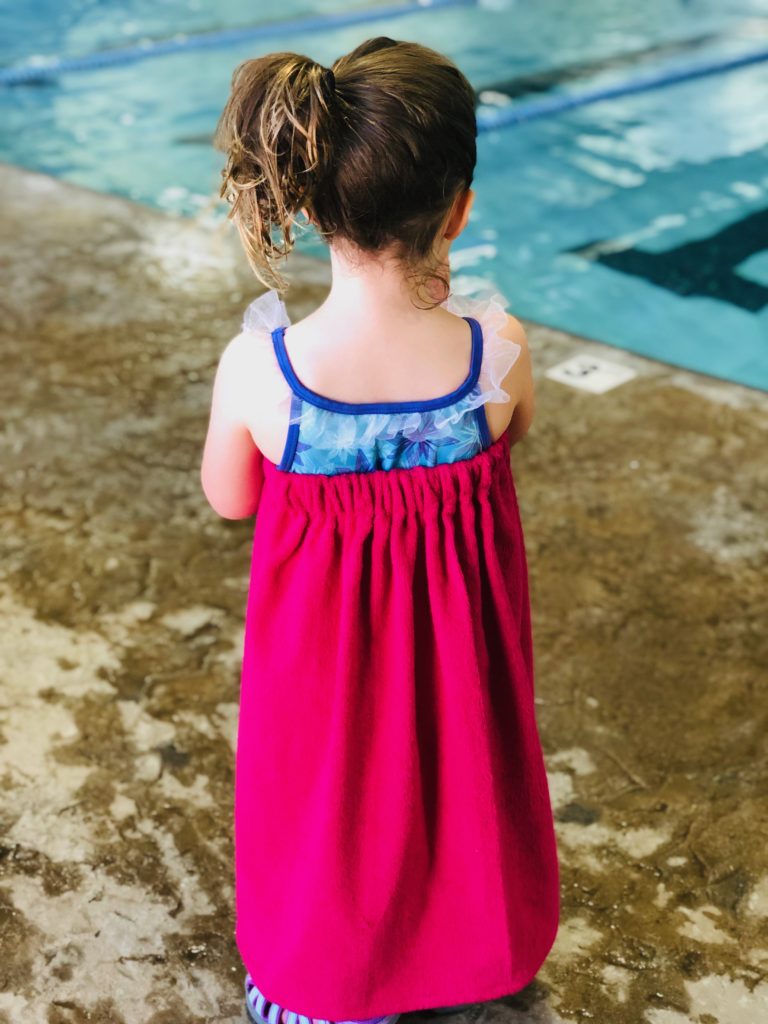
My daughter is always tripping on her towel after swimming so I thought this was a great solution for her. This project is also suitable for adults–even as a bath towel! Choose a design based on the recipient’s interests. The placement of the design is also your choice. Move the design to the curved lower edge on the front of the embroidered coverup, if desired. Make sure to use a design with a lot of fill stitches so the thread doesn’t get lost in the loopy terry cloth fibers.
SUPPLIES
- Sulky Poly Deco™ thread (construction)
- 40 wt Rayon Sulky thread (colors determined by design)
- White Sulky bobbin thread
- Sulky Solvy®
- Sulky Tear Easy™
- KK 2000™ temporary spray adhesive
- Organ needles: embroidery & universal
- Terry cloth fabric (amount determined by measurements)
- 1 1/2″-wide elastic (10″ to 15″ length, depending on measurements)
- 4″ of 1 1/2″-wide Velcro
- Embroidery design (such as the featured Flower Power Octopus, 6.19″x5.86″)
MEASURING
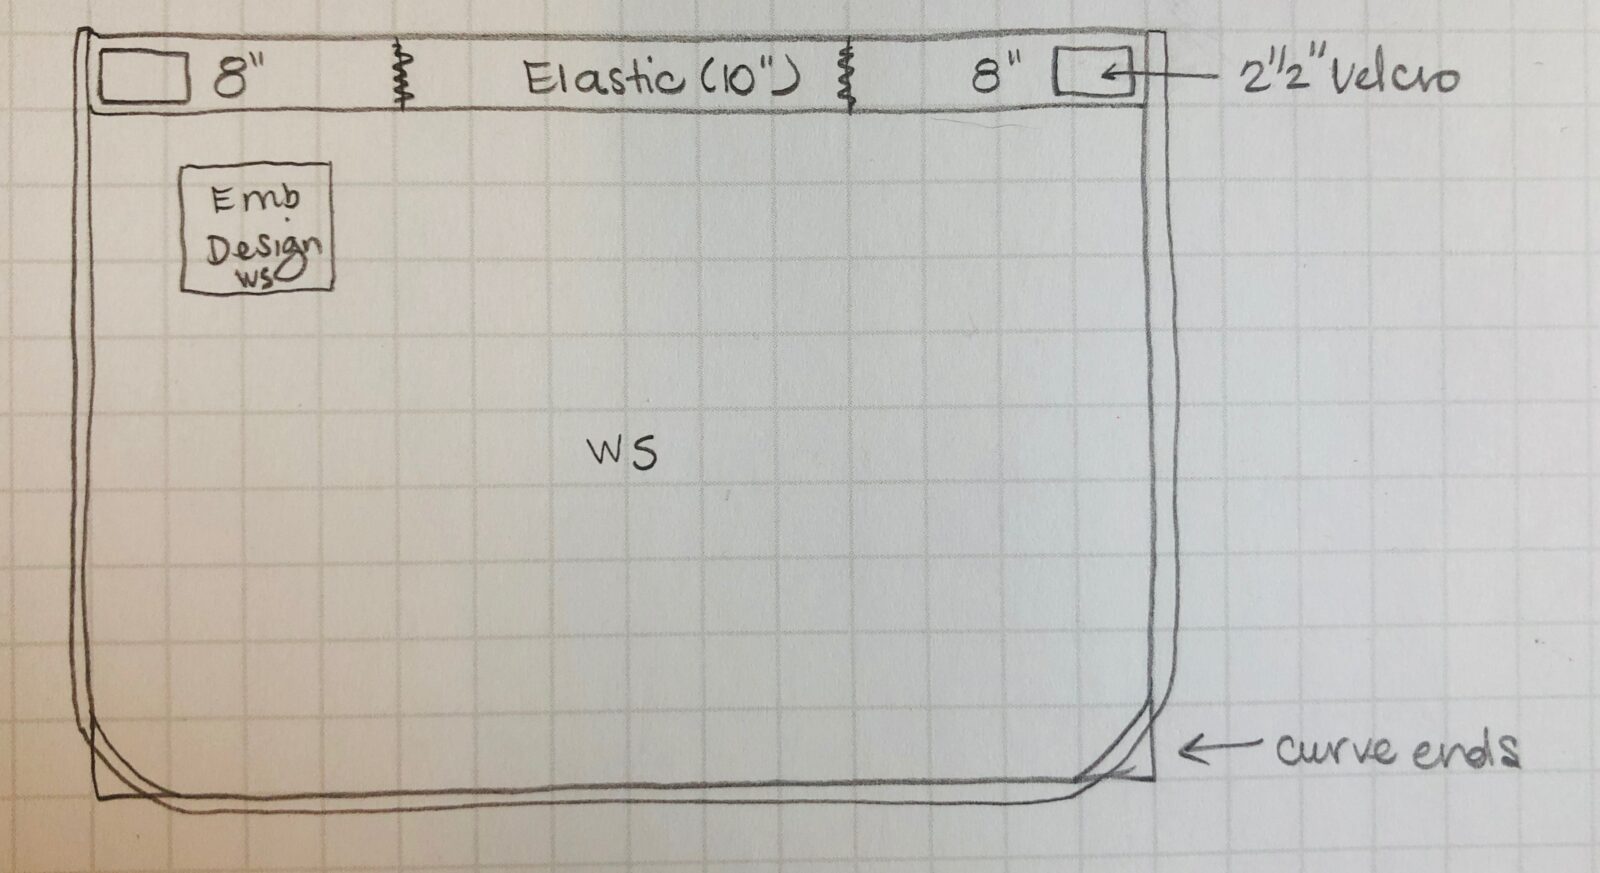
Determine the amount of overlap desired on the coverup. If your recipient is little, choose 6″. If bigger, choose 8″. An adult may want 10″ of overlap, depending on upper-chest size. Place a tape measure around the recipient’s upper chest and move the tape measure beyond the chest circumference to include the amount of overlap. When satisfied, record the overlap measurement.
Measure the recipient across the upper back from armpit to armpit; record as the elastic length. Then measure the front upper chest from armpit to armpit, where you’d like the coverup to sit; record as the front chest measurement.
Multiply the elastic length by 1.5, and then add the overlap and front-chest measurements; record as the width.
To determine the desired length of the coverup, measure from the upper chest to just below the knee or ankle where desired. Then add 2 1/2″; record as the length.
SWIM COVERUP CUTTING
Cut one rectangle of the terry cloth fabric to the determined measurements.
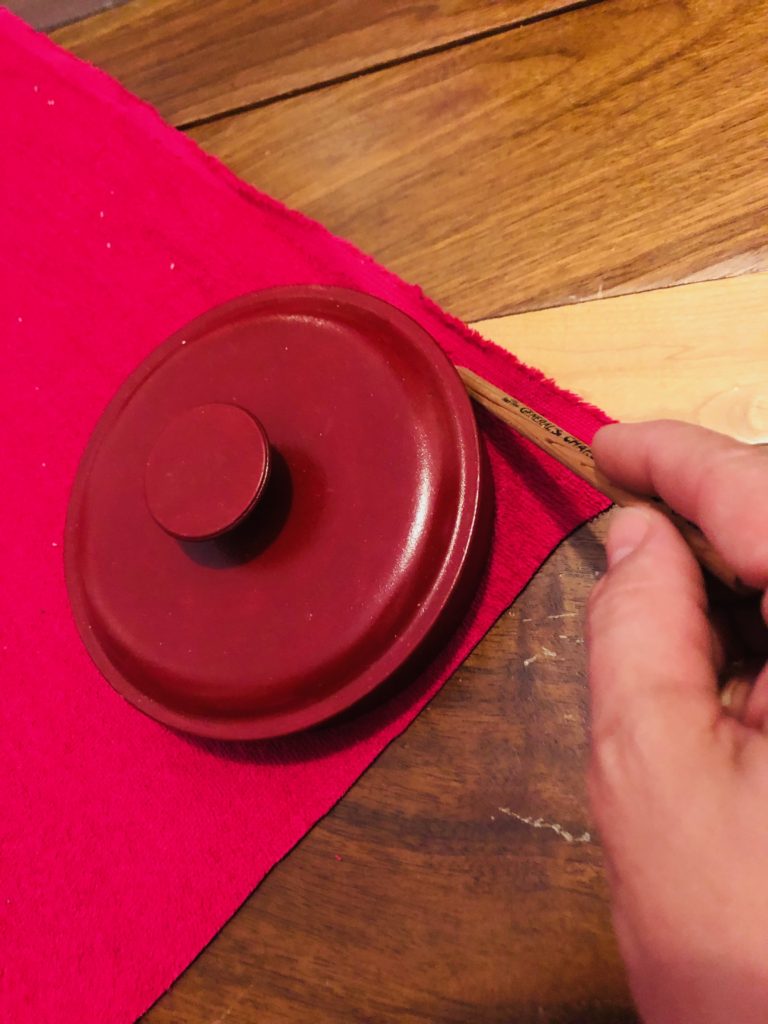
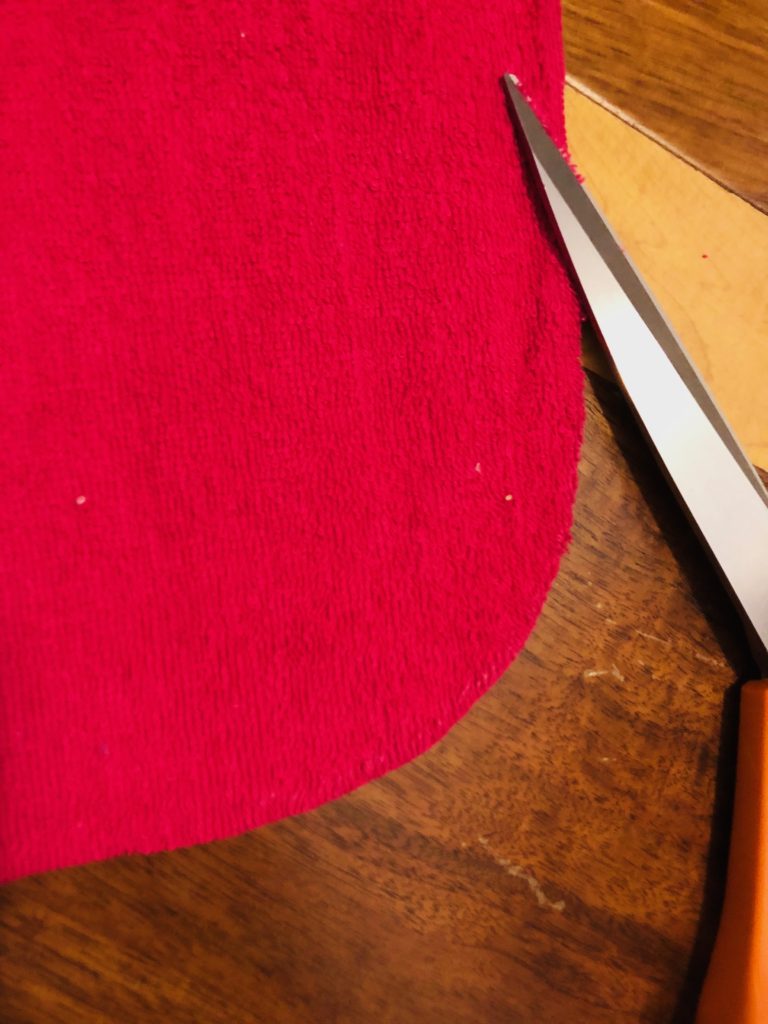
Next, use a round object to mark and cut along the lower-edge corners.
CONSTRUCTION
First, fold the upper edge 1/2″ toward the wrong side; stitch. Then place a 4″ length of the Velcro hook piece along the upper-right edge, with one Velcro end 1″ from the rectangle raw side edge and the Velcro upper long edge 1/2″ from the rectangle upper edge. Stitch the Velcro perimeter to the rectangle using Poly Deco thread.
Fold the rectangle upper edge another 1 1/2″ toward the wrong side; pin. Then position the Velcro loop tape long edge 1/2″ from the stitching line on the casing right side, with one Velcro end 1″ from the rectangle raw side edge.
Next, measure the determined overlap amount from the upper-left edge toward the center front; pin-mark using two pins. Repeat to pin-mark the upper-right edge.
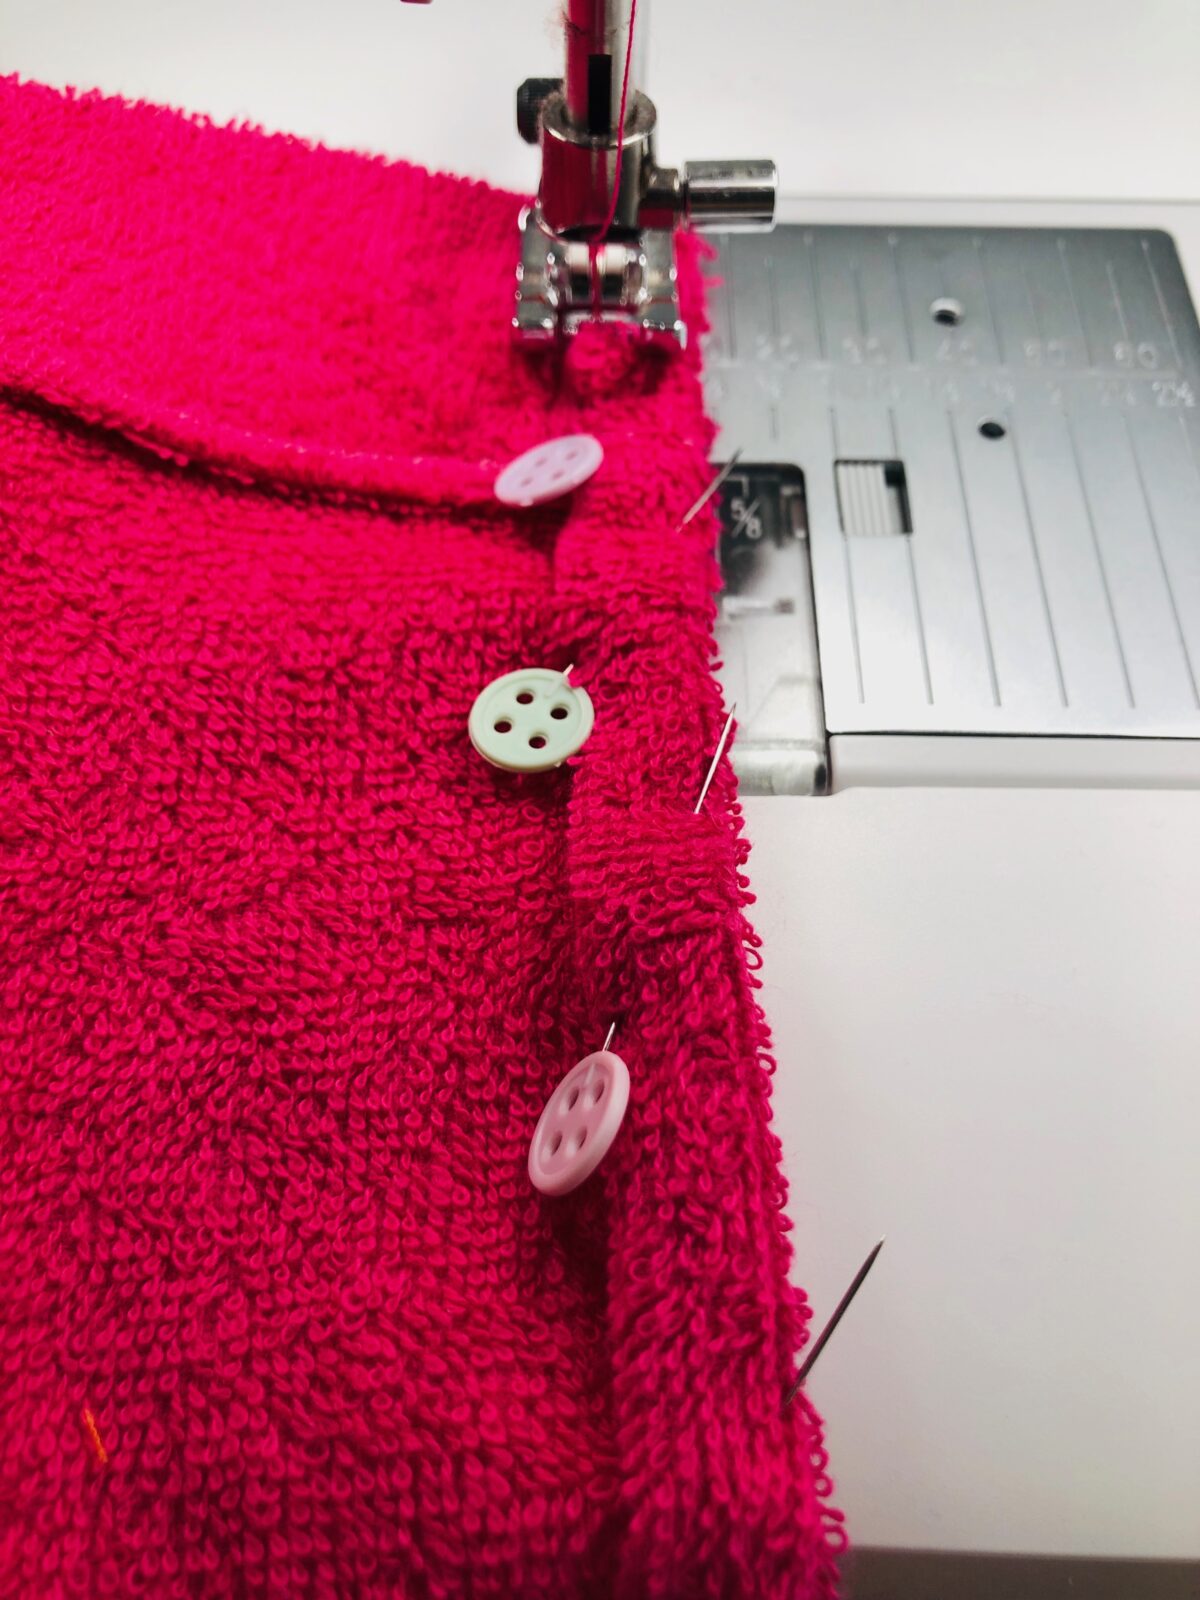
Insert the elastic between the fold from pin-mark to pin-mark. Pin the elastic ends to secure. The elastic will not fit inside the casing (yet). Stitch the elastic ends inside the casing through all layers, making sure the elastic isn’t twisted. Continue to stitch the casing lower edge from pin-mark to pin-mark, stretching the elastic to fit. Finally, stitch the remaining casing closed (embroidered swim coverup front and overlap, without elastic).
Lastly, double-fold the rectangle raw edges 1/2″ toward the wrong side; pin. Stitch along the first fold.
EMBROIDERED SWIM COVERUP EMBROIDERY
Decide where to place the embroidery on the coverup. Once the placement is deciphered, mark the design center cross marks onto the fabric right side using removable chalk.
Install an Organ embroidery needle and choose the Sulky rayon threads for the design.
The featured design had more than 49,000 stitches. I needed three bobbins. If your design is very dense or large, consider purchasing prewound bobbins to make things even faster and easier.
Hoop a rectangle of Sulky Tear Easy. Then spray the stabilizer with KK 2000. Position the cover-up front (with Velcro on the casing wrong side) onto the stabilizer, centering the design area in the hoop.
Float a piece of Sulky Solvy over the fabric. Then use the baste-in-the-hoop function to secure the Solvy in the hoop.

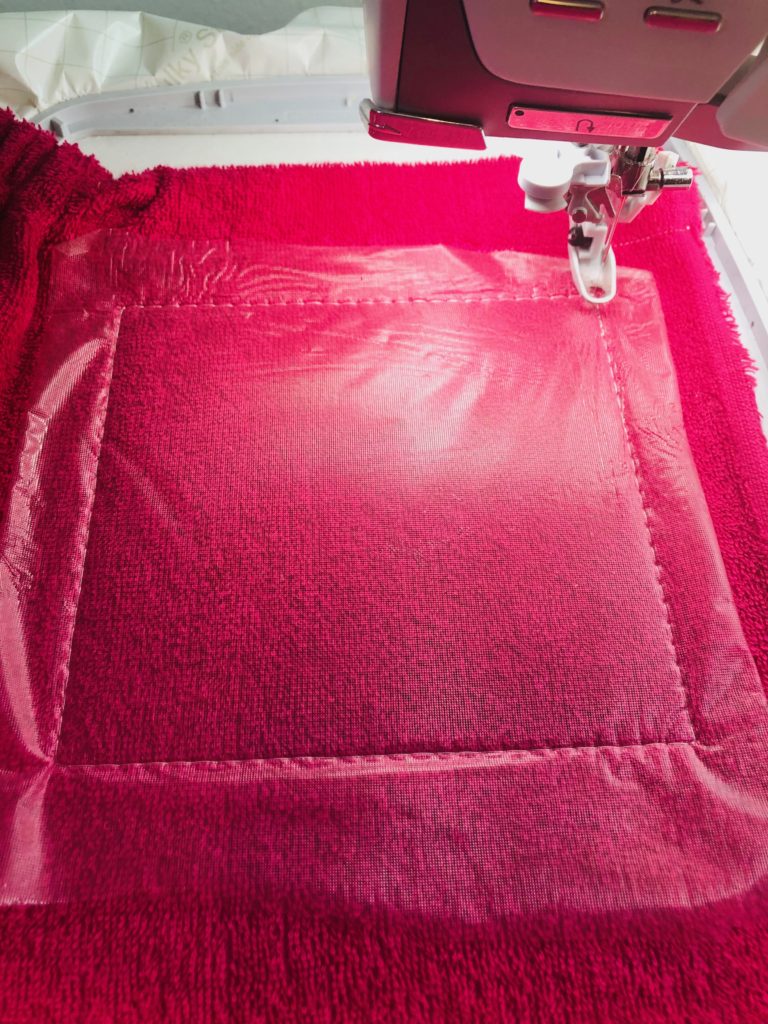
The Solvy helps the stitches sit on the fabric surface without getting lost in the loopy texture. It also prevents the needle from snagging the Terry loops.
When the design is finished, remove the stabilizer from the hoop. Make sure to clip the jump stitches and any other bobbin threads from the design wrong side. Remove the basting stitches, and then tear away as much of the Solvy as possible. (Any remaining will dissolve in water.) Finally, tear away the Tear-Easy from the design wrong side.
NOTES
In the photos above, the coverup wasn’t hemmed yet. Either hem the coverup before or after embroidery, depending on preference.

If making a boy’s coverup, you may want to measure from the waist to the knee or ankle, rather than from the chest. My son preferred to have his wrap begin at his waist–the choice is yours!
A Husqvarna Viking Designer Epic sewing and embroidery machine was used to create the featured project.

Ellen March
I am the Director of Content for Sulky of America. The former Editor in Chief of Sew News and Creative Machine Embroidery magazines, I hosted Sew it All TV on PBS for nine seasons. I've appeared on It's Sew Easy on PBS, DIY Network's Uncommon Threads, Hallmark's Marie Osmond Show, MacPhee Workshop and more! Come sew with me!