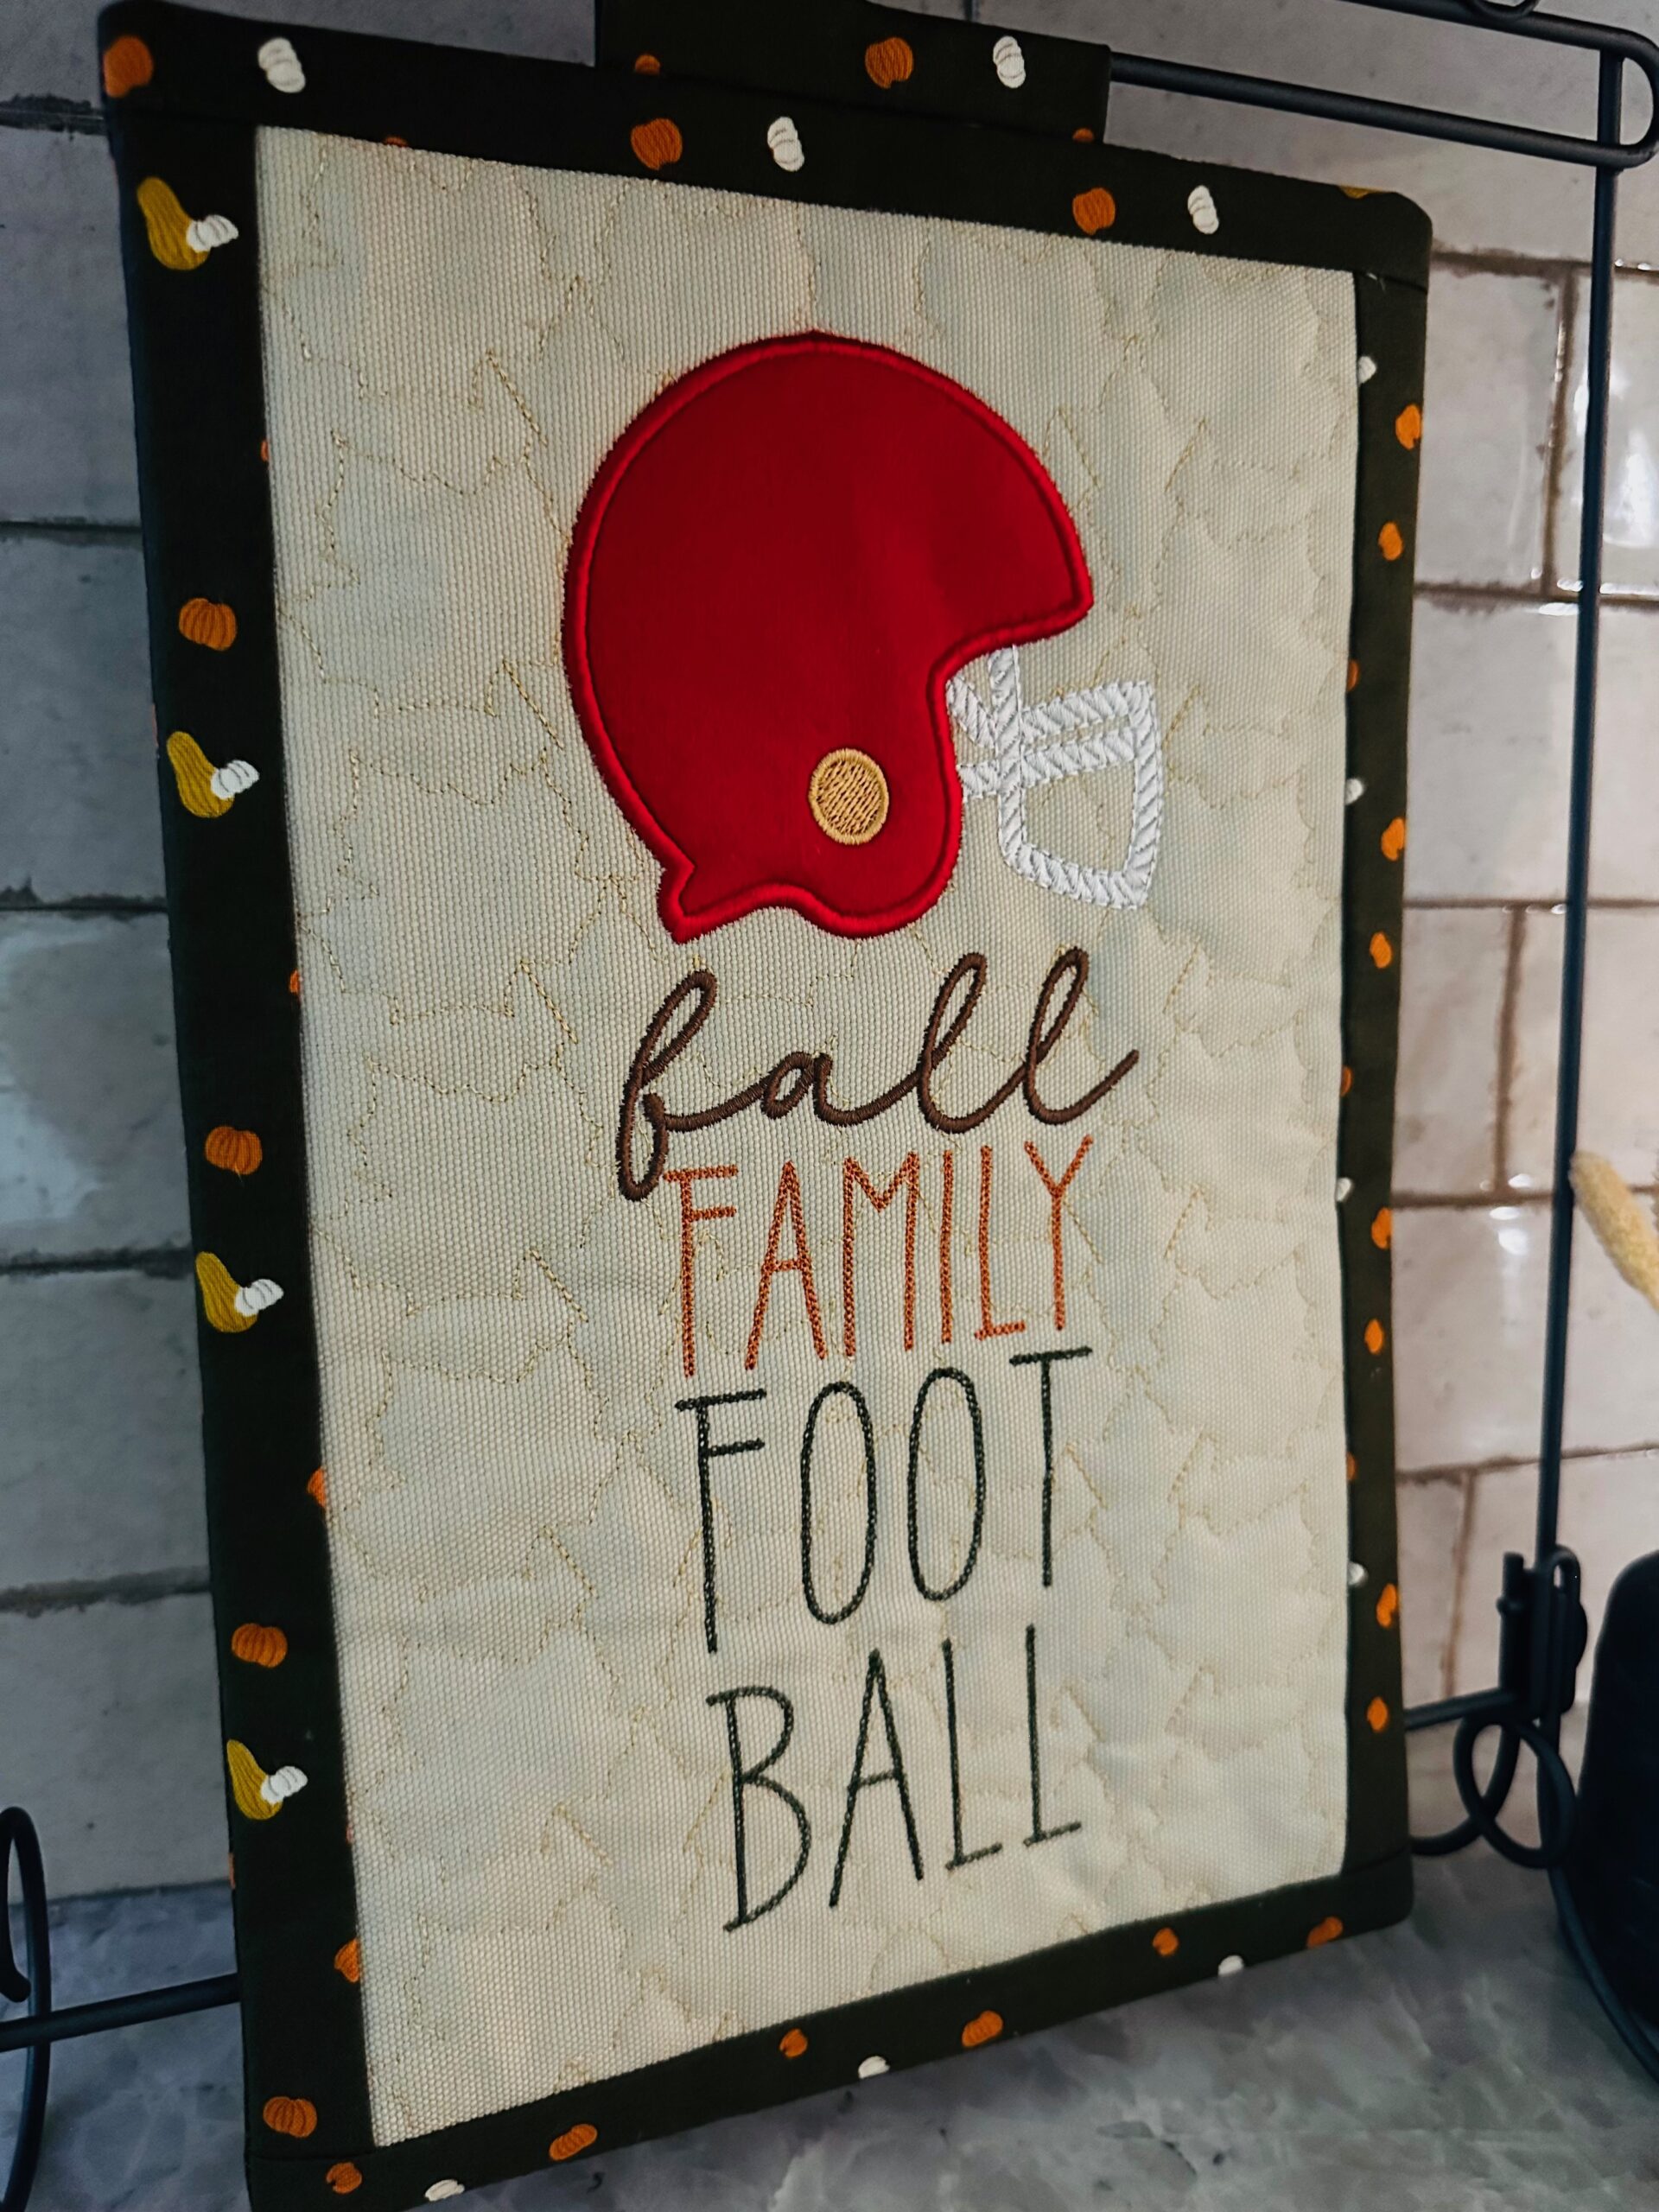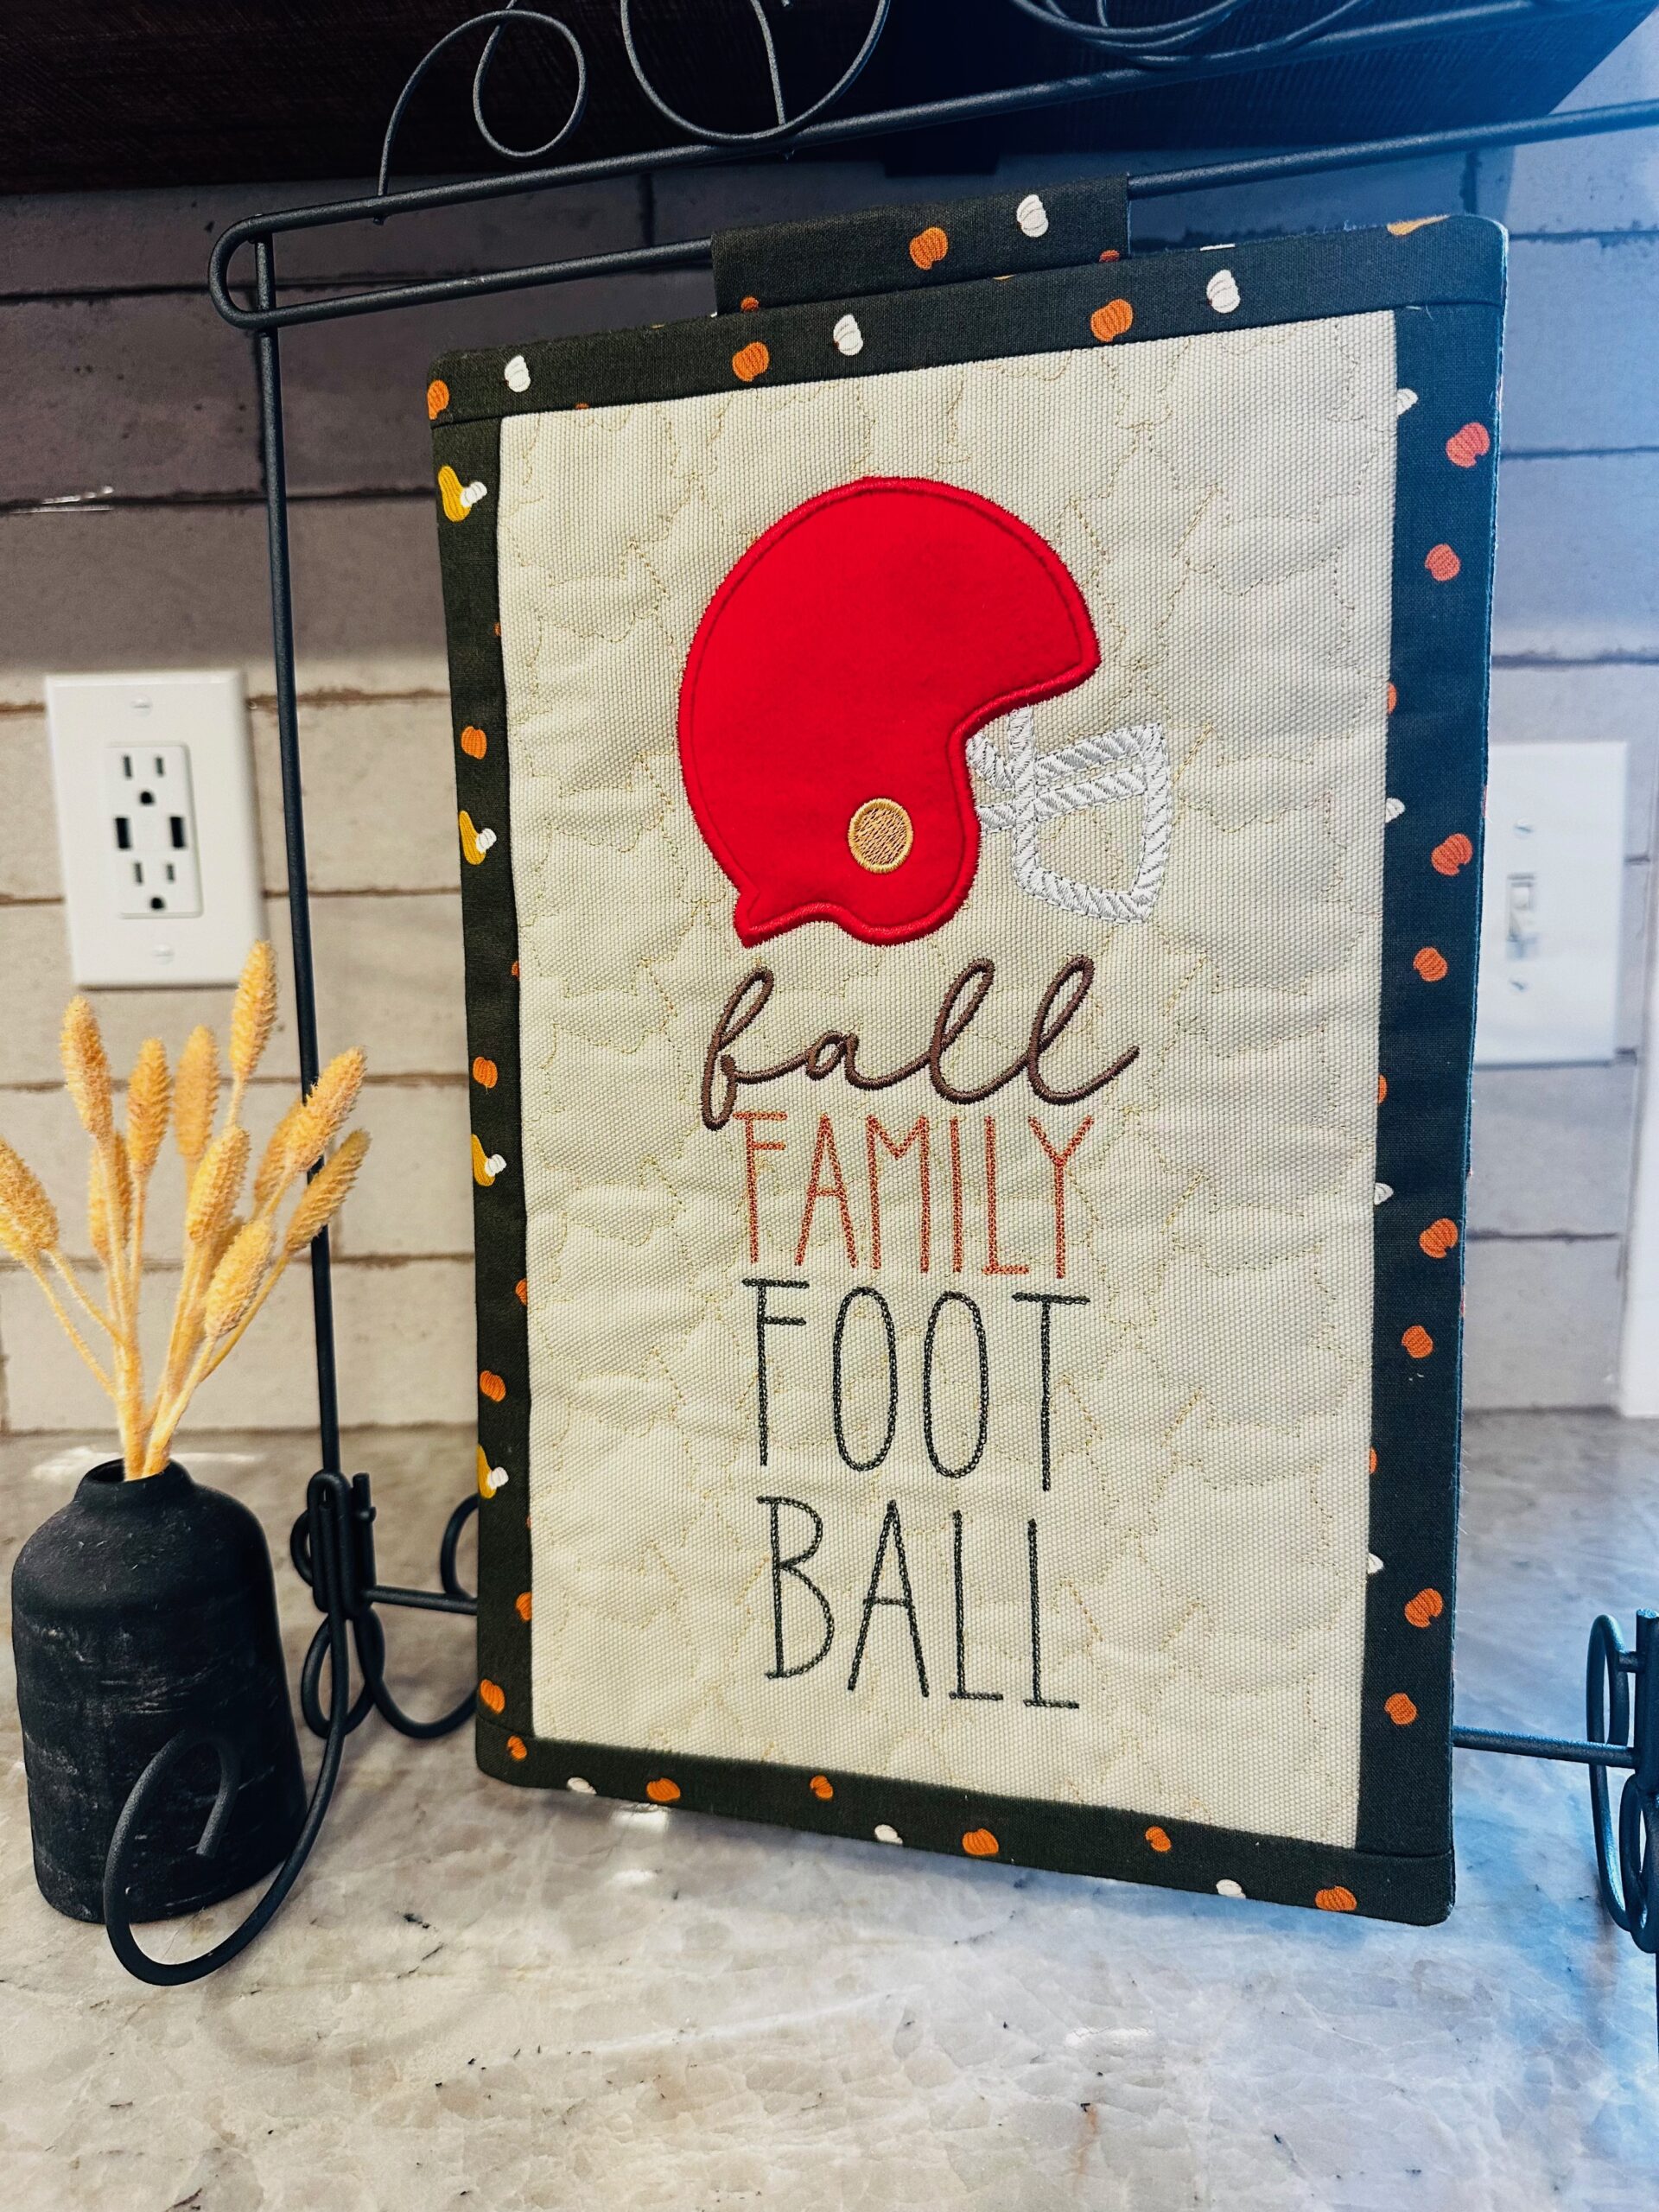
Fall Family Football Mini Quilt
designed by Parker on the Porch
Create a Fall Family Football mini quilt to display for the upcoming football…I mean fall…season. This Fall Family Football Mini Quilt is designed by the fine folks at Parker on the Porch, and featured appliqué in the hoop. The best part about this mini quilt? The entire project is done in the hoop of your embroidery machine!
FALL FAMILY FOOTBALL MINI QUILT SUPPLIES
- Fall Family Football ITH Mini Quilt Design
- Sulky Poly Deco Thread
- Sulky 60 wt. Bobbin Thread
- Fabrics & batting according to desired project size (included sizes: 4.70″ x 7.00″, 4.69″ x 7.87″, 6.0″ x 10.06″, 7.00″ x 11.00″, 7.87″ x 11.80″, 9.00″ x 14″00, 10.69″ x 13.04″)
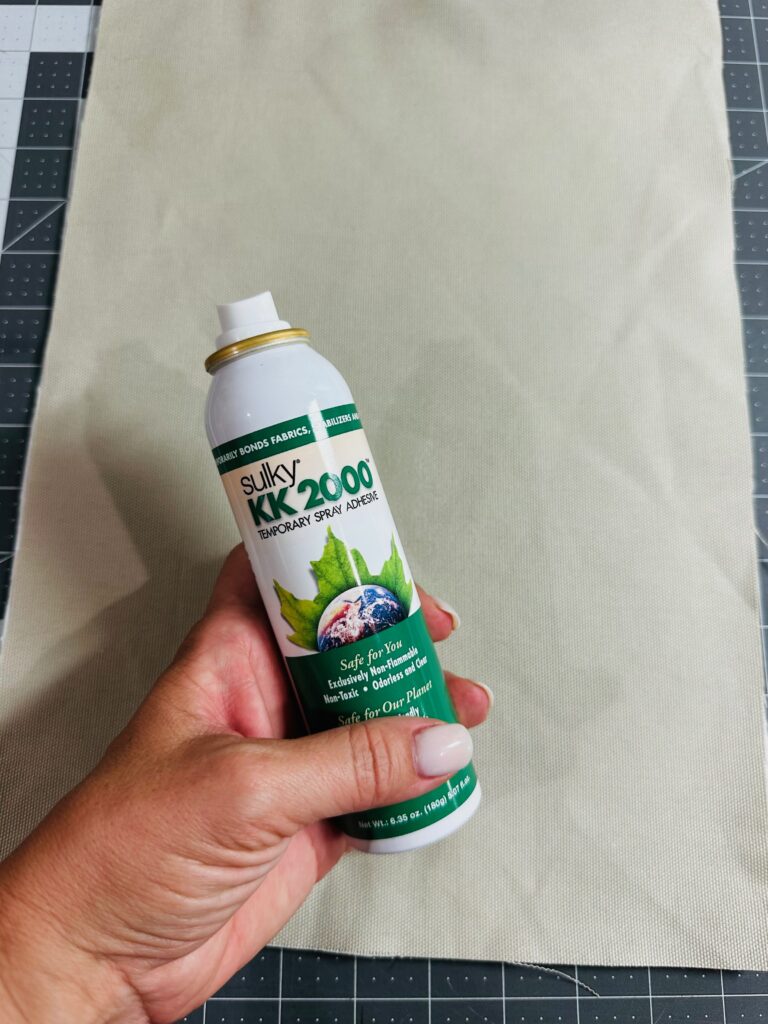
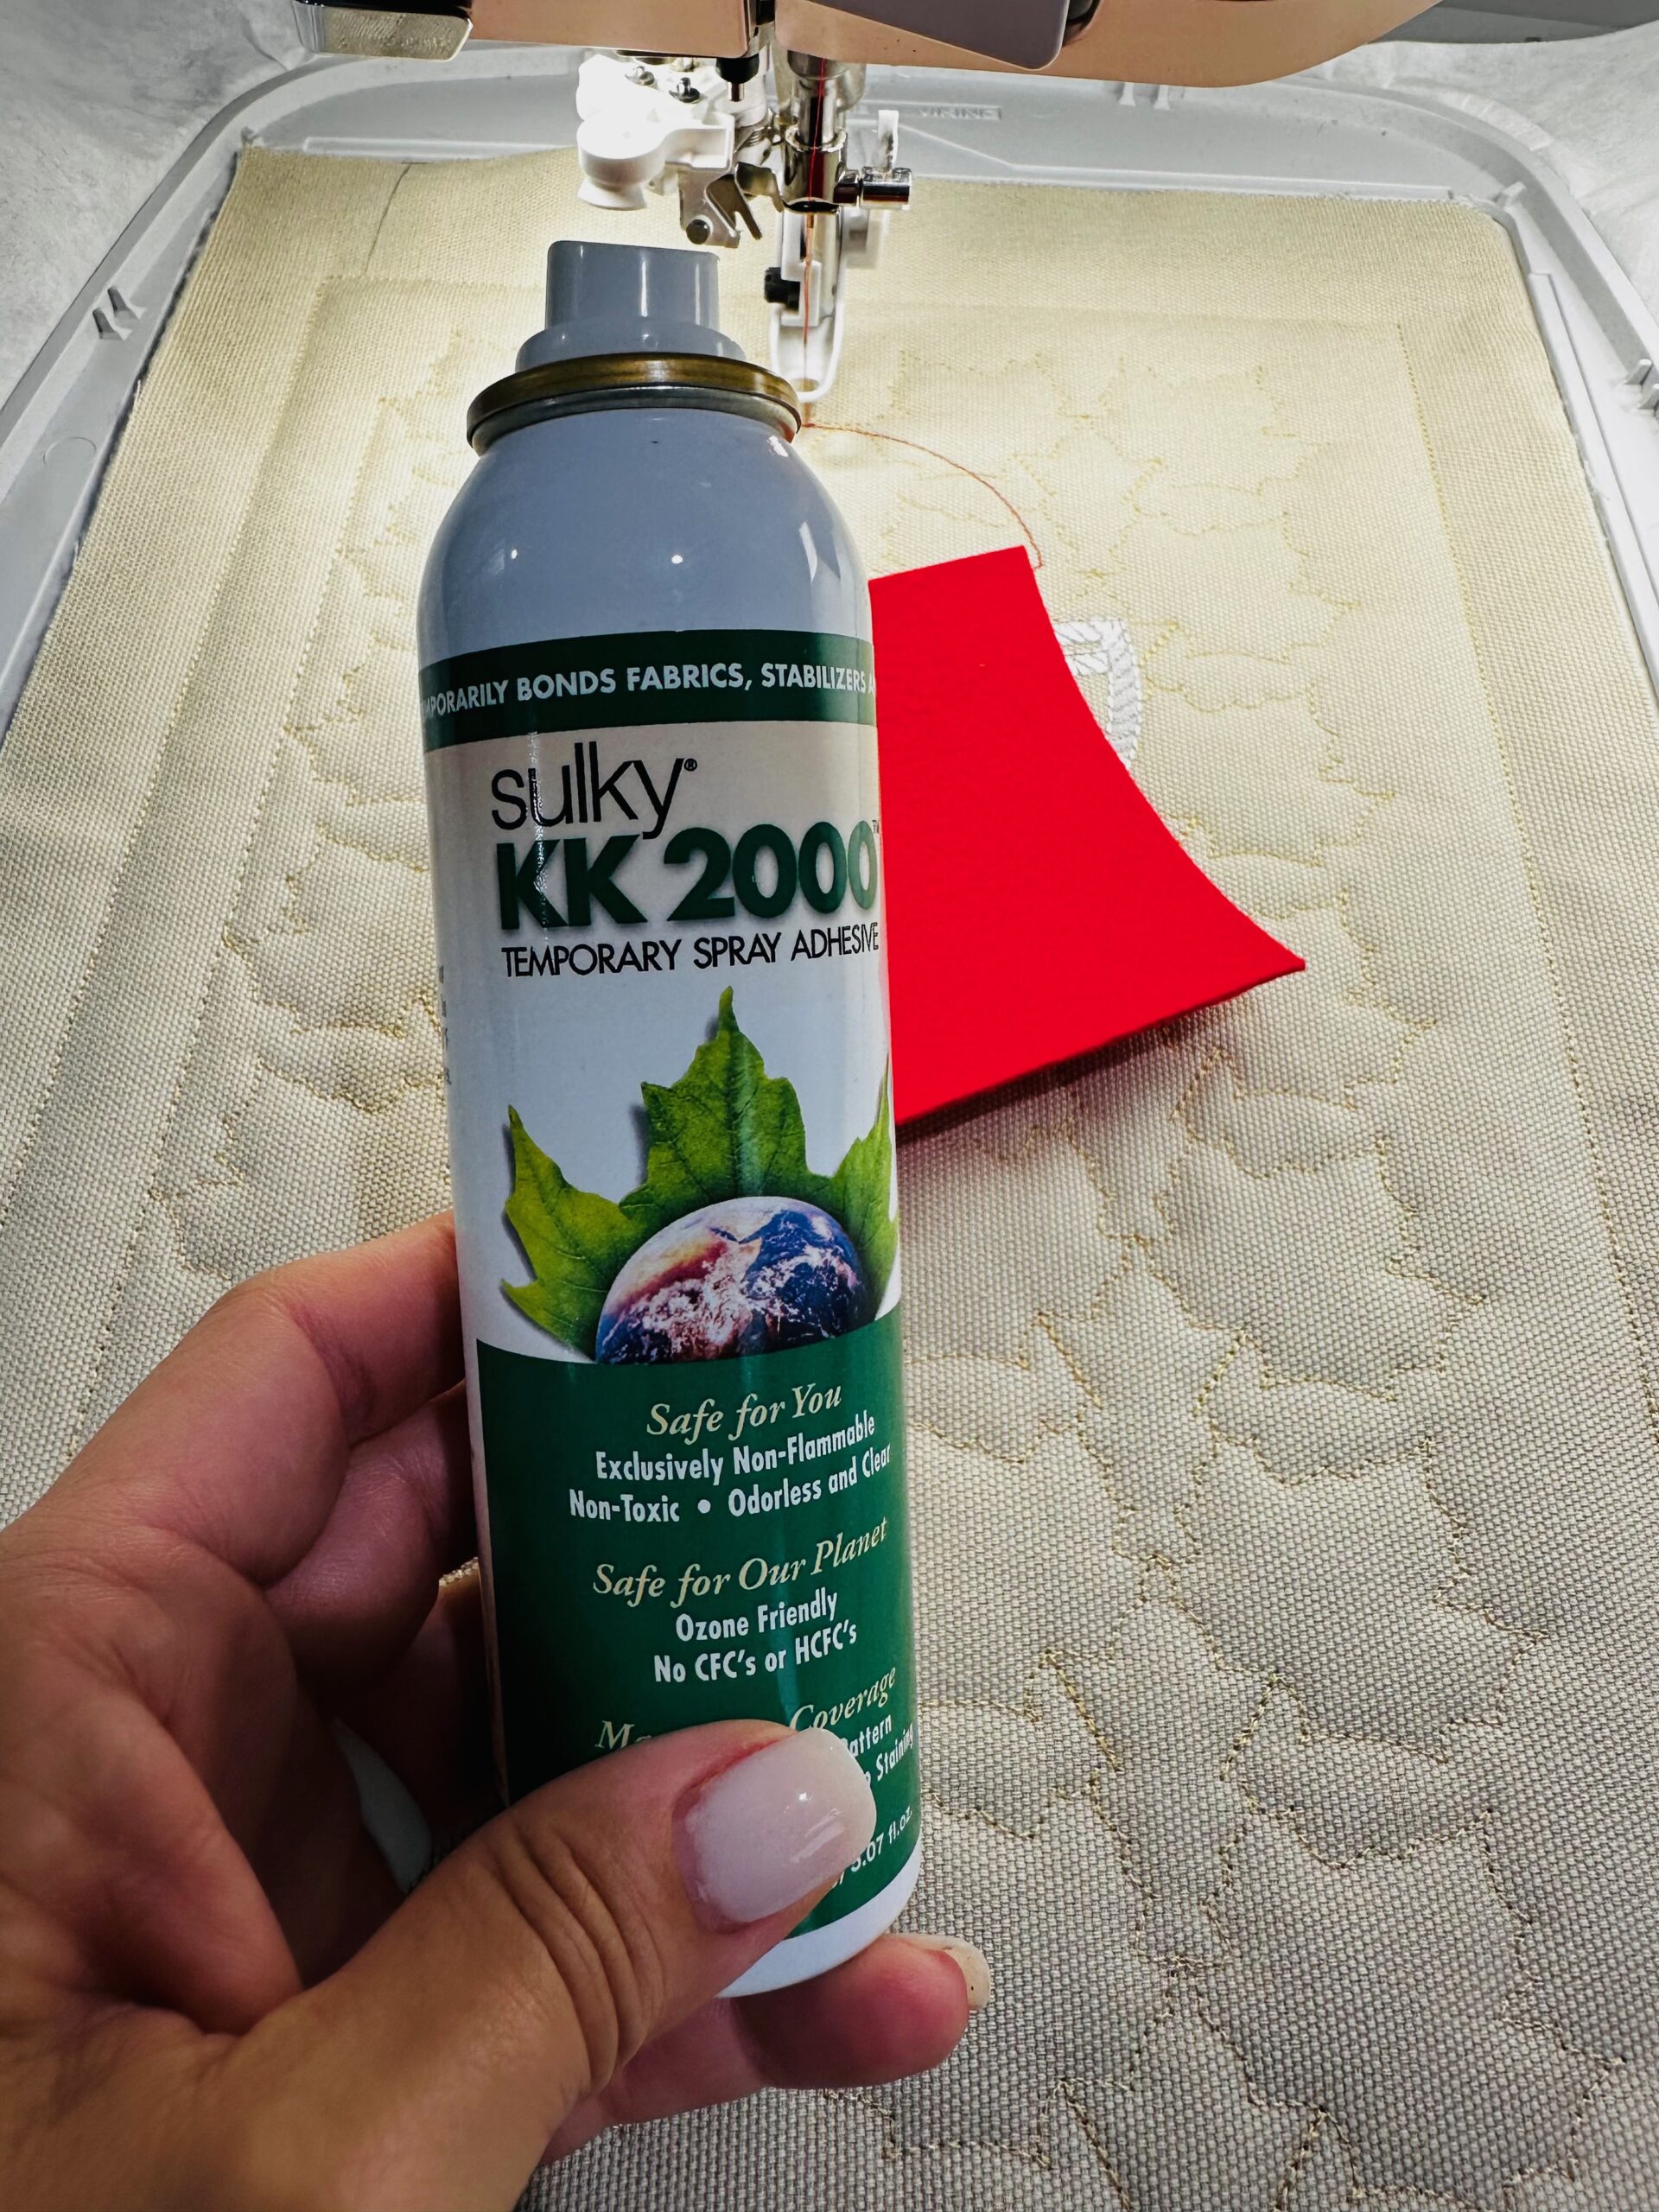
- Sulky KK 2000 Temporary Spray Adhesive
- Felty embroidery felt
- Sulky Stiffy Stabilizer
- Curved Tip Squeezers
- Sulky Perfect Appliqué Fusible Web (optional)
- Ackfeld Single Quilt Stand (optional; for hanging) *This is an affiliate link. Sulky may earn a commission if you choose to purchase something through this link.
FABRIC & STABILIZER
For the featured Fall Family Football mini quilt, canvas was used for the quilt front background & quilting cotton was used for the binding & backing pieces.
Parker on the Porch suggests using either tear-away or cut-away stabilizer, depending on preference. I prefer tear-away stabilizer because it will cleanly tear away along the outer perimeter stitching line, leaving no trace or additional bulk. I opted to use Stiffy, as it’s heavier than Tear-Easy and offers continues support for a project like this, which will hang and potentially want to sag over time. The Stiffy remains beneath the center stitching to ensure the project won’t sag no matter how it hangs on the wall or mini quilt stand.
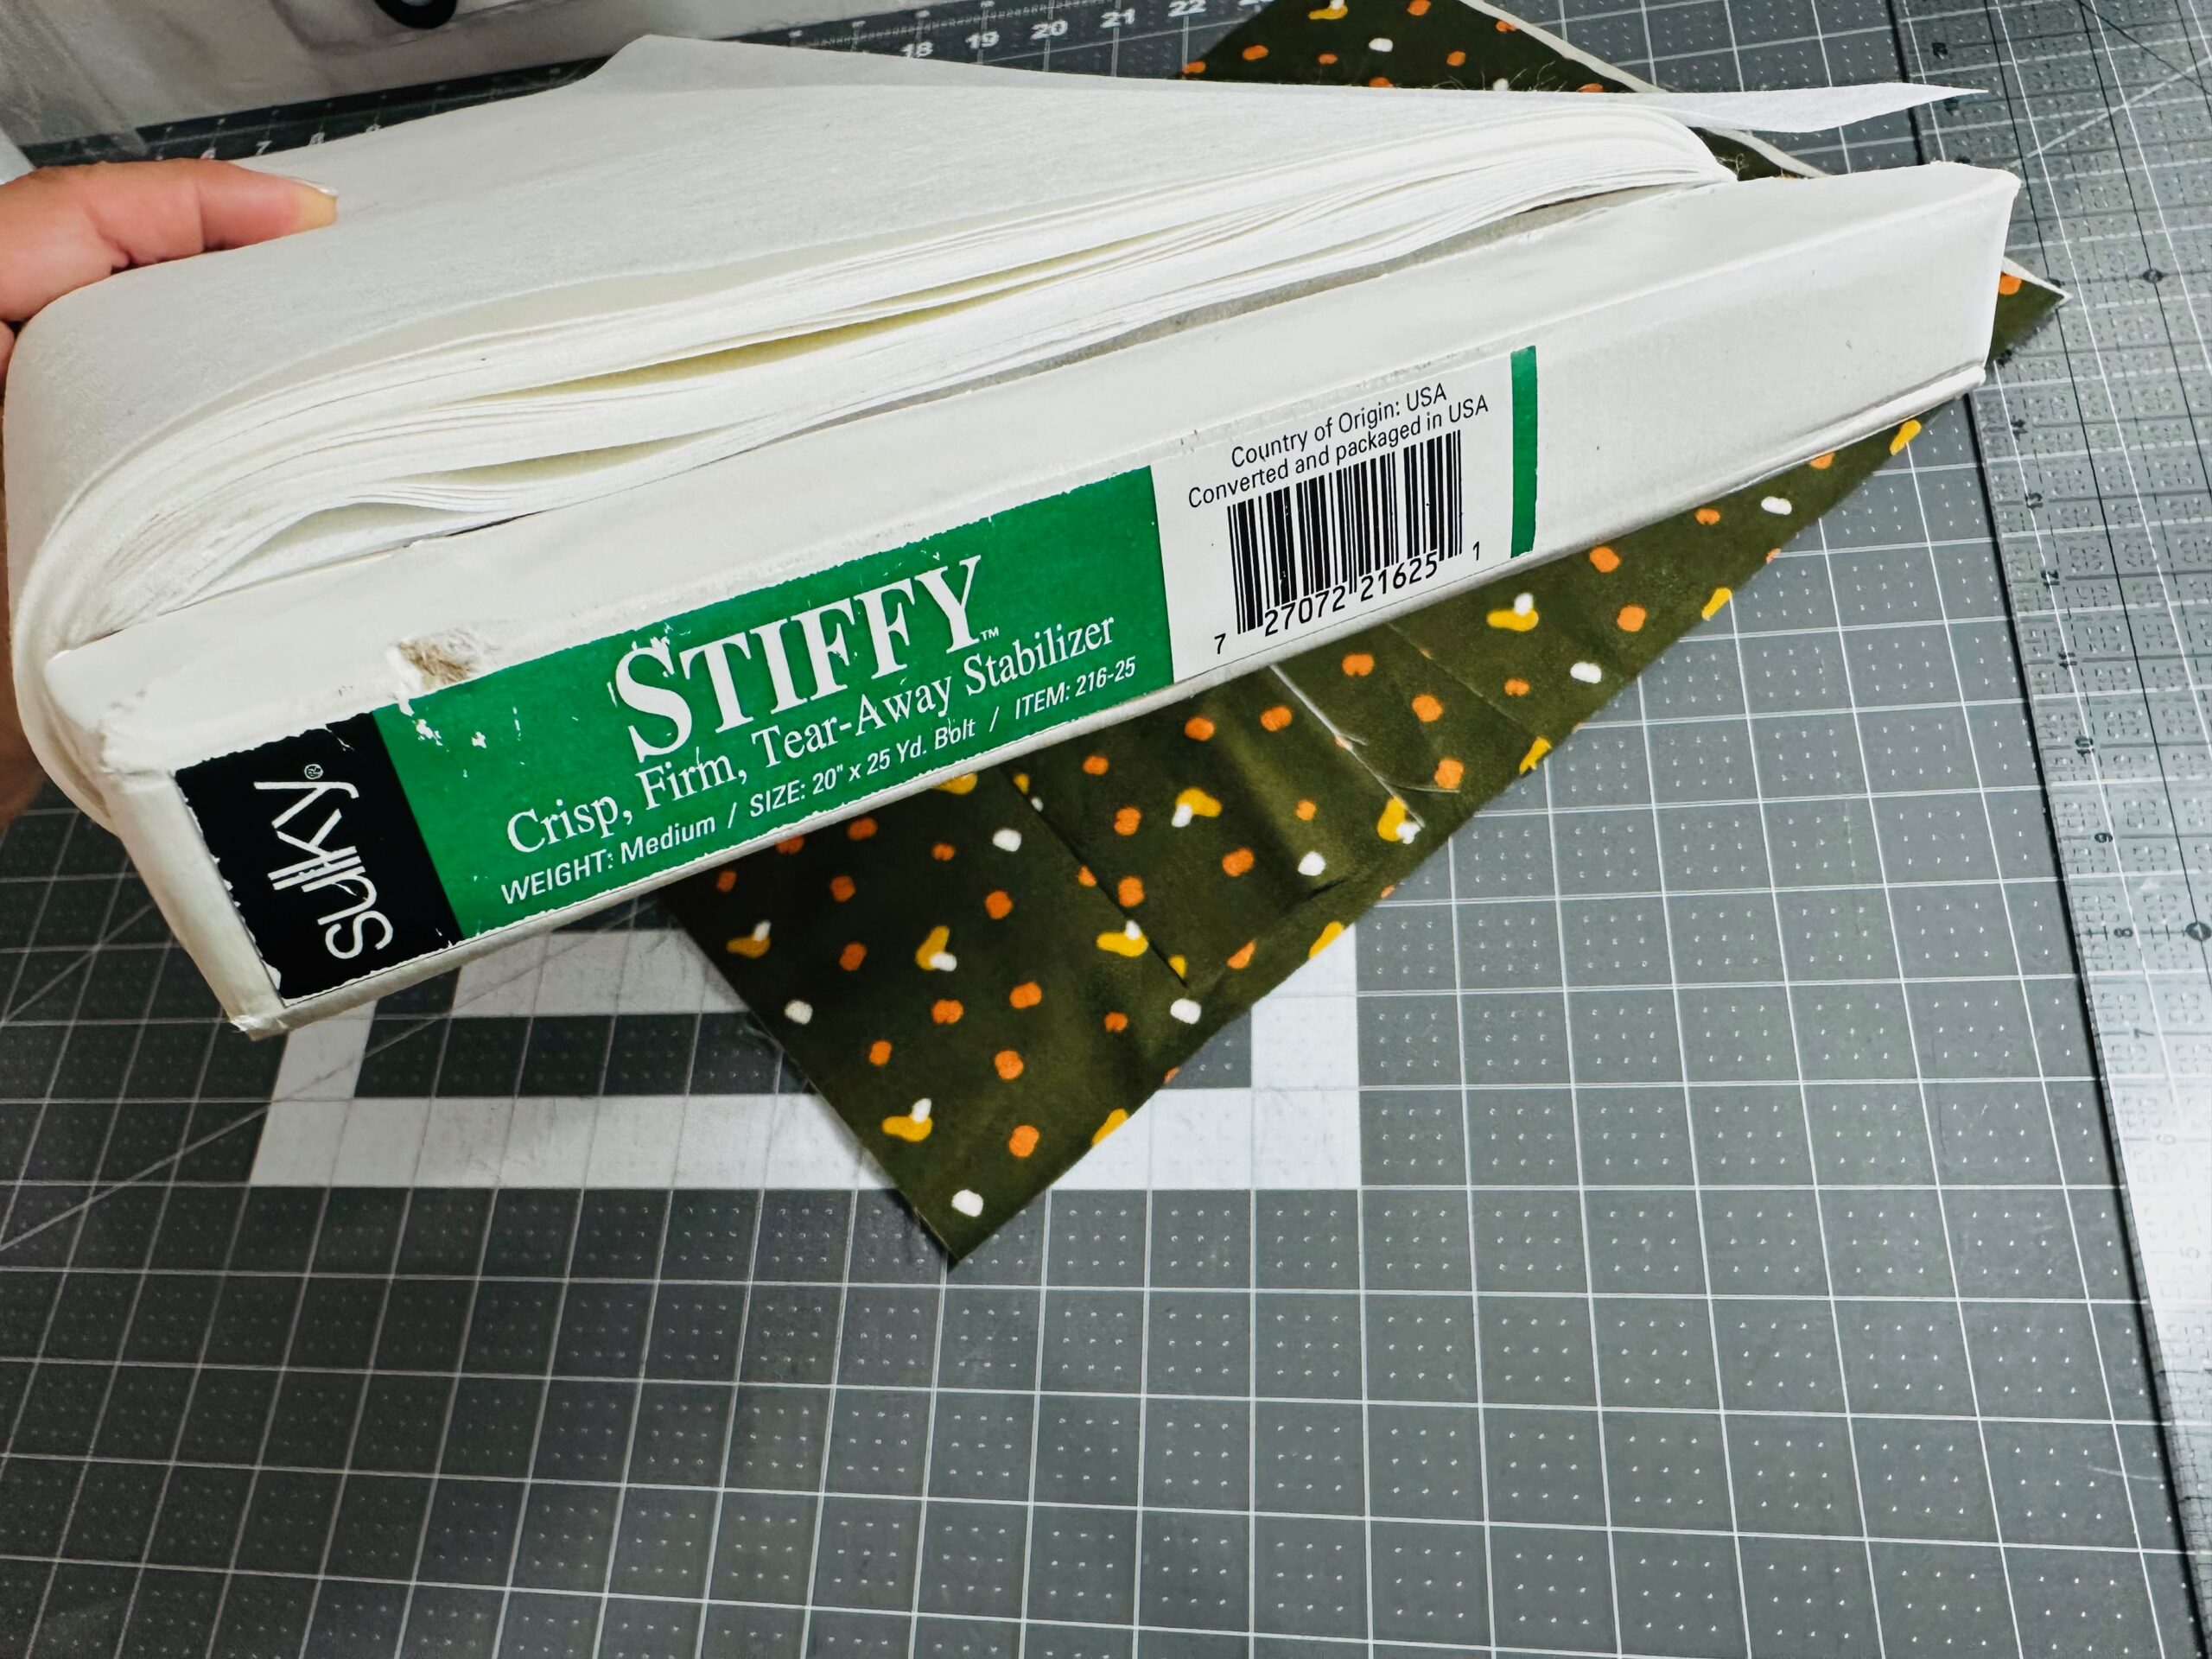
I also chose Stiffy, rather than Tear-Easy, because I used a heavier canvas fabric for the background/center fabric piece. Stiffy matched the weight of that fabric better than Tear-Easy, which is more suited for quilting cotton or mediumweight fabric. Alternatively, use two layers of Tear-Easy if desired. Note: If using two layers of stabilizer, remove them independently to avoid pulling on the thread during removal.
STITCHOUT
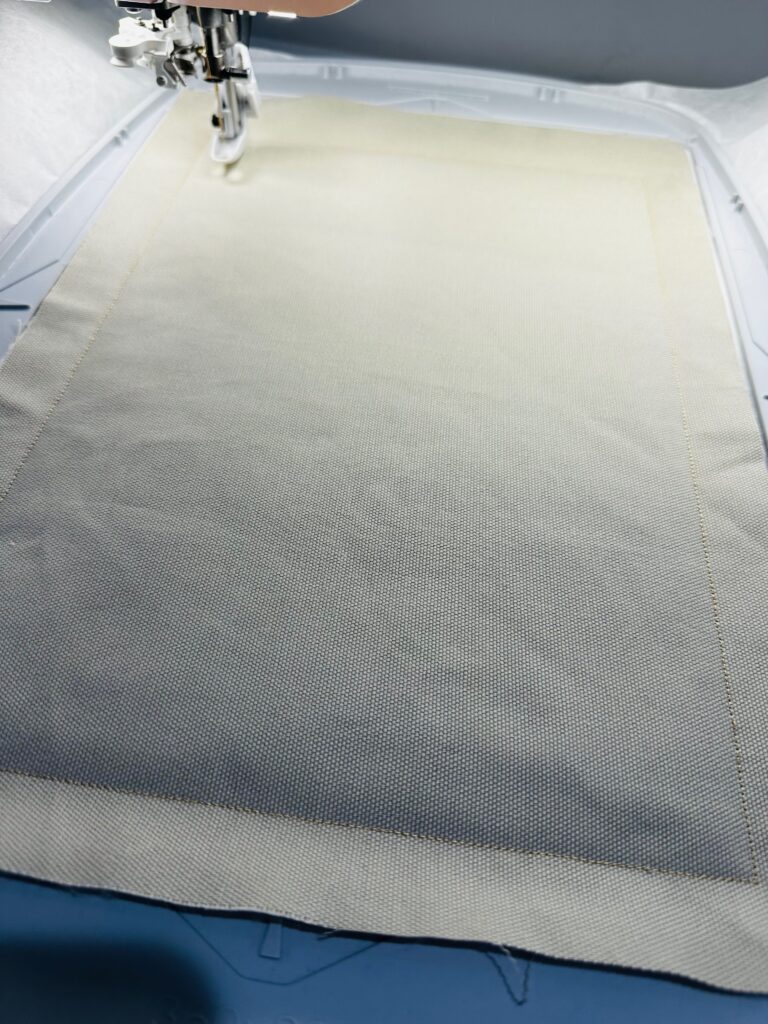
Load the design into the machine and notice that the first color stop is the placement stitching for the main fabric with batting underneath.
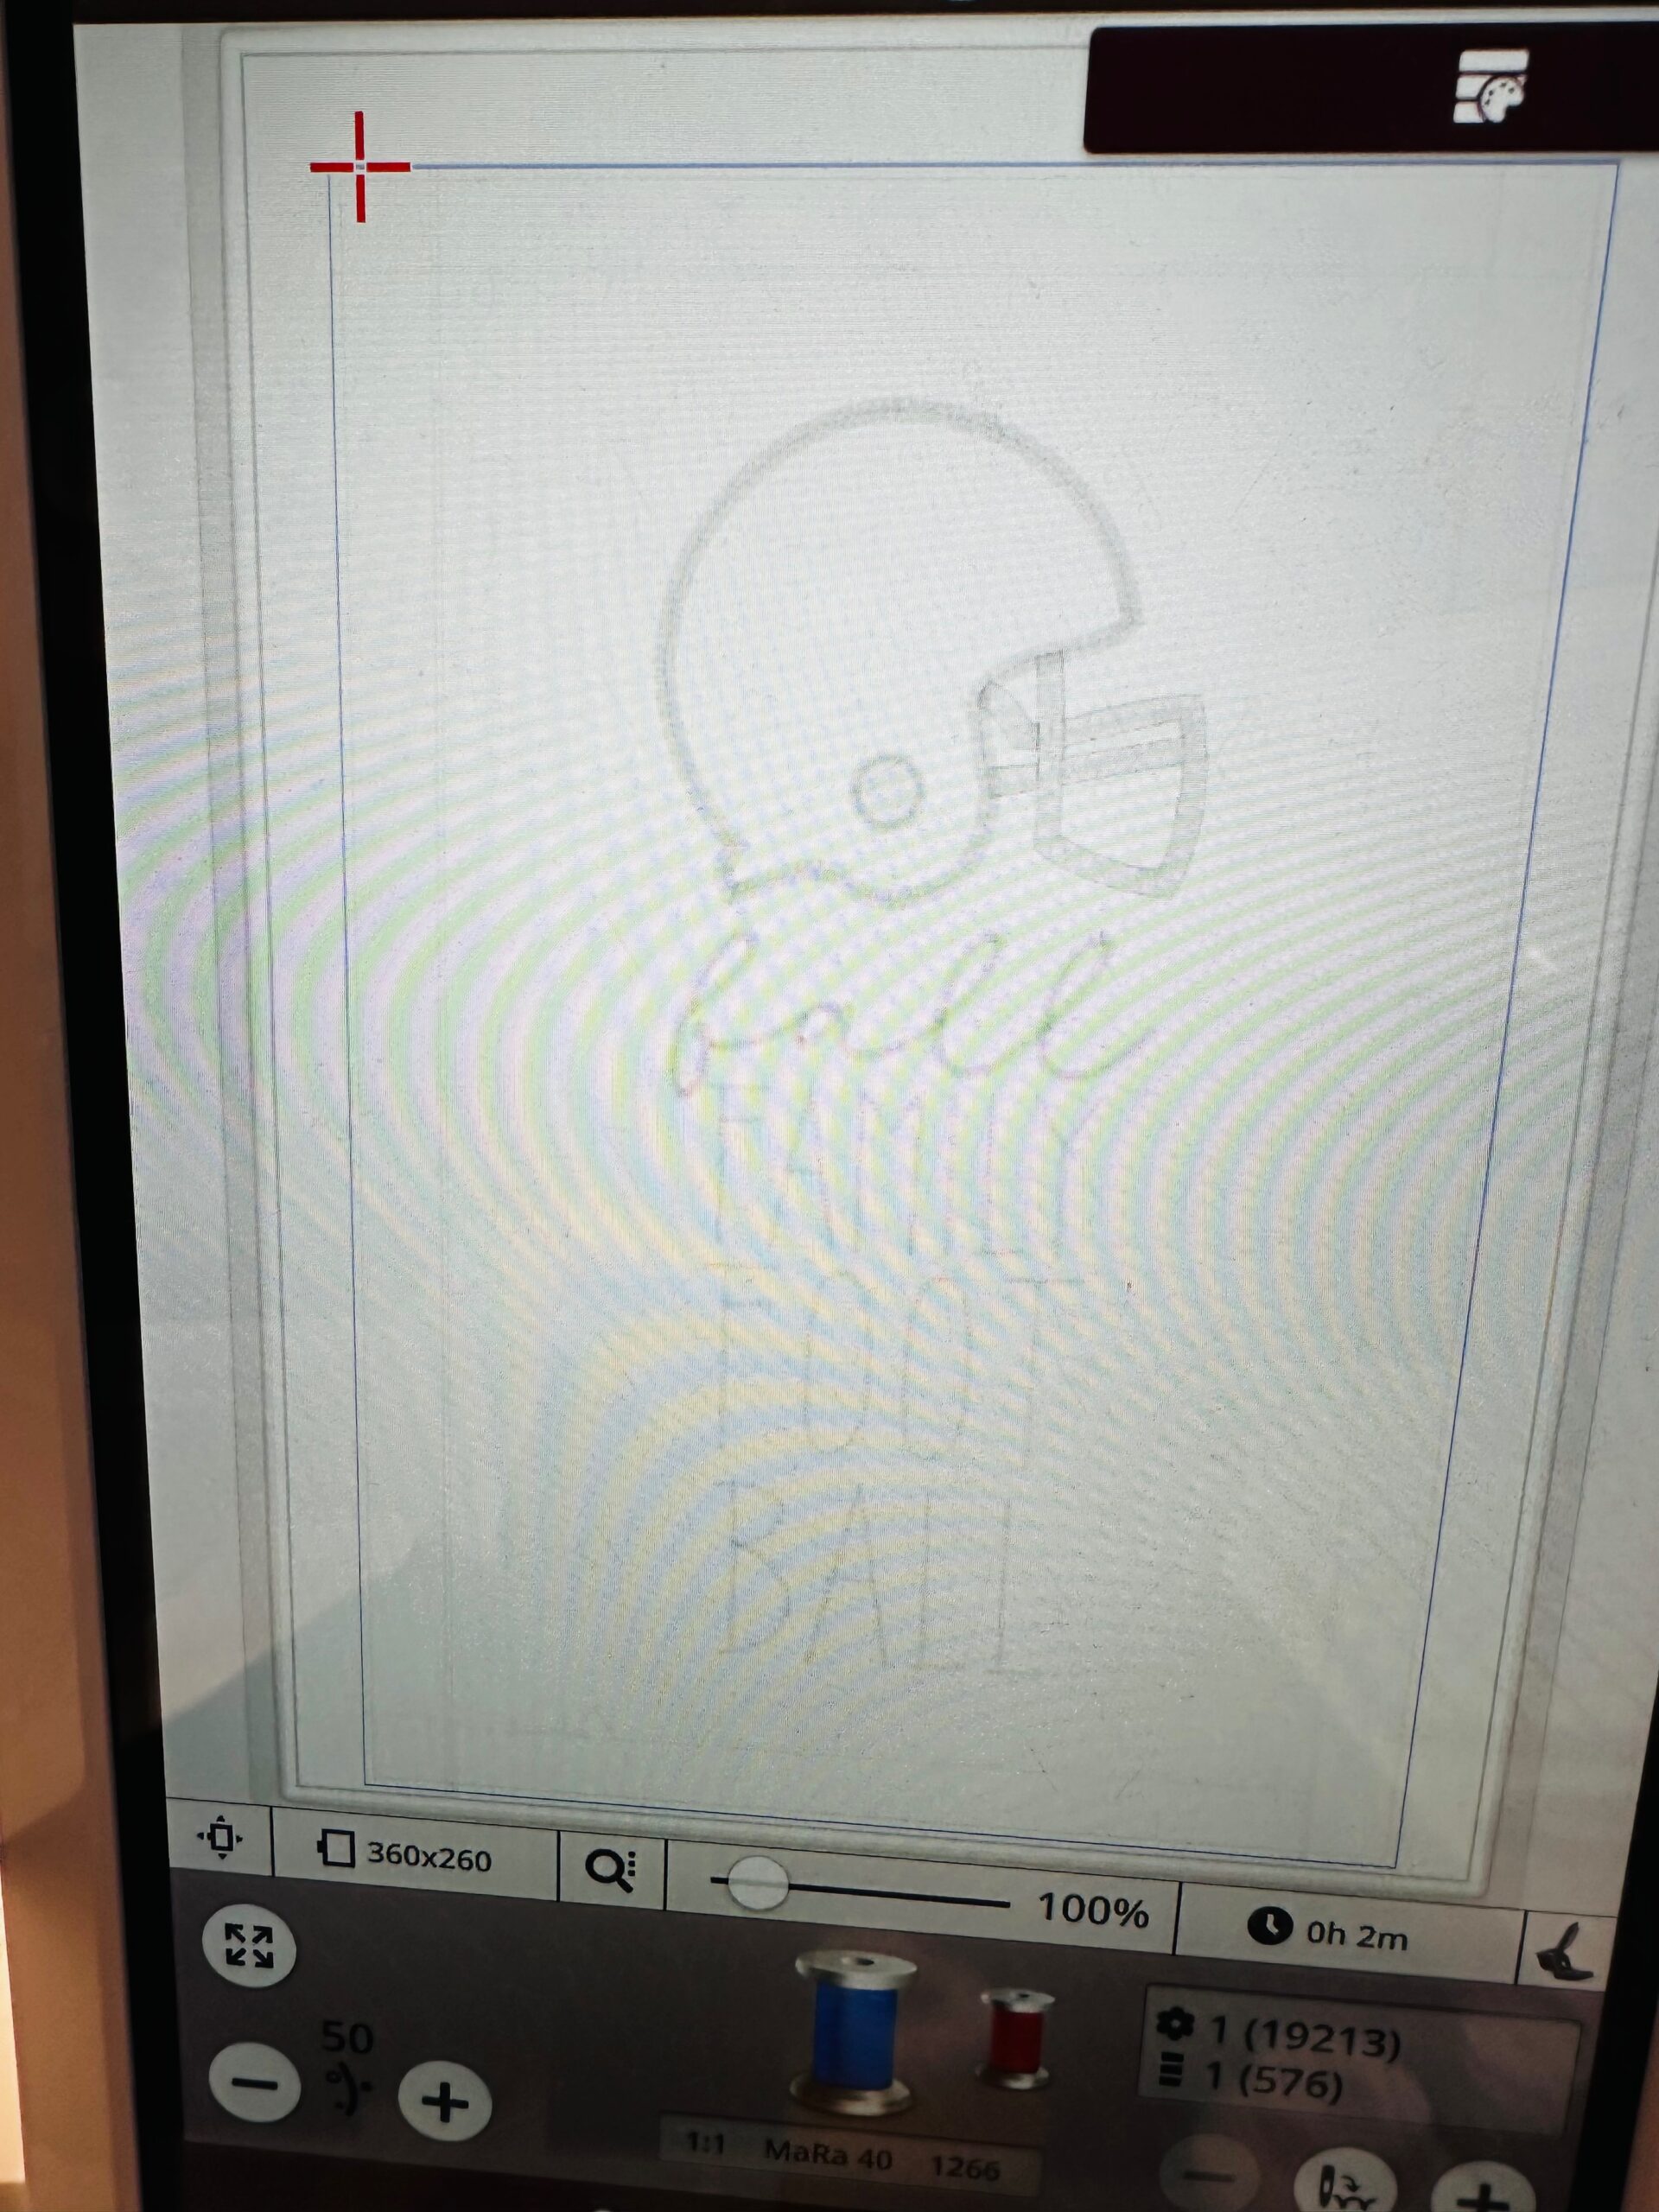
Place the hoop onto the machine with the Stiffy only in the hoop. Stitch the placement line onto the stabilizer. You can use the same thread color as noted for the first portion of the design. These colors are different only to note the different steps needed, and to communicate to the machine to stop (rather than color sort).

Then, layer the batting first, followed by the main fabric. Use Sulky KK 2000 Temporary Spray Adhesive to secure the layers together and to the stabilizer. Then, run the next color stop, which tacks the fabrics in place.
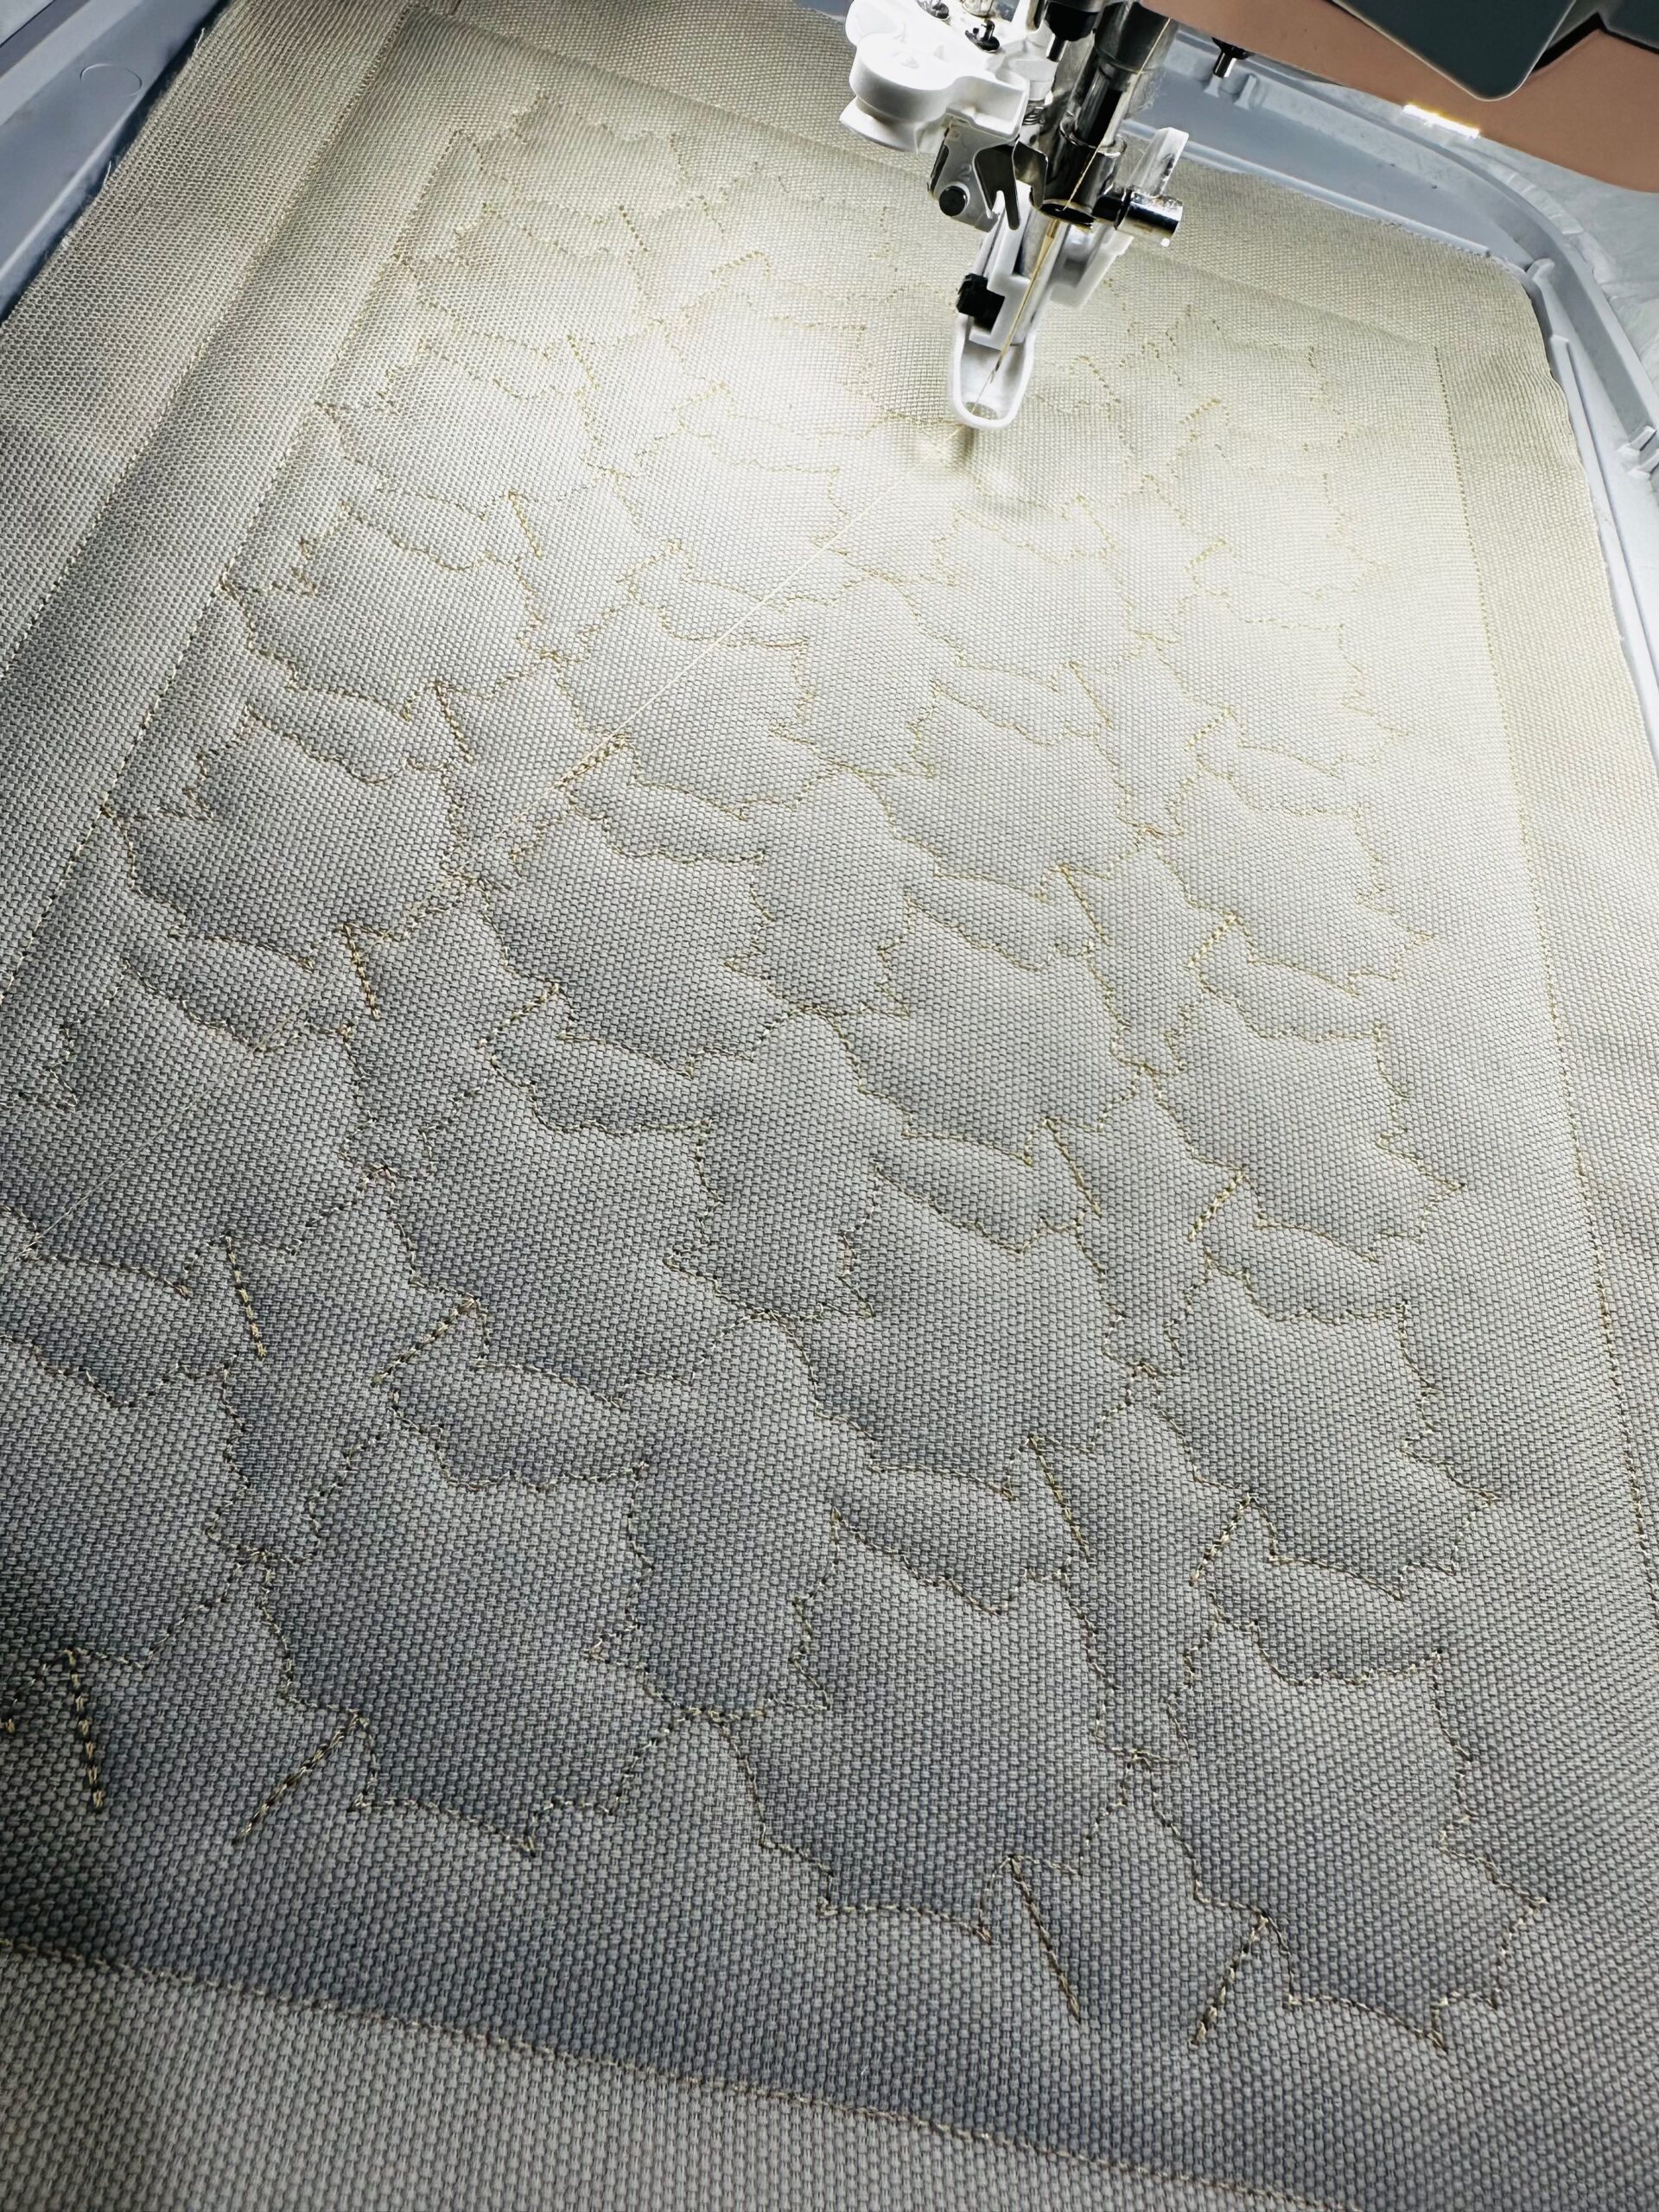
Next, stitch the color stop for the quilted fall leaves background. Choose a color that matches the background fabric so it blends in and doesn’t distract from the other mini quilt elements.
FOOTBALL APPLIQUE
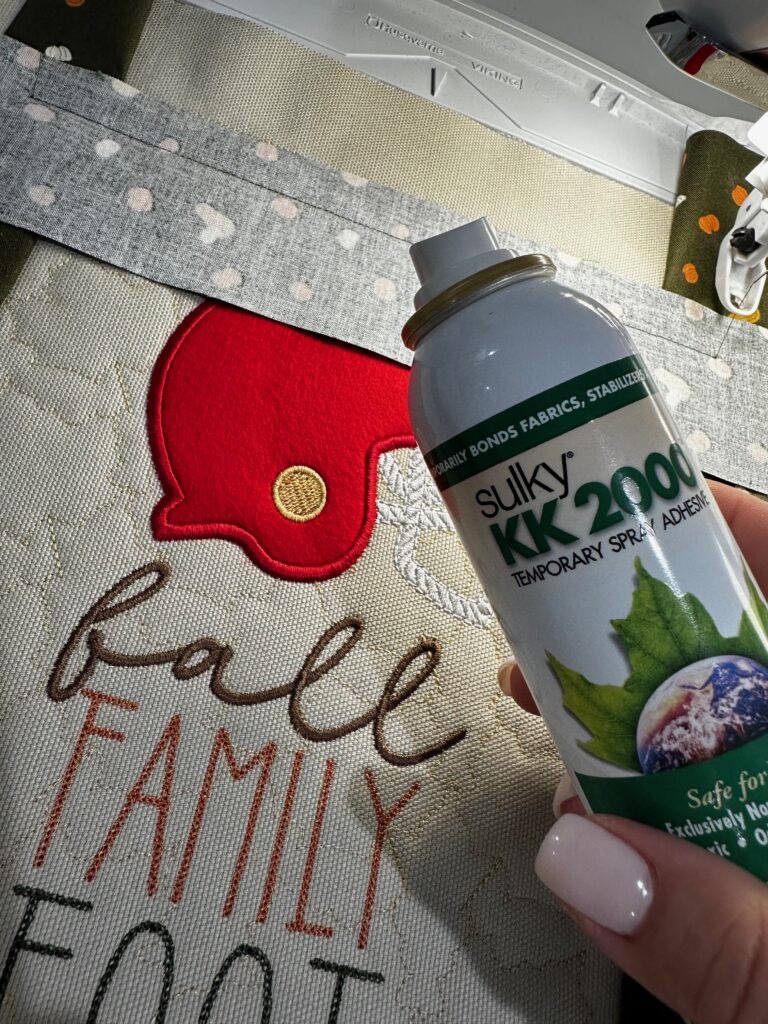
The football helmet is an appliqué piece. Choose the color or print fabric of your choice to represent the team you root for during football season. I chose red (cardinal) and gold stitching for the USC Trojans (Fight On!). I opted to use Sulky Felty for the appliqué piece to add texture and dimension to the helmet.
First, the machine will stitch the helmet face guard. The next color stop is the placement stitches for the appliqué fabric.
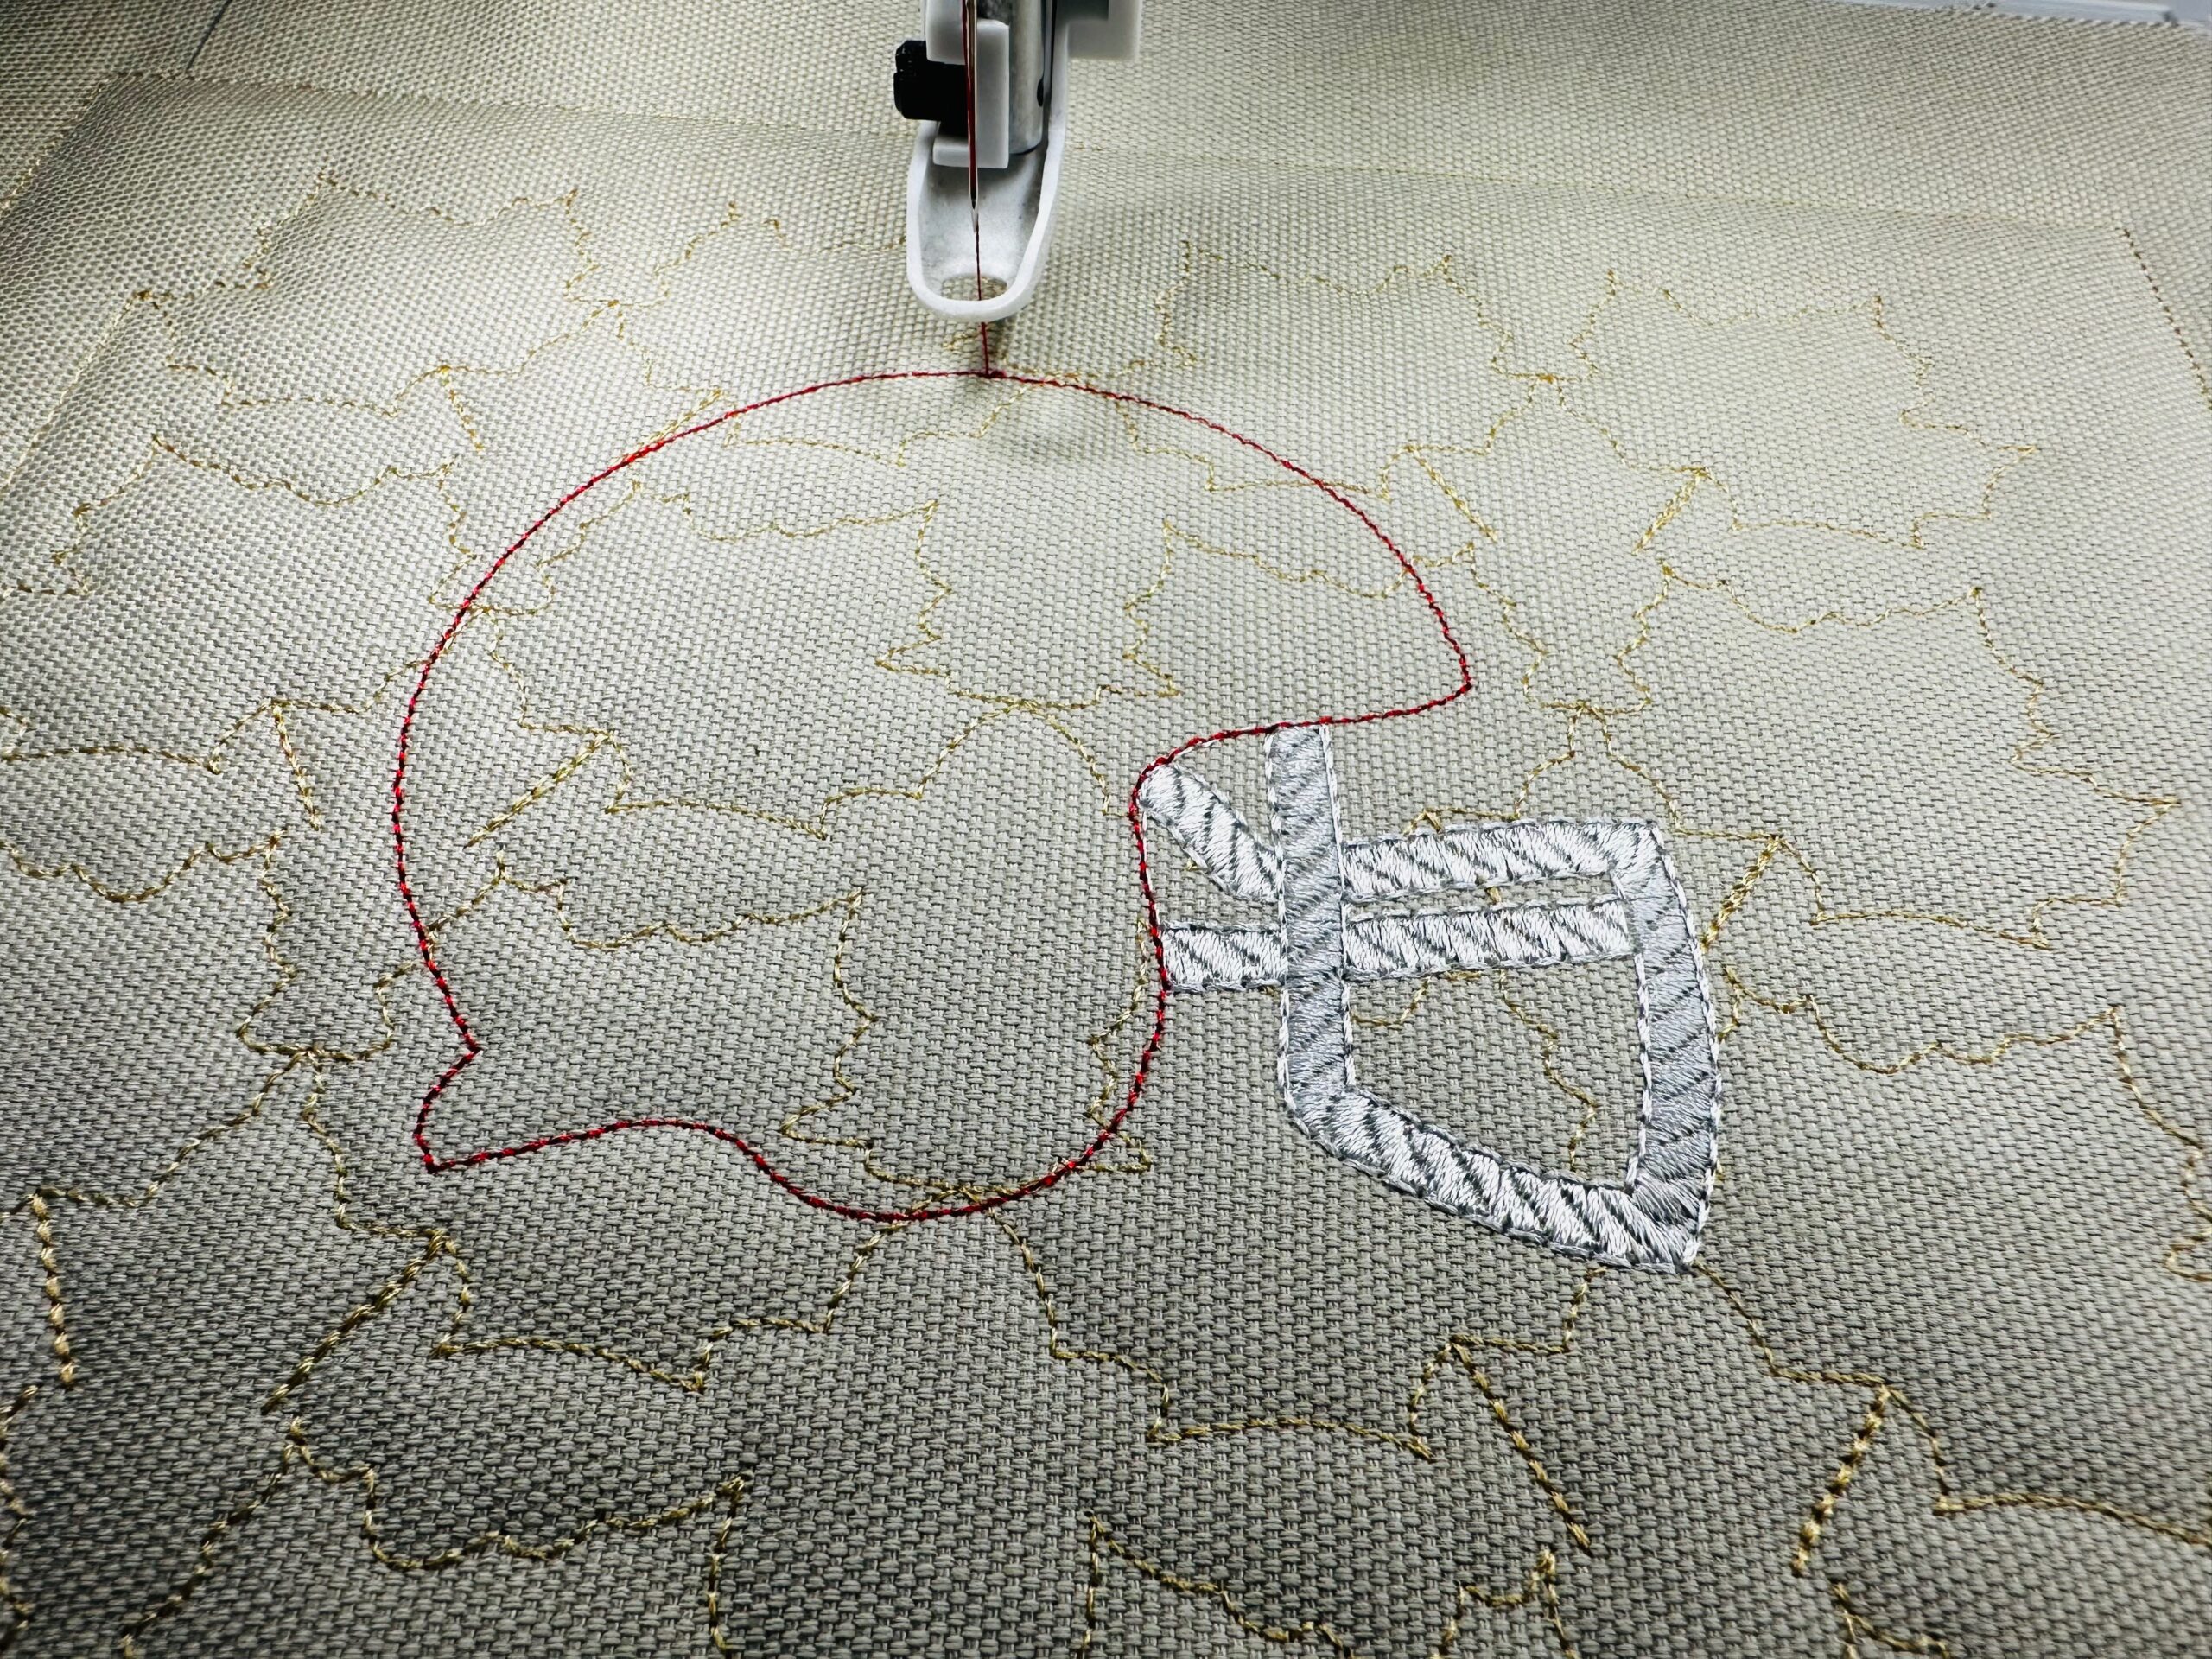
Use Sulky KK 2000 to secure the Felty over the placement stitches, completely covering them.
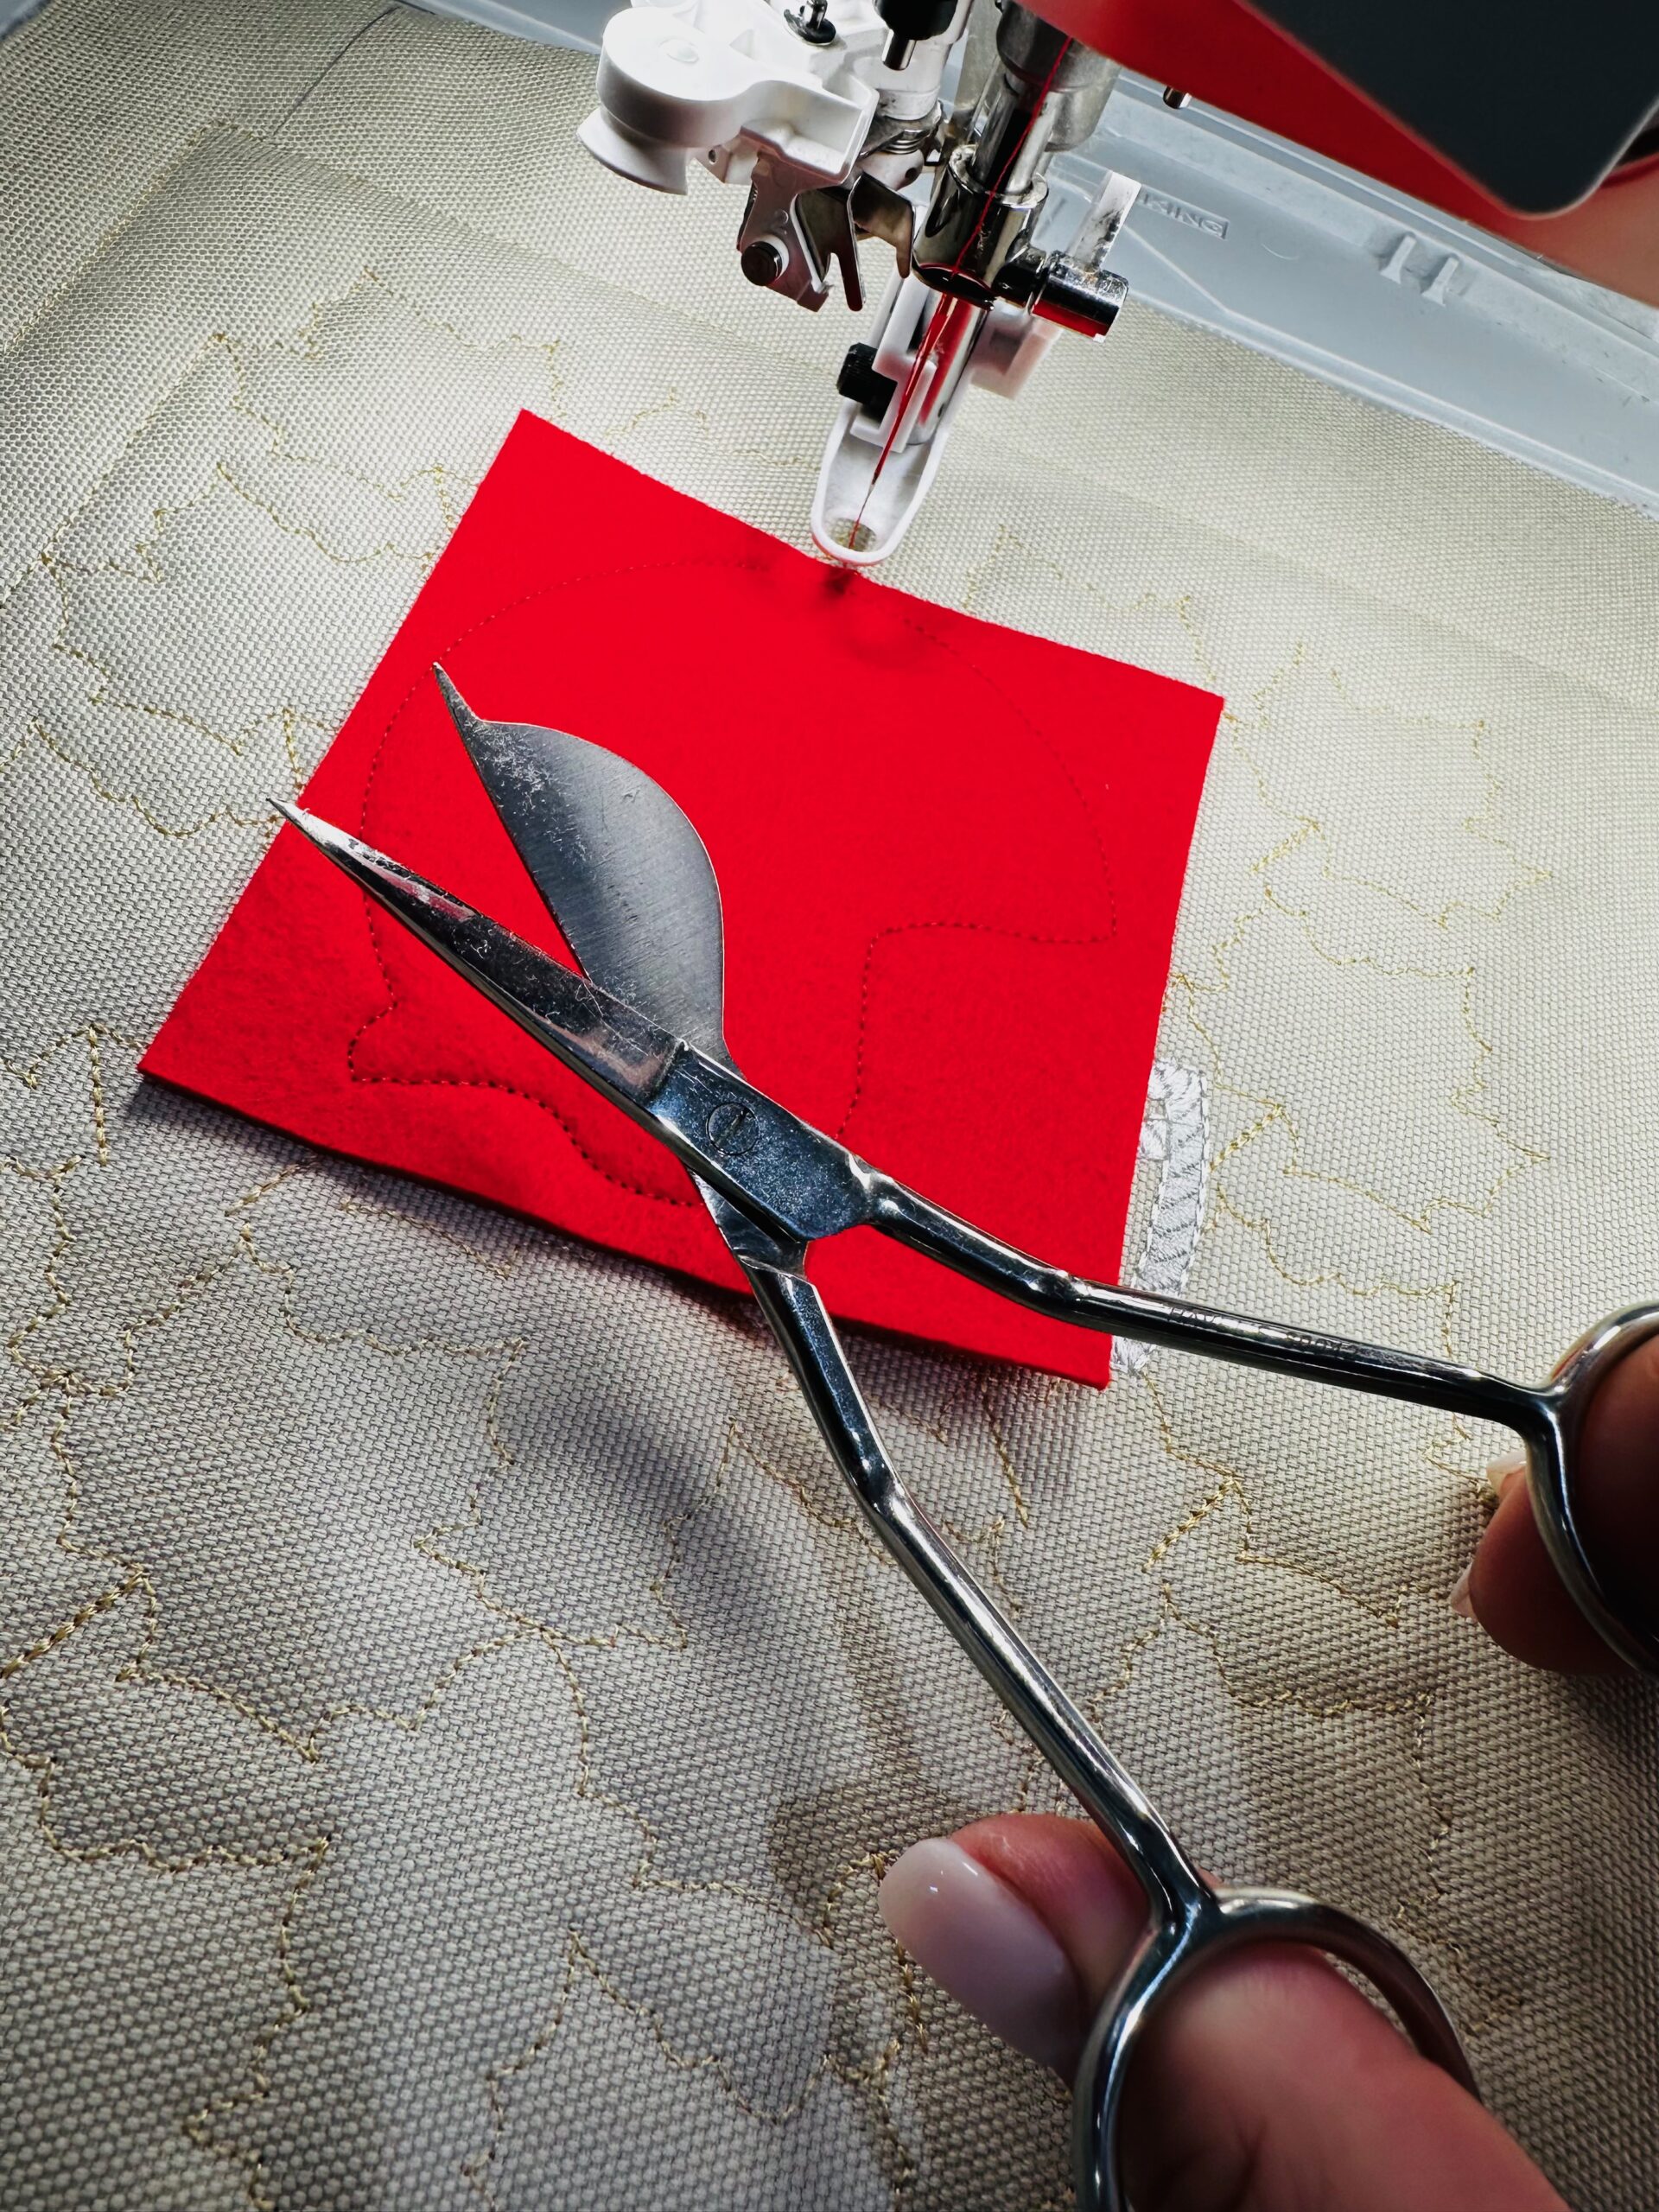
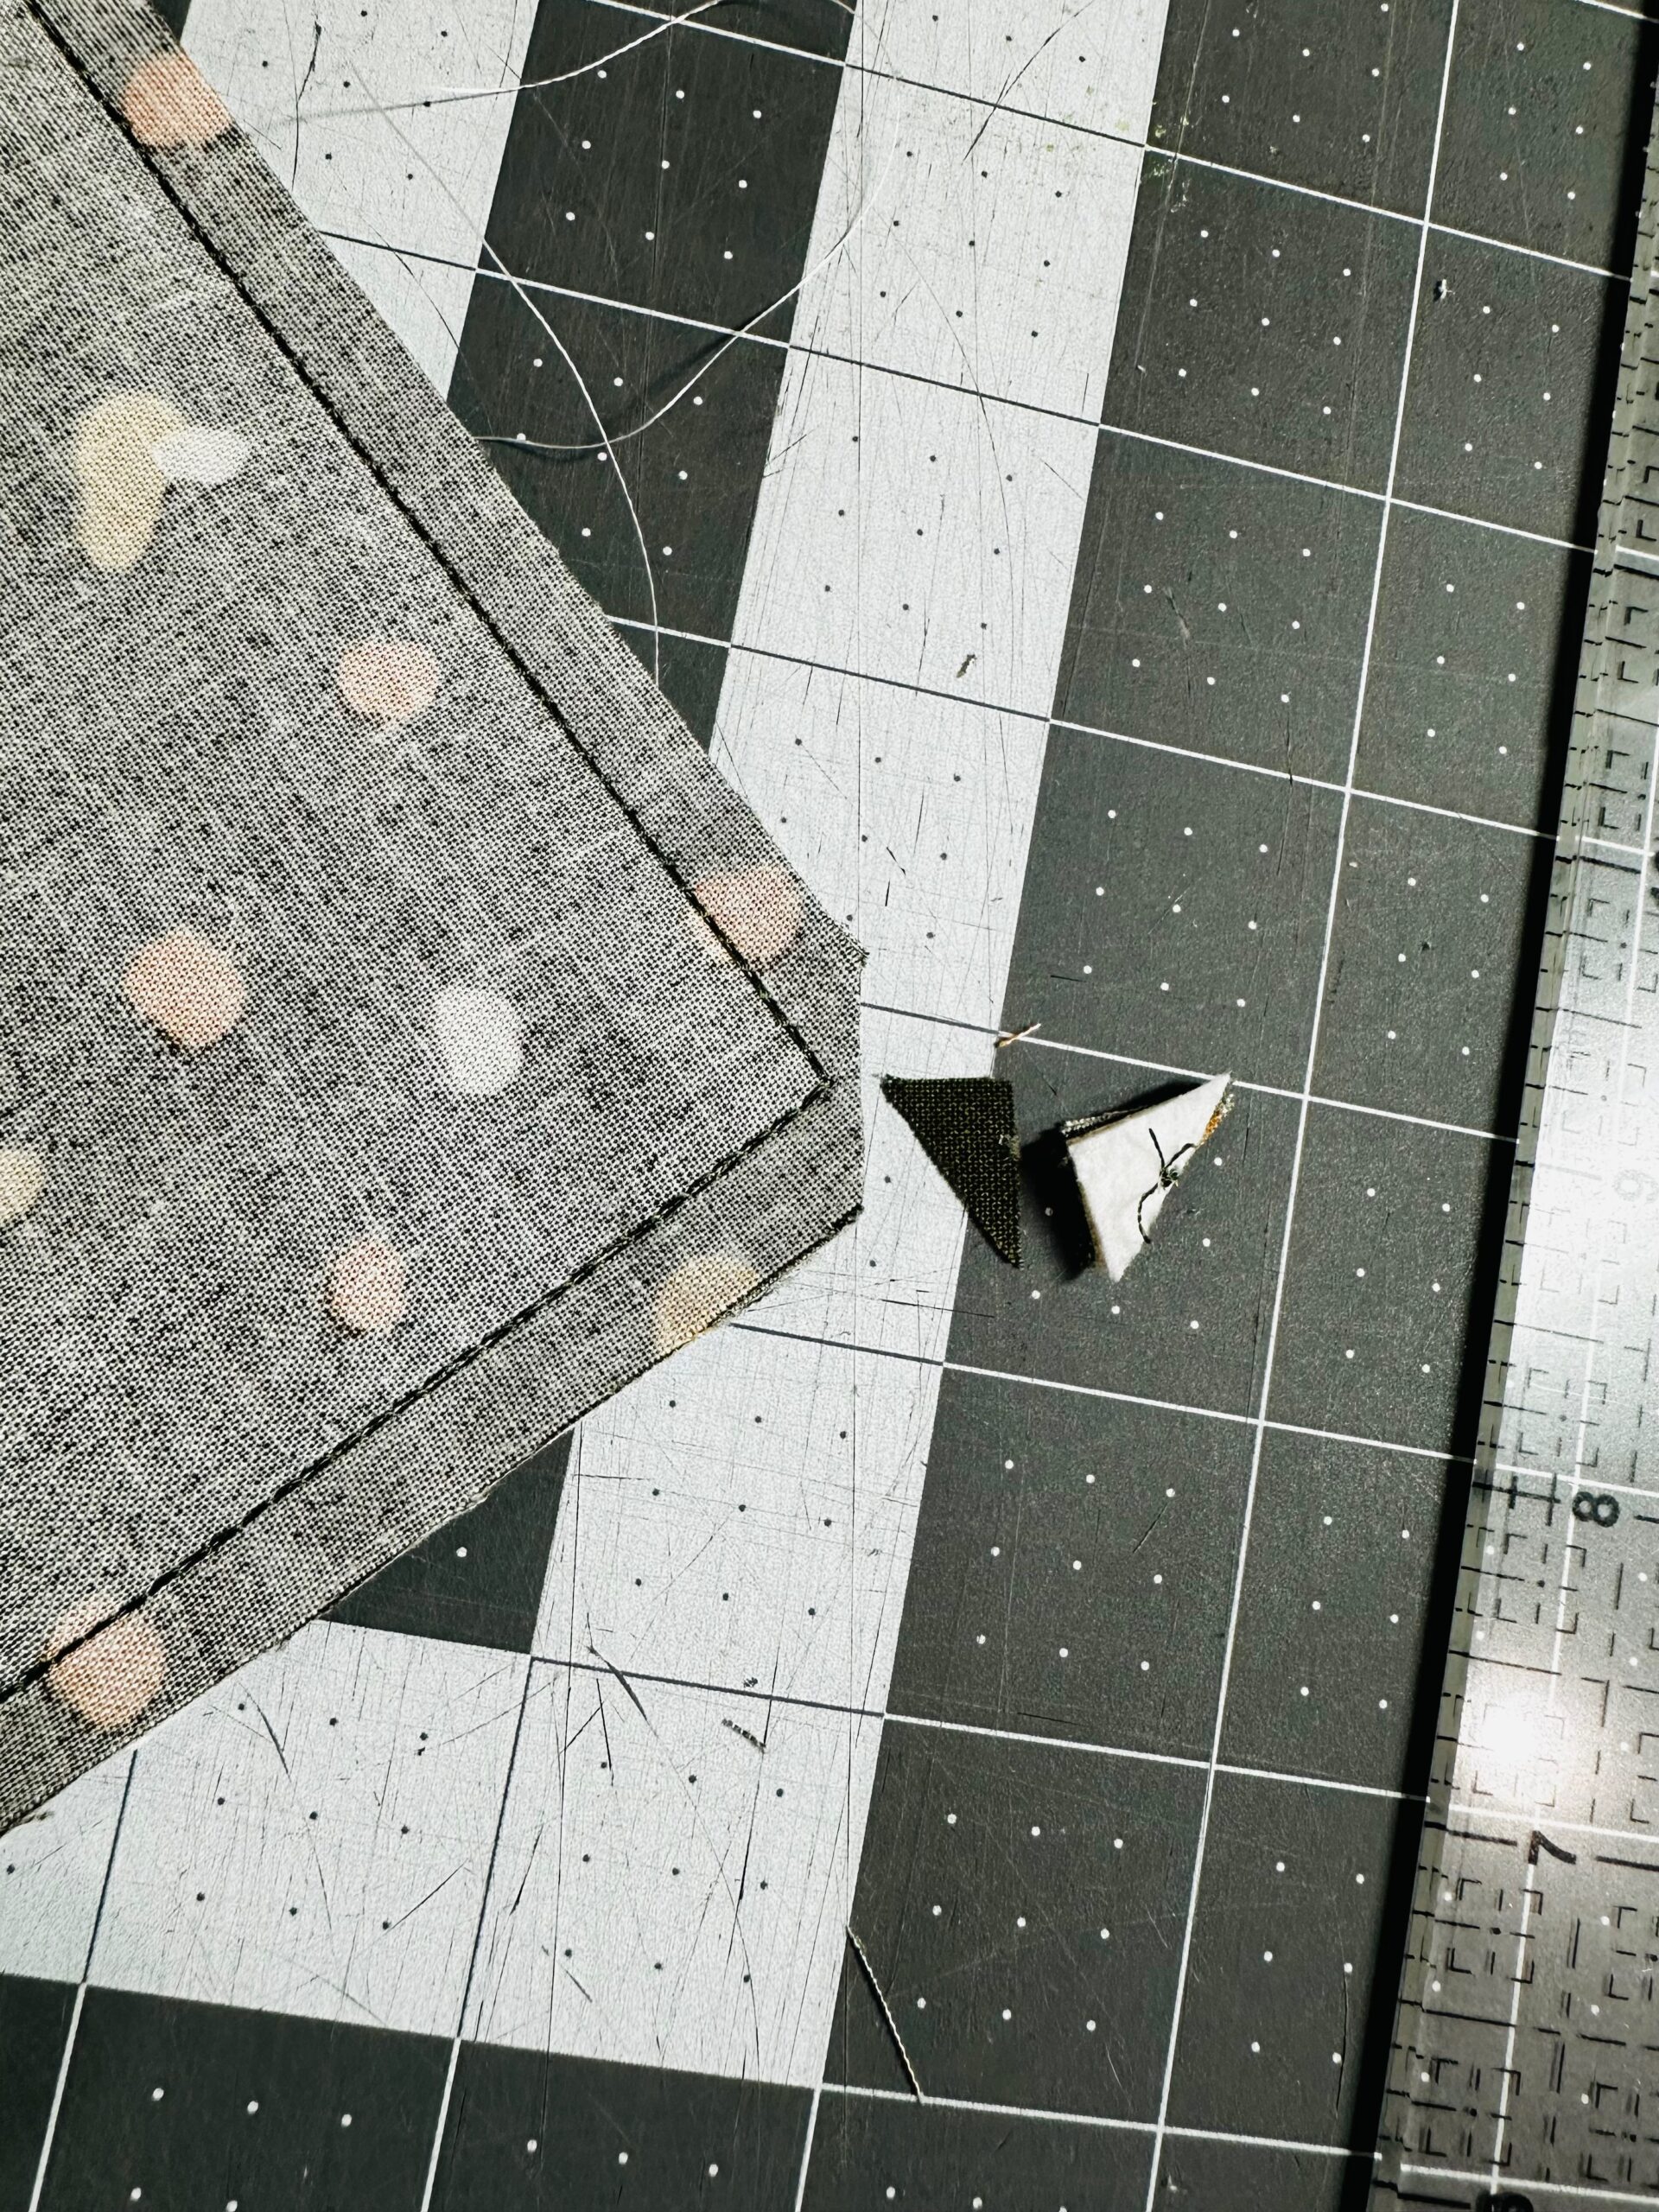
Next, stitch the tacking stitch step to secure the Felty. Using appliqué scissors, carefully trim the Felty as close to the tacking stitches as possible.
Follow the remaining color stops to stitch the satin finishing steps for the football helmet appliqué. Plus, stitch the lettering on the mini quilt. Use Curved Tip Squeezers to clip the jump threads after each thread change.

MINI QUILT FINISHING
After stitching all the elements in the mini quilt, it’s time to add the borders and backing. Yes, this is all done in the hoop! Follow the instructions that come with the design to add these portions. It couldn’t be easier!

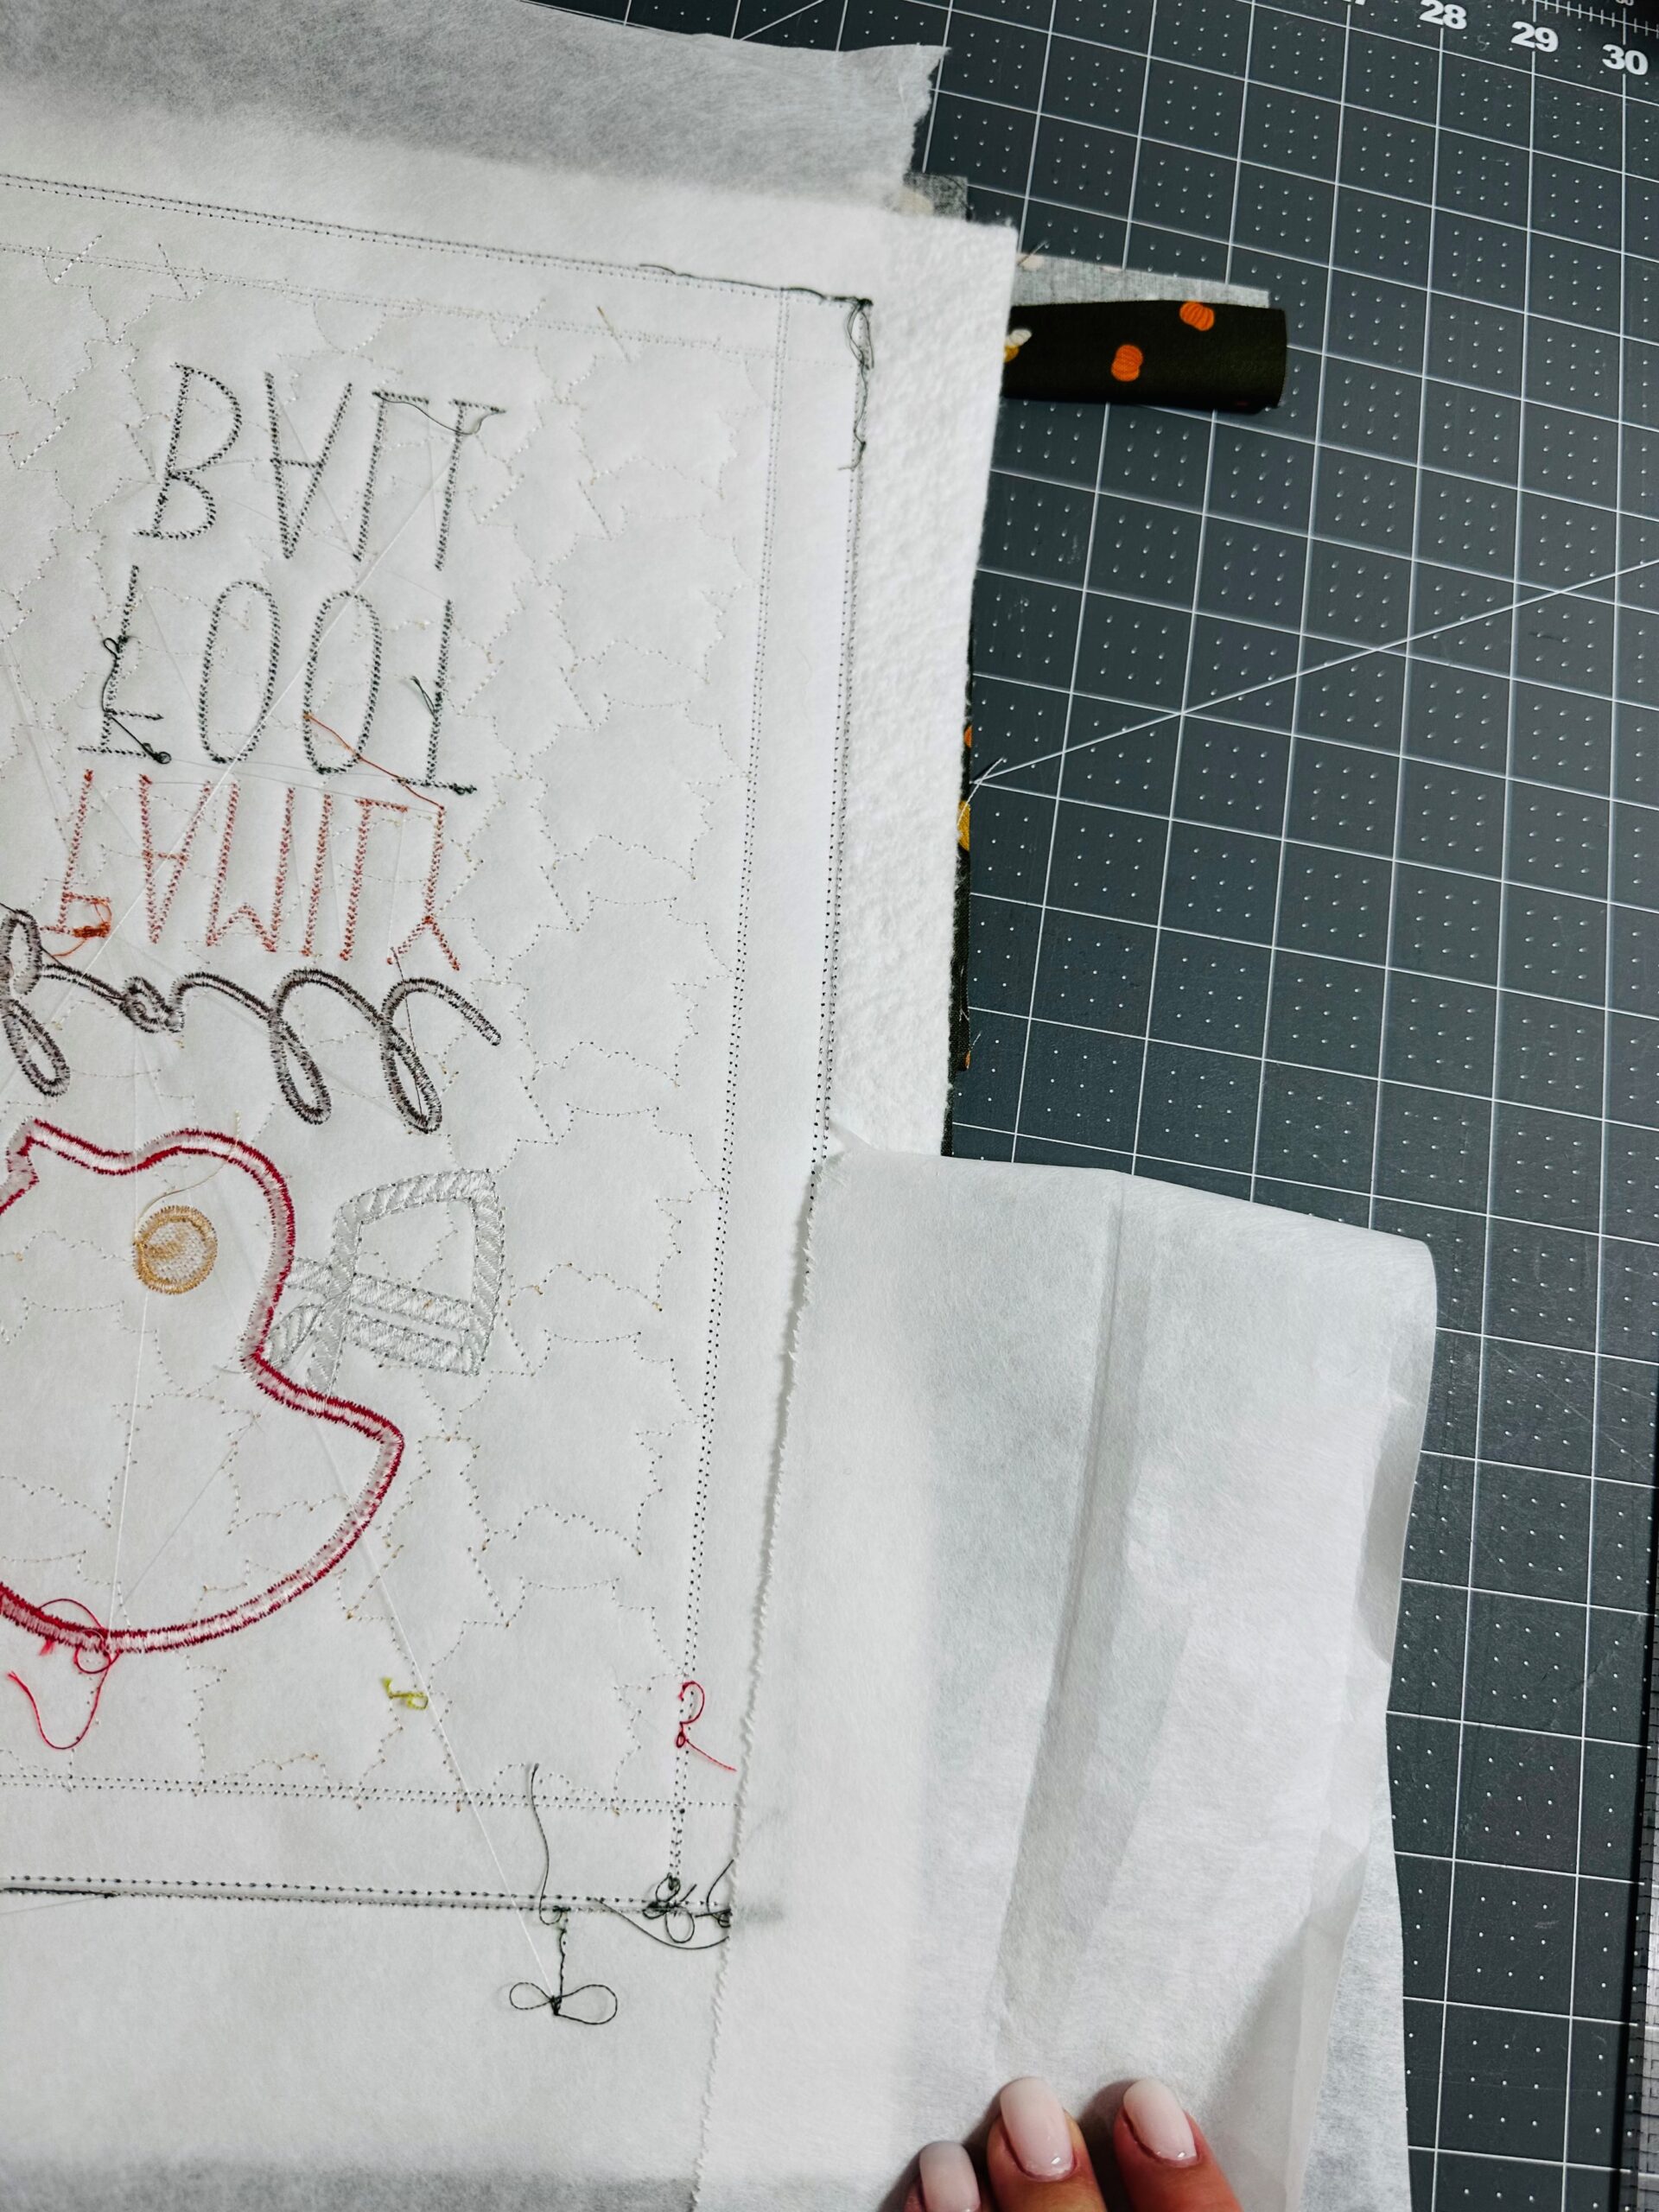
After the mini quilt is complete, remove the stabilizer by gently tearing it away along the outer stitching line. Leave the stabilizer intact inside the outer stitching line to support the project. If using cut-away stabilizer, leave it intact until trimming the project; trim it with the fabrics in one motion.
The back has an envelope closure to turn the project right side out. Before turning right side out, clip the corners to reduce bulk.
Close the opening along the mini quilt back with a strip of fusible web or a bit of hand sewing – your preference.
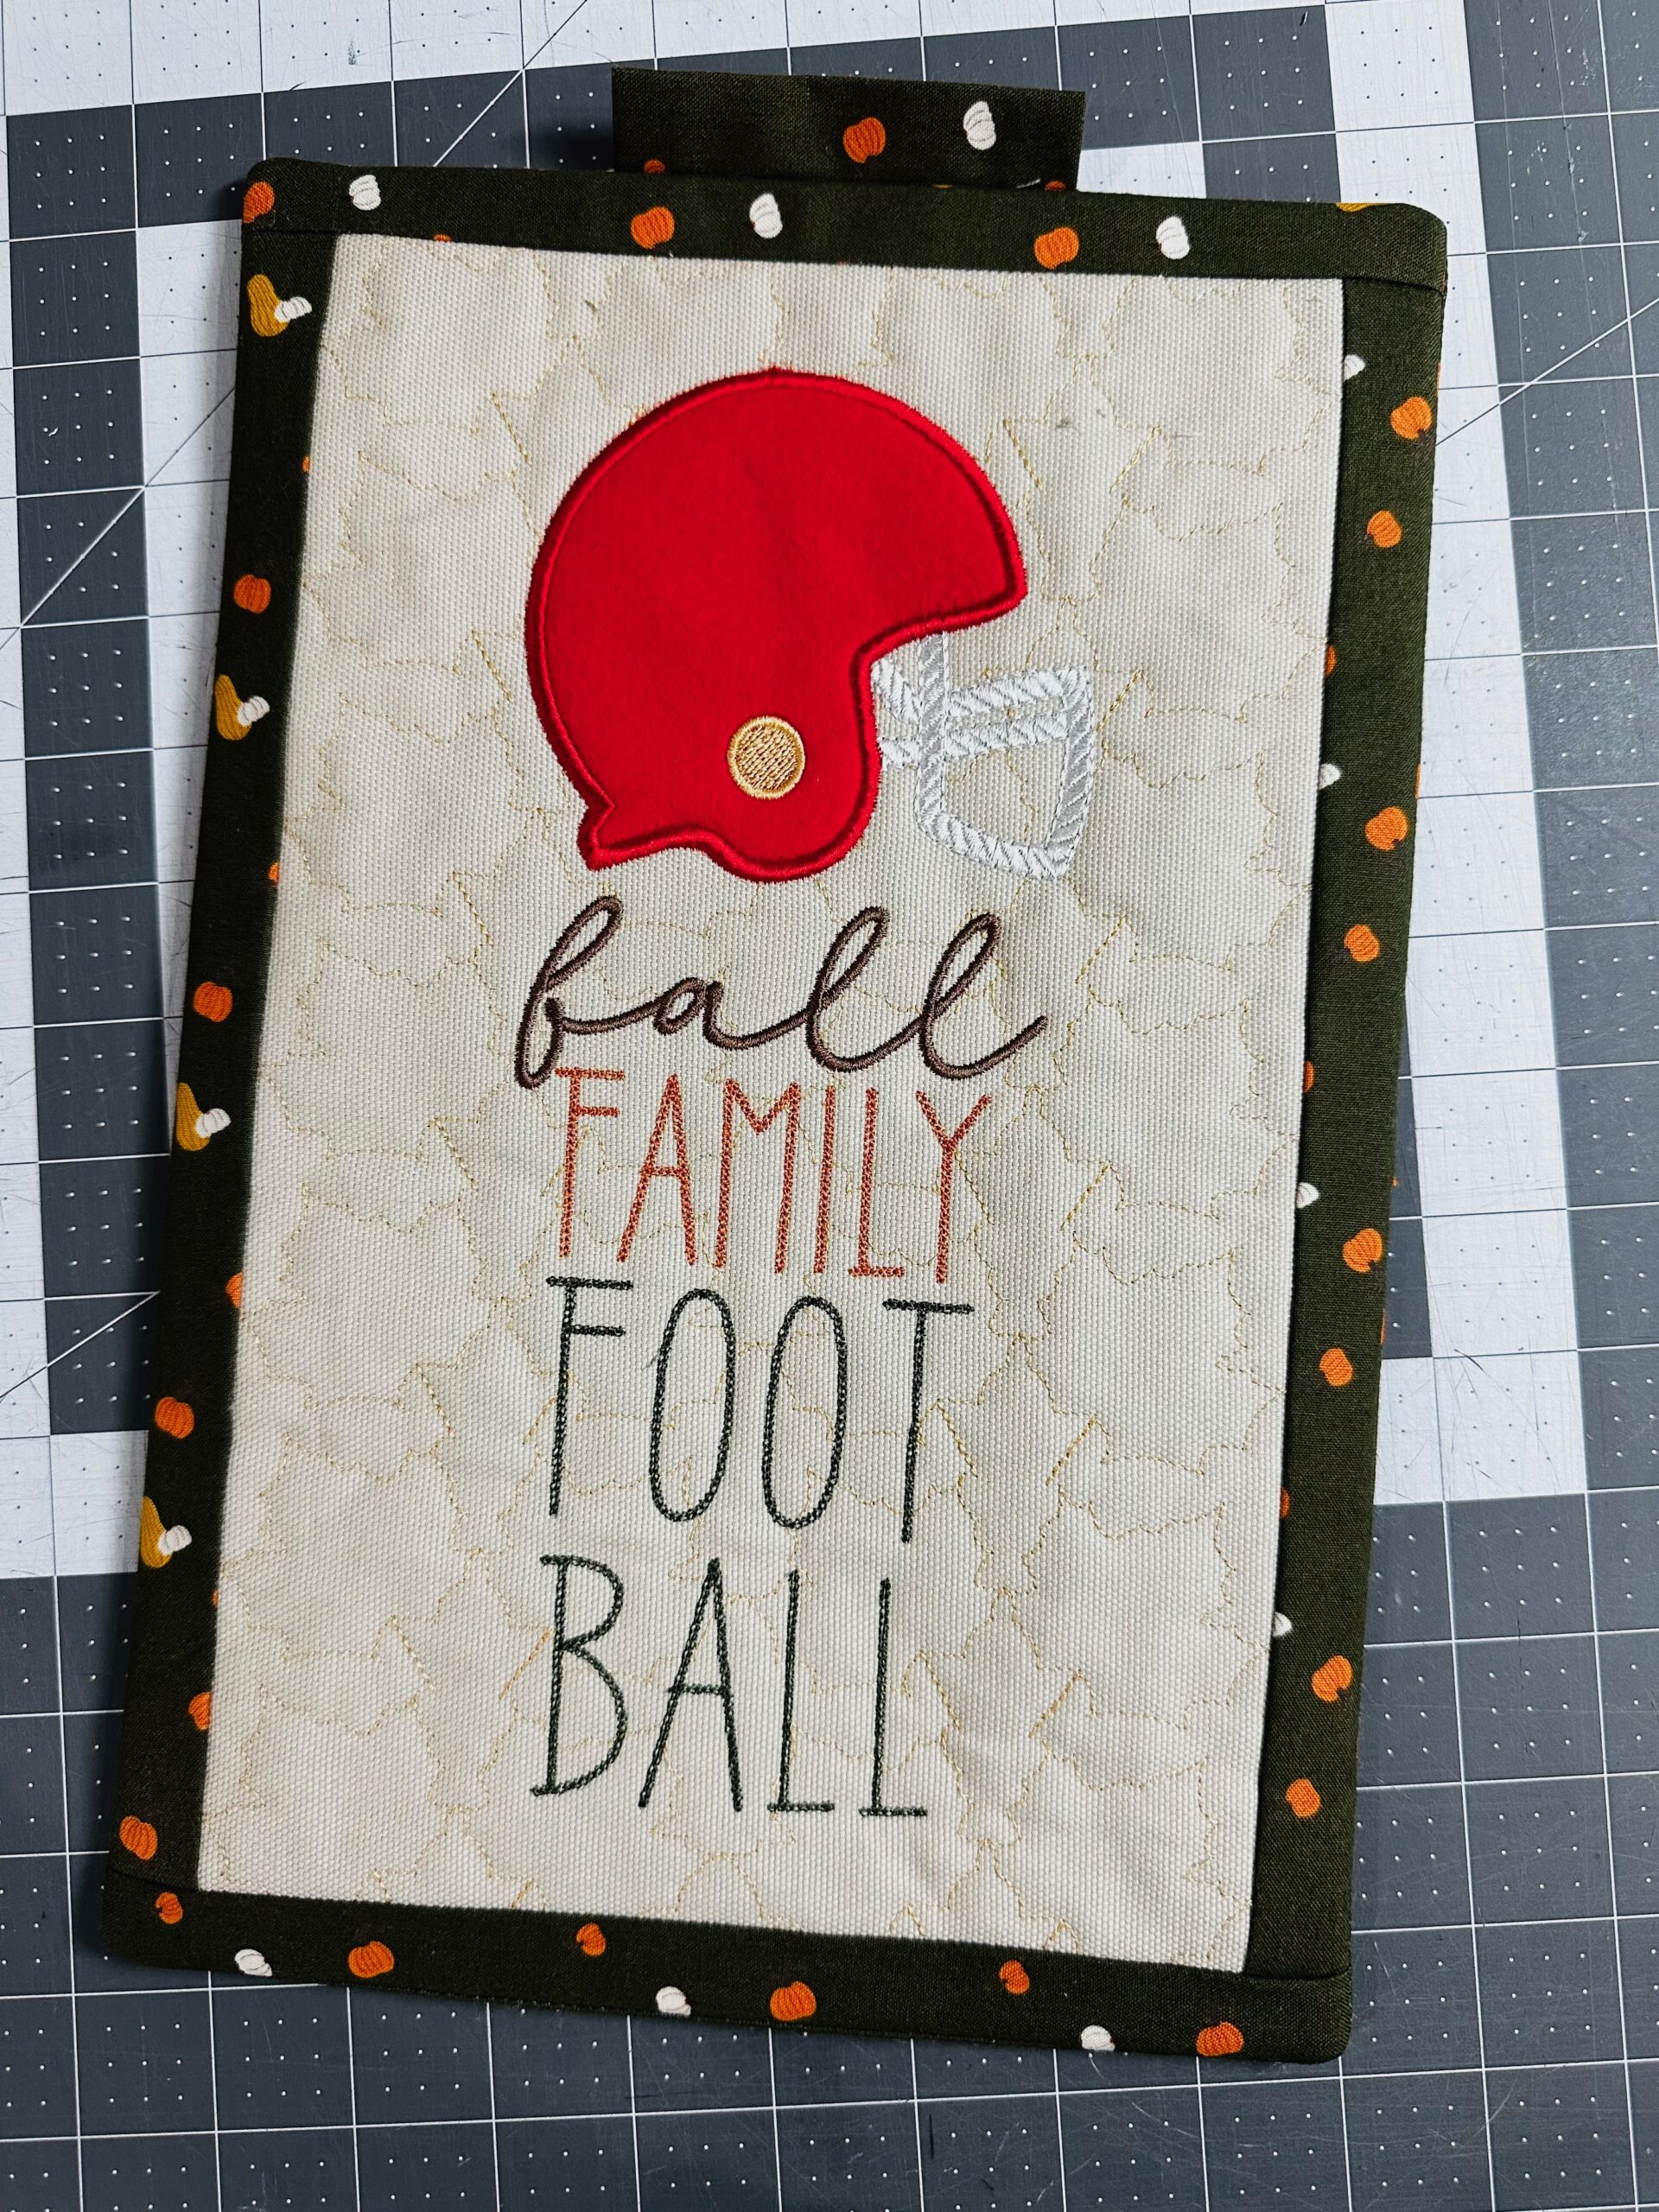
Hang the Fall Family Football Mini Quilt on a quilt stand (this is the one I used). Or hang it on the wall. The smaller sizes also make great mug rugs!